 Hello! I hope you had a nice Thanksgiving. I’m still in D.C., but am looking forward to getting back to NYC to put my Christmas tree up and really get into the swing of holiday baking—look out for my first Christmas cookies of the season next Wednesday!
 Today’s recipe is hardly a recipe at all. When I was visiting my friend, Tad, in San Francisco last month, we stopped for an ice cream cone at The Castro Fountain. While I was waiting for my order, I spotted a sign for Hot Butterscotch. I initially assumed they meant the sauce, but on further inspection, I saw it was a beverage akin to Hot Chocolate. But, you know, with butterscotch.
 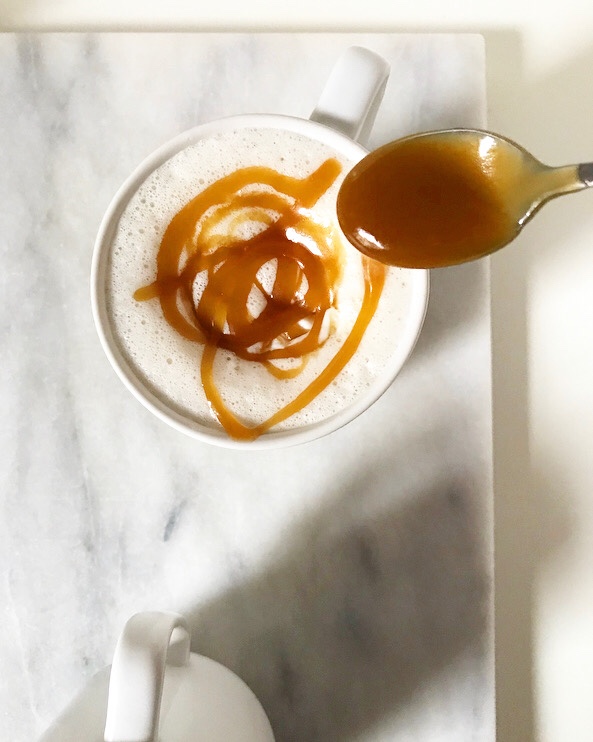 I decided then and there that I would figure out a Hot Butterscotch recipe by Thanksgiving, and lo and behold, here it is. Rocket science, this is not, but those Castro Fountain guys are on to something!
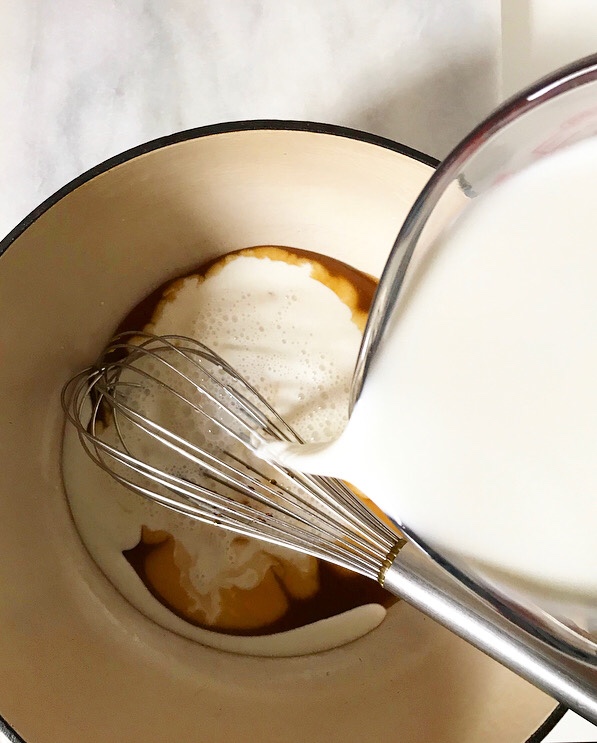
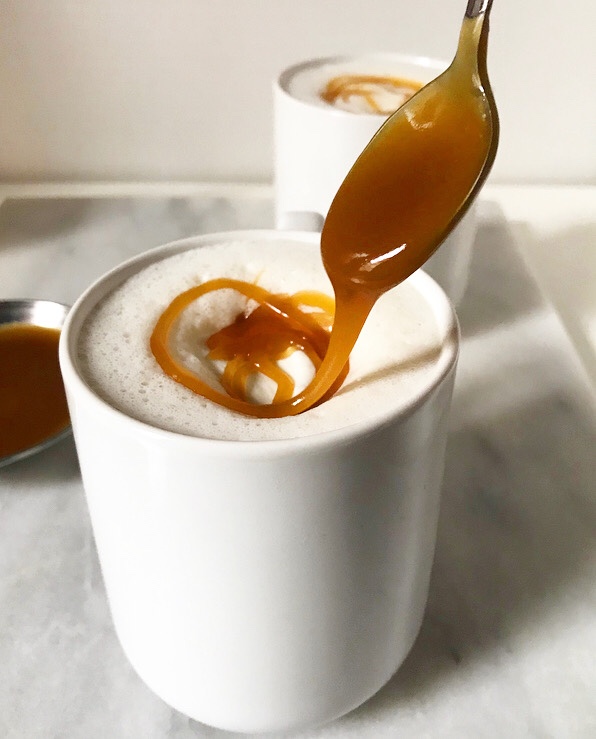
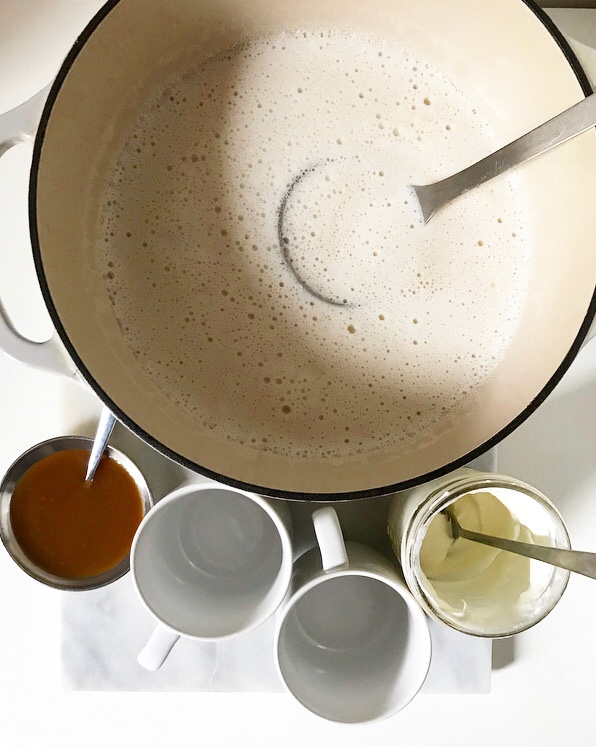 Simply whisk a cup of butterscotch and some vanilla into a quart of whole milk. Heat that to a simmer, divide it among a few mugs, and top ‘em off with whipped cream, marshmallows and a drizzle of butterscotch. That’s it!
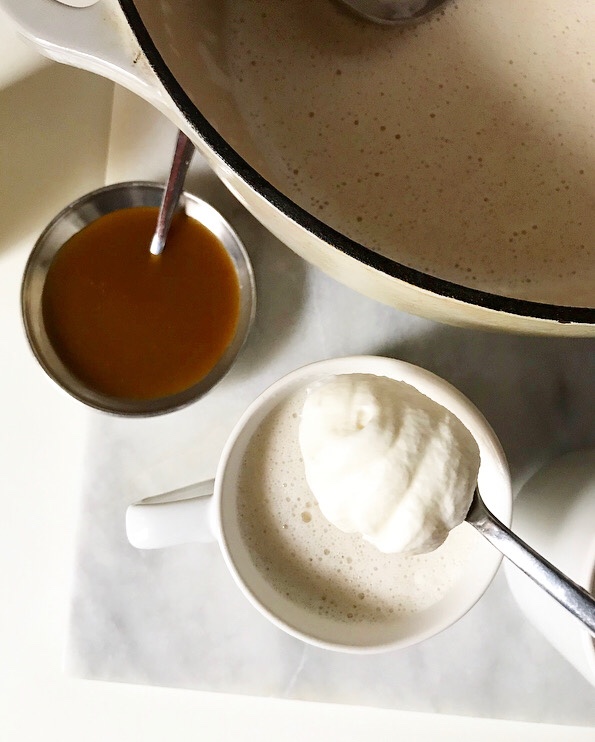
 Hot Butterscotch is creamy and comforting with plenty of buttery brown sugar and vanilla flavor. I like it as written, but if you want something a little more decadent, feel free to swap half & half or heavy cream for some of the milk.
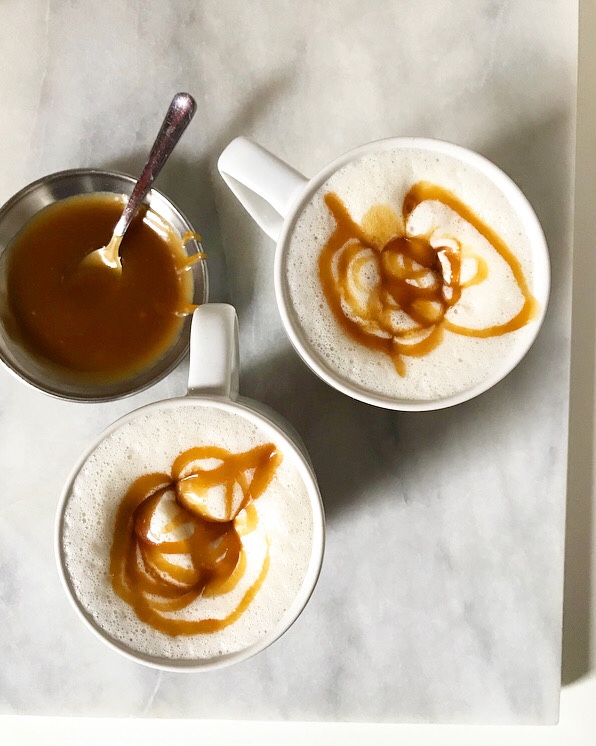 No matter how you mix it up, this is the perfect low-maintenance treat to make this Thanksgiving weekend. You could even give jars of homemade butterscotch as food gifts and attach a label with the recipe. But then again, I may be getting ahead of myself.
Have a great weekend, y’all!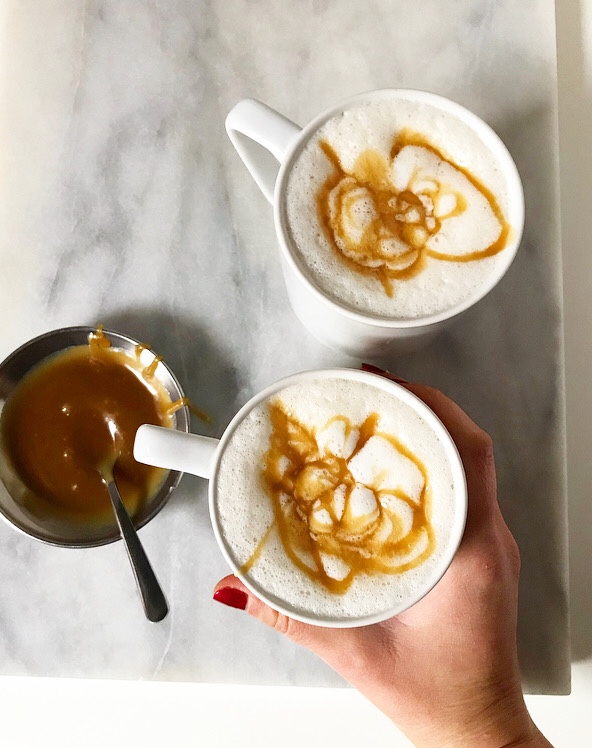
Hot Butterscotch {Seasonal Beverage}
makes 4-6 servings
1 cup prepared butterscotch sauce
1 quart whole milk (or a mix of whole milk and half & half or heavy cream)
1 teaspoon pure vanilla extract
For serving:
whipped cream
miniature marshmallows
butterscotch sauce, for drizzling
In a large, heavy-bottomed pot, combine butterscotch, whole milk, and vanilla. Set over medium heat. Continue to whisk near-constantly (to prevent scorching) until mixture is steaming and bubbles are forming at the edges. Do not boil. Remove from heat.
Ladle mixture into mugs. Top with whipped cream, miniature marshmallows, and/or a drizzle of butterscotch sauce, if desired. Serve immediately.

 I’ve been making Thanksgiving food since mid-October, and while that’s my idea of a good time, it’s a bit of a relief that I’m not going to be anywhere near an oven on Thursday. My family traditionally travels and makes reservations for this particular holiday, so all I have to do is pack that skirt I marked as my “Thanksgiving outfit” back in September, get on a bus to D.C., and leave the cooking to a bunch of chefs.
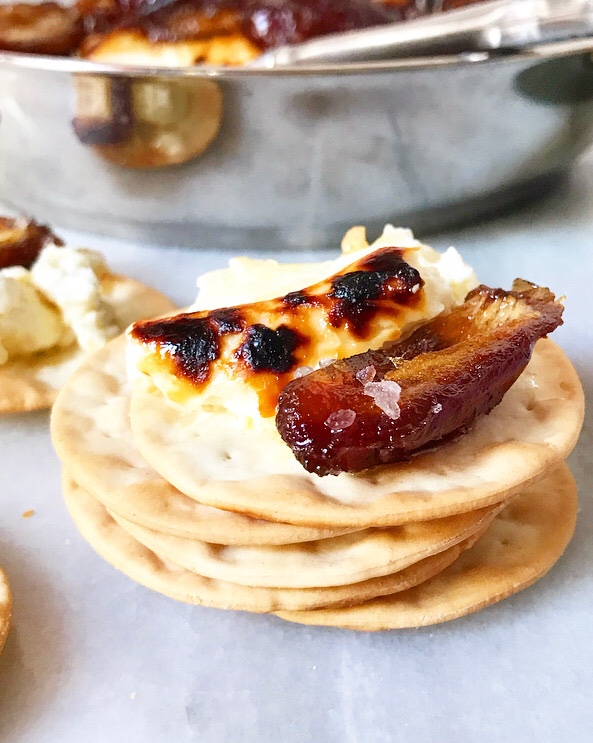 We’ve been doing this routine in different cities since 1997, so it’s second nature now. In fact, the only issue I have with my family’s Thanksgiving tradition is that I’ll have to wait til Christmas to make them this Baked Feta with Sautéed Dates.
 Poor them—they don’t know what they’re missing. I do, though, and so I am here to tell you that you absolutely, unequivocally should make this three days from now.
 I know. I know! The menu’s set. You’ve made the list. But just go ahead and add a brick of feta and some dates to the tail end. I promise it’s worth the change in plans.
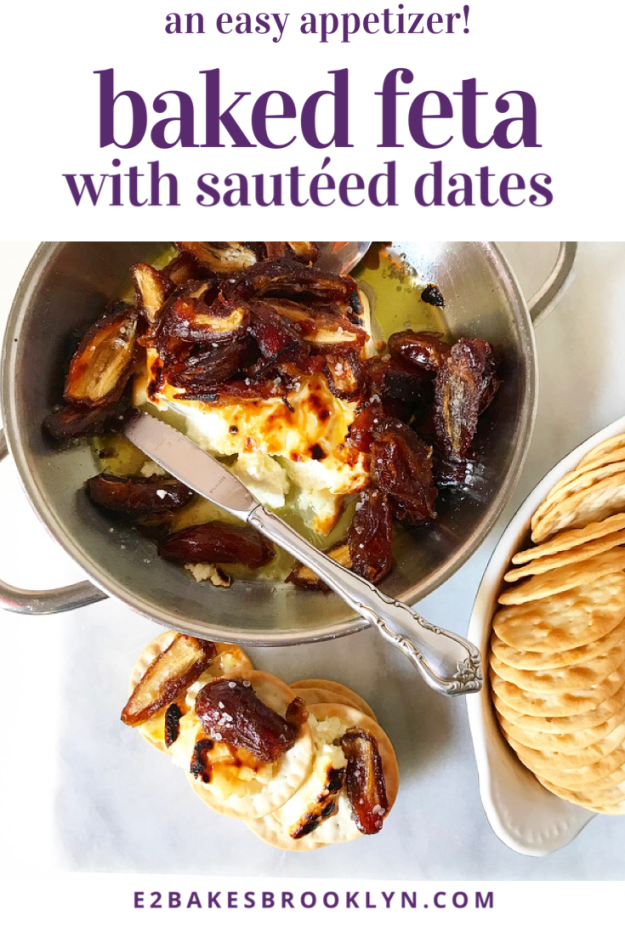
 You’ll only need five ingredients (plus something carby for serving) and fifteen minutes to put this appetizer together, and I would be utterly shocked if it lasts more than another fifteen minutes. I was alone when I made the feta and dates pictured here, and I had trouble keeping myself from eating half the brick in one go.
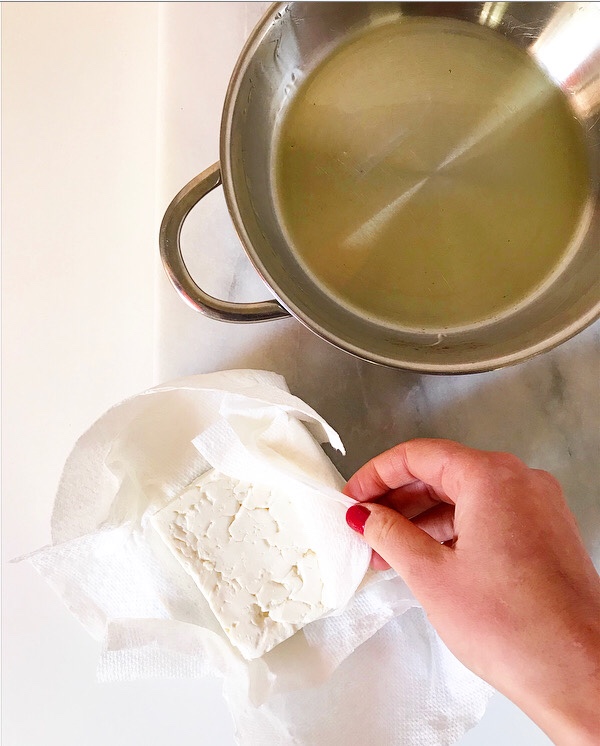
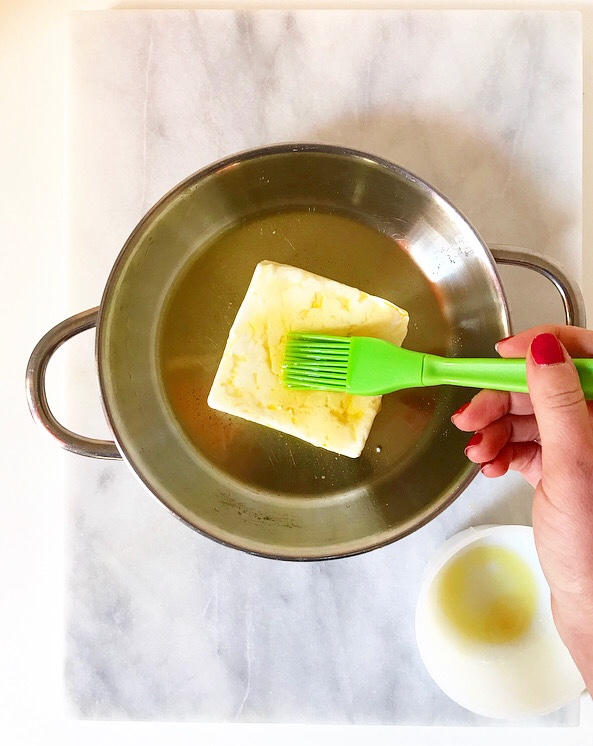
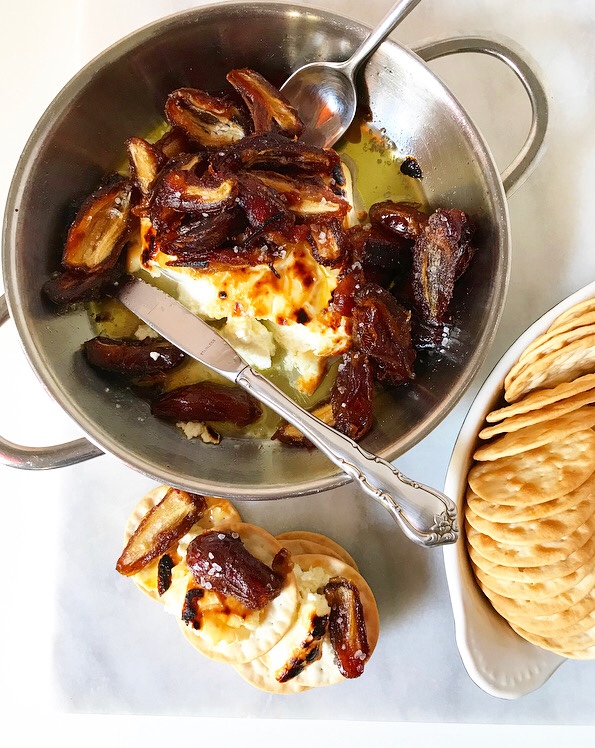
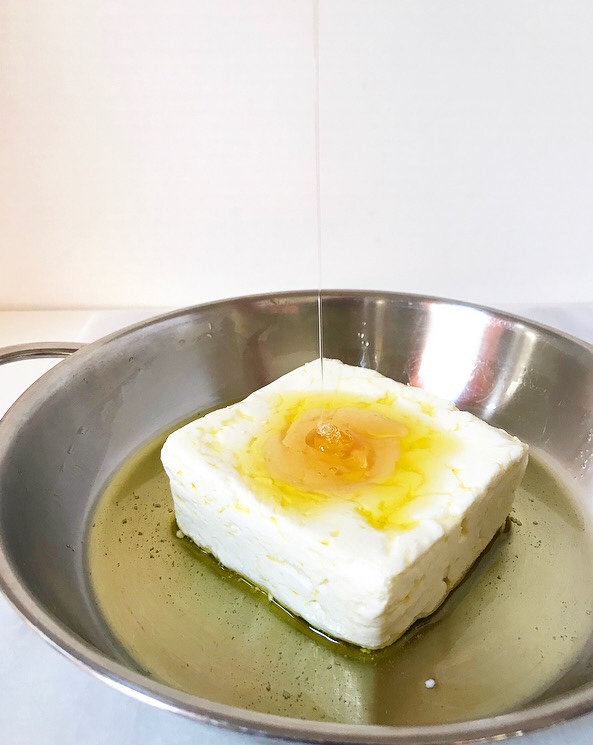 The feta is baked for ten minutes and broiled for a couple more. It turns soft and salty with crispy edges and corners that slump in the most pleasing way. It’s brushed with olive oil all over and honey on top before going into the oven, so it gets brown and blistered and…seriously, good luck not hoarding this all to yourself.
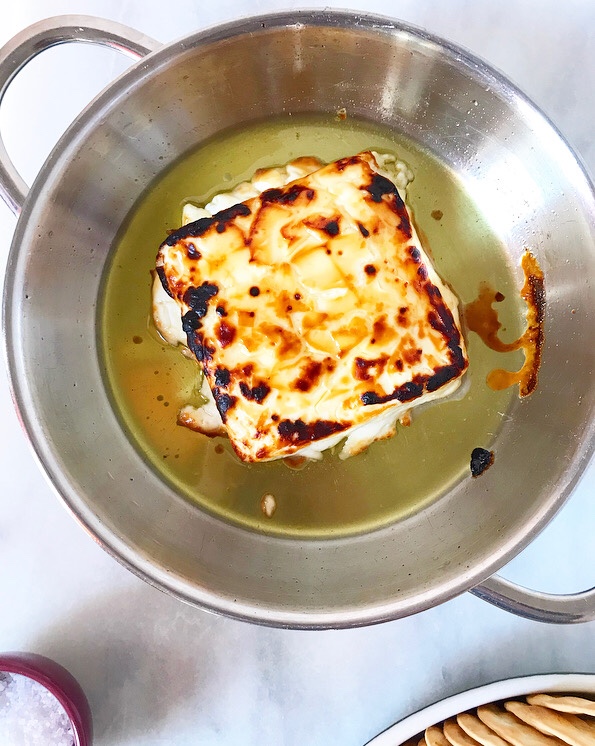 It won’t melt—feta doesn’t do that—but it will soften to the point where you can practically slice it with the edge of a cracker. Frankly, you could serve the feta by its lonesome and it’d disappear in minutes, but then you’d be denying yourself the magic of Sautéed Dates, and that’d be a real shame.
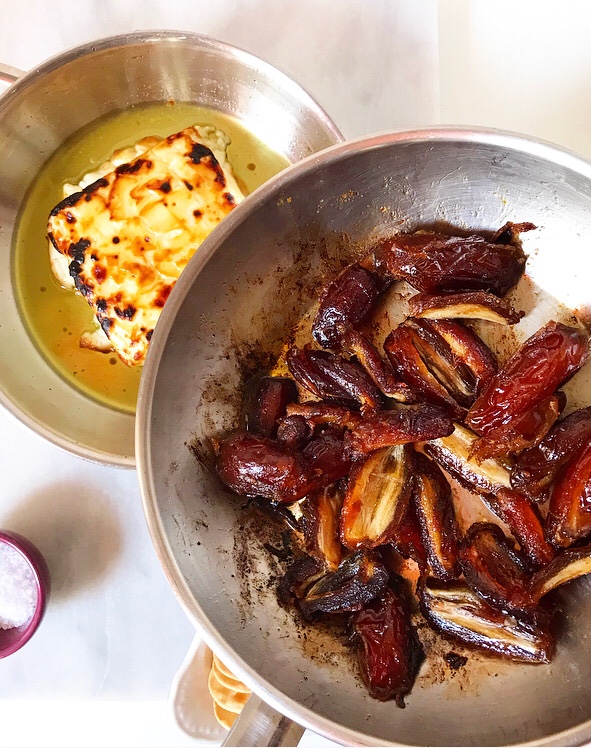
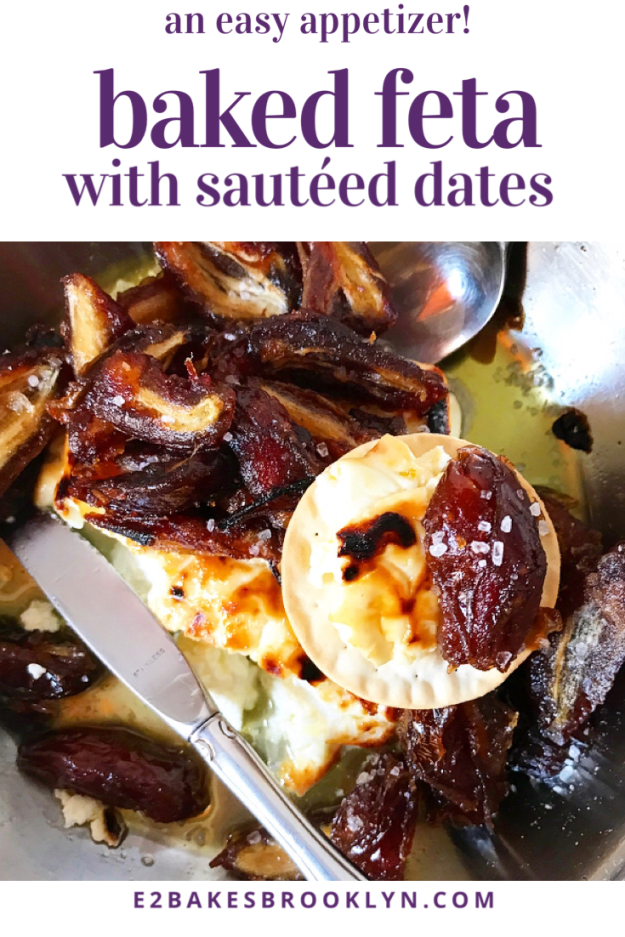
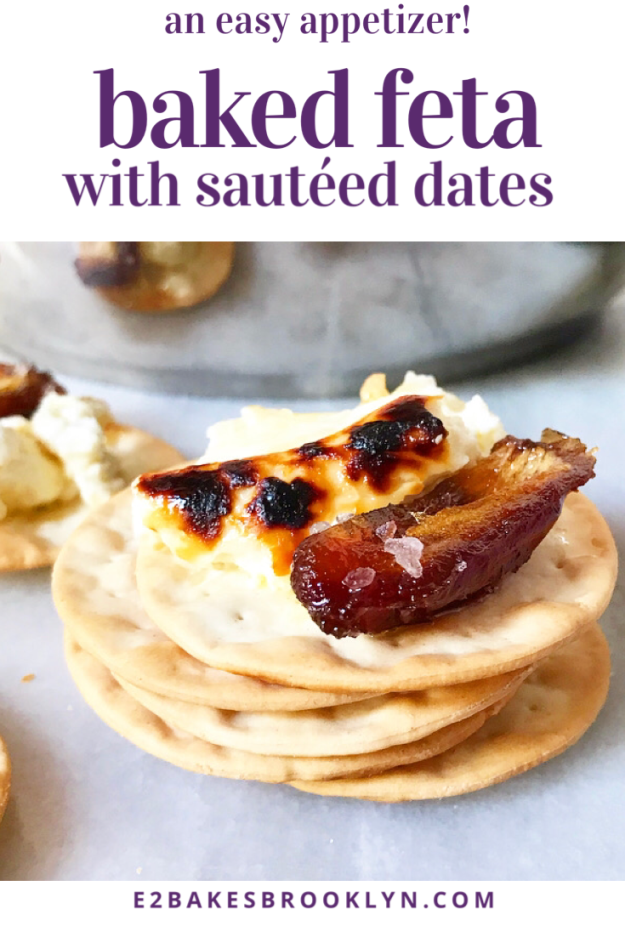
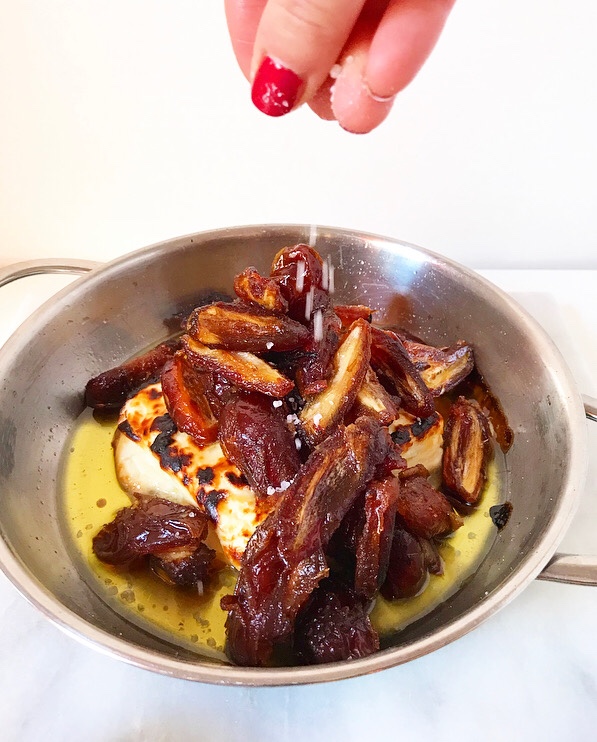 I mean, if there’s anything in the world that can stand up to the wonder that is Baked Feta, it’s these dates. They’re sautéed in olive oil for a minute or two while the cheese is in the oven, just until the edges begin to caramelize. The results are mostly sweet and a little savory—they’re great with yogurt, labneh and hummus. Here, they’re spooned over the warm feta and sprinkled with finishing salt before being scooped up with crackers or baguette or whatever and shoveled into your mouth as quickly as possible because—oh my goodness—this stuff is delicious.
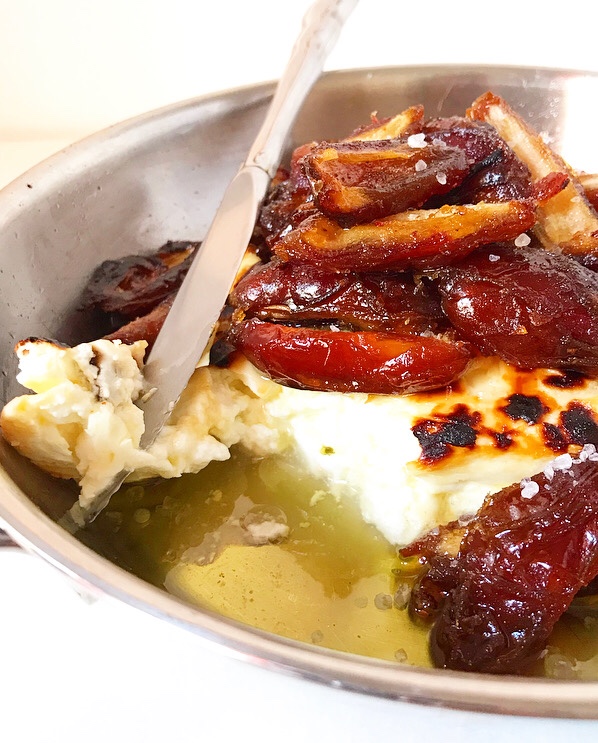 Salty, sweet, cheesy, savory, fruity, eyes-rolling-back-in-your-head good. You’re not going to want to share, but you should because…manners, I guess? But go ahead and plan to make this for every party between now and January 2nd, because if you can’t eat a brick of cheese during the holidays, when can you?!
 Happy Thanksgiving, dear readers!
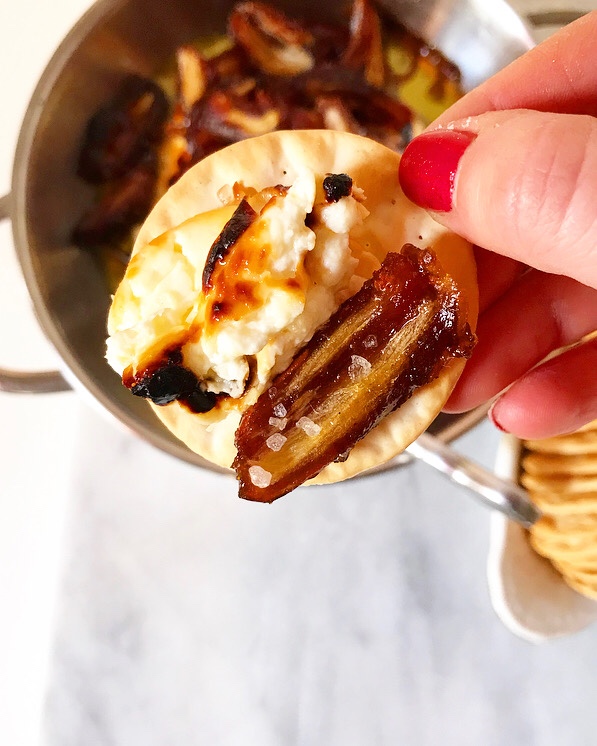
 Here we are, six days from Thanksgiving. Six days!
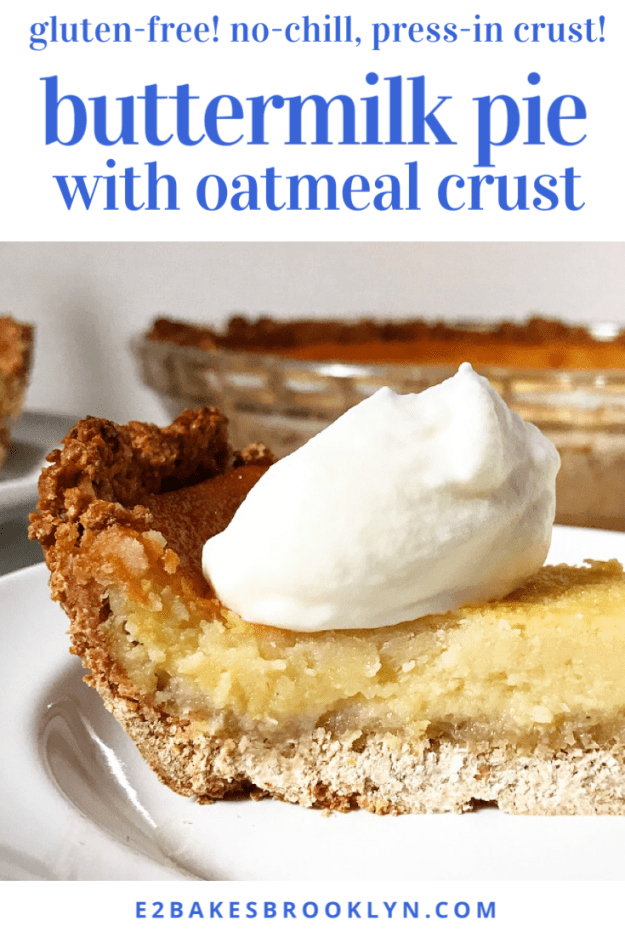
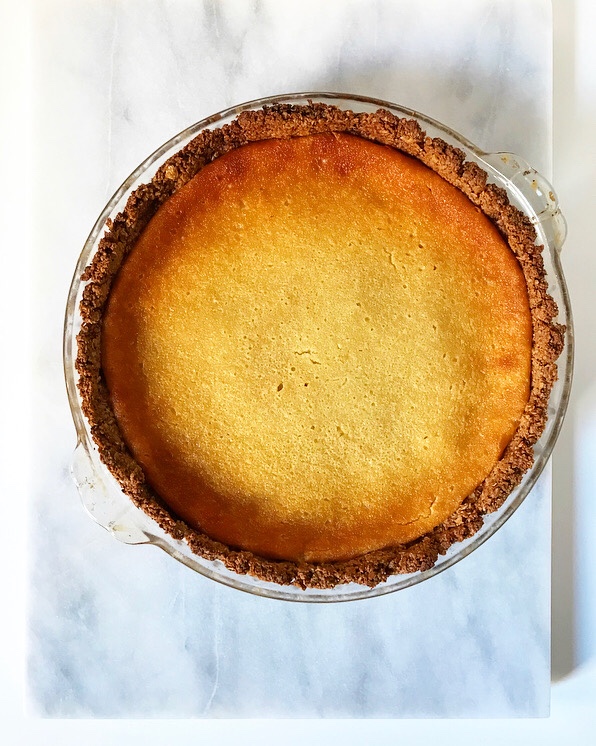 I’ll have one more holiday recipe for you on Monday—a really simple one—but first, pie. More specifically, Buttermilk Pie with Oatmeal Crust.
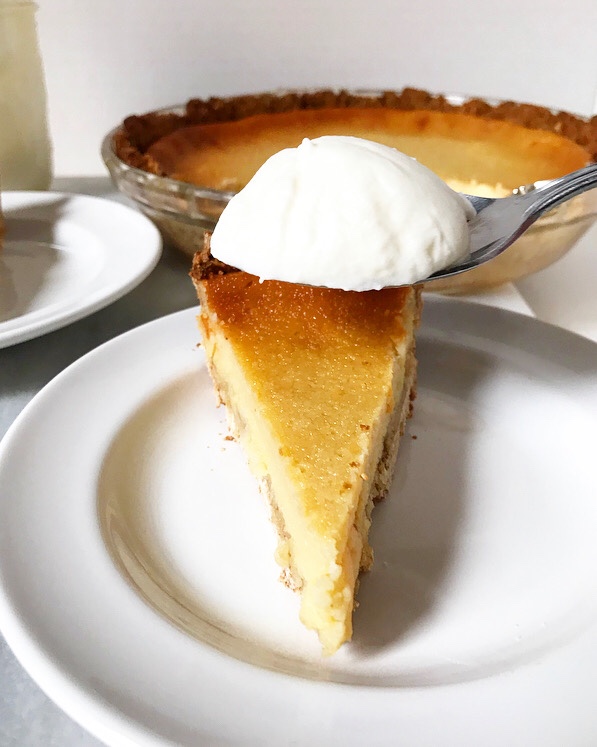
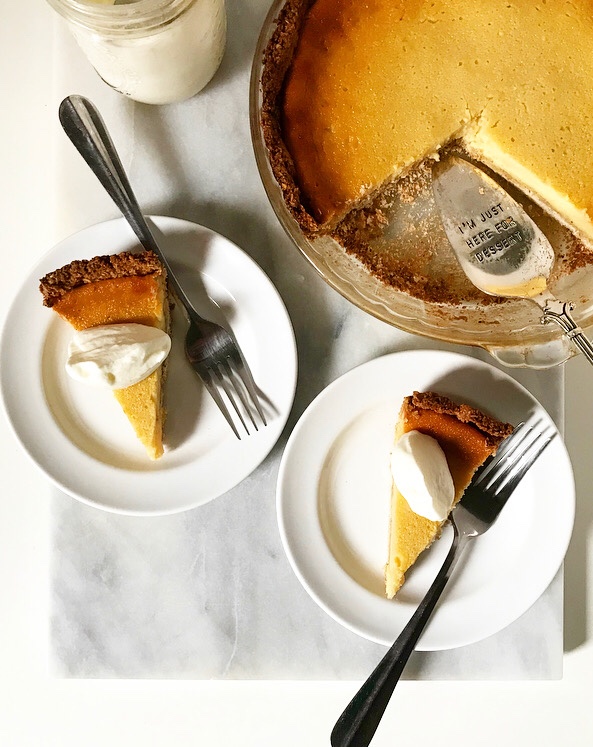
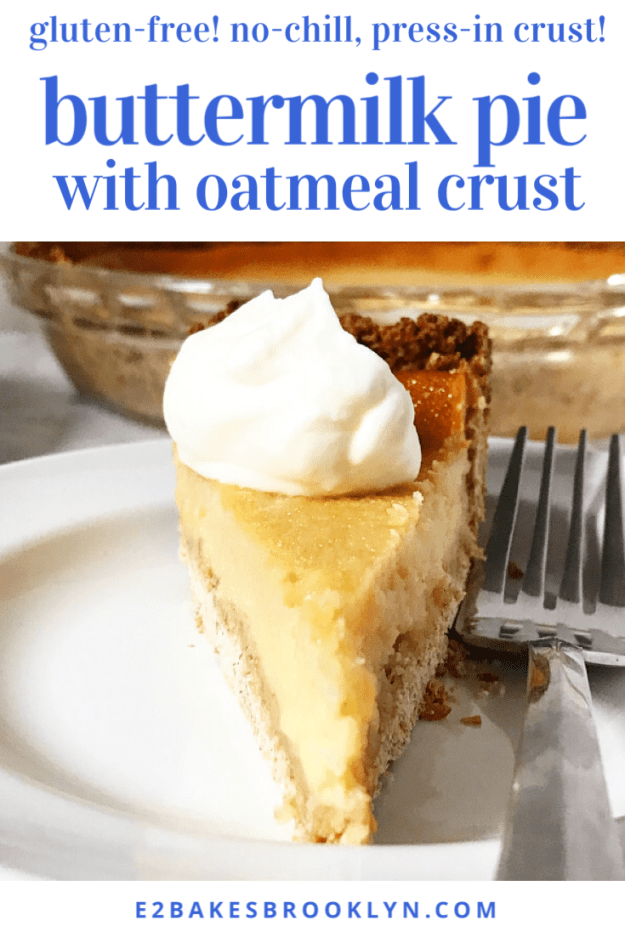
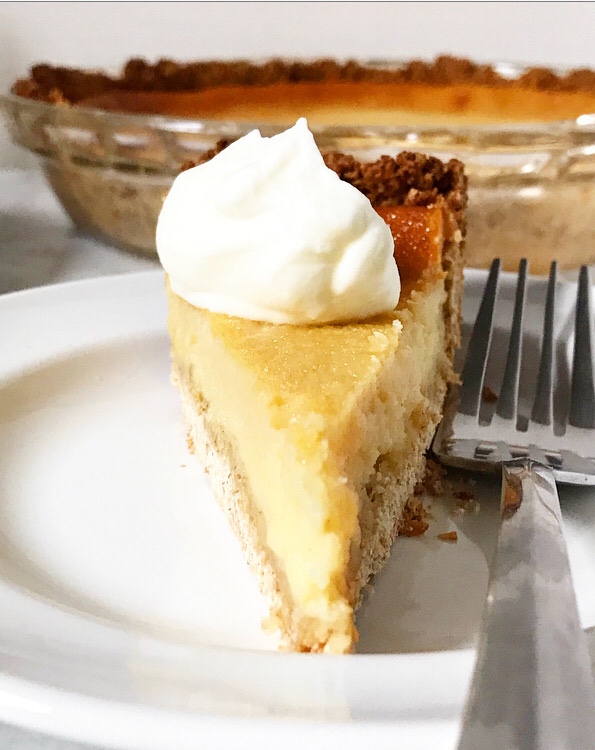 Just imagine a layer of vanilla-scented buttermilk custard soft enough to squidge (technical term) against your teeth, and a crisp, lightly-spiced crust reminiscent of an old-fashioned oatmeal cookie. That’s what you get with this recipe.
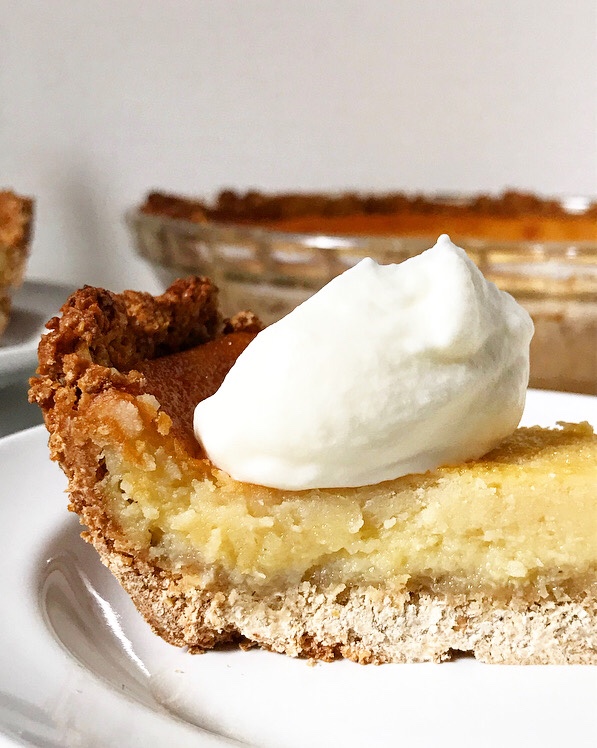 Oh, and it’s easy. The filling comes together with a whisk and a mixing bowl. It’s incredibly simple, and the results are old-fashioned and delicious.
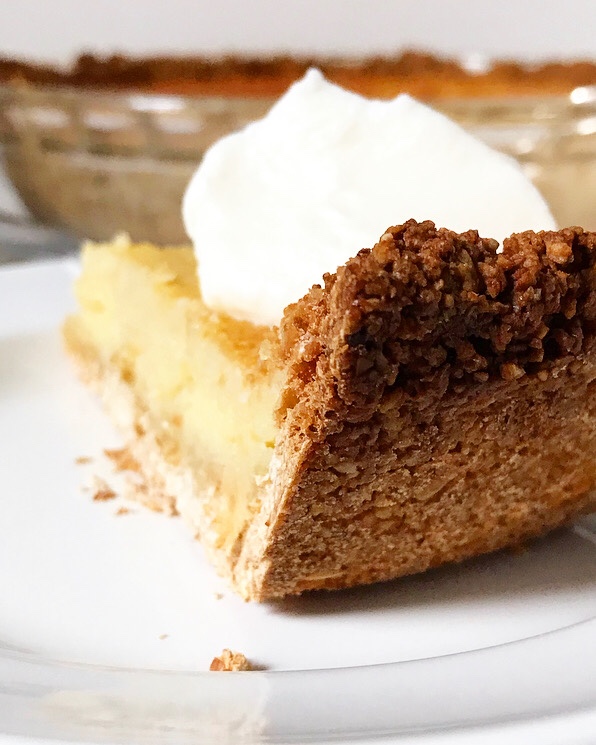 As for the crust, well, let’s just say I’m in love. It’s a little thicker than your average pastry crust, but it’s also like a big cookie—a big cookie filled with buttermilk custard!
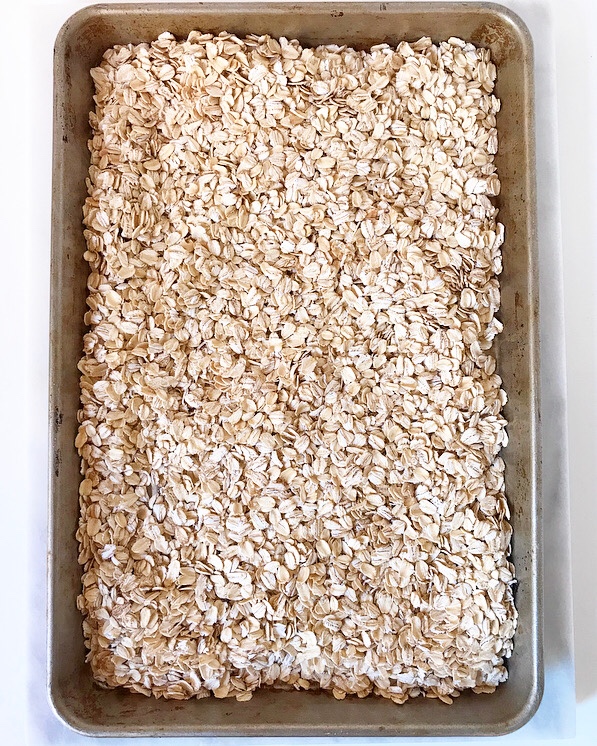
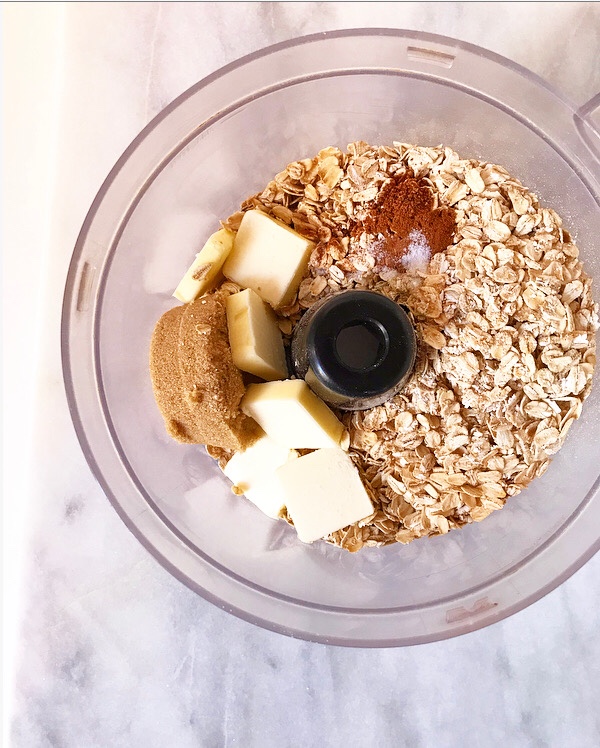

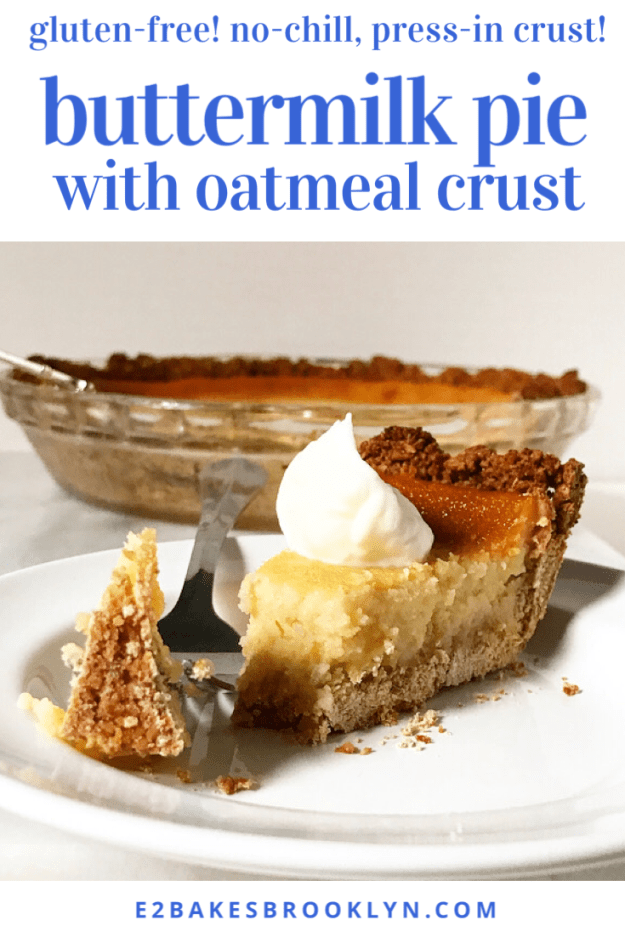
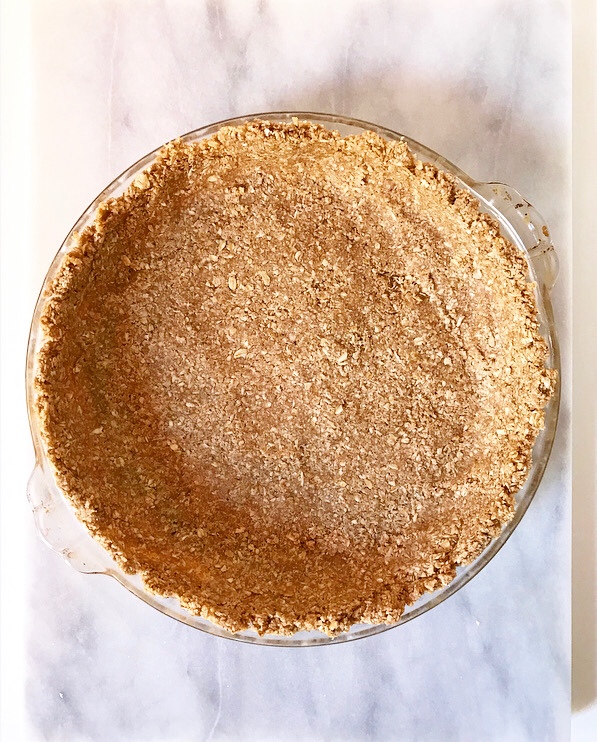 This oatmeal crust comes together in a food processor before being pressed into a greased pie plate. No need for chilling, rolling or crimping. Easy easy easy.
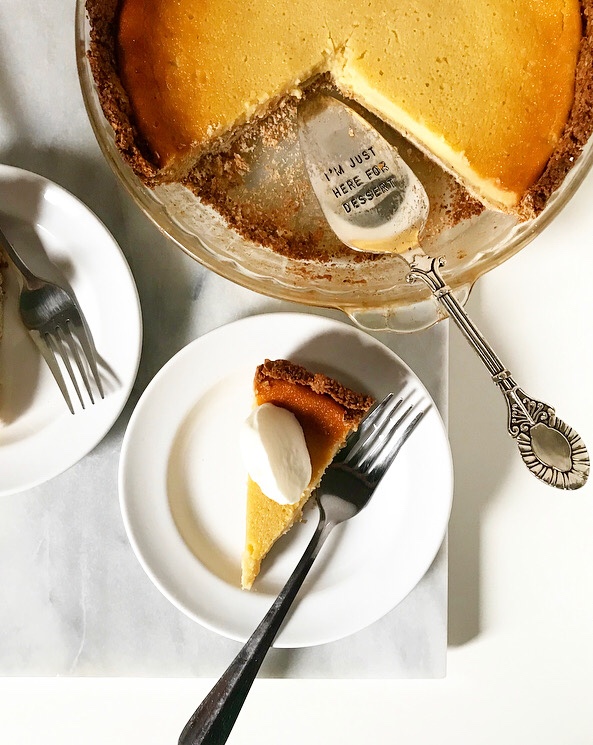 And did I mention that both components just happen to be gluten-free? Yesssss. I love inclusive recipes—that goes double at the holidays.
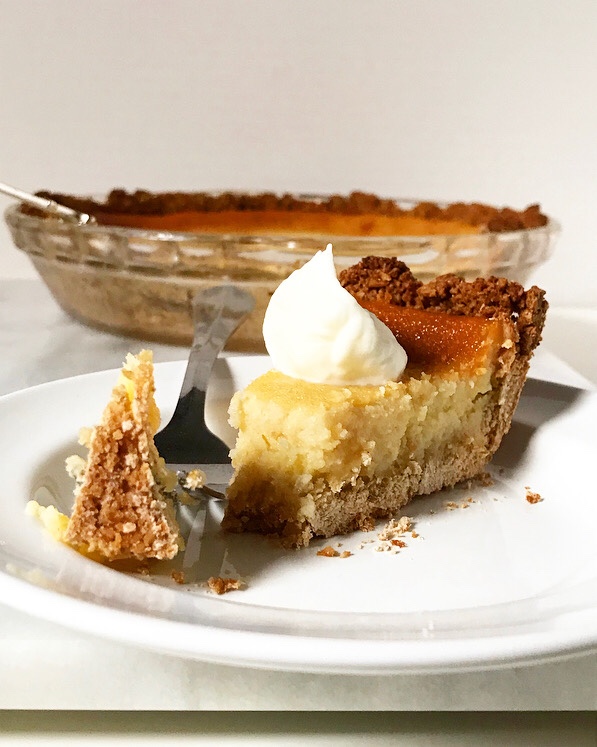

 You may not be able to tell from the bevy of desserts I post every week, but I am a huge proponent of eating your greens. Almost every meal I make for myself involves a huge bed of arugula. Yes, for real.
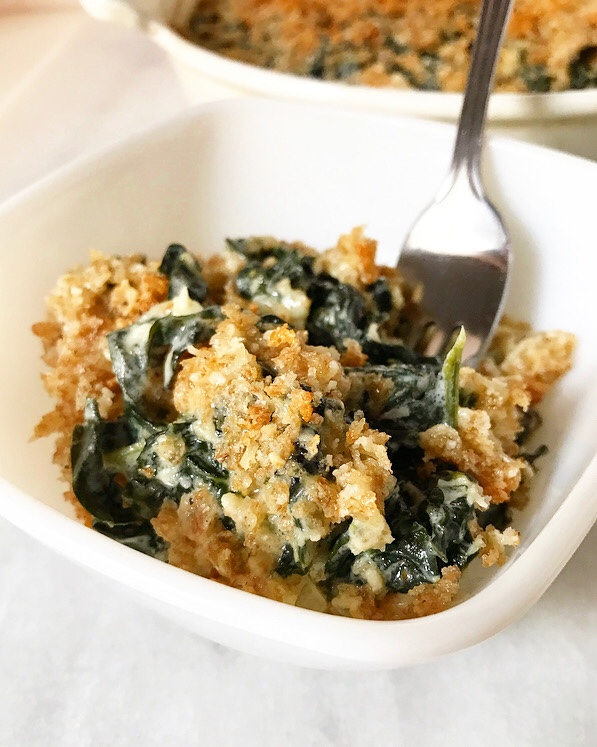 That said, on Thanksgiving, there are so many sides that leafy greens can get lost in the mix or left out entirely. To that, I counter this: Creamed Kale with Crispy Breadcrumbs. It’s the sort of “eat your greens” situation that is absolutely welcome sidled up to
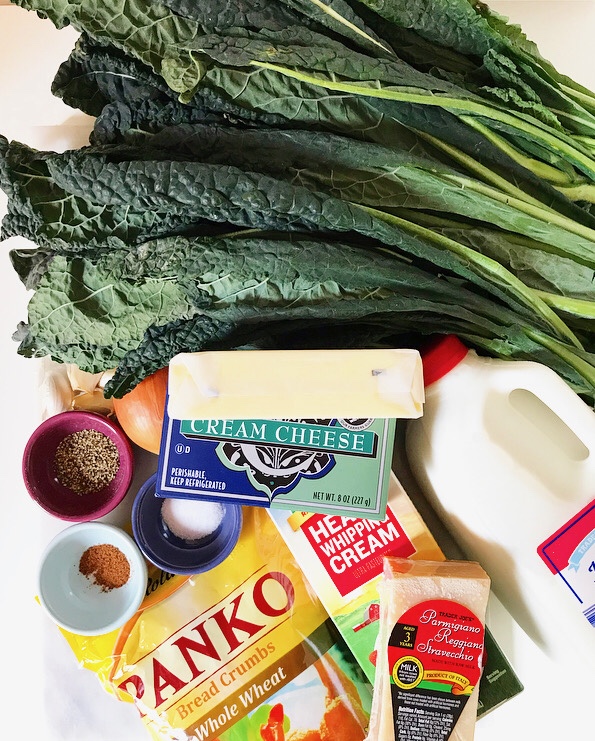
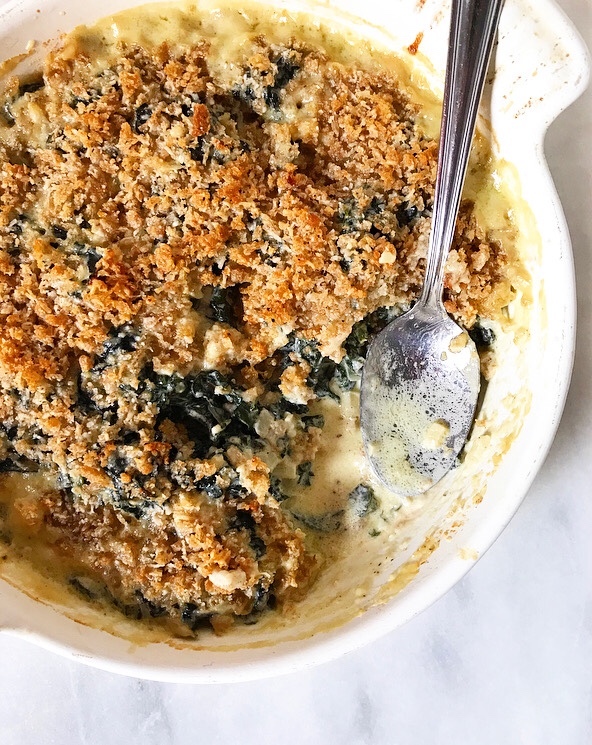
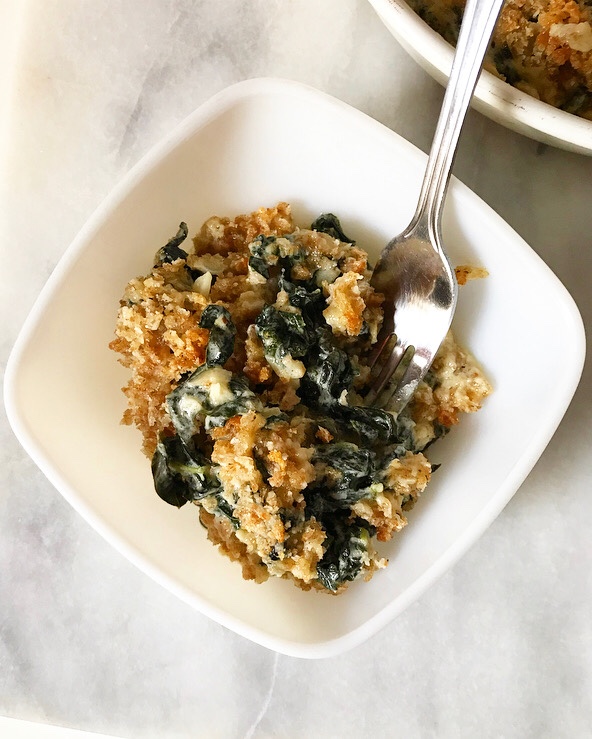
 This is a vegetable side dish that stretches the meaning of the word “vegetable.” Yes, there is kale in there—a lot of it—but it’s coated in a sauce of butter, heavy cream, milk, cream cheese and parmesan, and topped with buttery breadcrumbs. Dietetic, this is not. On Thanksgiving, though, who cares? If there were ever a day for eating a creamy, cheesy, crispy-topped side and calling it a serving of vegetables, this is the one.
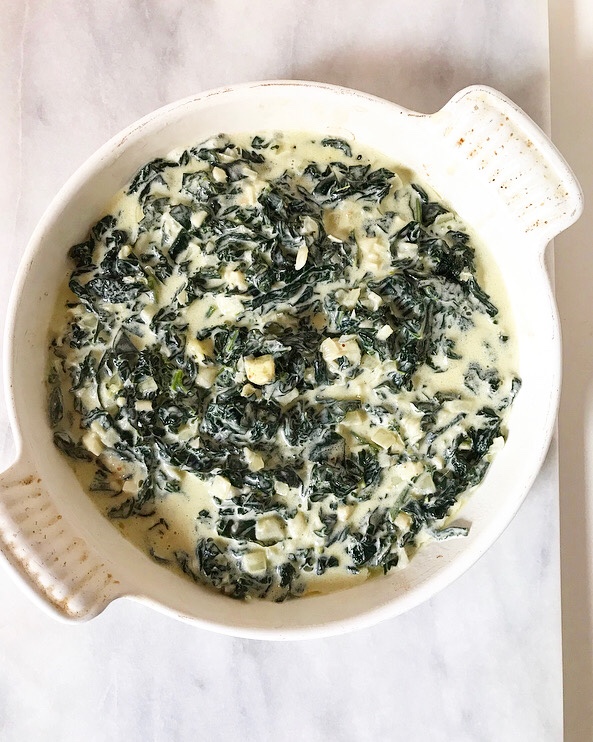
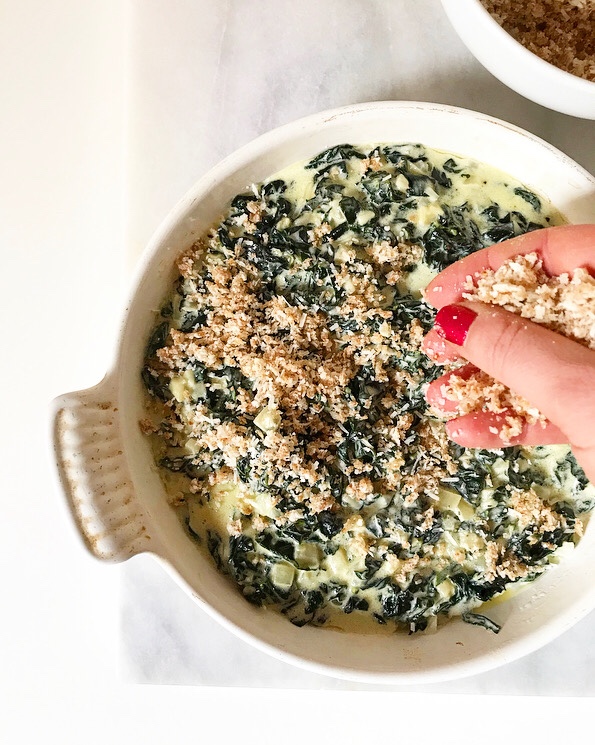
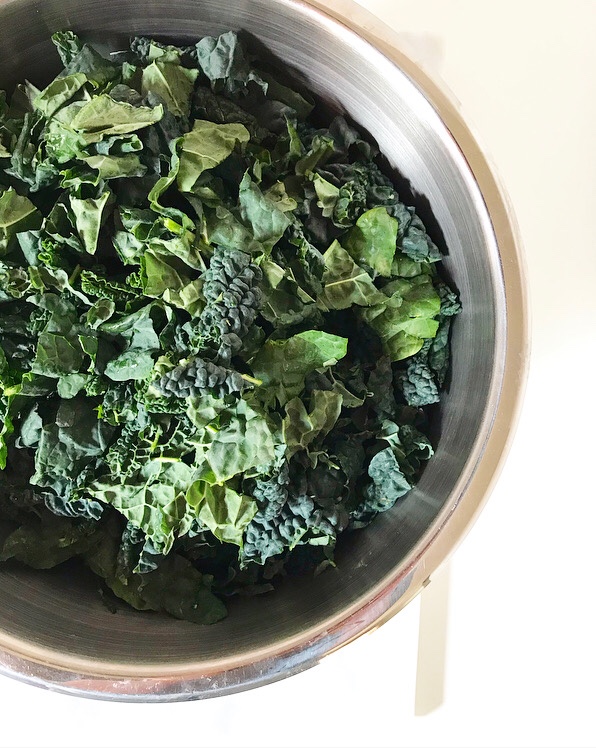
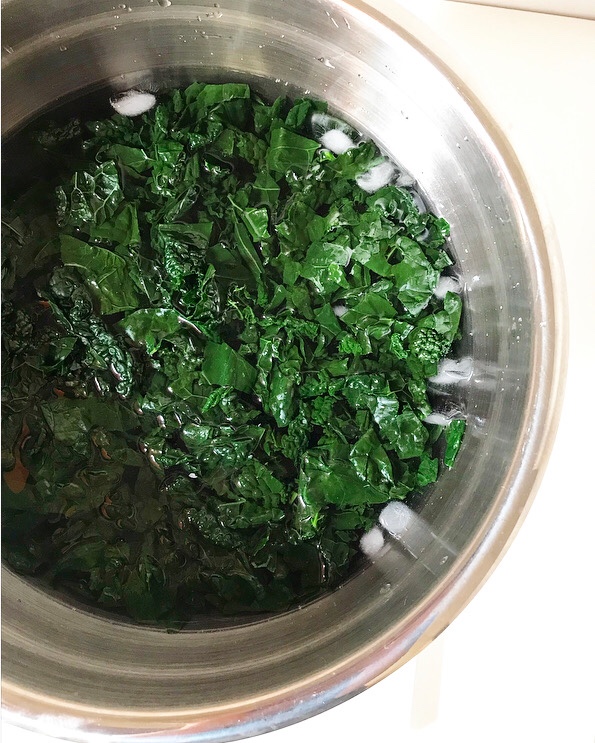
 If you’re wondering why I used kale here instead of going for classic creamed spinach, the answer is simple: kale’s texture holds up. Even after the blanching, shocking, sautéing, saucing, and baking, it still has texture. It contrasts perfectly with the crispy breadcrumbs instead of getting lost in the cheesy sauce. And it’s pretty. And I just *like* kale.
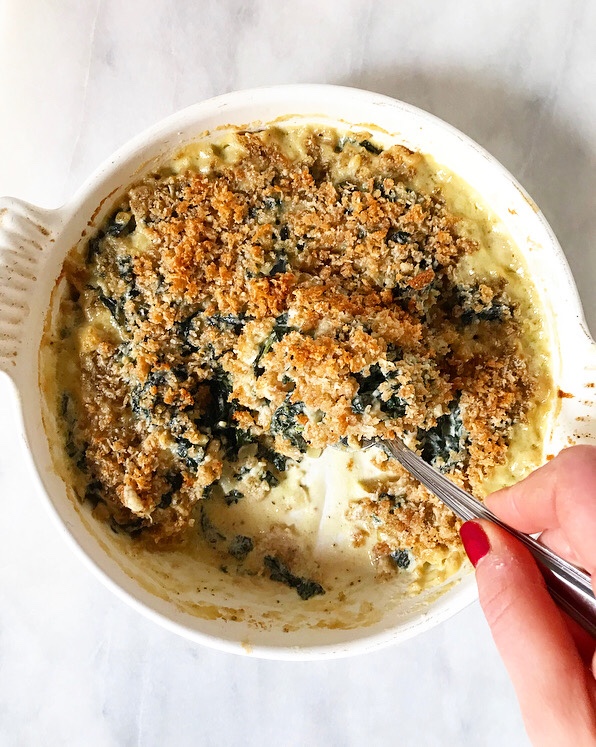
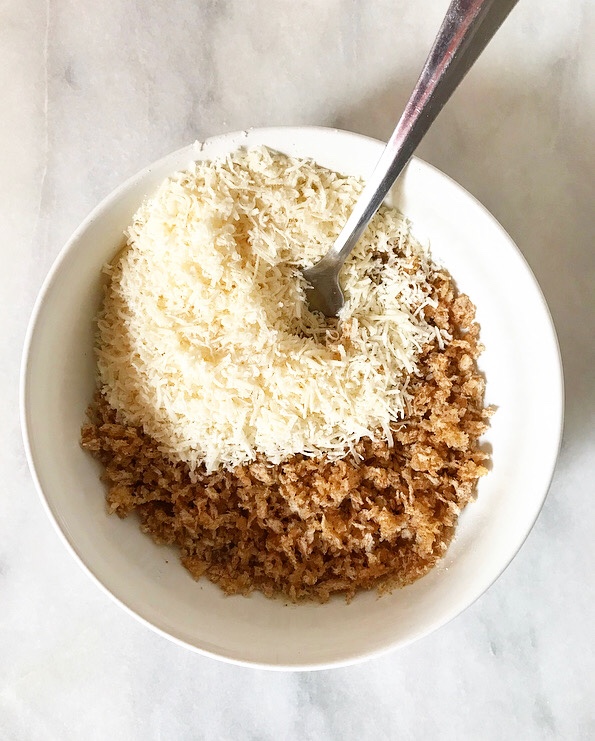
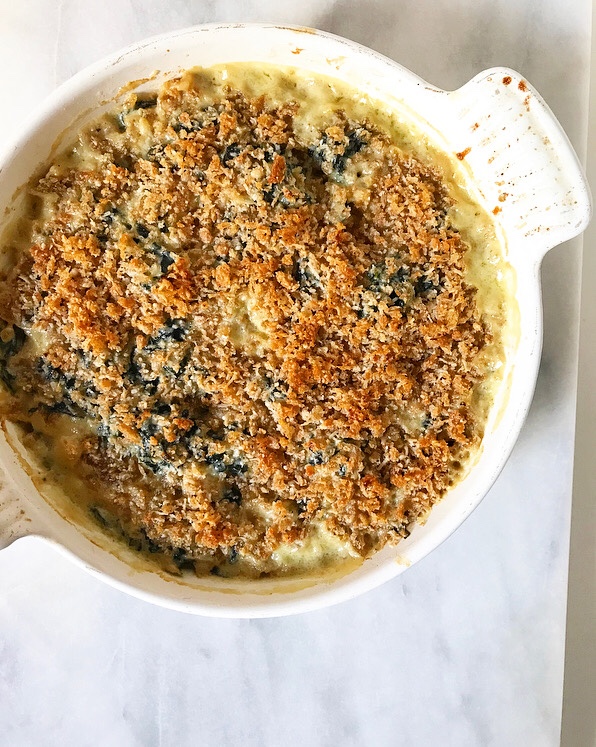
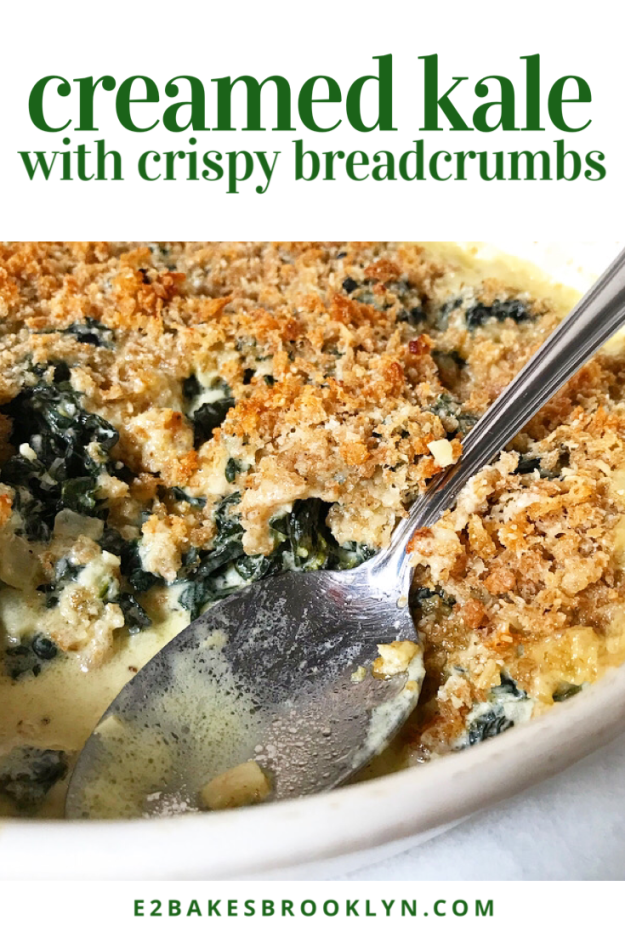
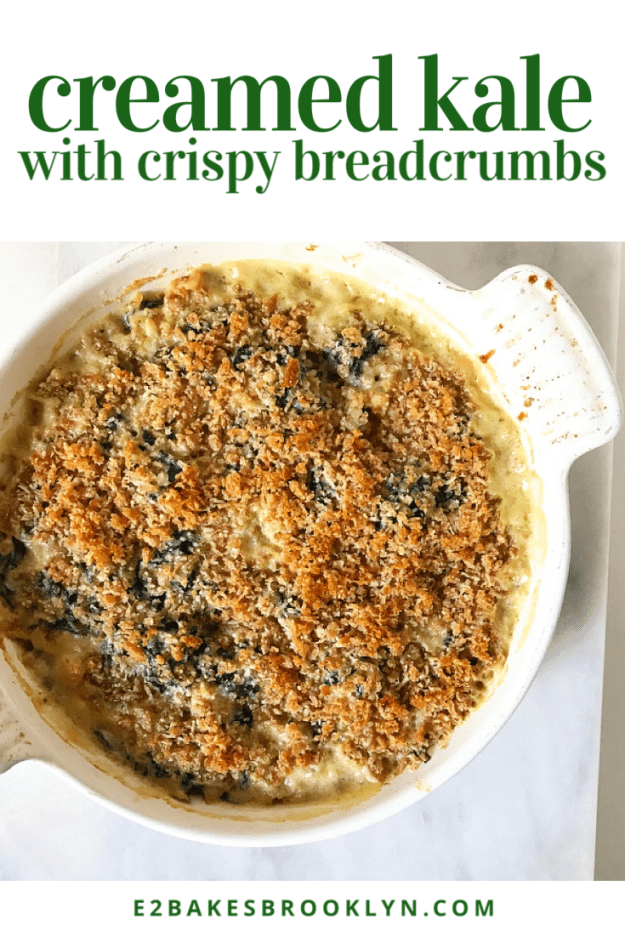
 Now, I know that adding one more thing to your Thanksgiving menu is never something to be taken lightly. Time and energy are at a premium at the holidays! Luckily, Creamed Kale with Crispy Breadcrumbs is perfect for making ahead. You can stir together the creamed kale part of the equation a day or two ahead of time and refrigerate it. When you’re ready to serve, top it off with the breadcrumb mixture and bake until brown, bubbly, and so creamy and wonderful that even I—a person who has written repeatedly about
 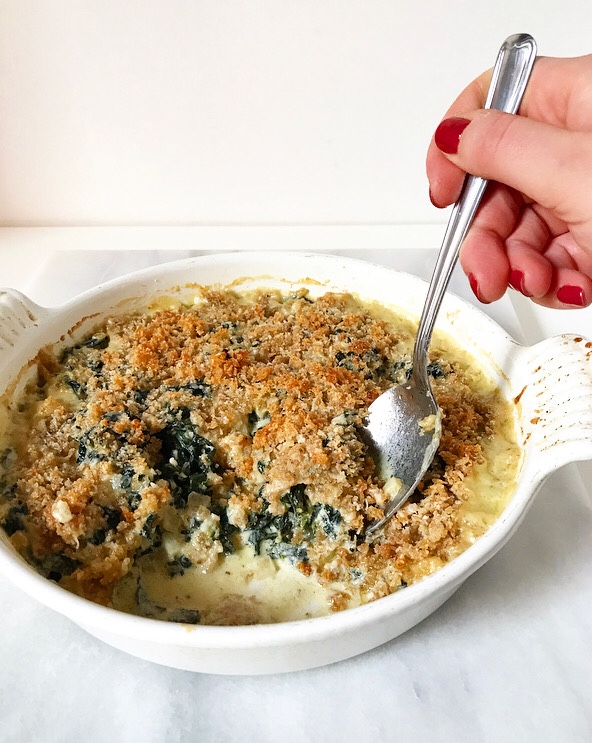 Looking for something a little lighter? Try my
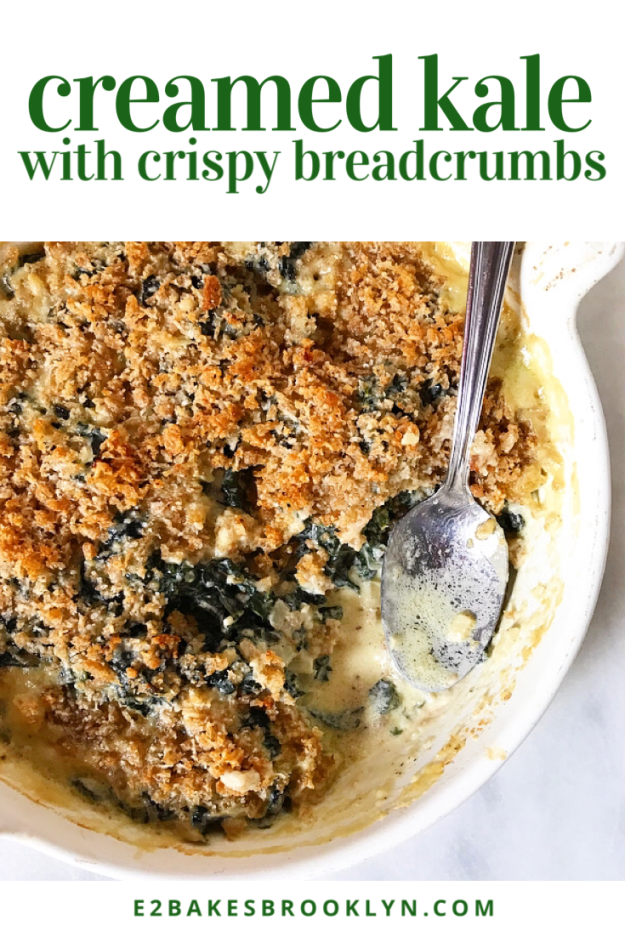
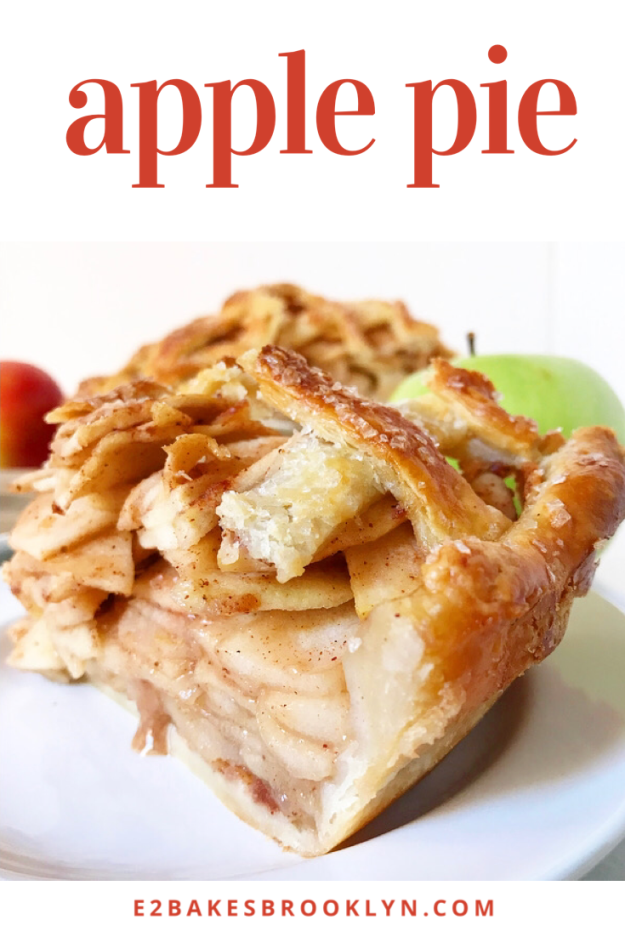
 I’ve somehow blogged my way through five Thanksgivings without ever posting an apple pie. There was one
 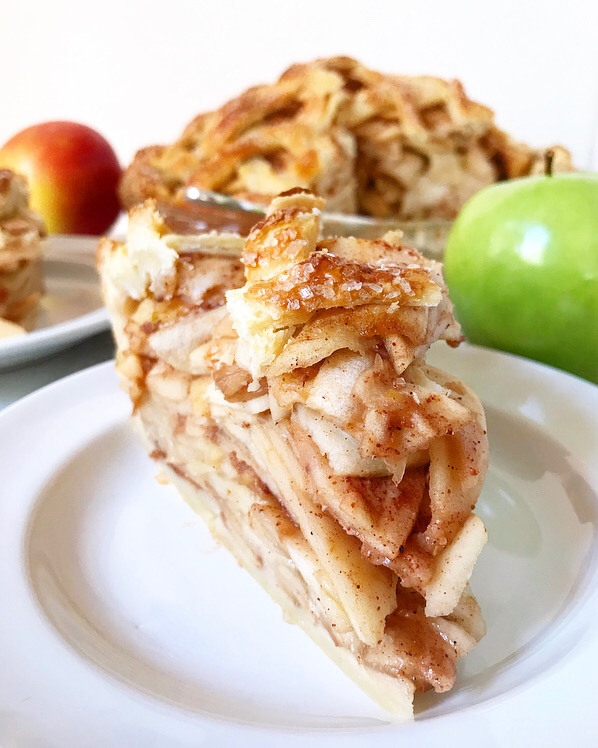 I kind of feel like I should preface this recipe by saying that I know there are a million and a half apple pie recipes and that this is nothing revolutionary, but
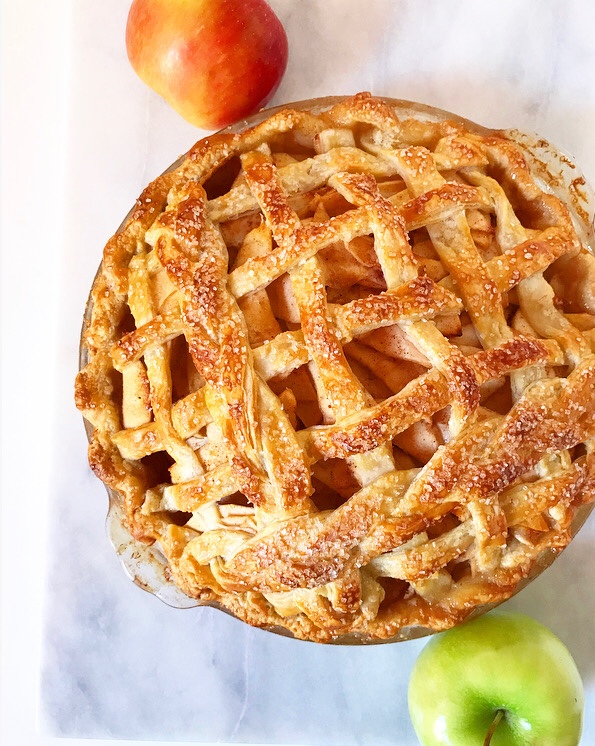
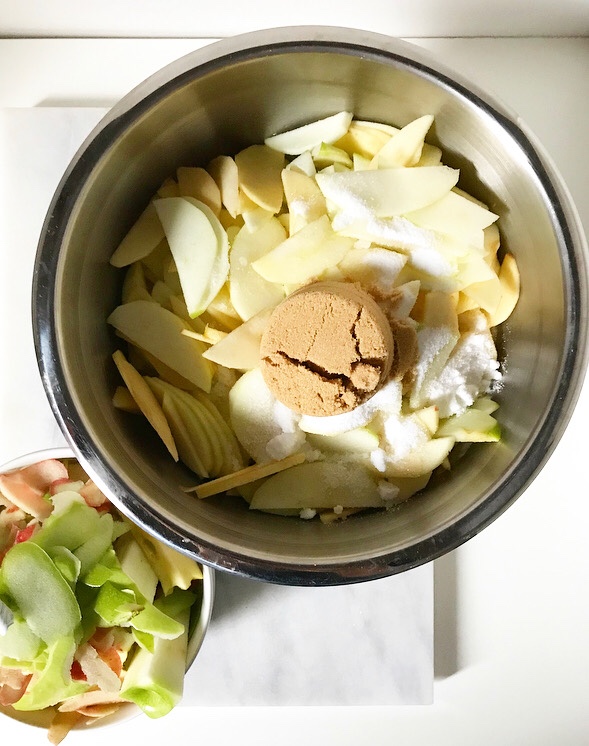
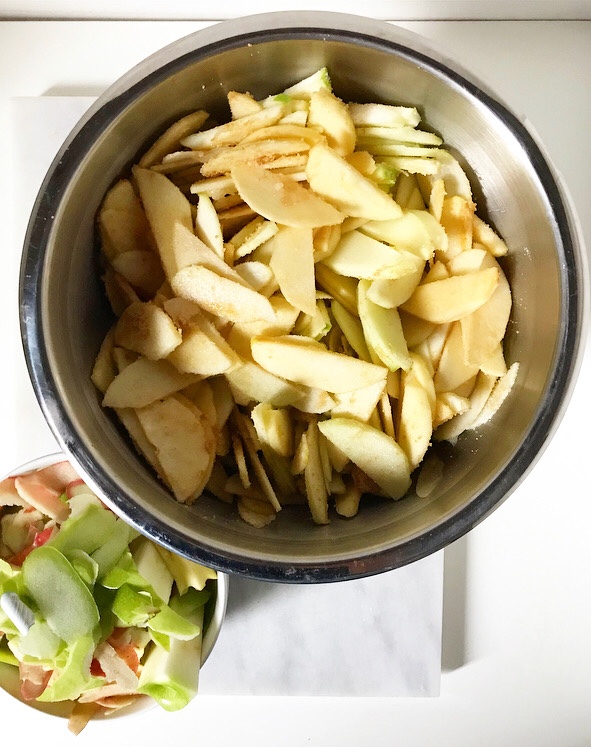 In terms of flavoring, there’s all sorts of good stuff in here. The apples are tossed in a mixture of granulated sugar, light brown sugar, and apple cider vinegar before being left to macerate (sit and release liquid) for an hour. After that, a mixture of ground cinnamon, ginger, nutmeg and cloves is stirred in, along with some cornstarch for thickening and salt for balance. Mmhmm.
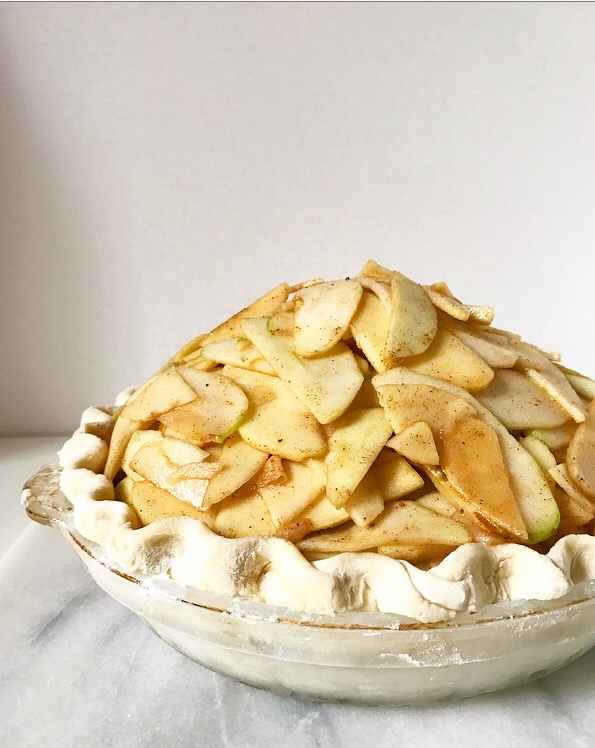
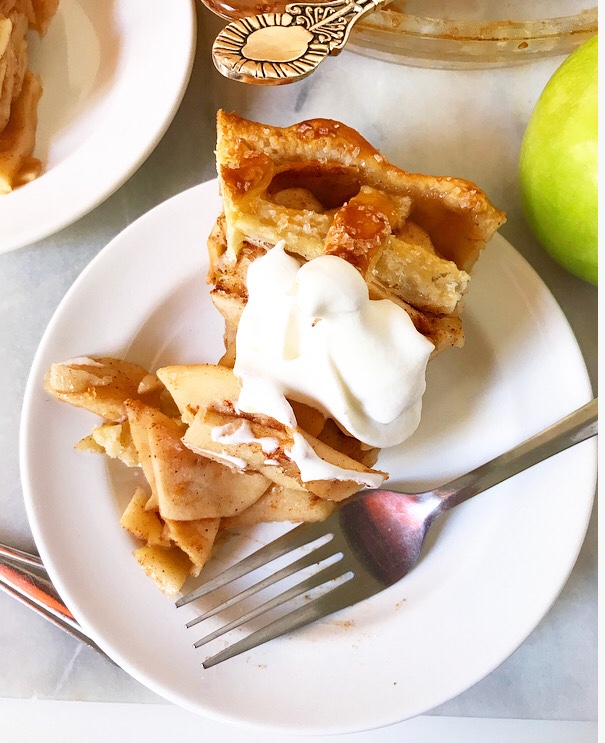
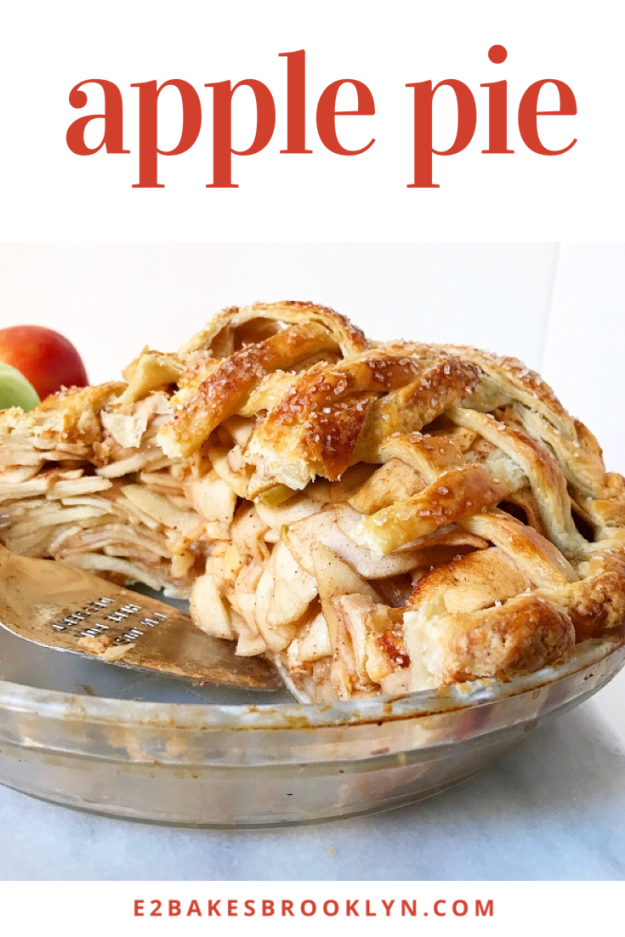
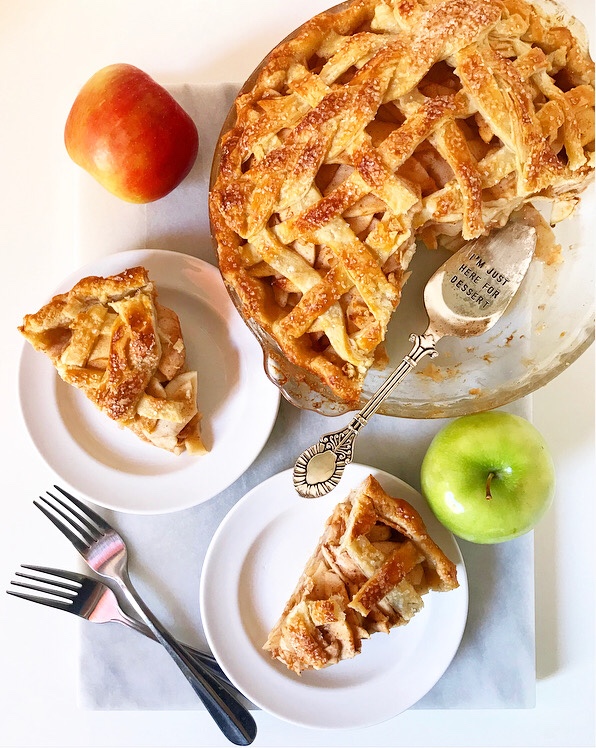
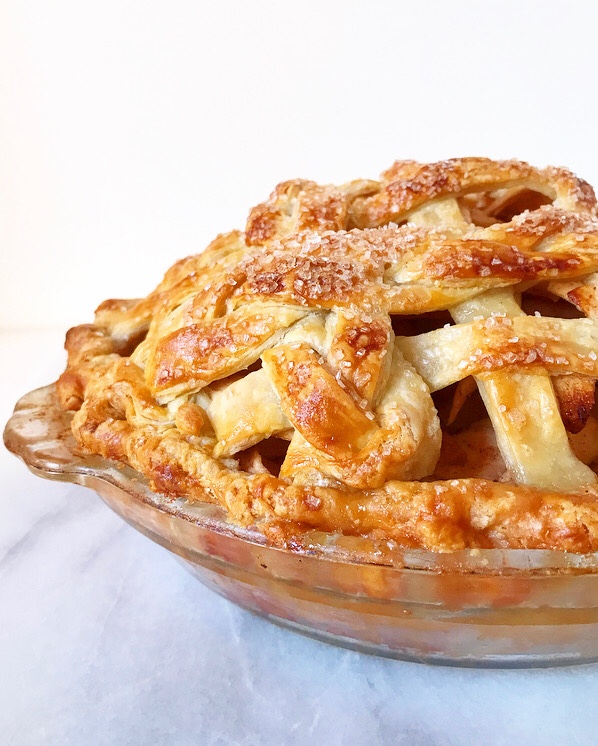
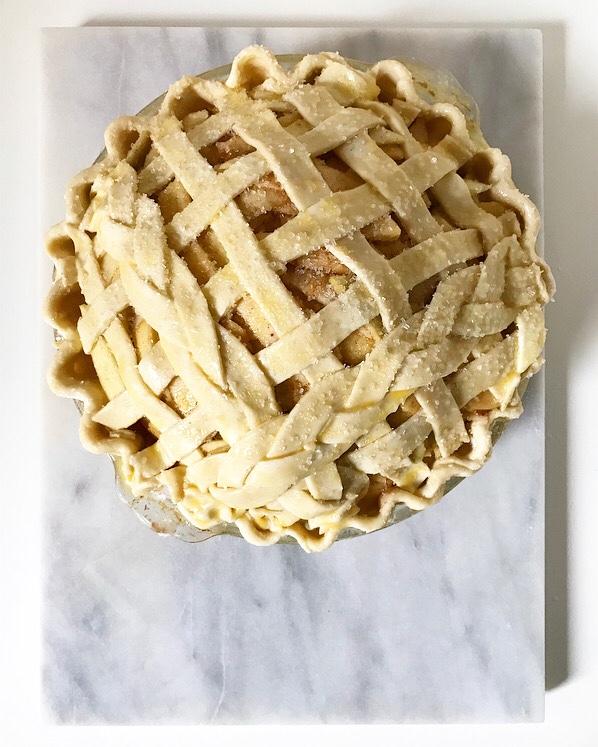 The filling—accumulated liquid and all—is piled high into a pie crust before being topped with another crust. I went for a classic lattice and a couple of braids here, but feel free to do a whole top crust (make sure to cut some vents!) or whatever makes you happy. Then brush that thing with egg wash, sprinkle it with coarse sugar and bake the crap out of it.
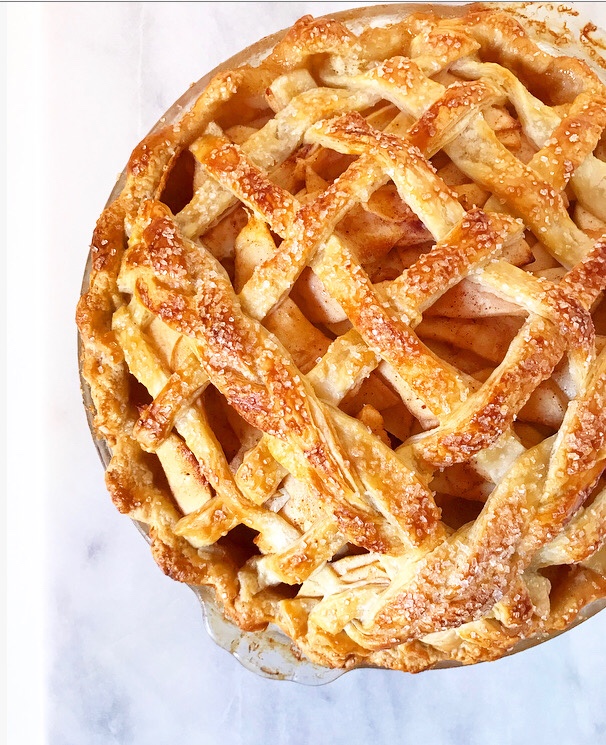
 When you read through this recipe, you’ll notice that there are a lot of pauses and chills and that this pie bakes for more than an hour. Pie takes time, y’all. There’s no way around it. If I wrote a chill in there, it’s because I think it’s important. I don’t want to put anymore time between you (or me!) and that first slice than absolutely necessary.
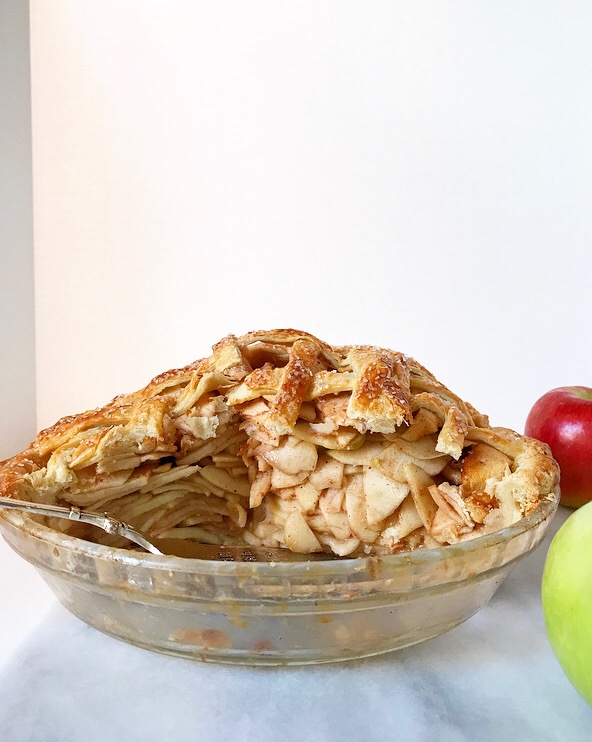 As for baking, this pie is a bit of a diva, but aren’t they all?! In apple pie’s case, you’ll need to preheat a rimmed baking sheet when you heat the oven. This serves two purposes: protecting your oven floor from overflow and helping ensure that the bottom crust doesn’t wind up completely raw. Also, this pie starts baking at 400F for fifteen minutes and finishes at 375F for 50-60 more. It’s a long time, but this is a big pie! Try to be patient, and don’t forget to tent with foil as necessary. You want that golden top!
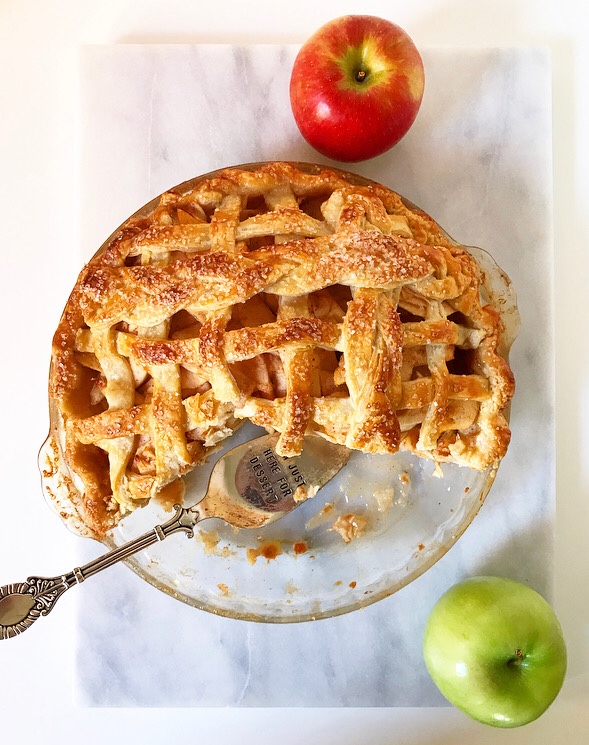
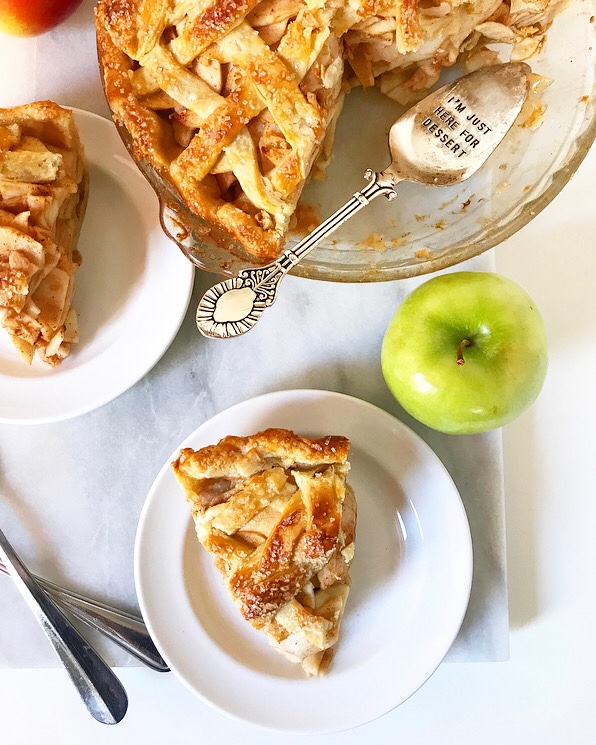 I promise all this work will be worth it when you slice this thing up. Homemade apple pie always is.