Today is my 34th birthday!


 It’s been a really fun one so far: my little sister is visiting, I made this Sicilian pizza, went to dinner and to see Golden Girls Live! with a bunch of friends, did some vintage shopping, and saw Rocketman last night. Pretty great, right?!
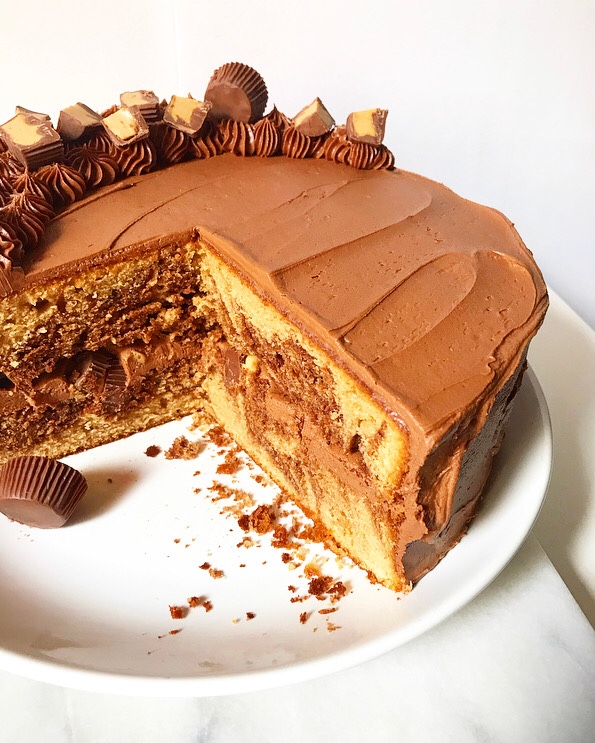
 Now it’s time to talk birthday cake. I make many (many many many) throughout the year, but this one is mine: Peanut Butter Marble Cake, y’all!
 We’re talking thick layers made with my favorite peanut butter batter and swirled with dark chocolate a la Marble Bundt Cake. Yesssss.
 The cake is filled and frosted with a silky Chocolate-Peanut Butter Buttercream. This stuff is sweet-salty magic and it swoops like a dream!
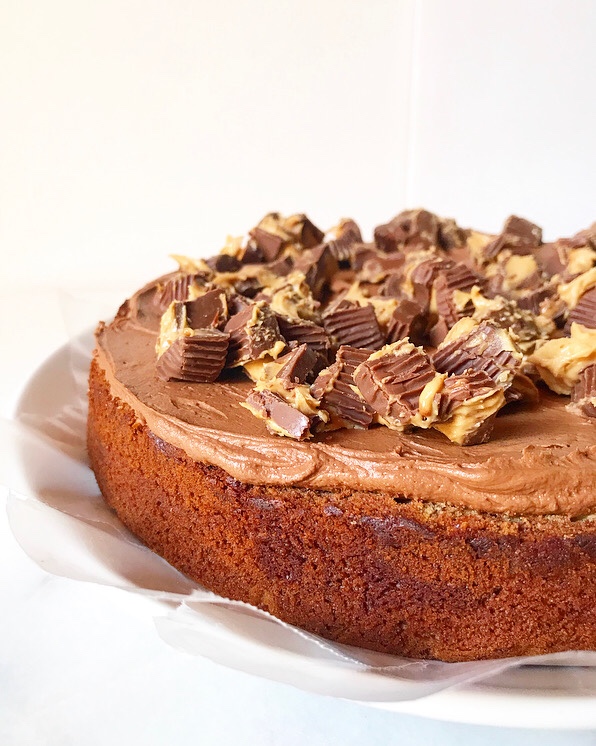 All that, and I didn’t even mention all the chopped peanut butter cups in the middle! There are even more on top 😊
 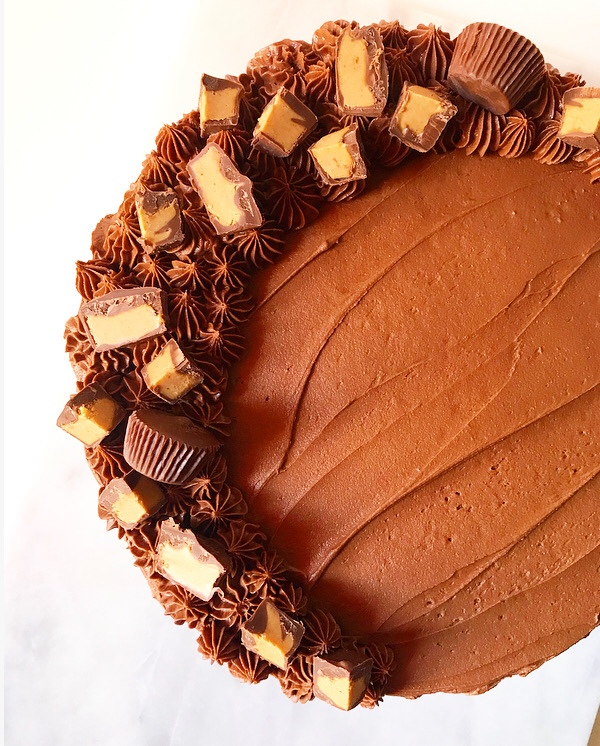 It’s a total showstopper—the ultimate chocolate-peanut butter cake, as far as I’m concerned.
 I can’t think of a more delicious way to start my 35th trip around the sun 🎉
Peanut Butter Marble Cake
makes one 2-layer 9-inch round layer cake
Cake Batter:
2 2/3 cups all-purpose flour
1/3 cup cornstarch
1 teaspoon baking powder
1/2 teaspoon baking soda
1/2 teaspoon Kosher or sea salt
1/2 cup (1 stick) unsalted butter, softened to room temperature
1 1/2 cup creamy-style peanut butter*
1 1/2 cups light brown sugar, packed
1/2 cup granulated sugar
4 large eggs, room temperature
1 tablespoon pure vanilla extract
1 1/2 cups buttermilk
4 ounces dark chocolate
Chocolate-Peanut Butter Buttercream:
1 cup unsalted butter, softened to room temperature
3/4 cup creamy-style peanut butter
3 cups confectioners sugar
2/3 cup cocoa powder
pinch of salt
2 teaspoons pure vanilla extract
1/3 cup heavy cream
For assembly:
12 miniature peanut butter cups + more for topping
Preheat oven to 350F. Grease 2 9-inch round cake pans. Line with parchment and grease again. Set aside.
Make the cake batter. In a medium mixing bowl, whisk together flour, cornstarch, baking powder, baking soda, and salt. Set aside.
In a large mixing bowl, use an electric mixer to beat butter and peanut butter until combined and fluffy. Beat in light brown and granulated sugars. Add eggs one at a time, followed by vanilla. Mix in half the dry ingredients followed by half the buttermilk. Add remaining dry ingredients, followed by remaining buttermilk. Set aside.
Place chocolate in a microwave-safe bowl. Heat in 30 second increments in the microwave, stirring in between, until melted. This may also be done in a double boiler.
Transfer 1 1/2 cups of batter into the bowl with the melted chocolate. Use a fork and/or silicone spatula to combine the two.
Divide remaining peanut butter batter among prepared pans. Tap full pans on the counter five times to release any large air bubbles. Dollop chocolate batter over the tops and use a thin knife or skewer to lightly marble it in. Bake 40-42 minutes, or until a toothpick inserted in the centers comes out clean.
Let cakes cool in the pans for 15 minutes. Run a thin, flexible knife around the edges. Invert cakes onto a cooling rack and let cool completely.
Make buttercream. In a large mixing bowl, use an electric mixer to beat butter until light and fluffy (about two minutes). Beat in peanut butter. Add in confectioner’s sugar in two installments, followed by cocoa powder and salt, scraping down the bowl as necessary. Add in vanilla, followed by heavy cream. Beat on high for 1-2 minutes, until very fluffy.
Place 12 miniature peanut butter cups on a cutting board. Use a large, sharp chef’s knife to cut them into small pieces (I like to cut them into eighths).
Use a serrated knife to even out the tops of the cake layers. Place one cut-side-up on a serving plate or cake stand. Top with a thin layer of buttercream, followed by chopped peanut butter cups. Top with the second layer cut-side-down. Frost and decorate cake. Garnish with more peanut butter cups, if desired.
Slice and serve. Leftovers will keep covered at room temperature for up to two days or in the refrigerator for up to five. If storing in the refrigerator, let cake sit at room temperature for 30 minutes before serving. Cake is best served at room temperature.


 I love an
 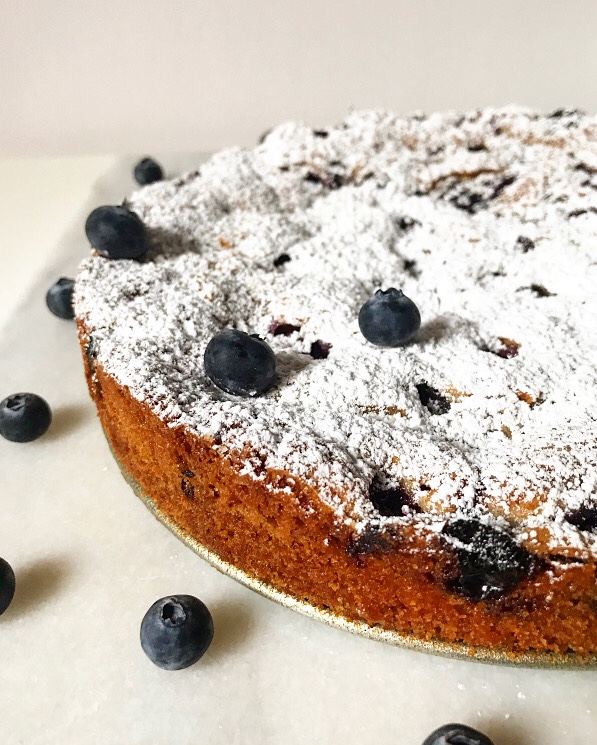 So…I guess it is a cake? Not all cakes are tortes, but all tortes are cakes. So yes, Blueberry Torte is a cake. Glad we got that sorted.
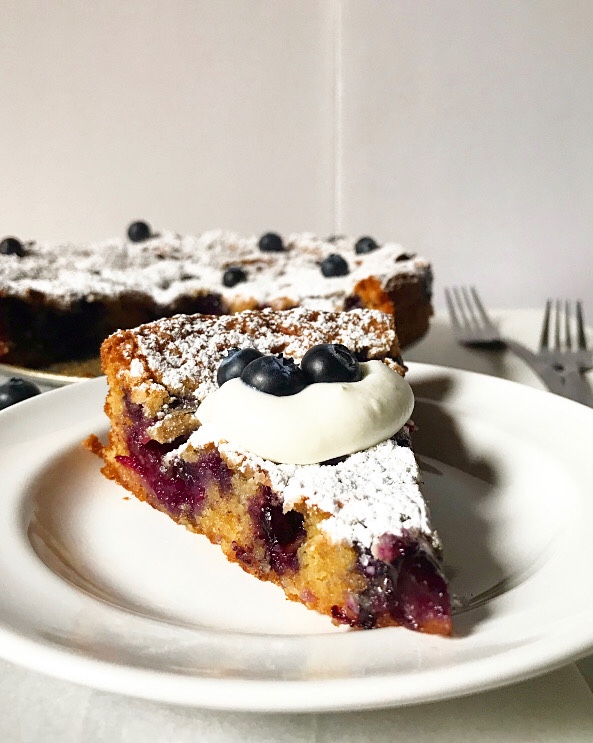
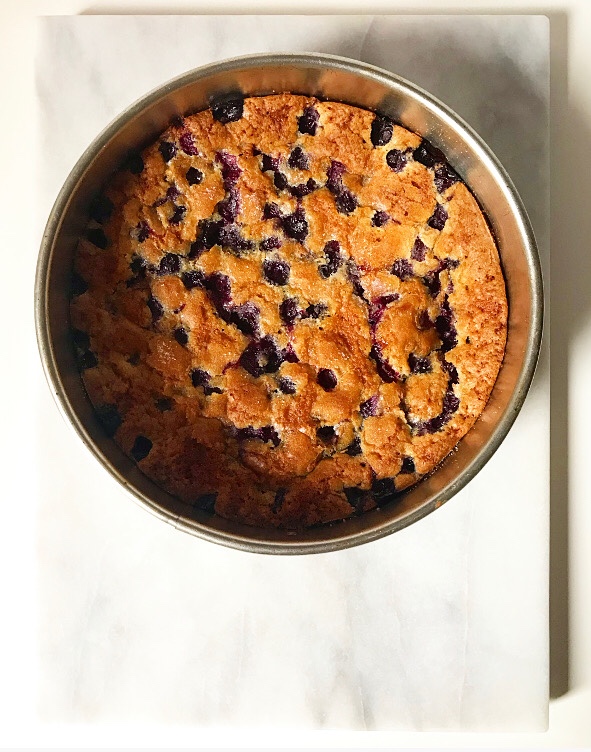
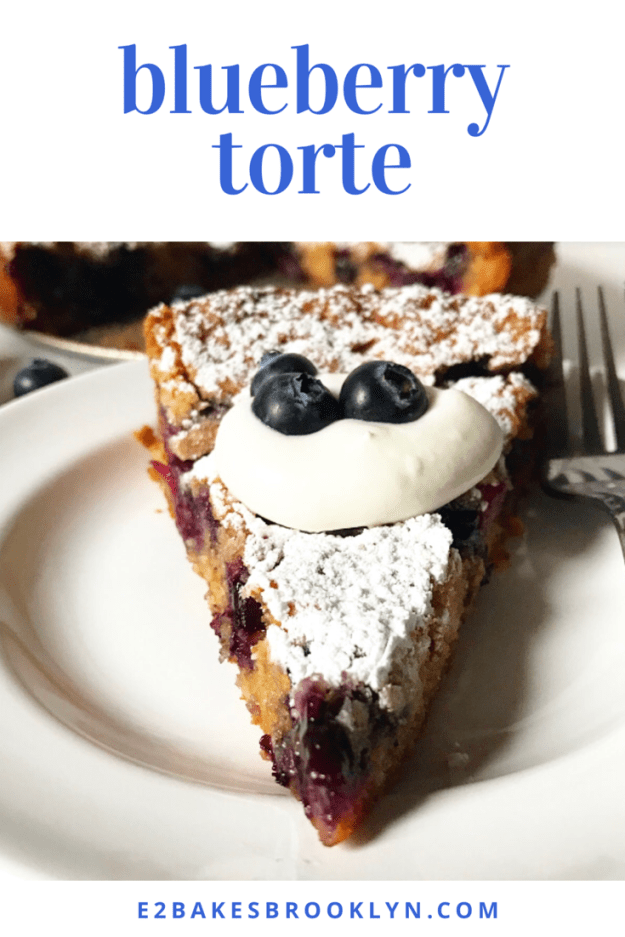
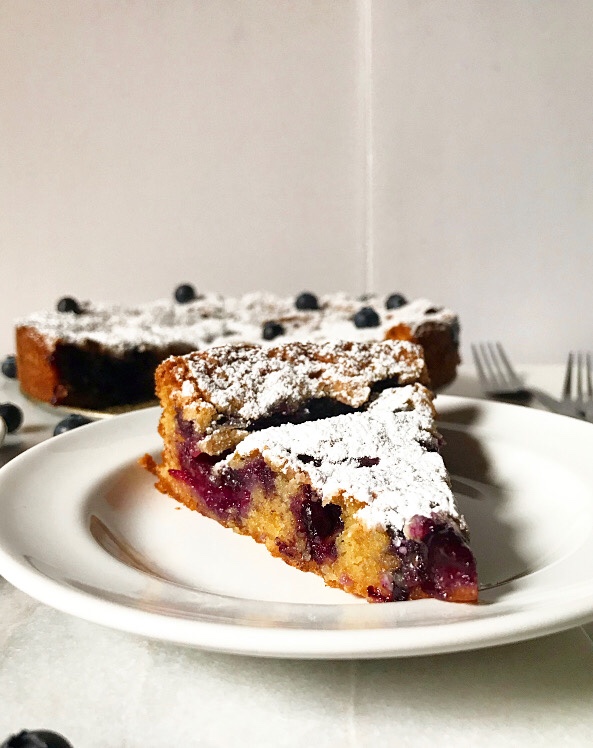 Anyway…this Blueberry Torte is easy peasy and so good, you’re going to want to make it all summer long. And you absolutely should! It’s got a soft center, slightly chewy edges, and is literally bursting with fresh blueberries—what’s not to love?!
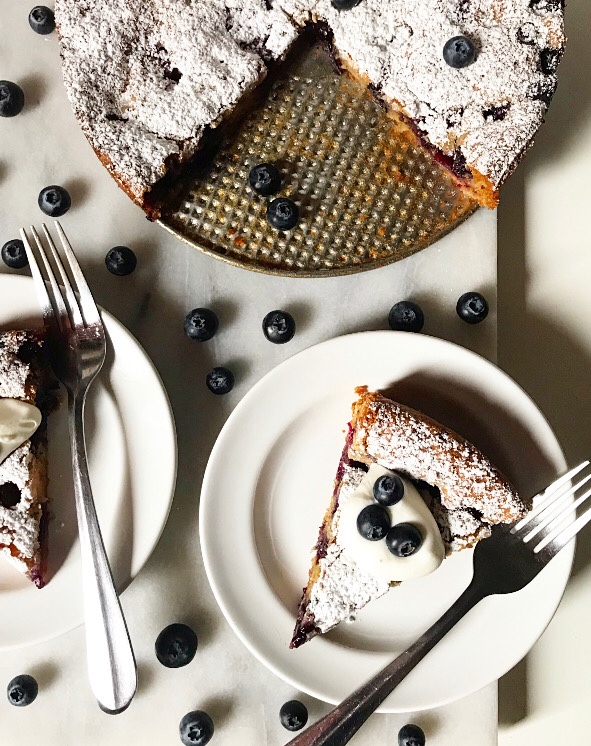 This is a spin on one of my favorite holiday desserts,
 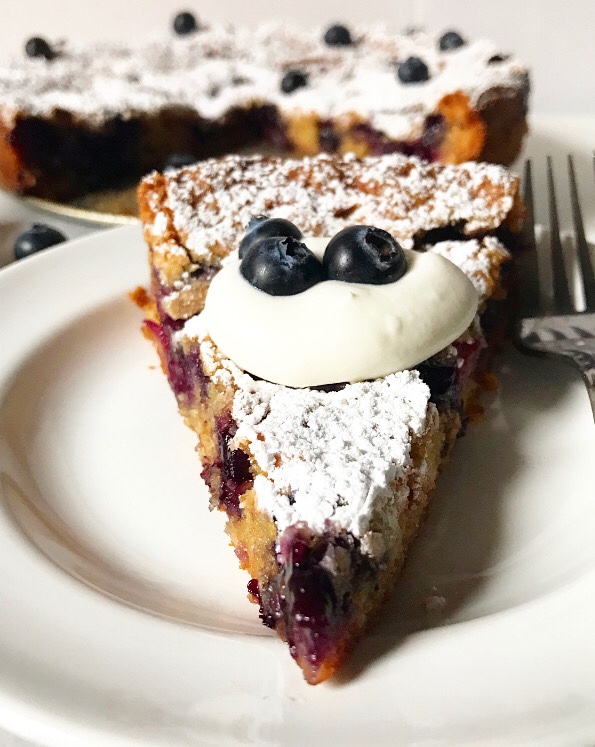 The recipe begins with a simple cake batter. You’ll find many of the usual suspects here (softened butter, flour, sugar, baking powder, salt, eggs), plus light brown sugar and the tiniest bit of lemon zest.
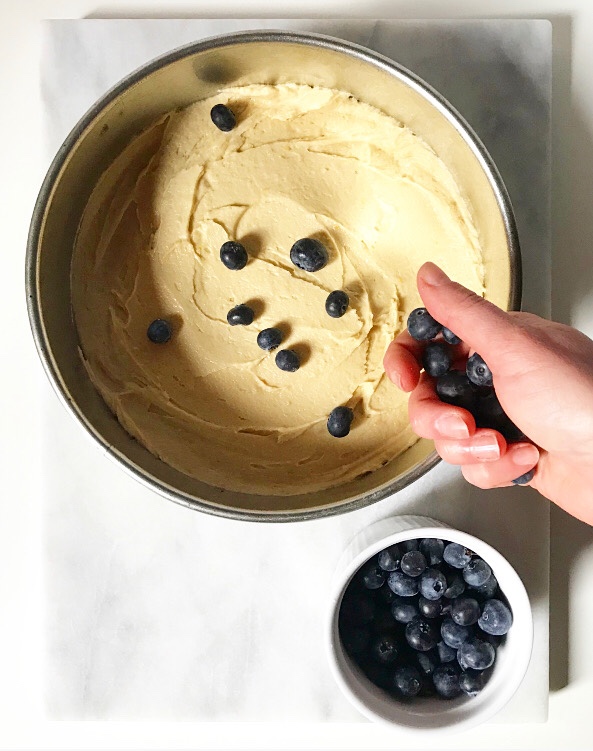

 One ingredient you won’t find? Milk. There’s none in this recipe, so the batter is pretty thick for a cake…er, torte. This lack of liquid is also what gives us the almost cookie-like edges. Yesssss. If you’re worrying about this leading to a dry product, never fear—this torte stays plenty moist thanks to the butter and eggs, small amount of flour, and two full cups (12 ounces!) of blueberries that are pressed into the top before baking. They soften and sink into the batter while the torte bakes and become jammy and fragrant and it is stupid good and why aren’t you actively walking to the kitchen right now???
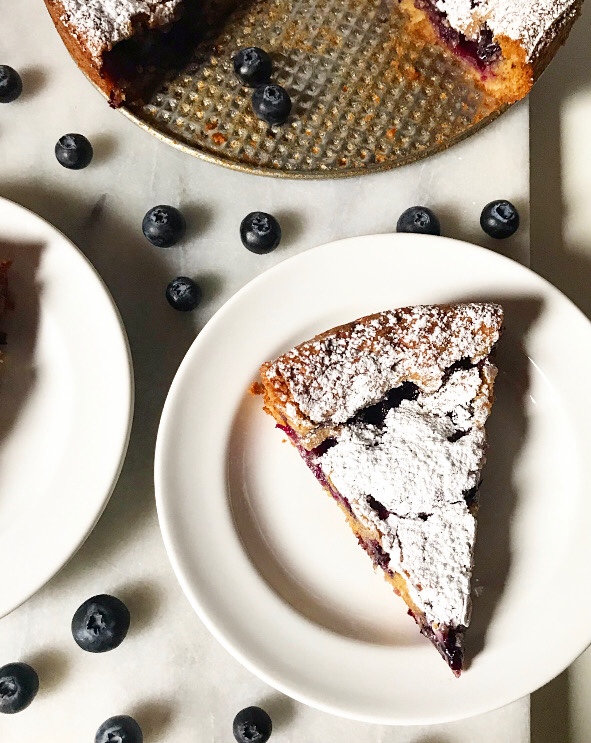
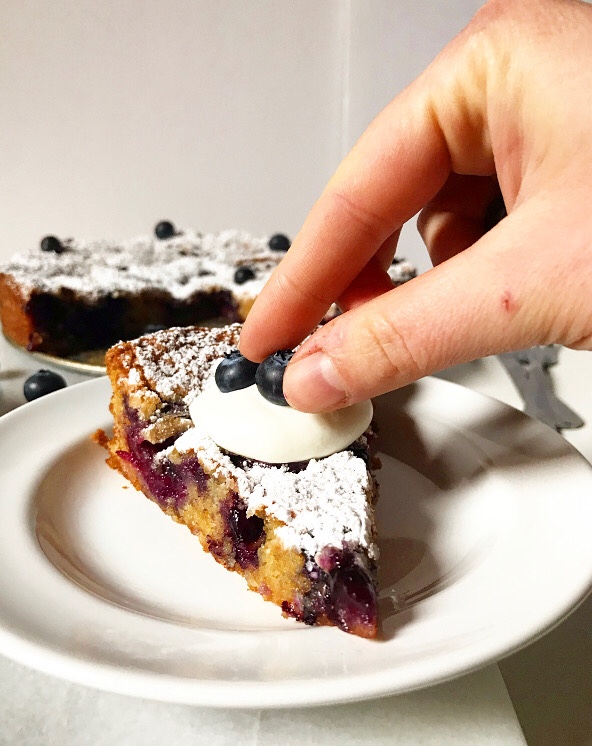 Blueberry Torte doesn’t require any frosting or other flourishes and can be served up while it’s still warm. If, however, you want to jazz it up for a dinner party or you’re feeling fancy, you can give it a dusting of confectioner’s sugar, a dollop of whipped cream or a smattering of fresh blueberries. If you’re anything like me, you’ll need all three.
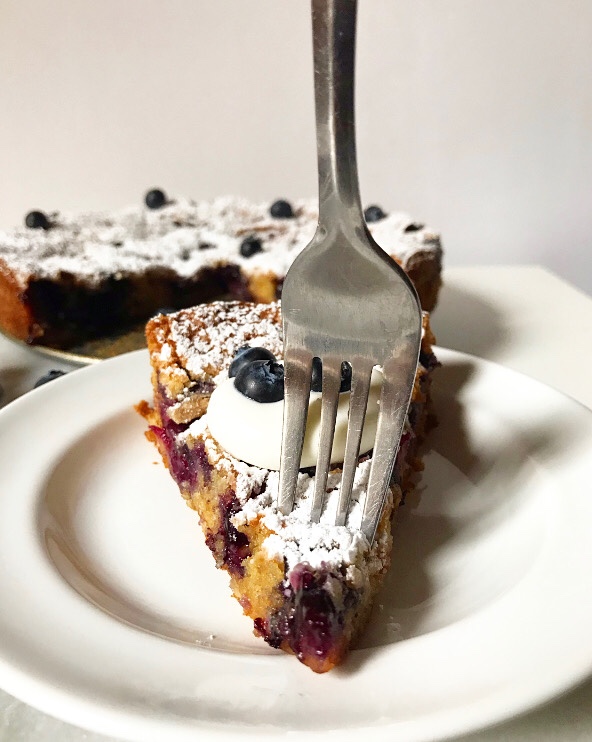 Sorry, not sorry.
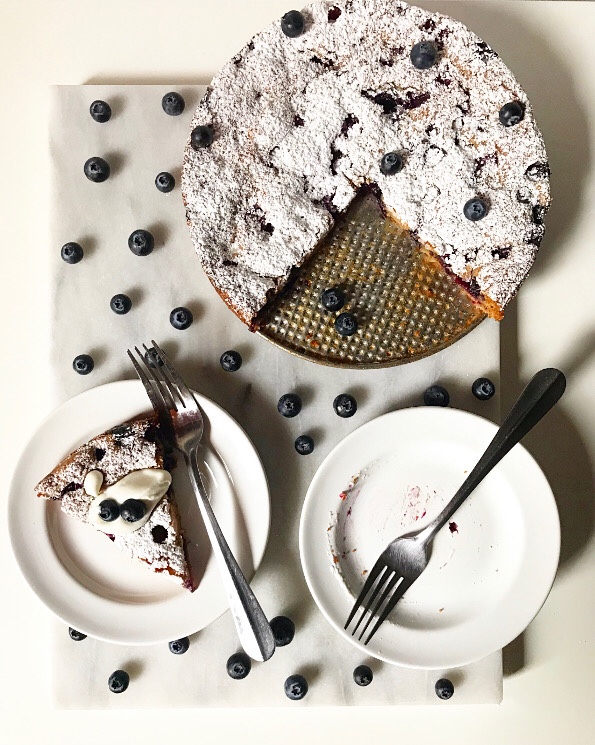

 Have you noticed that I live for
 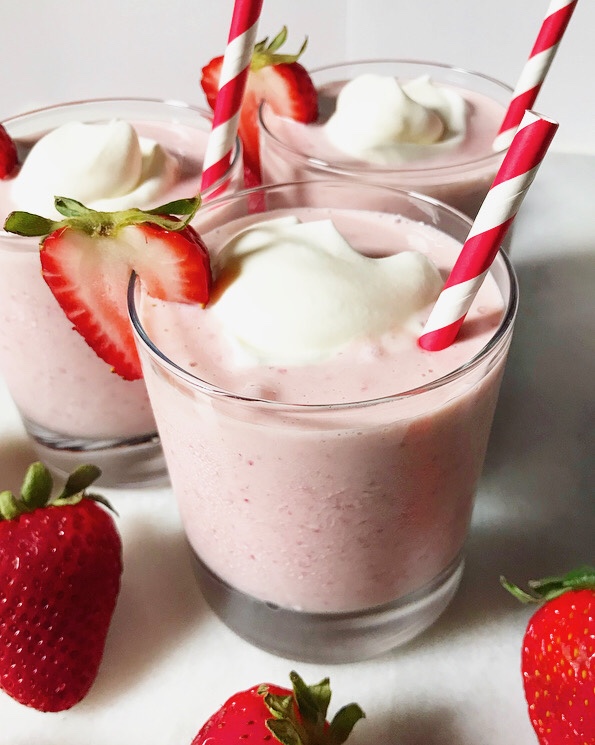 And in case you‘ve missed it, I have a bit of a “
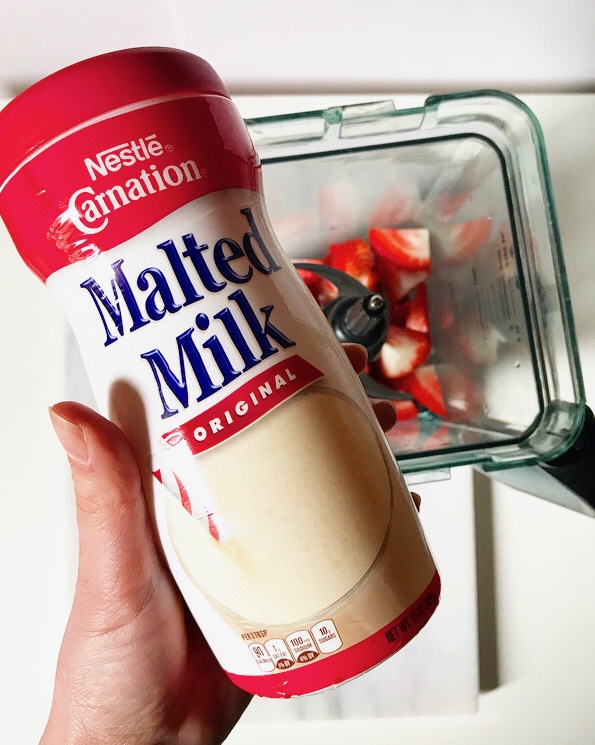
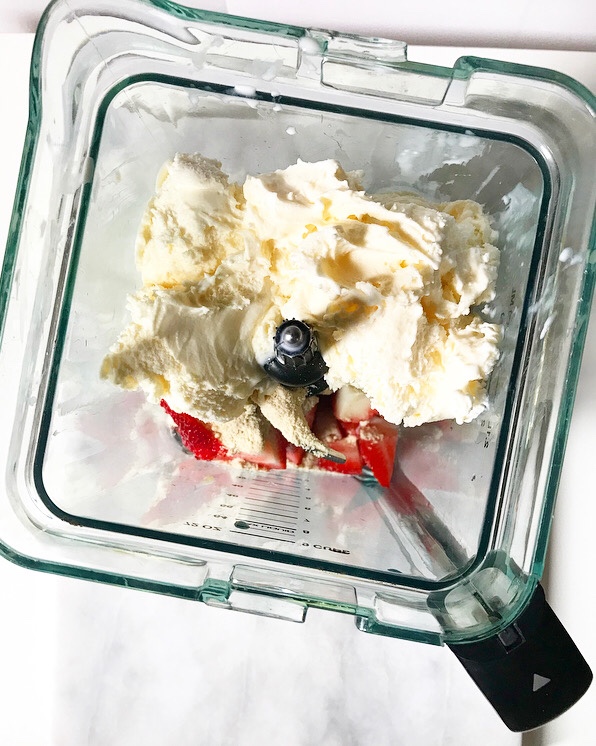
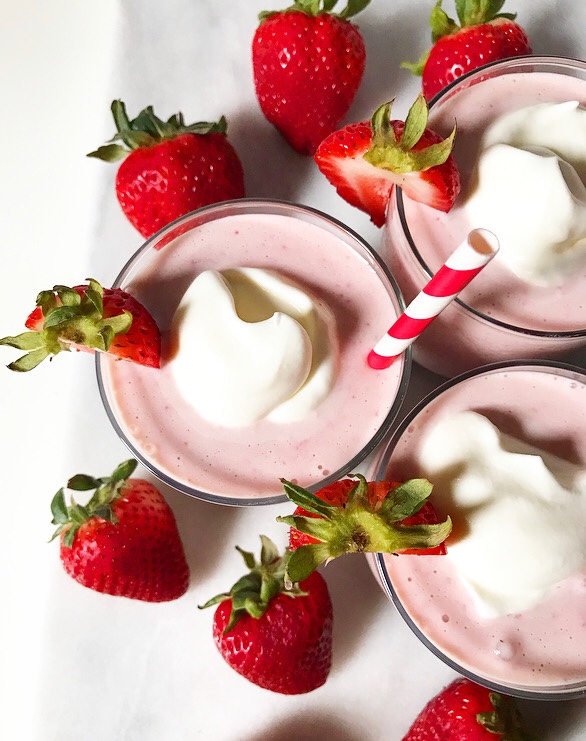
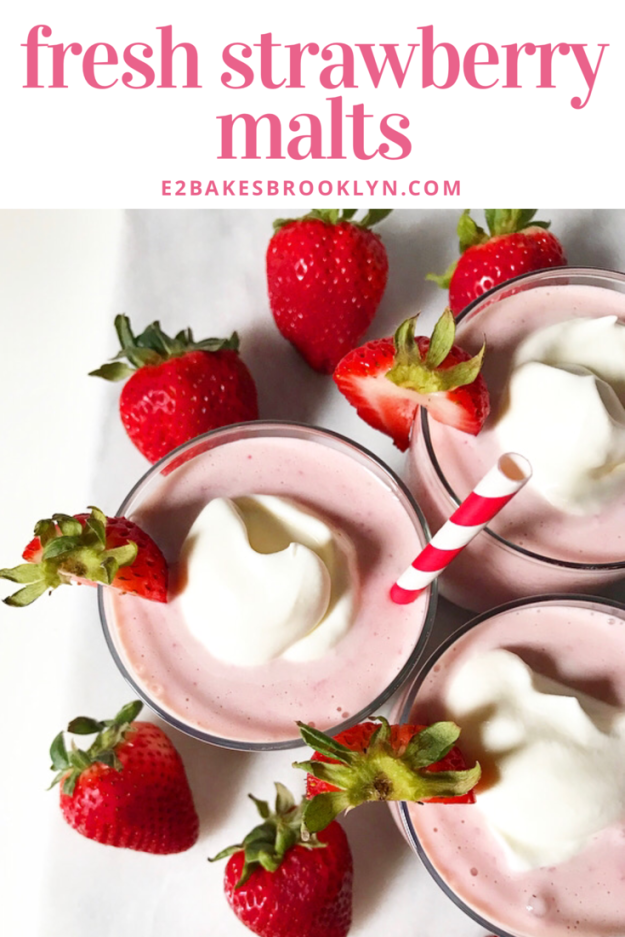
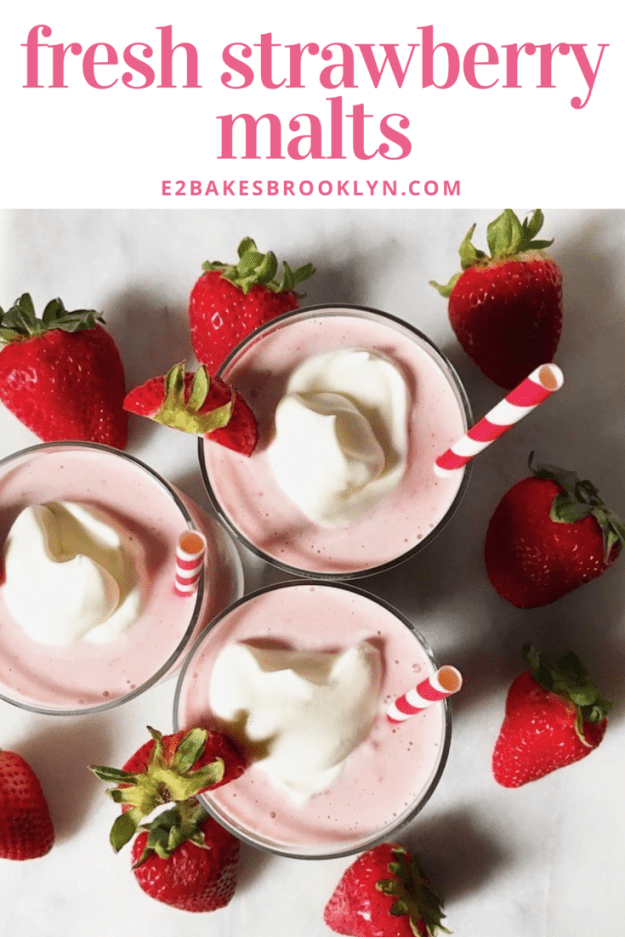
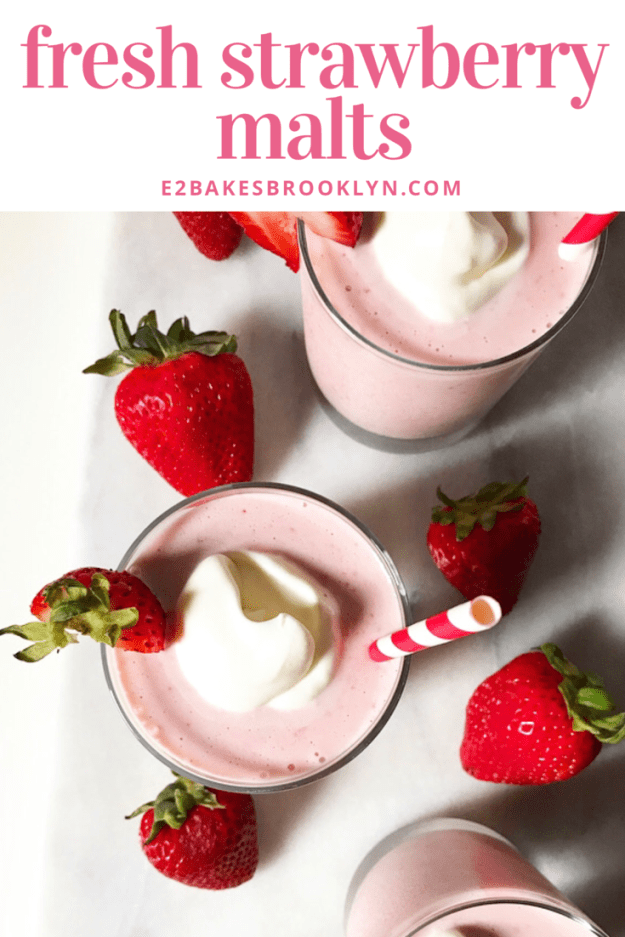
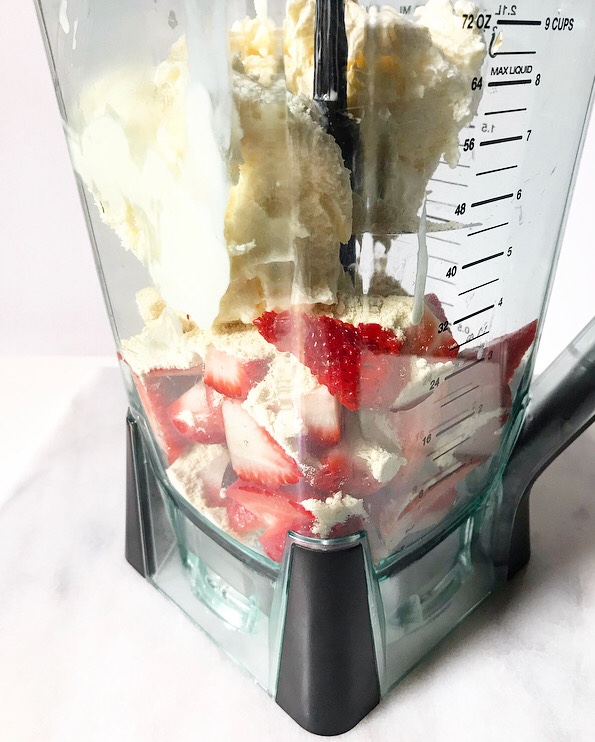 To those points, did you know that if you combine fresh strawberries, a hefty dose of malted milk powder and a pint of vanilla ice cream in a blender and let it whirl, you’ll wind up with something creamy, thick, and bursting with malty strawberry flavor?
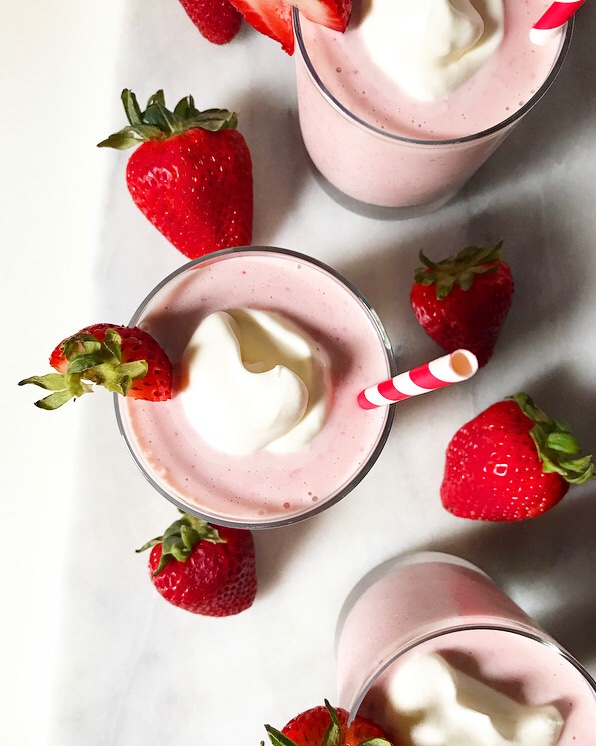
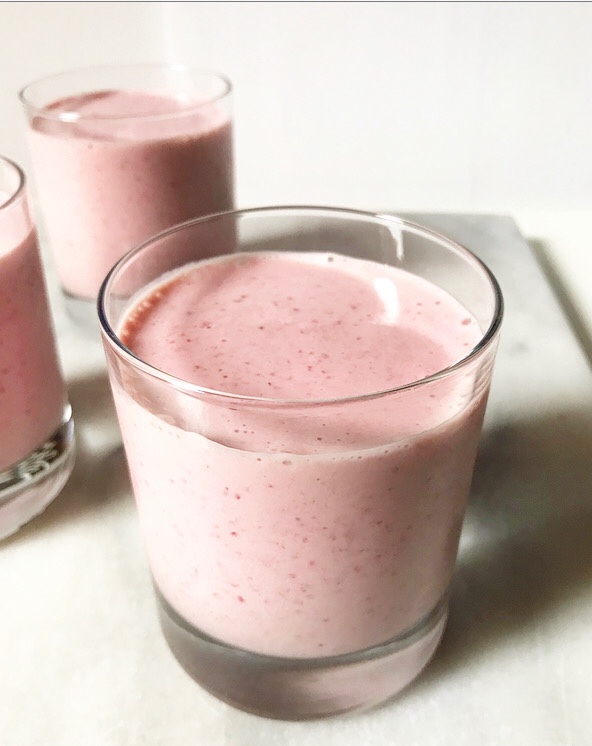 Because you will. And it will be such a stunning shade of light pink that it won’t need any sort of accoutrements.
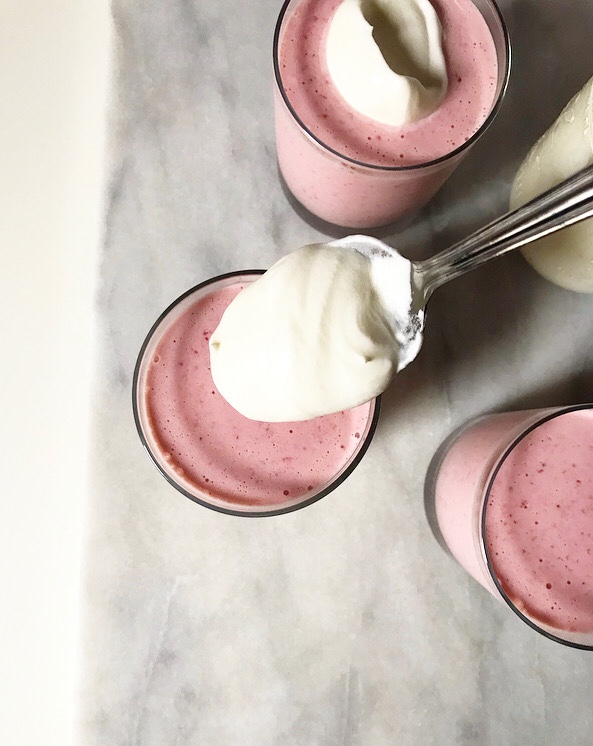
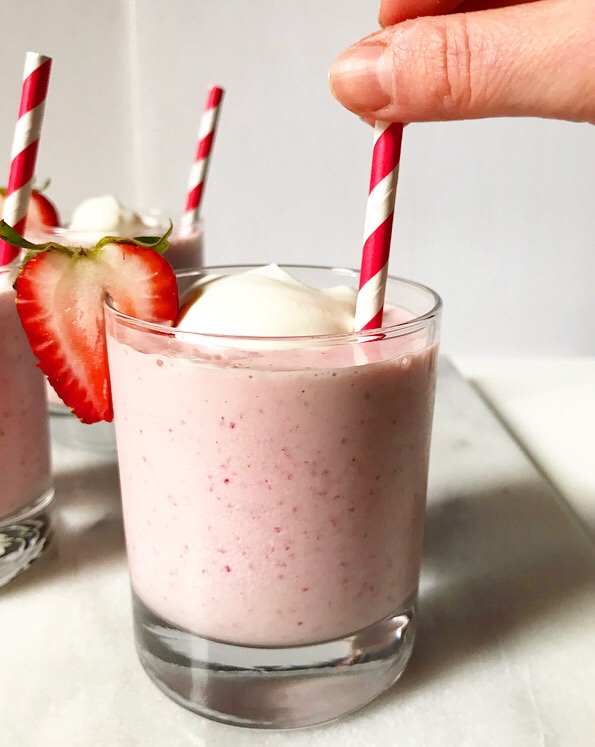
 But, I mean, a little
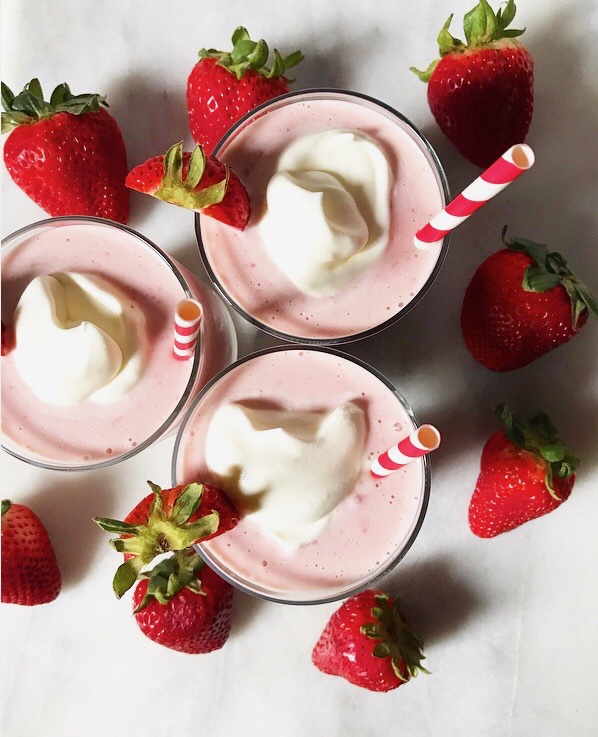
 Have you ever seen the movie Waitress? It’s one of my very favorites—it’s about a small town pie waitress who is saddled with the worst sort of husband and a lifestyle of which she doesn’t see a clear way out. Her passion is pie, and throughout the film she thinks in pie recipes with very specific names: Marshmallow Mermaid Pie, Bad Baby Pie, Lonely Chicago Pie…you get the idea. I won’t ruin it further. You can and should stream it on
  Alternatively, you can come to NYC and see Waitress the
 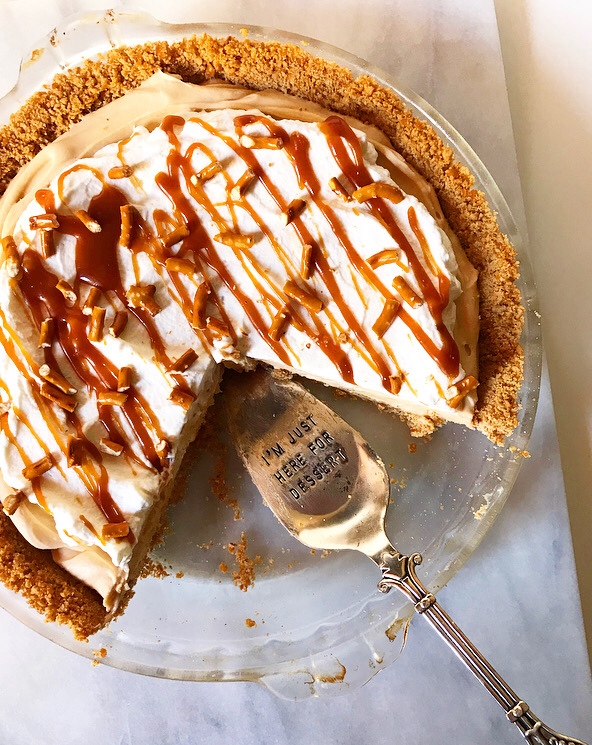 When we left the theater and headed for the subway, I knew two things:
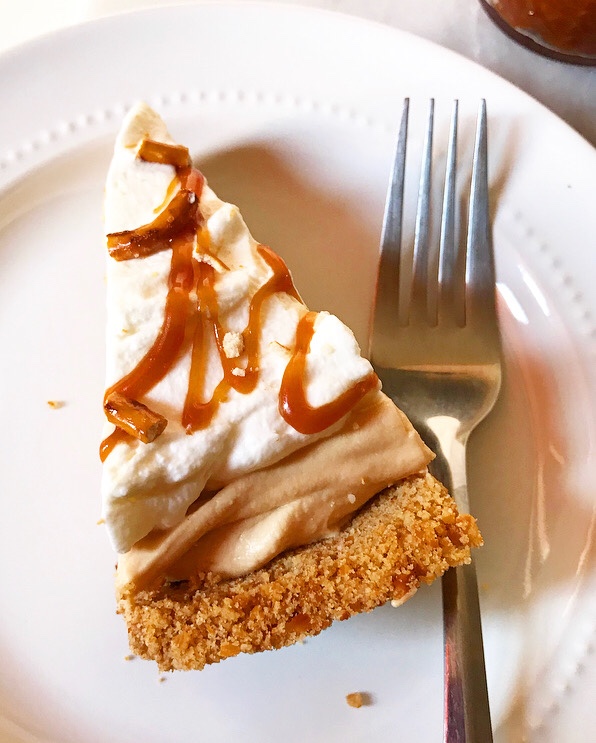
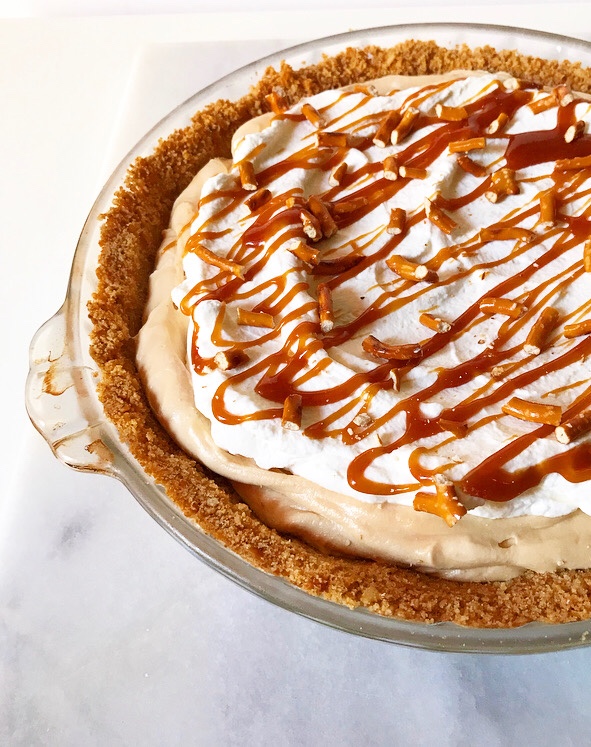
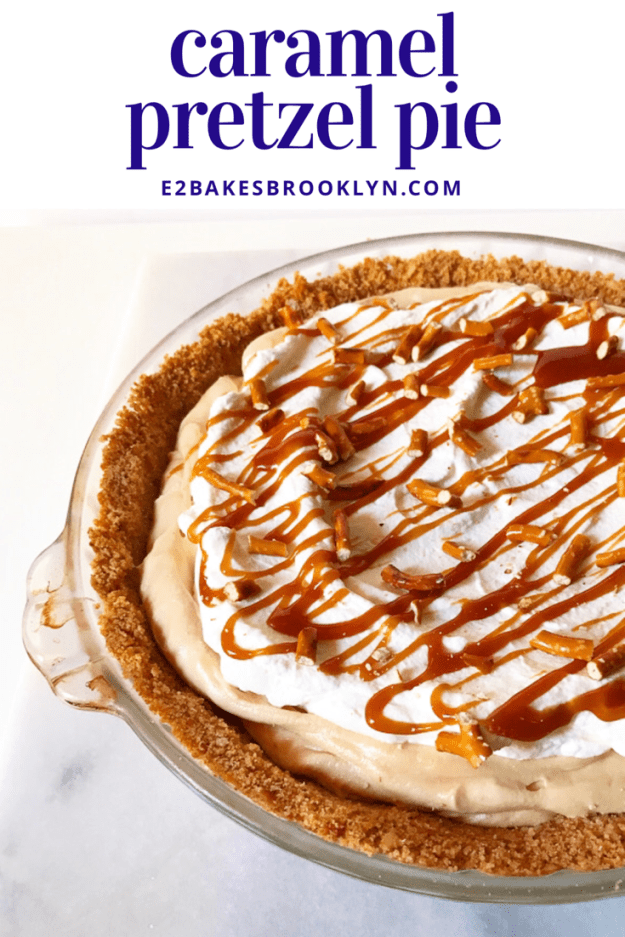
 Done and DONE. Caramel Pretzel Pie, y’all. It’s sweet, salty, and full of creamy caramel flavor!
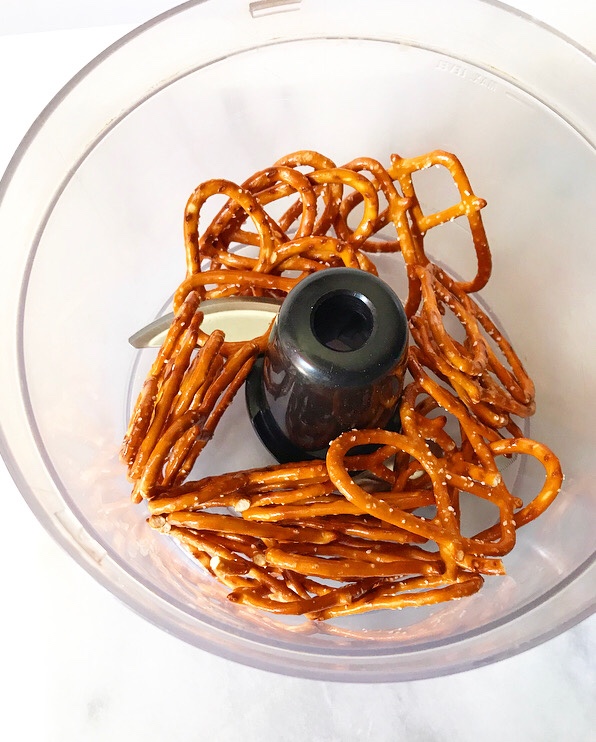
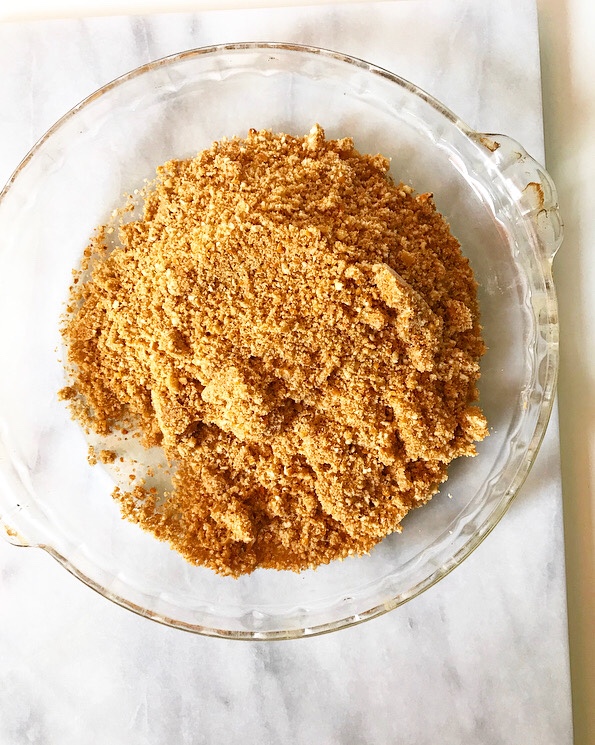
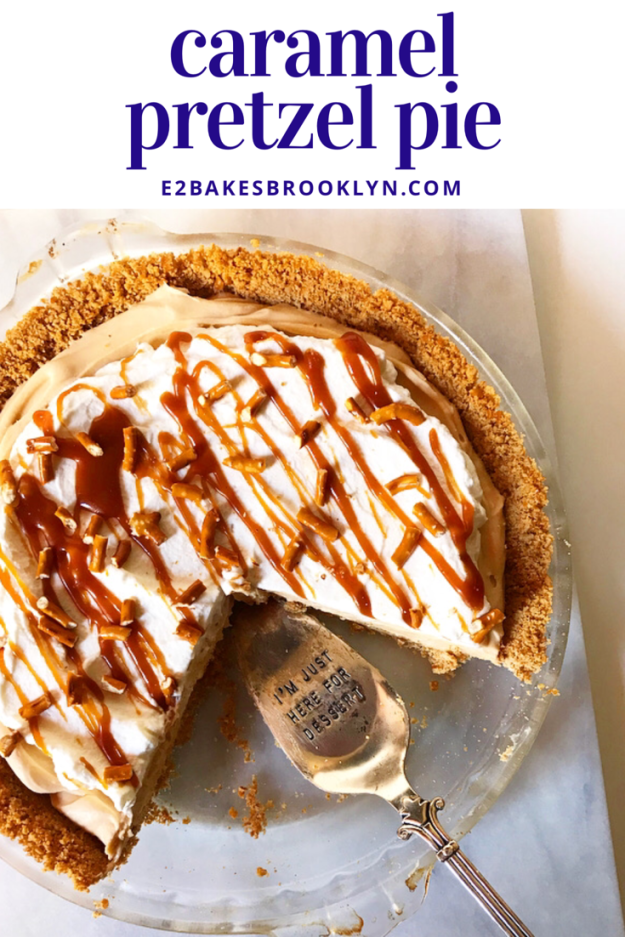
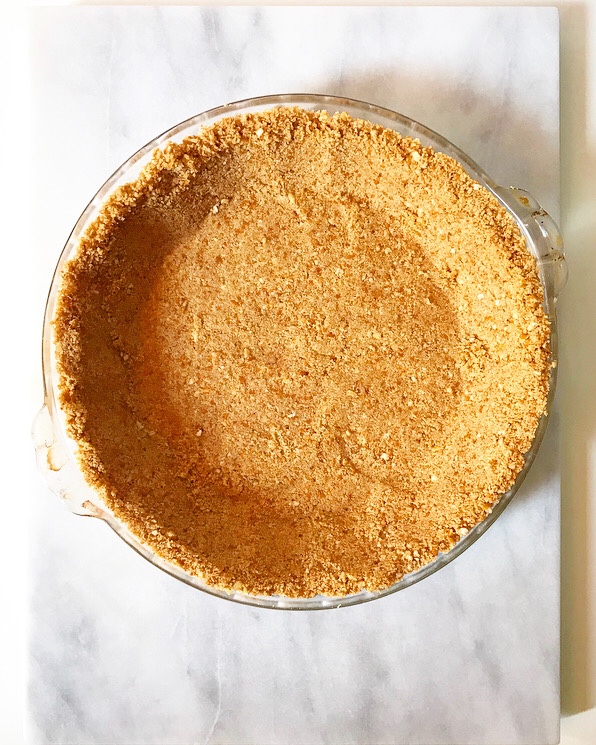 One great thing about Caramel Pretzel Pie? It’s almost-no-bake. I had originally intended for this beauty to be oven-free, but the idea of a slightly-toasty pretzel crust won out. I think you’ll agree that the ten minutes of oven time required to set the crust are absolutely worth it.
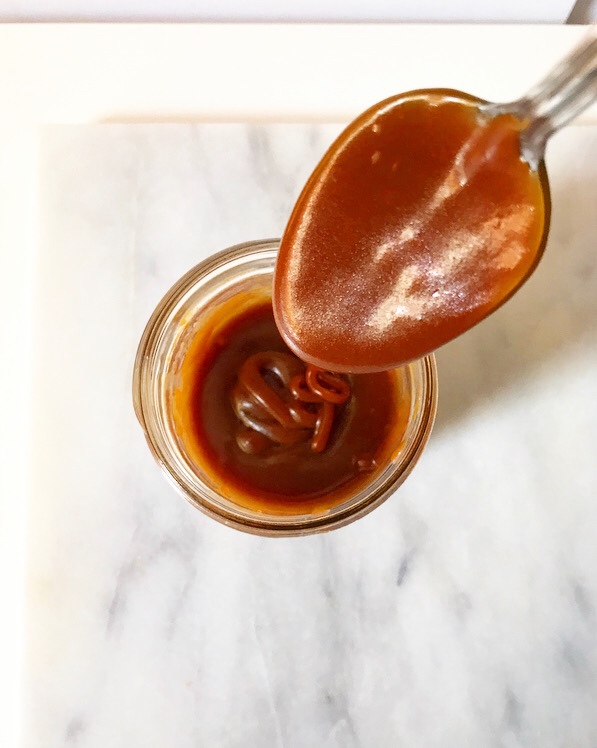
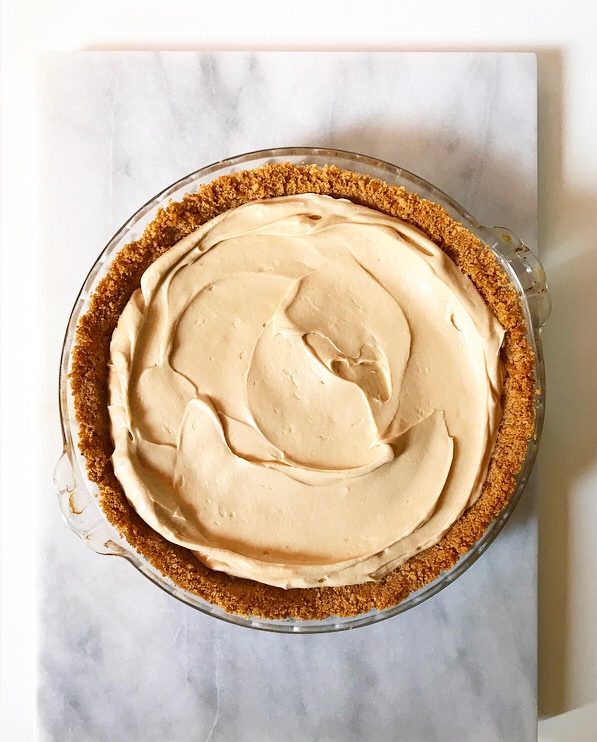
 Another great thing? This pie is very quick and simple to make, especially if you make your caramel sauce ahead. You could swap in a store-bought caramel sauce if that’s more your speed (I hear Trader Joe’s has a good one), but homemade is super easy to make and is far better than anything I’ve ever found in a grocery store.
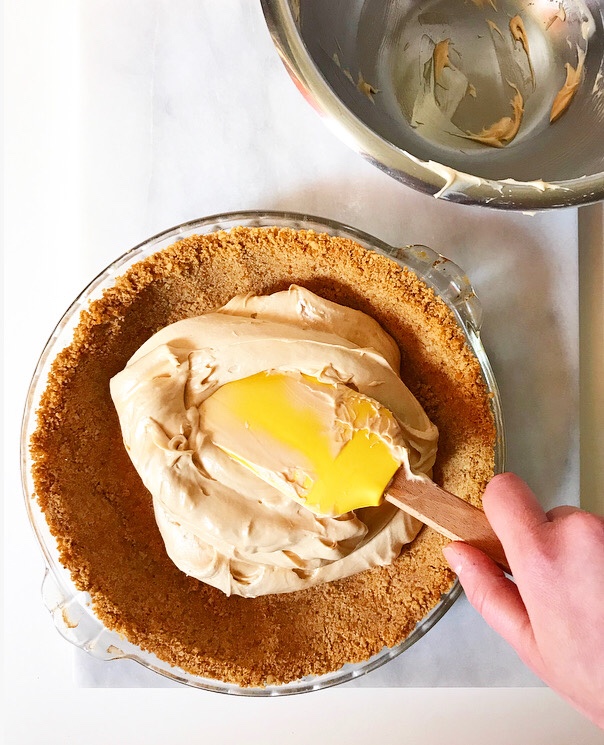
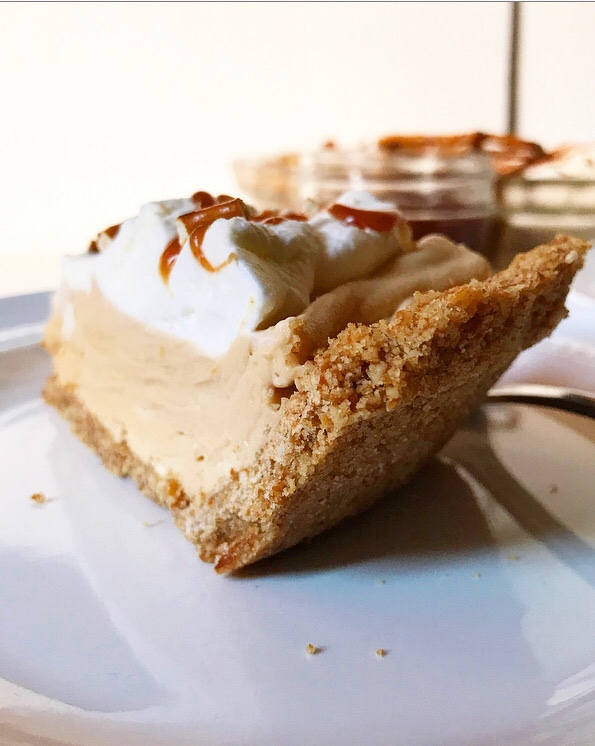
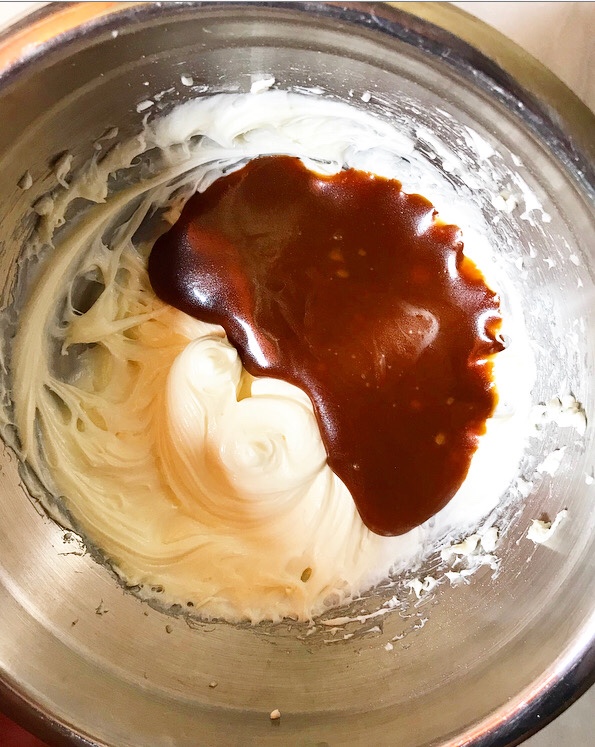
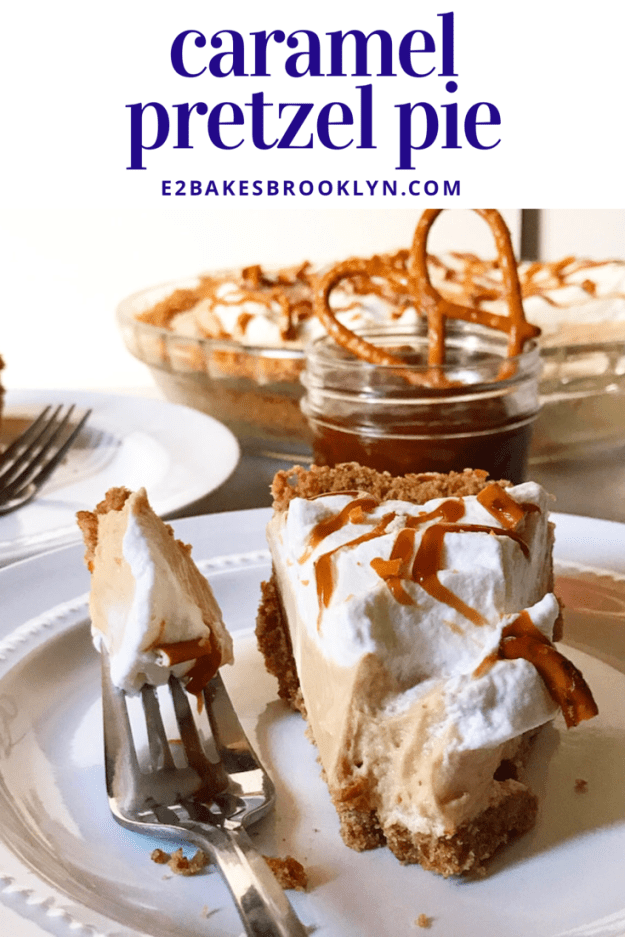
 The creamy, cloud-like caramel filling comes together in minutes and has a nice tang from a hit of cream cheese.
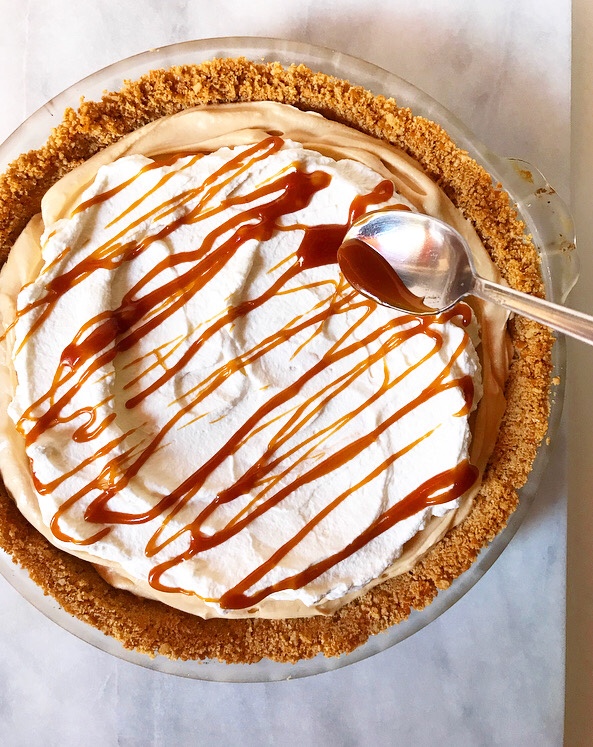
 After a few hours chilling in the fridge, the pie is finished off with whipped cream, a drizzle of caramel sauce, and a few broken pretzels.
 It’s so delicious, it’s ridiculous. I always love a
  All it’s missing is a very specific name. Somehow Feminist Movie/Musical Inspo Pie doesn’t sound quite right 😂 Maybe you can come up with something when you make this for every cookout this summer. Believe me–this one is a guaranteed hit.
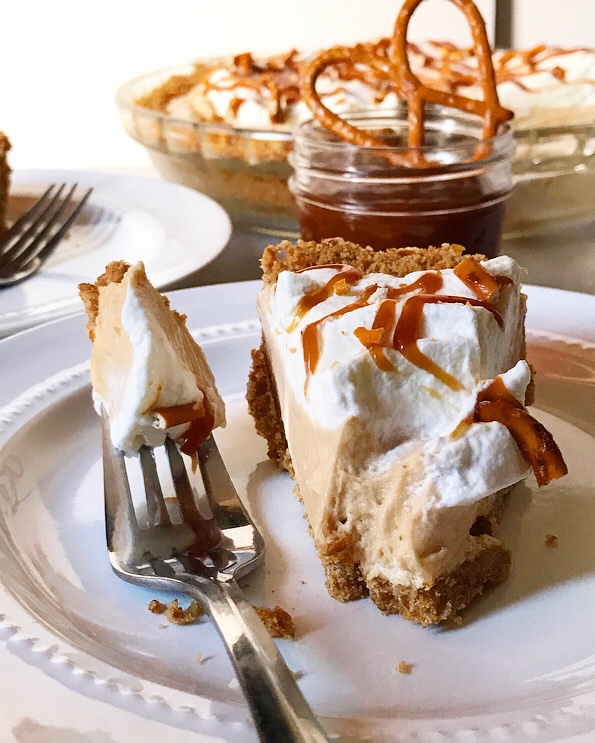
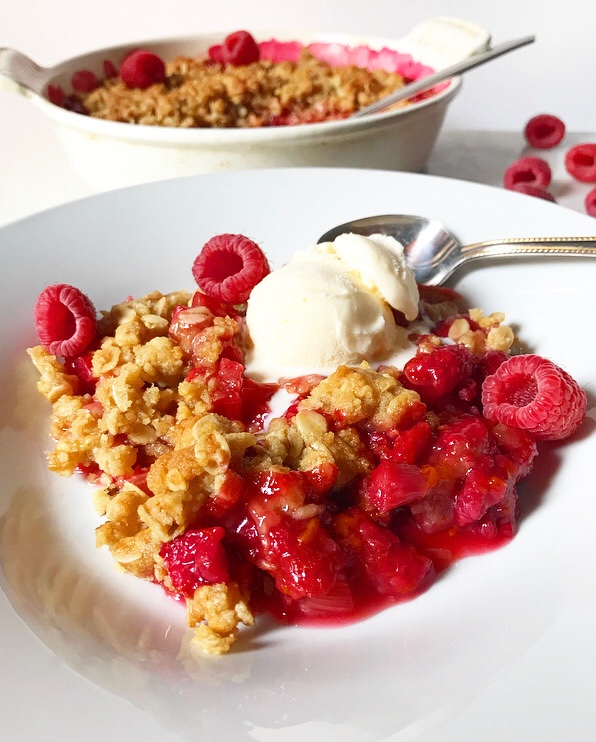 I love making crisps. They’re every bit as good as pie, but easier and much (!) quicker to make, and can be served warm with vanilla ice cream, so the time between the moment the craving strikes and the moment you dive in spoon-first is mercifully brief.
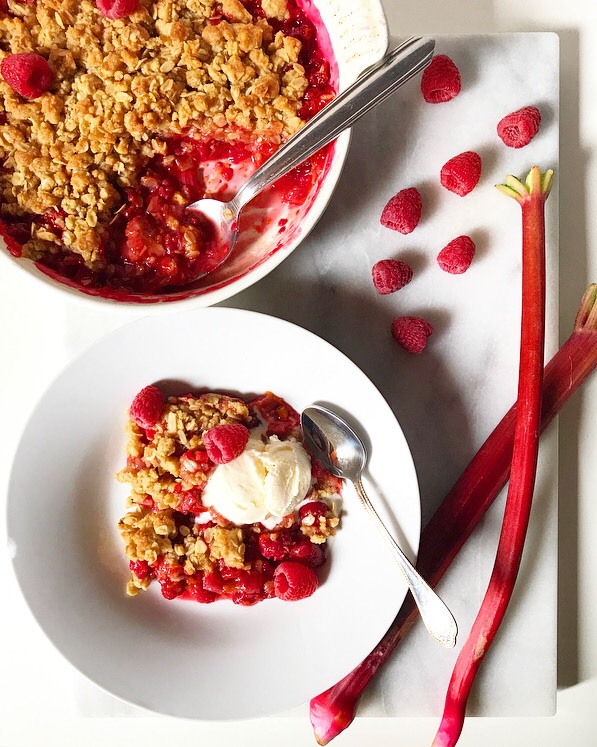 What I’m trying to say is that you need more crisps in your life. *I* need more crisps in *my* life. There’s only one in my archives—a
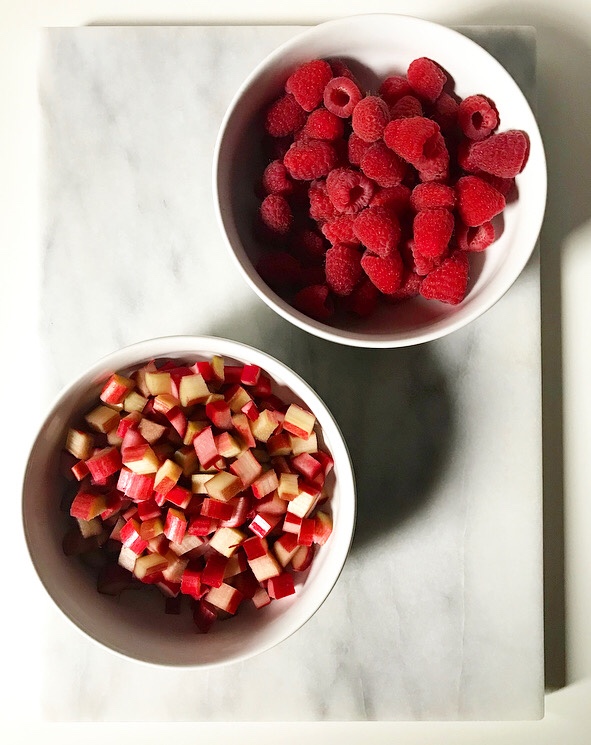
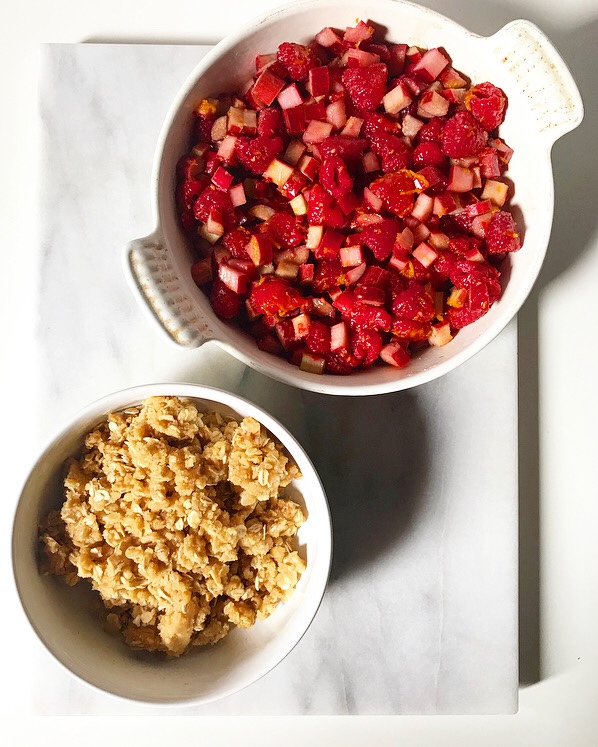
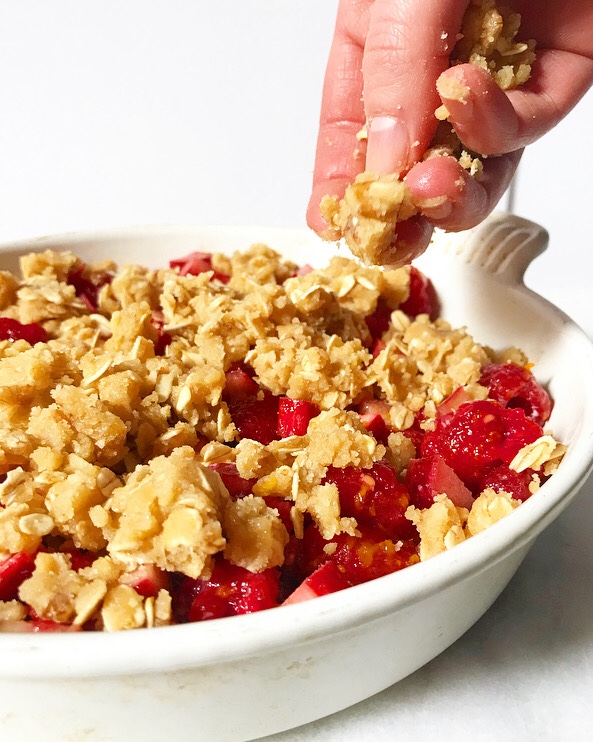
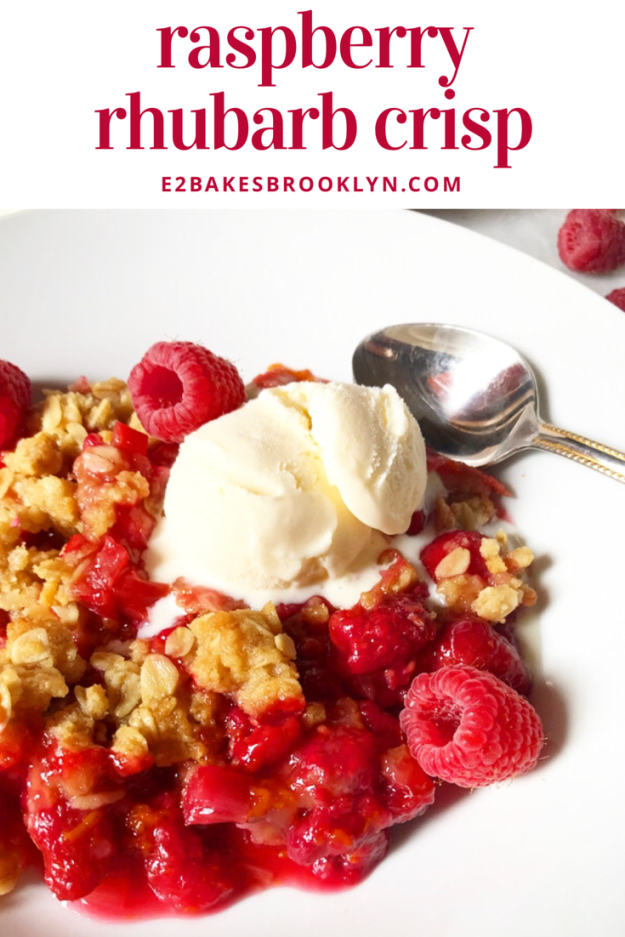
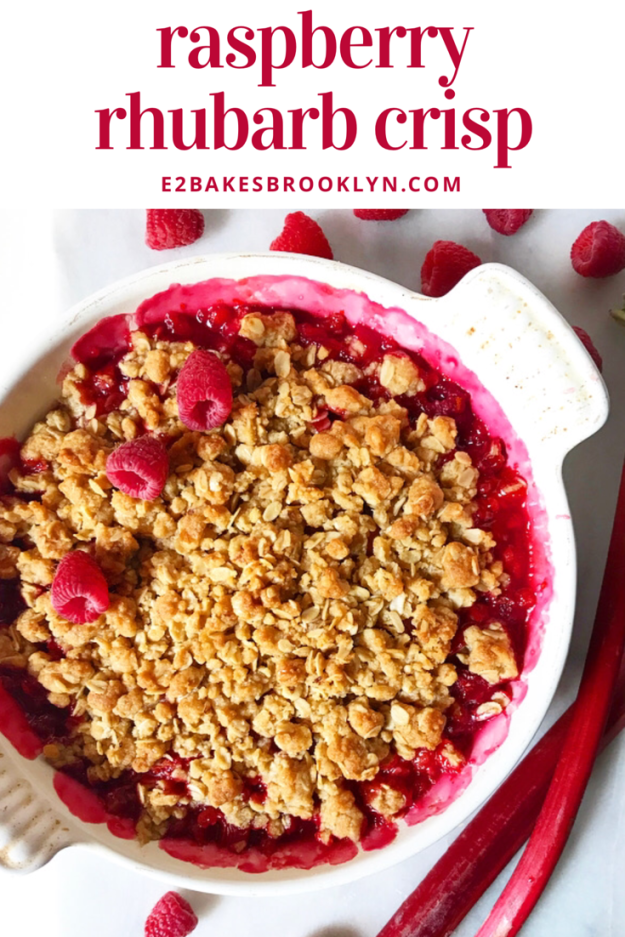
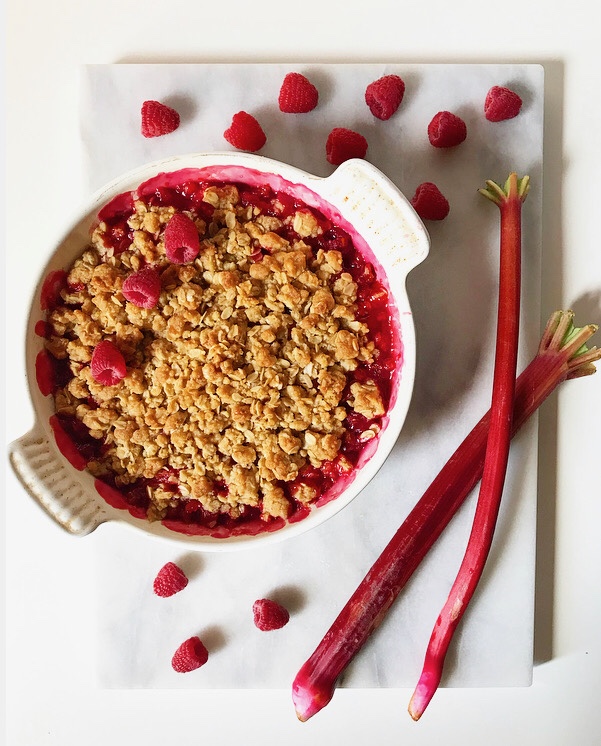 Berries and rhubarb that can only be improved with hints of ginger and orange and clusters of buttery, brown sugary oat & walnut dough scattered over the top and baked until…well…crisp.
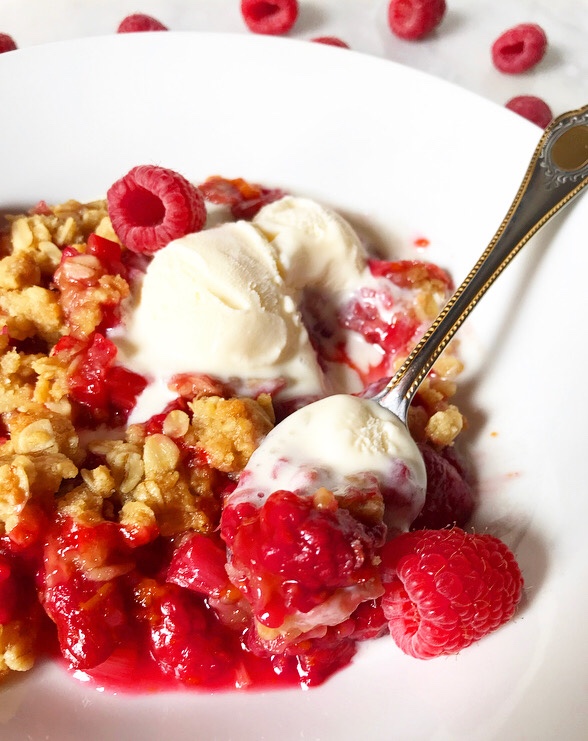
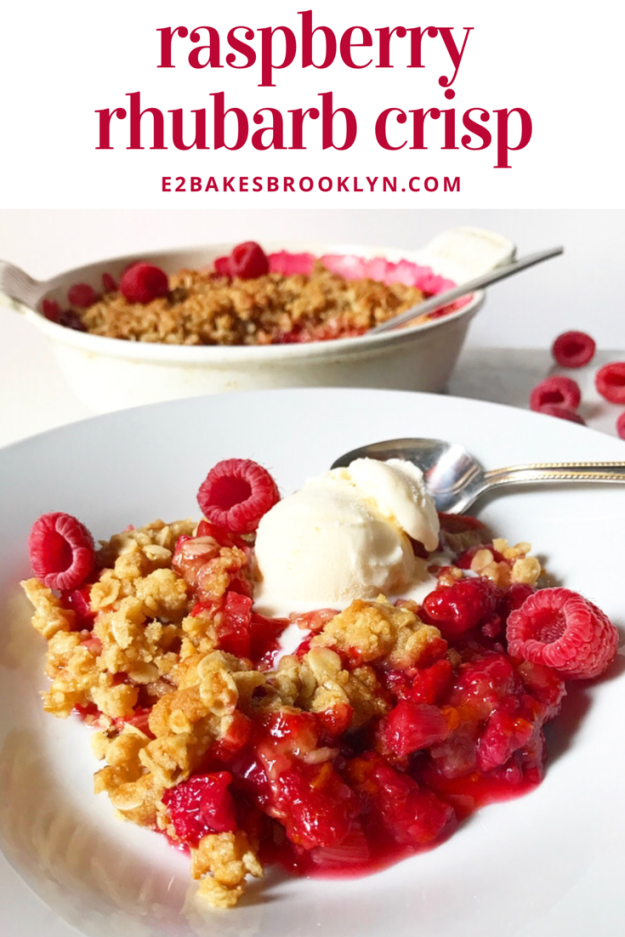
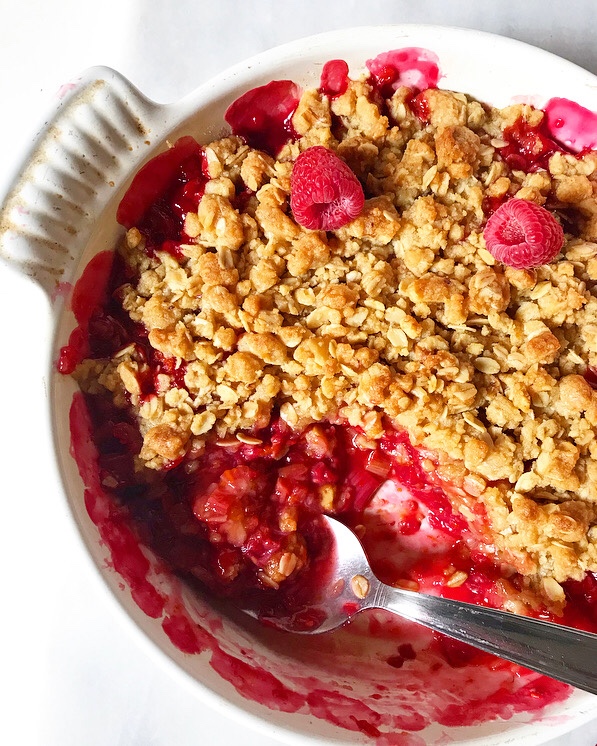 Sweet, tart, jammy, gorgeous, and seriously simple, this seasonal dessert can only be improved with a scoop of vanilla ice cream. The way it melts into the spaces between the fruit and the crisp topping is just…
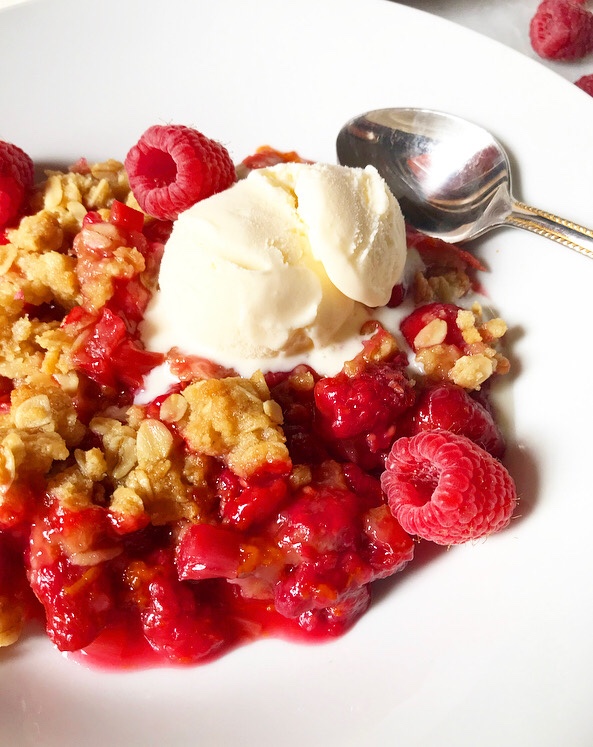 …well, I guess you’ll have to make the recipe and see for yourself.