 I’ll never forget the first time I found meyer lemons in a regular grocery store. It was 2010, and I was doing a last-second rush for supplies before a blizzard. I have no idea what I shopped for that day (my then-oven ran at least 150F cool, so options were limited), but I remember seeing a display of meyer lemons and thinking they were so…exotic. I had heard of meyer lemons, of course, but never seen them in the wild (er, Cobble Hill grocery store). Out of curiosity, I put a couple in my cart. I couldn’t begin to tell you what I did with them, but that is the probably-tedious story of how I came to love meyer lemons.
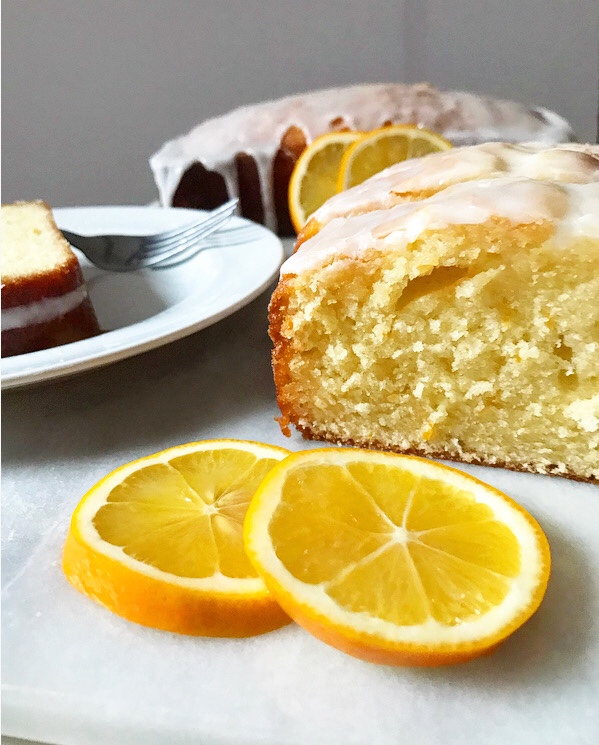 Fast forward nine years and I have used meyer lemons many, many times. I see them in every store this time of year, and while I no longer think of them as exotic, I always look forward to adding their orange-lemon flavor to my bakes. Imagine my surprise when I discovered that I only have one lone meyer lemon recipe in my archives! Just one measly recipe for scones—very good scones, mind you, but how is that the only recipe I have to celebrate one of the best winter citruses out there?!
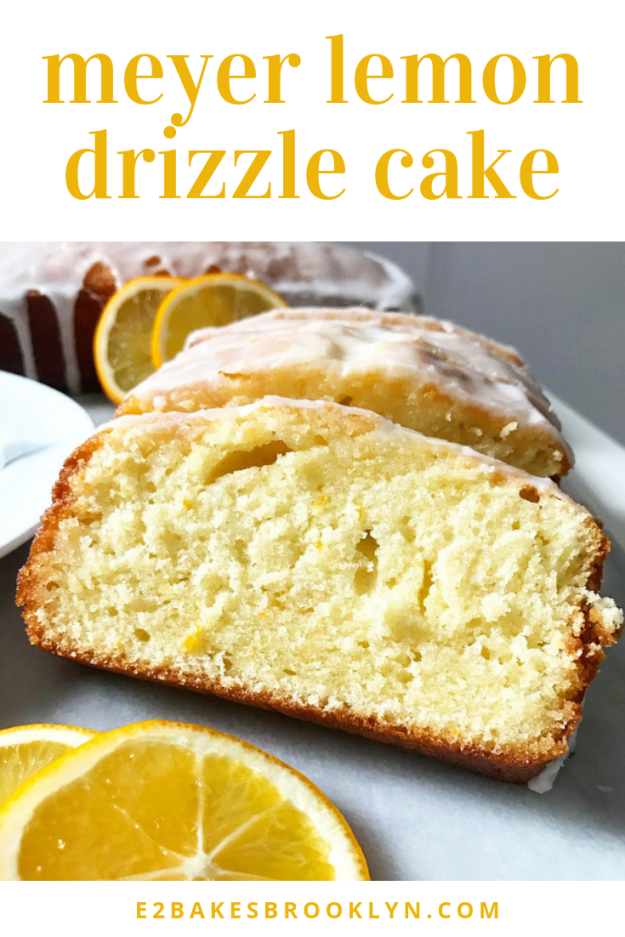
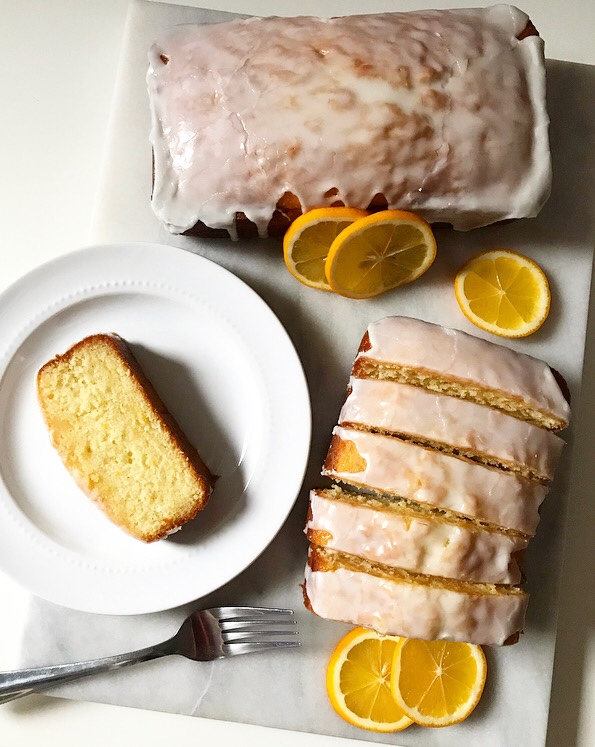 Well, consider that oversight rectified. Today’s Meyer Lemon Drizzle Cakes celebrate everything that is wonderful about this winter citrus. There’s meyer lemon zest in the batter, the cakes are soaked in a sticky meyer lemon syrup, and the cakes are topped with a thick meyer lemon icing drizzle. Yesssss.
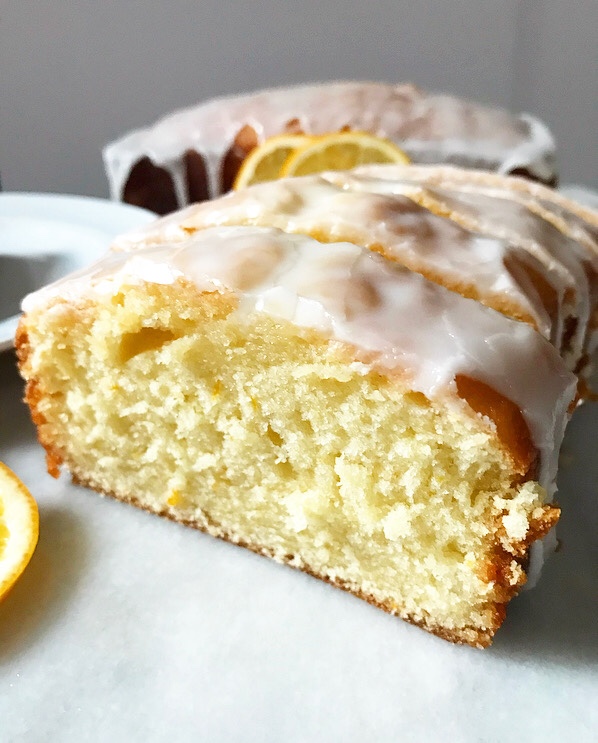 This recipe is based off the Orange Cardamom Cake I posted last fall. The batter itself is near identical; just sub meyer lemon zest for orange and nix the cardamom. Instead of baking it in a bundt pan, I went for two loaf pans—one to share, ya know?!
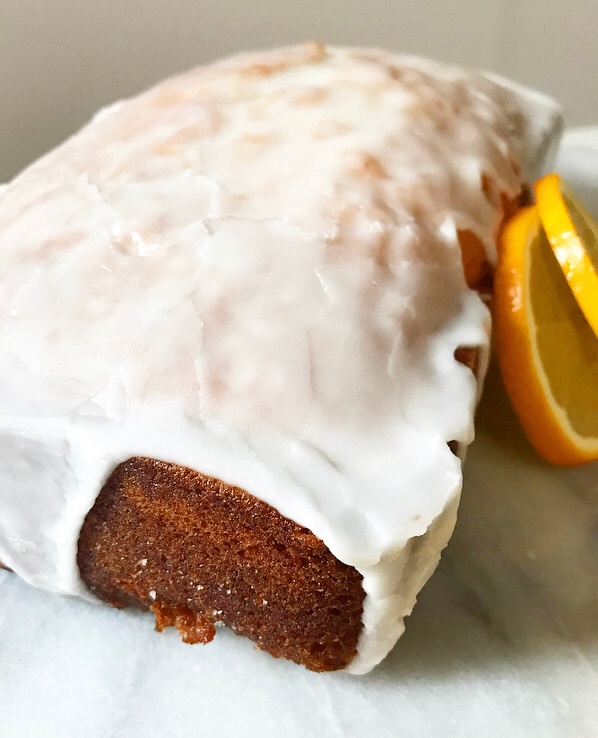
I also upped the temperature by 25F. This extra burst of heat allows the cakes to dome slightly, which comes in handy when you drizzle on the thick meyer lemon icing.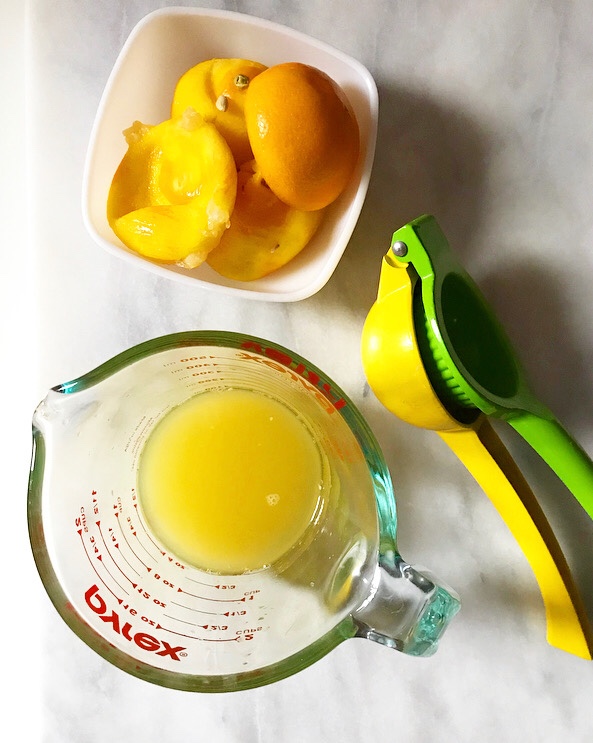 But before we get to icing, let’s talk syrup! After baking, these cakes are soaked with a meyer lemon simple syrup. To make it, just combine equal volumes of meyer lemon juice and granulated sugar over low heat, stirring just until the sugar dissolves. Easy.
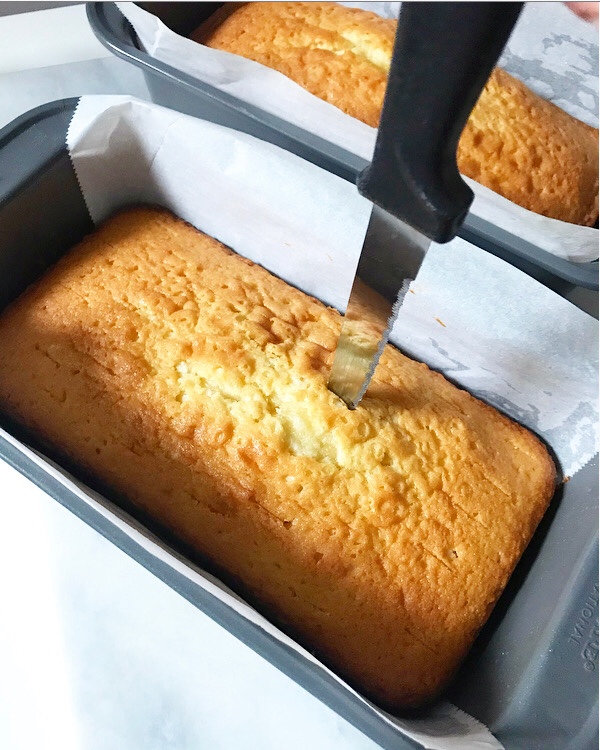
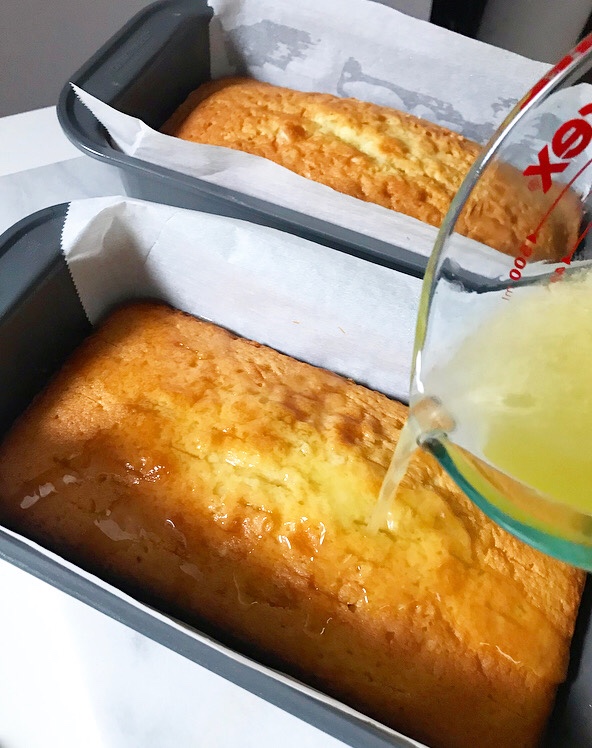
 While the cakes are still warm, poke ‘em full of holes. I like to use a thin, flexible knife to keep them inconspicuous, but a skewer will work. Whatever you use, poke it through to the bottom. Then pour over that syrup. You’ll think it’s too much, or that it’ll make your cakes soggy, but it won’t. It’ll just make them extra moist and dense and outrageously delicious. This is the good stuff.
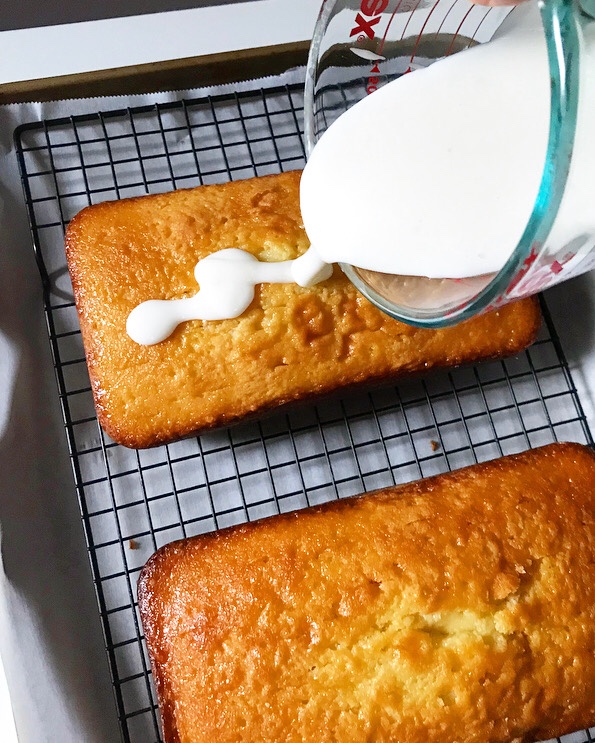
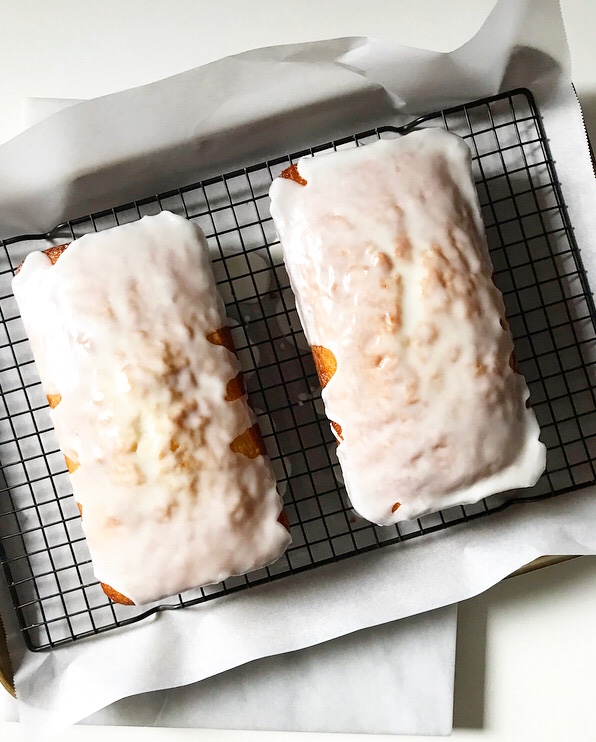
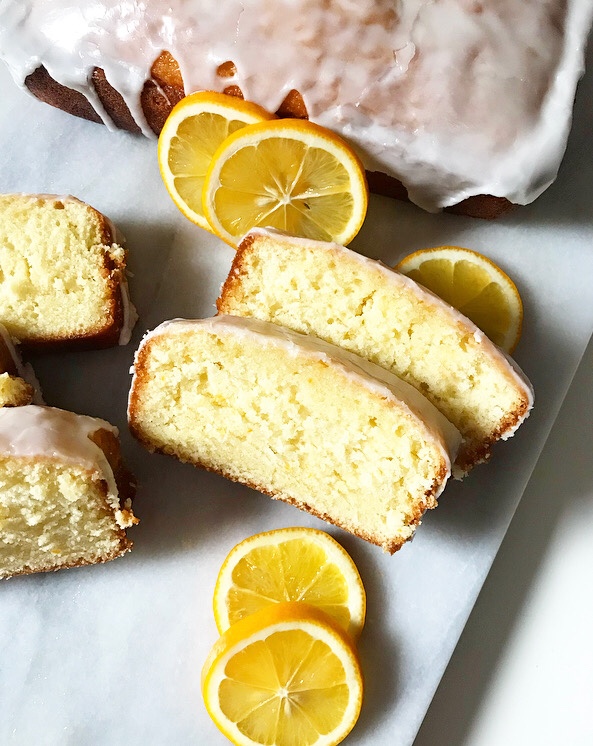
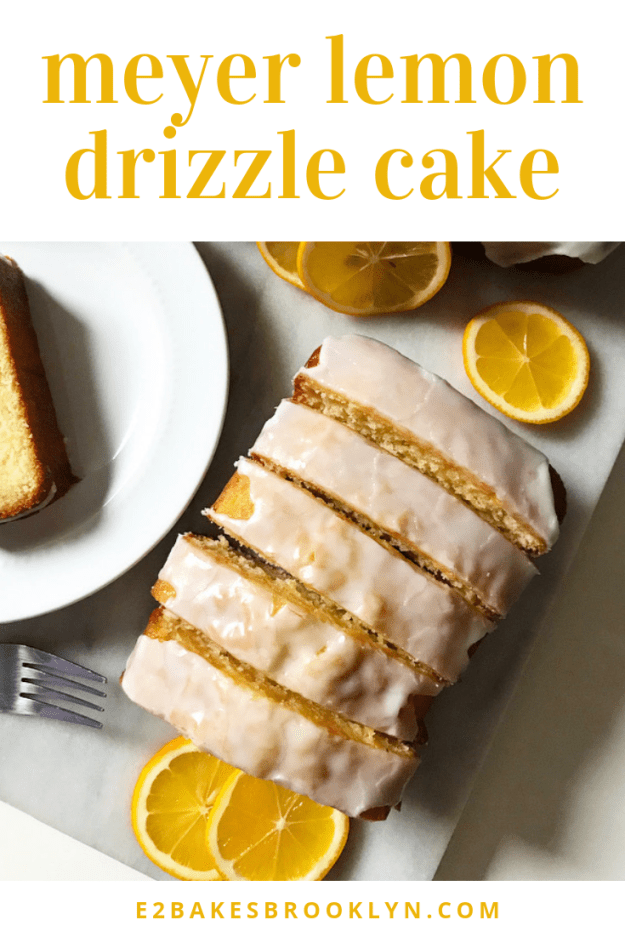
 Last but not least, let’s talk about the drizzle. It’s a just a simple icing—two ingredients, one bowl, no mixer—but it’s the crowning glory on these tea cakes. Once the soaked cakes are cool, set them on a cooling rack and pour the icing down the center. The cakes’ slight domes should help the icing to “spread” itself, but you can coax it with the back of a spoon, too. It’ll drip down the sides a bit, but should be thick enough that most of it stays on top. The icing will set quickly, which is a good thing because you’re going to want to dig right in.
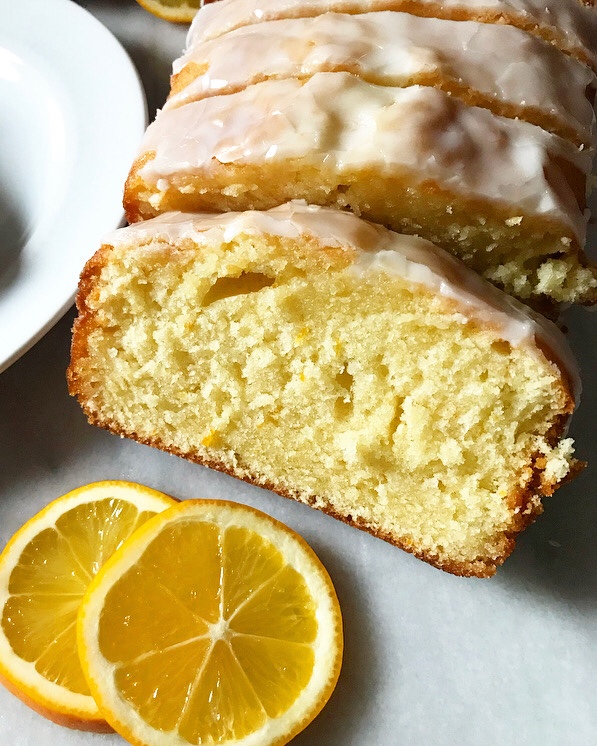 Meyer Lemon Drizzle Cake is good on the first day. Very good, even. But if you have the patience, you should wait a day or two to have a slice. The cakes become even more tender and the orange-lemon flavor intensifies over time, making those day-old slices absolutely heavenly.
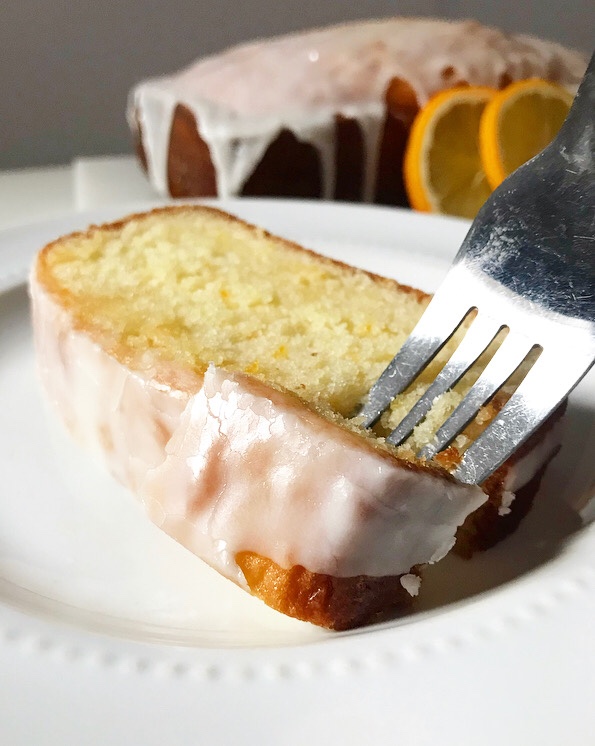 I, however, have no patience around Meyer Lemon Drizzle Cake.
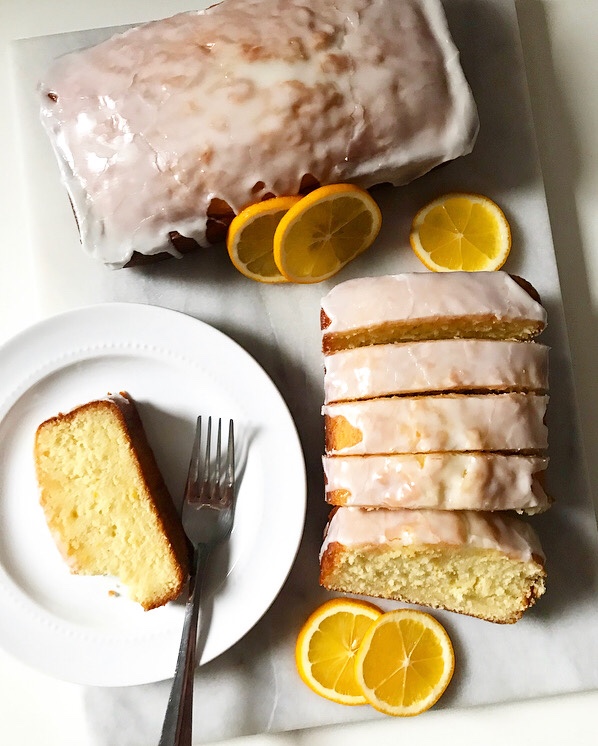
Meyer Lemon Drizzle Cakes
makes two 9×5-inch loaf cakes
Cakes:
2 cups granulated sugar
1 tablespoon fresh meyer lemon zest (about 2 medium meyer lemons-worth)
1 cup (2 sticks) unsalted butter, room temperature, cut into 16 pieces
4 large eggs, room temperature
1 tablespoon pure vanilla extract
3 cups all-purpose flour
2 teaspoons baking powder
1/2 teaspoon Kosher or sea salt
1 cup milk (preferably whole), room temperature
Syrup:
2/3 cup freshly squeezed meyer lemon juice (about 4 medium meyer lemons)
2/3 cup granulated sugar
Icing Drizzle:
2 cups confectioner’s sugar
4 tablespoons freshly squeezed Meyer lemon juice (about 1 1/2 medium meyer lemons)
Place an oven rack in the center position. Preheat oven to 350F. Grease two 9×5-inch loaf pans. Line with parchment, leaving overhang on the two long sides, and grease again. Set aside.
Make the cake. Combine all ingredients in a large mixing bowl. Use an electric mixer to mix on low for 30 seconds. Increase speed to medium and mix for 3 minutes. Batter will be thick.
Transfer batter to prepared pans and smooth the tops with a silicone spatula or wooden spoon. Tap full pans on the counter five times to release any large air bubbles. Bake 45-55 minutes, or until a toothpick inserted in the center comes out clean. Let cakes cool in the pan for 15 minutes while you make the syrup.
Combine meyer lemon juice and sugar in a small saucepan over low heat. Stir constantly until sugar dissolves, about 3-5 minutes. Remove from heat.
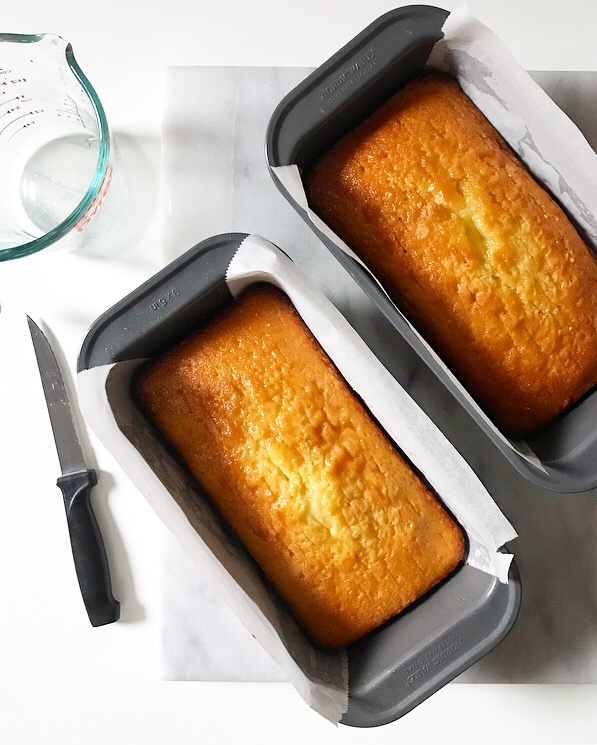
Stab warm cakes (still in their pans) several times with a thin, flexible knife or skewer, making sure to poke all the way to the bottom. Pour syrup evenly over the cakes, about 1/2 cup each. Let cakes soak in the syrup until they are completely cool.
Line a rimmed baking sheet with parchment and set a cooling rack over the top. Use parchment overhang to remove soaked cakes from pans. Discard used parchment and place cakes on prepared cooling rack.
Make the icing. In a small bowl, use a fork to whisk together confectioners sugar and meyer lemon juice. Mixture should be very thick, but pourable. If it’s too thick, add more meyer lemon juice by the teaspoon. Pour over the centers of the cakes—the icing should “spread” itself, but you can coax it a bit with the back of a spoon. Let sit for 20 minutes to set. Move cakes to a serving plate before slicing and serving.
Leftover cake will keep covered at room temperature for up to three days or in the refrigerator for up to five. Meyer lemon flavor will intensify over time.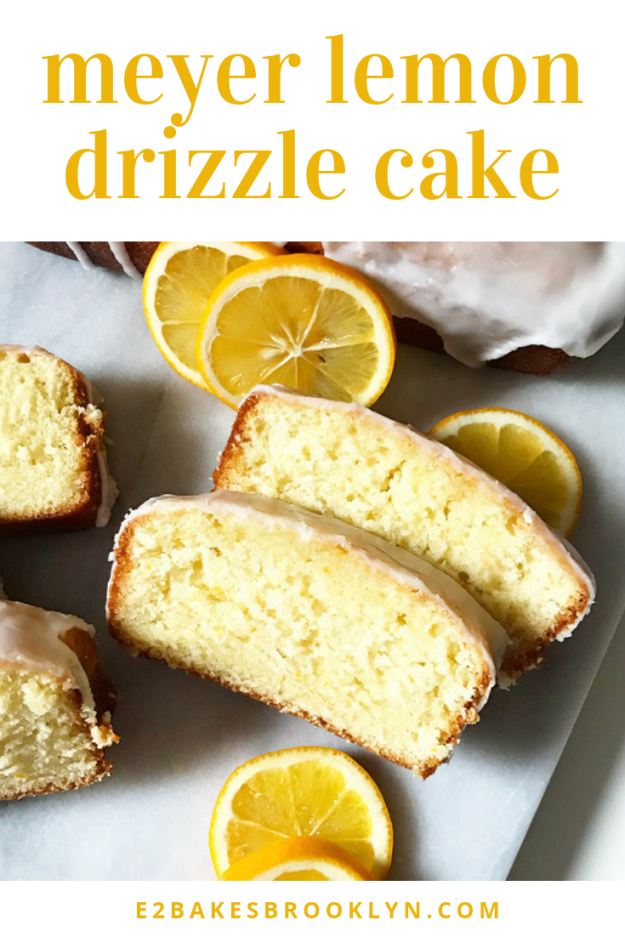
 If I could change one thing about myself, I think I’d like to be a morning person. I really like mornings (especially the lazy variety), but I have such difficulty getting myself out of bed that I rarely enjoy them. It’s a whole horrible, eight-alarm ordeal on weekdays and I almost always sleep past 11 on the weekends, so I’m either a bleary-eyed mess or out like a light for the start of most days. But, on extremely rare occasions, I wake up early of my own volition—usually with the aid of jackhammers outside my window or the sun shining in my eyes—and I get to enjoy the morning, starting with making myself a nice breakfast.
 Sometimes mixing flour, sugar, and butter is an act of self-care.
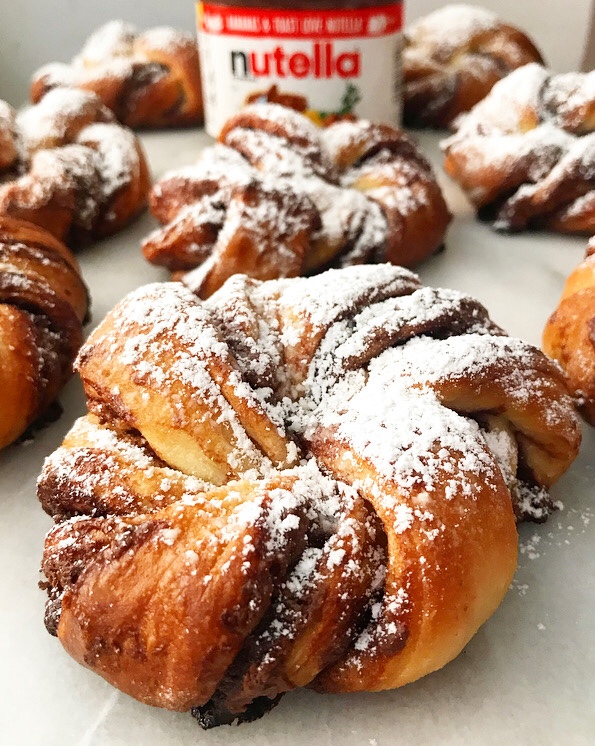
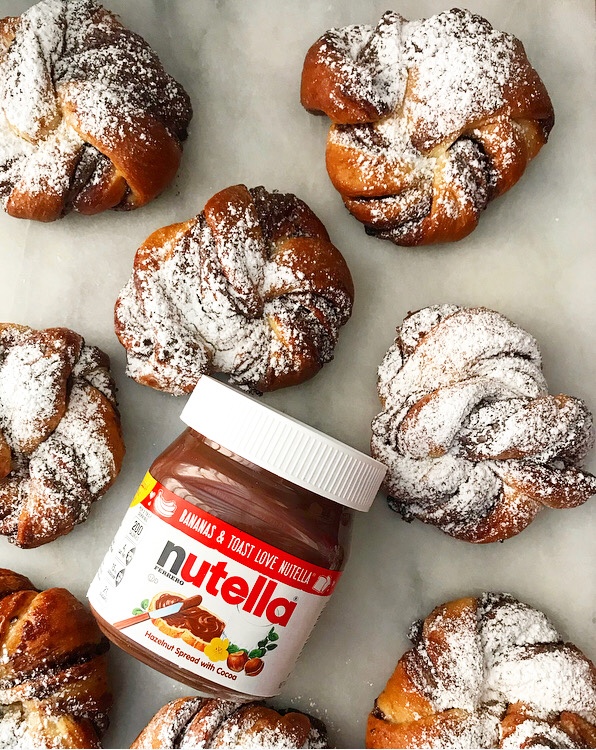
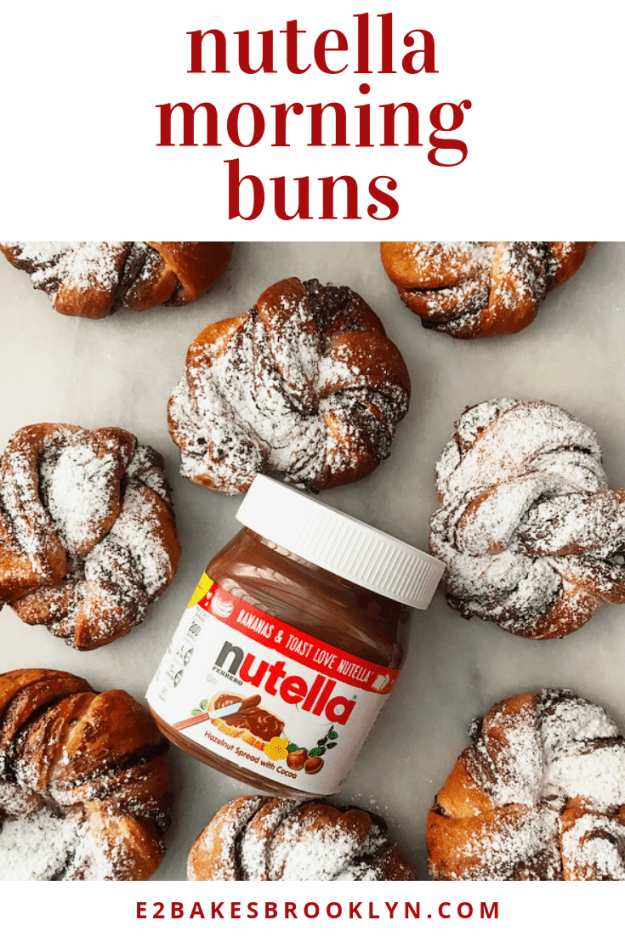
 For something so rustic and beautiful, Nutella Morning Buns are surprisingly simple to make and come together in a pretty reasonable amount of time. It takes me about two hours to make a batch from the time I decide that a soft, warm bun full of chocolate-hazelnut spread might be nice to the time I dust them with confectioner’s sugar and dig in.
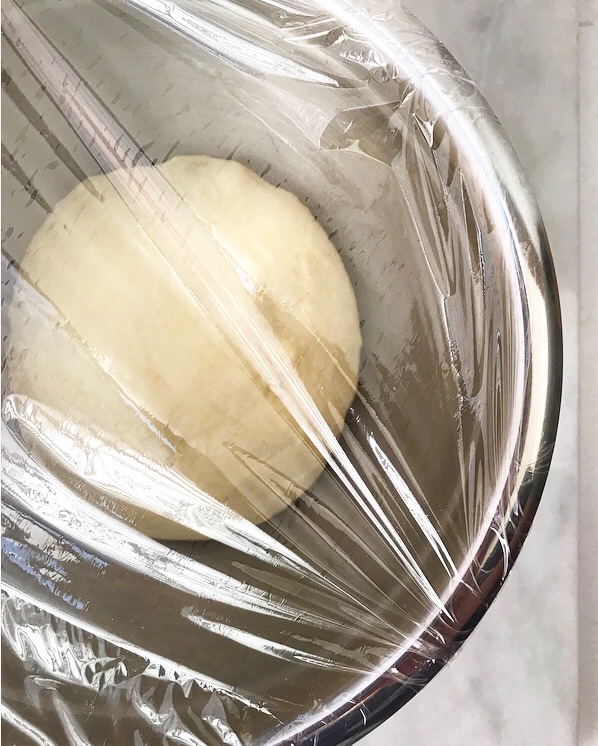
 The dough is very straightforward. It’s got all the usual suspects: flour, a little sugar, butter, milk, and an egg. It requires yeast, of course, but I use the instant stuff here, which simplifies the already simple process, making these buns incredibly approachable.
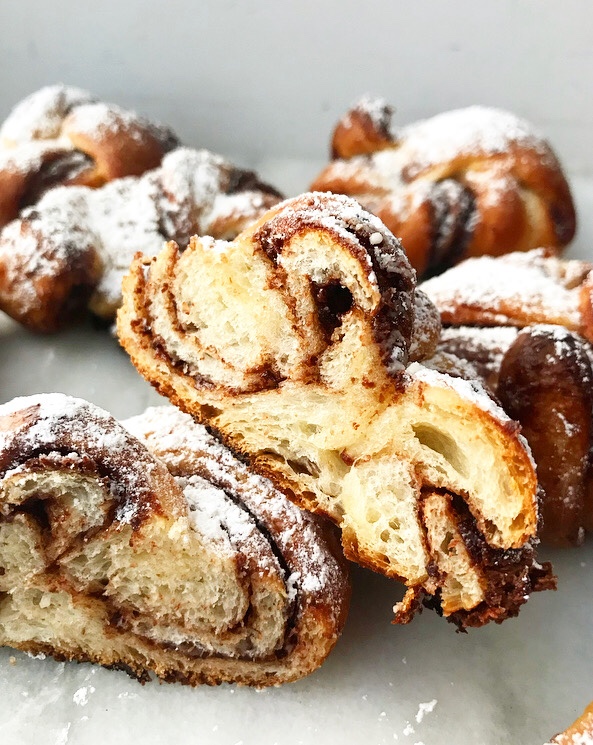
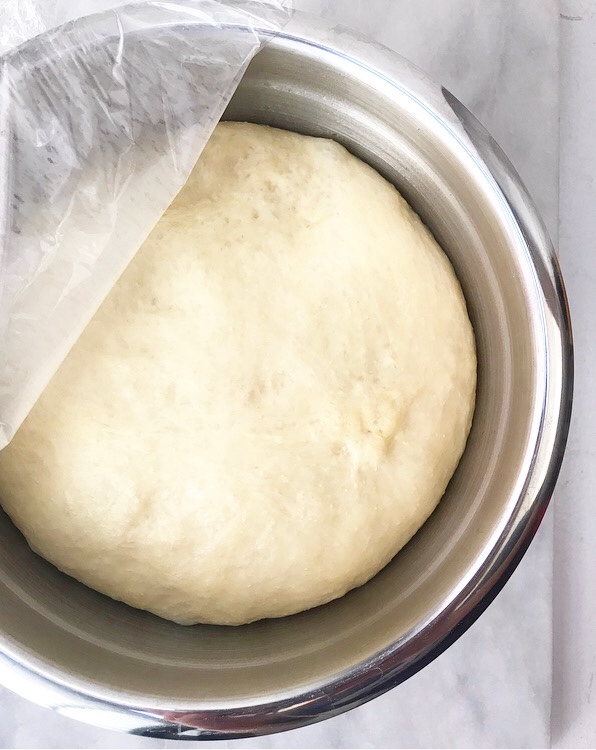
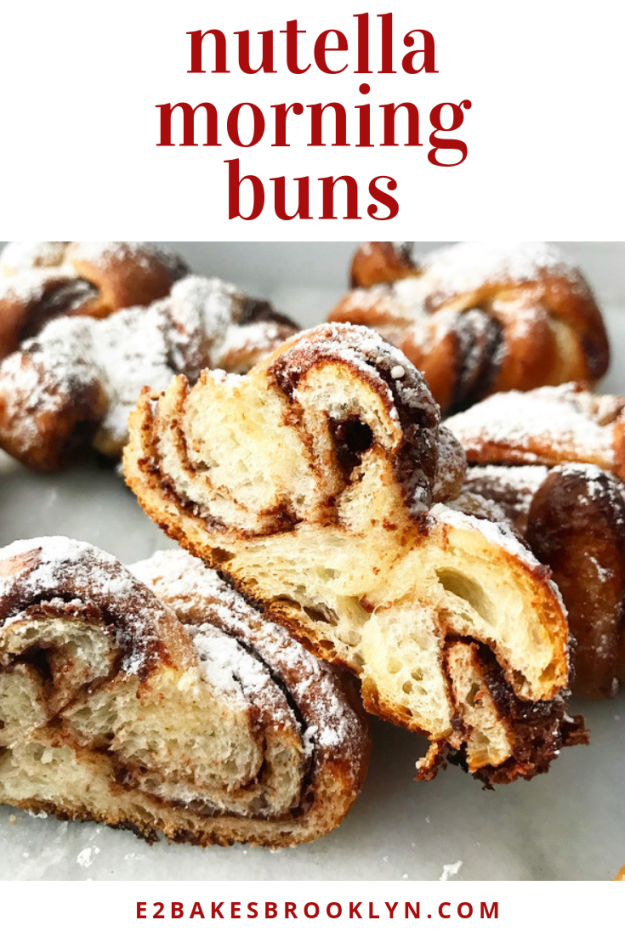
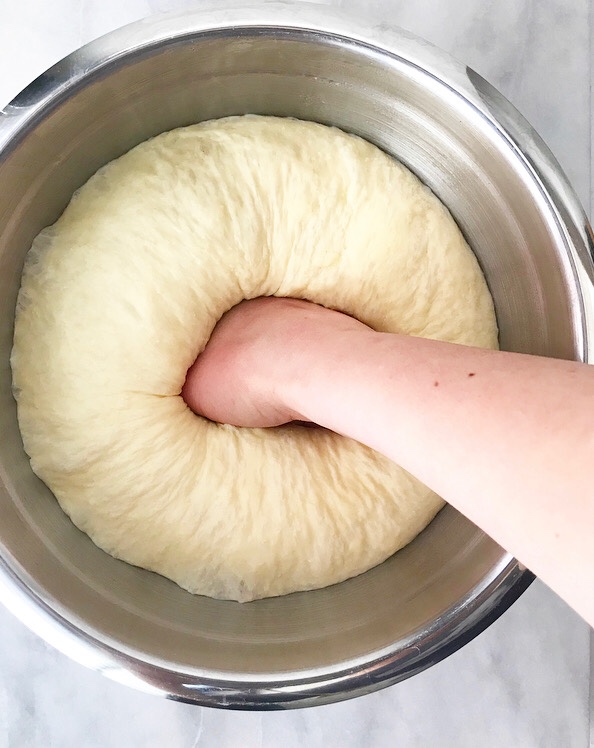 If there’s anything that’s intimidating about making Nutella Morning Buns, it’s probably shaping. Never fear though—it’s really simple and satisfying. Once your dough has risen for 40 minutes, punch it down and roll it into a large rectangle. Spread it with a thin layer of Nutella and then fold it like a letter, so that you have alternating layers of dough and filling. Use a sharp chef’s knife to trim off the ends and slice the rest into a dozen 8×1” strips.
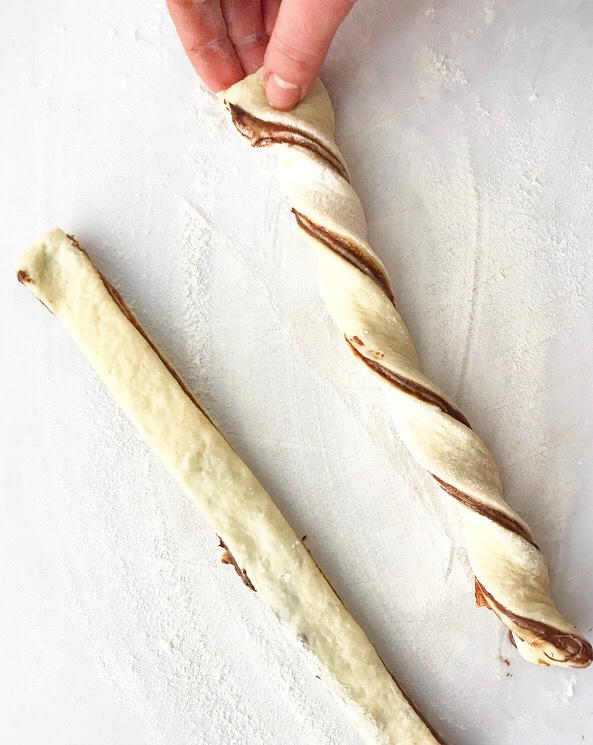
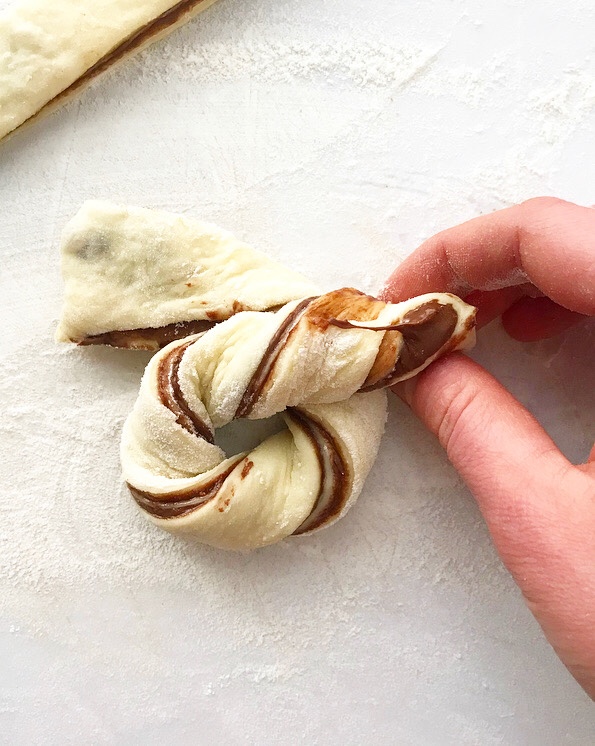
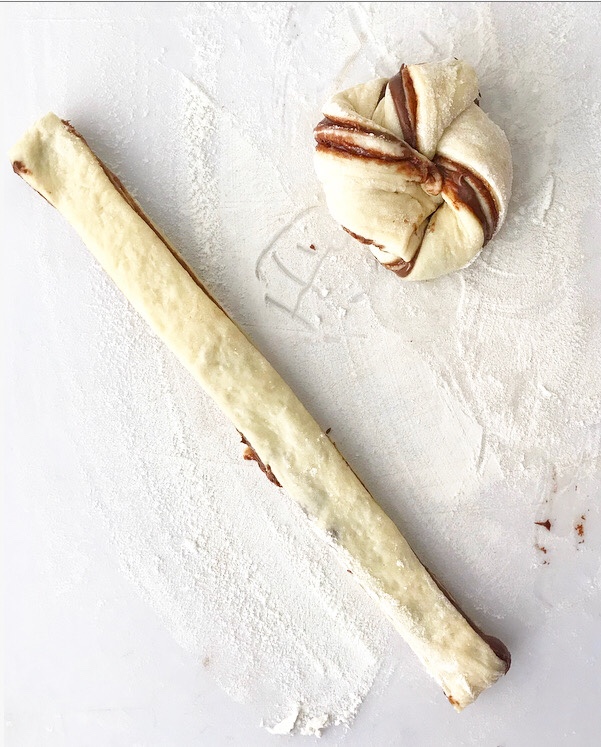
 Working with one strip at a time, twist it up. Then cross the two ends over each other and tuck them into the hole that forms in the center. BOOM! Dough shaped!
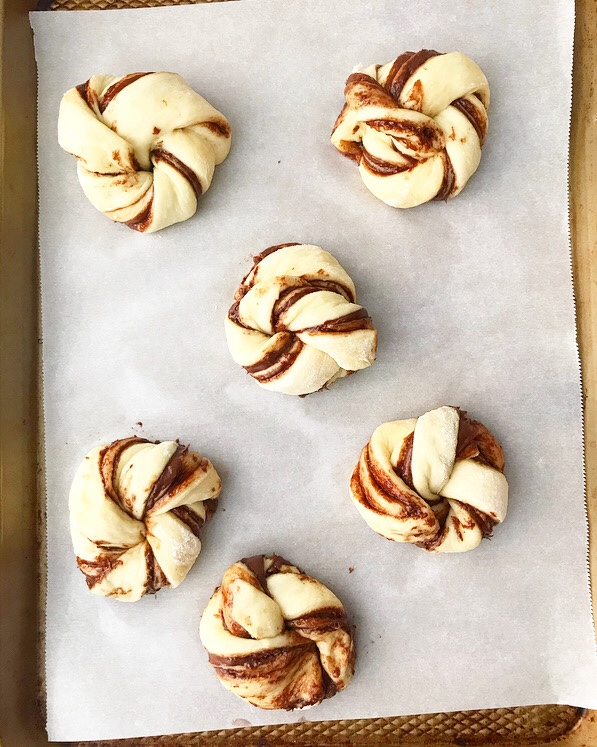
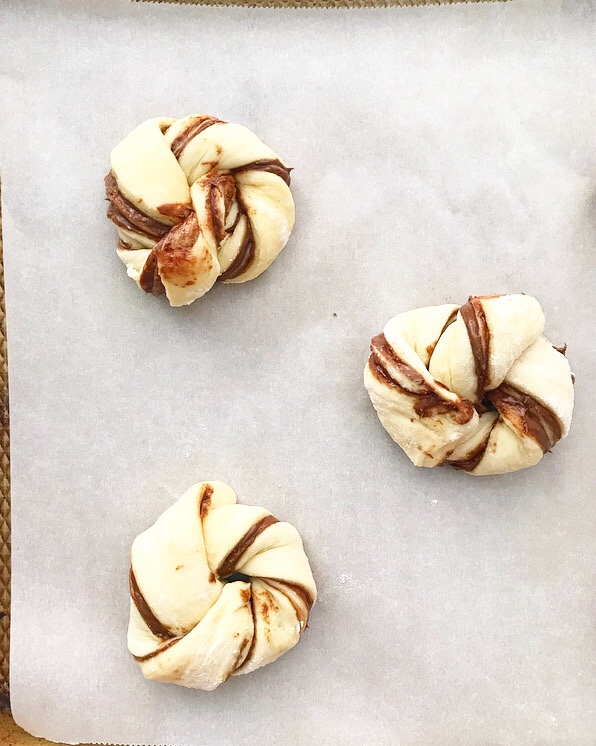
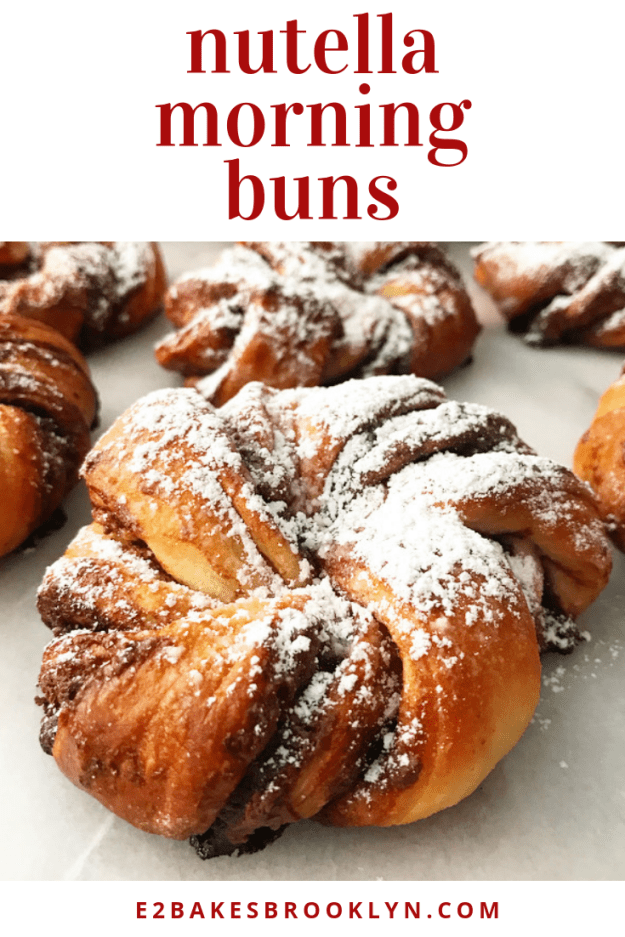
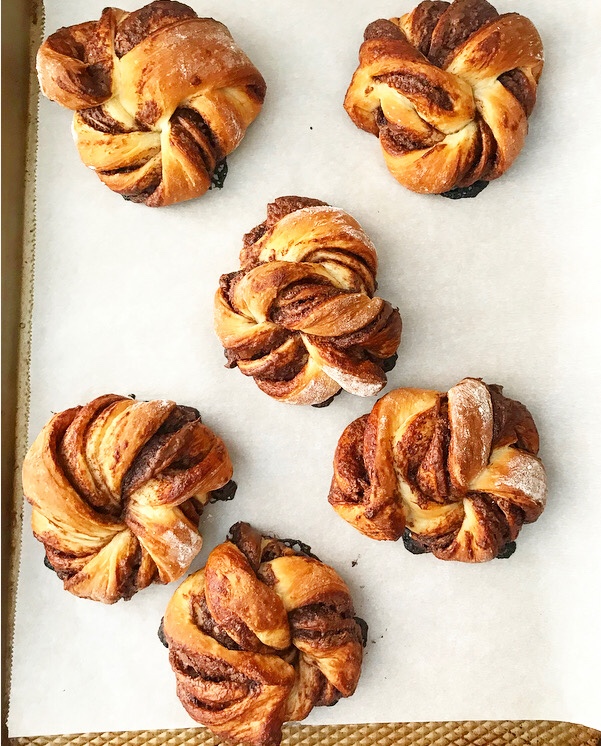 Repeat with the rest of your strips and then let them rise a little longer. If some ends come untucked, just nudge ‘em back with your fingers before baking. Or don’t. These are the sort of buns that can take all sorts of manipulation and still look gorgeous when all is said and done. And even if they don’t, a swipe of melted butter and a dusting of confectioner’s sugar can cure all manner of ugly pastry.
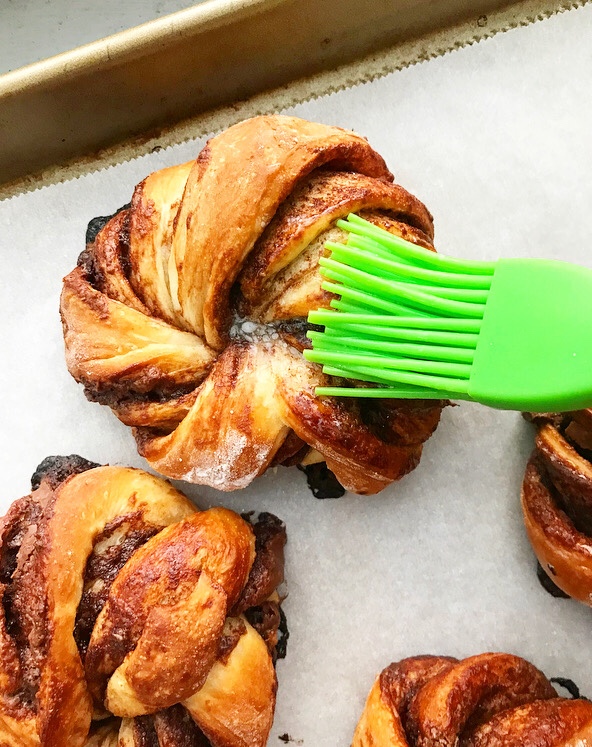
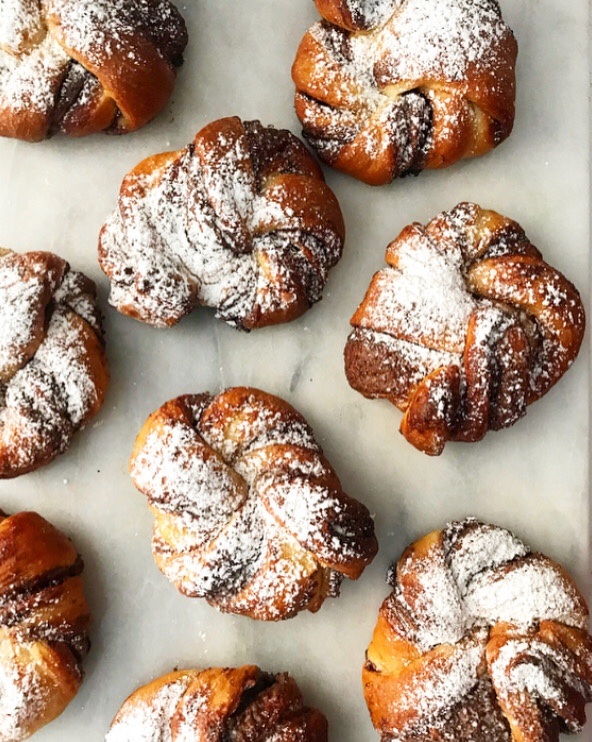 But is there such a thing as ugly pastry when Nutella is involved? I don’t think so. Or if there is, nobody who tried one of these buns during testing found the time to tell me. Oh, and all the test batches were gone (GONE!) within 45 minutes of coming out of the oven, so I’ll just let that speak for itself.
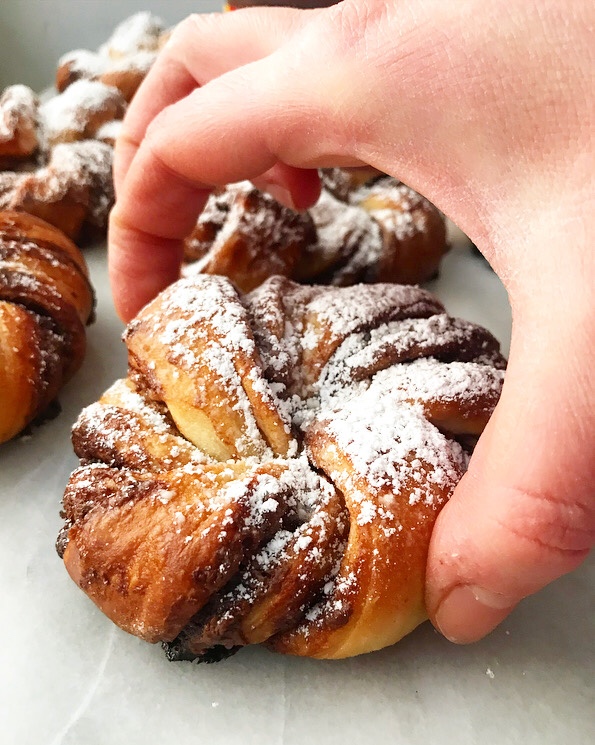 I’m pretty sure it’s impossible to have anything but a beautiful morning when these are around.
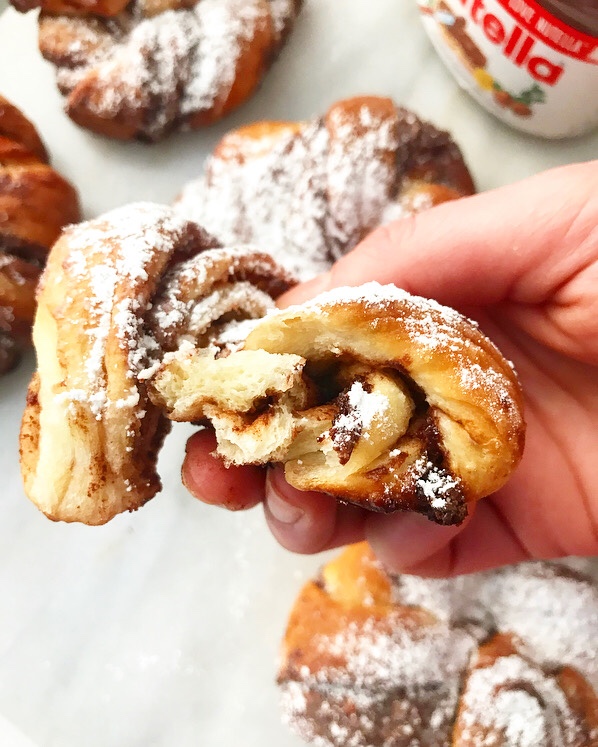
 Texans love a ruby red grapefruit, and while I have not been a resident of my home state for more than a decade, my mid-winter citrus needs are still very real. Unfortunately, the window for finding spectacular grapefruit in NYC is alarmingly short—just a few weeks!—and so I am compelled to take advantage. It’s my duty as a displaced Texan. Or something.
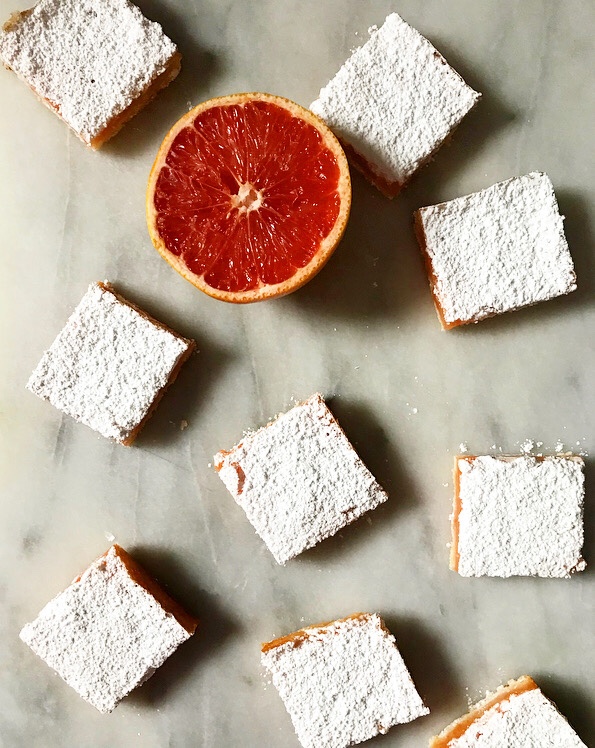 Grapefruit
 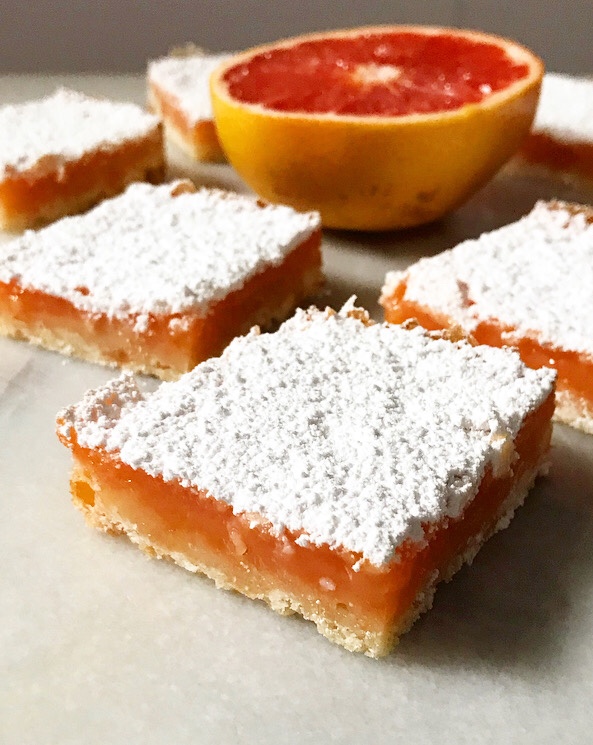 These beauts are a seasonal spin on their more traditional
 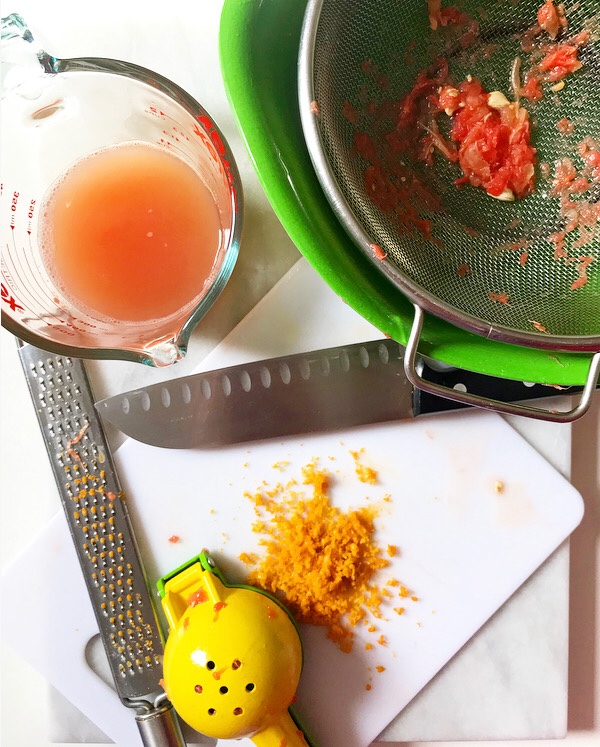 Now, if you’ve ever cooked with grapefruit, you might have noticed that it tends to lose its natural color and tartness as it is heated. I learned to mitigate this last year while testing Grapefruit
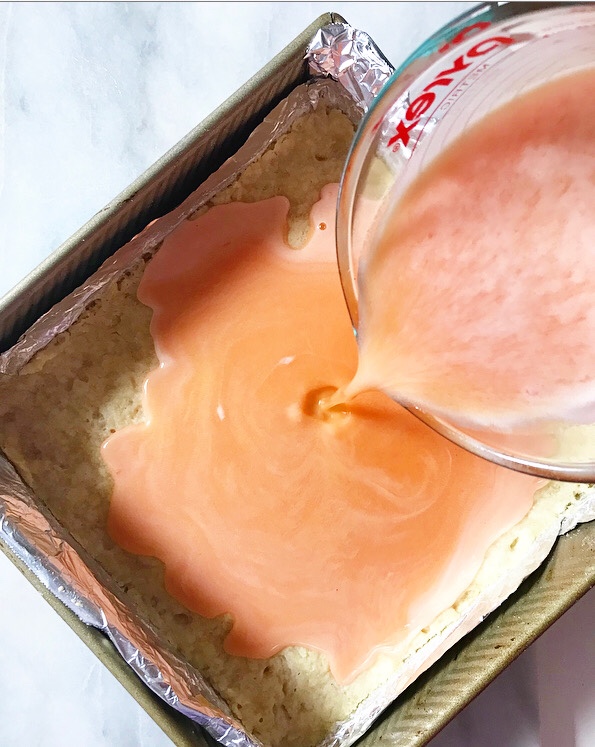
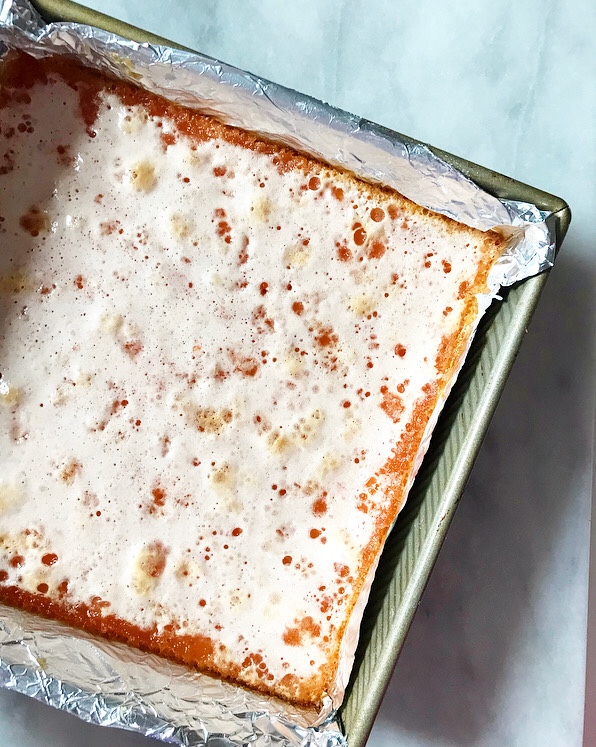
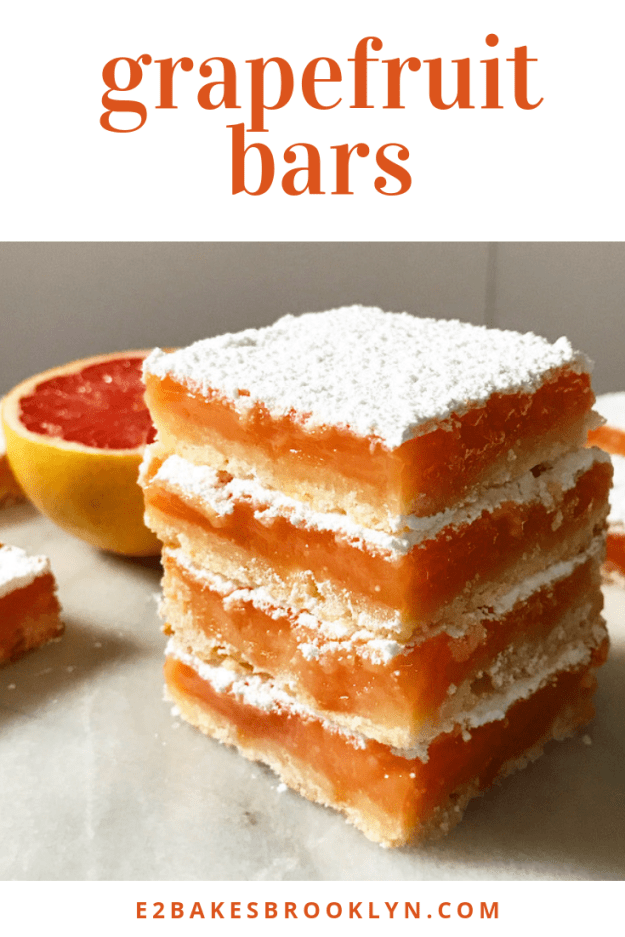
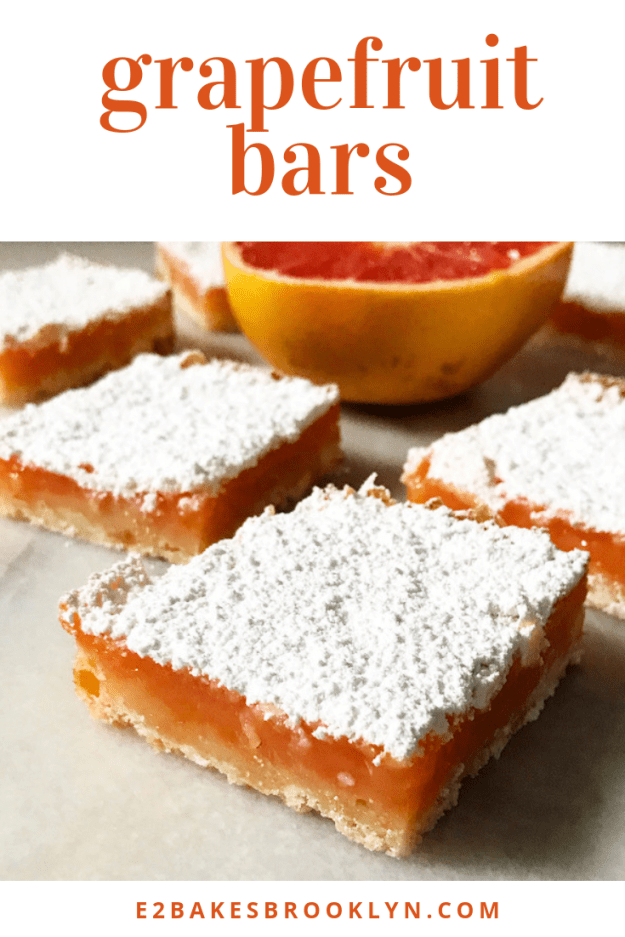
 Here, grapefruit flavor is added in two ways: first, by reducing a cup of fresh grapefruit juice by half, and then by rubbing zest into granulated sugar to release the citrusy oils. I also like to add a couple of tablespoons of lemon juice to ensure that the bars have a tart finish. The idea of omitting the lemon in favor of a “pure” grapefruit flavor is tempting, but I promise that leaving it out will leave you missing the acidic sharpness that makes these bars so singularly great.
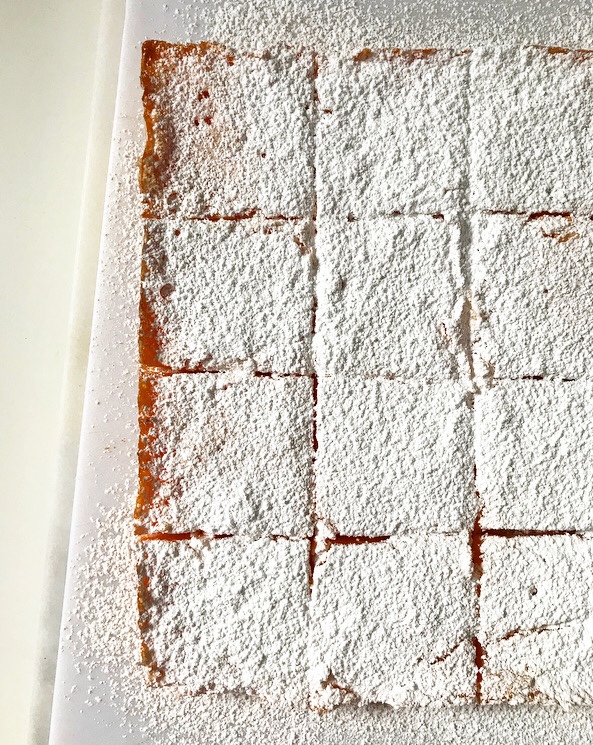
 The sweet-tart ruby red grapefruit flavor pairs perfectly with the lightly-squidgy texture of the filling—it’s the sort of thing I daydream about sinking my teeth into. Really. I have caught myself thinking about the feeling of taking the first bite into a Grapefruit Bar more than a few times since I finished testing these a couple of weeks ago. Is that not normal?
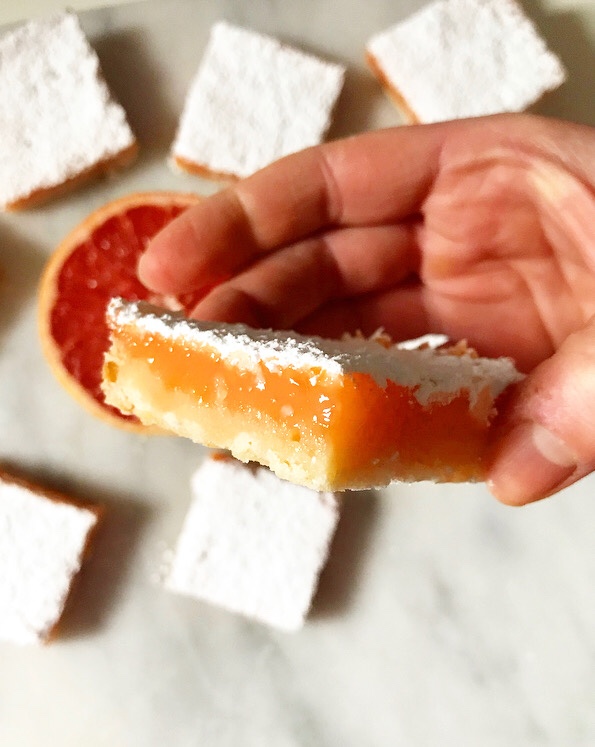 If not, I don’t want to be normal. Life’s too short not to daydream about the feeling of soft-set grapefruit filling and crisp, buttery shortbread between your teeth. It’s that sort of wholesomeness that makes this whole being a professional homebaker thing worthwhile.
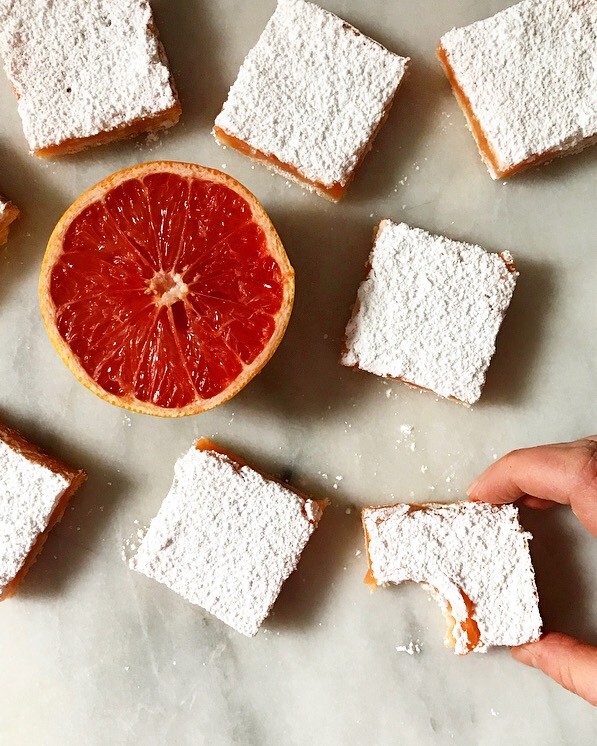
 I am irrationally irritated by the fact that strawberries are so popular in Valentine’s Day treats. The amount of time I spend stewing over this sort of thing is more than a little ridiculous, but can you blame me? Strawberries aren’t in season right now—most of the punnets in the produce section have the flavor and texture of a styrofoam cup, but they are red and pretty, so there’s no doubt that this February crop will sell like hotcakes* for years to come.
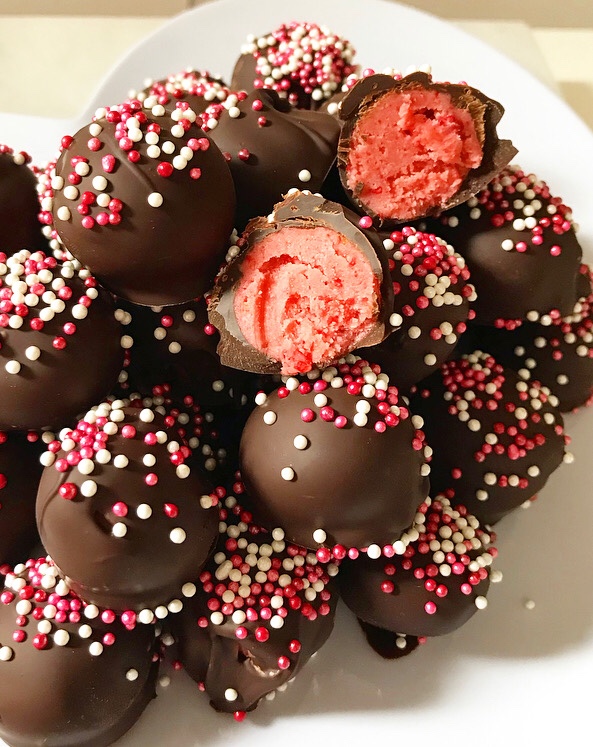 Personally, I like to bypass the off-season fruit this time of year and reach for freeze-dried strawberries instead. I buy ‘em at Trader Joe’s, whirl them into powder and fold it into all sorts of
 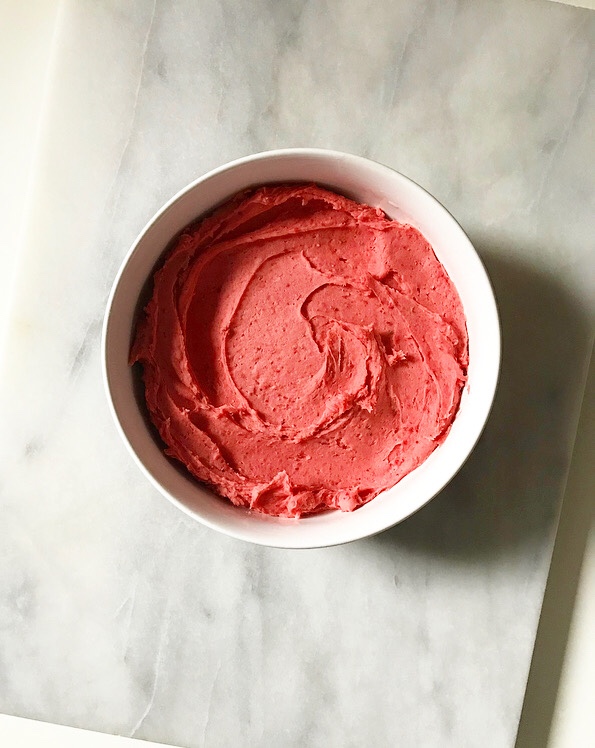 Fluffy buttercream with a fresh strawberry punch? Sign. me. up ❤
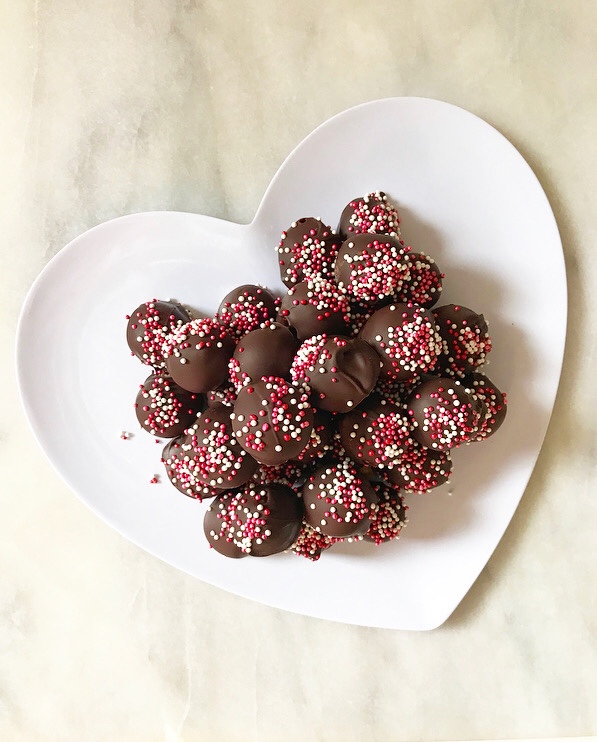
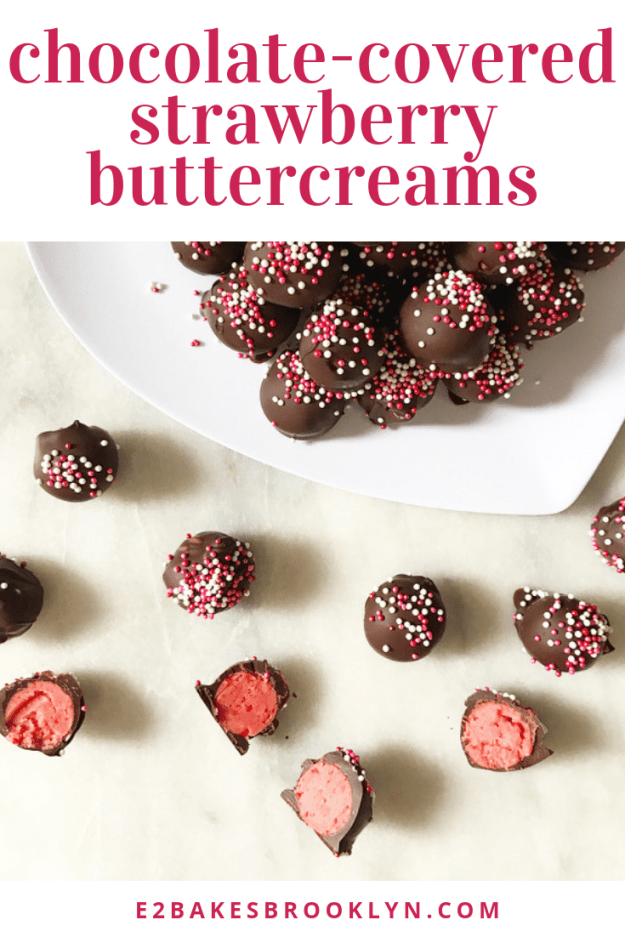
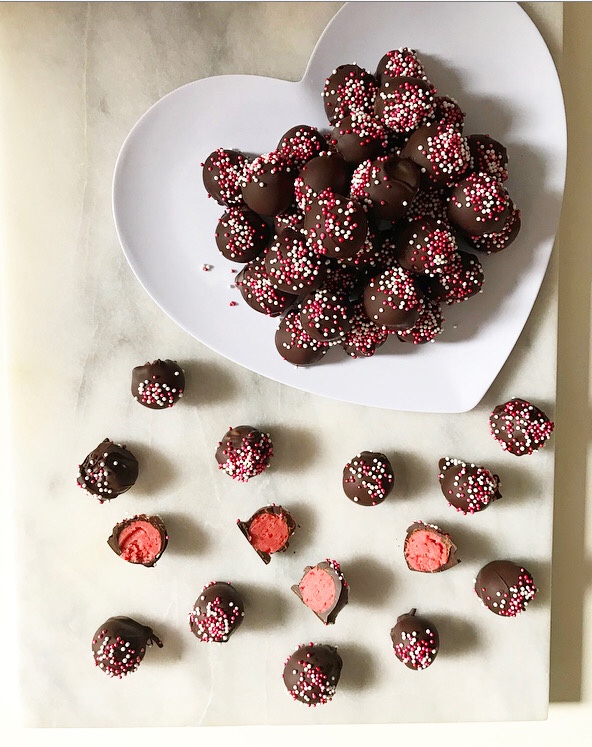 Frosting is, of course, most traditionally used as a flourish on cakes and cookies and bars, but today, I’m putting it in the spotlight with these Chocolate-Covered Strawberry Buttercreams!
 These bite-sized bonbons have sweet, creamy strawberry buttercream centers, a crackly coat of dark chocolate coating, and a smattering of sprinkles—I don’t know about you, but that combination of things is definitely the way to my heart.
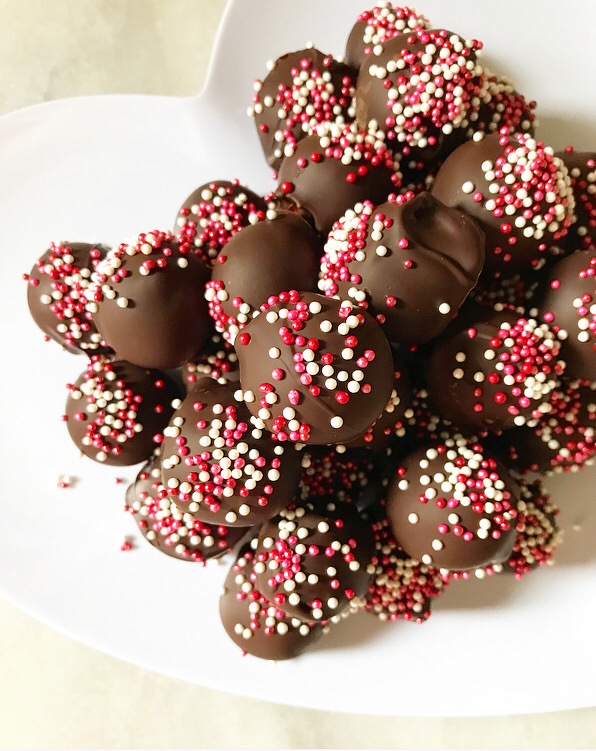 Add to that that these no-bake beauties are are simple to make and keep for days on end (as long as your heavy cream stays good), and you’ve got a Valentine’s Day treat that’ll have people lining up to get your number.
 I mean, they may only want it so that they can get more homemade candy, but is that such a bad thing?
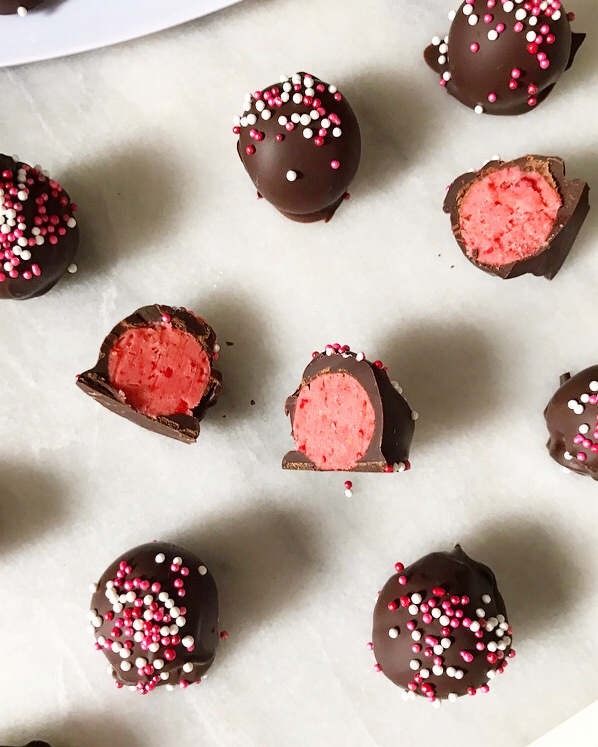

 I’m not sure exactly how I’ve allowed 3+ years to go by without giving you my recipe for Chocolate Cut-Out Cookies, but I’m happy to be rectifying that travesty today.
 I mean, how dare I deprive you of this dead-easy recipe for these deeply chocolaty, shockingly tender blank-slate cookies for 362 posts! How. Dare. I.
 You may think I’m being dramatic—they’re cookies, not rocket science—but these are really delicious. Like more chocolaty than any plain, no-frills cookie really ought to be.
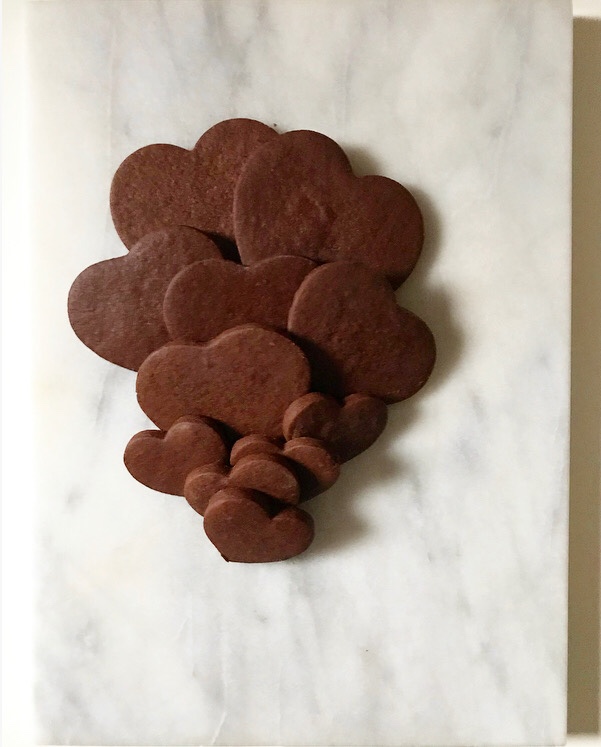
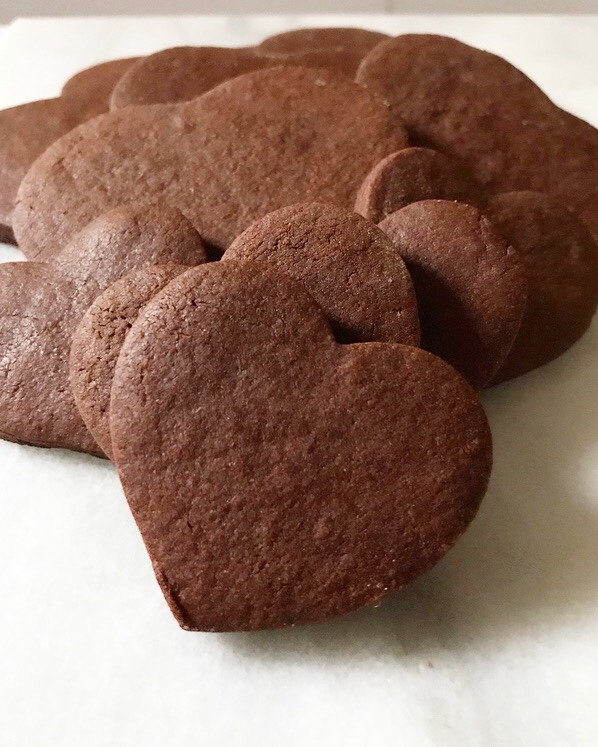 So rich and buttery and utterly decadent that you’d be more than happy to eat them by their lonesome…
 …but then you’d be missing out on the cheeriness that comes with a layer of my go-to
  Or perhaps you, like me, prefer your cookies and icing with a little light-hearted snark. I’m not one of those people that hates Valentine’s Day—
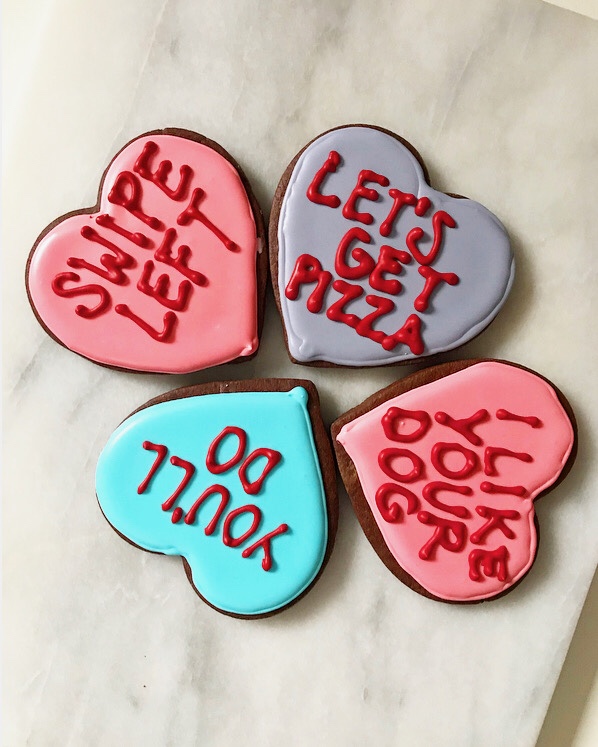 Perhaps I’ve had my heart broken one too many times. Or maybe I just know exactly what I want: a man who will tolerate me for all my weirdness and vast amount of baking equipment.
 Yes. That and a pile of cookies.