 I repeat recipes so infrequently that this is only the third time I’ve made this Chorizo Cornbread since discovering it three years ago. It came to be during a late-January snowstorm that was billed as the storm of the century (as all of them are), but was wholly unremarkable.
 Except for the cornbread. That part was pretty memorable. Especially the near-perfect breakfast sandwich I made with the leftovers.
 But I’m getting ahead of myself.
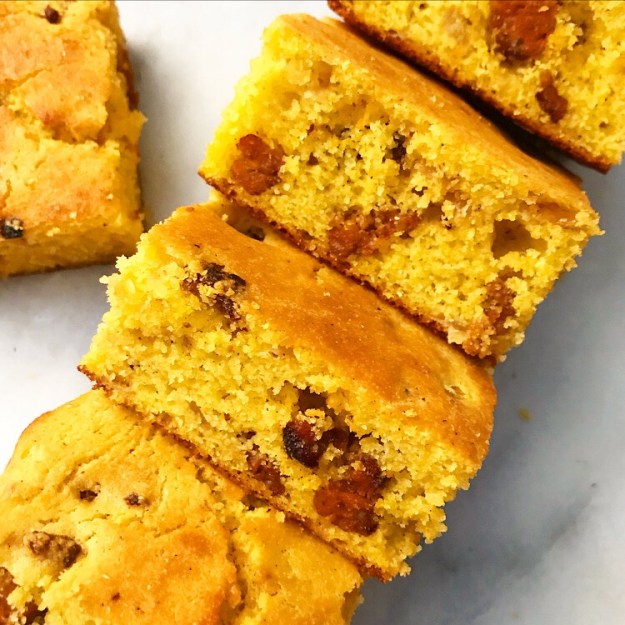
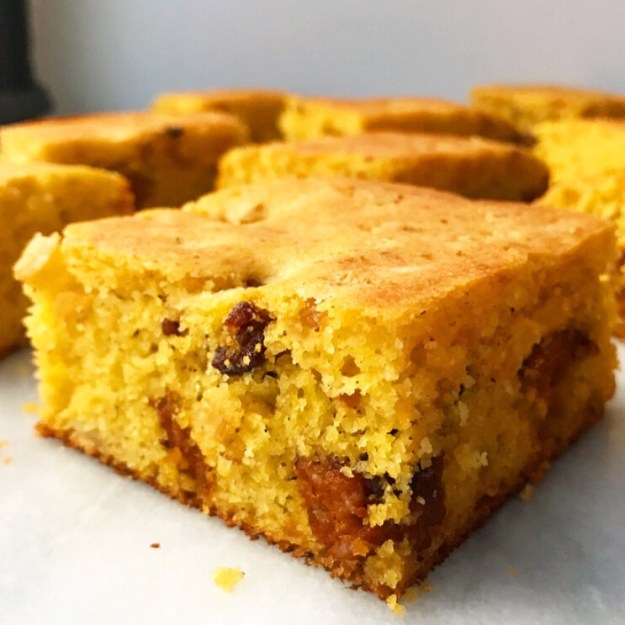
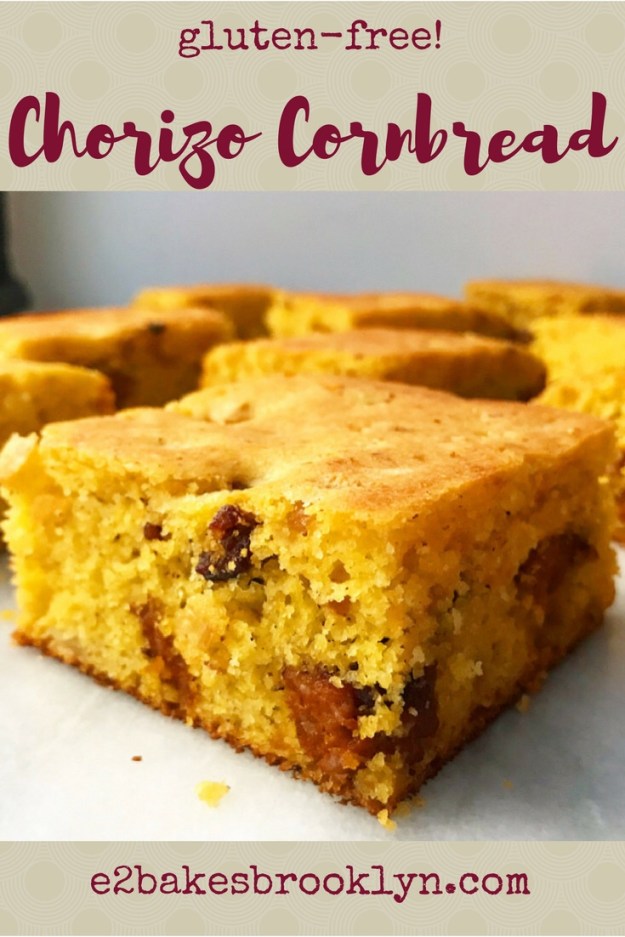
 Before we talk about leftovers or magnificent fried egg sandwiches, let’s talk about how good salty, savory chorizo is when it’s enveloped in a barely-sweet piece of cornbread. Because it’s really, really good.
 It’s easy too—this recipe takes just about an hour from the time you start browning the chorizo to the time you pull the finished cornbread from the oven. You won’t need a mixer or anything more than a bowl and a silicone spatula either 🙂
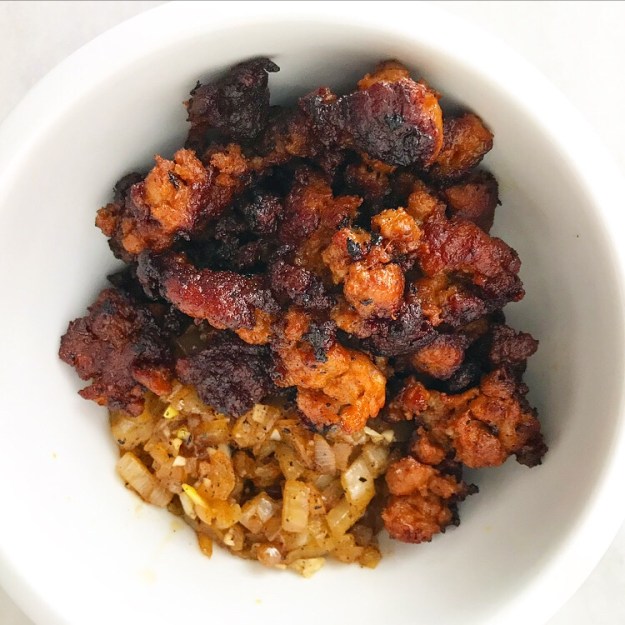 Start by browning eight ounces of raw chorizo and sautéing some diced onion and minced garlic in the rendered fat.
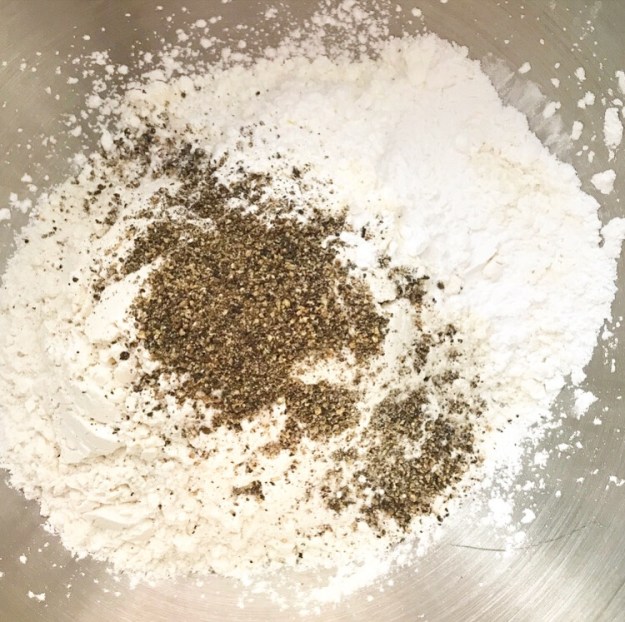
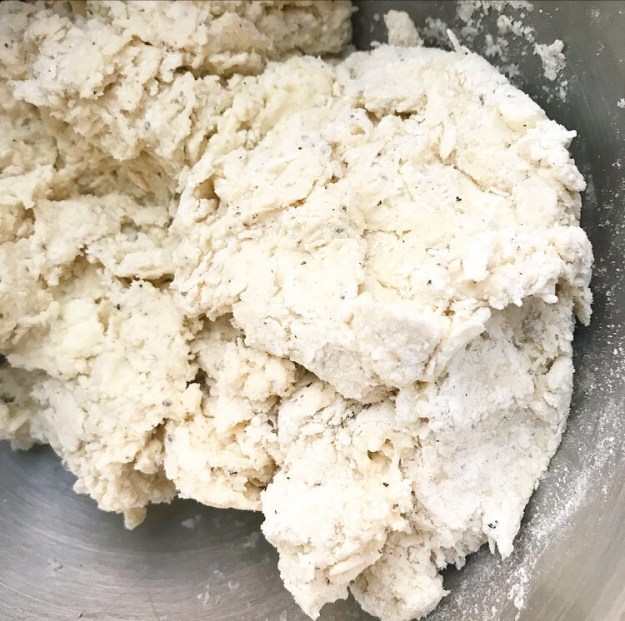
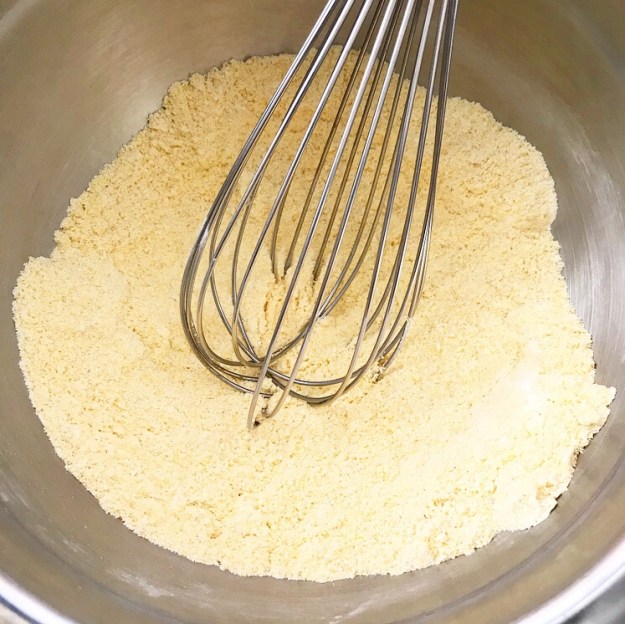 Mix together some yellow cornmeal, baking powder, salt, and a couple of tablespoons of sugar. I don’t usually add sugar to my cornbread, but I like the way it balances the salty chorizo here.
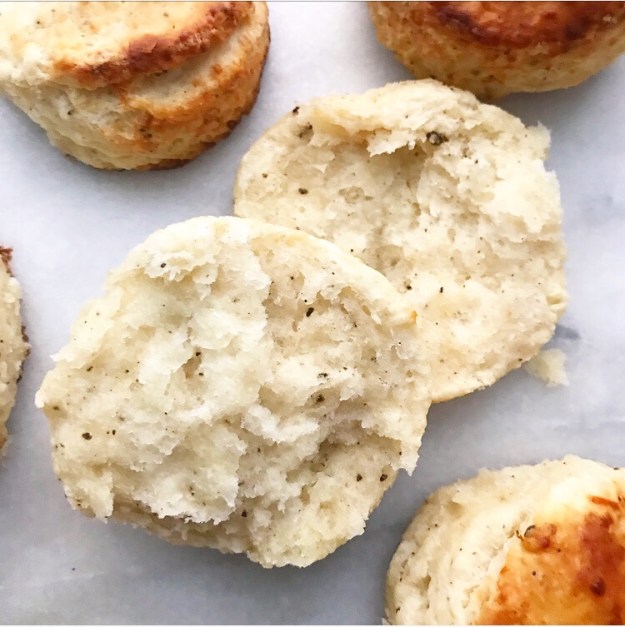
You may also notice a complete lack of flour, making this recipe gluten-free 🙂
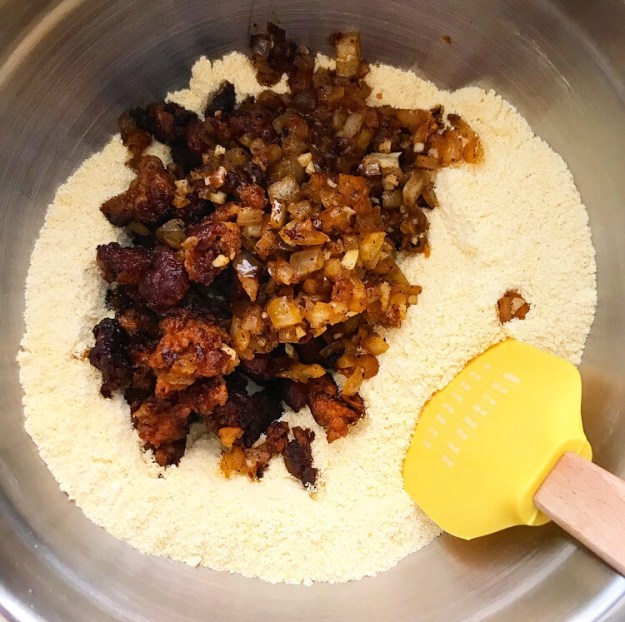
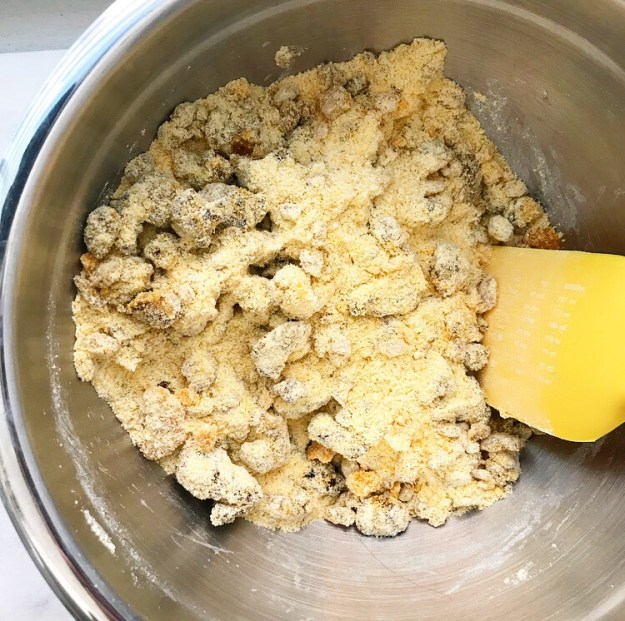 Toss the chorizo, onion, and garlic with the dry ingredients. This allows some of the baking powder to adhere to the meat and keeps it from sinking to the bottom of the finished cornbread.
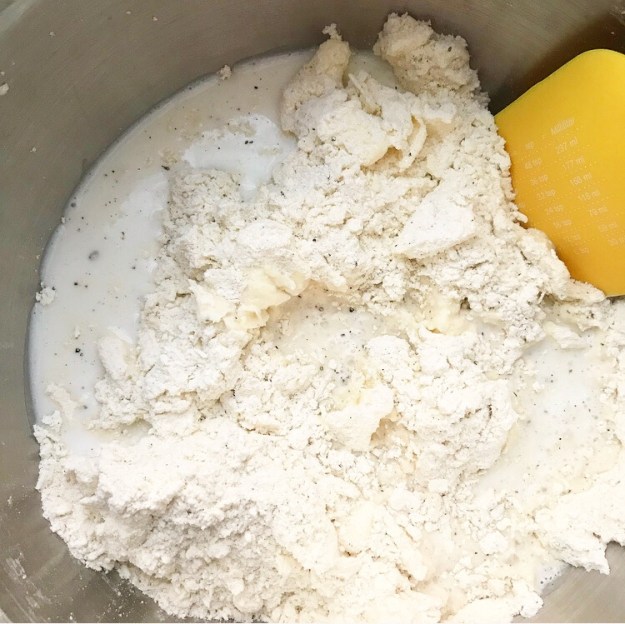
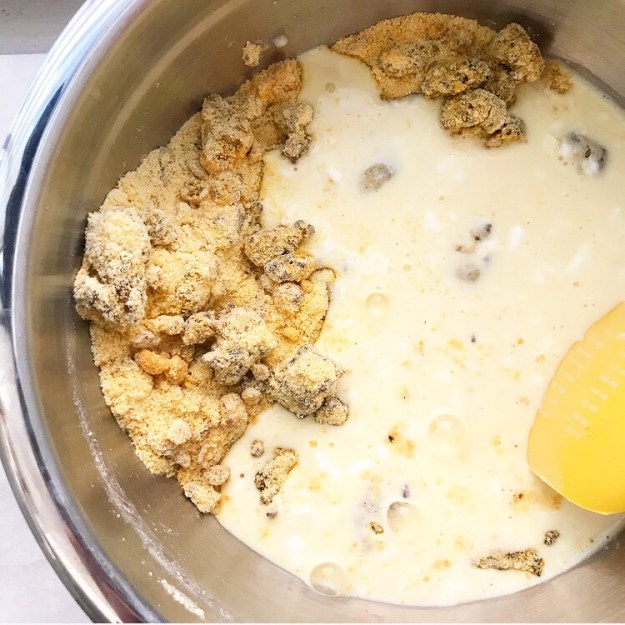 Add some milk, sour cream, and eggs…
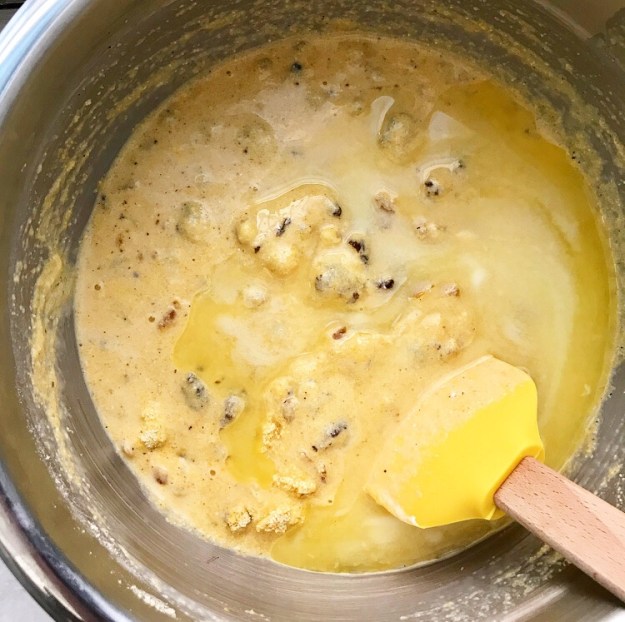 …followed by some melted butter.
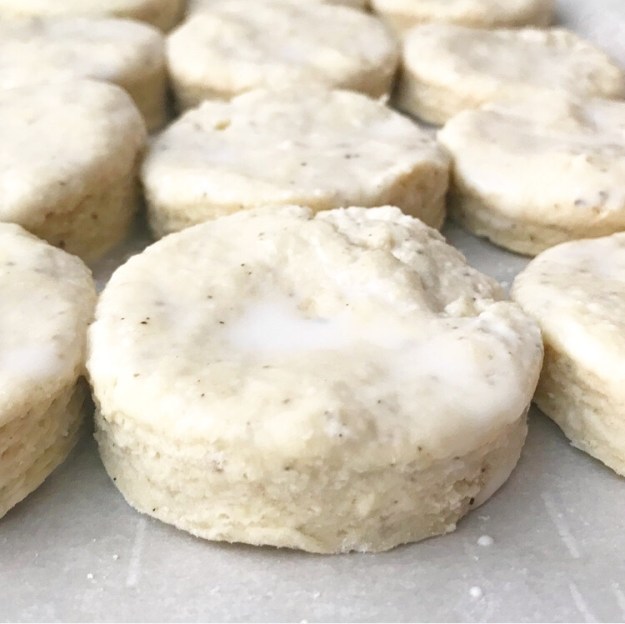
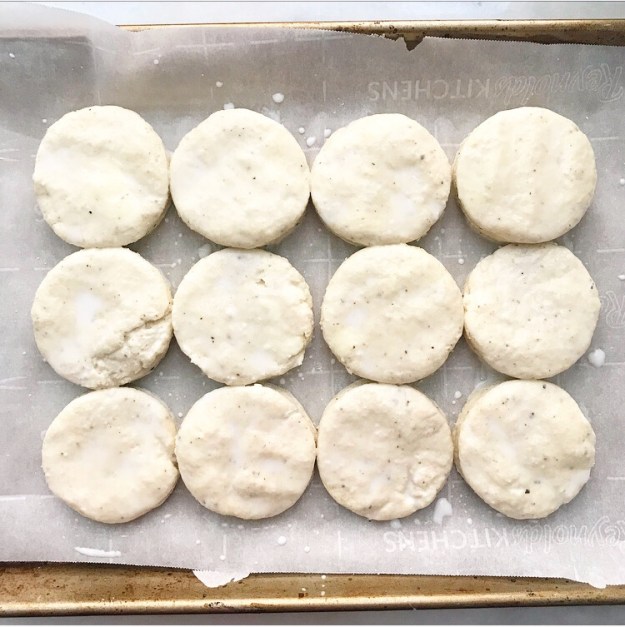
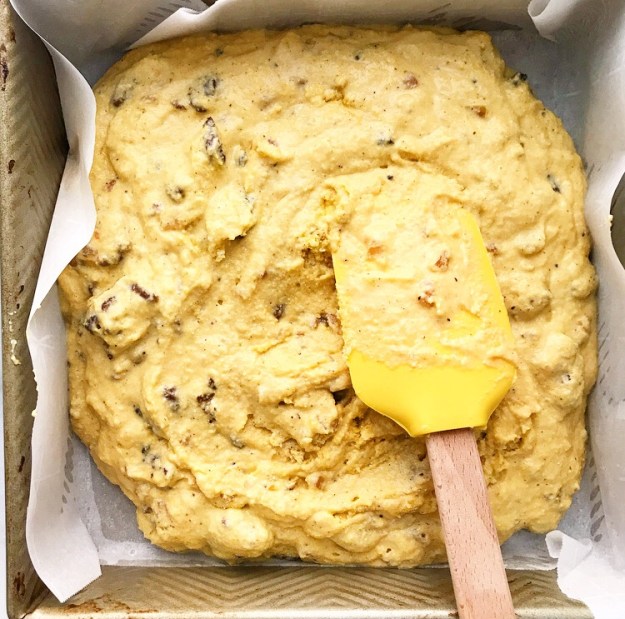 Spread it all into a parchment-lined pan…
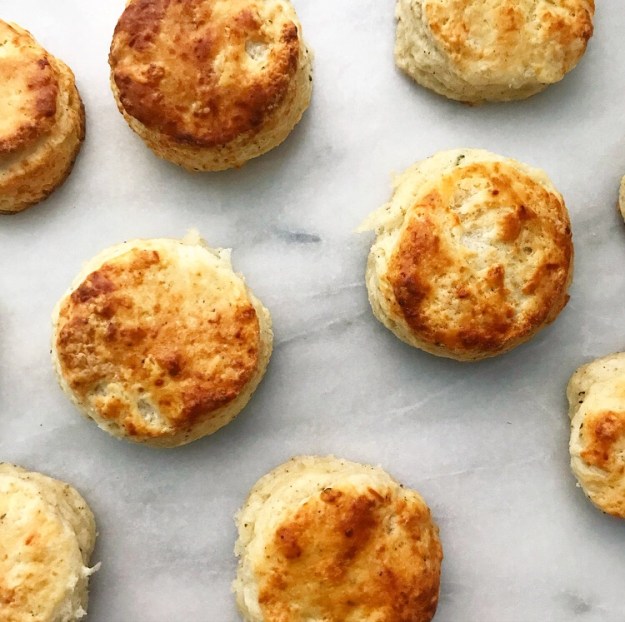
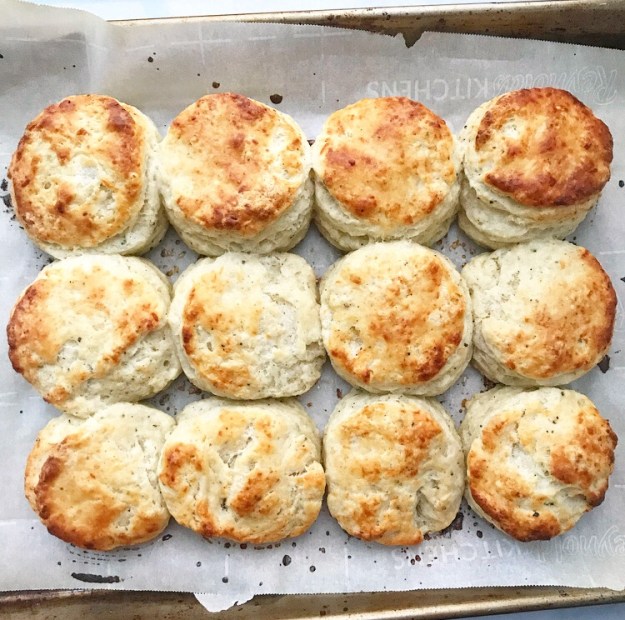
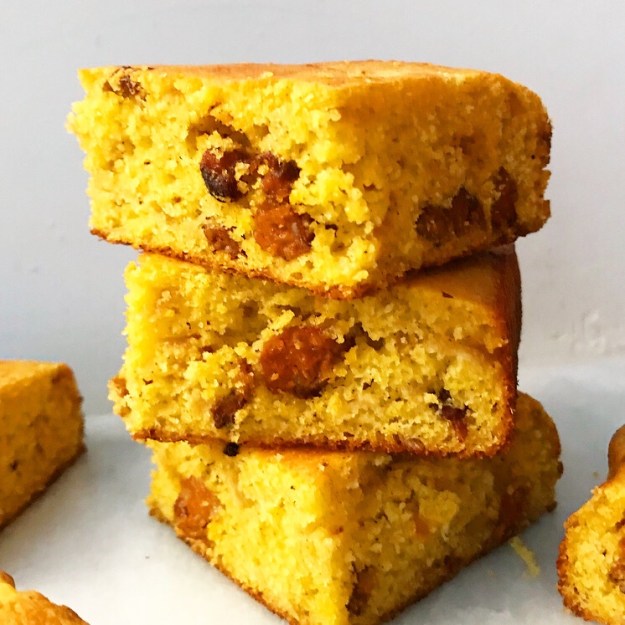
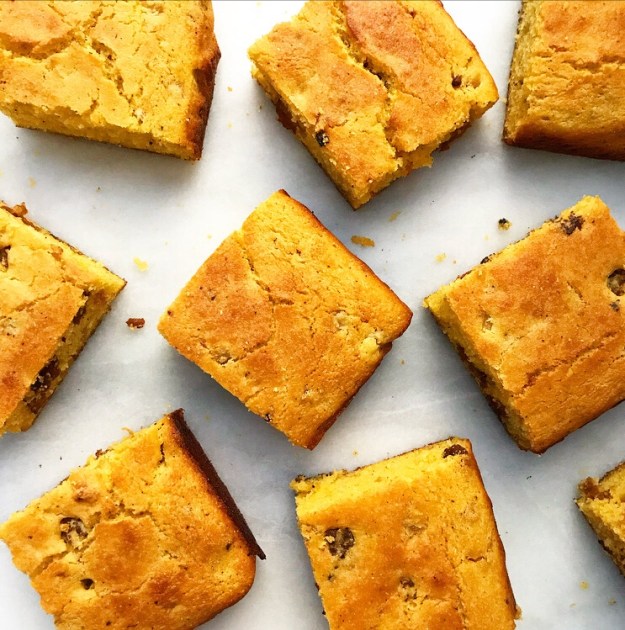
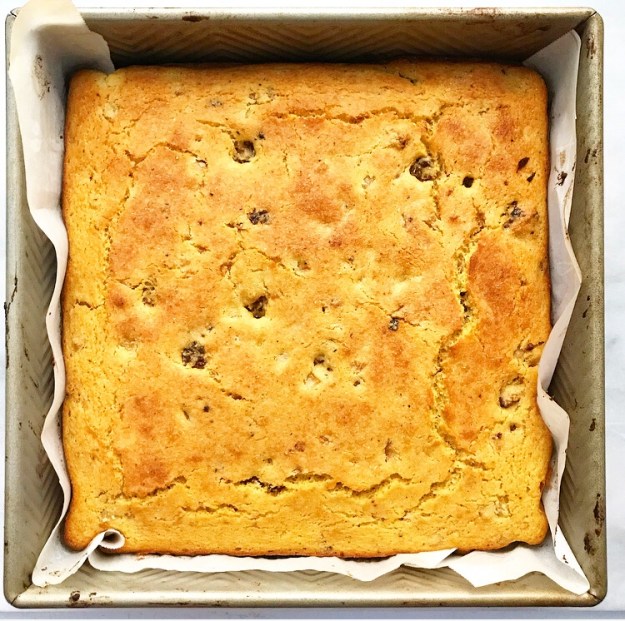 …and bake until browned and a little, uh, dimply.
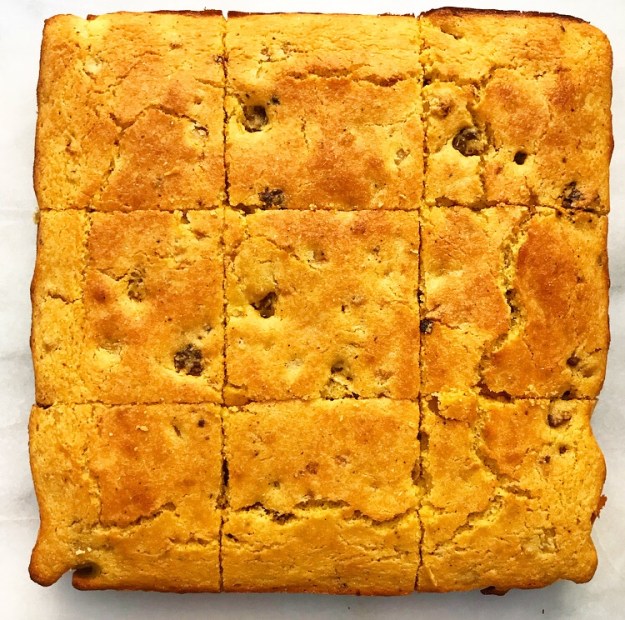
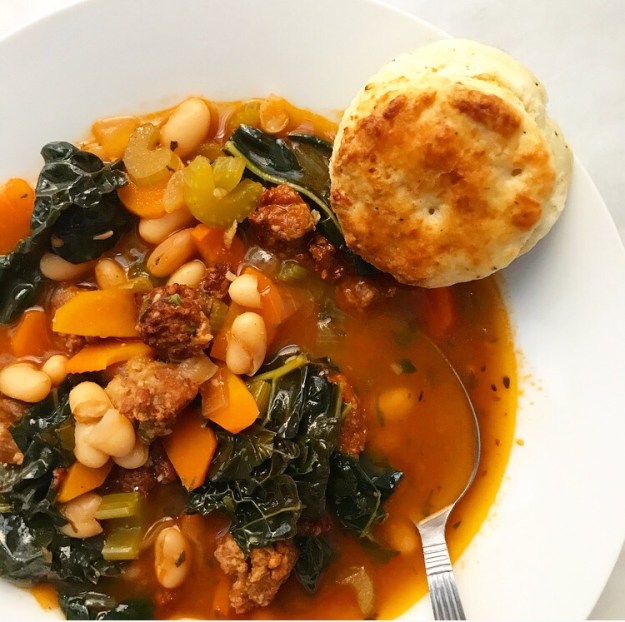
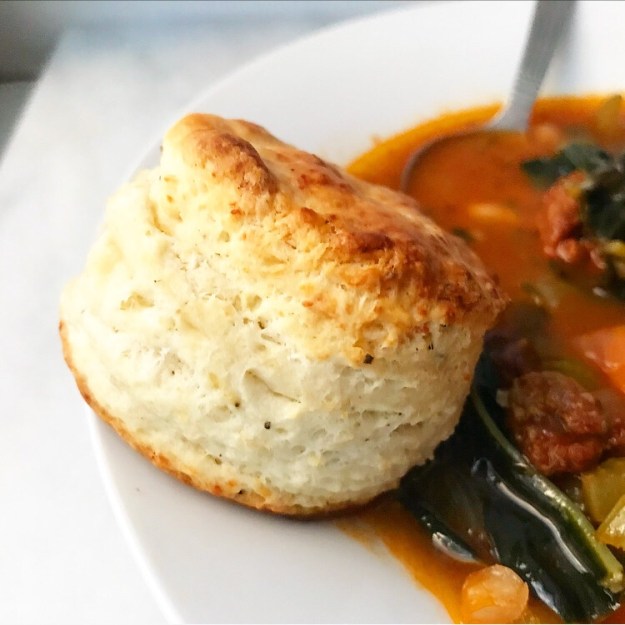
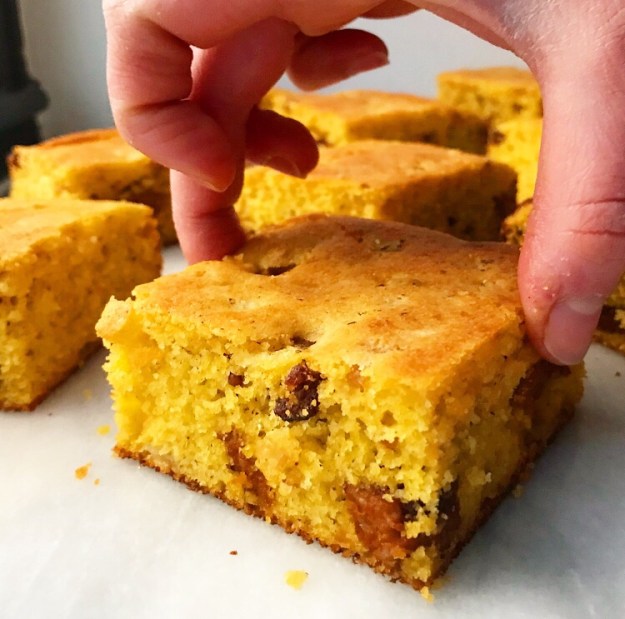
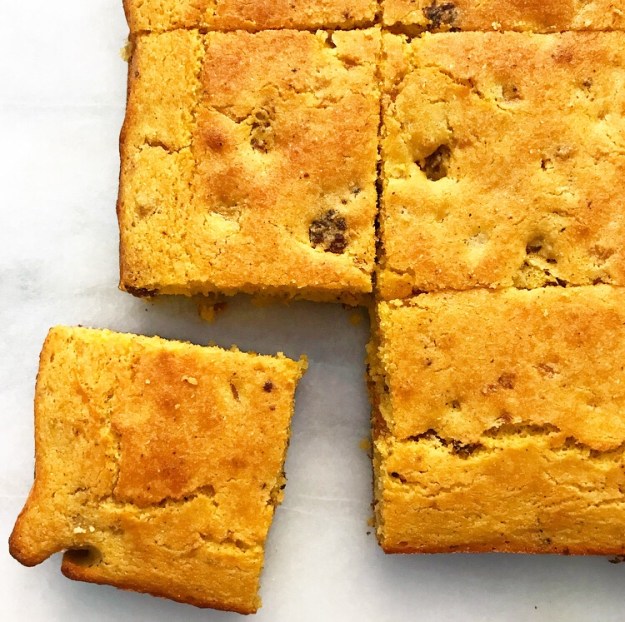 Slice it into pieces while it’s still warm. I like my Chorizo Cornbread served alongside a kale salad or with a vegetable soup or even just by itself, with or without a pat of butter.
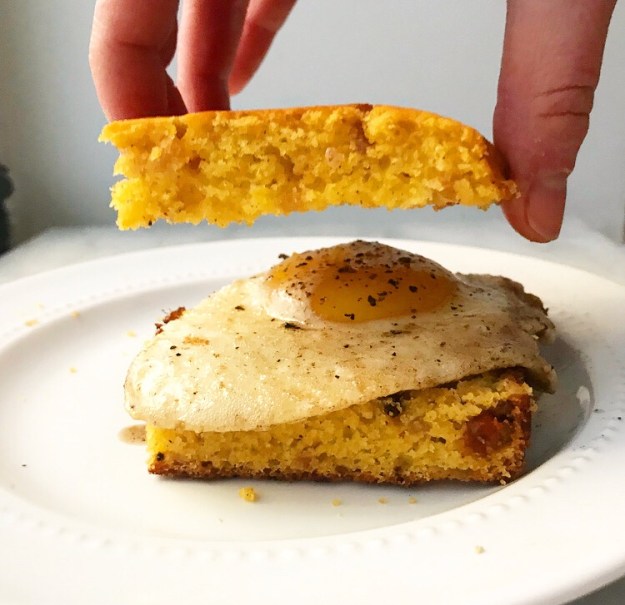
 But like I said, the best way to enjoy this Chorizo Cornbread is to sandwich your slice with a runny egg.
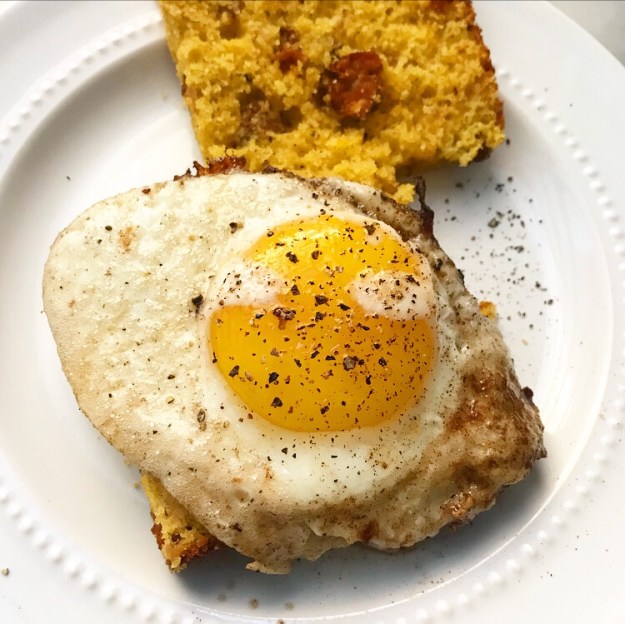 You can leave it simple (like I did) or jazz it up with cheese and greens and a big hit of sriracha. Either way, it’s basically the best egg sandwich ever.
 Have a great weekend, y’all.
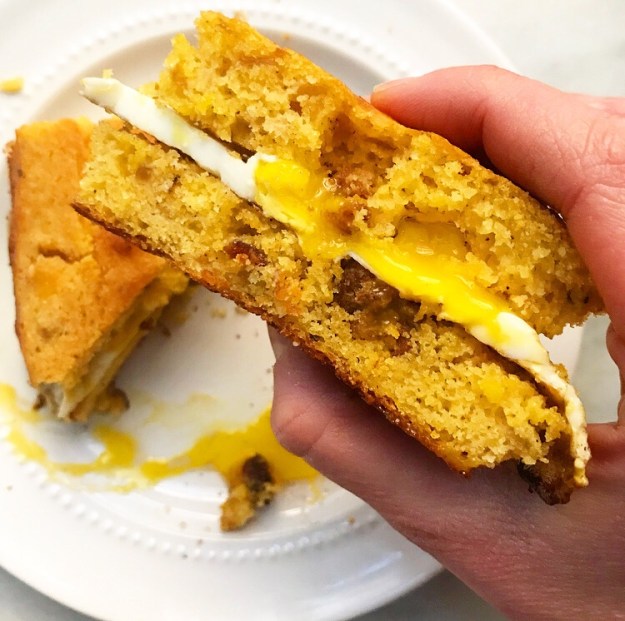
Chorizo Cornbread
inspired by and heavily adapted from Food52
makes one 9-inch pan
1 tablespoon neutral-flavored oil (I like canola)
8 ounces raw chorizo,* removed from casings (use certified gluten-free chorizo for gluten-free cornbread)
1/2 large white onion, diced small
2 cloves garlic, minced
1 cup milk (not skim or non-fat), room temperature
1/2 cup full-fat sour cream, room temperature
2 large eggs, room temperature
2 1/4 cups yellow cornmeal
2 tablespoons granulated sugar (optional)
1 tablespoon baking powder
1 teaspoon Kosher or sea salt
4 tablespoons unsalted butter, melted
Preheat oven to 400F. Grease a 9-inch square pan. Line with parchment and grease again. Set aside.
Heat a heavy-bottomed skillet over medium-high heat. Add oil and swirl to coat the pan. Brown chorizo, breaking it up into small pieces as it cooks. Once brown, use a spatula to transfer meat to a paper towel-lined plate to drain. Turn heat down to medium. Add onion and cook in the chorizo fat until soft, about 4-5 minutes. Add garlic and cook until fragrant, about 1 minute. Set aside.
Combine milk, sour cream, and eggs in a measuring cup. Set aside.
In a large mixing bowl, whisk together cornmeal, sugar, baking powder, and salt. Add chorizo, onion, and garlic, and toss to coat. Pour in milk mixture and fold together. Fold in butter. Transfer mixture to prepared pan. Bake for 30 minutes, or until a toothpick inserted in the middle comes out clean. Let cool 15 minutes before removing from the pan. Slice and serve warm, with a runny egg, if desired.
Leftover cornbread will keep in an airtight container in the refrigerator for a few days.
Note:
I find raw chorizo at Brooklyn Fare in Downtown Brooklyn. If you cannot find or don’t wish to use the raw stuff, I recommend dicing 8 ounces of fully-cooked, dried chorizo and letting it brown a bit in oil before proceeding as written. I haven’t tried it, but I think soy chorizo would work, too.
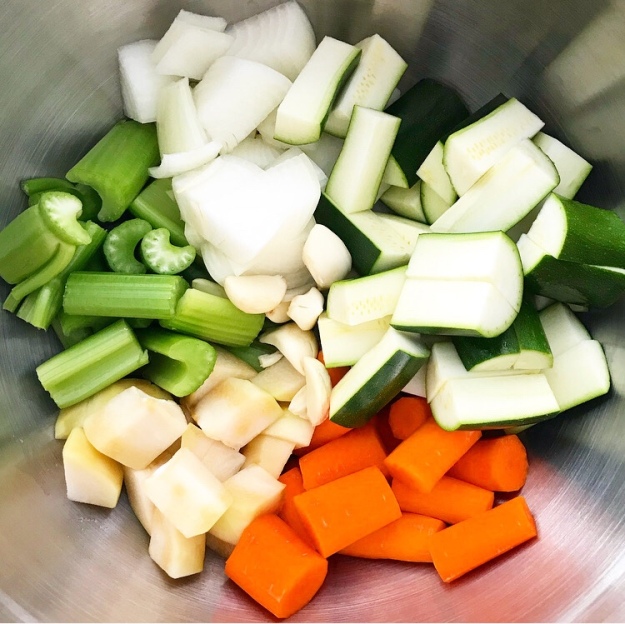
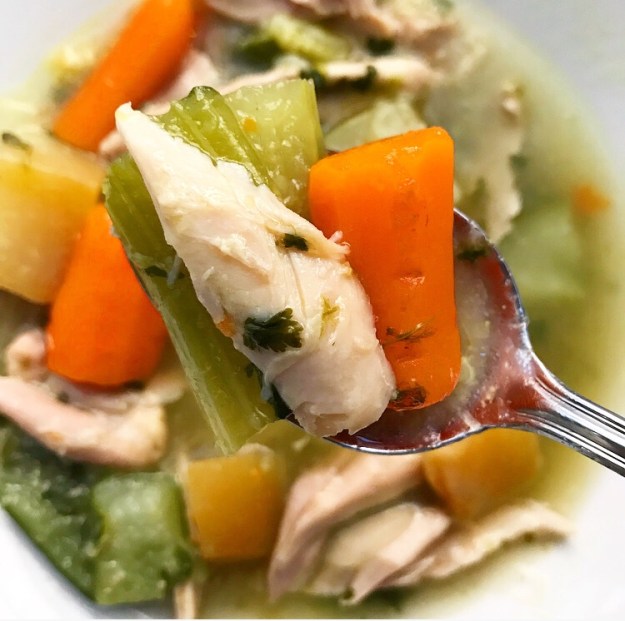
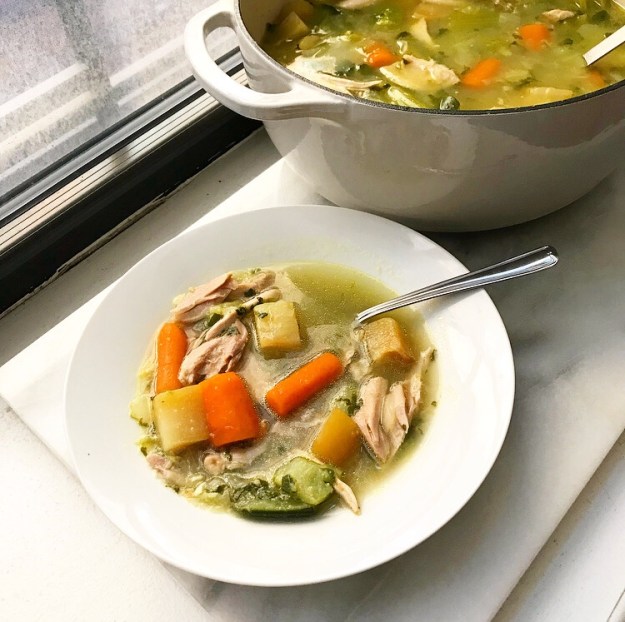
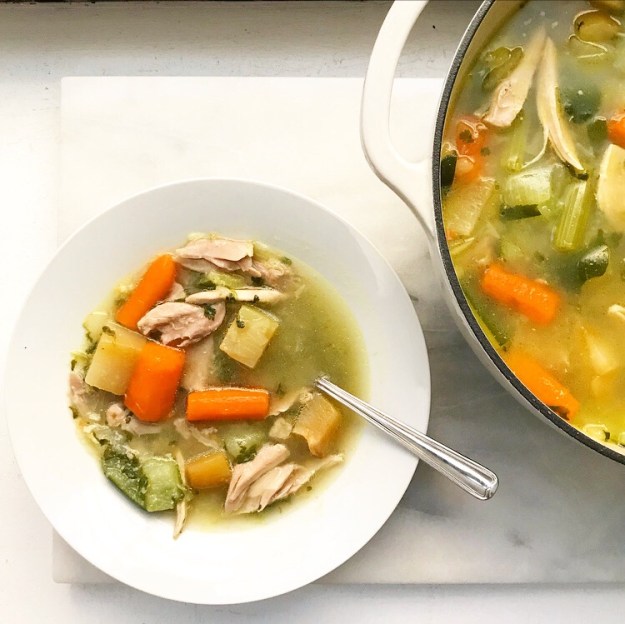 Everybody has a favorite chicken soup recipe—until very recently, the
  This Sopa de Pollo is adapted from

 Sometimes I fall in love with an ingredient or a recipe and I just can’t help but blog about it twice in rapid succession.
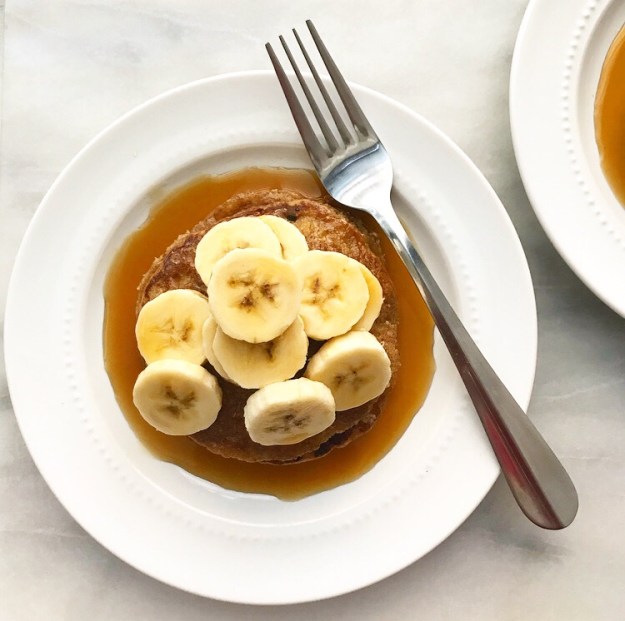 Exhibit A: that time I posted two
 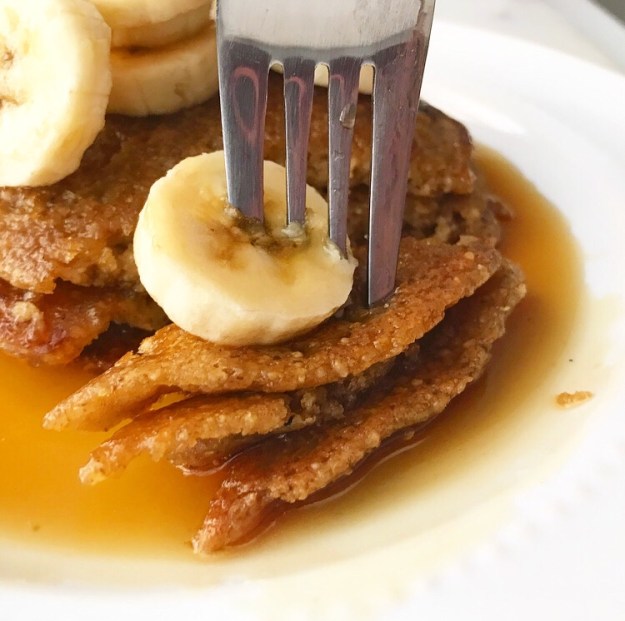 This time (Exhibit C?), I’ve gone a little nuts about old-fashioned oats. I’ve waxed
 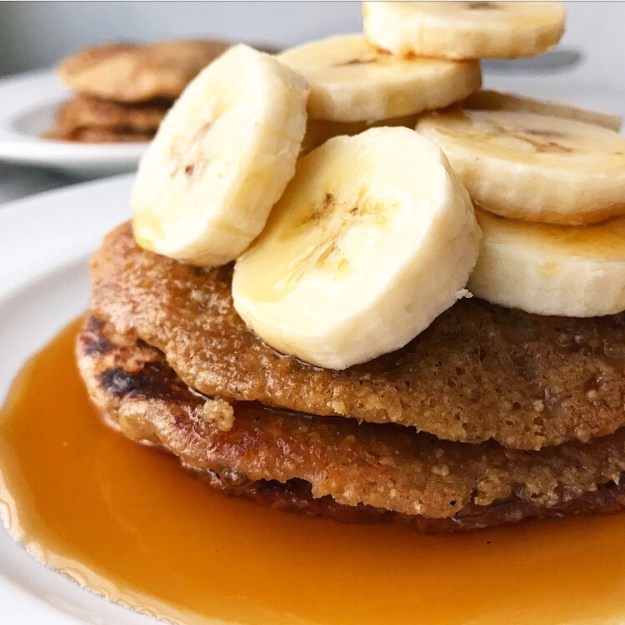 I have lots of weekend breakfasts (or brunches or company breakfasts or
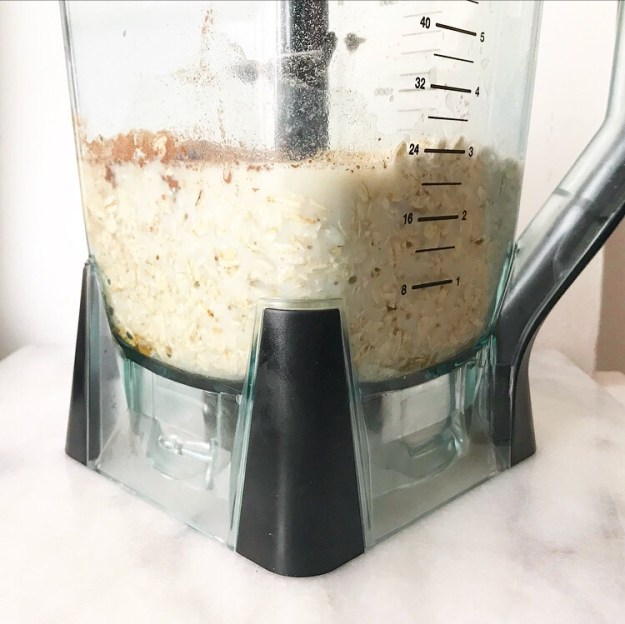

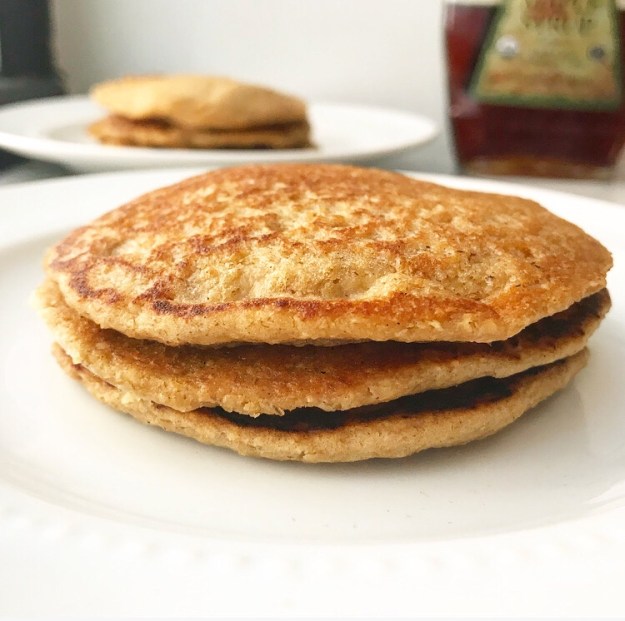
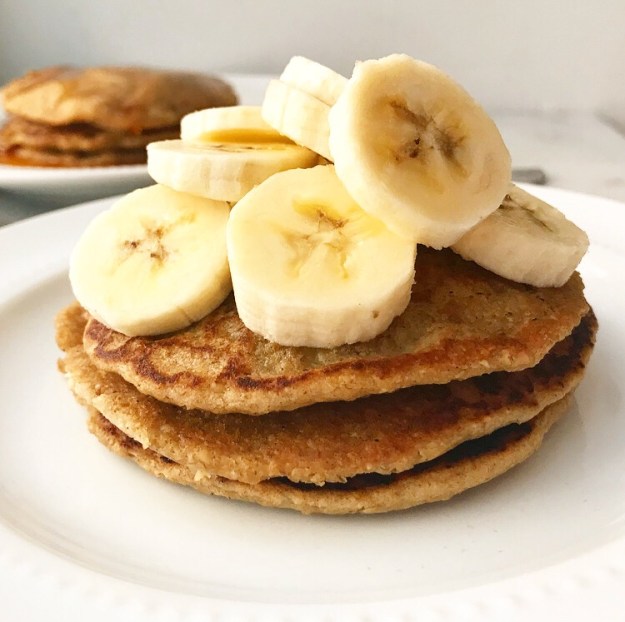
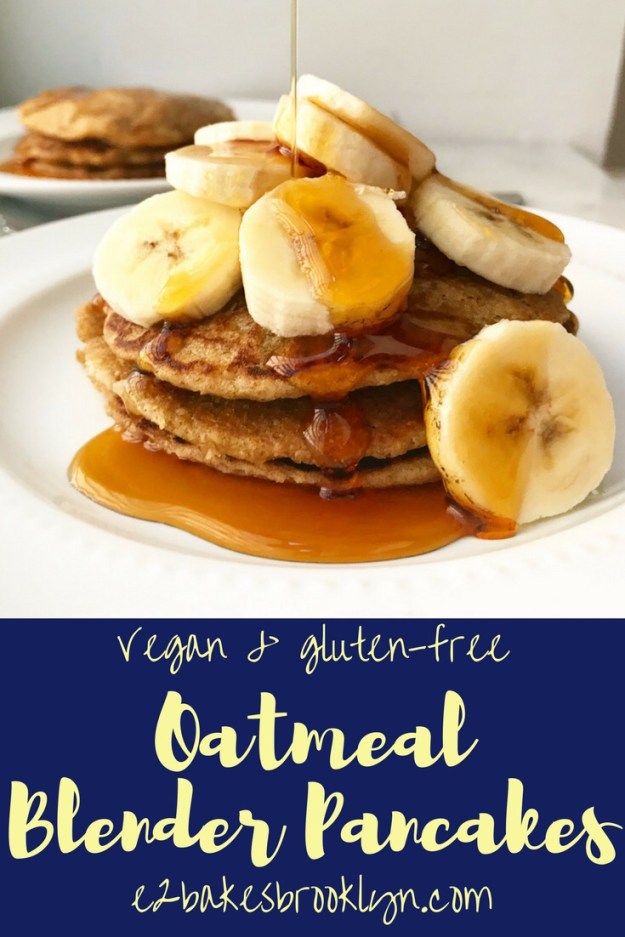
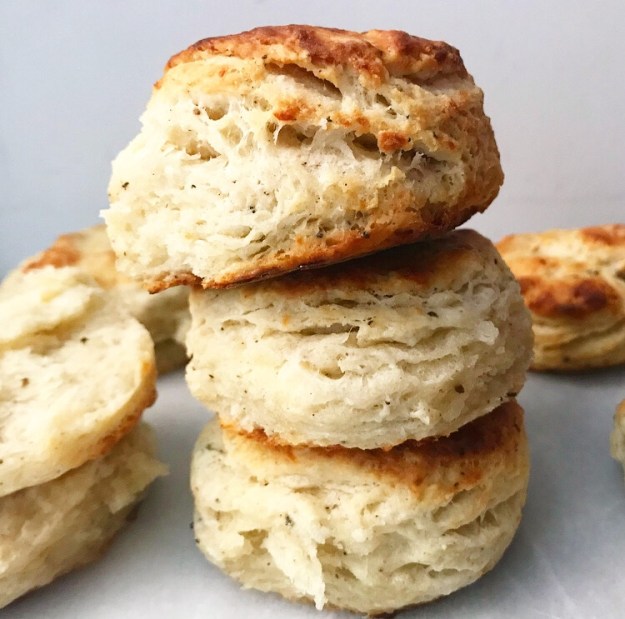
 I’ve made these easy-peasy pancakes four times since I got back from Christmas vacation and I don’t see any end in sight. I mean, what’s not to love about a stack of pancakes that’s completely whole grain, comes together in the blender, uses ingredients you probably already have, is vegan and gluten-free, and is still soft and fluffy?!
 If you’ve been around here awhile, you know I’m a bit of a granola junkie. I eat the stuff almost everyday. I have five
 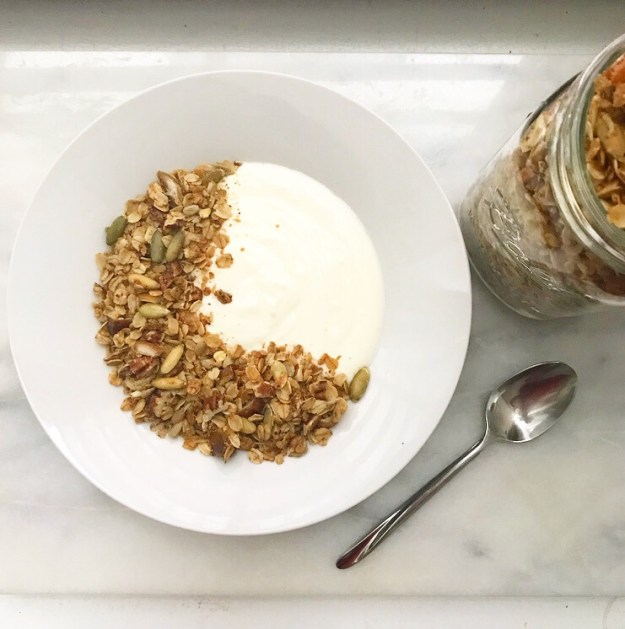 All the
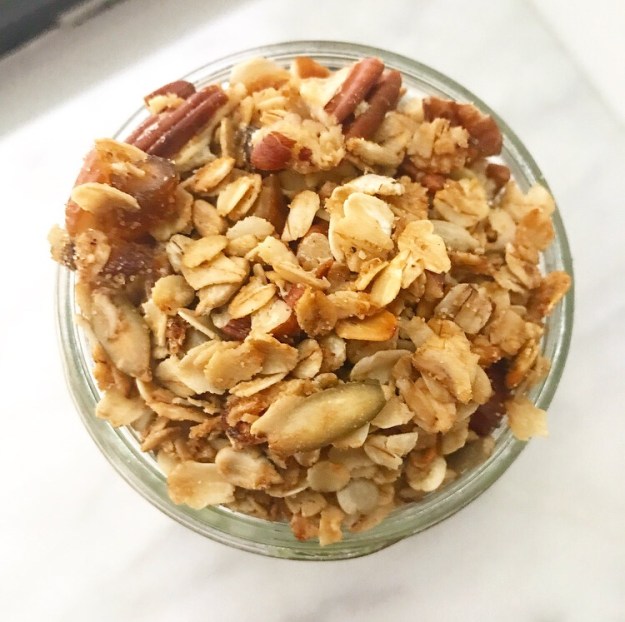
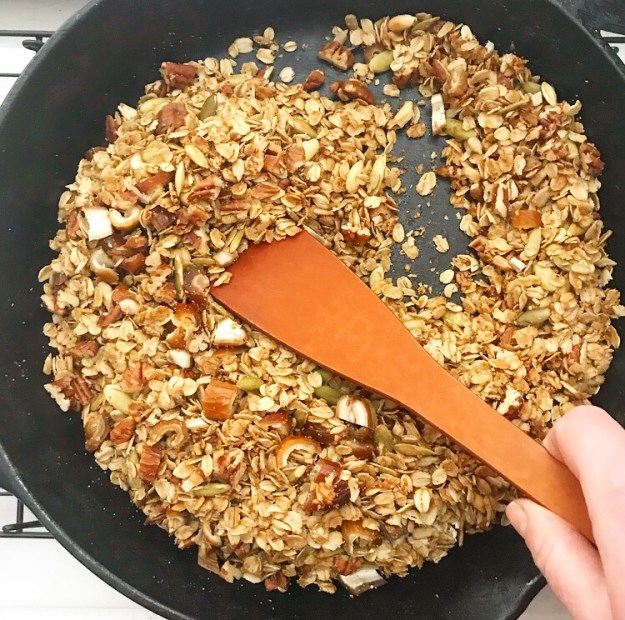 I started making granola on the stovetop this past October and I totally love it. Not only does it take just a quarter of the usual cook time, but it makes a smaller batch! This means that I don’t have to worry about it turning stale in a few weeks or just growing tired of the flavor combination—it’s gone long before that happens.
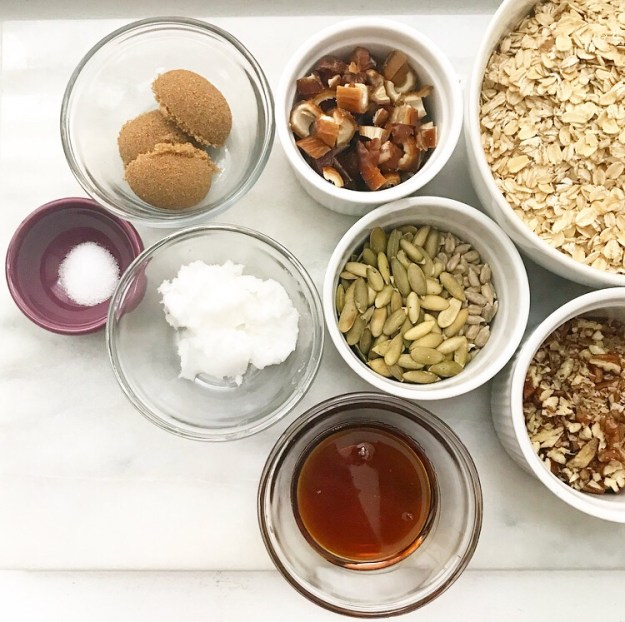 Today’s granola recipe was made as most of mine are: as a way to use up odds and ends from my mix-in cabinets. There are oats of course, but the rest is just based on ratios.
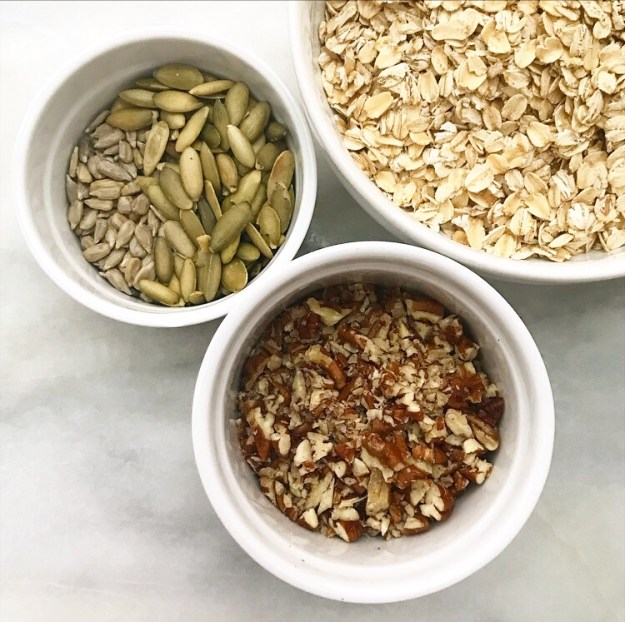 For two cups of oats, I add in one cup of chopped nuts and seeds (pecans, pepitas and sunflower seeds, in this case). Those get toasted in a dry skillet until they are fragrant and the seeds are starting to pop.
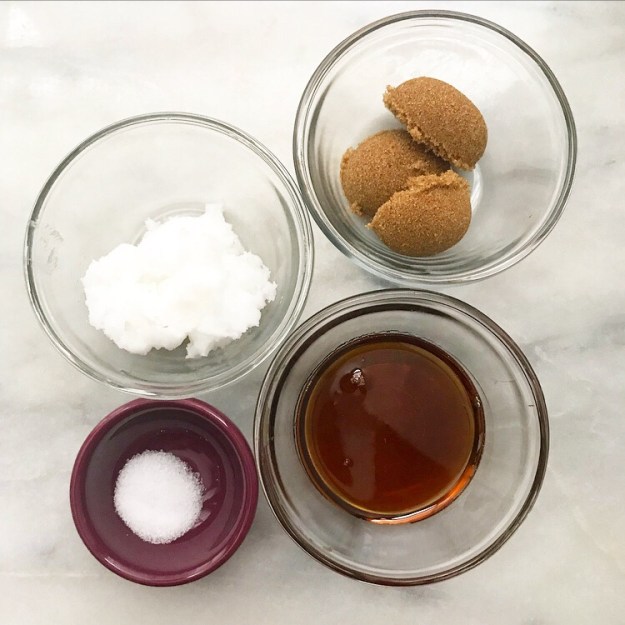 Next come three tablespoons of oil (I used coconut) and six tablespoons of sweetener. I went for maple syrup and dark brown sugar for this batch, but if you don’t like the idea of straight-up sugar in your breakfast, you may sub coconut sugar or use all maple. Don’t forget to add some salt for balance.
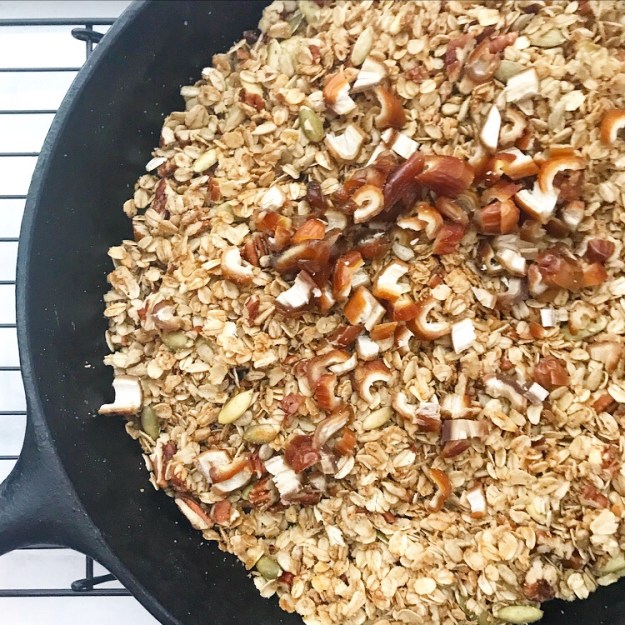 Cook the granola a few minutes more before removing it from the heat and adding in some dried fruit. I went with dates—I impulse-bought a huge bag of them on a recent trip to Costco and now I’m throwing them in everything. If dried fruit isn’t for you, leave the granola as-is.
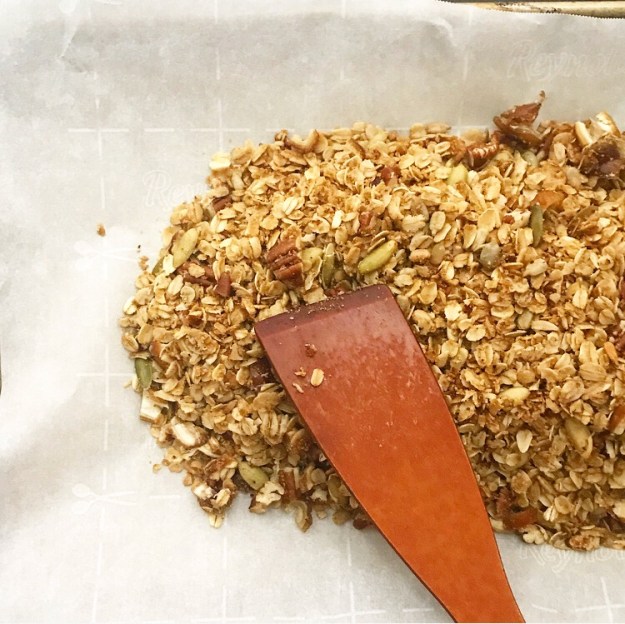
 Spread the granola out on a parchment-lined baking sheet and let it cool. If you’re the type of person who adds chocolate chips to granola, this is the time.
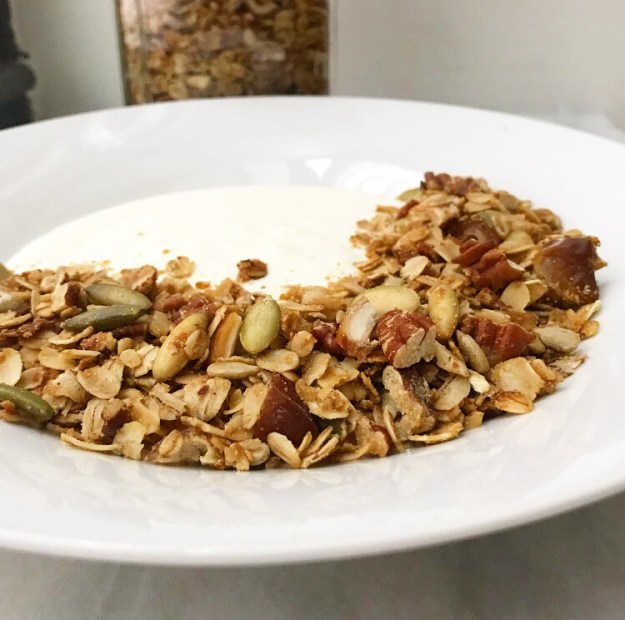
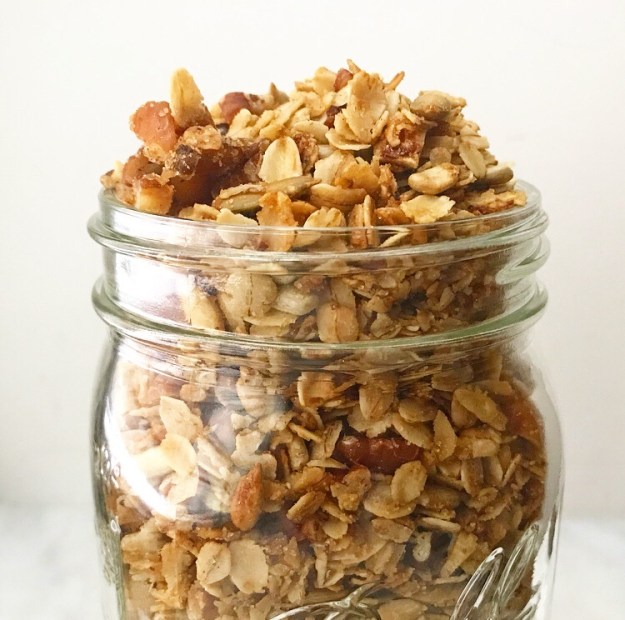 Pile your finished granola into a jar. Who knew oats, nuts, and seeds could look so pretty?!
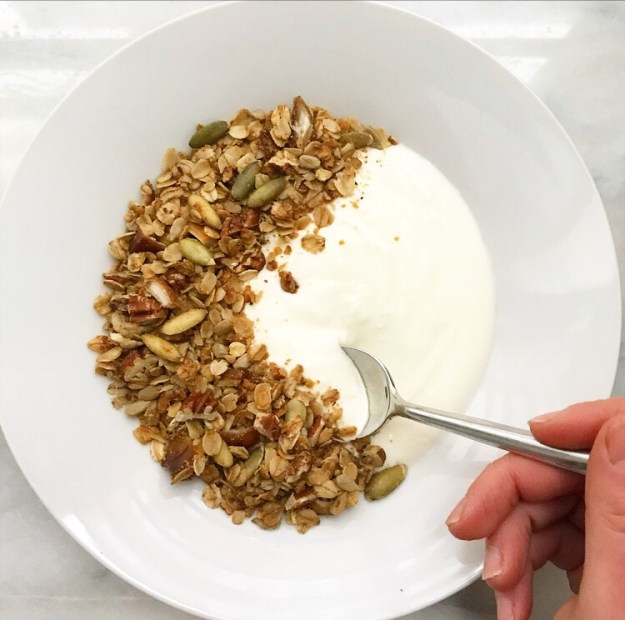 This Stovetop Granola doesn’t cluster much, but that can be remedied by using a thicker sweetener like honey or brown rice syrup. Real cluster enthusiasts might want to add an extra tablespoon or two, just in case.
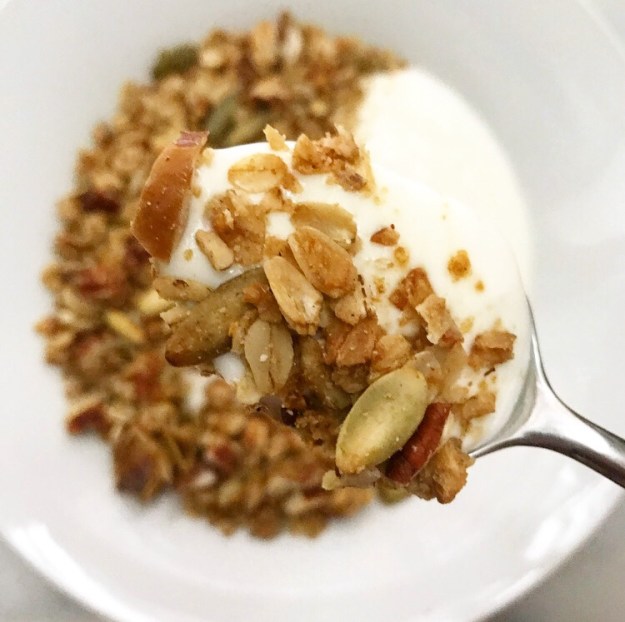

 My sister,