Making sugar cookies is a classic Christmastime activity, but you can do so much more with them than just roll, cut, and blanket them with royal icing! From thumbprints to pinwheels to custom panes of candy stained glass, the versatility of this dough is endless. Make yourself a few batches and get your sugar cookie on this holiday season! Here’s some inspiration from my archives.
A Christmas staple! These buttery roll-out sugar cookies come with a time commitment, but they sure are fun to make (and eat!). All my sugar cookie knowledge is in that post, so click over and check it out!
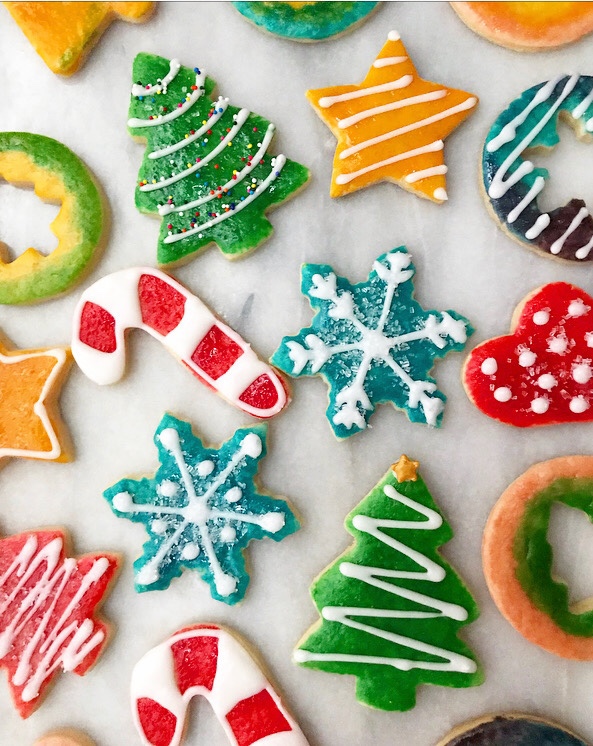
Not up for giving bags of sugar-based concrete to the kids in your life? Paint your sugar cookies instead! Using a simple mixture of sweetened condensed milk and food coloring, you can make your sugar cookies as festive as you want with much less fuss. Finishing them with some basic icing is totally optional, but I think it makes them really cute.
Want to skip decorating altogether? Make Stained Glass Cookies! Cut out the center of the cookies before they go in the oven, then fill them with crushed hard candy. In just minutes, it’ll melt into a little candy stained glass window.
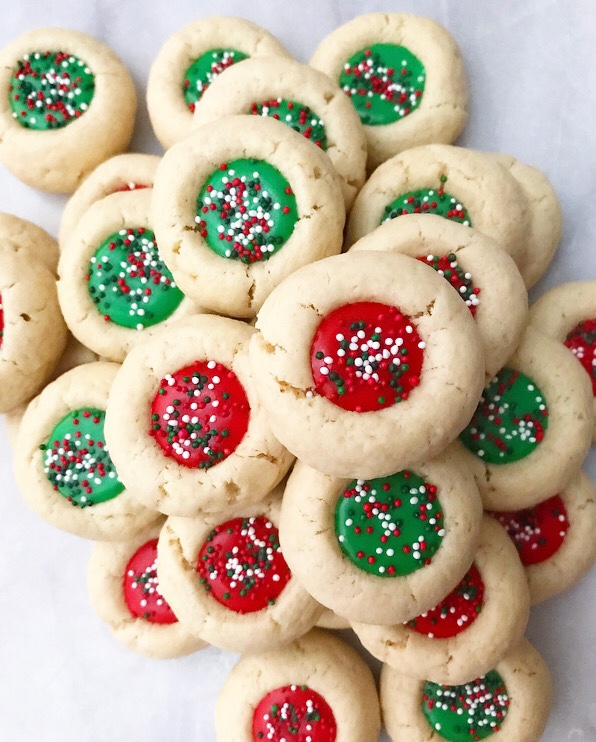
Here’s where things get interesting. The very same dough that makes for the best sugar cookies gets rolled into balls instead of sheets, then filled with little wells of festive icing! So cute, right?! Good luck eating just one.
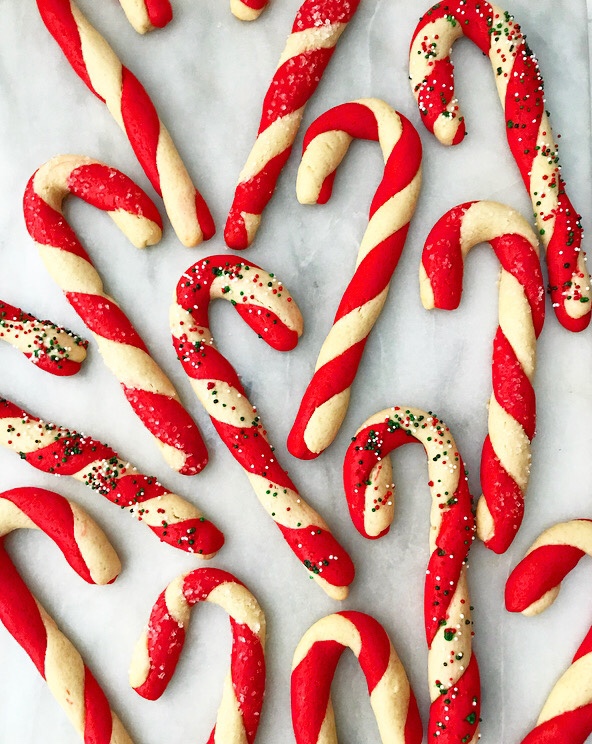
Candy Cane Cookies use the same sugar cookie dough base with three adjustments: less baking powder, the addition of peppermint extract, and half the dough is dyed Christmas red! Oh, and they’re rolled and baked into *the* cutest candy canes you ever did see.
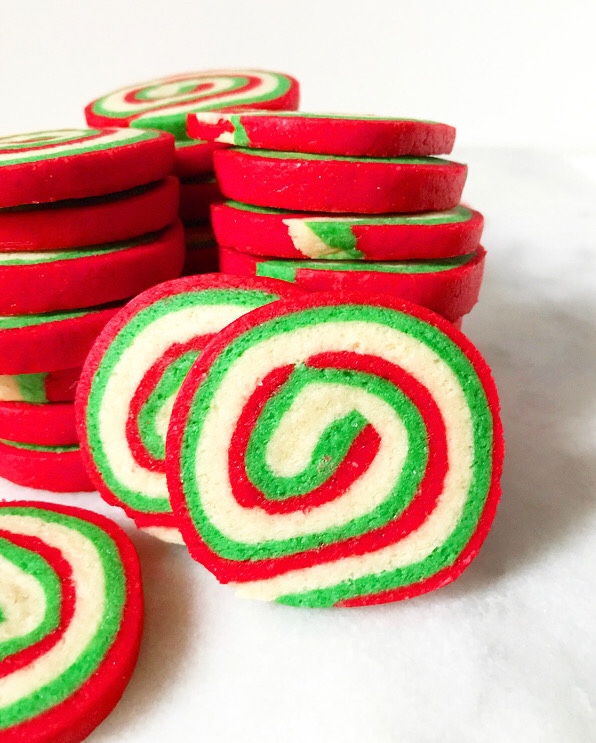
I spent years being intimidated by pinwheel cookies, but it turns out they’re kind of a snap to make! You need patience for the stacking and rolling, but after that they’re just an extra-festive slice and bake recipe.
What’s your favorite sugar cookie recipe? Let me know in the comments or on social media!
I am delighted to present this recipe as part of the Sweetest Season Cookie Exchange. This my fourth year participating in this event during which food bloggers post holiday cookies, raise awareness and donate money in support of Cookies for Kids’ Cancer, a 501(c)3 non-profit organization. We believe in their mission to raise funds for innovative pediatric cancer treatments and research through bake sales and cookie swaps. Many supporters (“Good Cookies”) do this throughout the year, and I am happy to contribute by participating in the Sweetest Season. If you’d like to learn more and/or make a charitable donation to Cookies for Kids’ Cancer, click here. For cookies, keep scrolling!
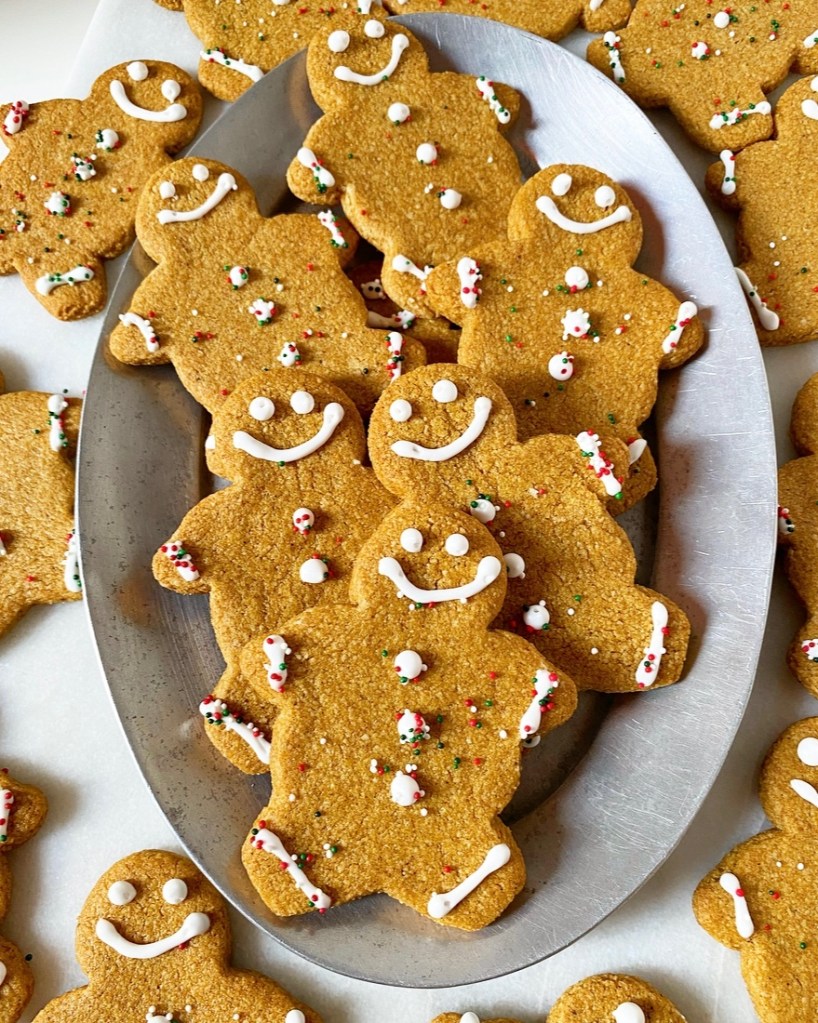
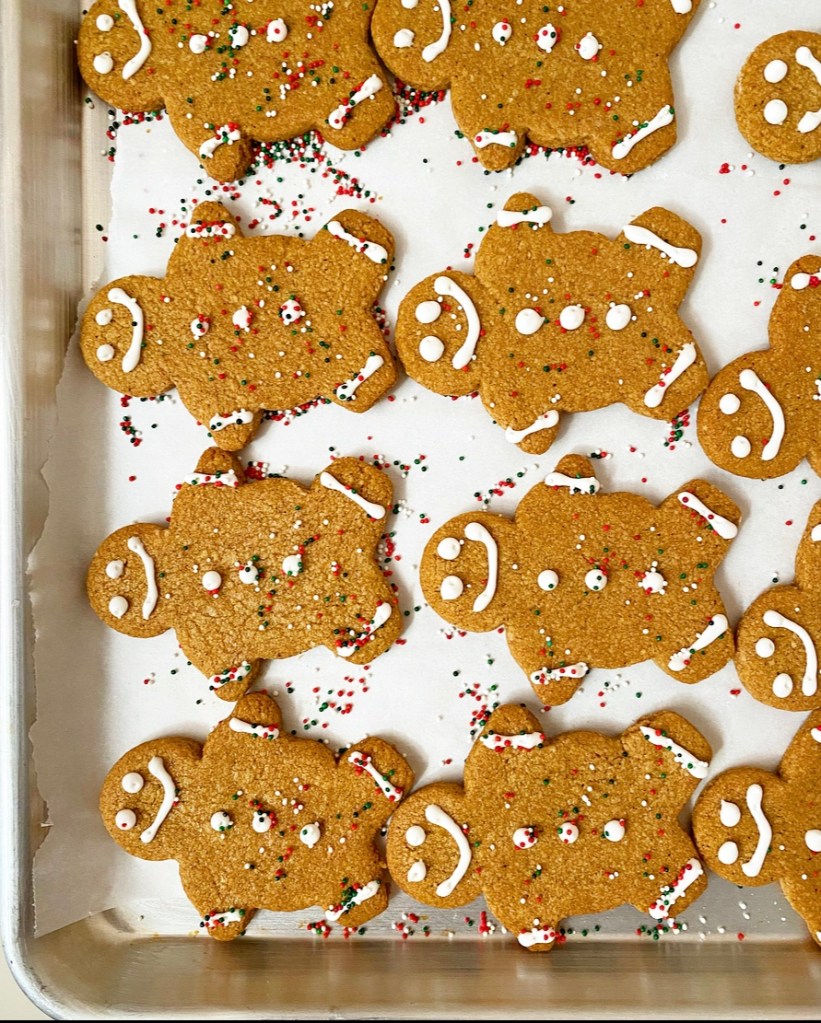
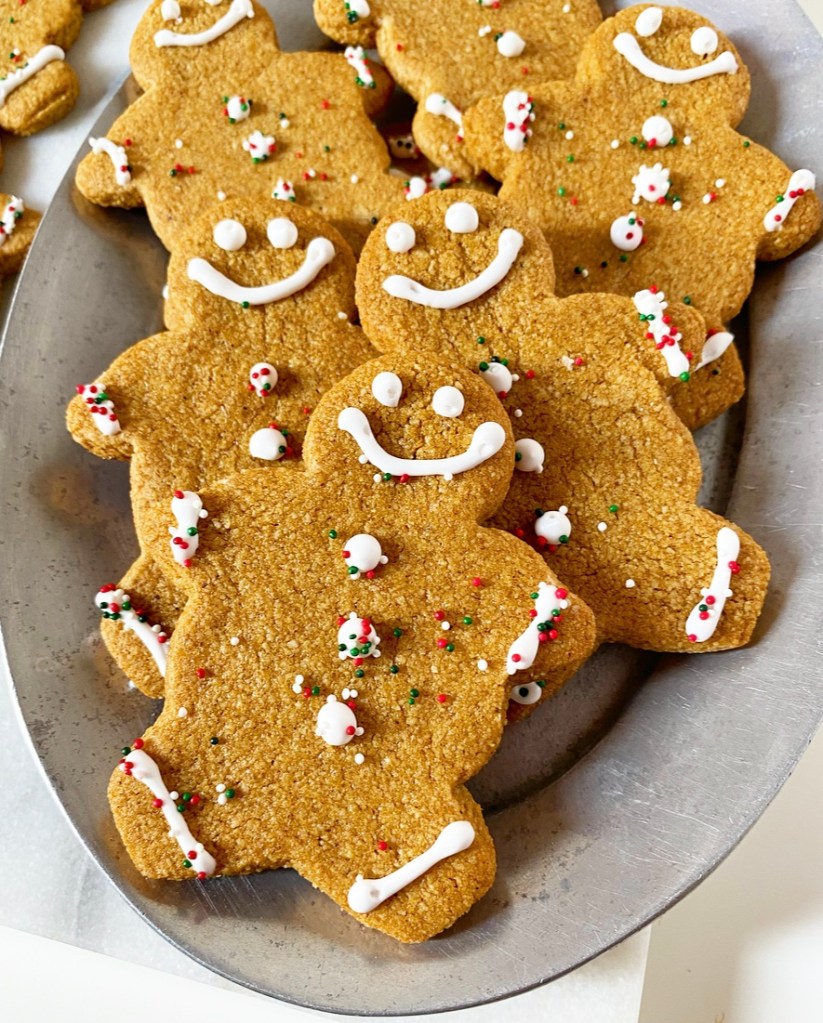
I’ve spent years making different variations on gingerbread cookies, and though I will go to the mattresses for my Maple Spice Stars, I think these Vegan, Gluten-Free Gingerbread Cookies are my best to date. They’re sweet and snappy, and if I didn’t outright tell you that they are egg, dairy, and flour-free, you’d never know it. They just taste like Christmas.
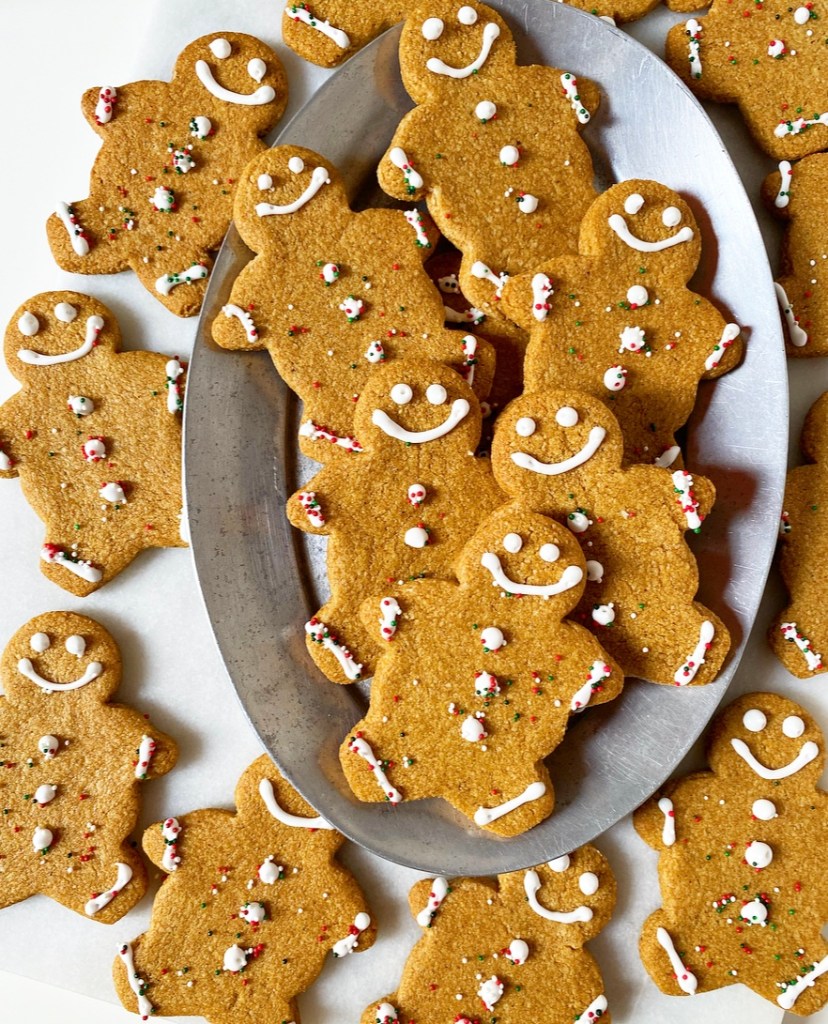
These sweet little cookie people are every bit the soul-warming ginger-spiced cookies we all know and love, just made more accessible. Baking is rarely something I do with only myself in mind and that goes double for the holiday season; it makes perfect sense to have recipes that can feed more of my community in my repertoire. My community happens to include a lot of people who are gluten-free or vegan or both, so these festive treats certainly fit the bill!
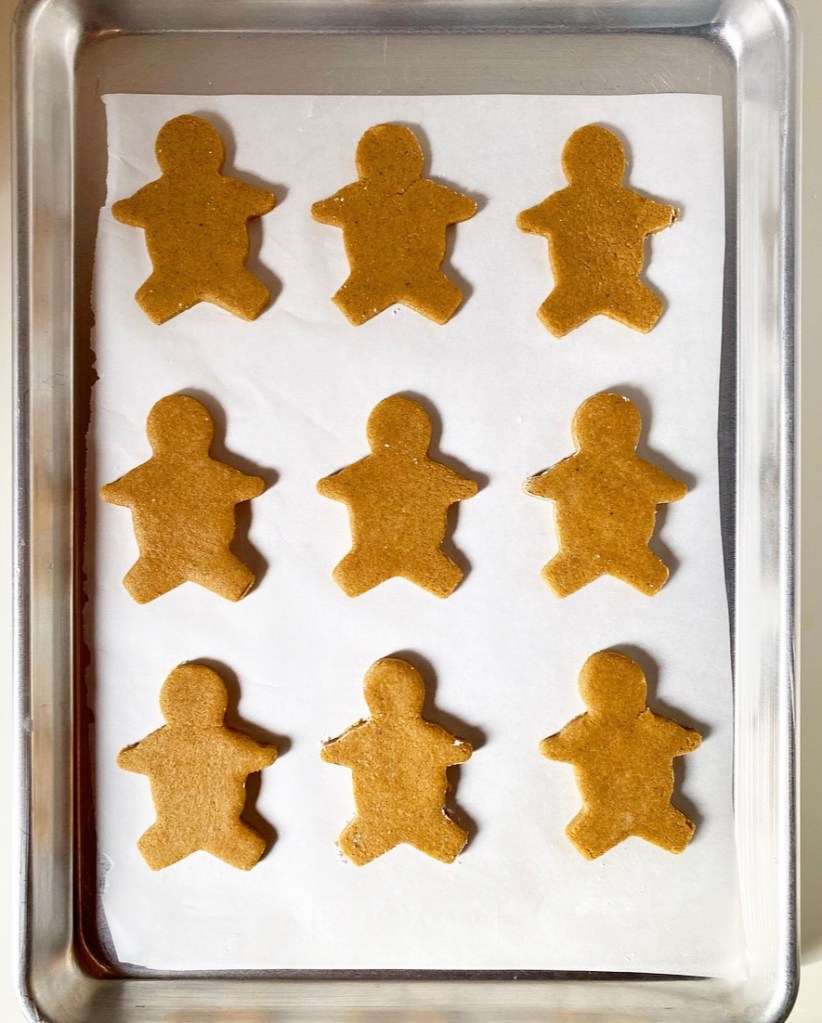
Let’s talk process. This dough is simple and straightforward, relying on easy-to-find ingredients like almond flour, vegan butter, and confectioner’s sugar in addition to classic gingerbread fare like molasses, brown sugar, and a bevy of spices. It takes just minutes to mix up and only needs an hourlong chill before it’s ready to roll and cut. You can use any cookie cutter you like, of course, but I am a sucker for classic gingerbread people. So cute!
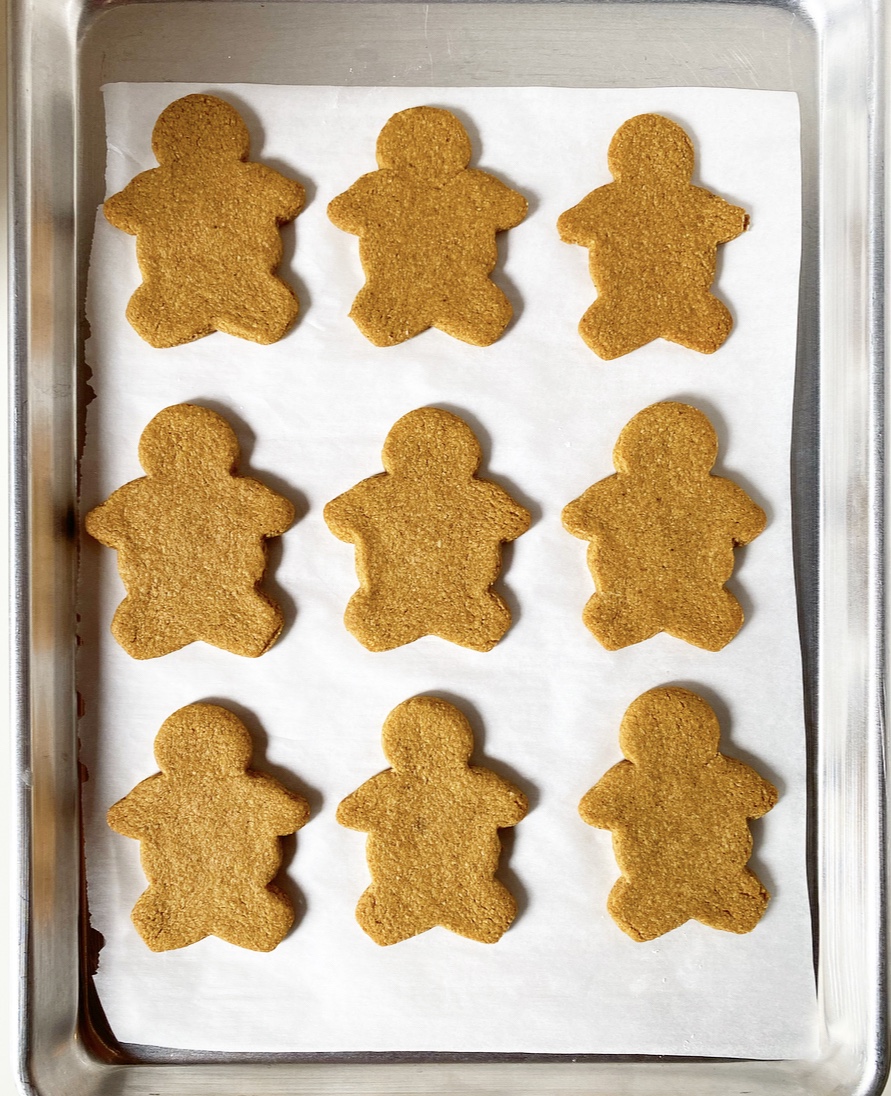
Baking is business as usual. These little buddies take 12-14 minutes at 325F, with crisper results coming more toward the 14 minute mark. Heads up: keep an eye on them in that last minute so they don’t over-brown. Even if they do get a little overdone though, you can fix them right up with icing. Vegan Royal Icing to be exact!
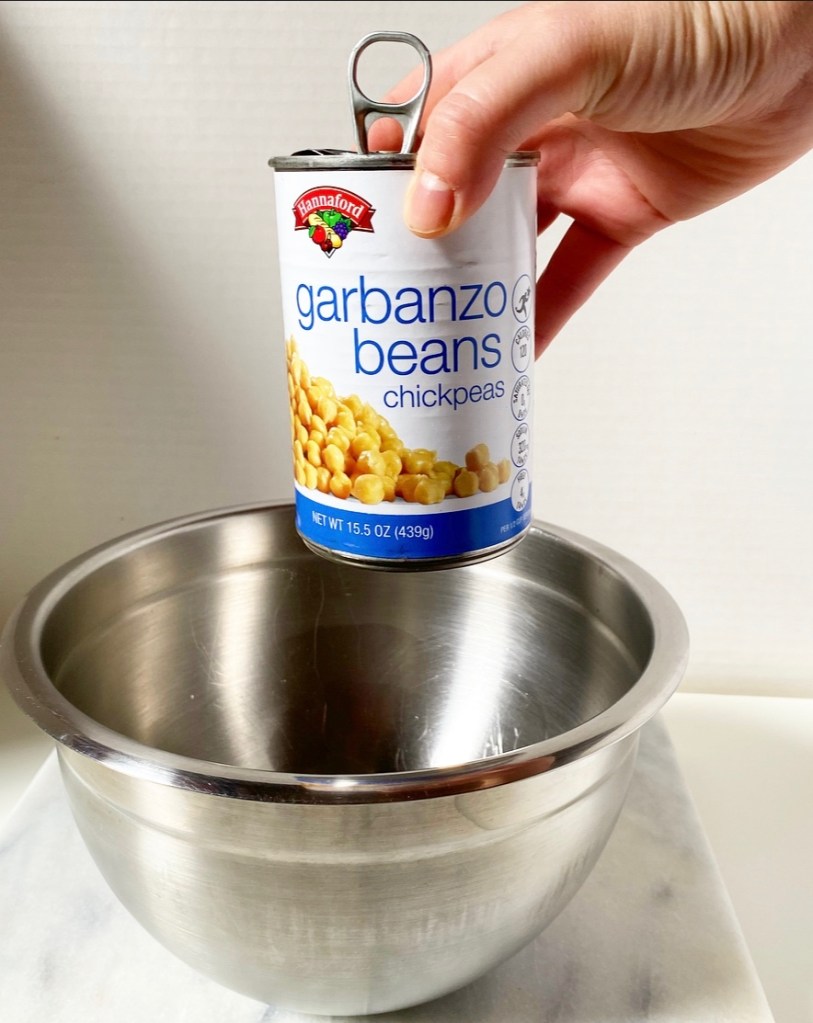
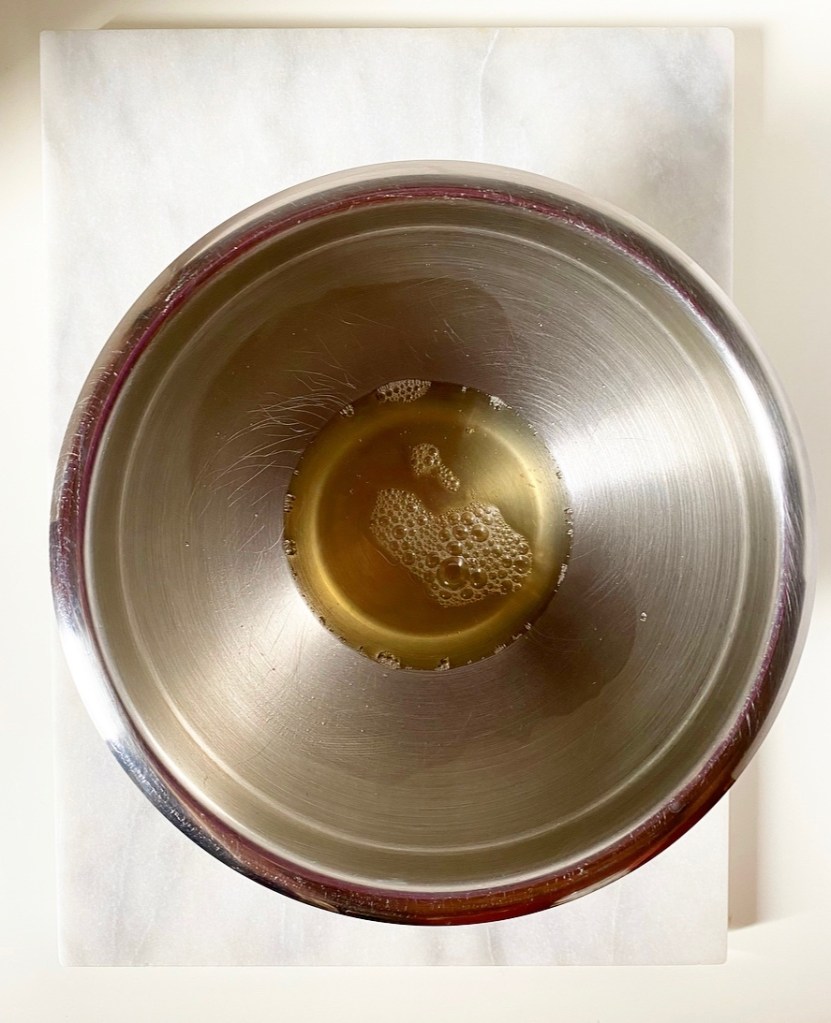
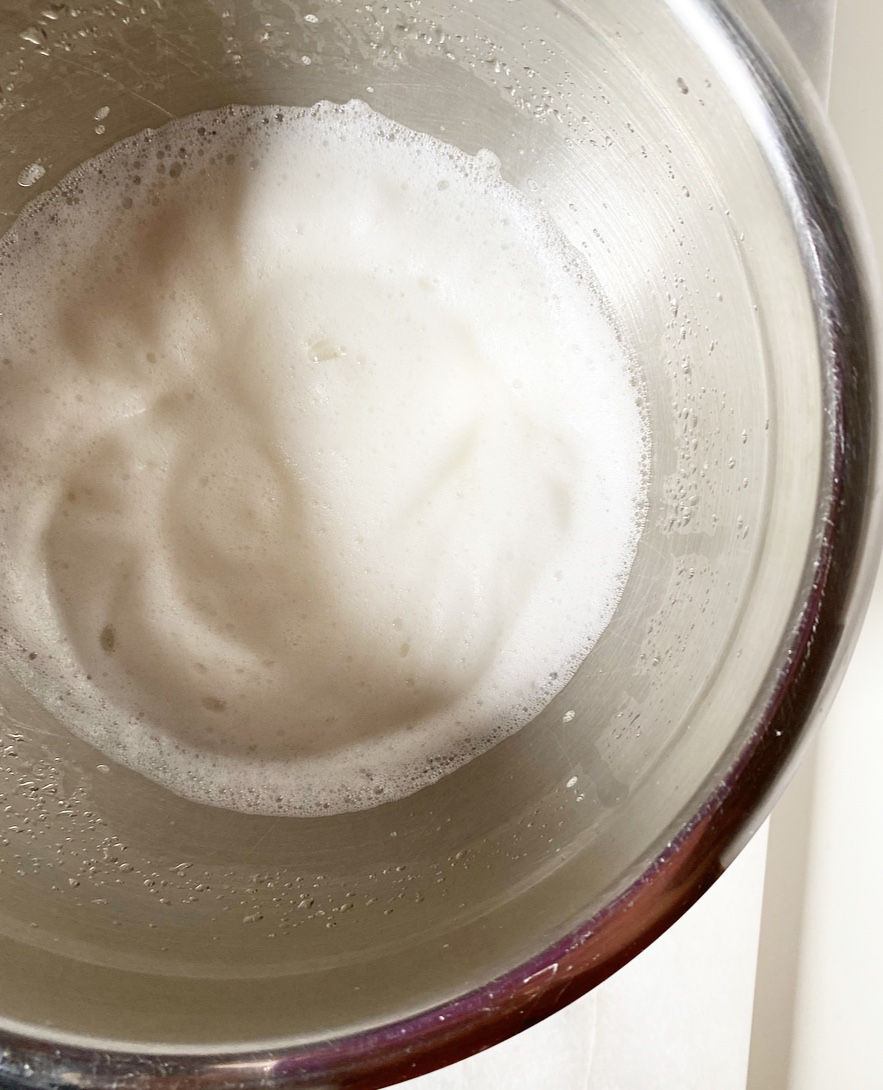
Where classic royal icing is made with egg whites, the vegan stuff uses my favorite egg replacer ever: aquafaba! Yep, the liquid from a can of chickpeas is the secret to pipeable, reliable egg-free royal icing! Its protein structure allows it to whip up just like egg whites do, making it a perfect 1:1 replacement here.
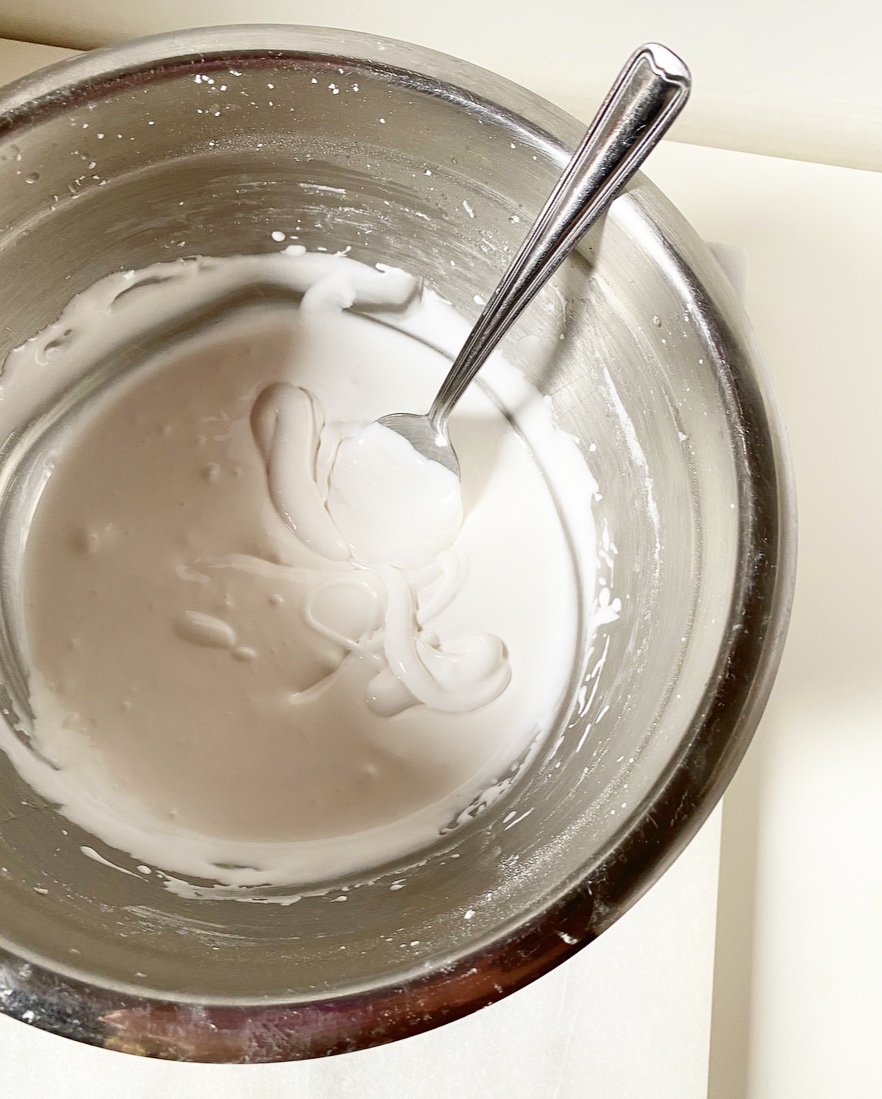
With the exception of swapping aquafaba for my usual mix of water and meringue powder, this Vegan Royal Icing comes together exactly the same way as my traditional recipe, and is just as delicious! I used the icing as-is for decoration, but feel free to dye it any color you like or to thin it for making flood icing if you’re interested in more intricate designs.
Oh, and for those concerned, this icing doesn’t taste like beans at all—it just tastes like icing.
And these vegan, gluten-free gingerbread cookies? They just taste like Christmas.
The Best Vegan, Gluten-Free Gingerbread Cookies makes about 2 dozen 4-inch cookies
3 cups blanched almond flour 1 teaspoon baking powder 1 teaspoon Kosher or sea salt 3 1/2 teaspoons ground ginger 2 teaspoons ground cinnamon 1/2 teaspoon ground nutmeg 1/4 teaspoon ground allspice 1/4 teaspoon ground cloves 1/2 cup vegan butter, softened to room temperature 2/3 cup dark brown sugar, packed 1/3 cup confectioner’s sugar 2 tablespoons molasses 2 teaspoons pure vanilla extract
For decoration: Vegan Royal Icing (recipe below) sprinkles of choice
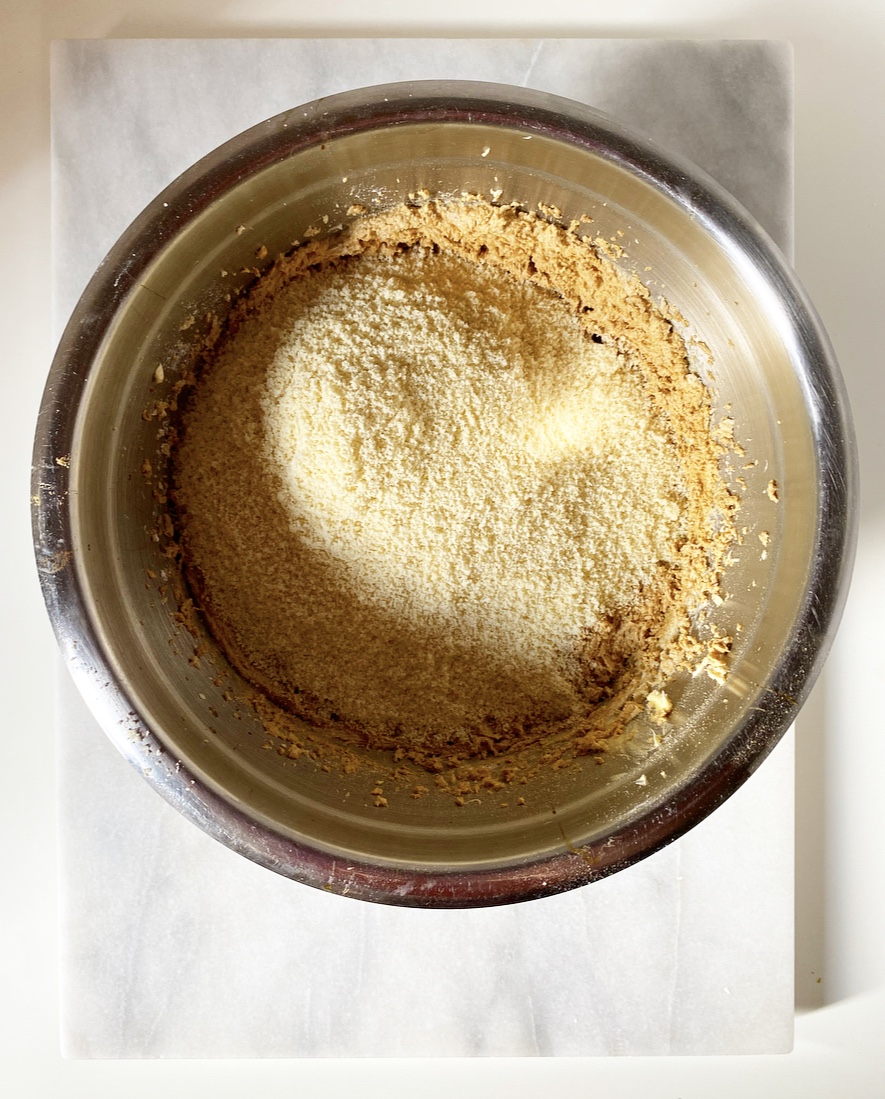
In a medium mixing bowl, whisk together almond flour, baking powder, salt, ginger, cinnamon, nutmeg, allspice and cloves. Set aside.
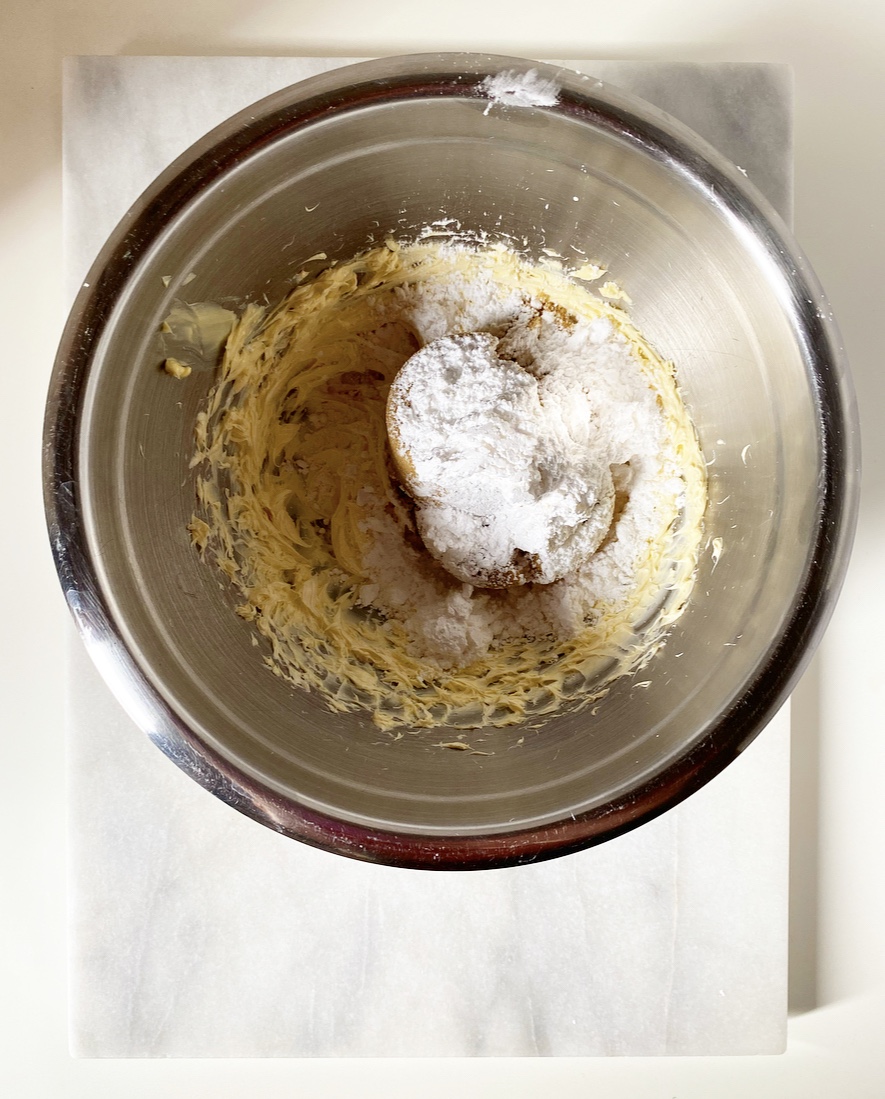
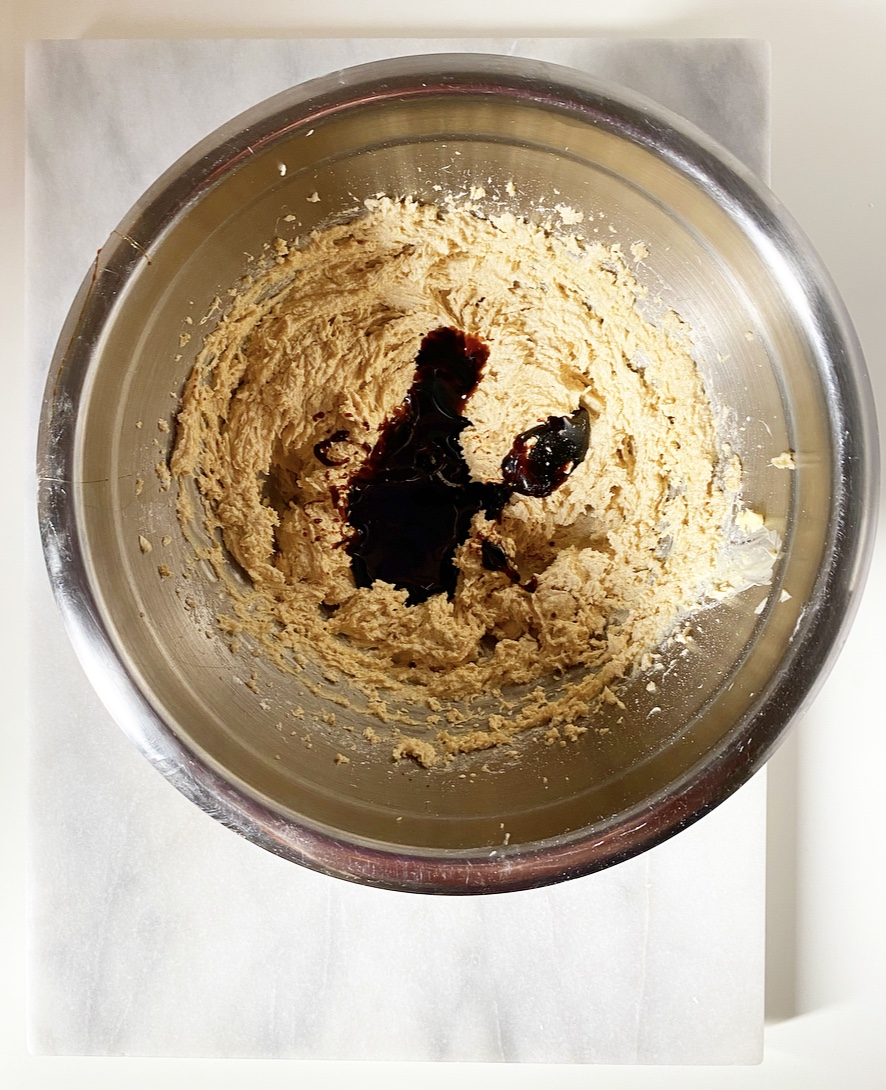
In a separate medium-large mixing bowl, use an electric mixer to beat vegan butter until fluffy (about 2 minutes). Add dark brown sugar and confectioner’s sugar and beat until fully combined (about 2 minutes). Beat in molasses and vanilla.
Add dry ingredients in two installments, mixing completely after each addition. Dough may look rubbly, but should hold together extremely well when pinched.
Divide dough in two. Form each half into a disk, then wrap with plastic wrap. Chill for 1 hour or up to 3 days.
Place oven racks in central positions. Preheat oven to 325F. Line two rimmed baking sheets with parchment.
Use confectioner’s sugar to dust a surface and rolling pin. Unwrap one disk of dough and place it on the surface. Use the rolling pin to roll it out to 1/4-inch thickness. A thin offset icing spatula or bench scraper (or similar) will make moving the dough much easier, as will adding more confectioner’s sugar to the surface and rolling pin.
Use a cookie cutter to cut shapes, then use the icing spatula to move them to the prepared pans, keeping them 1.5-2 inches apart. Bake cookies 12-14 minutes, rotating the pans top-to-bottom and front-to-back at the 7 minute mark.
Let cookies cool 10 minutes on their pans. Use a spatula to remove them to a cooling rack to cool completely.
Repeat rolling, cutting, and baking as needed, re-rolling scraps as needed. Let cookie sheets come to room temperature between batches.
Once cookies are all baked and cooled, decorate with Vegan Royal Icing (recipe below) and sprinkles. Let cookies dry at least 8 hours before layering with parchment paper and stacking.
Cookies will keep covered at room temperature for at least a week.
Vegan Royal Icing
makes more than enough for 1 batch of gingerbread cookies

1/3 cup aquafaba (liquid from a can of chickpeas)
1/2 teaspoon cream of tartar
2 teaspoons pure vanilla extract
1 pound (3 3/4 cups) confectioner's sugar, divided
1 tablespoon corn syrup

Special Equipment:
gel food coloring
piping bags (or plastic sandwich bags)
small round piping tips and couplers
sprinkles

Beat aquafaba and cream of tartar with an electric mixer on medium-high speed until doubled in size, about 1 minute. Mix in vanilla. With the mixer running on low, add half of the confectioner's sugar. Mix in corn syrup. Add the remaining half of confectioner's sugar. Scrape down the bowl before beating on medium-low for an additional 30 seconds.

To ice as pictured here, transfer 1/4 of the icing to a piping bag fitted with a coupler and tip. Ice as desired, sprinkling with any sprinkles immediately after piping (the icing hardens very quickly). Let cookies dry in a single layer uncovered for at least 8 hours, or until fully dry, before stacking.

For storage, press plastic wrap to the surface of your container of Vegan Royal Icing, it may be kept covered at room temperature for up to four days or in the refrigerator for a couple of weeks. Beat with a mixer before using, as it may slowly separate over time. If if needs to be thinned, add 1/2 teaspoon water at a time until icing dribbled into the bowl forms a ribbon that fades within a few seconds.

For information on more intricate decorating like outline/fill icing, using multiple colors, etc., click here.
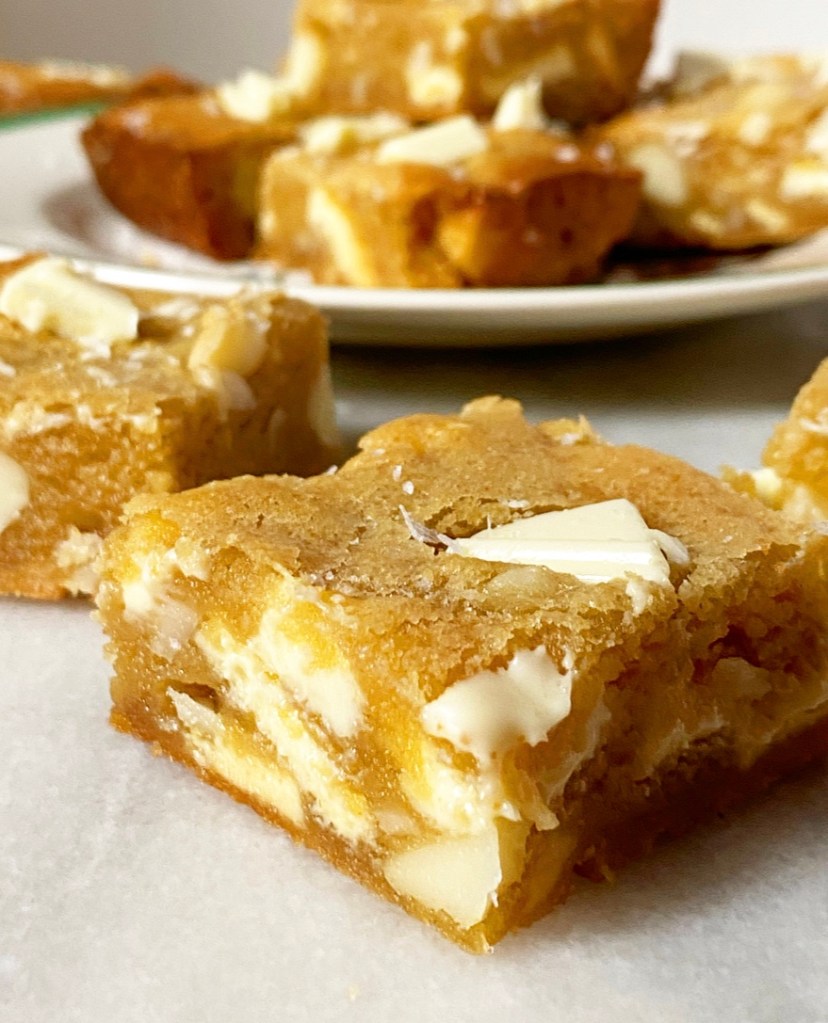
Aaaaand we’re back! And by “we” I mean “me”…and these Brown Butter White Chocolate Macadamia Nut Blondies.
Are these a traditional Christmas treat? Probably not. But after learning that some people consider white chocolate macadamia nut cookies a Christmas staple, I perfected my recipe last year. I turned up the flavor by browning the butter, toasting the macadamia nuts (and leaving them in big pieces), and using pure white chocolate instead of white chocolate chips. They’re incredible, if I do say so myself. Which I do. Obviously.
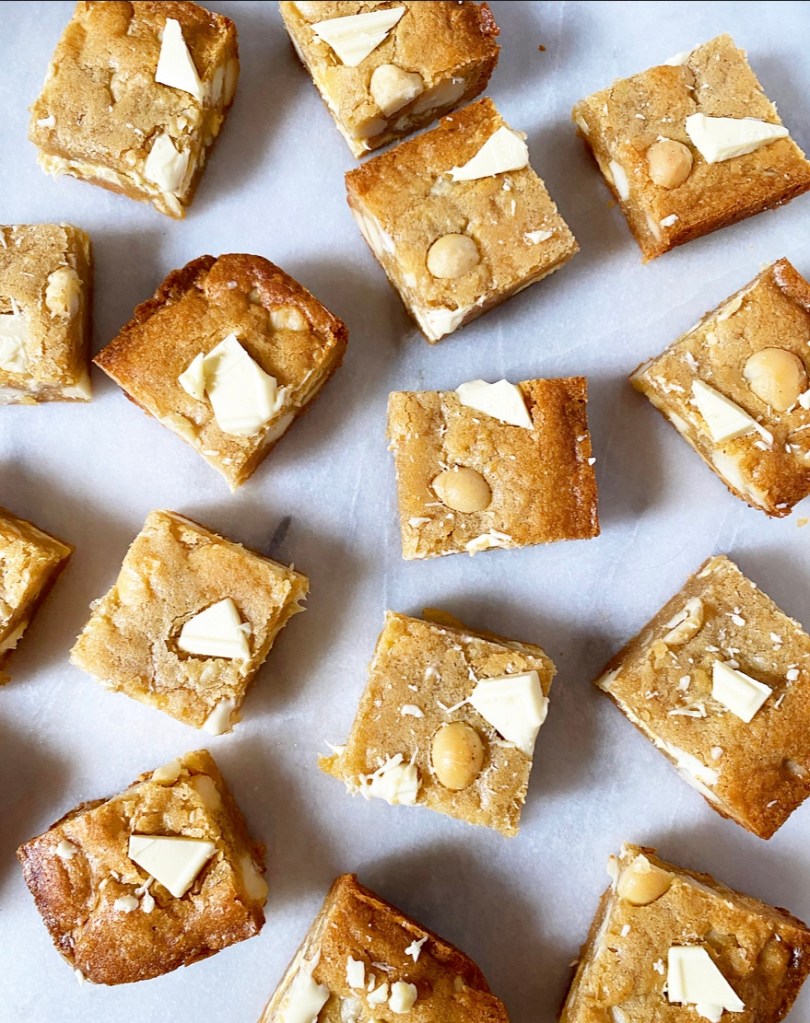
I didn’t try to top that recipe this year, but I’ve simplified it by making it into blondies, and that’s basically the same thing. There’s no tedious chilling, rolling, and batch-baking—just mix the batter, spread it into a pan, bake, cool, and slice into thick, chewy squares. Easy peasy.
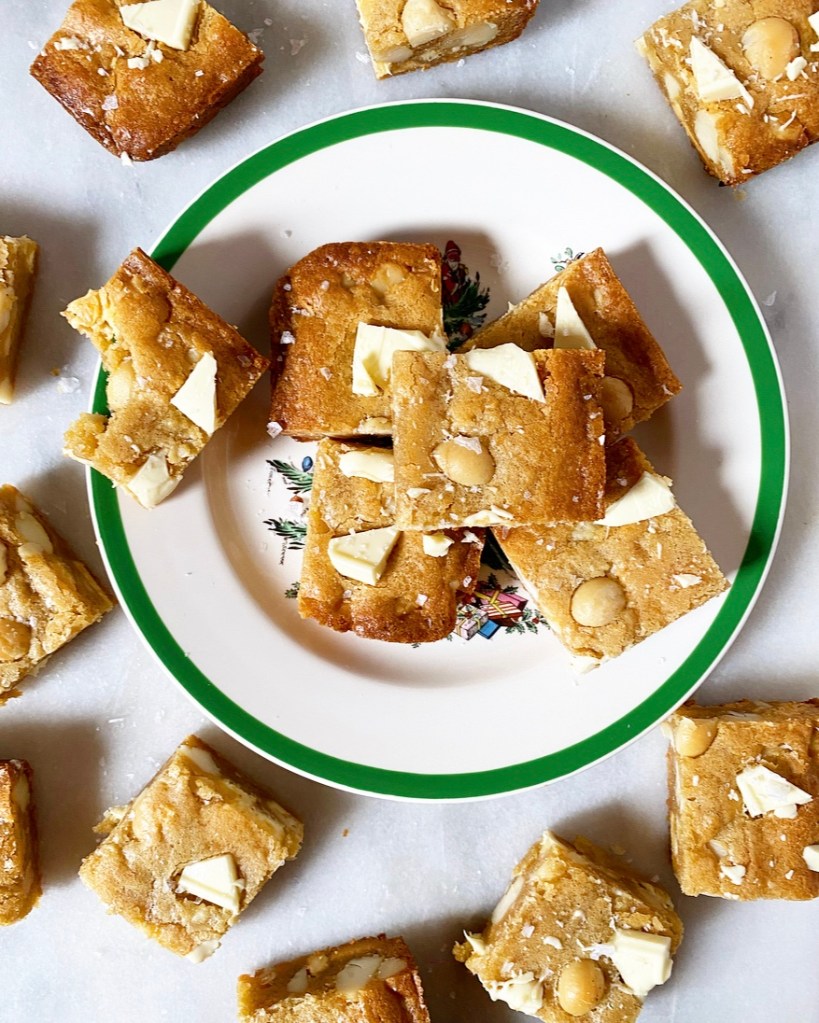
Serve them on your best thrifted Christmas Spode plates and definitely eat one too many.
The most wonderful time of the year, indeed.
Brown Butter White Chocolate Macadamia Nut Blondies
makes one 8- or 9-inch square pan, about 16 blondies

3/4 cup macadamia nuts (I used raw)
1/2 cup (1 stick) unsalted butter
2/3 cup light brown sugar, packed
1/3 cup granulated sugar
1 large egg + 1 large egg yolk, room temperature
2 teaspoons pure vanilla extract
1 cup all-purpose flour
1/2 teaspoon Kosher or sea salt
3 ounces white chocolate, chopped (I used Ghirardelli)
flaky salt, for garnish (optional)

If using roasted salted macadamia nuts, skip the first step. Chop them before beginning the recipe at “Brown the butter.” Also reduce the salt to 1/2 teaspoon.

Preheat oven to 350F. Scatter macadamia nuts on a dry rimmed baking sheet and roast 5-7 minutes, or until fragrant. Do not burn. Let cool completely and give them a rough chop.

Preheat oven to 350F. Grease an 8- or 9-inch square pan and line with parchment, leaving overhang for bar-removal. Set aside while you make the blondie batter.

Brown the butter. Place butter in a light-colored saucepan over medium heat. Let butter melt. Butter will bubble and crackle as the water content evaporates. Swirl the pan frequently for 5-7 minutes, keeping an eye on the color. When the solids are turning brown and the butter is nutty and fragrant, remove the pot from the heat and immediately pour the brown butter into a medium-large mixing bowl.

Whisk light brown sugar and granulated sugar into the brown butter. Mix in egg, egg yolk, and vanilla, followed by flour and salt. Fold in chopped macadamia nuts and white chocolate. Batter will be thick.

Spread the blondie batter in prepared pan. Bake 25-30 minutes, or until the top is golden and a toothpick inserted in the center comes out mostly clean (no raw batter). Sprinkle blondies with coarse salt, if desired. Let blondies cool completely in the pan on a rack.

Run a small, thin knife around the edge of the pan, then use parchment to lift them onto a cutting board. Slice with a large, sharp chef’s knife, wiping the blade clean between cuts. Serve.

Blondies will keep in an airtight container at room temperature for up to 4 days.
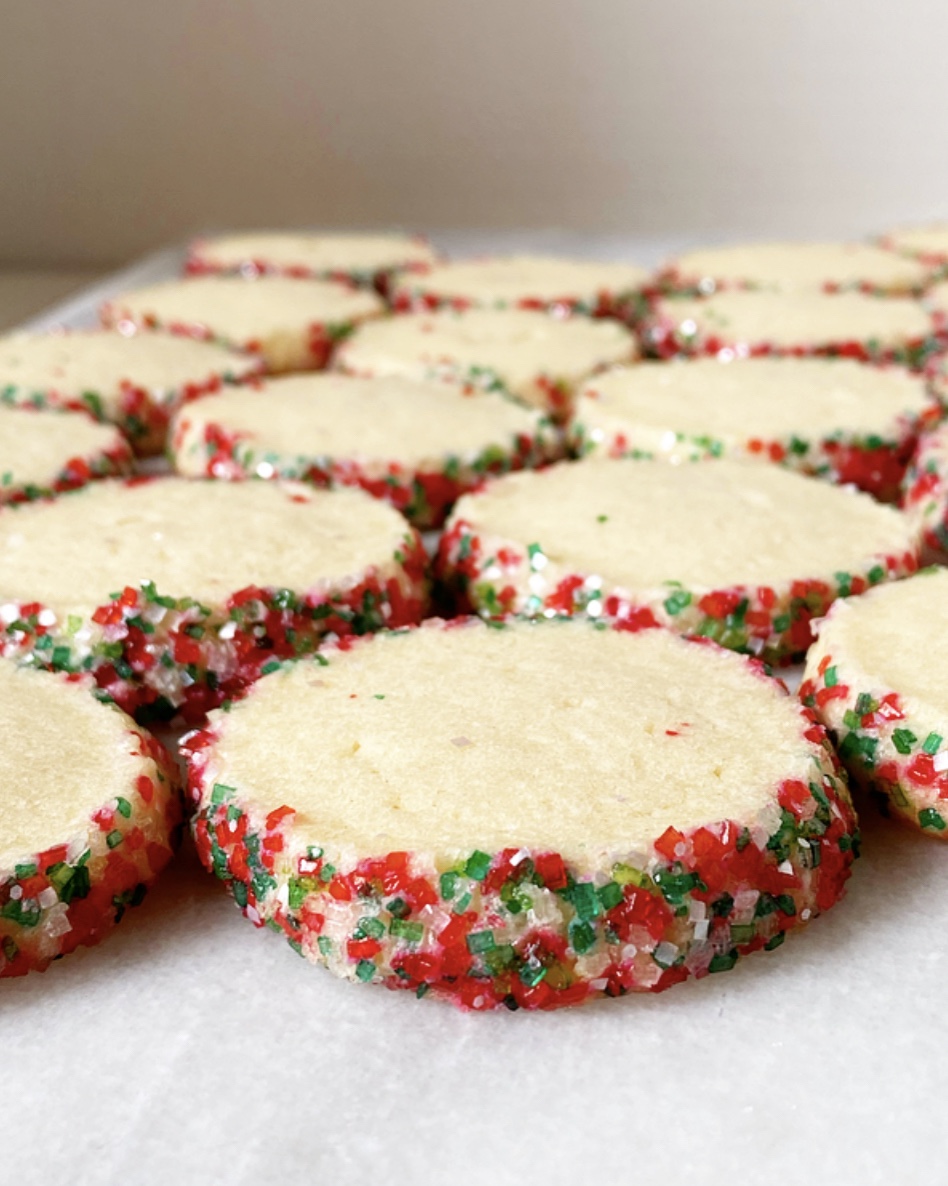
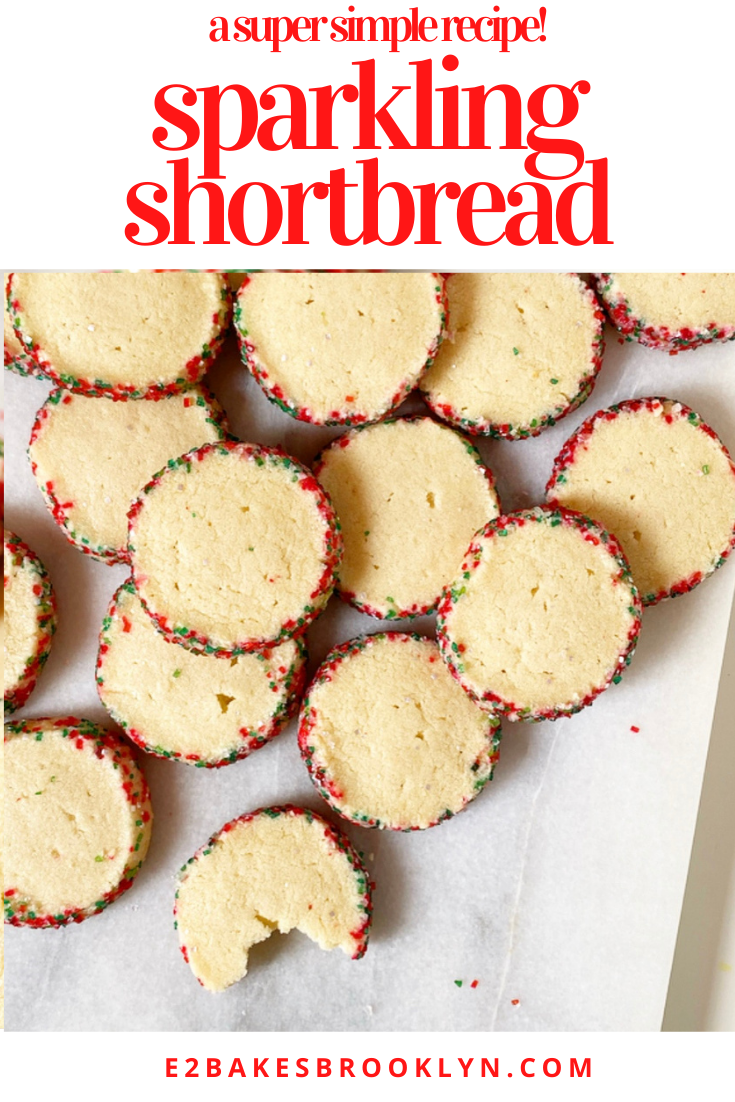
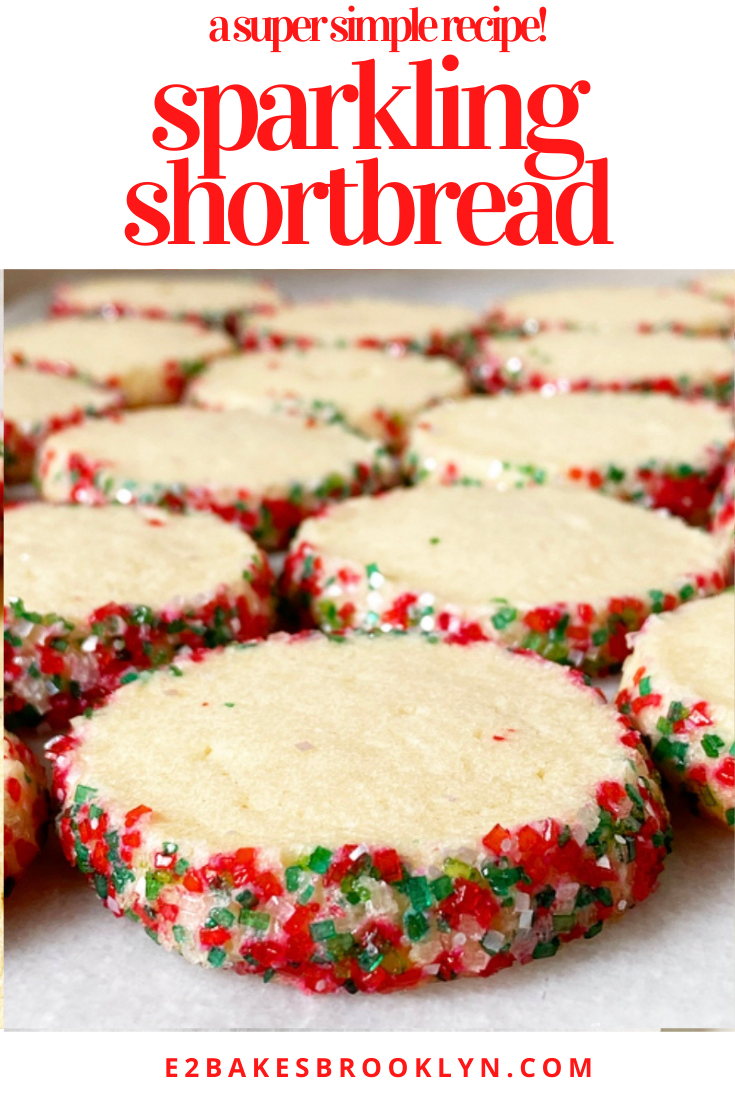
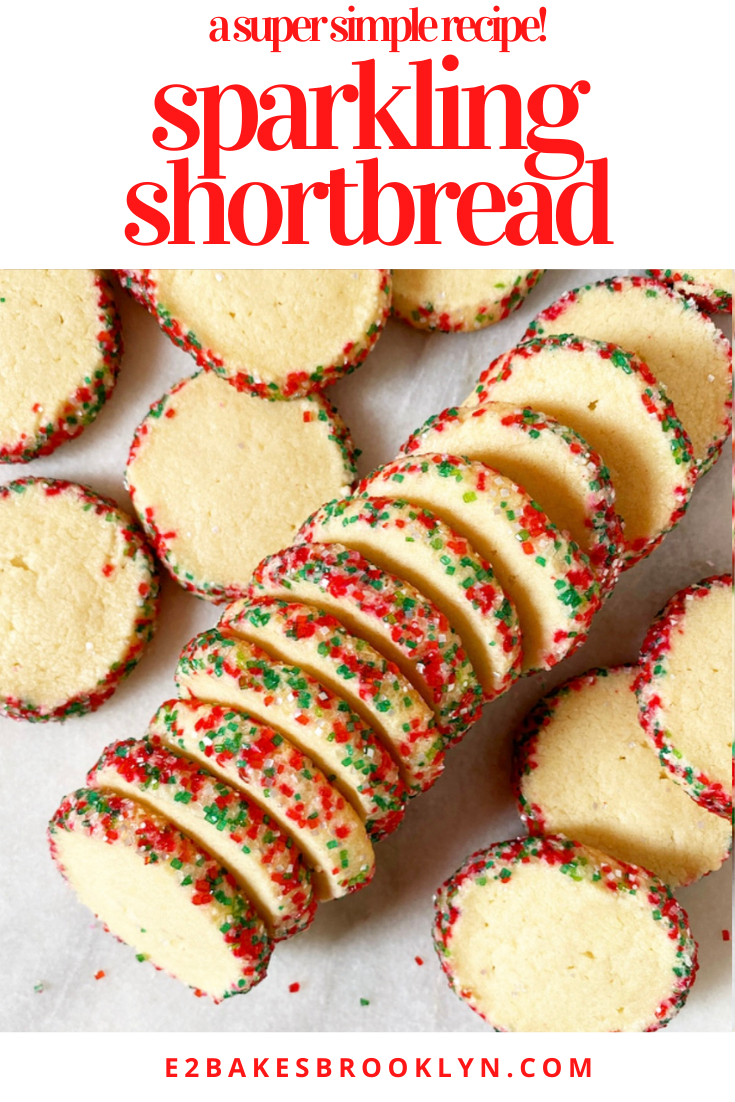
Happy Christmas week! Happy Solstice! Happy almost the end of 2020!I’m coming at you on this winter Monday to give you one last cookie recipe before Christmas. Don’t worry, it’s super easy—just a slice & bake shortbread that’s been rolled in sparkling sugar so it looks *fancy.* And it is. But it’s also stupendously easy. I don’t know about you, but when it’s four days before Christmas, I only have time for things that are stupendously easy.This dough is super rich and buttery, and comes together in 15 minutes. Once mixed, divide it in two and shape each half into a log. Don’t worry about perfect round shaping—you can fix flaws after an hour-long chill. It’s much easier to form smooth shapes when the dough isn’t so pliable.Next up, coat your shortbread in sparkling sugar! Working with one log at a time, give your shortbread a few rolls to even out any odd shaping. Then, roll them in a few tablespoons of festive sparkling sugar (this is the Mistletoe Blend from NY Cake Supply). I find it easiest to coat the shortbread by using my hands and a sheet of plastic wrap. Just do your best with this and don’t worry about perfection—these will all be a little different and they will all be gorgeous.
Don’t have sparkling sugar? Use sprinkles. I recommend using jimmies (the cylindrical kind) instead of non-pareils (the little balls), as those will bleed their colors.After coating, the shortbread will need another hour chill. I know—I know!—two chills are too many, but they are easily the most annoying part of this recipe. One upside, however, is that this means you can make the Sparkling Shortbread dough days in advance and then slice & bake when you have time.When it’s time to bake, slice the dough in 1/4-inch rounds and bake for 20 minutes at 300F, so they’re fully done but not brown. Despite not containing any leaveners, these cookies will puff and spread (but not too much).Once the shortbread are baked and cooled…well, that’s it! Time to eat. Sparkling Shortbread are crisp and buttery with a little extra crunch and zazz from their sugared edges. Truly, they’re so simple and stunning that I don’t know why you’d bother to make any other cookies this close to Christmas. Keep a few for yourself, drop a few off with a friend and leave a few for Santa. Everybody needs a little sparkle right now.There’s only one more E2 Bakes recipe left this year, and it’s coming up Wednesday! Any guesses???
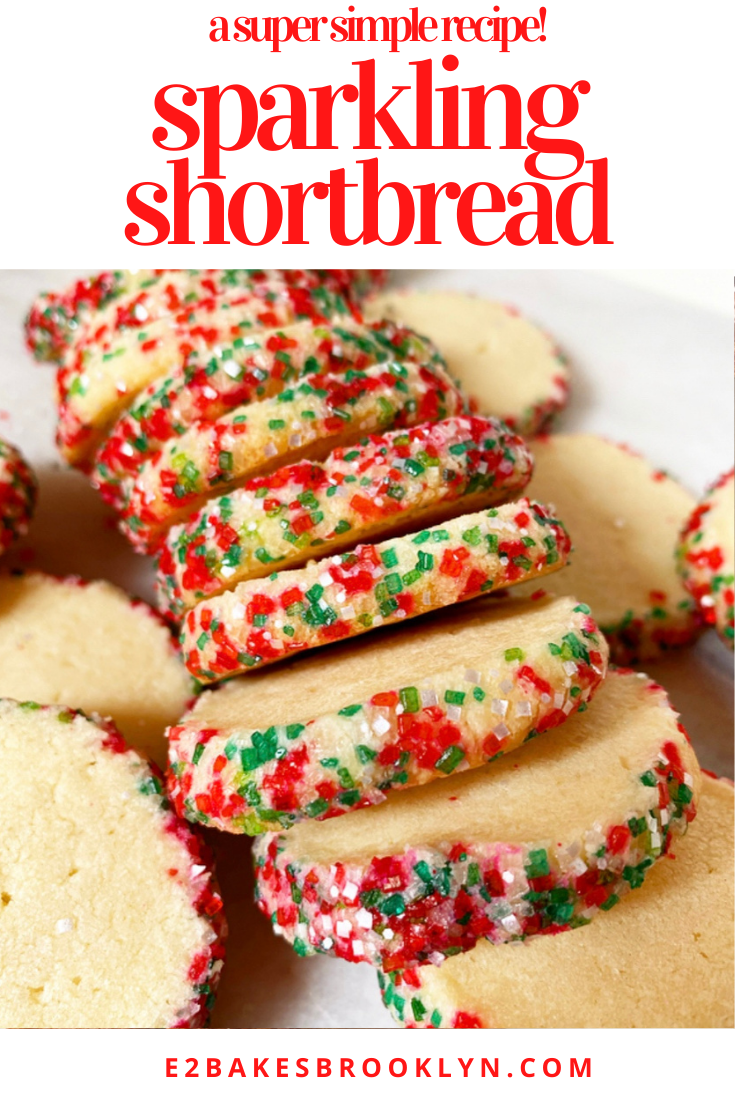
Sparkling Shortbread
makes about 3 dozen cookies
1 cup (2 sticks) unsalted butter, softened to room temperature
1/3 cup granulated sugar
1/3 cup confectioner’s sugar
1/2 teaspoon pure vanilla extract
1/4 teaspoon Kosher or sea salt
2 cups all-purpose flour
For coating:
6-8 tablespoons (about 3 ounces) coarse sparkling/decorative sugar
Place softened butter in a medium-large mixing bowl and use an electric mixer to beat it until light and fluffy, about 1-2 minutes. Add dark brown and confectioners sugars and mix until fluffy. Mix in vanilla and salt. With the mixer on low, beat in flour. Dough will be crumbly looking, but should hold together very well when pinched.
Divide dough in two parts. Form each into a 9-inch log and wrap in plastic. Don’t worry if they aren’t perfectly round. Chill for 1 hour.
Line a small sheet pan or a surface with a sheet of plastic wrap and place 3-4 tablespoons of sparkling sugar on top. Unwrap one log of dough. Give it a few light rolls to form more of a round log shape. Place dough on top of sugar and use your hands and the plastic wrap to coat the log in sparkling sugar. Wrap in plastic and refrigerate for 1 hour or up to 3 days. Repeat this process with remaining log of dough and remaining sparkling sugar.
Place oven racks in central positions. Preheat oven to 300F. Line 2 rimmed sheet pans with parchment paper.
Unwrap one log of dough and place on a cutting board. Use a large, sharp chef’s knife to slice log into 1/4-inch rounds. Place at least 2 inches apart on prepared pans.
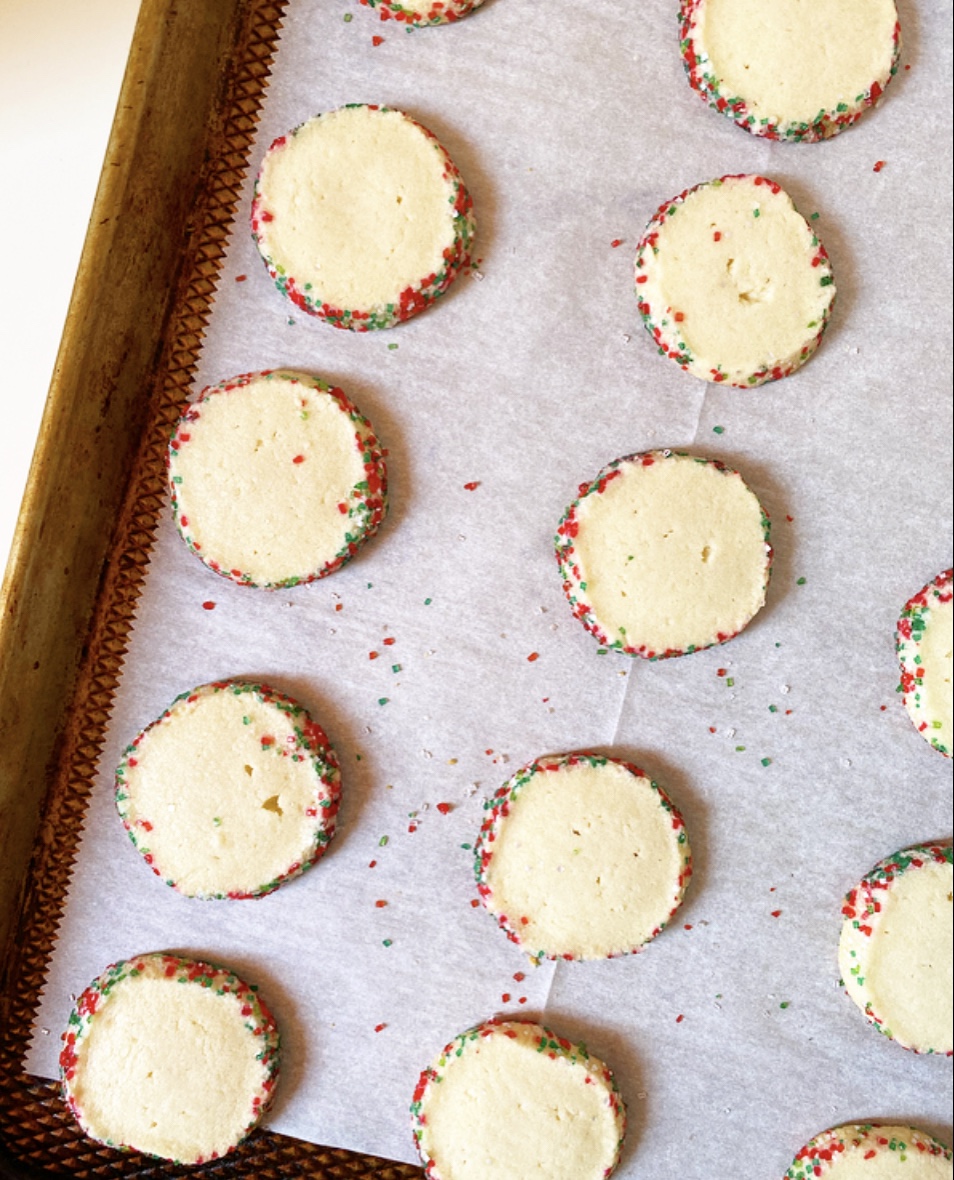
Bake cookies for 20-22 minutes, or until no longer shiny but not brown at all. Let cool on the pans for 10 minutes. Use a thin spatula (not your fingers!) to remove cookies to cooling racks to cool completely.
Serve. Leftovers will keep in an airtight container at room temperature for several days.
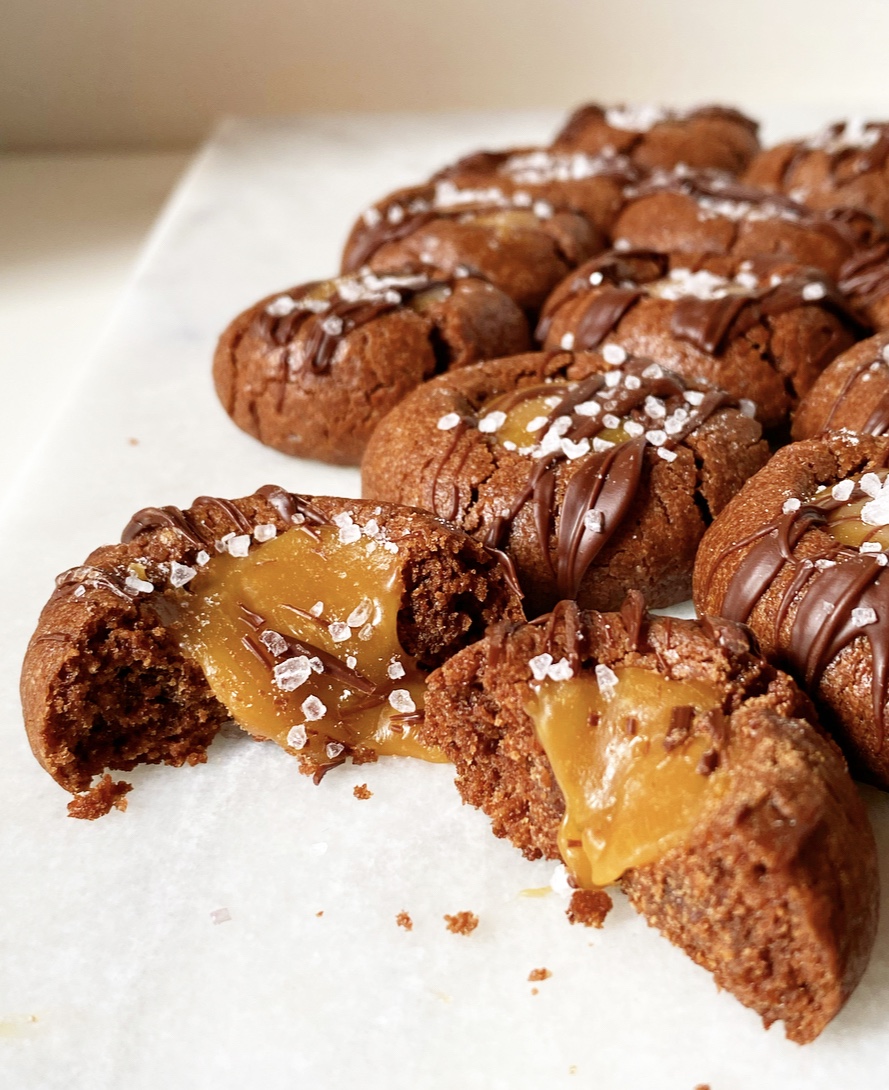
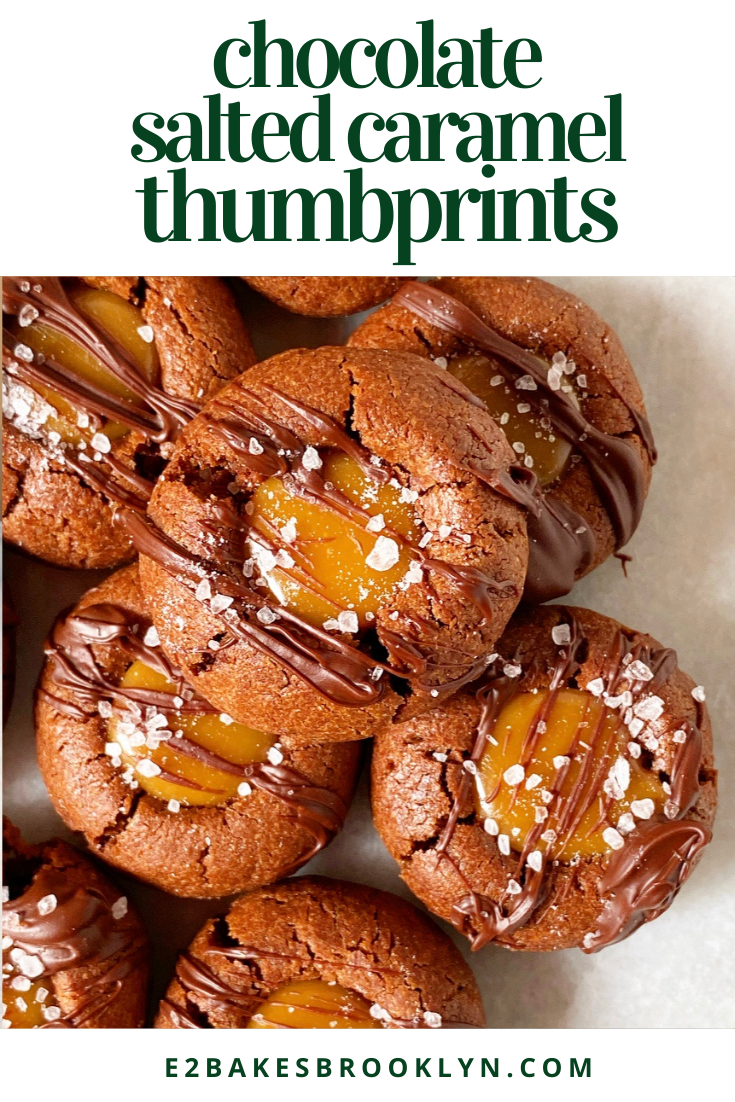
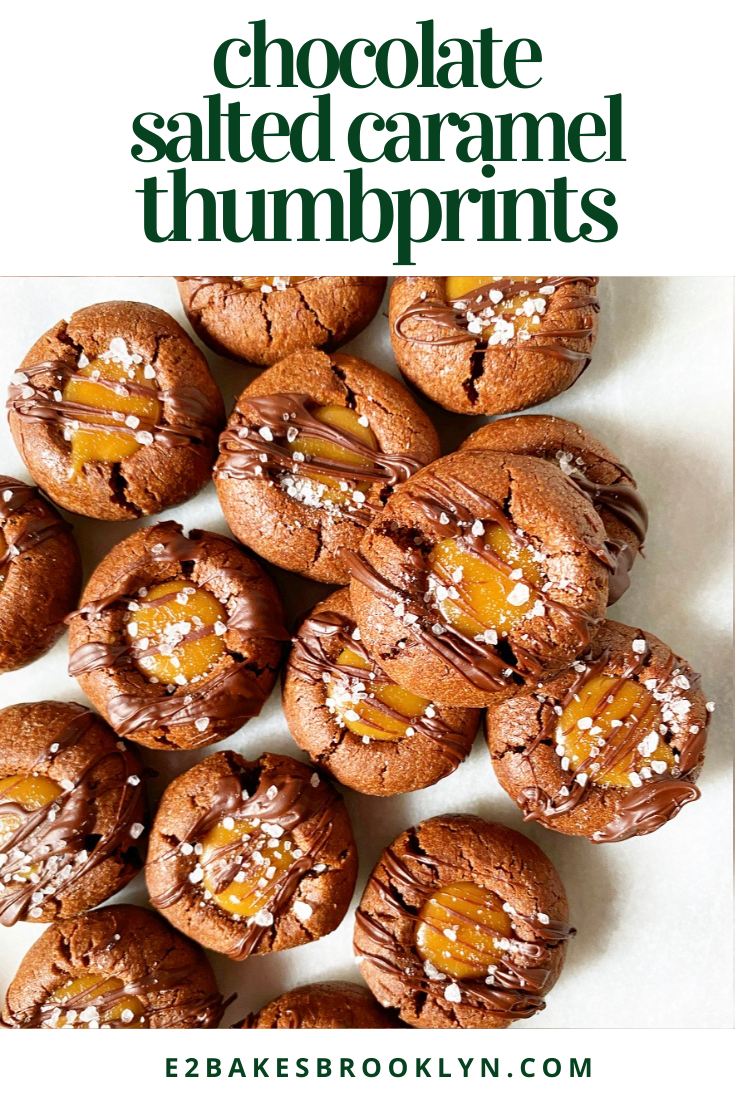
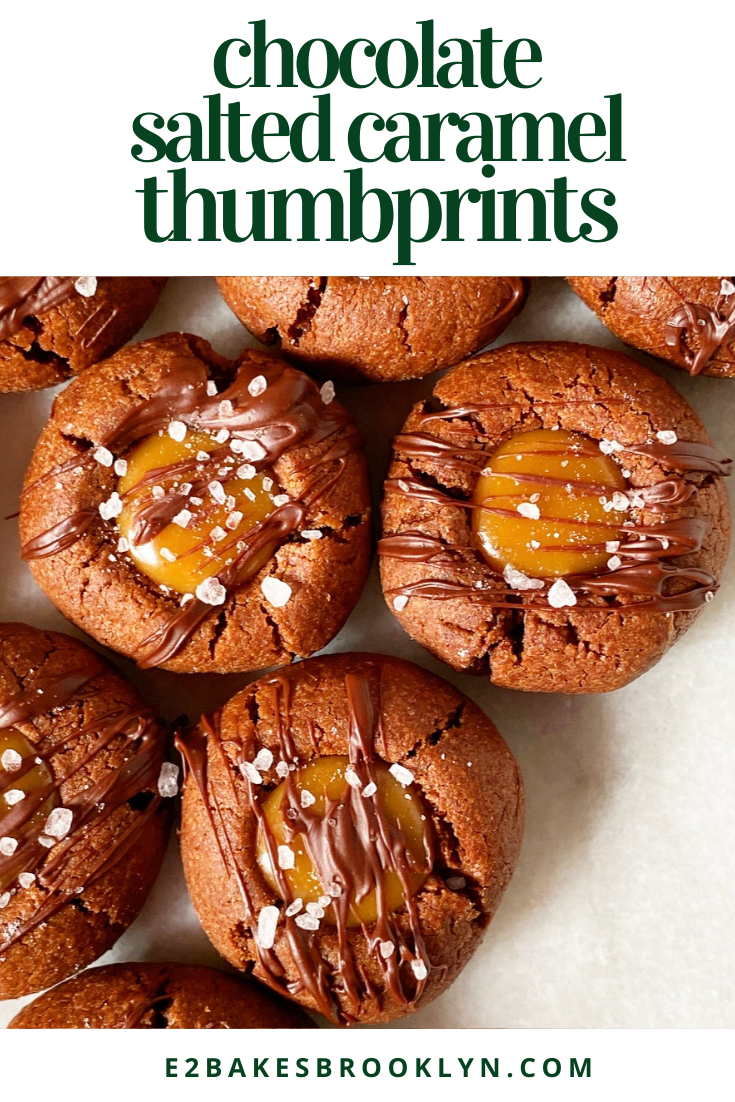
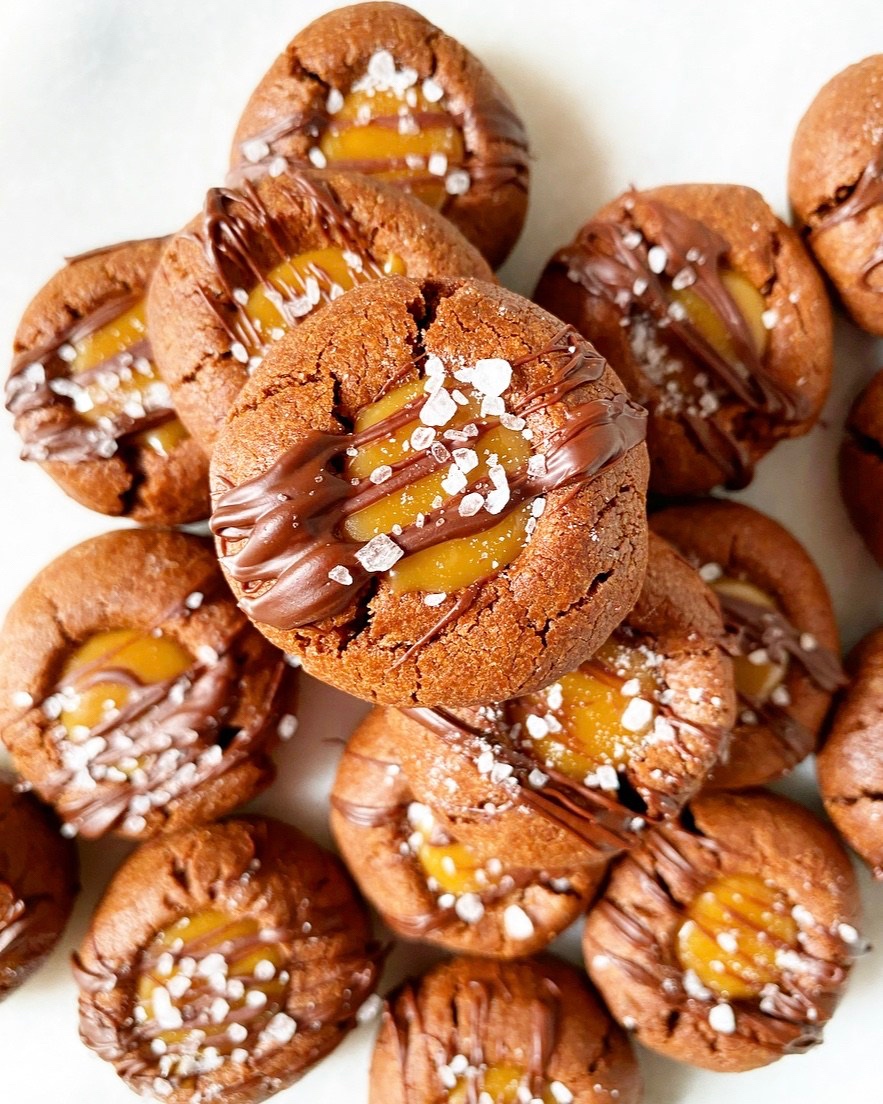
We’re getting close to the end of this year’s posts (two more recipes to go!), but I just couldn’t let 2020 end without making sure you knew about these Chocolate Salted Caramel Thumbprints.Let me say that again: Chocolate. Salted. Caramel. Thumbprints.
That’s right—chocolate sugar cookies filled with soft, chewy caramel and finished with a chocolate drizzle and crunchy salt. Does a more perfect cookie exist? I think not. Sure, there are a few steps and a chill involved, but none of it is complicated, and you will be rewarded with salty, gooey, chocolaty cookies at the end. The best!While Christmas and New Year’s Eve (and literally everything else) are different this year, these cookies should be a part of your holiday, however it looks. Are you gathering with a tiny group to do a gift exchange? Share some cookies with people you love. Are you spending the holiday by your lonesome, like me? Have a cookie (or four) while you watch Home Alone while you’re home alone. Are you skipping it all and hoping next year is better? Well, Chocolate Salted Caramel Thumbprints are good for that too.Christmas is only a week away! To accommodate the holiday, I’m changing up next week’s posting schedule from the usual Wednesday/Friday to Monday/Wednesday. Since we’re getting down to the wire, look out for two easy as can be, festive as everything recipes. Oh, and let me know what you’re baking! I love seeing all your holiday (E2) bakes over on Instagram.
Have a wonderful weekend!
Chocolate Salted Caramel Thumbprints
makes about 3 dozen
Chocolate Cookie Dough:
2 1/2 cups all-purpose flour
3/4 cup unsweetened cocoa powder (natural or Dutch process)
1 teaspoons baking powder
1/2 teaspoon Kosher or sea salt
1 cup (2 sticks) unsalted butter, softened to room temperature
1/2 cup granulated sugar
1/2 cup light brown sugar, packed
1 large egg, room temperature
2 teaspoons pure vanilla extract
Salted Caramel Centers:
5 ounces soft caramel candies (I use Kraft)
3 1/2 tablespoons heavy cream
pinch of Kosher or sea salt
For finishing:
2 ounces chopped dark chocolate
coarse or flaky finishing salt
Special Equipment:
1/2 teaspoon measuring spoon
Make chocolate cookie dough. In a large mixing bowl, whisk together flour, cocoa powder, baking powder, and salt. Set aside.
In a separate large mixing bowl, use an electric mixer to beat butter until light and fluffy, about 2 minutes. Mix in granulated and light brown sugars, followed by the egg and vanilla extract. Add dry ingredients in 3 installments, combining completely after each. Use your hands to knead dough into a mass, then divide it in two. Cover each half with plastic wrap and chill for at least 3 hours or up to 3 days.
Preheat oven to 350F. Line two baking sheets with parchment. Set aside.
Remove dough from the refrigerator. Scoop dough by the tablespoon and roll each int a ball. Place dough balls at least 2 inches apart on prepared pans. Use the back of a very small spoon (like a 1/2 teaspoon) to slowly press a well into each dough ball. They may crack a bit—just smooth them with your fingers. If dough gets too warm and sticky, freeze for 10 minutes.
Bake cookies 12-13 minutes. Cookies are done when puffed and no longer wet-looking. When you remove the cookies from the oven, gently press the back of the small spoon into the centers again; they will crack a bit. Let cookies cool on the pans for 10 minutes before carefully removing to a rack to cool completely. Repeat rolling and baking process with all remaining dough, letting the cookie sheets come back to room temperature between batches.
Make the caramel. Combine caramels, heavy cream and salt in a small saucepan over medium heat. Stir constantly until melted and smooth, about 5 minutes. Remove from heat and let cool about 5 minutes.
Spoon 1/2 teaspoon caramel into the center of each cooled cookie. Let set 10 minutes.
Finish the cookies. Place chopped dark chocolate in a microwave-safe bowl. Microwave in 15 second increments, stirring in between, until smooth. Use a fork to drizzle it over the cookies. Finish with coarse or flaky salt. To harden chocolate quickly, place the cookies in the freezer for about 15 minutes.
Serve cookies. Leftovers will keep in an airtight container at room temperature for up to a week. For best storage, place layers of wax paper between cookies.


 Happy Christmas week! Happy Solstice! Happy almost the end of 2020!
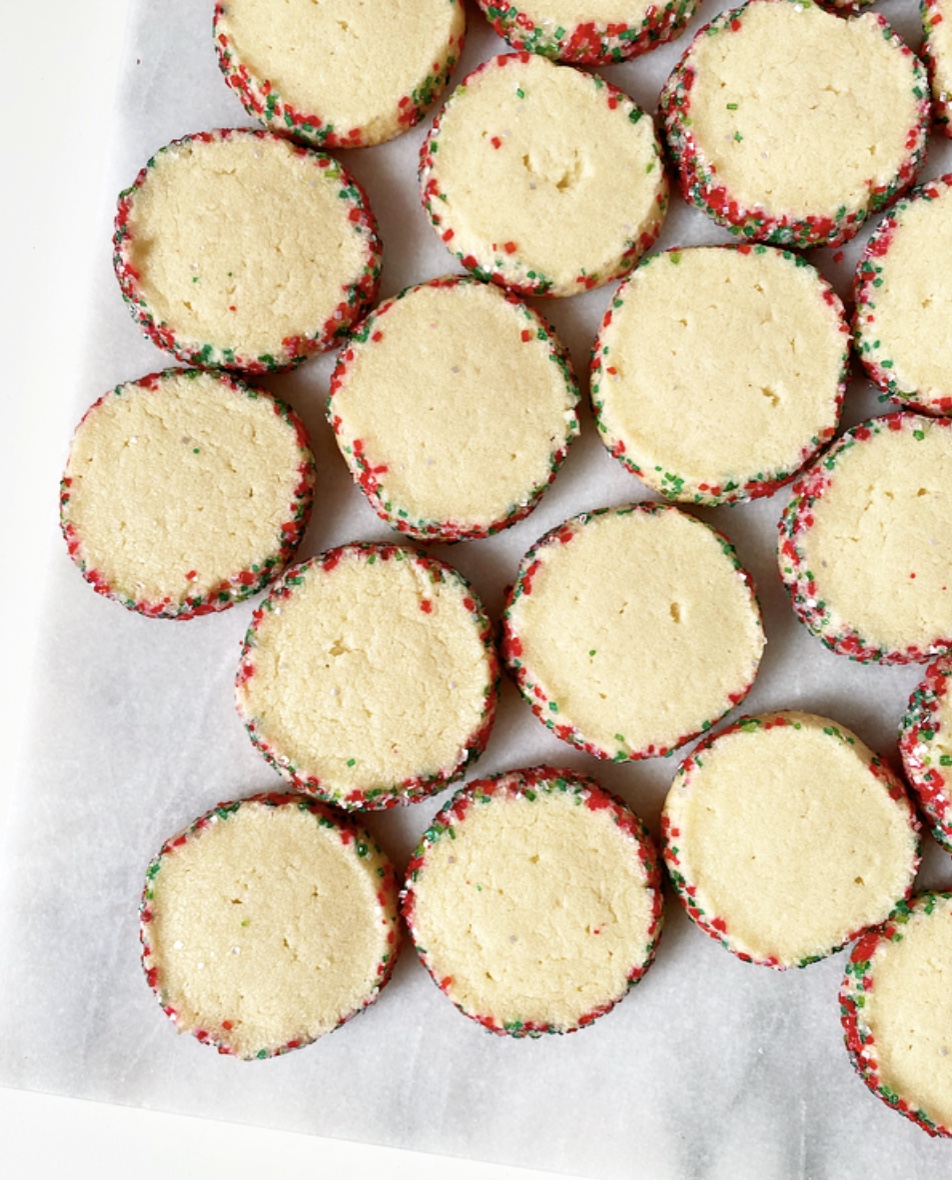 I’m coming at you on this winter Monday to give you one last cookie recipe before Christmas. Don’t worry, it’s super easy—just a slice & bake shortbread that’s been rolled in sparkling sugar so it looks *fancy.* And it is. But it’s also stupendously easy. I don’t know about you, but when it’s four days before Christmas, I only have time for things that are stupendously easy.
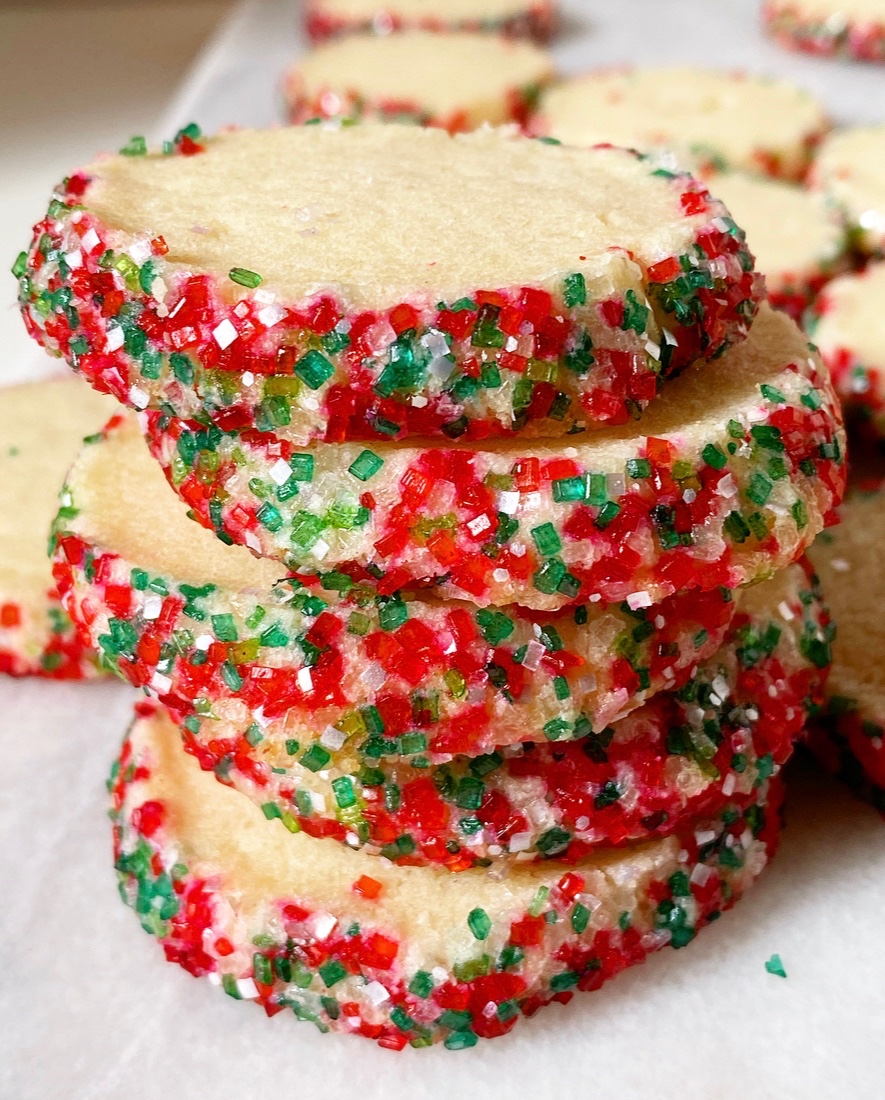 This dough is super rich and buttery, and comes together in 15 minutes. Once mixed, divide it in two and shape each half into a log. Don’t worry about perfect round shaping—you can fix flaws after an hour-long chill. It’s much easier to form smooth shapes when the dough isn’t so pliable.
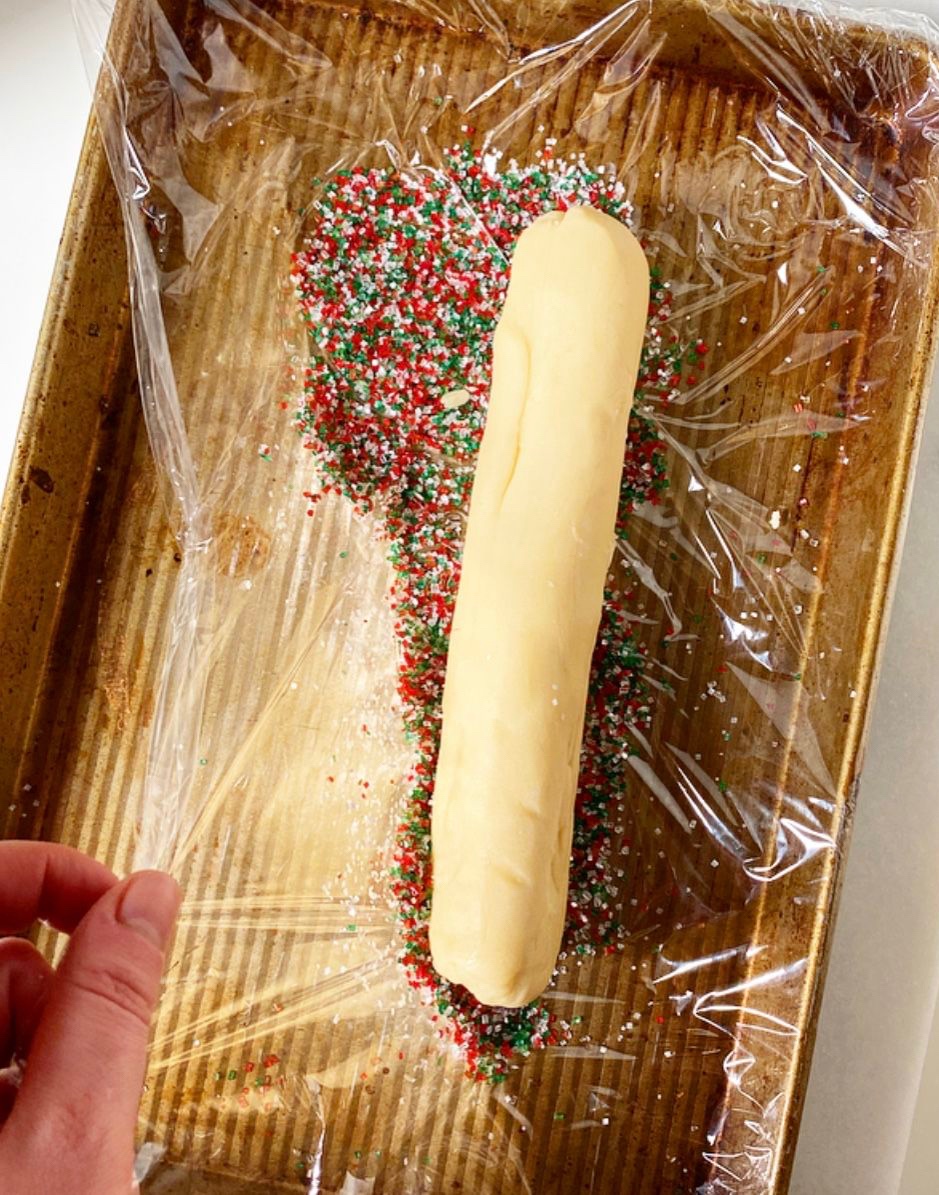
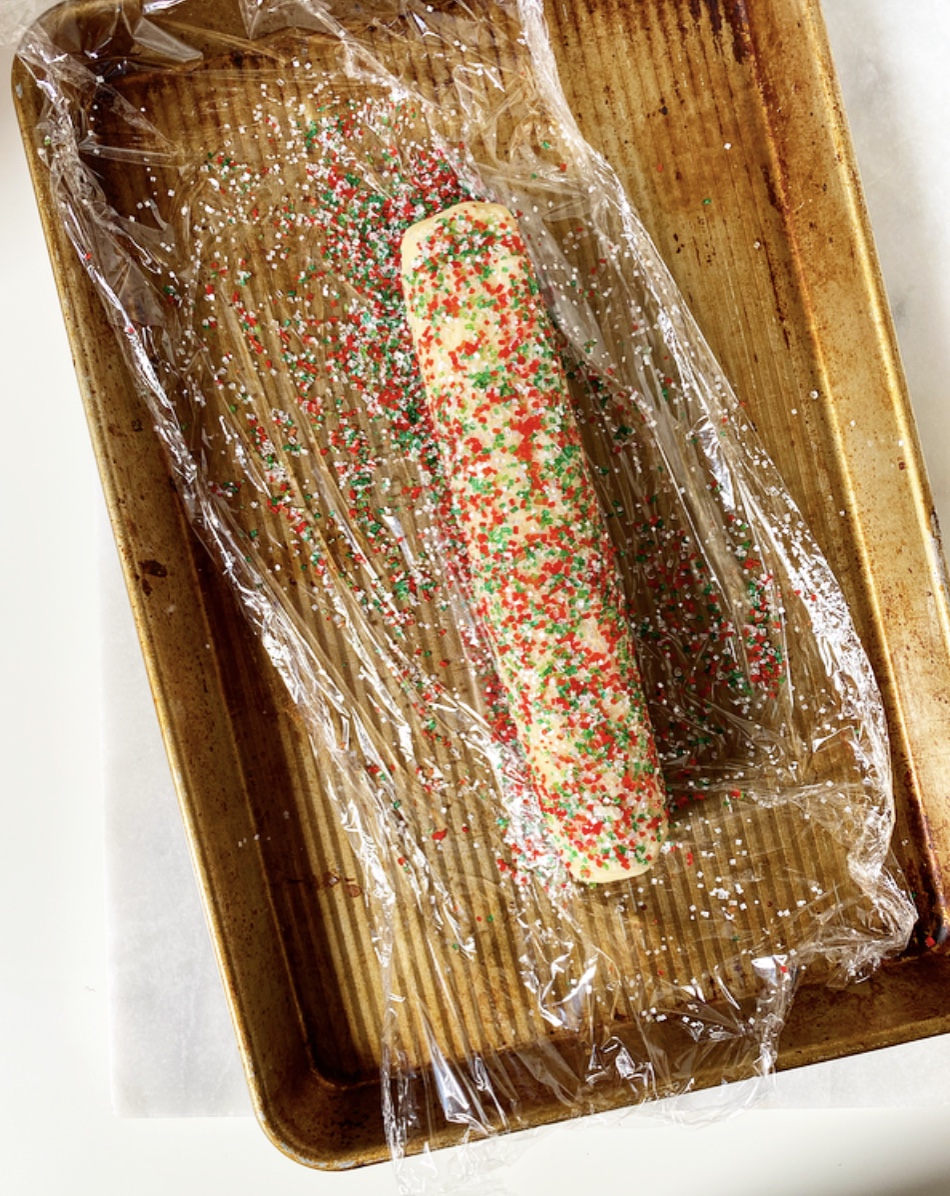 Next up, coat your shortbread in sparkling sugar! Working with one log at a time, give your shortbread a few rolls to even out any odd shaping. Then, roll them in a few tablespoons of festive sparkling sugar (this is the Mistletoe Blend from
 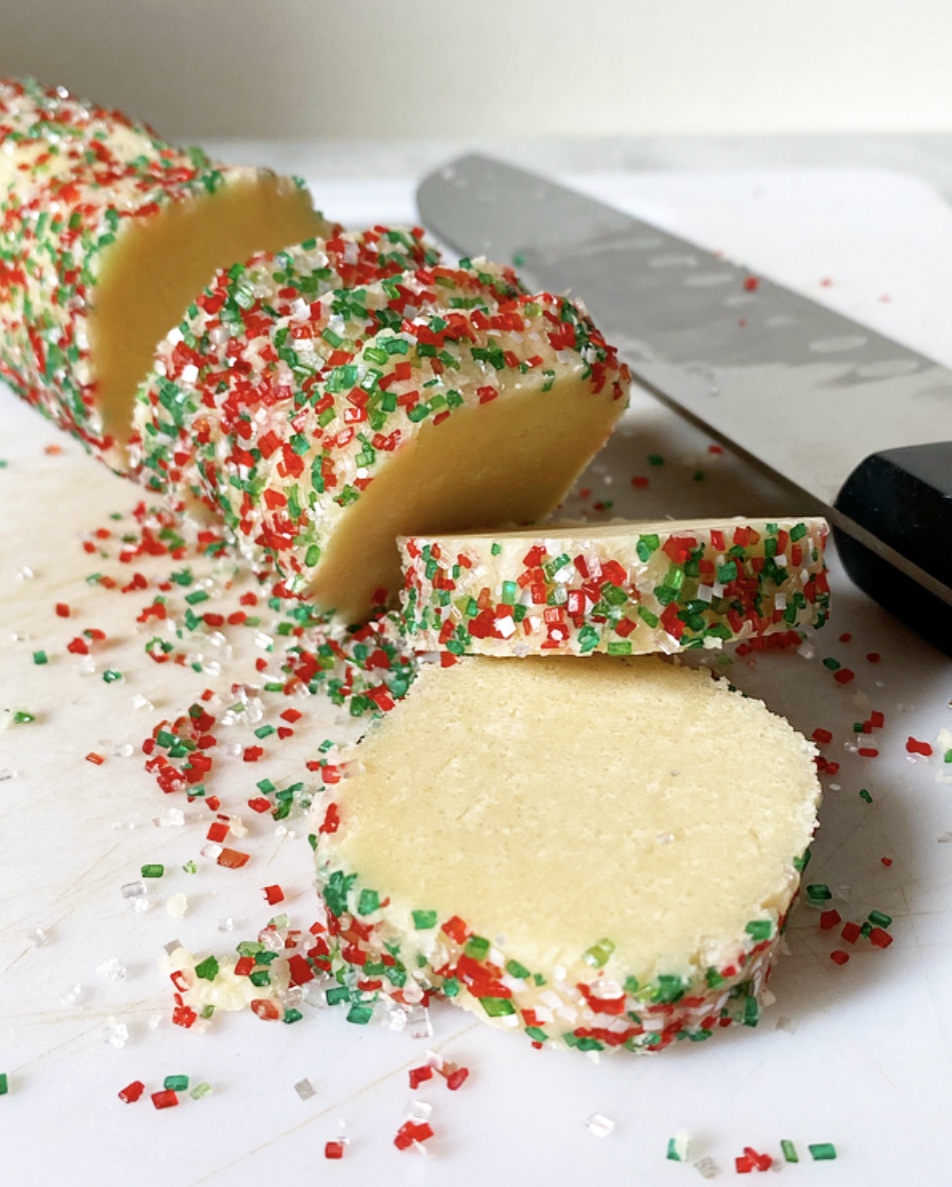 After coating, the shortbread will need another hour chill. I know—I know!—two chills are too many, but they are easily the most annoying part of this recipe. One upside, however, is that this means you can make the Sparkling Shortbread dough days in advance and then slice & bake when you have time.
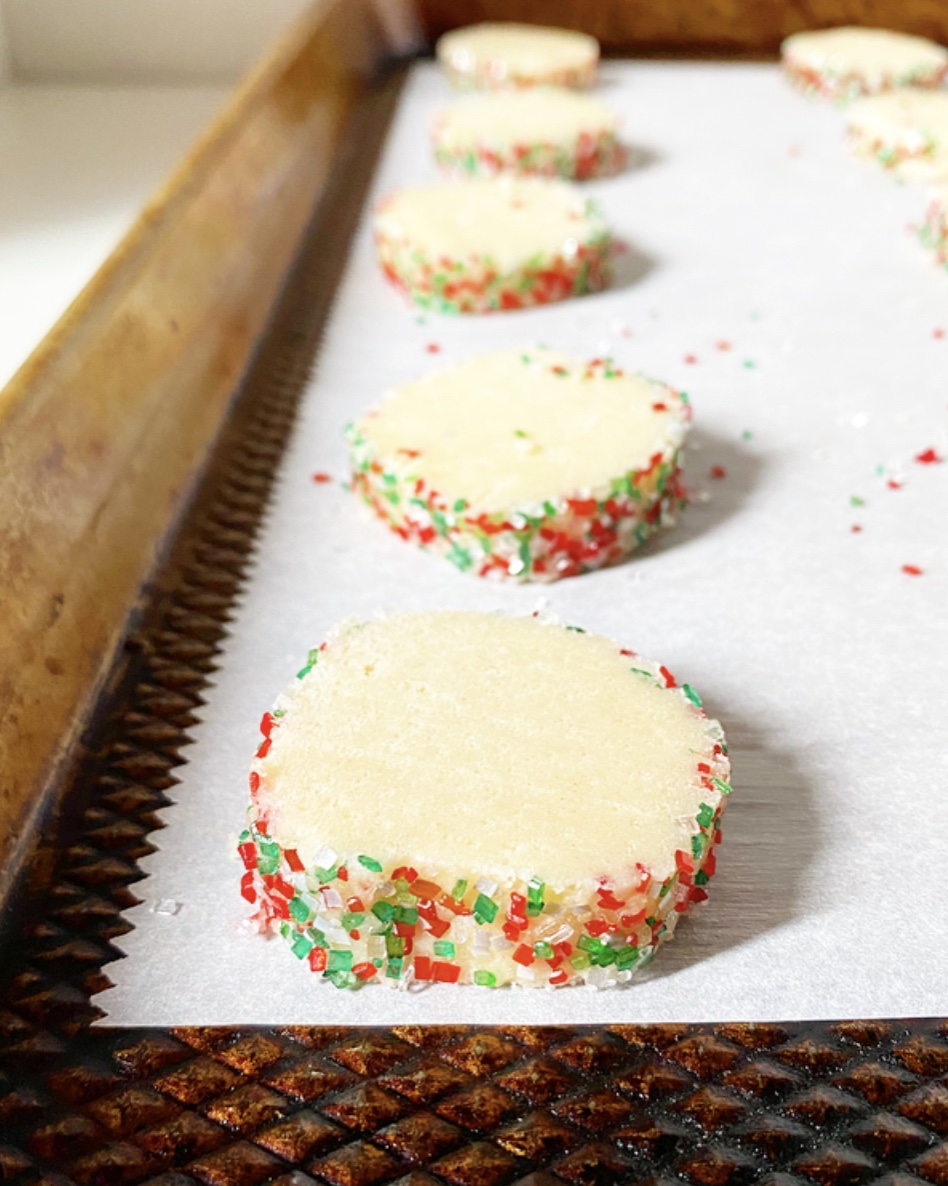
 When it’s time to bake, slice the dough in 1/4-inch rounds and bake for 20 minutes at 300F, so they’re fully done but not brown. Despite not containing any leaveners, these cookies will puff and spread (but not too much).
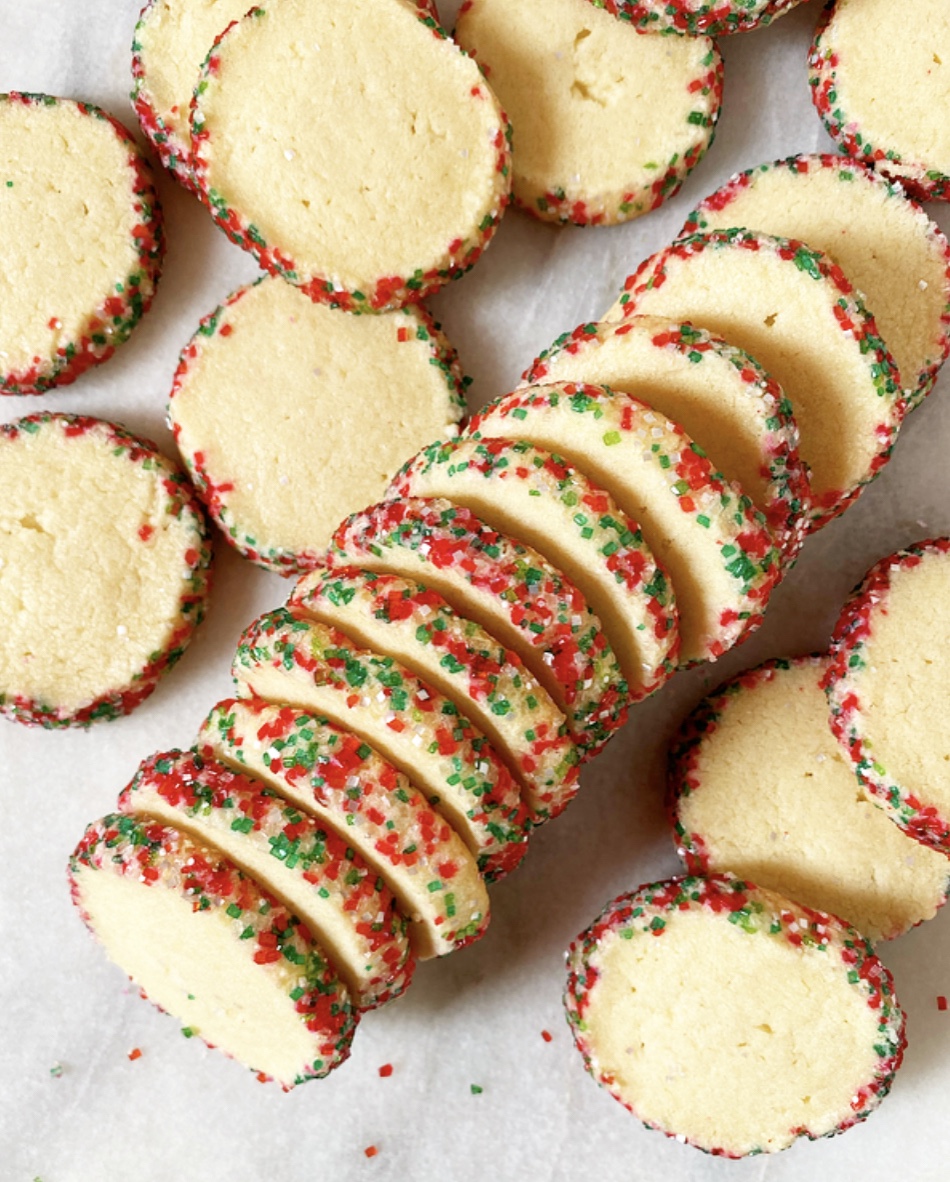 Once the shortbread are baked and cooled…well, that’s it! Time to eat. Sparkling Shortbread are crisp and buttery with a little extra crunch and zazz from their sugared edges. Truly, they’re so simple and stunning that I don’t know why you’d bother to make any other cookies this close to Christmas. Keep a few for yourself, drop a few off with a friend and leave a few for Santa. Everybody needs a little sparkle right now.
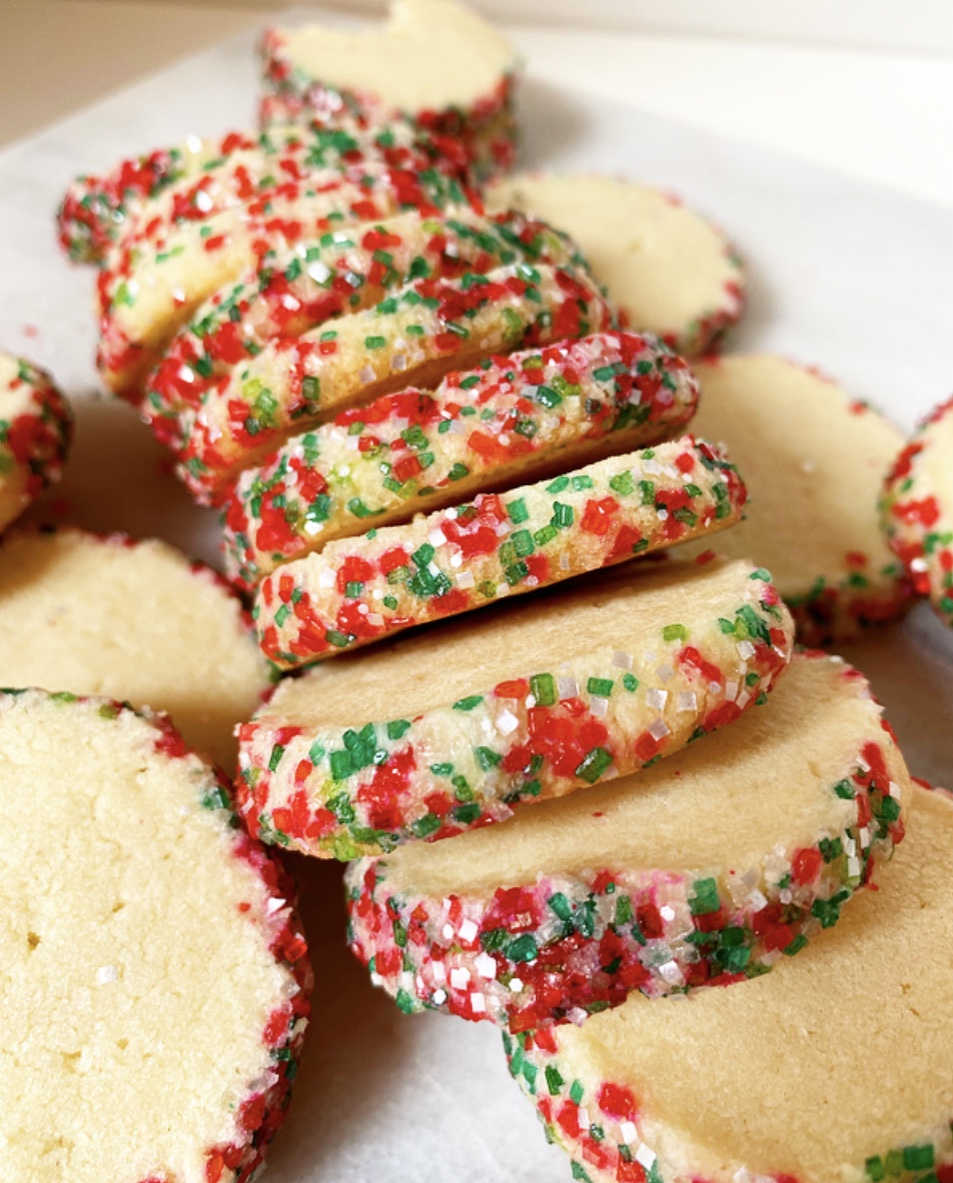 There’s only one more E2 Bakes recipe left this year, and it’s coming up Wednesday! Any guesses???
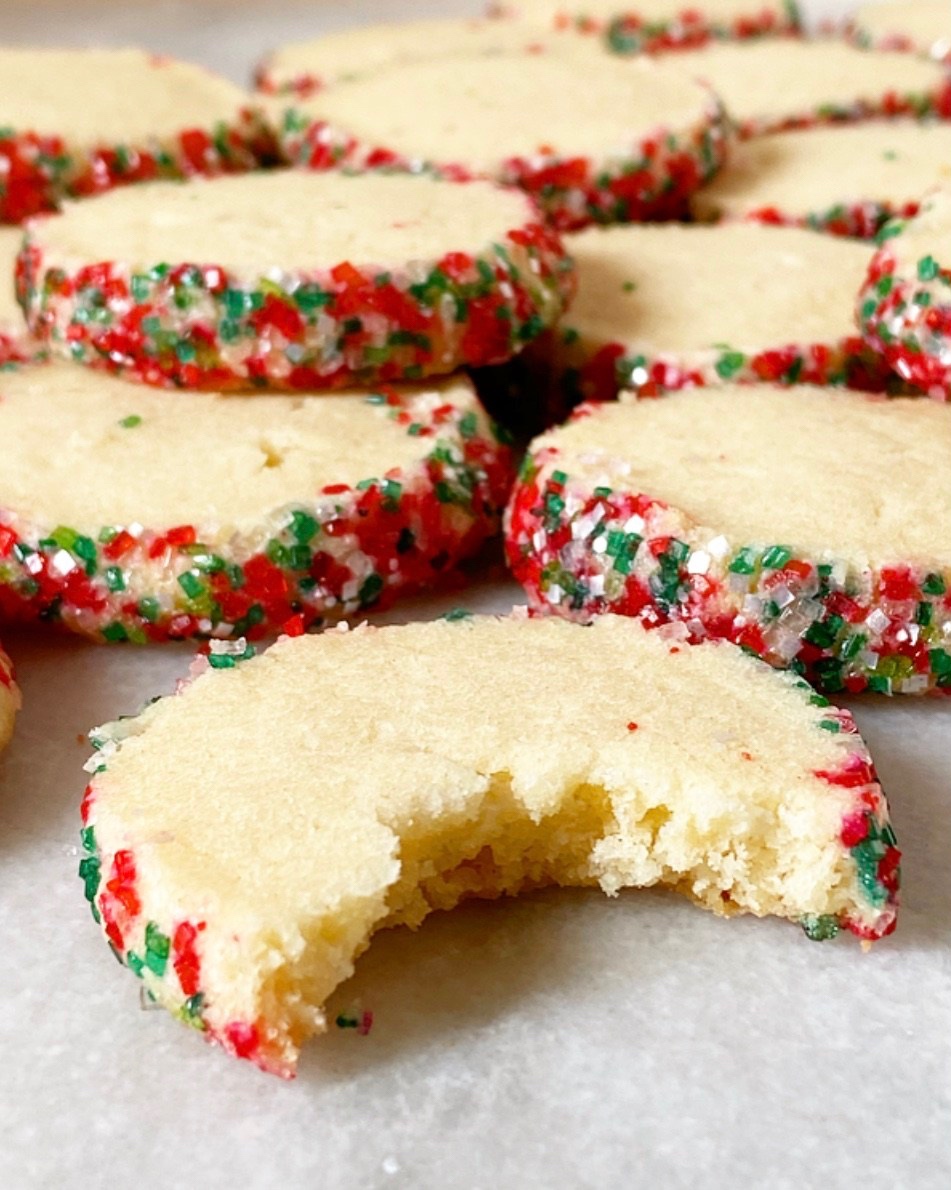
 We’re getting close to the end of this year’s posts (two more recipes to go!), but I just couldn’t let 2020 end without making sure you knew about these Chocolate Salted Caramel Thumbprints.
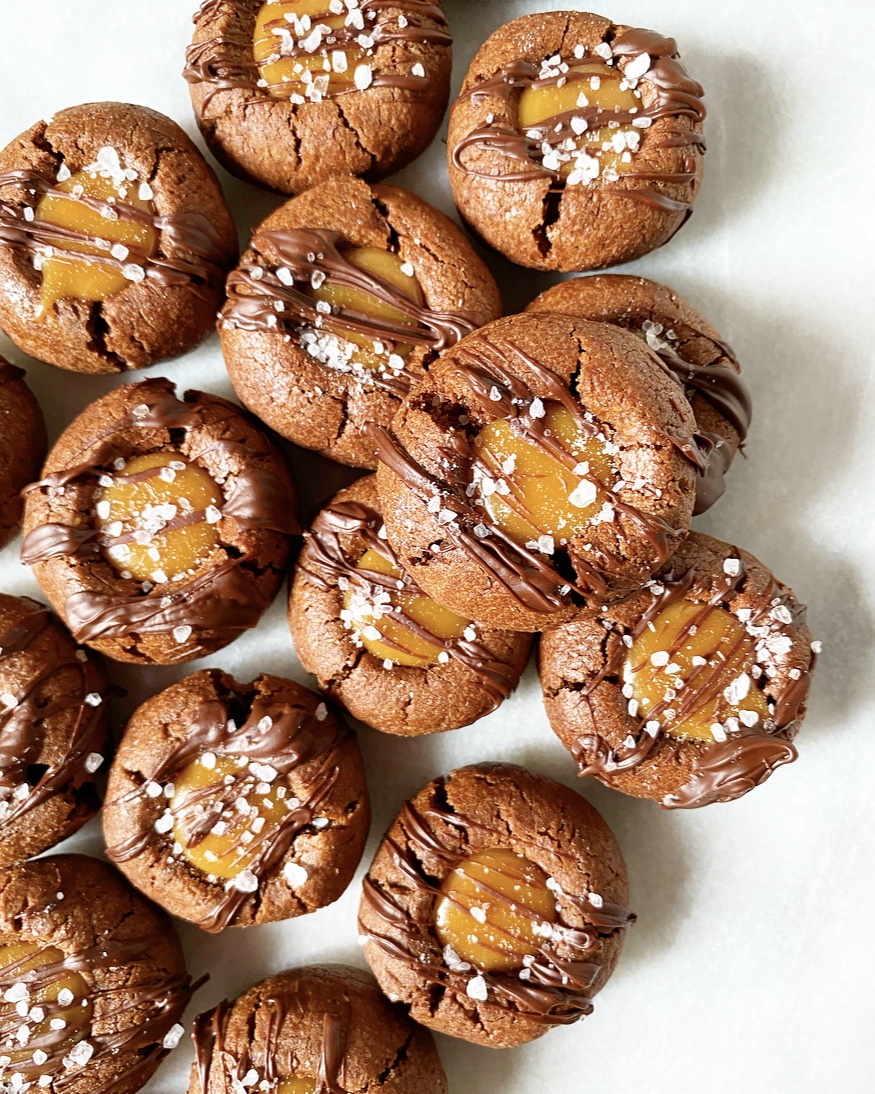 Let me say that again: Chocolate. Salted. Caramel. Thumbprints.
 While Christmas and New Year’s Eve (and literally everything else) are different this year, these cookies should be a part of your holiday, however it looks. Are you gathering with a tiny group to do a gift exchange? Share some cookies with people you love. Are you spending the holiday by your lonesome, like me? Have a cookie (or four) while you watch Home Alone while you’re home alone. Are you skipping it all and hoping next year is better? Well, Chocolate Salted Caramel Thumbprints are good for that too.
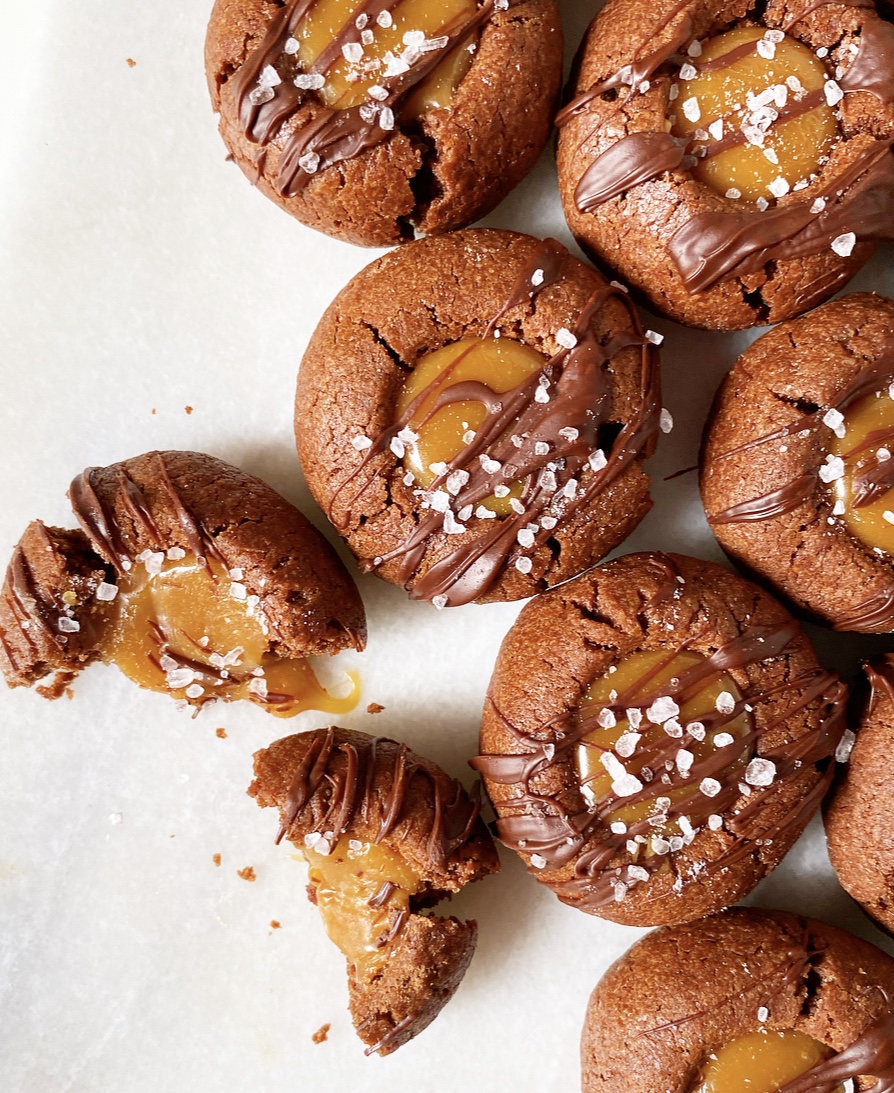 Christmas is only a week away! To accommodate the holiday, I’m changing up next week’s posting schedule from the usual Wednesday/Friday to Monday/Wednesday. Since we’re getting down to the wire, look out for two easy as can be, festive as everything recipes. Oh, and let me know what you’re baking! I love seeing all your holiday (E2) bakes over on