Hello from the recent past! I’m writing this post ahead of Election Day, so I have no idea what fresh hell is going on in this country upon publishing, nor am I going to address it. This blog has no political views of its own, but you can guess which side I’m on.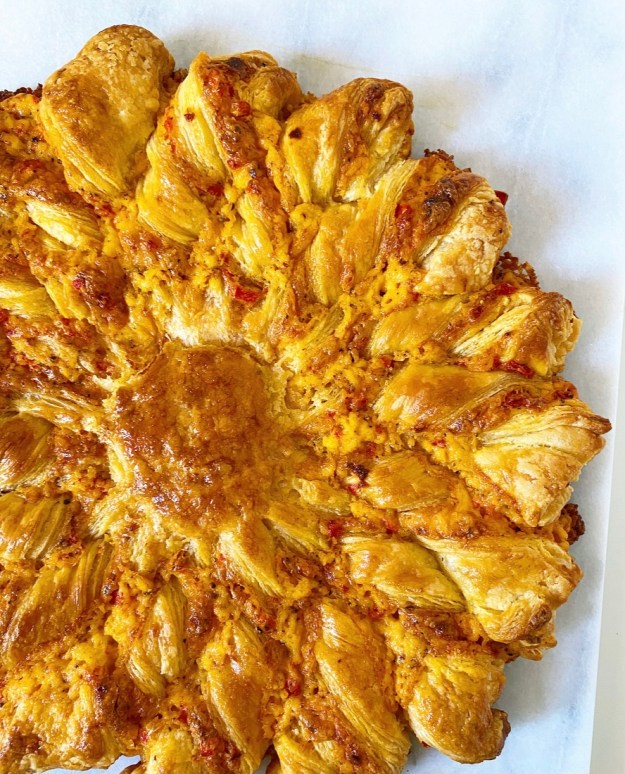 I had a very difficult time deciding what to post today. The election has zapped any creative energy I had left, and just…what do I want to talk about post-Election Day? Do I go straight into pie? Thanksgiving sides? Not post a recipe and tell everyone to make one big cookie everyday until we know the actual results? Disappear without a trace for two months and re-emerge only after January 20th of next year? They all seem like good options.
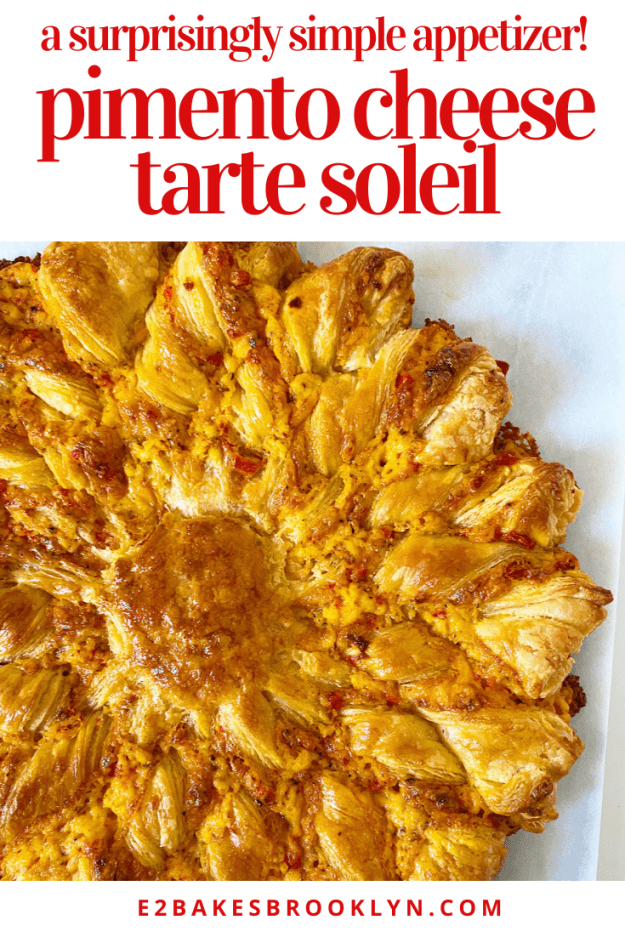
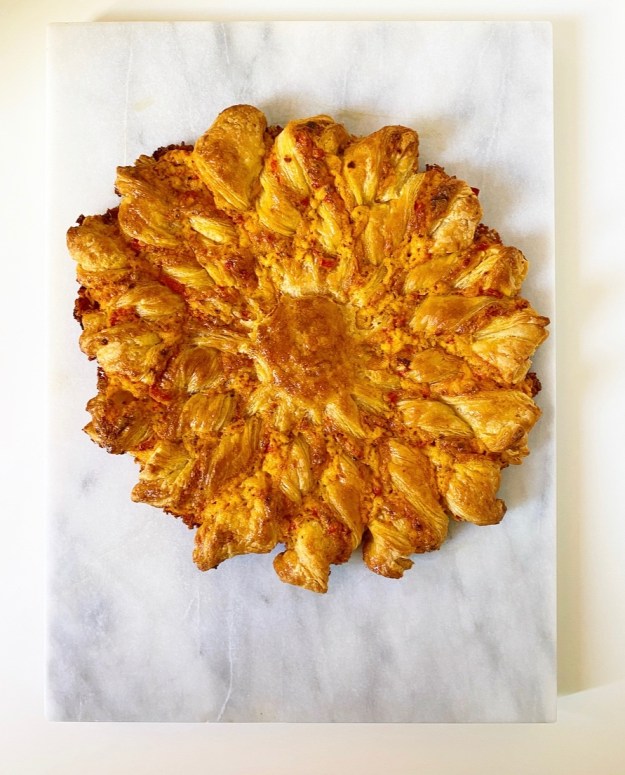 Instead though, I’m going with Pimento Cheese: straight-up cheesy, spicy, sweet, tangy, mayo-bound southern comfort food. While it’s normally served with crackers or celery or on a sandwich, today I’m wrapping it up in two circles of puff pastry, slicing and twisting it so it looks like the sun (“soleil”), and baking until good and flaky with multiple textures of melted cheese. Yesssss.
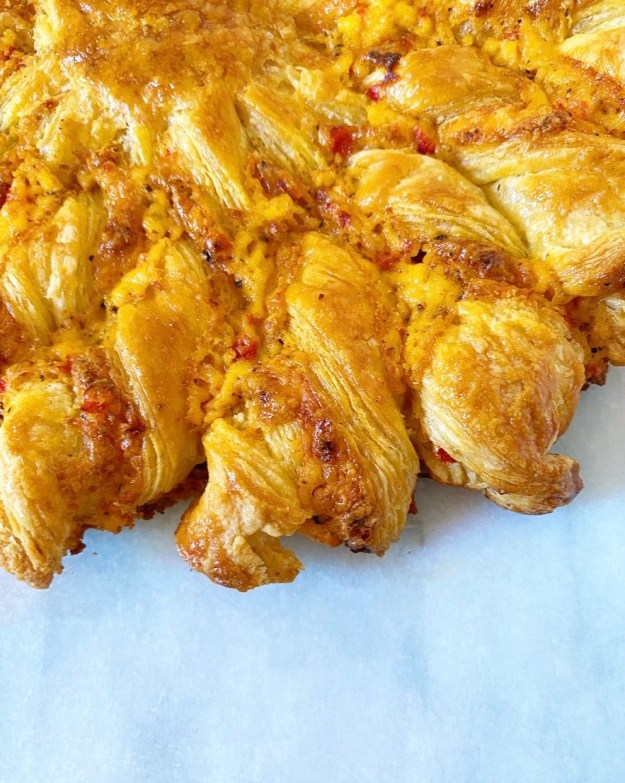 While Pimento Cheese Tarte Soleil sounds fancy, it’s really quite simple, as most things made with puff pastry are. As usual, I went with easy from-scratch rough puff pastry here, but the frozen stuff works too. If you’re going the rough puff route, I find it much easier to make the two sheets separately than I do to make one big one and divide it.
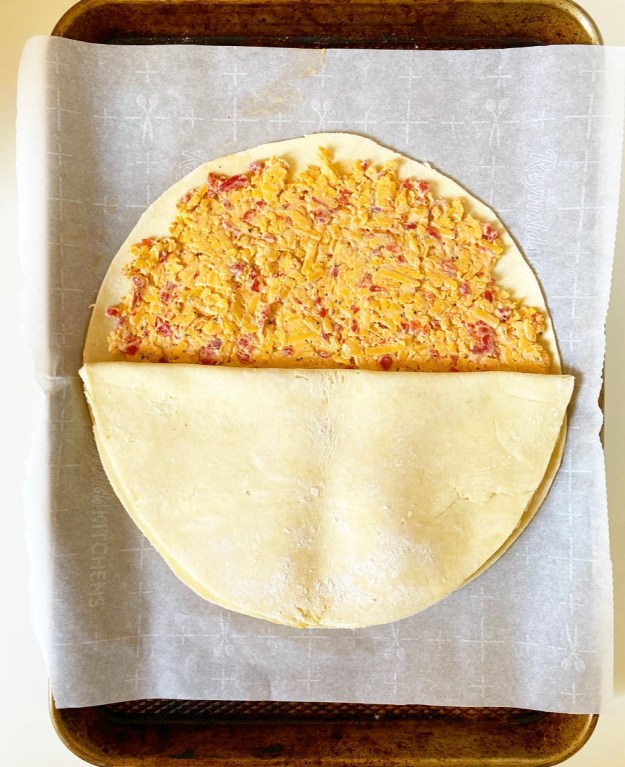 No matter which dough you use, roll your sheets out about as big as you can (mine were 12×14”) and cut out two 12-inch circles. Top one with a batch of homemade pimento cheese, then seal the edges together with a swipe of water.
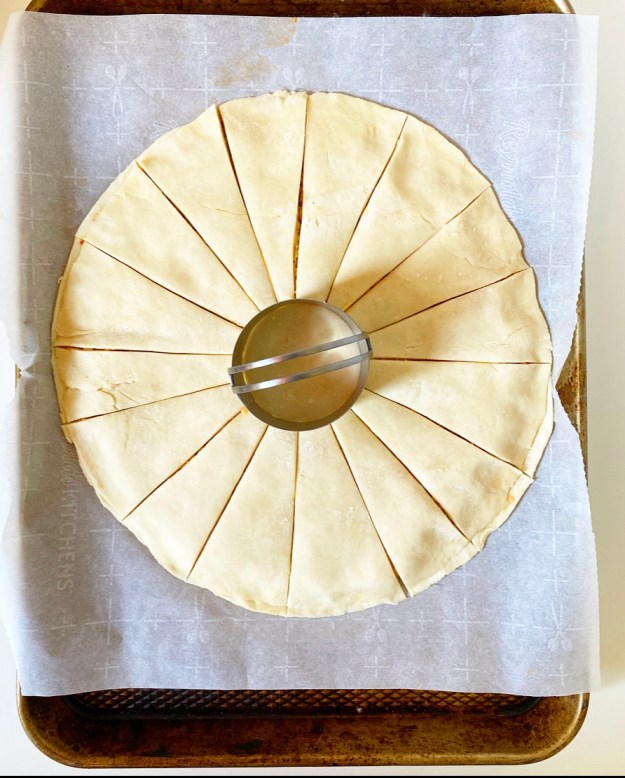
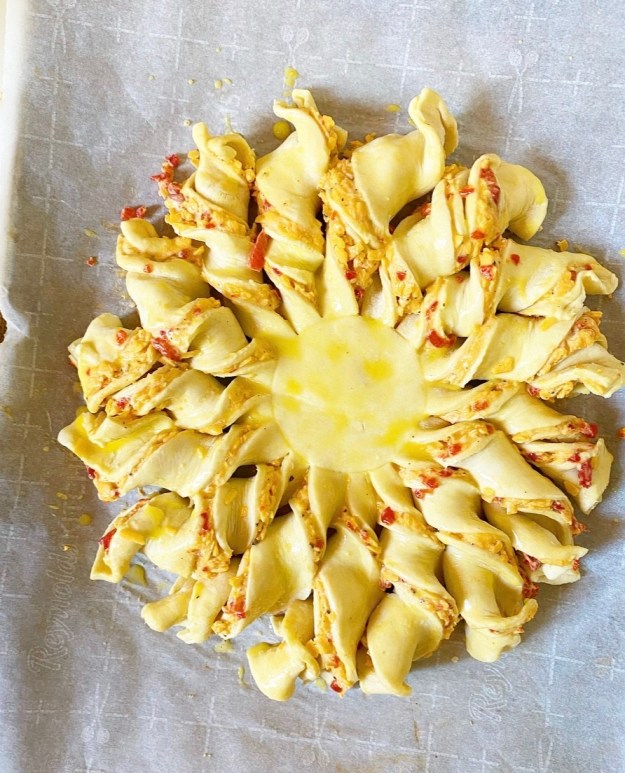 Next up, create the soleil (sun shape). Place a 2.5-3 inch cutter or vessel in the center of your pastry circles, then use a sharp chef’s knife to slice the edges into sixteen rays. Twist them up for beauty reasons, then brush the whole tarte with egg wash and bake until golden all over.
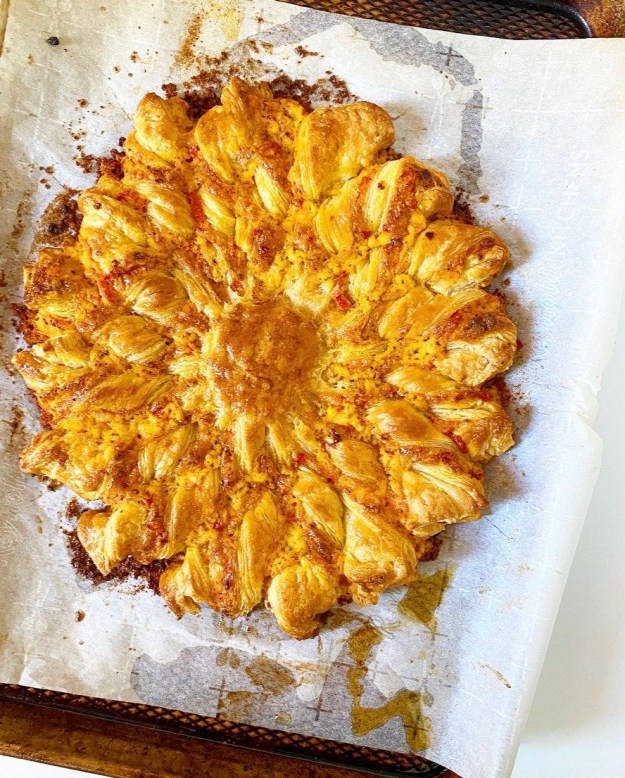
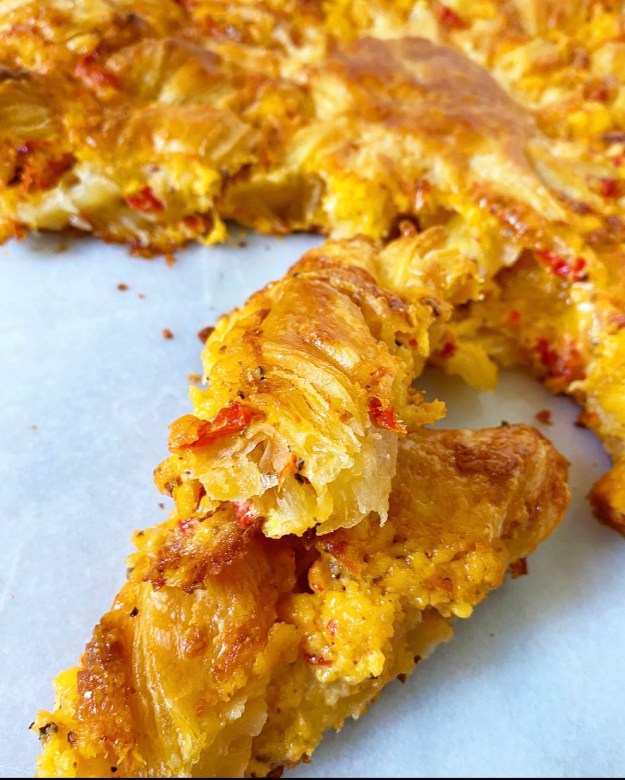
When I started working on this recipe, I had some concern that I’d open the oven after 35 minutes to find pimento cheese melted and burnt everywhere, but those fears were unfounded. The pimento cheese gets bubbly on top, gooey in the center, and a little crisp on the bottom.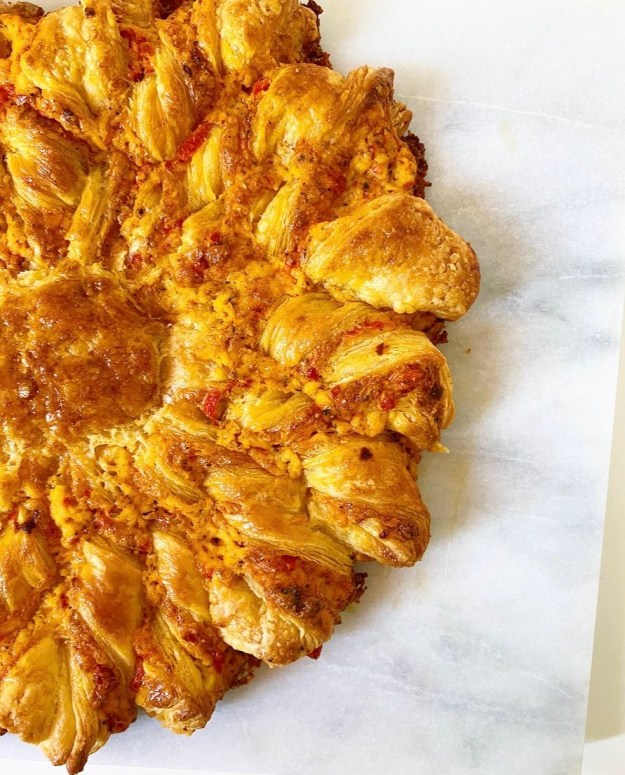 This tarte, y’all. This. Tarte. I love that it’s both low brow and high brow–“Pull-aparts, but make it fashion.” It’s a guaranteed showstopper, and one of those things that’s good warm or at room temperature (or cold, honestly), as most flaky, cheesy things are. I had zero trouble putting away a quarter of it after this little photoshoot.
 I usually post something to be a part of a Thanksgiving cheese plate, but this fancy finger food? It *is* the cheese plate. No need for crackers or bread or anything else, except maybe a sliced apple and a glass of something festive. And since Thanksgiving is but once a year, know that this would also be welcome in a game day spread. Heck, you could even just make one, slice up some raw vegetables and call it dinner any old time. Basically, it’s appropriate for any pimento cheese and puff pastry-eating occasion, including eating your feelings while waiting for things to sort themselves out, which is the exact route I will be taking.
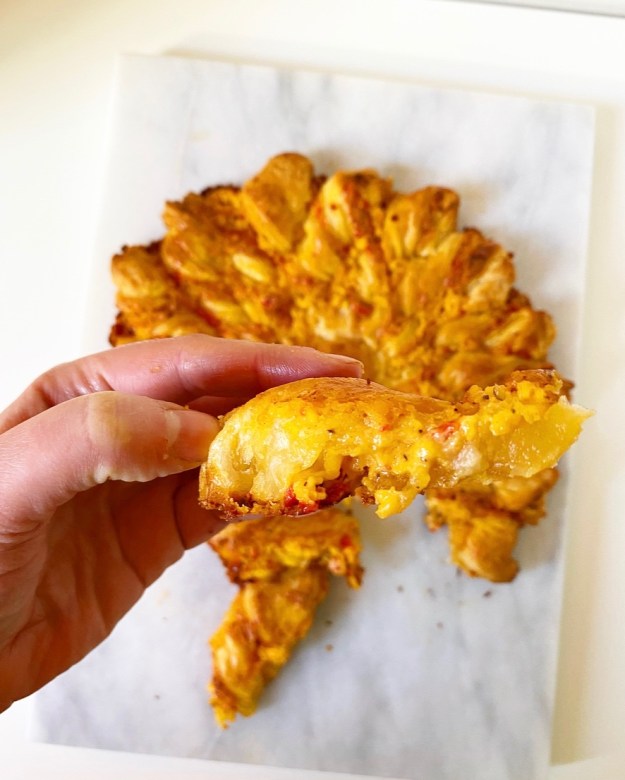
Pimento Cheese Tarte Soleil
makes one tarte
Rough Puff Pastry (makes 2 sheets):
2 cup all-purpose flour, divided
1/2 teaspoon Kosher or sea salt, divided
10 ounces (20 tablespoons) unsalted European-style butter, very cold, cut into small pieces, divided
1/2 cup water or milk, very cold, divided
Pimento Cheese:
8 ounces extra sharp cheddar cheese
1 4 ounce jar pimientos or roasted red peppers
1 teaspoon fresh cracked black pepper
3 tablespoons mayonnaise
Egg wash:
1 large egg
1 teaspoon water
If you do not wish to make the Rough Puff Pastry, you may use two sheets of frozen all-butter puff pastry that you have thawed according to package directions. Begin the recipe at “Make the pimento cheese.”
Make the first sheet of rough puff pastry. In a large mixing bowl, whisk together 1 cup flour and 1/4 teaspoon salt. Use a pastry blender or two forks to cut 5 ounces (10 tablespoons) butter into dry ingredients until the largest pieces are the size of small peas. Pour in 1/4 cup of cold water or milk and stir with a silicone spatula or wooden spoon until a shaggy dough forms.
Flour a surface and a rolling pin. Turn dough out onto surface, and use your hands to pat it into a rough rectangle. Roll the dough into an 8×10″ rectangle. Fold dough in thirds, and give it one quarter turn. Roll into an 8×10″ rectangle again, fold, and turn. Repeat rolling, folding, and turning until it has been done six times total. Wrap folded dough in plastic wrap and refrigerate for at least one hour, or up to 48 hours.
Make the second sheet of rough puff pastry. Repeat the mixing, rolling, folding and chilling process with remaining 1 cup flour, 1/4 teaspoon salt, 5 ounces (10 tablespoons) butter, and 1/4 cup cold water and milk.
Make the pimento cheese. Grate the cheese on the large-holed side of a box grater. Transfer to a small mixing bowl.
Drain the pimientos and blot with paper towels. Mince pimentos and transfer to the mixing bowl. Add black pepper and mayonnaise. Use a silicone spatula or wooden spoon to fold it all together—it will seem dry, but should hold together.
Make the tart. Place an oven rack in the center position. Preheat oven to 400F. Line a rimmed half-sheet pan with parchment.
Flour a surface and a rolling pin. Unfold one sheet of dough. Roll out to at least 12×14-inch rectangle, or a bit larger. Place a 12 inch round item (I used the lip of a large mixing bowl) on top. Use a thin, flexible knife to cut out a circle. Refrigerate. Repeat rolling and cutting process with the second sheet of dough.
Place one circle of dough on prepared pan. Drop spoonfuls of pimento cheese over the dough and spread to cover, leaving a 1/2-inch border on all the way around. Dab or brush some water along exposed dough, then place the second circle of dough over the top. Press edges together all the way around.
Place a light 2.5-3-inch object on the center of your tart (I used a biscuit cutter). Leaving the area covered by the object alone, use a large, sharp chef’s knife to slice the pastry into quarters, then eighths, then sixteenths. Remove the round object to see that your tart looks like a sun.
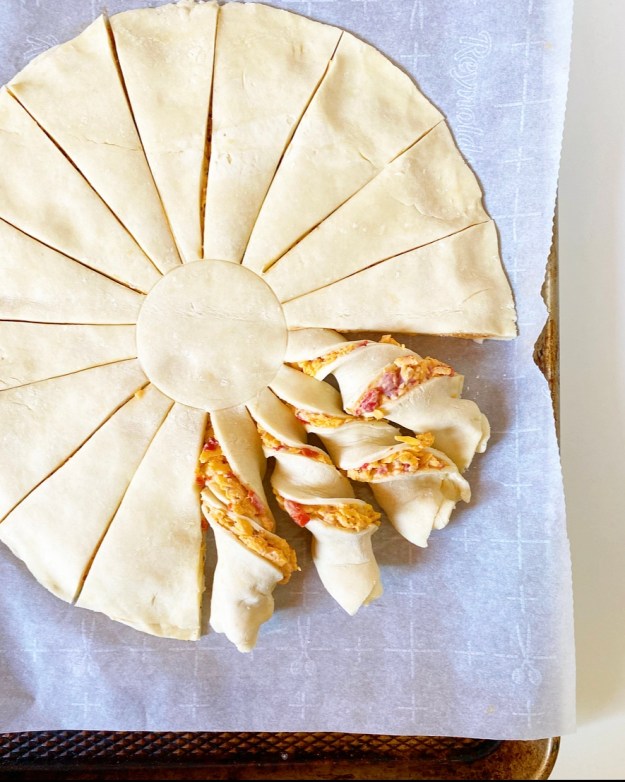
Taking one “ray” (strip of dough) at a time, gently twist it a few times. Repeat with all “rays.” If the dough becomes soft or sticky at any point in the assembly process, refrigerate the entire tart for 15 minutes.
Make egg wash. Combine egg and water in a small bowl and whisk together with a fork. Use a pastry brush to paint egg wash over the entire tarte.
Bake tarte for 35-40 minutes, until completely golden. Let cool 10 minutes before carefully removing to a serving plate.
Serve immediately. This tarte is best warm or room temperature, but leftovers may be wrapped tightly with foil and stored in the refrigerator for a day or two. Reheat in the oven for best results.
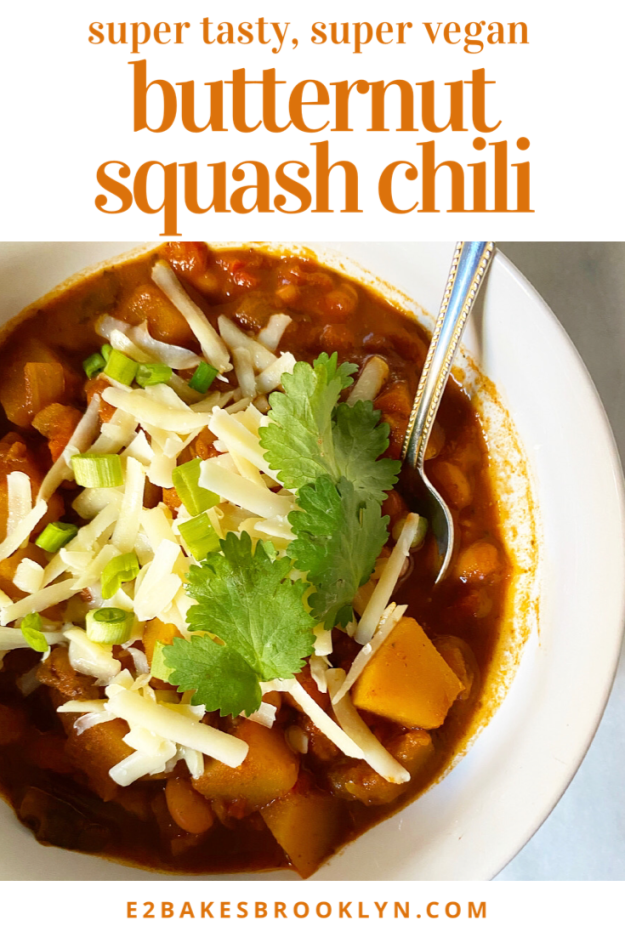
 I am psyched for today’s recipe, y’all! This vegan Butternut Squash Chili is so good and good for you—perfect for the Super Bowl this weekend or any wintry night.
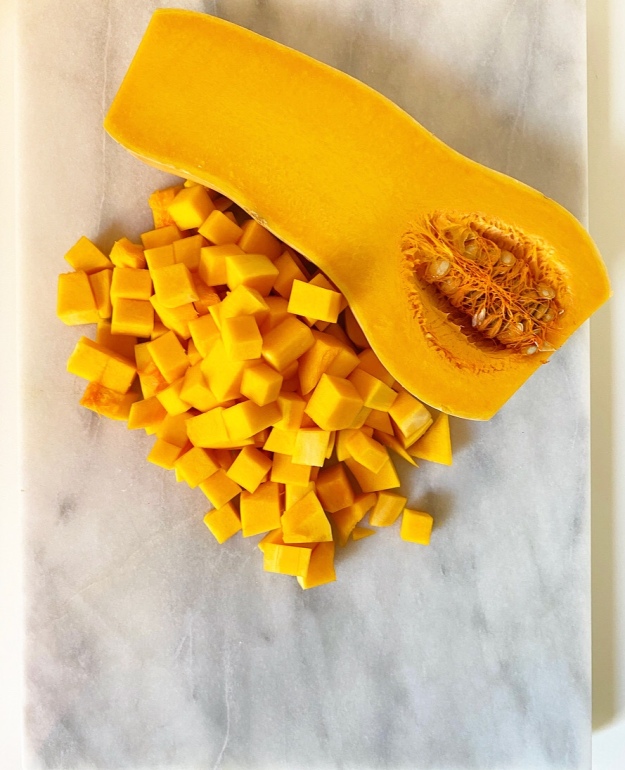
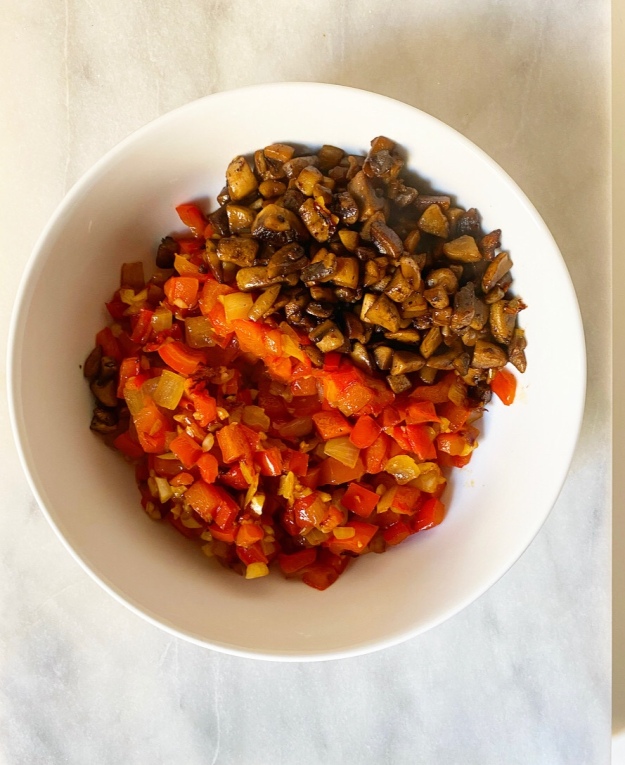 It’s made with loads of good stuff. We’re talking the standard onion, garlic and red bell pepper, of course, but also a whole butternut squash (duh), meaty mushrooms, and pinto beans. YUM!
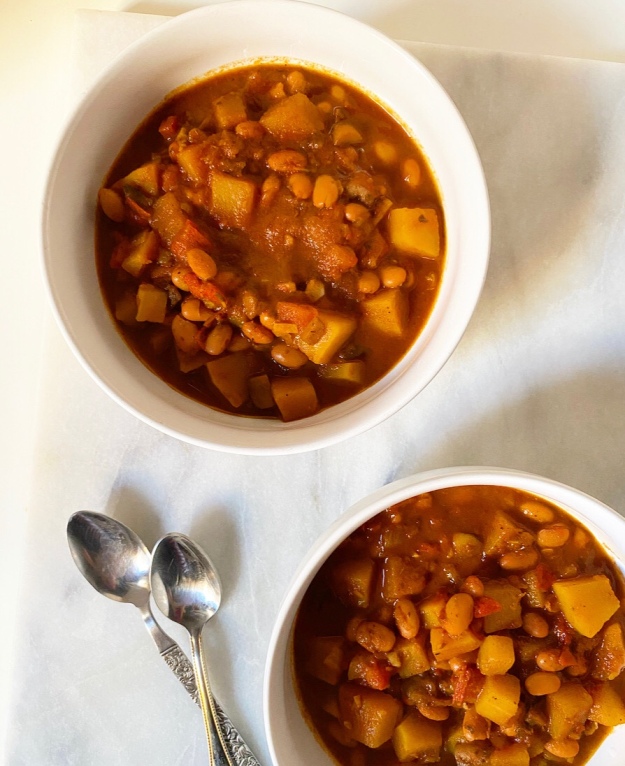 I know that being Texan means I “shouldn’t” like beans in
 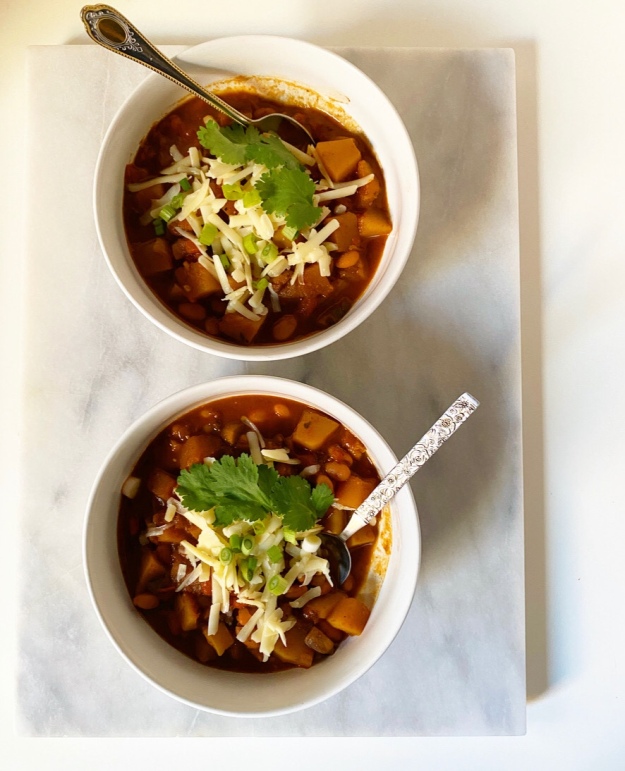 Small amounts of cinnamon and cocoa powder set this chili apart from the rest. They add a little nuance to the standard seasoning combination of chili powder, cumin, dried oregano, and cayenne. Minced chipotles in adobo are stirred in before serving for a touch of smoky heat.
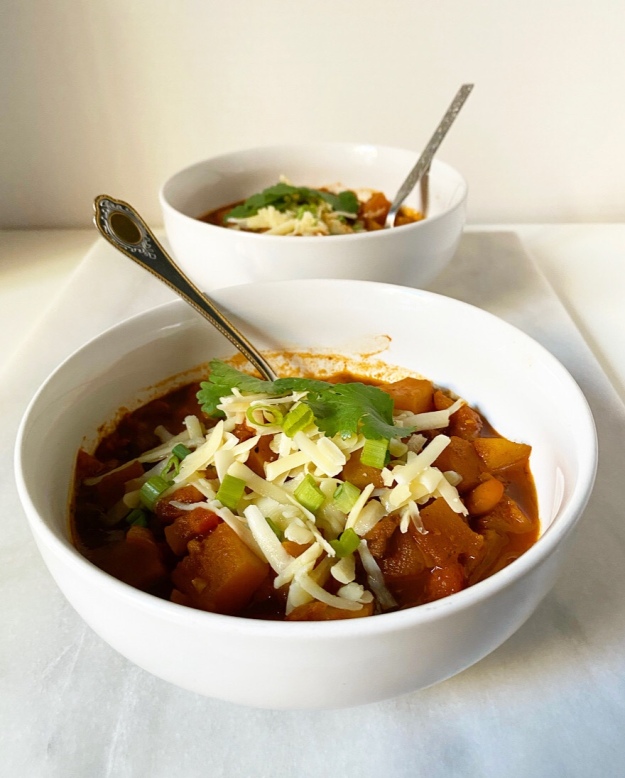 Butternut Squash Chili requires a couple of long browning steps—you want maximum flavor from those onions and mushrooms—and a simmer, but comes together surprisingly quickly overall. The batch pictured clocked in at just under two hours, which gives you just enough time to whip up some
 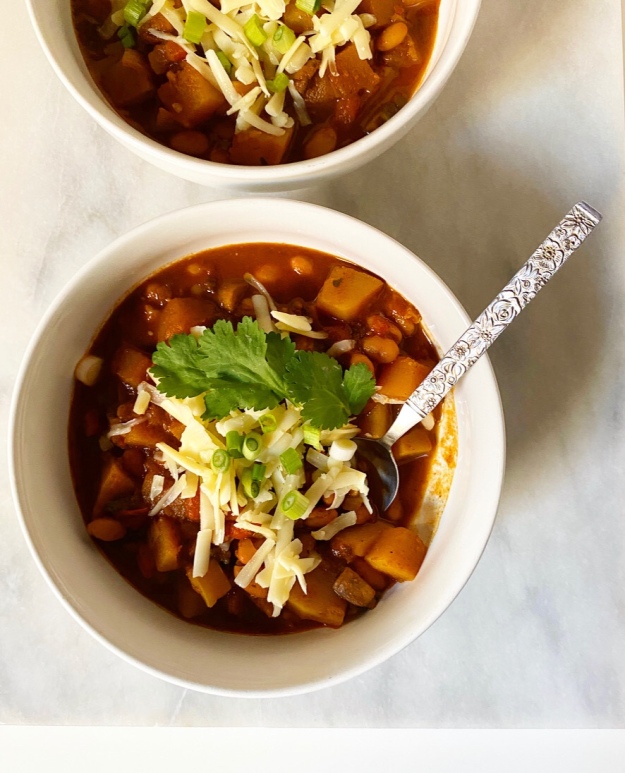 As with most soupy, stewy things, this is a meal that will get better with time. It’s delicious the day it’s made, but is particularly spectacular after a day or two in the refrigerator. Basically, if you want to eat this while you watch the Super Bowl, make if Friday, Saturday or Sunday. Love a make-ahead main!


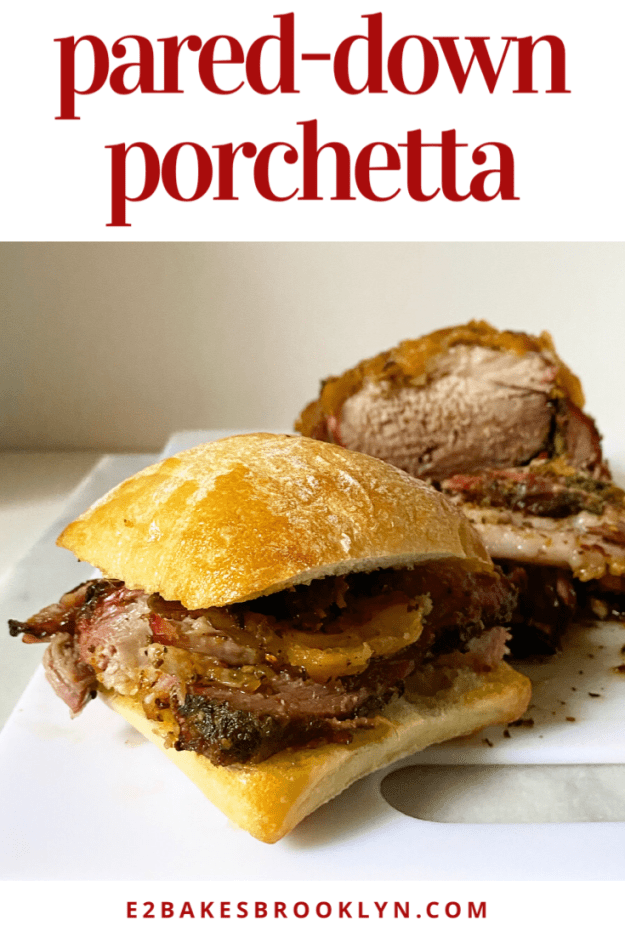
 When I was allowed to take the reins on planning Christmas dinner last month, I knew immediately what I wanted to make: Porchetta. For those of you who have no idea what I’m talking about, Porchetta is a slow-roasted Italian herbed pork dish that is traditionally made with whole pigs, but most home cooks use a center-cut pork loin wrapped in a sheet of pork belly.
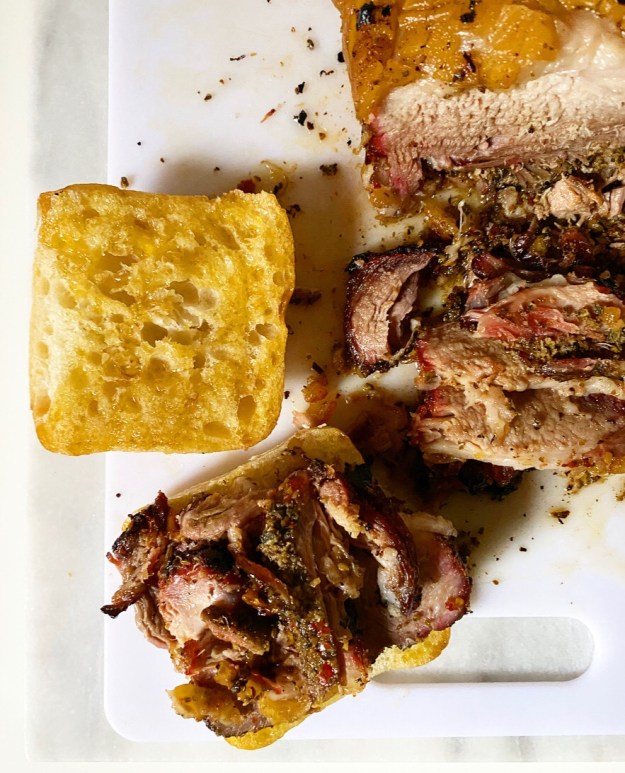
 I spent weeks planning this meal, going so far as to make a 1/4-sized tester in the days before Christmas. After that, I called
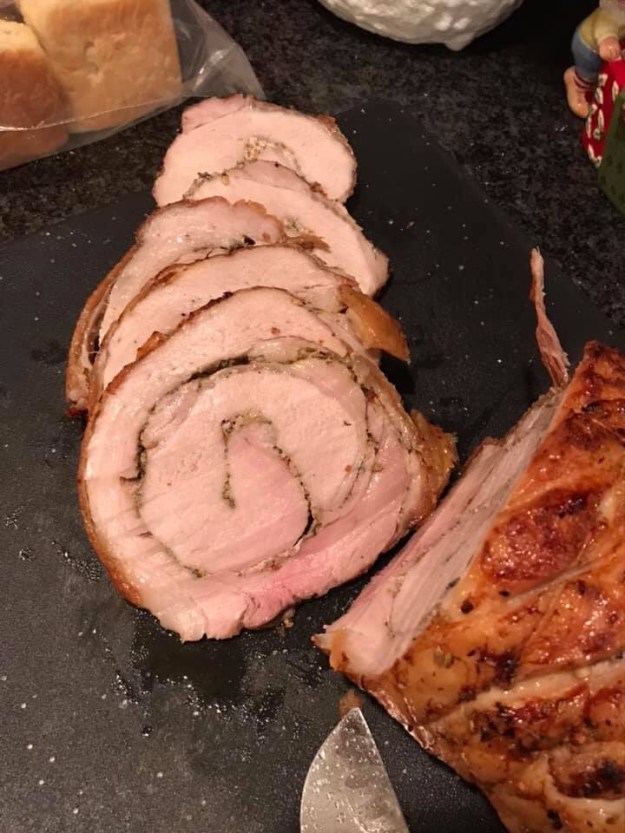
 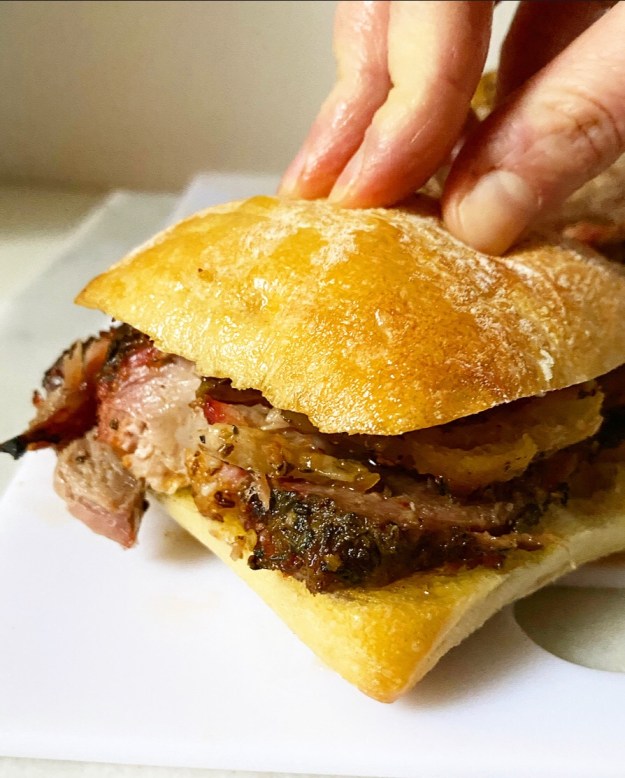 Over the next several days, my mom, sister and I obtained the special-ordered pork and made a great fuss over preparing it…except that it wasn’t actually that much fuss. Once the herb mix was prepared, I butterflied the center-cut pork loin and scattered it over the top. Then I rolled it up jelly-roll-style, rolled that in the sheet of pork belly and tied it all up with trussing string. Afterward, I let it sit uncovered in the refrigerator (“dry brining”) until Christmas Day, on which it was brought to room temperature and then roasted until golden and crisp and pretty irresistible.
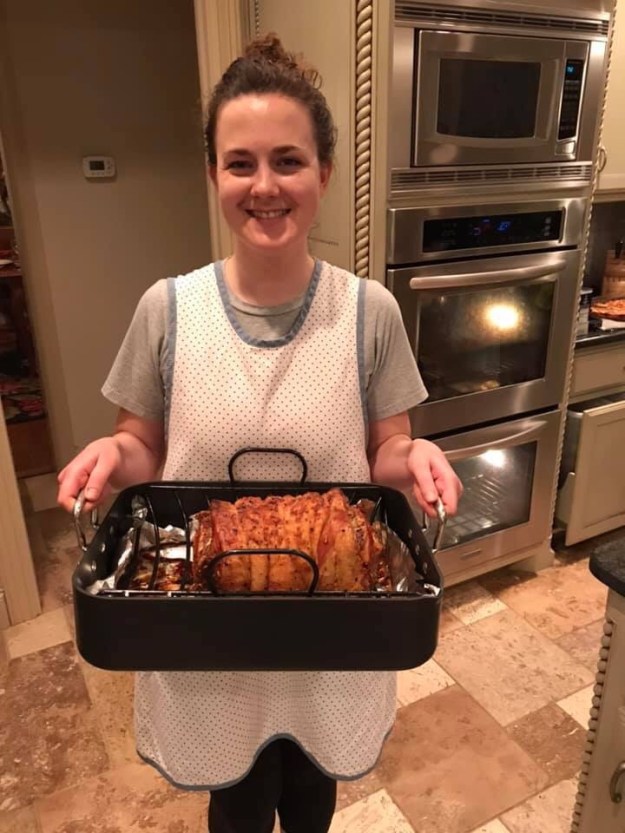
 I was (am) very proud of myself and posted it to all my social media outlets, where I was promptly asked when I’d be posting a recipe. This was something I hadn’t even considered because while the Porchetta I made for Christmas is not particularly difficult to put together, but it *is* pricey.
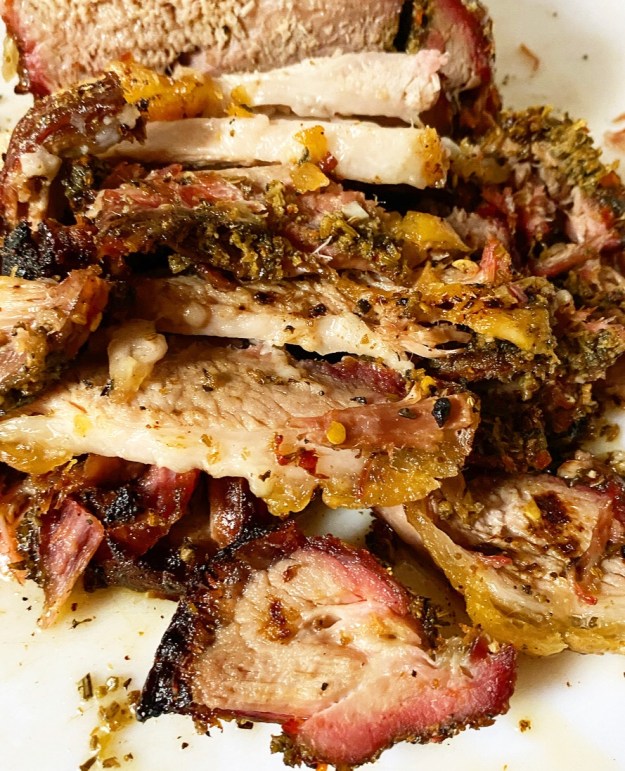 The meat had to be special-ordered for quantity and quality—a 5 pound sheet of skin-on pork belly is not an easy find—and came out to about $60. That’s $60 in Texas, so I’d guess it’s more like $80-$100 in New York, and that’s before the herbs. I love y’all, but not quite enough to spend hundreds testing one lone recipe.
 But. But! I had it in my head that I could give my beloved
 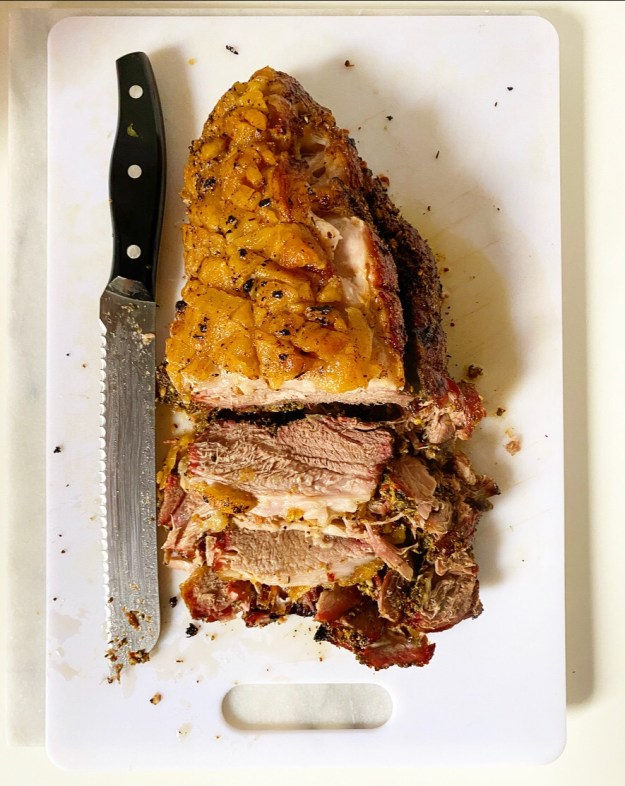 Yes, it still has to sit in your fridge for a day or two, but it is made from just one piece of meat (a boneless pork butt AKA pork shoulder), is mostly hands-off, and won’t cost you an obscene-ish amount of money.
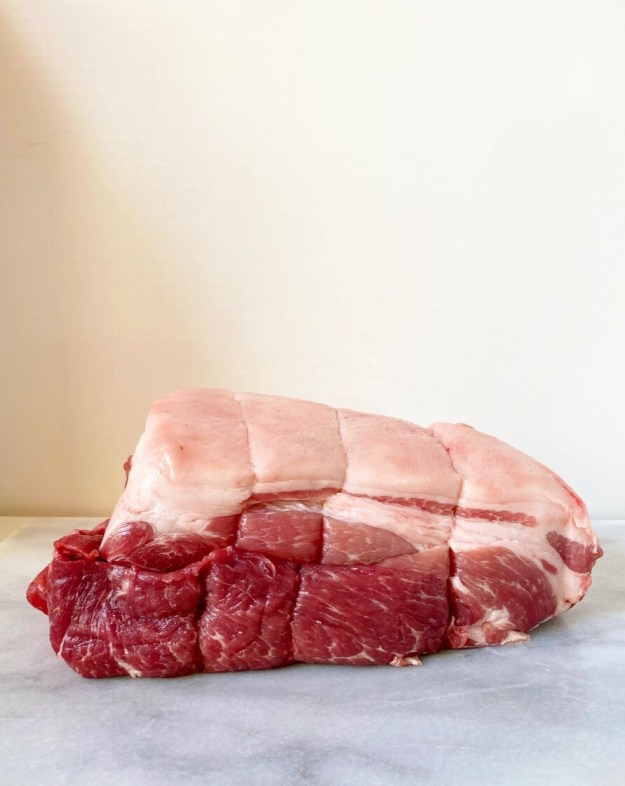
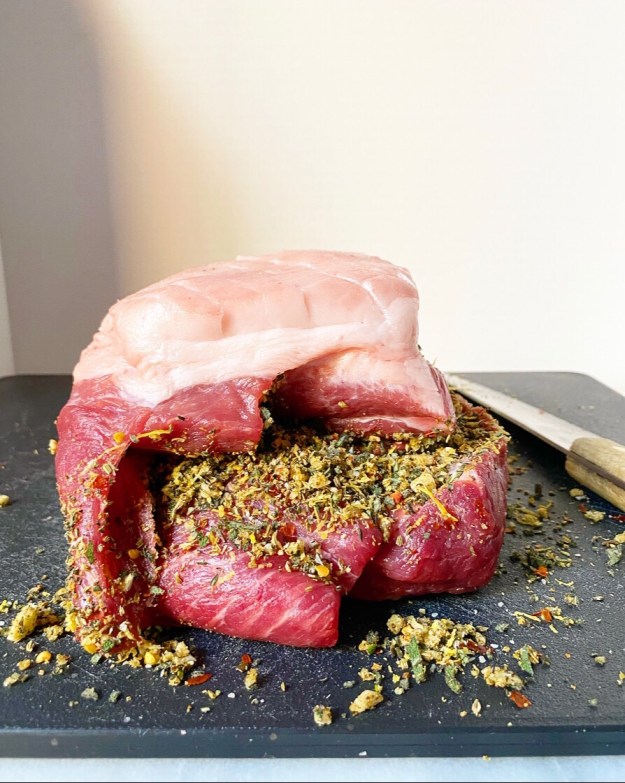
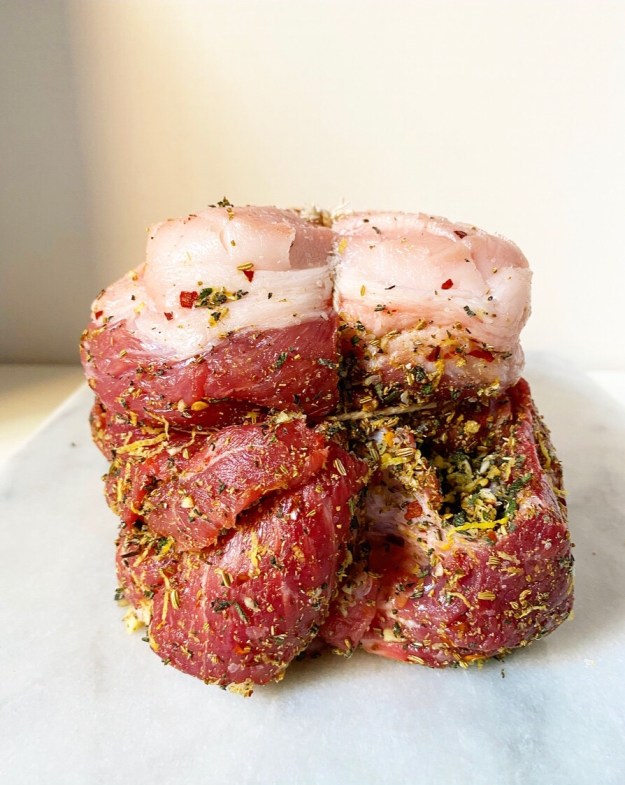
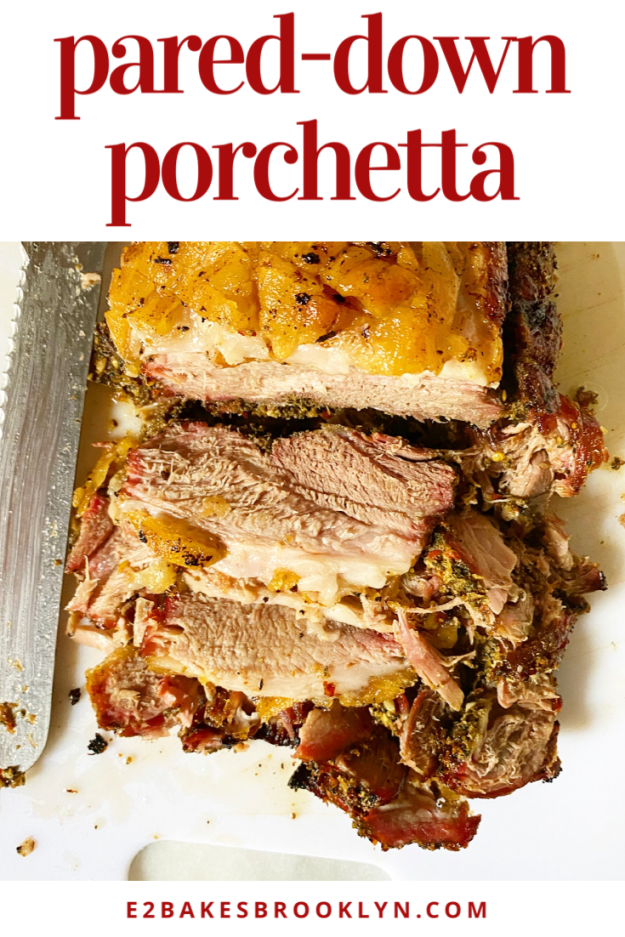
 Let’s start with the meat. This pork butt? It weighed in at 4.5 pounds and cost a cool $14–pretty reasonable compared to $60+! You’ll want it to have a layer of skin or a good, thick fat cap (pictured here) for both flavor and texture. If you can’t find a pork butt that fits either of those descriptions, you can purchase a piece of pork belly or pork skin and tie it onto the butt with trussing string. You want that fatty lid so it can keep the meat moist during roasting and then get crispy at the end. Cracklings are life, am I right?!
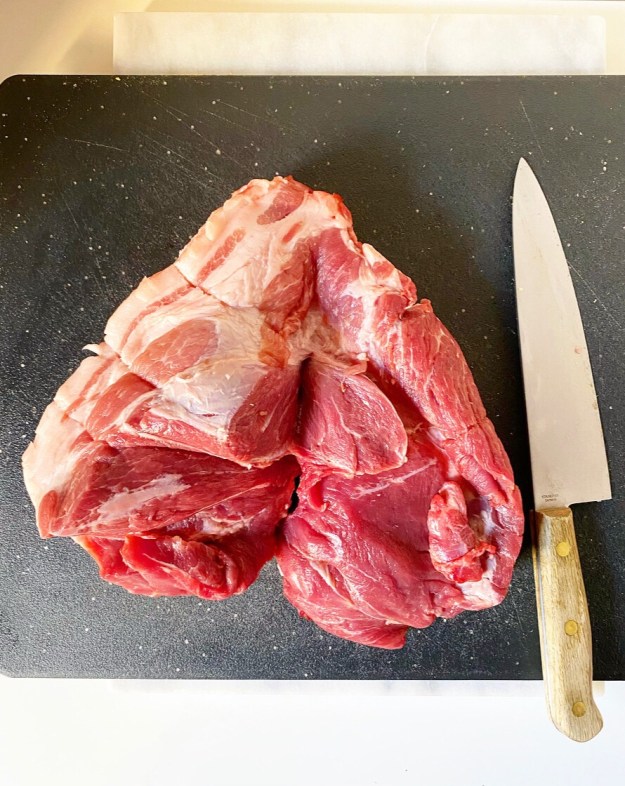 Your pork butt is unlikely to be in one seamless piece due to its heavy marbling and having had a bone cut out of it. This spot (or cavity or whatever you want to call it)? This is where the herb mixture will go. I used my knife to extend that opening down the length of the roast, while making sure to keep one edge intact.
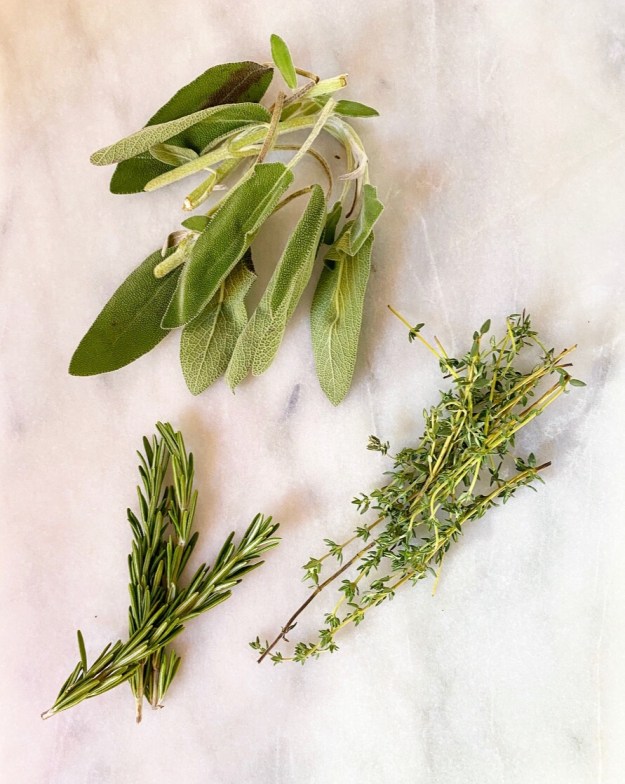
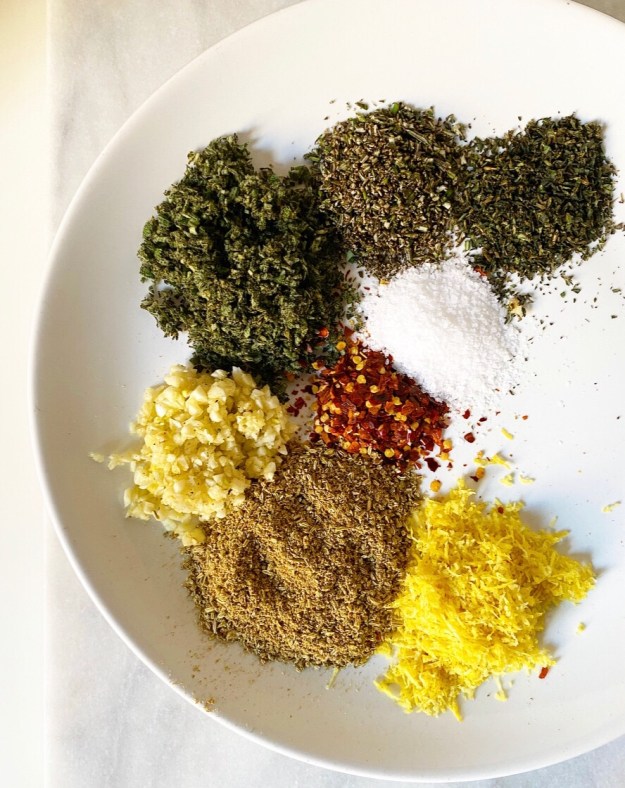
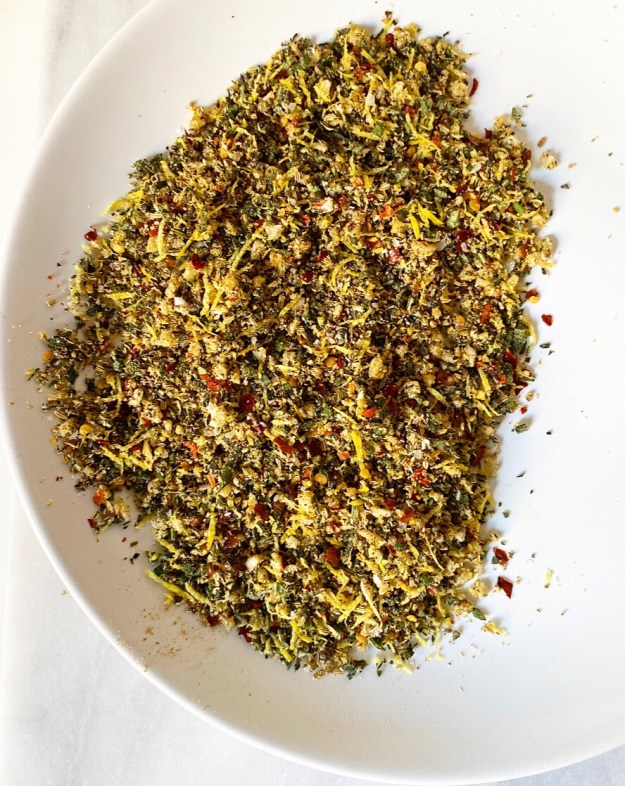
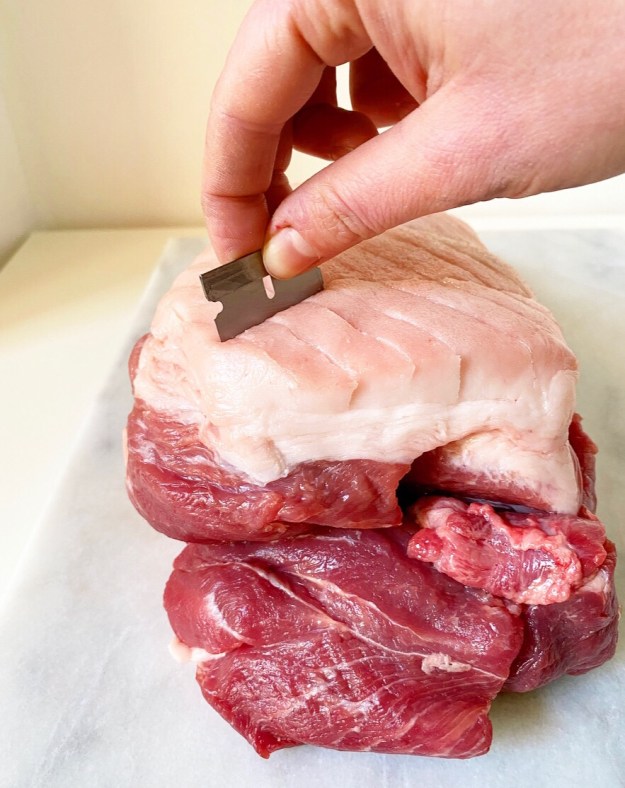
 Another thing you want? Kosher salt—about 1/2 teaspoon per pound. Don’t be tempted to skimp, or all the days of dry brining and the herbs and the money you spent will be for nothing. Salt is critical for both flavor and texture (it draws out moisture), and if used in proper amounts, will not leave your meat particularly salty, just flavorful. You’ll blitz most of it with toasted fennel seeds, sage, rosemary, thyme, garlic, lemon zest and crushed red pepper flakes to make the herb mixture. The rest will be rubbed into the crosshatched skin/fat cap.
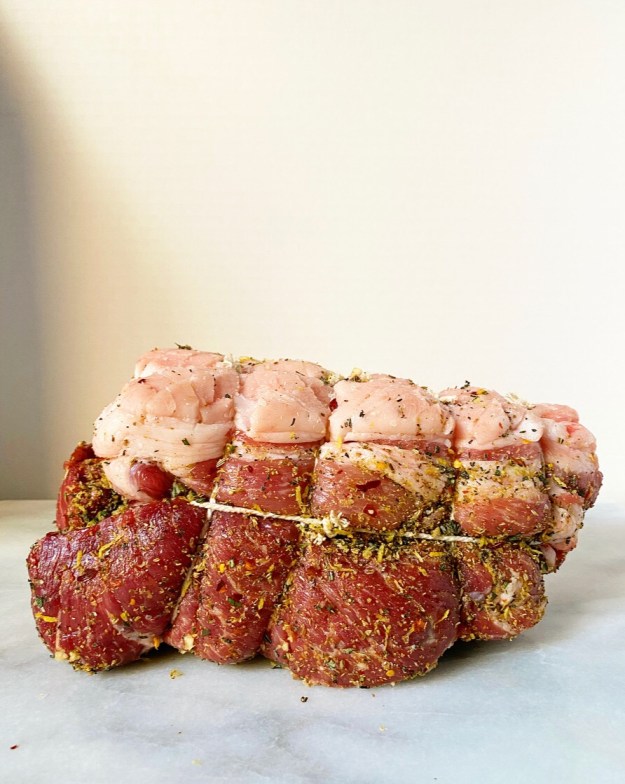
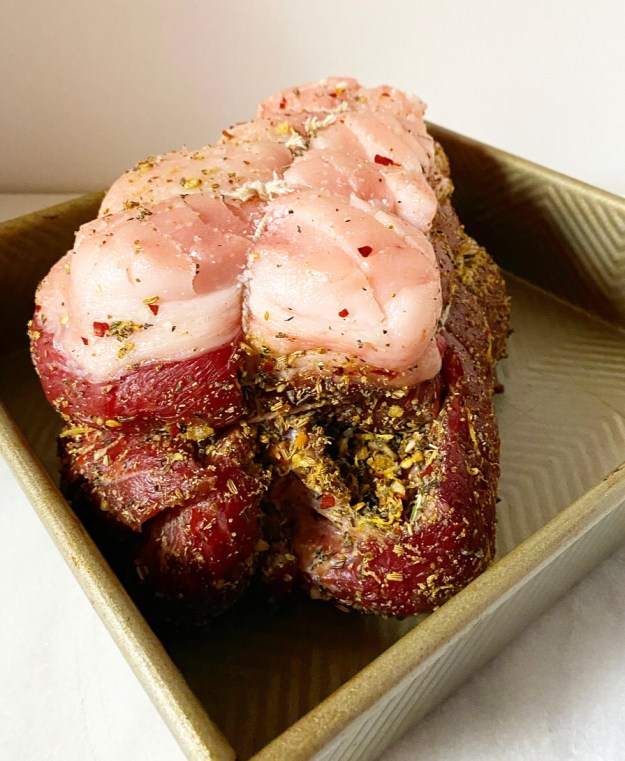 You will have to truss your pork butt, which is really no trouble. Just tie it at short intervals and then anywhere else it isn’t holding together as one cohesive unit. You want all those good herbs to stay put! Then stick the whole thing in a dish and put in the refrigerator and forget about it for 24-48 hours until it’s dry to the touch and the color has changed.
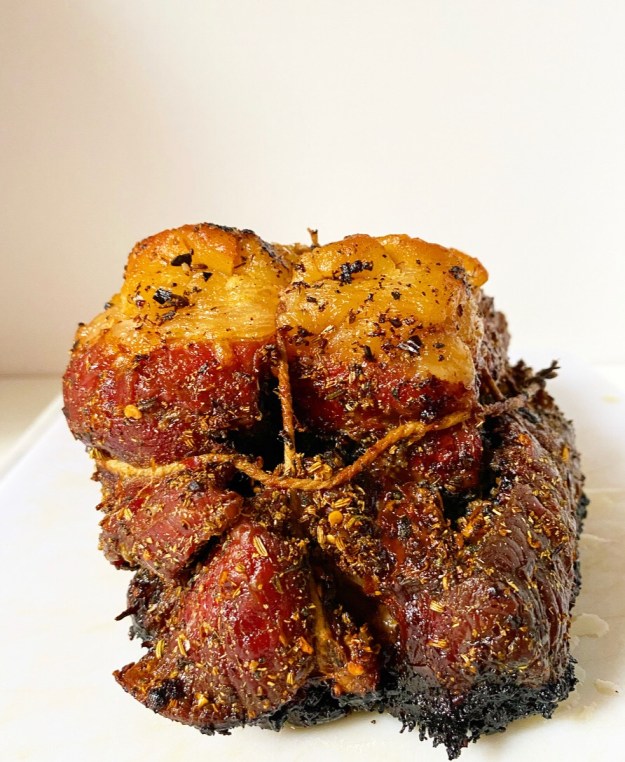
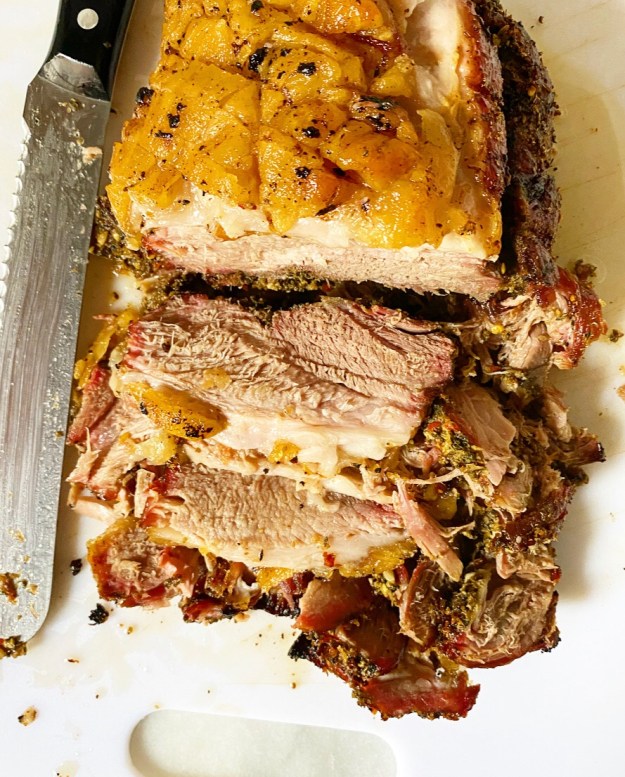
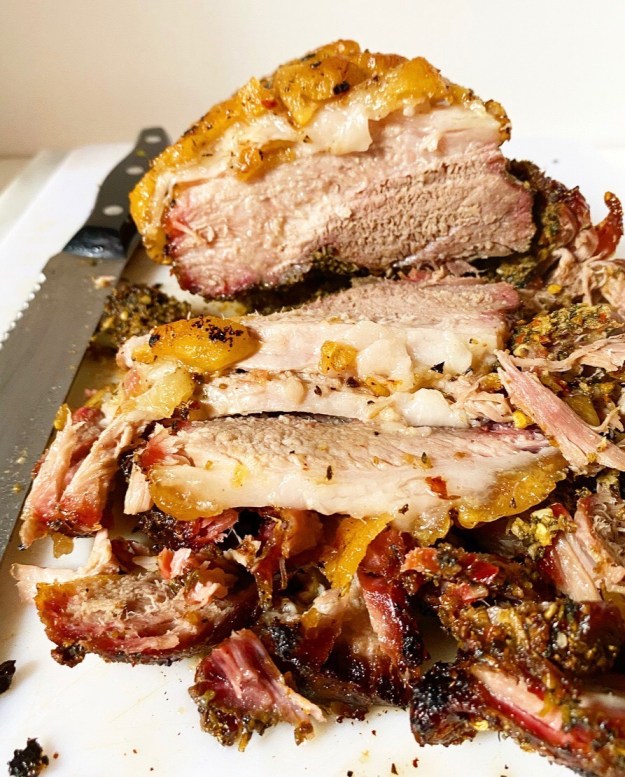
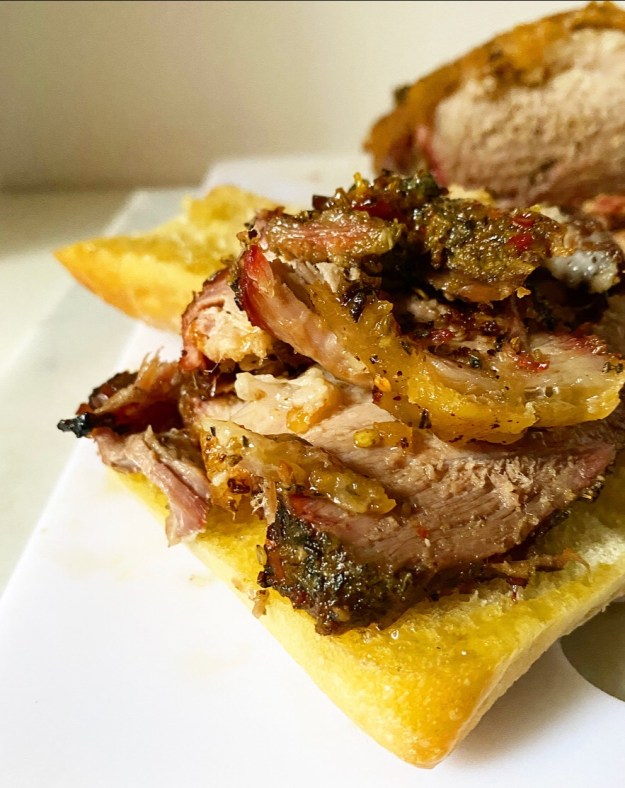
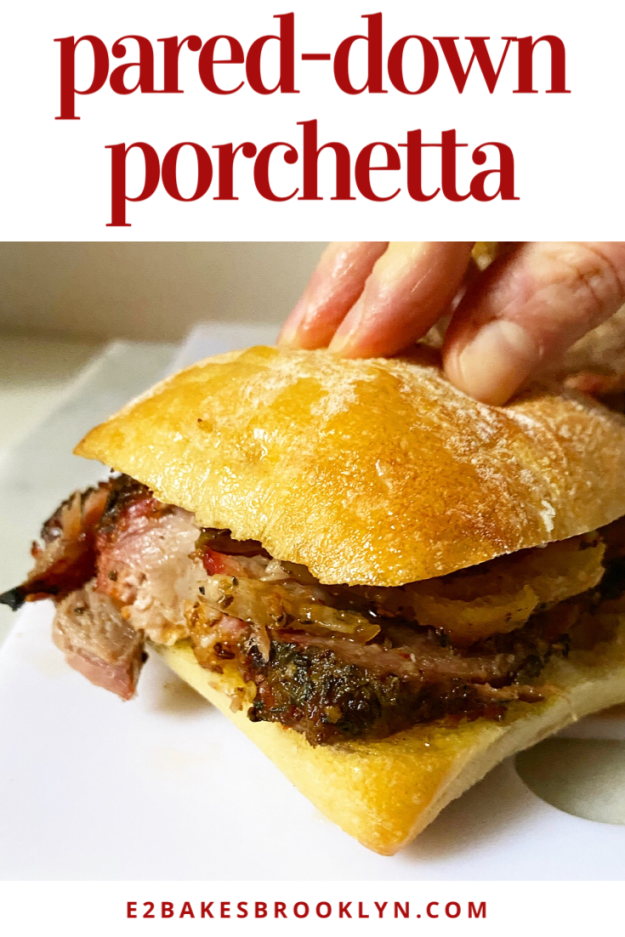
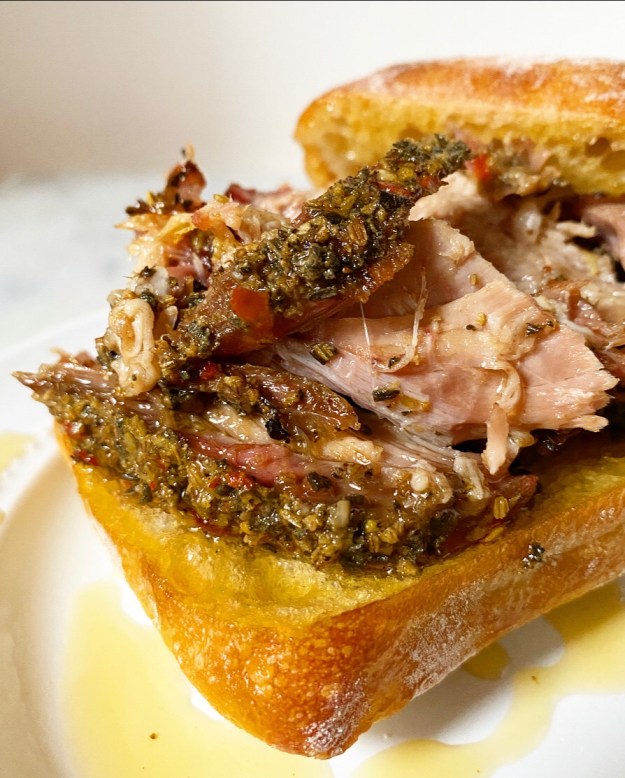 And then roast it looooow and slooooow before crisping up that fat cap, and slicing and serving it on rolls or crusty bread that you’ve given the slightest dip in the rendered fat. You can also serve it alongside garlicky greens or roasted vegetables. Really, you can’t go wrong.
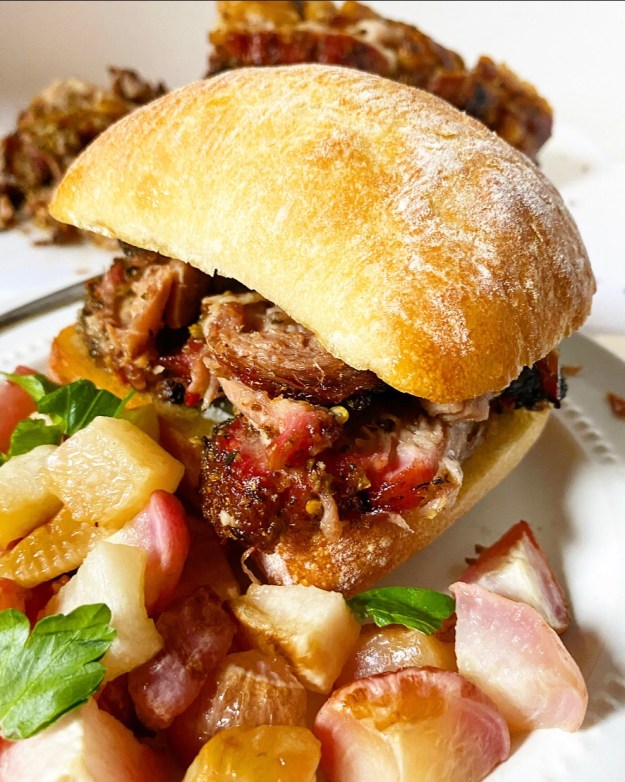 I feel like this Pared-Down Porchetta would be a wonderful main for Super Bowl Sunday, Oscar Night, Easter, or any old night. I mean, you could certainly hold onto this recipe until next Christmas, but that seems like an awfully long time from now, don’t you think?
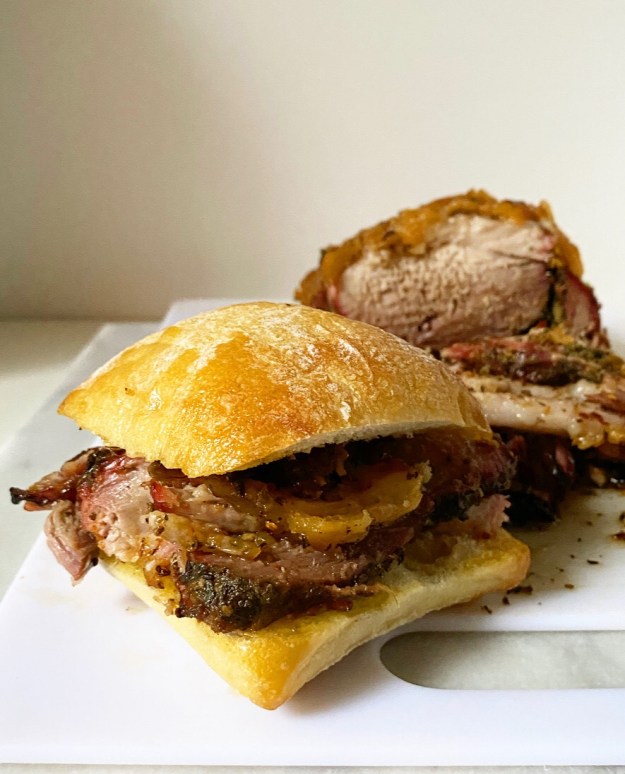
 When I think back on the Super Bowl parties of my youth (and since I am Texan, there were a lot), I don’t remember who played or much else, except for the food. I’ve said it
 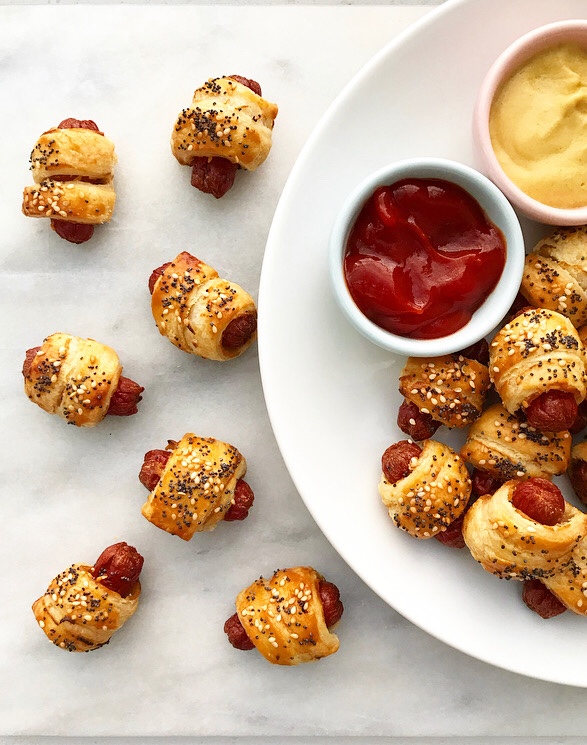 Sometimes when I am bored, I tune out and think about recipes. That said, you won’t be surprised to learn that the idea for these Puff Pastry Pigs in Blankets popped into my head during the last Super Bowl.
 These are the sorts of things I think about instead of thinking about things that are actually important. I mean, *someone* has to think about the
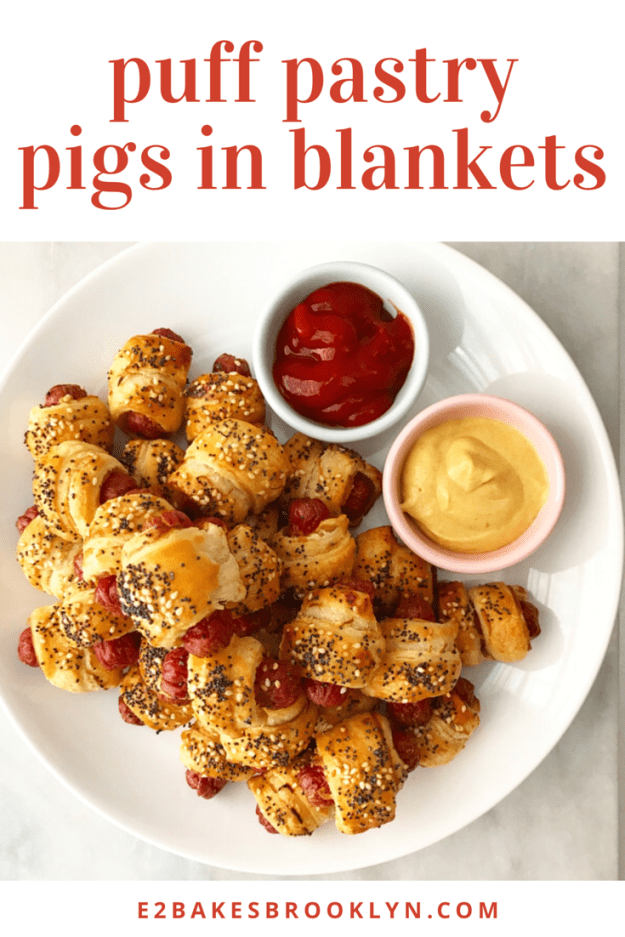
 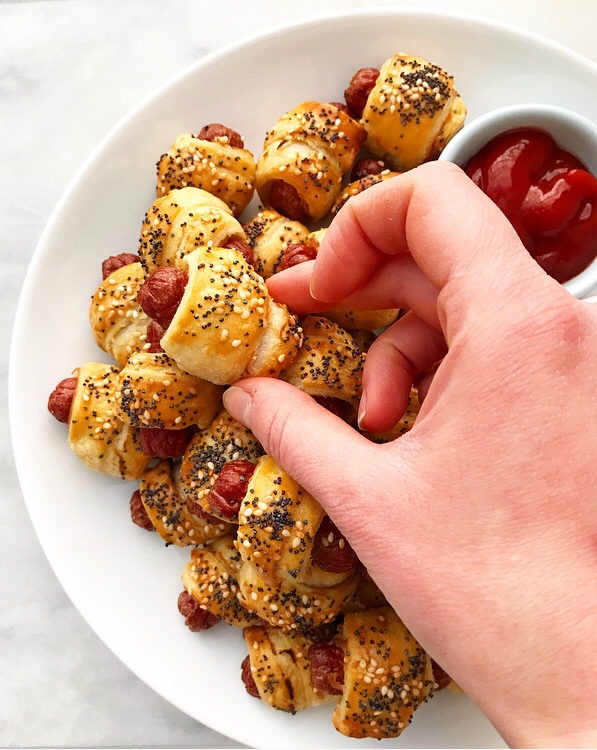 Puff Pastry Pigs in Blankets are exactly what they sound like: classic pigs in blankets (aka cocktail wieners wrapped in yeast dough), made with puff pastry. Miniature hotdogs wrapped in flaky, buttery pastry? Sign me up!
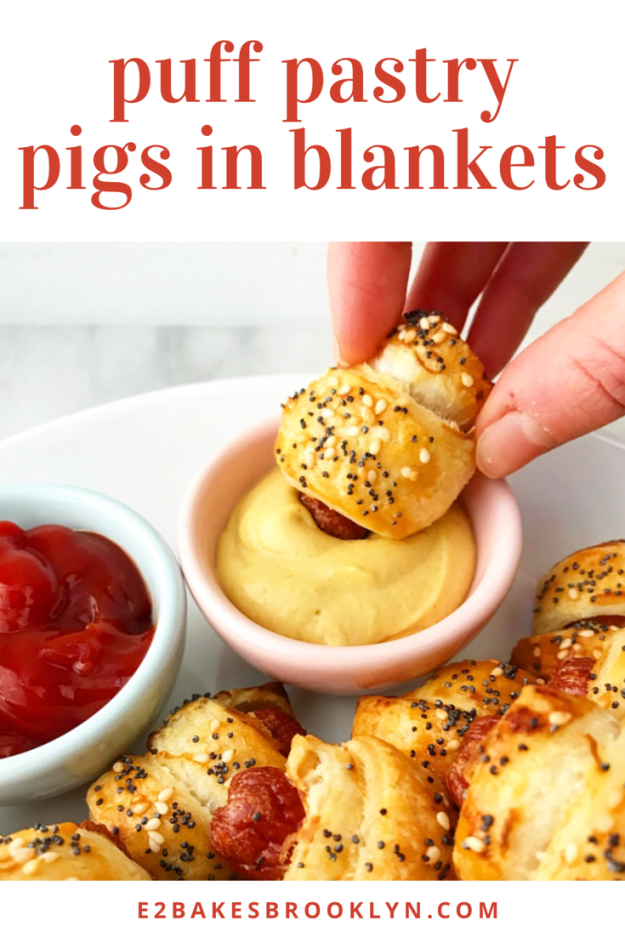
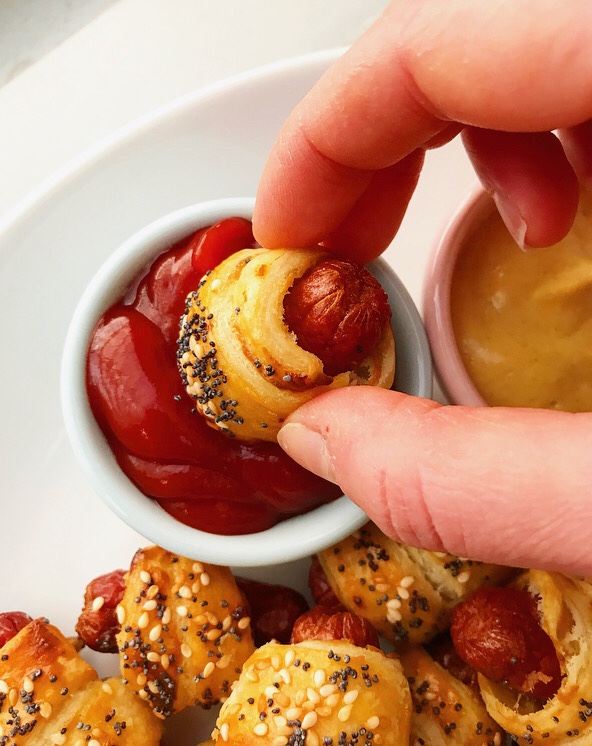 These little morsels are super easy to make. Start by rolling out a sheet of puff pastry. I like to use
 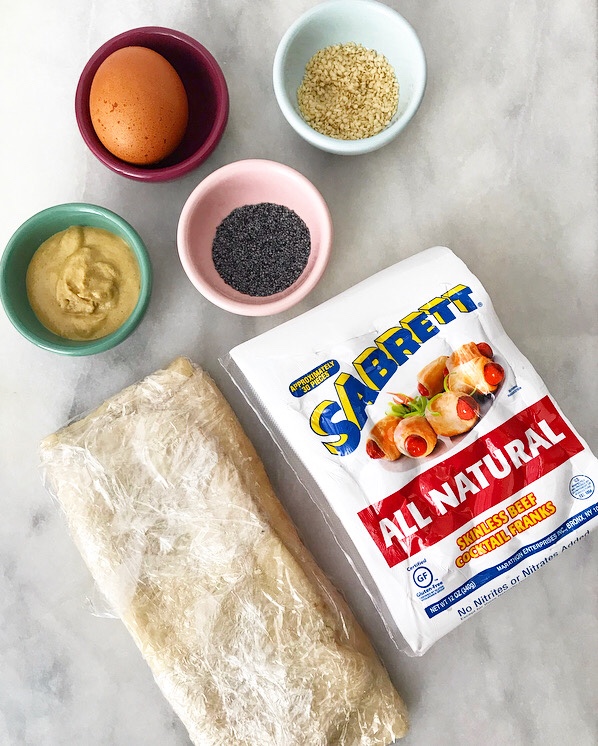 Spread a thin layer of dijon mustard over the top and then slice the pastry into strips. Wrap each strip around a cocktail wiener…
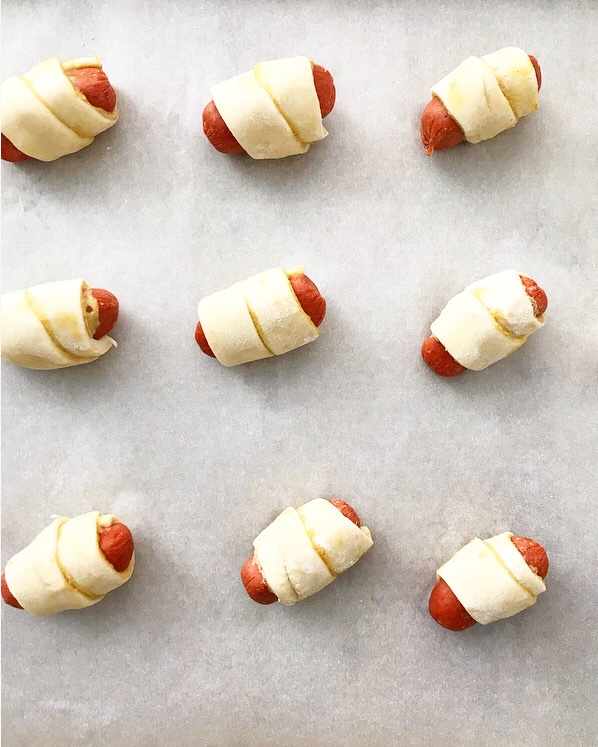
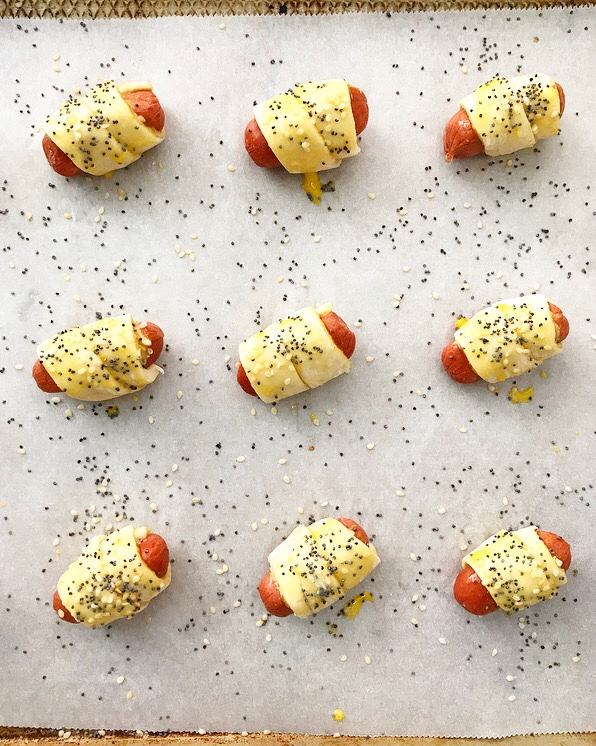 …then brush them all with egg wash and sprinkle them with poppyseeds and/or sesame seeds. This is purely for aesthetics, but I like the added texture it provides.
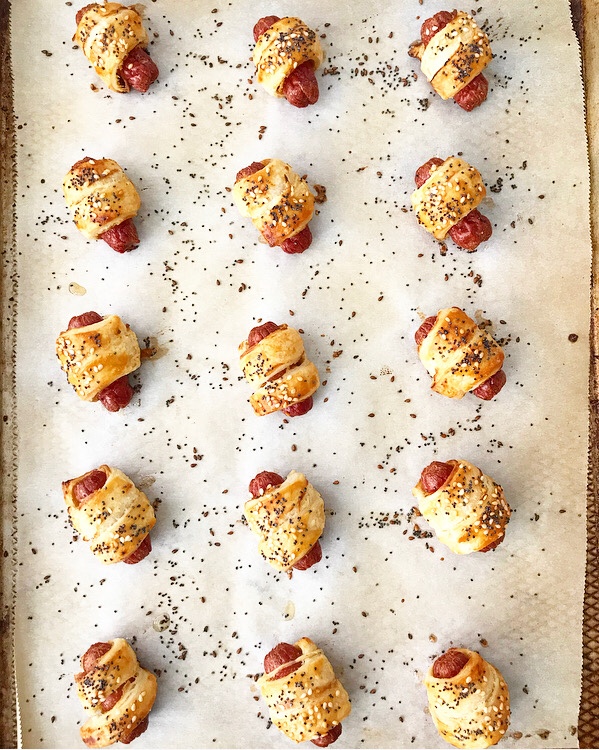 Bake the pigs in blankets for 15 minutes at 450F. The pastry will be gorgeous and golden when they’re done.
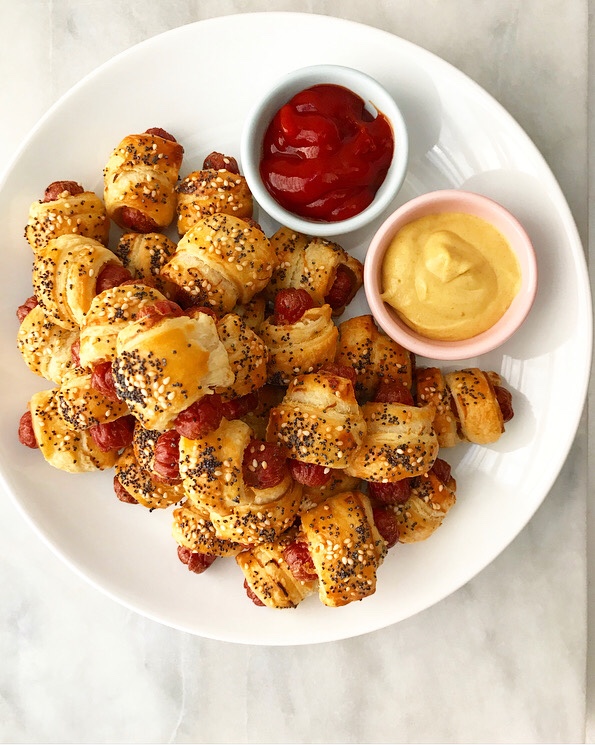 Serve ‘em with ketchup and more dijon mustard, or any condiment you like. Make sure to hoard a few for yourself before putting them on your Super Bowl table though because they’ll disappear before you know it, especially if I’m invited.
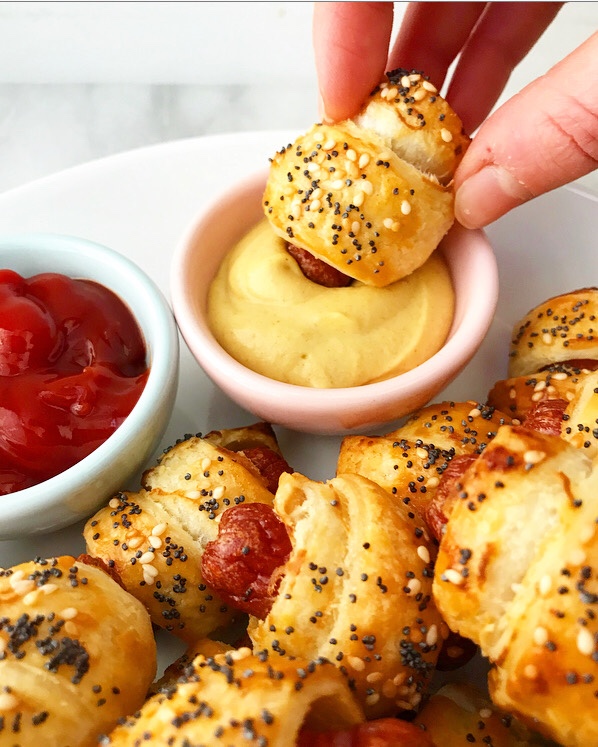


 Will you be serving any of these dishes next Sunday? Let me know on