 You may not be able to tell from the bevy of desserts I post every week, but I am a huge proponent of eating your greens. Almost every meal I make for myself involves a huge bed of arugula. Yes, for real.
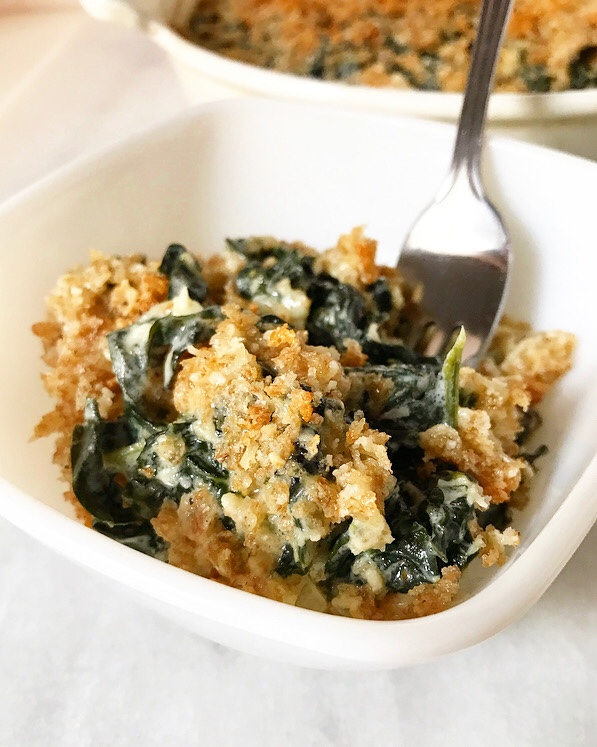 That said, on Thanksgiving, there are so many sides that leafy greens can get lost in the mix or left out entirely. To that, I counter this: Creamed Kale with Crispy Breadcrumbs. It’s the sort of “eat your greens” situation that is absolutely welcome sidled up to cornbread stuffing, cranberry sauce, and Fluffy Dinner Rolls.
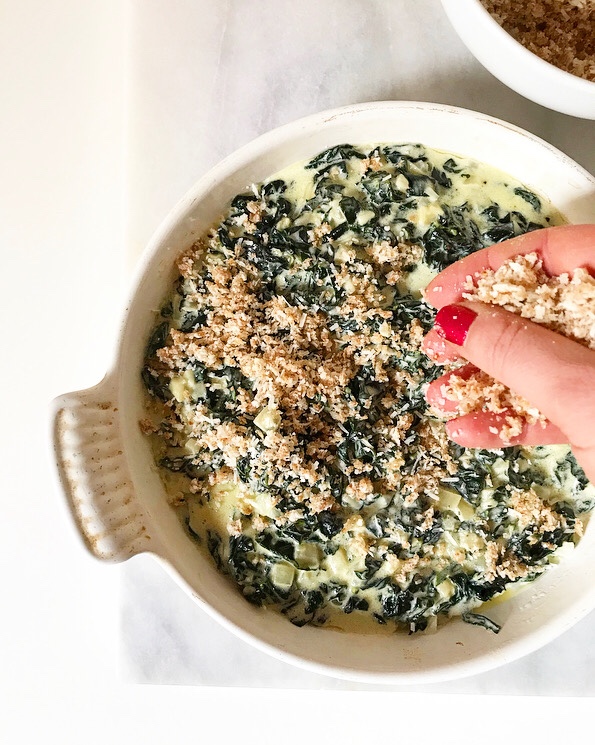
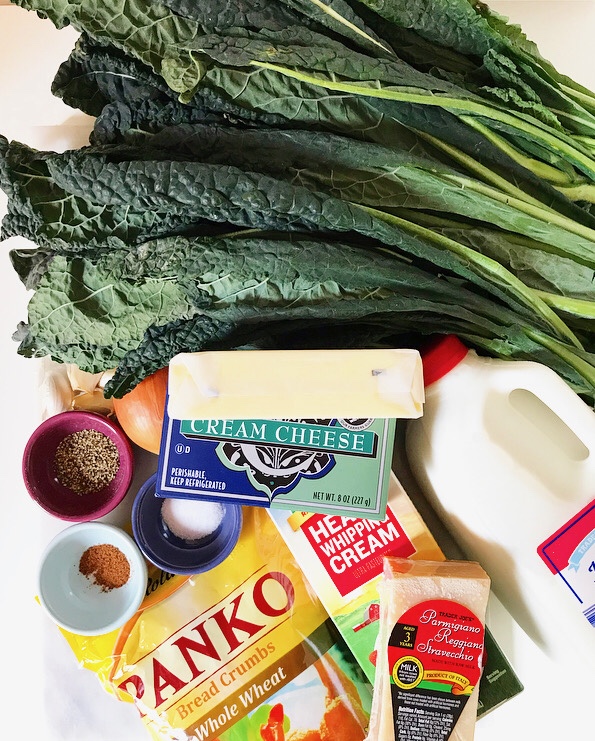
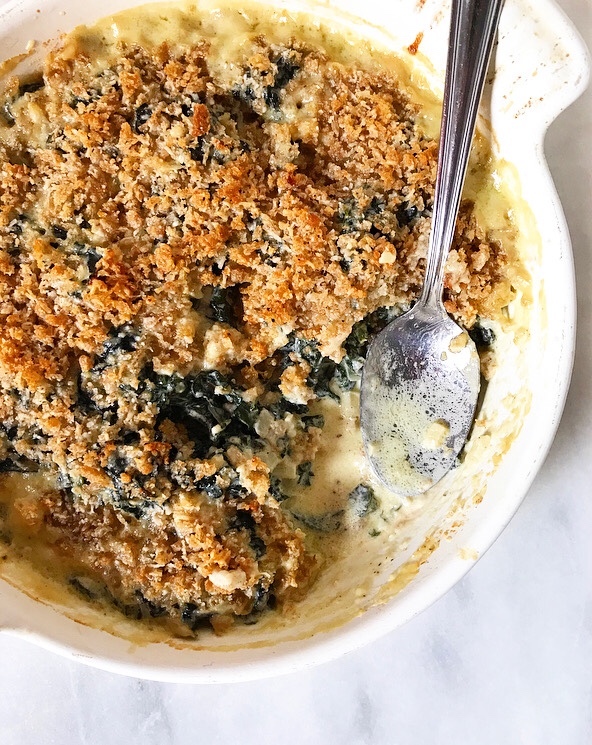
 This is a vegetable side dish that stretches the meaning of the word “vegetable.” Yes, there is kale in there—a lot of it—but it’s coated in a sauce of butter, heavy cream, milk, cream cheese and parmesan, and topped with buttery breadcrumbs. Dietetic, this is not. On Thanksgiving, though, who cares? If there were ever a day for eating a creamy, cheesy, crispy-topped side and calling it a serving of vegetables, this is the one.
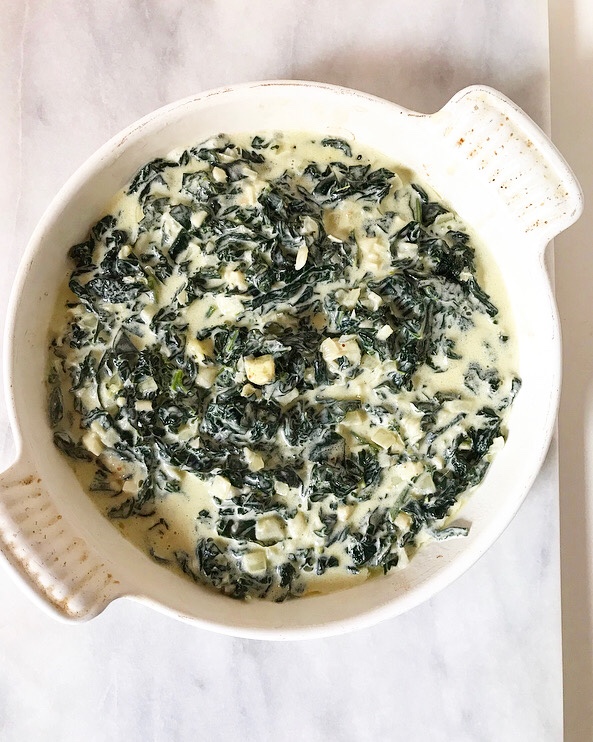
 If you’re wondering why I used kale here instead of going for classic creamed spinach, the answer is simple: kale’s texture holds up. Even after the blanching, shocking, sautéing, saucing, and baking, it still has texture. It contrasts perfectly with the crispy breadcrumbs instead of getting lost in the cheesy sauce. And it’s pretty. And I just *like* kale.
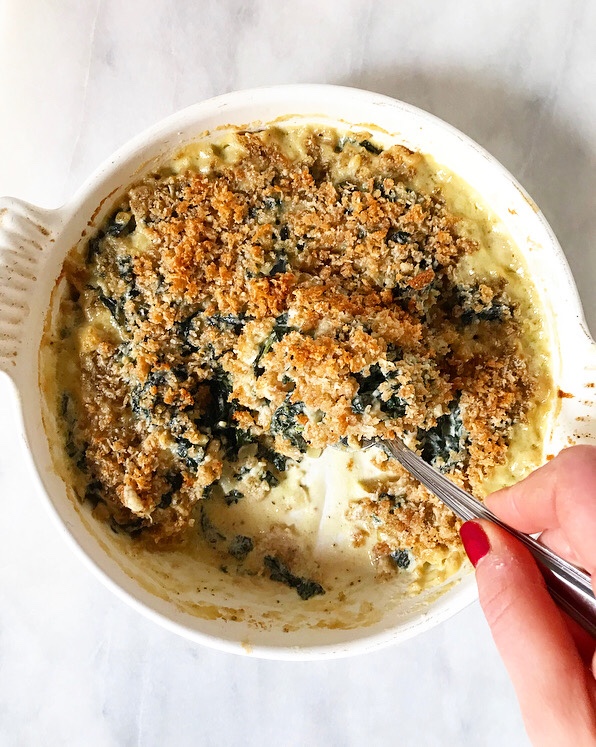
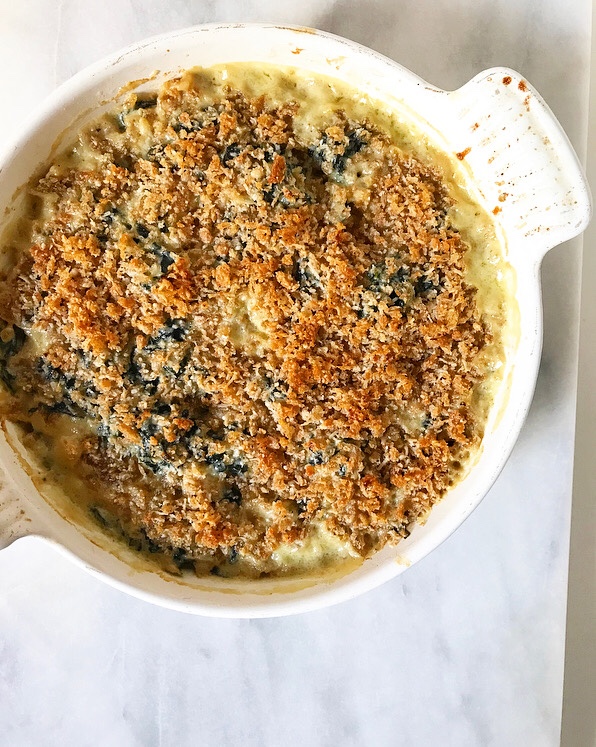
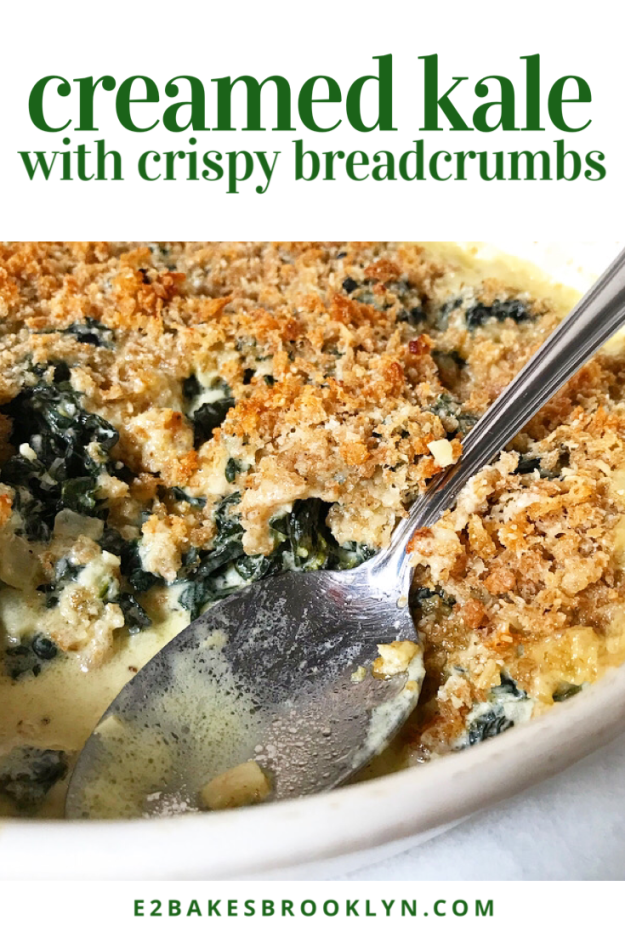
 Now, I know that adding one more thing to your Thanksgiving menu is never something to be taken lightly. Time and energy are at a premium at the holidays! Luckily, Creamed Kale with Crispy Breadcrumbs is perfect for making ahead. You can stir together the creamed kale part of the equation a day or two ahead of time and refrigerate it. When you’re ready to serve, top it off with the breadcrumb mixture and bake until brown, bubbly, and so creamy and wonderful that even I—a person who has written repeatedly about loathing cream sauce—can’t resist.
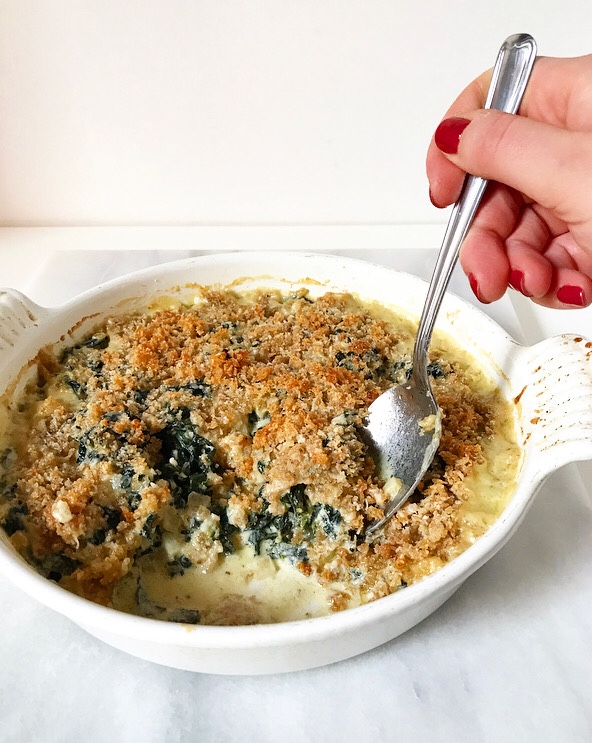 Looking for something a little lighter? Try my Caramelized Brussels Sprouts!
Creamed Kale with Crispy Breadcrumbs
makes 6-8 servings
Creamed Kale:
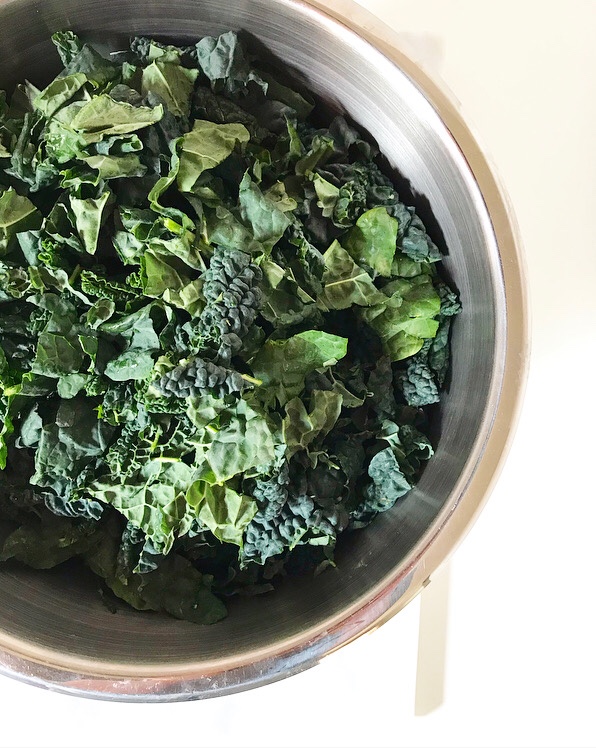
2 lbs lacinato kale (curly kale works too)
1/4 cup (1/2 stick) unsalted butter
4 cloves garlic, minced
1 small onion, finely diced
1/8 teaspoon ground nutmeg
1/2-3/4 teaspoon fine sea salt
1/2 teaspoon freshly-cracked black pepper
3/4 cup heavy cream
1/2 cup whole milk
2 ounces full-fat brick-style cream cheese
1 cup (4 ounces) grated Parmesan cheese
Breadcrumb Topping:
1/2 cup panko breadcrumbs (or other plain breadcrumbs)
1/4 teaspoon fine sea salt
1/4 teaspoon black pepper
2 tablespoon unsalted butter, melted
1/2 cup (~1 1/2 ounces) grated Parmesan cheese
Preheat oven to 400F. Bring a large (6 quart) pot of water to a boil over high heat.
Wash and dry kale. Remove and discard the ribs. Use a large, sharp chef’s knife to slice kale into 1/2-inch ribbons.
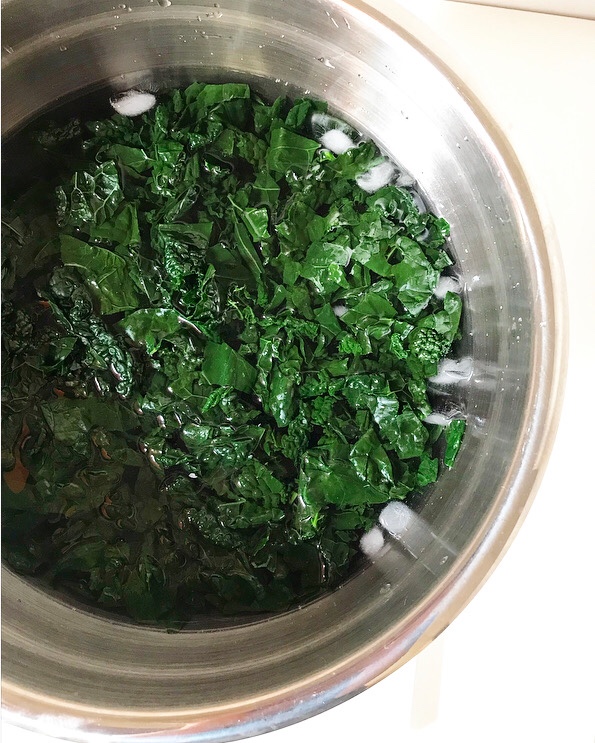
Fill a large bowl with ice water.
When the pot of water comes to a boil, salt it liberally. Add kale and let cook about 1 minute (until bright green). Remove kale and plunge it directly into the ice water. This method is called blanching & shocking.
Line a sheet pan (or a few plates) with paper towels. Once kale is cool (a few minutes), remove it from the water and place on paper towel-lined pan. Blot with more paper towels to remove excess water.
Heat a large, heavy-bottomed pot (I used the same one I used for the kale) over medium heat. Add butter and allow to melt. Sauté onion 5-7 minutes, or until translucent. Add garlic and cook until fragrant, about 1 minute. Stir in kale, followed by nutmeg, salt & pepper. Stir in heavy cream, milk, and cream cheese. Turn heat up to medium-high and let cook, stirring occasionally, for 5-7 minutes, or until cream cheese has melted and sauce has thickened slightly. Remove from heat and stir in Parmesan. Taste and adjust for seasoning.
Grease an 8-inch casserole dish. Fill with creamed kale.
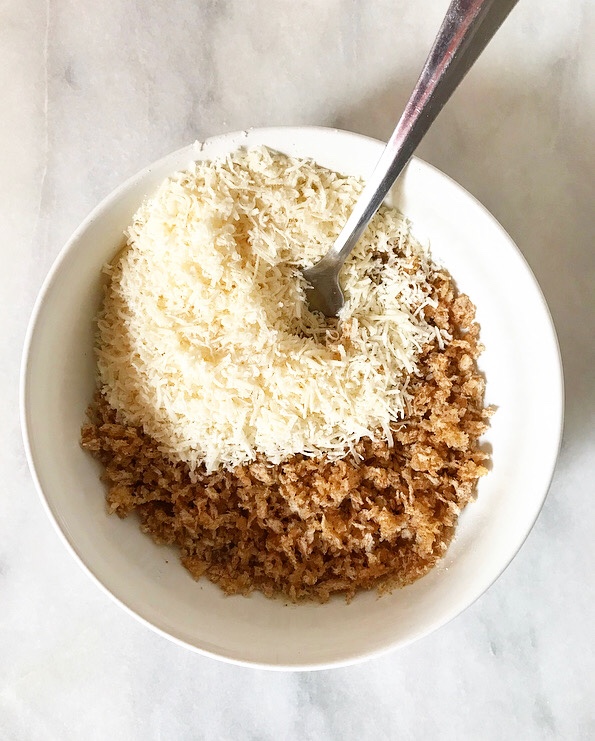
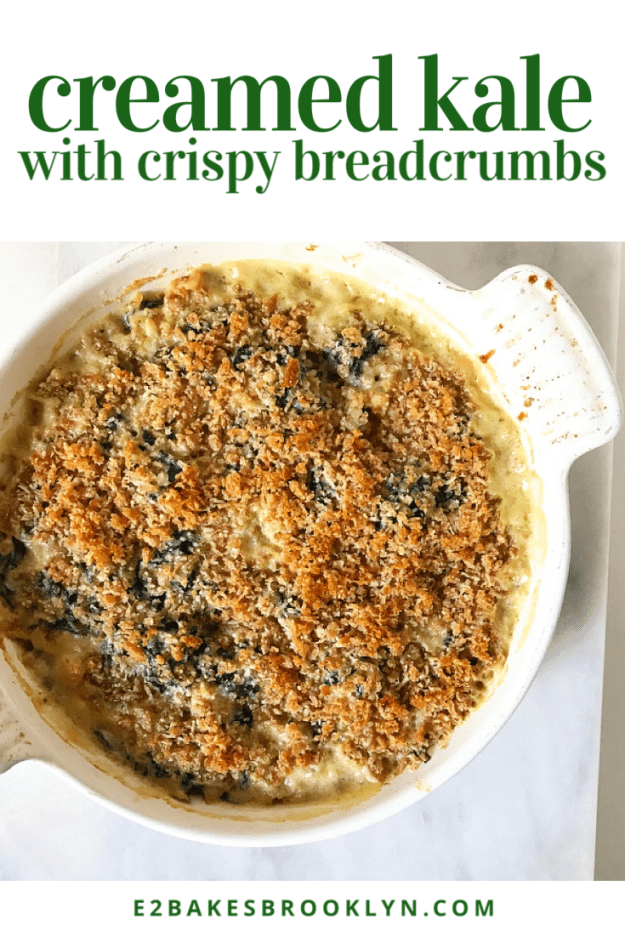
Make breadcrumbs. In a small bowl, use a fork to whisk together breadcrumbs, salt, pepper, and melted butter. Add Parmesan. Scatter mixture over the top of the kale. Bake for 12-15 minutes, or until brown and bubbly.
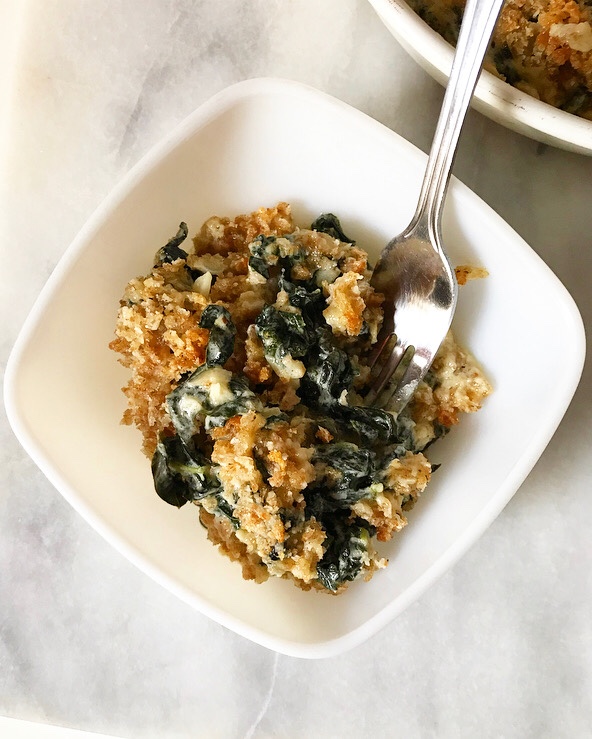
Serve warm. This is best the day it is made, but may be kept covered in the refrigerator for up to three days. Breadcrumbs will soften over time, but may be re-crisped in the oven.
To make ahead: after transferring creamed kale to a casserole dish, press plastic wrap to the surface and refrigerate for up to 2 days. When ready to bake, make breadcrumb mixture and scatter it over the top. Bake at 400F until bubbly and golden, about 30 minutes.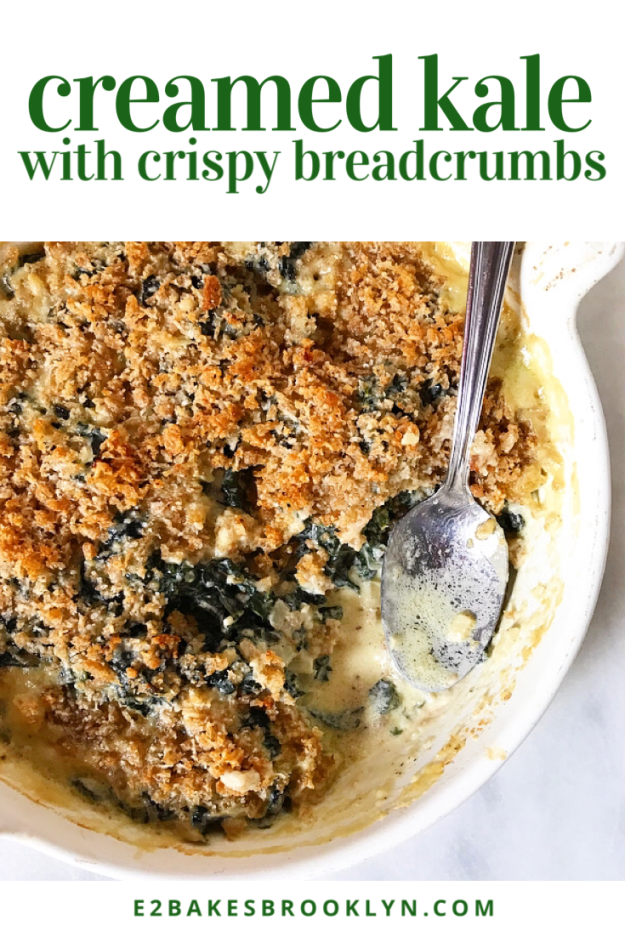
 Remember those
  For those of you wondering what the heck pimento cheese is, it’s a creamy spread made of shredded cheddar, mayonnaise, sweet pimento peppers, and freshly-cracked black pepper. It’s incredibly popular in the southern U.S.—you’ll see it at every baby shower, cookout and picnic. You can buy the stuff in tubs in the grocery stores down there, but it’s next to impossible to find here, so I
  Here, I’ve taken the basic ingredients of that southern staple (minus the mayo) and folded them into a batch of cornmeal biscuit dough. The results are cheesy, spicy, sweet-pepper studded magic!
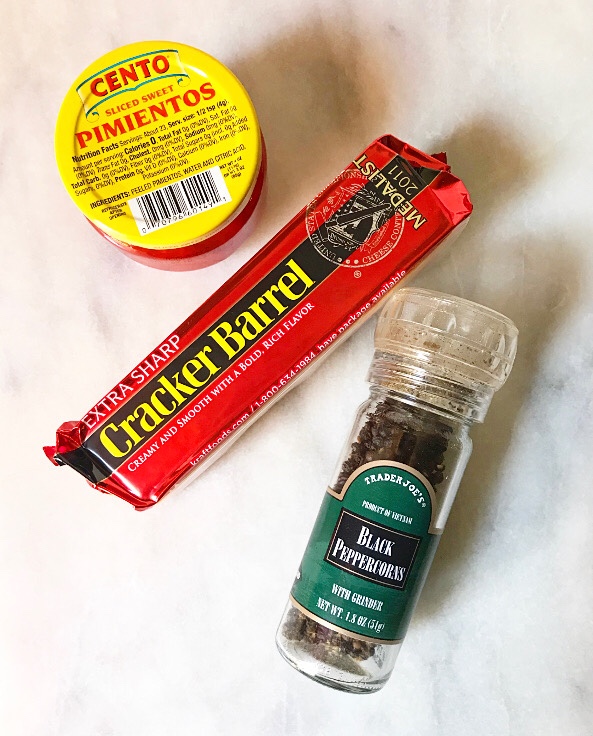


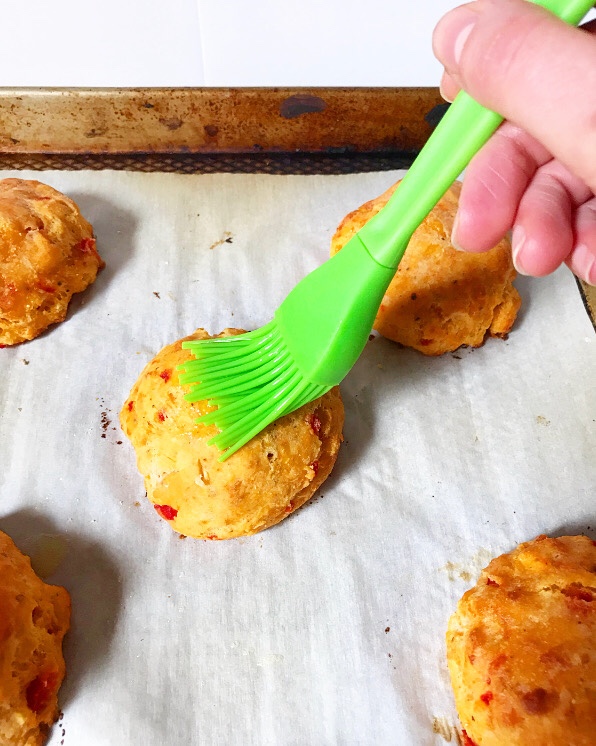
 These are the cheese biscuits of my summertime dreams, and soon, yours. And those of your family and friends too, permitting you take a batch to your Fourth of July festivities tomorrow. You can serve them plain or with butter…
 …but maybe crisp up some bacon and grab some tomatoes and arugula because these happen to make the best BLT on the planet.
 CAN. NOT. BE. BEAT.
 Oh, and these aren’t pictured, but if you dice your leftover biscuits and sauté them in butter and olive oil, you’ll get some insane croutons. I ate these on salads for five days after I took these photos and I still want more.
 Happy Fourth of July, y’all! If you’re looking for cookout appropriate beverages, see


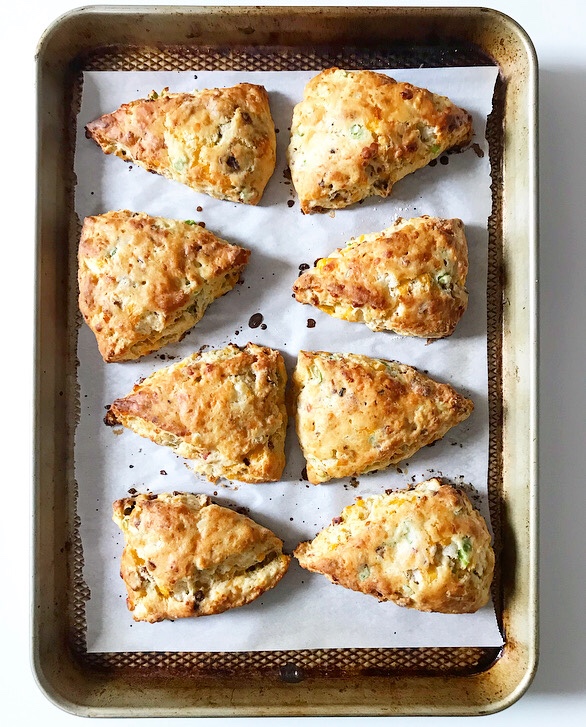
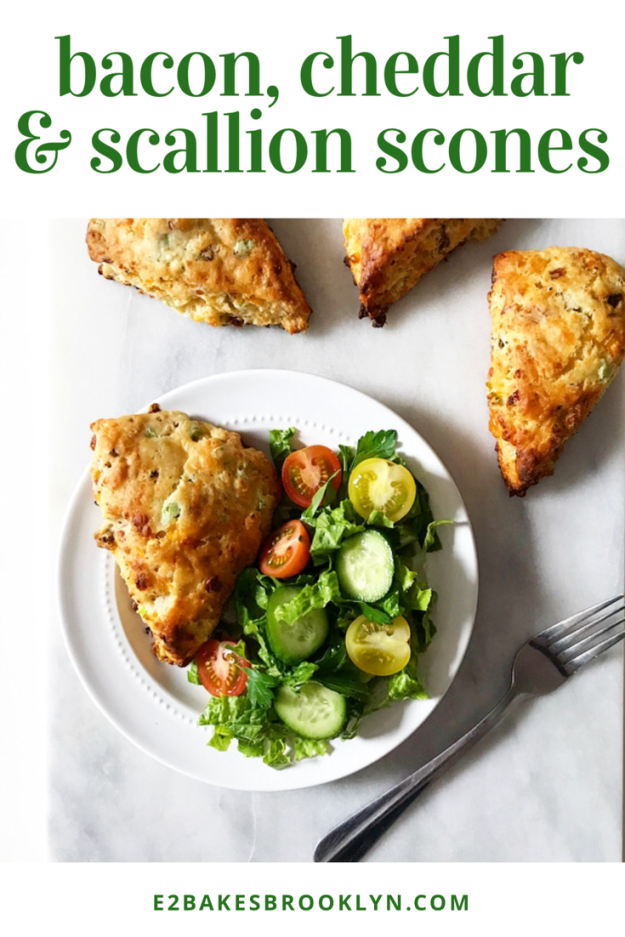
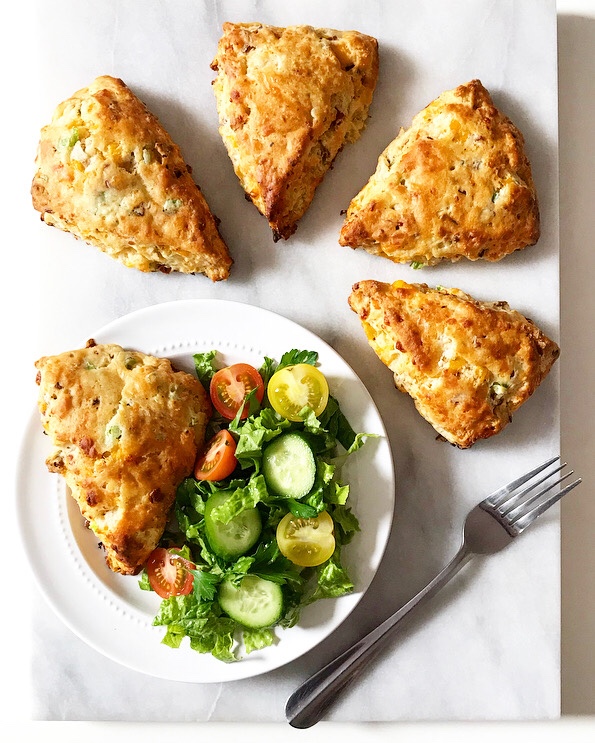 I don’t know how exactly this began, but somewhere along the line, I got it in my mind that there is no combination that says “casual-but-classy spring lunch” quite like a savory scone with a big green salad.


 When I first moved to New York and was in
 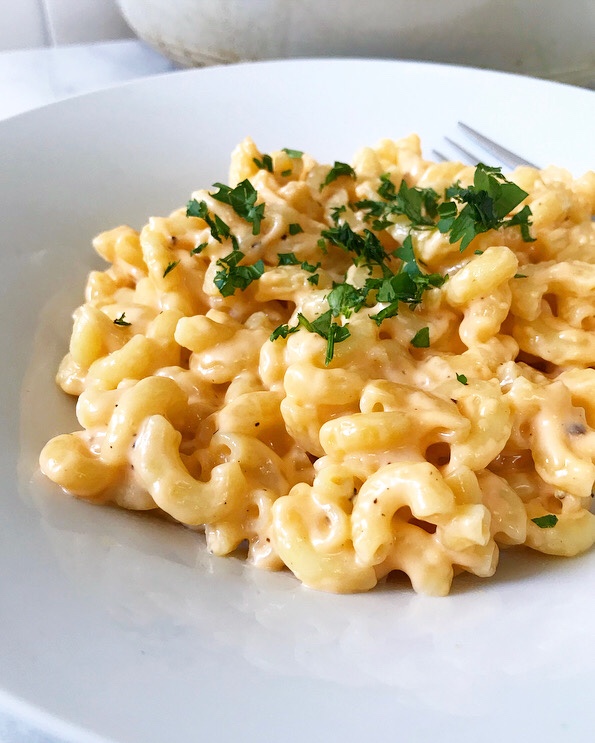 Unfortunately though, I’m not gifted with much else in that realm. I’m not confident enough to direct. I like to act, but was/am too timid to pursue it in any real way. My hearing is terrible, so sound is out. My arms aren’t strong enough to hold the boom mic for very long. Editing is just a “no.” The list of disqualifications goes on and on, save for one notable exception: I can cook. And so it was that the majority of my production course credits came from being craft services, a.k.a. the on-set caterer.
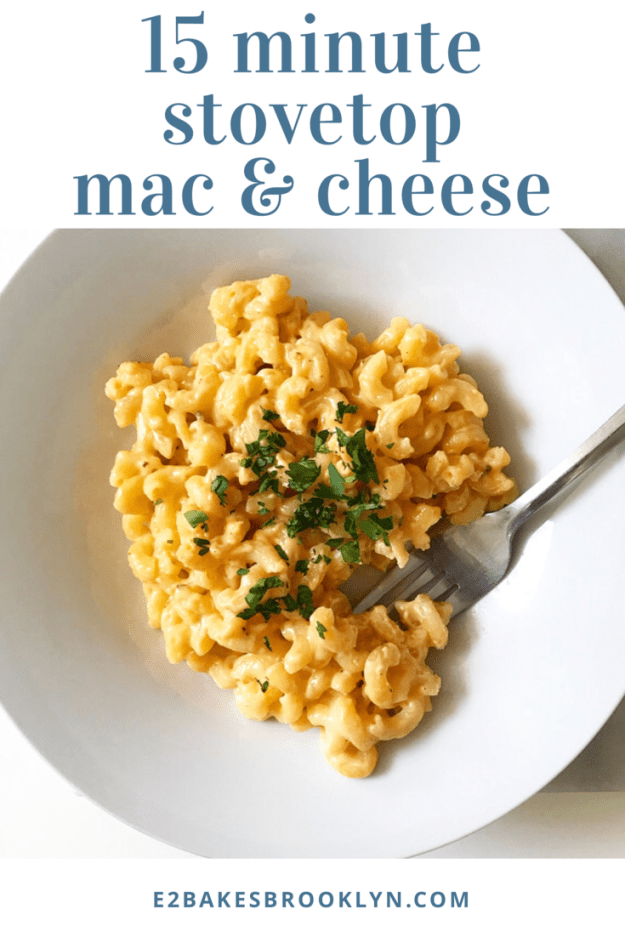
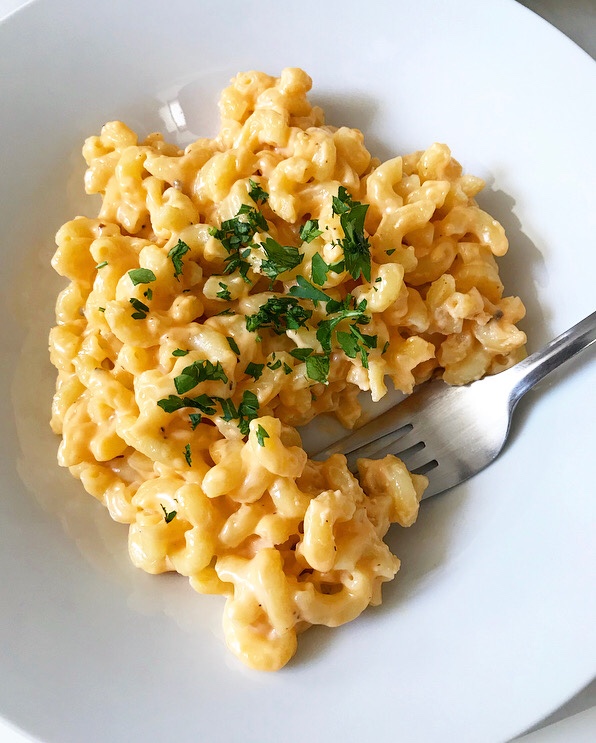 Now, being “crafty” for a student film isn’t the same as what you see when you spot film shoots on the streets of New York. Not even close. I didn’t have a truck or a crew; there was no oven or microwave. I was limited to what I could make in my Upper West Side apartment and transport in a cooler and what I could prepare on-set on a single electric burner. Oh, and it had to be cheap. Options were extremely limited—there were a lot of prepared salads and sandwiches—but my 15 Minute Stovetop Mac & Cheese was always a crowd pleaser.
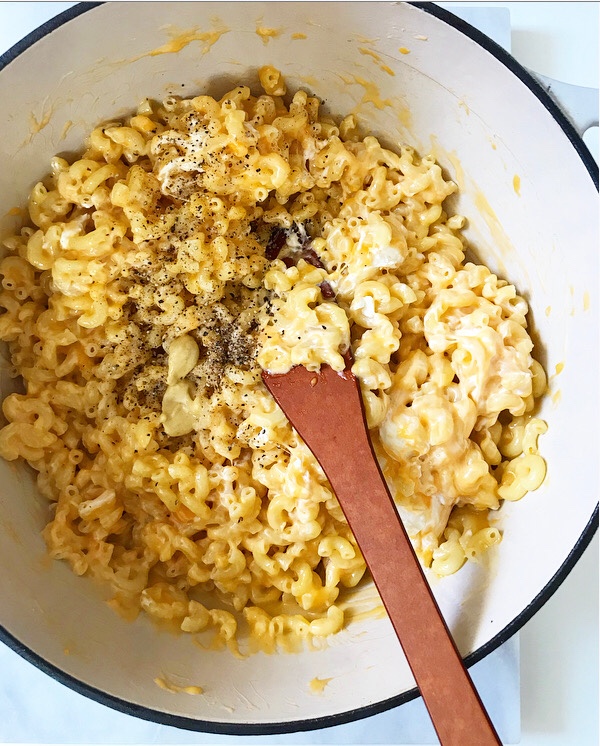
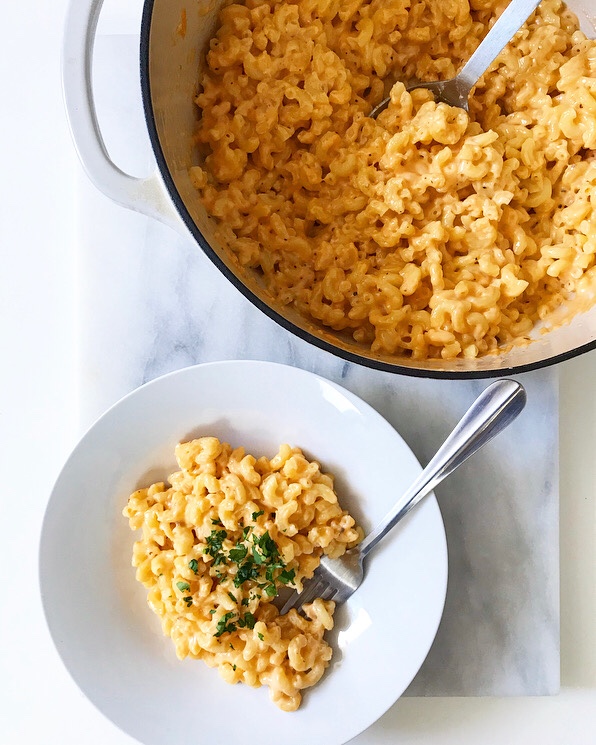 I mean, what’s not to love? This macaroni & cheese has all the cheesy flavor and creamy texture you want, but is less than half the work of most
 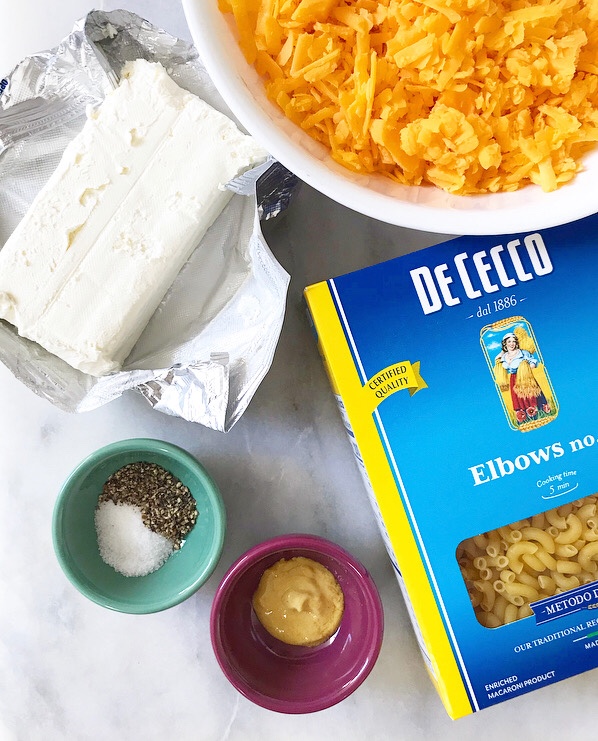 It also requires just six ingredients (seven, if you want to garnish with parsley) and two of them are salt and pepper. Whaaaaat. Since 15 Minute Stovetop Mac & Cheese is a from-scratch recipe, it will cost a few dollars more than the stuff in the blue box, but it’s also infinitely tastier. I’ll take real melted cheese over reconstituted powdered cheese any day. It’s not even a contest.
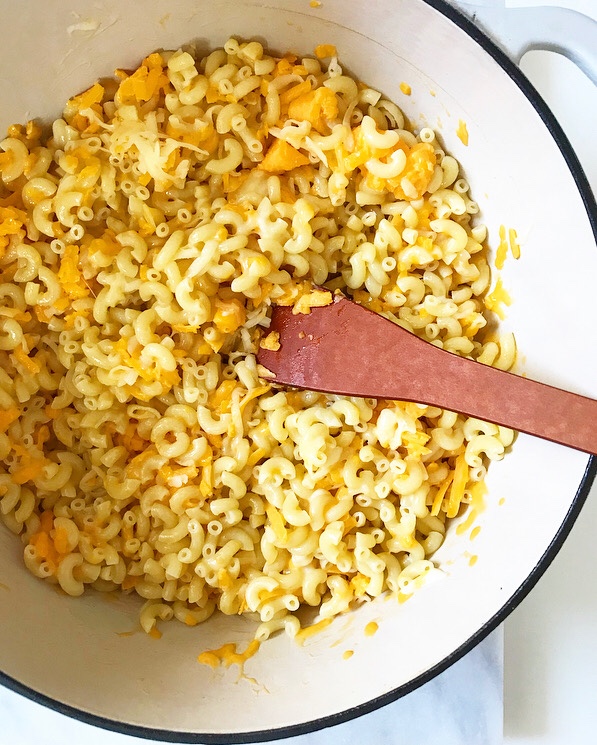

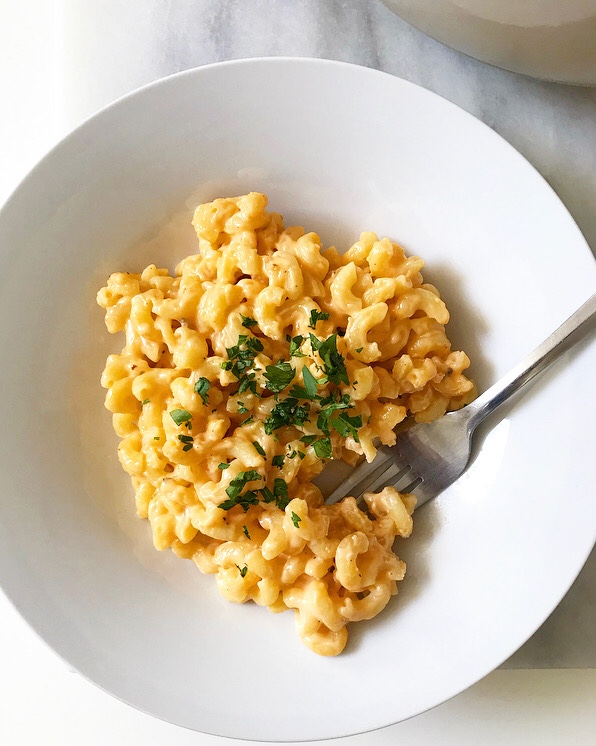
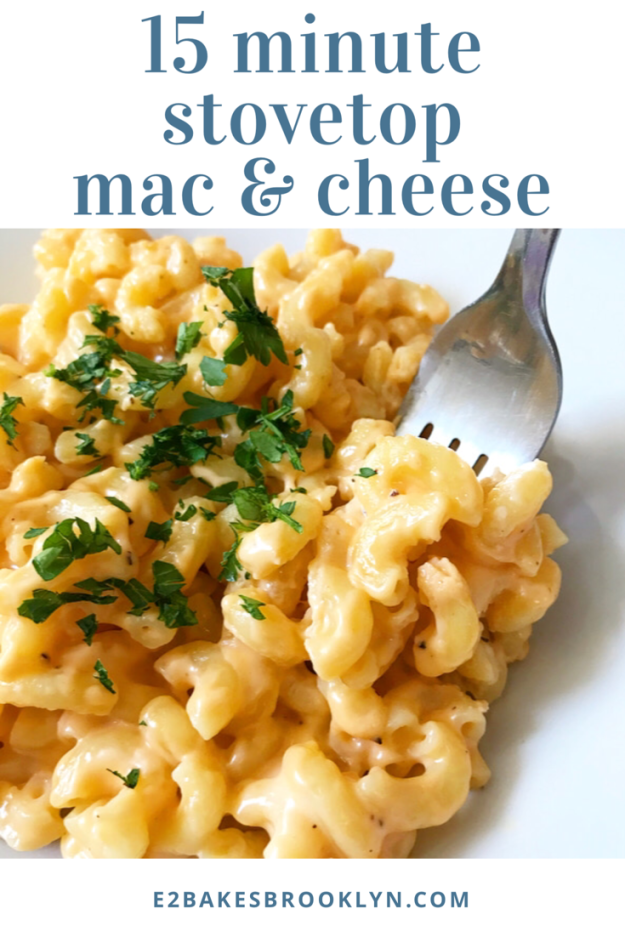
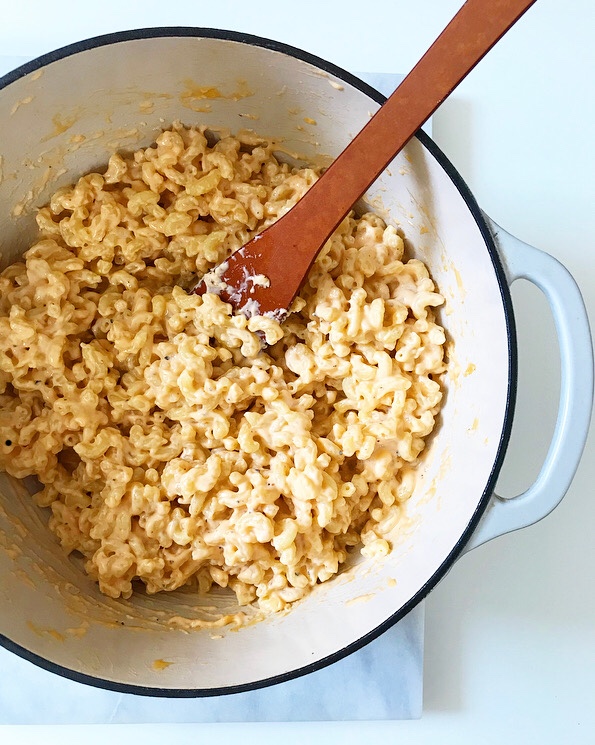 This recipe really does comes together in fifteen minutes, so it’s ideal for busy weeknights or filling a craving or feeding a bunch of student filmmakers on the fly.
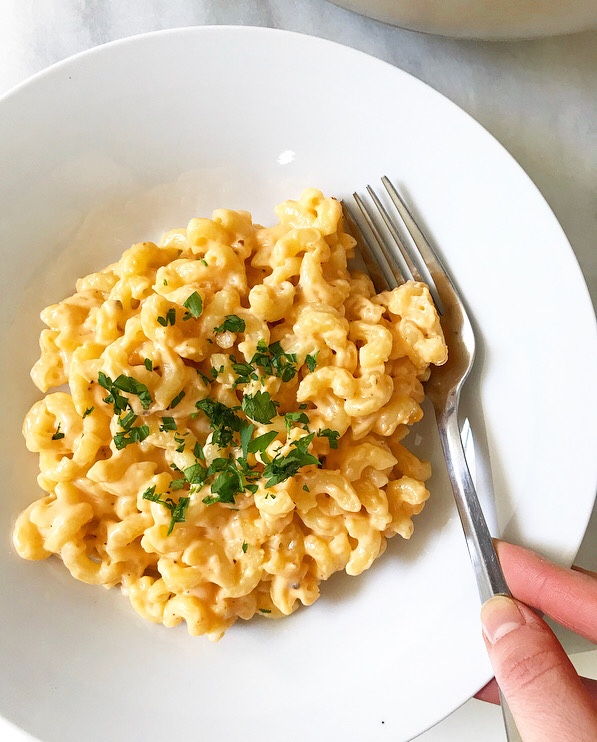 Right now, you’re just one pot, four steps, six ingredients, and fifteen minutes away from diving fork-first into a bowl of creamy, cheesy magic. What are you waiting for?!
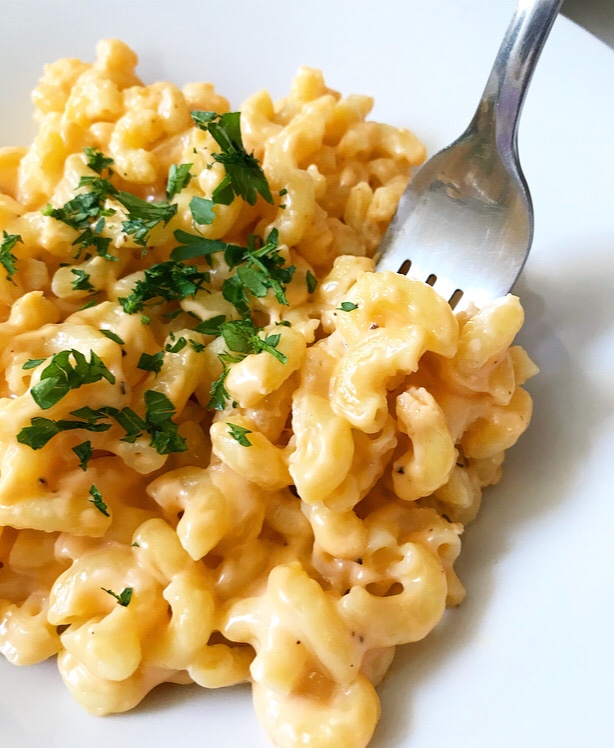

 If you go back and look at the order of recipes on this blog, you can clearly see my train of culinary thought. Last week, I posted three
 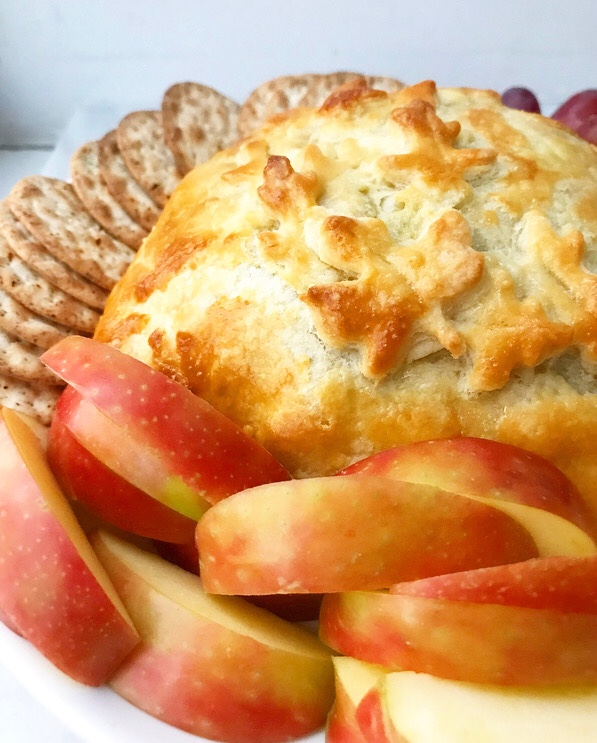 This week, I’m caramelizing everything. On Wednesday, it was
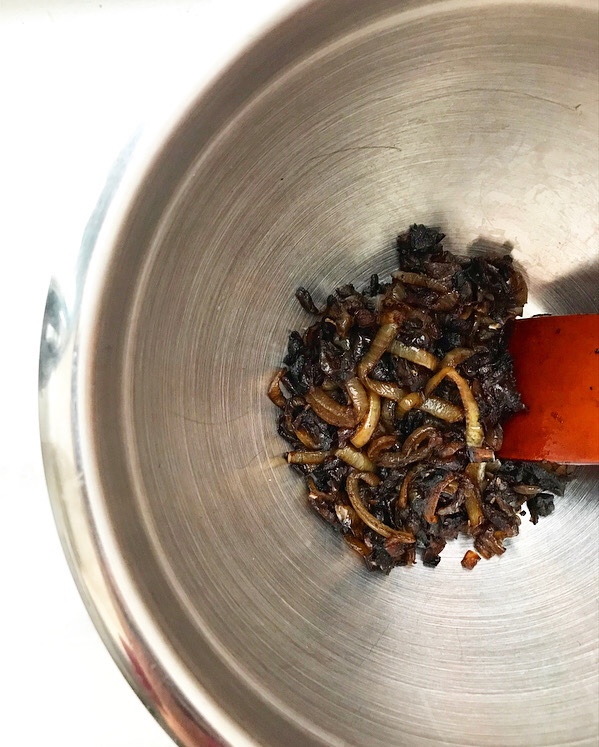
 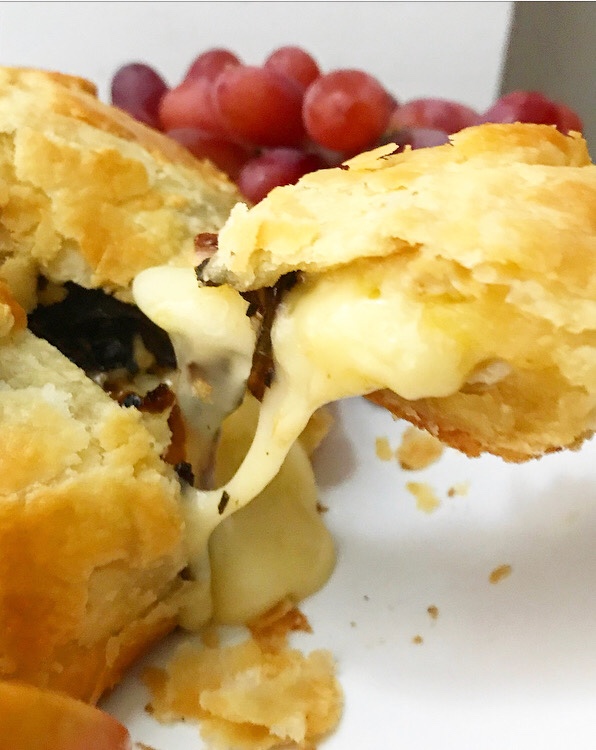 Baked brie is always a holiday hit—what’s not to love about the combination of melty cheese and flaky pastry?!—but I am all about the sweet addition of caramelized onions here. They’re cooked low and slow until they’re soft, sweet, and deeply browned. I like to add some minced garlic and fresh rosemary (it’s
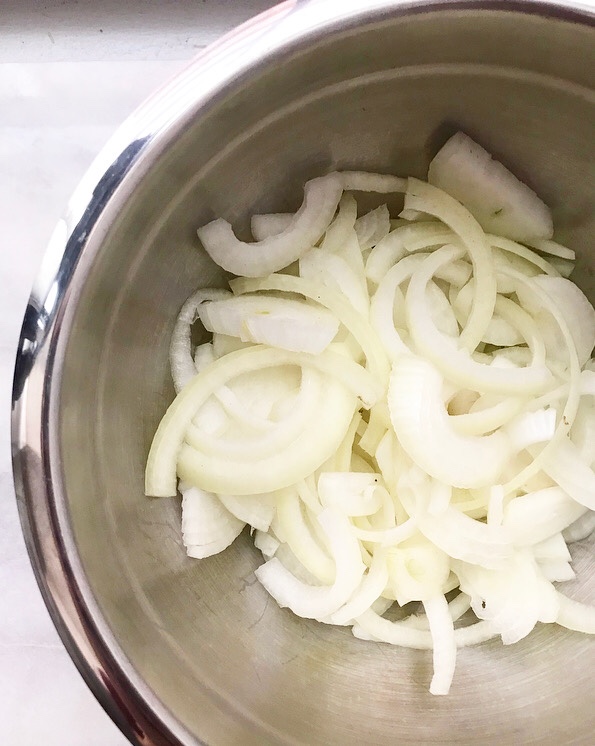
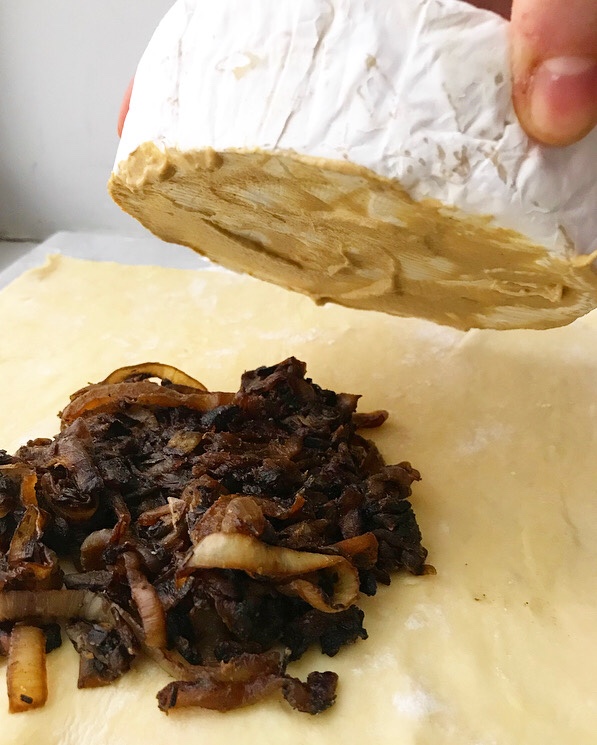
 After the onions cool, it’s time to assemble the baked brie. Roll out a sheet of puff pastry (I use
 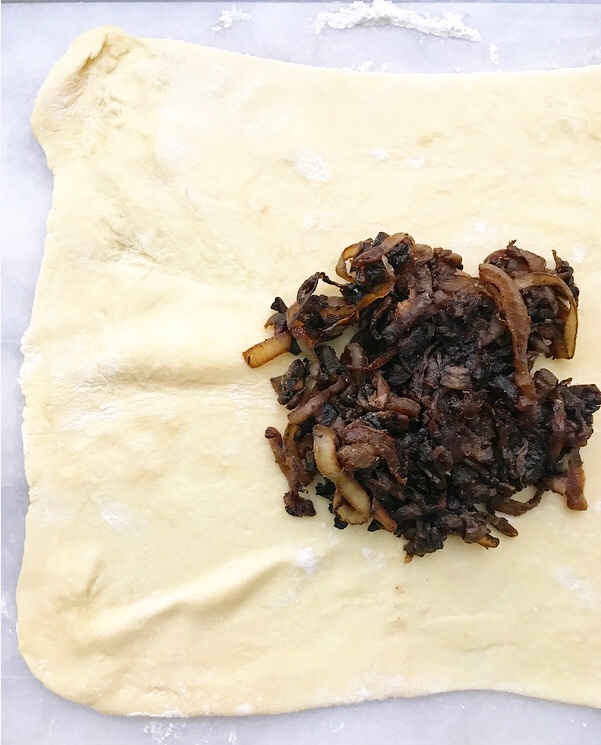 Smear a little dijon on one side of a wheel of brie and place it on top of the onions. The mustard flavor isn’t too pronounced here, but it’s sharpness helps offset the richness of the cheese and pastry.
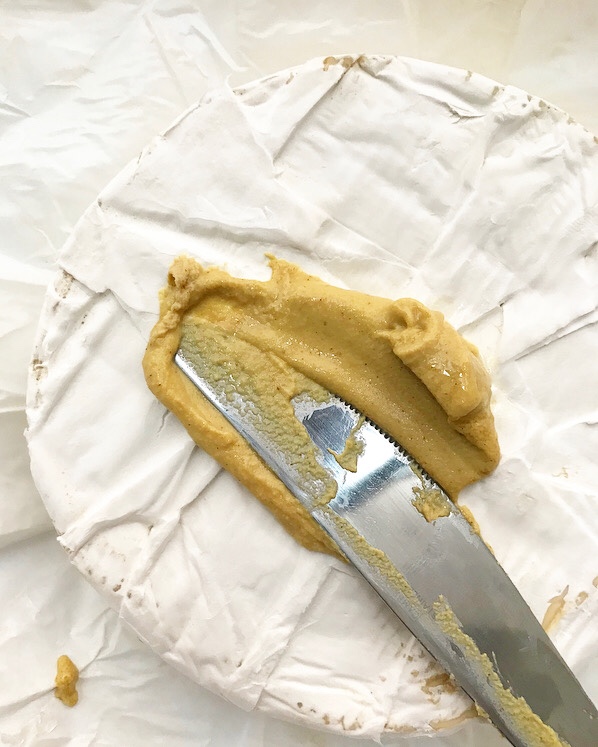
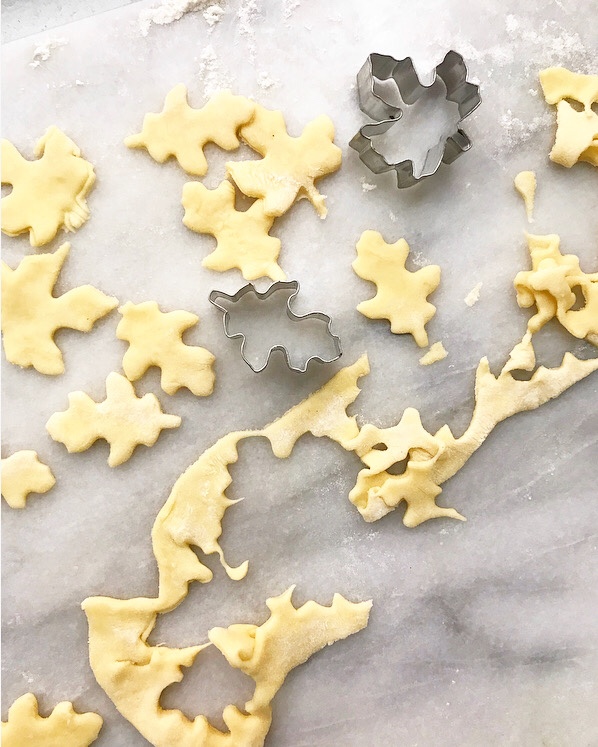
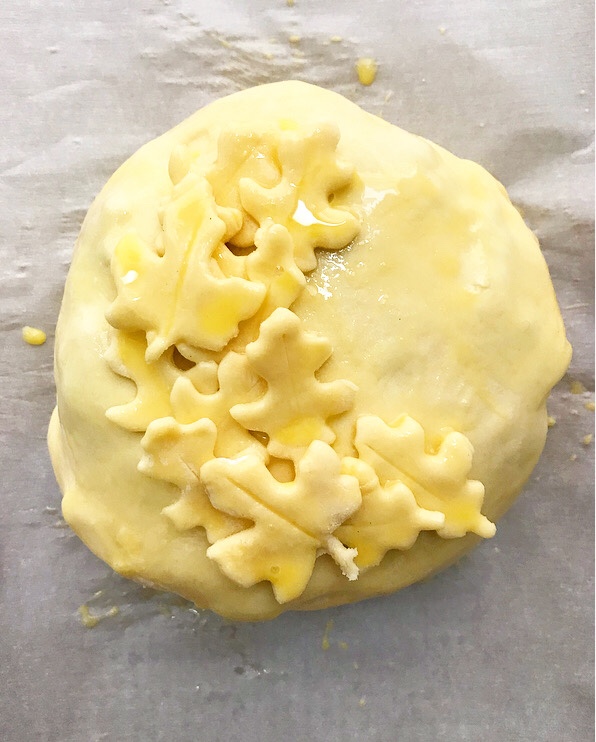
 Wrap everything up tight, give it an egg wash glaze, and decorate with some little pastry leaves, if that’s the sort of thing you’re into.
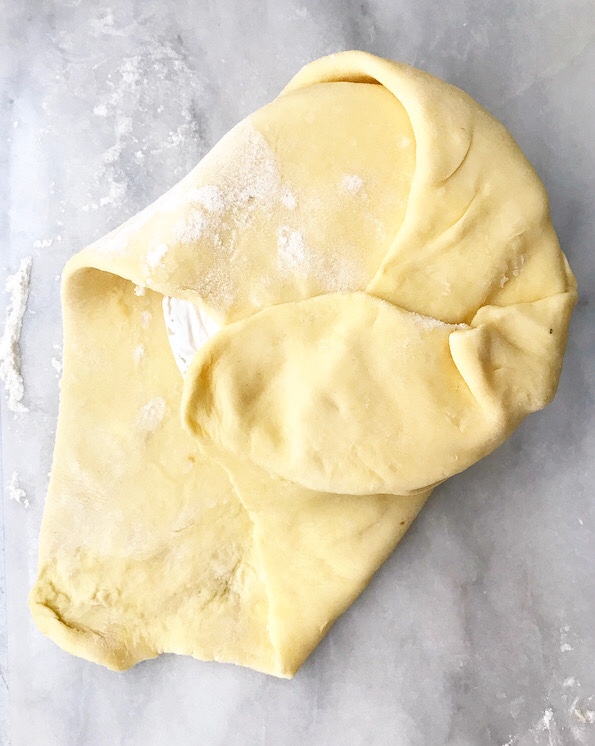
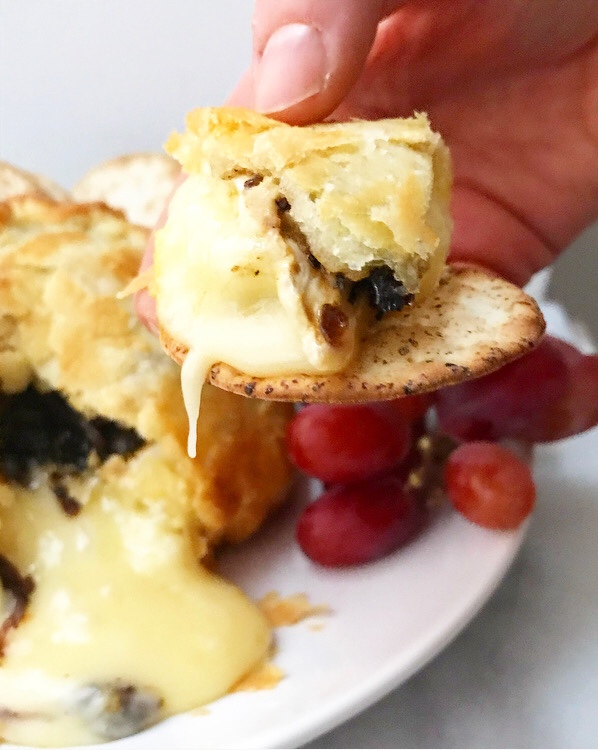
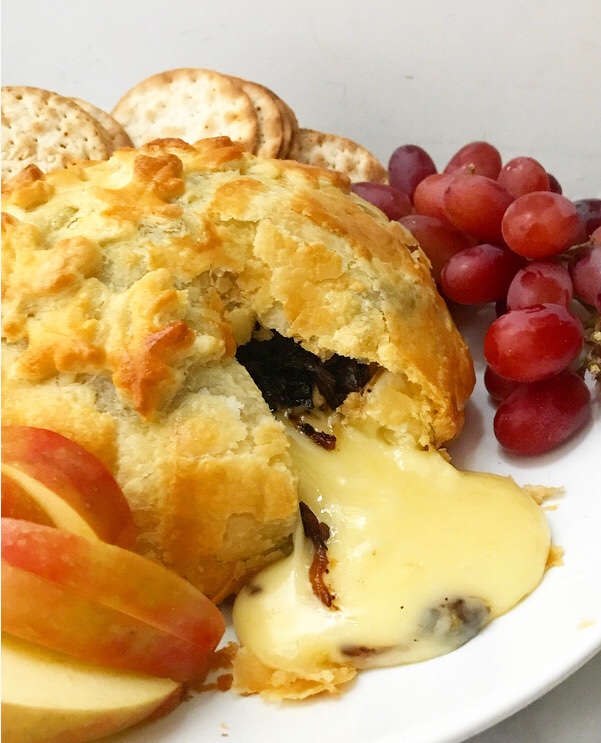
 Bake the brie until the pastry puffs and turns golden. Wait a few minutes before serving it with seasonal fruit and the crackers you made your roommate go get from the overpriced cell-phone-dead-zone grocery store behind your building (and you didn’t even complain when he came back with some weird flavor instead of plain because you’re an adult and someone did you a favor)…
 …um, what was that? Oops. Back to baked brie.
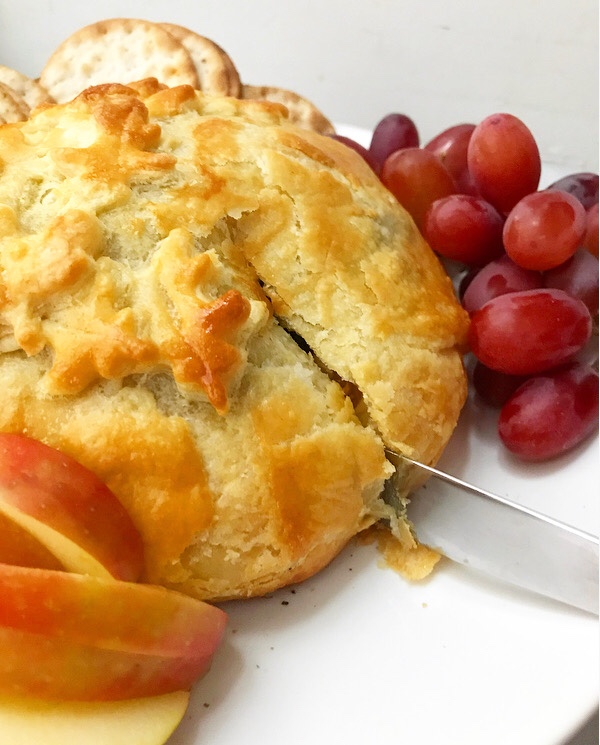
 You’re going to love this brie, y’all! It’s rich and buttery, and oozes in the best possible way. One bite of this melty, cheesy, salty-sweet treat is worth every second it takes to cook those onions, I promise. I know all your holiday guests will agree.