Last week, while preparing vegan red beans & rice on a vacation Wednesday morning, it occurred to me that I haven’t made a straight-up chocolate dessert in a while. Like, maybe since June? I don’t even know. I was in a summer produce fugue state.
Once I realized this, I knew I had to rectify it immediately—a chocolate craving cannot be remedied with anything else. Thinking through our island pantry, I realized I had everything for a quick vegan chocolate pudding. Ten minutes of measuring and whisking later, I was dividing warm pudding into ancient Corelle teacups and setting them in the refrigerator for that night—a perfect make-ahead dessert to go with our make-ahead dinner.
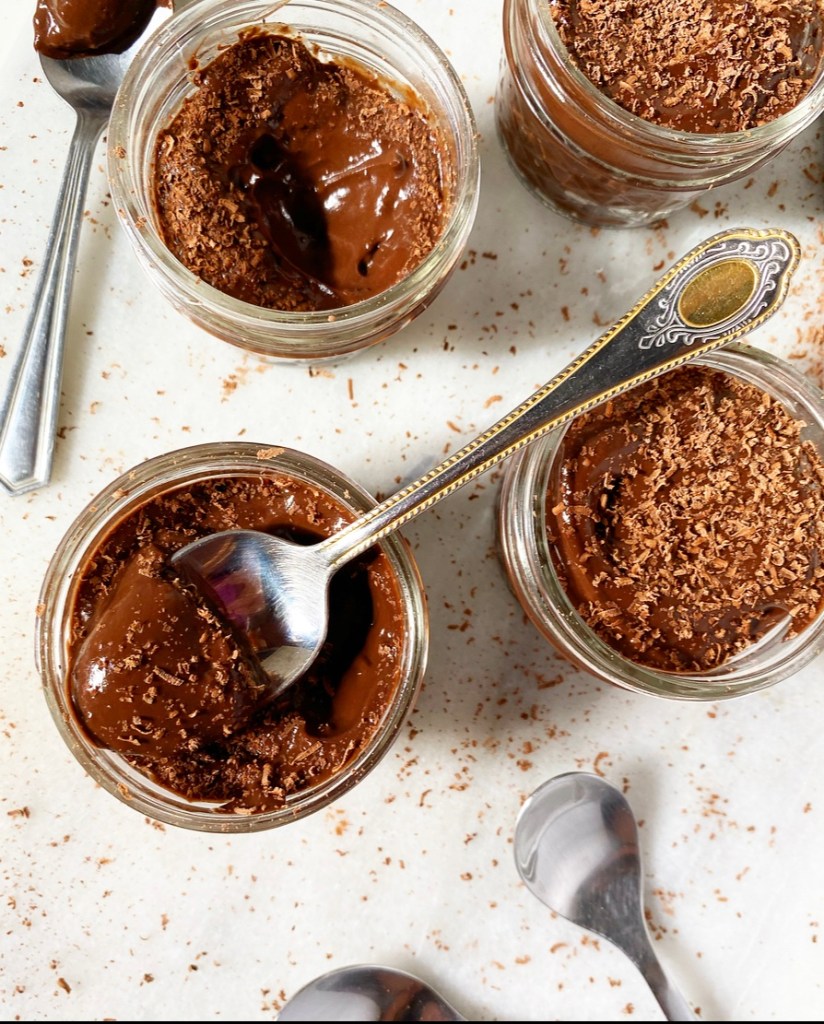
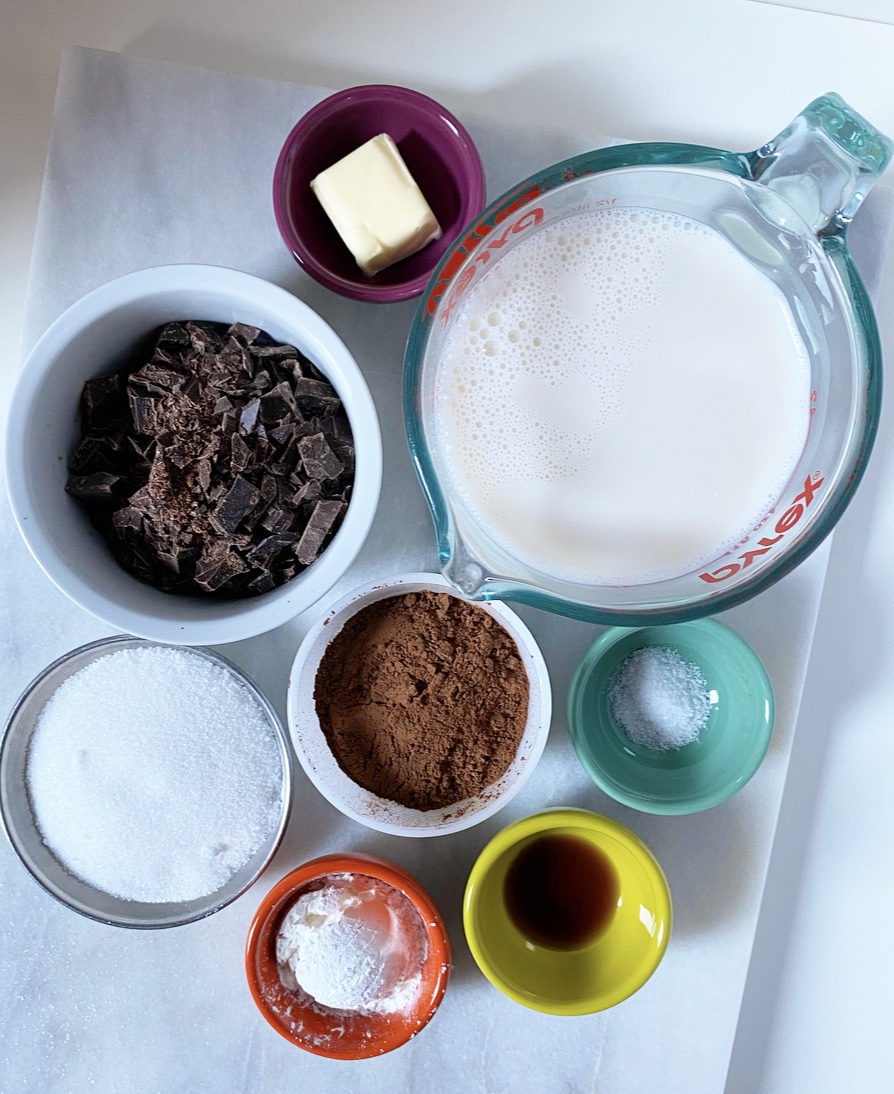
Flash forward a week and I have made Vegan Chocolate Pudding twice in my NYC kitchen since I’ve returned. Its ingredients are things I always have on hand—cocoa powder, cornstarch, sugar, almond milk, dark chocolate, vanilla, salt, and (optional) vegan butter. It takes just minutes to put together and doesn’t require sieving as it doesn’t contain eggs. Score!
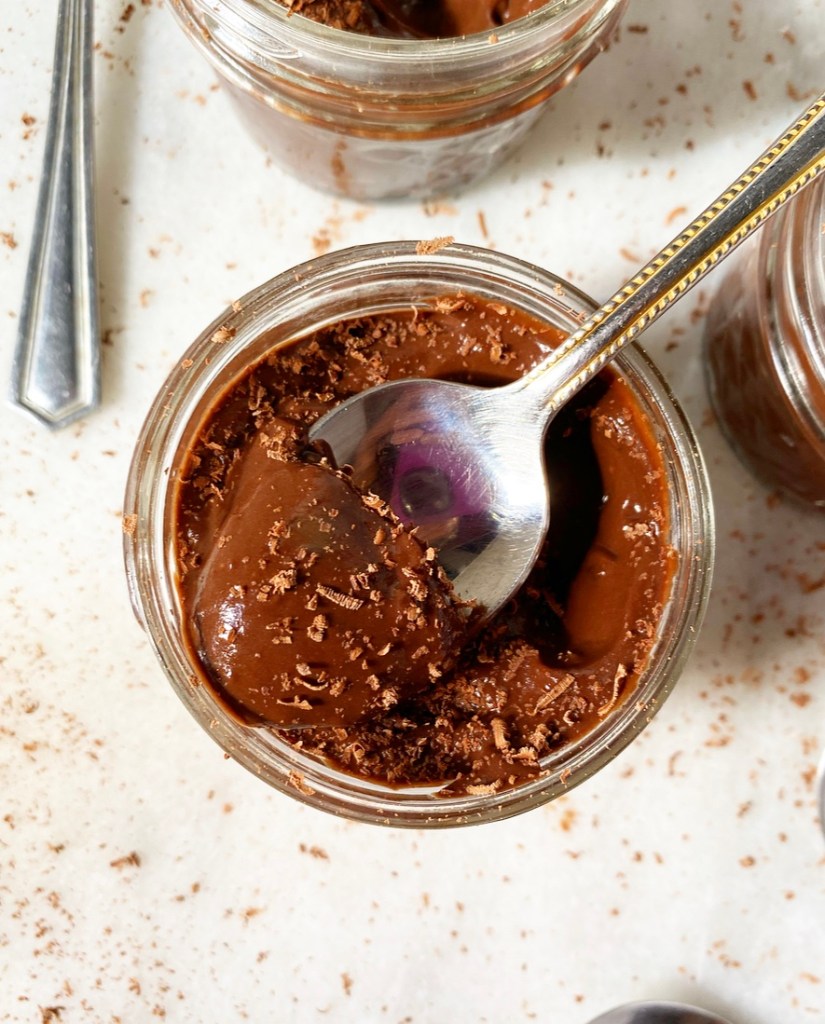
This Vegan Chocolate Pudding is SO good, y’all. Each spoonful is deeply chocolaty, ice cold, silky smooth, and delicious. I may or may not have eaten it for breakfast this week. Twice.
Vegan Chocolate Pudding makes 4 servings
2 tablespoons cornstarch 6 tablespoons granulated sugar 1/3 cup natural unsweetened cocoa powder pinch of Kosher or sea salt 2 cups unsweetened almond milk (or other plant milk) 1/2 teaspoon pure vanilla extract 3 ounces dark chocolate, chopped 1 tablespoon vegan butter (optional, but recommended) grated chocolate, for serving (optional)
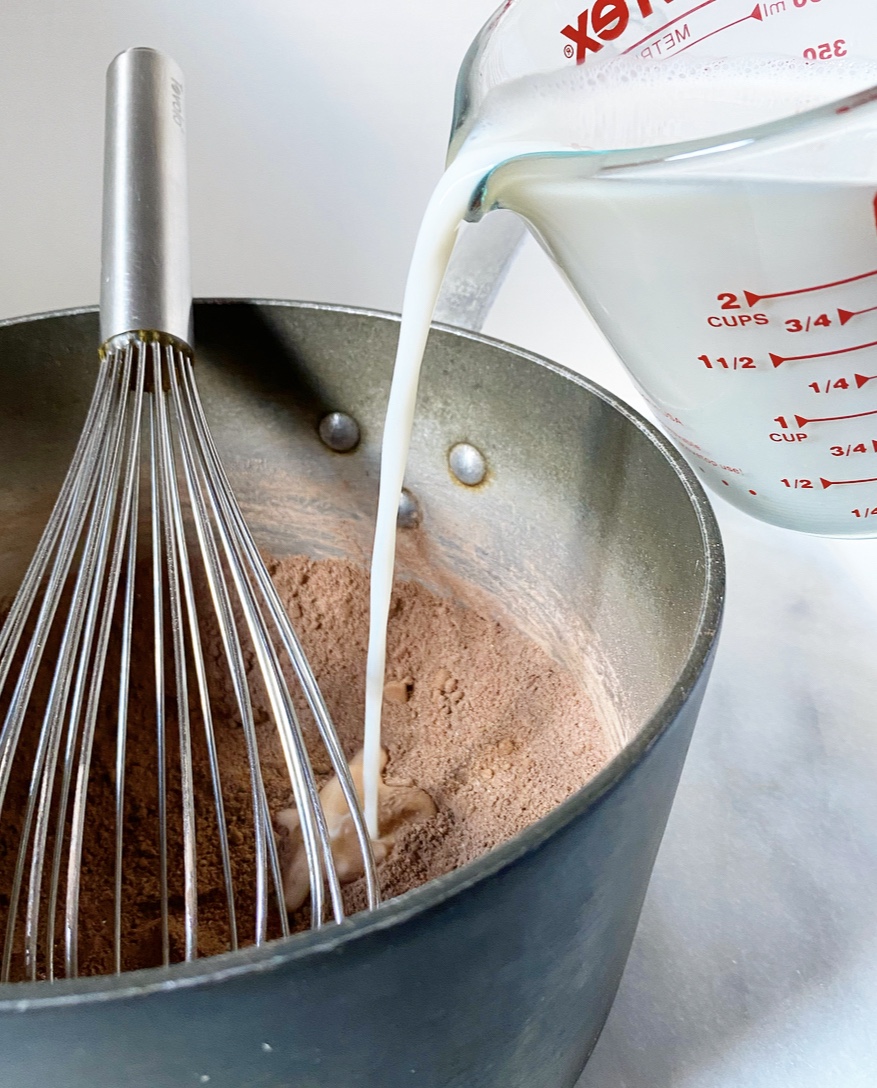
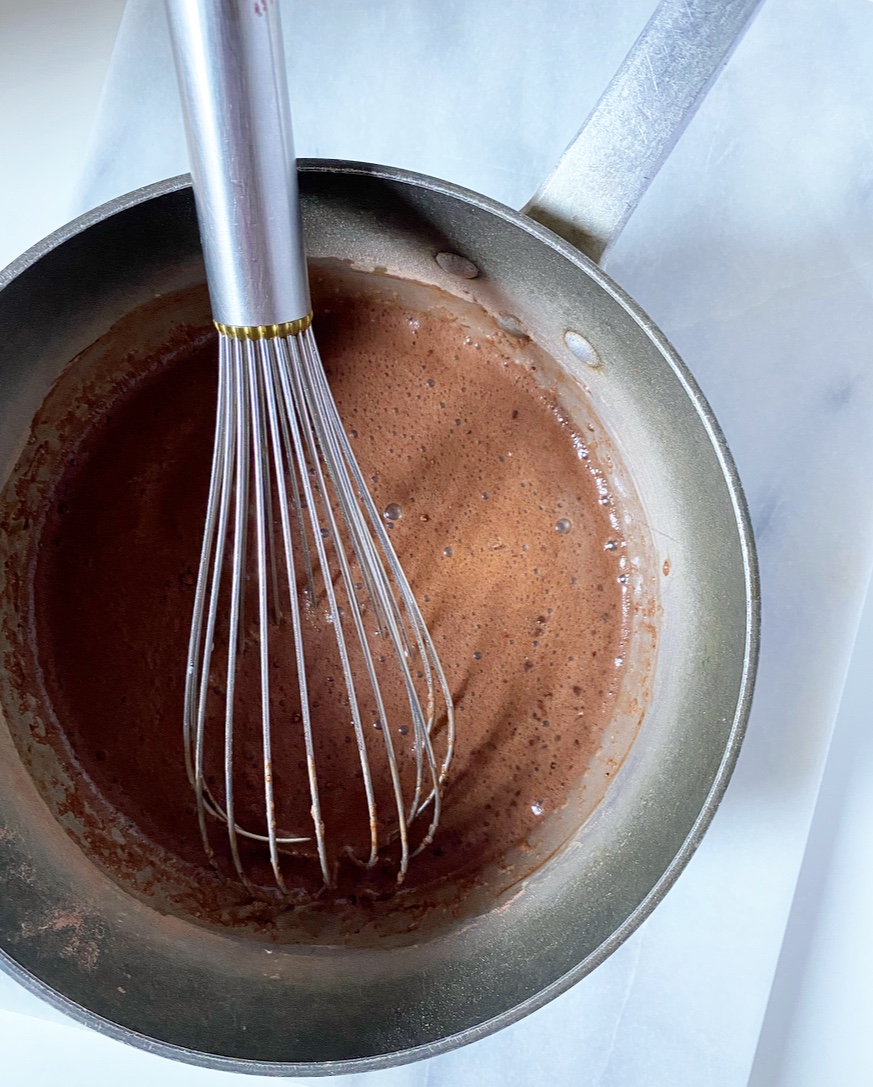
In a medium pot, whisk together cornstarch, sugar, cocoa powder and salt. Whisk in half the almond milk, followed by the remainder.
Place pot over medium heat. Whisking continuously throughout cooking, cook pudding until it has boiled for 1 minute. This process should take 6-8 minutes from start to finish.
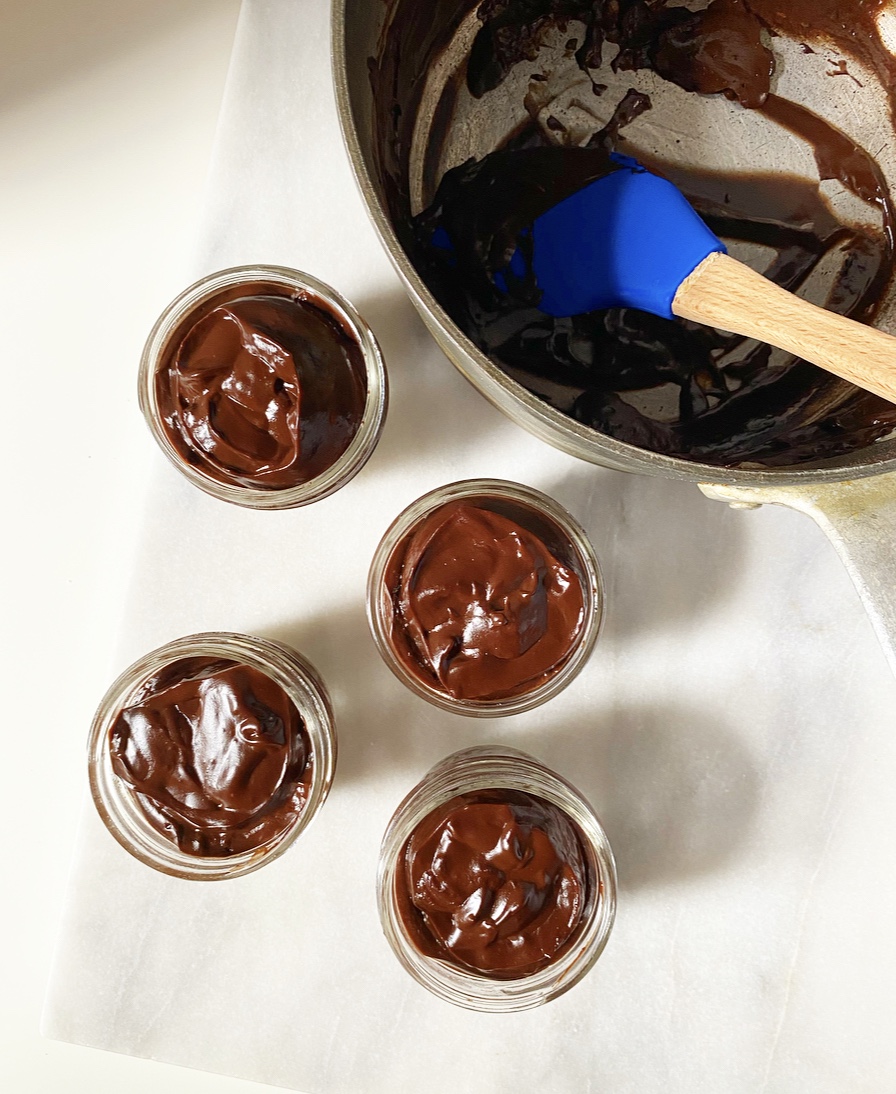
Remove pot from heat and whisk in vanilla, followed by dark chocolate and vegan butter (if using).
Divide pudding into four small heatproof serving dishes (I used 4-ounce mason jars). Press plastic wrap to the surfaces. Refrigerate for a few hours, until cold.
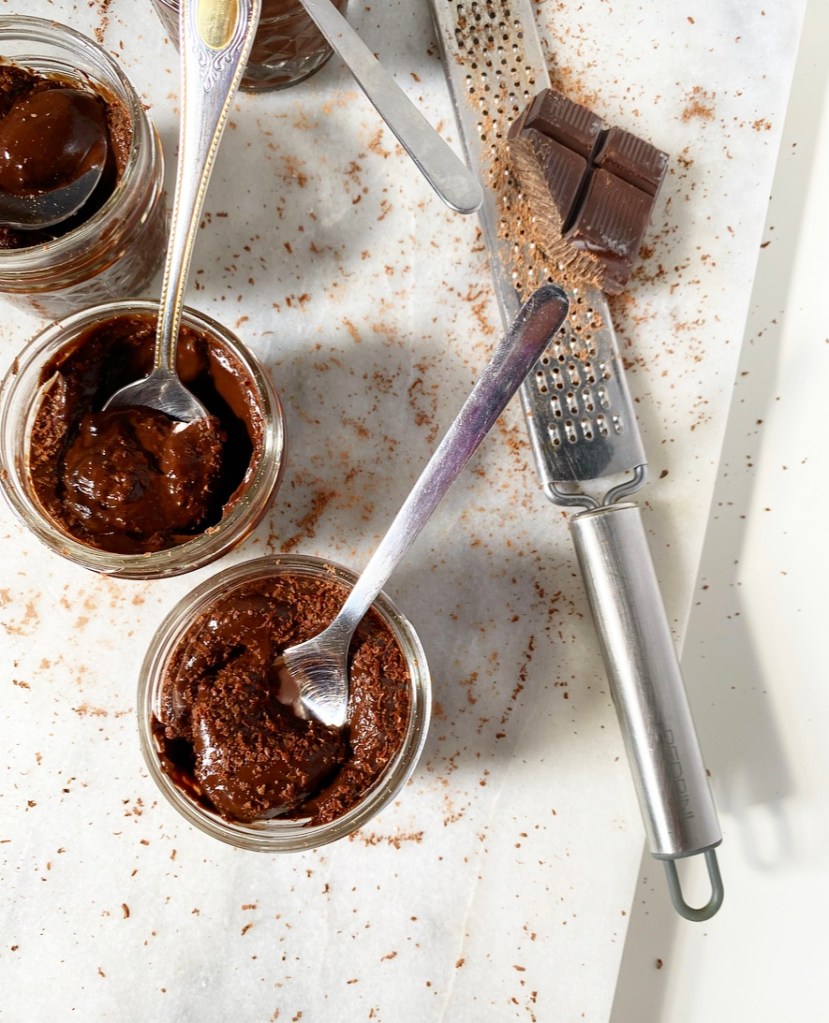
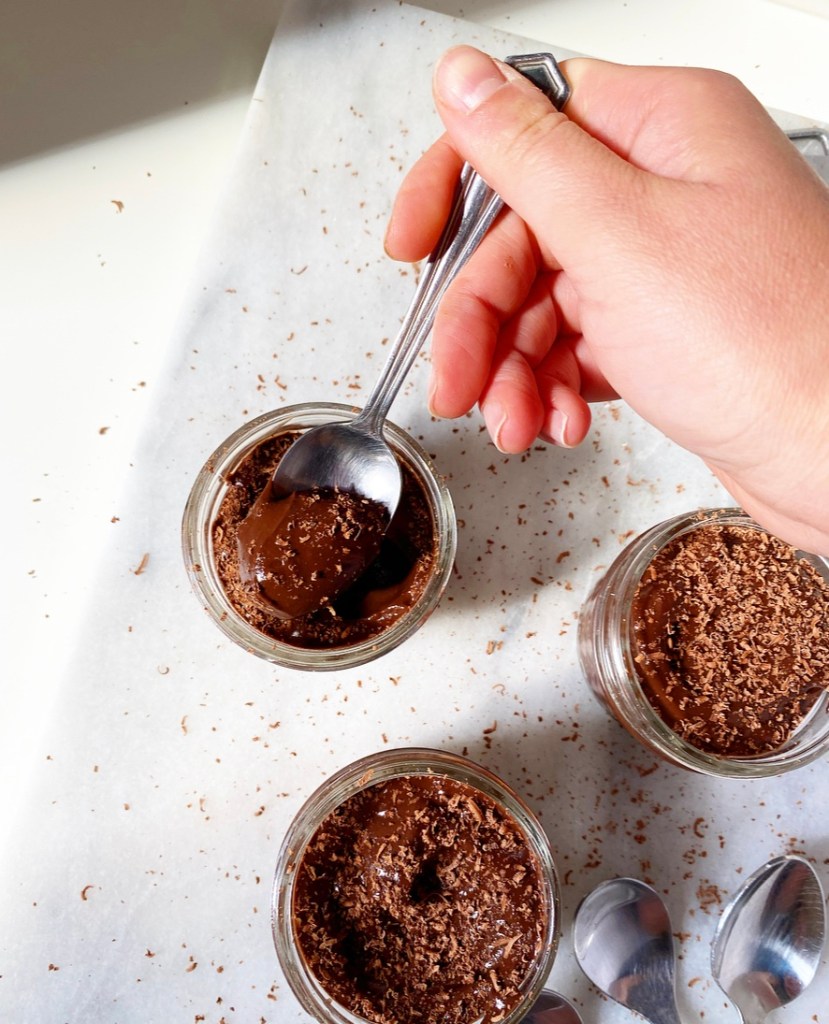
When ready to serve pudding, peel off and discard plastic wrap. Lightly stir pudding, top with grated chocolate (if desired), and serve.
Leftover pudding will keep covered in the fridge for 3-4 days.
I’ve said it before and I’ll say it again: there are a million way to make a chocolate chip cookie. Soft, chewy, crispy, thin, thick, as a cake, with nuts, whole grain, vegan, gluten-free, or some combination in between—there’s a recipe out there for everyone.
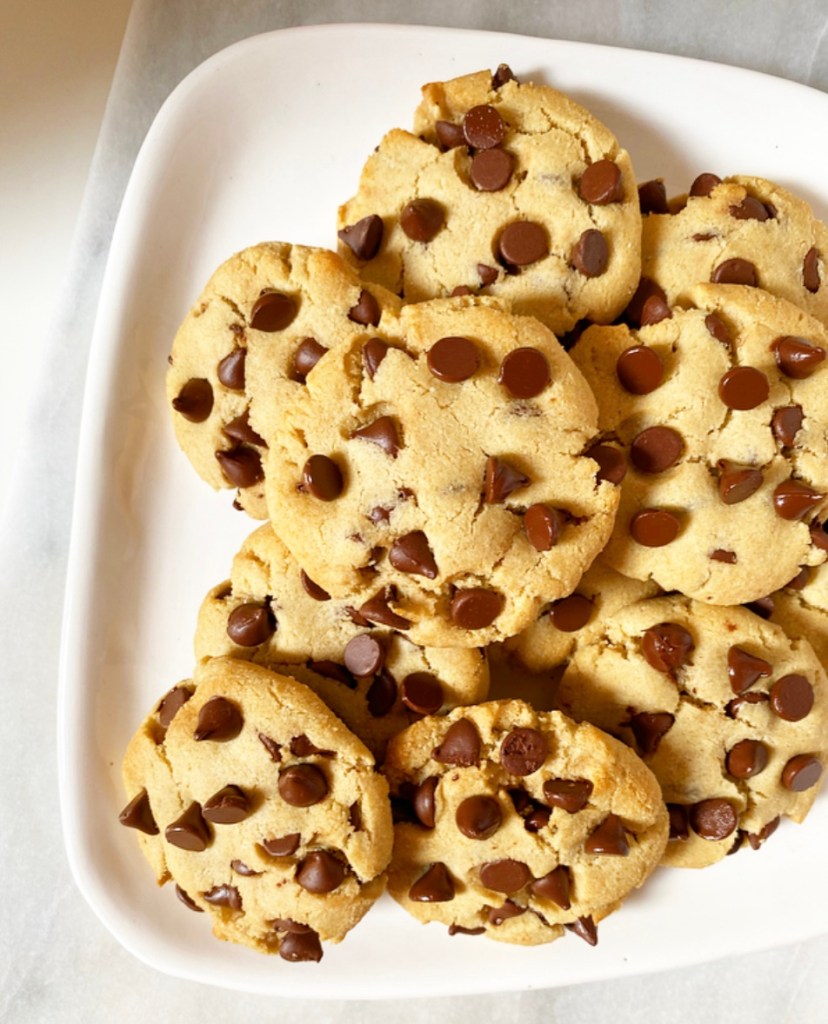
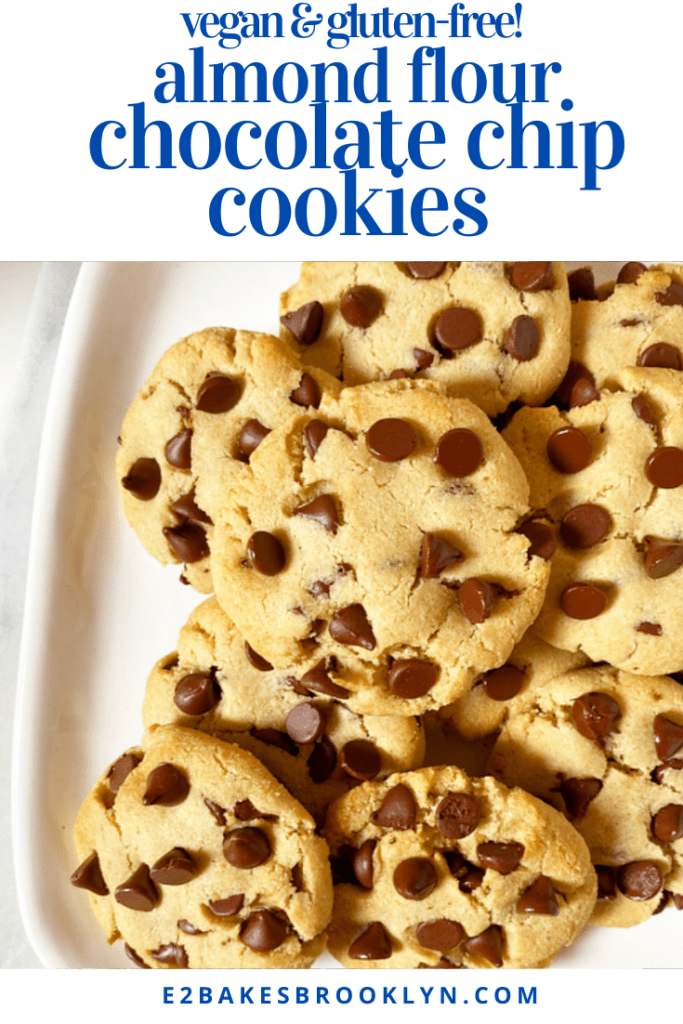
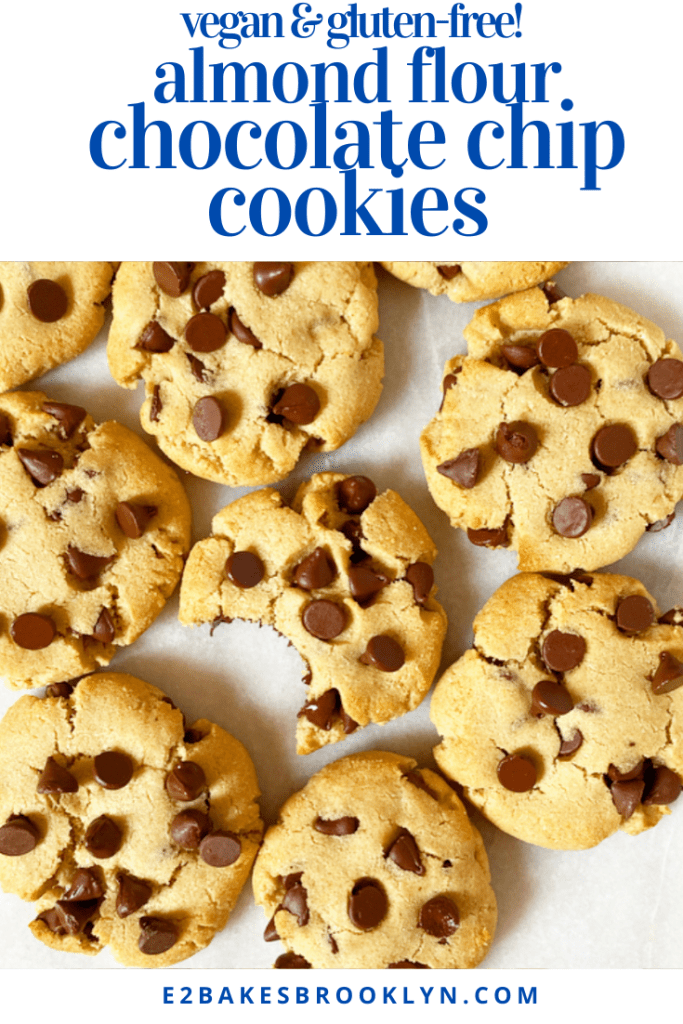
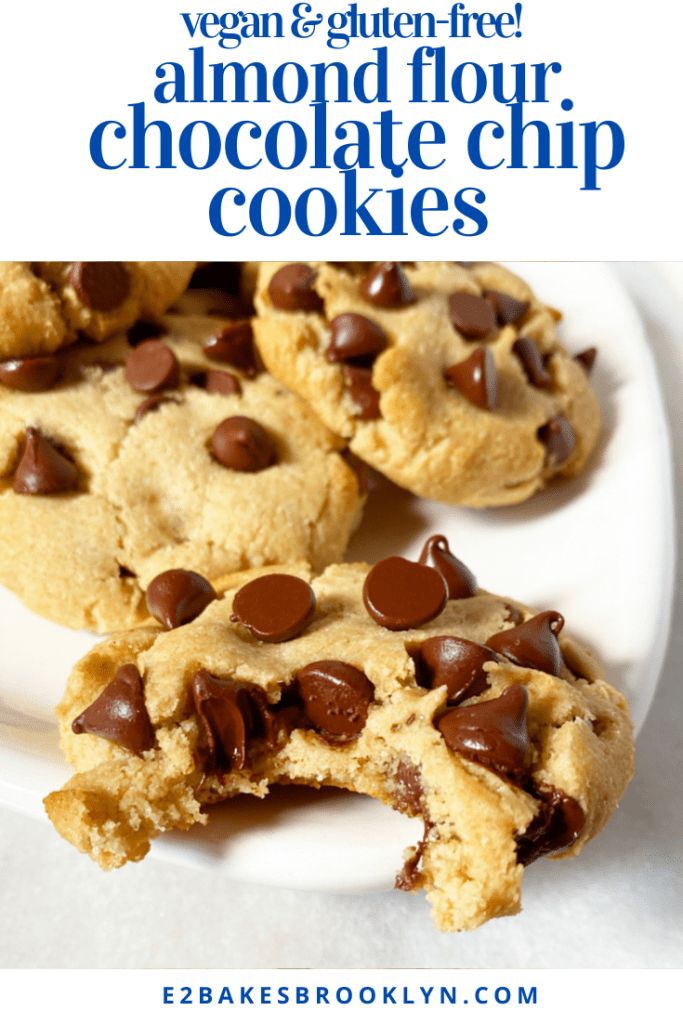
Today’s recipe, made with an almond flour base, is for the soft & chewy, gluten-free, vegan chocolate chip cookie people. And also, everyone (except the people with nut allergies; sorry y’all).
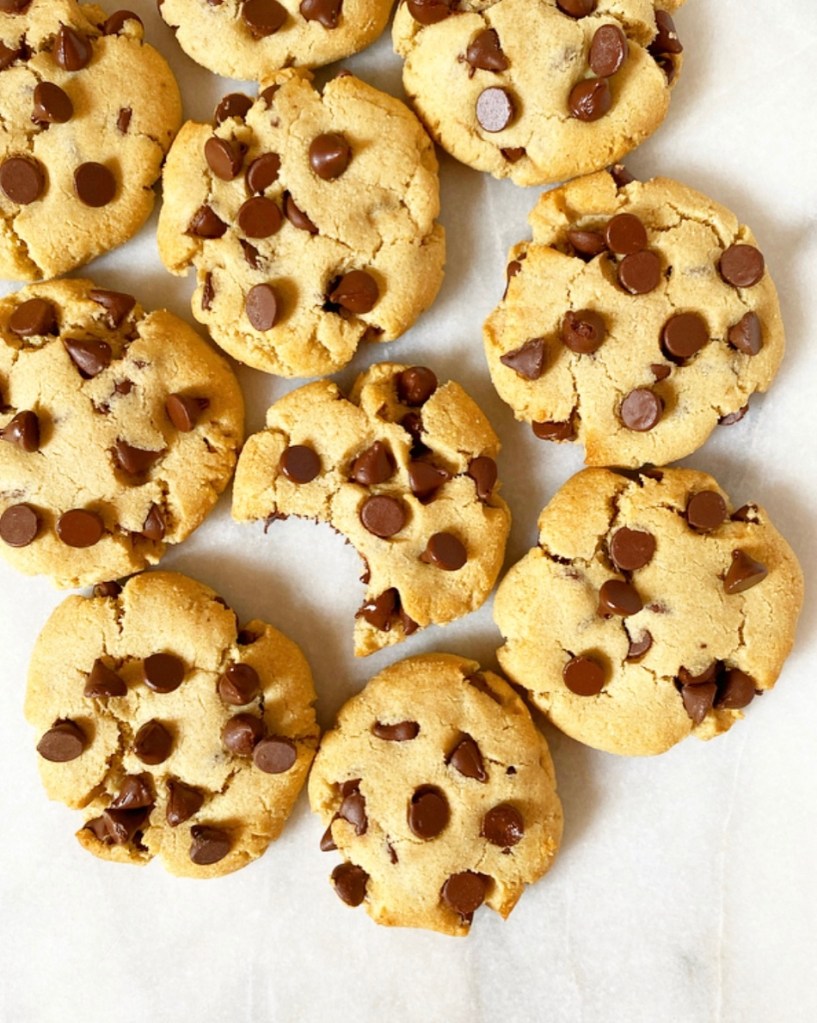
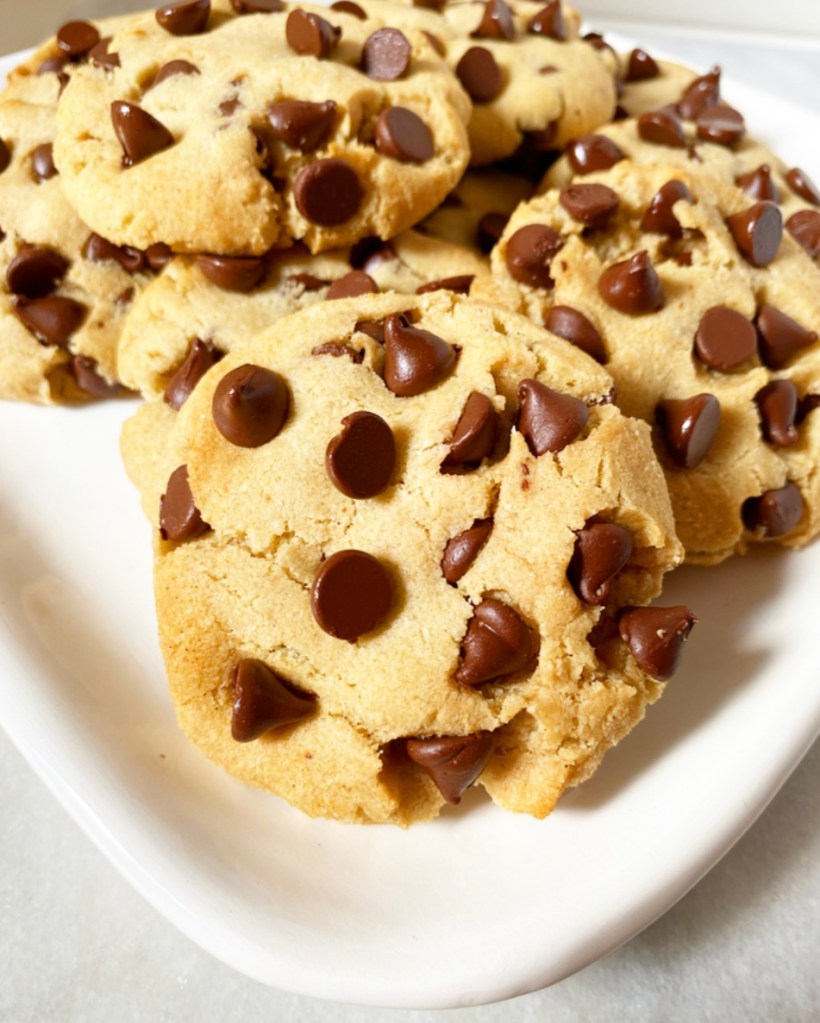
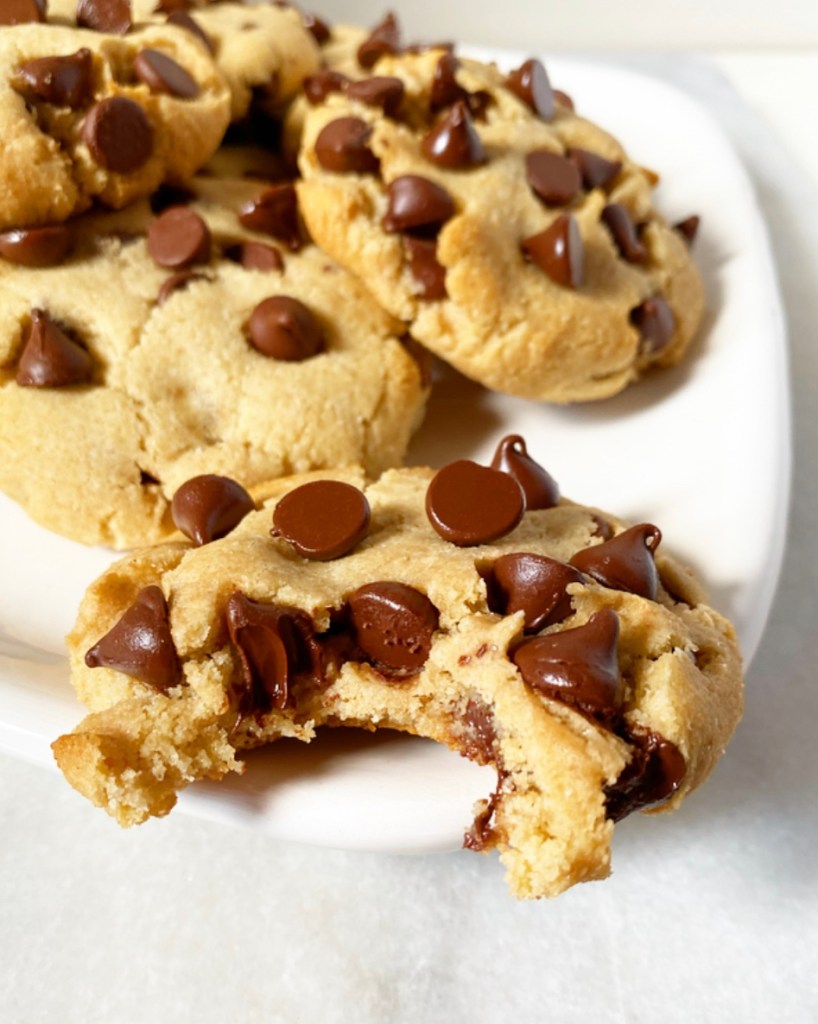
These chocolate chip cookies are so delicious, and not in a “delicious for being vegan and gluten-free” sort of way. They’re great, period. They’re pillow-soft, thick & chewy, have a perfect vanilla-brown sugar balance, and are loaded with chocolate chips. In short, they’re magnificent. A triumph, even.
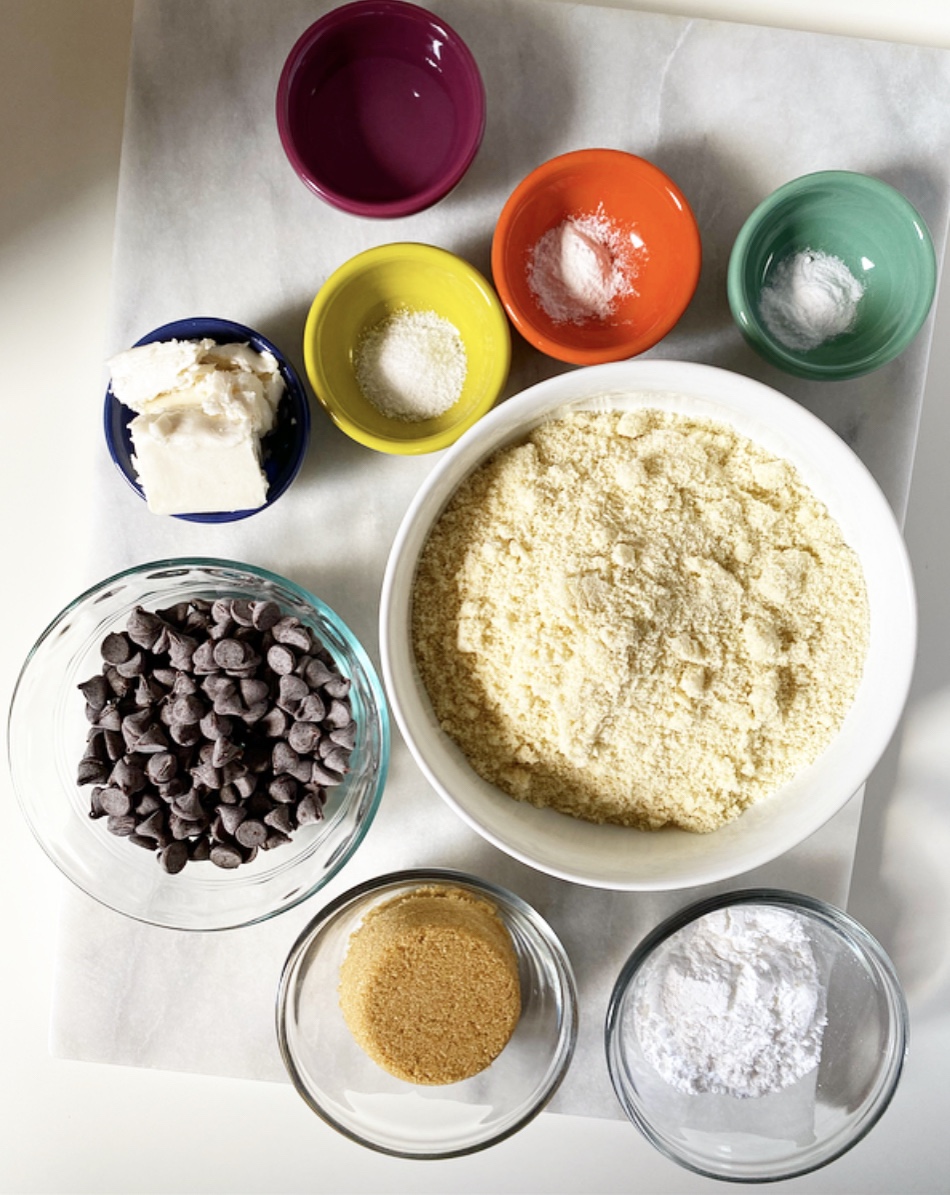
But that’s just the final product—we haven’t even discussed ease of preparation! And I do mean “ease.” Almond Flour Chocolate Chip Cookies are a no-mixer, no-chill recipe, and with the possible exception of almond flour, you likely have all of the ingredients in your kitchen right now!
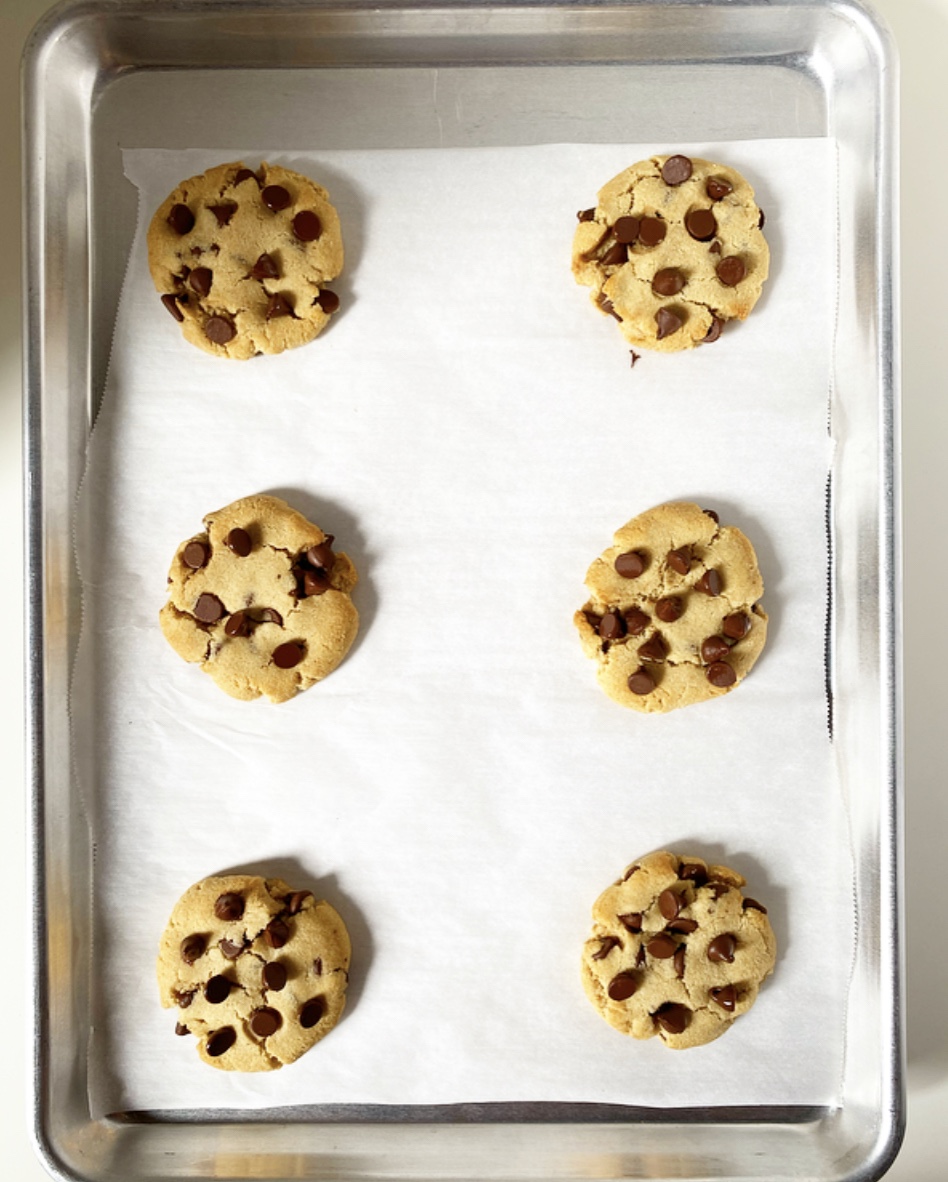
The dough comes together in just a few minutes, then gets separated into two-tablespoon increments and flattened into disks before baking. Because this dough doesn’t contain gluten or a particularly high volume of sugar, it doesn’t really spread like a traditional chocolate chip cookie, though it does puff in the most satisfying way.
Almond Flour Chocolate Chip Cookies bake up in ten minutes, and then it’s just a matter of what you consider too-hot-to-handle when it comes to dessert. I’m a “room temperature, but the chips are still soft” lady myself, but just as there is a chocolate chip cookie recipe for everyone, I’m sure there’s an ideal temperature, too.
Almond Flour Chocolate Chip Cookies {Vegan & Gluten-Free} makes about 1 dozen cookies
2 cups blanched almond flour 1/2 cup light or dark brown sugar, packed 1/4 cup confectioner’s sugar 3/4 teaspoon baking powder 1/2 teaspoon baking soda 1/4 teaspoon Kosher or sea salt 4 tablespoons vegan butter,* melted & cooled slightly 1 tablespoon lukewarm water 1 1/2 teaspoons pure vanilla extract 2/3 cup dairy-free chocolate chips
Set oven racks in central positions. Preheat oven to 350F. Line two rimmed baking sheets with parchment. Set aside.
In a medium mixing bowl, whisk together almond flour, brown sugar, confectioner’s sugar, baking powder, baking soda, and salt. Set aside.
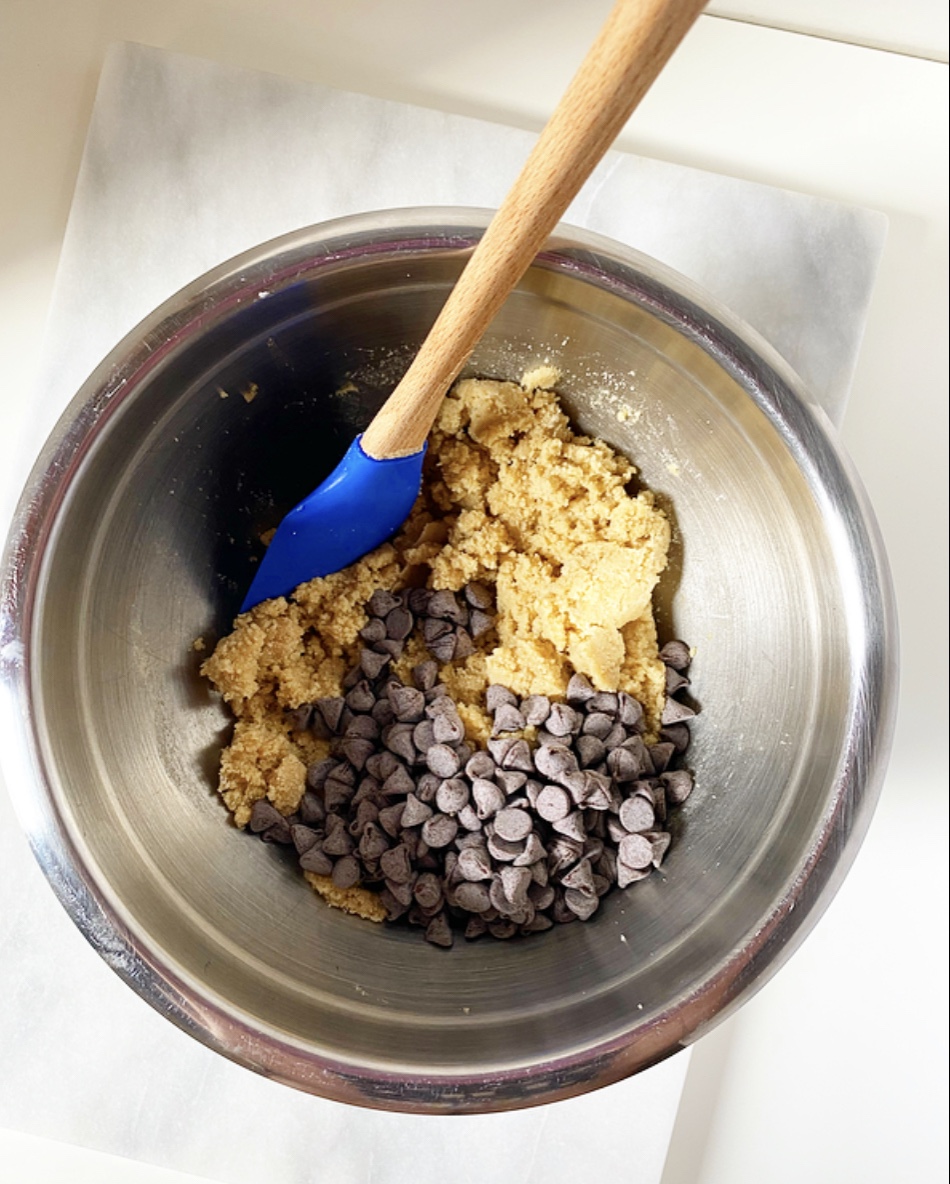
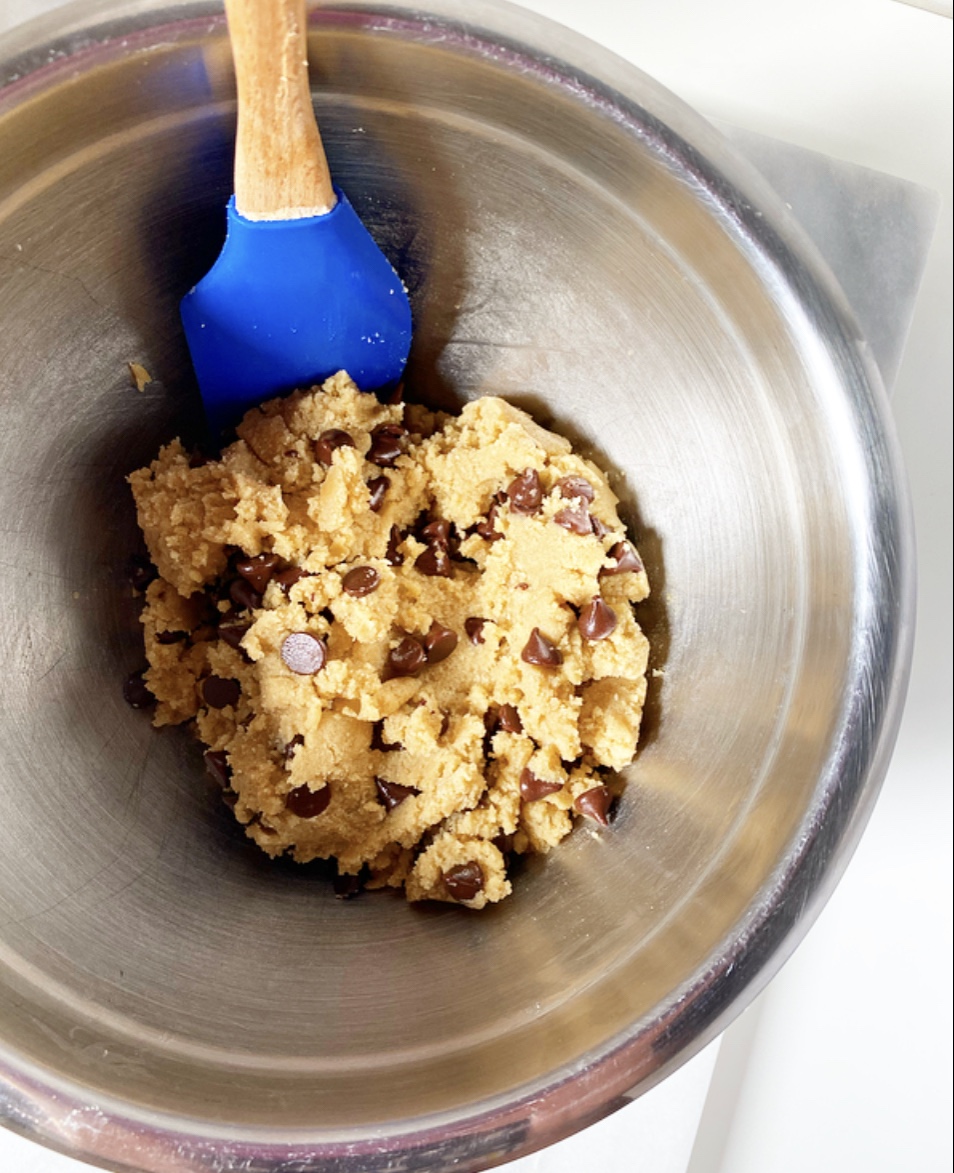
In a small bowl, whisk together melted vegan butter, water and vanilla. Add wet ingredients to dry, then use a silicone spatula or wooden spoon to combine. Mixture may be crumbly but should hold together when pinched. Fold in chocolate chips with the silicone spatula or your hand.
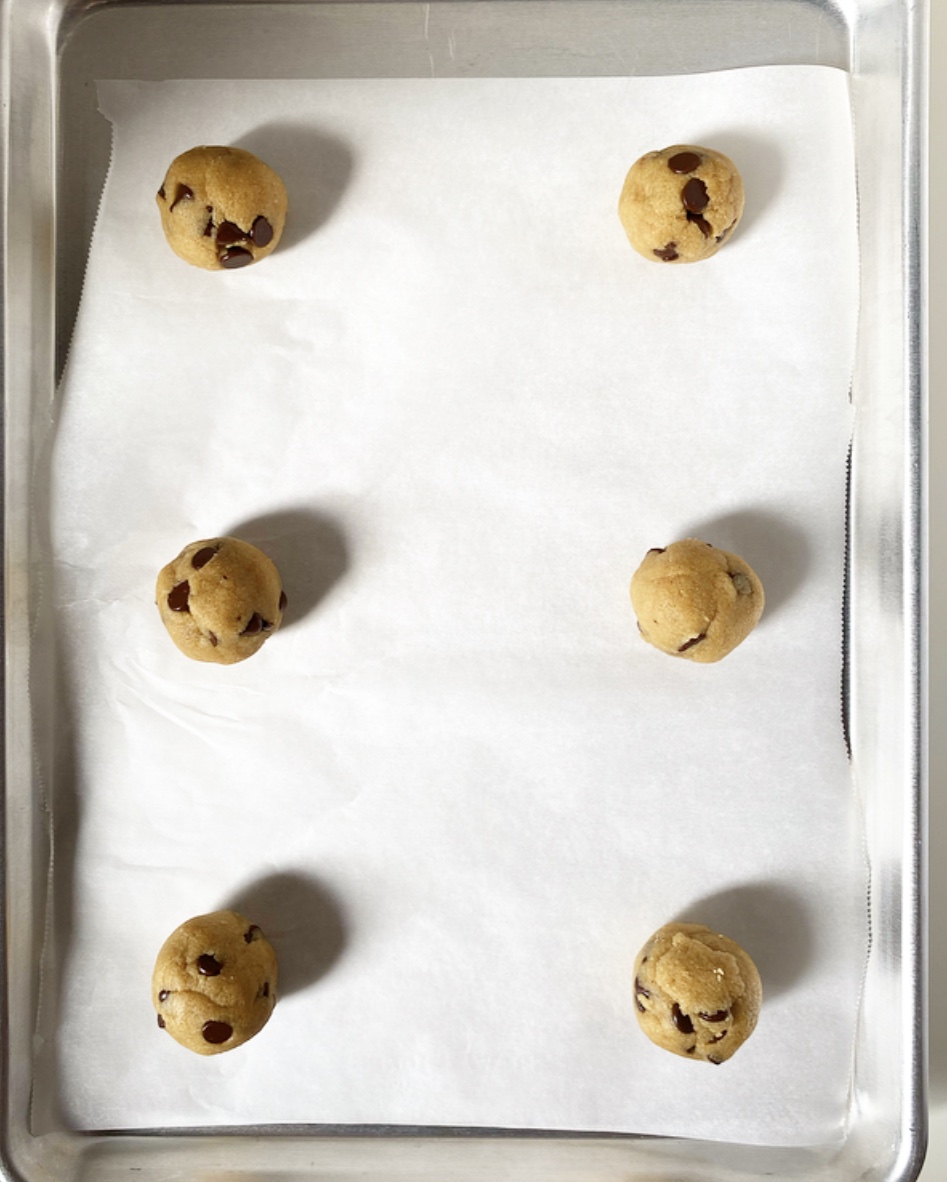
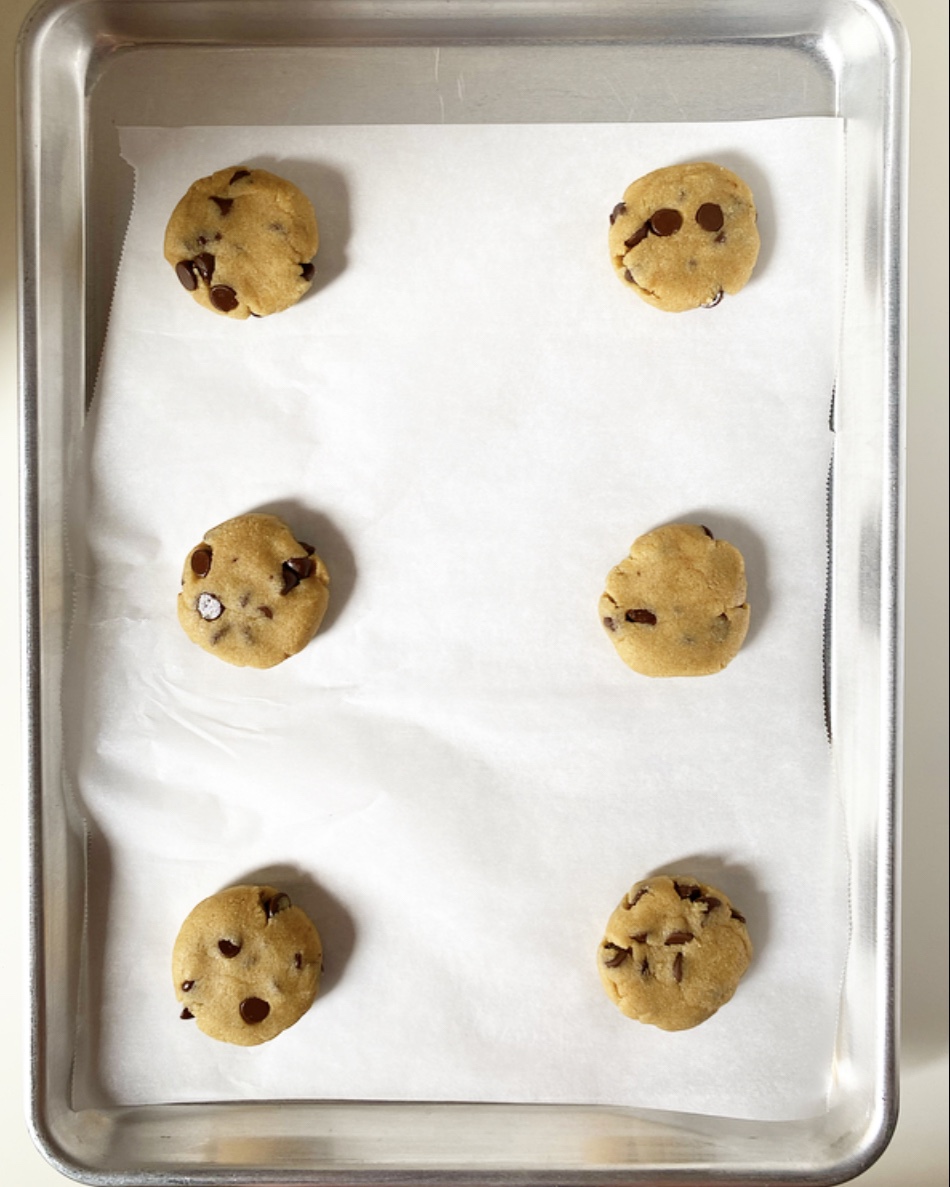
Scoop dough in 2 tablespoons increments, roll into balls, and set 2 1/2-inches apart on prepared pans. Use the heel of your hand to press each ball into a 1/2-inch thick disk. Smooth edges with your fingers as desired.
Bake cookies 10 minutes, until puffed and starting to turn light golden. Let cool on pans for 7-10 minutes before removing to a rack to cool completely.
Serve cookies. Leftovers will keep covered at room temperature for a few days.
Note:
I use Miyoko’s Cultured Vegan Butter (and occasionally Earth Balance) in vegan baked goods. You may use an equal volume of refined coconut oil in its place, or even regular dairy butter (though your cookies will not be vegan).
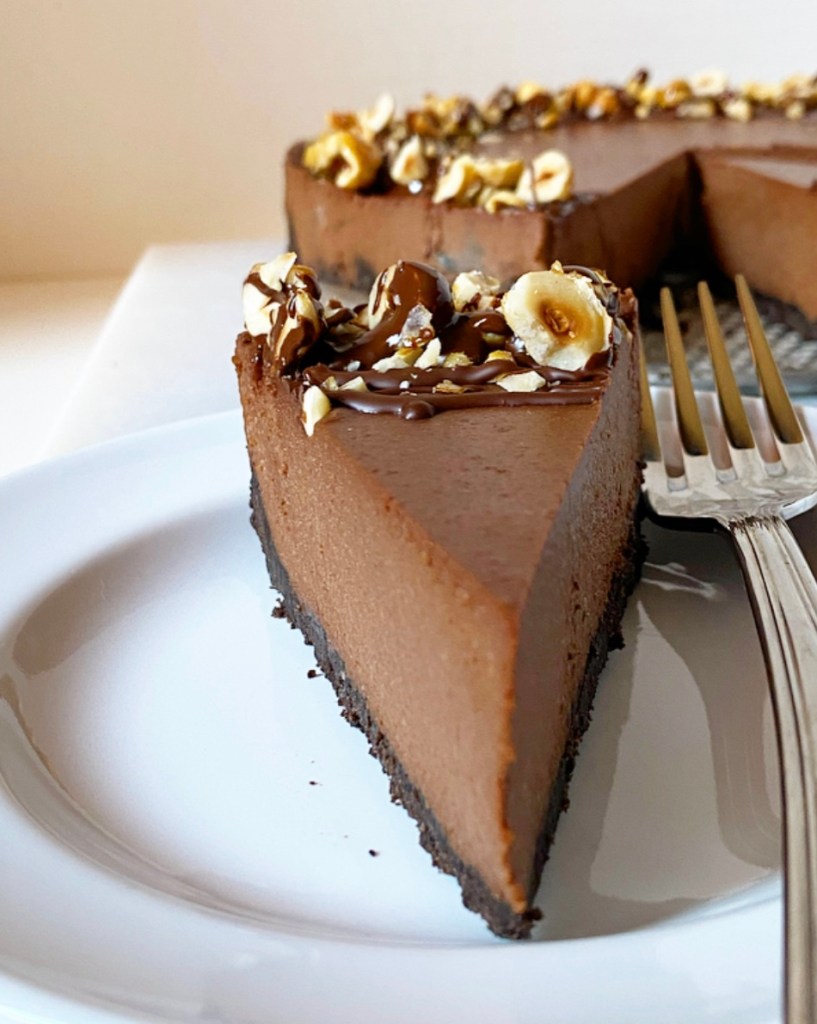
It is far too hot to bake today, but that’s okay because Vegan Chocolate Hazelnut Cheesecake requires no baking at all.
We’re talking all the rich, creamy, irresistible texture of a classic cheesecake with none of the dairy and exactly zero reasons to crank your oven. Oh, and more deep dark chocolate-hazelnut flavor than you can shake a stick at. (What does that even mean?)
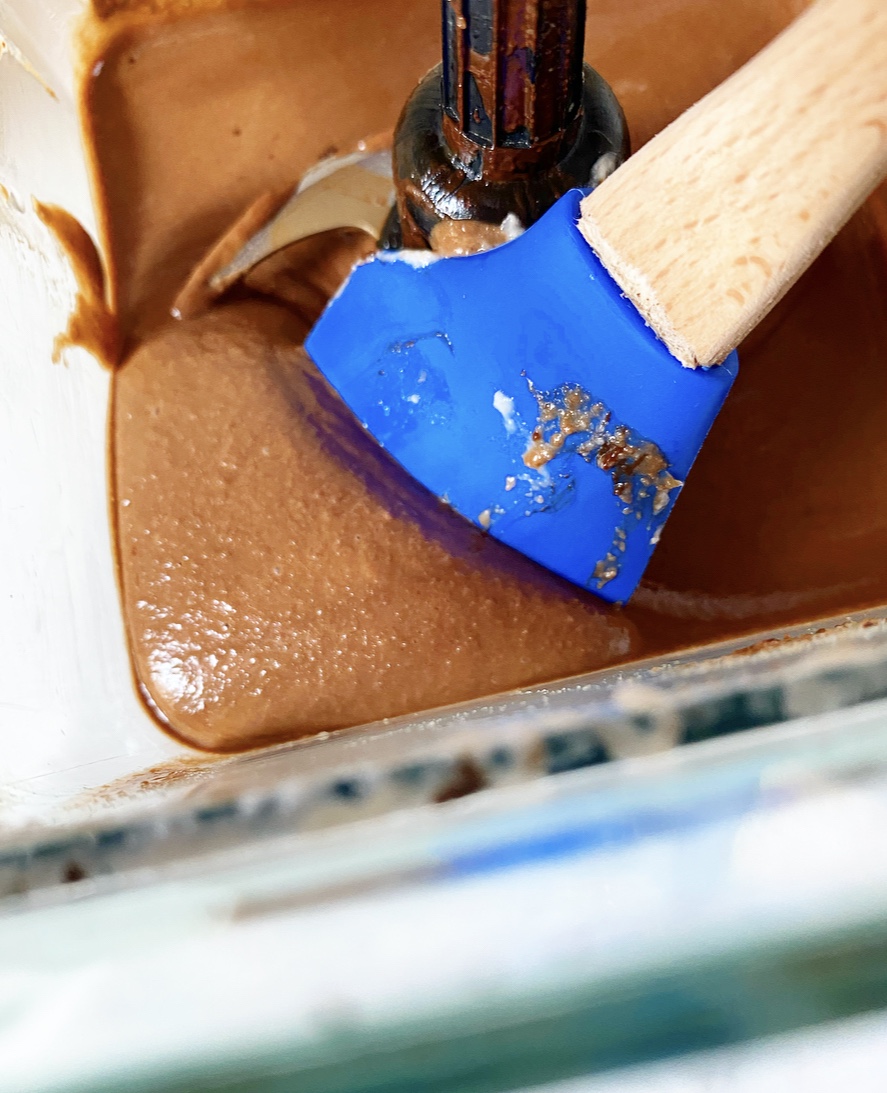
This take on vegan cheesecake is made with toasted hazelnuts for flavor and raw cashews for creamy texture. They’re soaked together overnight for maximum tenderness, then combined in a blender with coconut cream, coconut oil, maple syrup, vanilla extract, salt, and—oh yeah—half a pound of melted dark chocolate. Put on the lid and then blitz-blitz-blitz until smooth.
This is the part where I get on my soapbox:
Please get yourself a good blender. You deserve a good blender. Good doesn’t necessarily mean expensive—it means a blender that actually blends things until smooth. Whether that’s a fifty year-old Oster (my parents’ amazing blender) or a Vitamix, a solid blender is crucial to vegan cheesecake success, and a million other things. I have a Ninja that I bought for $100 five years ago and it rules. Get a good blender!!!
*steps off soapbox*
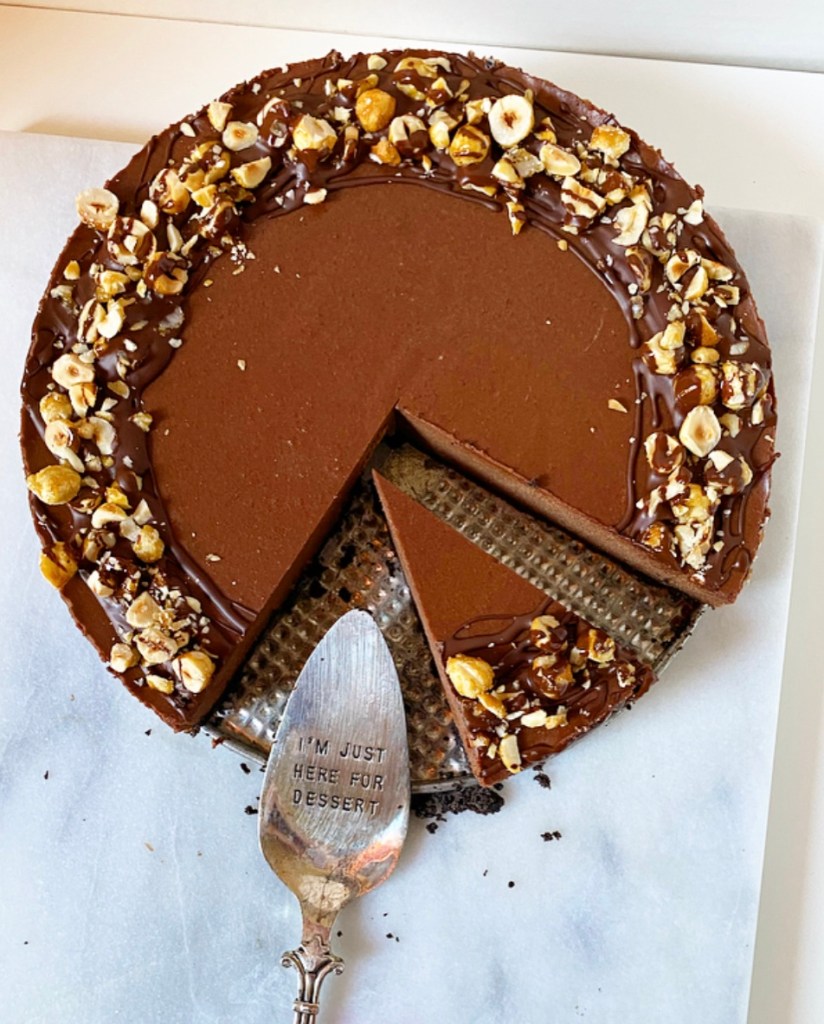
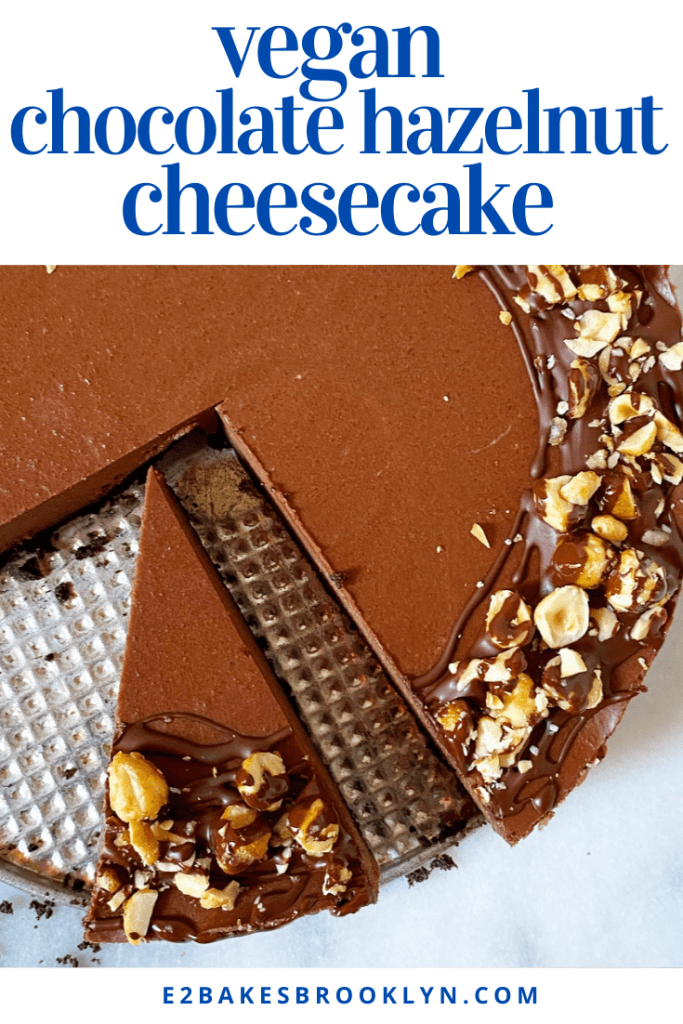
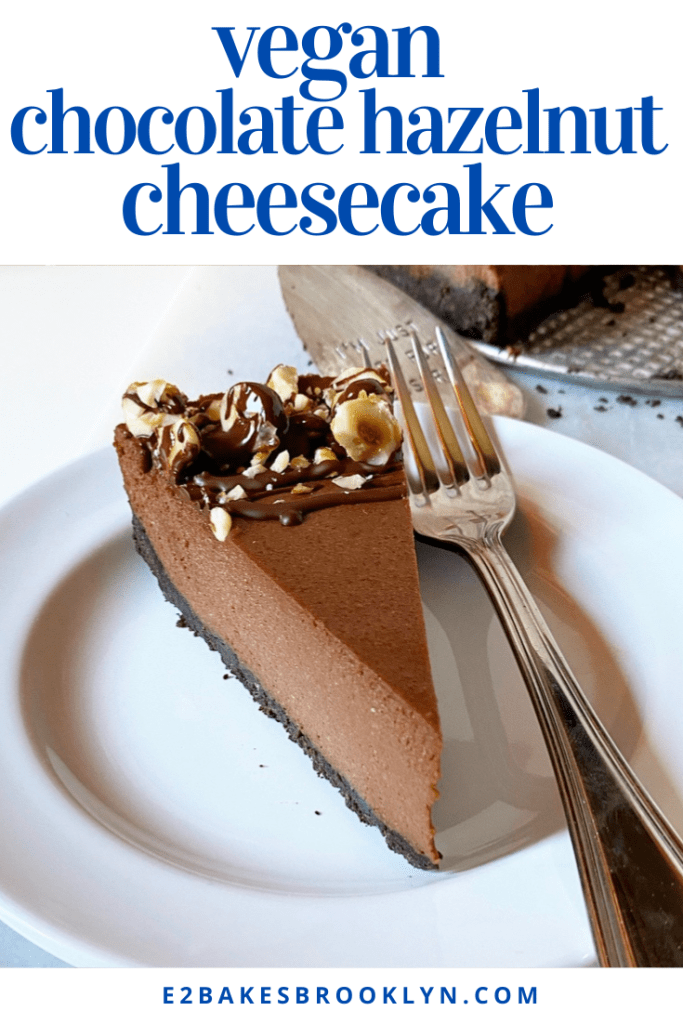
Ahem…the batter is then poured over an Oreo crust—yes, Oreos are vegan!—and chilled until firm. Then it’s released from the springform and finished off with some Homemade Chocolate Shell and easy candied hazelnuts before being sliced and served. You can use a plate and fork if you’re fancy (or taking pictures) or just eat ice cold slices with your fingers like a wild animal, as I did.
I’m pretty sure that’s what hot girl summer is all about.
Vegan Chocolate Hazelnut Cheesecake makes one 9-inch cheesecake
Filling: 1 cup whole raw hazelnuts 1 cup whole raw cashews 1 14-ounce can coconut cream (not cream of coconut) 4 tablespoons maple syrup 1 1/2 teaspoons pure vanilla extract 1/4 teaspoon Kosher or sea salt 6 tablespoons coconut oil (preferably refined), melted and cooled 8 ounces dark chocolate, melted
Crust: 24 Oreos (or other chocolate sandwich cookies) 5 tablespoons coconut oil or melted vegan butter
Candied Hazelnut Garnish: 1/3 cup whole raw hazelnuts 3 teaspoons granulated sugar Homemade Chocolate Shell
The night before you want to make the cheesecake, toast and peel the hazelnuts. Place hazelnuts in a dry skillet over medium heat. Stir frequently until fragrant, 7-10 minutes. Immediately transfer hazelnuts to a clean, dry hand towel. Fold towel around the hazelnuts and then rub the towel with the palm of your hand. This will allow the hazelnut skins to loosen. This step does not have to be done perfectly.
Place peeled hazelnuts in a 3-4 cup container that has a lid. Add cashews. Cover with water. Refrigerate for 4-12 hours.
Lightly grease a 9-inch springform pan with coconut oil.
Make the crust. Place Oreos in a high-powered blender and blitz until they are crumbs. Add coconut oil or melted vegan butter, and pulse until the mixture can be pinched together. Transfer crust mixture to prepared pan, and press it to the edges to form an even layer. Refrigerate for 15 minutes to set.
Very carefully wipe it out the blender with a paper towel.
Make the filling. Drain soaked hazelnuts and cashews and place them in the blender. Add half of the coconut cream (~2/3 cup), maple syrup, vanilla, and salt. Process until the mixture is smooth. Add remaining coconut cream & coconut oil, followed by melted chocolate. Continue processing until everything is fully combined and smooth.
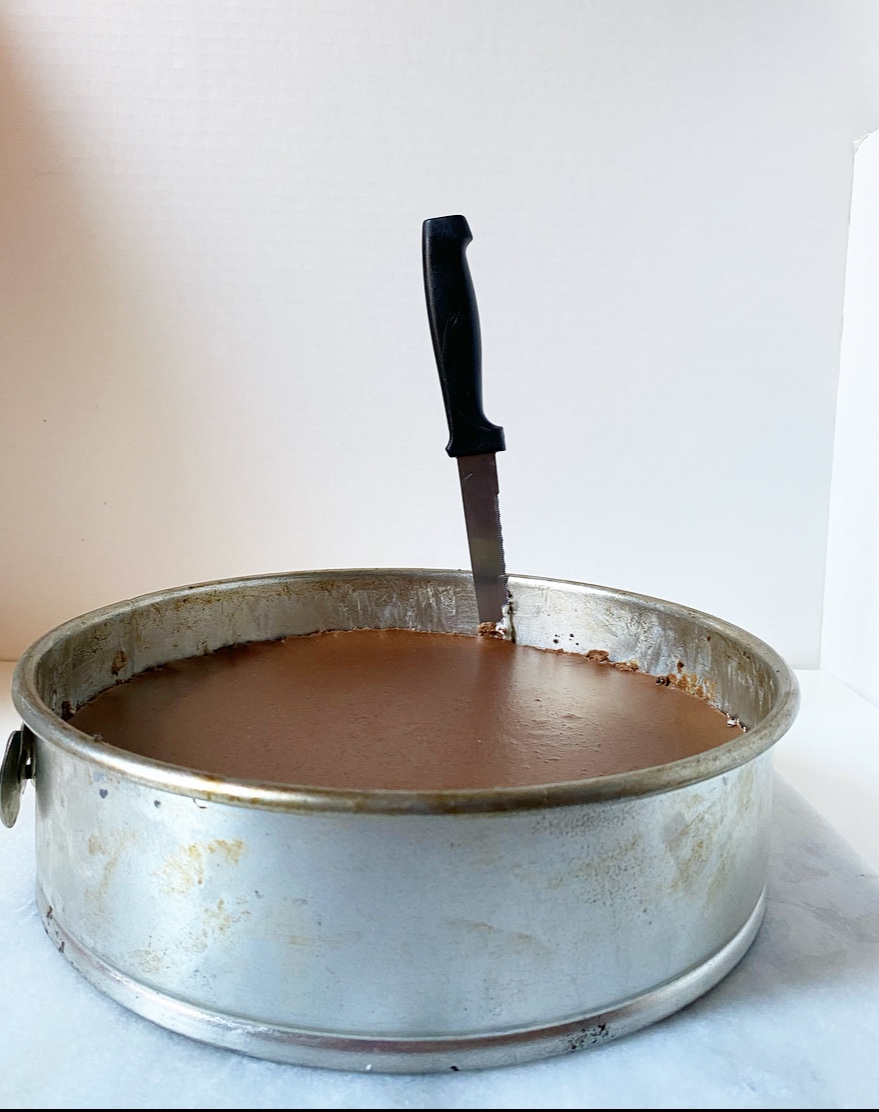
Pour filling mixture over crust and smooth with an offset spatula. Refrigerate for at least 3 hours (or freeze for 1 hour).
Make the candied hazelnut garnish. Line a plate with parchment and set aside. Place hazelnuts in a dry skillet over medium-low heat. Toast for 2-3 minutes, stirring frequently, until fragrant and shiny. Add sugar by the teaspoon, stirring until it dissolves (it may smoke up a bit). When all sugar has dissolved, remove hazelnuts to prepared plate. Let cool completely. Place on a cutting board and give them a rough chop with a large, sharp chef’s knife.
Run a thin, flexible knife around the edge of the pan. Release the cheesecake from the springform pan, and allow it to sit at room temperature for 10 minutes. Drizzle with chocolate shell, then immediately scatter on the candied hazelnuts. Slice with a large, sharp chef’s knife, wiping the blade clean between cuts. Serve.
Leftovers will keep covered in the refrigerator for a few days. Filling may slump slightly in very hot weather.
This is my fifth single-serving cookie recipe. Or fifth and sixth, if you want to get technical.
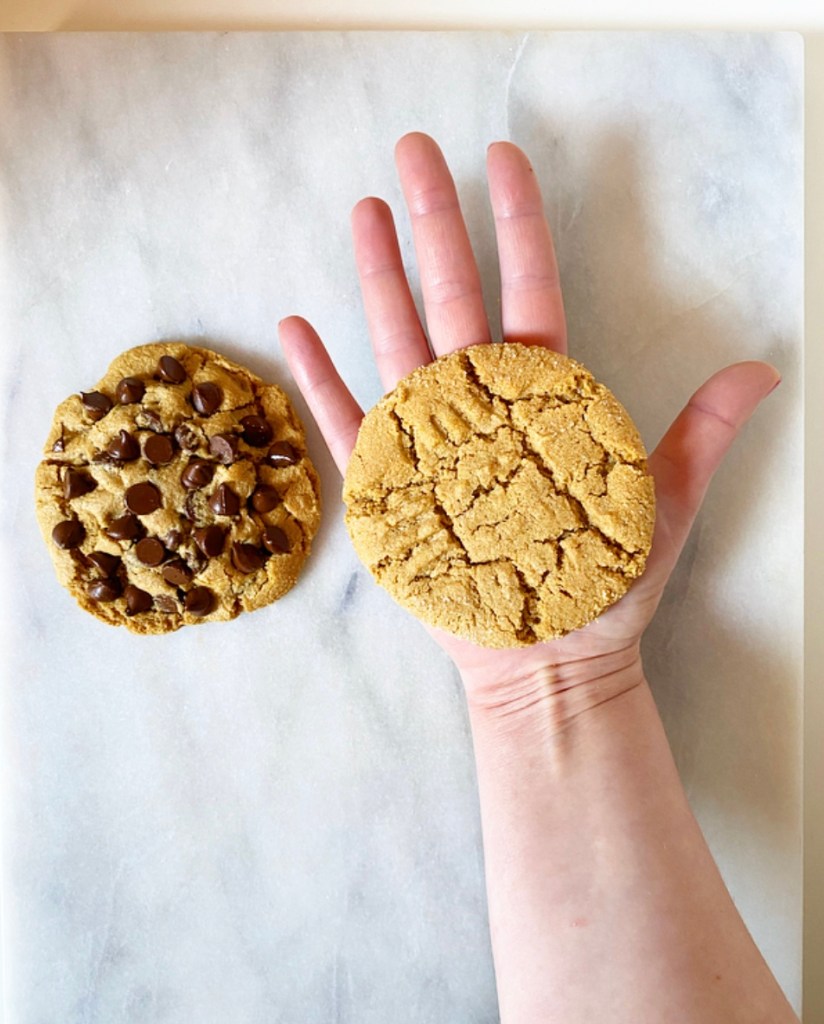
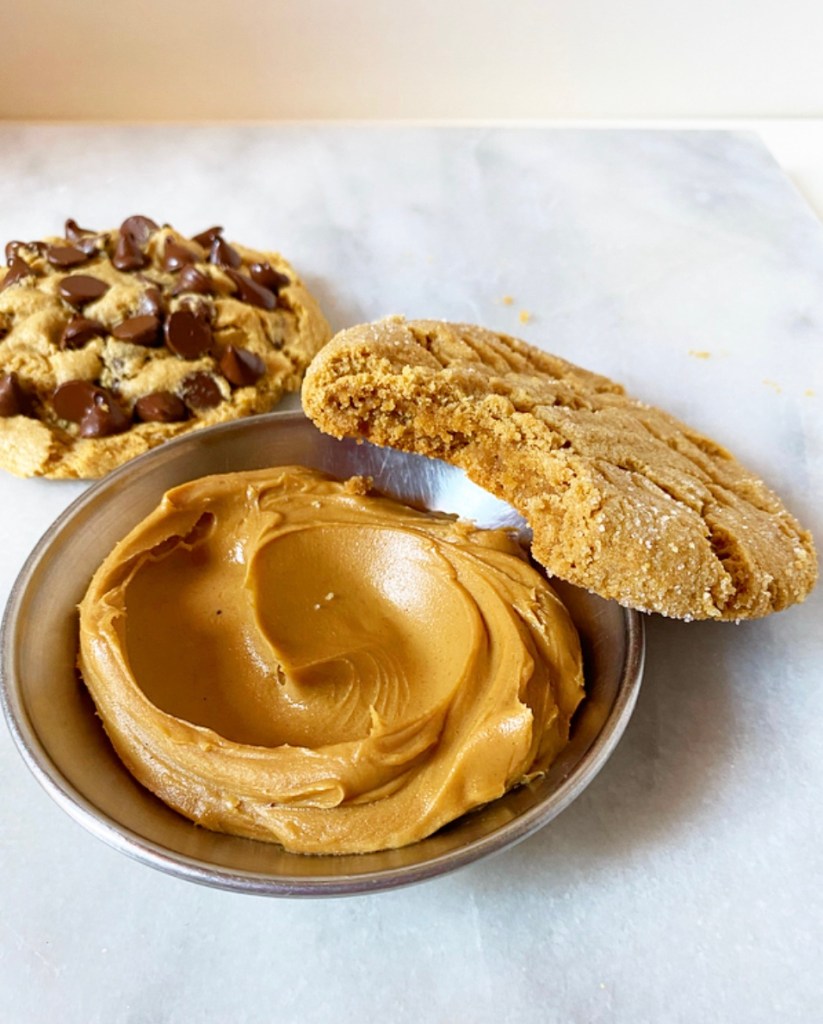
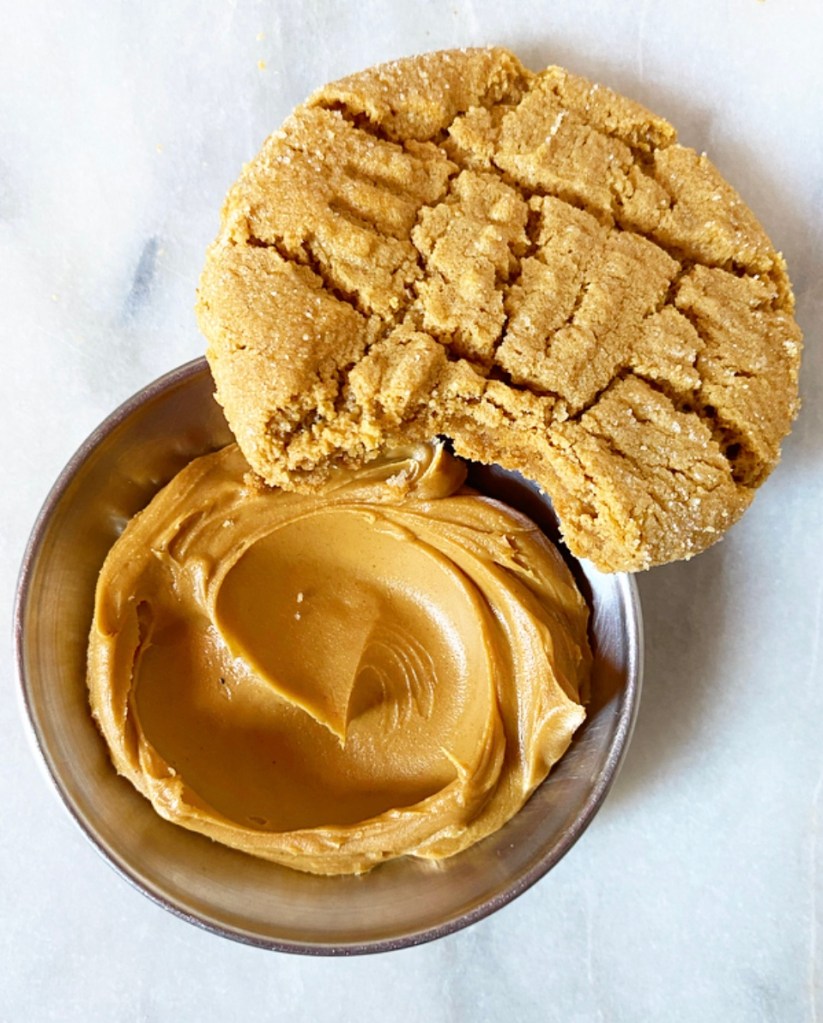
You see, when I set out to make One Big Peanut Butter Cookie, I had just planned to make it one way: the classic cross-hatched way. But then I realized that at least a few of you would ask “can I put chocolate chips in it?” so I got real wild and made a second version, and then I put them together in this one lone post. You’re welcome, super-small-batch cookie bakers of the internet.
This is yet another twist on the classic three ingredient peanut butter cookie recipe that has been around since long before it ever occurred to me that baking might scratch all my creative itches. You’d think a three ingredient recipe (1 cup peanut butter, 1 cup sugar, 1 large egg) would be pretty difficult to manipulate more than once or twice, but I’ve managed it many times. This is my fifth (?) vegan variation, and as none contains any flour, they’re all gluten-free too.
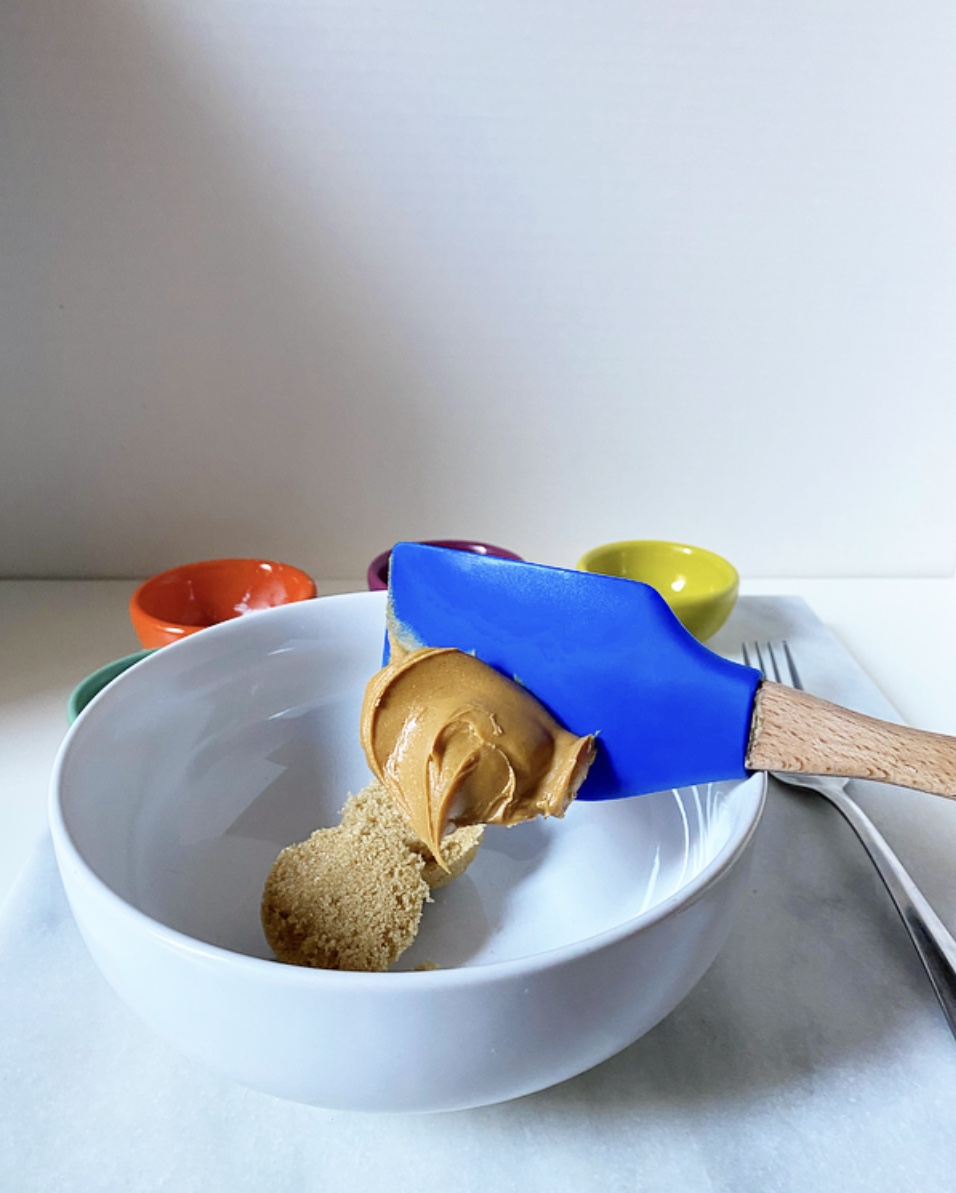
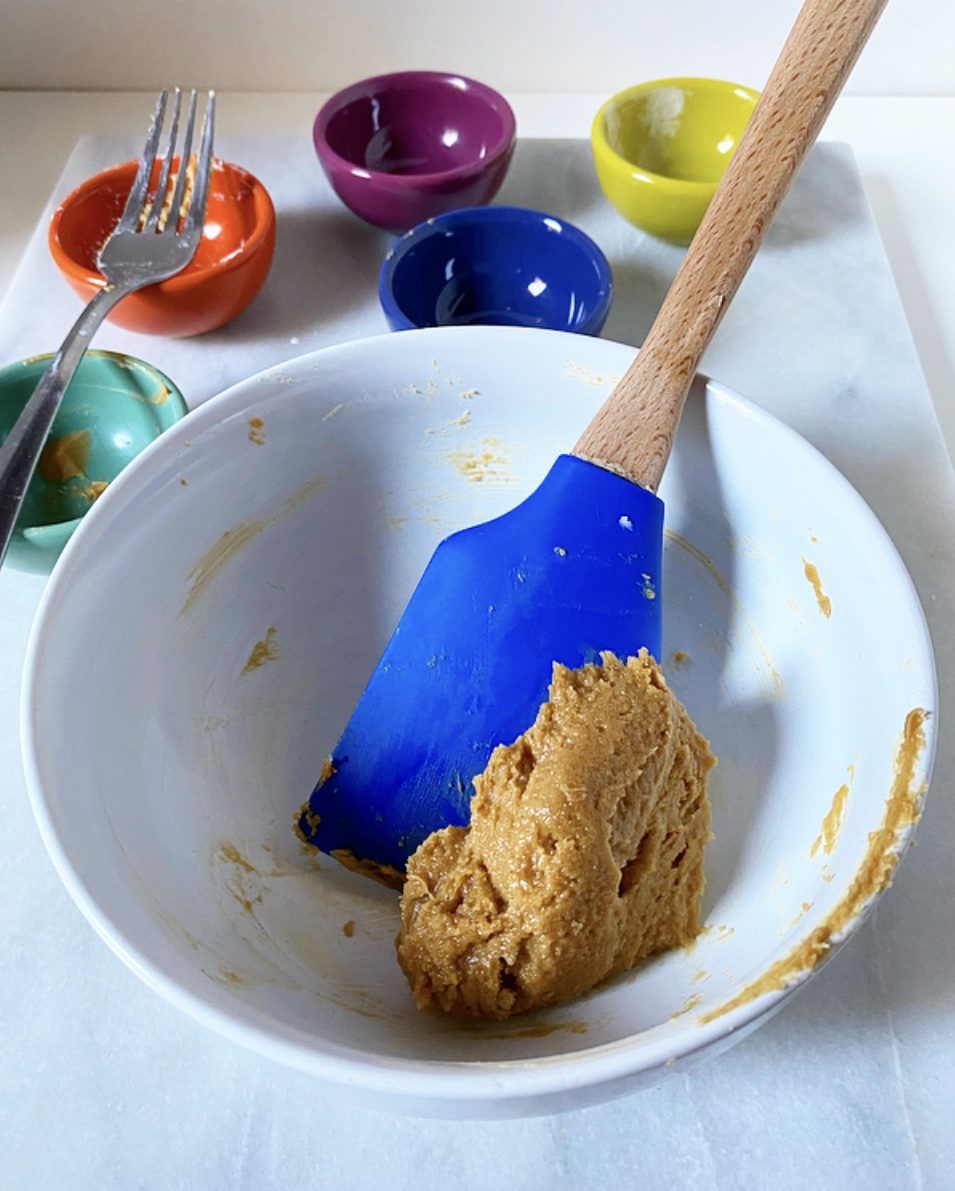
The method here is simple. Use a fork to whisk together two tablespoons each of peanut butter and packed brown sugar. Add some cornstarch and water to bind, some salt for balance, and a teensy bit of baking soda for lift. Though baking soda cannot be replaced in most recipes, here you can swap baking powder in as the leavener with the only major difference being that your cookie will be a touch lighter in color.
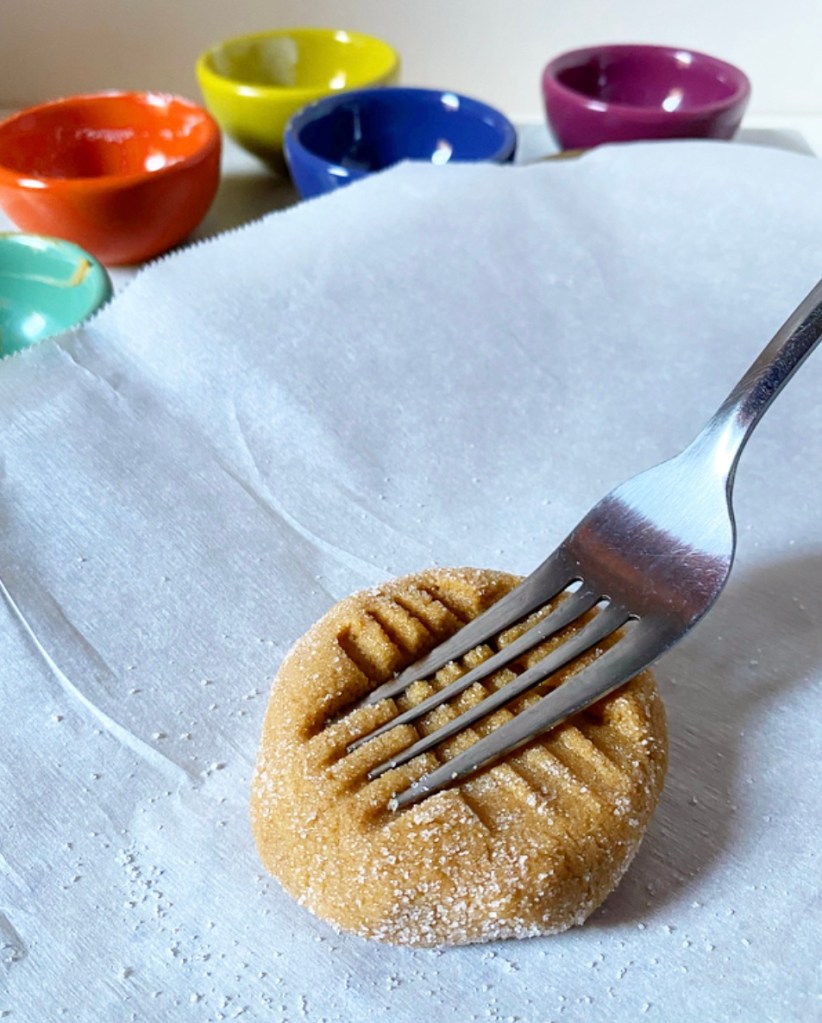
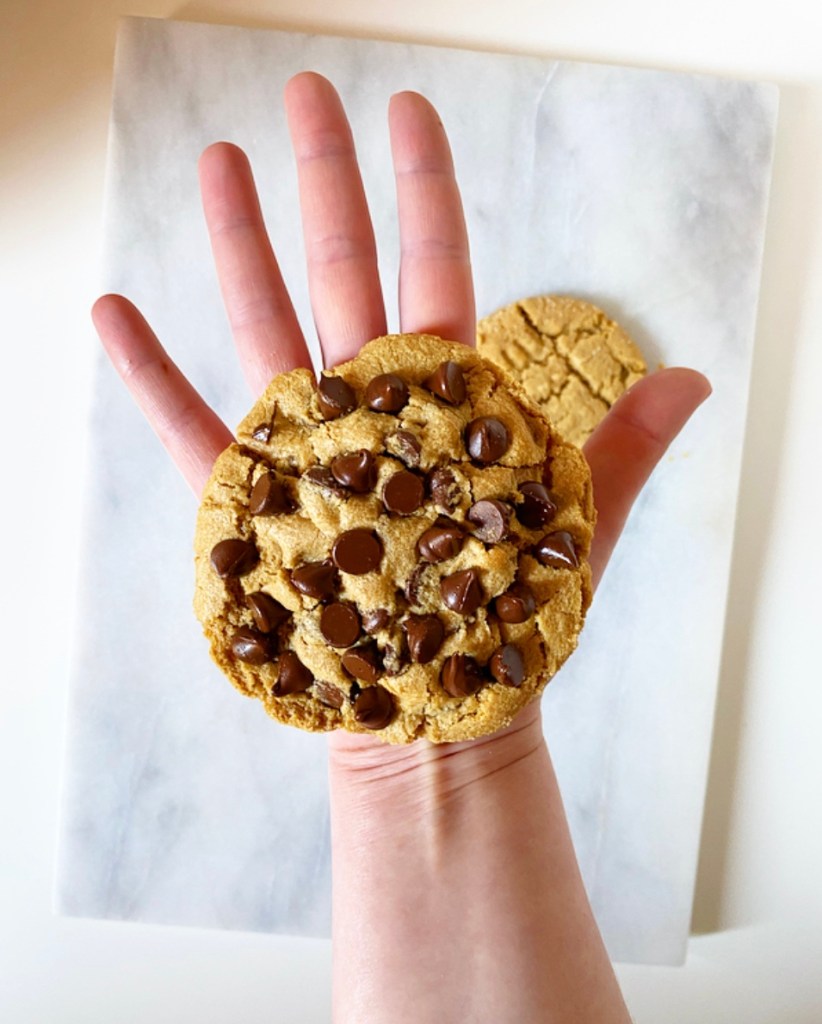
This is where things get exciting (as far as cookie baking goes). You can either roll this dough into a ball, coat it in granulated sugar and crosshatch it with a fork, or you can mix in chocolate chips and flatten it slightly with the heel of your hand. You could even nix the sugar coating or use M&Ms as your mix-in! Do whatever makes your little dessert-for-one heart sing. However you choose to proceed, your cookie will need to bake for about 12 minutes in a 350F oven.
Once it’s cool enough to handle, your minimal effort will be rewarded with one of *the* peanut butteriest peanut butter cookies you’ve ever had. Sweet, salty, rich & thick, studded with chocolate or not, this is one hell of a dessert for one. Or…two…hells?
Who’s writing this thing?
Have a great weekend, y’all. Make yourself a cookie (or two).
One Big Peanut Butter Cookie, Two Ways
makes 1 large cookie, about 1-2 servings

2 tablespoons creamy peanut butter (not natural-style)
2 tablespoons light or dark brown sugar, packed
1/8 teaspoon baking soda*
pinch of salt
1 teaspoon cornstarch
1 teaspoon water

If making a classic peanut butter cookie:
2 tablespoons granulated sugar, for rolling (optional)

If making a peanut butter chocolate chip cookie:
2 tablespoons semisweet chocolate chips + more for topping (use dairy-free for a vegan cookie)

Preheat oven to 350F. Line a baking sheet with parchment. Set aside.

In a small bowl, use a fork to whisk together peanut butter and brown sugar. Add baking soda, salt, cornstarch and water, and whisk to combine. Use a silicone spatula or wooden spoon to make sure your dough is fully combined.

If making a classic peanut butter cookie, place granulated sugar in a shallow dish. Use your hands to form dough into a ball, then gently roll the ball in the sugar to coat. Place on the prepared pan.

If making a peanut butter chocolate chip cookie, use your silicone spatula or wooden spoon to fold in chocolate chips. Use your hands to form dough into a ball and place on prepared pan. Dot the top with more chocolate chips (for aesthetic purposes), if desired. Use the heel of your hand to press down gently on the dough, just so that the dough is a 1-inch thick puck.

For both cookie variations, bake for 12-13 minutes or until puffed and no longer raw-looking.

Let cookie cool on the pan for at least 10 minutes before using a spatula to remove it to a plate. Enjoy warm or at room temperature.

Note:

An equal volume of baking powder will work in place of baking soda. The cookie it produces will be a bit paler, but still delicious. I do not recommend swapping baking soda and baking powder in any other recipes.
My birthday is coming up this weekend, so this week is all about birthday cakes!
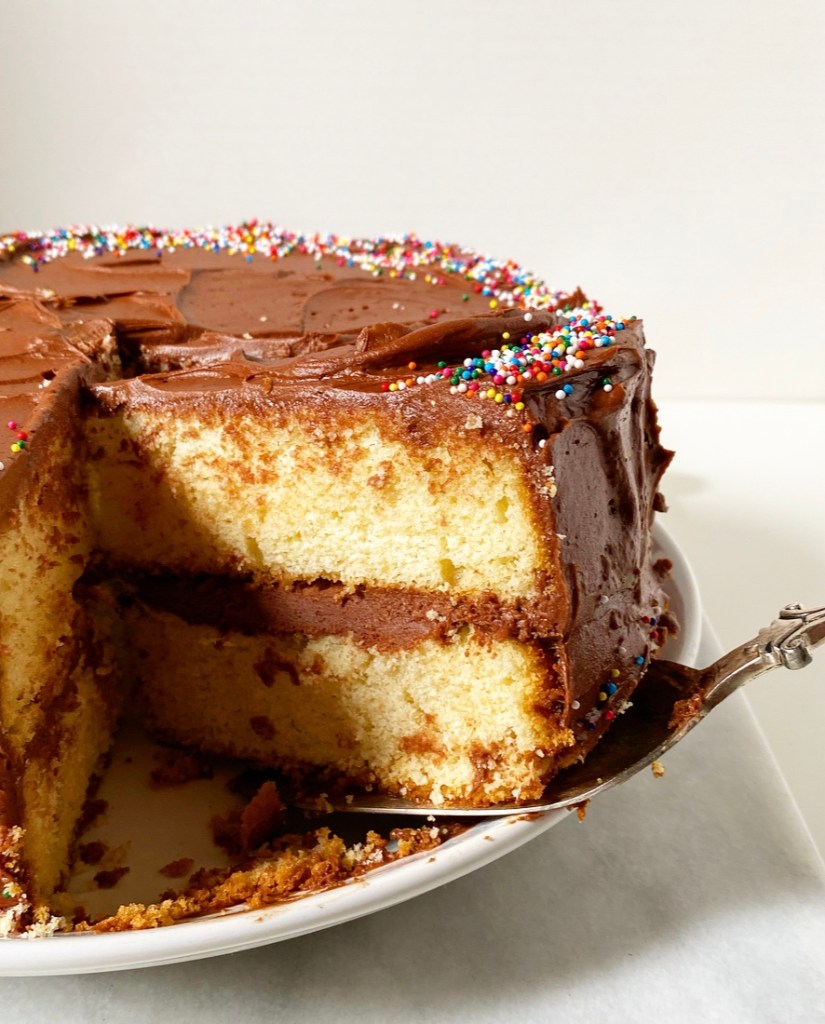
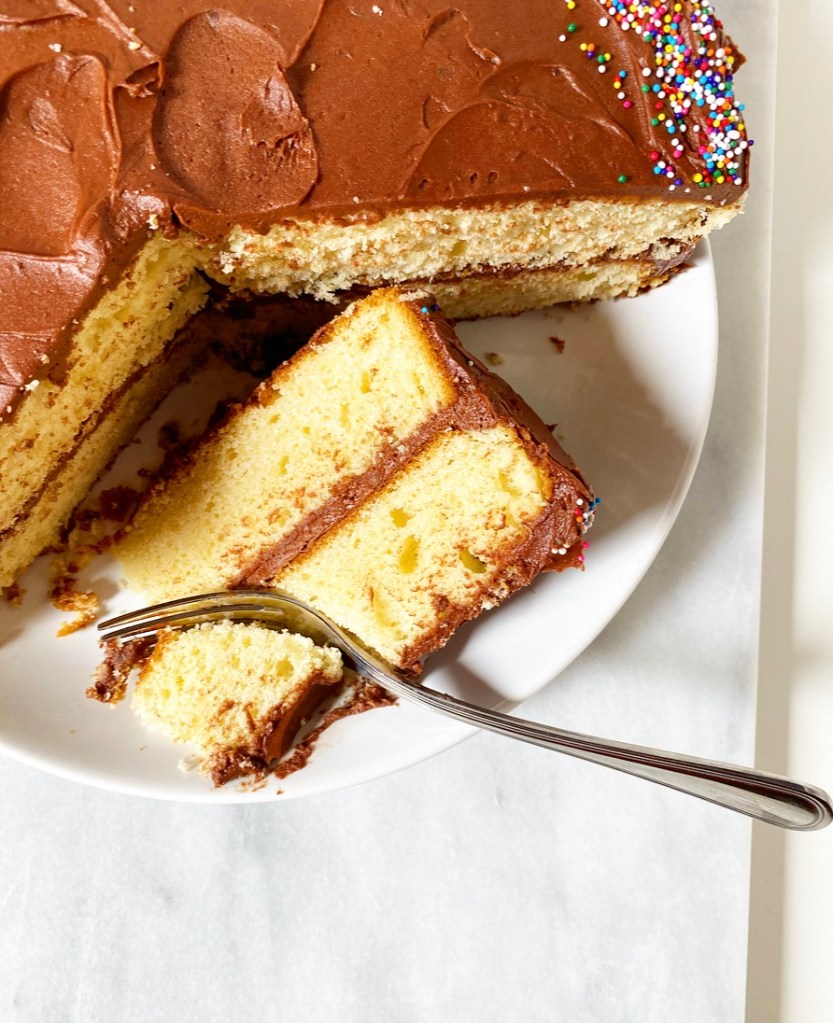
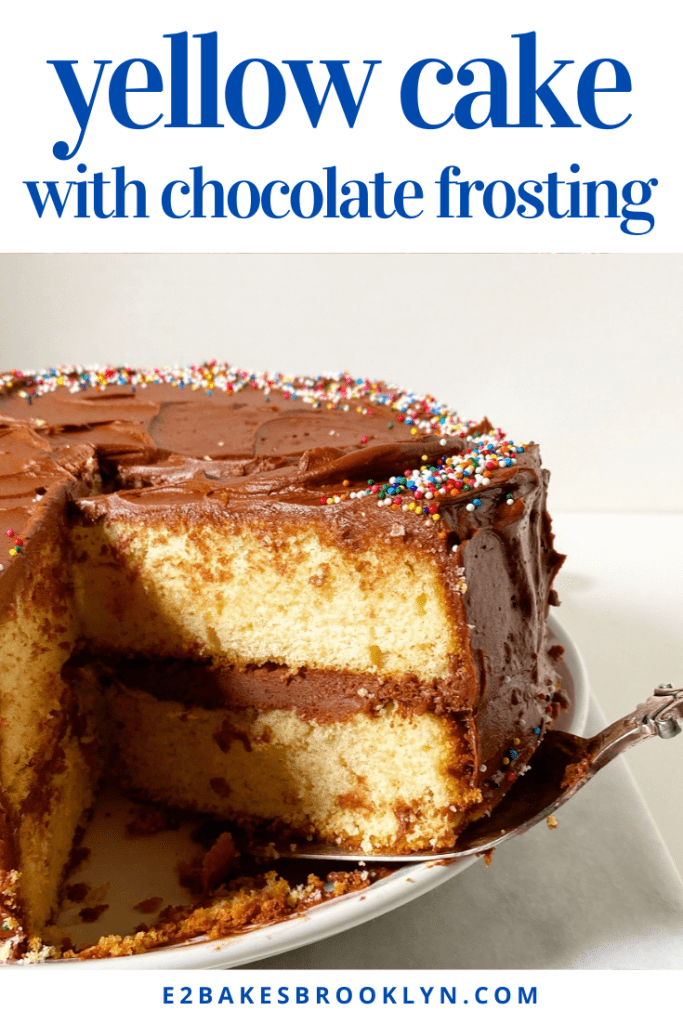
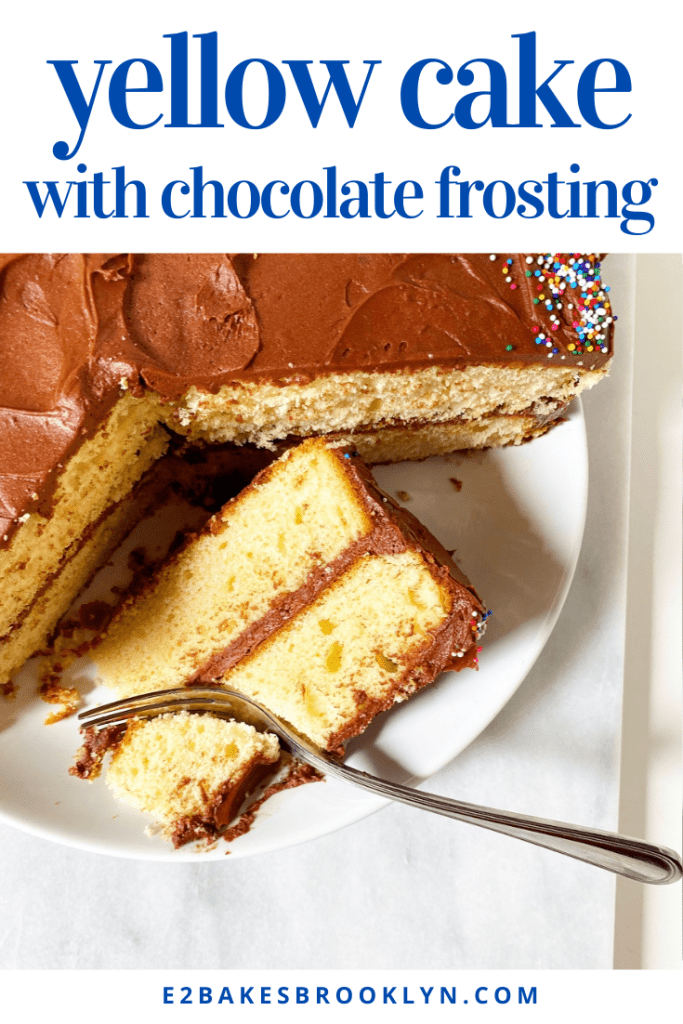
I have made a lot of birthday cakes—a lot!—and they have all been highly personal. I’ve had requests for everything from mousse cakes to Funfetti to Neapolitan to Flourless Chocolate Hazelnut, but Yellow Cake with Chocolate Frosting is the favorite by far. For whatever reason, it just screams “birthday” to a lot of people. And while I am inclined to rebel against anything that everyone seems to love (hello, I am a Gemini), I can’t say I’d be anything but delighted to blow out candles on a Yellow Cake with Chocolate Frosting.
I mean, what’s not to love about an egg-yellow vanilla butter cake with rich chocolate frosting? Nothing, that’s what. This cake is a classic for a reason.
That said, not all yellow cakes are created equal. Yes, they’re all made rich and yellow from lots of eggs, yolks and butter, and they all have some amount of vanilla, but that is frequently where the similarities end. Some are too dense, others too light. Some taste vaguely like cornbread despite containing zero cornmeal (so weird). Even the really good ones vary wildly in terms of flavor and texture. I can say that from experience—I’ve tried a lot of them.
This Yellow Cake though? I like to think it strikes a balance. Yellow, buttery, vanilla-scented, not too dense, and not a hint of cornbread flavor to be found (seriously, it’s a thing). It’s made using the reverse creaming method I use for white cake. You mix the butter into the dry ingredients, then add loads of eggs and a mix of milk and sour cream. It feels wrong, but it’s so simple and produces tender results every time.
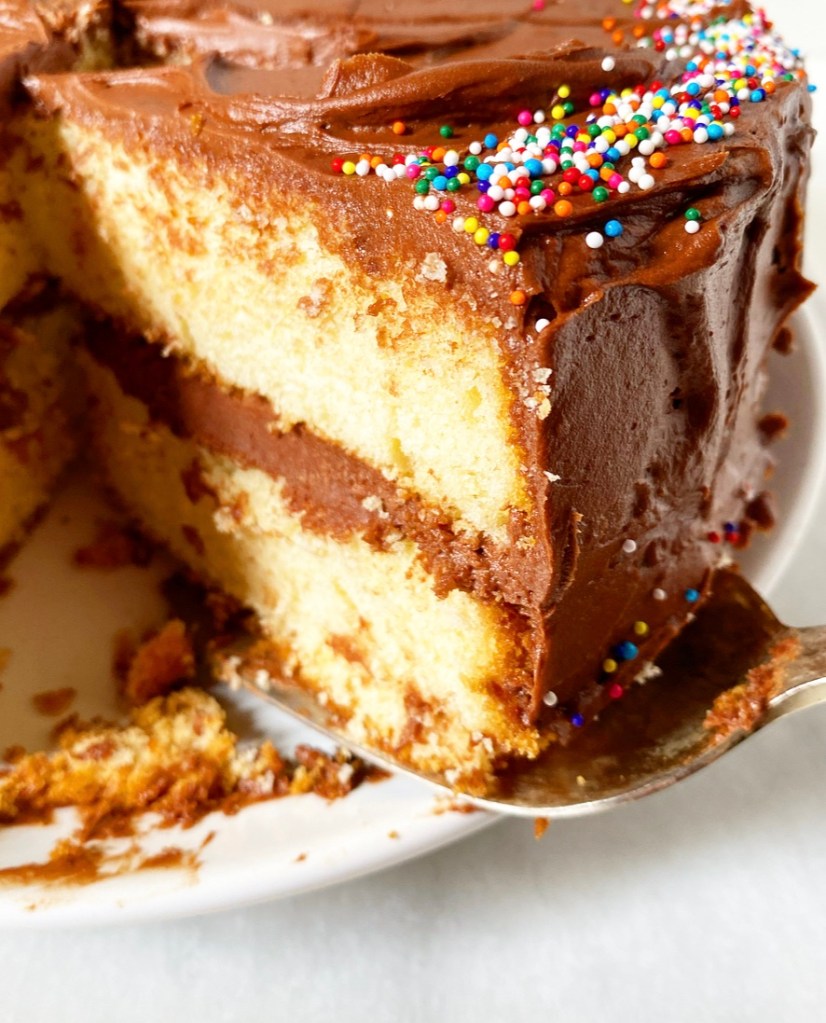
I haven’t even mentioned the Chocolate Frosting, but as you can hopefully tell from the pictures, it’s absurdly good. Made with cocoa, melted dark chocolate and just enough confectioner’s sugar, it’s pure luxury. I like to frost this cake simply for a homemade look with lots of swoops, but feel free to increase the batch size if you want to pipe. Birthday person’s prerogative, you know.
Yellow Cake with Chocolate Frosting
makes one two-layer 9” round cake

Yellow Cake:
2 1/2 cups all-purpose flour
1/4 cup cornstarch
1 1/2 cups granulated sugar
1/3 cup light brown sugar, packed
2 teaspoon baking powder
1/2 teaspoon baking soda
1/2 teaspoon Kosher or sea salt
1 cup (2 sticks) unsalted butter, softened to room temperature
3 large eggs + 2 large egg yolks, room temperature
1 tablespoon pure vanilla extract
1 cup whole milk
1/3 cup full-fat sour cream

Chocolate Frosting:
3 ounces dark chocolate
1 cup (2 sticks) unsalted butter, softened to room temperature
1 1/2 cups confectioner’s sugar
1/2 cup natural unsweetened cocoa powder
1/4-1/2 teaspoon Kosher or sea salt
1 1/2 teaspoons pure vanilla extract
2 tablespoons heavy cream
rainbow sprinkles, for garnish (optional)

Place an oven rack in the center position. Preheat oven to 350F.

Grease two 9-inch round cake pans. Line with parchment and grease again. Set aside.

Combine flour, cornstarch, granulated sugar, light brown sugar, baking powder, baking soda and salt in a large mixing bowl. Whisk ingredients together (I like to do this by running my mixer on its lowest speed for about a minute).

Add butter to dry ingredients. Gradually turn the mixer from low up to medium, to mix in the butter until there are no large pieces and the texture is sort of rubbly. This will take a few minutes.

With the mixer running, add eggs and yolks one at a time, followed by vanilla. Mix until combined.

In a measuring cup or small mixing bowl, use a fork to whisk together milk and sour cream. Running the mixer on medium, add the milk mixture in two installments and mix until combined. Scrape down the bowl well to ensure even mixing.

Divide batter among prepared pans. Tap each full pan on the counter five times to release any large air bubbles. Bake layers on the center rack for 31-35 minutes, or until a toothpick inserted in the centers comes out clean. Let let layers cool in their pans for 15 minutes. Run a thin knife around the edges of the layer before turning out onto a rack to cool completely.

Make the Chocolate Frosting. Place chopped dark chocolate in a small microwave-safe bowl. Microwave in 15 second increments, stirring just until melted. Cool to room temperature (this can be done quickly by putting it into the fridge for 5-8 minutes, then whisking with a fork).

In a large mixing bowl, use an electric mixer to beat butter until very light and fluffy (about 4-5 minutes). Beat in confectioner's sugar, followed by cocoa powder and salt, scraping down the bowl as necessary. Mix in melted chocolate, followed by vanilla and heavy cream. Beat on high for 1-2 minutes, until very fluffy.

Fill and frost the layers as desired. Garnish with rainbow sprinkles, if desired. Serve.

Layer cake will keep covered at room temperature for up to three days, or in the refrigerator for up to five.