Two chocolate chip cookie recipes in four weeks? Don’t mind if I do.
If you like your chocolate chip cookies soft and chewy, I already have at least two recipes for you. But these? These are for the crispy, crunchy cookie people. Yes, you. I know you’re out there. I see you, wading through a sea of soft, chewy chocolate chip cookie recipes, baking them extra long in hopes that they’ll be something they’re not. I’ve read your emails and direct messages, and I’ve been trying on-and-off for years to make a cookie base just for you.
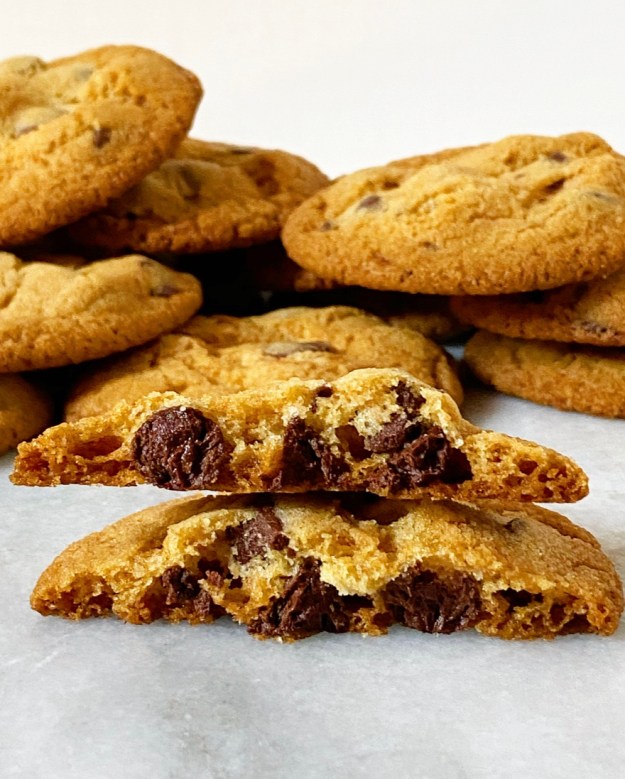
It’s been more frustrating than you’d imagine—I mean, how difficult could it be to make a cookie that’s crunchy throughout?—but I finally, finally cracked the code a few weeks ago. The results are crispy (duh) but not overly hard, and very caramelly and chocolate-studded and delicious, as all chocolate chip cookies ought to be. Oh, and their crunch? Ridiculous. Ree-diculous.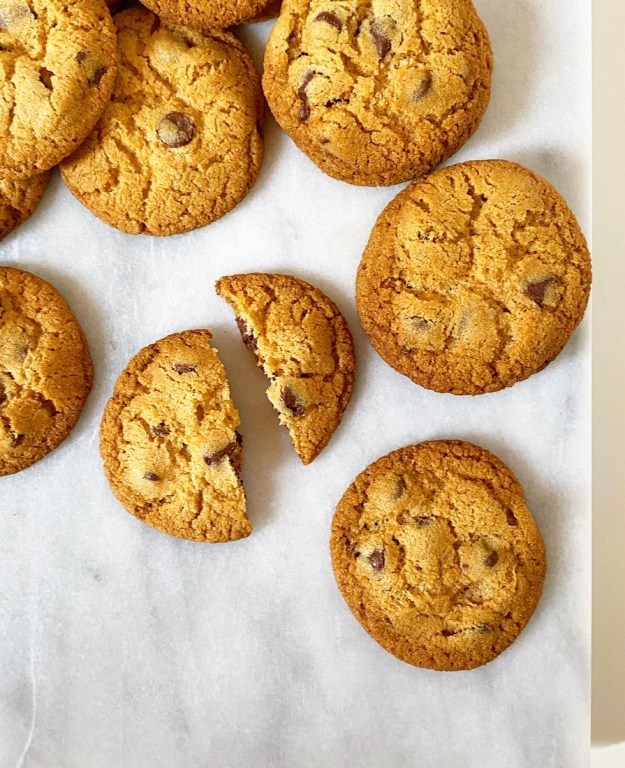 Now, I’m sure if you bake any cookie dough long enough, the results will be crispy, but this one is *specifically formulated* to be that way. It sounds a little pretentious when it’s written out like that, but it’s true. It’s taken at least 30 test batches, if not more, to make the perfect homemade Crispy, Crunchy Chocolate Chip Cookies. I don’t throw the word “perfect” around on here literally ever, so please believe me when I tell you how incredible these are because getting here has been a journey.
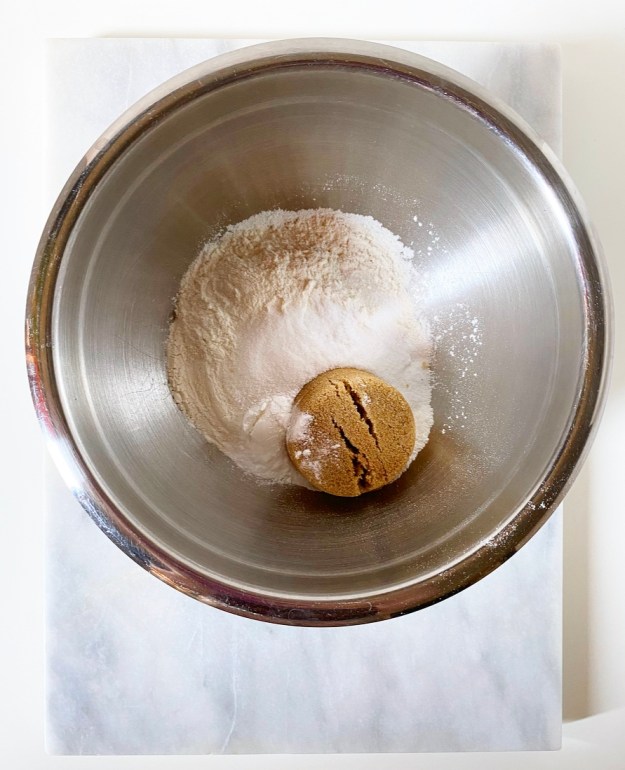 When I started down this particular cookie road (really going with the journey metaphor), I knew I needed to bump up the granulated sugar and reduce the brown sugar for crisper results. It’s basic cookie science. Sugar is hygroscopic, meaning it absorbs moisture from the air. Brown sugar, which is what happens when you whirl molasses into granulated sugar, absorbs more moisture than plain white granulated sugar. Therefore, more brown sugar in a cookie recipe = more chew. I wanted less chew—no chew, even—but still needed that signature brown sugary chocolate chip cookie flavor, so I opted to use equal parts brown and granulated sugar. The results are all the flavor I expect in a chocolate chip cookie and none of the softness.
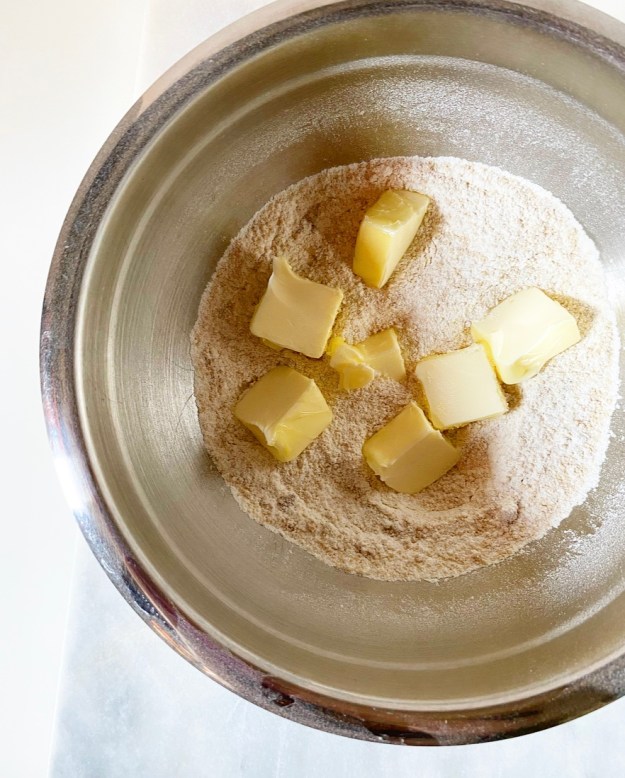 Next, I reduced the flour to cause more spreading during baking. Yes, I wanted this dough to spread—no multi-hour chills here! I also decided to try a reverse creaming method after seeing Stella Parks’s homemade Tate’s cookies. This mixing method is unusual in cookies but popular for cakes. The flour, sugar and other dry ingredients are mixed together first, then coated in softened butter, creating a barrier of fat and a visibly sandy texture. This butter barrier keeps the flour from absorbing liquid, which would activate the gluten, which would create chewy texture. Lesson learned: for the crispest cookies and the softest cakes, reverse creaming is the way to go.
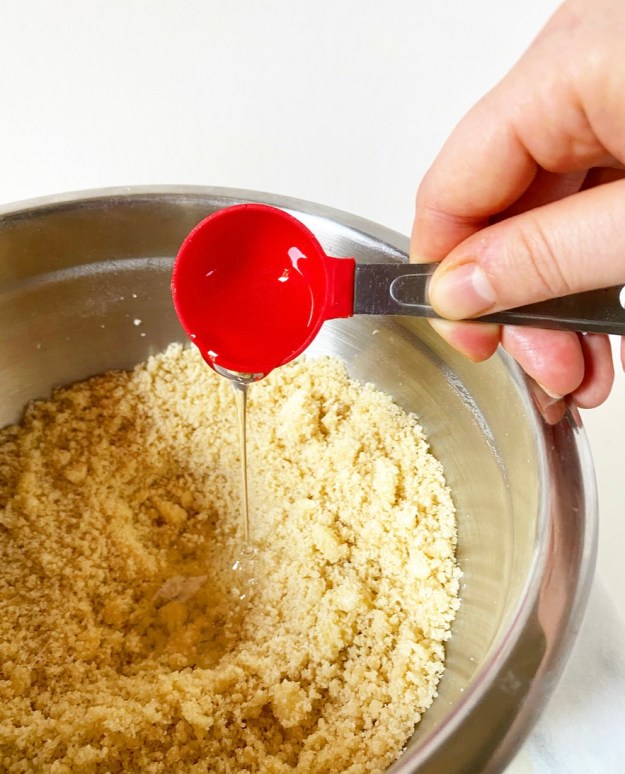 Now, all of that is fine and good and very important in the whole crunchy cookie racket, but the real game changer came a few weeks ago. I was eating Hobnobs (crisp chocolate-dipped oat tea biscuits) at 1am on a Thursday and going down an internet rabbit hole about how to make them…because it was 1am on a Thursday. Like all the best love (and recipe development?) stories, I wasn’t even looking for this solution, but then there it was in a homemade Hobnob recipe: golden syrup. It bound together an otherwise crumbly dough, doing what an egg does in other cookie recipes, but since the syrup is sugar (read: it doesn’t have the fat and protein eggs do), it produced a crisp finish, rather than a chewy one.
Mind blown. MIND. BLOWN. Mind *freaking* blown.
Approximately ten more test batches later, these are the Crispy, Crunchy Chocolate Chip Cookies I’ve wanted all along.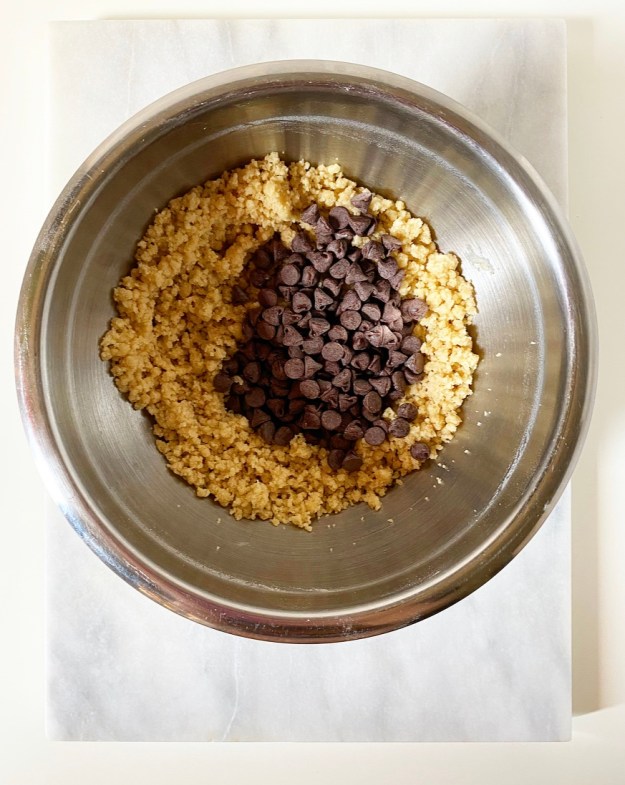
 Now, If you’re scratching your head wondering what WTF golden syrup is, you’re not alone. It’s a cane sugar-based invert sweetener (invert = liquid) that’s popular in the UK, but a bit more niche here. I can find it in some really well-stocked grocery stores and online, of course, but I can’t expect you to go out of your way for one ingredient. No way. Cookies are an immediate need, as far as I’m concerned—we’re in a pandemic, dang it—so I use the USA’s easy-to-find, low-rent golden syrup substitute, light corn syrup. You can also use a mild honey if corn syrup isn’t your bag. And for those wondering, nope, it’s not the same as the dreaded high-fructose corn syrup.
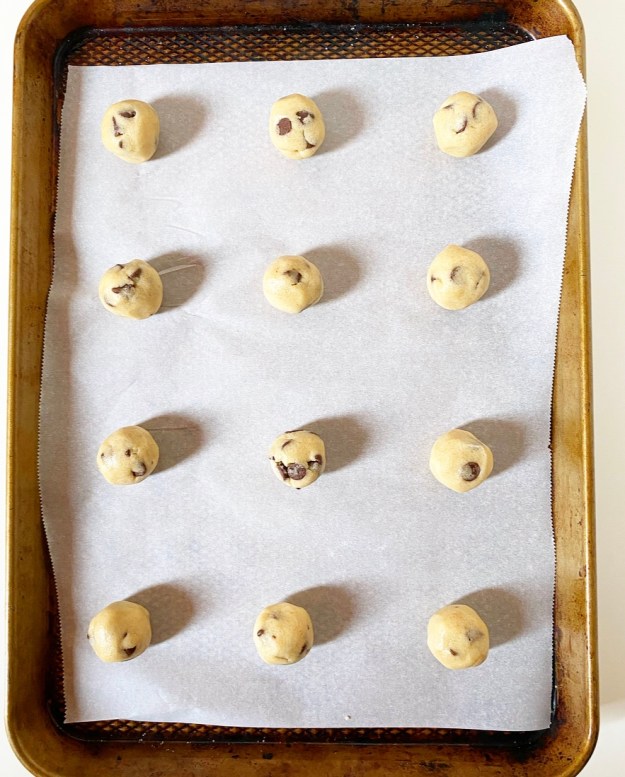
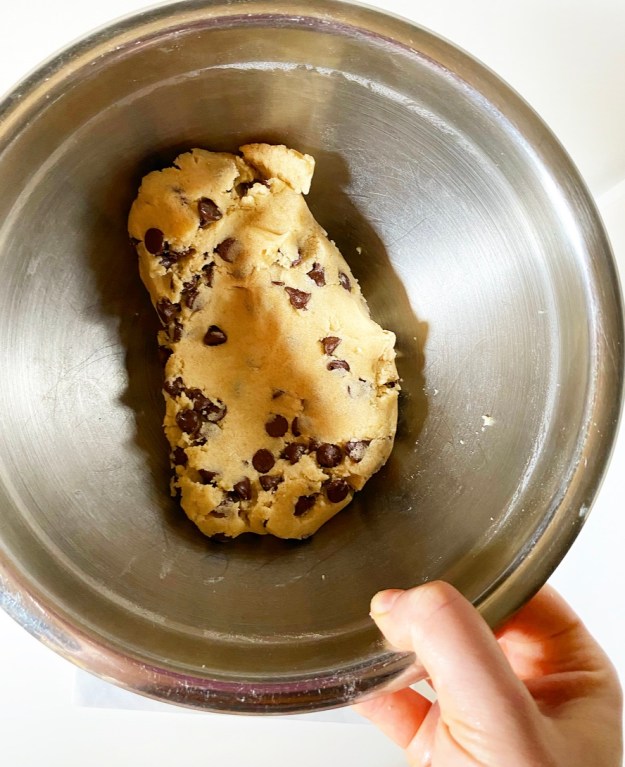
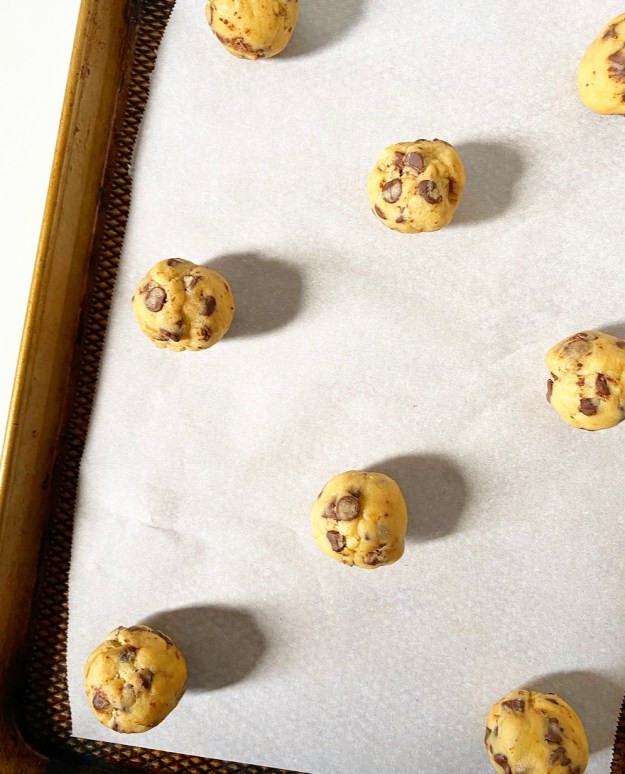
 The syrup is added after the butter is reverse-creamed in, and before the chocolate chips. The dough will hold together as well as any other chocolate chip cookie dough, and rolls easily into 24 tablespoon-sized balls.
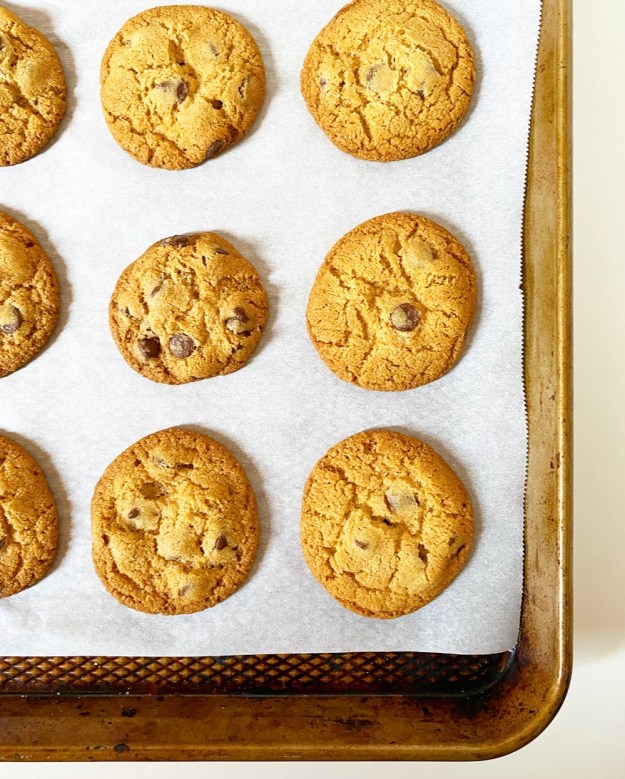
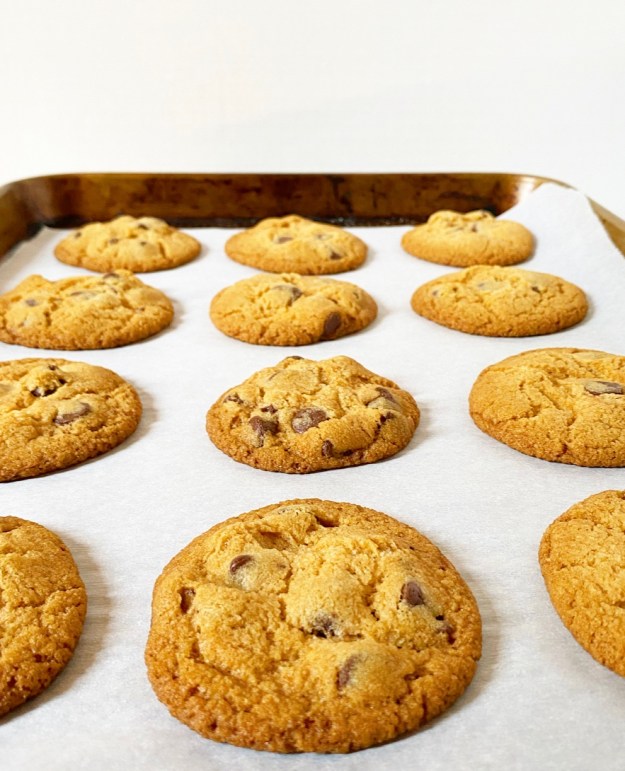
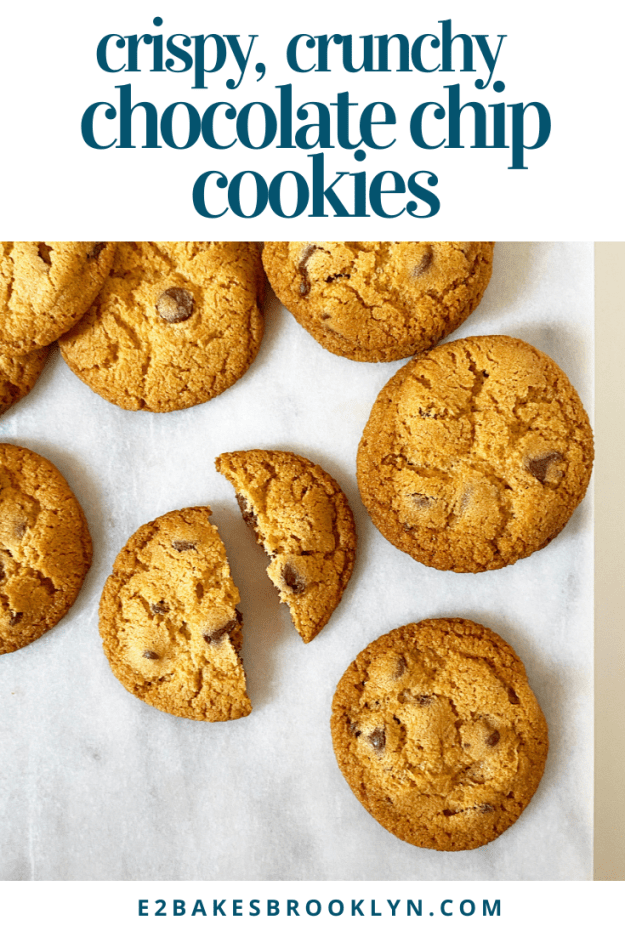
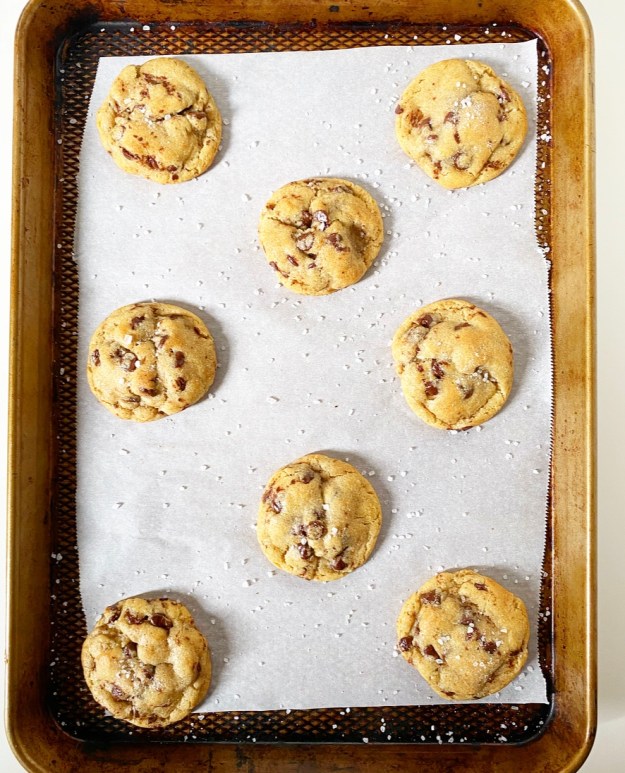
They’re baked for 15-16 minutes, until they’re really, really done. Long baking time is key for crunchy cookie success. The cookies will puff as they bake, but should already be relaxing into their final shape when you pull them from the oven, and be fully crisp within a few minutes of cooling. You may be tempted to eat them warm, but I think their flavor is best at room temperature. All the flavors meld together after 30 minutes or so, resulting in super caramelly, crisp, surprisingly light-textured chocolate chip cookies. Prepare to fall in love with their satisfying crunch—don’t say I didn’t warn you.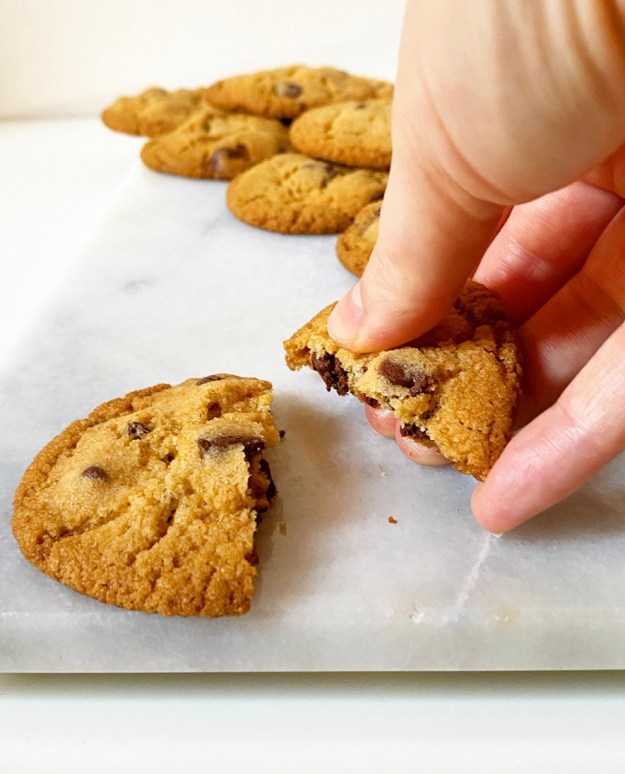
 One more reason to get on the crunchy cookie bandwagon? Crispy, Crunchy Chocolate Chip Cookies keep like a dream. A dream, I tell you! I am a huge snob about day-old cookies, so believe me when I tell you that these just get better with time. Where soft cookies get a little stale after a day, these crisp treats retain their texture and their flavors only deepen further. You should keep them covered as sugar’s hygroscopic nature means your cookies can be affected by humidity, but the batch pictured made it through some seriously gnarly NYC weather and were still near perfect. And by near perfect, I mean perfect-perfect.
Crispy, Crunchy Chocolate Chip Cookies
makes 2 dozen cookies
1 cup + 2 tablespoons all-purpose flour
1/3 cup granulated sugar
1/3 cup light brown sugar, packed (not dark brown)
1/2 teaspoon baking powder
1/2 teaspoon baking soda
1/2 teaspoon Kosher or sea salt
1/2 cup (1 stick) unsalted butter, softened to room temperature
1 tablespoon light corn syrup (or golden syrup or mild honey)
1 teaspoon pure vanilla extract
2/3 cup semisweet chocolate chips
Arrange oven racks in central positions. Preheat the oven to 350F. Line two rimmed baking sheets with parchment paper. Set aside.
In a medium mixing bowl, whisk together flour, granulated sugar, light brown sugar, baking powder, baking soda and salt.
Cut softened butter into 8 pieces and add them to the mixing bowl. Starting at low speed and increasing as ingredients become incorporated, use an electric mixer to mix the butter into the flour/sugar mixture until powdery and wet-sandy. You may need to stop a time or two to break up larger pieces of butter.
Add corn syrup and vanilla and mix to combine. Dough will look crumbly, but should hold together well when pinched.
Add the chocolate chips to the dough and mix/knead them in with a clean hand (or a silicone spatula or wooden spoon) until evenly distributed and the dough is a cohesive unit.
Scoop the dough by the tablespoon, roll into balls and place them 2-3 inches apart on prepared pans (I fit 12 on each half-sheet pan). Bake for 8 minutes, then rotate the pans top-to-bottom and front-to-back. Bake another 7-8 minutes, until a bit puffy and deep golden.
Let cookies cool for 7 minutes on the pans. Remove to a rack to cool completely. Serve.
Leftover cookies will keep in an airtight container at room temperature for up to a week.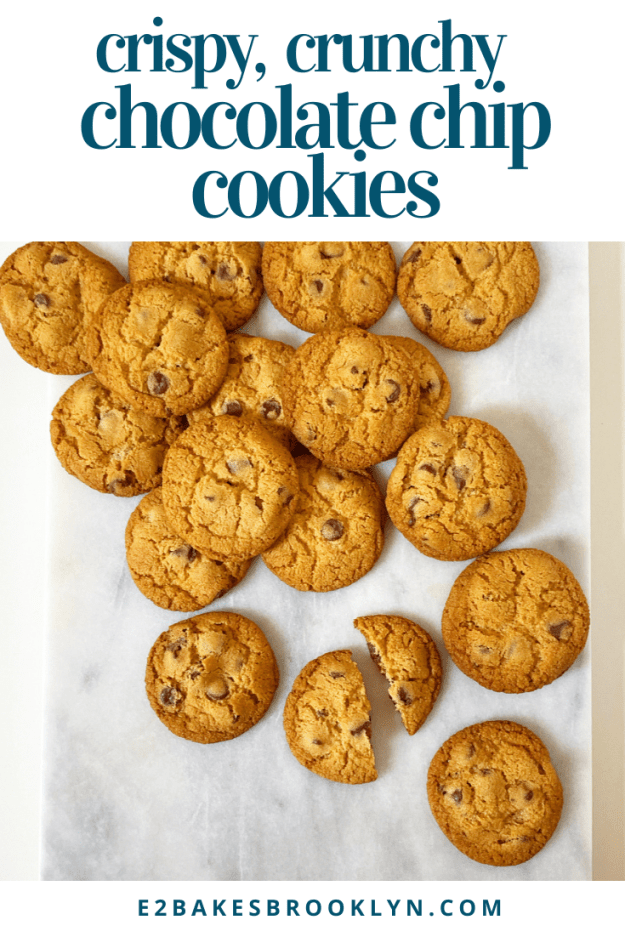

 You know how sometimes you test
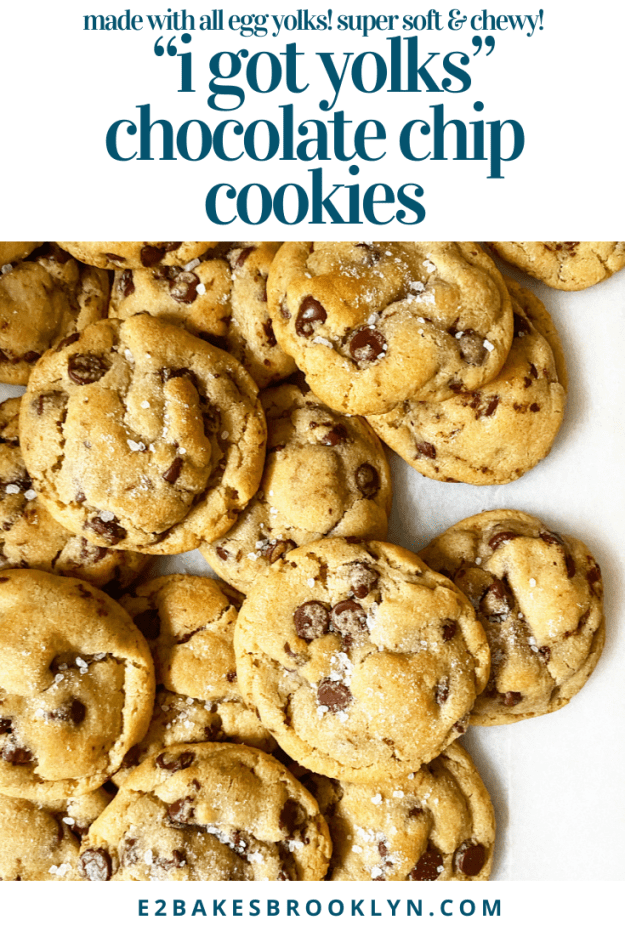
 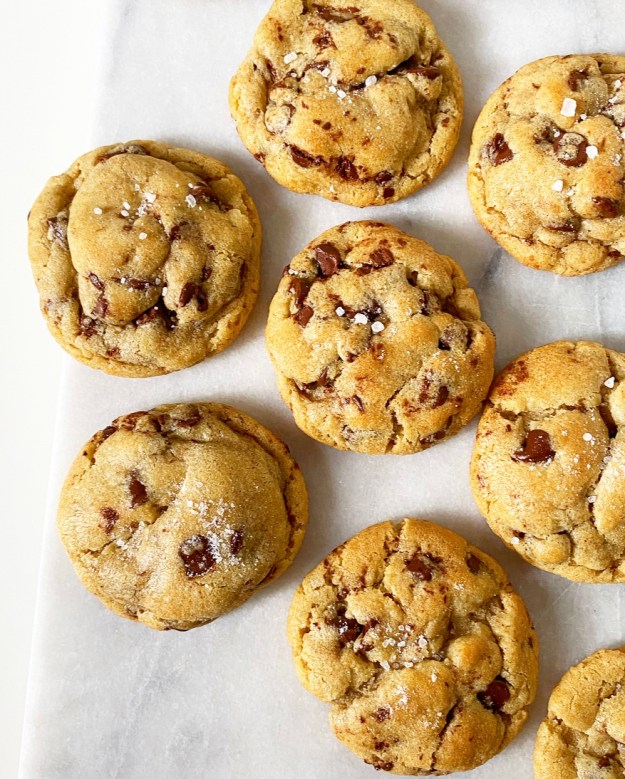 Well, here is something to do with them: “I Got Yolks” Chocolate Chip Cookies!
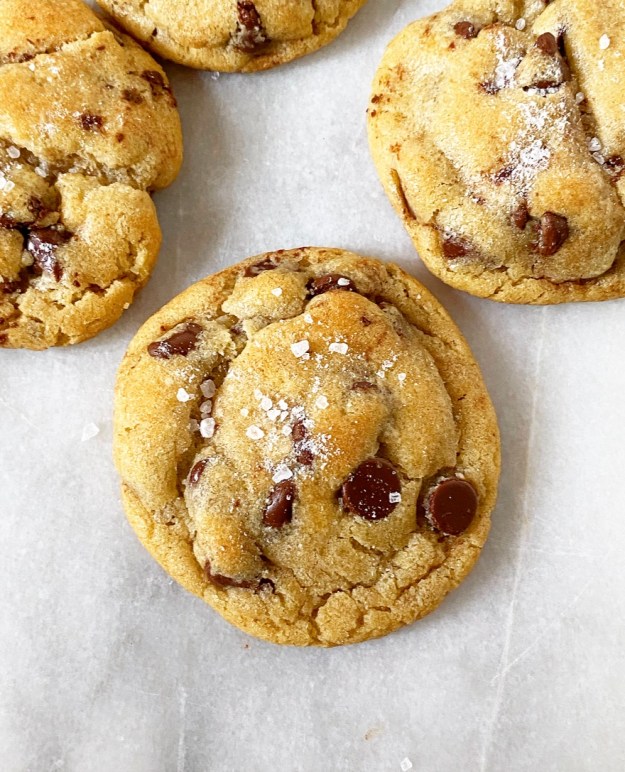 Anyway…this is a recipe born of necessity. Namely, the necessity to not waste good ingredients. Also, the necessity for something that can be eaten immediately or frozen for later or left on your friends’ front steps for a socially distanced surprise. Trust me, they’ll be beyond thrilled with a bag of these.
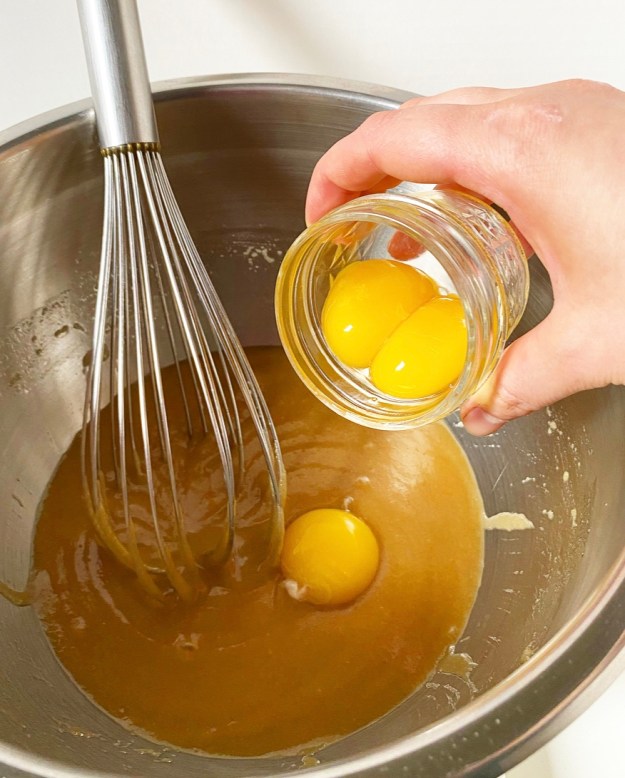
 “I Got Yolks” Chocolate Chip Cookies are, in a word, spectacular. They’re super rich and chewy from three large egg yolks, melted butter, and brown sugar, and incredibly tender thanks to the addition of confectioners sugar. I threw the confectioner’s sugar in the first batch on a whim just to see what would happen and, well, it won’t be the last time. The sweetness, structure and texture it provides are really something—like the
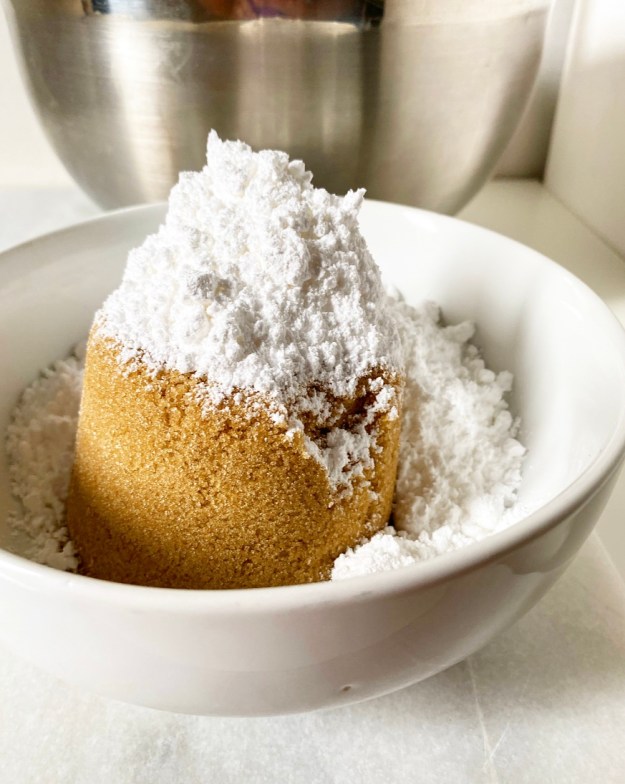
 The cookie dough comes together the same way most
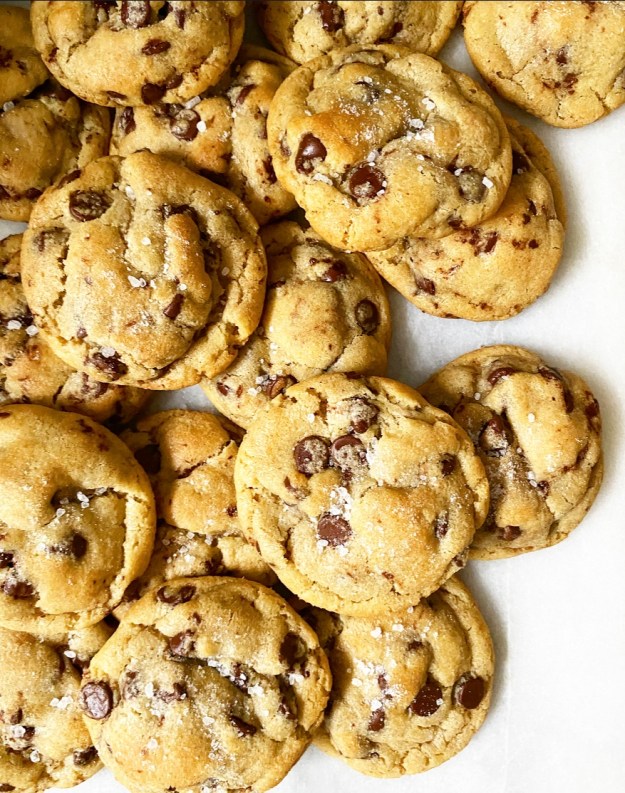
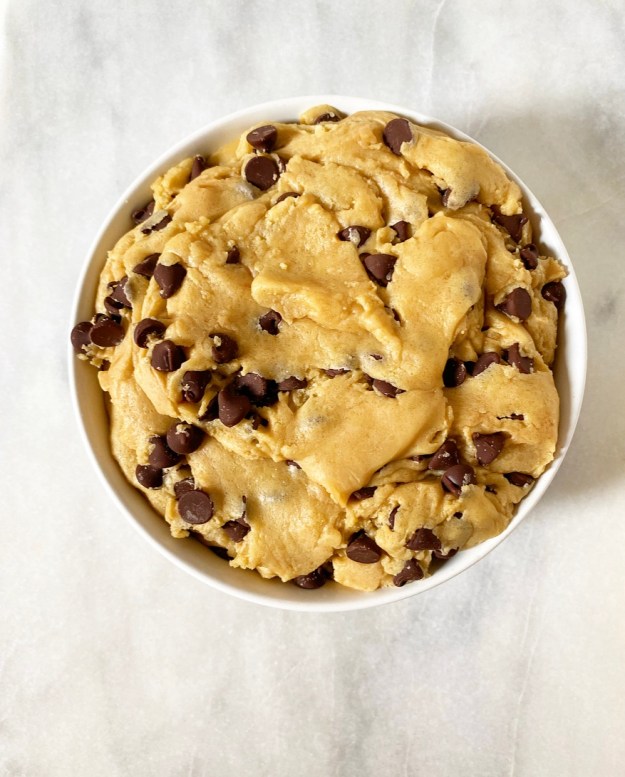
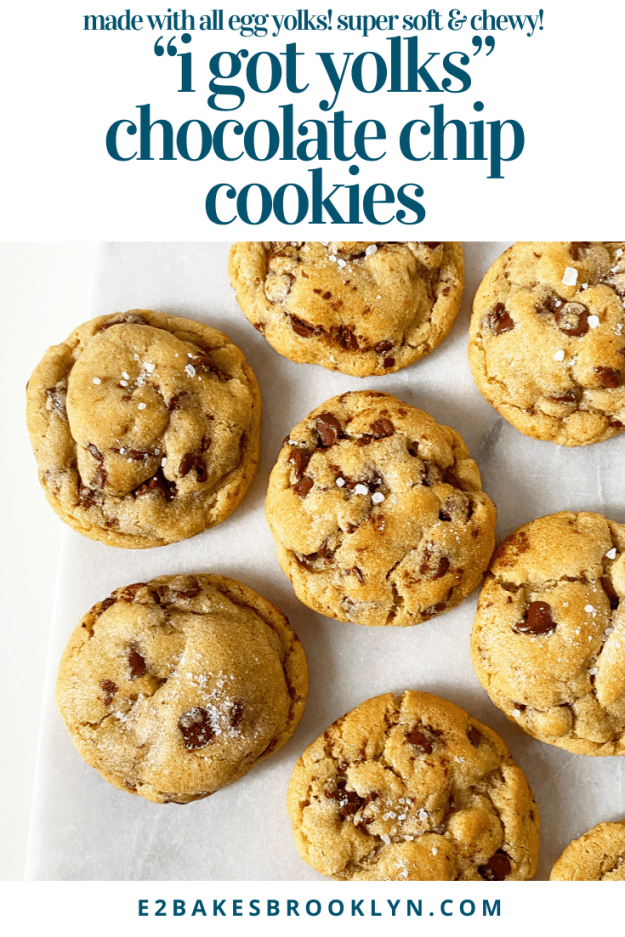
 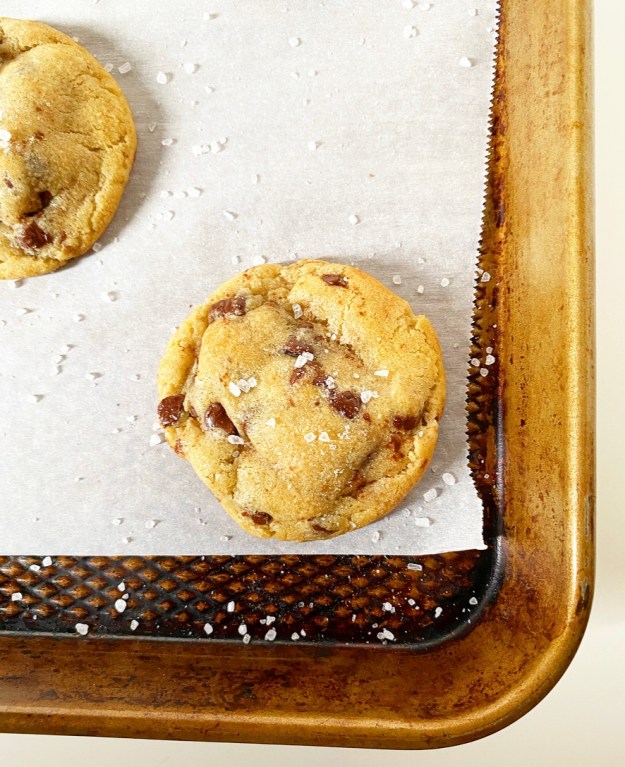 These are not only my current favorite way to use up egg yolks, but also my current favorite chocolate chip cookies. They are nice and thick, with crisp exteriors, soft centers, a rich caramel flavor and the perfect amount of chocolate chips. The confectioner’s sugar in the dough gives them an extra-smooth quality and has the added benefit of keeping them soft for days. That’s saying something—I’m a total diva about day-old cookies.
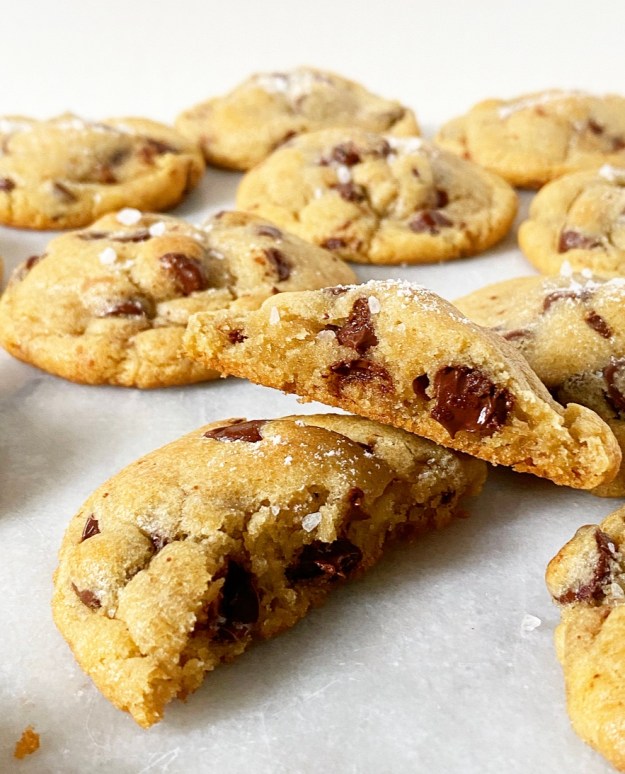 One more great thing about this recipe is that you can age the dough. I suppose you can age any cookie dough, actually, but I rarely have the fridge space. If you’ve never tried it, aging is as simple as keeping the dough in the fridge for up to a week before rolling and baking. By letting it sit for an extended period, you’re allowing the flavors to deepen in a really wonderful way. The exteriors get a light sheen after baking and the brown sugar flavor really sings. Try it. You’ll like it.
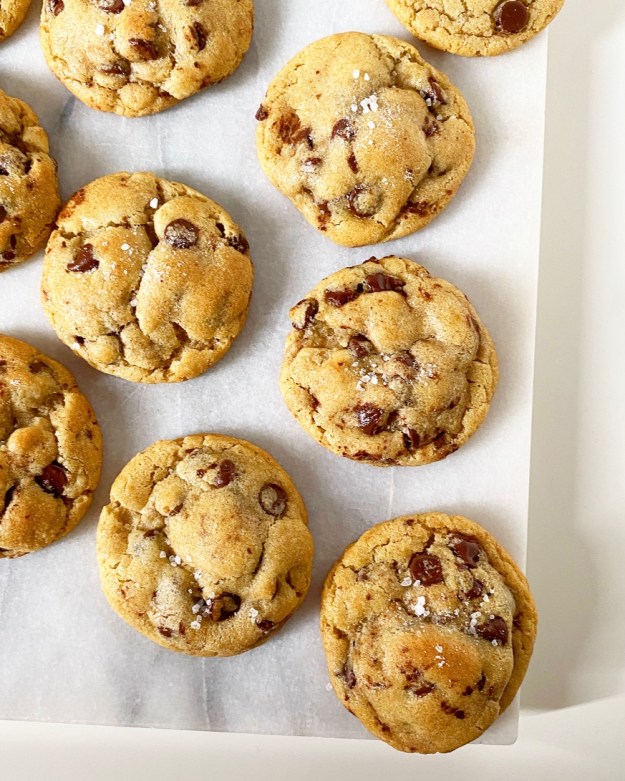

 My
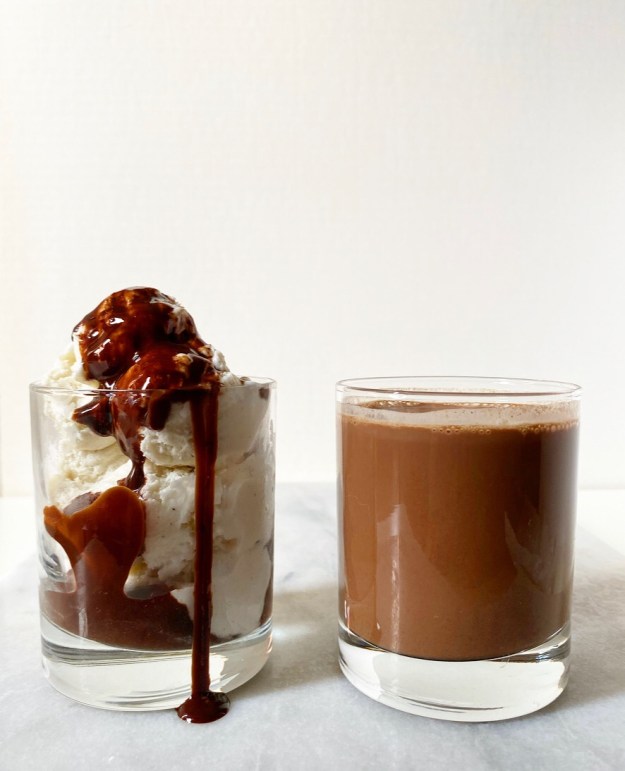
My 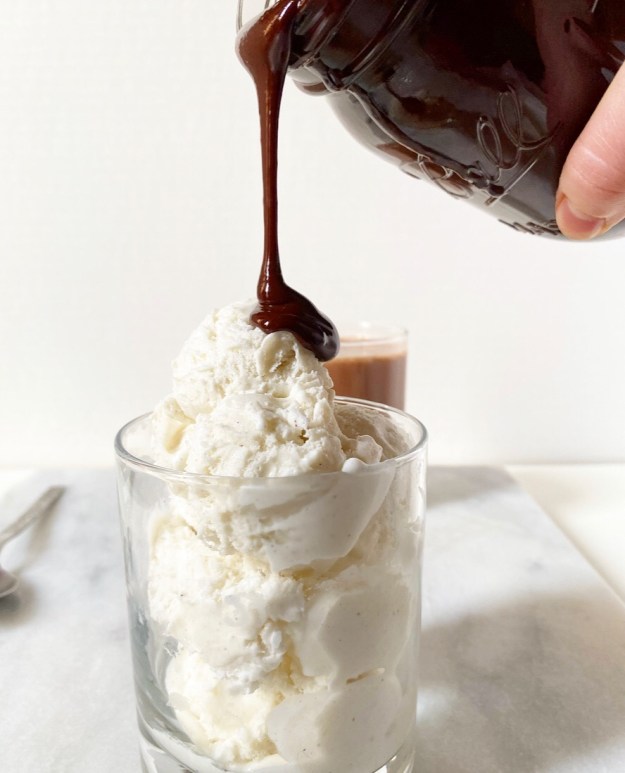 Fast forward fifteen-ish years to me living the professional home baker life in New York in the middle of a pandemic. I can pretty much make whatever dessert I want, and maybe it’s because the weather is warming up or I’m feeling nostalgic or a little homesick, but all I really want right now is vanilla ice cream and chocolate syrup.
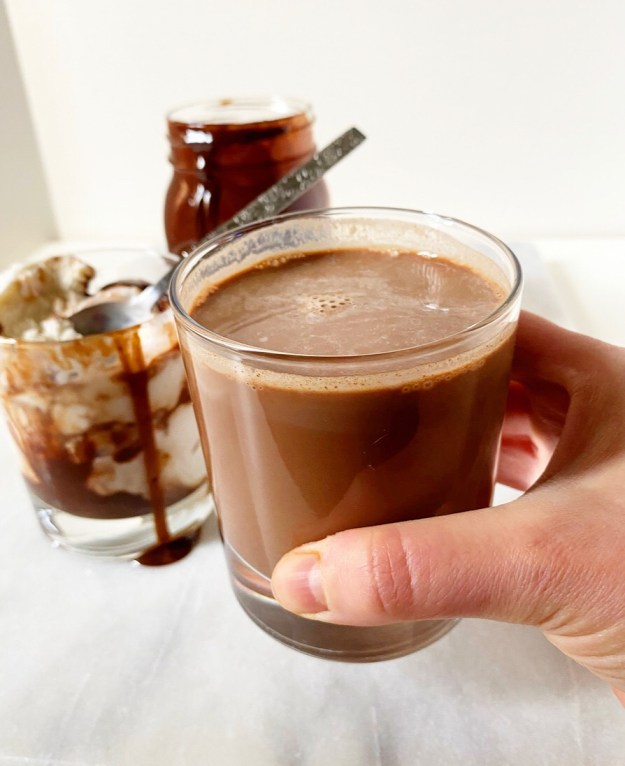
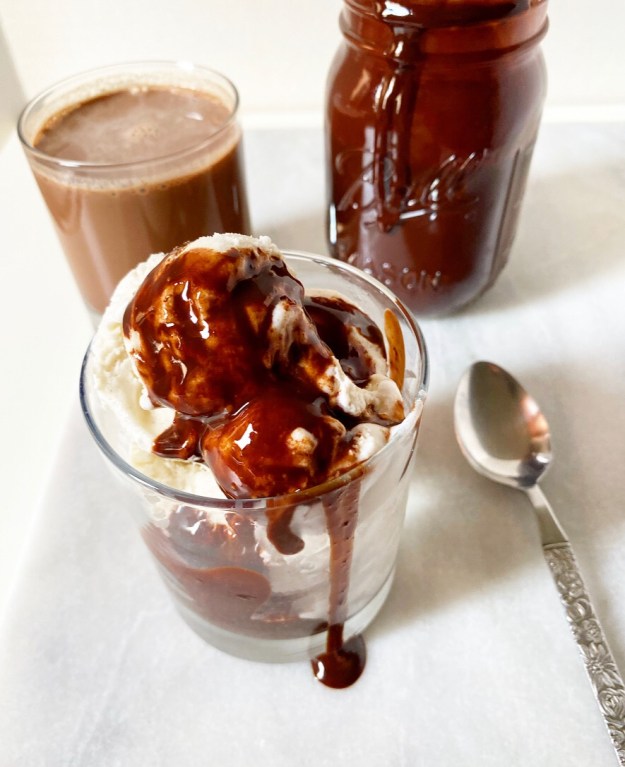 Now, I do not have much desire to begin making my own vanilla ice cream, but Homemade Chocolate Syrup? That, I need. Like many of us, I grew up with Hershey’s Syrup in the fridge, but now that I’ve started making my own chocolate syrup, I’m ruined for storebought forever. Deeply chocolaty, a little tangy, just thick enough, pourable even when it’s fridge-cold—this is the stuff my ice cream dreams are made of.
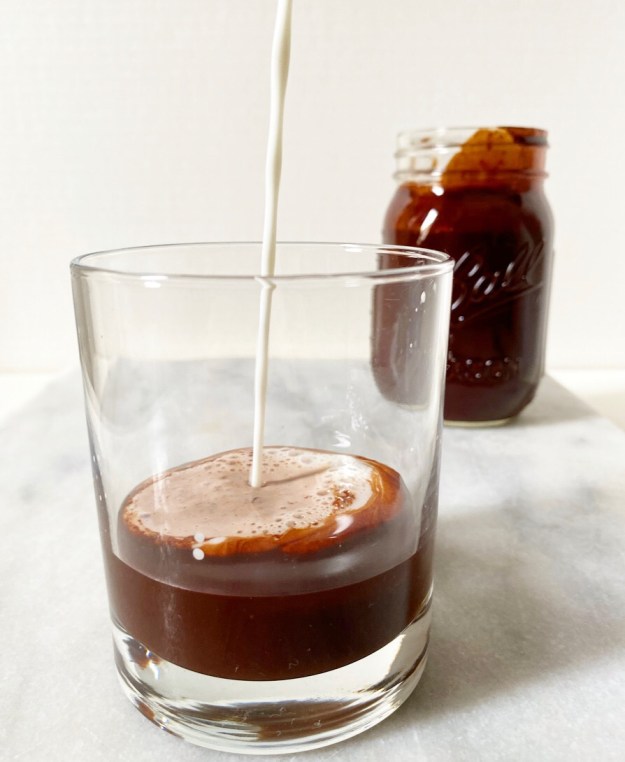
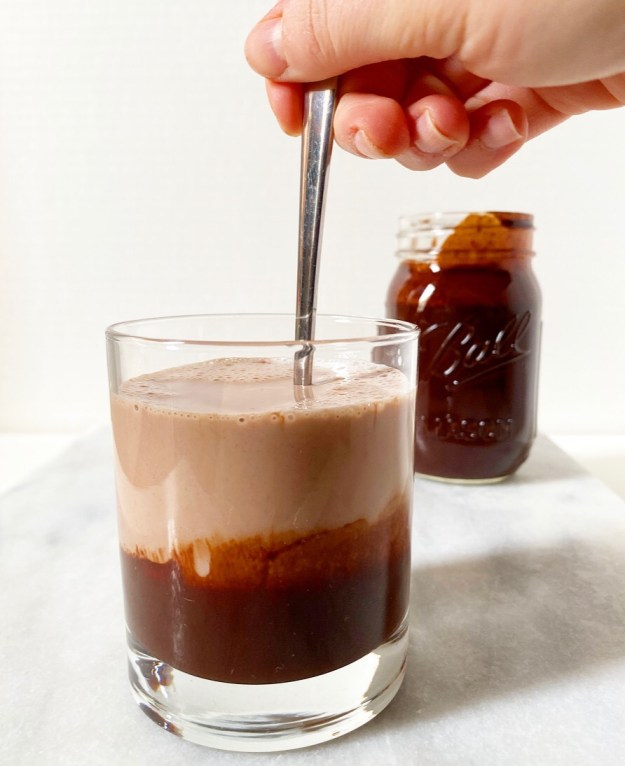
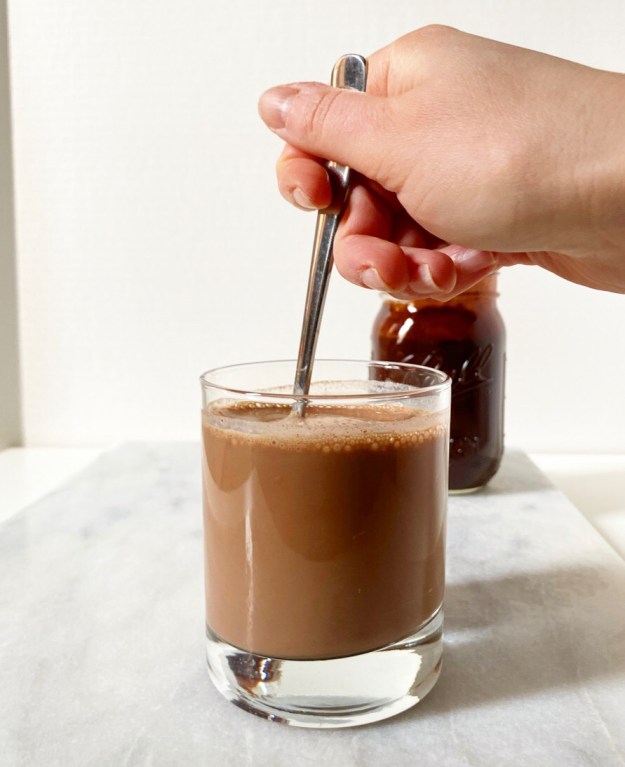
 Also, my chocolate milk dreams. I generally cannot abide liquid dairy, but put some chocolate syrup in a glass of whole milk and I. am. interested.
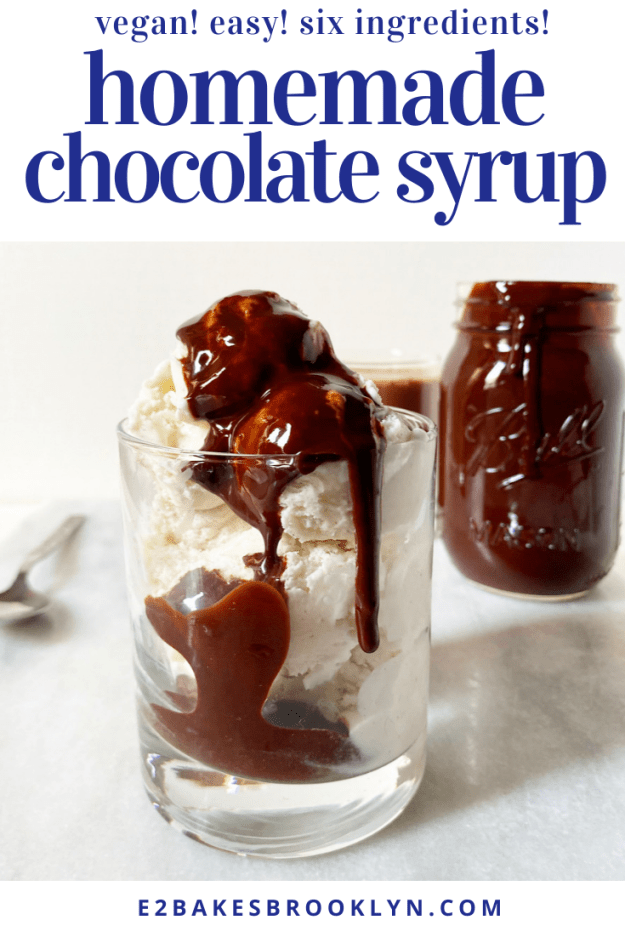
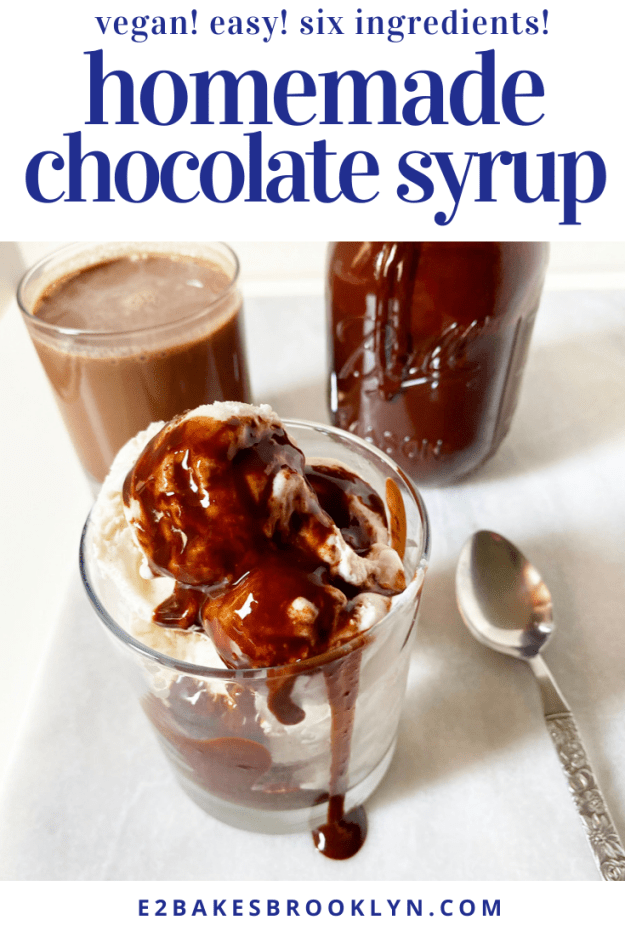
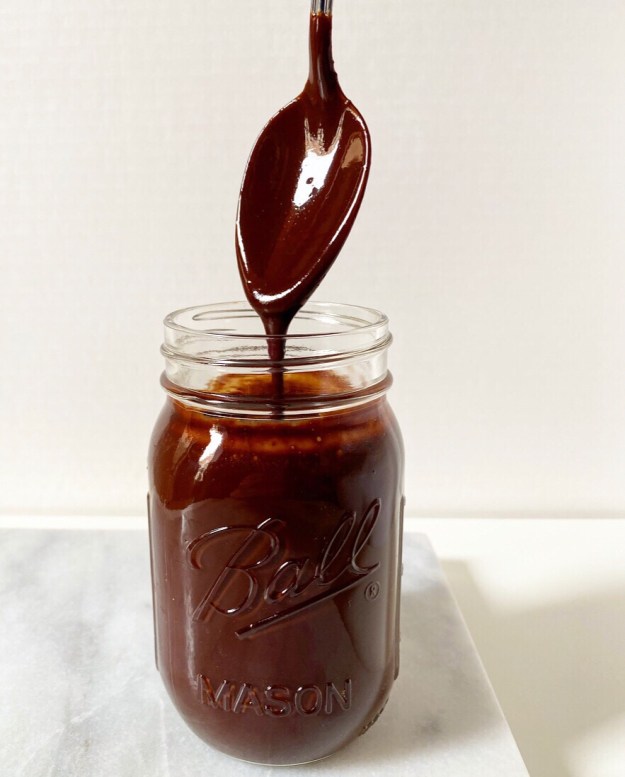 Homemade Chocolate Syrup beats the pants off of every storebought version I’ve ever had. Don’t get me wrong, I wouldn’t turn up my nose if someone offered me a scoop of ice cream with a drizzle of Hershey’s Syrup on top—I’m not a monster!—but it simply can’t compete with this stuff. Where the syrups you’ll find on shelves are cloyingly sweet, lacking in chocolate flavor and full of ingredients none of us can pronounce, this one is super chocolaty from cocoa powder and bittersweet chocolate, has a little depth from brown sugar, and requires six ingredients that you very well may have in your pantry right now. Oh, and it’s vegan.
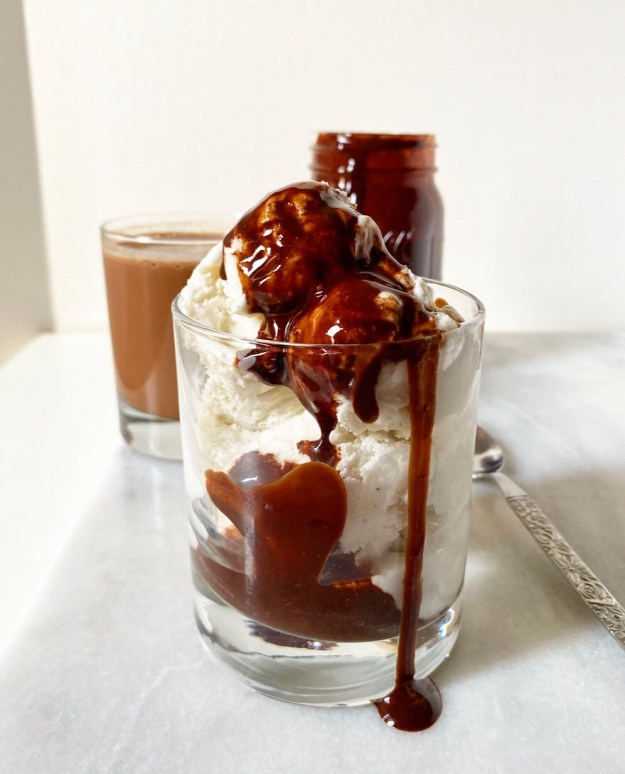 With that, I rest my case…and also tiptoe into my kitchen at 2am for some ice cream and Homemade Chocolate Syrup.
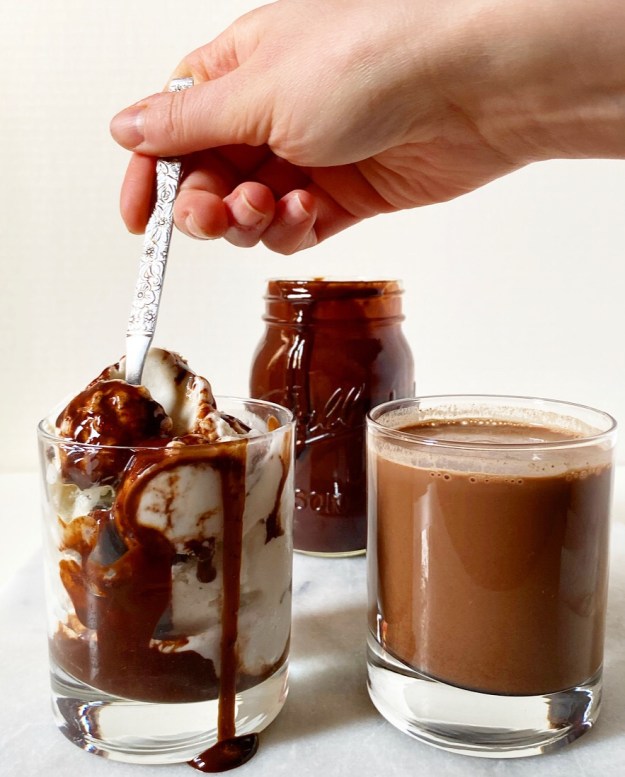

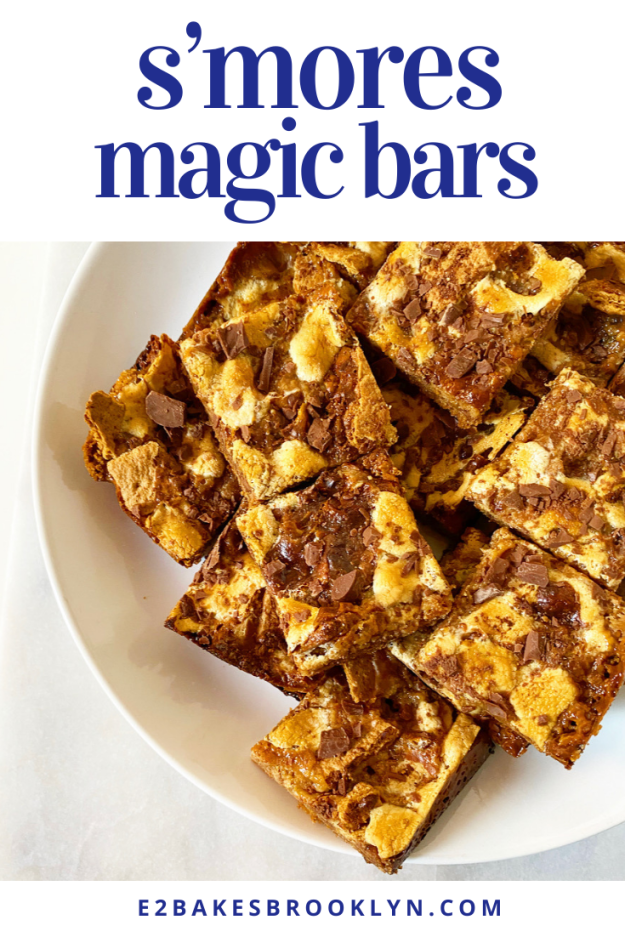
 This summer is going to be a little different, but one thing remains the same: its unofficial kick-off, Memorial Day, is coming up next week. While it’s highly unlikely that I’ll find myself around a campfire or even on a rooftop anytime soon, I will not let this year go by without a s’mores-centric treat.
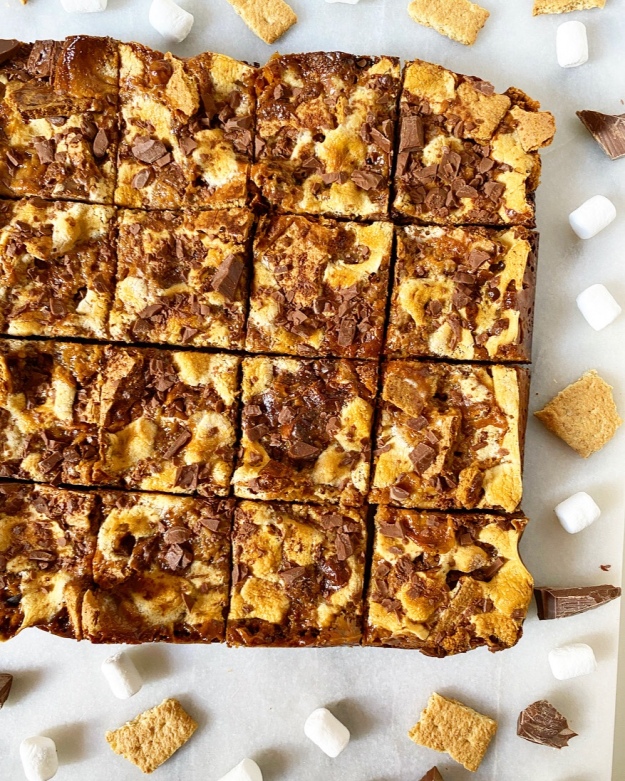 Is there anything that says “summer” quite like a s’more? I mean, what’s not to love about crisp graham cracker, milk chocolate (or
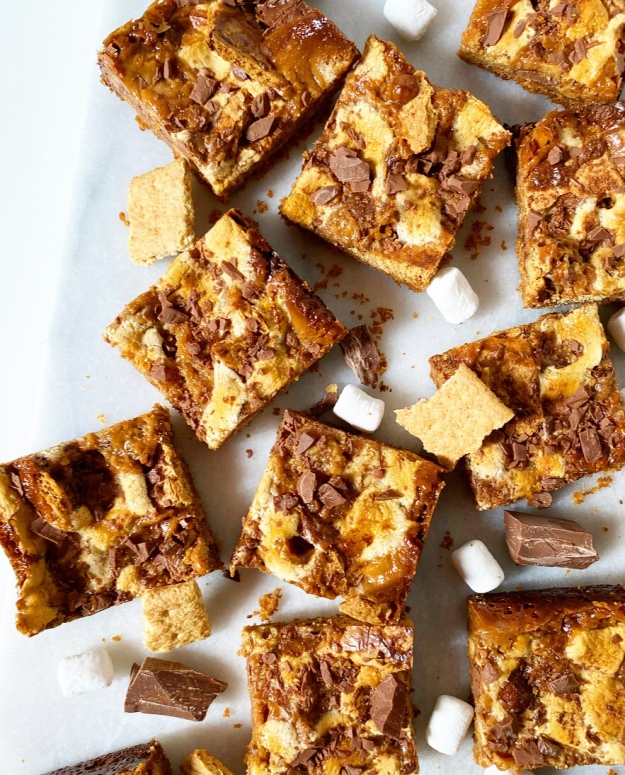
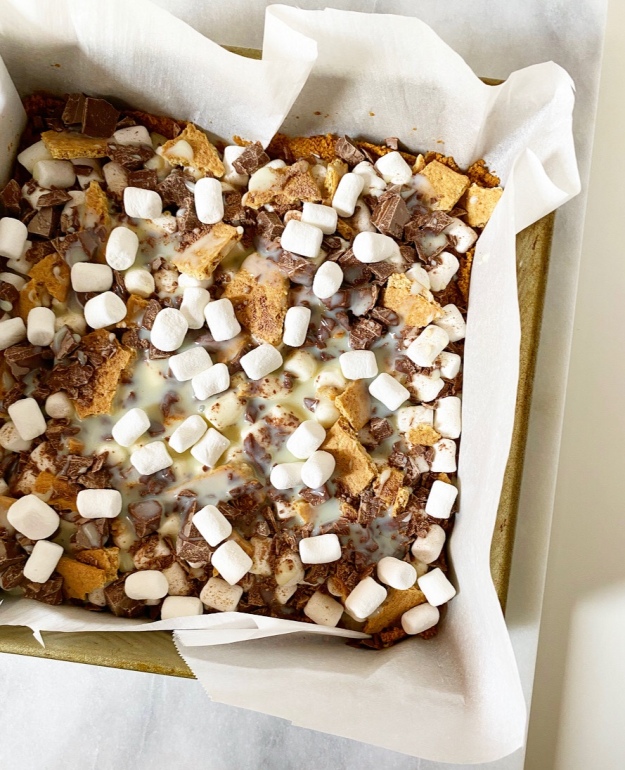
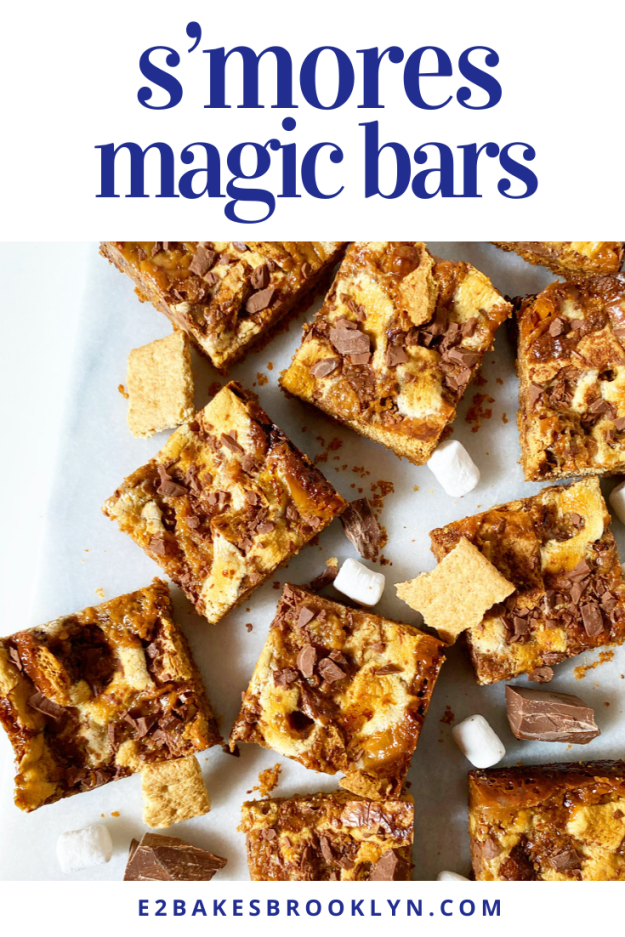
 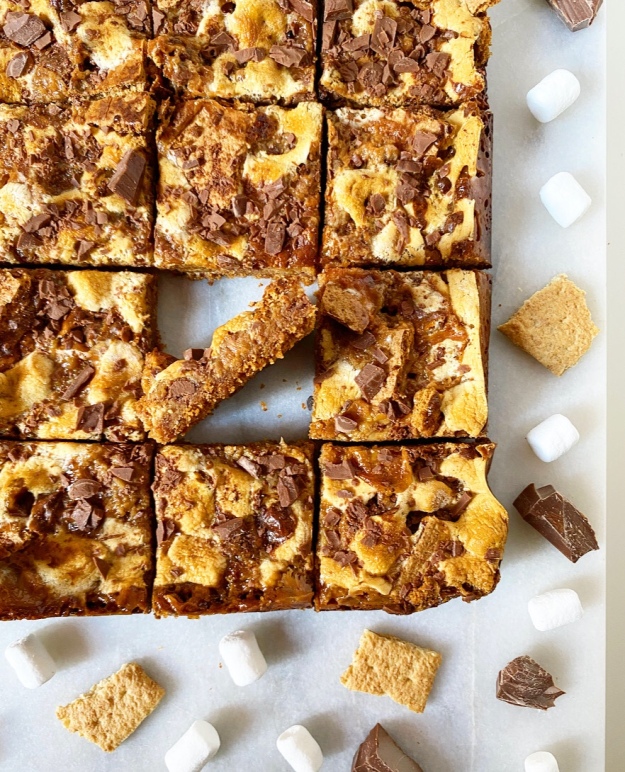 These S’mores Magic Bars aren’t your traditional summertime fare, but they have plenty of graham crackers (in the form of crust and crispy shards), chopped milk chocolate and toasted marshmallows. It straight-up doesn’t count as a s’mores dessert if the marshmallows aren’t toasted, am I right?!
 As with
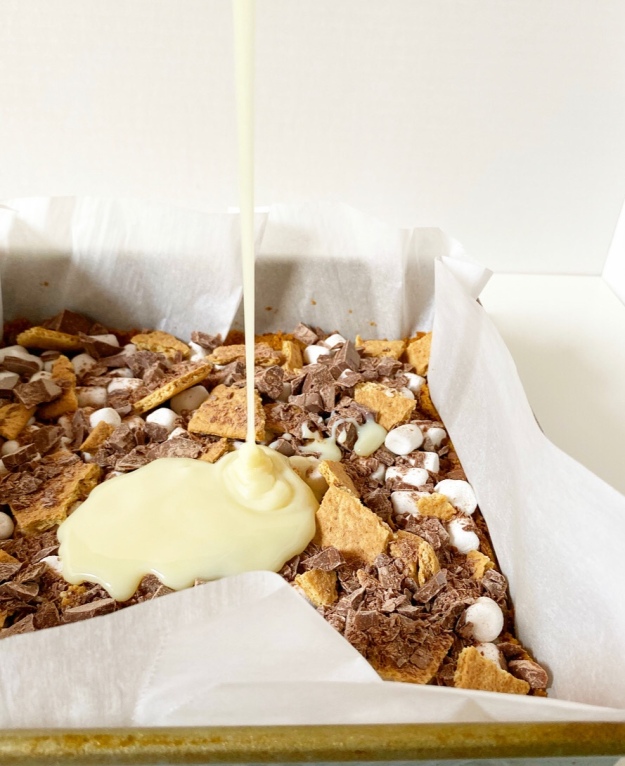
 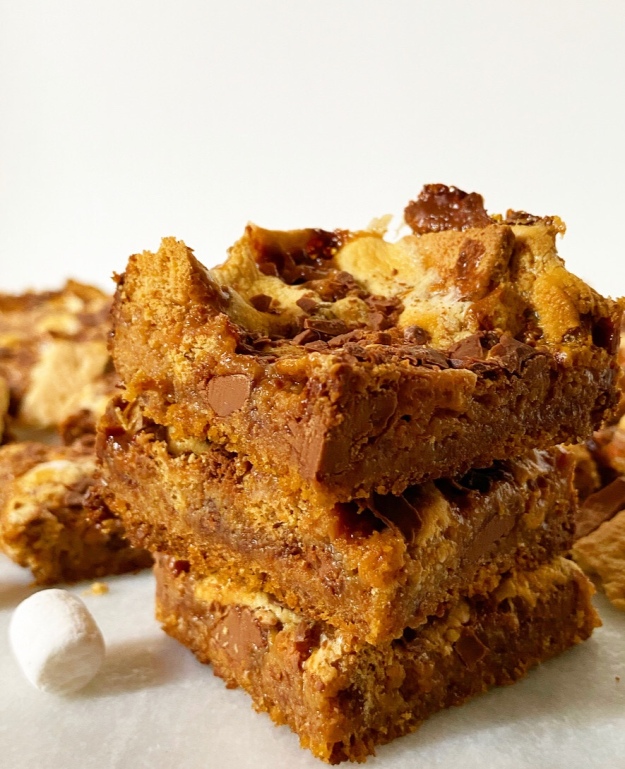 The sweetened condensed milk also gives these bars a slightly gooey finish, which is a good thing because while the marshmallows do get nice and golden brown, they also have to cool completely before you slice the bars. Like I said, we’re not going for tradition, we’re going for the most efficient way to get toasted marshmallow, graham cracker and milk chocolate into our faces in a less than ideal summer situation!
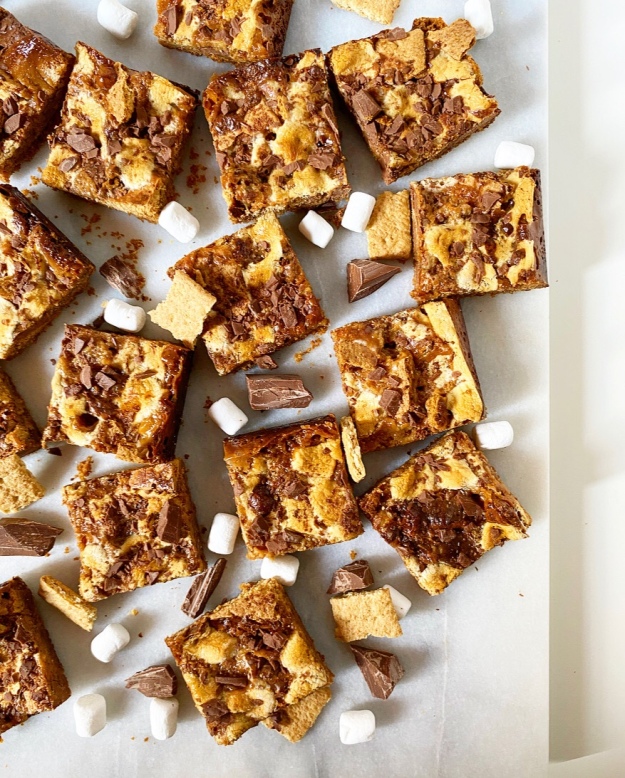 Also, unlike traditional s’mores, these sweet squares will stay good for days after baking. Days! That’s a very good thing, because I have a feeling I’m going to need a few batches between now and Labor Day.
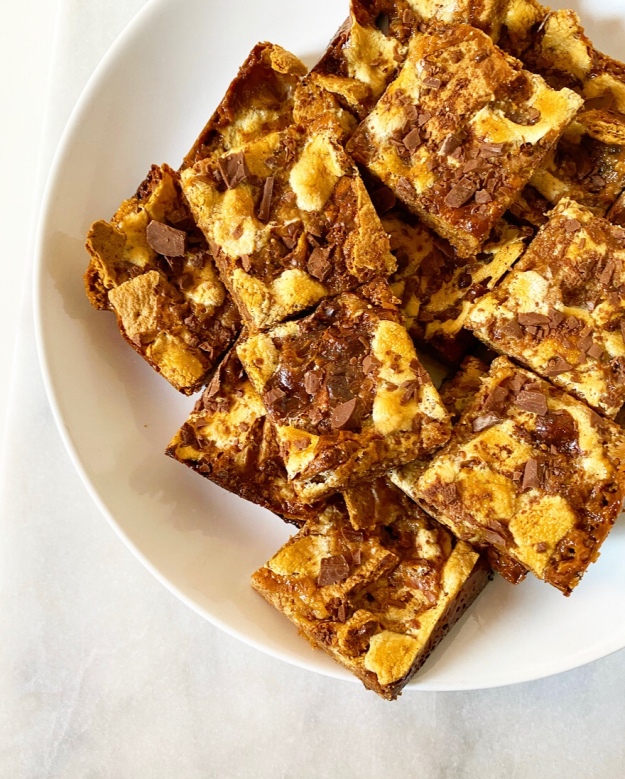
 I had the idea for this Chocolate Chip Cookie Crumb Cake after making
 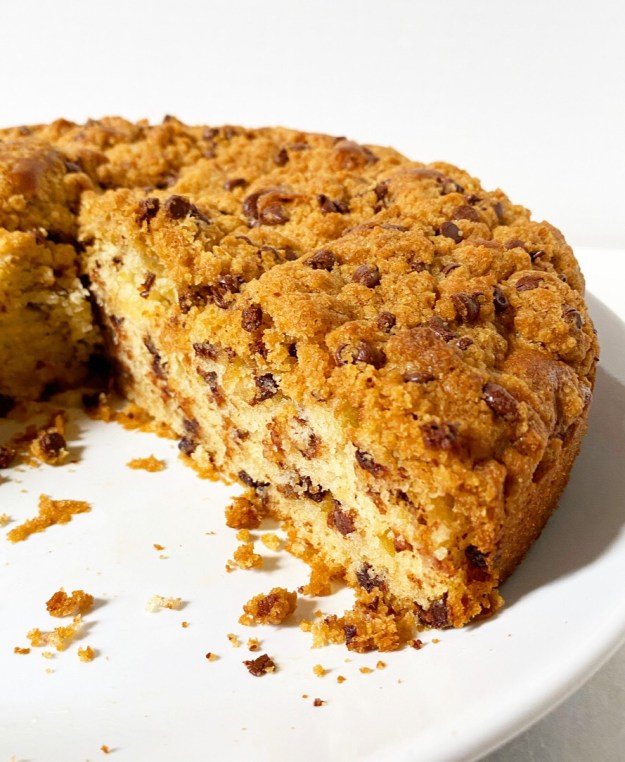 Generally speaking, I’m not a big celebrator of food holidays, but I seem to always remember
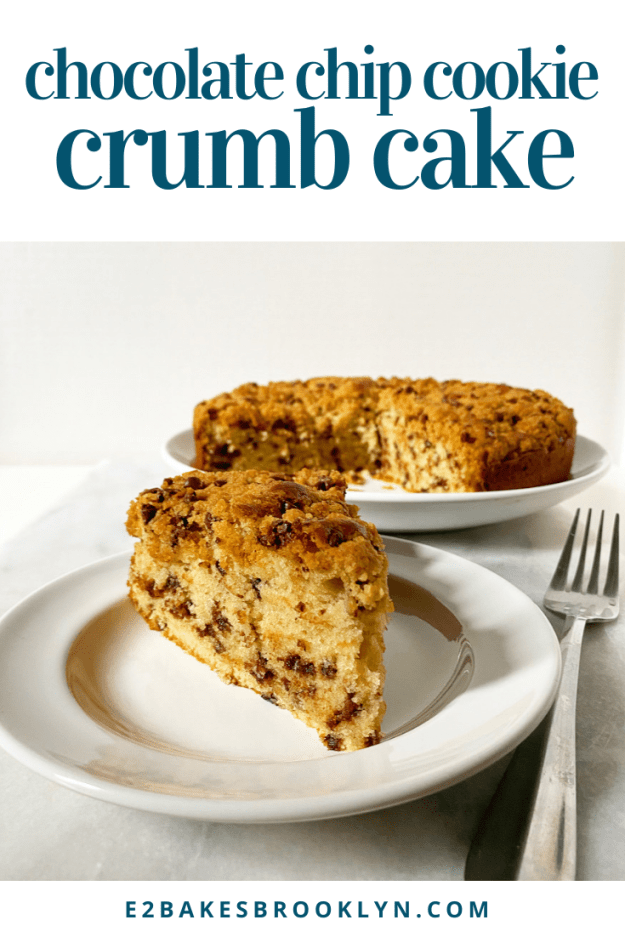
  I mean, look at that pillowy soft chocolate chip cake! It’s buttery, tight-crumbed, and super moist thanks to half a cup of sour cream. It’s almost enough to restore my hope for the future.
 Oh, and speaking of restoring hope in things, let’s discuss the crispy chocolate chip cookie crumb topping! It’s the real star of this show. Think streusel, but instead of cinnamon there’s a bunch of brown sugar and chocolate chips in the mix—it’s actual perfection.
 If you want perfectly clean slices and have slightly more patience than I do, you can wait til the cake has cooled completely before divvying it up. I ceased having extra patience 42 days ago, so the pictured slice is a little scraggly…but as a perk, the chocolate chips are still soft. I will choose melty chocolate over aesthetics any day, anytime. But, like, especially today and right now. The future can wait while I finish my slice of cake.
 Happy Chocolate Chip Day, dear readers.