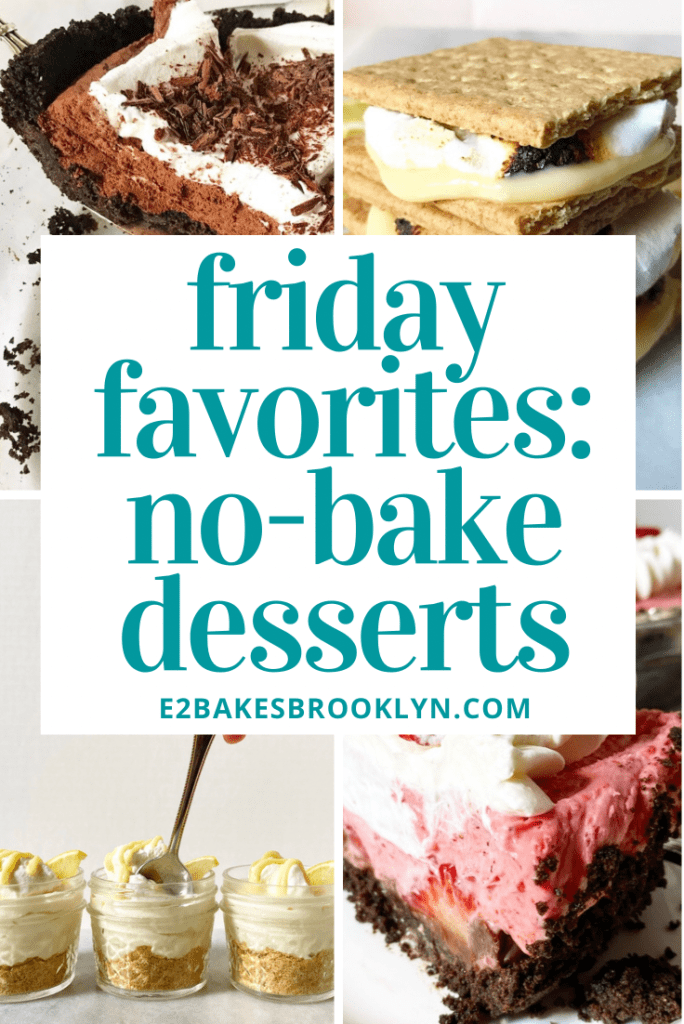
Every year I consider doing a “No-Bake Summer,” wherein I only make desserts (and other things) that don’t require cranking the oven in my already-too-hot apartment. I’ve never gone through with it though, mostly because I just really love to bake (regardless of the potential for heatstroke). That said, I have a whole new appreciation for no-bake desserts after the searing hot temperatures we had in NYC this week.
I’ve done a no-bake round-up before, but it’s been a few years. In the intervening time, I’ve added to my repertoire of creamy pies, non-traditional s’mores, puddings, and mason jar desserts. Instead of relying on ambient 350F (or so) heat to provide structure and flavor, all of these recipes rely on things like stovetop cooking (double boilers!), stiff peaks of whipped cream, coconut oil, and long chills for their deliciousness. There’s no wrong way to get your no-bake on! Here are a few of my oven-free favorites from the archives.
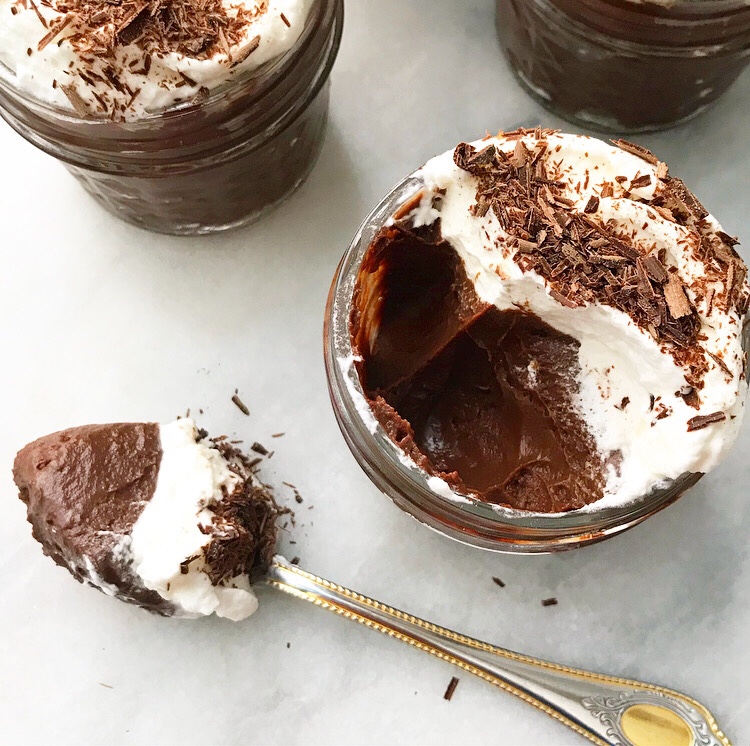
Homemade Chocolate Pudding is simpler than you may think, and takes all of fifteen minutes to whisk up. Made rich with whole milk and egg yolks and flavored with both cocoa powder and dark chocolate, this classic stovetop dessert is not to be missed!

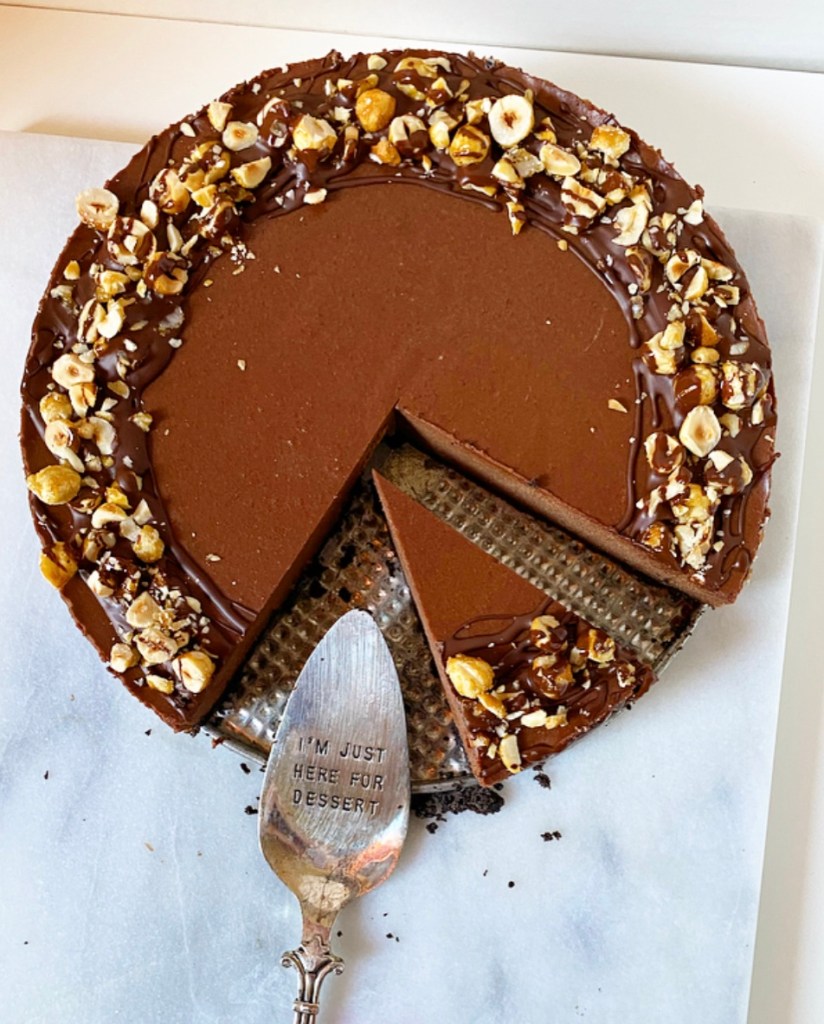
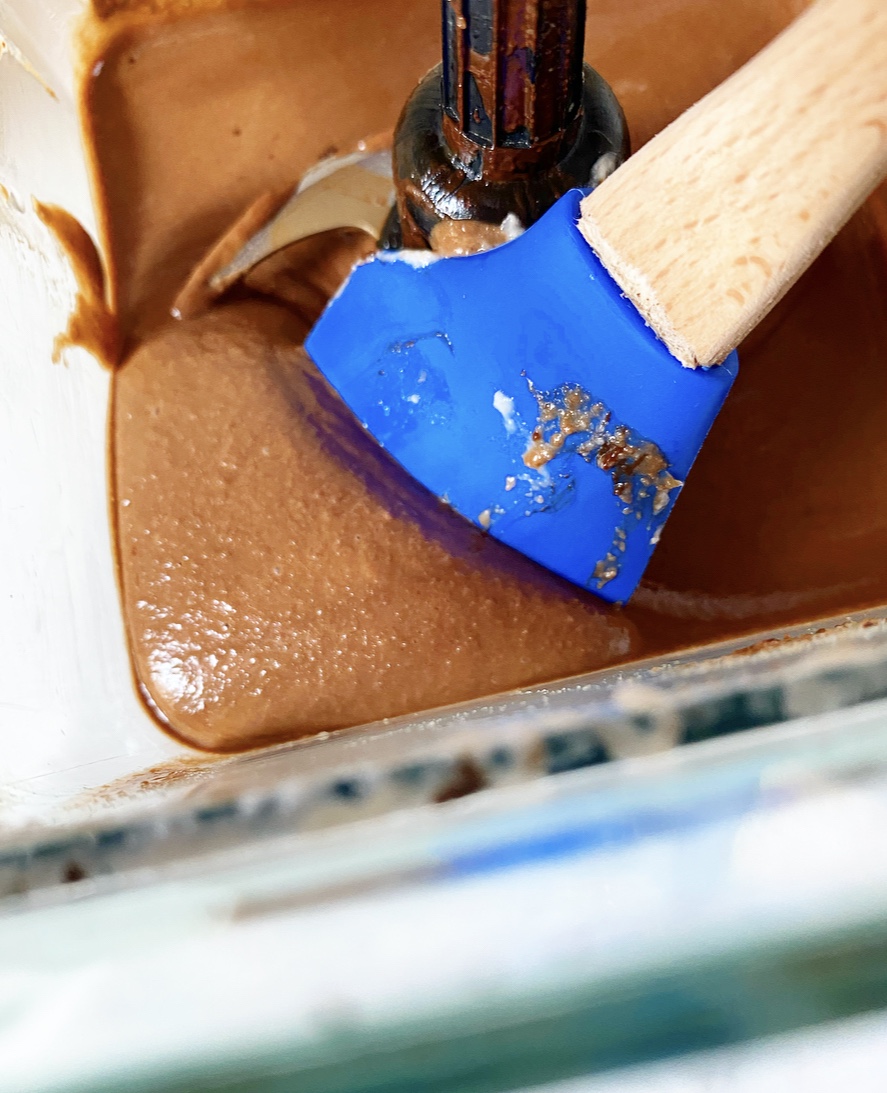
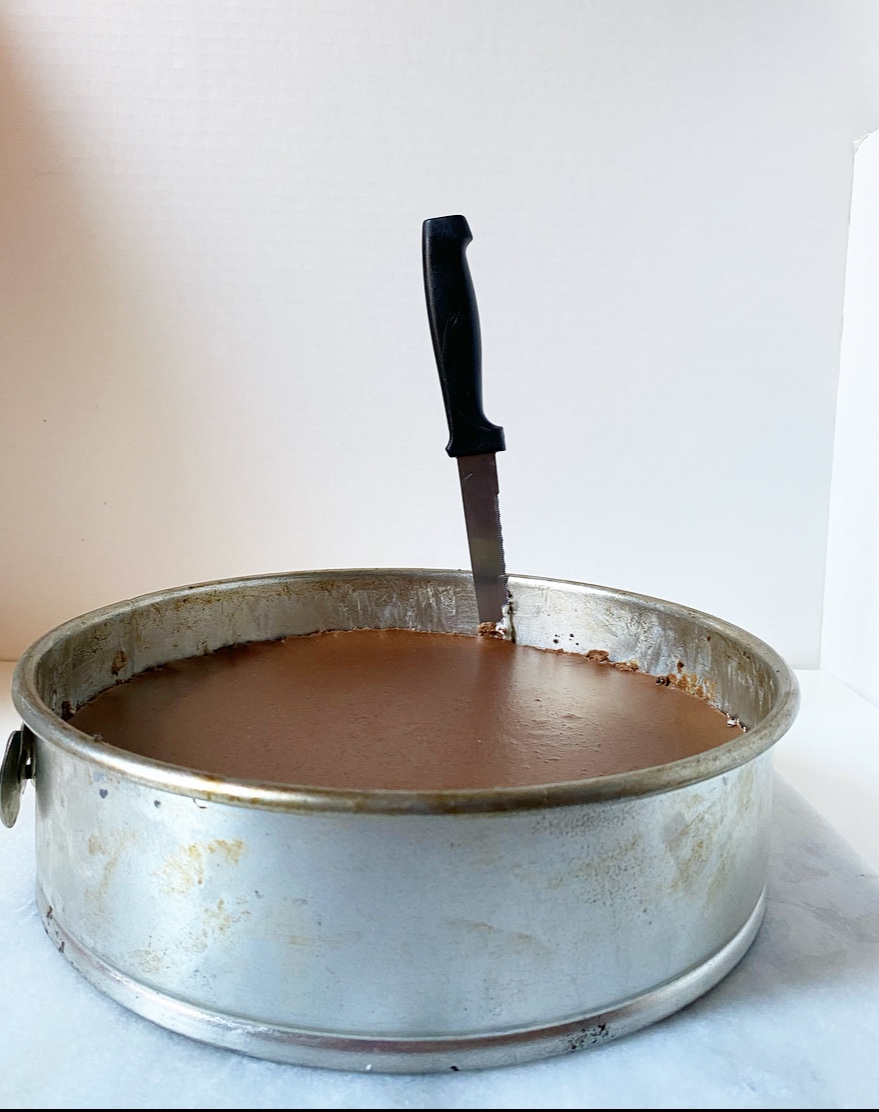
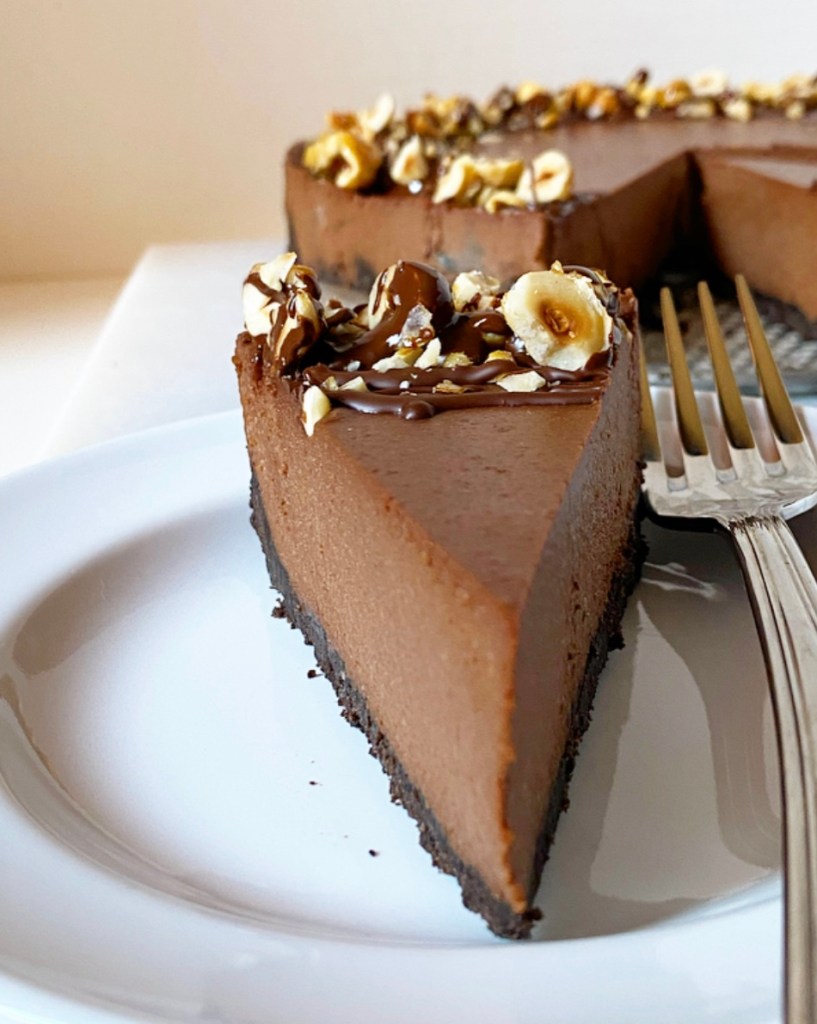
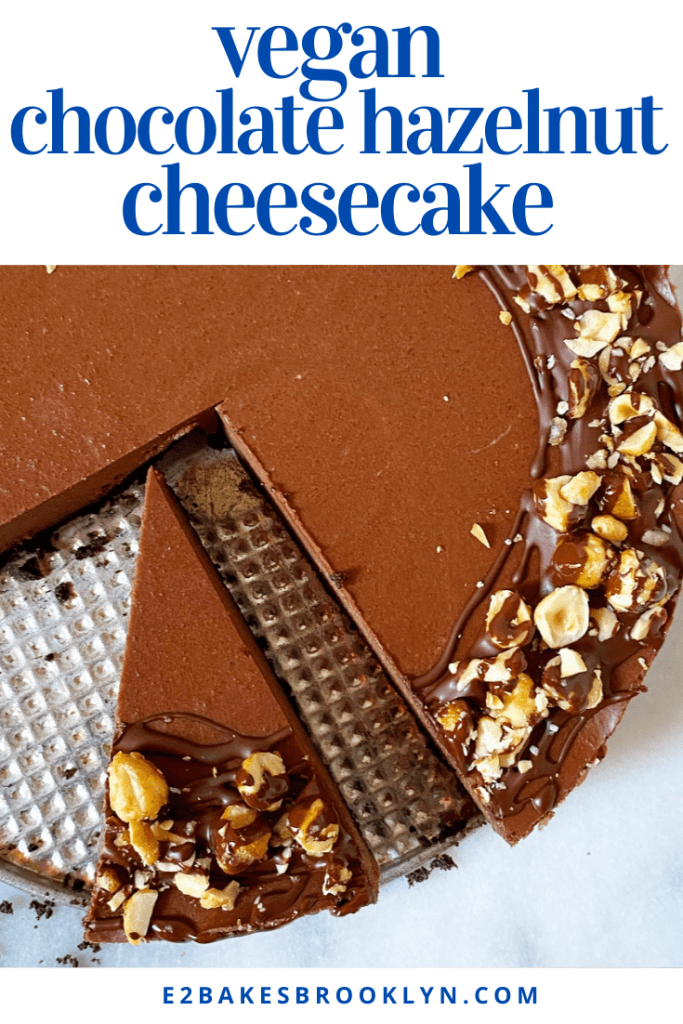
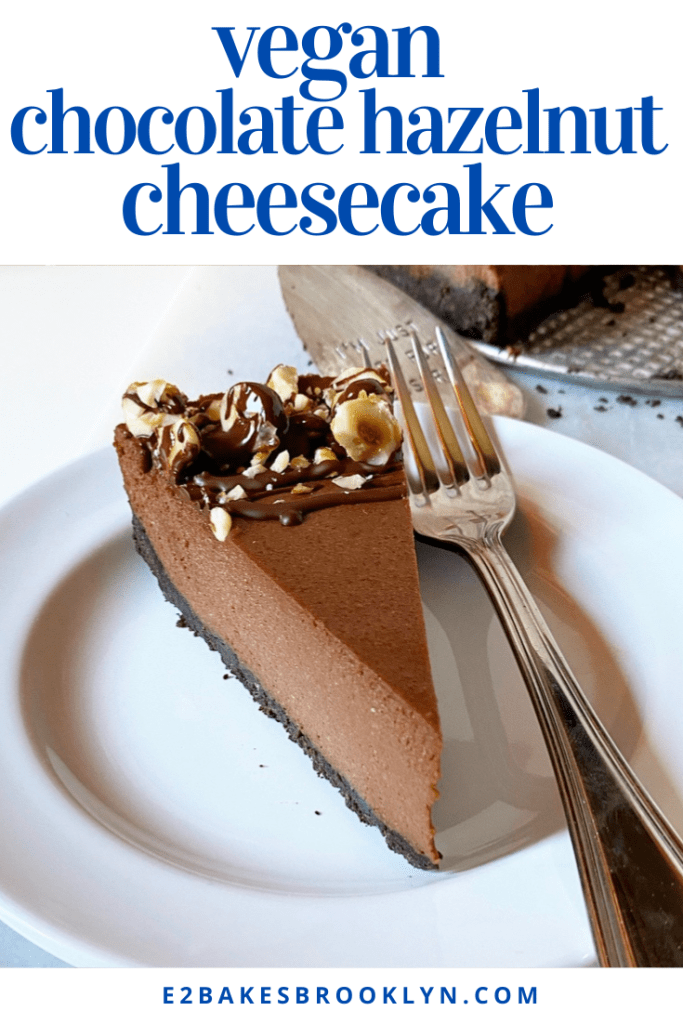
Vegan cheesecakes require a bit more planning ahead than your average no-bake dessert, but they are so worth the minimal effort. These concoctions of soaked cashews, coconut oil, coconut cream, maple syrup and other delicious things come together in a blender, then firm up in the fridge. Their texture is as luxurious as any dairy cheesecake, and they are sooo delicious. Try a plain & peachy version, a decadent chocolate one, or the new chocolate hazelnut variation I posted on Wednesday. I promise you won’t be disappointed.
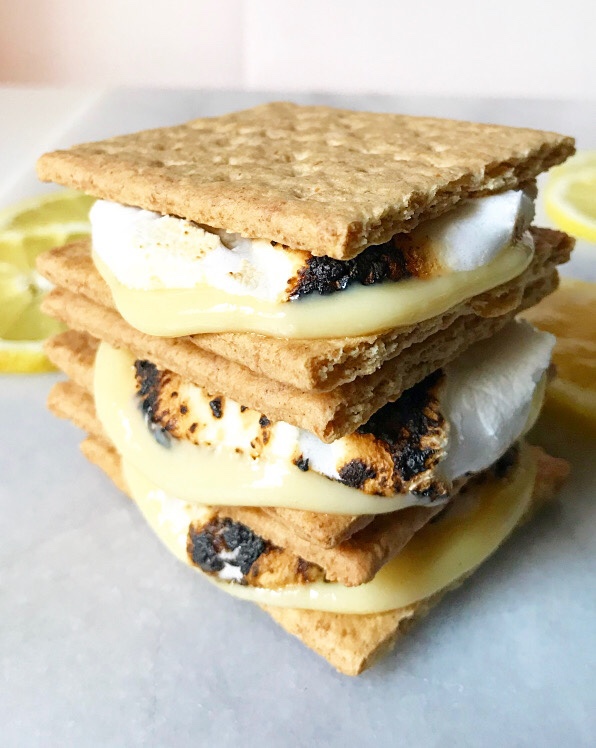
Lazy Lemon Curd & Lemon Meringue S’mores
You’ve almost certainly had classic lemon curd, but have you tried my Lazy Lemon Curd? It couldn’t be simpler—just whisk together lemon juice, egg yolks, and sweetened condensed milk, then simmer the mixture over a double boiler until it’s luscious and lemony. My all time favorite way to use it is stacked with toasted marshmallows and graham crackers for Lemon Meringue S’mores…
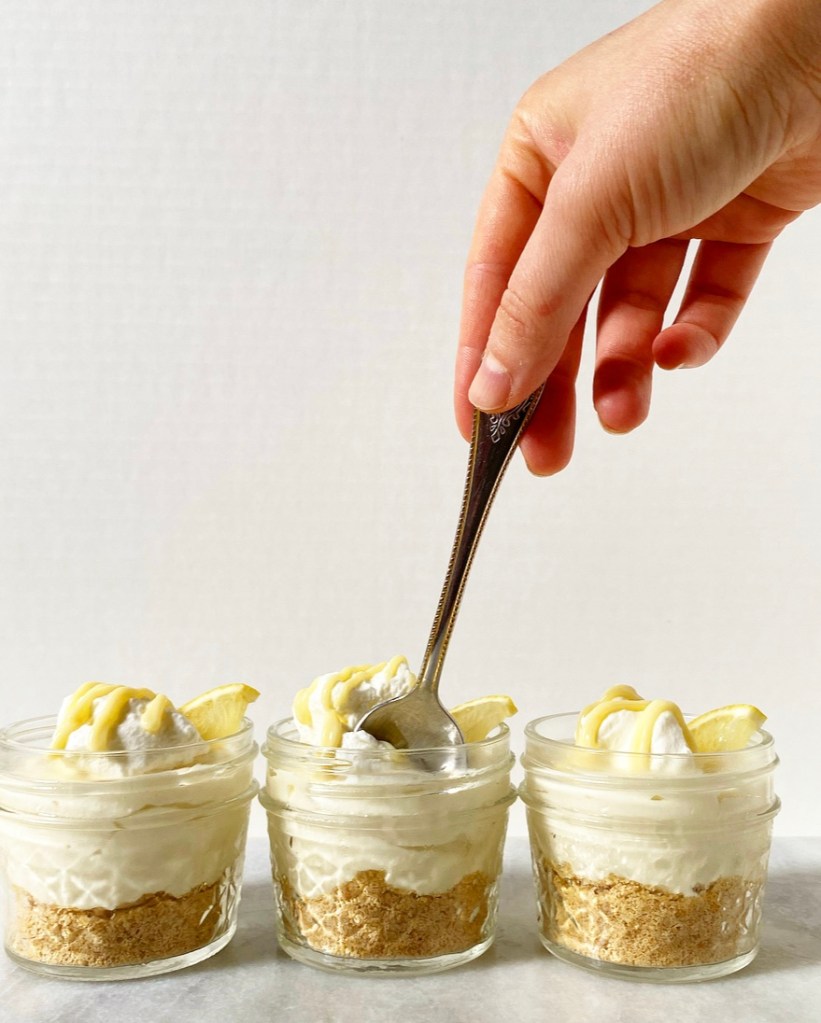
…but I also love it whirled with cream cheese and confectioner’s sugar, lightened with whipped cream and nestled onto loosely-packed graham cracker crusts.
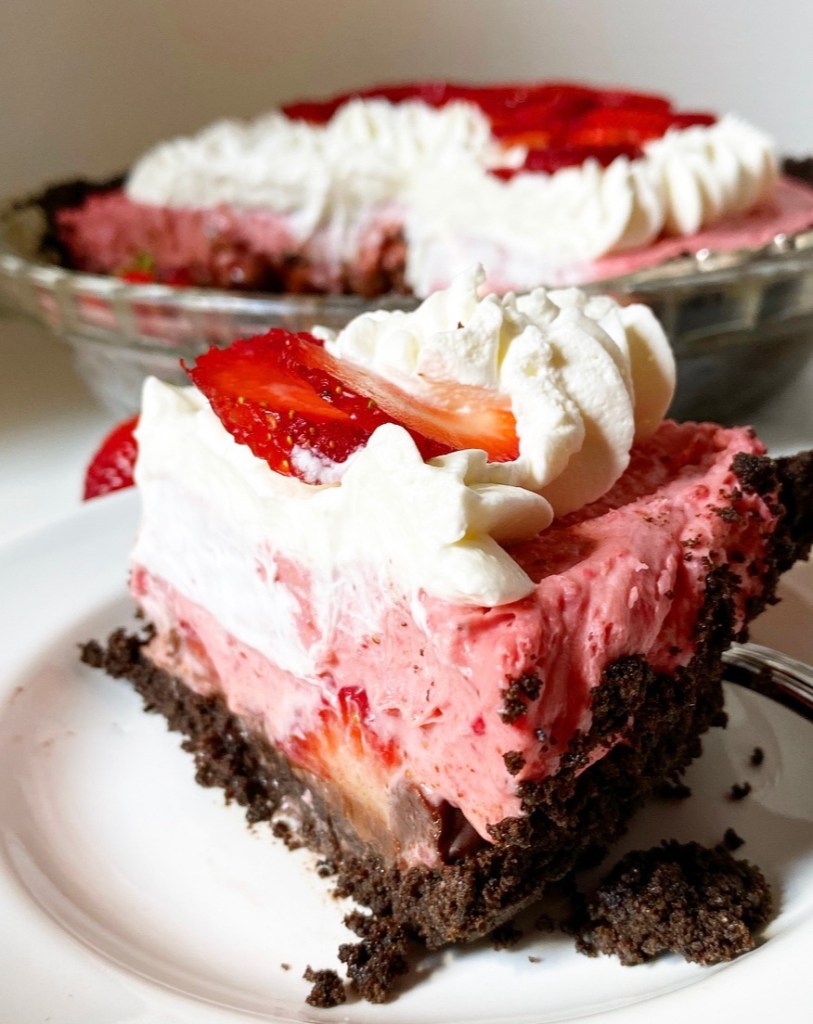
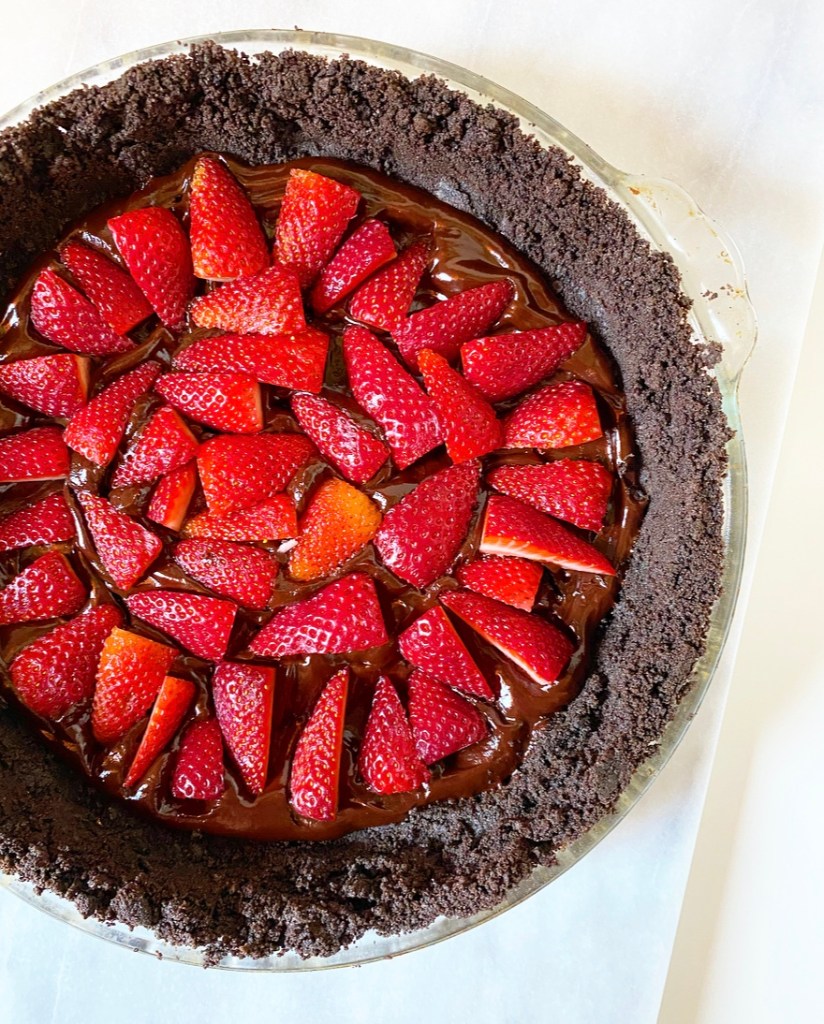
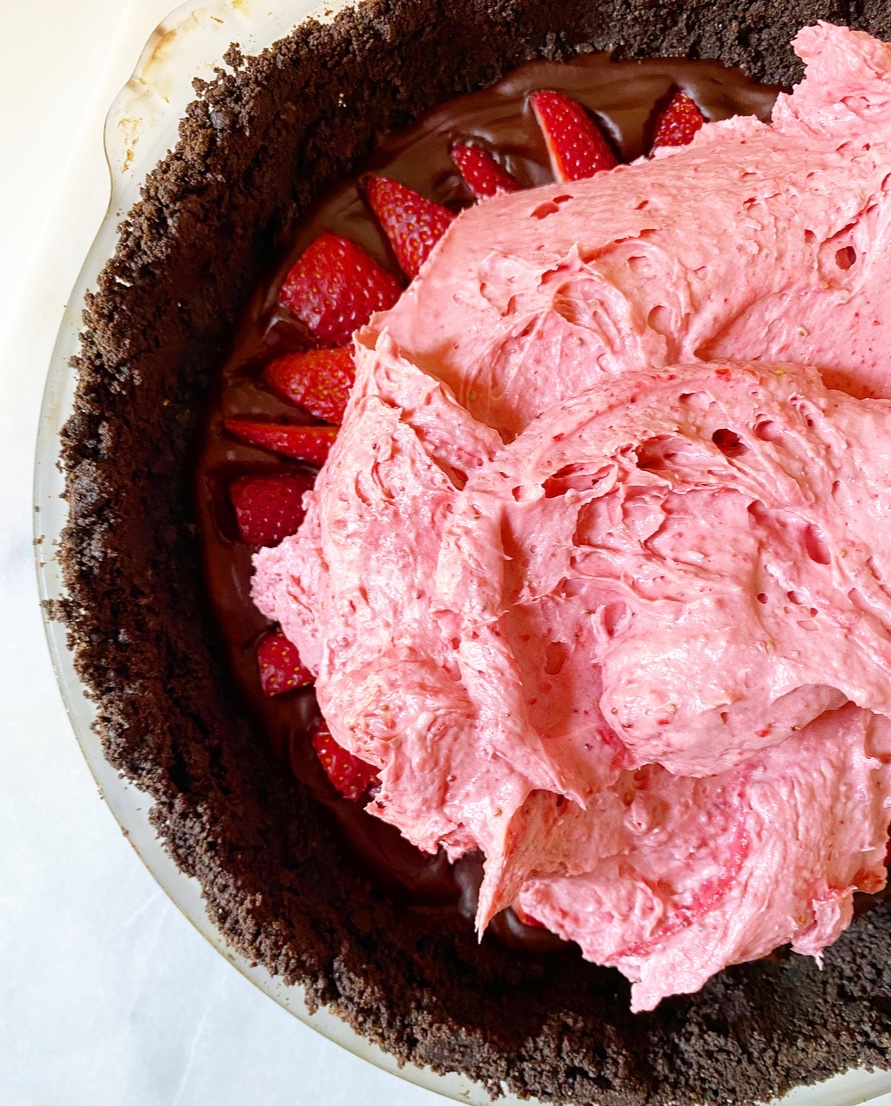
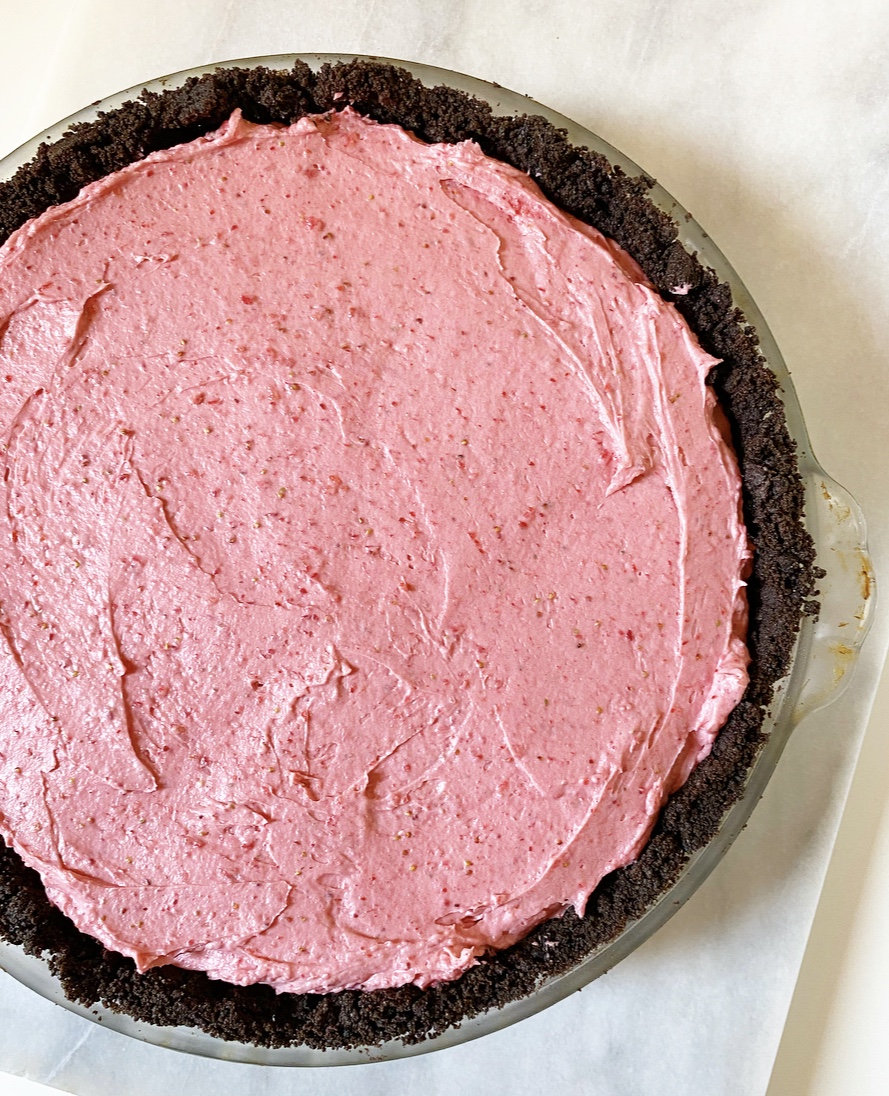
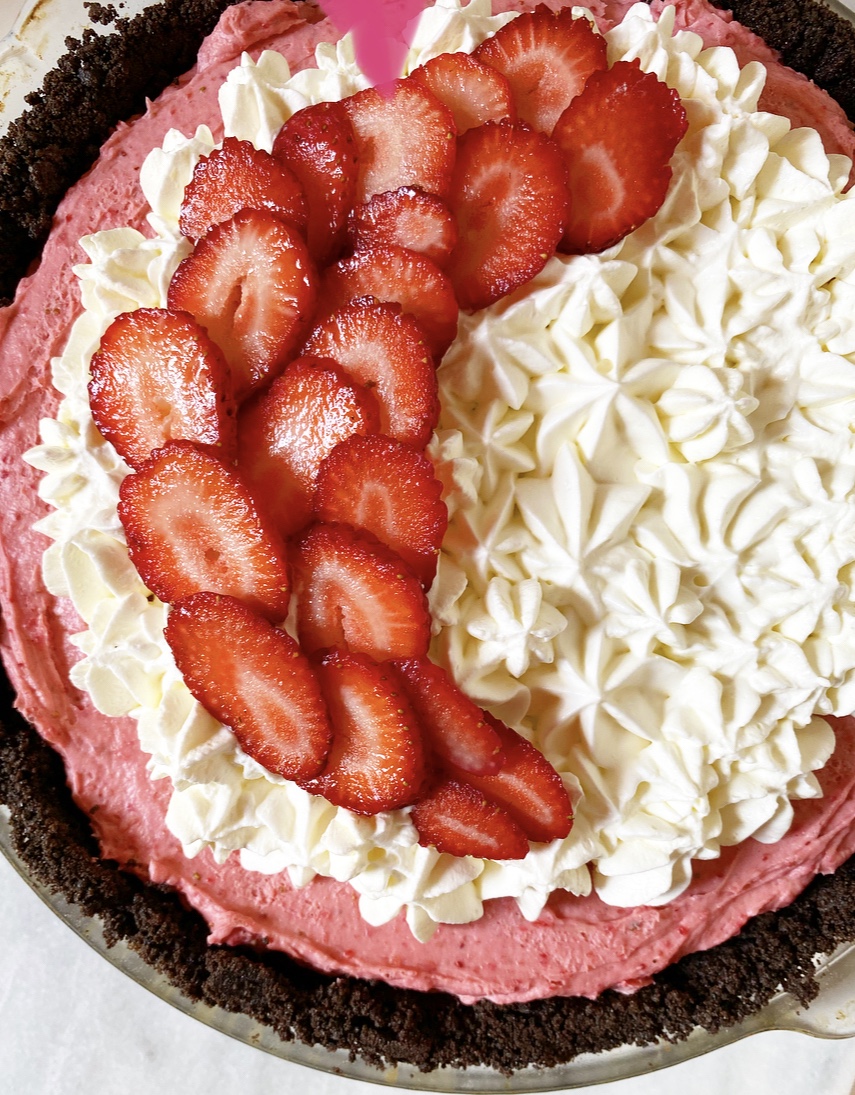
Creamy pies are a classic no-bake treat. Here, billowy whipped strawberry filling is layered over fresh strawberries and a puddle of ganache, all nestled in a crumbly Oreo crust. Yum!
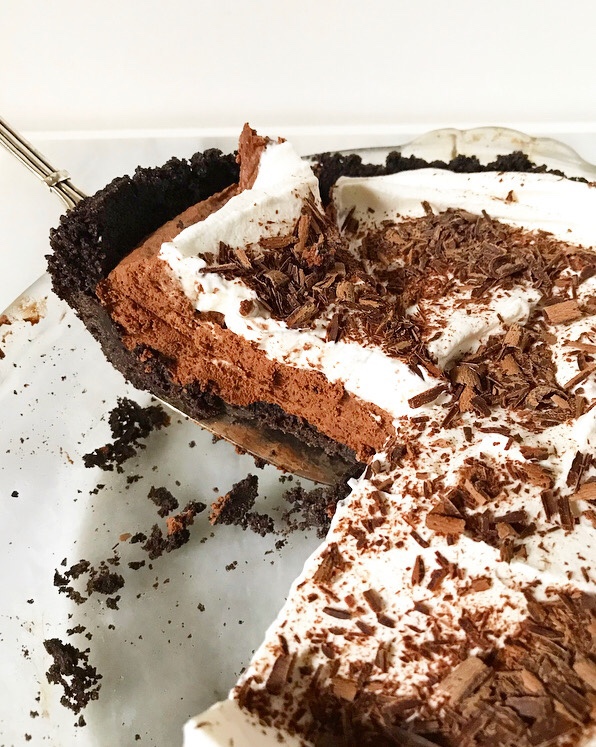
If berries aren’t your bag, by all means, make this No-Bake Chocolate Mousse Pie. I don’t even think I need to talk you into it, except to say “make this.” Make this.
Have you made these or any of my other no-bake recipes? Let me know in the comments or on social media!


 Christmas in a pandemic is so strange. I mean, I’ve spent Christmas away from my immediate family before, but it’s always been with (ex-)boyfriends or friends. But this year, traveling and gathering don’t seem like great plans and I am deeply single, so Christmas alone it is.
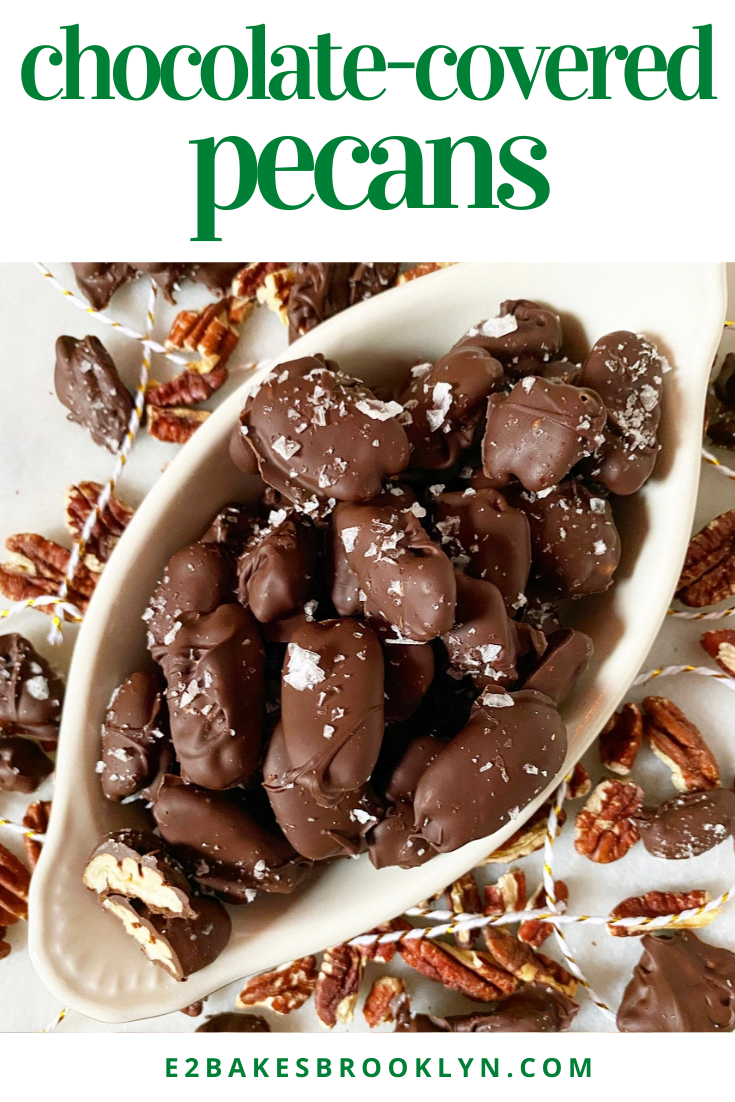
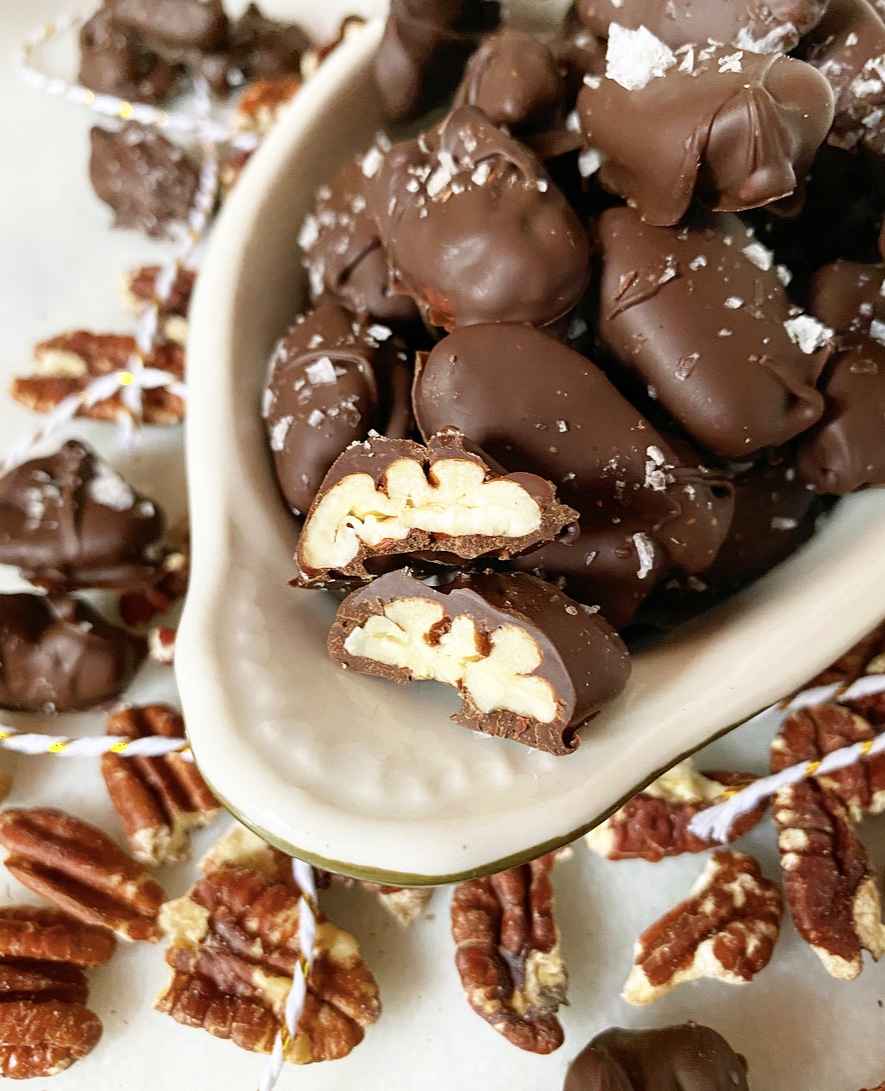 I’ve already had my pre-Christmas anticipatory-loneliness gloom and doom, and have now moved on to determining what will make this Christmas feel like…Christmas. Like, when I FaceTime my family, I’m going to wear my Christmas pajamas that match my sisters. And I’m going to take a walk. Maybe watch Love Actually for the 374th time. Perhaps make a pot roast. And I’m going to eat chocolate-covered pecans by the handful. It’s the Davenport way.
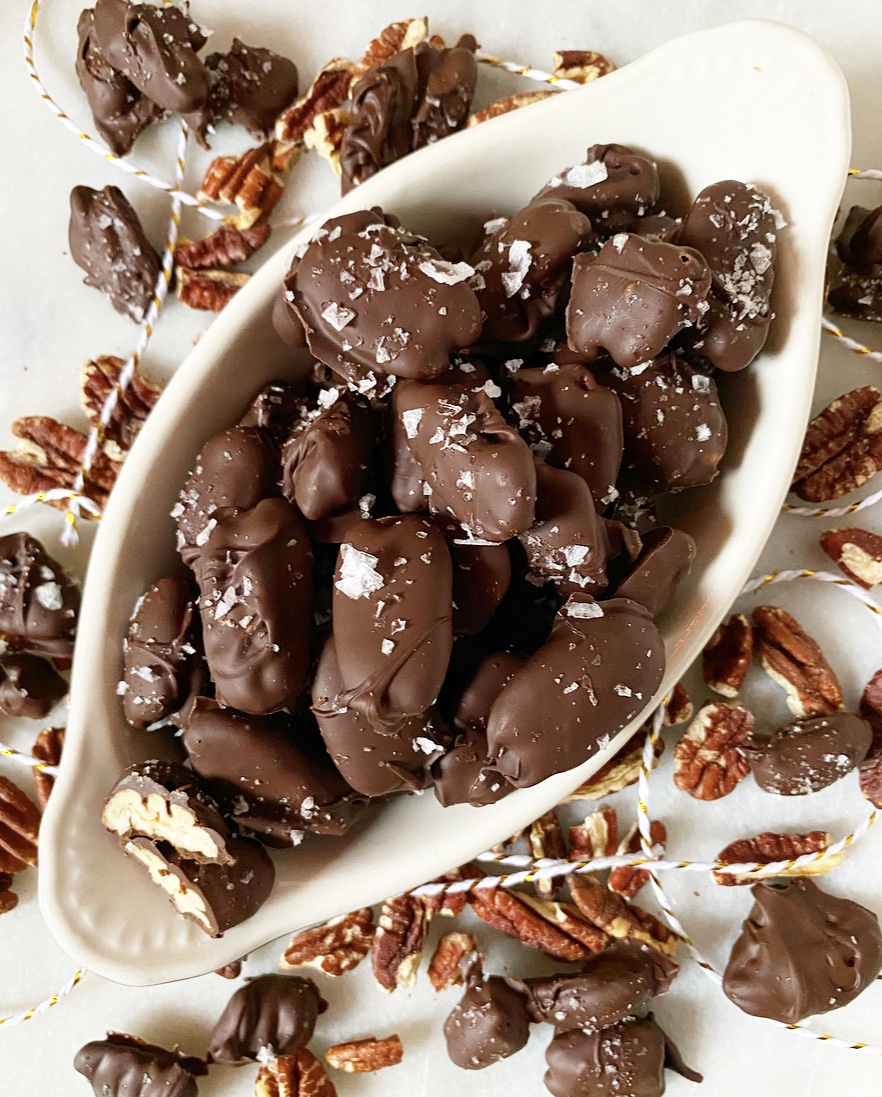 Chocolate-Covered Pecans have a
  Since my sisters and I all moved away, we’ve each been added to my dad’s chocolate-covered pecan Christmas list. It’s something I look forward to every year—my tin showing up a week or two before I fly home for the holiday break. Except, of course, that I’m not flying home this year. And for a brief moment, thanks to the notorious difficulties with shipping right now, I thought that my dad might have decided not to send chocolate-covered pecans in 2020.
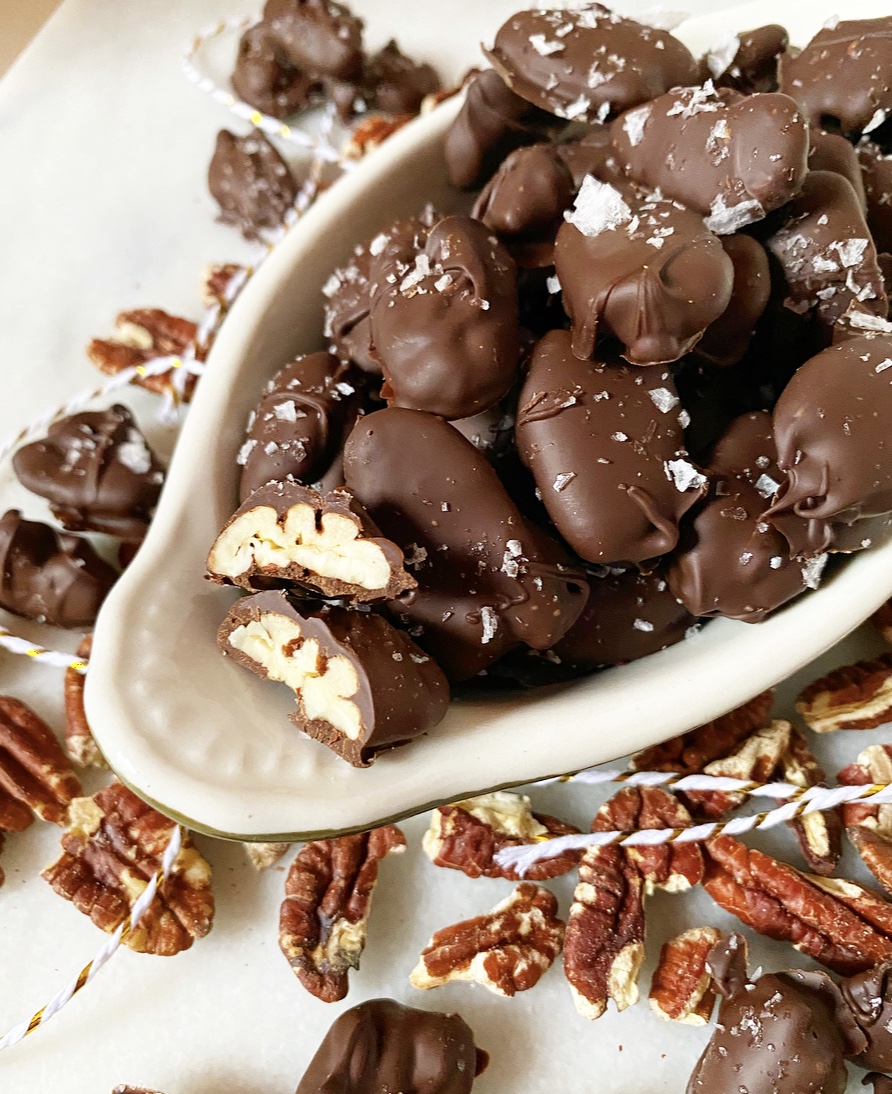
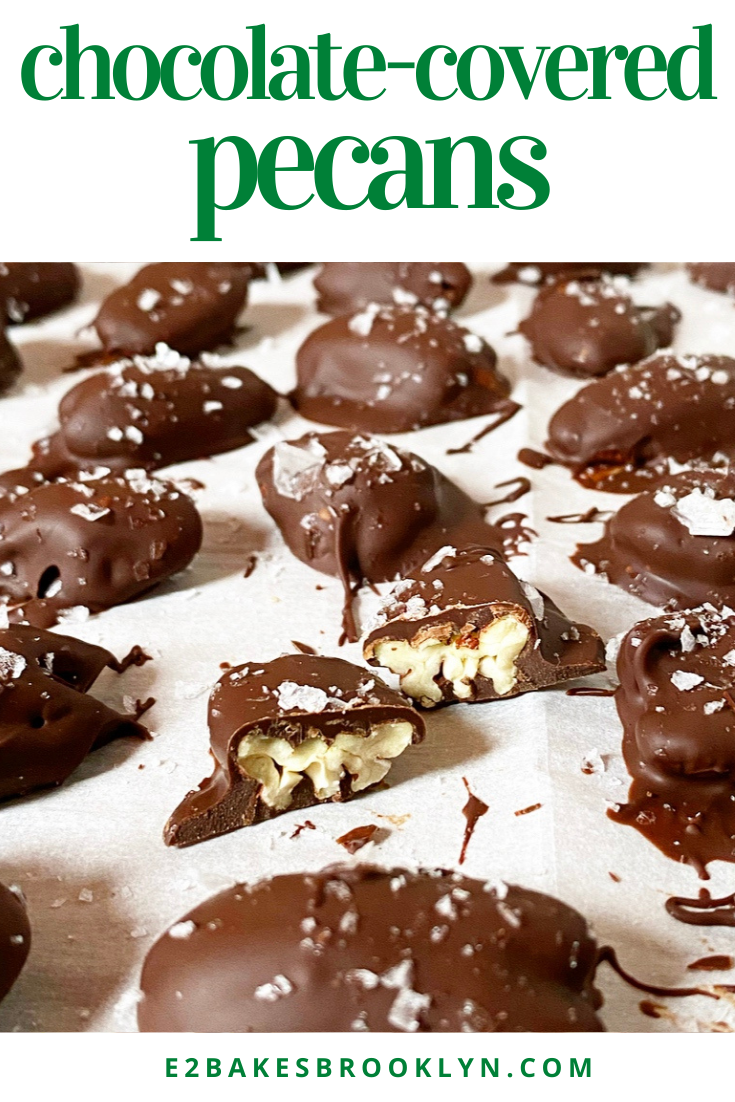
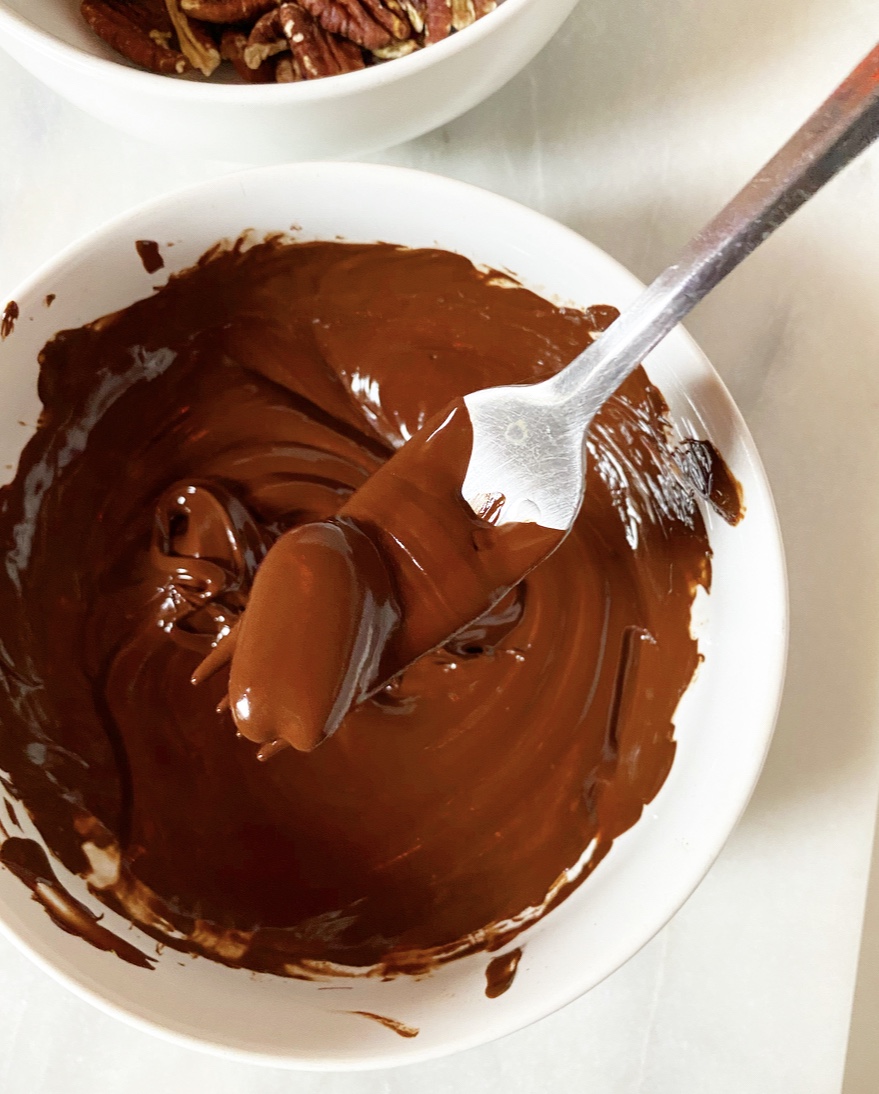 Thankfully that is not the case and my tin arrived on December 16th, but in that moment where I thought this tradition might be another casualty of 2020, I took the time to create my own recipe for Chocolate-Covered Pecans. I certainly wasn’t going to go without them. No way.
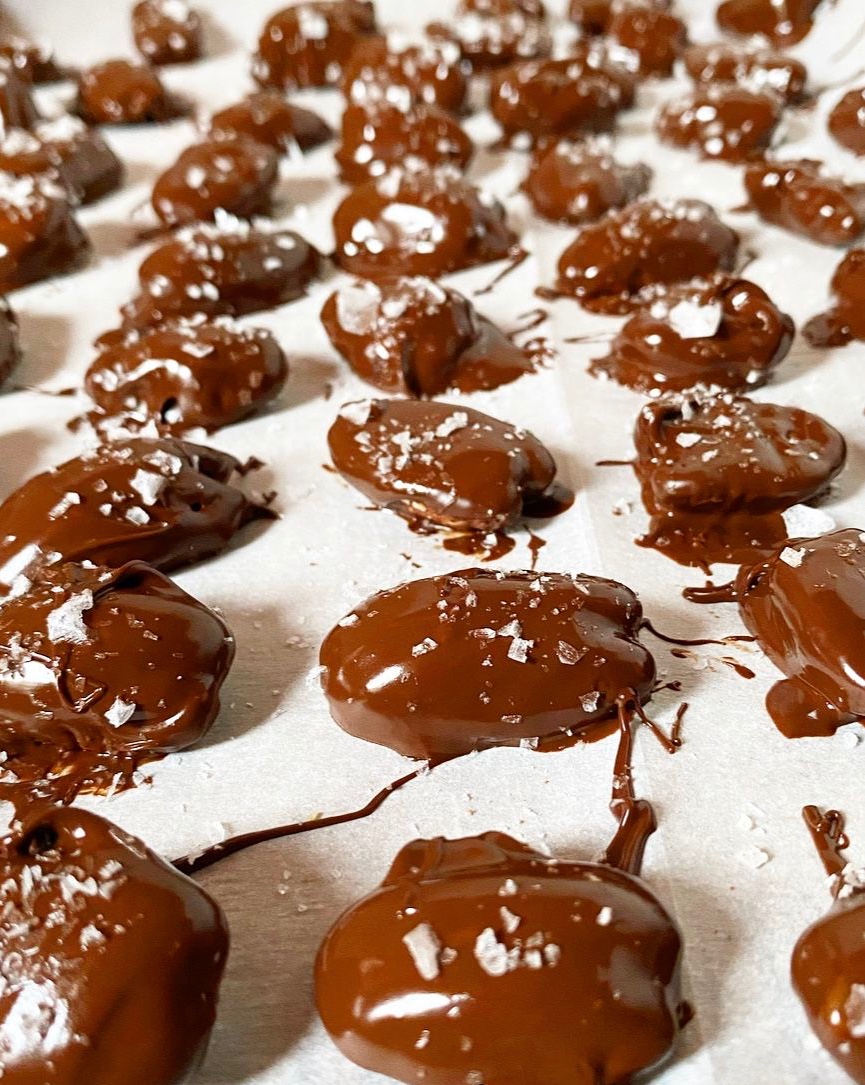 My Chocolate-Covered Pecans are the tiniest spin on my
  Merry Christmas! Happy Holidays! Whatever you do or don’t celebrate, I hope you find a way to enjoy the end of this challenging year. I’m taking Friday off for Christmas, but will be back next week with year-end round ups. Stay cozy, everyone.
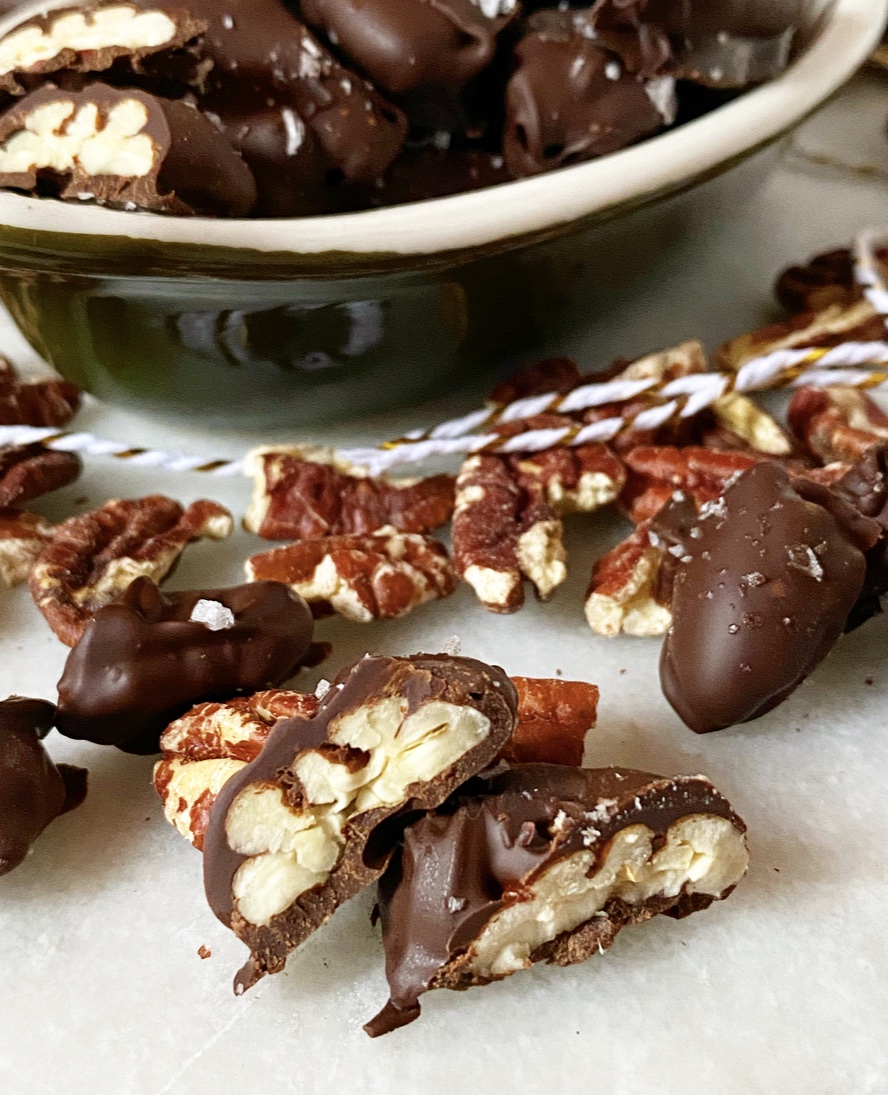

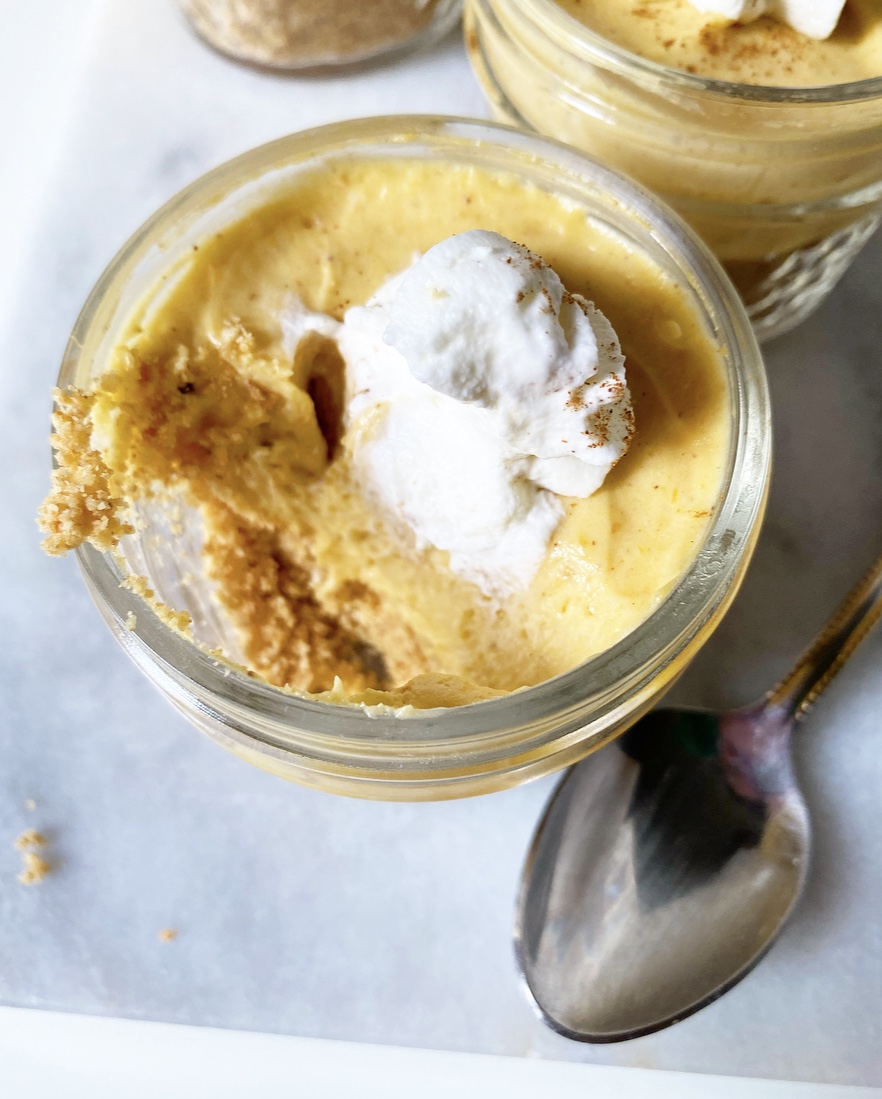
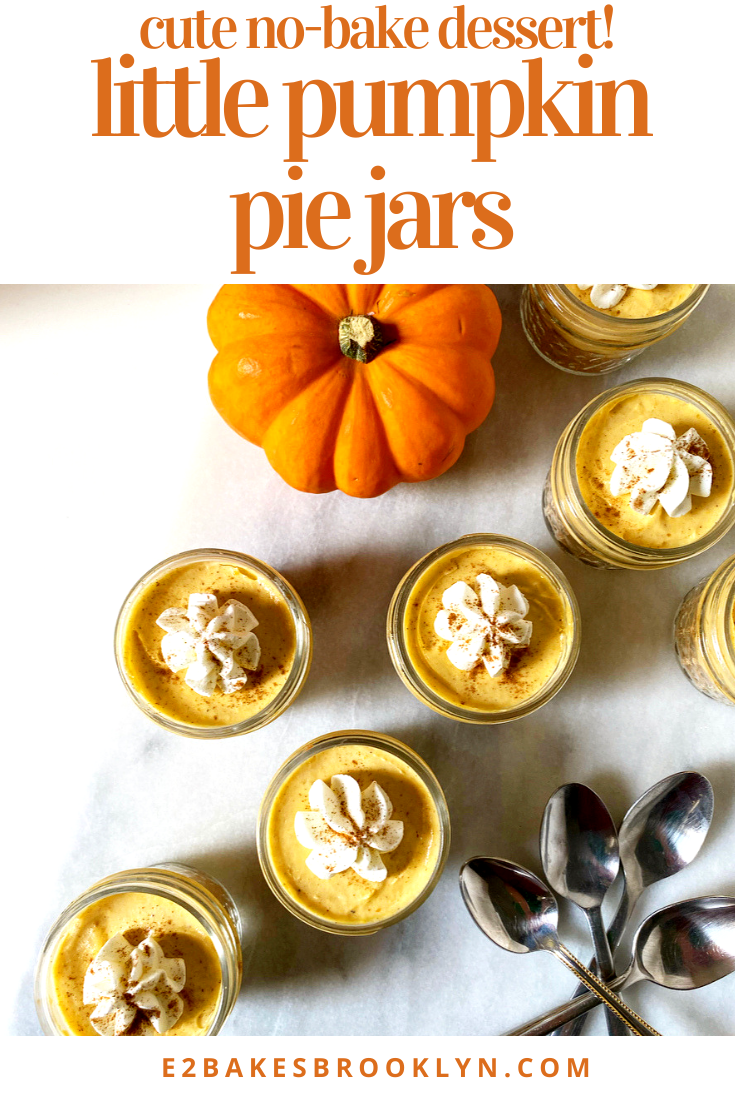
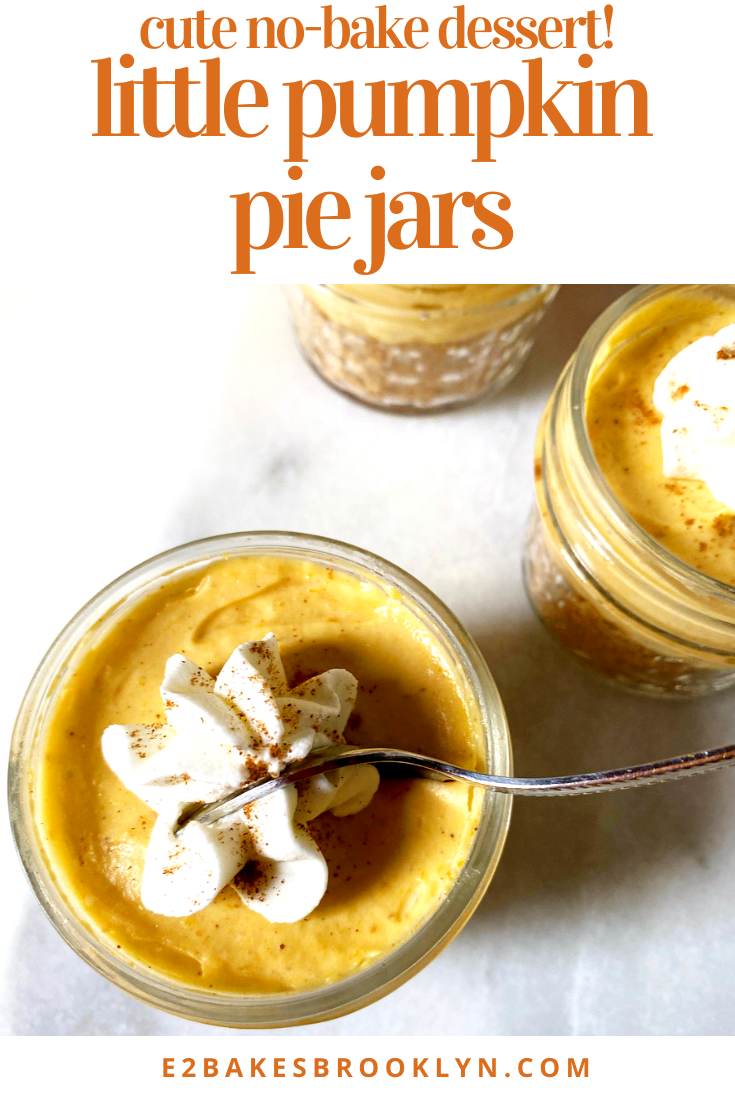
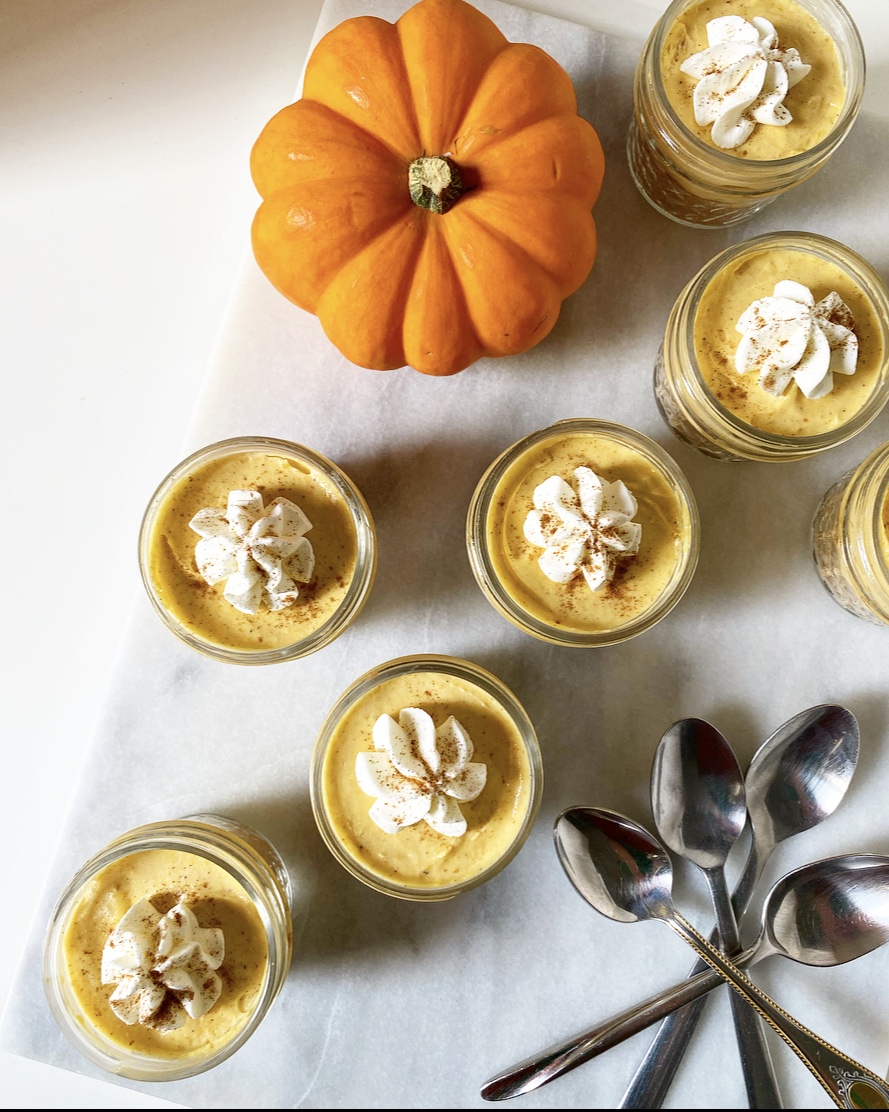 I questioned my sanity while making these Little Pumpkin Pie Jars earlier this week—do we need a
 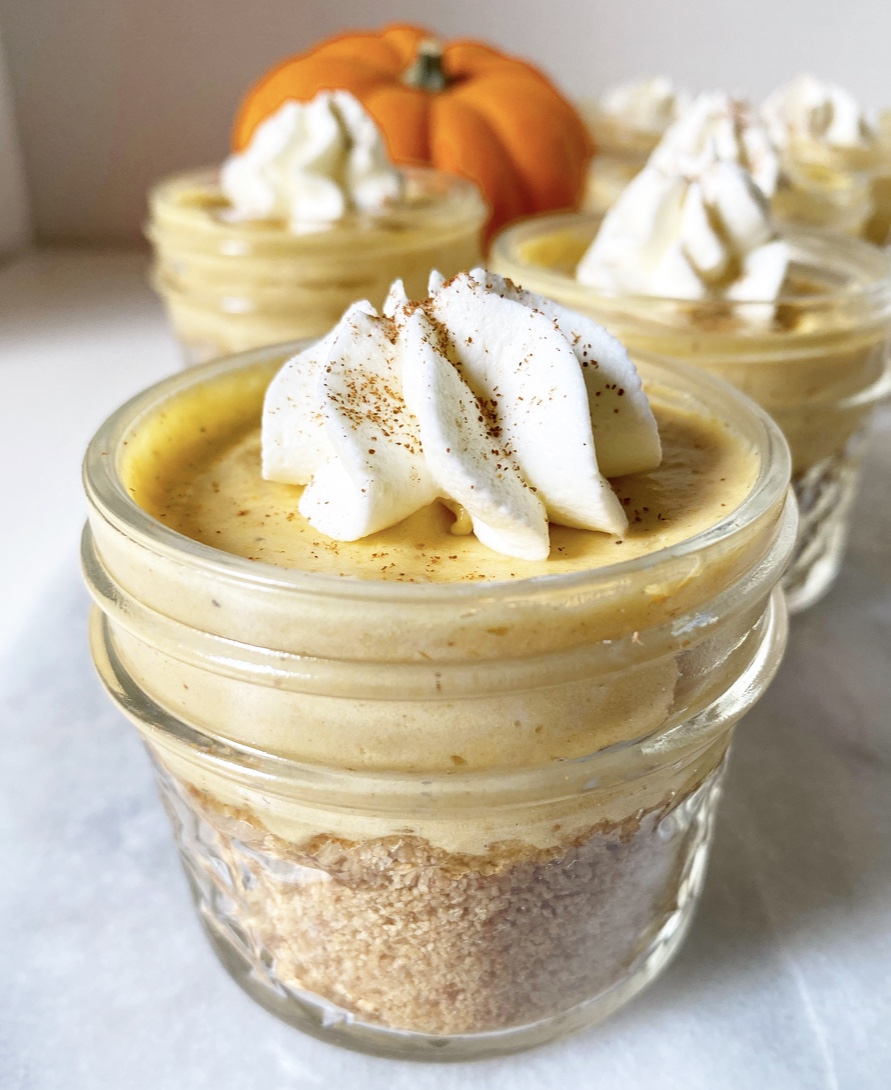 That said, we might need eight pies, but little ones in mason jars that require no baking—perfect for a Thanksgiving with all the trimmings and all the COVID precautions. Little Pumpkin Pie Jars are just the ticket.
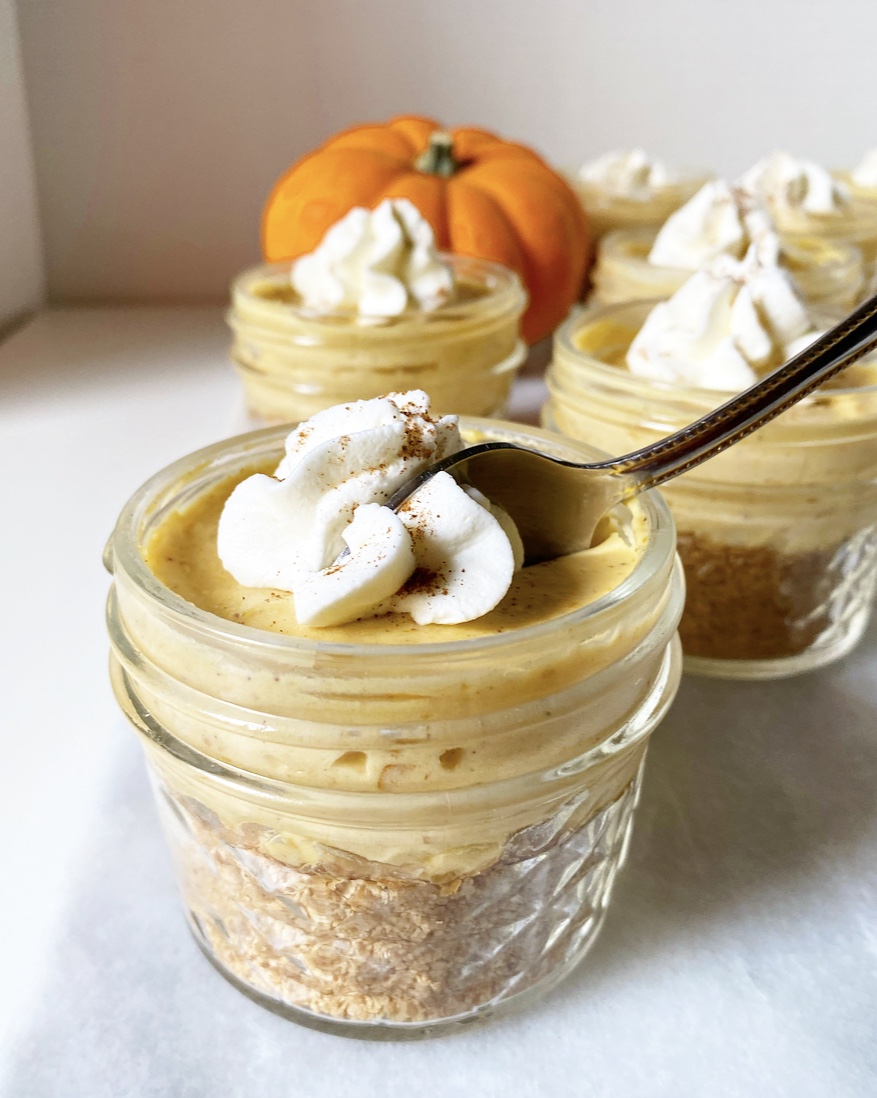 This recipe is nearly a carbon copy of the
 Little Pumpkin Pie Jars get their autumnal flavor from the