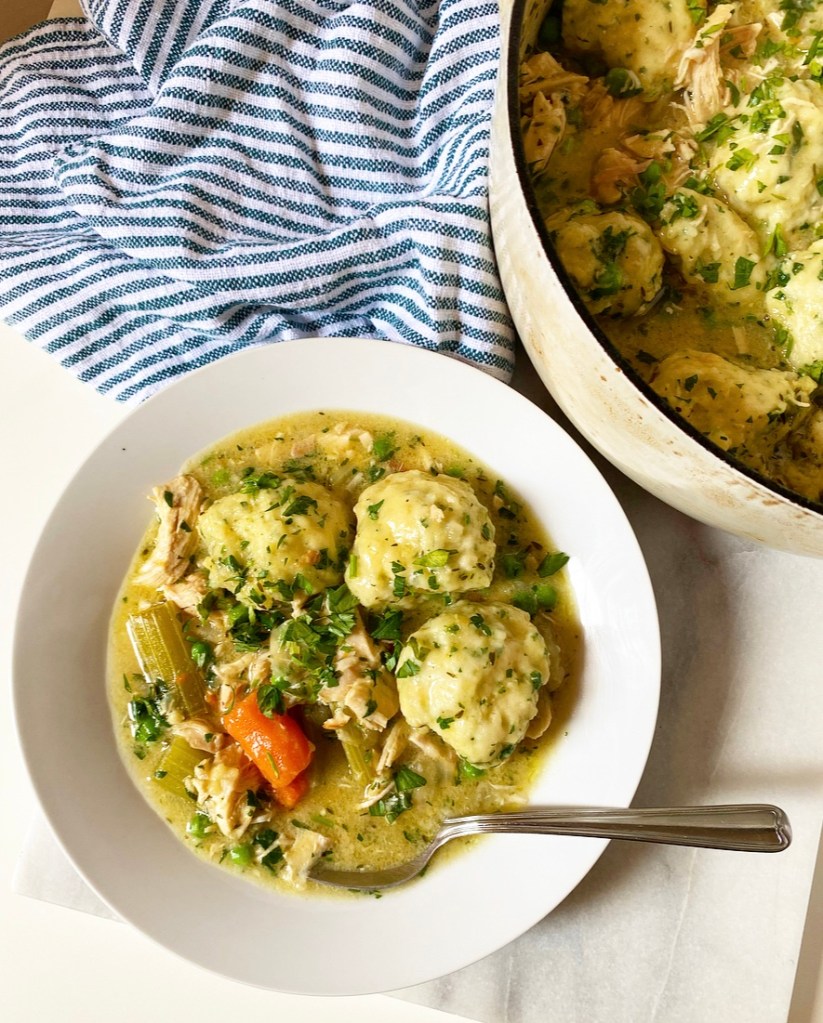
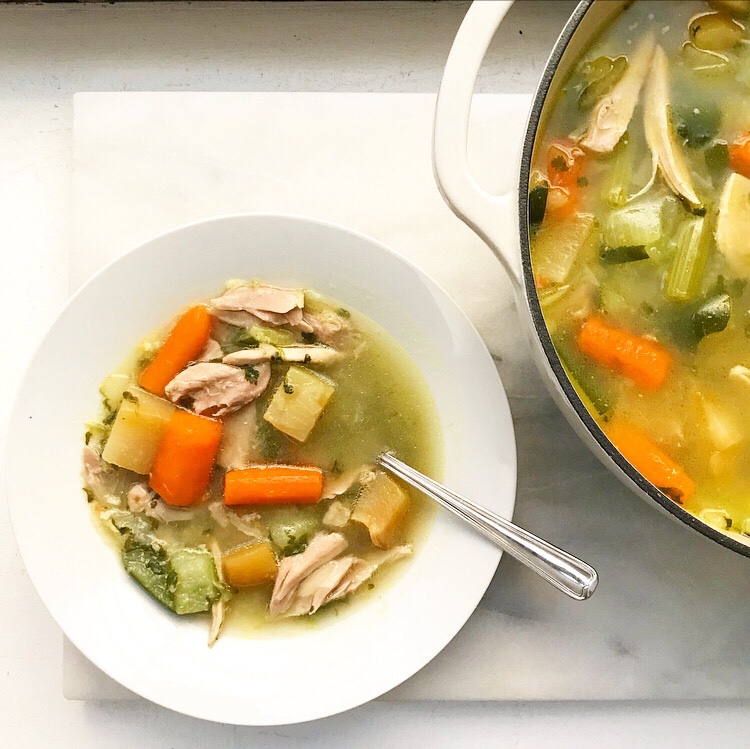
It has been super cold in NYC these last several days—perfect weather for Chicken & Dumplings.
This is a bowl of pure comfort: creamy chicken stew with plenty of nourishing vegetables and fluffy, parsley-flecked dumplings. Yum! It’s the best kind of stick-to-your-ribs meal to have in your culinary arsenal during the winter, alongside its spiritual sibling, Chicken Pot Pie, of course.

Chicken & Dumplings starts with a stew which, in this case, is nothing more than a slightly-enhanced chicken soup. To that end, I follow a similar method to my Sopa de Pollo recipe, cutting the vegetables into larger chunks and simmering them with bone-in skin-on chicken until cooked through. The chicken gets shredded and returned to the pot, and then it’s time to thicken the stew and simmer the dumplings.
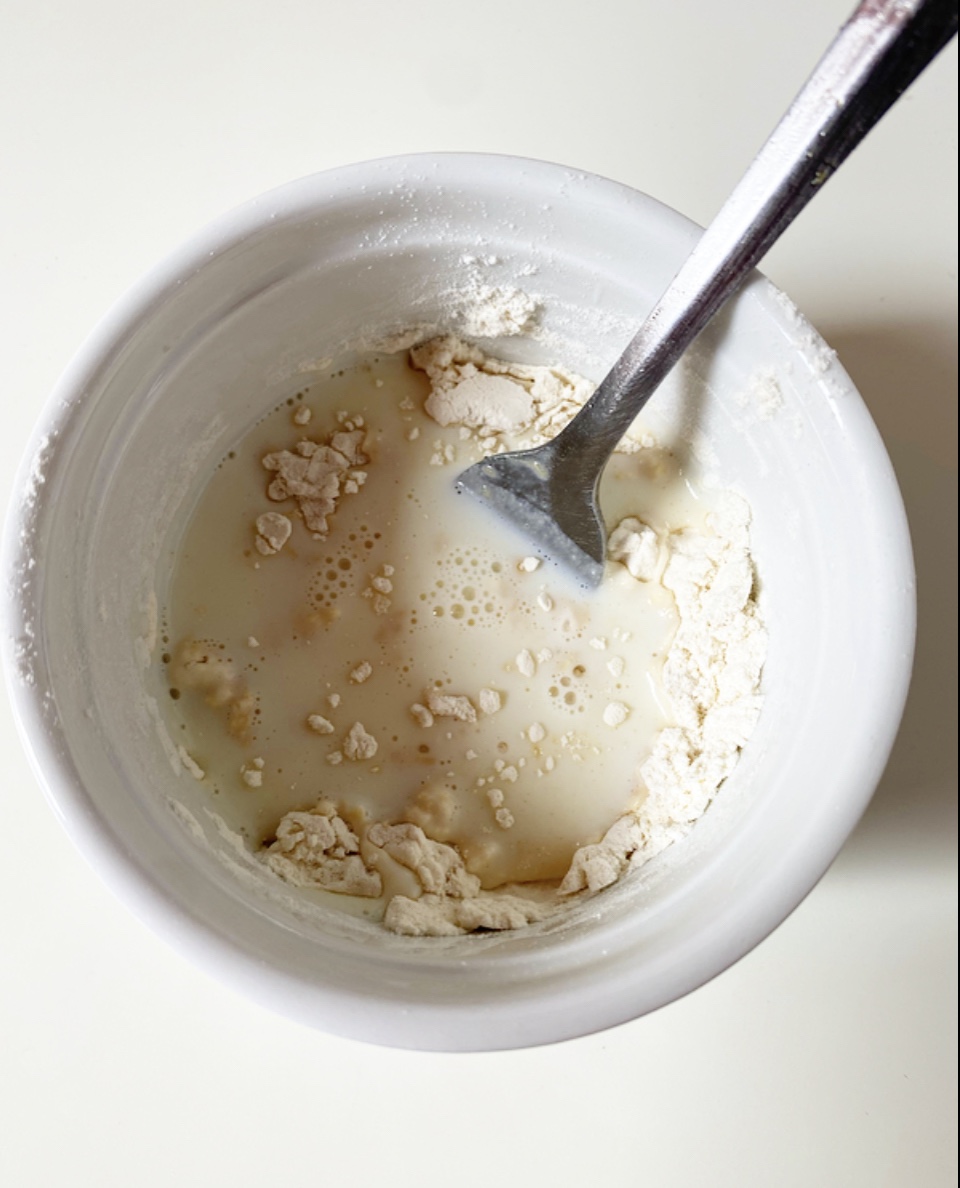
Most chicken & dumplings recipes I have seen rely on a roux of flour and butter for thickening, but I decided to go with a slurry here because I am somewhat averse to creamy savory things and didn’t want to cook the milk in this recipe for very long (but very much wanted Chicken & Dumplings).
Like a roux, a slurry is a way of thickening a liquid by adding something starchy, usually cornstarch or flour. Where the roux involves cooking the starch with fat (like butter) at the beginning of the recipe before adding liquid, a slurry is a paste of starch and a small amount of liquid that is added at least part-way through through. Each has its strong points and I regularly use both methods, but since I based the recipe off Sopa de Pollo and am decidedly squicky about dairy, I went with a slurry here. A mixture of flour, milk and dijon mustard is added right before the dumplings go into the pot, adding flavor and a velvety, creamy texture to the broth.
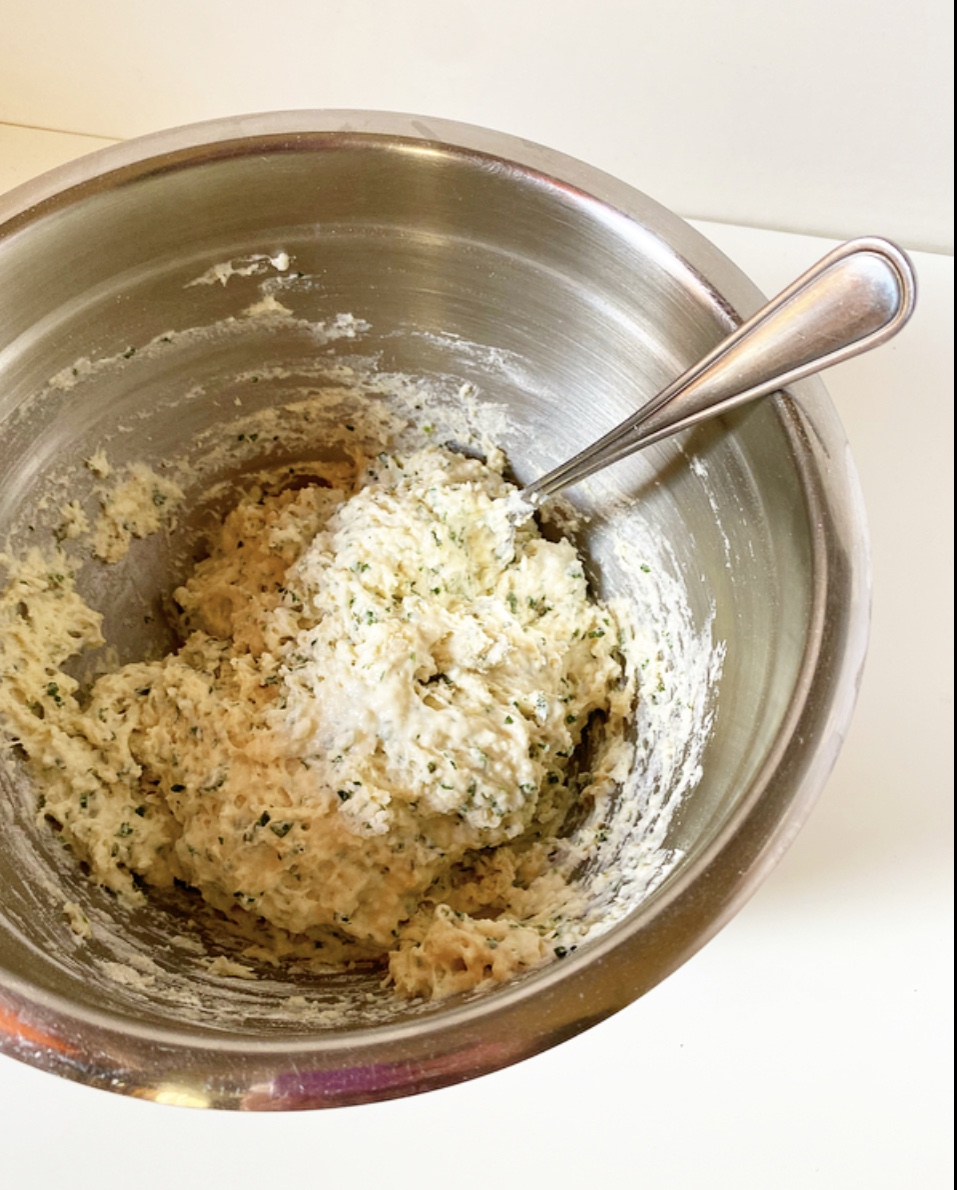
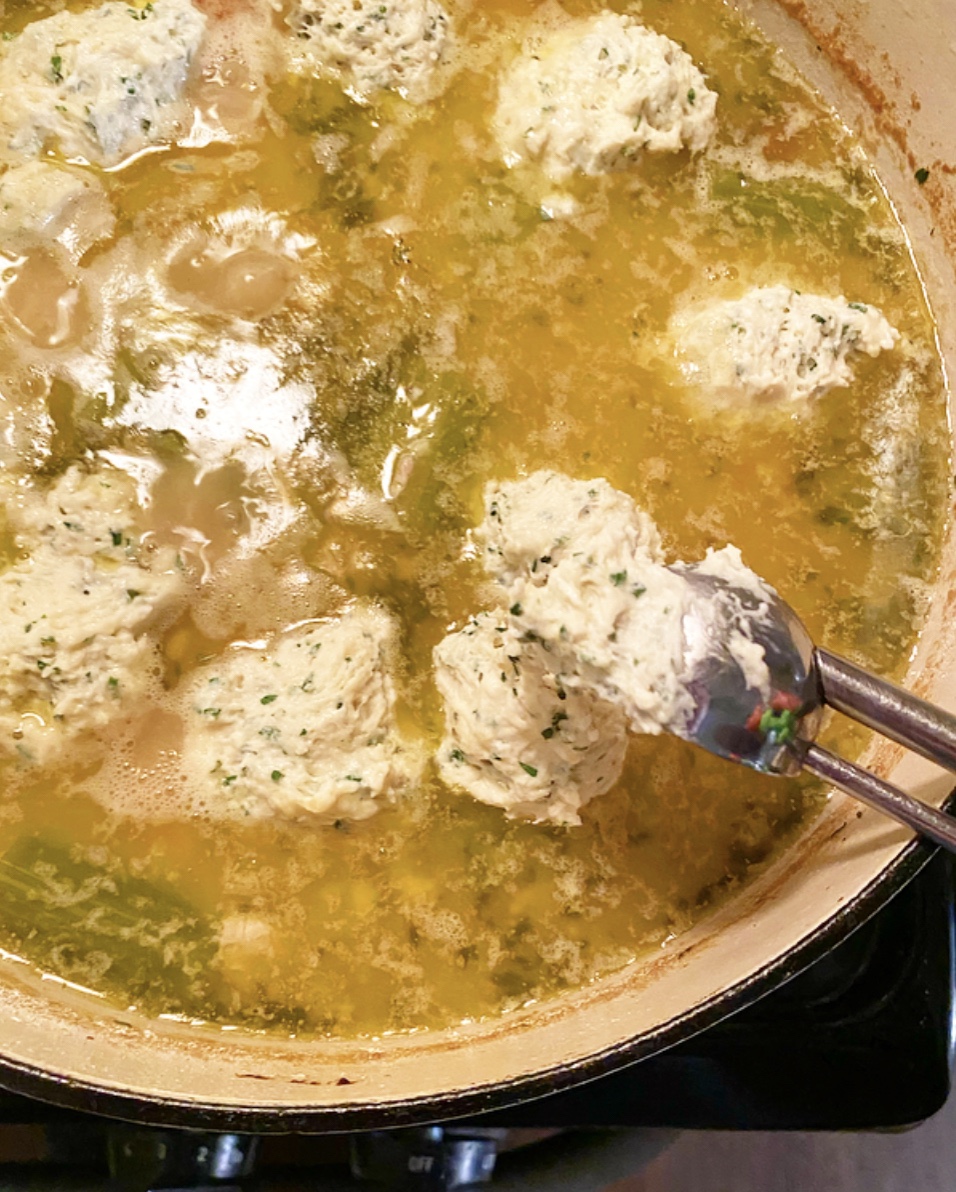
But that’s enough about the stew—the dumplings are the stars of this show! They’re basically a biscuit dough that gets dropped into the pot, then covered and simmered in all that chicken-y goodness until fluffy and light and wonderful. Though they start as a sticky dough, they expand dramatically in the closed pot. Don’t be tempted to open it and check on them—you’ll release all the steam and end up with leaden results. Yuck. The dumplings only take fifteen or so minutes to cook up into buttery little pillows, so just trust the process. It will be worth the wait!

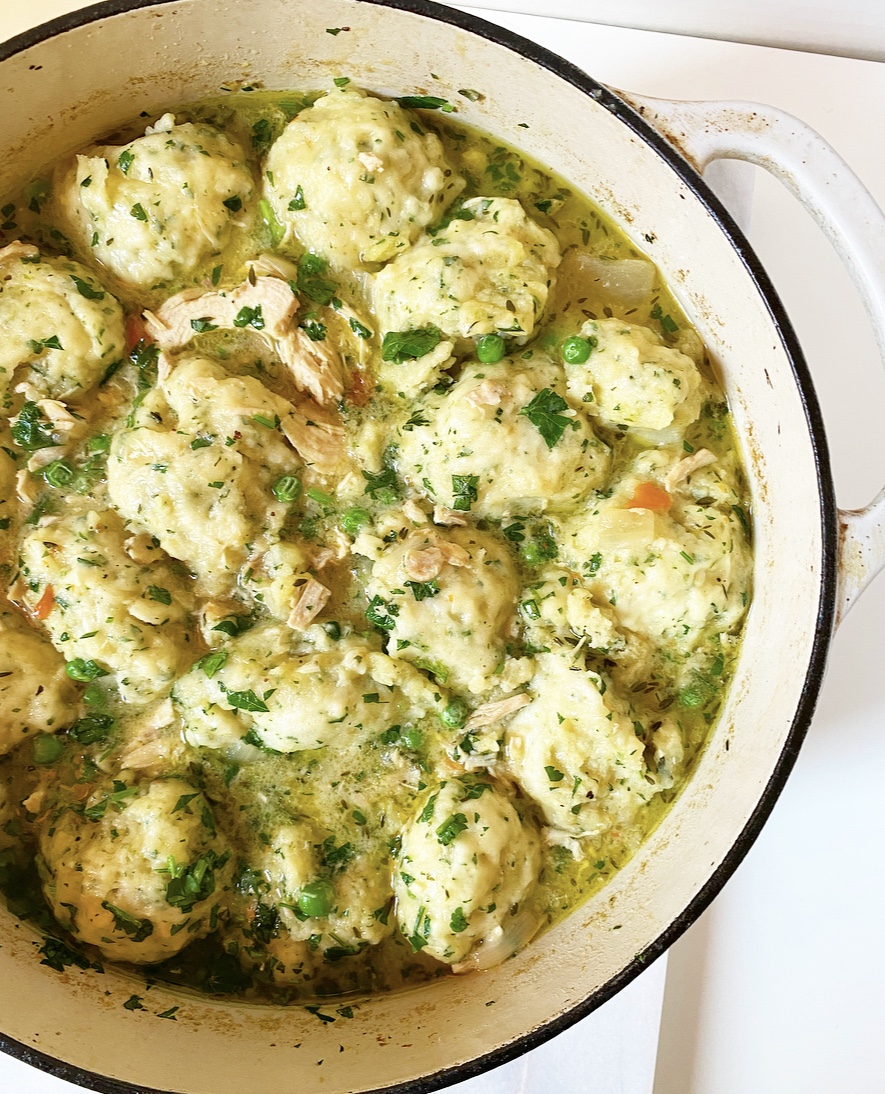
Once the dumplings are done, stir some frozen peas and parsley into the pot, set the table and serve yourself some Chicken & Dumplings! Between the creamy, vegetable-heavy chicken stew and fluffy dumplings, it’s easy to understand why this recipe is a cold weather comfort food classic.

Chicken & Dumplings
makes 6-8 servings
3 lbs bone-in skin-on chicken pieces (I used a mix of white and dark)
1/2-1 teaspoon Kosher or sea salt + more to taste
1/2 teaspoon freshly cracked black pepper + more to taste
1 tablespoon olive oil
1 tablespoon butter
6 cups chicken stock (I use Better Than Bouillon)
4 medium carrots, peeled & trimmed, cut into 2-inch pieces
4 stalks celery, cleaned & trimmed, cut into 2-inch pieces
1 medium or 2 small turnips, peeled, cut into 1-inch chunks
1 large white or Spanish onion, large-diced
5 cloves fresh garlic, minced
1 bay leaf
1 tablespoon fresh thyme leaves (or 1 teaspoon dried thyme)
1/4 cup all-purpose flour
1/4 cup whole milk (or half-and-half or heavy cream)
2 teaspoons Dijon mustard
1 cup frozen peas
2 tablespoons chopped fresh parsley
Dumplings:
2 cups all-purpose flour
1 tablespoon baking powder
3/4 teaspoon Kosher or sea salt
1/4 cup chopped fresh parsley
3 tablespoons unsalted butter, cut into pieces
1 cup whole milk
Use paper towels to pat chicken dry, then season with salt and pepper to taste.
Add oil and butter to a large heavy-bottomed pot over medium-high heat. Add chicken and brown on all sides, about 5-7 minutes per side. Add chicken stock and bring to a boil. Add carrots, turnip, onion, garlic, bay leaf and thyme. Once the stock returns to a boil, reduce it to a simmer and let cook for 30 minutes.
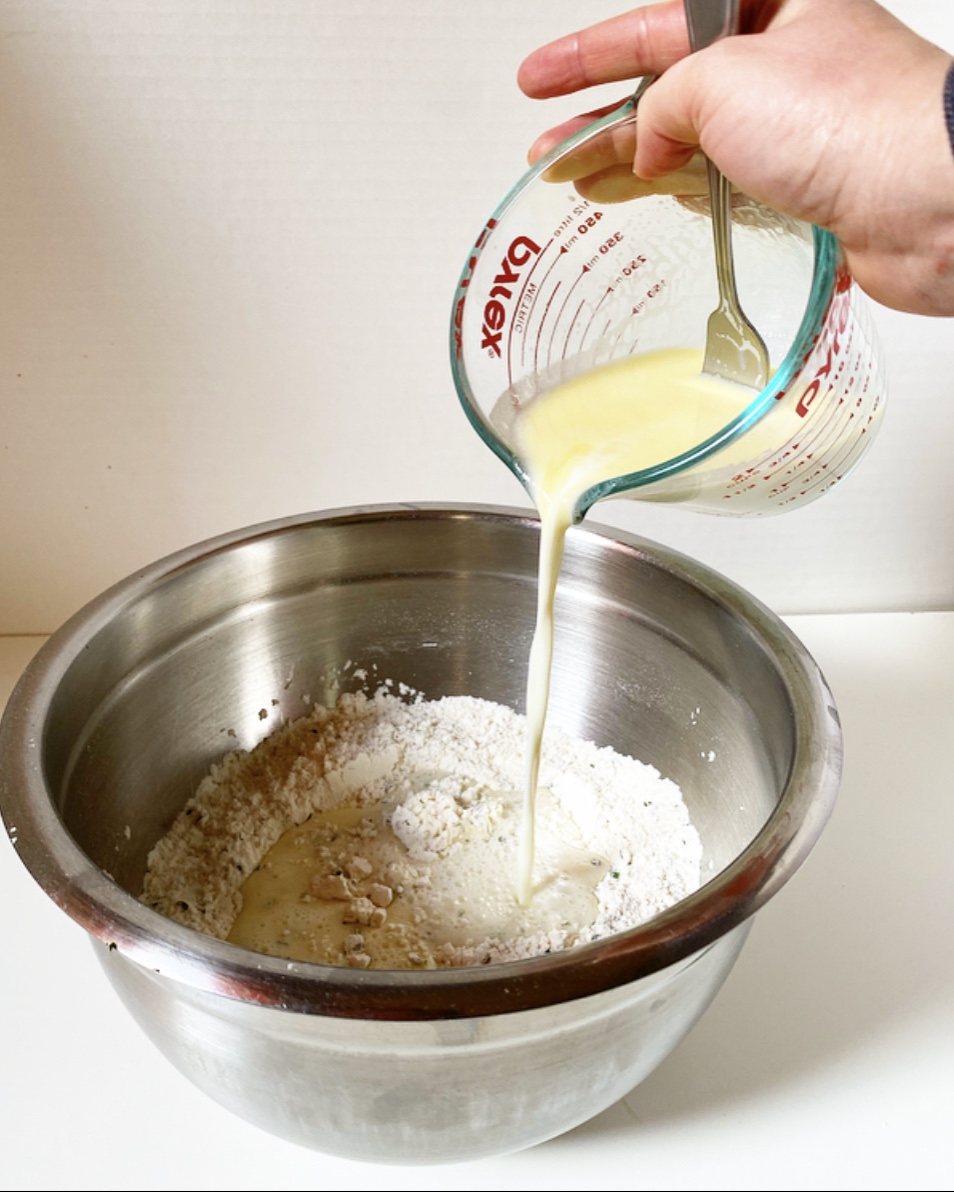
Meanwhile, prepare the ingredients for the dumplings. Whisk together flour, baking powder, salt and parsley. Combine butter and milk in a microwave-safe liquid measuring cup, then microwave in 30 second increments, stirring between, until butter is melted (90 seconds in my microwave). Set wet and dry aside.
Once the soup has simmered 30 minutes, turn it down to the lowest heat. Use tongs to fish out the chicken and remove it to a heatproof plate. Fish out and discard bay leaf.
When the chicken has cooled enough that you can handle it, remove and discard skin and bones. Shred or slice chicken into bite-sized pieces, then return it to the soup.
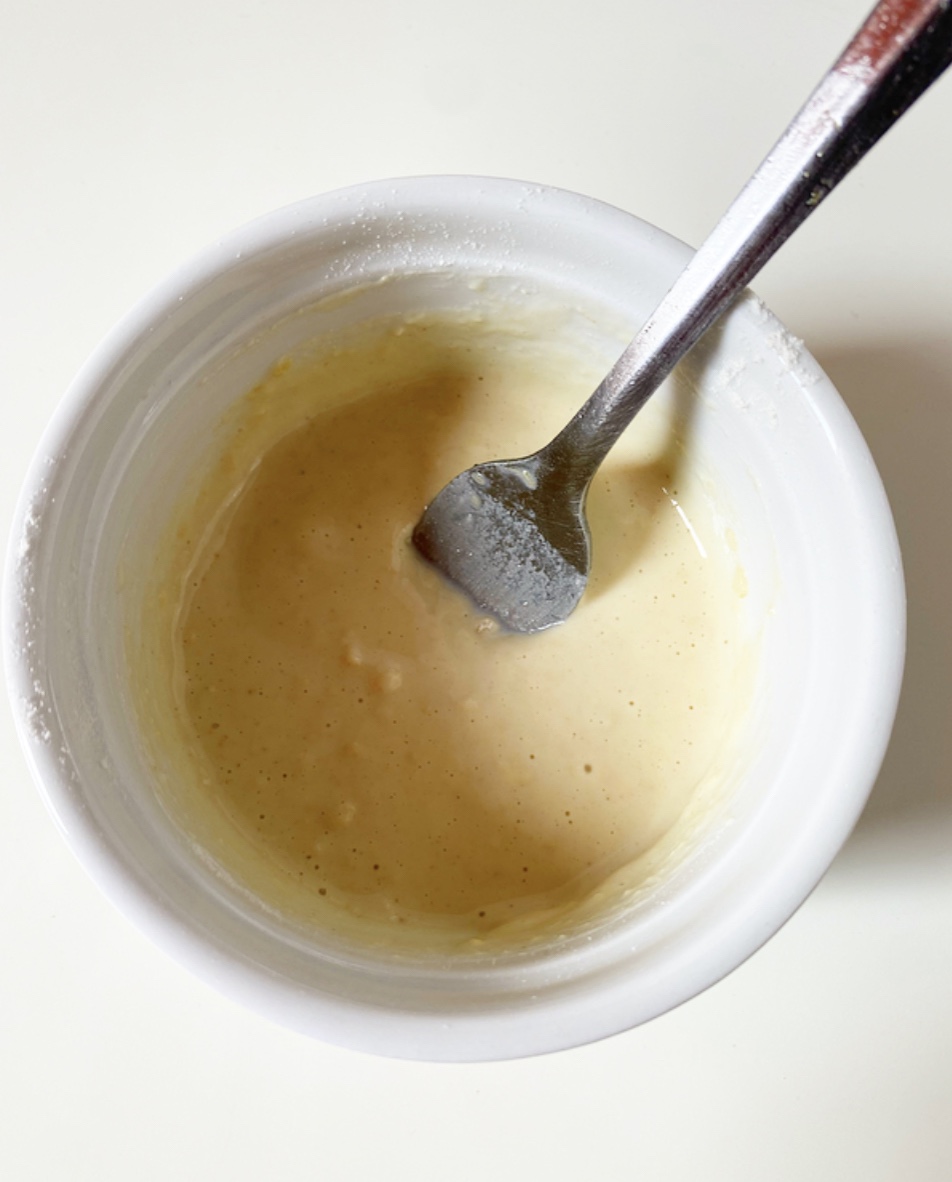
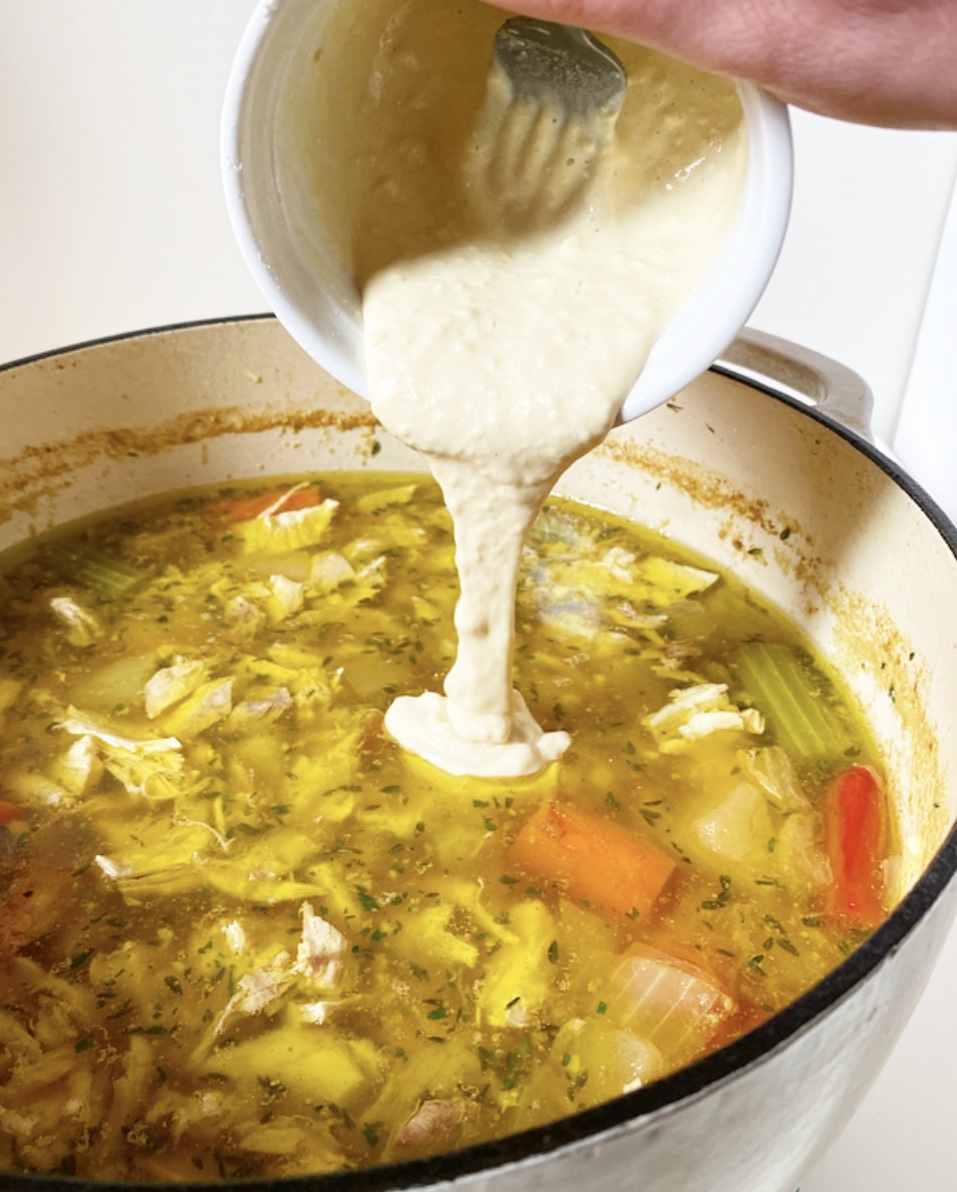
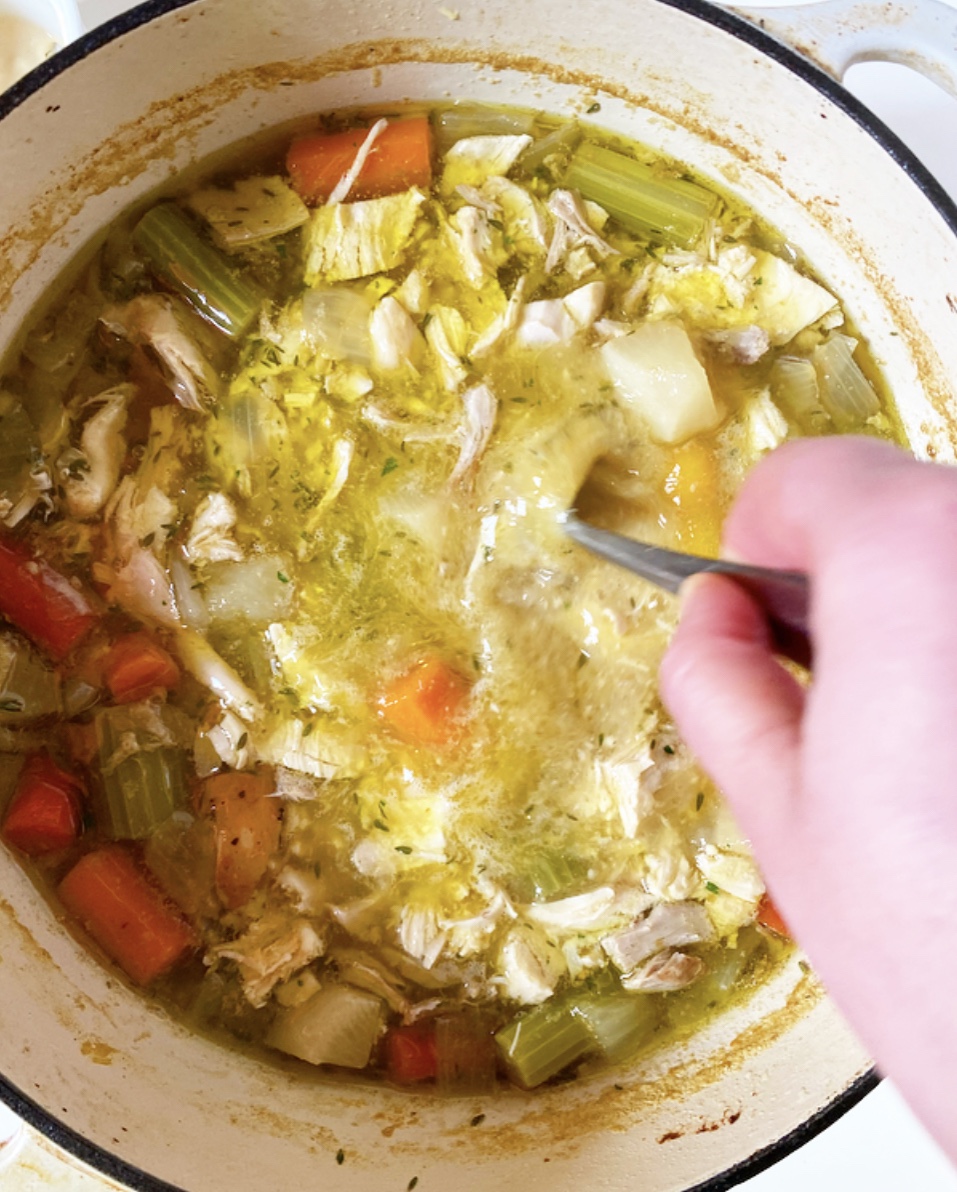
Make a slurry to thicken the stew. In a small bowl, use a fork to whisk together flour, mustard and milk until smooth (or very close to smooth). Stir the mixture into the soup and return it to a simmer over medium-low. Taste for seasoning and adjust as necessary.
Mix the dumplings. Stir wet ingredients into dry just until combined. The dough will be sticky and shaggy; don’t overmix. Use a medium cookie scoop or a pair of spoons to scoop dough into 1 1/2 tablespoon dumplings and drop them in a single layer on the surface of the soup. Put the lid on the pan and keep covered for 15-18 minutes. Do not peek until 15 minutes have passed. Remove one dumpling, and slice it open to determine if it is done to your liking. If not, return the lid to the pot for another 3 minutes.
When dumplings are done, remove the pot from the heat. Gently stir in peas and parsley. Let sit 5-10 minutes before serving with additional parsley if desired.
Leftover chicken and dumplings will keep in an airtight container in the refrigerator for up to four days. Reheat in the microwave or on the stove.


 Over the past couple of years, I’ve learned that a shocking number of people I know and love don’t know how to make one of the simplest recipes in the wide world: Grilled Cheese. It’s not because they’re incapable in the kitchen—it’s just that nobody ever taught them how to make it so that the bread cooks and the cheese melts at similar rates, and the butter doesn’t blacken and smoke up the house.
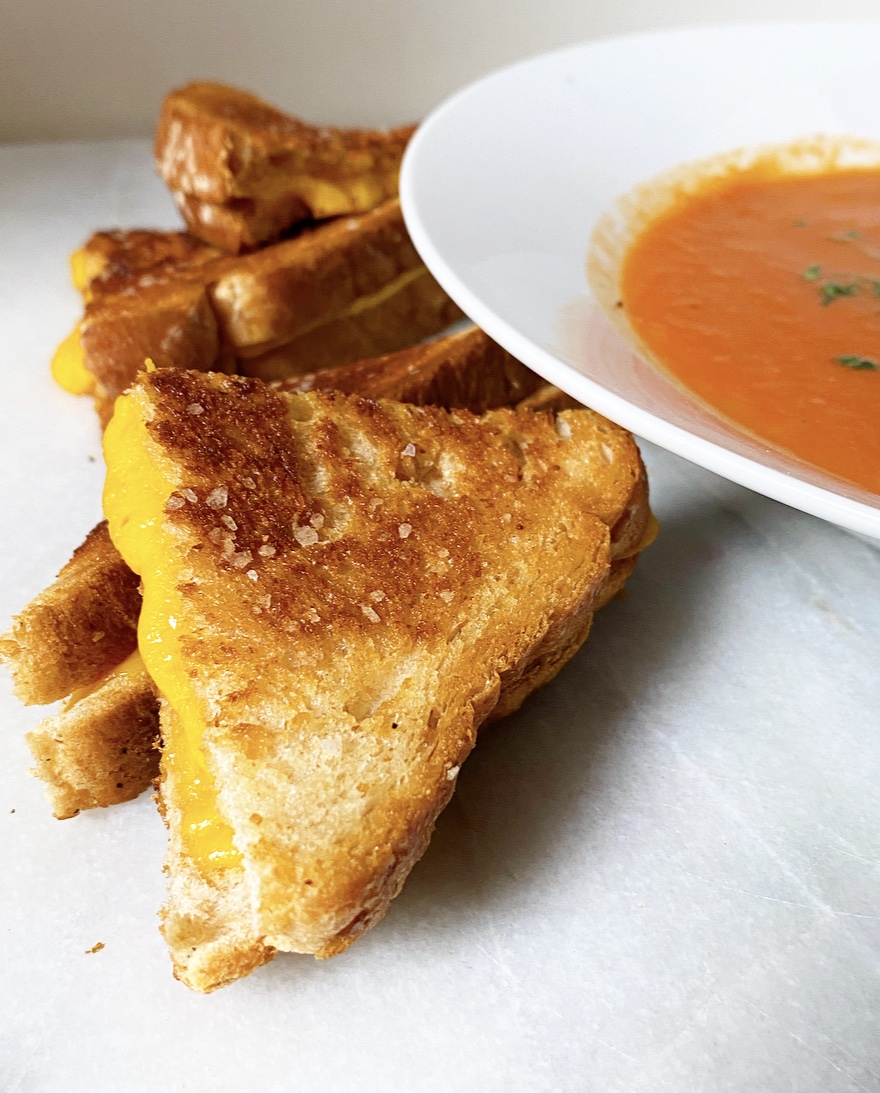 Luckily (maybe?), they’re friends with me, a person who will make them a grilled cheese in the moment and then spend four months dwelling on the (non-)event until the middle of January when she decides to write a blog post about the whole (inconsequential) thing. And that’s how we got here. Luckily. Maybe.
 I make Grilled Cheese for dinner at least once a week because a) it’s easy and I don’t have to think about it too hard, and b) I always have sandwich bread, butter and some sort of melting cheese (usually extra sharp cheddar). It only takes a couple of minutes to butter two pieces of bread and layer cheese in the middle. You’ll notice I don’t use sliced cheese here—that’s simply because I prefer to buy the brick and slice it myself. Do whatever works for you, with the exception of pre-shredded cheese because it’s coated in an anti-caking agent that prevents proper melting. You do not want to impede proper melting on a Grilled Cheese!
 As far as cooking goes, I think it’s a pretty human thing to want to cook crispy foods over the highest heat for a couple of minutes, but when it comes to Grilled Cheese (and so many other things), it’s best to ignore that thought, turn down the flame and take your time. Whereas 3-4 minutes over high will yield cold cheese between burnt slices of bread, 7-8 over medium-low will give you perfect melted cheese and buttery, golden edges every time. Those extra four minutes make all the difference in the world.
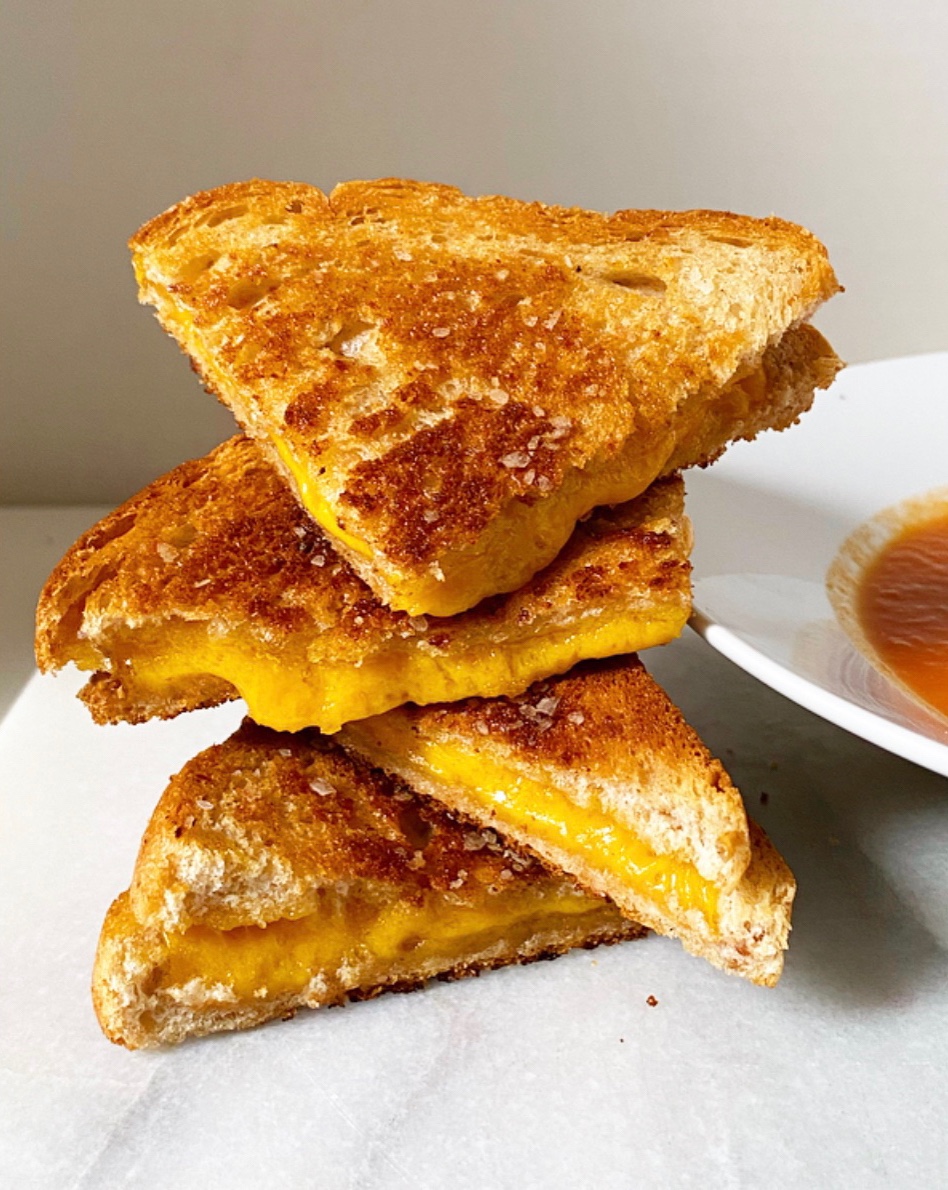 Boom! That’s all you need to know to make a basic Grilled Cheese. You can change up the cheese and bread depending on your mood, but as long as you butter the outsides of the bread instead of melting butter in the skillet and cook things low and slow, you will always have perfect Grilled Cheese.
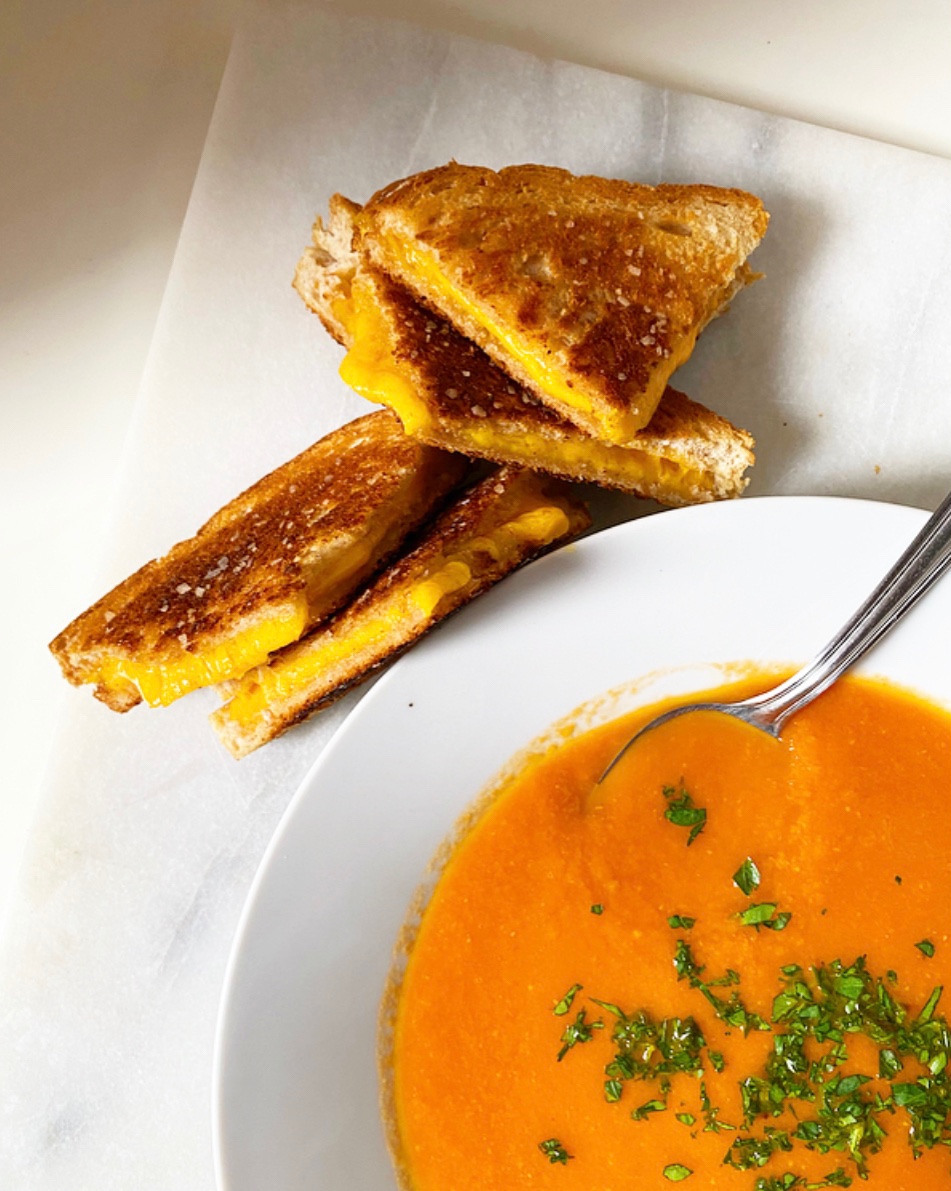
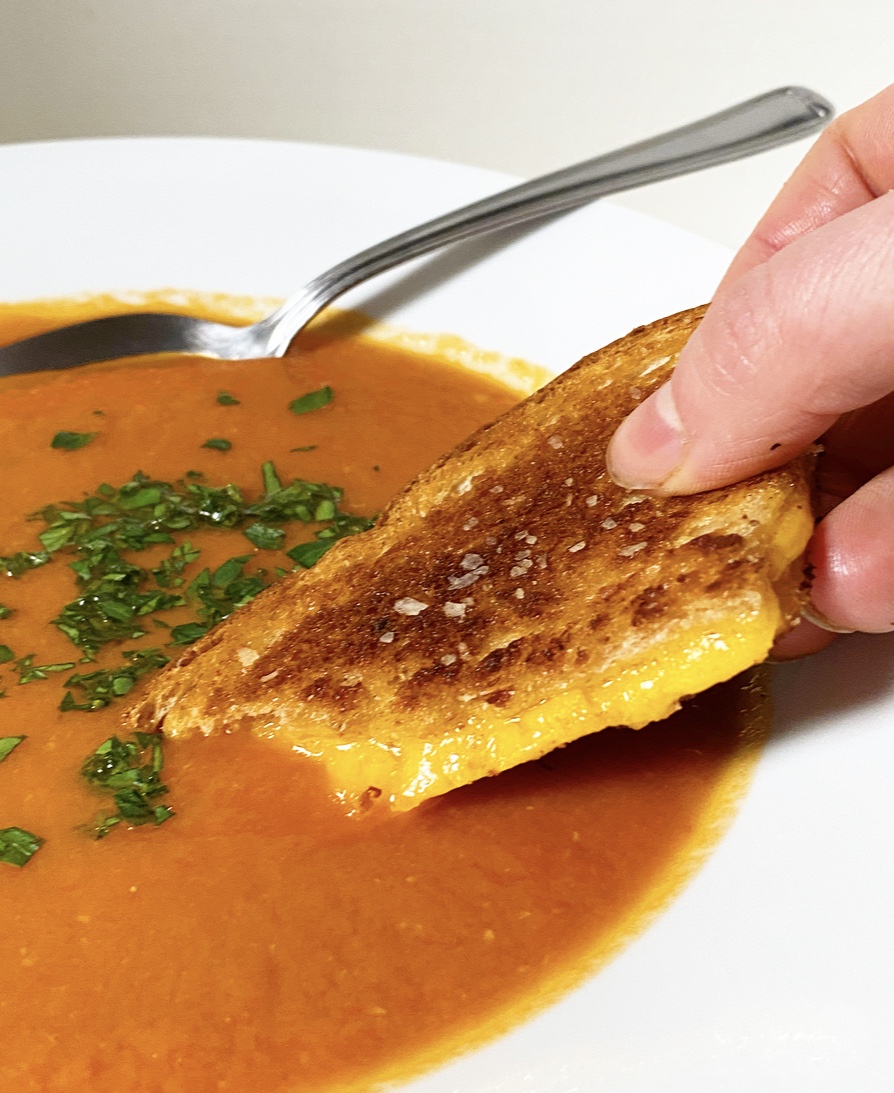 And what’s Grilled Cheese without Tomato Soup? This combination is a classic for a reason—the tang of tomato pairs perfectly with the rich, cheesy, crispy sandwich, making for a simple, satisfying meal.
 As with Grilled Cheese, my go-to Tomato Soup recipe is easy as can be. Whole peeled tomatoes are crushed by hand, then simmered in vegetable stock with carrots, onion, garlic, tomato paste and spices before being puréed until velvety smooth. Easy peasy.
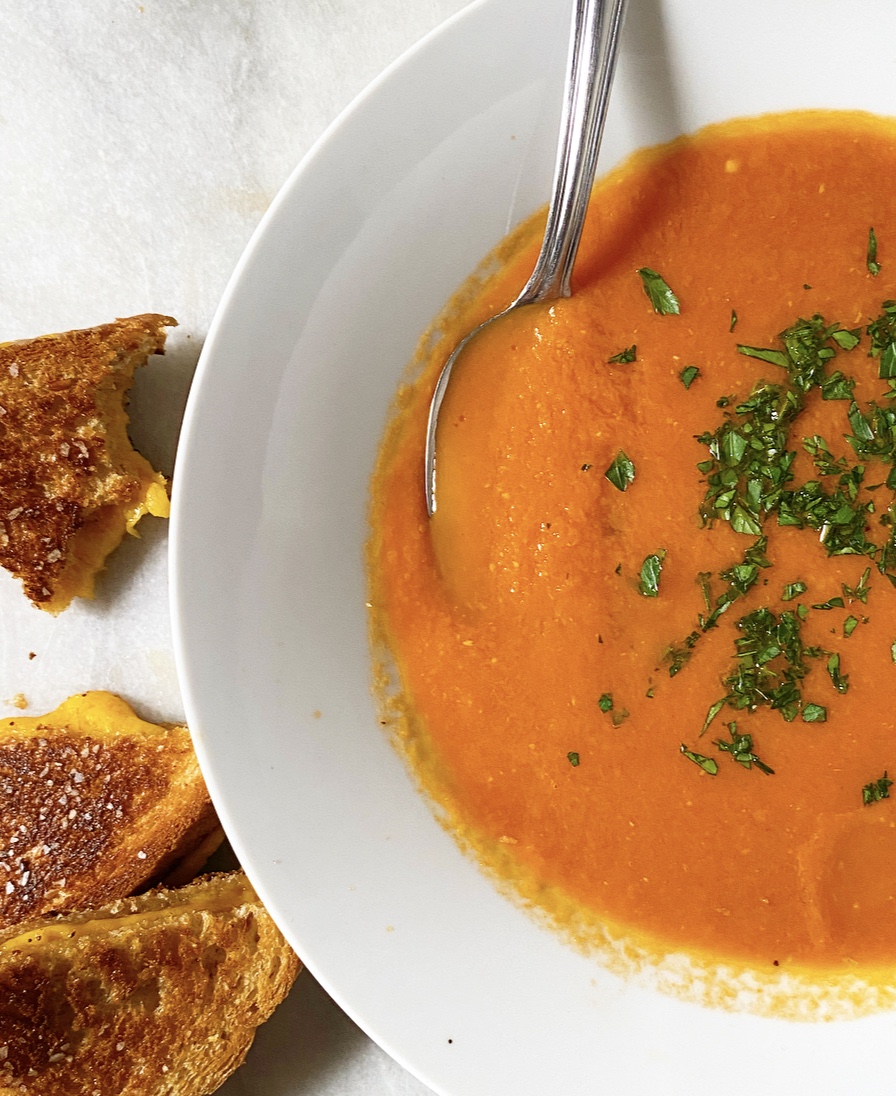 Two things to note:
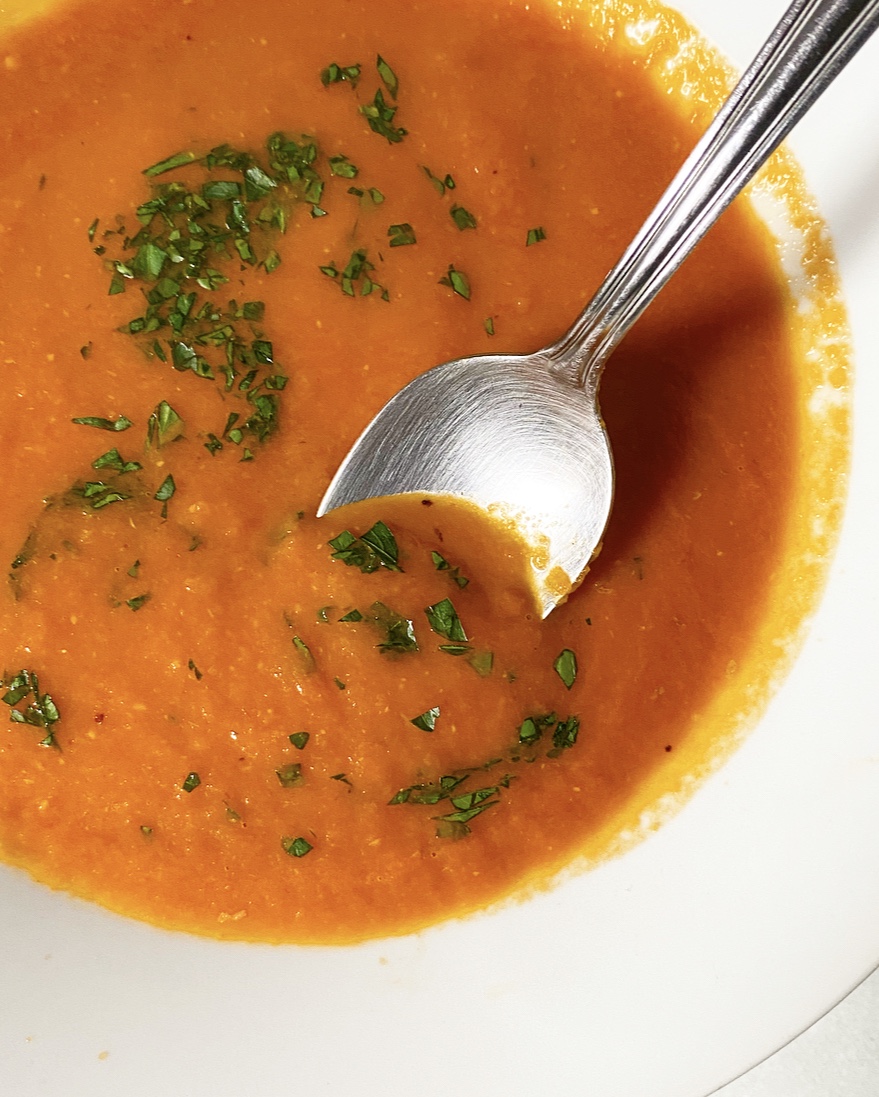 So there you have it—one of the simplest meals in the world, explained. Maybe you knew all this or maybe you didn’t. Either way, I hope you treat yourself this weekend. I know we could all use some comfort. No “maybe” about it.
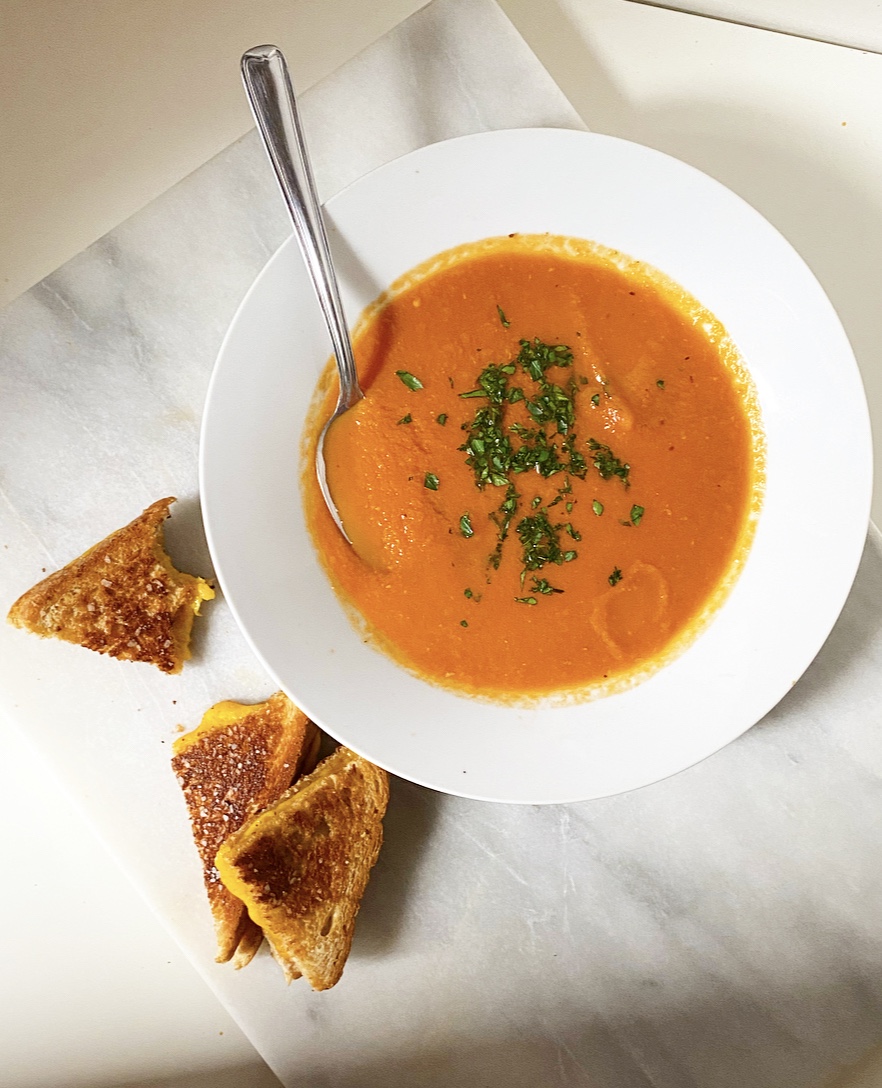


 Although I have never publicized it this way, I have privately referred to this time of my blogging year as “Savory January” for some time now. You see, every January since starting this site, I (mostly) switch focus from sweets to weeknight meals, sides and other savory pursuits. It’s not for weight loss, “cleansing” or any reason beyond keeping things interesting—I cook as much as I bake, and those recipes deserve their moment in the blogging sun, too. Is switching up my blog POV for one month a year weird? Sure. But I like variety, and also this is my website and I can do what I want.
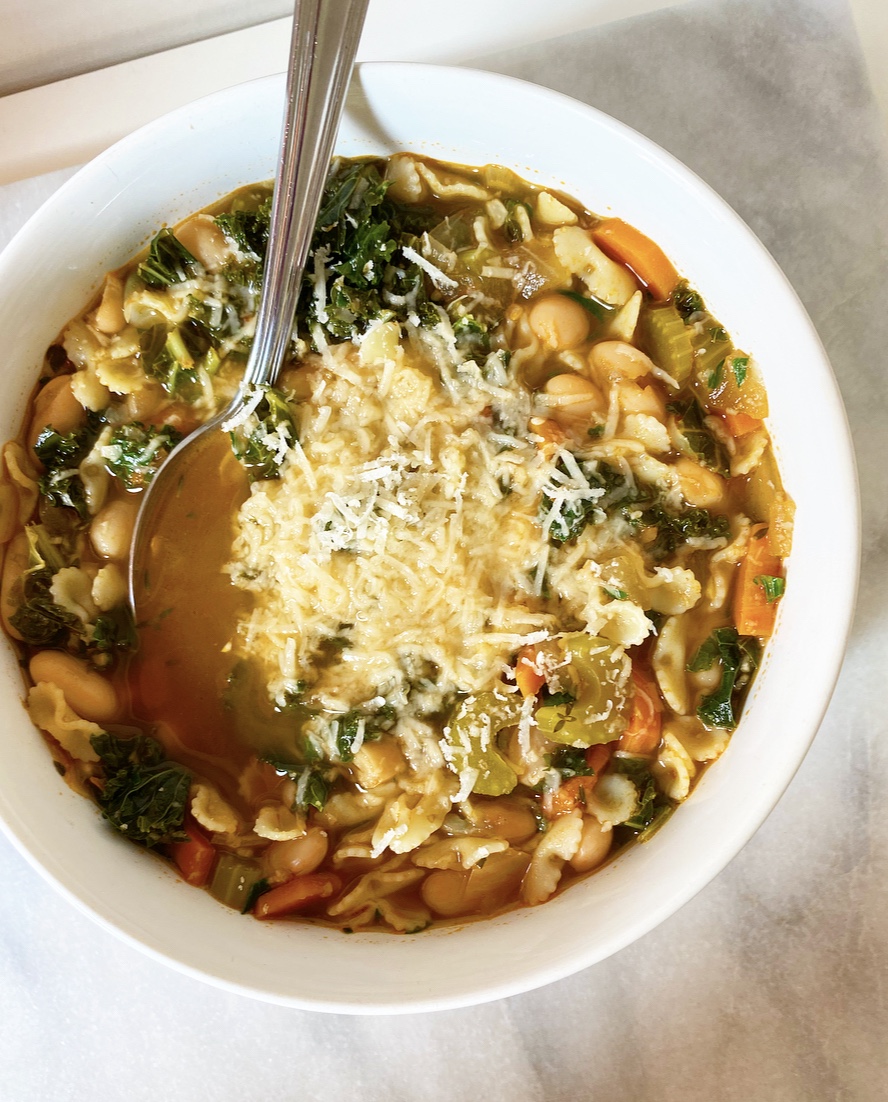
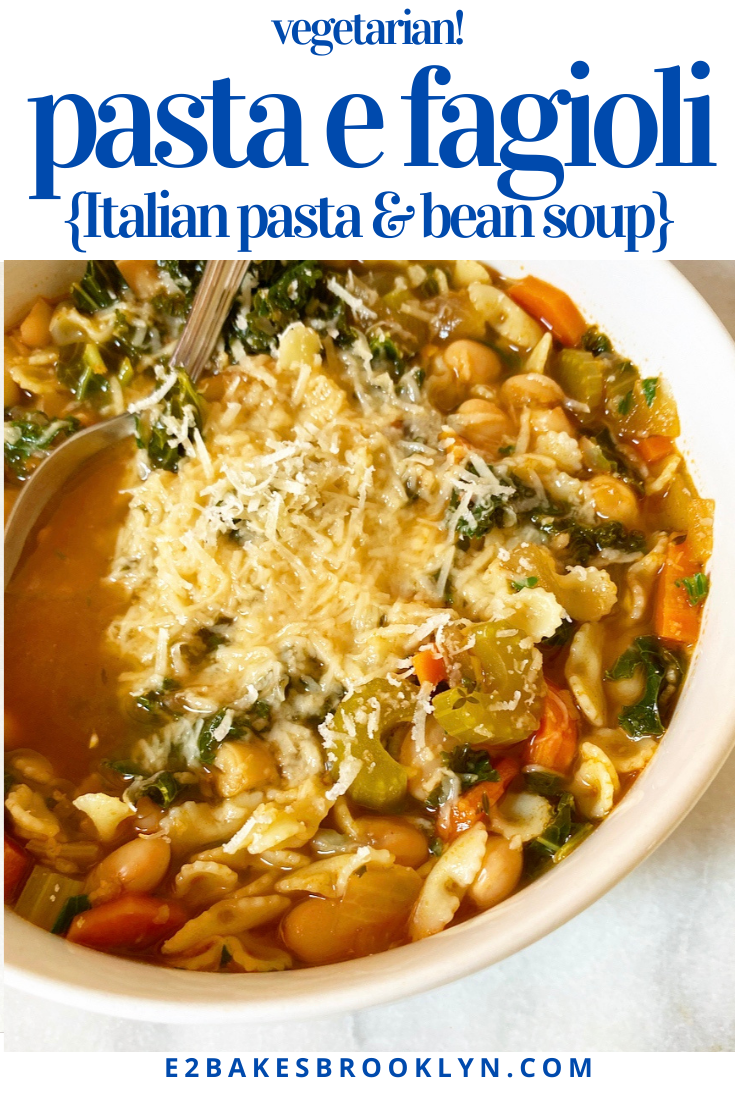
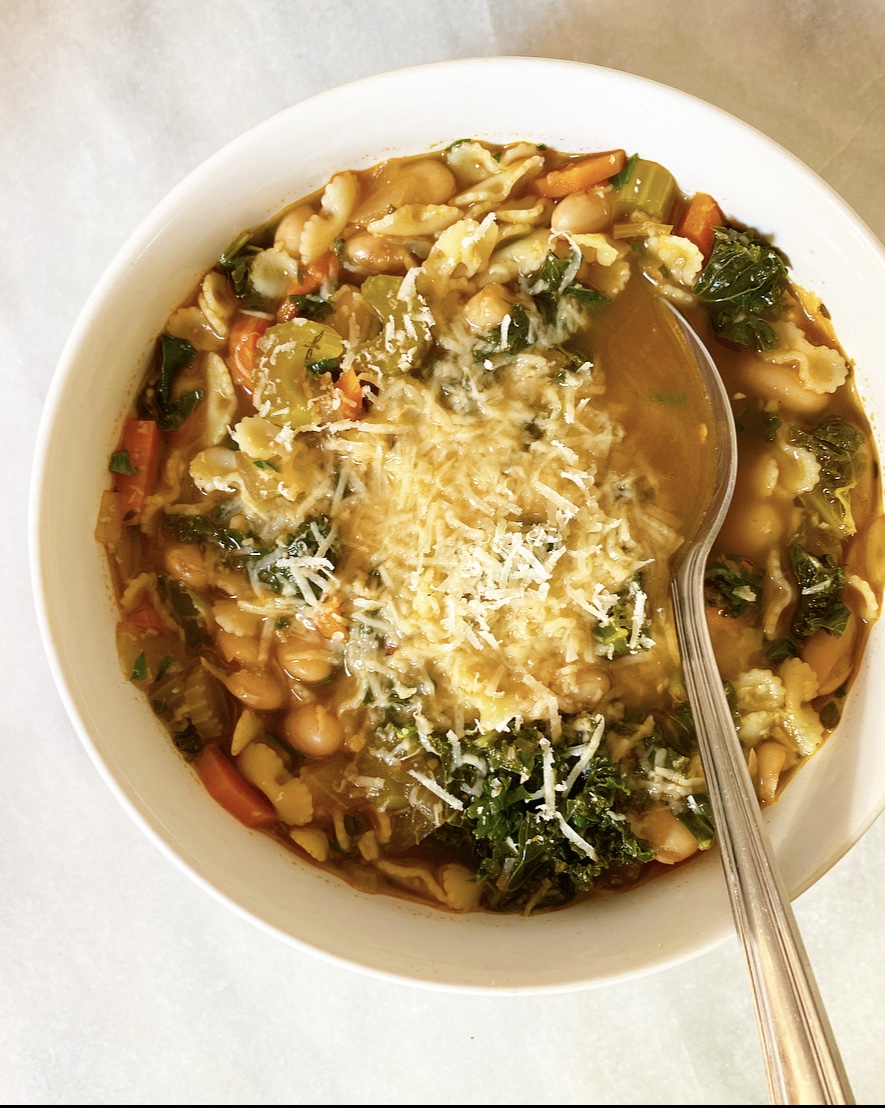 Pasta e Fagioli has been one of my favorite recipes for years and years. At its most basic, it’s a vegetable soup with pasta and beans, but it’s so much more! It’s easy, it’s cheap, it’s hearty, and it’s dang delicious. Oh, and it’s vegetarian—vegan without the cheese, gluten-free depending what kind of pasta you use. Yesssss.
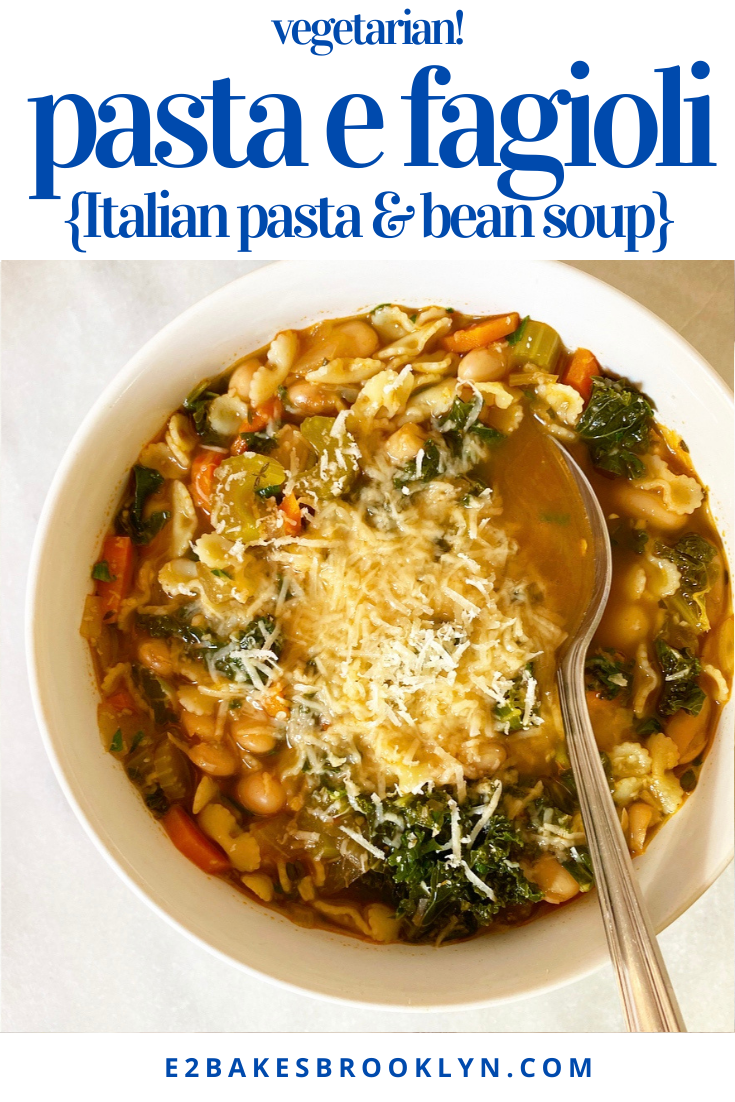
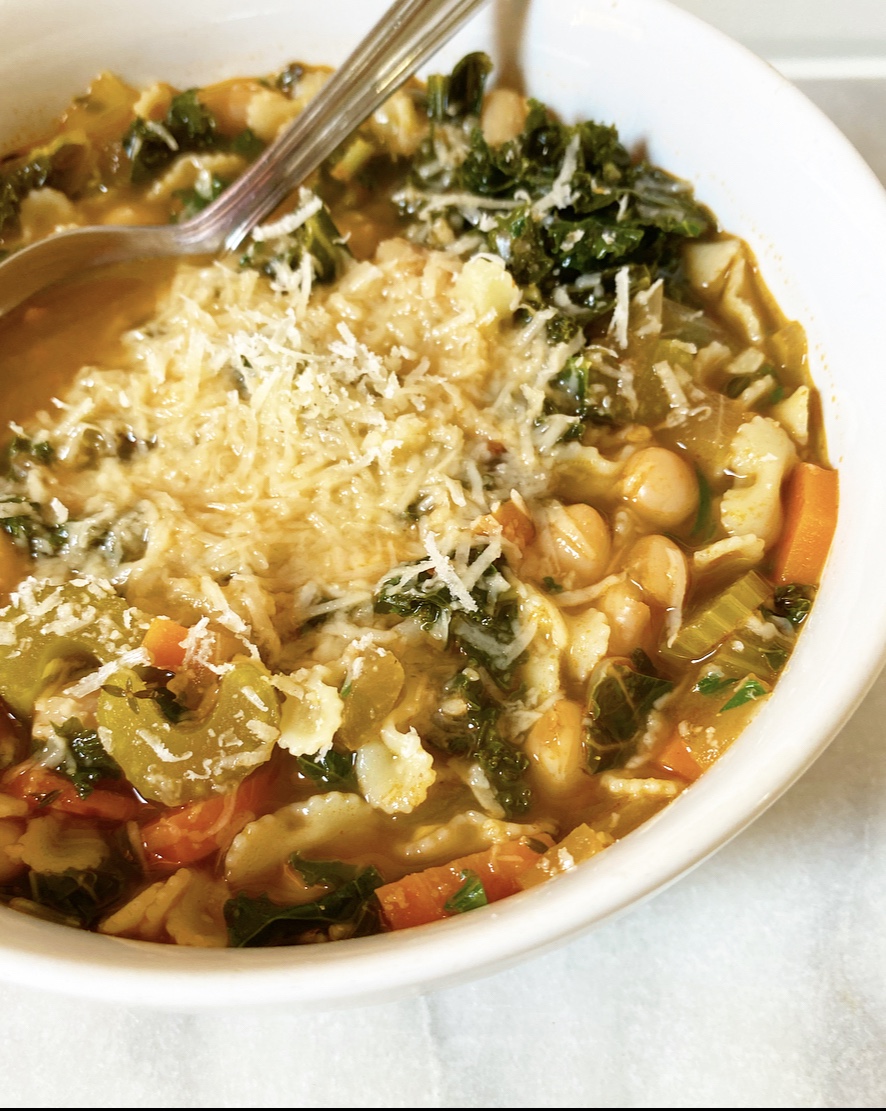 I made this Italian staple all the time when I first moved to NYC, but moved on to other things because that’s just how cooking goes for me. I make something regularly for a few weeks/months/years and then I completely forget about it for a few more weeks/months/years. In this case, I remembered Pasta e Fagioli on the last night of our Maine trip this past October. We had some produce to use up, and we had some tomato paste, beans (aka fagioli), pasta and cheese ends lingering…and well, when life gives you lemons, you know.
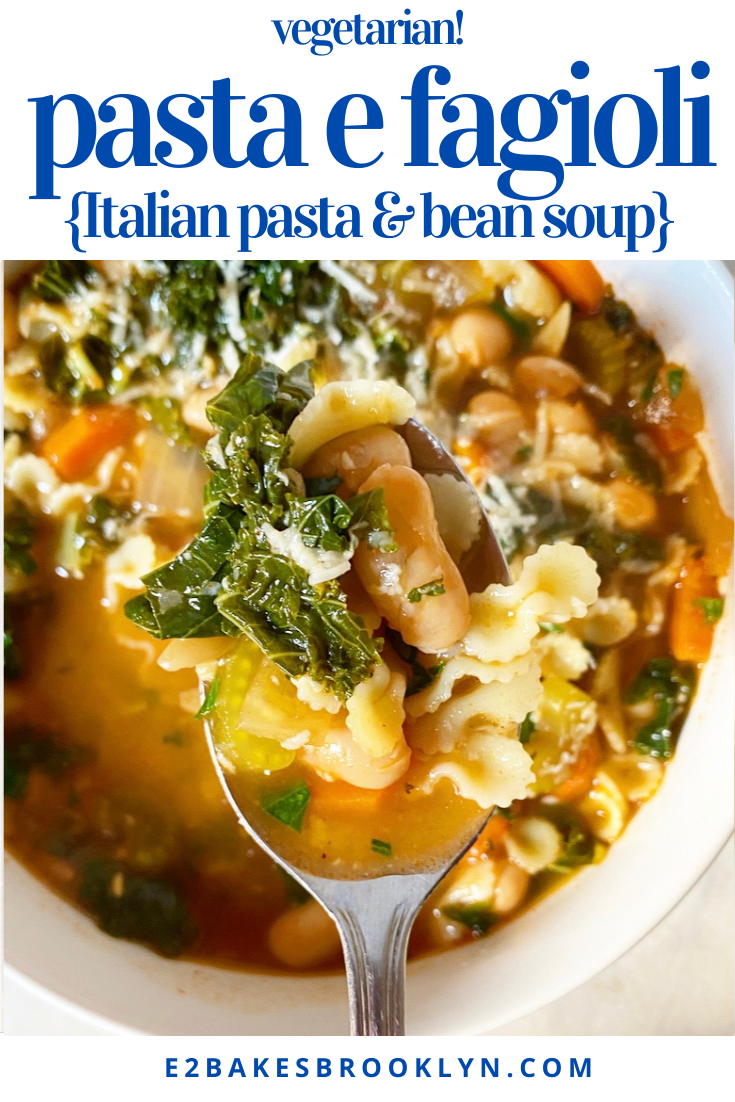
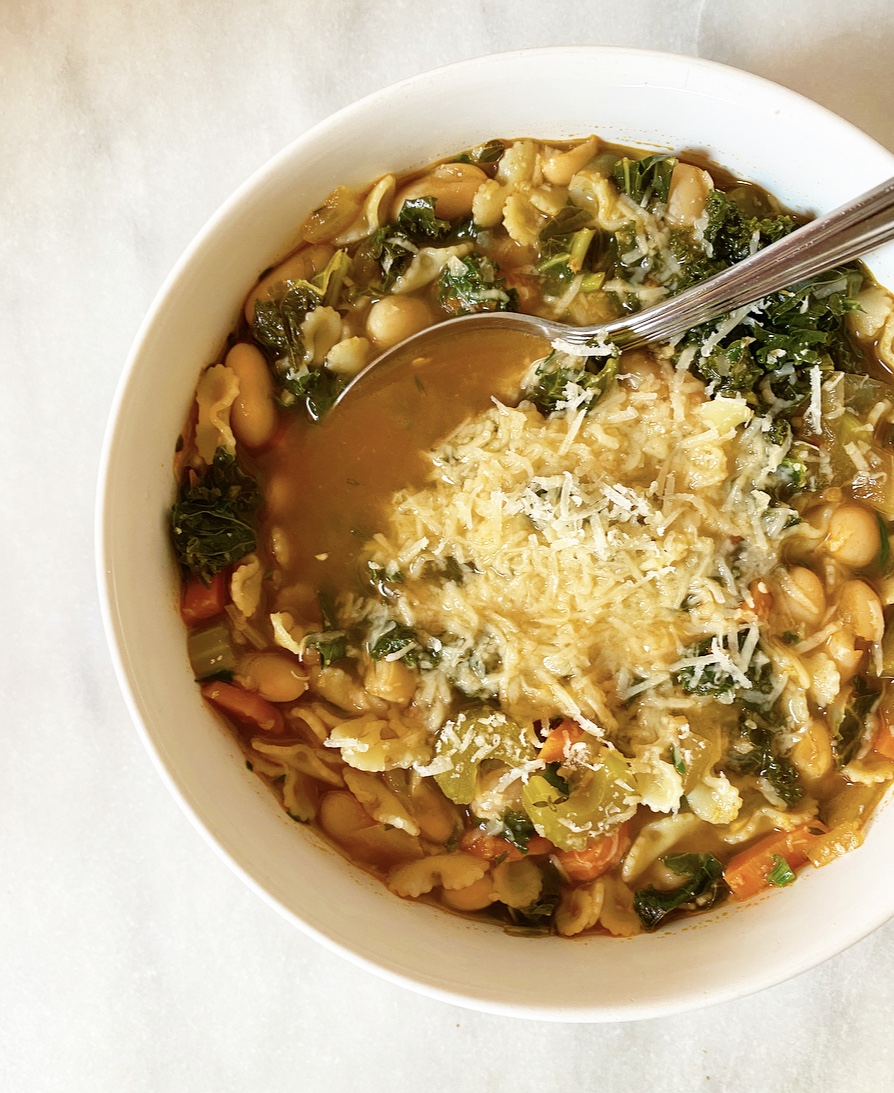 Making Pasta e Fagioli is super simple and you probably have most of the ingredients already. The method is nearly identical fo the way I make
 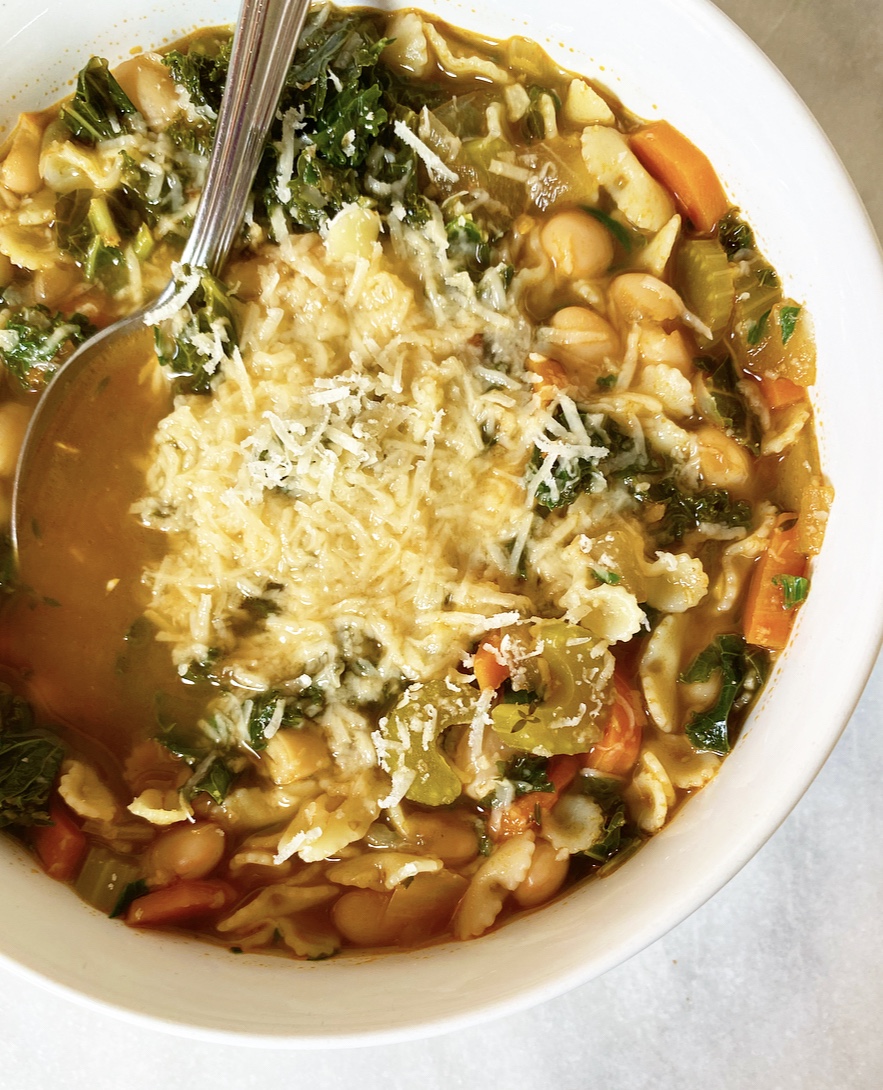 If you’re wondering why I cook the pasta separately from the rest of the soup, it’s because I’m a single lady who eats a lot of leftovers and hates mushy pasta. I do this with chicken noodle soup as well—by keeping the two components separate, the pasta doesn’t overcook or get waterlogged and sad. If you have a group to feed or will otherwise not have leftovers (or maybe like your pasta really soft?), feel free to toss it in the pot with the beans and kale.
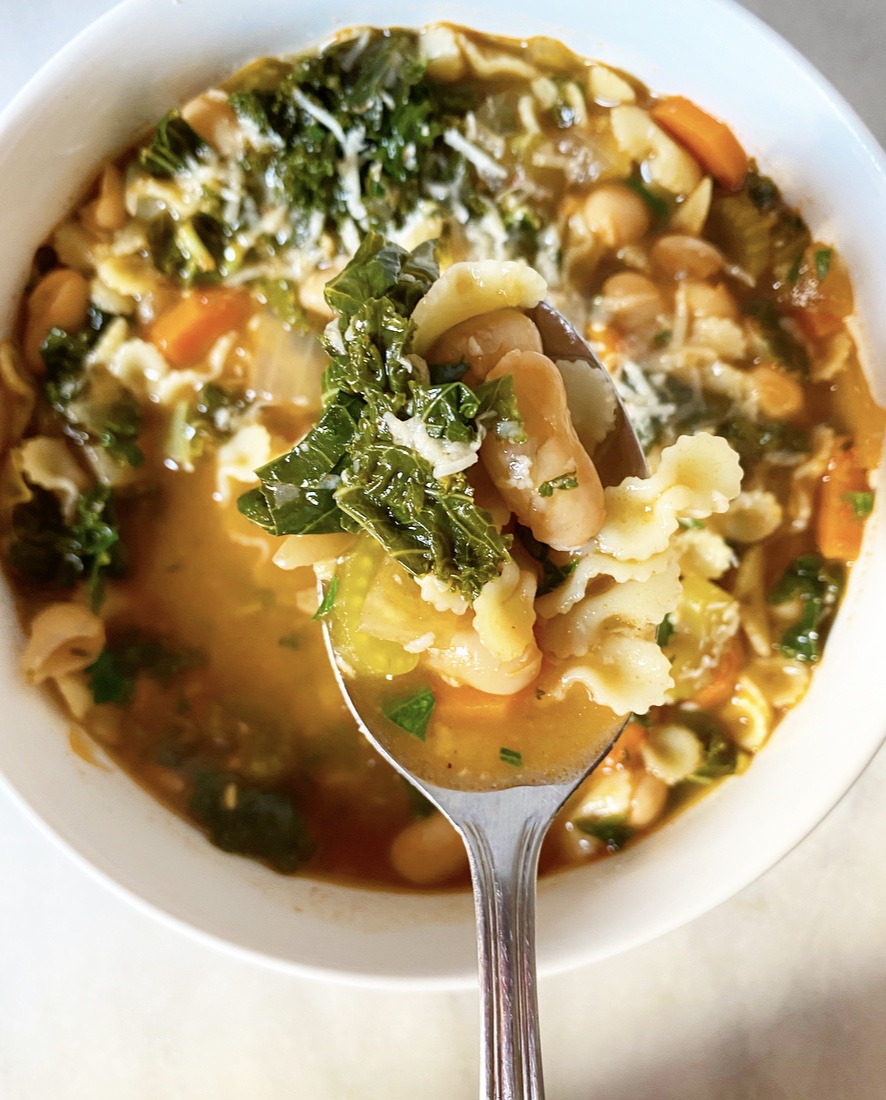
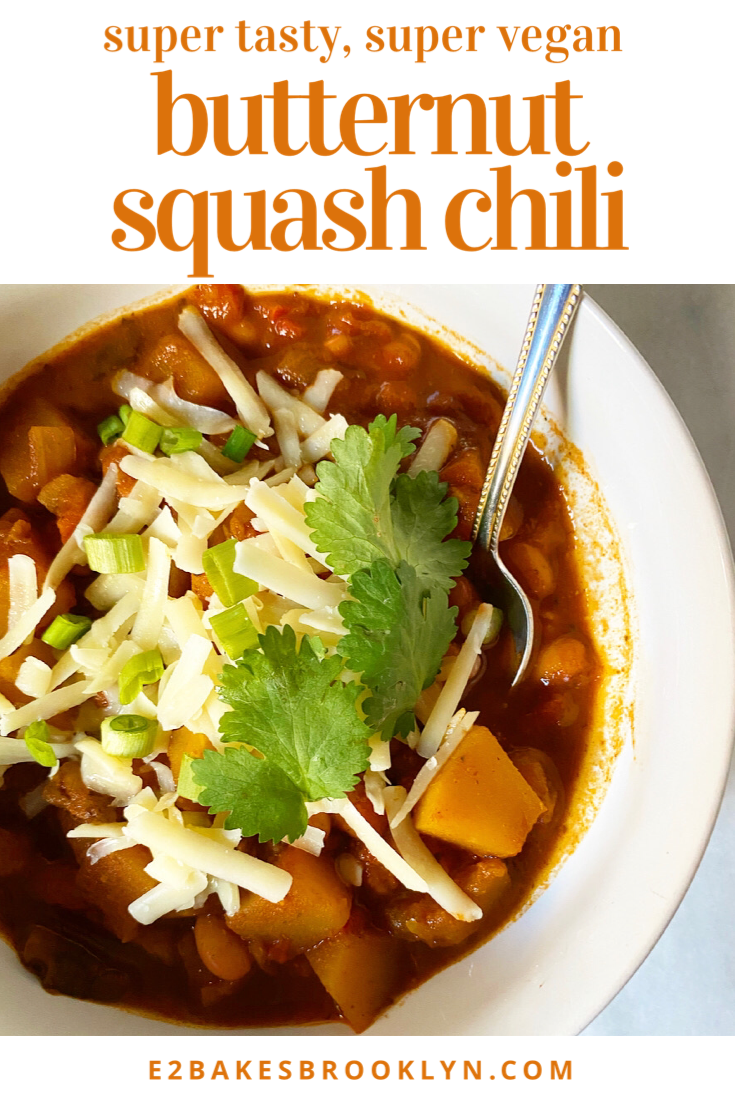
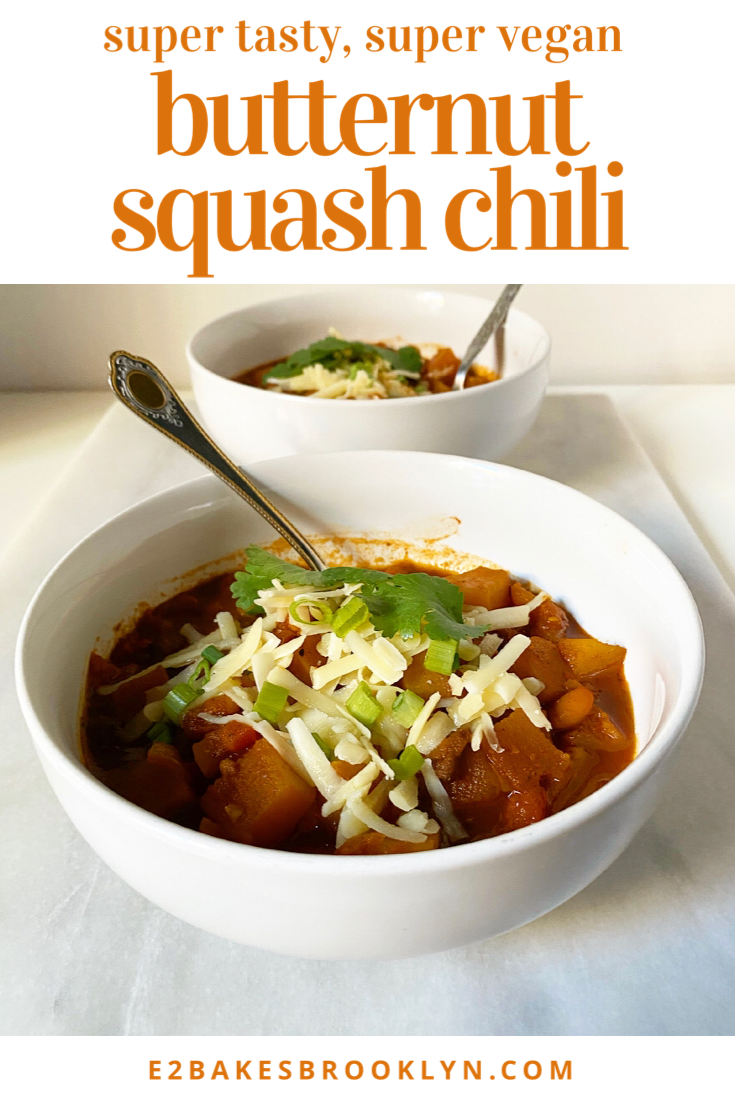
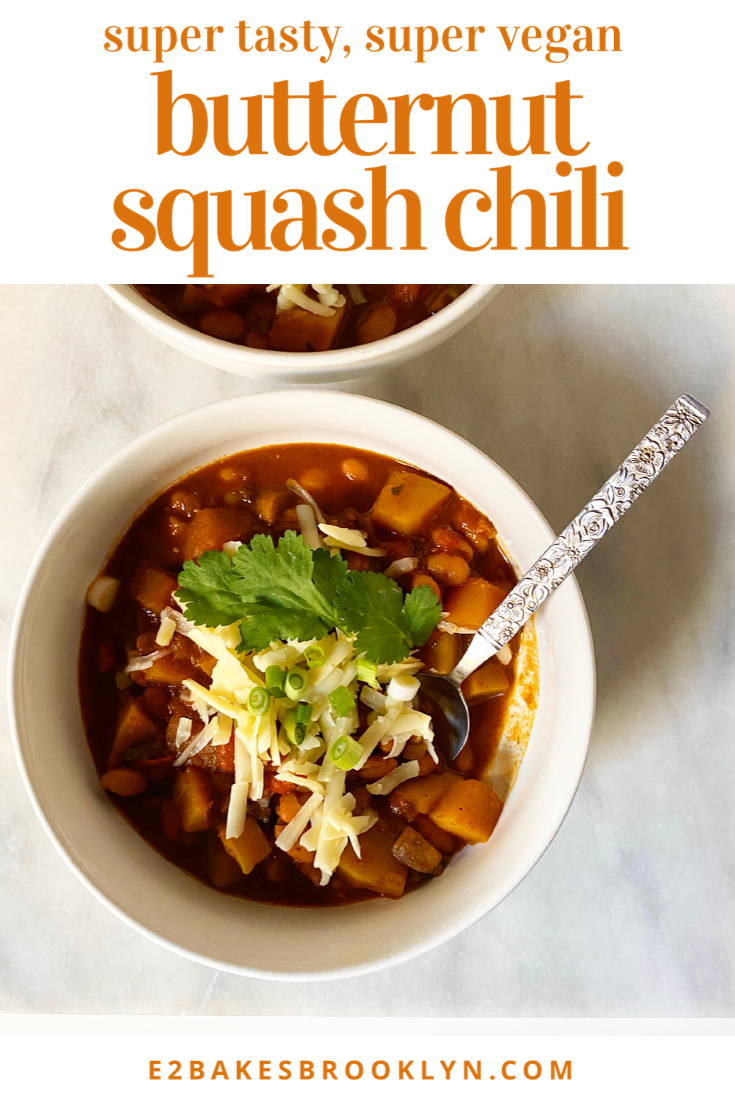
 I am psyched for today’s recipe, y’all! This vegan Butternut Squash Chili is so good and good for you—perfect for the Super Bowl this weekend or any wintry night.
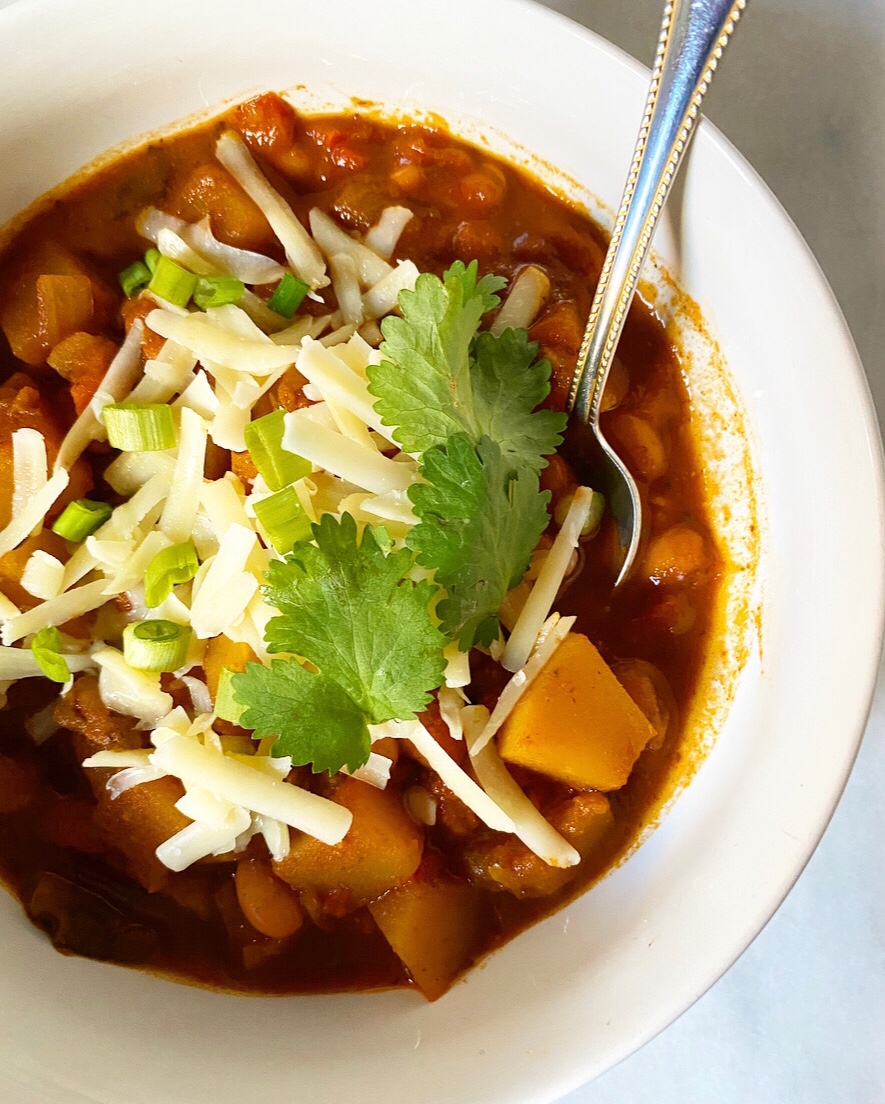
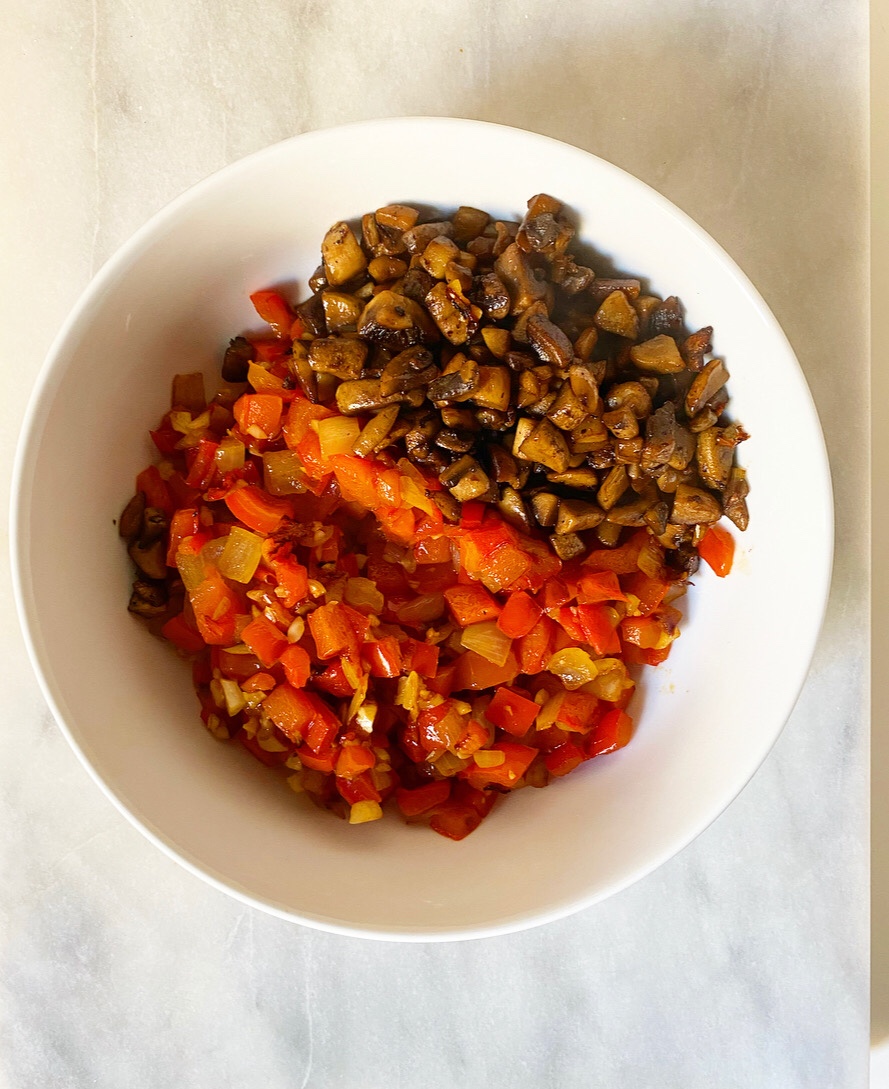 It’s made with loads of good stuff. We’re talking the standard onion, garlic and red bell pepper, of course, but also a whole butternut squash (duh), meaty mushrooms, and pinto beans. YUM!
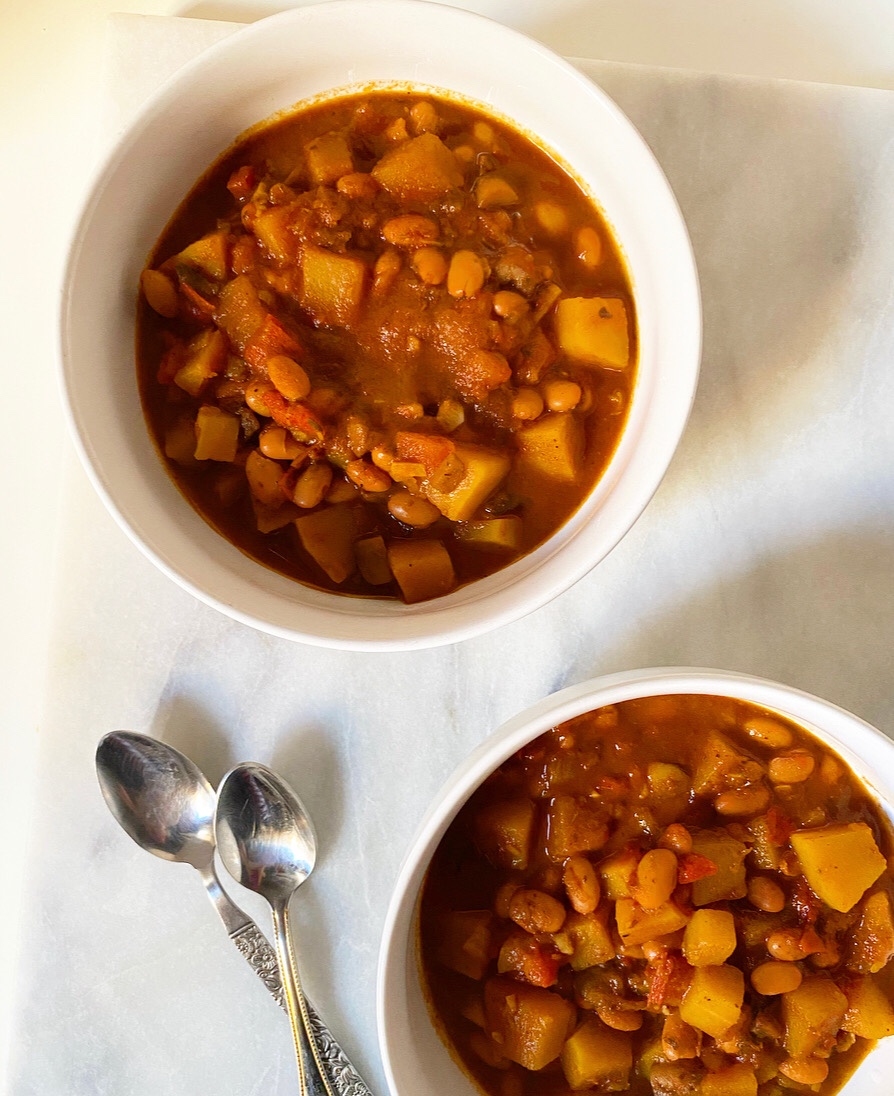 I know that being Texan means I “shouldn’t” like beans in
 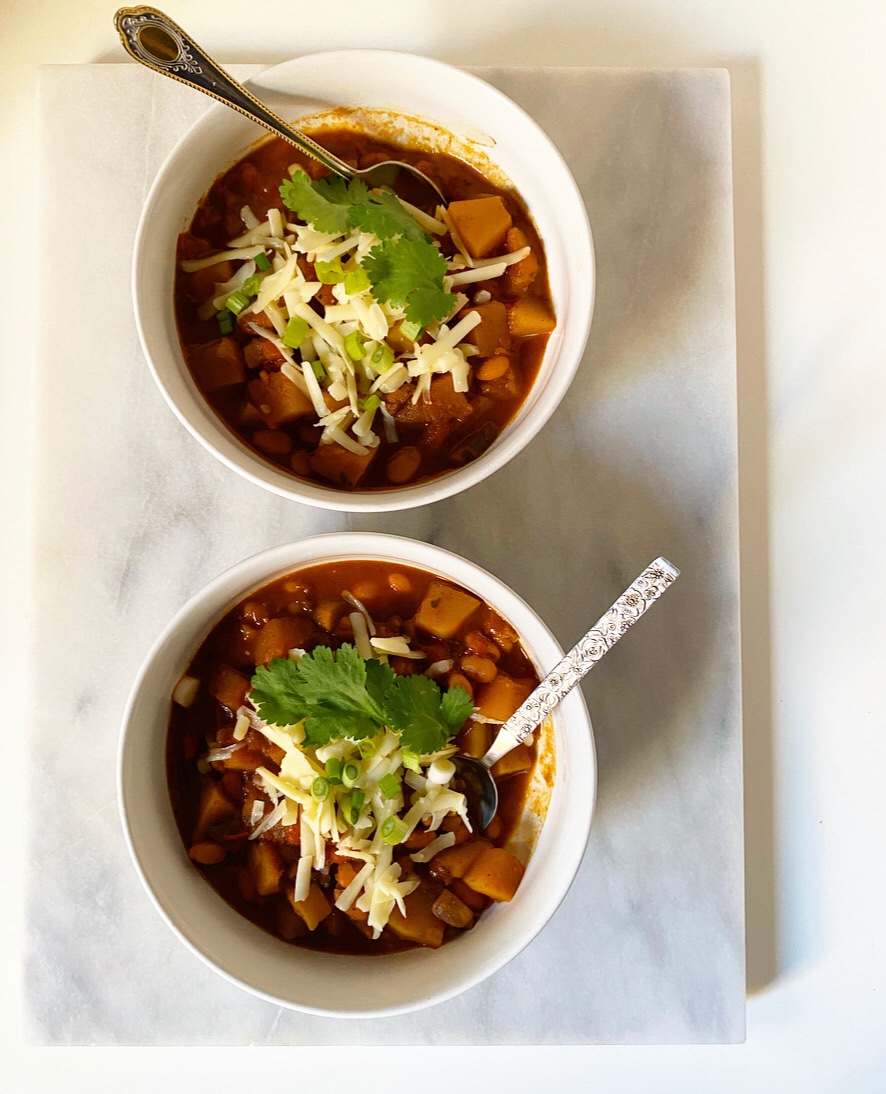 Small amounts of cinnamon and cocoa powder set this chili apart from the rest. They add a little nuance to the standard seasoning combination of chili powder, cumin, dried oregano, and cayenne. Minced chipotles in adobo are stirred in before serving for a touch of smoky heat.
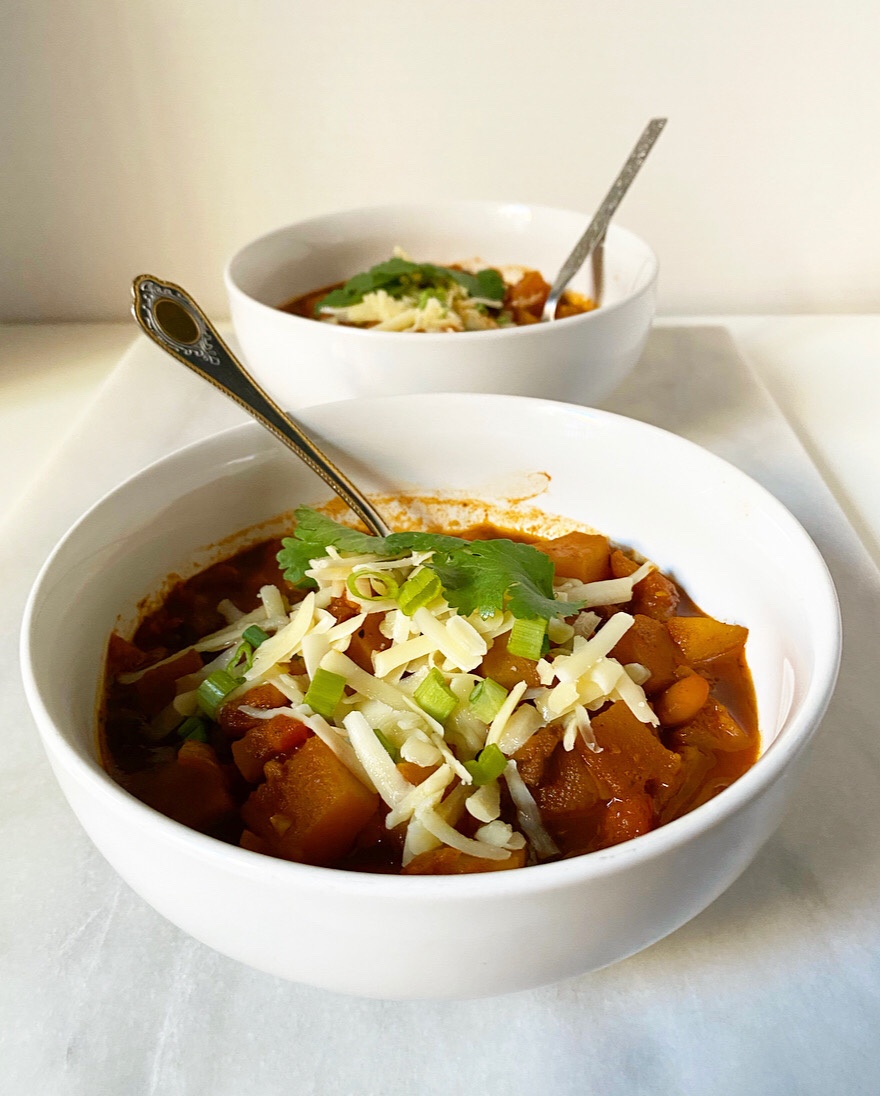 Butternut Squash Chili requires a couple of long browning steps—you want maximum flavor from those onions and mushrooms—and a simmer, but comes together surprisingly quickly overall. The batch pictured clocked in at just under two hours, which gives you just enough time to whip up some
 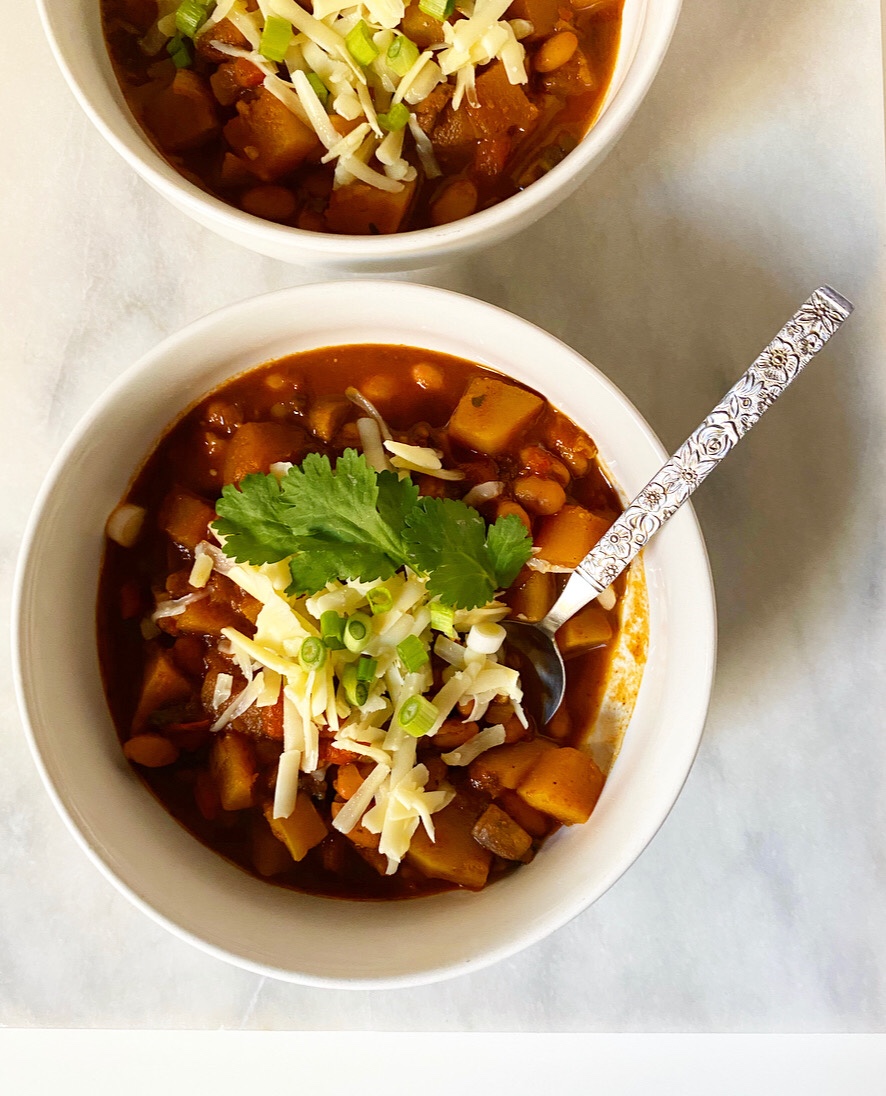 As with most soupy, stewy things, this is a meal that will get better with time. It’s delicious the day it’s made, but is particularly spectacular after a day or two in the refrigerator. Basically, if you want to eat this while you watch the Super Bowl, make if Friday, Saturday or Sunday. Love a make-ahead main!