 I’ve wanted to make Thanksgiving for years and years, but my family usually travels for this holiday. That said, I guess next Thursday is my lucky day…or something. Yes, since traveling is inadvisable at the moment, I am staying put and taking this excuse to make the whole turkey dinner in my apartment. This is obviously not how I imagined my first time making Thanksgiving dinner, but it’s what’s happening. And it might be a little messed up to say this, but I’m kind of excited about it. I mean, I’ll be bummed not to be with my parents, older sister and sister-in-law (and the dogs), and I would definitely like for this period of world history to get over and done, but I am really excited to make Thanksgiving.
The menu is still in the tentative planning phase, but I know for sure that I am making J. Kenji Lopez-Alt’s Turchetta and smaller batches of the cornbread stuffing, cranberry sauce and caramelized Brussels sprouts from my archives. Oh, and the best dang Mashed Sweet Potatoes you can get anywhere.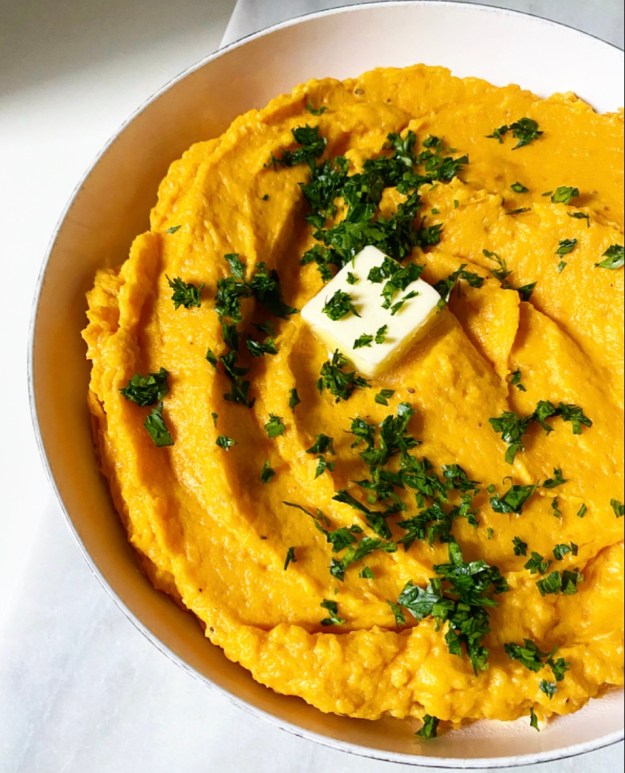 I can’t believe I’ve made it this many years without posting this recipe.
Creamed Kale? ✅
Dinner rolls? ✅
Two kinds of stuffing? ✅✅
Every cheesy appetizer under the sun? ✅✅✅✅✅
Mashed Sweet Potatoes? ❌
Truly, it’s bonkers. When I first moved to New York a thousand thirteen years ago, these were my go-to contribution to various Thanksgivings and holiday dinners, and they were a hit on every table they graced. These are seriously the *best* holiday sweet potatoes ever. Marshmallows be damned. (But not really.)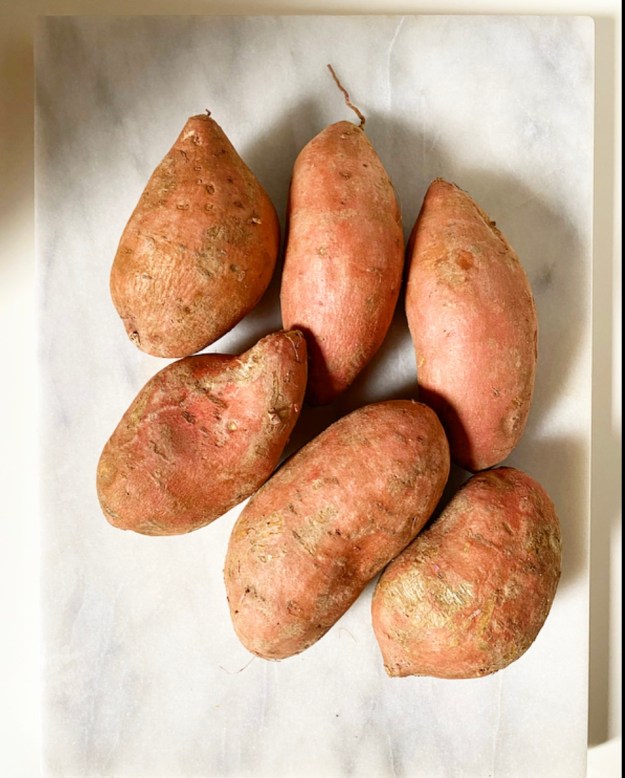
 My mom got the original recipe from her friend, Amy, and then passed it on to me. I’ve twisted the it a little since then, but only a little, because they were already pretty dang perfect. The secret? An entire brick of cream cheese and an entire stick of butter. Yes, I know that’s a lot of dairy and a lot of dense calories, but this recipe also makes a lot of sweet potatoes. Please resist the urge to cut back or use low-fat ingredients—it’s just not worth the effort without the real deals. This is holiday food, not everyday food (although I would never judge you for eating them with every meal for four days straight…ahem).
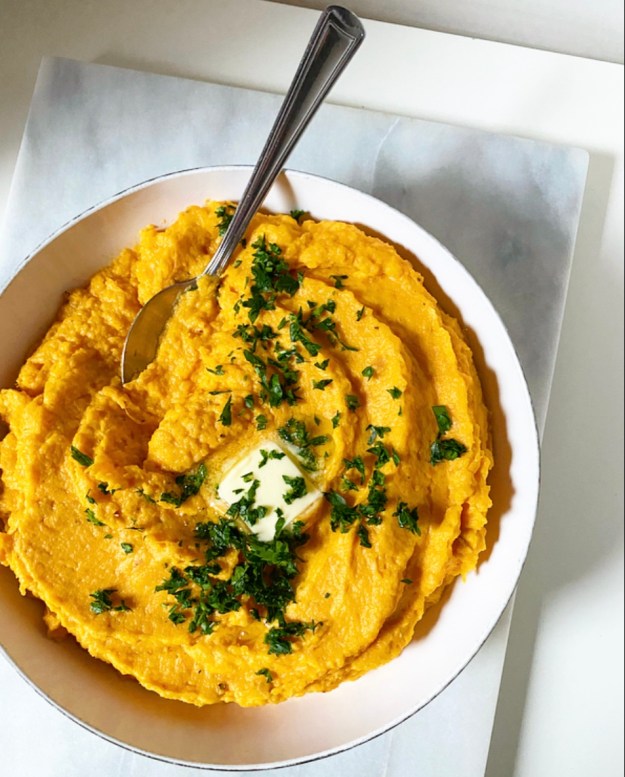
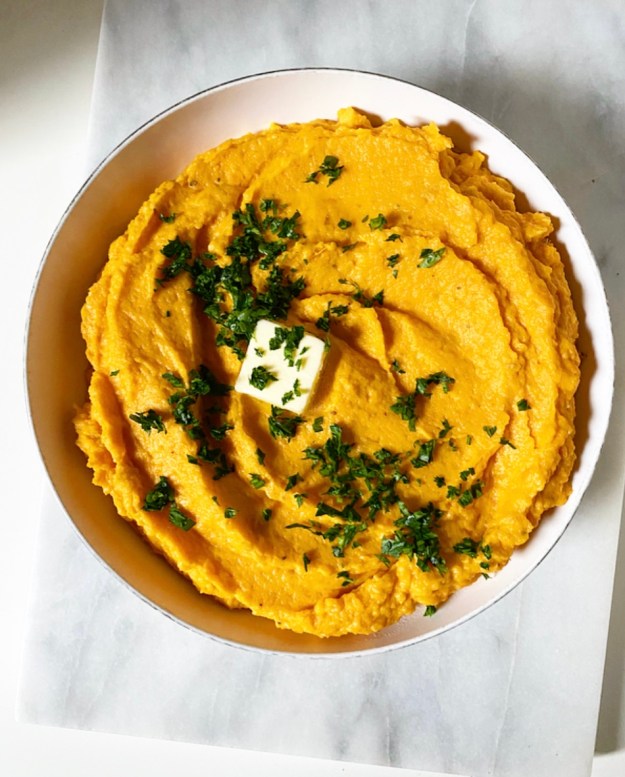 As you might imagine, these Mashed Sweet Potatoes are…beyond. Beyond creamy. Beyond delicious. So beyond that it’s simply beyond me why anyone wouldn’t throw these on next week’s menu right now.
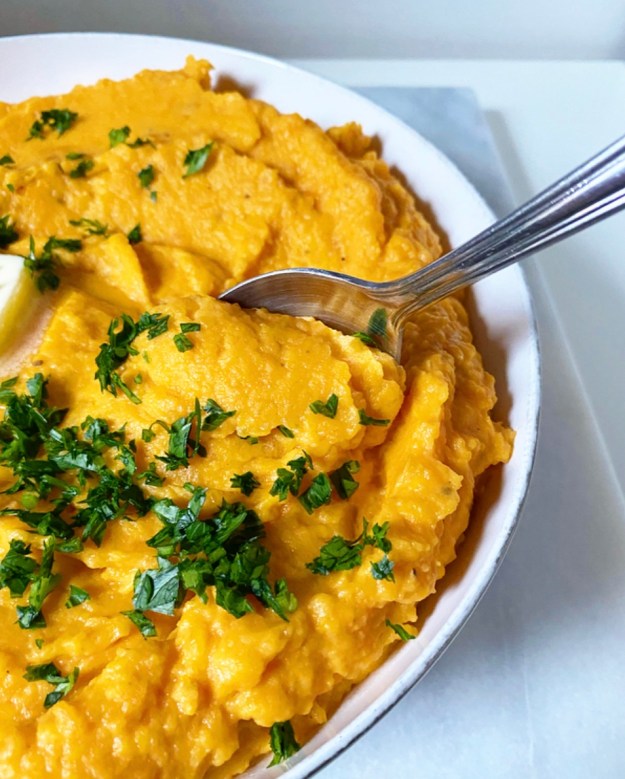
Mashed Sweet Potatoes
barely adapted from my mom’s friend, Amy
makes 10-12 servings
4 pounds sweet potatoes, scrubbed & peeled, diced into 1-inch pieces
cold water, to cover sweet potatoes
2 1/2–3 teaspoons teaspoons Kosher or sea salt, divided
1 8-ounce brick full-fat brick-style cream cheese, cut into pieces
1/2 cup (1 stick) butter, cut into pieces
freshly ground black pepper, to taste
chopped parsley, for garnish
Place diced sweet potatoes in a large, heavy-bottomed pot. Add salt and cover with cold water by 1 inch. Bring to a boil over high heat, then reduce to medium-high and let simmer until sweet potatoes are fork tender. Remove from heat.
Carefully drain water by pouring sweet potatoes through a colander. Return sweet potatoes to the hot pot. Use a potato masher to begin to break up sweet potatoes. Add all pieces of cream cheese and butter, along with 1 teaspoon salt and a few grinds of black pepper. Mash to combine, using a silicone spatula or wooden spoon to scrape down the sides of the pot as necessary. Do not over-mash. Taste for seasoning, then stir in more salt by the 1/2 teaspoon and pepper as desired.
Remove to a serving dish and serve immediately with chopped parsley, if desired. Leftovers will keep covered in the refrigerator for up to 3 days.
If you’d like to make Mashed Sweet Potatoes ahead, spread them into a medium-sized casserole dish. Let cool completely, cover with foil and refrigerate overnight. The next day, remove them from the refrigerator and let sit at room temperature for at least 30 minutes. Then place covered dish in a 350F oven for 30-40 minutes, until hot. Serve.

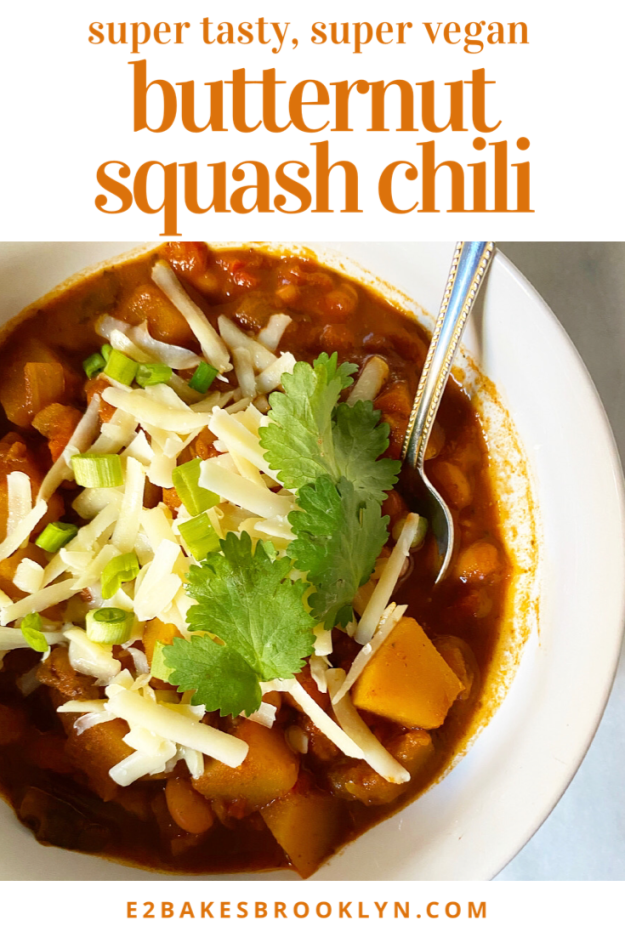
 I am psyched for today’s recipe, y’all! This vegan Butternut Squash Chili is so good and good for you—perfect for the Super Bowl this weekend or any wintry night.
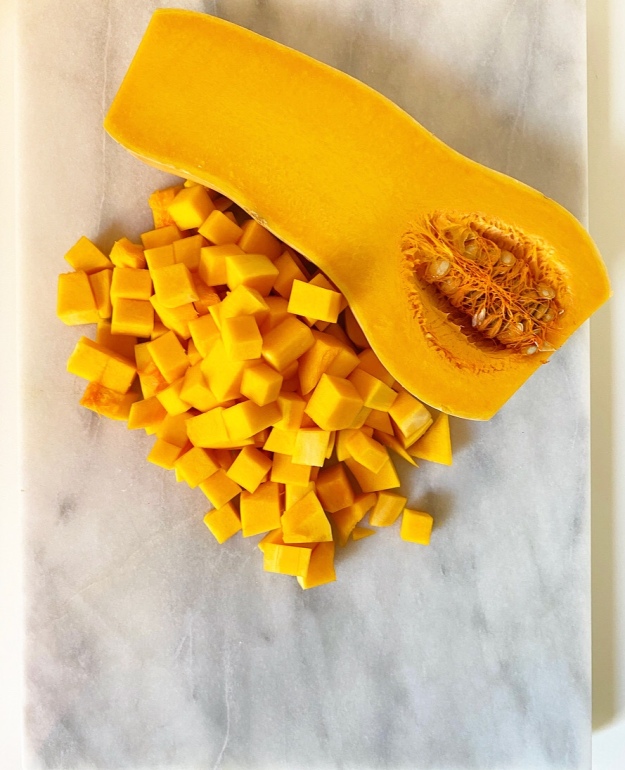
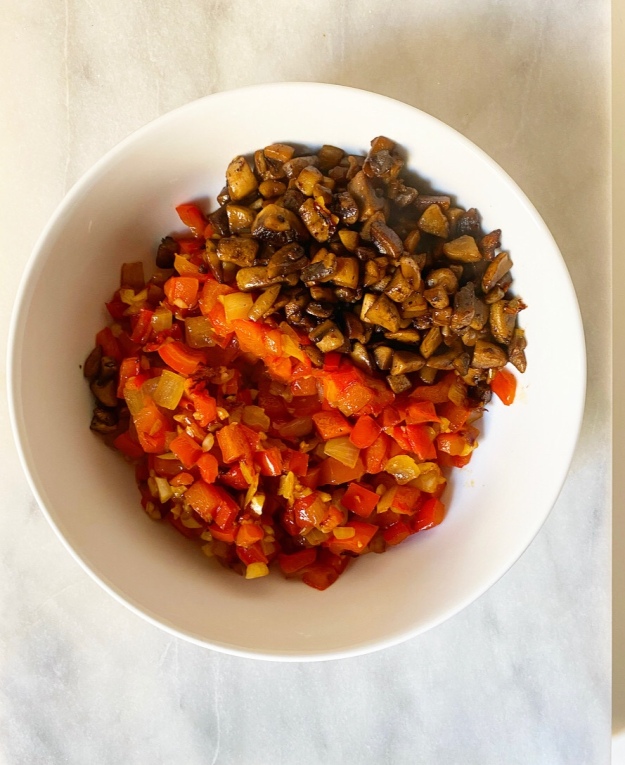 It’s made with loads of good stuff. We’re talking the standard onion, garlic and red bell pepper, of course, but also a whole butternut squash (duh), meaty mushrooms, and pinto beans. YUM!
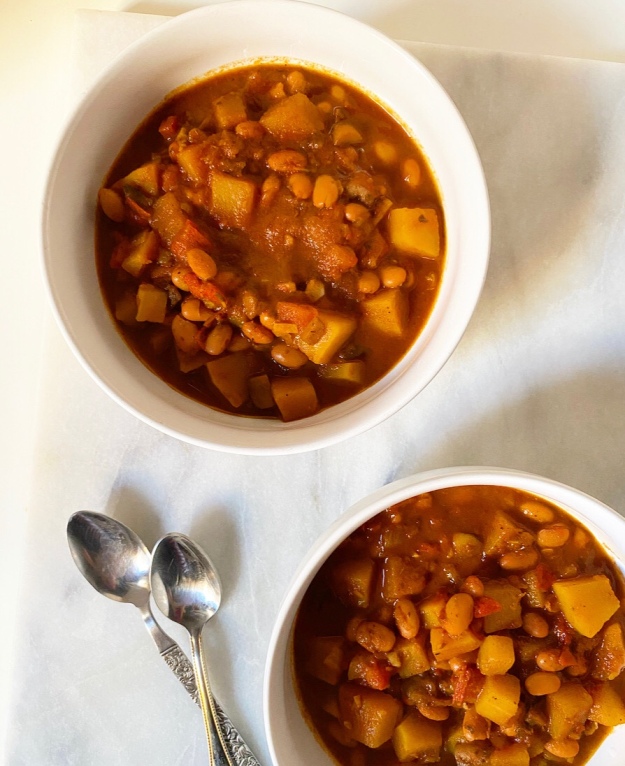 I know that being Texan means I “shouldn’t” like beans in
 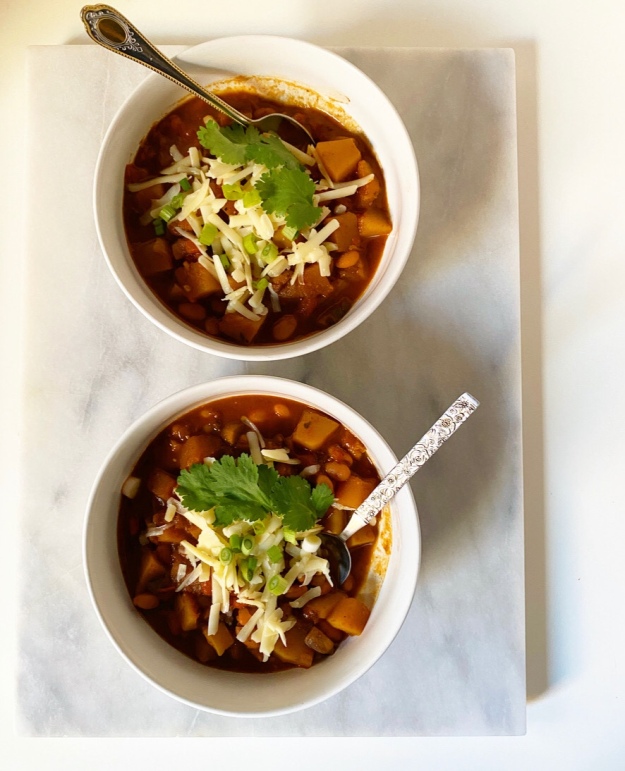 Small amounts of cinnamon and cocoa powder set this chili apart from the rest. They add a little nuance to the standard seasoning combination of chili powder, cumin, dried oregano, and cayenne. Minced chipotles in adobo are stirred in before serving for a touch of smoky heat.
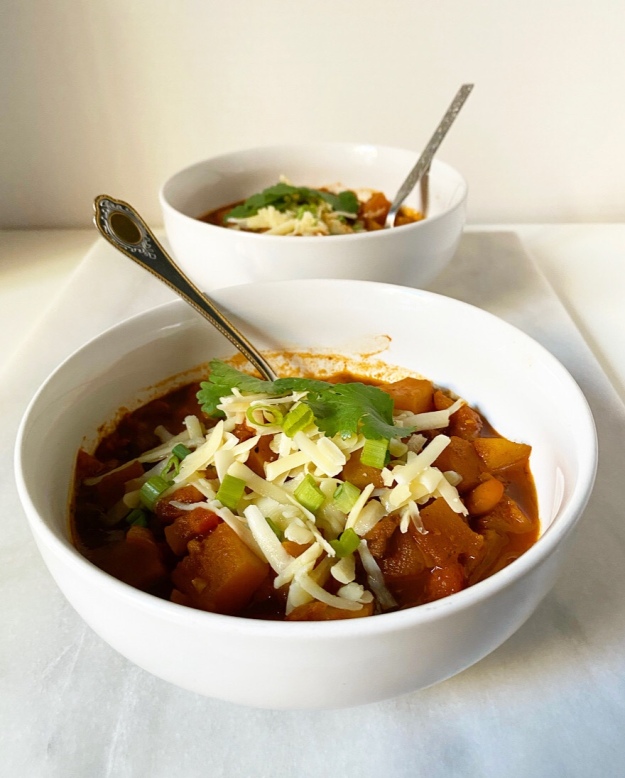 Butternut Squash Chili requires a couple of long browning steps—you want maximum flavor from those onions and mushrooms—and a simmer, but comes together surprisingly quickly overall. The batch pictured clocked in at just under two hours, which gives you just enough time to whip up some
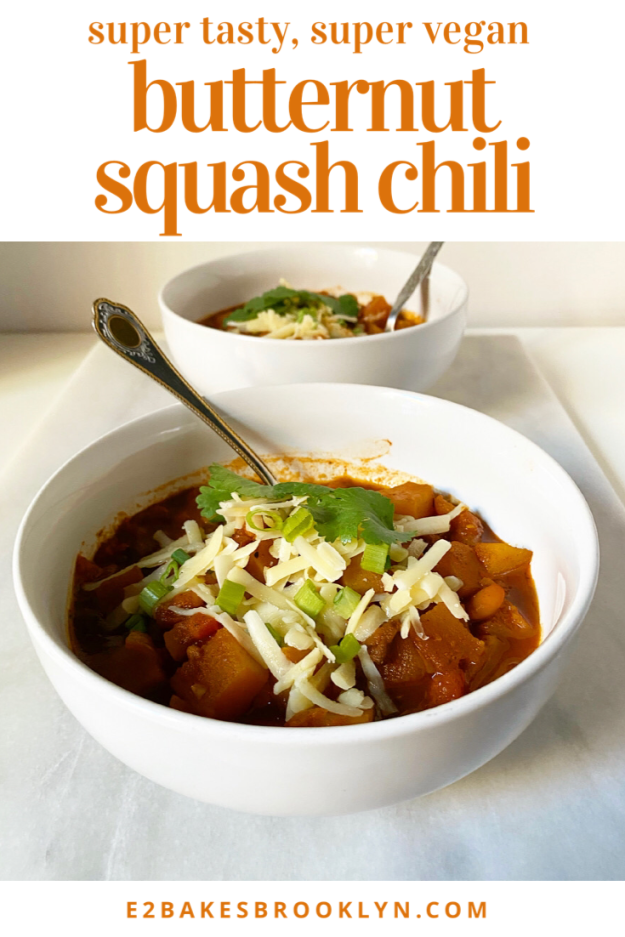
 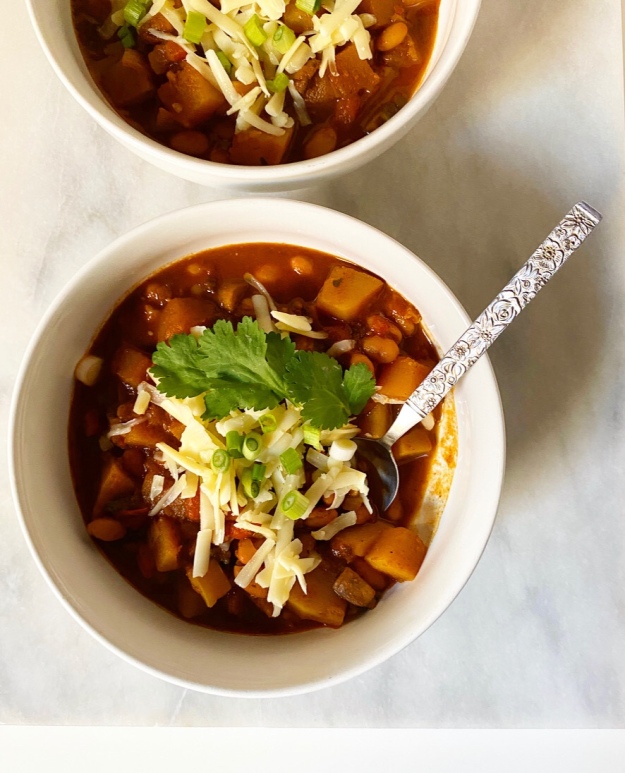 As with most soupy, stewy things, this is a meal that will get better with time. It’s delicious the day it’s made, but is particularly spectacular after a day or two in the refrigerator. Basically, if you want to eat this while you watch the Super Bowl, make if Friday, Saturday or Sunday. Love a make-ahead main!

 This is the last
 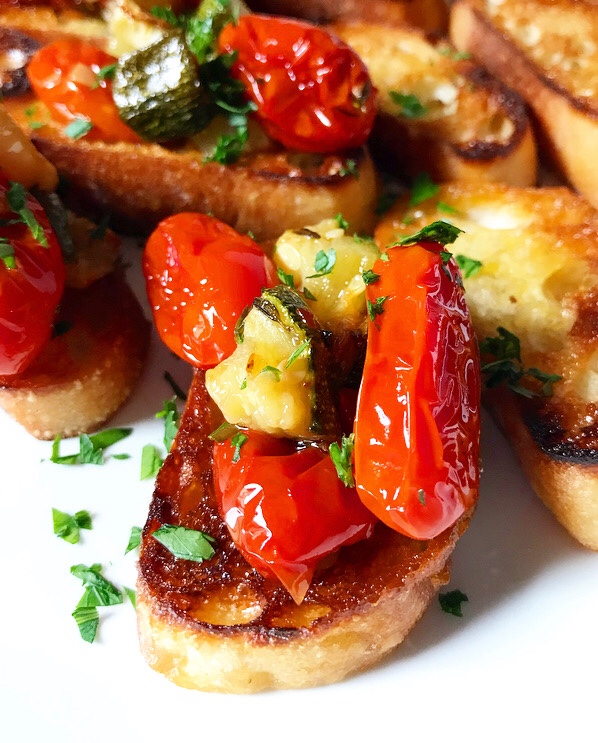 Unlike the
 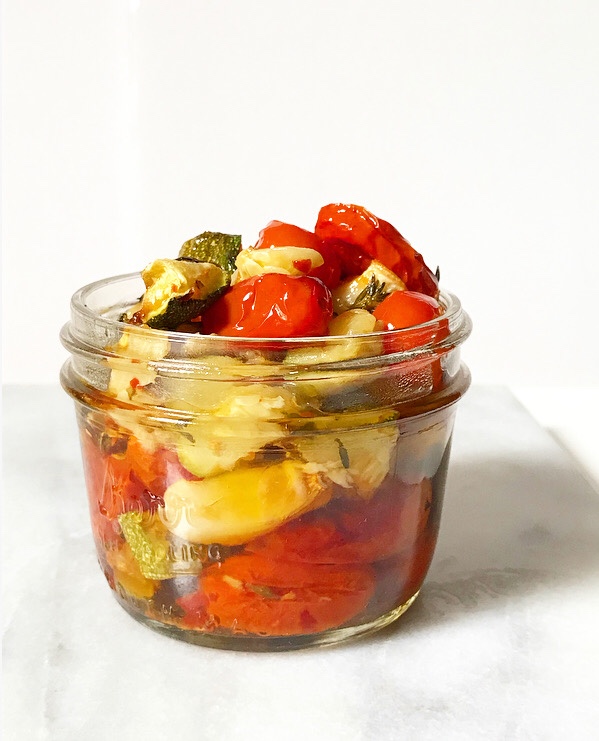 Now, you’ve almost certainly heard of confit, most likely in association with duck. The word itself comes from the
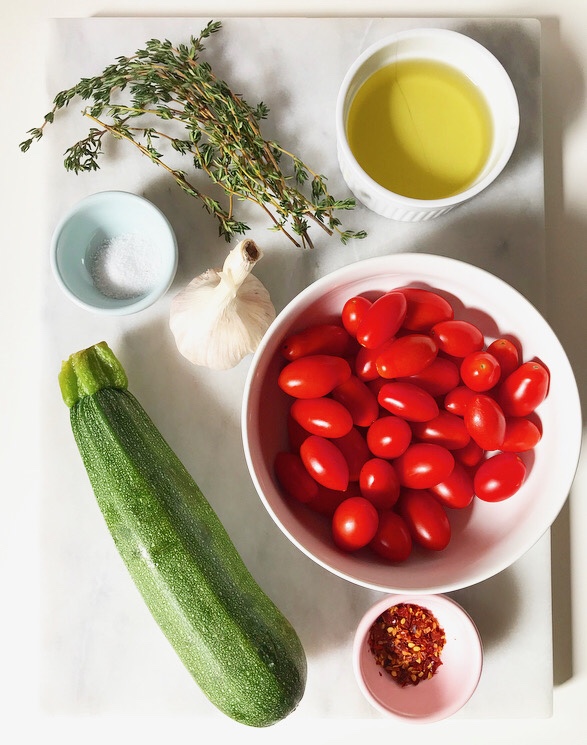
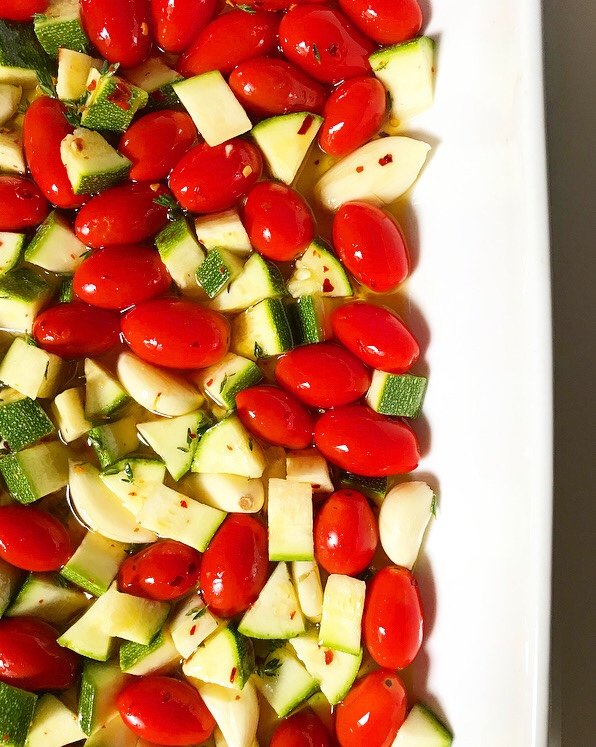
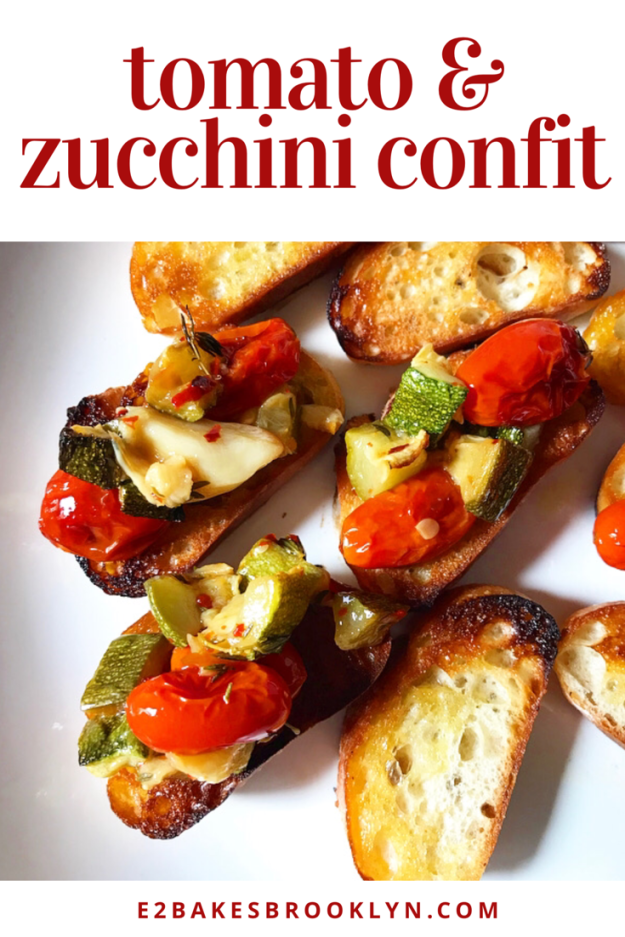
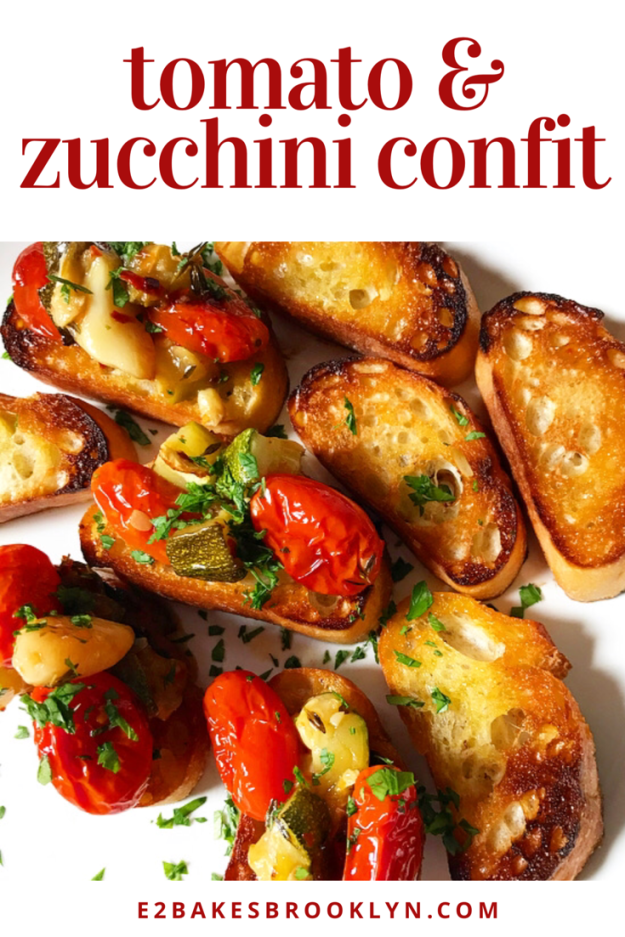
 Making this confit couldn’t be simpler. Start by tipping a pint of grape tomatoes, some diced zucchini and an entire head’s-worth of garlic cloves into a casserole dish. Season them with thyme, red pepper flakes and salt. Stir in 3/4 cup of olive oil and slow-roast until it’s all soft, caramelized, and fragrant. That’s it.
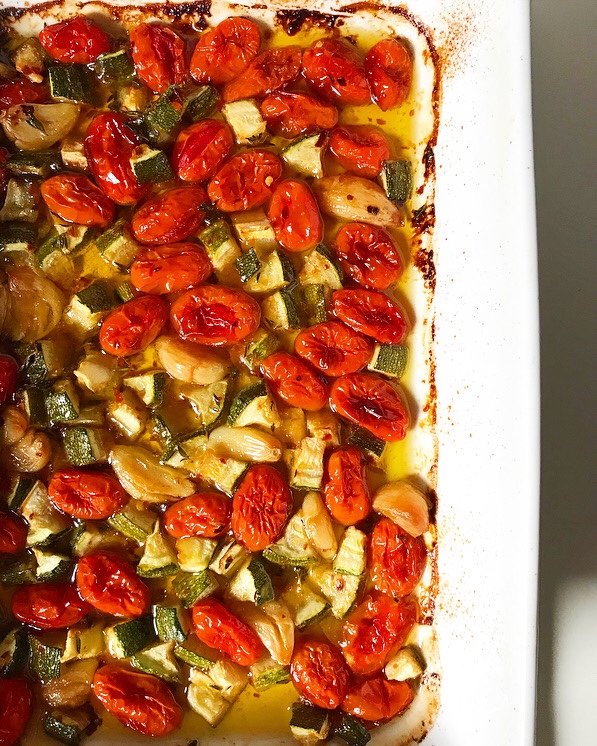
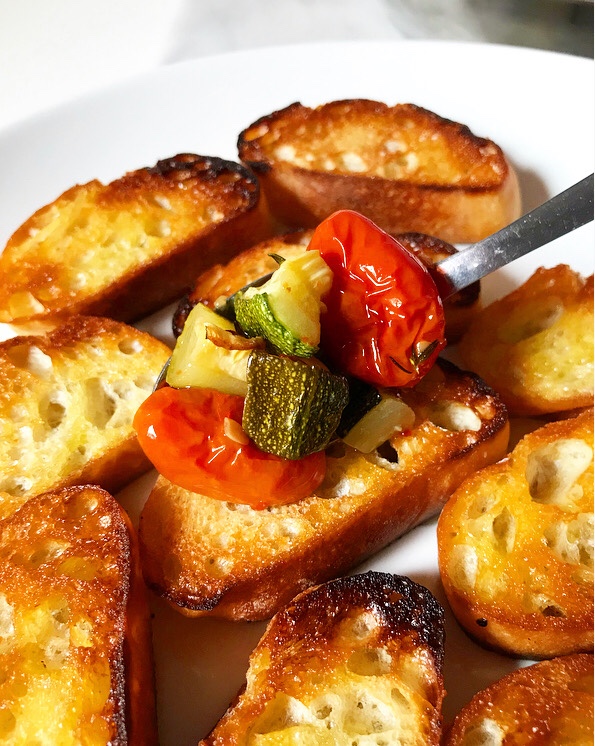 The sky’s the limit on applications. Tomato & Zucchini Confit can be stirred into pasta , grains or beans for a quick meal, or used to garnish chicken or fish. For this post, I just spooned it onto some baguette slices that were toasted in olive oil and called it crostini. Really, put this on anything that could use a touch of herby, savory, garlicky tomato & zucchini. (I think you’ll find that that’s most things.)
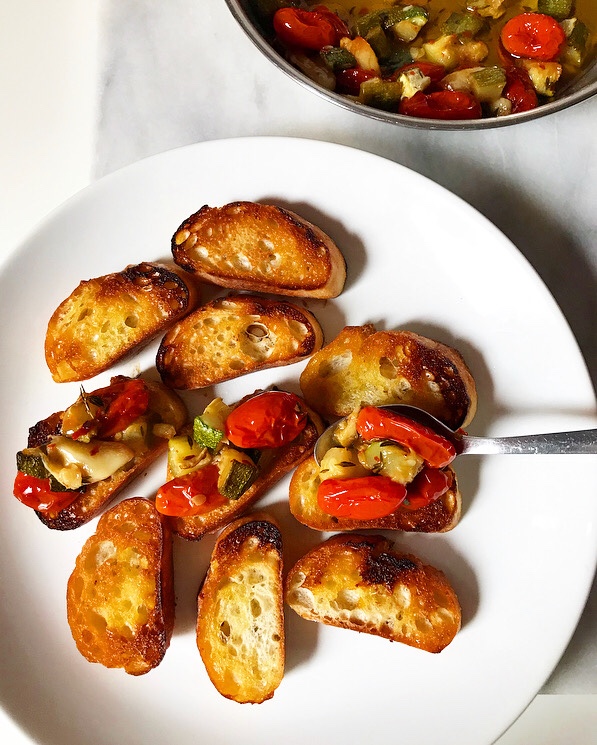 I’ve written this recipe so that the oven is at 300F and the confit cooks for about an hour, but you can go even lower and slower (think 250F for 2 or even 3 hours) for greater depth of flavor. I think it’s pretty wonderful as is though.
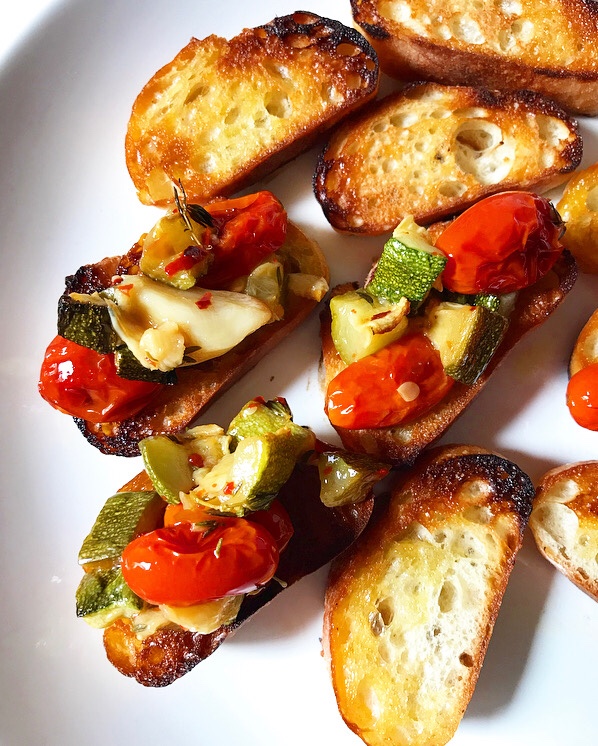 Tomato & Zucchini Confit is great the day it’s made, but since it’s a preserve, one batch can last a while. Once it has cooled, just pile it into a jar, top it off with olive oil so that none of the tomato, zucchini or garlic is exposed, and store it in the fridge. When you’re ready to serve it, bring the confit back to room temperature. When you’ve had your fill, top the leftovers with more oil and refrigerate the jar again for up to two weeks. If you’re anything like me though, it won’t be around longer than a few days.
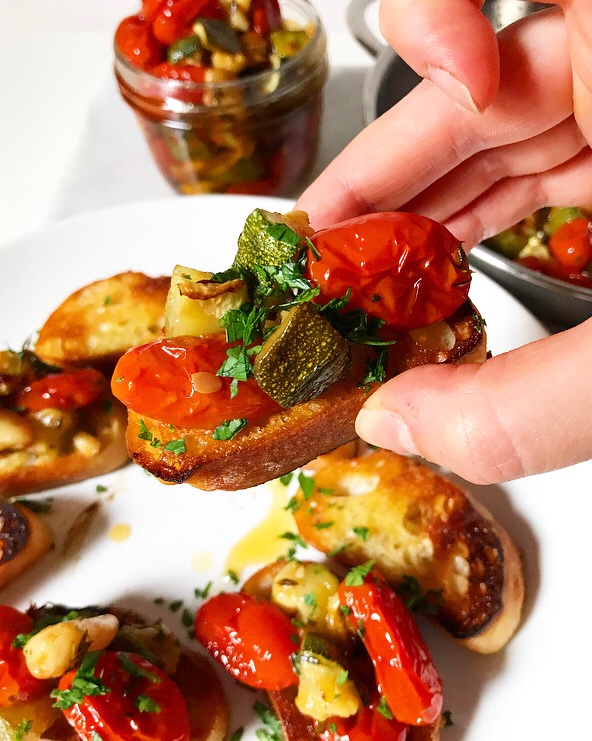

 I love January on this blog. It’s not that I’m not into making desserts all the time—and you know I can’t quit baking
 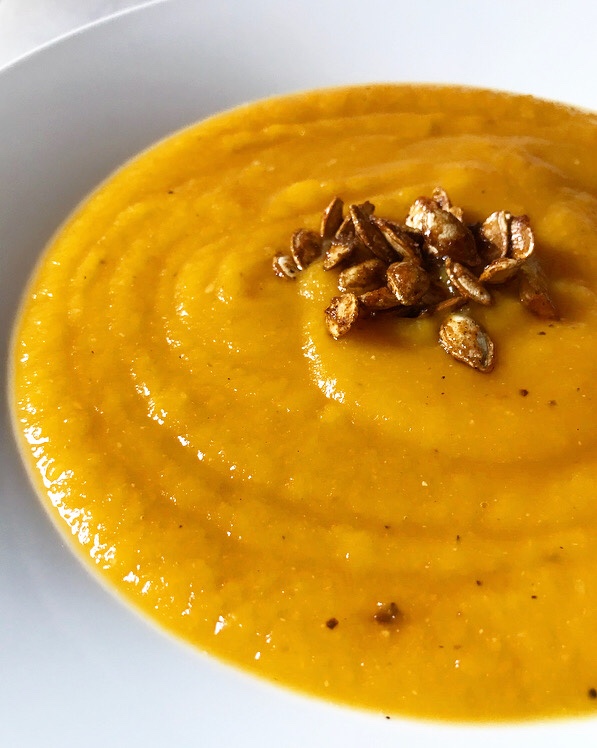 I’ve been making this Roasted Butternut Squash Soup for the last few months and I can’t get enough. It’s super simple to put together and very wholesome and comforting.
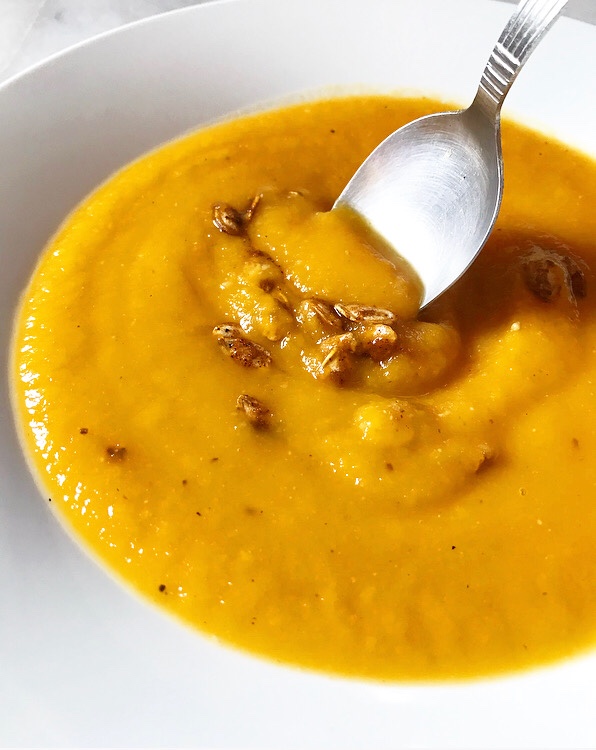
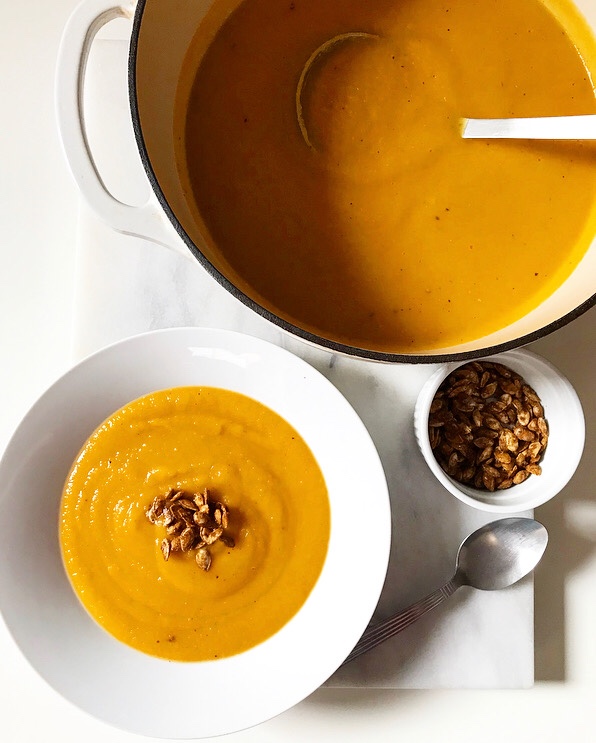
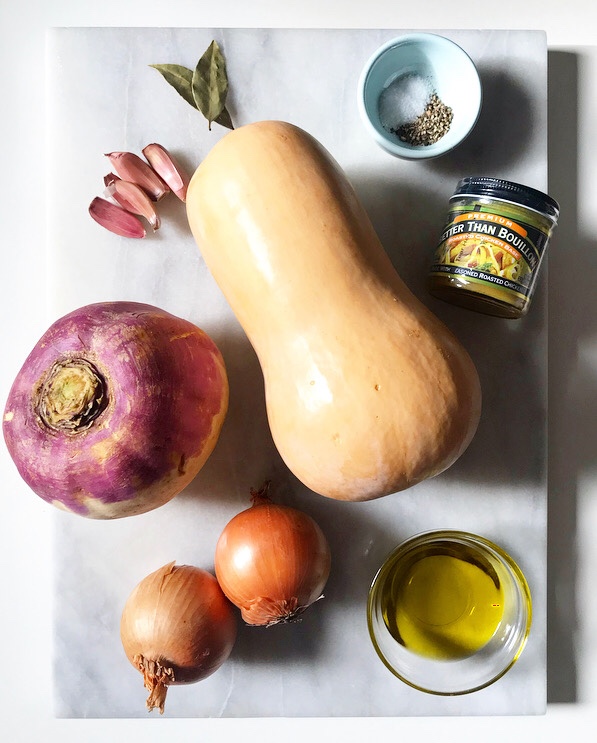 Did I mention that it’s made almost entirely of vegetables and contains zero dairy? This soup’s creamy, velvety texture comes from one unsuspecting secret ingredient: a turnip.* It’s diced up and roasted with the butternut squash until everything is golden and sweet. Yum.
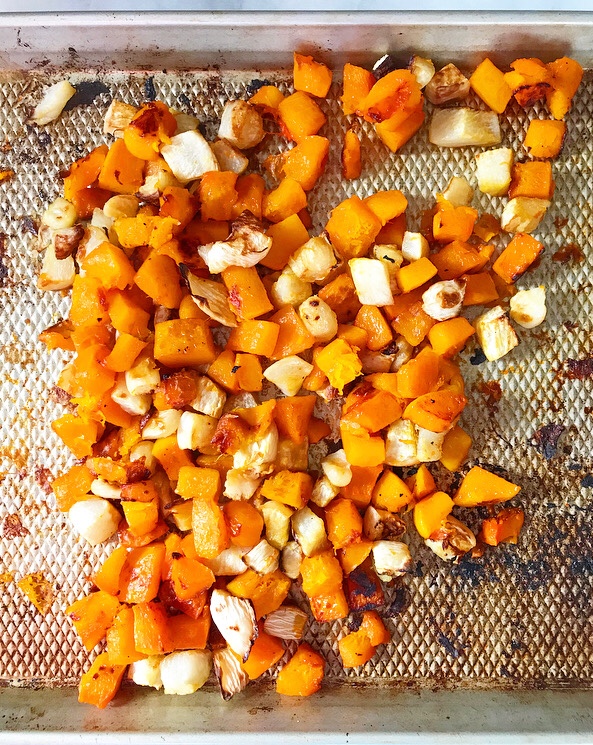
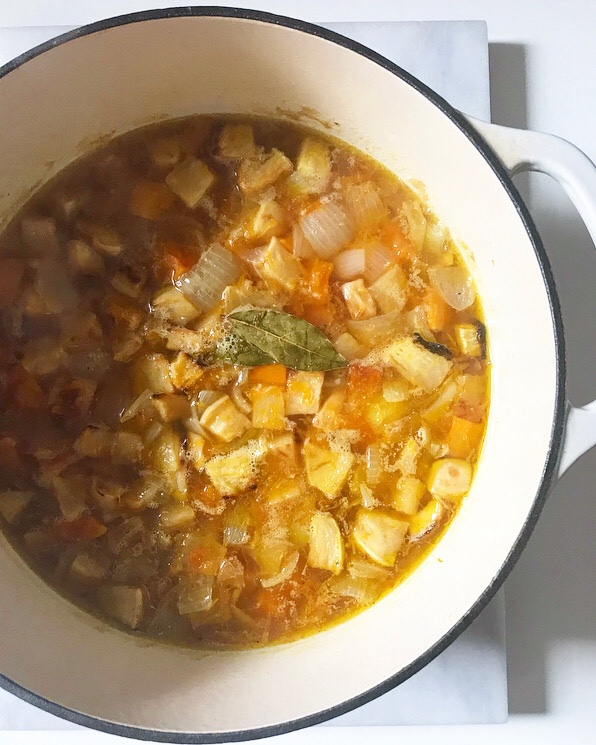 The roasted vegetables are then combined with some softened aromatics and stock (chicken or vegetable, whatever you have on hand), simmered for a few minutes, and puréed into a thick, rich, nutritious soup.
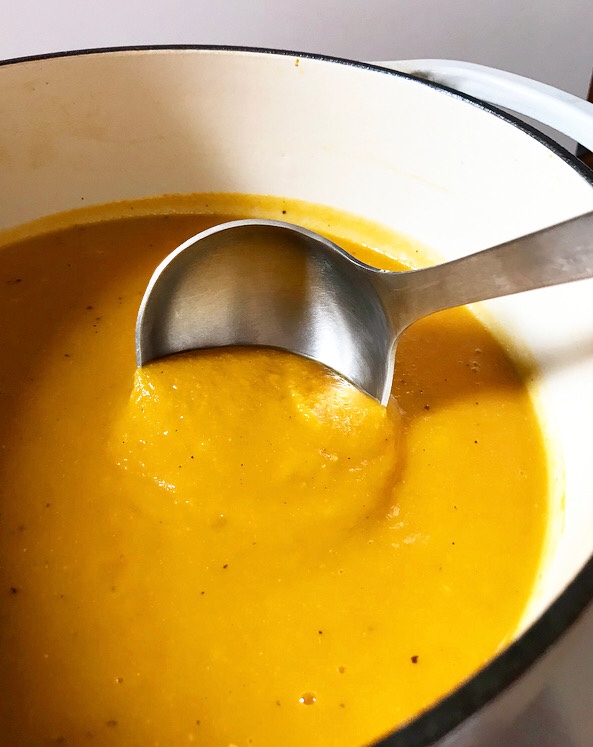
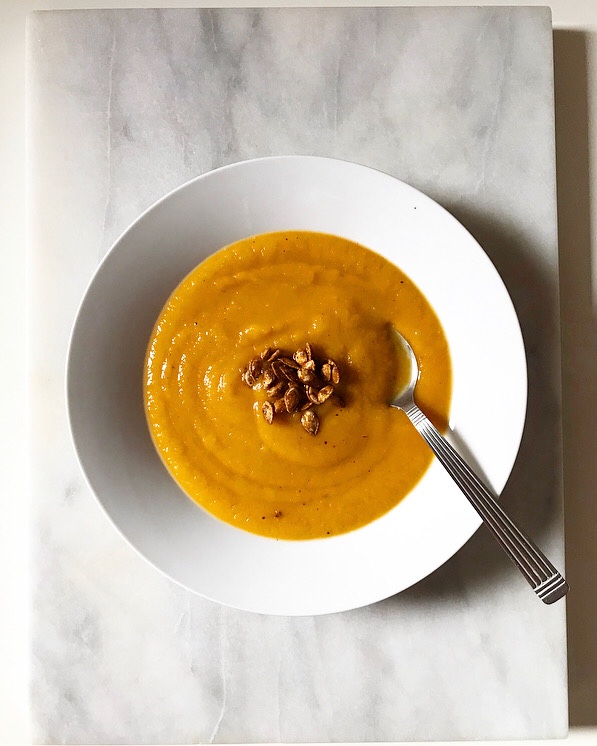 Roasted Butternut Squash Soup provides a great blank slate for any number of garnishes. I was tempted to go with crispy bacon or even a wintry pesto, but decided instead to make something out of the seeds from my butternut squash!
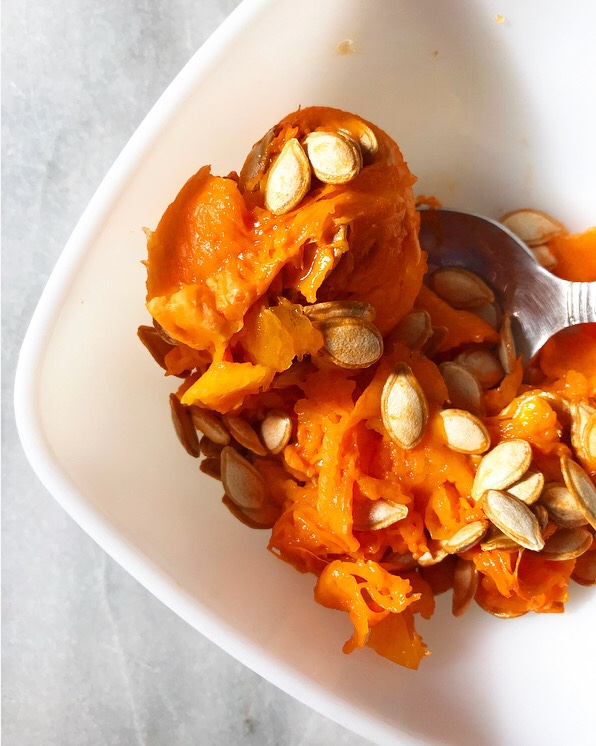
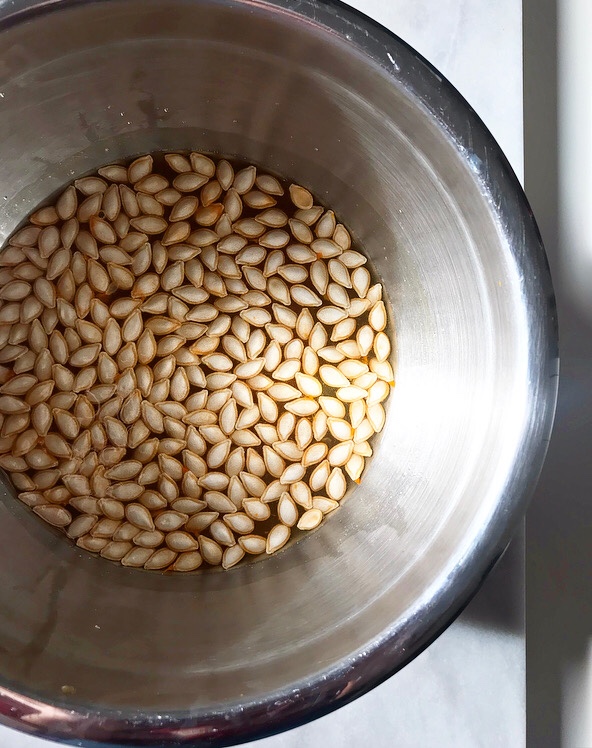
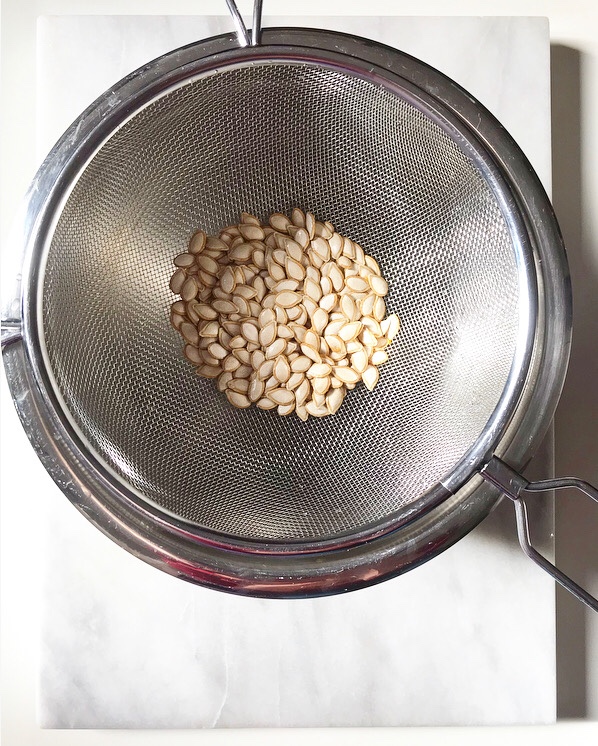
 While the vegetables were roasting, I rinsed the seeds to remove the fibrous squash innards. Then I toasted them in a dry pan just until they started to pop. After that, I added some olive oil, maple syrup, ancho powder, cayenne and salt, and stirred until they were brown and crispy.
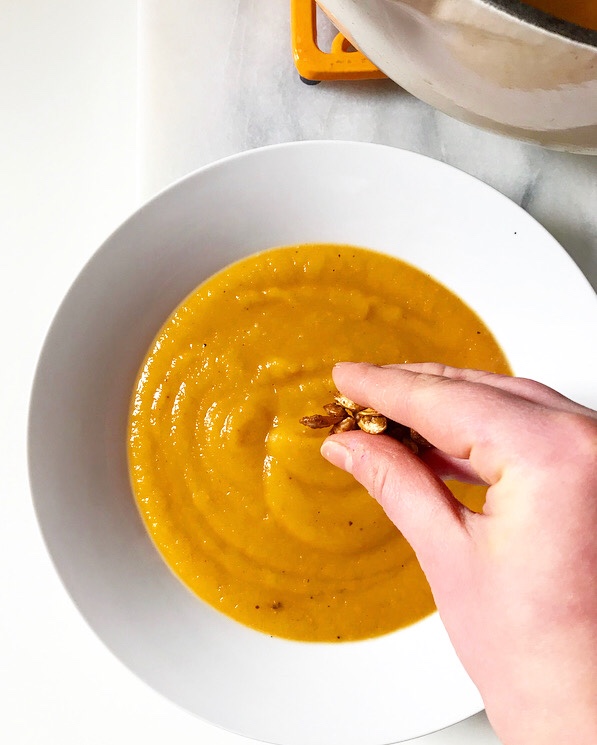
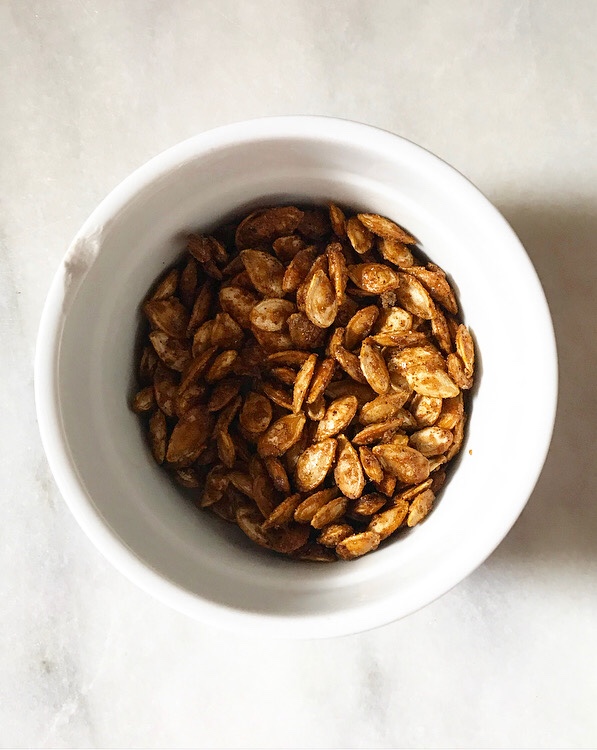
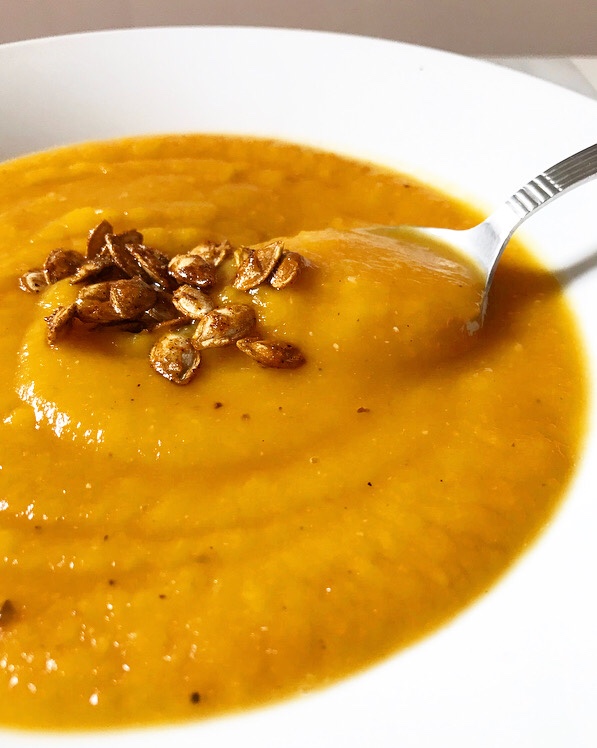 The results are spicy, salty, sweet Maple-Chile Butternut Seeds, perfect for garnishing soup. Or eating by the tiny handful while you wait for your subpar Chinese takeout to arrive, which is exactly what happened to these. Ah, well.