 The world doesn’t need another brownie recipe, but I do. Sure, I already have two base brownie recipes in my archives and a few variations on them (Brownie Truffles!), but I was disappointed to realize a few weeks ago that neither has the shiny, crackly top that seems to always come with a boxed mix brownie.
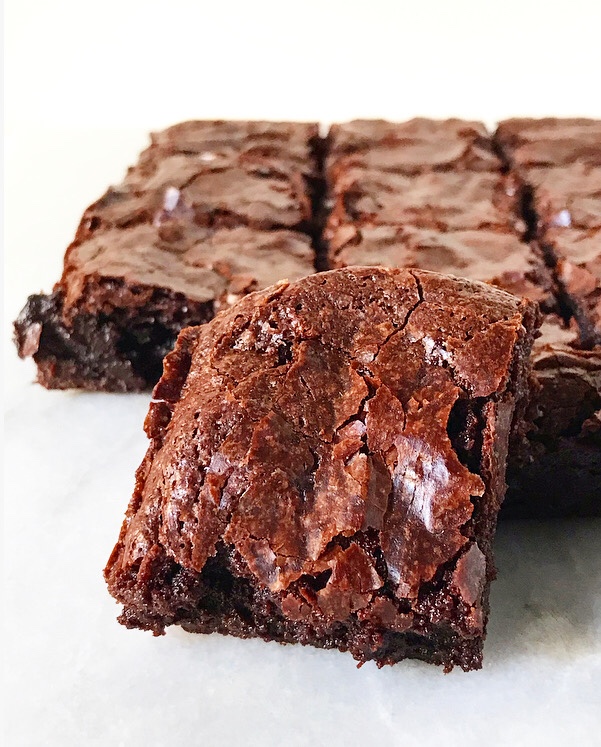 It hadn’t occurred to me that I cared about this until I was talking to a couple of friends about what makes a good brownie. Our notes were similar: fudgy, not cakey at all, not too sweet or light in color. But then they started talking about the paper-thin crinkly top on their favorite boxed mix brownies and I realized I had forgotten about that altogether.
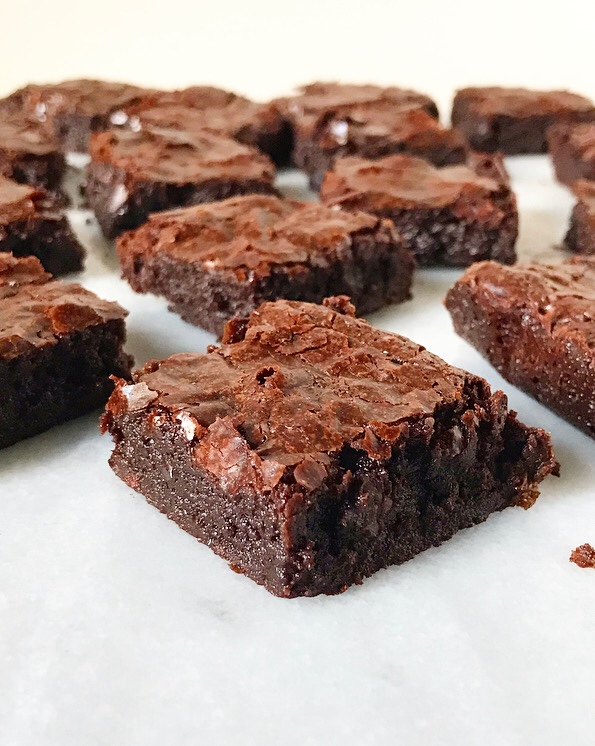
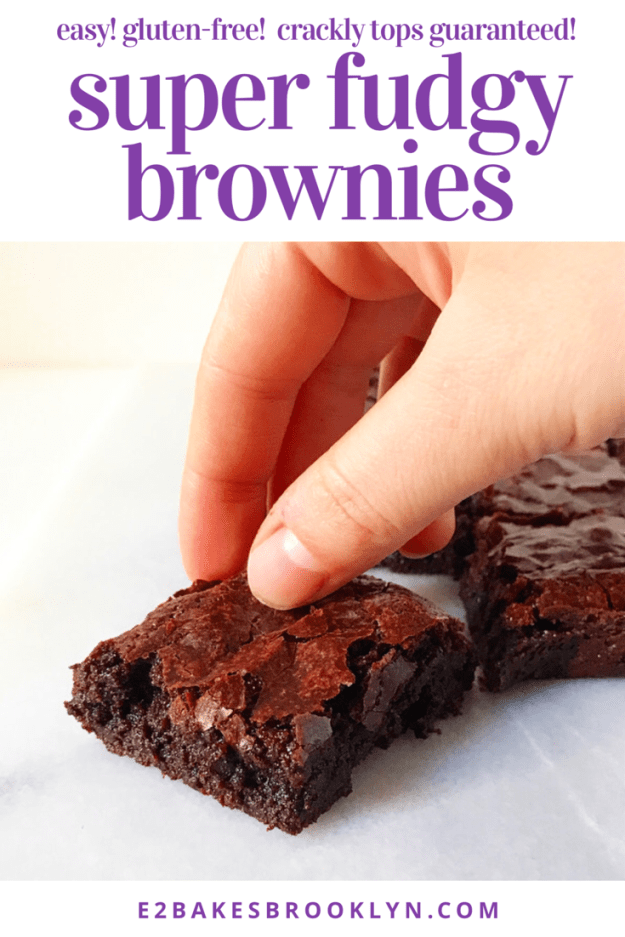
 In my defense, I haven’t made boxed mix brownies in at least seven years—probably more like ten. But I’ve also probably eaten thousands of them, all lovingly mixed together and topped with pecan mosaics by my dad. Every last one of them has had a shiny top, and yet that has never factored into my from-scratch brownie-making. Truly, it’s never even crossed my mind! That is, until this brownie-centric conversation, after which I was consumed with the idea, as evidenced by the 60+ brownies in various states of shiny-crackliness currently taking up space in my freezer, and this pictured super fudgy, crinkled deliciousness.
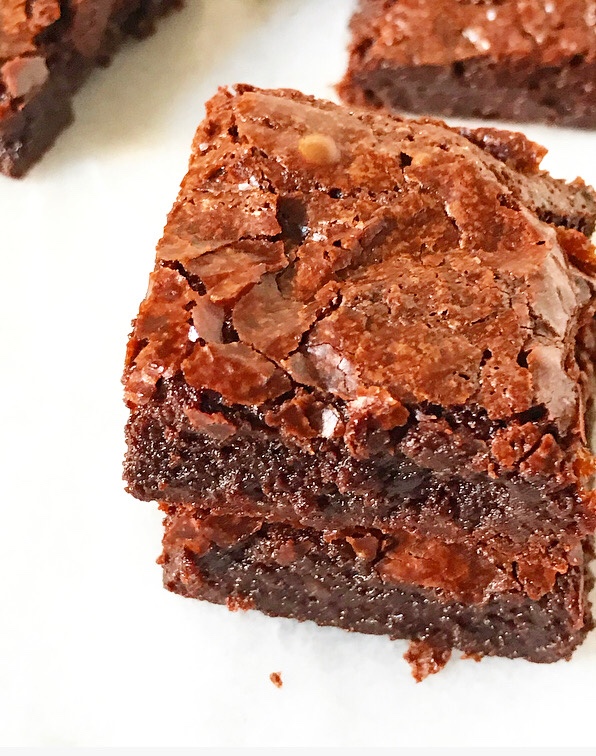 So, what produces that perfect top? Cooking/baking science wiz Shirley O. Corriher says it’s a thin layer of meringue migrating to the top during baking. Yes, meringue like in pie…but also not…?
I just confused myself. Let’s try this again.
Basically, meringue is a combination of egg whites and sugar. This combination is whipped to stiff peaks and use as a topper or made into cookies or used to make silky frosting. But that’s not the sort of meringue we’re talking about today.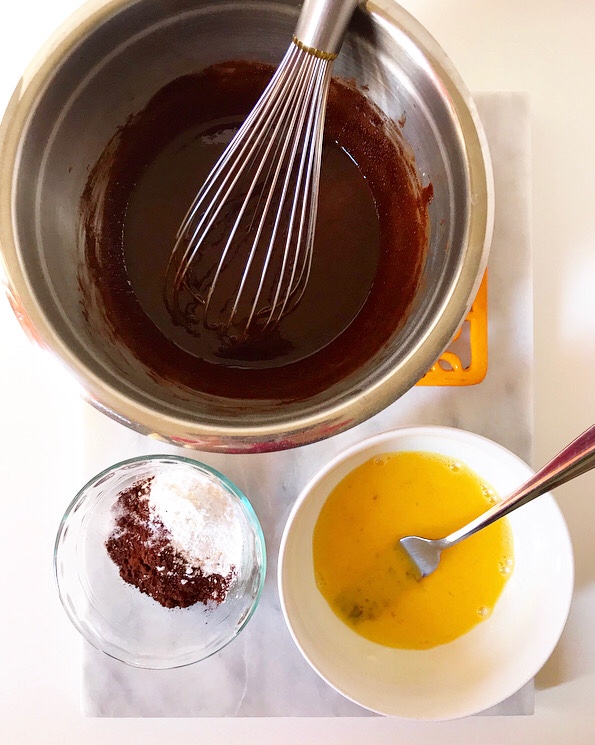
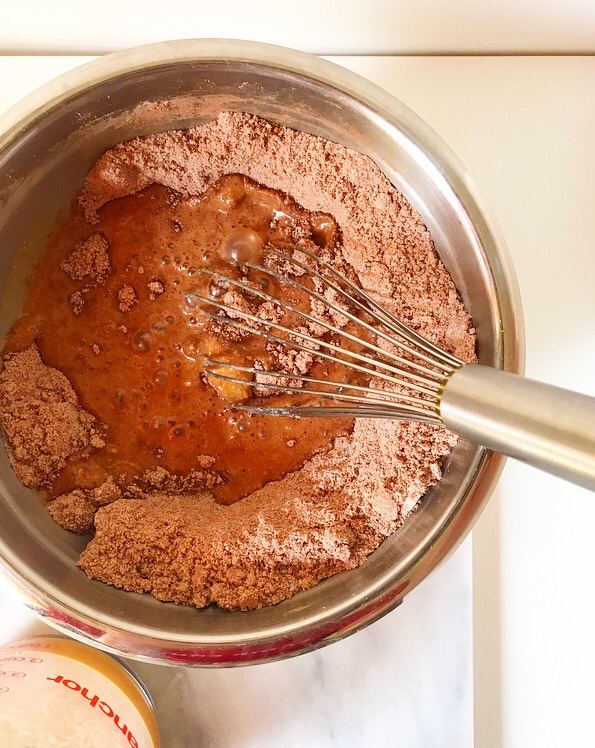
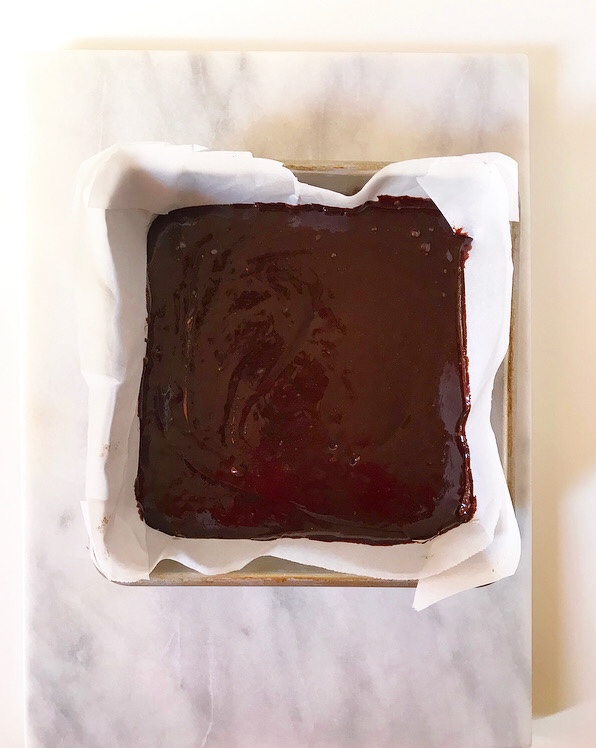 Here, meringue is more…deconstructed. Essentially, sugar is whisked into butter and chocolate that have been melted together. This suspends the sugar in the flavor/texture base of our brownies. Dry ingredients are whisked in, followed by vanilla and a couple of eggs that have been beaten just until they’re starting to get bubbly. The batter is spread into a pan and baked for nearly half an hour, until just set.
Now, here’s where the magic (ahem, chemistry) happens. The air that’s beaten into those eggs? It’s super important, even though it just looks like a few bubbles. That incorporated air pushes a thin layer of egg whites (protein) upward during baking. That, in turn, lifts some of the sugar that’s been mixed into the fat, producing a thin layer of meringue or, as we think of it, a crackly top!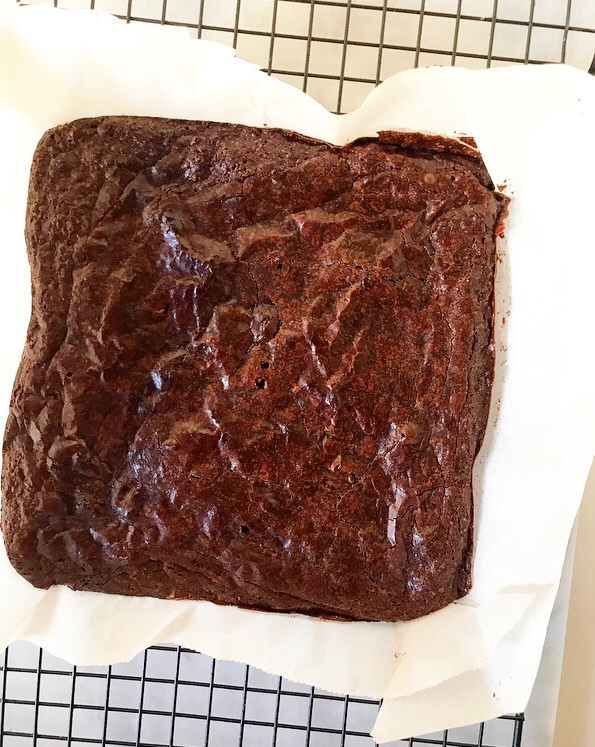 Did that make sense? I think it sort of made sense. I am a C+ chemistry student, y’all. If I had known I’d spend so much time thinking about chemical reactions, I may have paid more attention.
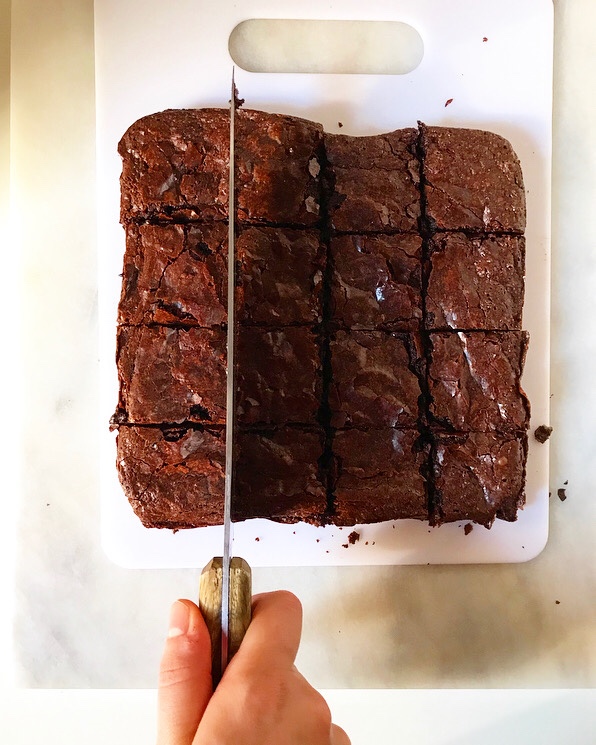 When you look at the recipe, you may notice that I use bittersweet chocolate in these brownies instead of the usual unsweetened chocolate. This is simply because I almost always have bittersweet chocolate (Trader Joe’s PoundPlus Dark Chocolate is my go-to) and almost never have unsweetened. When I want brownies, I want to be able to make them without having to go to the grocery store, you know?! I have reduced the added sugar in this recipe to reflect using sweetened chocolate. If you have (or prefer) unsweetened, just up the sugar to 1 cup.
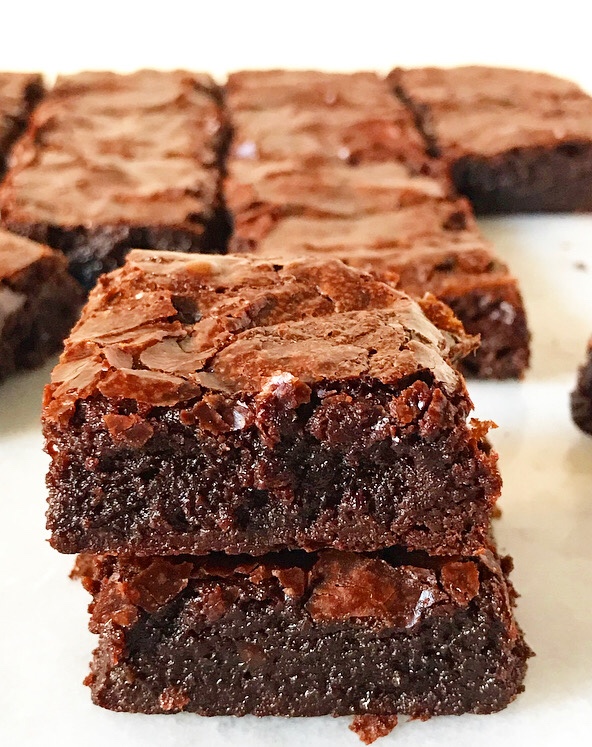 Did I mention that these brownies just happen to be gluten-free? Where many recipes call for flour, the dry ingredients here are a combination of cocoa powder and cornstarch. The cocoa powder provides a little structure and an extra hit of chocolate flavor—yum. As for the cornstarch, you could definitely use an equal volume of flour in its place, but I like the smooth texture it provides here, the same way it does in cakes and cookies. Plus, it means more friends can enjoy these brownies. Yesssss 😊
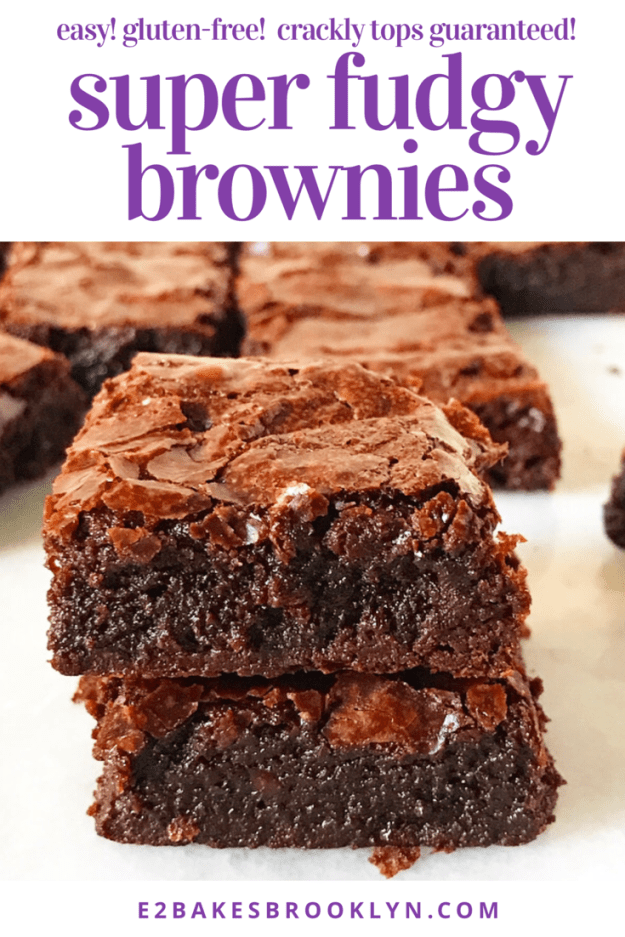
 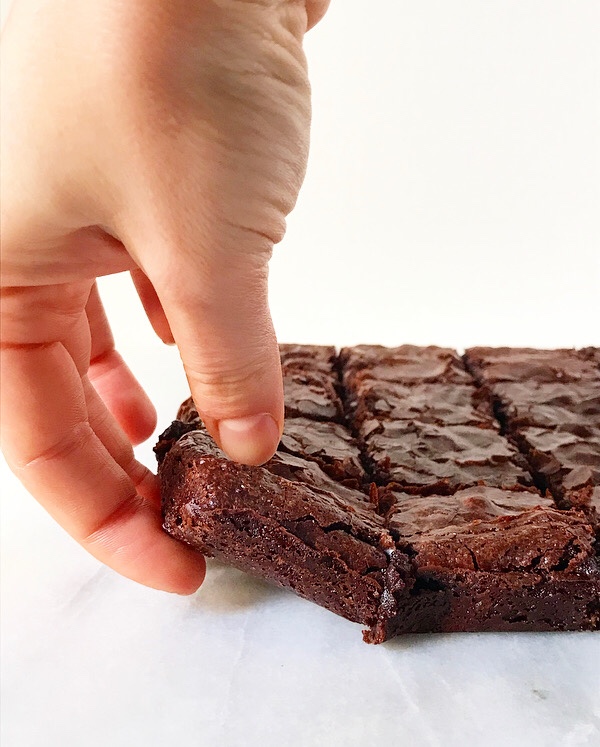 One last thing: this recipe is easy and requires just eight ingredients! I felt this warranted a mention because there is a lot of technical jargon in this post. But I promise these are easy. They’re soooo easy. And super dense and fudgy and delicious. And they have that perfect crackly top. And perhaps you too will soon have a freezer full of brownies. It’s a very good problem to have.
Super Fudgy Brownies {Gluten-Free}
makes 1 8-inch pan, 16 brownies
2 tablespoons cocoa powder (natural or dutch process)
2 tablespoons cornstarch
1/4 teaspoon Kosher or sea salt
1/2 cup unsalted butter, cut into small pieces
4 ounces bittersweet chocolate, chopped
3/4 cup granulated sugar
2 large eggs, room temperature
1 teaspoon pure vanilla extract
Preheat oven to 350F. Grease an 8×8″ rimmed square baking pan with butter. Line with parchment, leaving overhang on two sides for easy removal. Set aside.
Combine cocoa powder, cornstarch and salt in a small bowl, and use a fork to combine. Set aside.
Fill a small pot with 1-2 inches of water. Set a heatproof bowl over the top, ensuring that the water does not touch the bottom of the bowl. Remove bowl and bring water to a simmer.
Place butter and chocolate in heatproof bowl. When water comes to a simmer, turn heat to low and place heatproof bowl over the top. Use a silicone spatula or wooden spoon to stir frequently until melted and smooth. Add sugar and whisk for 1 minute. Remove from heat. Whisk in dry ingredients.
Combine eggs and vanilla in a small mixing bowl. Use a whisk or fork to beat until a bit bubbly, about 1 minute. Whisk into chocolate mixture until smooth.
Transfer batter to prepared pan. Tap full pan five times on the countertop to release air bubbles. Bake 25-30 minutes (mine took 28), until a toothpick inserted in the middle comes out with only a few moist crumbs (not soupy batter).
Let brownies cool completely in the pan on a cooling rack. Use parchment overhang to remove to a cutting board. Slice into 16 pieces and serve.
Leftovers will keep an airtight container at room temperature for up to 4 days or in the refrigerator for up to a week. These may also be layered with wax paper or parchment and frozen.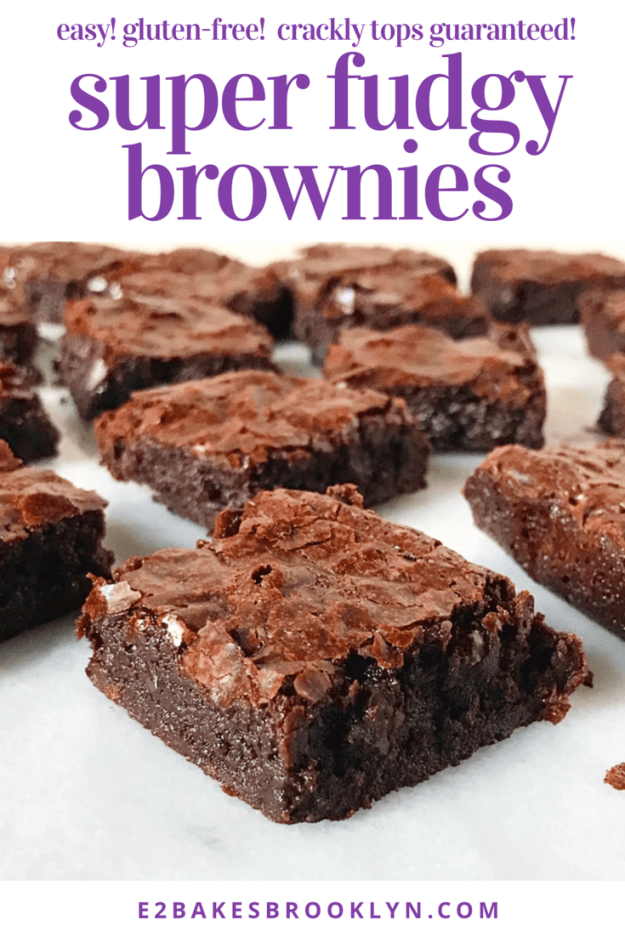
 Has anyone else’s week been five years long? Mine started with two babkas, three layer cakes and a Rosh Hashanah dinner, continued with some early morning construction in my apartment, and was followed up with a neck-ache and a midweek heatwave.
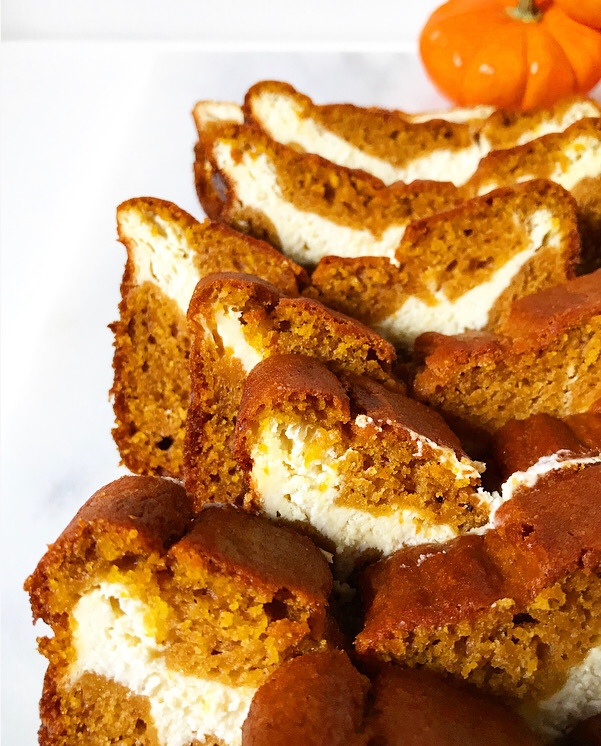 The good news is that NYC weather is finally starting to get with the autumnal program (I am so tired of summer clothes) and that my only plans for this weekend are to take my visiting godparents out for lunch and watch postseason baseball. Then two more work days before going on vacation next Wednesday—it can’t get here soon enough! But more on that later. For now, let’s talk about Cheesecake Swirled Pumpkin Bread.
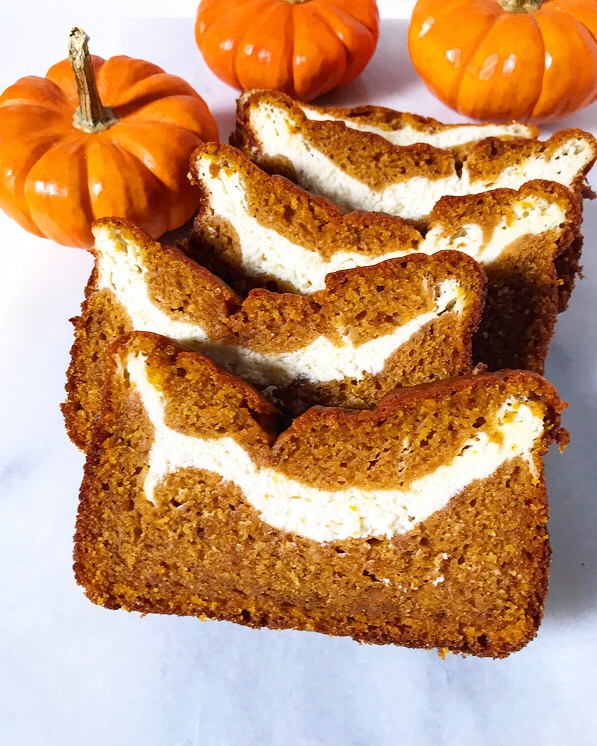
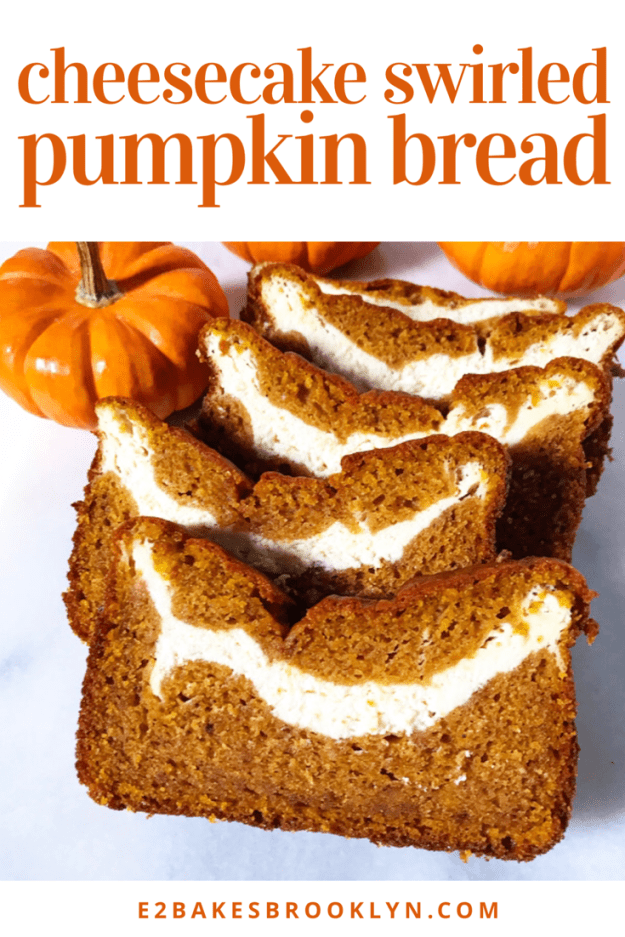
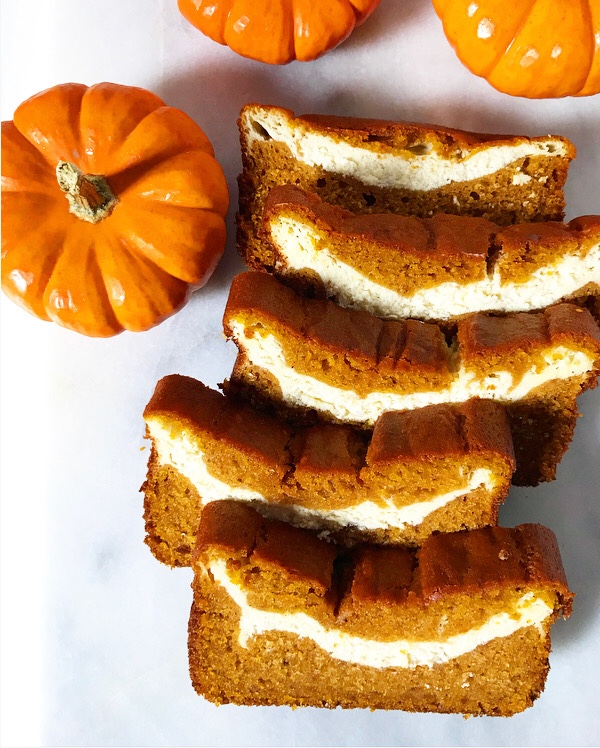 Cheesecake. Swirled. Pumpkin. Bread.
 Cheesecake Swirled Pumpkin Bread begins with a half-recipe of my
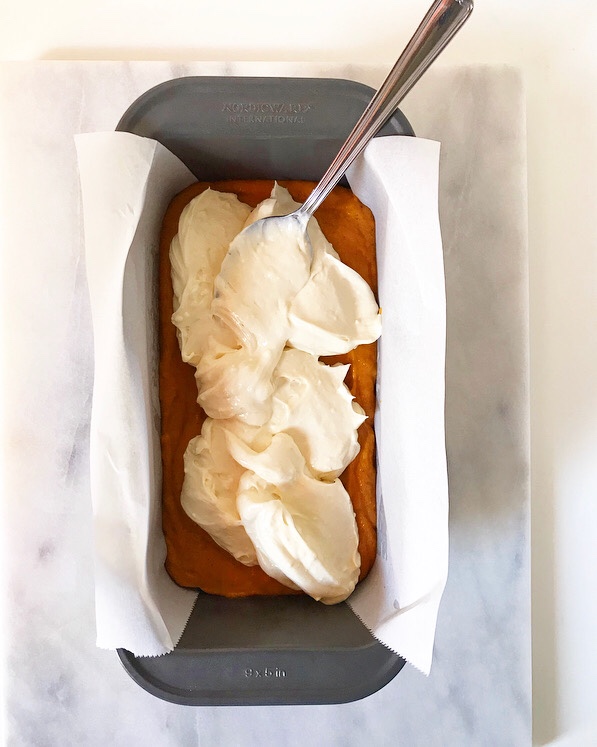

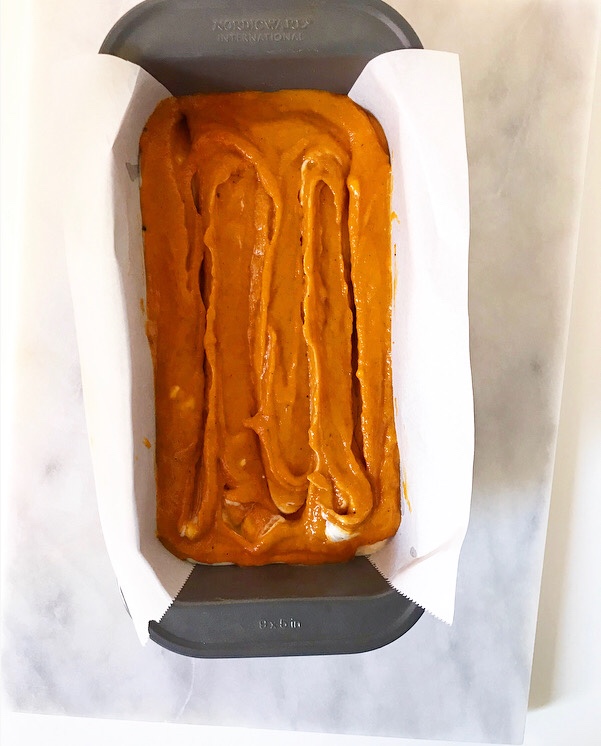
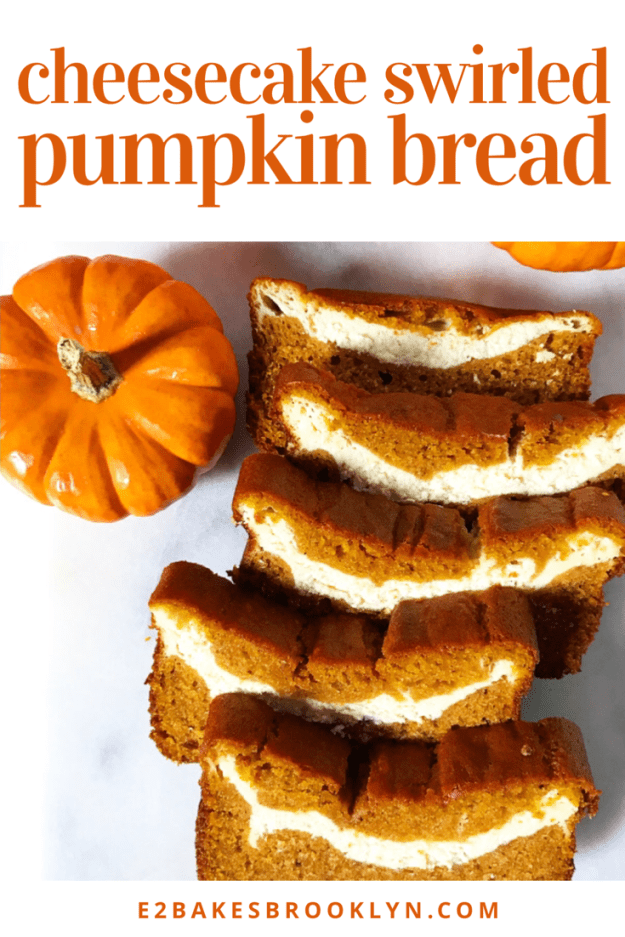
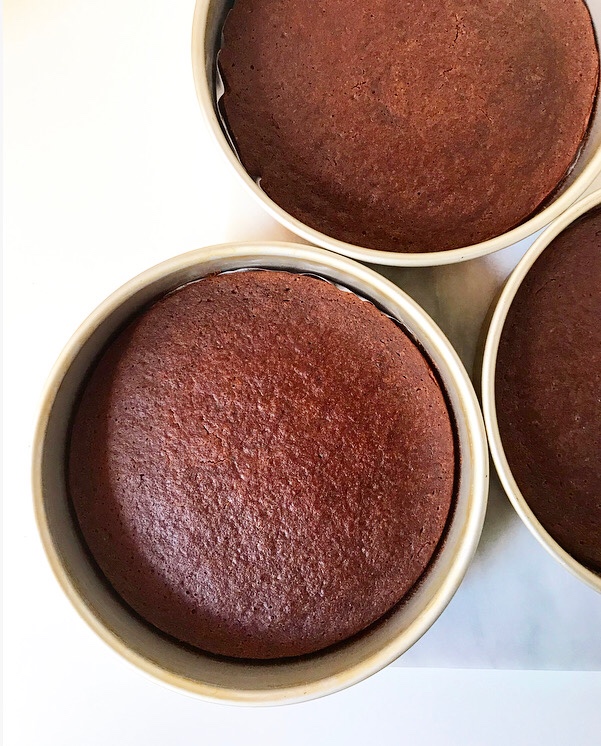
 To assemble, you’ll need the pumpkin batter and a small batch of cheesecake—don’t worry, they’re both easy to make. Set aside a cup of the pumpkin batter and put the rest in your loaf pan. Top it with the cheesecake, followed by the remaining batter. Swirl it all with a thin knife or skewer before baking for the better part of an hour. The bread will be puffed when it comes out of the oven, but sink a bit as it cools. This is just the cheesecake buckling a bit—not a bad thing.
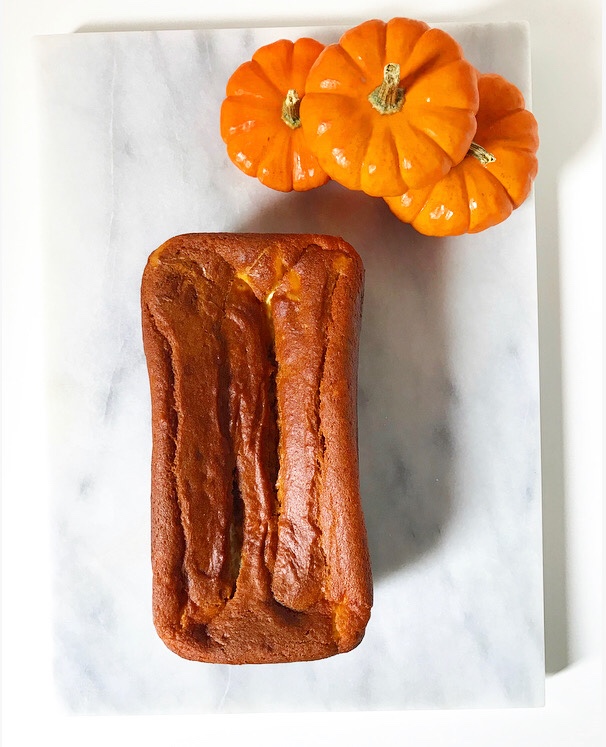
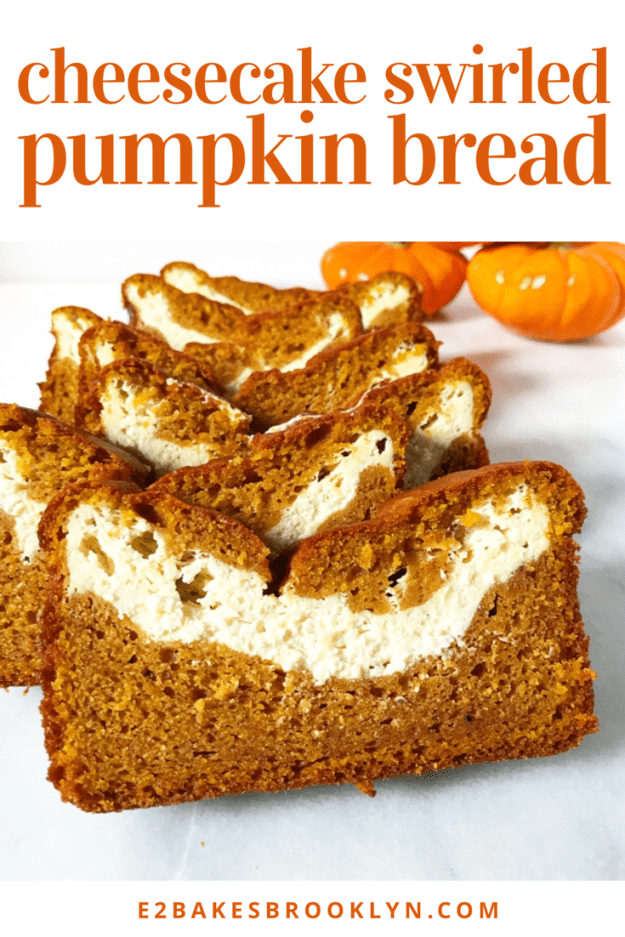
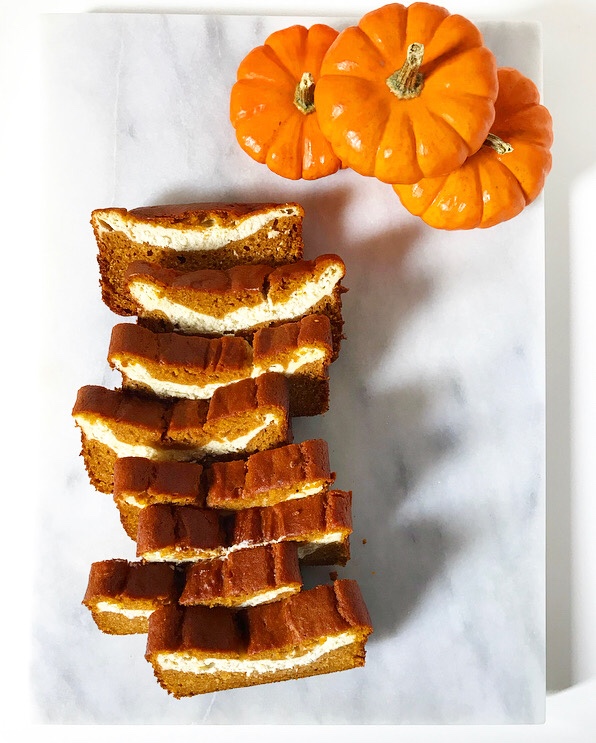 This bread needs to be cooled at room temperature and then chilled in the refrigerator, making it an ideal make-ahead treat. Don’t rush to serve this. Pumpkin is a flavor that blooms over time and nobody loves room temperature (or warm 😬) cheesecake. Good things come to those who wait.
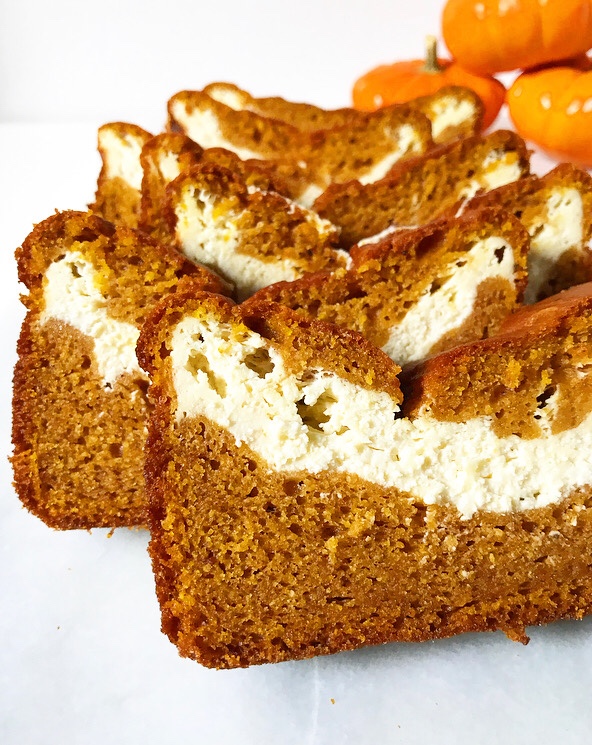
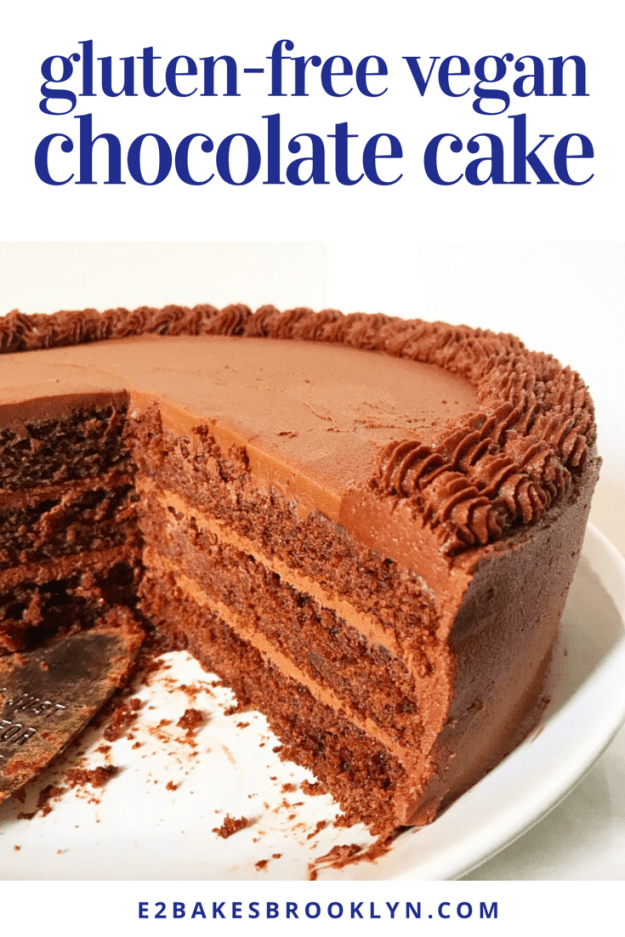
 When you make as many layer cakes as I do, it’s inevitable that someone will ask you to make a gluten-free or vegan one, or one that is both of those things. I used to fear these requests and turn them down across the board, but as time has gone on, I’ve gained confidence, learned new skills, and befriended my NYC ride-or-die,
 It all started with The Minimalist Baker’s genius
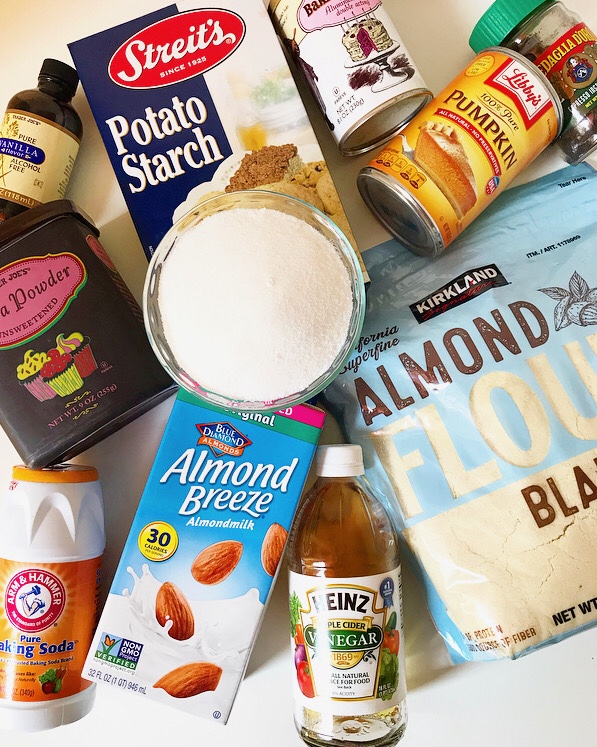
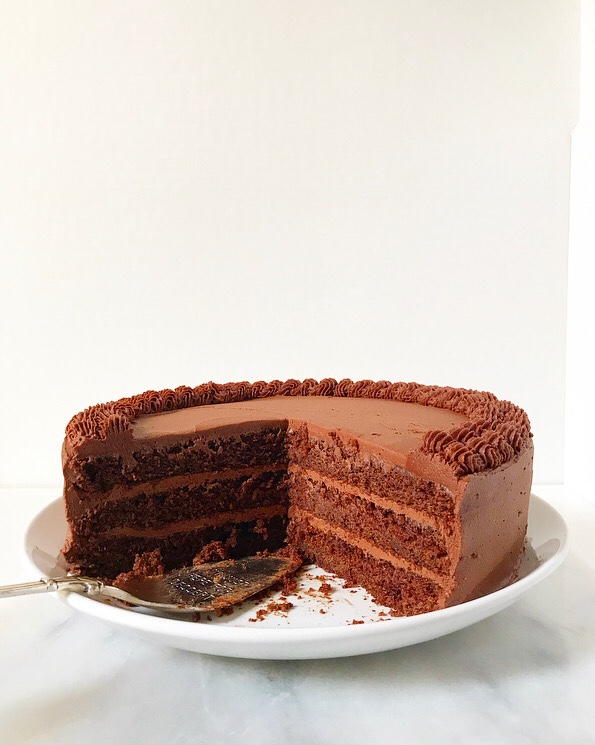
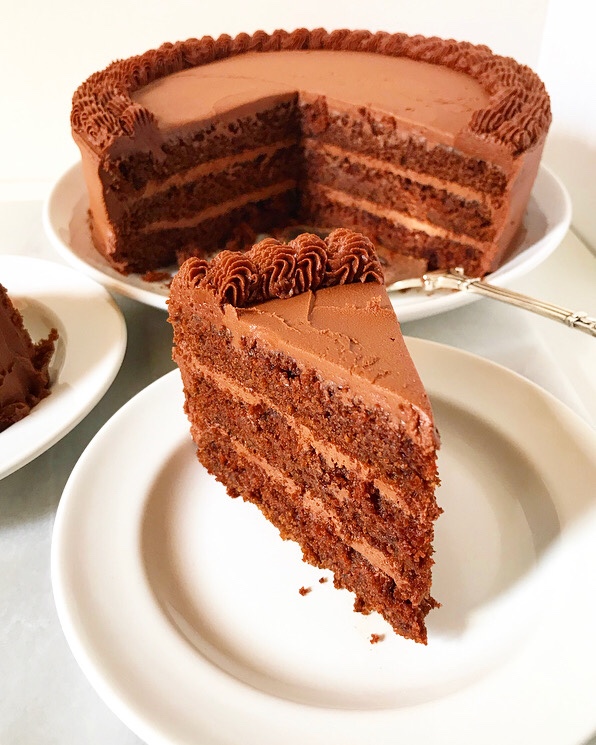
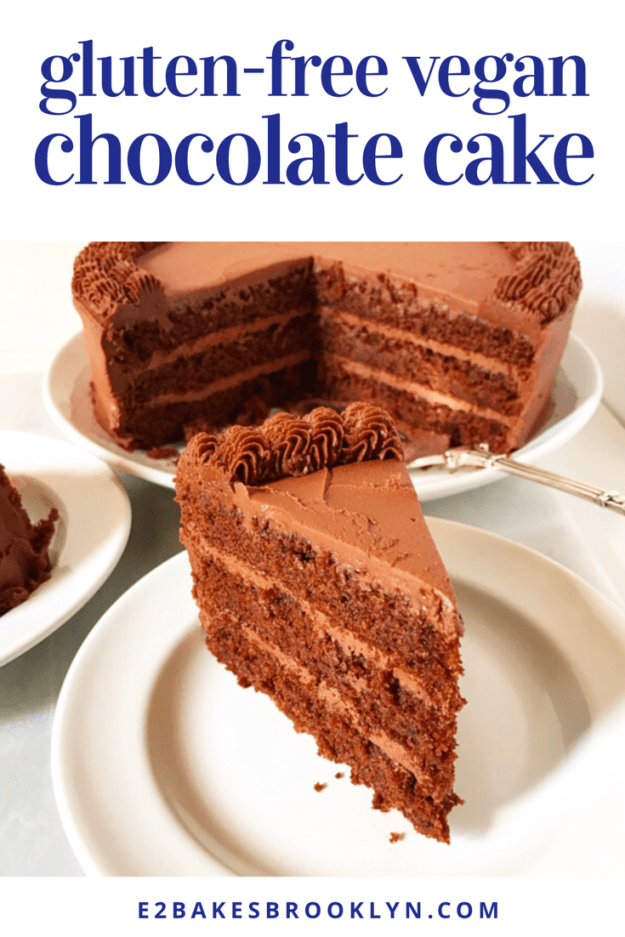
 This triple-layered chocolate masterpiece is gluten-free and vegan, yes, but also moist and tender and chocolaty AF—exactly what you want in a layer cake, gluten-free and vegan or not. I used Dana’s (
 If you’re looking at this list of ingredients and wondering where to find them, the answer is almost any well-stocked grocery store. Blanched almond flour is available at Trader Joe’s and Costco, as well as my local supermarket. Potato starch is usually in the specialty flours section or the Kosher foods aisle.
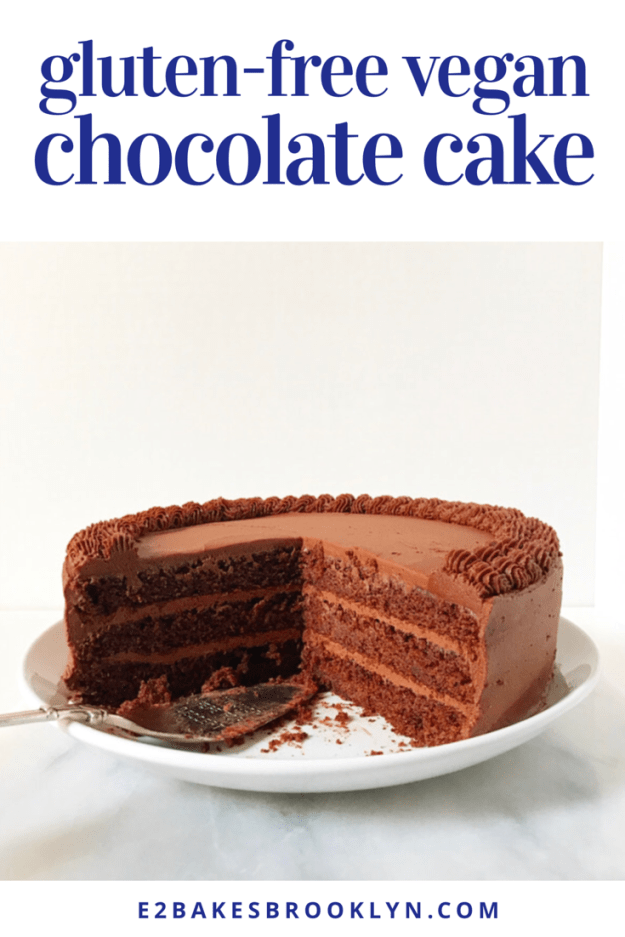
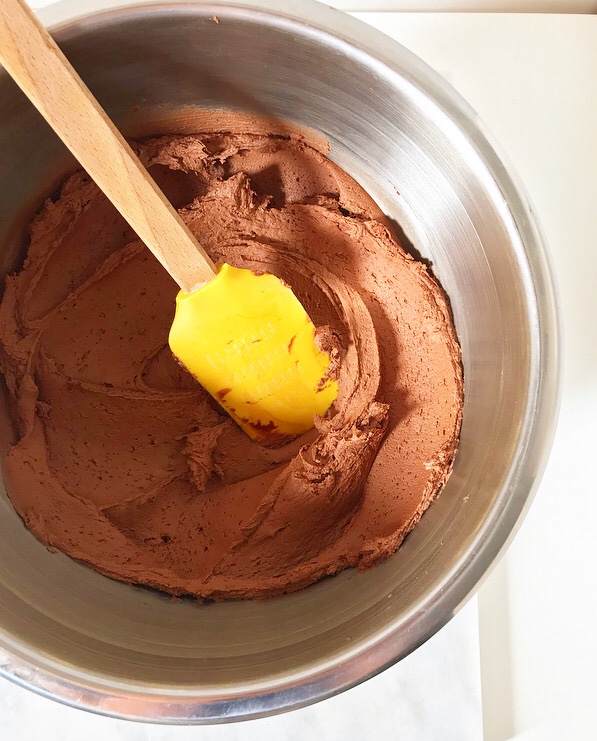 As for the swoopy, pipeable Vegan Chocolate Buttercream…well, first of all, good luck not just eating it straight from the bowl. It’s as flavorful and creamy as traditional chocolate buttercream, thanks to a base of equal parts vegan butter and coconut oil-based shortening, along cocoa powder and confectioner’s sugar.
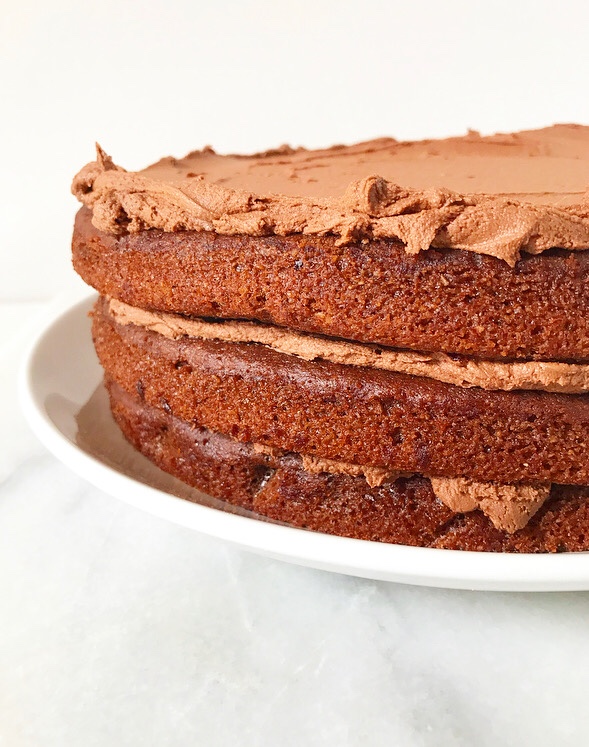
 I recommend using shortening in vegan buttercream for the textural magic it works in the absence of dairy butter. Shortening is a polarizing ingredient, to be sure, but it’s what makes this butterless buttercream so incredibly luxurious and pipeable. I am a fan of
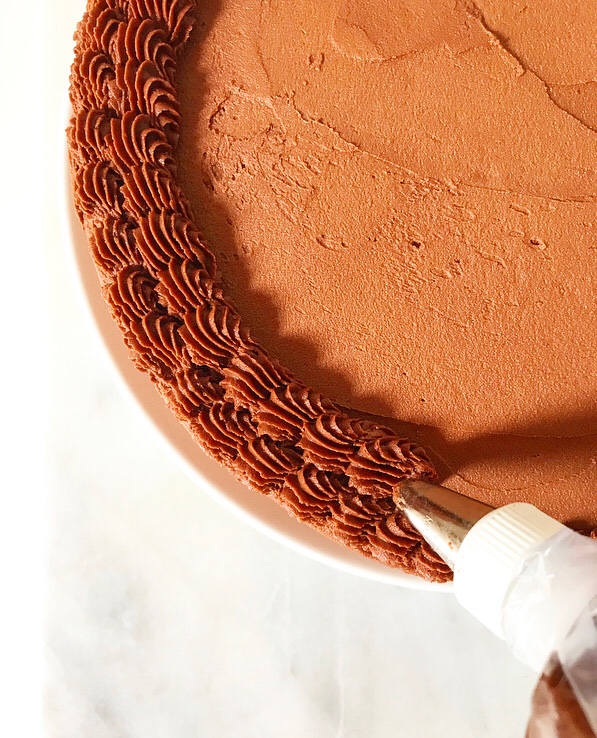
 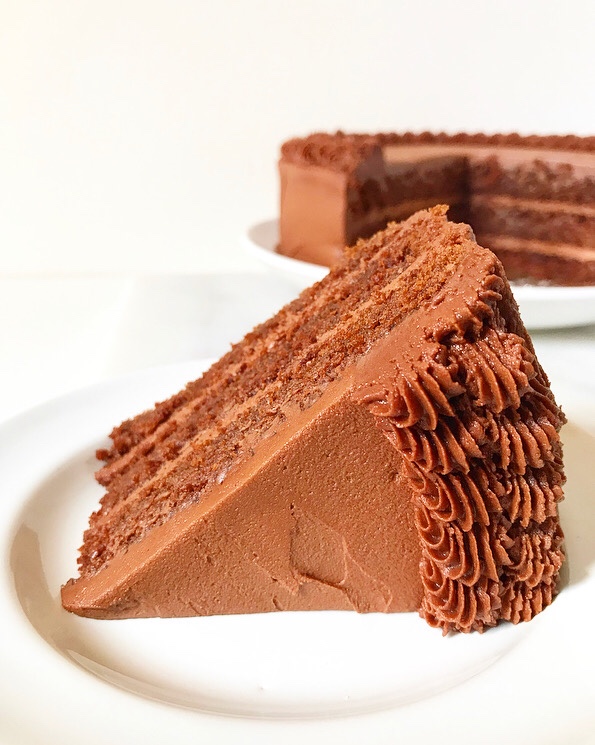 This buttercream recipe makes a lot—enough to fill and frost a cake and then pipe it to the gills! I have had no problem finding things to do with any leftovers (vegan
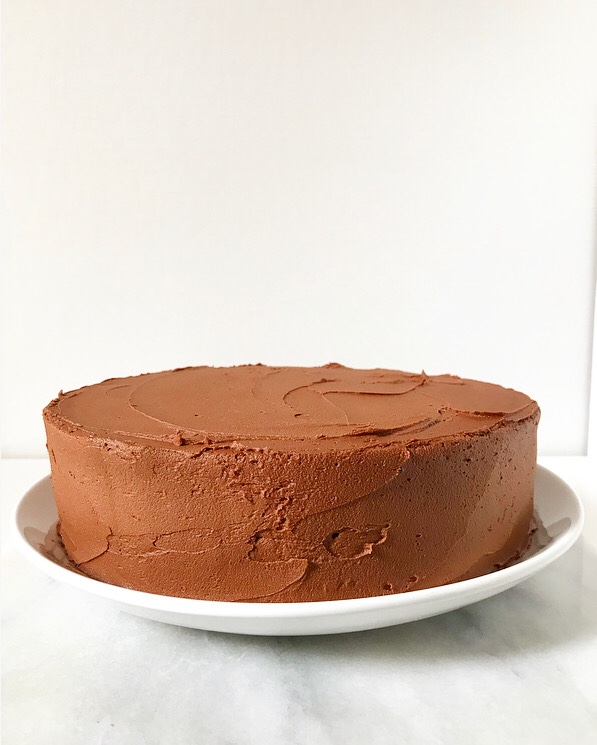
 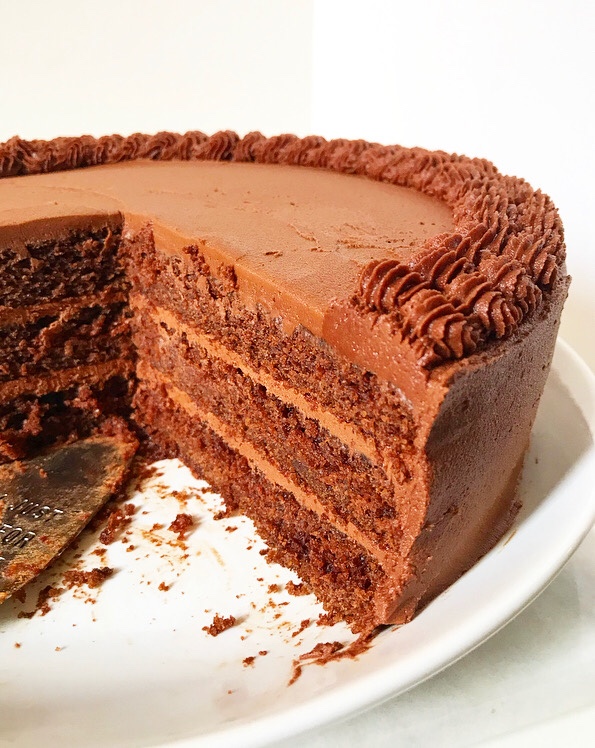 But really, is there such a thing as too much chocolate frosting on a chocolate cake? I don’t think so, especially on one like this that can feed nearly all my friends! This vegan, gluten-free dessert is as delicious and beautiful as it is inclusive. Heck, that in itself is almost enough reason to make one.
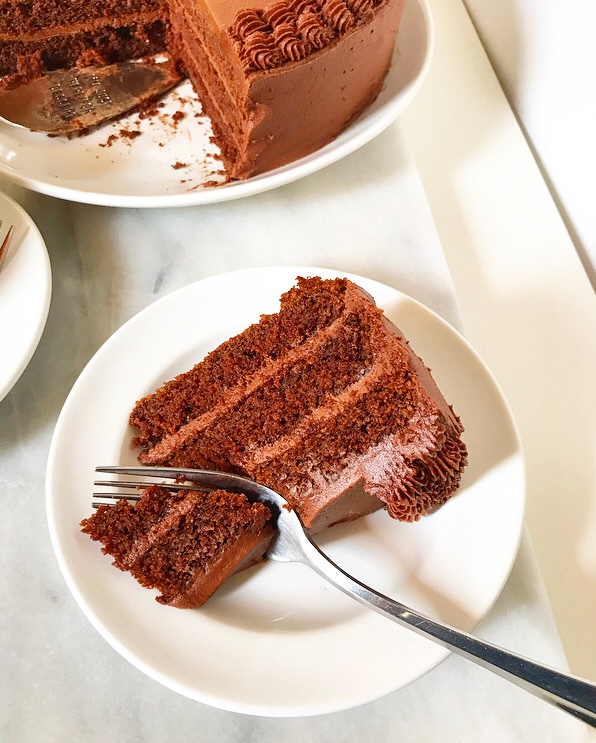
 There’s little rhyme or reason as to what I choose to blog—it’s usually just whatever I’ve felt like making lately. In case you hadn’t noticed, I’ve been on a bit of a breakfast kick. I’m not exactly sure how many fall breakfast options I think you need, but it’s at least three:
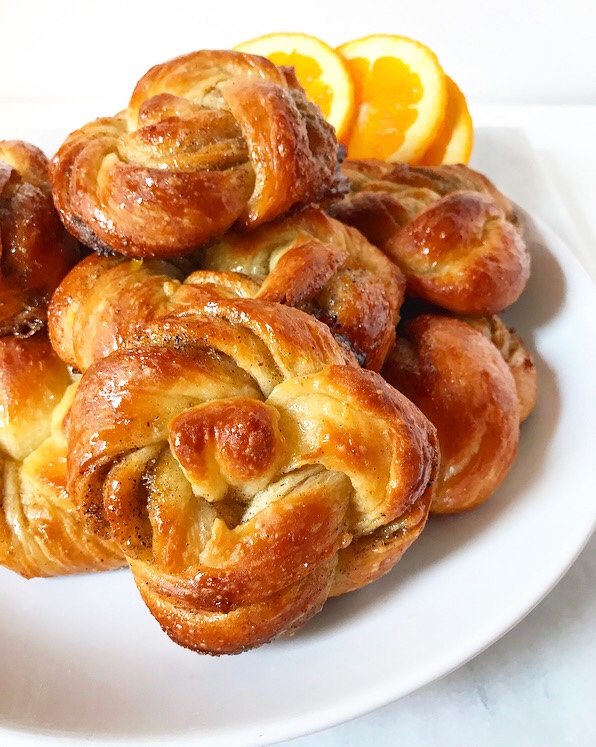
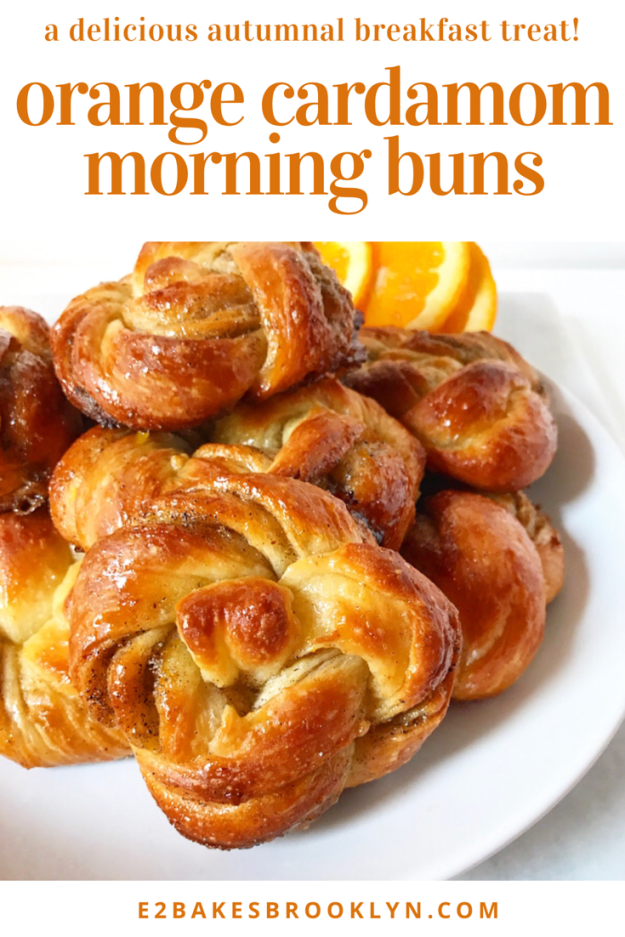
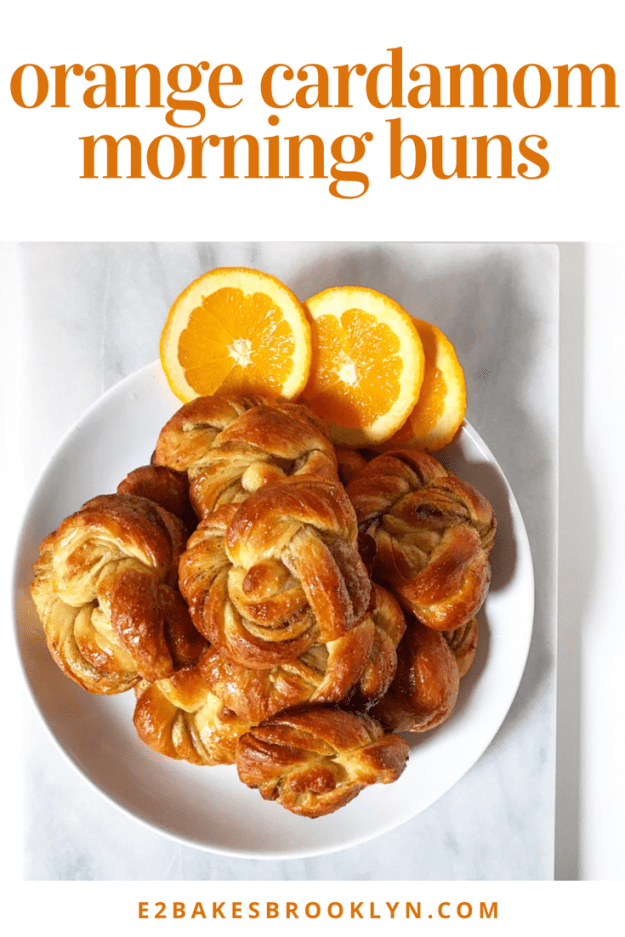
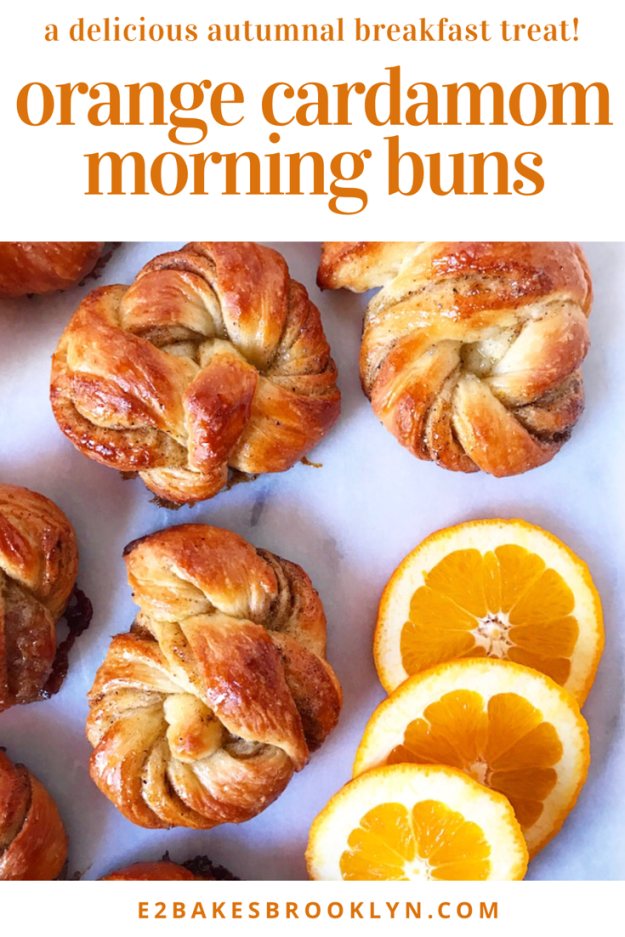
 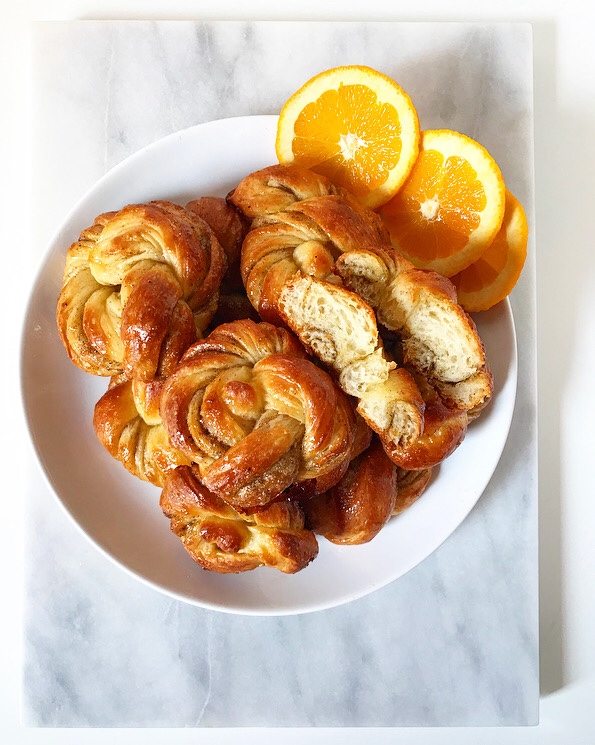 I mean, look at these sticky, swirly things! You need them. I need them. Preferably on Saturday morning alongside my daily French press.
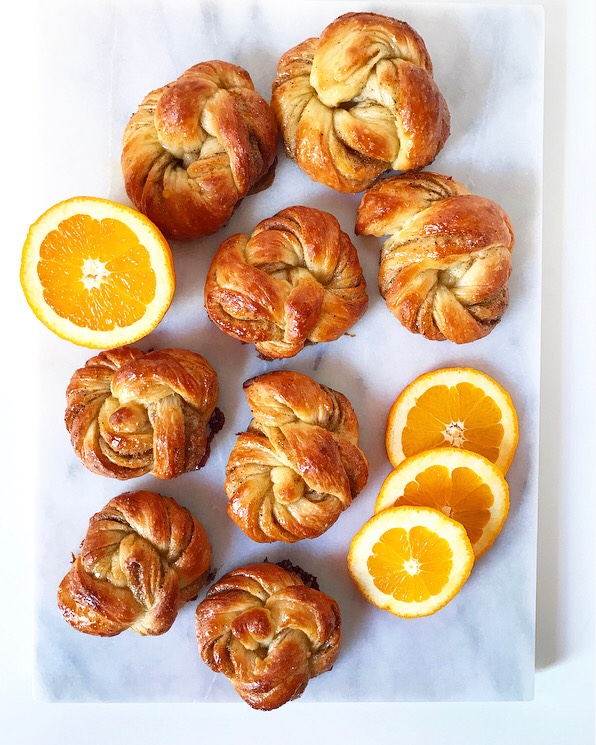 They’re flaky and fluffy, filled with a fragrant orange-cardamom sugar, and twisted to perfection. The crowning glory is a brush of orange-cardamom glaze as soon as the buns come out of the oven, which gives them an extra layer of flavor and their gleaming appearance.
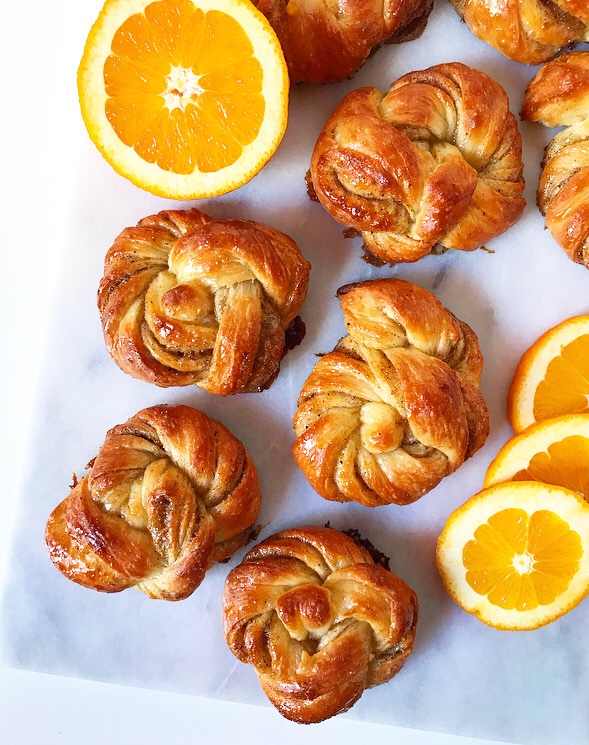 Oh, and they take two hours start-to-finish—a rarity in the from-scratch breakfast bun realm. And their twists? Much easier than they look. My motor skills are seriously lacking (I am comically bad with scissors), so if I can shape them, anyone can.
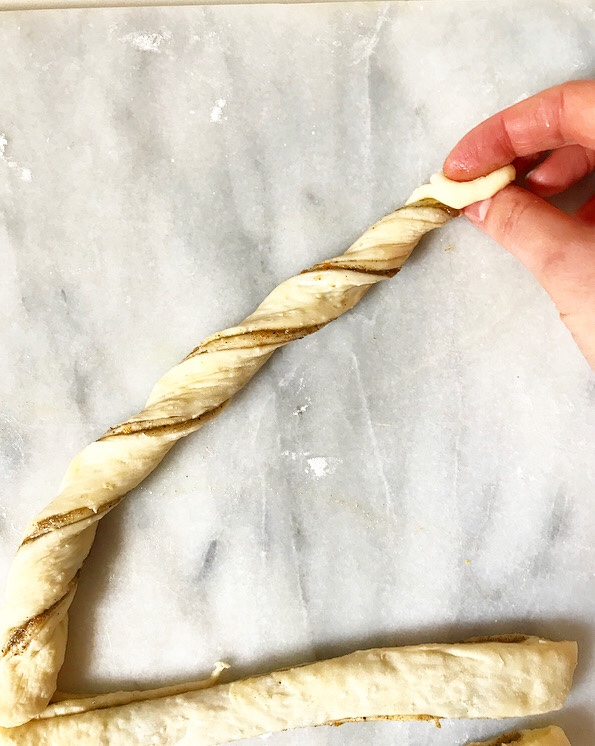

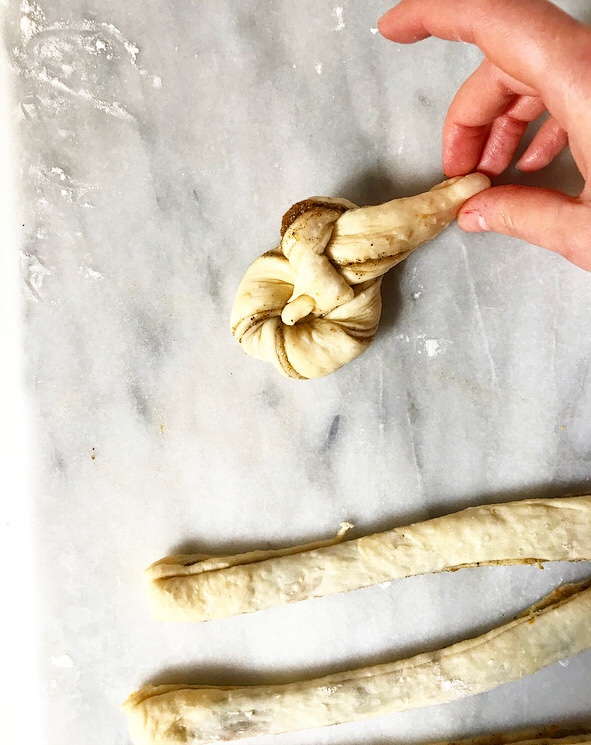
 Just twist a strip of dough and tie it in a knot. Boom, done.
 Even if you do it “wrong” (which is near-impossible), I promise they will still turn out beautifully. And even if they don’t (which is also near-impossible—can you see that I did this with one hand?), call ‘em rustic. That’s what I do. If anyone complains, eat theirs. That’s also what I do.
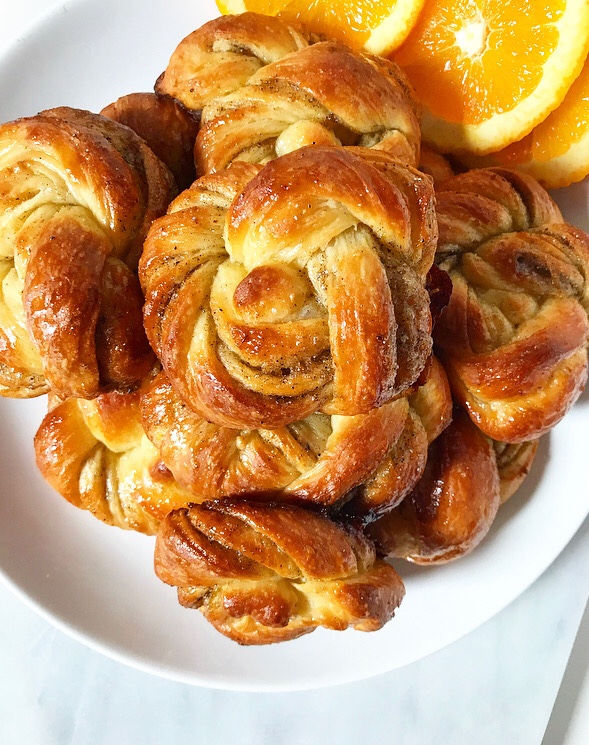 What?! You don’t need that negativity at breakfast.
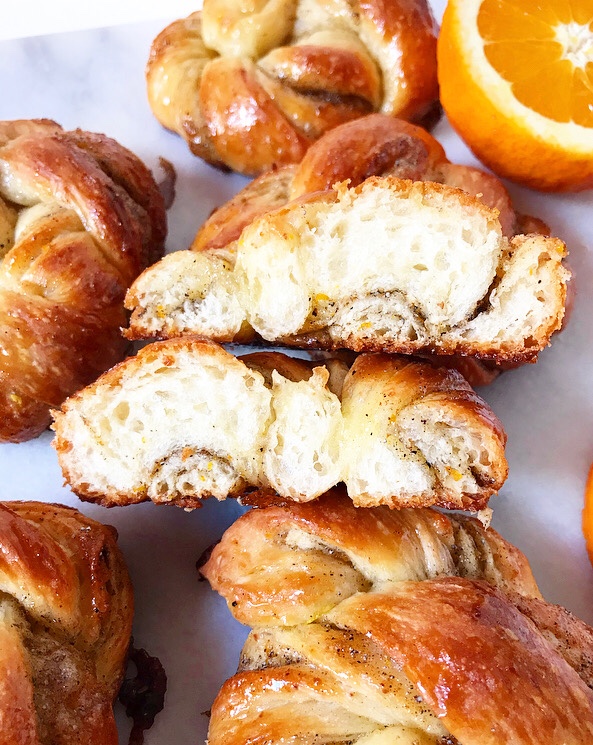
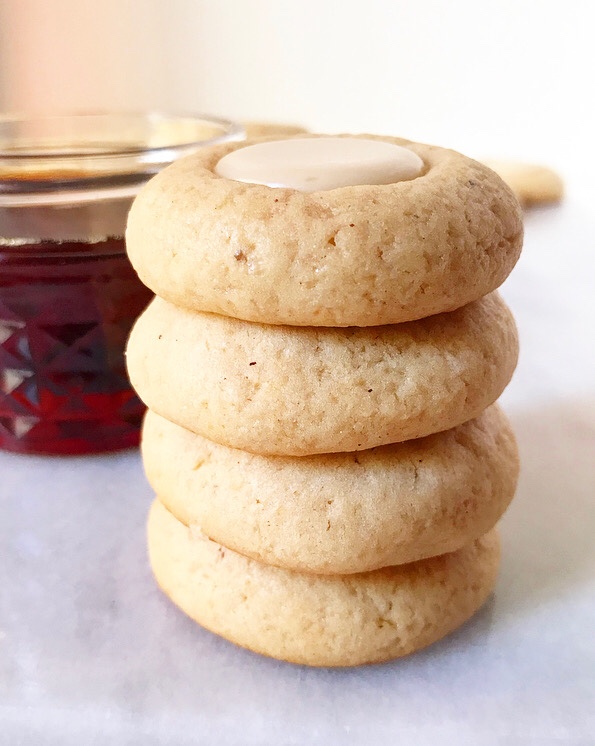
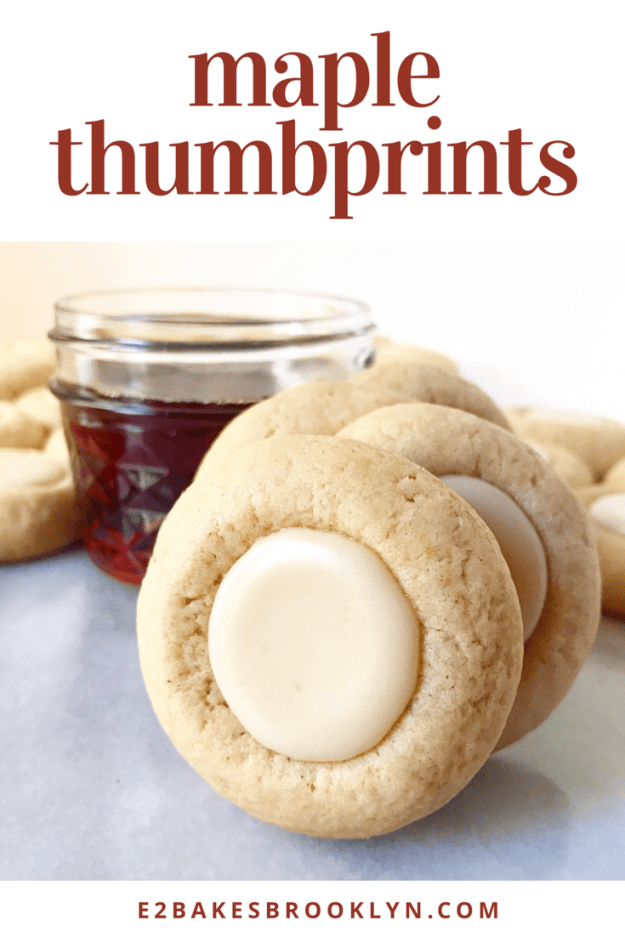
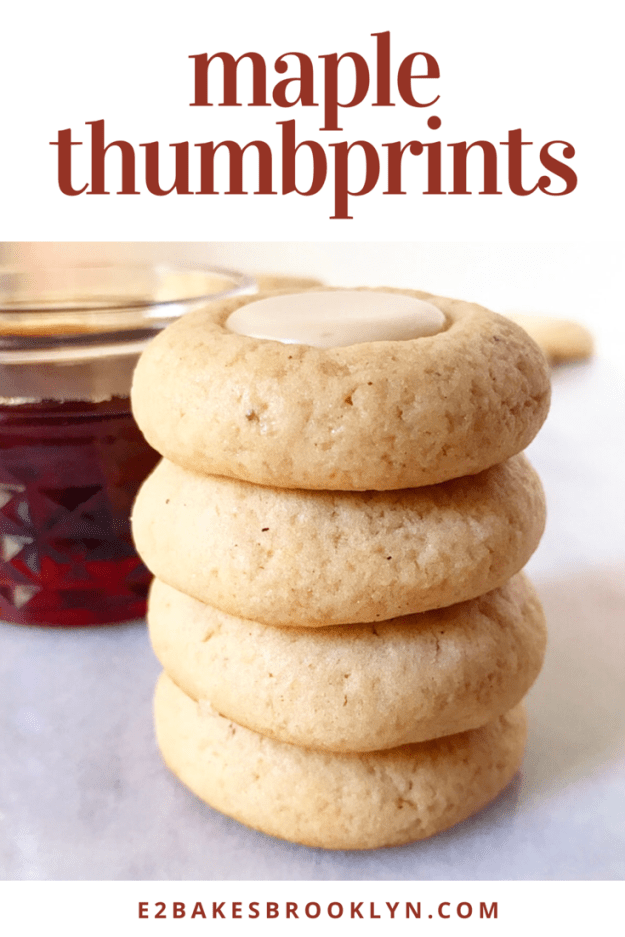
 It may have been 90 degrees in NYC this past Monday, but nobody is happier than I am that fall is finally here, not least because it means I have an excuse to make these Maple Thumbprints.
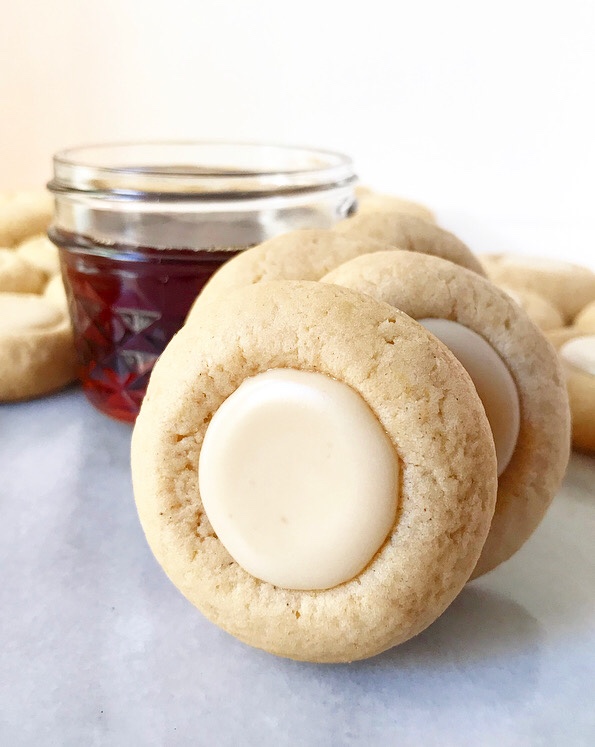
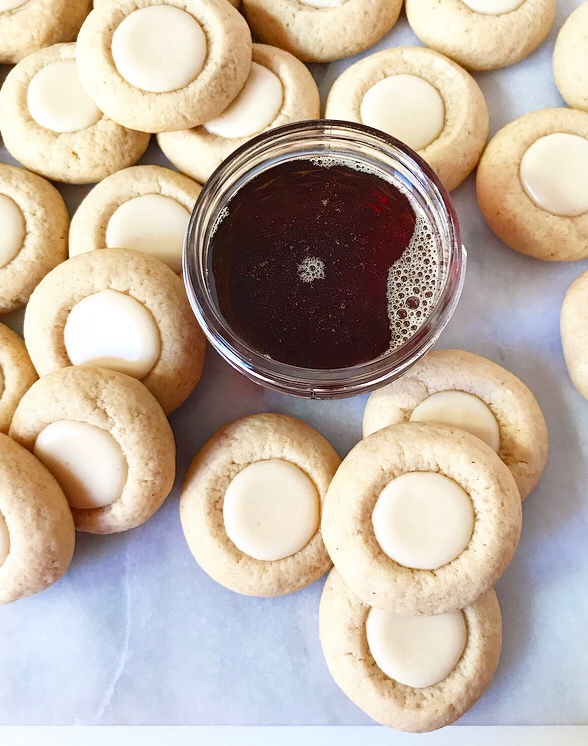 And make them, I have—five test batches before getting them just right. I used the dough from my
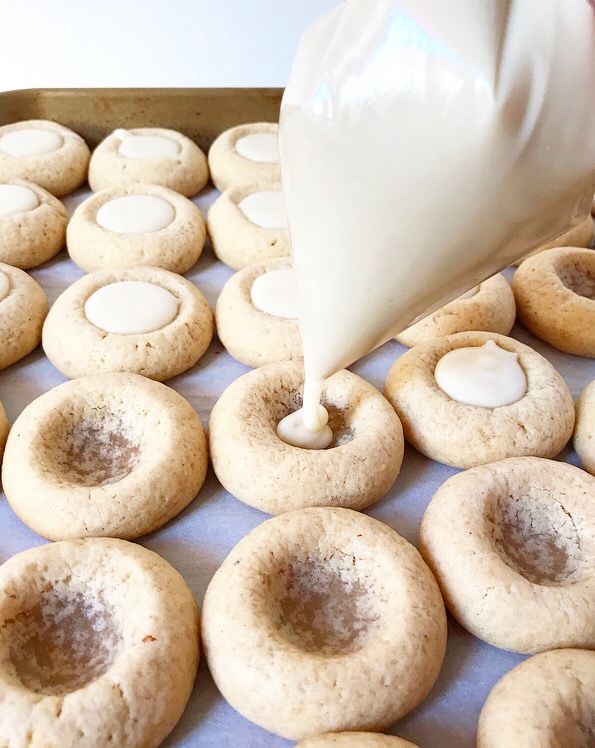
 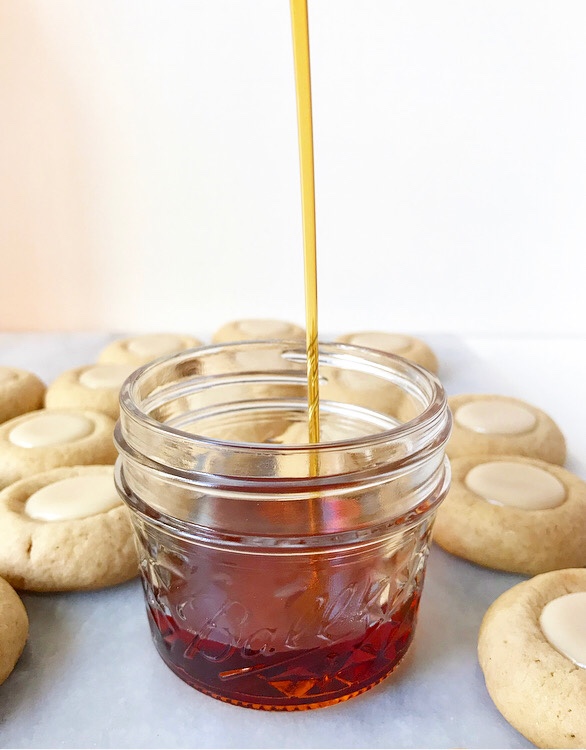 If you love maple syrup like I do, these cookies are for you. The dough contains 2/3 cup and the icing has another 1/4 cup! I vastly prefer Grade A Dark Amber & Robust Taste (formerly known as Grade B) for its deep flavor, but any pure maple syrup you have will do the trick.
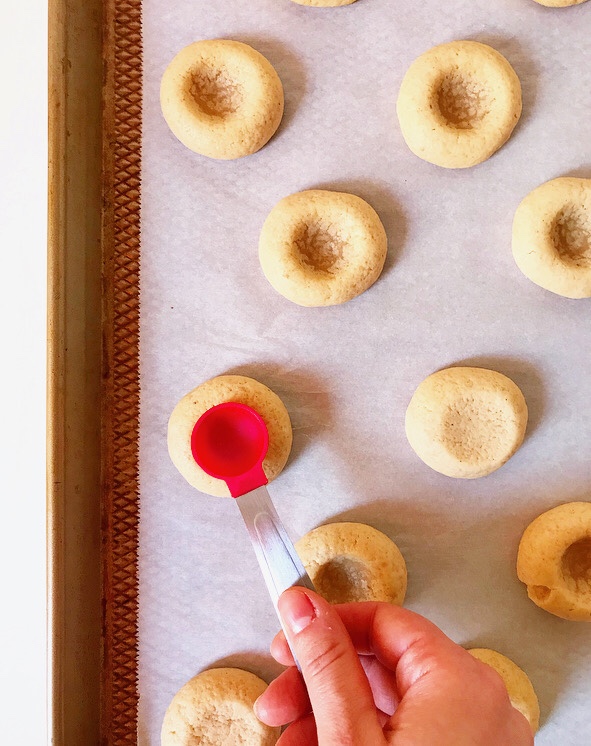
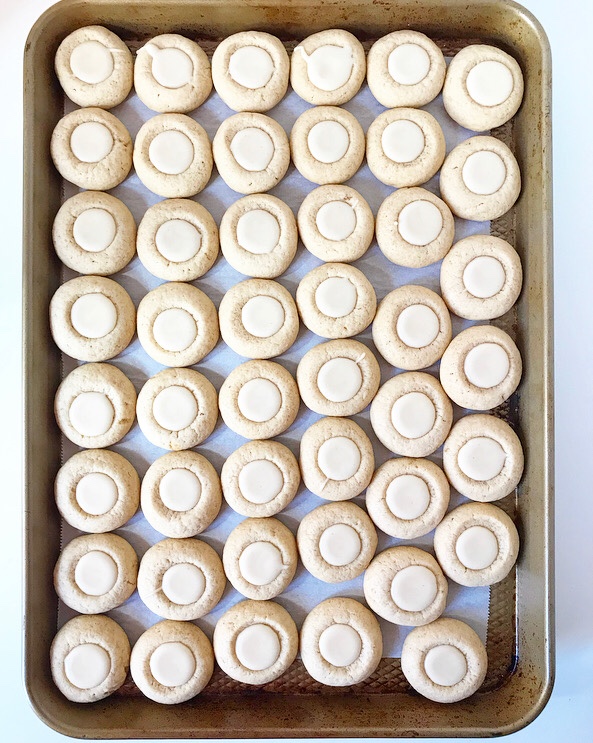 Maple, like pumpkin, is a flavor that improves over time. Though these cookies will taste good immediately after they’re baked and filled, they won’t taste particularly maple-y until a few hours later. By the next day, you’ll have no problem finding the sweet nuances of maple syrup in both the cookies and the icing.
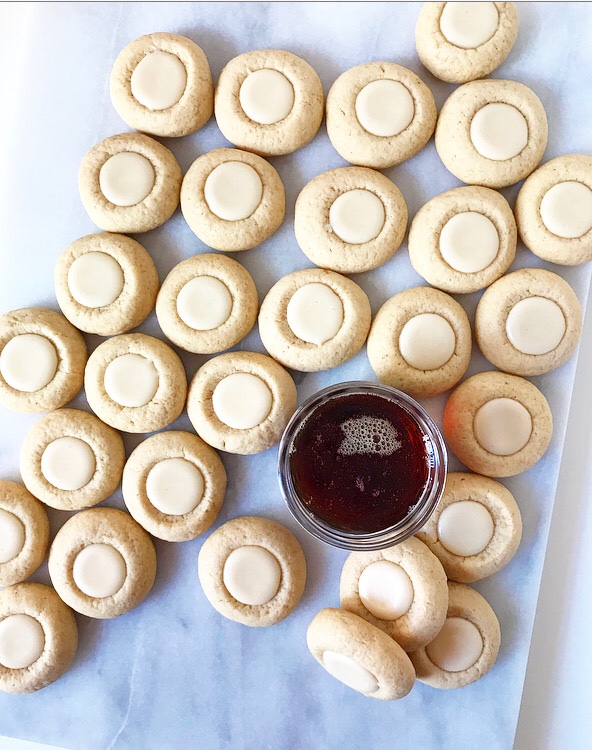 You’ll notice that many of the maple cookie recipes out there (including
 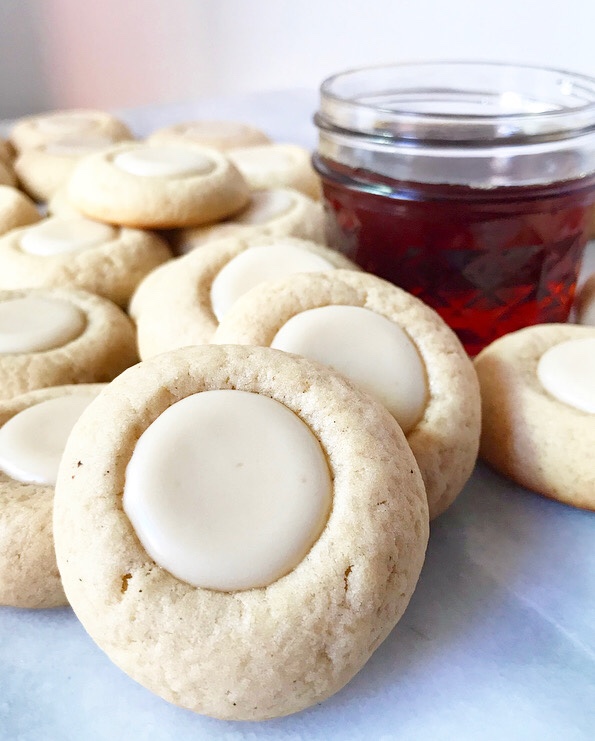 The point, as always, is to bake the cookies you want to eat. And to bake for the weather you want, not the weather you have. At least, that’s what I’m doing. If it means I’m eating autumnal cookies while sitting in front of a blasting air conditioner and praying for some crunchy leaves to step on, so be it.