Hello! I’m headed north for my annual trip to Swans Island, Maine, and I am SO excited 🙂  If you follow me on Instagram though, you know this isn’t my first trip to Vacationland this summer. Heck, it isn’t even my first this month! My parents decided on a whim that they wanted to attend a car show near Rockland, ME, about three weeks ago. Two weeks ago, my little sister and I decided we’d drive up to join them. One AirBNB reservation and a rental car later, we drove up to spend 24 hours with our Mom & Dad. It was a quick visit, but between the family, the cute town, and the food, it was totally worth the haul up there!
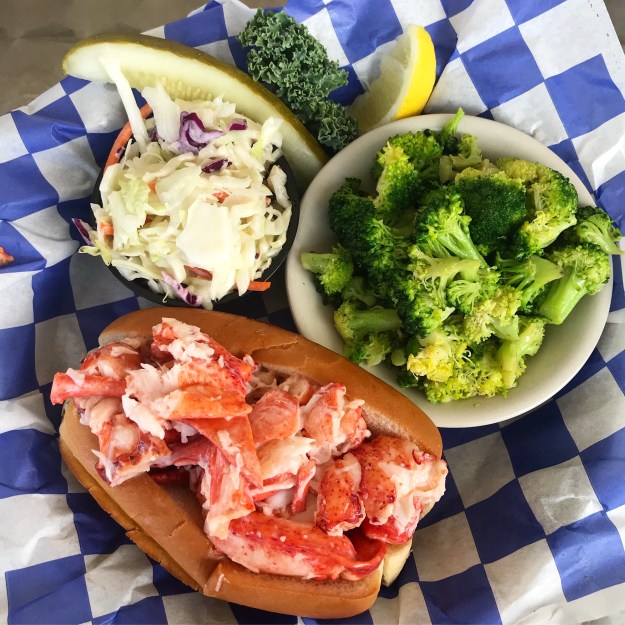 We just had to start out our trip with a lobster roll! This one from Hill’s Seafood Co. absolutely hit the spot after our long drive north. Eliot and I especially liked that we could skip the fries and get a side of broccoli instead. The service and harbor view were great too. No complaints from the peanut gallery. I wish I had more to say, but I was so happy to have food that I didn’t notice much else 🙂
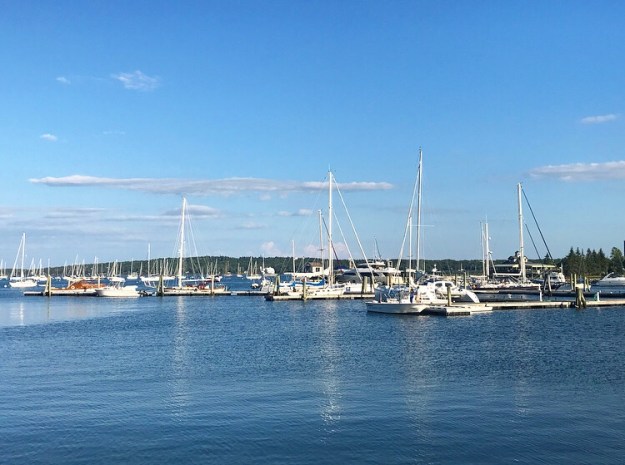

I’m a two large coffees-per-day sort of gal, but after our early morning drive, I needed a third jolt of caffeine. After getting things settled at our B&B, Eliot and I popped over to Rock City Coffee so I could get my fix. I got the iced coffee I needed and Eliot got a blueberry-hazelnut Italian soda with an adorable Maine-y name that I can’t remember. She said it was delicious. Even if coffee and artisanal beverages aren’t your thing, I recommend checking out Rock City Coffee for the bookstore in the back. That’s right—after you grab your coffee, walk to the end of the counter and you’ll find Hello Hello Books! It’s totally adorable and sells all sorts of new and used books and other fun things. I thoroughly enjoyed scouring the cookbooks and Maine-specific sections.
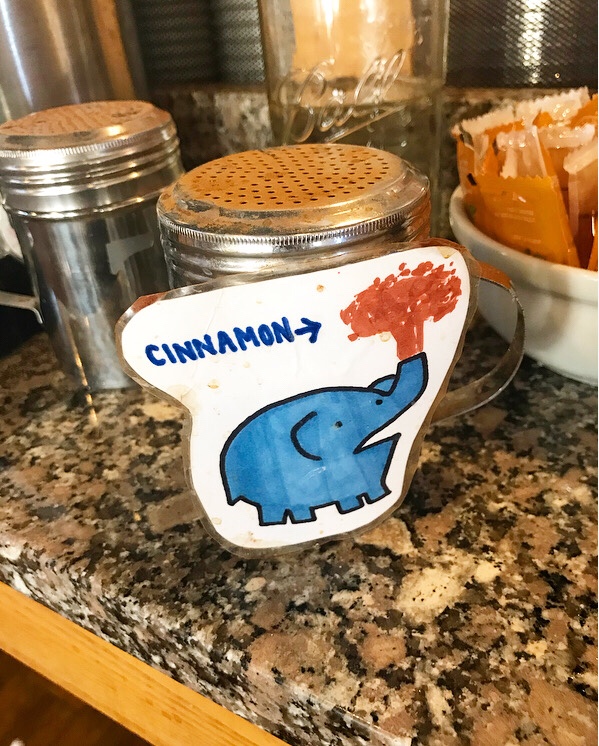 As you may be able to tell, I didn’t capture any photos of my coffee (rest assured, it looked like coffee), but I did capture this guy in all his cinnamon glory ❤
We loved the location with the bookstore as well as a smaller outpost next door to our parents’ hotel. As with Hill’s Seafood Co., Rock City Coffee had great service–super friendly. I highly recommend stopping in if you’re in Rockland!
Primo was recommended to us by the owner of our B&B. From the way she described it, we were sort of amazed when we were able to get a day-of reservation! Primo is a farm-to-table restaurant right on the border between Rockland and Owls Head, ME. The restaurant itself is in a beautiful Victorian house, but the real magic is in the farm behind it.
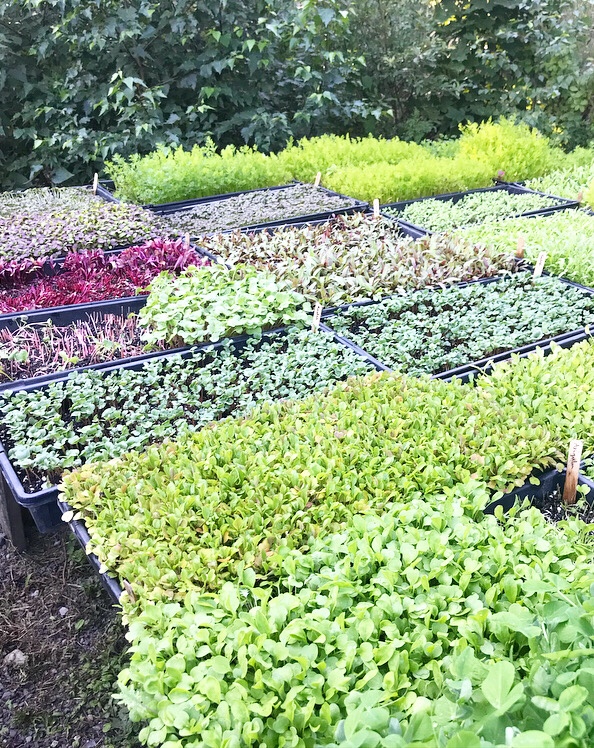


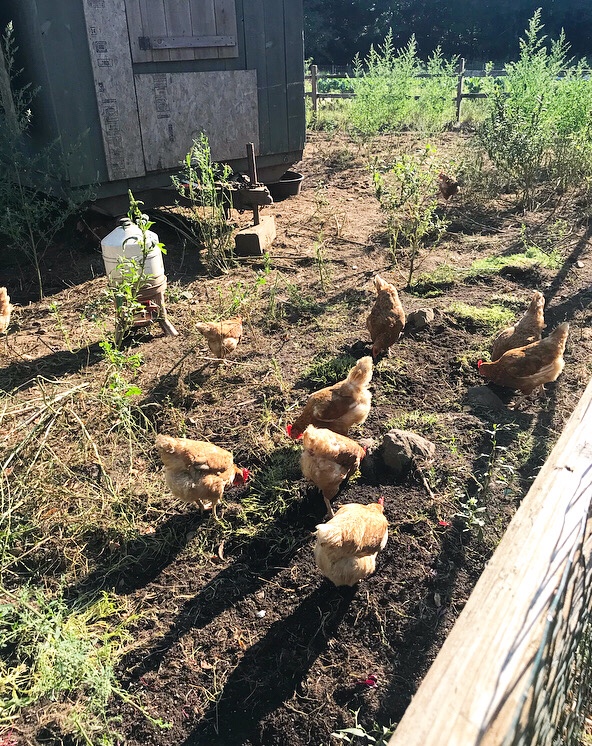
 Mom, Eliot, and I zipped over right after we made our reservation and spent a good 40 minutes wandering through the farm. We loved all the colors of the vegetables, and we named every animal. All the chickens were named after characters from Frasier. You won’t be surprised to learn that none of us ate chicken or pork.
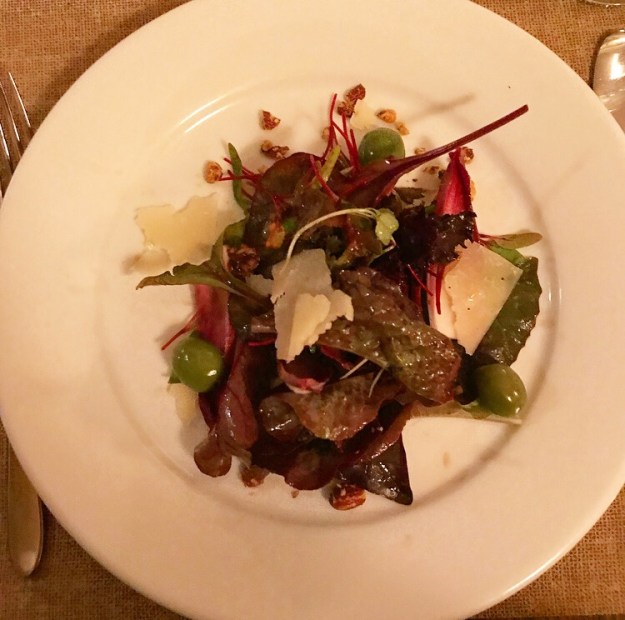
The menu at Primo changes everyday. To start, we all split a red lettuce salad with castelveltrano olives.
My entree was halibut and rock shrimp with a summer squash risotto, and it was spectacular. That’s saying something since I had a horrible cold at the time and could barely taste anything!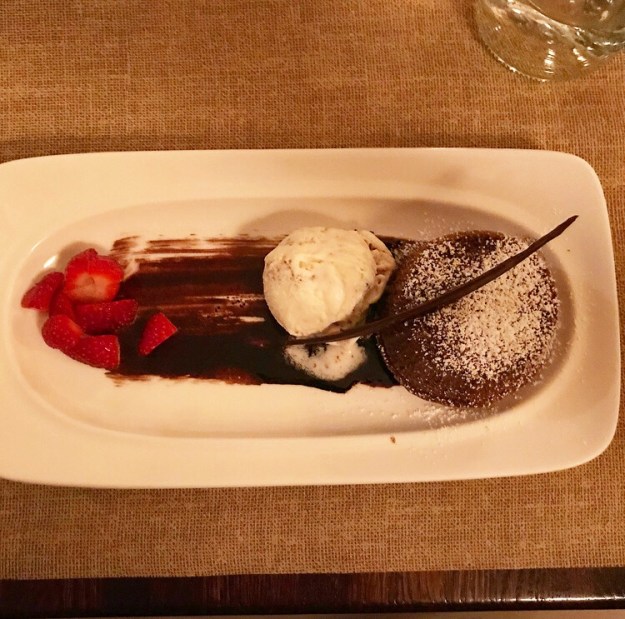 We had to get dessert too. I had this chocolate budino cake with mint gelato and local strawberries. Eliot went for this almost comically large affogato with the lightest zeppole ever. So dreamy.
 On top of the amazing meal and farm, Primo had spectacular service. I’m starting to see a trend 🙂
I highly recommend going to Primo if you are in Rockland. It’s pricey, but it’s also an experience. And if you aren’t as lucky with getting a reservation, they have bar seating upstairs and will allow you to order off the bar menu and the regular dining menu. Love that.
We all did our own thing for breakfast before going to the Andrew Wyeth and Ai Weiwei exhibits at the Farnsworth Museum. Before long though, we were hungry and wandered over to The Lobster Shack. It’s basically exactly what it sounds like—a shed with a kitchen and some open air seating. All four of us got the Shack Fave: half-lobster roll, half-crab roll. I mean, we were only in Maine for 24 hours—two lobster rolls were a necessity. Plus, Rockland is the lobster capitol of Maine. Who knew?!
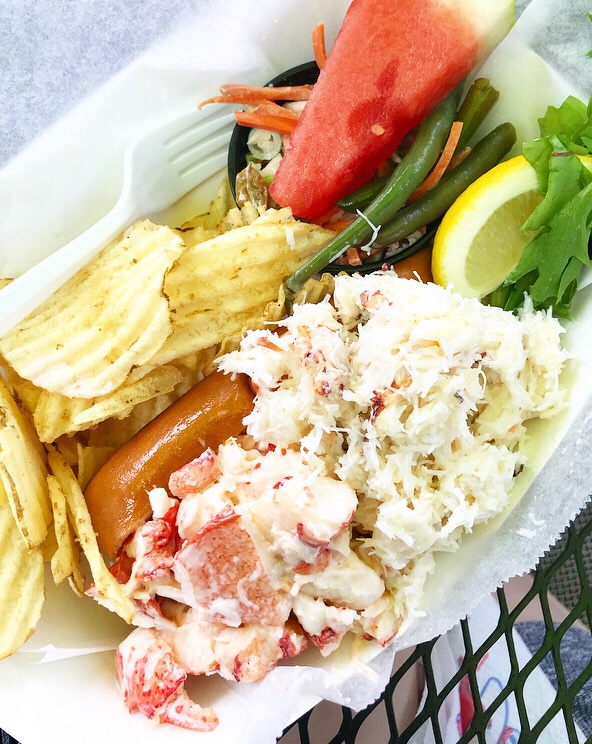 Our lunches came with potato chips, cole slaw, dilly beans, and a wedge of watermelon. Everything was delicious, but I’ll be honest and say that I personally prefer lobster over crab in this particular instance.
This was a perfect way to cap off our quick trip. I definitely recommend stopping for lunch at The Lobster Shack. Heads up that it’s cash only—come prepared!
 After lunch, we went over to the Owls Head Transportation Museum to see what all the fuss was about before heading back to Boston. I don’t have any particular feelings about old cars, but my dad was having a ball. For Eliot and me, the highlight was meeting this new moose friend.
 Alright, that’s enough of that Maine trip—now it’s time for another 🙂 We’re spending the night in Portland tonight and headed up to the island tomorrow! Make sure to check in next week so you can see what we’re cooking (and baking!) up on Swan’s Island ❤
 After I made
 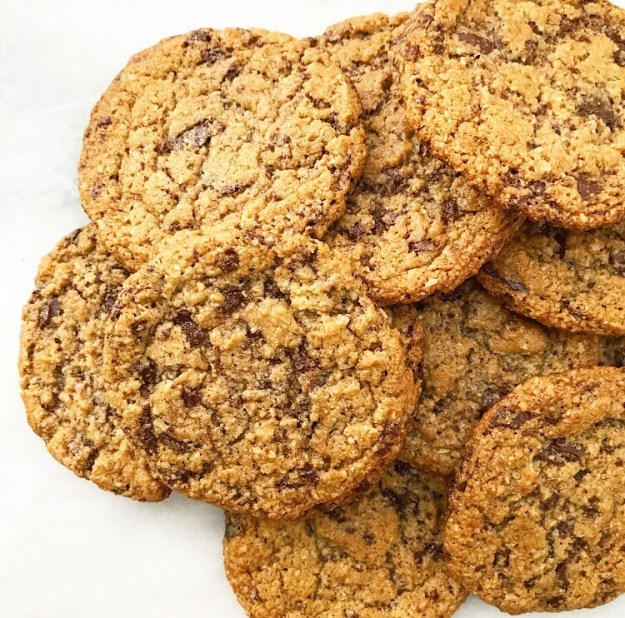 I should acknowledge that I already have four recipes for chocolate chip cookies in my archives (see
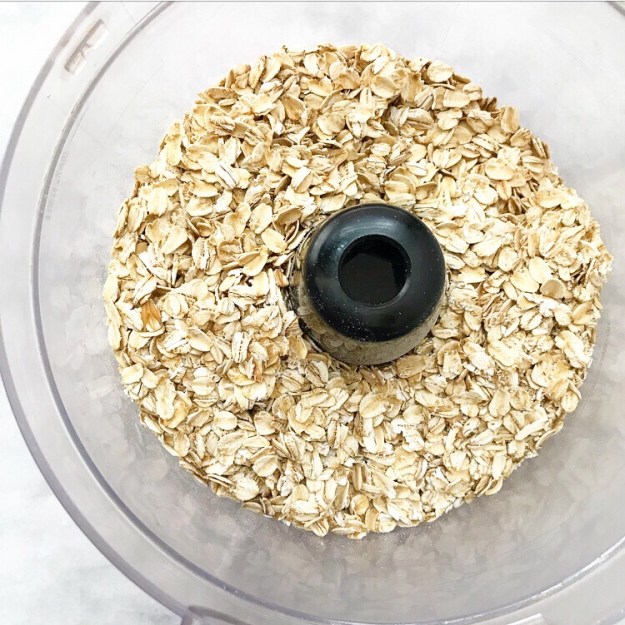
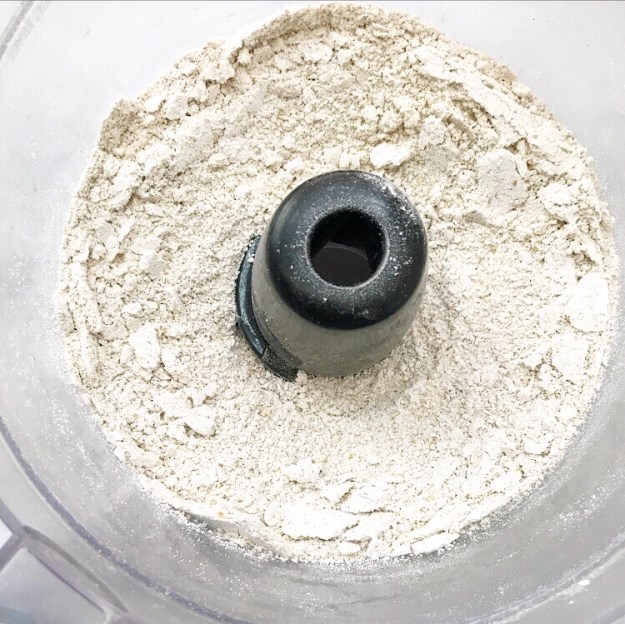 The original recipe calls for all-purpose flour, but as I had plenty of oats leftover from making from my adventures in graham cracker-ing, I figured I’d give it a shot with toasted ground oats. I also swapped out plain granulated sugar for an equal volume of light brown, added some vanilla, switched from chocolate chips to finely chopped dark chocolate, and nixed the extra salt entirely.
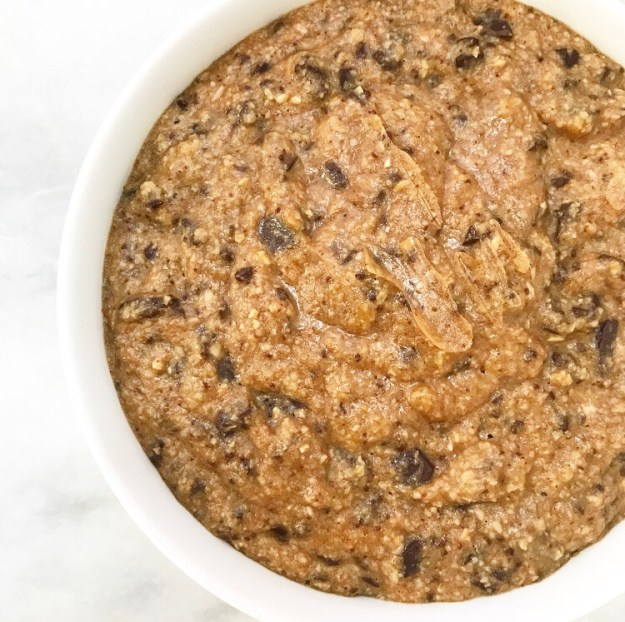
 The Ovenly overlords will tell you that theirs’ is a finicky recipe and to follow it to the T. They are correct—it’s a very precise recipe and works perfectly as-is. But I messed with it anyway because I can’t help myself.
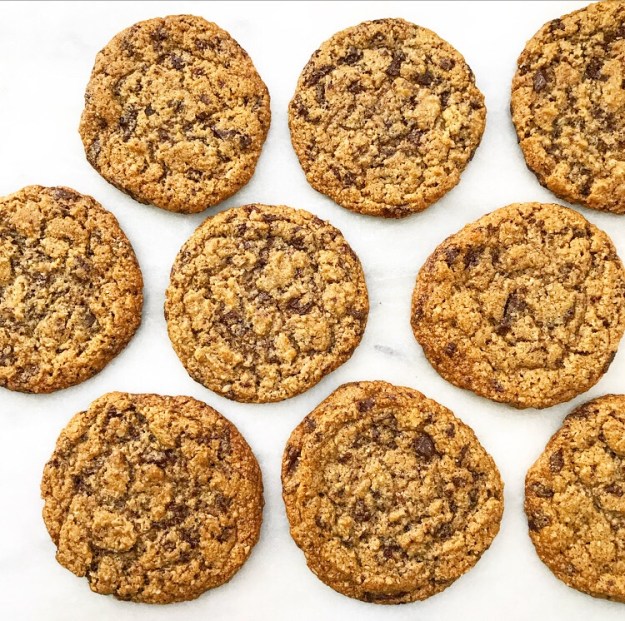 It took me five test rounds to get these cookies to work consistently with toasted ground oats, but I persisted and have been rewarded with super chewy, chocolaty cookies that anyone will love (not just your favorite local
 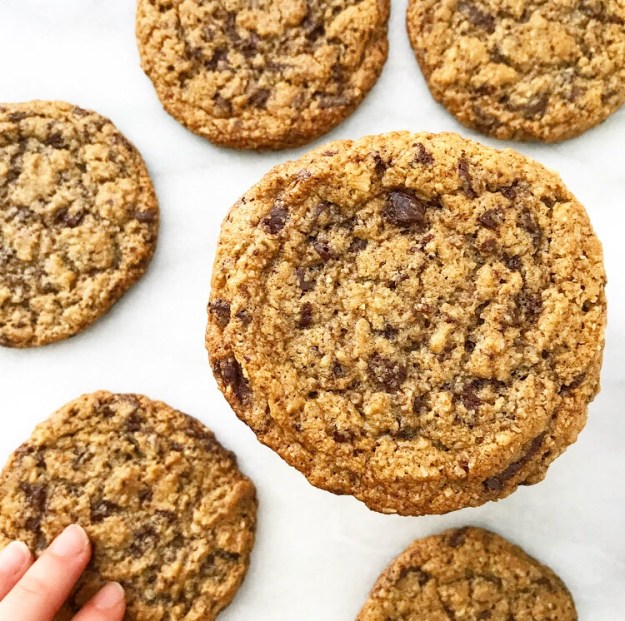 I will, however, jump on Ovenly’s soapbox like a hypocrite and tell you not to mess with this recipe…any further than I have already.
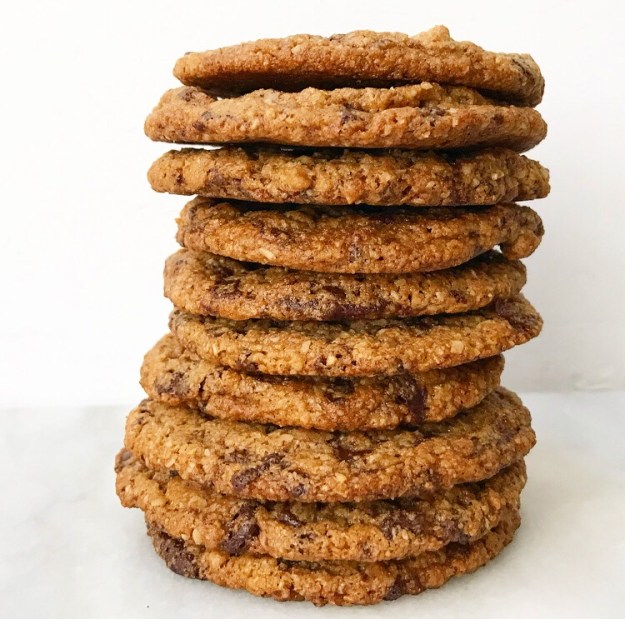 As with most baking recipes, the volumes of ingredients are very specific for a reason. In the case of this recipe, adjusting the liquid ingredients by 1 tablespoon (!) will either yield sad, soupy dough (and lacy cookies) or a chilled rock of inedible dough. Trust me, I know.
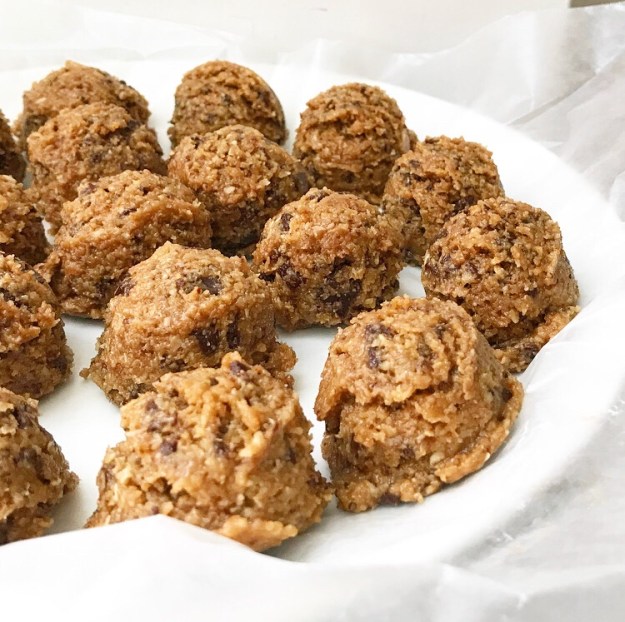
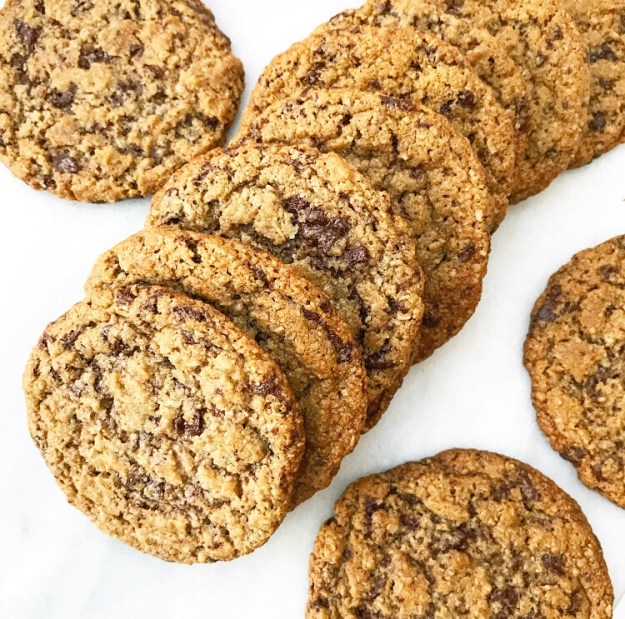 And for the love of everything, don’t shorten the 12-24 hour chill. If you do, I guarantee you will be disappointed. But if you work ahead, as specified in the recipe, you’ll be rewarded with some seriously good Chewy Chocolate Chunk Cookies.
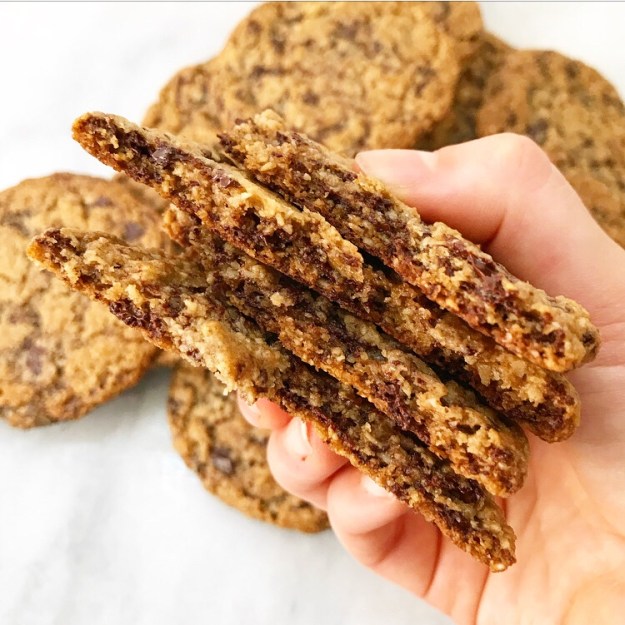 For all my “don’t mess with the recipe” talk, these are remarkably easy and delicious cookies! They’re a guaranteed hit, not only for their chewy texture and perfect amount of dark chocolate, but because they’re vegan, gluten-free, and nut-free, so more people can eat them. Love that ❤
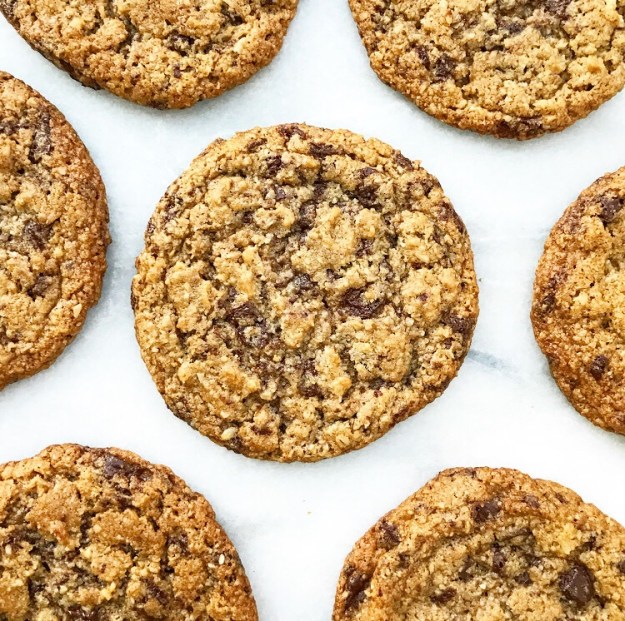

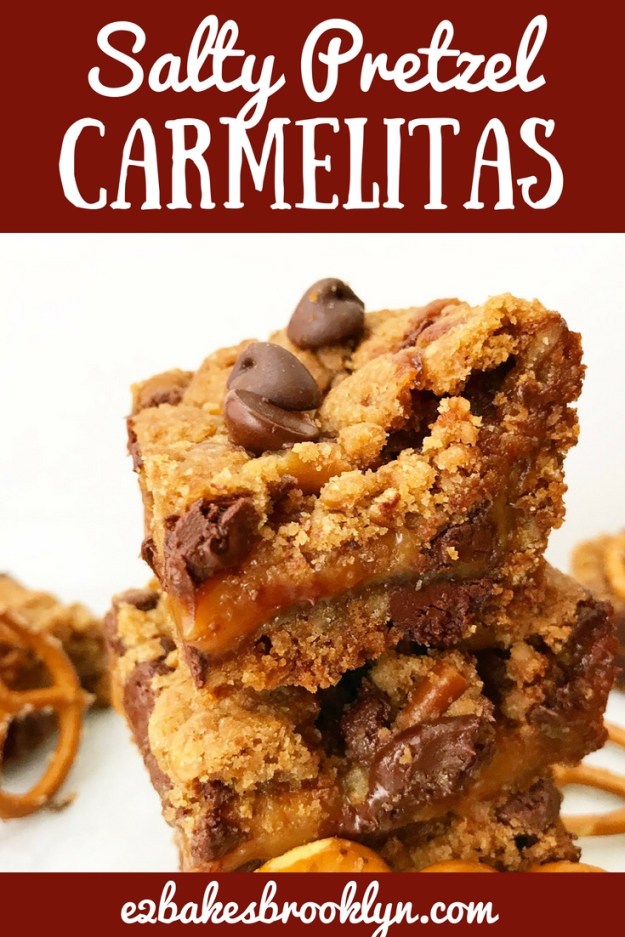
 I’m on the first of two back-to-back trips to Maine, but I’m popping in to tell you something important:
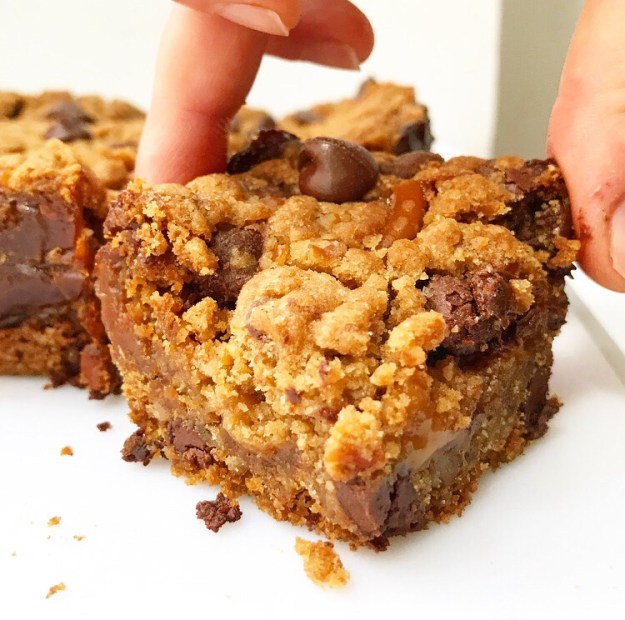
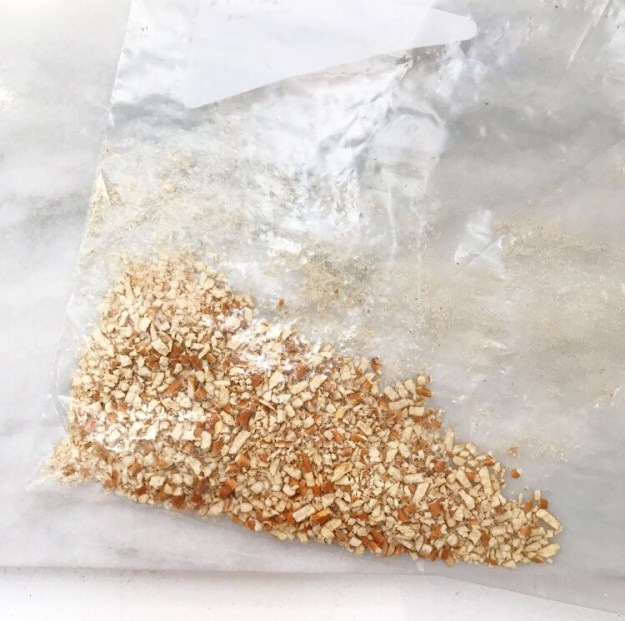
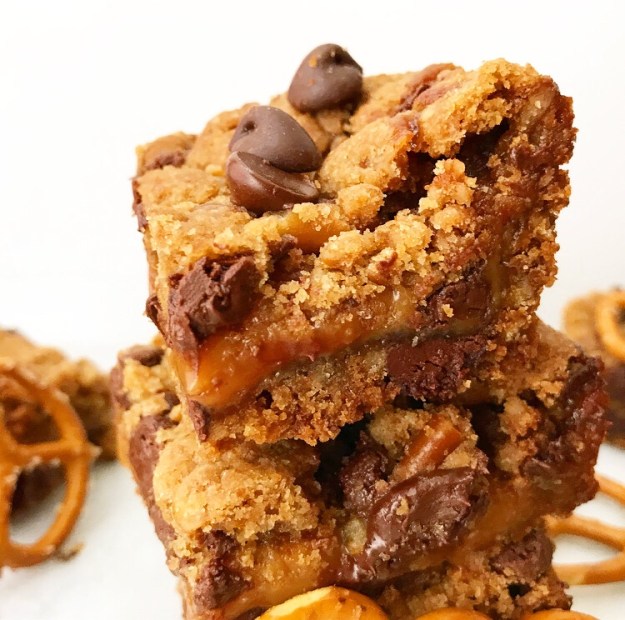 You should make these Salty Pretzel Carmelitas ASAP. Like tomorrow. Or tonight. Or right now. Call in sick, go get yourself some pretzels and a bag of caramels, and get ready to fall in love.
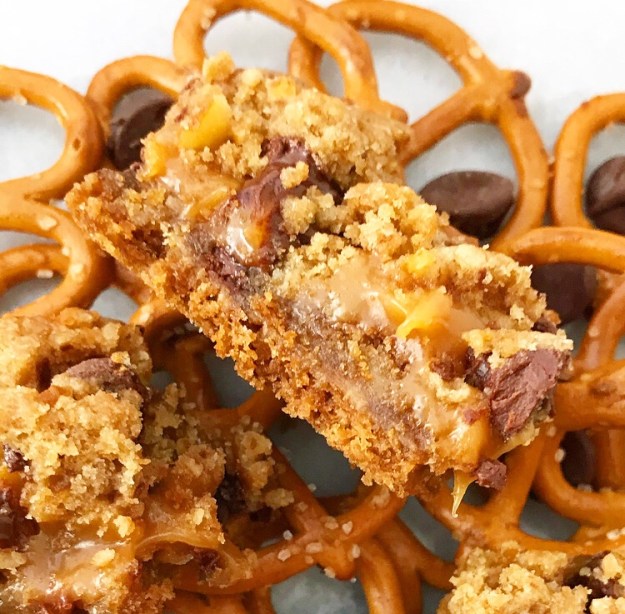 Okay, maybe don’t skip work, but definitely do make some time for these.
 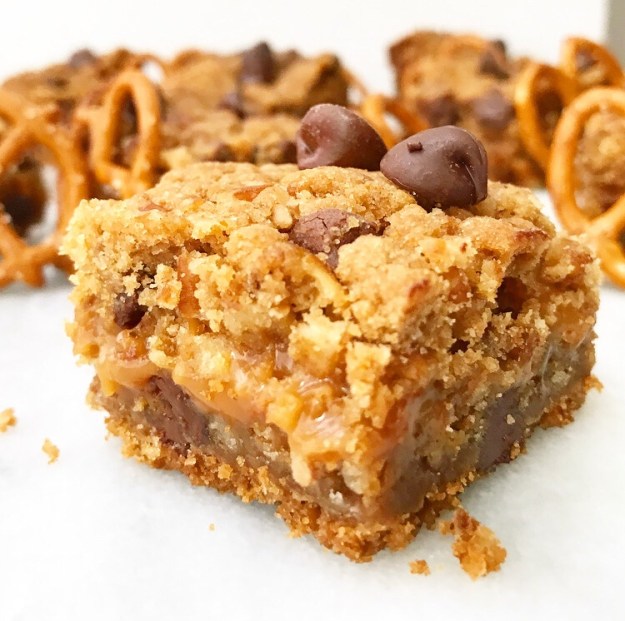 Salty Pretzel Carmelitas are everything. I’m not exaggerating. They’re sweet and salty…
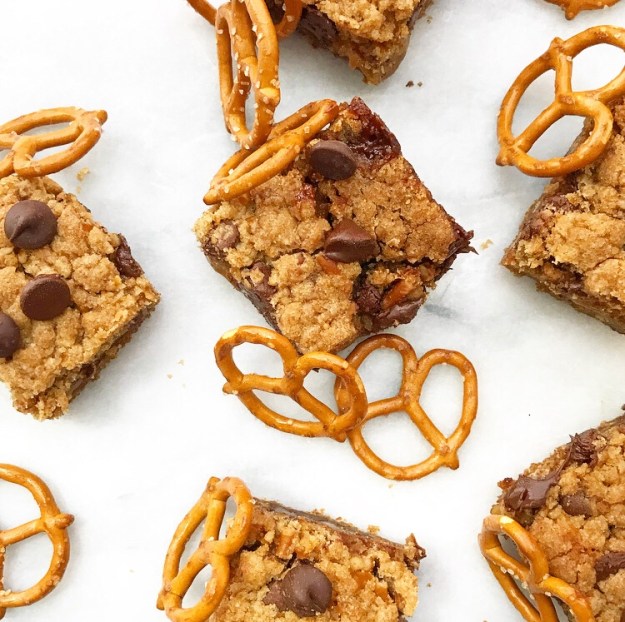 crispy, crunchy…
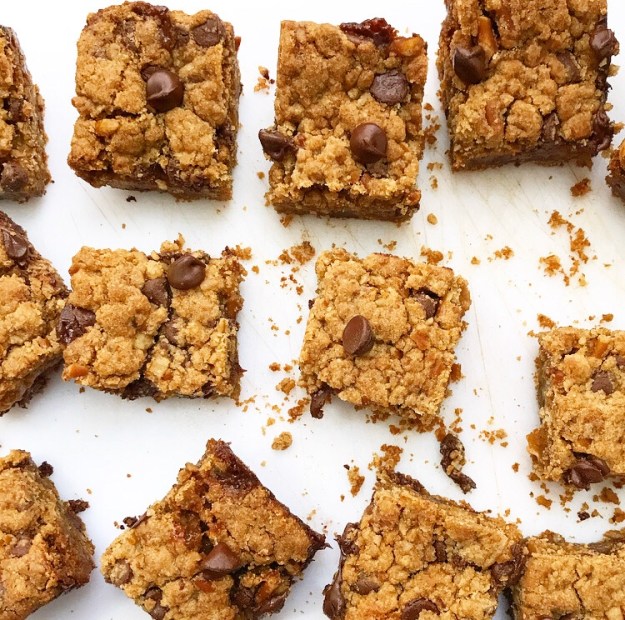 chewy, gooey…
 easy peasy bites of magic. Magic, I tell you.
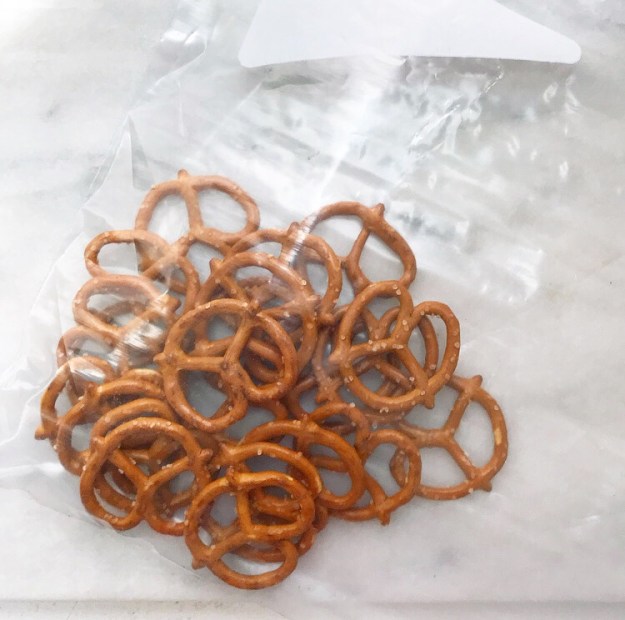
 I really feel like I could just leave it at that, but perhaps you need a more convincing argument as to why you absolutely should make these this weekend.
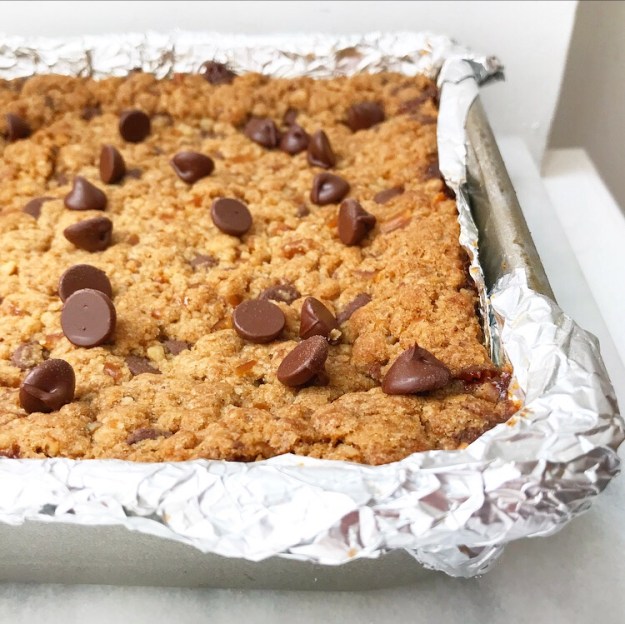 But if two layers of salted, brown sugary, pretzel- and chocolate chip-studded cookie…
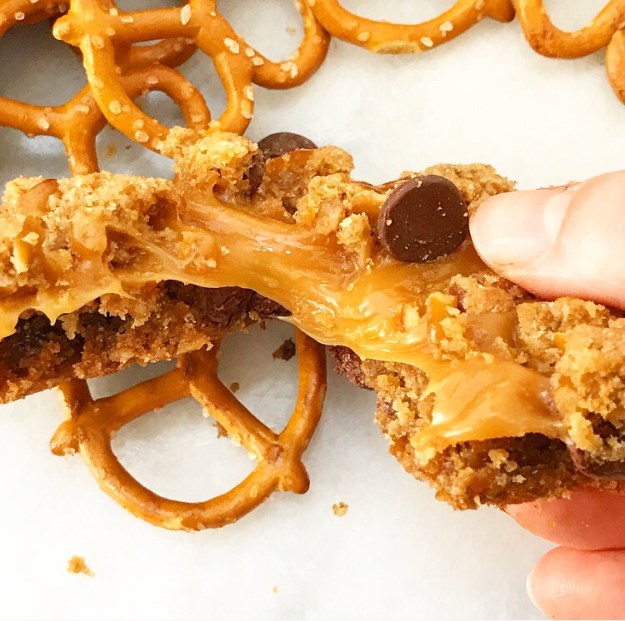 and stretchy, glossy caramel don’t have you running to the kitchen, I don’t know what will.
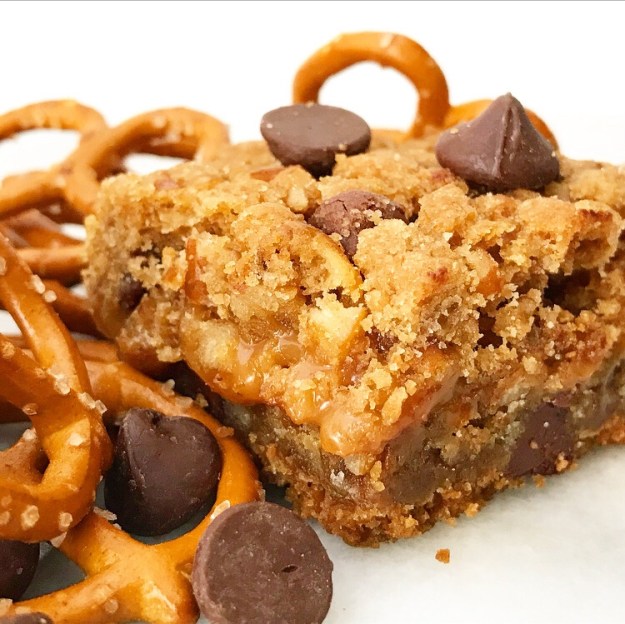
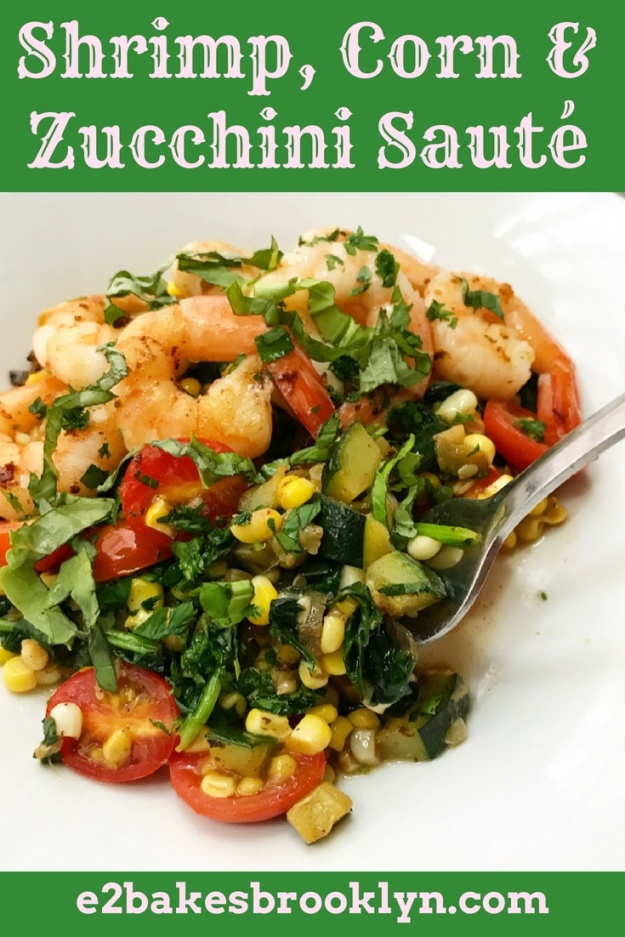
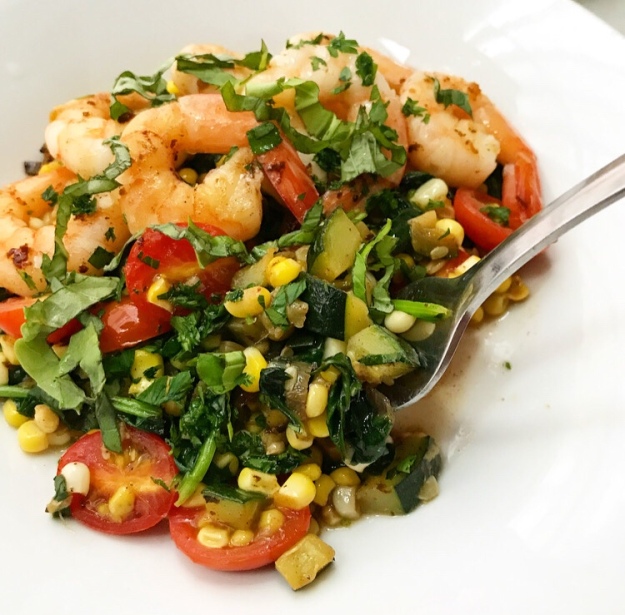 Last Monday night, I took a picture of a dinner I had made at work that included this simple Shrimp, Corn & Zucchini Sauté, among other
 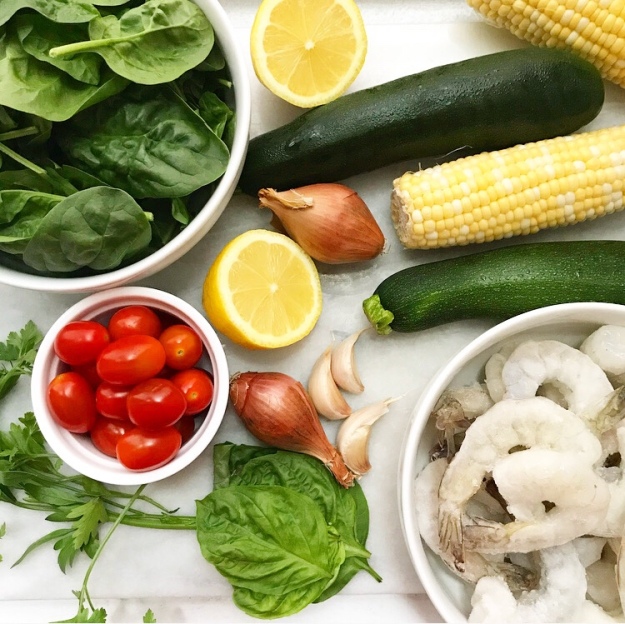 This quick, fresh one-pan meal is one of my summertime staples. It’s made with all sorts of great seasonal produce like corn and zucchini (duh), tomatoes, spinach, and fresh herbs. And shrimp. And a squeeze of lemon.
 It’s my favorite meal this time of year.
 I measured all the ingredients out so I could write the recipe for you, but I usually just make this by feel—it’s that simple.
 This dish is the sort of thing that works just as well for a weeknight meal as it does for a party. It can be scaled up and down without any fancy math—a relief after all the math I did
 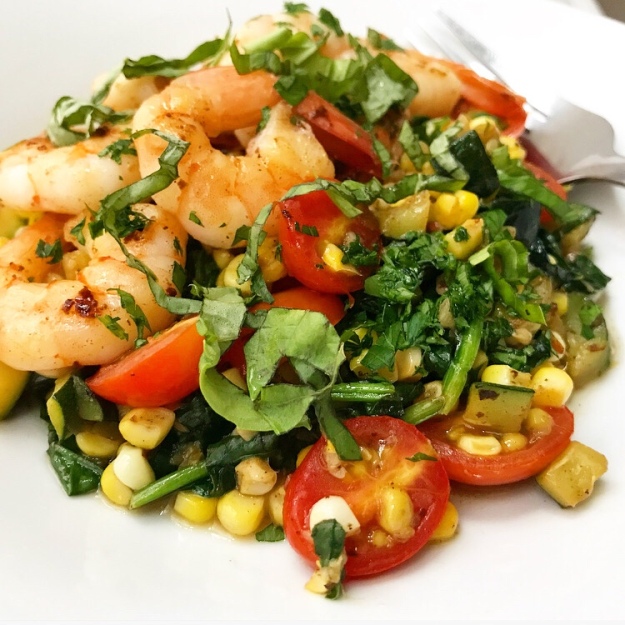 You can adapt this recipe any way you please—take this and make it your own. Don’t care for shrimp? Swap in chicken (but, uh, cook that longer). Halve the amount of corn. Add more zucchini. Nix the tomatoes. Fold in fresh arugula instead of spinach. Use bacon grease instead of butter. Heck, you could even take this in a southwestern direction by adding jalapeño, black beans, cilantro, a dash of cumin and a squeeze of lime! Really, the possibilities are endless.
 However you choose to make this…well, just make this.

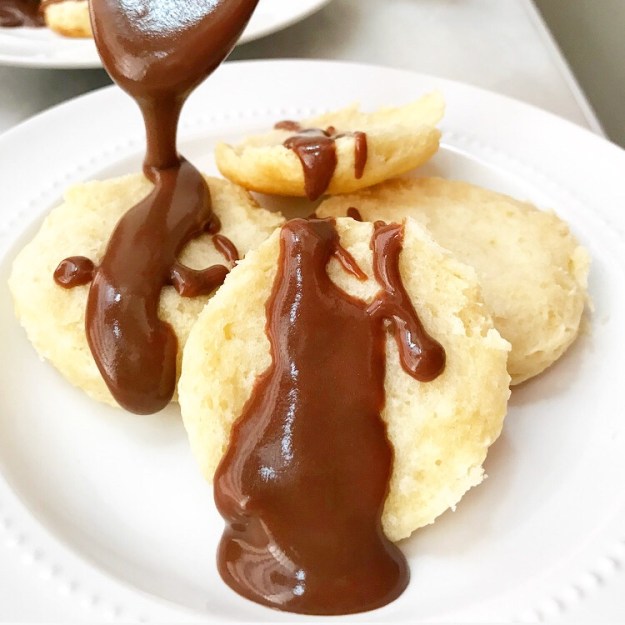
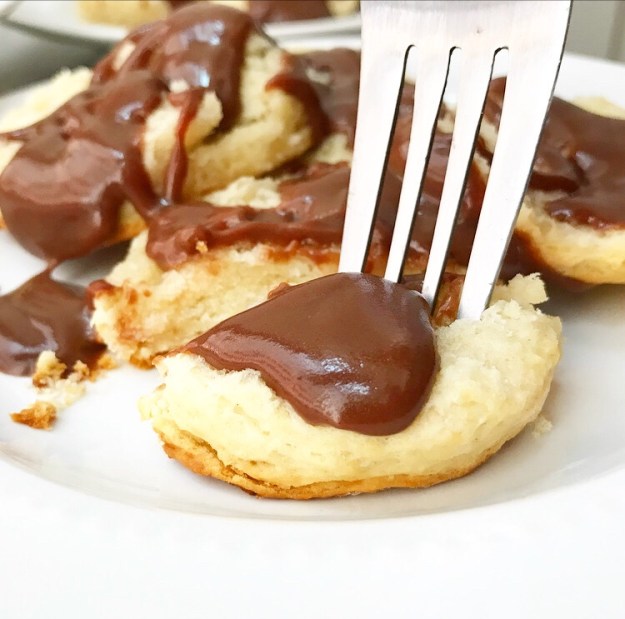
 I know what you’re thinking. “Chocolate…gravy? GROSS.”
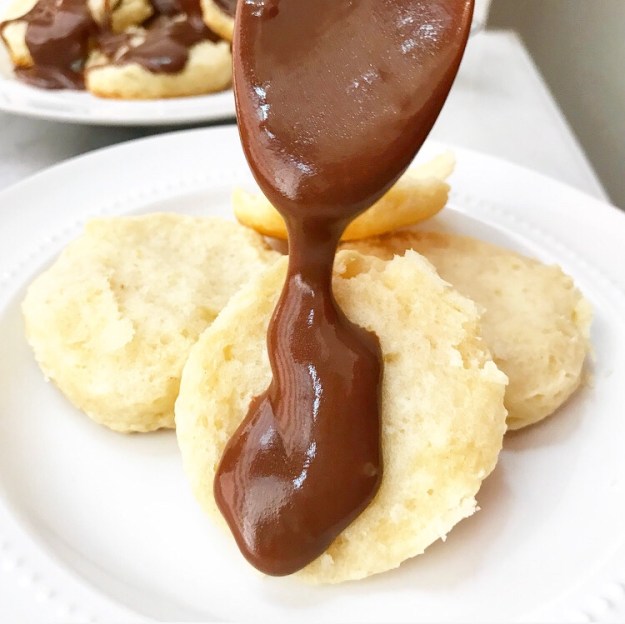
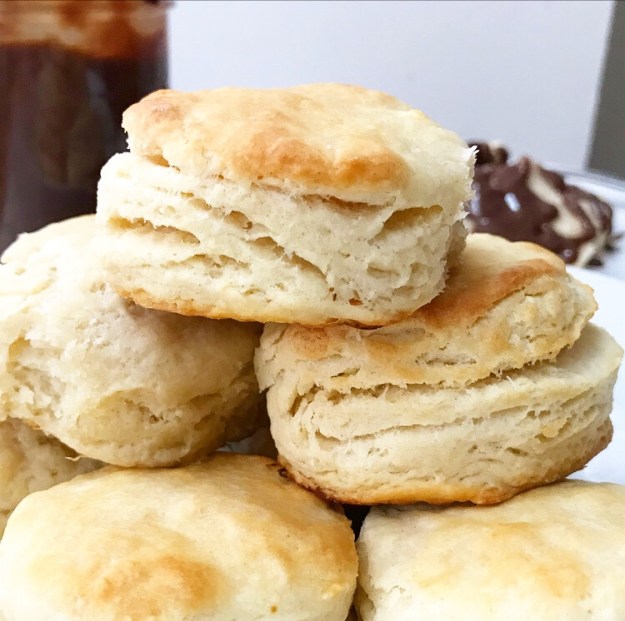
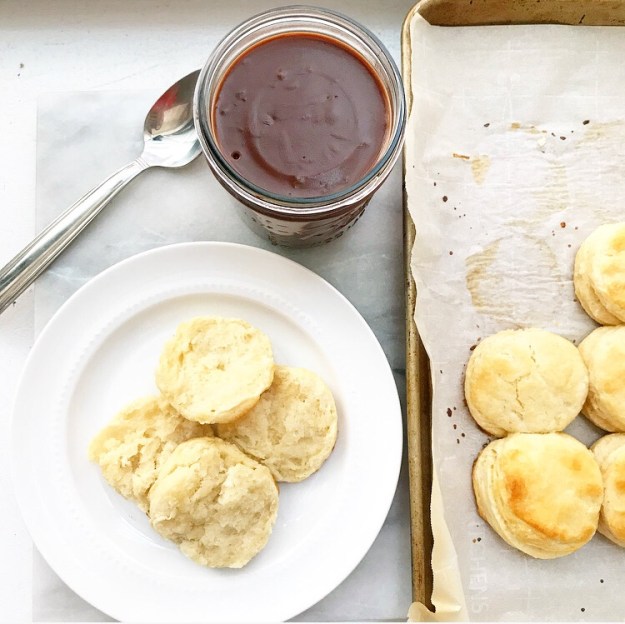

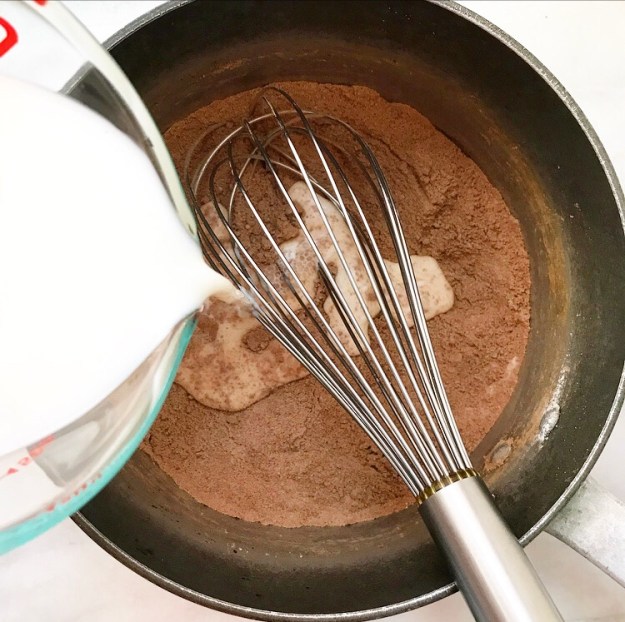
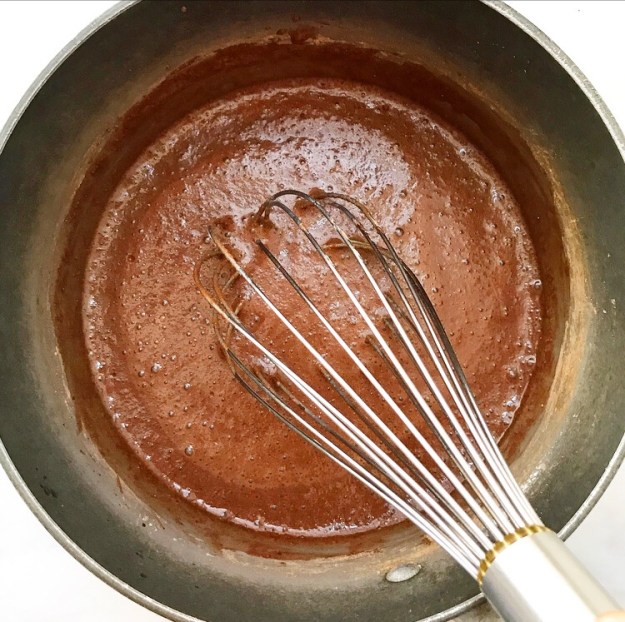
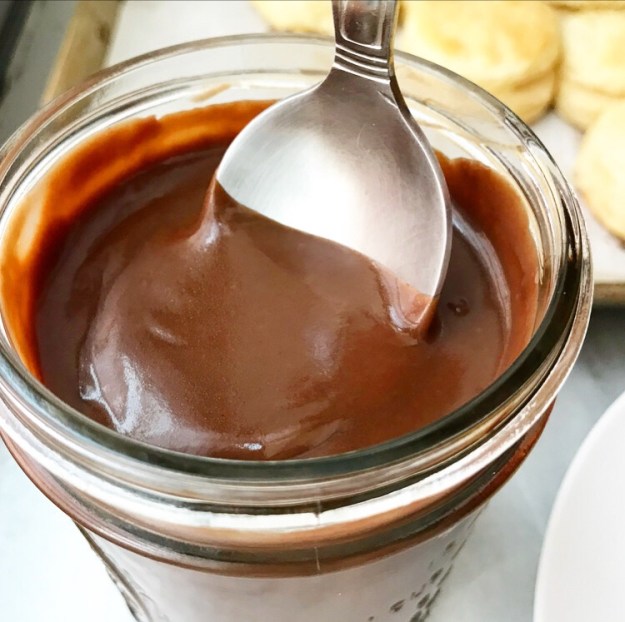
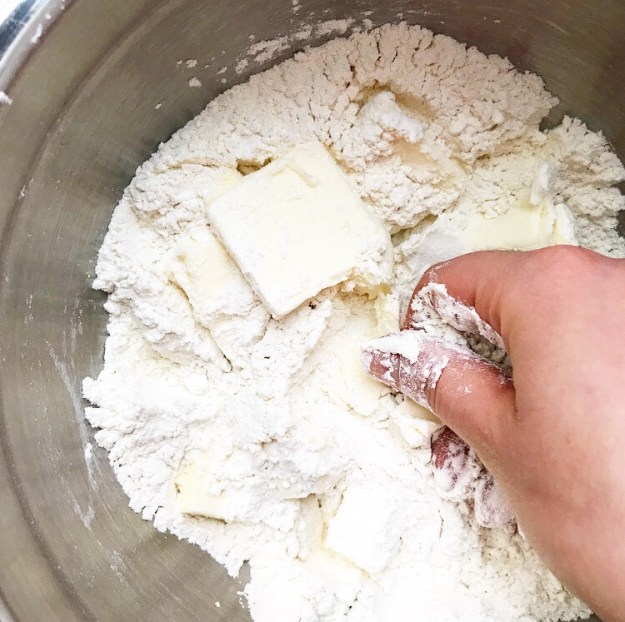
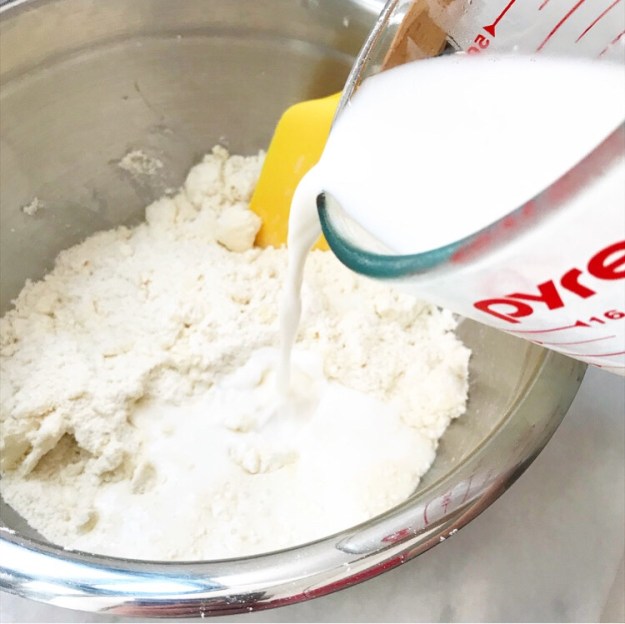
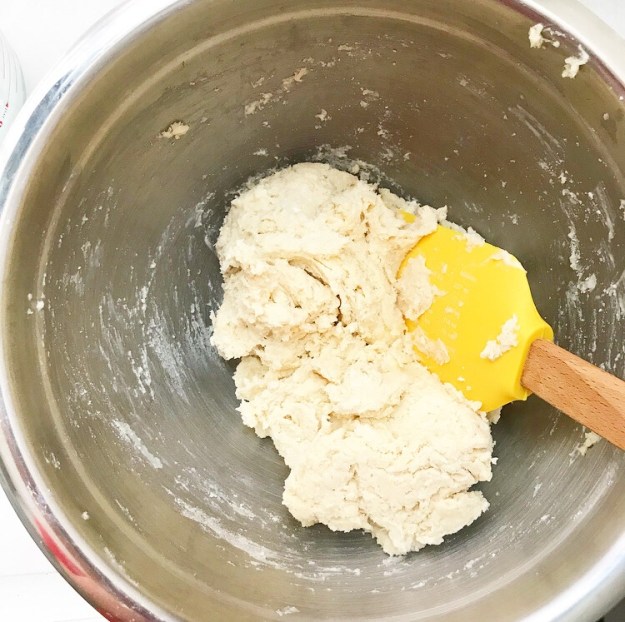
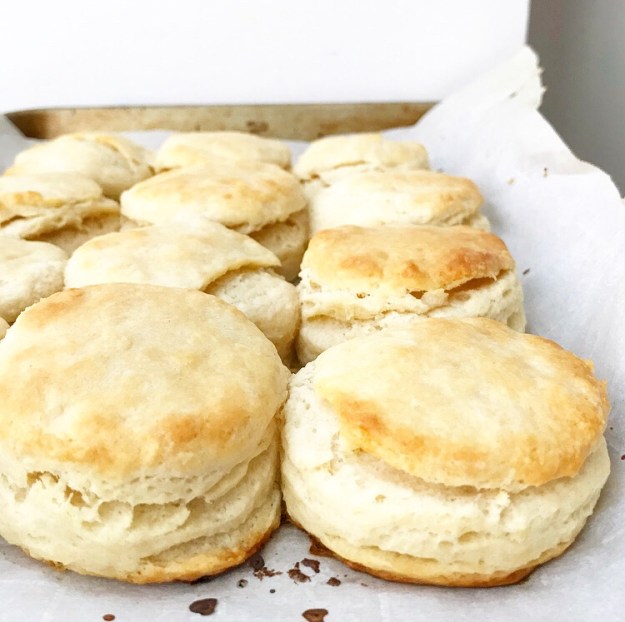
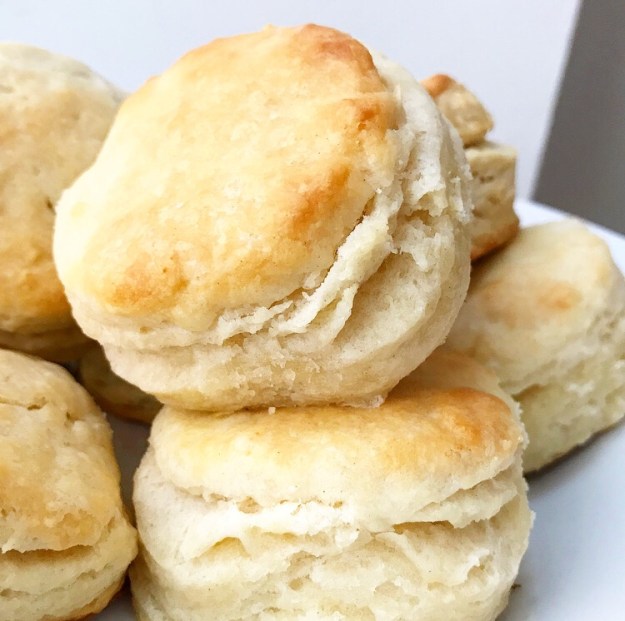
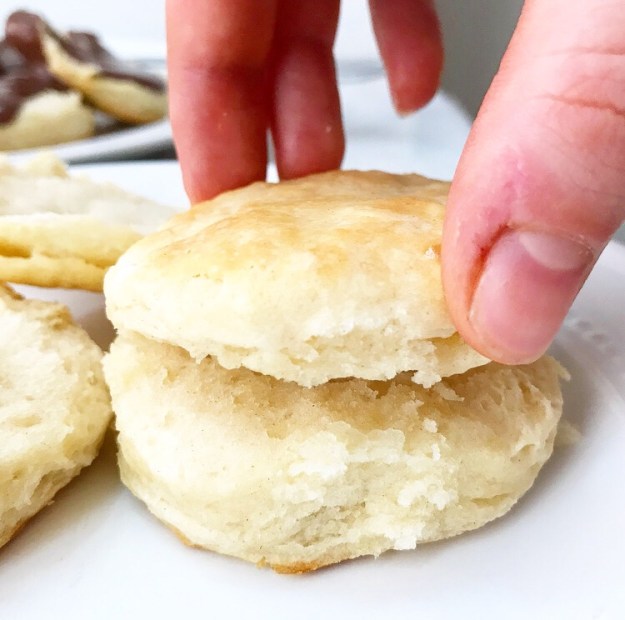
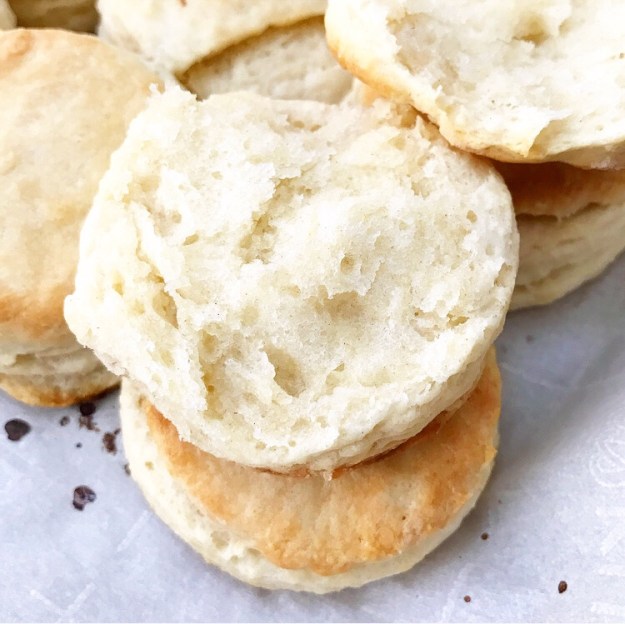 These buttermilk biscuits are made with a touch of cornstarch to mimic the tenderness of cake flour. I also added a smidge more flour and buttermilk, yielding a slightly softer dough. In addition, I’ve taken out the beat-with-a-rolling-pin step, and chosen to bake the biscuits close together on a parchment-lined baking sheet instead of packed into a casserole dish. Regardless of which biscuit recipe you choose though, you’re going to love them drizzled (or smothered) with Chocolate Gravy.