 I put a poll on my Facebook page late yesterday afternoon because I couldn’t decide which of two brown butter chocolate chip recipes I should post to the blog today. The options were Cheesecake Blondies and these Brown Butter Chocolate Chip Scones, and while it was a tight poll, Team Scone ultimately reigned supreme.
For those who might prefer cheesecake over scones, don’t fret—that recipe will make its debut soon. I don’t know about you, but I can’t imagine ever being tired of brown butter and chocolate…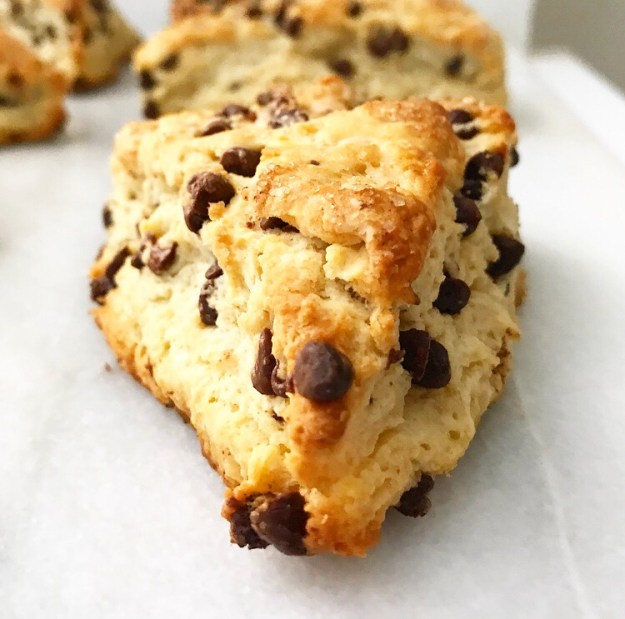
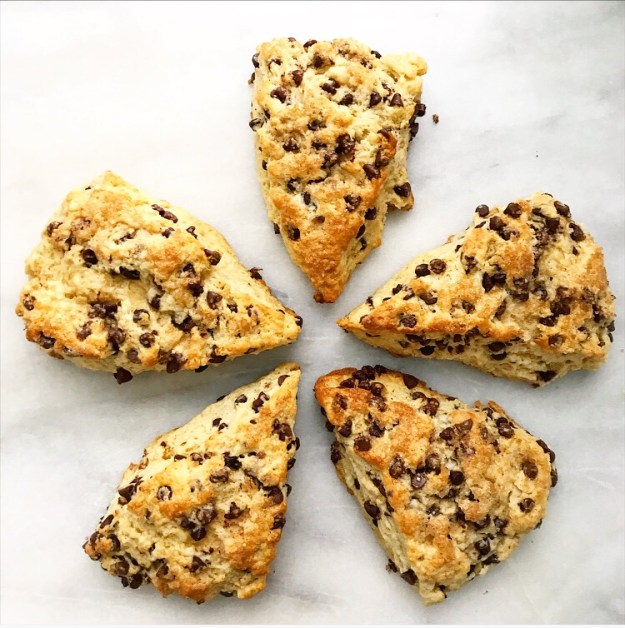
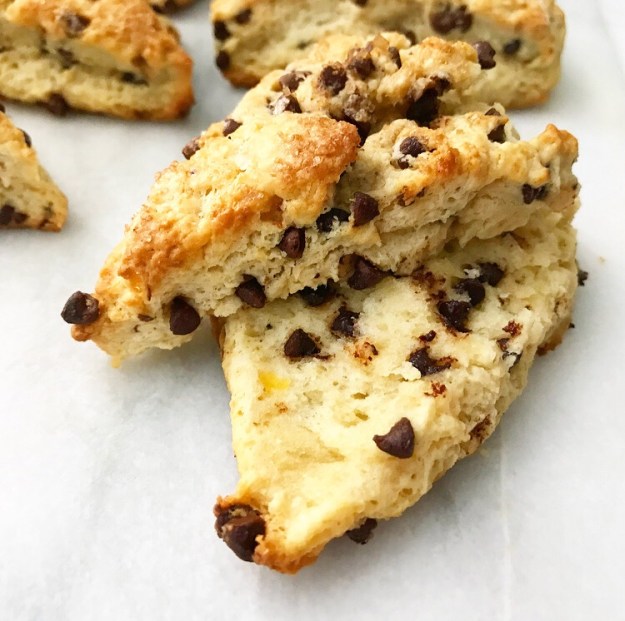
…especially when they’re folded into a simple dough, sliced into wedges, and baked into the very best chocolate chip scones I’ve ever had. Y’all, these are ridiculous. Ri-di-cu-lous.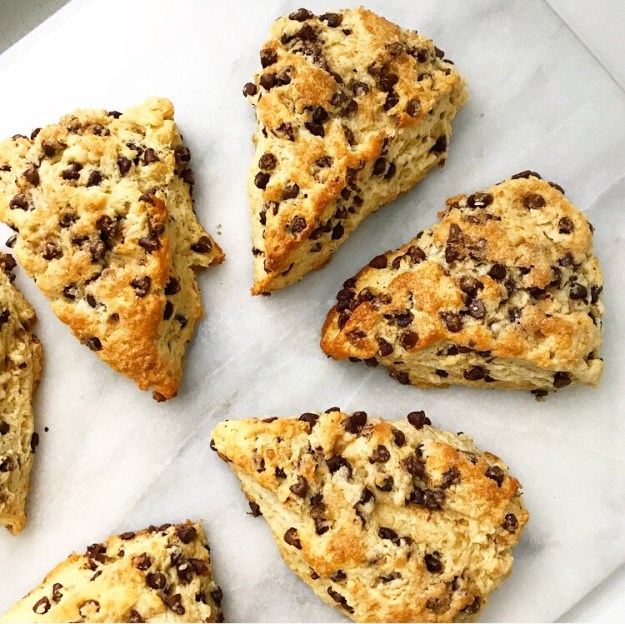
They’re soft and fluffy with crunchy edges and crispy caramelized sugar on top! Oh, and the depth of brown butter and just the right amount of mini chocolate chips ❤ I’m not much of a chocolate for breakfast gal, but these scones could easily convince me otherwise!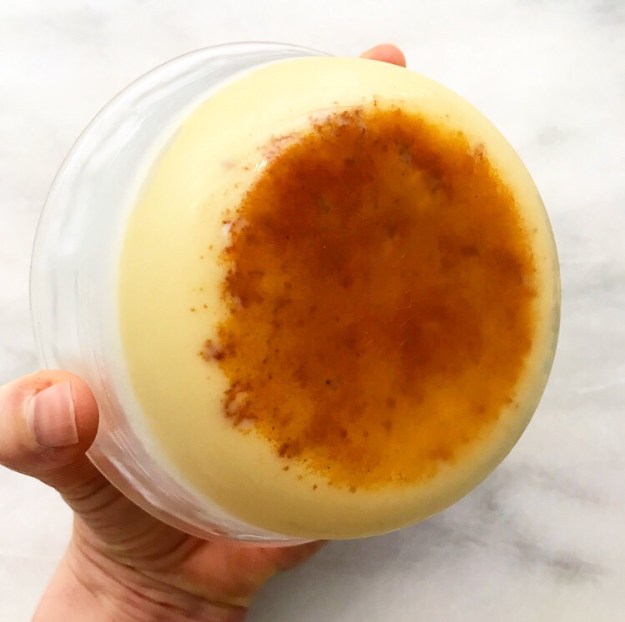
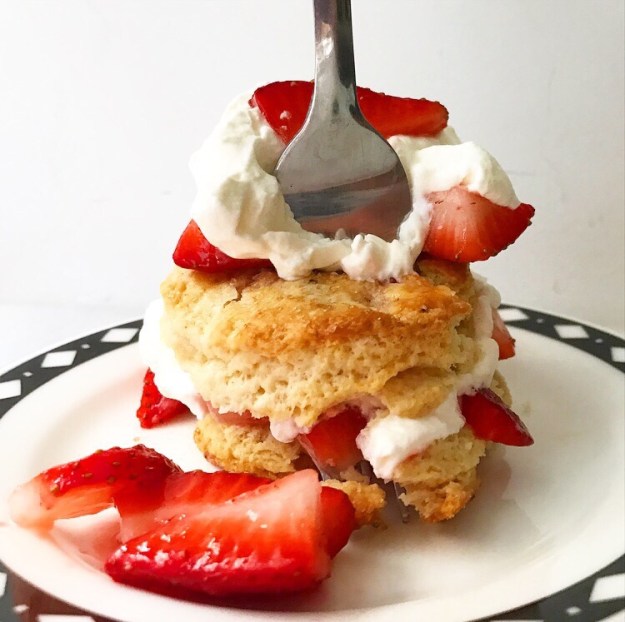
The idea for these Brown Butter Chocolate Chip Scones has been floating around in my head and my “to bake” list for some time now—probably since I made the biscuits for last summer’s Brown Butter Strawberry Shortcakes. In fact, this recipe is quite similar to that one. It starts with brown butter that’s chilled until solid before being cut into dry ingredients.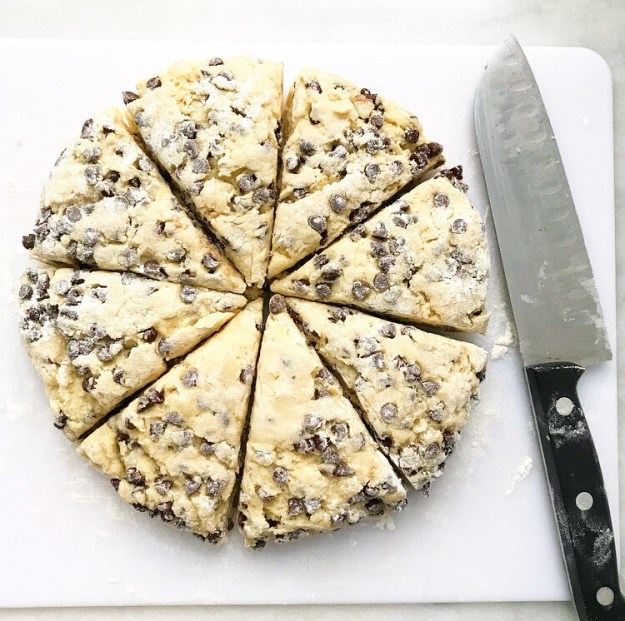
Half-and-half is the main liquid ingredient here; its extra fat helps make up for any moisture the butter may have lost during the browning process. An egg yolk helps with this, too. It may seem like an afterthought—what can one lone egg yolk really do in a scone recipe?—but it makes a huge difference in terms of texture and shelf-life. Where most scones begin to dry out by the end of the day they’re made, these stay surprisingly tender and fluffy into day two. I love how the tops lift right off!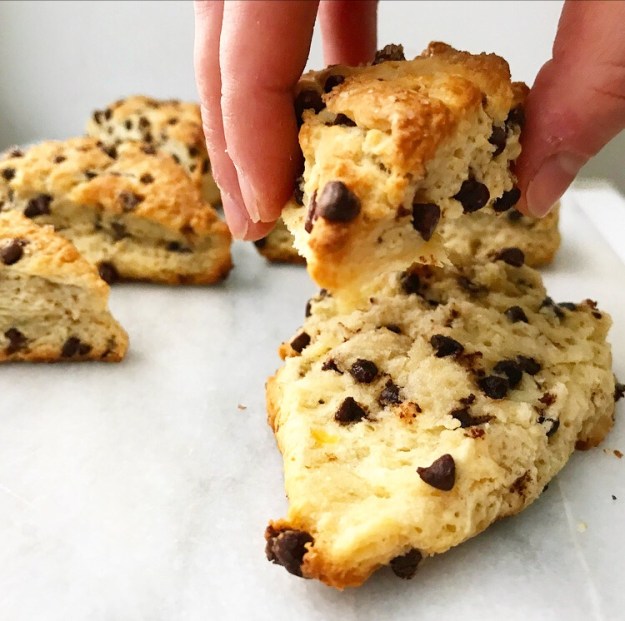
Other things to look out for in this recipe? Brown sugar and vanilla. I have seen many chocolate chip scone recipes with citrus zest and/or warming spices, but I wanted mine to have flavors more reminiscent of a chocolate chip cookie. Neither of these ingredients is particularly prominent—instead, they allow the brown butter and chocolate to shine.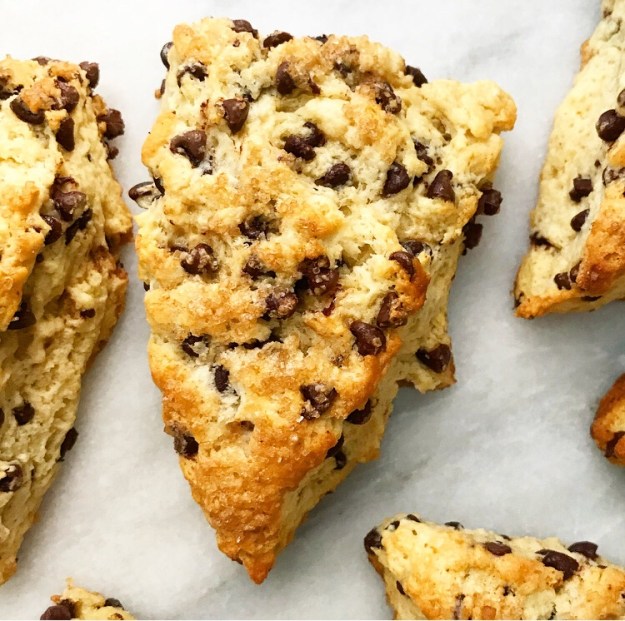
Alright, that’s enough for a Wednesday! Now, go brown some butter and make yourself some scones. Or better yet, hold onto this recipe and make them for Father’s Day this weekend 🙂 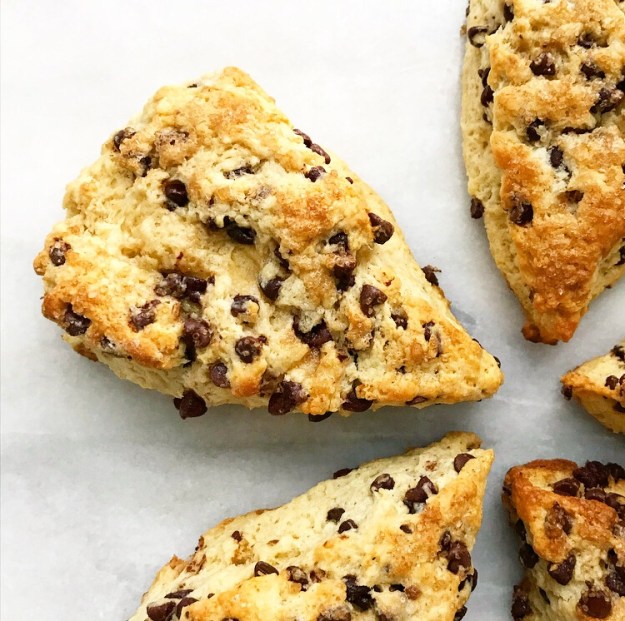
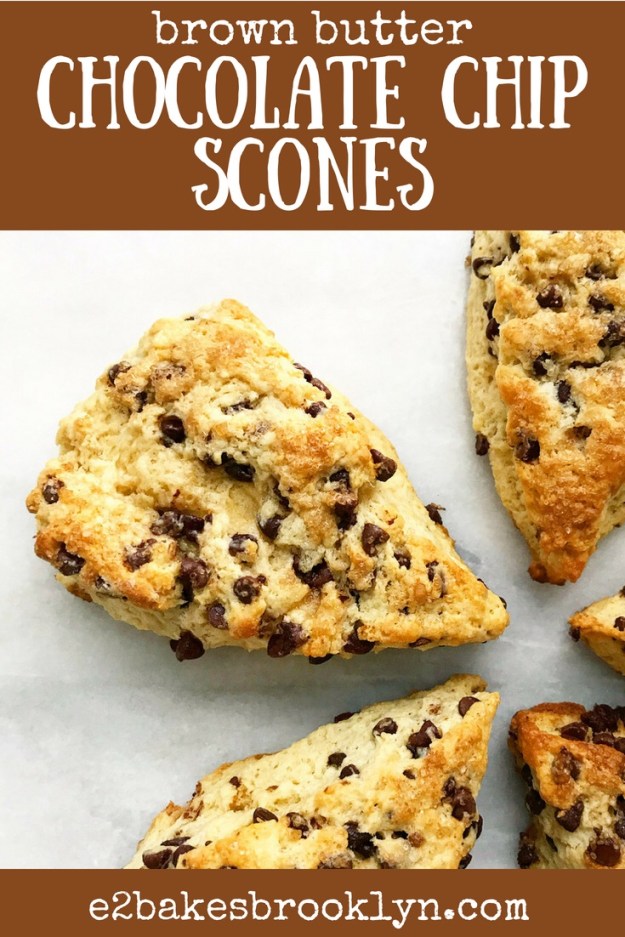
Brown Butter Chocolate Chip Scones
makes 8 scones
Brown Butter:
1/2 cup (1 stick) unsalted butter
Brown Butter Biscuits:
2/3 cup half-and-half, very cold, plus more for brushing
1 large egg yolk
1 1/2 teaspoons pure vanilla extract
2 cups all-purpose flour
1 tablespoon baking powder
3 tablespoons light or dark brown sugar, packed
1/2 teaspoon Kosher or sea salt
1/2 cup brown butter, solid, very cold
3/4 cup miniature chocolate chips
1 tablespoon coarse sugar (like turbinado), for sprinkling
Brown the butter. Place butter in a light-colored saucepan over medium heat. Let butter melt. Butter will bubble and crackle as the water content evaporates. Swirl the pan frequently for 5-7 minutes, keeping an eye on the color. When the solids are turning brown and the butter is nutty and fragrant, remove the pot from the heat and immediately pour the brown butter into a small bowl. Let the butter cool to room temperature before refrigerating until solid and very cold, several hours or overnight.
Brown butter may be made up to a few days ahead and kept in the refrigerator.
Make the scones. Place an oven rack in the center position. Preheat oven to 400F. Line a baking sheet with parchment or a silicone baking mat. Set aside.
In a liquid measuring cup, use a fork to whisk together half-and-half, egg yolk, and vanilla. Refrigerate.
In a large mixing bowl, whisk together flour, baking powder, brown sugar, and salt. Add cold brown butter. Use a pastry blender or clean fingertips to cut the butter into the flour until the largest pieces are the size of small peas. Stir in half-and-half mixture. Fold in miniature chocolate chips.
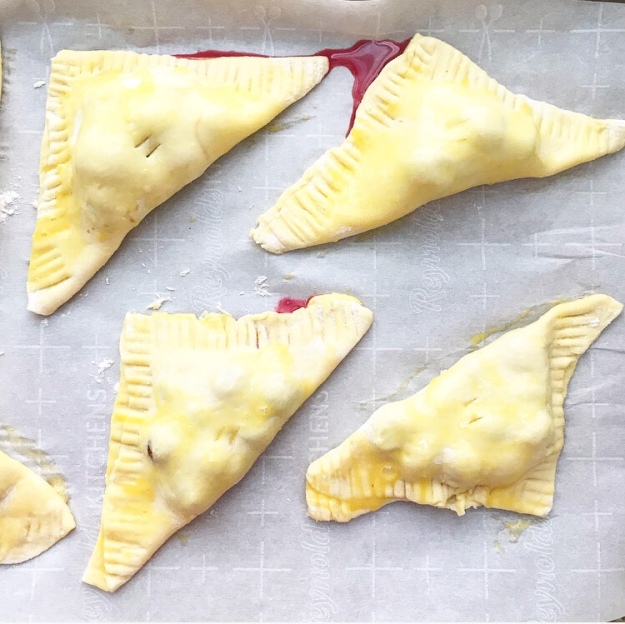
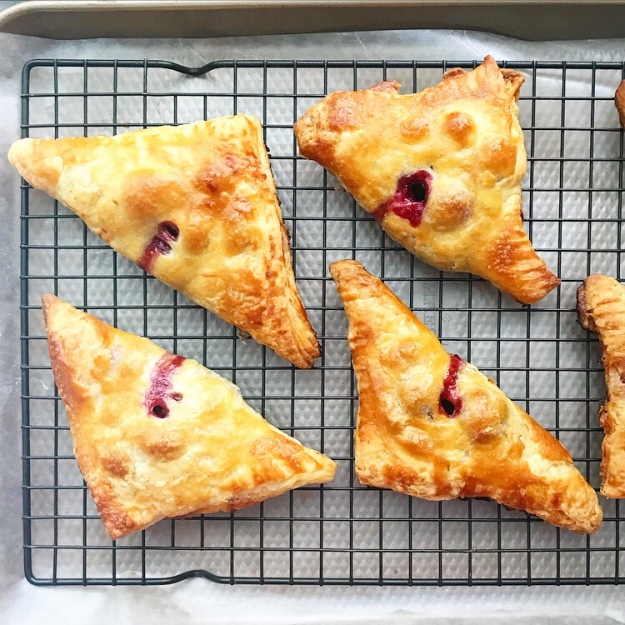
Turn dough out onto a floured surface. Pat it to 1-inch thick circle. Use a large, sharp chef’s knife to slice circle into 8 wedges. Place scones at least 2 inches apart on prepared pan. Brush with more half-and-half and sprinkle with coarse sugar. Bake 14-16 minutes, until puffed and golden. Let scones cool on the pan on a rack for a few minutes, or until they can be handled.
Scones may be served warm or at room temperature. They are best the day they are made, but will keep in an airtight container at room temperature for up to 2 days.

 Yesterday was my birthday. I’m 33 now.


 Let me pinpoint for you the moment I knew I wasn’t cut out for office jobs.

 But it all goes back to that impromptu stop at Blue Bonnet Bakery. That was the catalyst for the chain of events that lead me to where I am right now. It just took another decade or so and a lot of professional misadventures to manifest itself into E2 Bakes and being that person who always has cookies. #crazycookielady


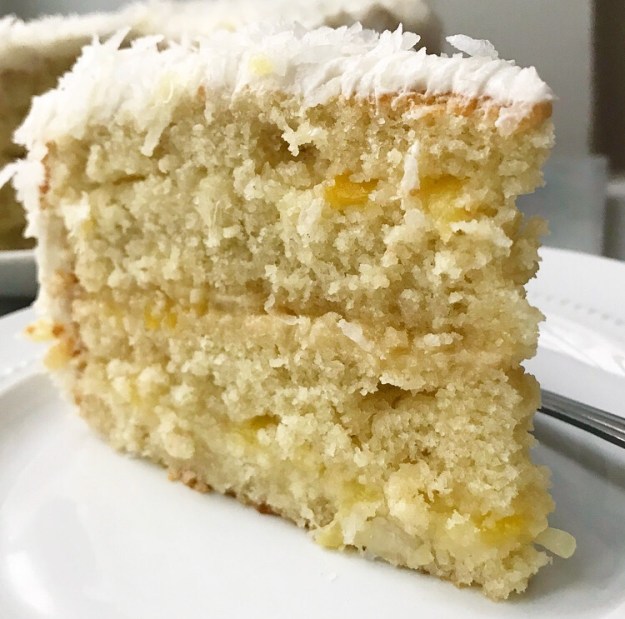
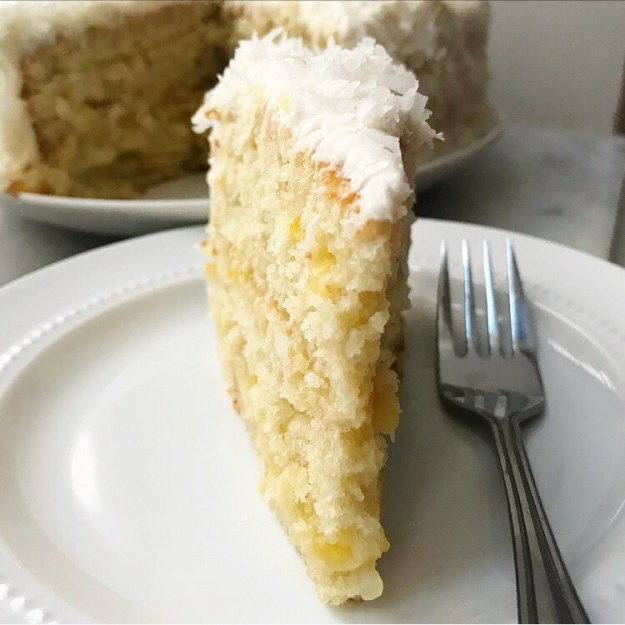
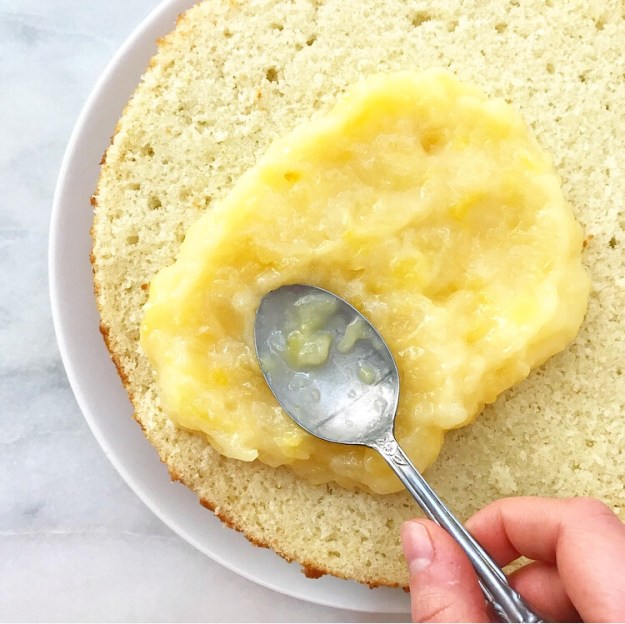
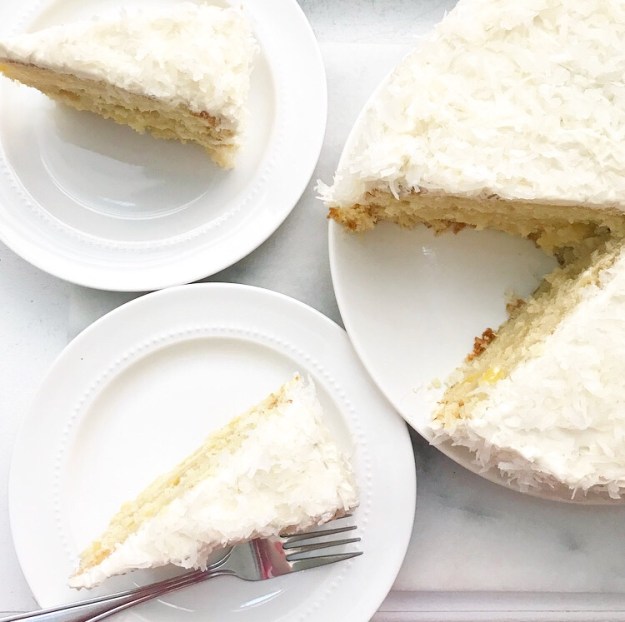
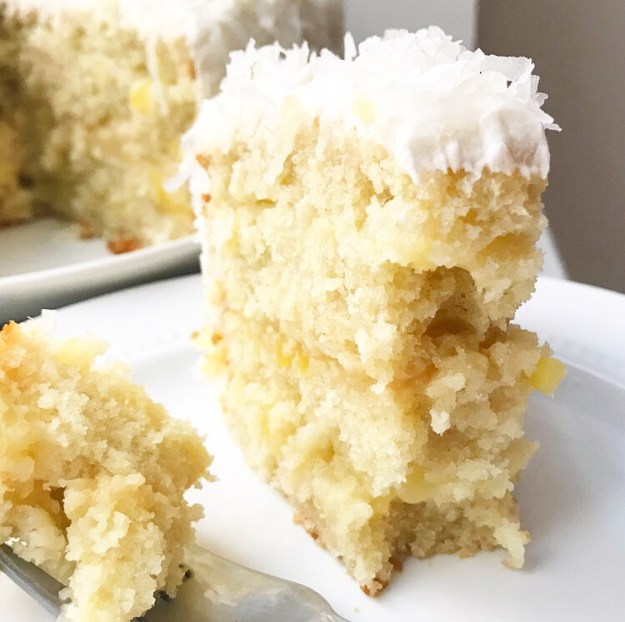
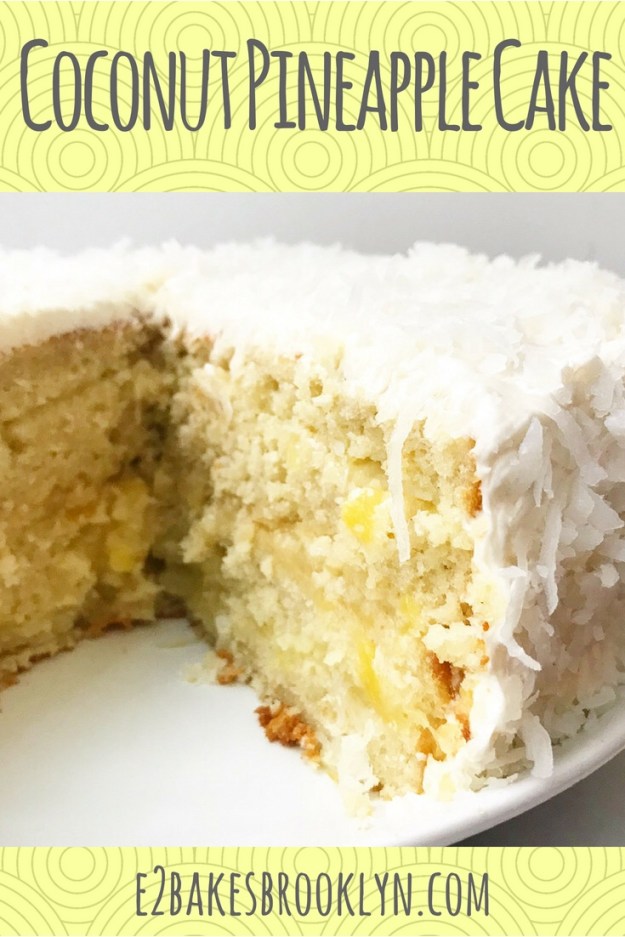
 About two years ago, an acquaintance called and asked me to make a Coconut Pineapple Cake for his birthday party.