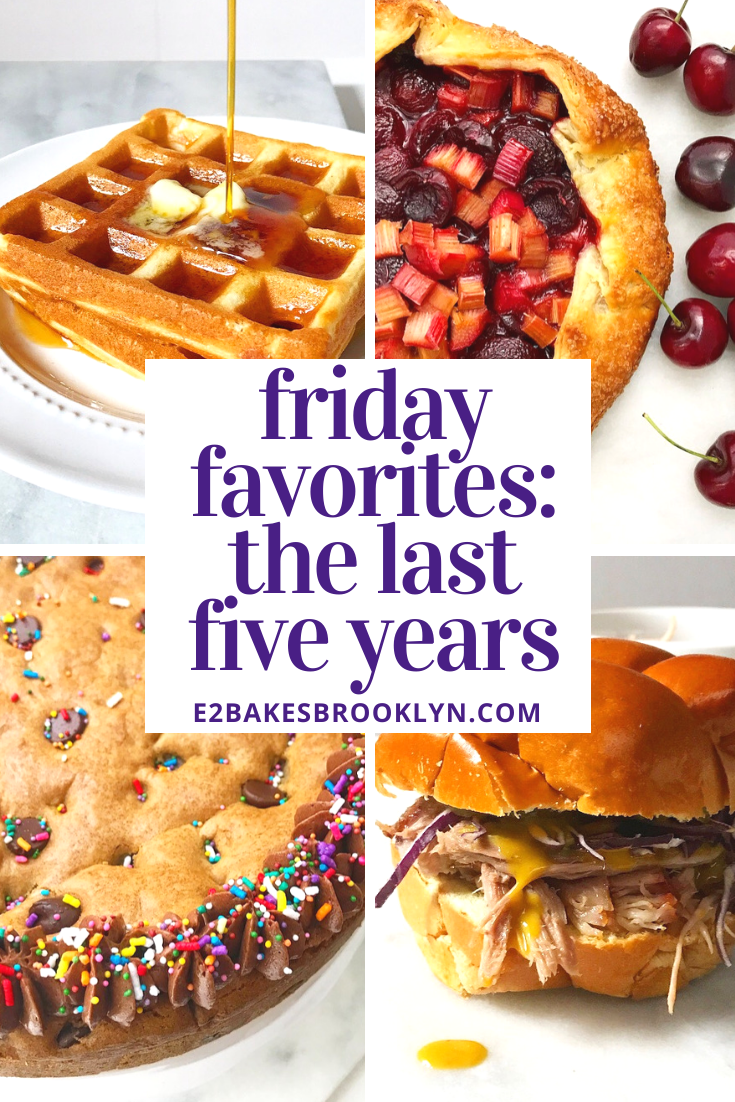
E2 Bakes turned six years old yesterday. While some things have stayed consistent over the last 634 posts—namely that I keep on posting—one of bigger changes in the last year is that I have finally started to appreciate the art of the cupcake.
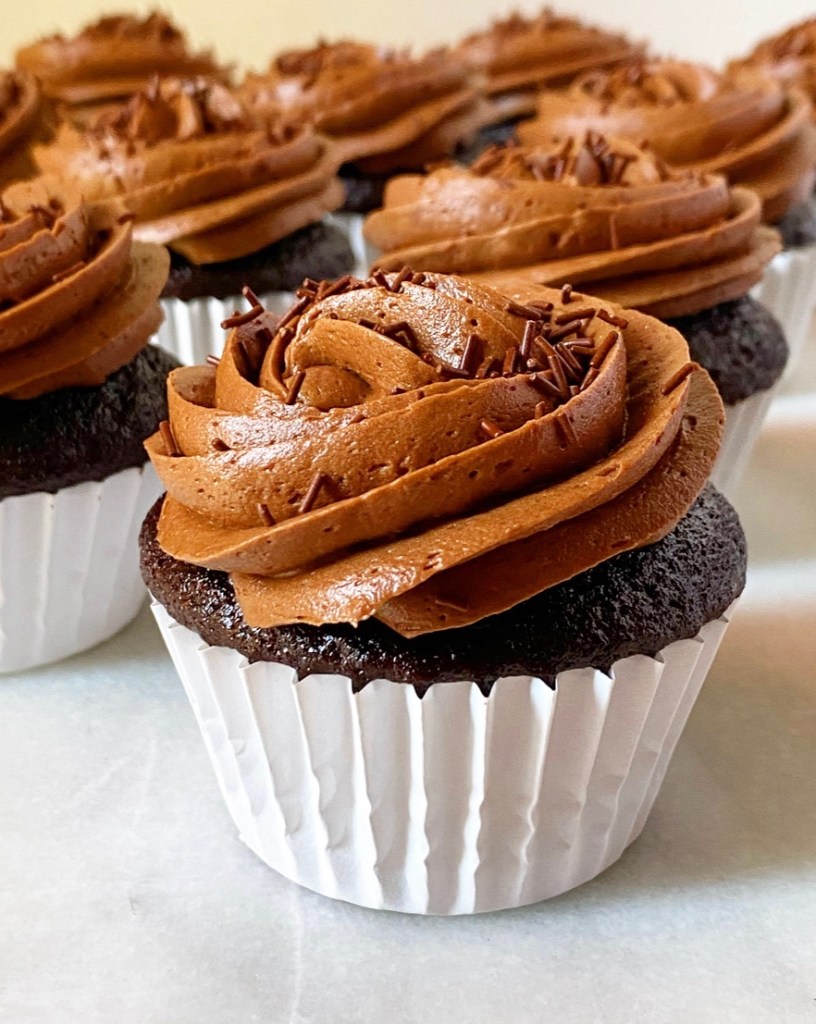
Oh, I had cupcake recipes before this year—of course I did—but not many. Making cupcakes takes more time than making layer cakes (the dividing of batter alone…) and, contrary to popular belief, they’re not as simple as divvying up a layer cake recipe into a lot of little bits. Really great cupcakes are a bit more nuanced than that. But nuance doesn’t equal difficulty, and my best ever Chocolate Cupcakes are proof positive of that.
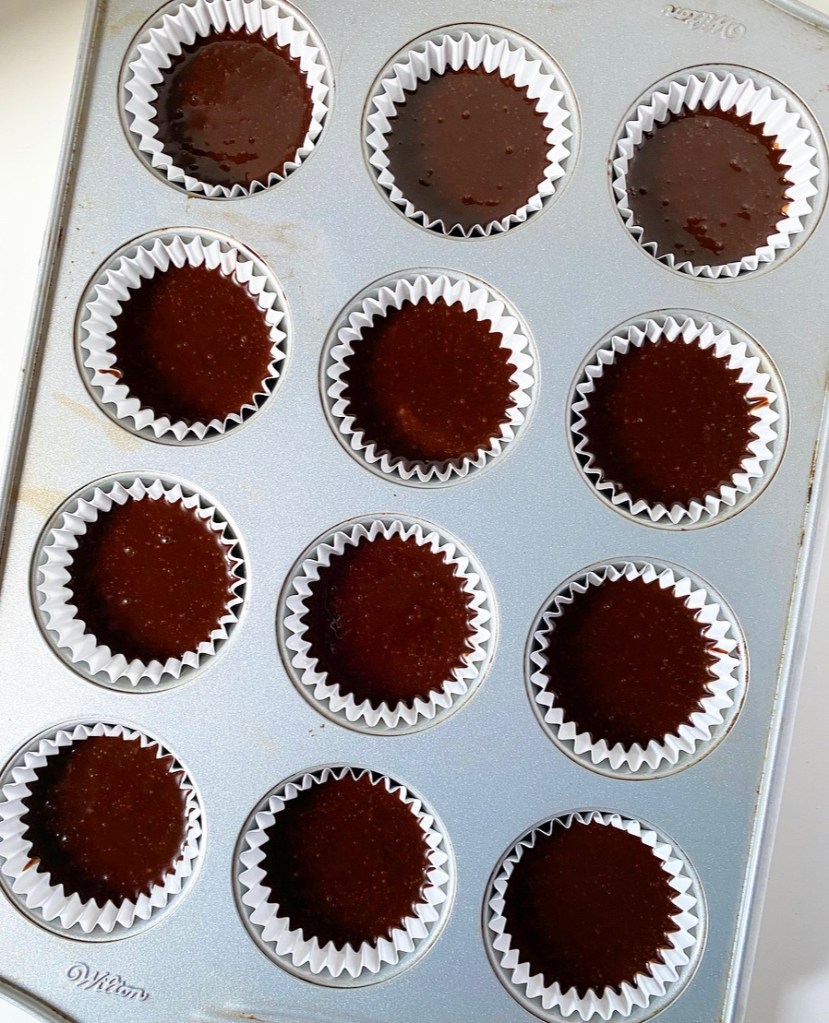
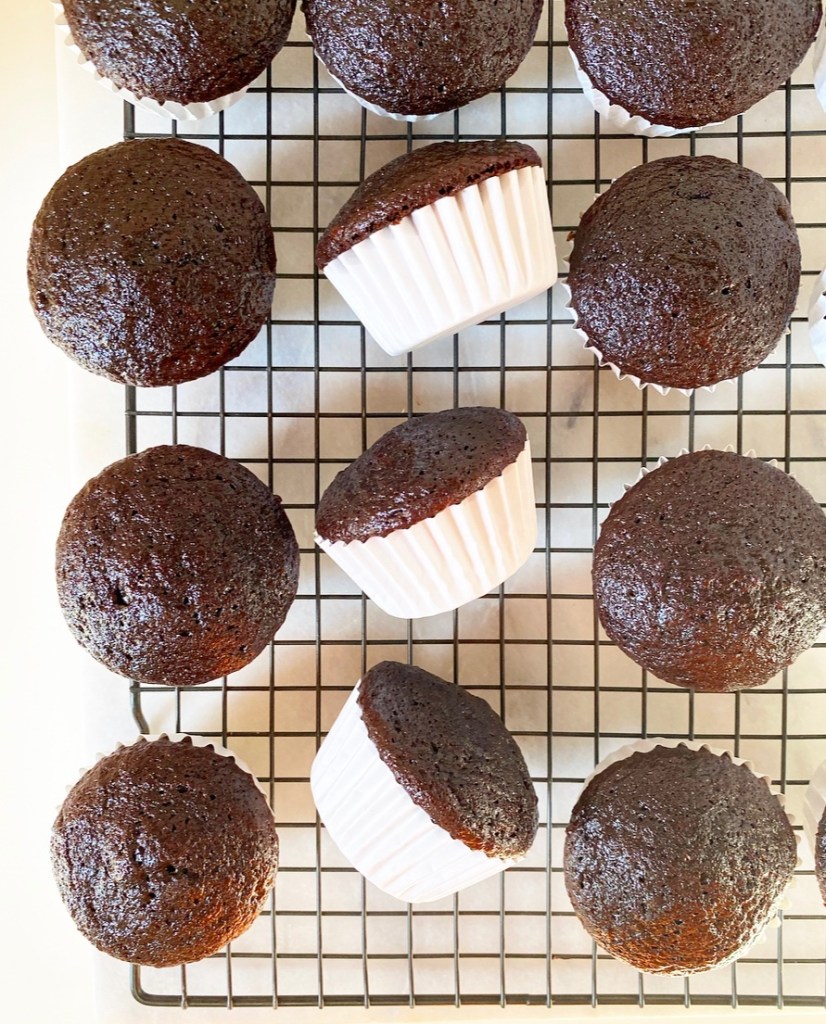
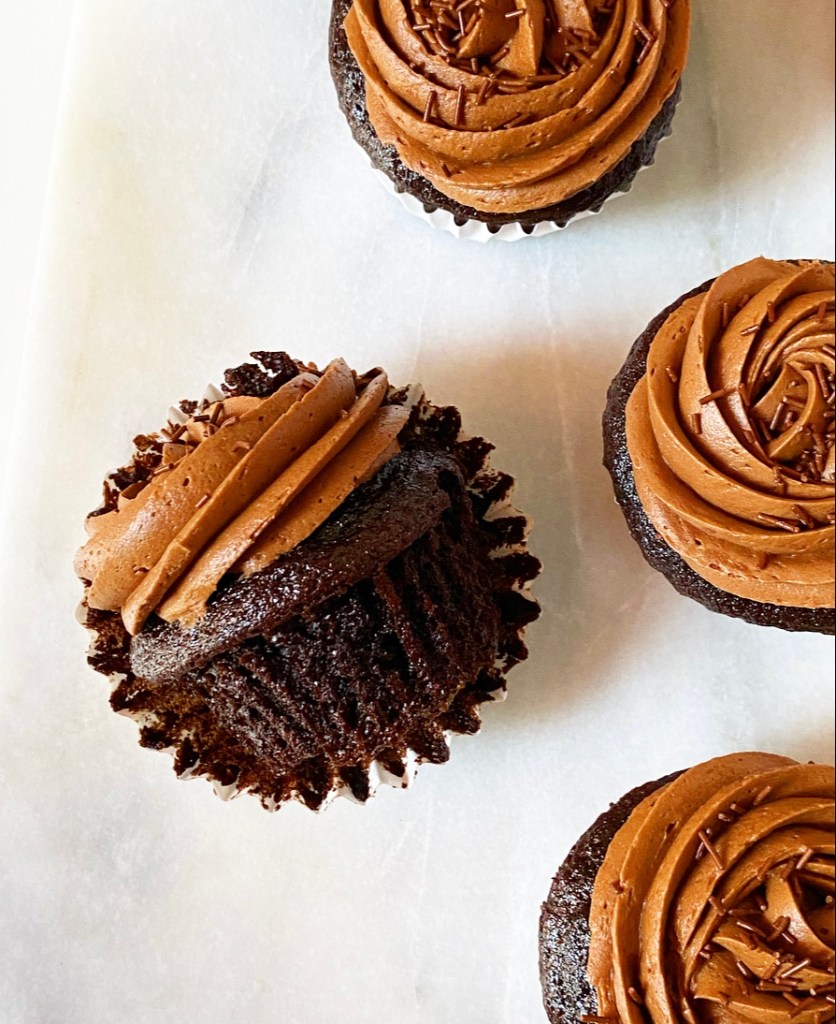
One surefire way to have great cupcakes every time? Don’t overfill the pans. Just don’t. Bigger is not better here—if you want bigger cake, make a layer cake. Lest I need to say it again: cupcakes are their own thing. Once your batter is prepared, fill each well 1/2-2/3 full and absolutely no more. You’ll think “this isn’t enough batter,” but it absolutely is. You can thank me when you pull 20+ soft, tender, perfectly domed little cakes from the oven. None with flat, spread-out tops for me, thanks!
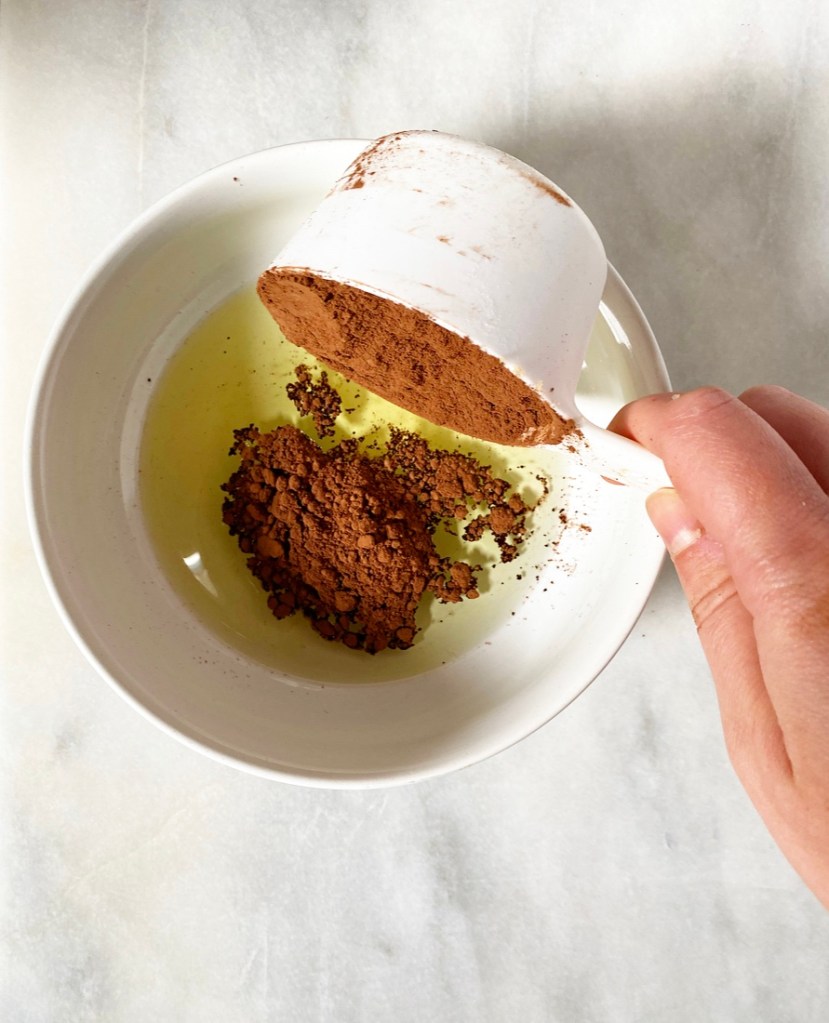

The batter is a simple whisking situation, but there is a secret to getting the most chocolate flavor out of your ingredients: blooming the cocoa powder! Blooming is simply combining cocoa with a warm liquid ingredient to bring out its natural depth. I have bloomed cocoa many times on this blog, including my first post ever, wherein I melted butter, cocoa and sugar together for perfect chewy Cocoa Brownies. I’ve also done it by adding hot coffee to layer cakes and warming the butter and cocoa in my chocolate cookies. Here, the cocoa is stirred into warmed (not hot!) oil before being combined with dry ingredients and buttermilk.

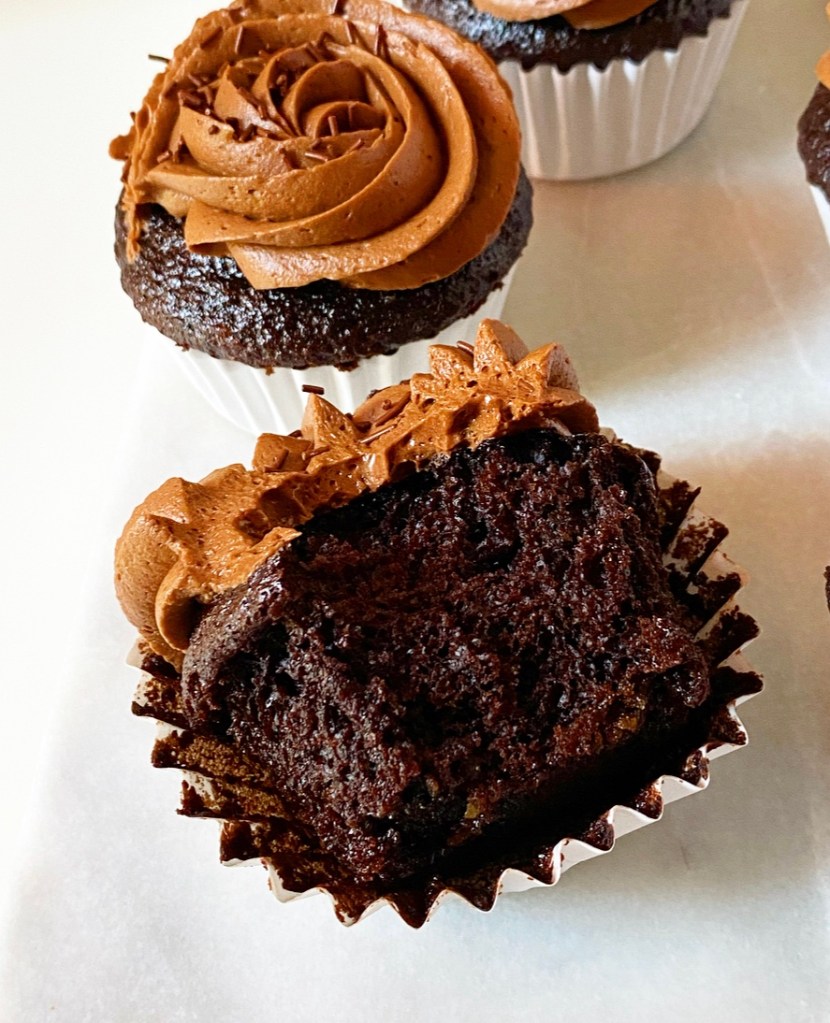
While the recipe will still produce cupcakes if you skip the blooming, they will be oddly unremarkable. Not bad—nothing with a giant plume of chocolate buttercream on top could ever be bad. They just won’t be great. And I don’t know about you, but after six years of baking on here, I think we all deserve great cupcakes.
Chocolate Cupcakes
makes 20-22 cupcakes
1/2 cup vegetable oil
2/3 cup natural unsweetened cocoa powder
1 1/3 cups all-purpose flour
1 teaspoon espresso granules (optional)
3/4 teaspoon baking powder
3/4 teaspoon baking soda
1/2 teaspoon Kosher or sea salt
2/3 cup granulated sugar
2/3 cup light brown sugar, packed
2 large eggs, room temperature
2 teaspoons pure vanilla extract
1 cup buttermilk, room temperature
For decorating:
Chocolate Buttercream (recipe below)
chocolate sprinkles (optional)
Preheat oven to 350F. Line 20-22 cups in muffin/cupcake pans with liners. Set aside.
Bloom the cocoa. Pour oil into a small microwave safe bowl. Microwave 20-25 seconds or until warm (but not hot). This step may also be done in a pot on the stove.
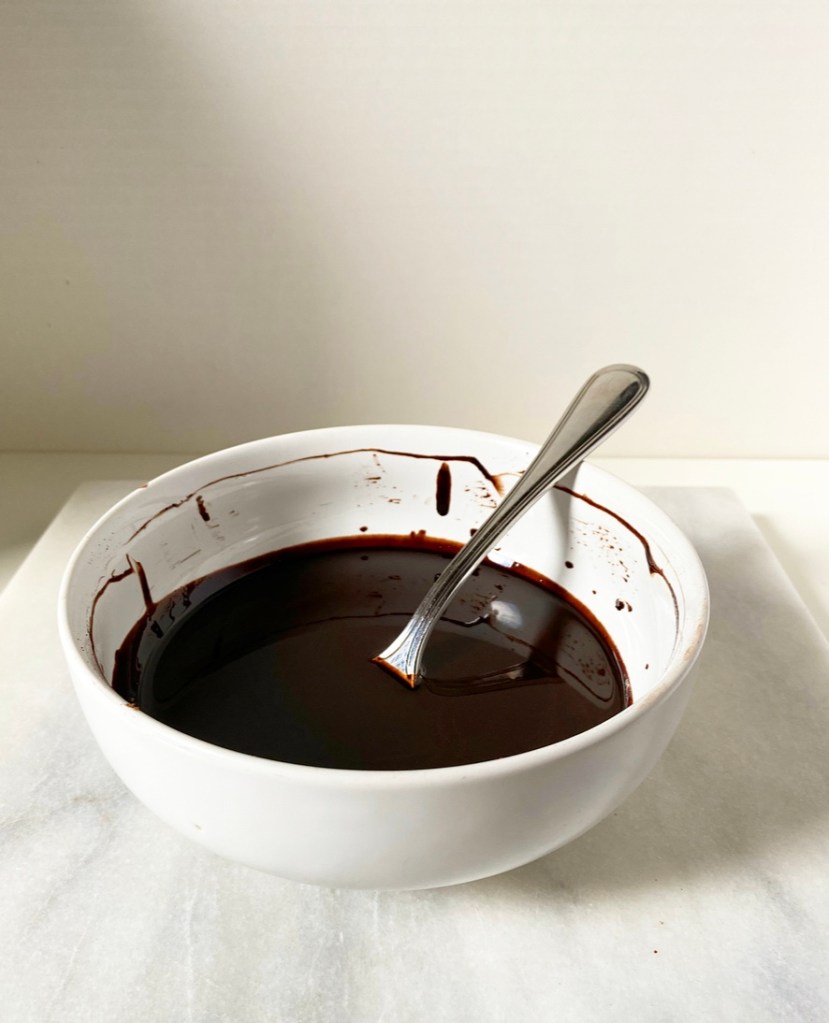
Add cocoa to oil and whisk with a fork to combine. Let sit while you prepare the other ingredients.
In a medium mixing bowl, whisk together flour, espresso granules, baking powder, baking soda, salt, sugar and brown sugar. In a liquid measuring cup or small bowl, whisk together eggs, vanilla and buttermilk.
Whisk half the bloomed cocoa into the dry ingredients, followed by half the buttermilk. Add the remaining bloomed cocoa followed by the remaining buttermilk.
Divide batter among the liners, ensuring that they are only 1/2-2/3 full. Tap full pans on the counter 5 times to release large air bubbles, then bake cupcakes 18-19 minutes, or until slightly domed. A toothpick inserted in the center should come out clean.
Let cupcakes cool in their pans for 5 minutes before removing to racks to cool completely.
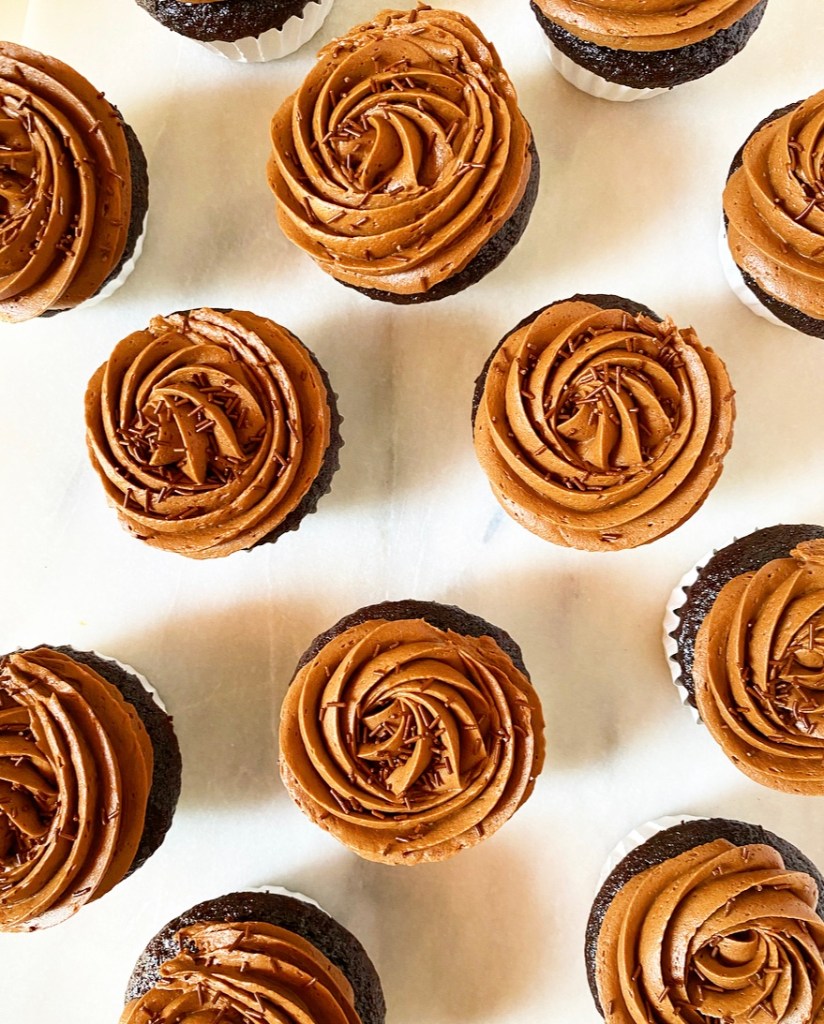
Spread or pipe chocolate buttercream on cooled cupcakes. Finish with sprinkles. Serve.
Leftover cupcakes will keep covered at room temperature for a few days or in the refrigerator for up to a week.
Chocolate Buttercream
makes enough for 1 batch of cupcakes
1 cup (2 sticks) unsalted butter, softened to room temperature
2 1/2 cups confectioners sugar
3/4 cup natural unsweetened cocoa powder
pinch of Kosher or sea salt
2 teaspoons pure vanilla extract
6 tablespoons heavy cream
In a large mixing bowl, use an electric mixer to beat butter until light and fluffy (about two minutes). Beat in confectioner's sugar, followed by cocoa powder and salt, scraping down the bowl as necessary. Add in vanilla and heavy cream. Beat on high for 1-2 minutes, until very fluffy.
Load into a piping bag fitted with a tip (I used a star tip here), or spread with an offset icing knife.


 Wedding Cake Trilogy {

 E2 Bakes Brooklyn is five years old today! Yep, this little blog is exactly half a decade and 544 posts old. I can’t believe it.
 Today, I’m remaking the
 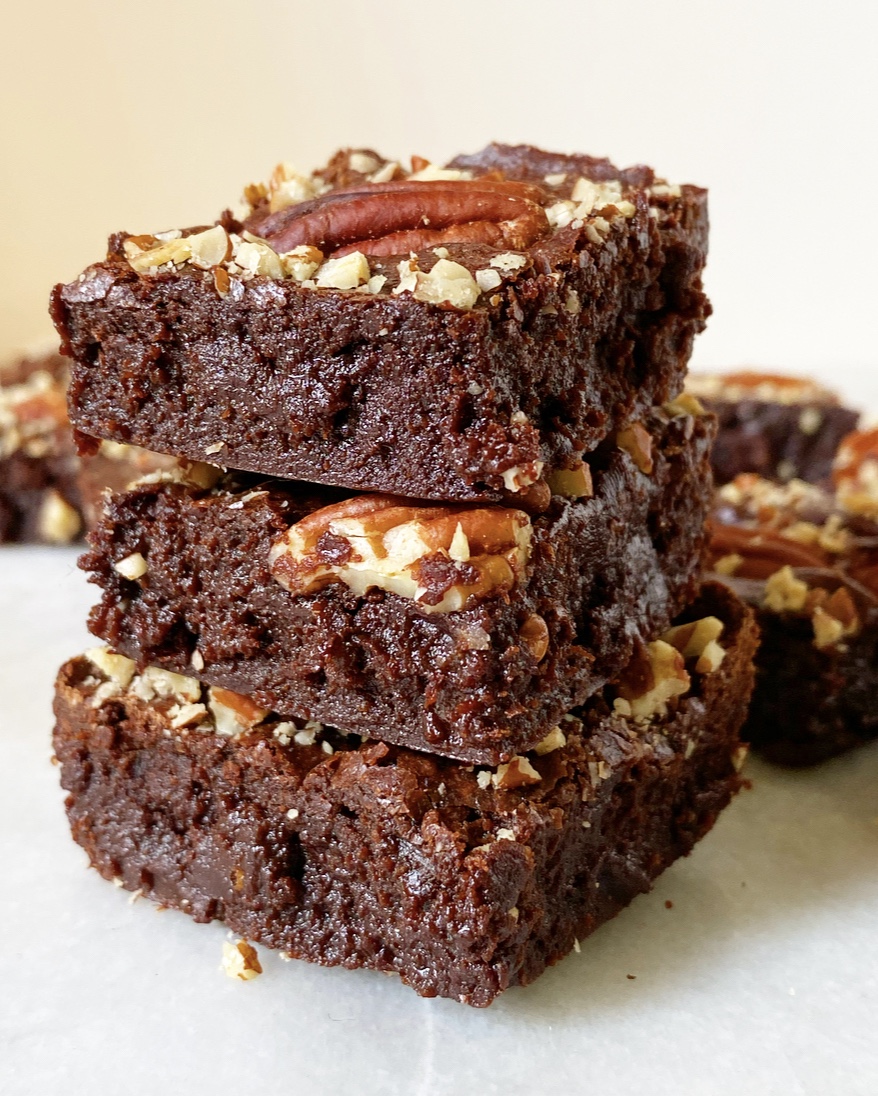 But still, do they warrant a repeat? Even on an anniversary? Well, call me nostalgic, but yes. And for the record, I’m not just revisiting my first post for nostalgia’s sake. As my favorite writer/comedian/
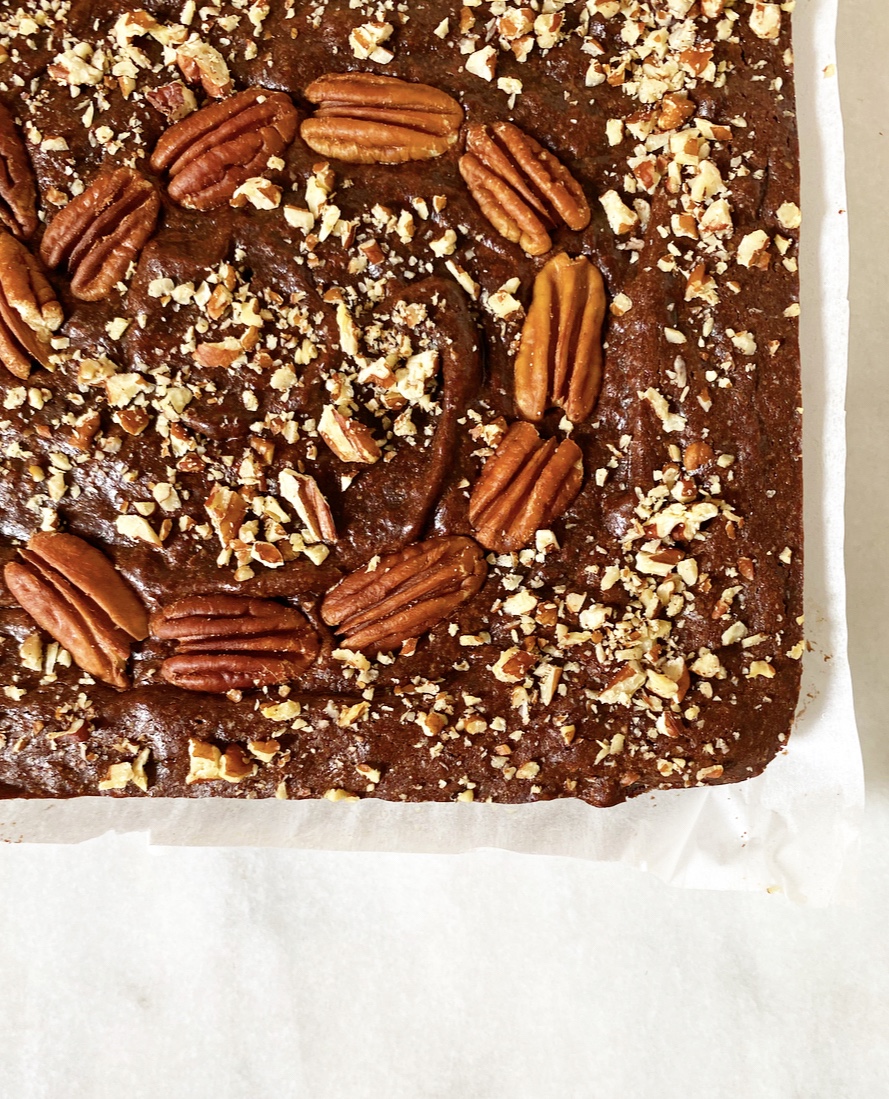
 I mean, I like my first post and the recipe, but the photos? Yikes. They’re not my
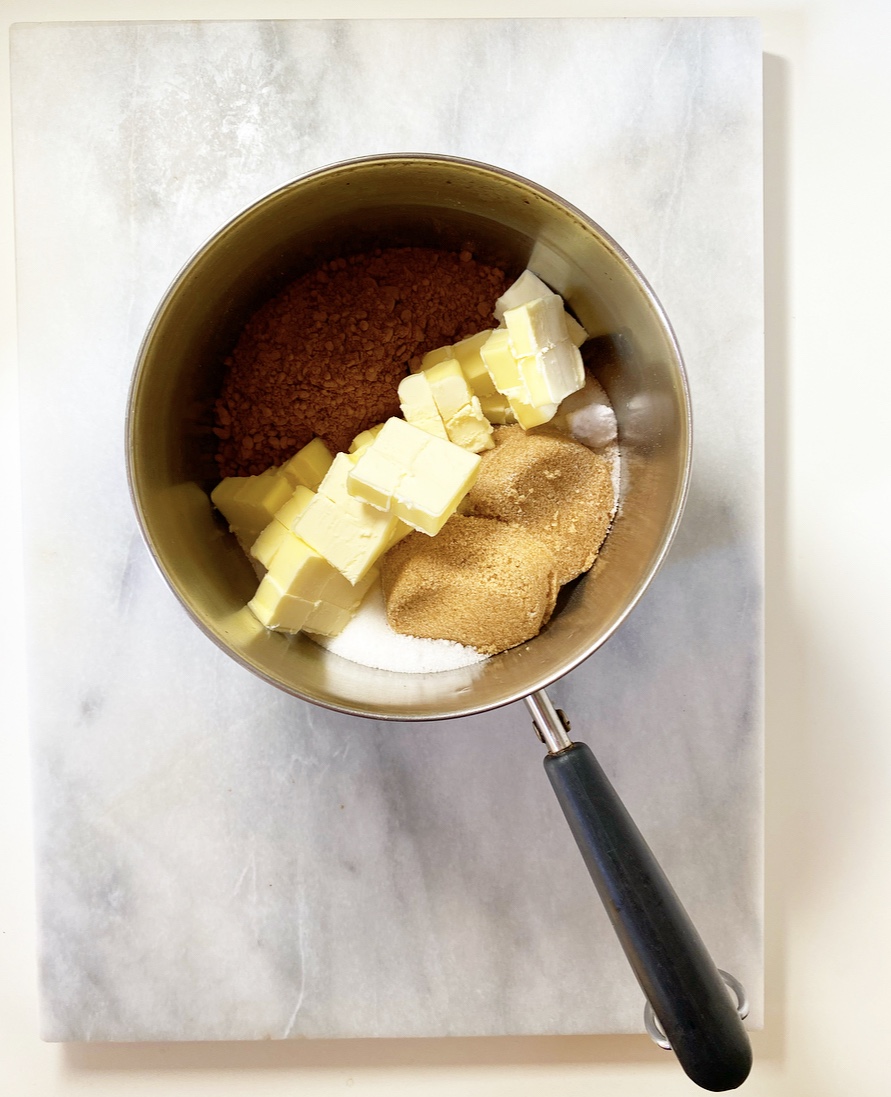
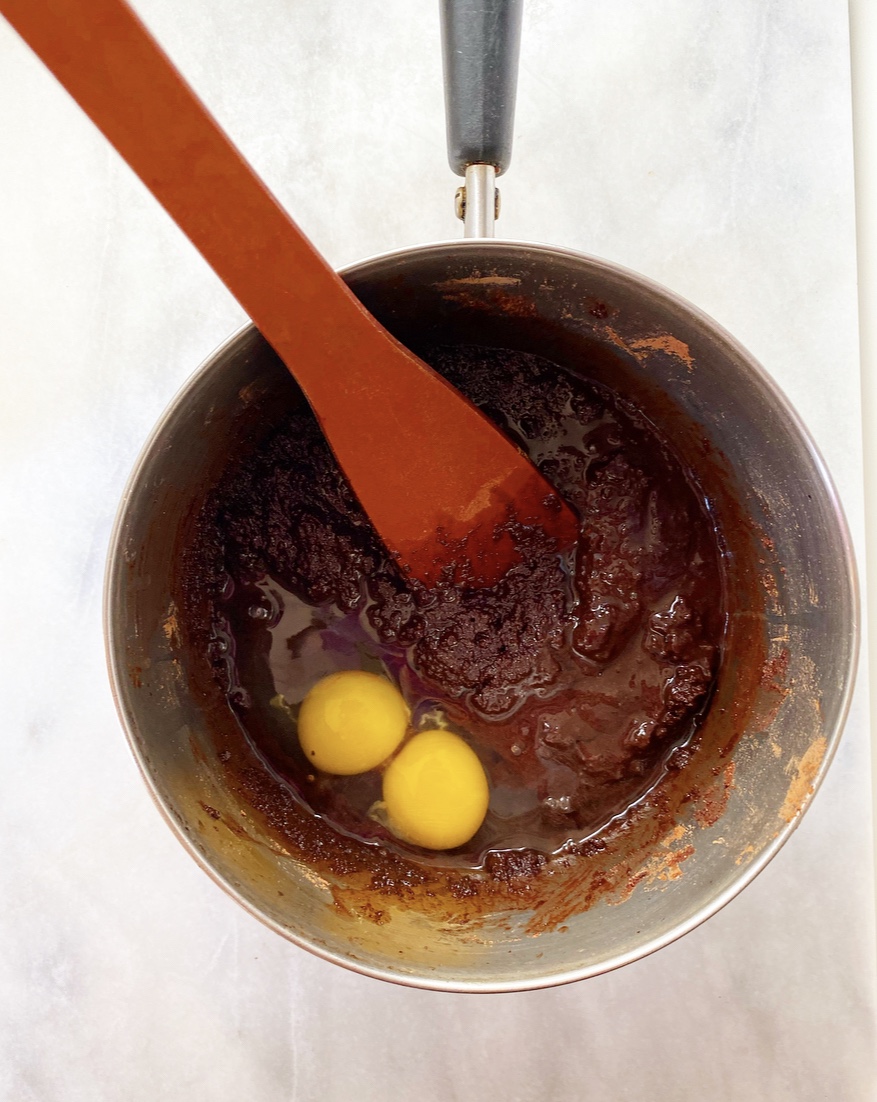
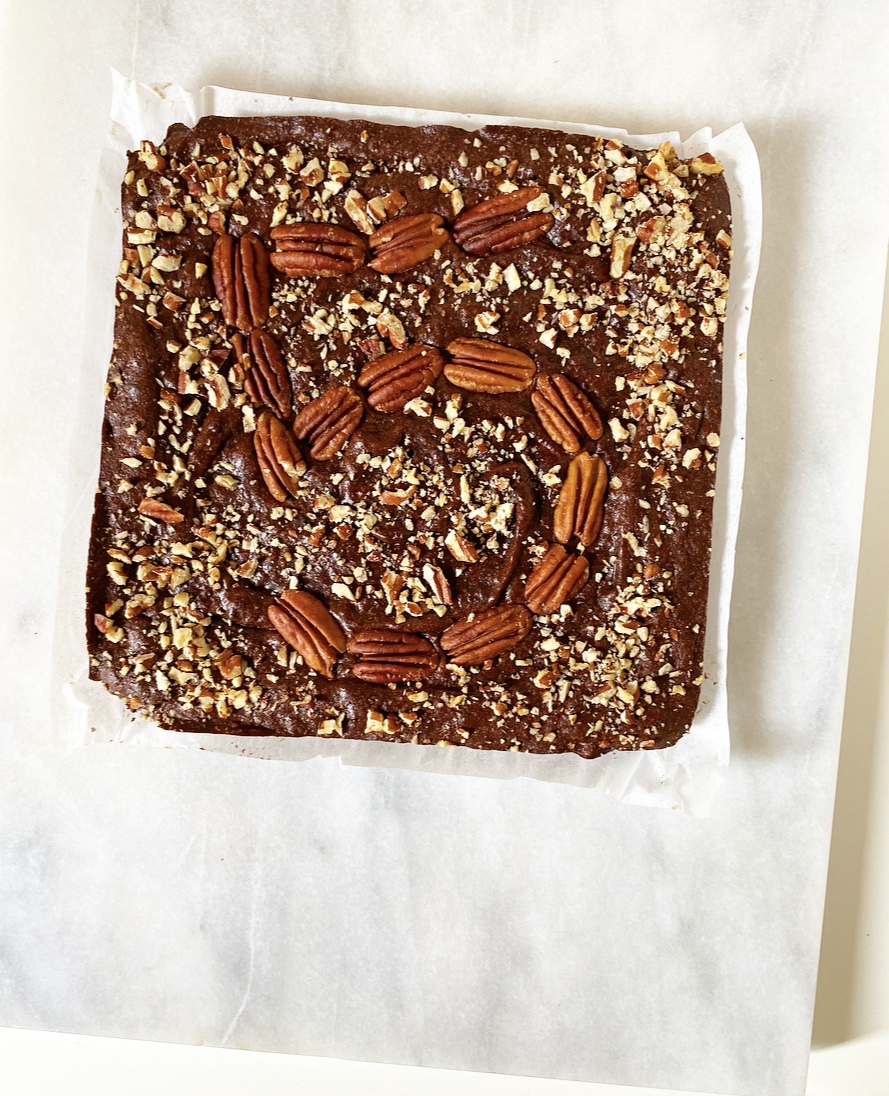
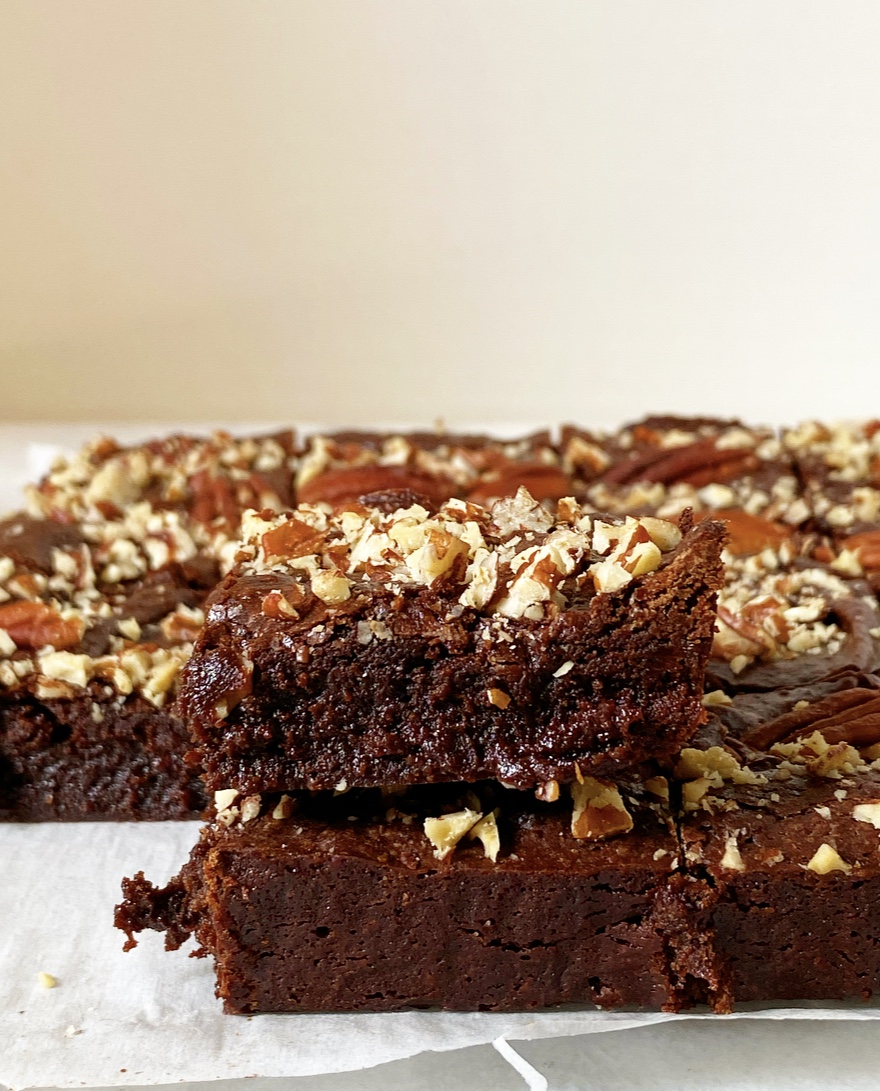
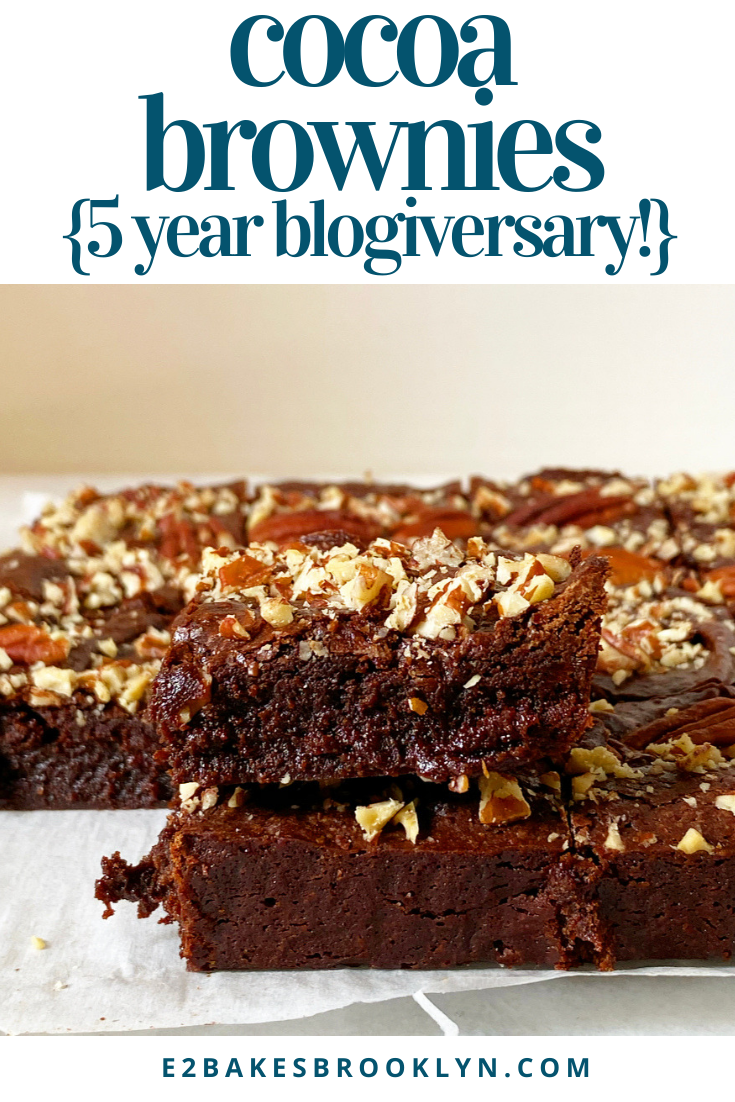
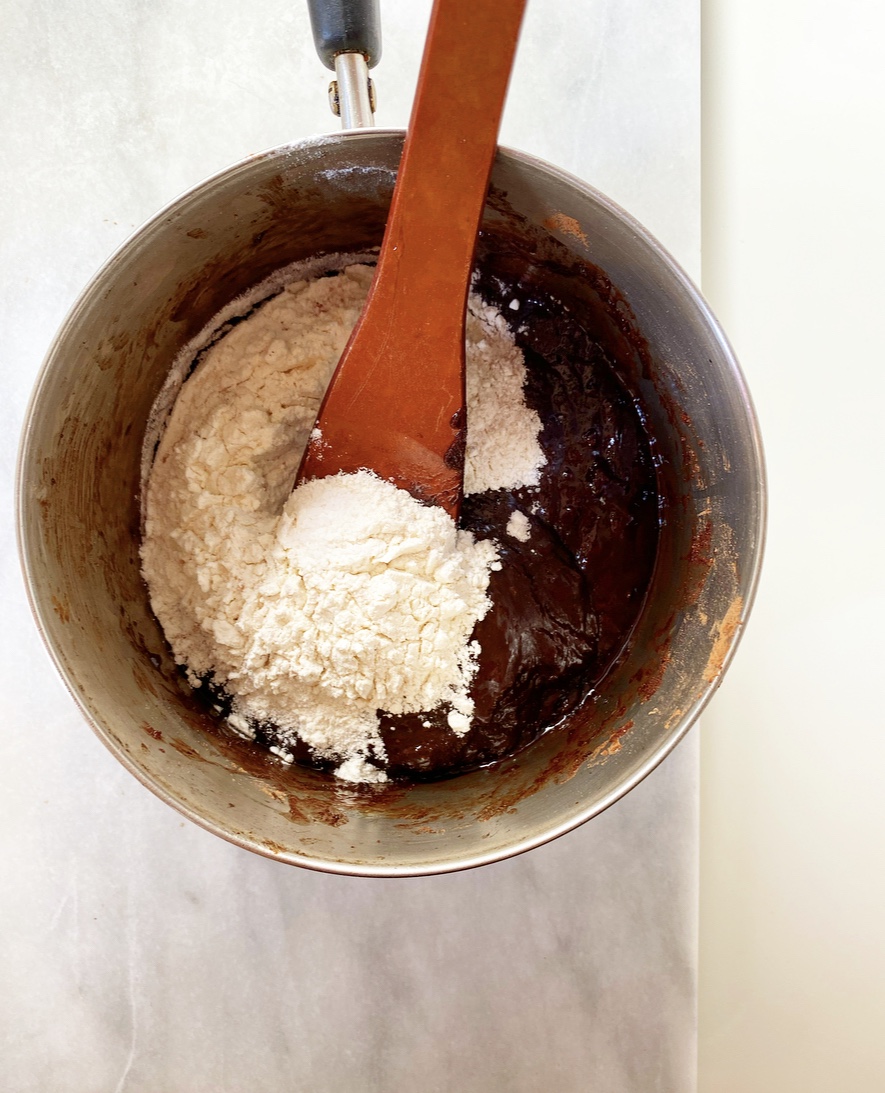 And baking? I’ve learned ten times as much about baking in the last five years as I have about photography. Still, these Cocoa Brownies didn’t need much of an update recipe-wise. In remaking them, I only made one major adjustment: I mixed them right in the pot where I bloomed (melted together) the butter, cocoa, and sugars. You can, of course, just mix the batter in a bowl, but why add more dishes if you don’t have to, am I right?! I simply waited for the cocoa mixture to cool a few minutes so I could add the eggs without scrambling them, then stirred in the dry ingredients. Then I just transferred the batter into an 8-inch square pan. Et voila!
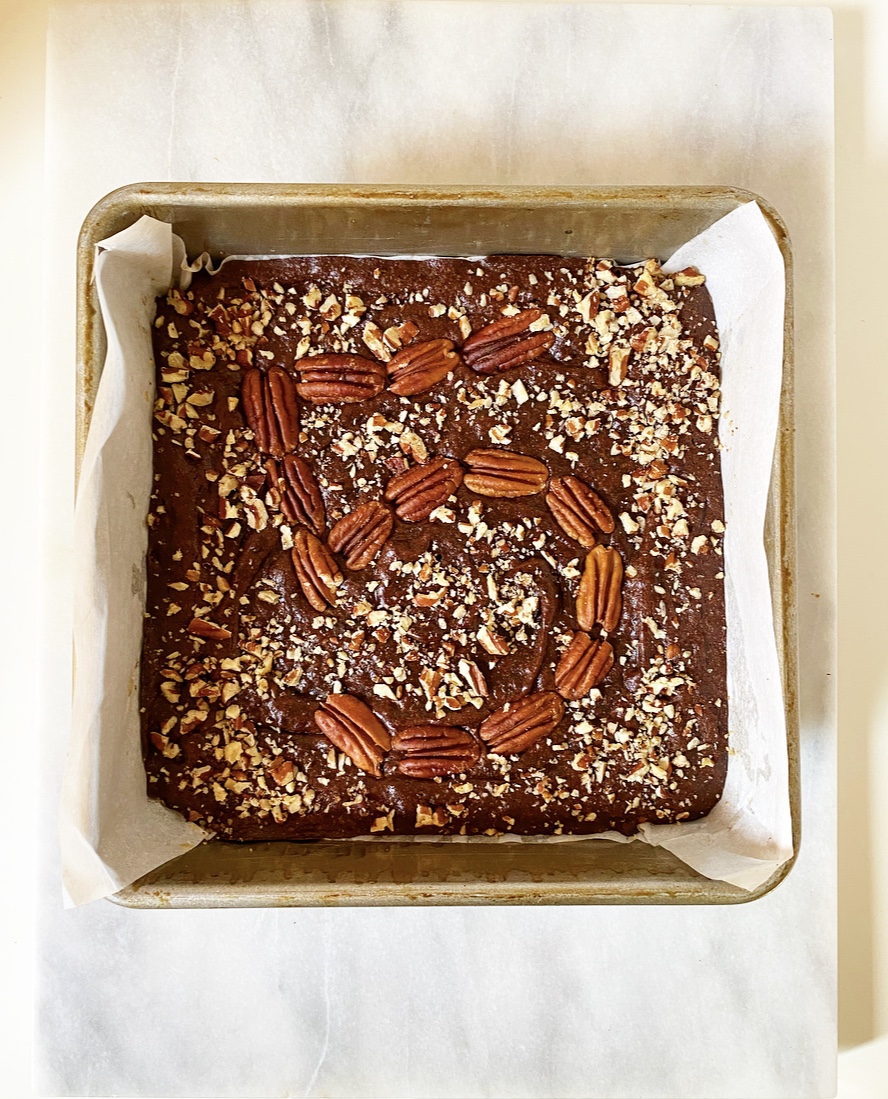 I decided to top this pan of goodness off with a pecan mosaic. My dad, the
 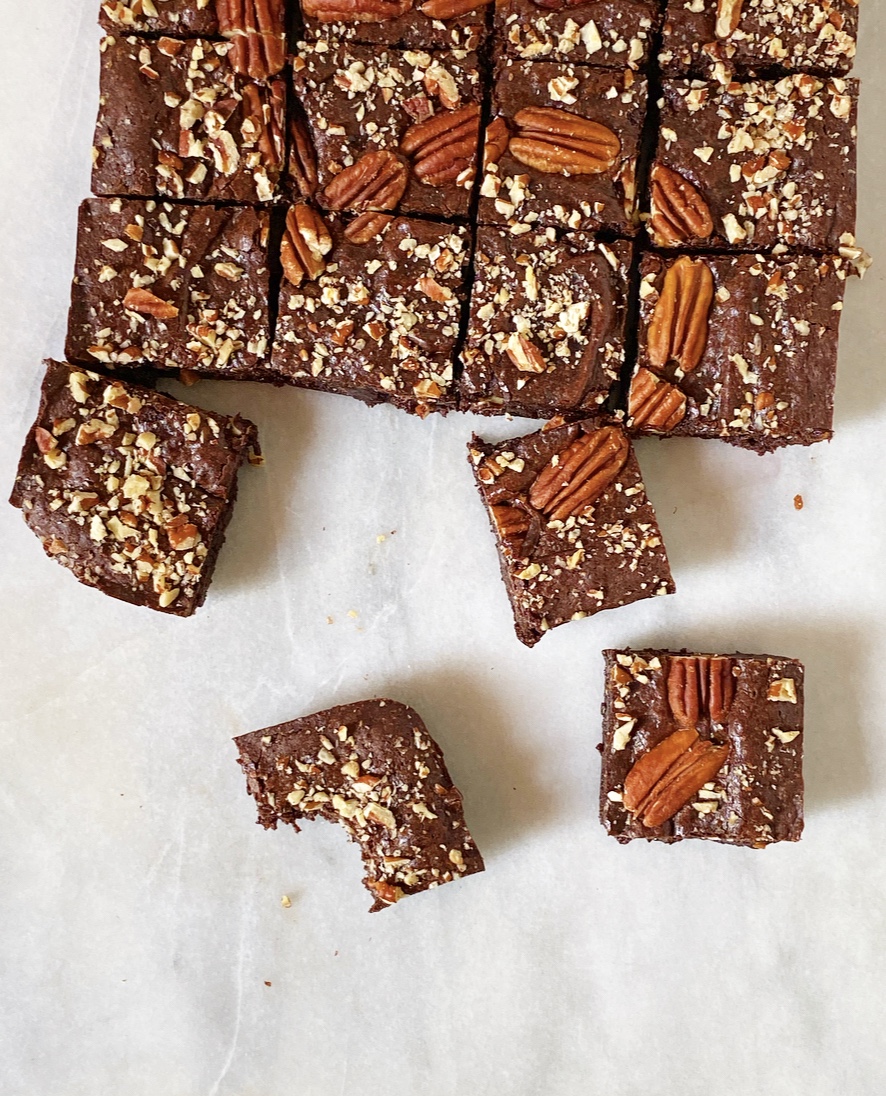 Cocoa Brownies bake in 30 minutes and cool in about an hour, making them the perfect simple treat for celebrating one of my biggest accomplishments to date—one that I couldn’t have done without you. This blog has helped me make new friends, reconnect with old ones, strengthen existing relationships, and interact with so many people that I truly would never have met if it weren’t for this compulsive home-baking and over-sharing habit of mine. Thank you for the kind notes, laughs, likes, questions, comments, and
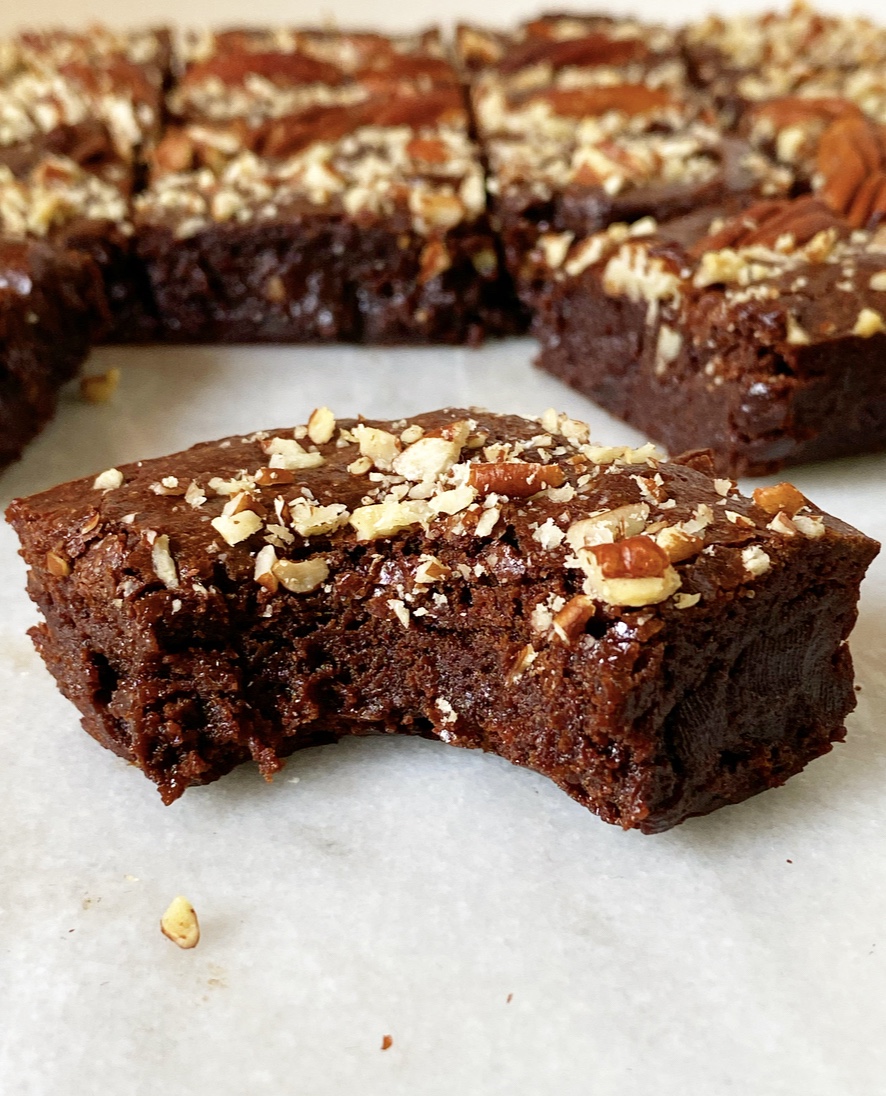
 In years past, I would take this time to go on about the number of posts/recipes I’ve written (332/322, if you care about that sort of thing) and how I had no idea that the blog would go on this long. I have a tendency toward sentimentality and I’m working on reining it in, but I’m not perfect yet…so, um, I’ll be brief. And then we’ll talk about Peanut Butter Mousse Cake.
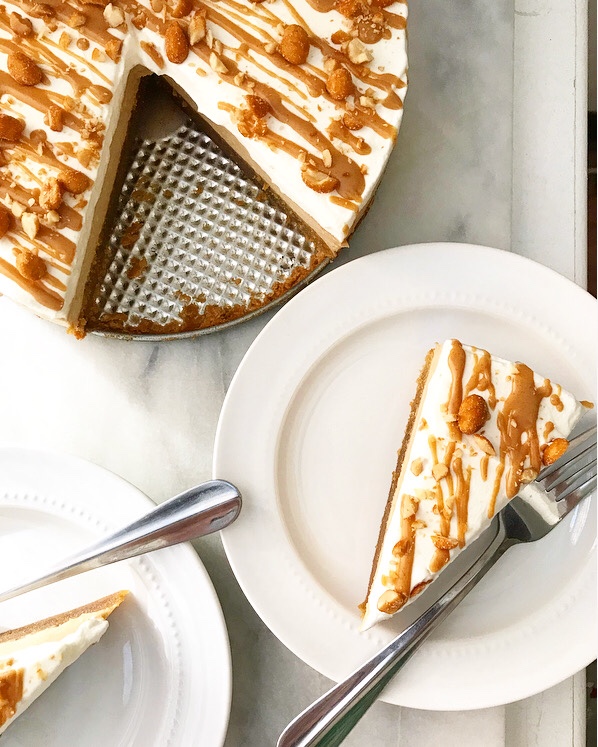 This blog is the thing of which I am proudest. I spend more time and energy working on content for this site than basically anything else, but it has been worth every late night and working weekend. I hope to continue baking and writing here for years to come.
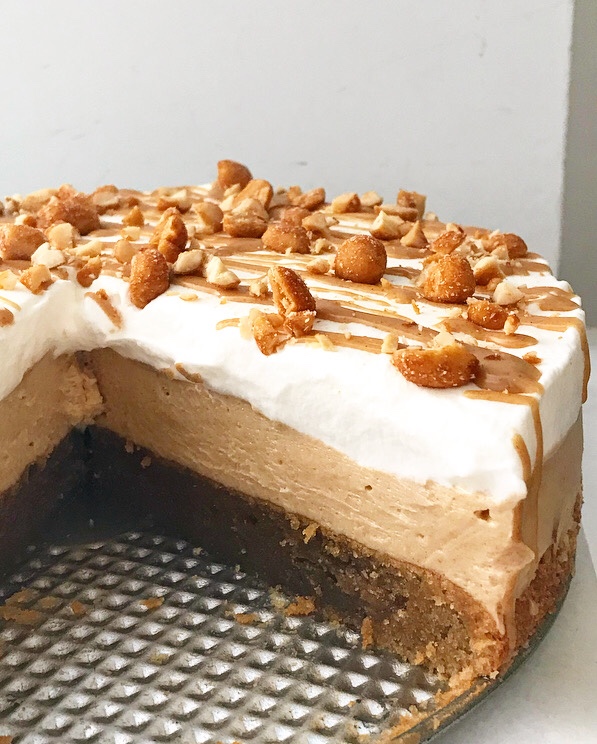 I blog because I love it, but it wouldn’t be nearly as much fun without y’all. Thank you for reading, commenting, providing encouragement and feedback, and making my recipes in your own kitchens!
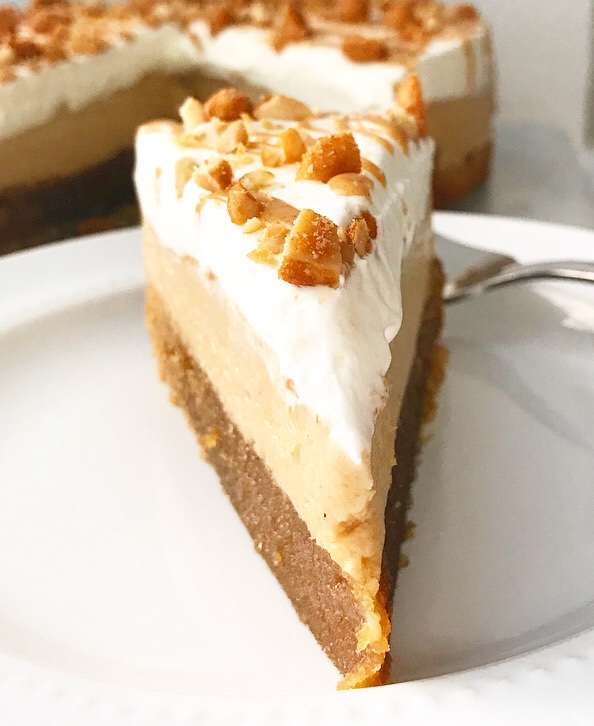 This community has grown by leaps and bounds over the last year. For those of you who are new around here, welcome! I’m glad you’re here.
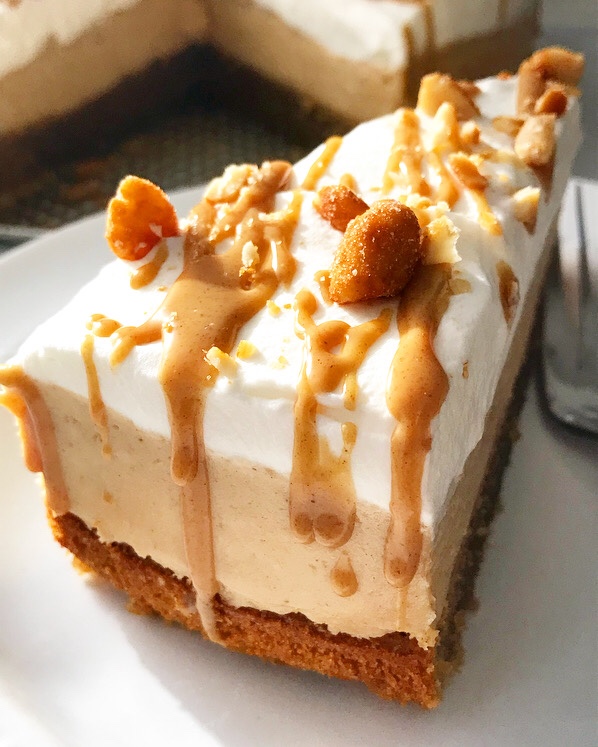 As for the future, lot of exciting things are coming in year four! Recipes, of course, but also bigger, better, blog-altering things. I can’t say much now, but know that good things are happening and I’m psyched to share them with you soon ❤
 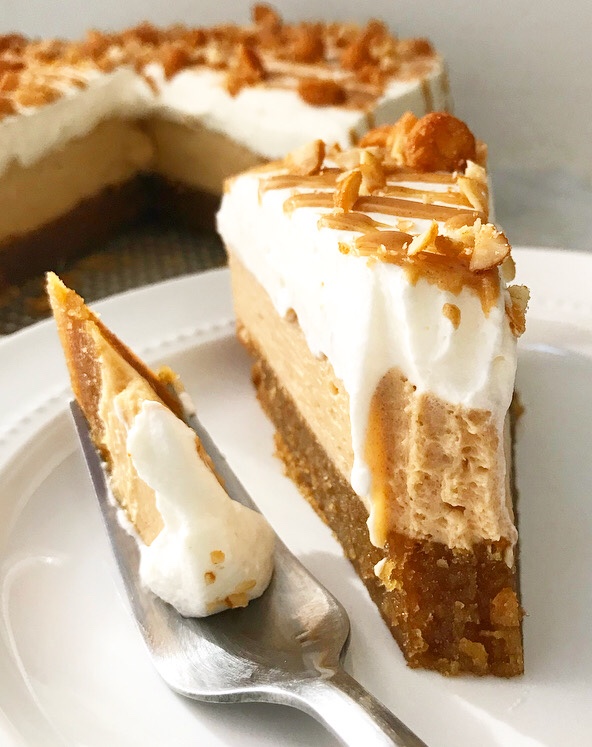 For now though, let’s talk about Peanut Butter Mousse Cake. It’s the peanut butteriest peanut butter cake I’ve ever had. So. freaking. good!
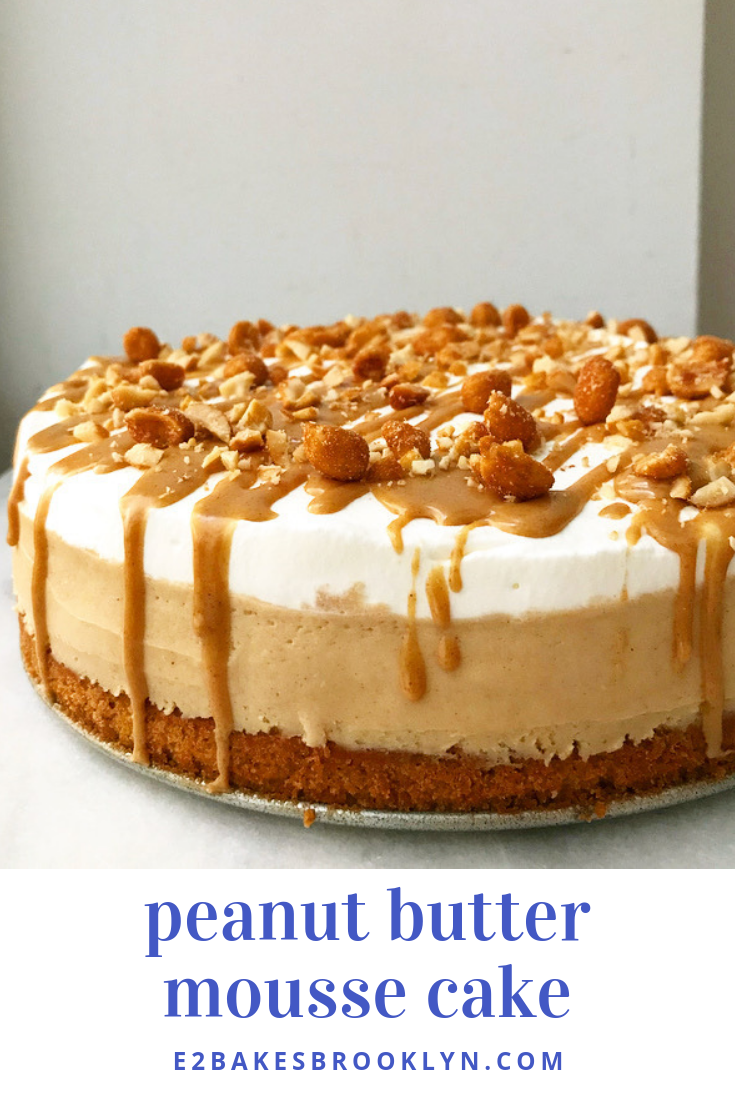
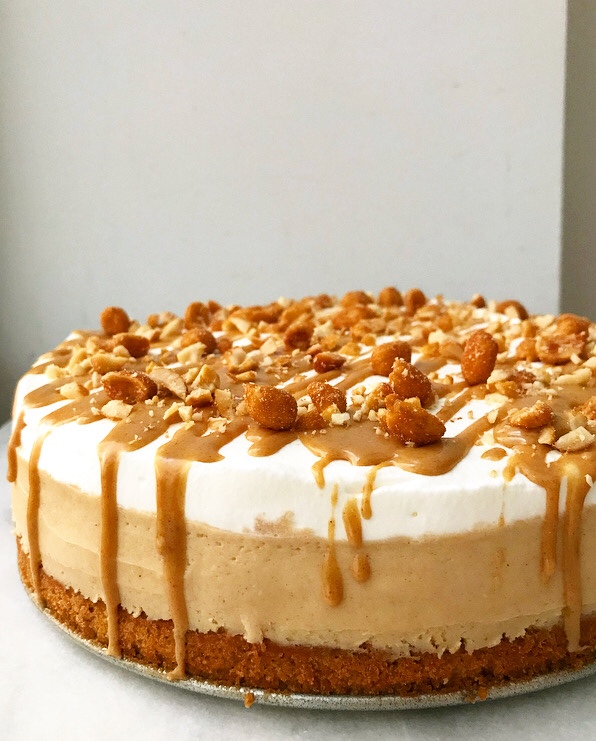
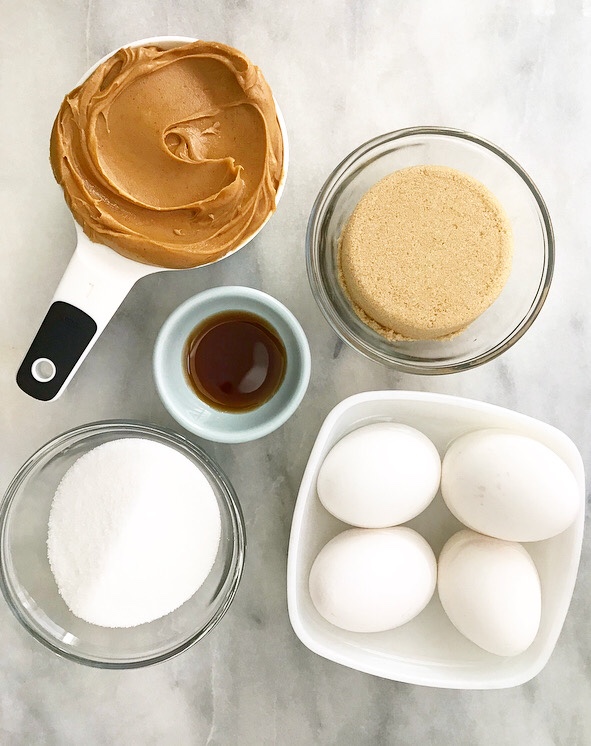
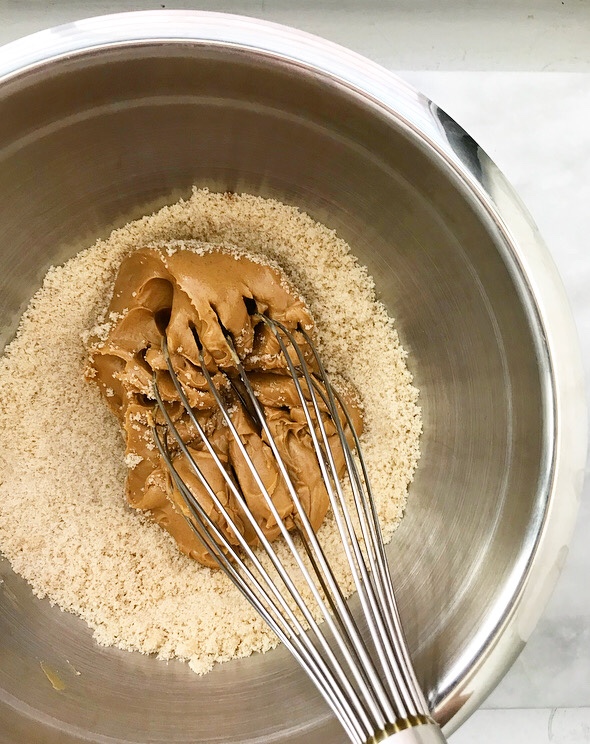
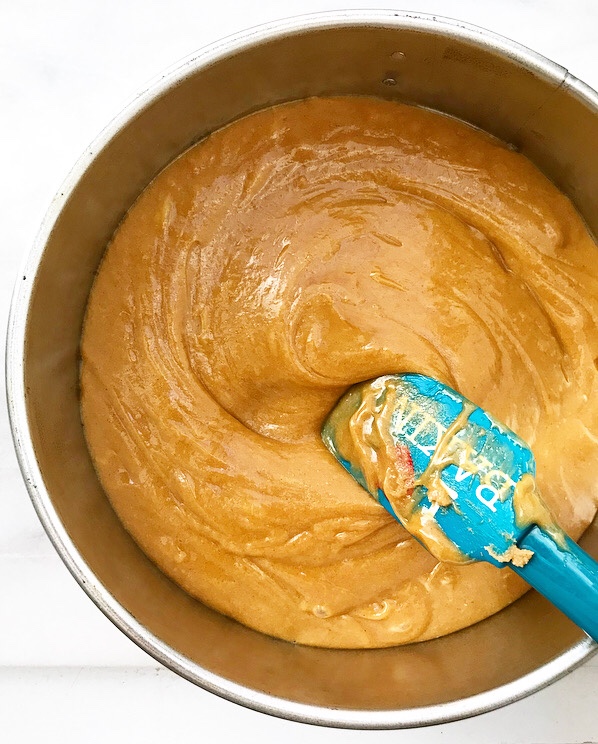
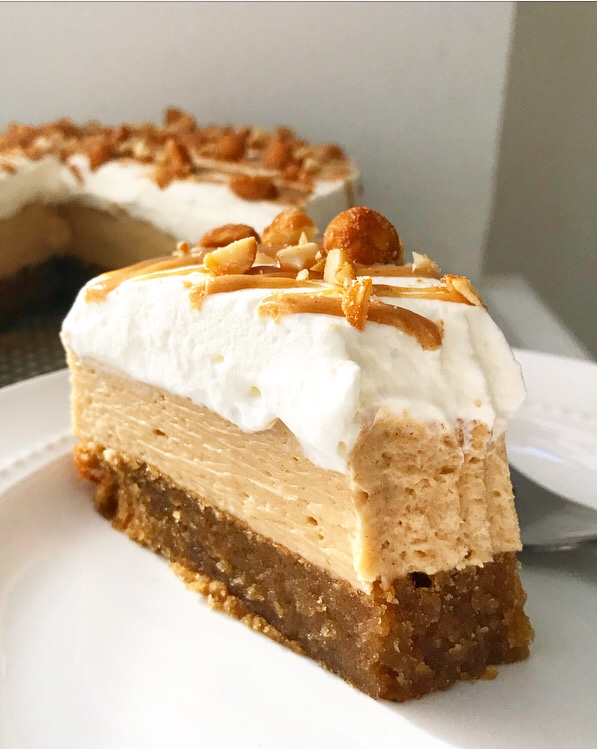
 It starts with a flourless peanut butter cake. This super-easy cake comes together with just five ingredients, one bowl, and a whisk. It’s rich and dense—since it relies on peanut butter and eggs for texture and structure, it’s like a cross between a cake, cookie, and a blondie. YUM.
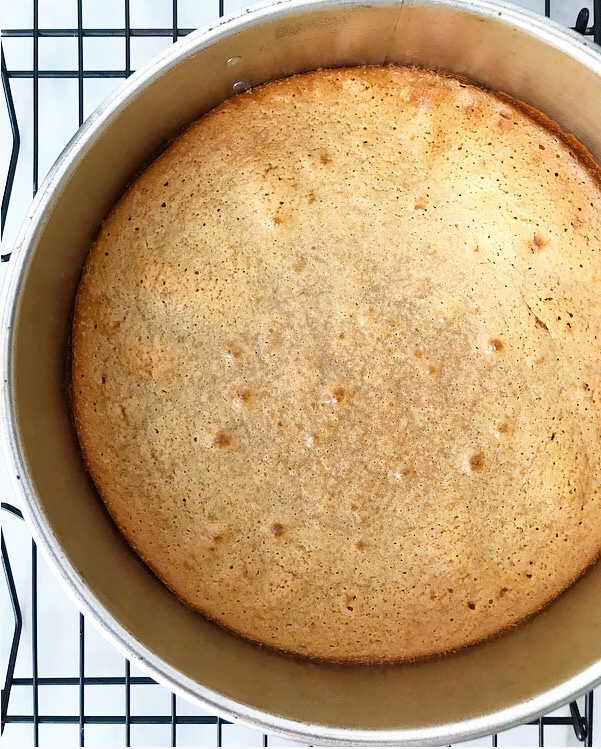
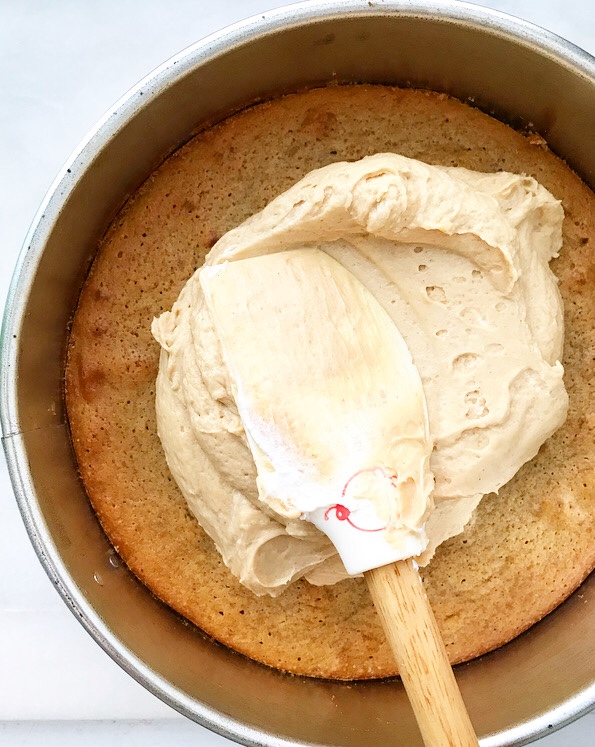 After the cake is baked and cooled, it’s topped with a thick layer of creamy peanut butter mousse. If this recipe looks familiar, that’s because it is—it’s the filling from my
 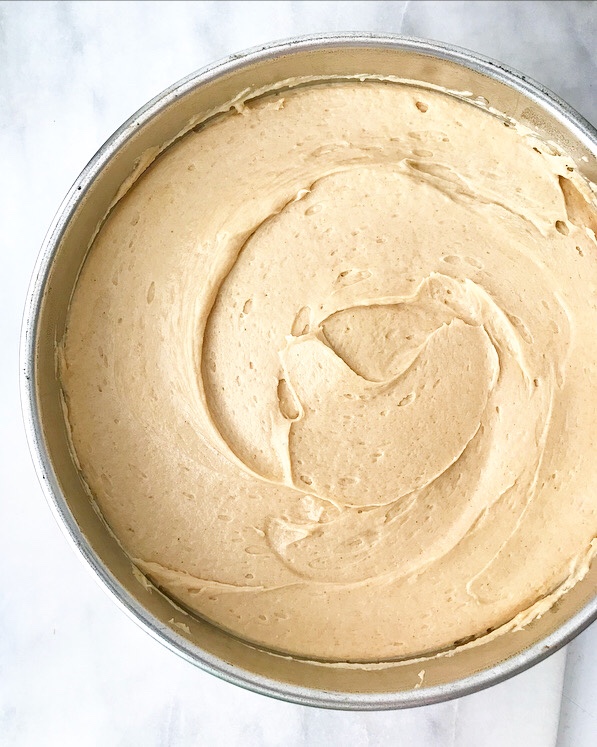 Spread the mousse layer on and chill the cake until everything is firm.
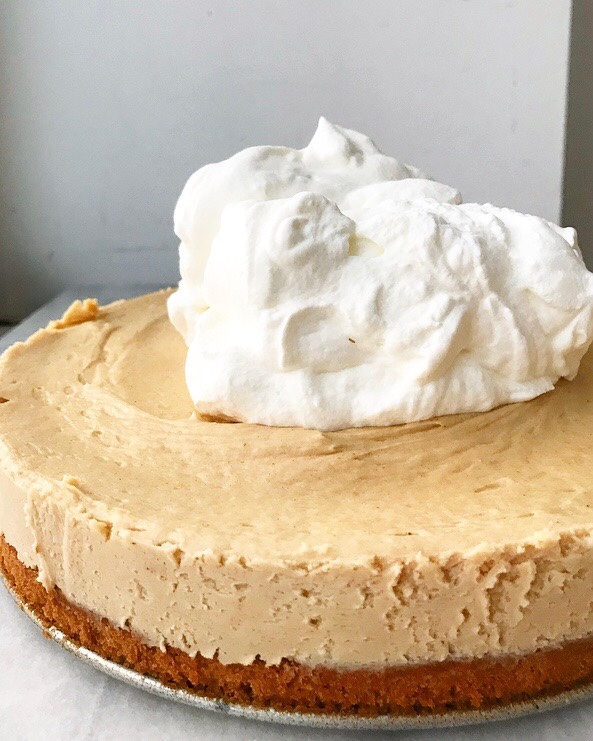
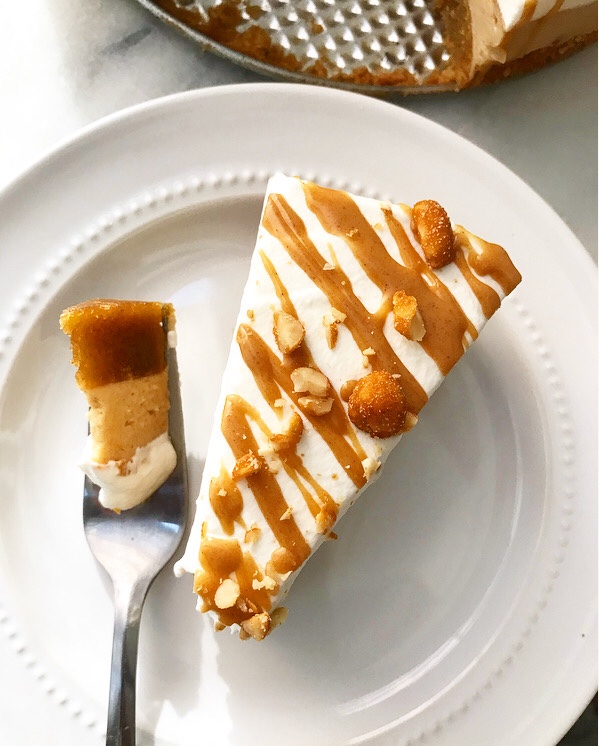
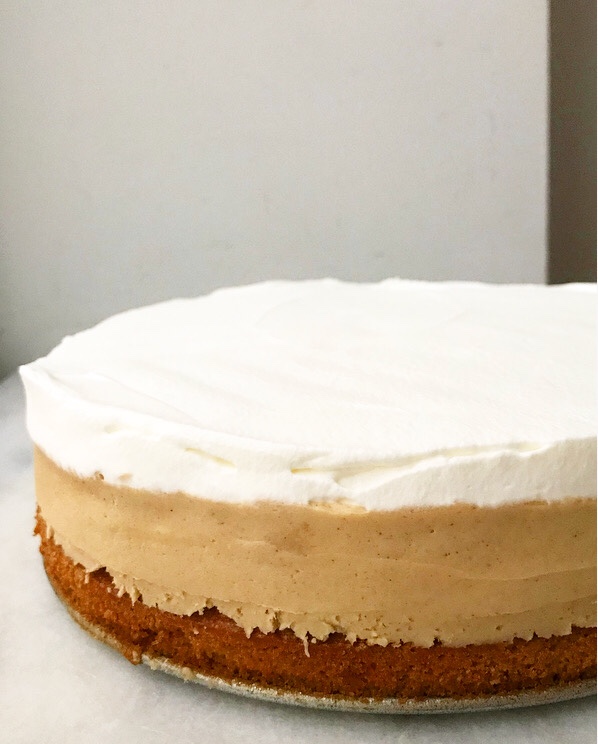 Top it with a thick layer of whipped cream. Yaaaaaaas.
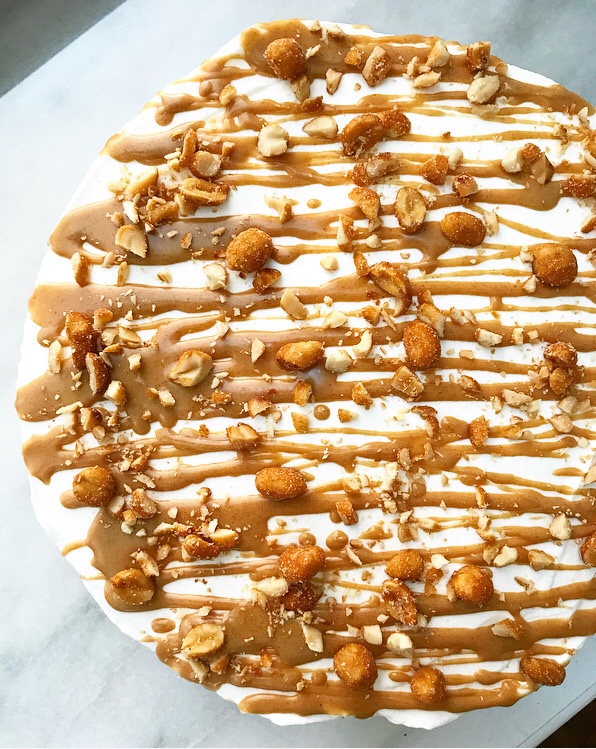 Don’t forget the peanut butter magic shell and honey roasted peanuts.
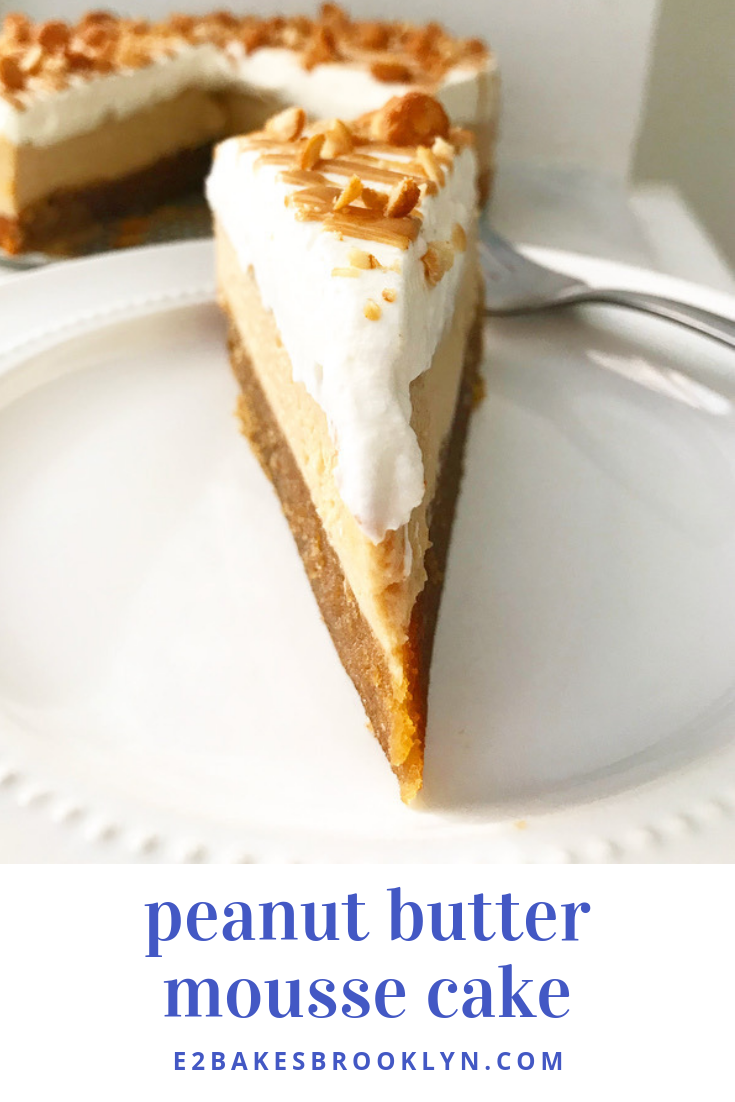
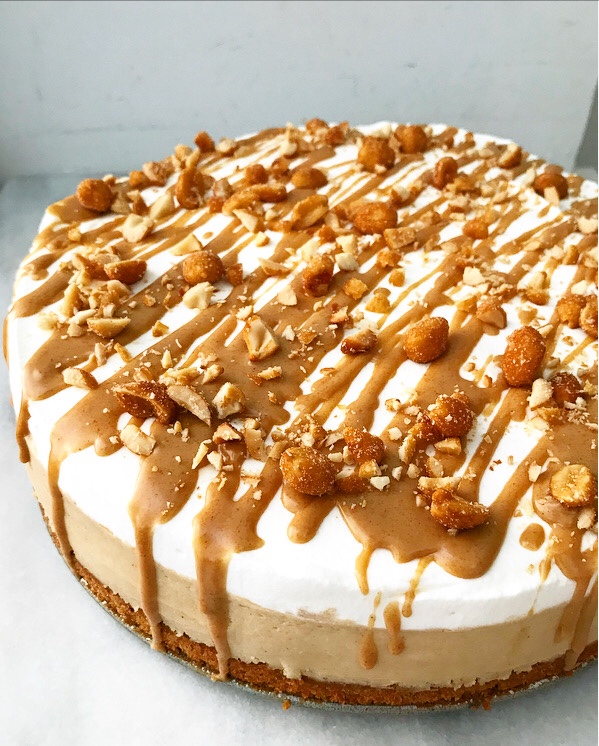 How gorgeous is that?! I love the triple-layered look.
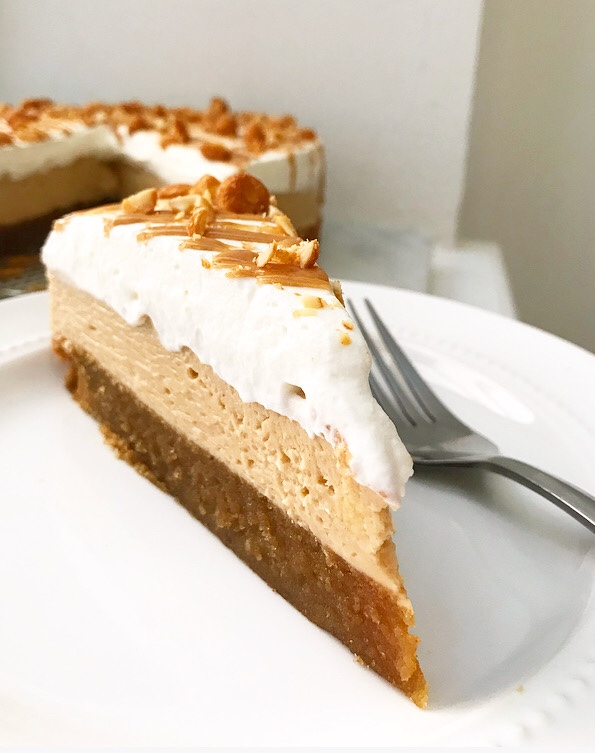 And the creamy, dreamy peanut butter flavor.
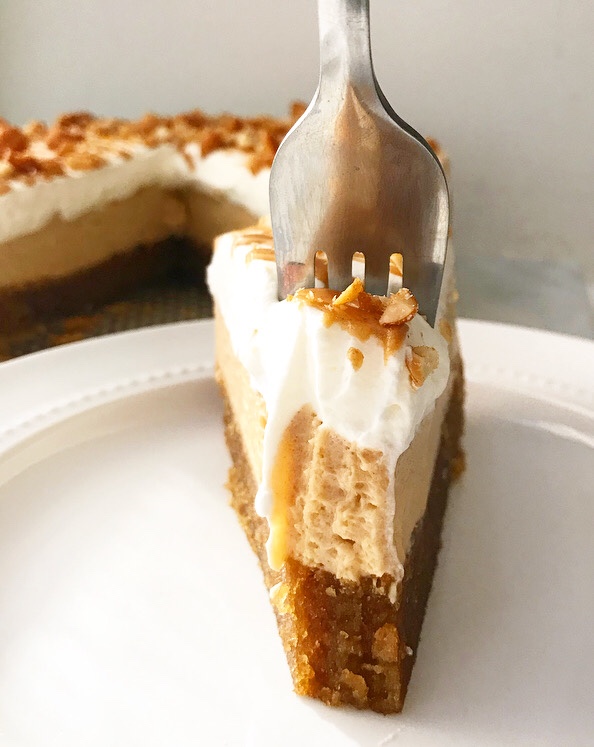 This cake is shockingly simple to make (don’t let the length of the recipe scare you away!) and perfect for nearly any occasion…