Hello from the recent past! I’m writing this post ahead of Election Day, so I have no idea what fresh hell is going on in this country upon publishing, nor am I going to address it. This blog has no political views of its own, but you can guess which side I’m on.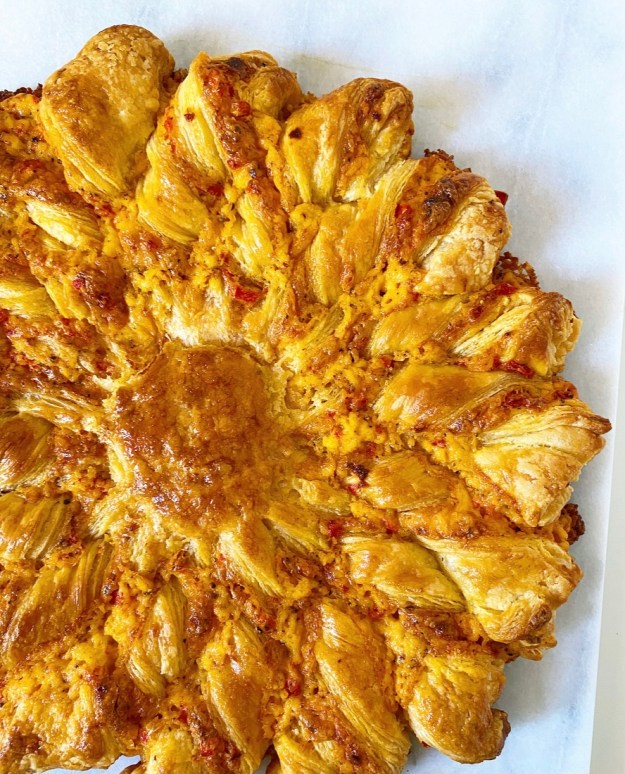 I had a very difficult time deciding what to post today. The election has zapped any creative energy I had left, and just…what do I want to talk about post-Election Day? Do I go straight into pie? Thanksgiving sides? Not post a recipe and tell everyone to make one big cookie everyday until we know the actual results? Disappear without a trace for two months and re-emerge only after January 20th of next year? They all seem like good options.
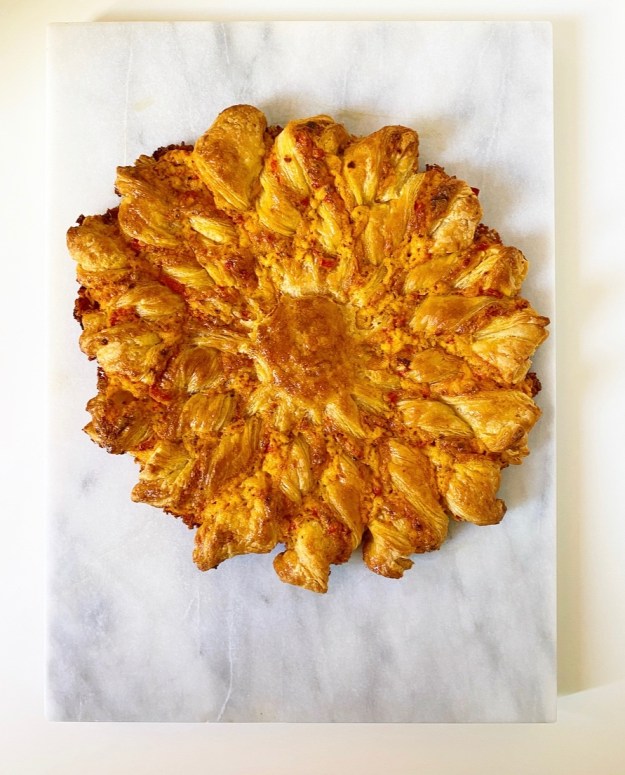 Instead though, I’m going with Pimento Cheese: straight-up cheesy, spicy, sweet, tangy, mayo-bound southern comfort food. While it’s normally served with crackers or celery or on a sandwich, today I’m wrapping it up in two circles of puff pastry, slicing and twisting it so it looks like the sun (“soleil”), and baking until good and flaky with multiple textures of melted cheese. Yesssss.
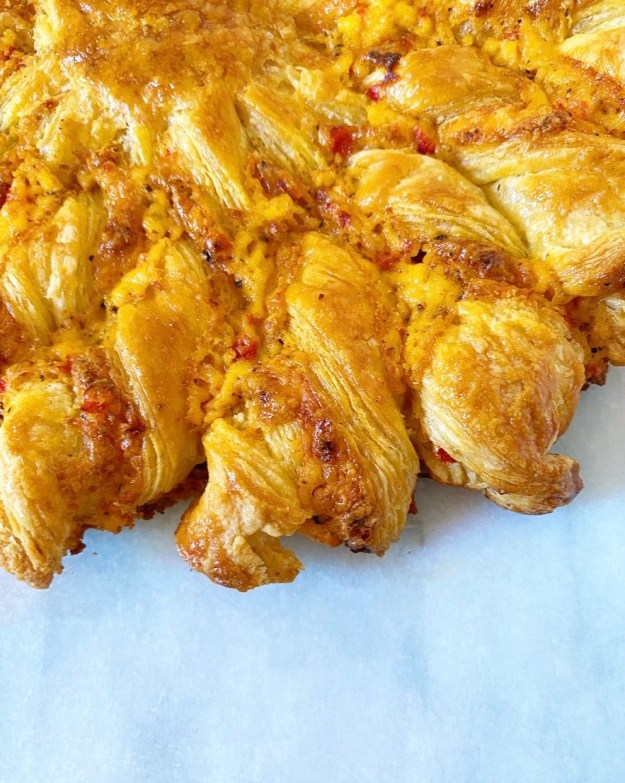 While Pimento Cheese Tarte Soleil sounds fancy, it’s really quite simple, as most things made with puff pastry are. As usual, I went with easy from-scratch rough puff pastry here, but the frozen stuff works too. If you’re going the rough puff route, I find it much easier to make the two sheets separately than I do to make one big one and divide it.
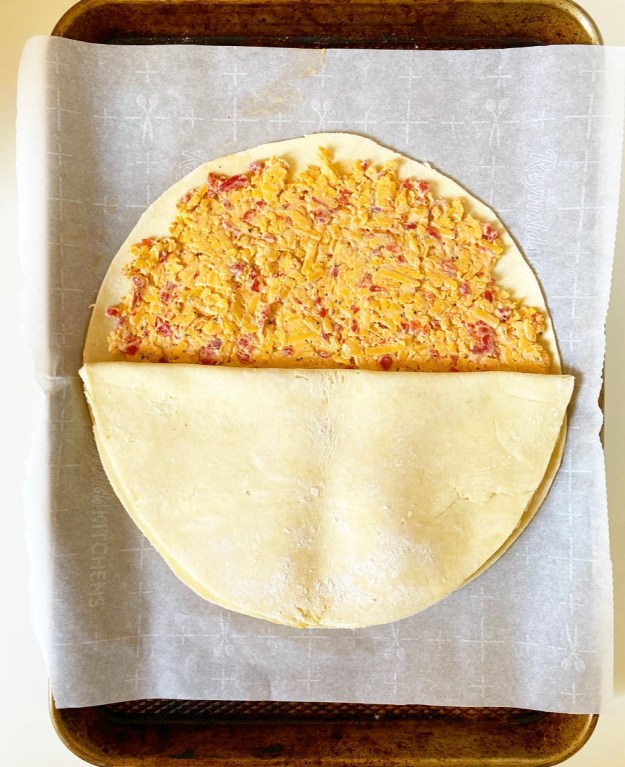 No matter which dough you use, roll your sheets out about as big as you can (mine were 12×14”) and cut out two 12-inch circles. Top one with a batch of homemade pimento cheese, then seal the edges together with a swipe of water.
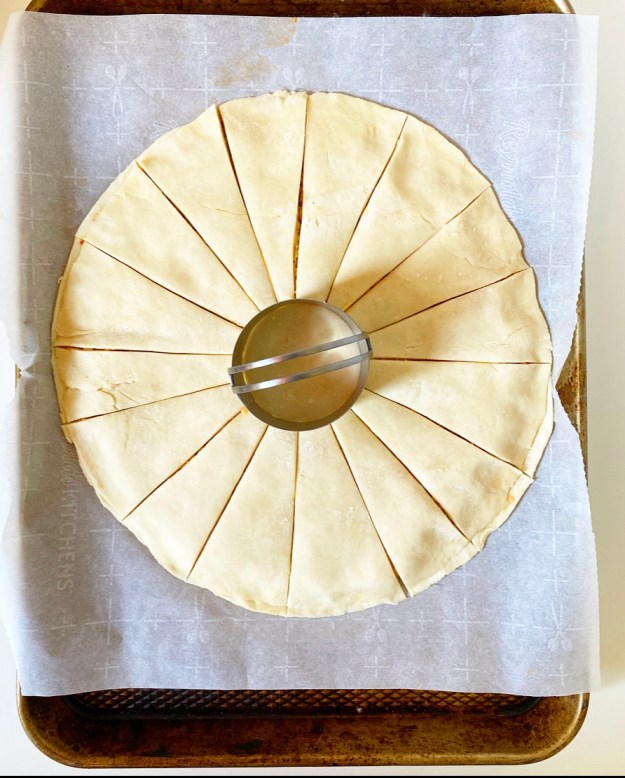
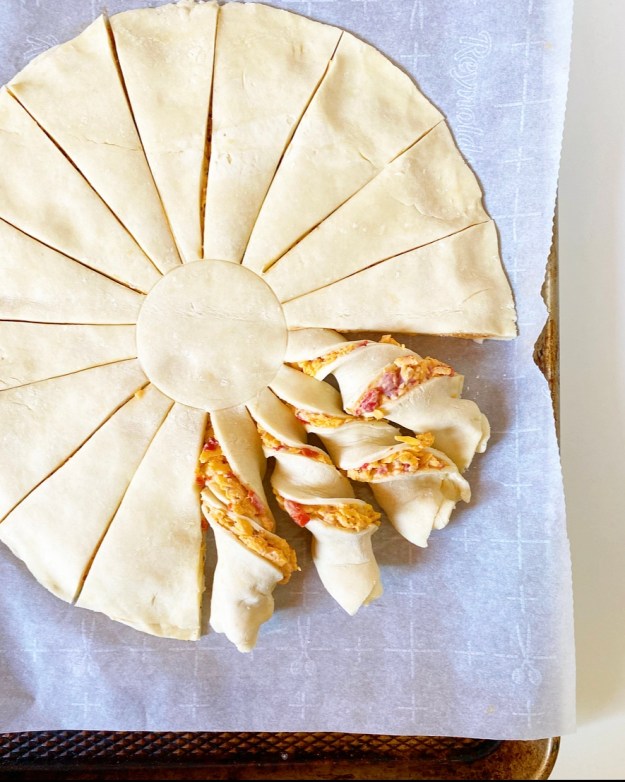
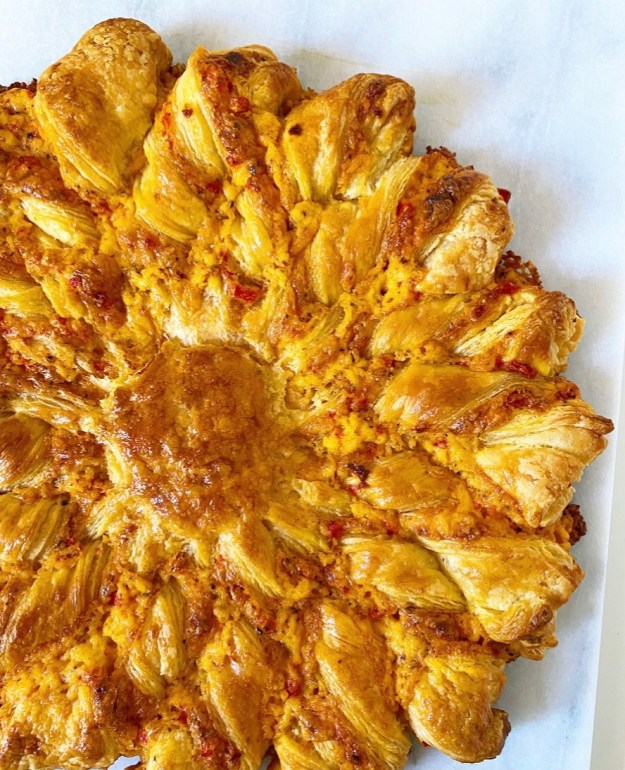
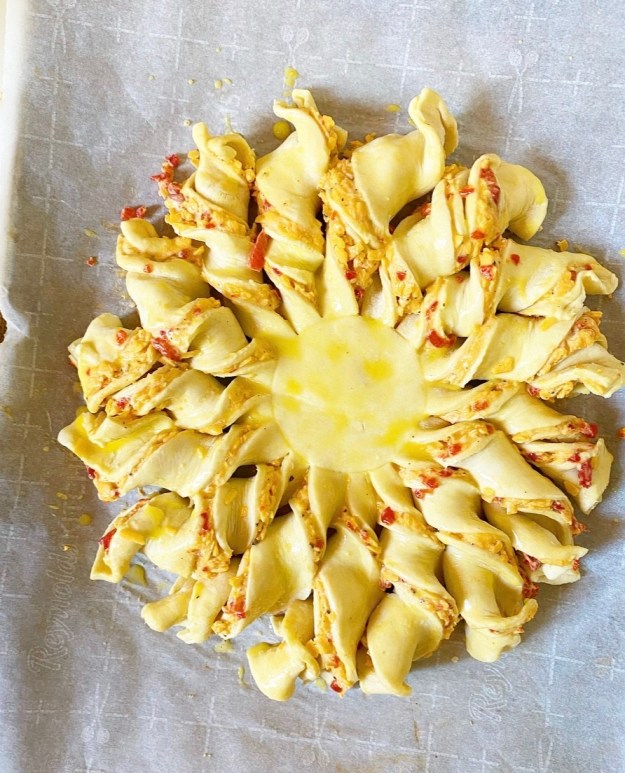 Next up, create the soleil (sun shape). Place a 2.5-3 inch cutter or vessel in the center of your pastry circles, then use a sharp chef’s knife to slice the edges into sixteen rays. Twist them up for beauty reasons, then brush the whole tarte with egg wash and bake until golden all over.
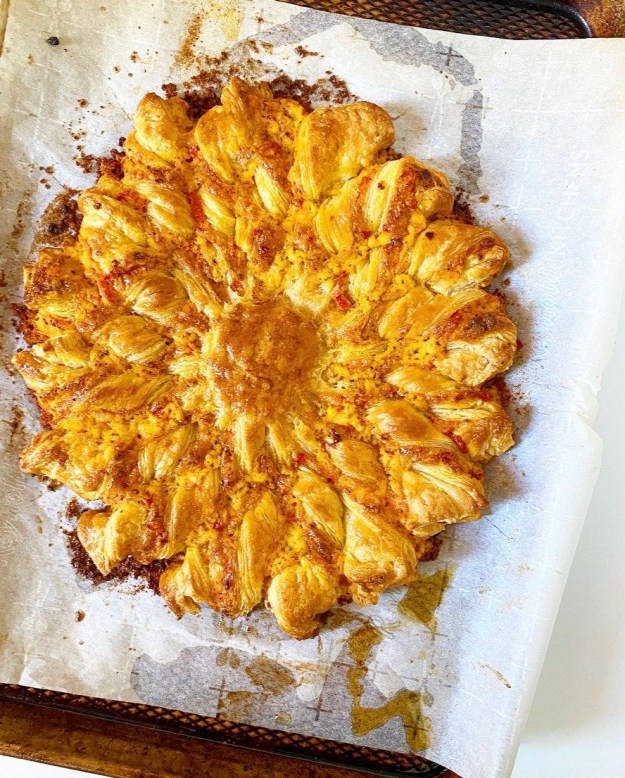
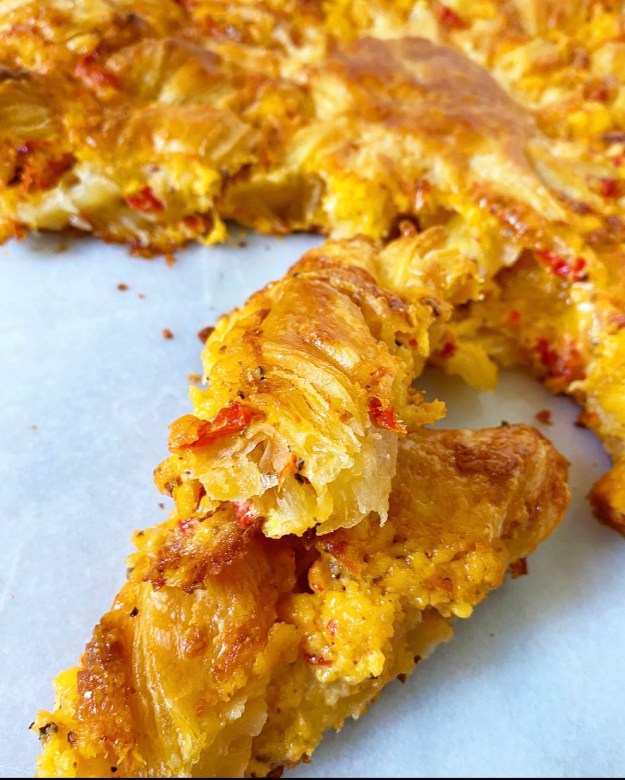
When I started working on this recipe, I had some concern that I’d open the oven after 35 minutes to find pimento cheese melted and burnt everywhere, but those fears were unfounded. The pimento cheese gets bubbly on top, gooey in the center, and a little crisp on the bottom.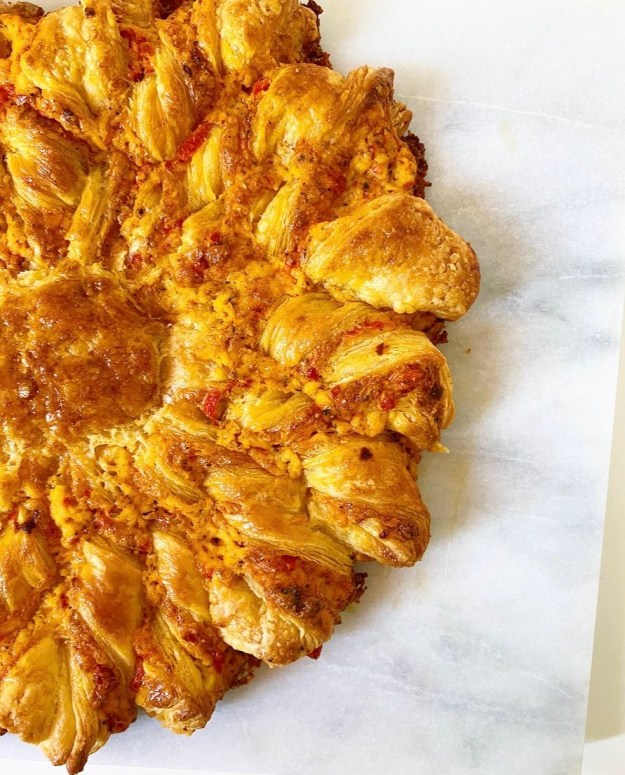 This tarte, y’all. This. Tarte. I love that it’s both low brow and high brow–“Pull-aparts, but make it fashion.” It’s a guaranteed showstopper, and one of those things that’s good warm or at room temperature (or cold, honestly), as most flaky, cheesy things are. I had zero trouble putting away a quarter of it after this little photoshoot.
 I usually post something to be a part of a Thanksgiving cheese plate, but this fancy finger food? It *is* the cheese plate. No need for crackers or bread or anything else, except maybe a sliced apple and a glass of something festive. And since Thanksgiving is but once a year, know that this would also be welcome in a game day spread. Heck, you could even just make one, slice up some raw vegetables and call it dinner any old time. Basically, it’s appropriate for any pimento cheese and puff pastry-eating occasion, including eating your feelings while waiting for things to sort themselves out, which is the exact route I will be taking.
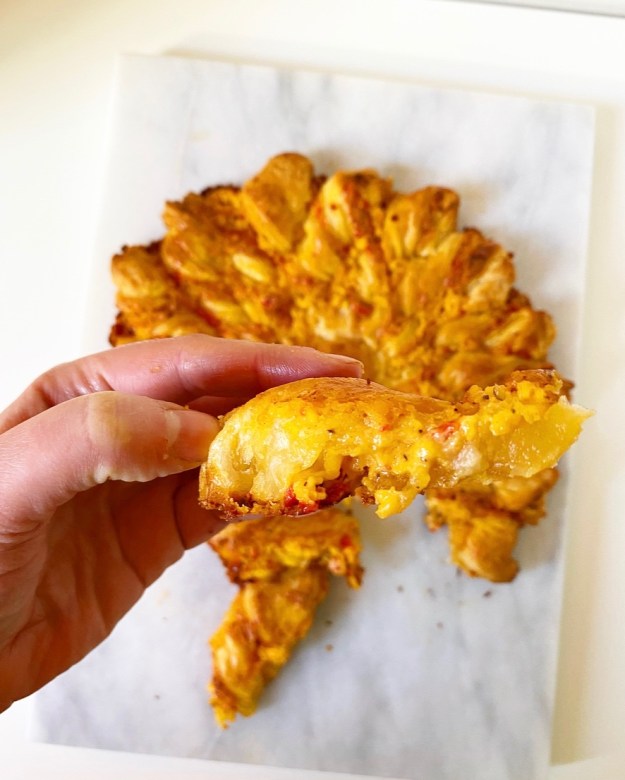
Pimento Cheese Tarte Soleil
makes one tarte
Rough Puff Pastry (makes 2 sheets):
2 cup all-purpose flour, divided
1/2 teaspoon Kosher or sea salt, divided
10 ounces (20 tablespoons) unsalted European-style butter, very cold, cut into small pieces, divided
1/2 cup water or milk, very cold, divided
Pimento Cheese:
8 ounces extra sharp cheddar cheese
1 4 ounce jar pimientos or roasted red peppers
1 teaspoon fresh cracked black pepper
3 tablespoons mayonnaise
Egg wash:
1 large egg
1 teaspoon water
If you do not wish to make the Rough Puff Pastry, you may use two sheets of frozen all-butter puff pastry that you have thawed according to package directions. Begin the recipe at “Make the pimento cheese.”
Make the first sheet of rough puff pastry. In a large mixing bowl, whisk together 1 cup flour and 1/4 teaspoon salt. Use a pastry blender or two forks to cut 5 ounces (10 tablespoons) butter into dry ingredients until the largest pieces are the size of small peas. Pour in 1/4 cup of cold water or milk and stir with a silicone spatula or wooden spoon until a shaggy dough forms.
Flour a surface and a rolling pin. Turn dough out onto surface, and use your hands to pat it into a rough rectangle. Roll the dough into an 8×10″ rectangle. Fold dough in thirds, and give it one quarter turn. Roll into an 8×10″ rectangle again, fold, and turn. Repeat rolling, folding, and turning until it has been done six times total. Wrap folded dough in plastic wrap and refrigerate for at least one hour, or up to 48 hours.
Make the second sheet of rough puff pastry. Repeat the mixing, rolling, folding and chilling process with remaining 1 cup flour, 1/4 teaspoon salt, 5 ounces (10 tablespoons) butter, and 1/4 cup cold water and milk.
Make the pimento cheese. Grate the cheese on the large-holed side of a box grater. Transfer to a small mixing bowl.
Drain the pimientos and blot with paper towels. Mince pimentos and transfer to the mixing bowl. Add black pepper and mayonnaise. Use a silicone spatula or wooden spoon to fold it all together—it will seem dry, but should hold together.
Make the tart. Place an oven rack in the center position. Preheat oven to 400F. Line a rimmed half-sheet pan with parchment.
Flour a surface and a rolling pin. Unfold one sheet of dough. Roll out to at least 12×14-inch rectangle, or a bit larger. Place a 12 inch round item (I used the lip of a large mixing bowl) on top. Use a thin, flexible knife to cut out a circle. Refrigerate. Repeat rolling and cutting process with the second sheet of dough.
Place one circle of dough on prepared pan. Drop spoonfuls of pimento cheese over the dough and spread to cover, leaving a 1/2-inch border on all the way around. Dab or brush some water along exposed dough, then place the second circle of dough over the top. Press edges together all the way around.
Place a light 2.5-3-inch object on the center of your tart (I used a biscuit cutter). Leaving the area covered by the object alone, use a large, sharp chef’s knife to slice the pastry into quarters, then eighths, then sixteenths. Remove the round object to see that your tart looks like a sun.
Taking one “ray” (strip of dough) at a time, gently twist it a few times. Repeat with all “rays.” If the dough becomes soft or sticky at any point in the assembly process, refrigerate the entire tart for 15 minutes.
Make egg wash. Combine egg and water in a small bowl and whisk together with a fork. Use a pastry brush to paint egg wash over the entire tarte.
Bake tarte for 35-40 minutes, until completely golden. Let cool 10 minutes before carefully removing to a serving plate.
Serve immediately. This tarte is best warm or room temperature, but leftovers may be wrapped tightly with foil and stored in the refrigerator for a day or two. Reheat in the oven for best results.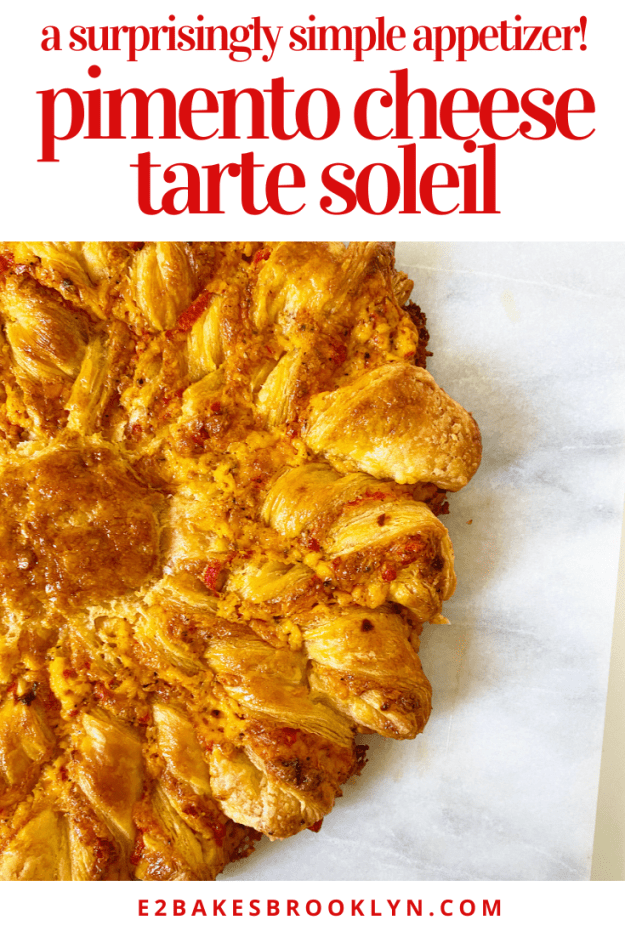

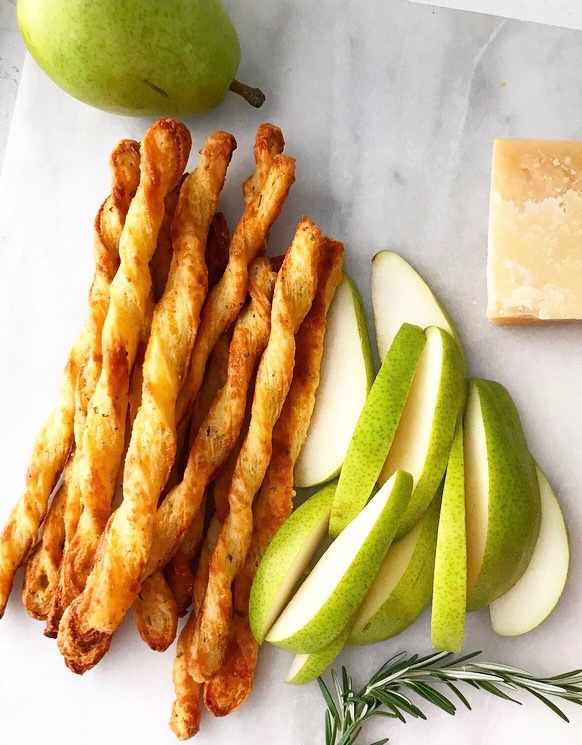 Rosemary-Parmesan Cheese Straws
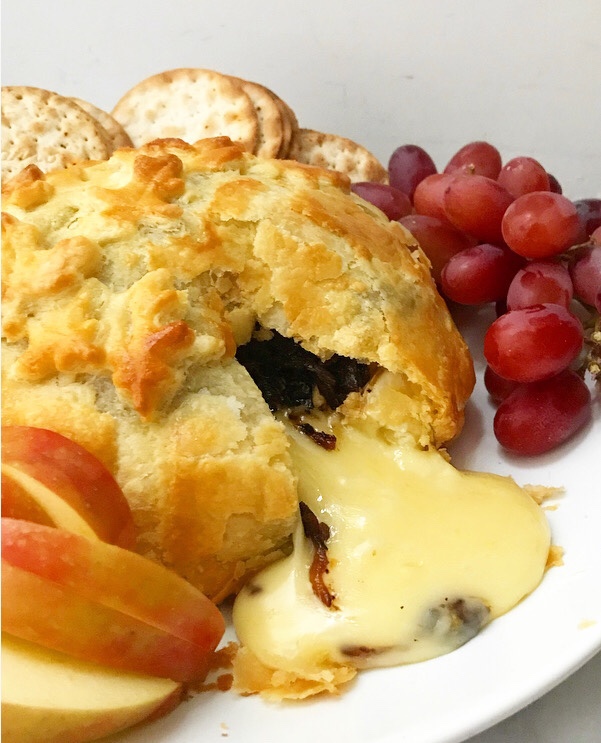 Baked Brie with Caramelized Onions

 I’ve been making Thanksgiving food since mid-October, and while that’s my idea of a good time, it’s a bit of a relief that I’m not going to be anywhere near an oven on Thursday. My family traditionally travels and makes reservations for this particular holiday, so all I have to do is pack that skirt I marked as my “Thanksgiving outfit” back in September, get on a bus to D.C., and leave the cooking to a bunch of chefs.
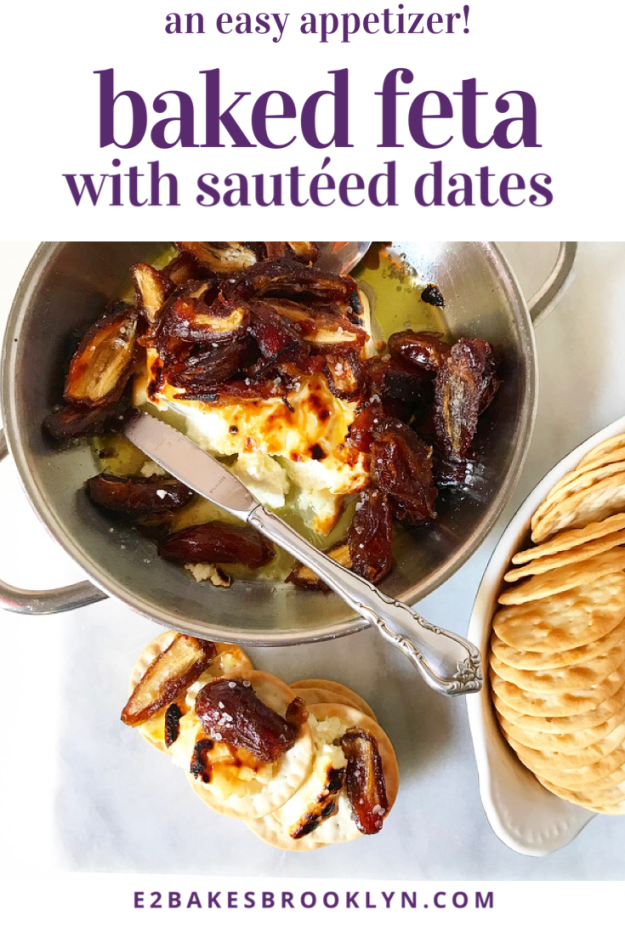
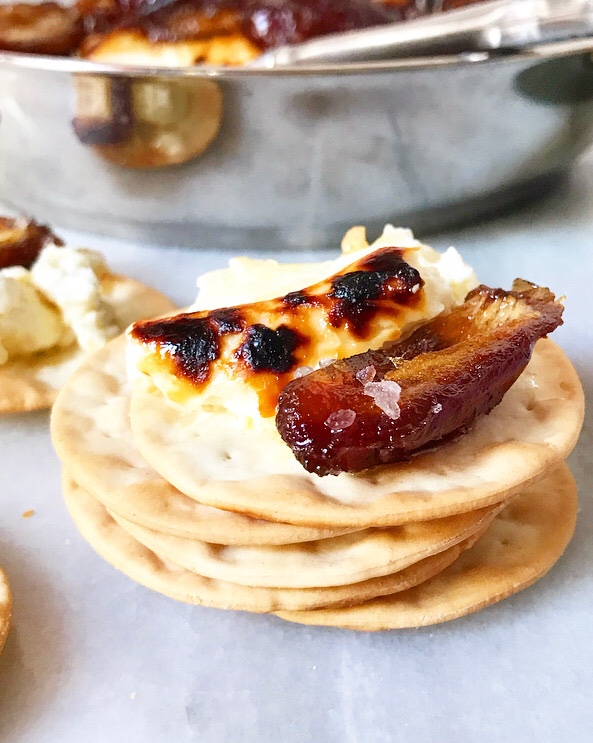 We’ve been doing this routine in different cities since 1997, so it’s second nature now. In fact, the only issue I have with my family’s Thanksgiving tradition is that I’ll have to wait til Christmas to make them this Baked Feta with Sautéed Dates.
 Poor them—they don’t know what they’re missing. I do, though, and so I am here to tell you that you absolutely, unequivocally should make this three days from now.
 I know. I know! The menu’s set. You’ve made the list. But just go ahead and add a brick of feta and some dates to the tail end. I promise it’s worth the change in plans.
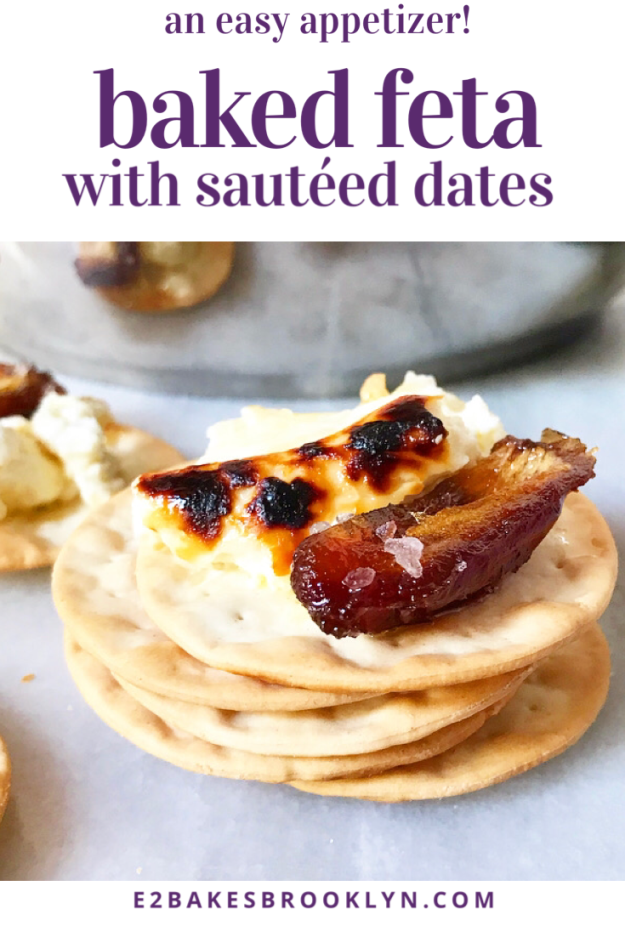
 You’ll only need five ingredients (plus something carby for serving) and fifteen minutes to put this appetizer together, and I would be utterly shocked if it lasts more than another fifteen minutes. I was alone when I made the feta and dates pictured here, and I had trouble keeping myself from eating half the brick in one go.
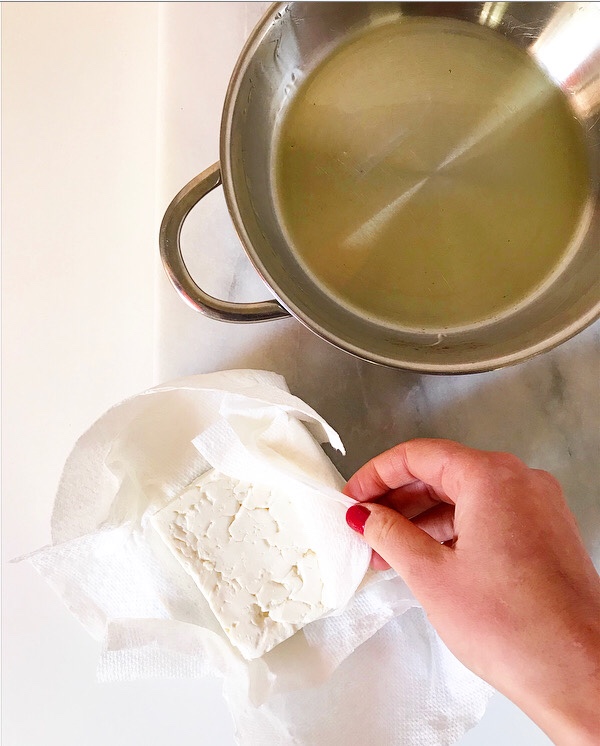
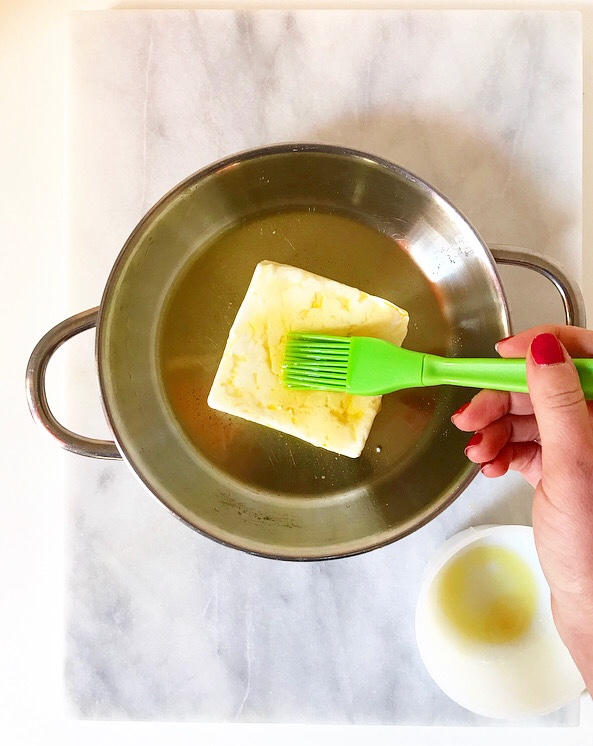
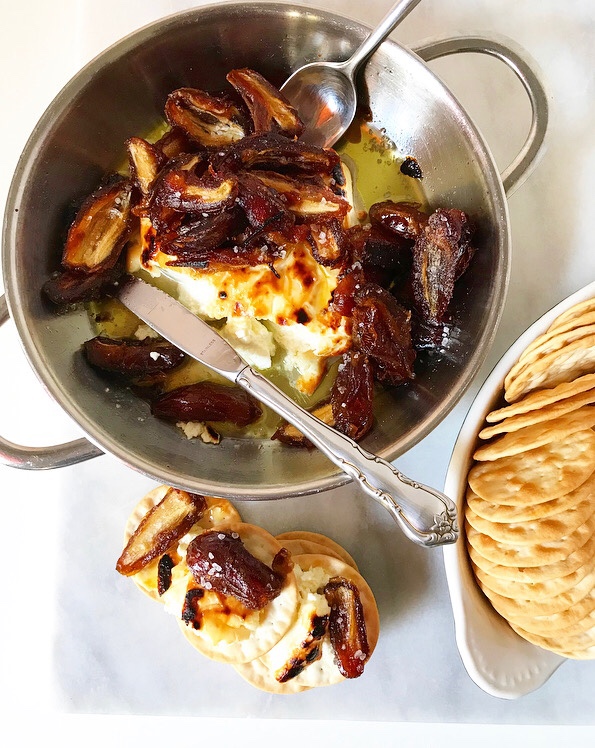
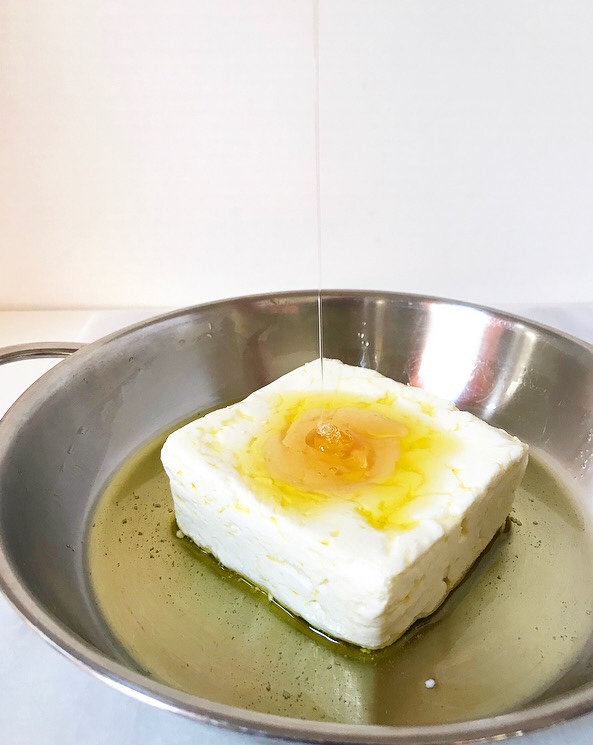 The feta is baked for ten minutes and broiled for a couple more. It turns soft and salty with crispy edges and corners that slump in the most pleasing way. It’s brushed with olive oil all over and honey on top before going into the oven, so it gets brown and blistered and…seriously, good luck not hoarding this all to yourself.
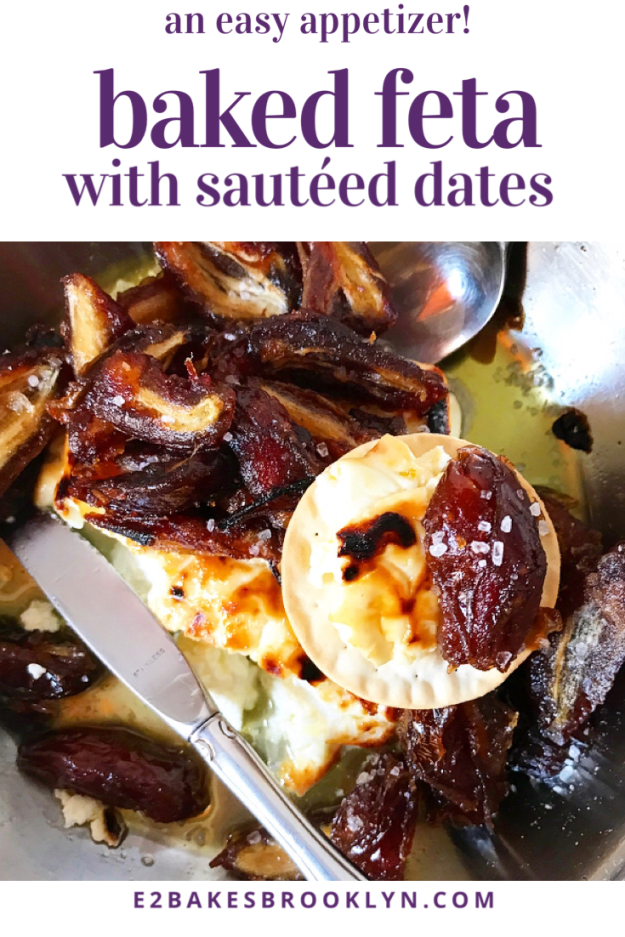
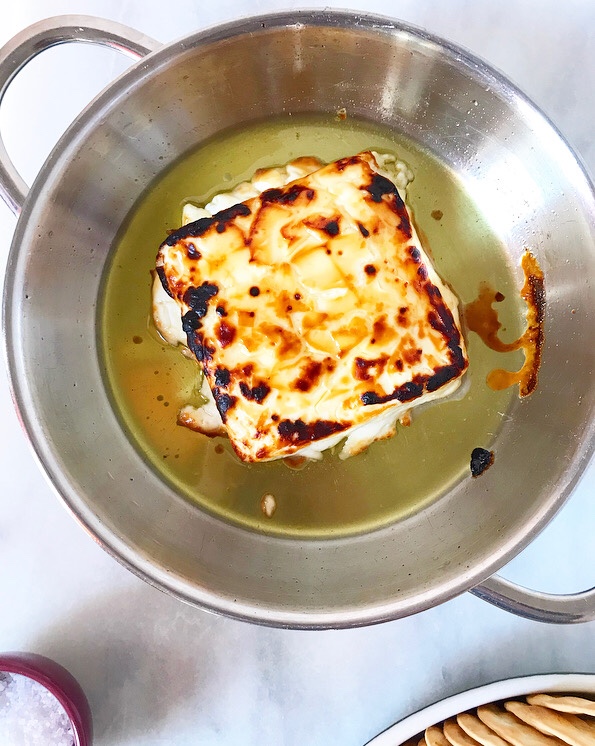 It won’t melt—feta doesn’t do that—but it will soften to the point where you can practically slice it with the edge of a cracker. Frankly, you could serve the feta by its lonesome and it’d disappear in minutes, but then you’d be denying yourself the magic of Sautéed Dates, and that’d be a real shame.
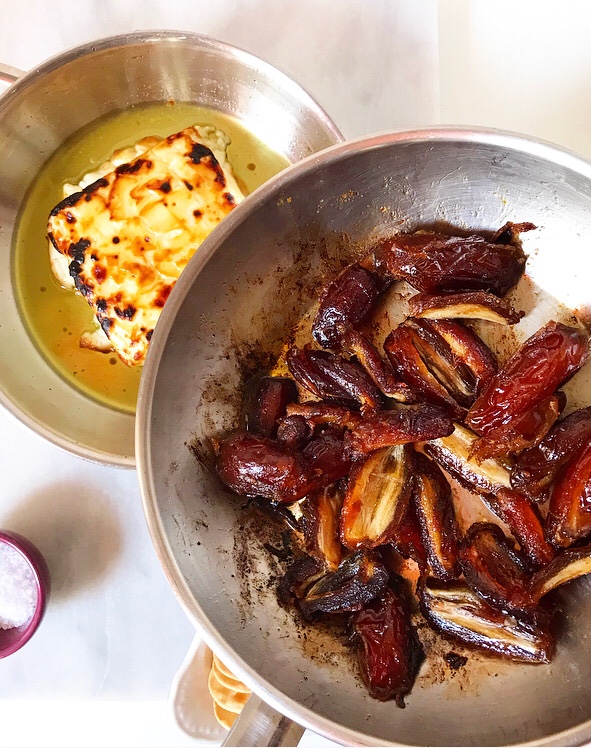
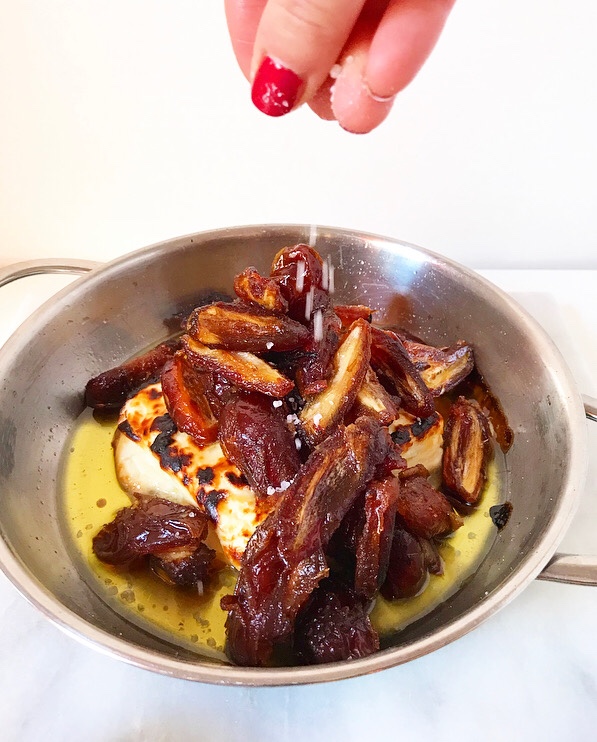 I mean, if there’s anything in the world that can stand up to the wonder that is Baked Feta, it’s these dates. They’re sautéed in olive oil for a minute or two while the cheese is in the oven, just until the edges begin to caramelize. The results are mostly sweet and a little savory—they’re great with yogurt, labneh and hummus. Here, they’re spooned over the warm feta and sprinkled with finishing salt before being scooped up with crackers or baguette or whatever and shoveled into your mouth as quickly as possible because—oh my goodness—this stuff is delicious.
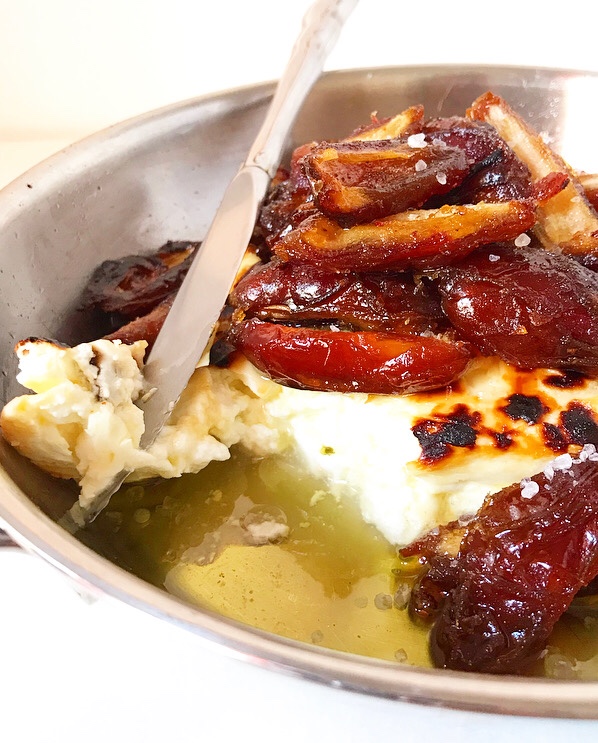 Salty, sweet, cheesy, savory, fruity, eyes-rolling-back-in-your-head good. You’re not going to want to share, but you should because…manners, I guess? But go ahead and plan to make this for every party between now and January 2nd, because if you can’t eat a brick of cheese during the holidays, when can you?!
 Happy Thanksgiving, dear readers!
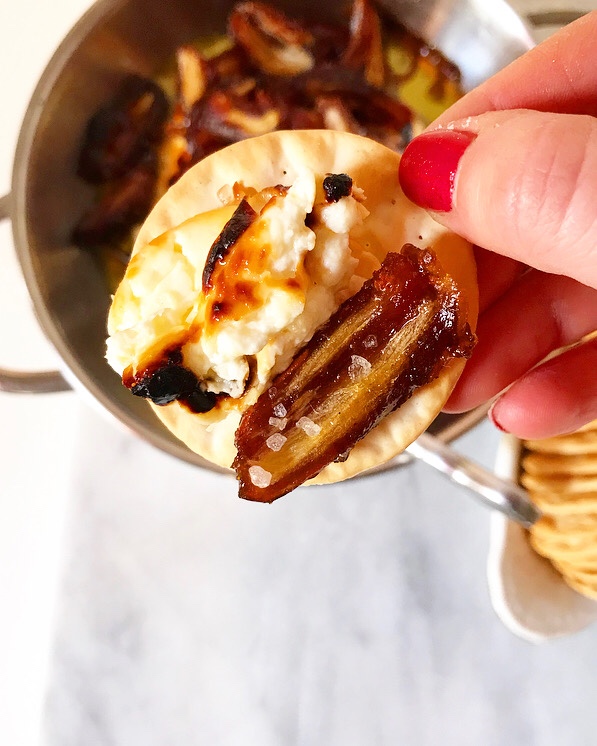
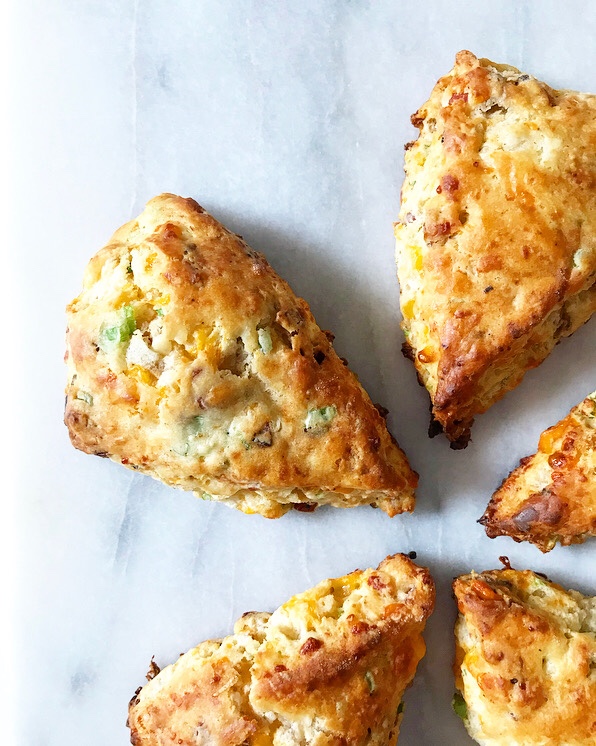
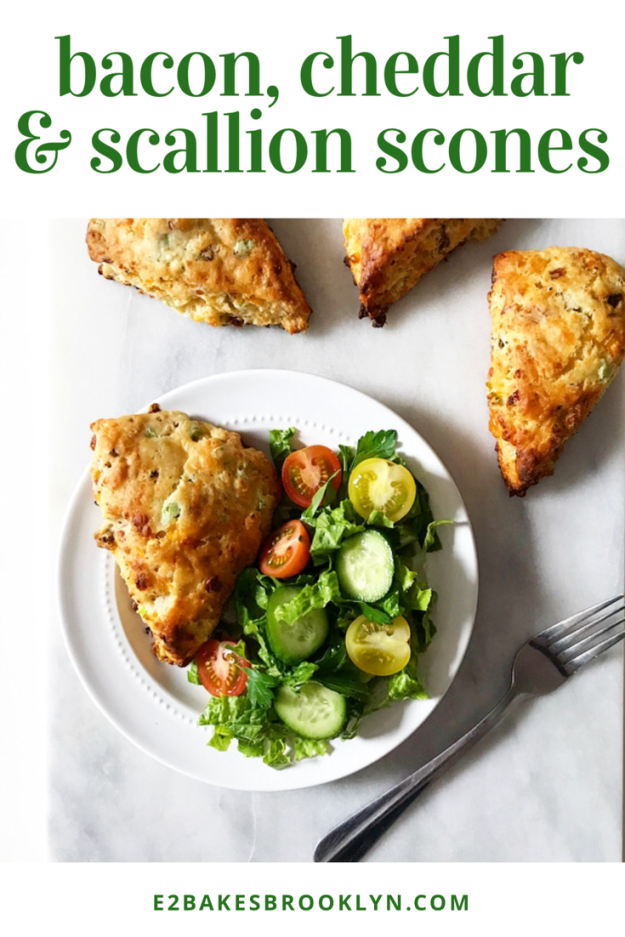
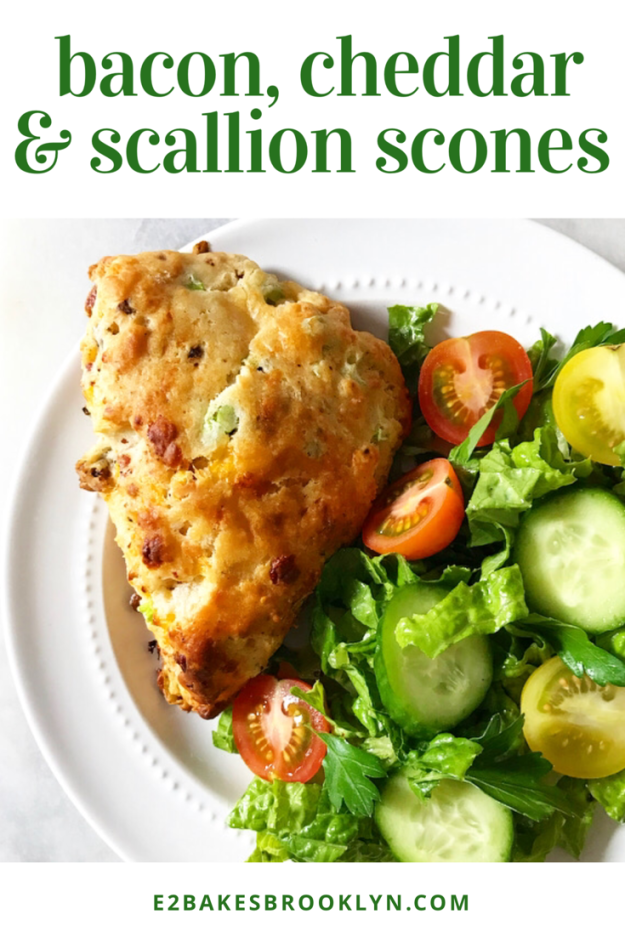
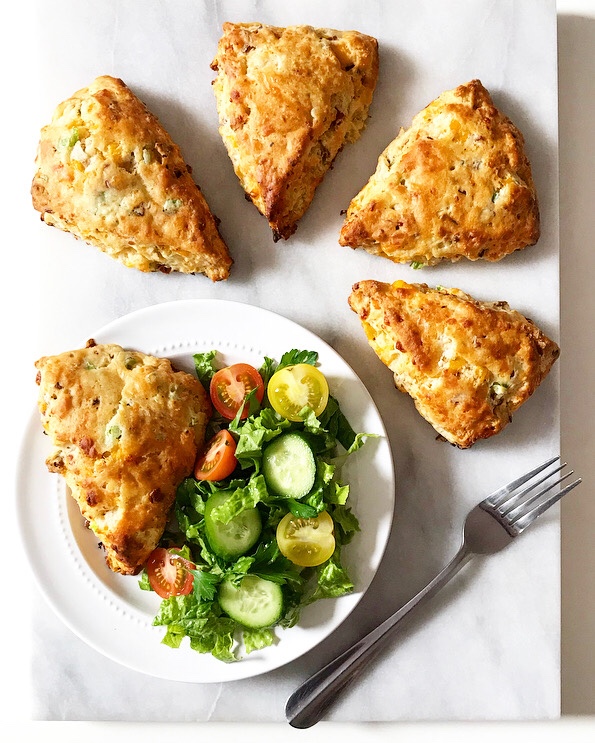 I don’t know how exactly this began, but somewhere along the line, I got it in my mind that there is no combination that says “casual-but-classy spring lunch” quite like a savory scone with a big green salad.


 When I first moved to New York and was in
 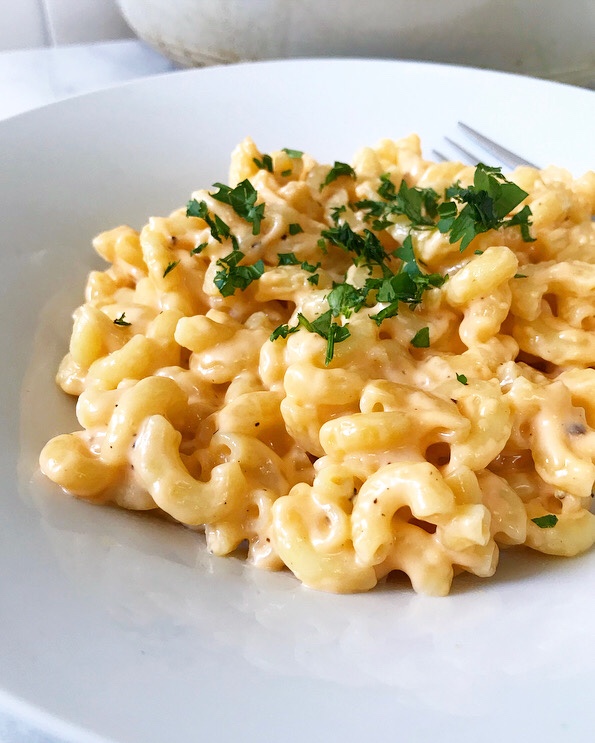 Unfortunately though, I’m not gifted with much else in that realm. I’m not confident enough to direct. I like to act, but was/am too timid to pursue it in any real way. My hearing is terrible, so sound is out. My arms aren’t strong enough to hold the boom mic for very long. Editing is just a “no.” The list of disqualifications goes on and on, save for one notable exception: I can cook. And so it was that the majority of my production course credits came from being craft services, a.k.a. the on-set caterer.
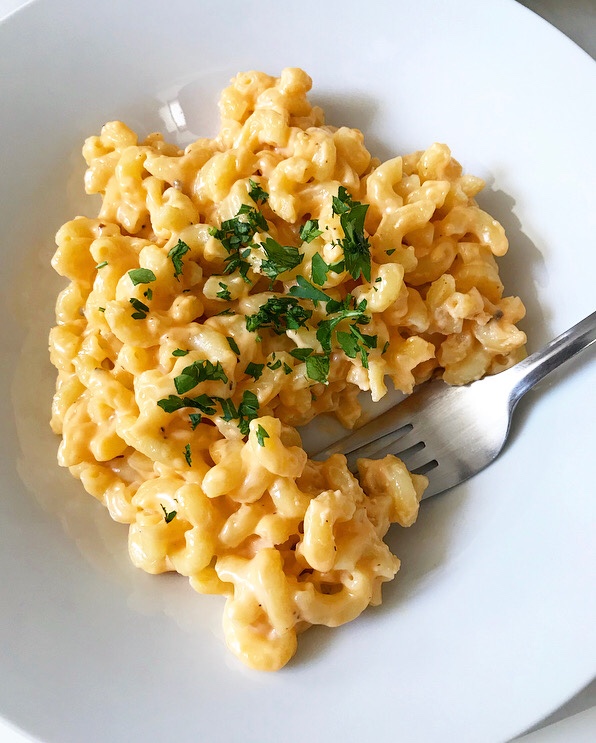 Now, being “crafty” for a student film isn’t the same as what you see when you spot film shoots on the streets of New York. Not even close. I didn’t have a truck or a crew; there was no oven or microwave. I was limited to what I could make in my Upper West Side apartment and transport in a cooler and what I could prepare on-set on a single electric burner. Oh, and it had to be cheap. Options were extremely limited—there were a lot of prepared salads and sandwiches—but my 15 Minute Stovetop Mac & Cheese was always a crowd pleaser.
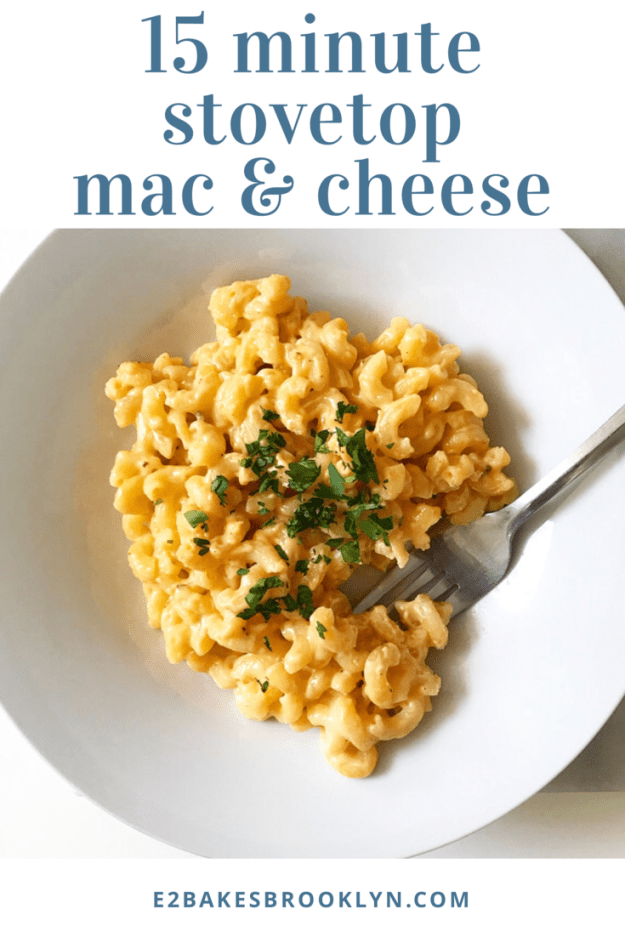
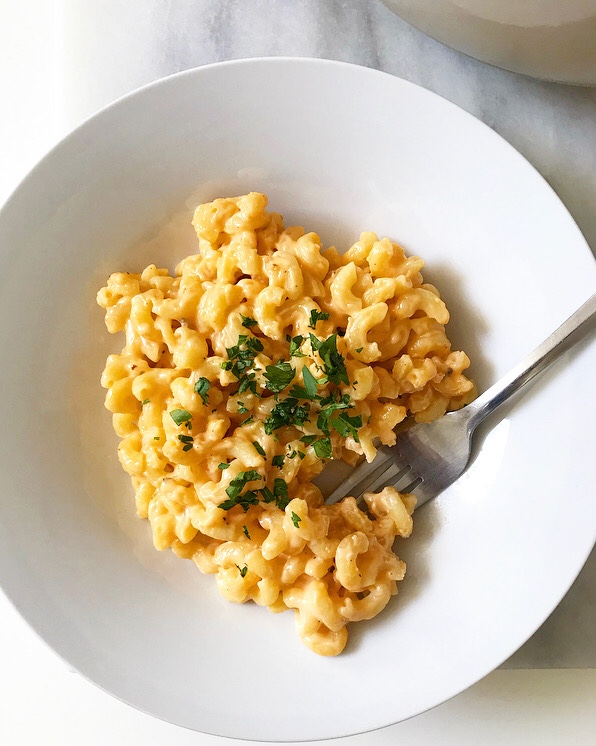
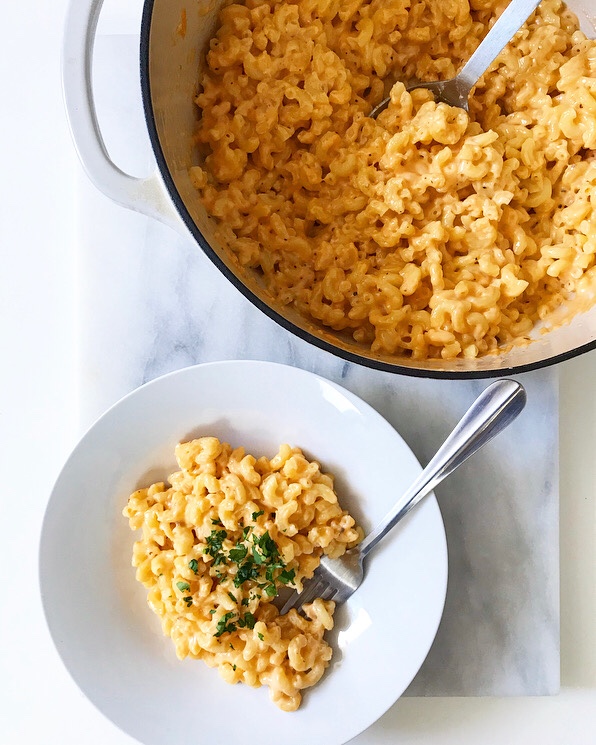 I mean, what’s not to love? This macaroni & cheese has all the cheesy flavor and creamy texture you want, but is less than half the work of most
 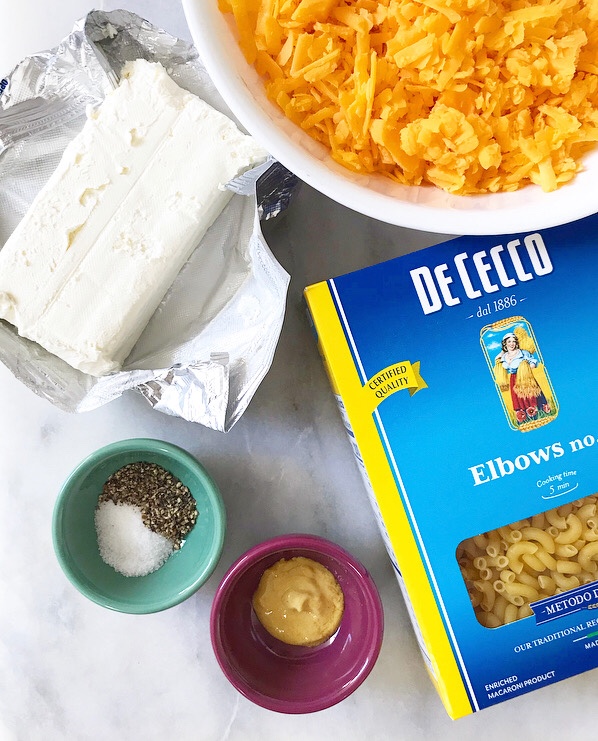 It also requires just six ingredients (seven, if you want to garnish with parsley) and two of them are salt and pepper. Whaaaaat. Since 15 Minute Stovetop Mac & Cheese is a from-scratch recipe, it will cost a few dollars more than the stuff in the blue box, but it’s also infinitely tastier. I’ll take real melted cheese over reconstituted powdered cheese any day. It’s not even a contest.
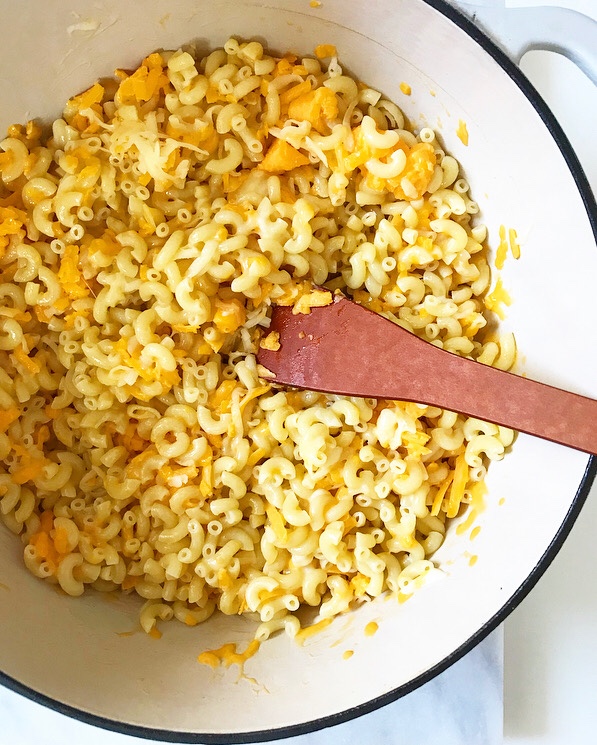

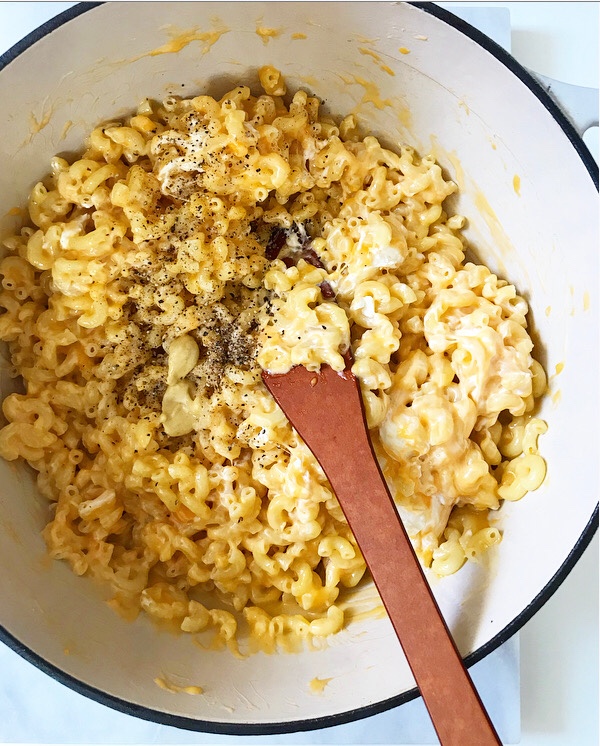
 This recipe really does comes together in fifteen minutes, so it’s ideal for busy weeknights or filling a craving or feeding a bunch of student filmmakers on the fly.
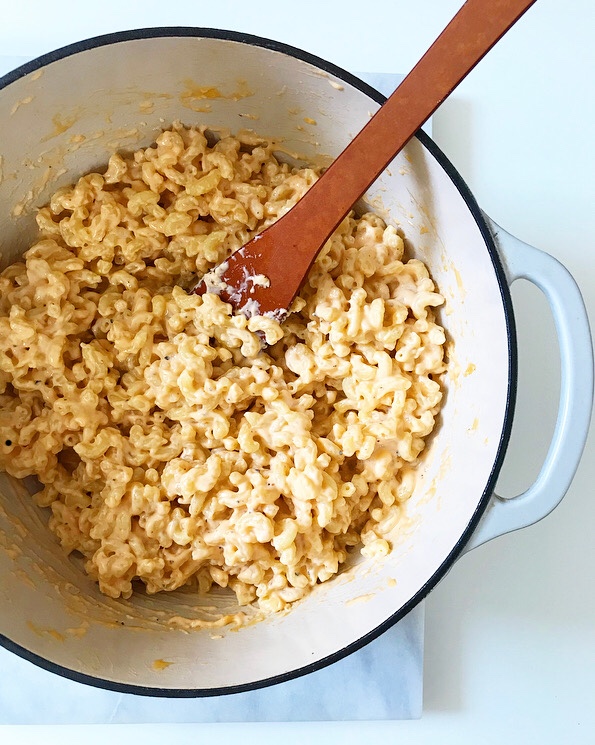
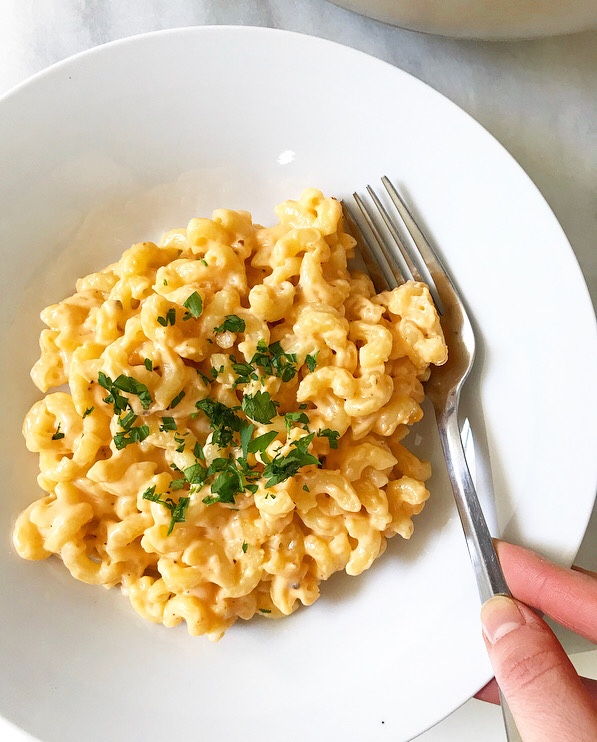 Right now, you’re just one pot, four steps, six ingredients, and fifteen minutes away from diving fork-first into a bowl of creamy, cheesy magic. What are you waiting for?!