Since first messing with waffle iron a couple of summers ago, I’ve become a bit obsessed with making a perfect waffle. I logically know there’s no such thing—in art and food and the art of food, everything is subjective—but I keep trying.
My cornmeal waffles are pretty good and so are my mix-and-go vegan oatmeal waffles, but my Sour Cream Waffles are outstanding. They’re my favorites of the bunch—super easy, with no whipping of egg whites and perfect ratios of crispness and fluff every time. I am really proud of that recipe and honestly didn’t think I could do better, until I started fiddling with these Yeasted Oatmeal Waffles a year ago. I began with Marion Cunningham’s Yeast-Raised Waffles one day, and then somehow a bag of oats got involved, and many Saturday morning breakfasts later, here we are. These are my new gold standard.
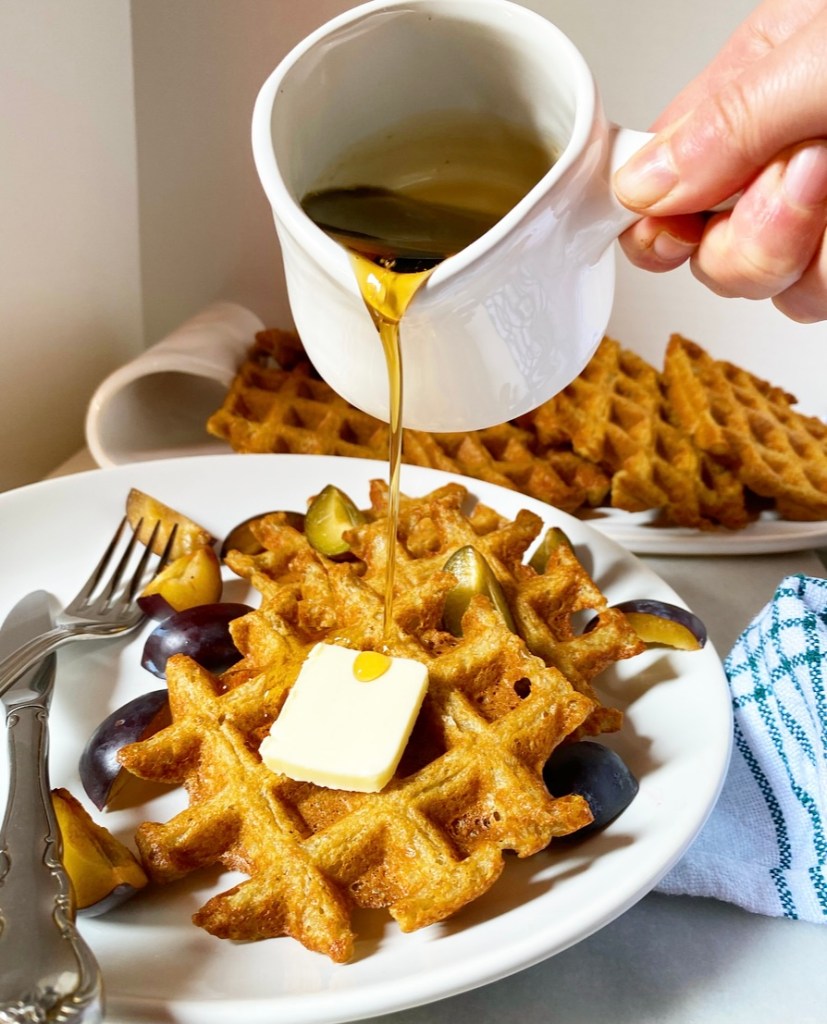
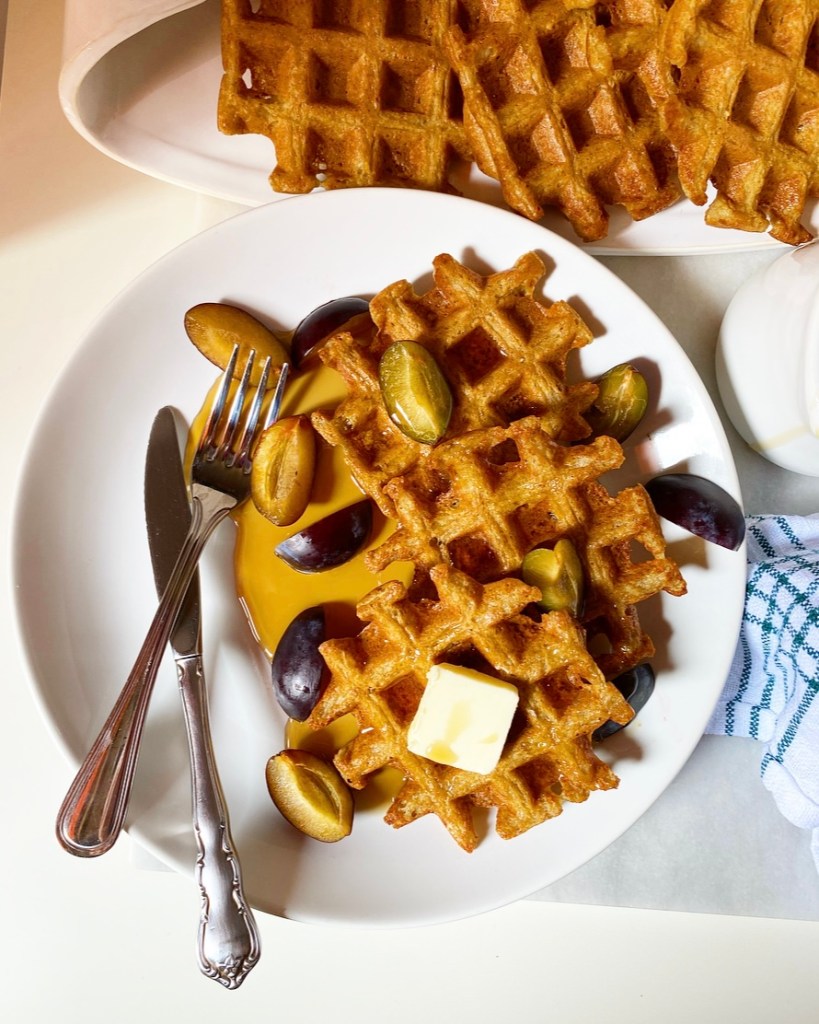
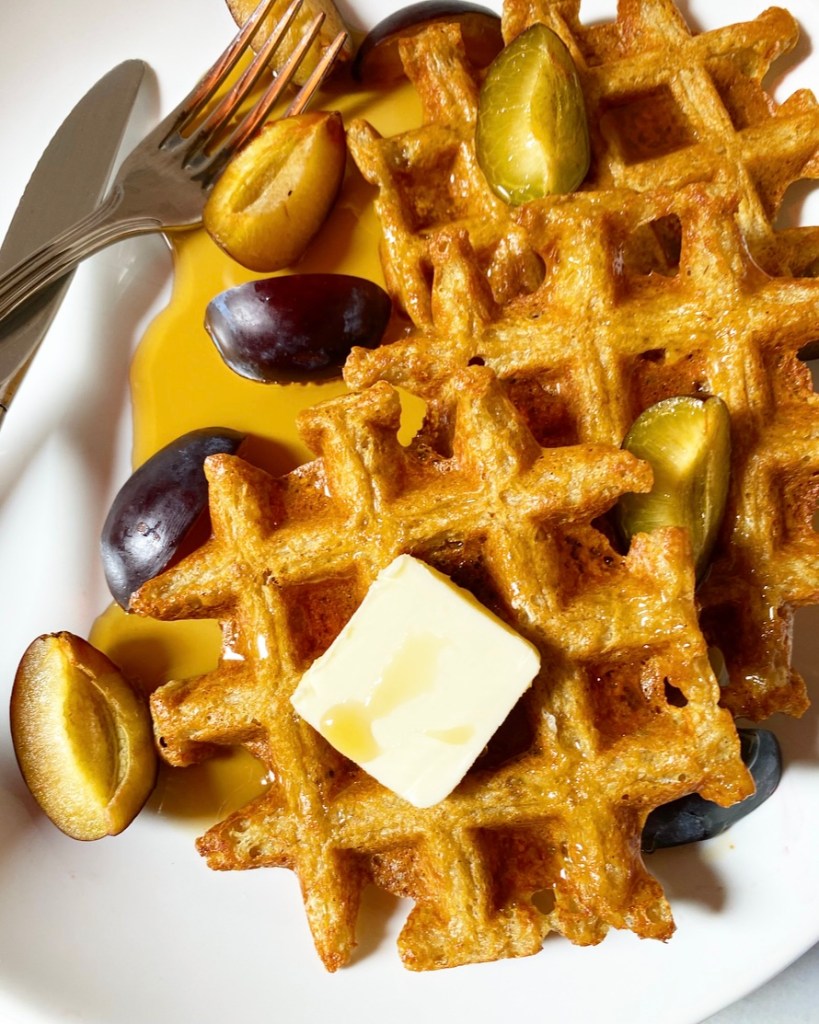
Yeasted Oatmeal Waffles are fluffy inside, crispy outside, and have a surprisingly complex, borderline-savory flavor profile on their own (but pair incredibly well with maple syrup). They don’t really taste whole grain, which is shocking as oats are the primary ingredient. Oh, and if you use gluten-free rolled oats, they’re naturally gluten-free, too. No unusual flours required—just a blender and some time.
If you’re scratching your head at the “yeasted” part of this recipe, wondering why you’d ever put yeast in waffles when baking powder and baking soda seem to do just fine…well, that’s fair. But the thing is, the yeast doesn’t just do lifting here; it adds flavor, too. By blending the batter up the night before and then letting it rise in the refrigerator, you’re allowing that yeast to start fermenting, and that results in deep, rich, slightly sour, nearly-savory flavor that simply can’t happen with a regular mix-and-go waffle recipe. It’s divine.
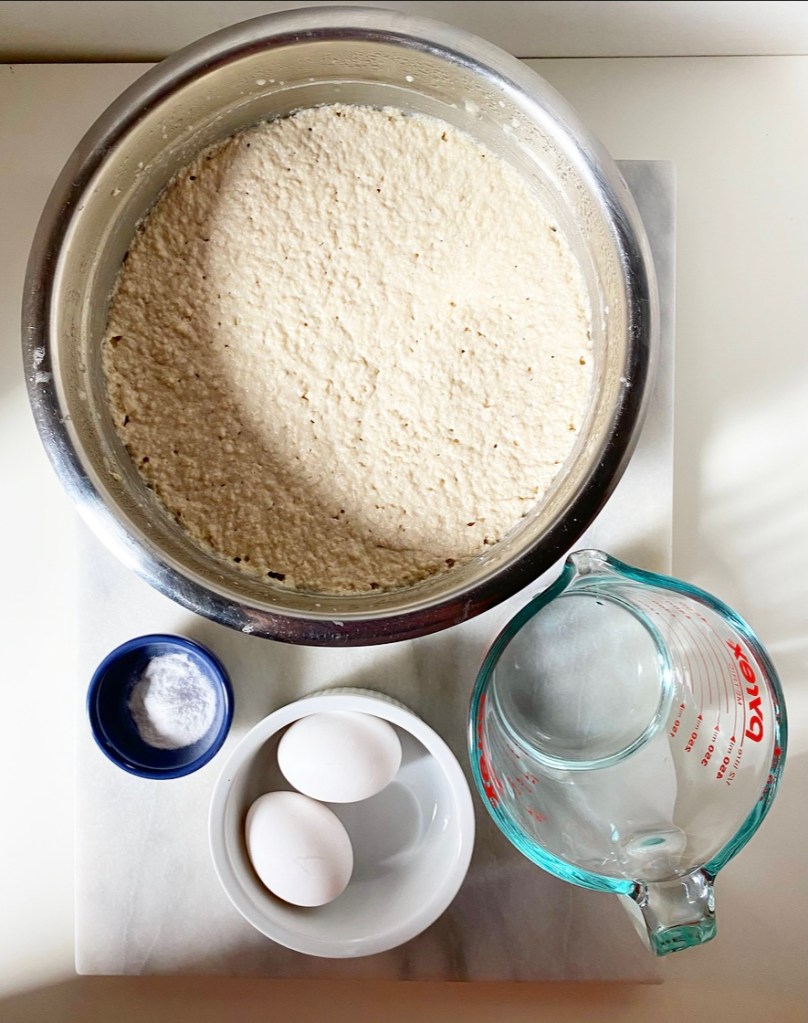

After a chilly night’s rest, the batter will have puffed and firmed up a bit in the fridge, just like any other yeast-based overnight recipe. You should know that it won’t look particularly nice, but that’s okay because we’re not after beautiful batter—we’re here for gorgeous waffles! When your iron is hot, whisk some eggs, water and baking soda into the chilled batter, and then get waffling.
This part, you know how to do. Pour the batter in, close the iron, and let it do its thing until the steam dissipates. Don’t let any built-in green lights tell you what to do; the lack of steam will be your signal that your waffles are perfectly crisp outside and light inside!
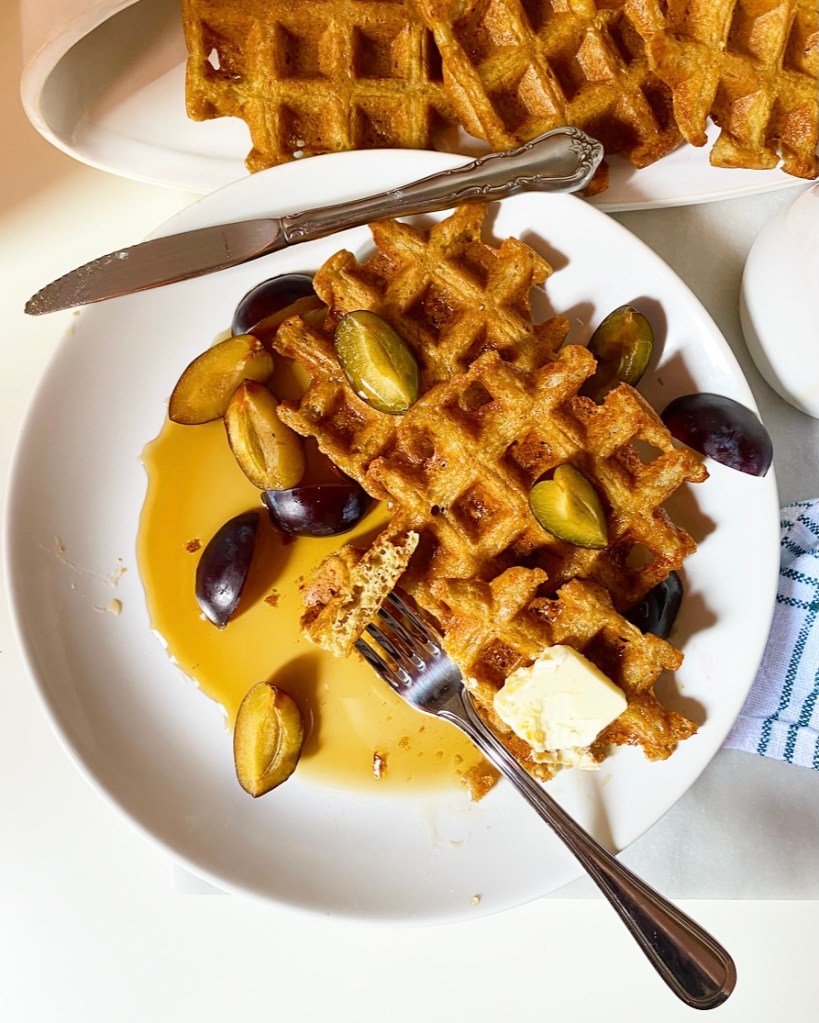
The recipe is written to make enough waffles for 4-6 people, but…like…good luck sharing them. This is a recipe to double and freeze for a rainy day, when you just need a good waffle. Because these, y’all? They’re good waffles. Easy, whole grain, gluten-free, crispy, fluffy and oh-so-delicious—I’m going to go ahead and say it: they’re my new gold standard. And they just might be yours, too.

Yeasted Oatmeal Waffles
about 24 4-inch waffles
The night before:
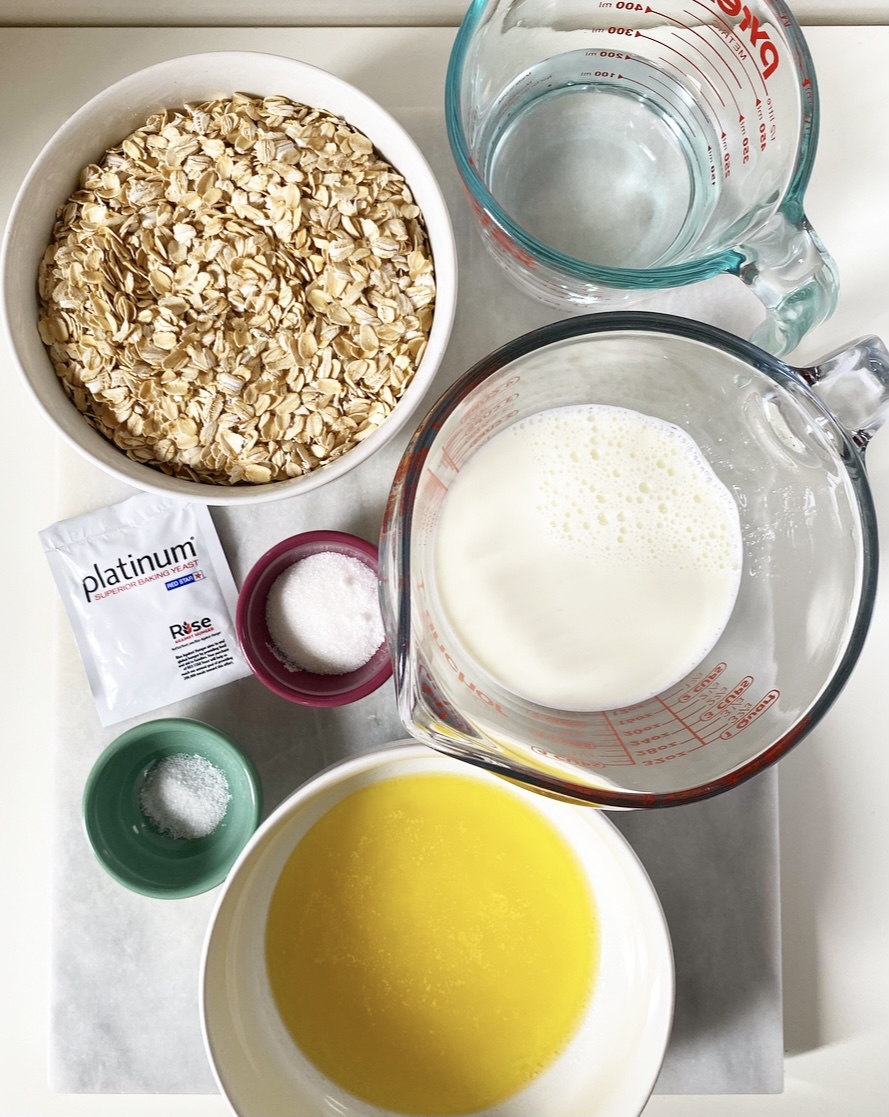
1 1/4 cups warm water
1 tablespoon granulated sugar
2 1/4 teaspoons (1 packet) active dry yeast
2 2/3 cups old-fashioned oats (certified gluten-free for gluten-free)
1/4 teaspoon Kosher or sea salt
1 1/2 cups milk of choice (I used whole)
1/2 cup (1 stick) unsalted butter, melted
The next morning:
1 1/4 teaspoons baking soda
2 large eggs, room temperature
1/3 cup lukewarm water
melted butter or cooking spray, for waffle iron
For serving:
pure maple syrup
butter
fresh seasonal fruit
Special Equipment:
high-powered blender
waffle iron
The night before, proof the yeast. In a small bowl, stir together warm water and sugar until sugar has dissolved. Sprinkle yeast over the top and let sit until bubbly, 5-10 minutes. If your yeast doesn’t foam or bubble, it’s dead. Get new yeast and start again.
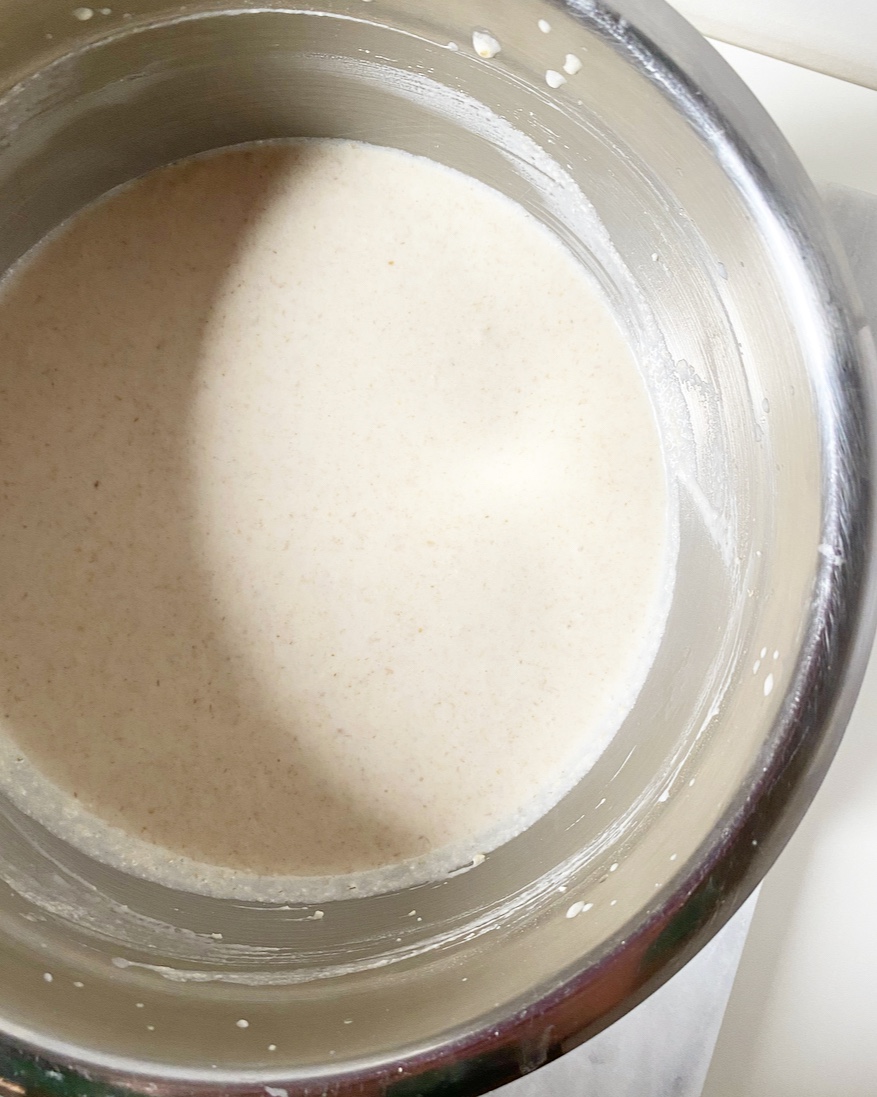
Add yeast mixture to a blender, followed by oats, salt, milk and melted butter. Blend until smooth, scraping down the sides as needed. This takes my blender about 2 minutes.
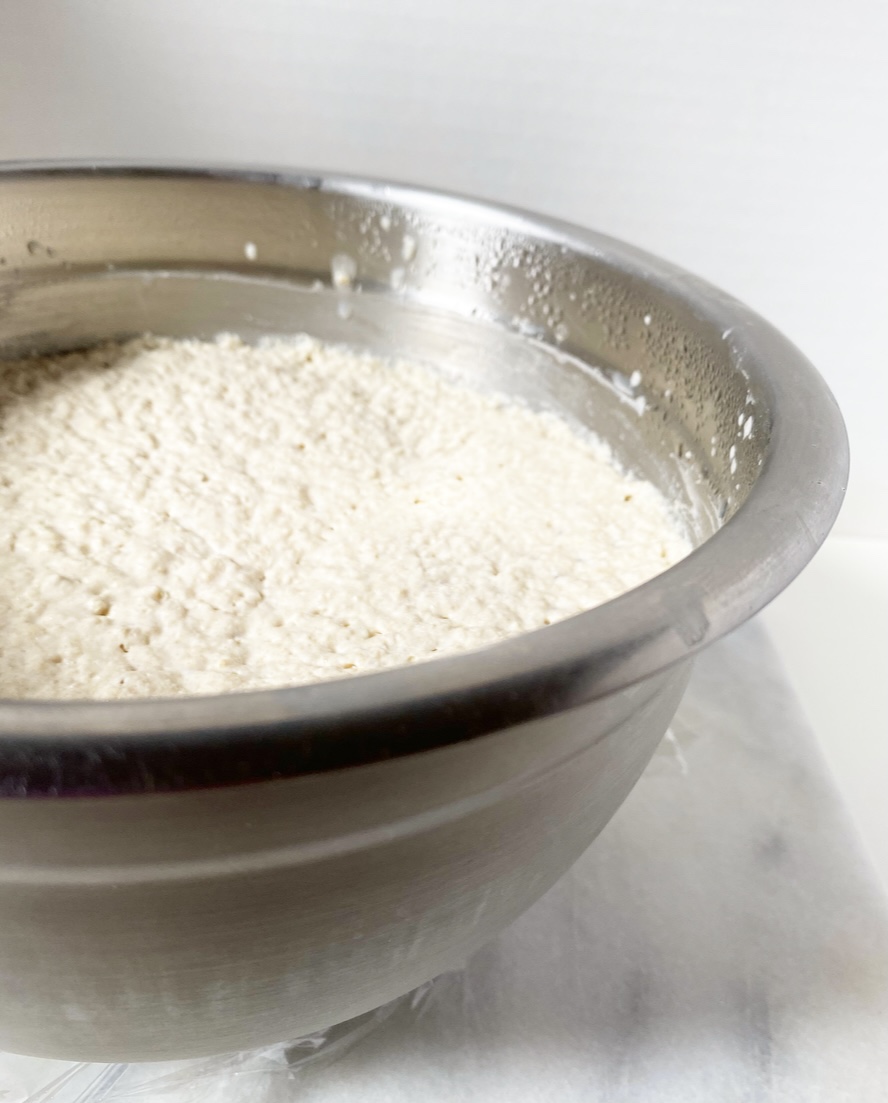
Pour mixture into a medium mixing bowl. Cover tightly with plastic wrap and refrigerate overnight, a minimum of 8 and up to 24 hours. The batter should double in volume, but may collapse slightly when you move the bowl.
The next morning, preheat the waffle iron. Preheat oven to 200F. Place a cooling rack over a rimmed baking sheet.
Uncover refrigerated batter. Whisk in baking soda and eggs, followed by water. Batter may have some visible oat bits—this is normal and will not affect texture.
Grease waffle iron with melted butter or cooking spray. Pour 1/4 cup of the waffle batter into each well of the iron and close the top. Let cook until steam dissipates and the waffles are turning golden, about 6-7 minutes.
Transfer cooked waffles to the prepared rack-over-pan and place in the oven to keep warm. Re-grease the waffle iron and cook remaining batter.
Serve waffles with butter, warmed maple syrup, and seasonal fruit, if desired. Enjoy immediately.
Leftovers may be layered with parchment, placed in a freezer bag, and frozen for up to 3 months. Reheat in the toaster.

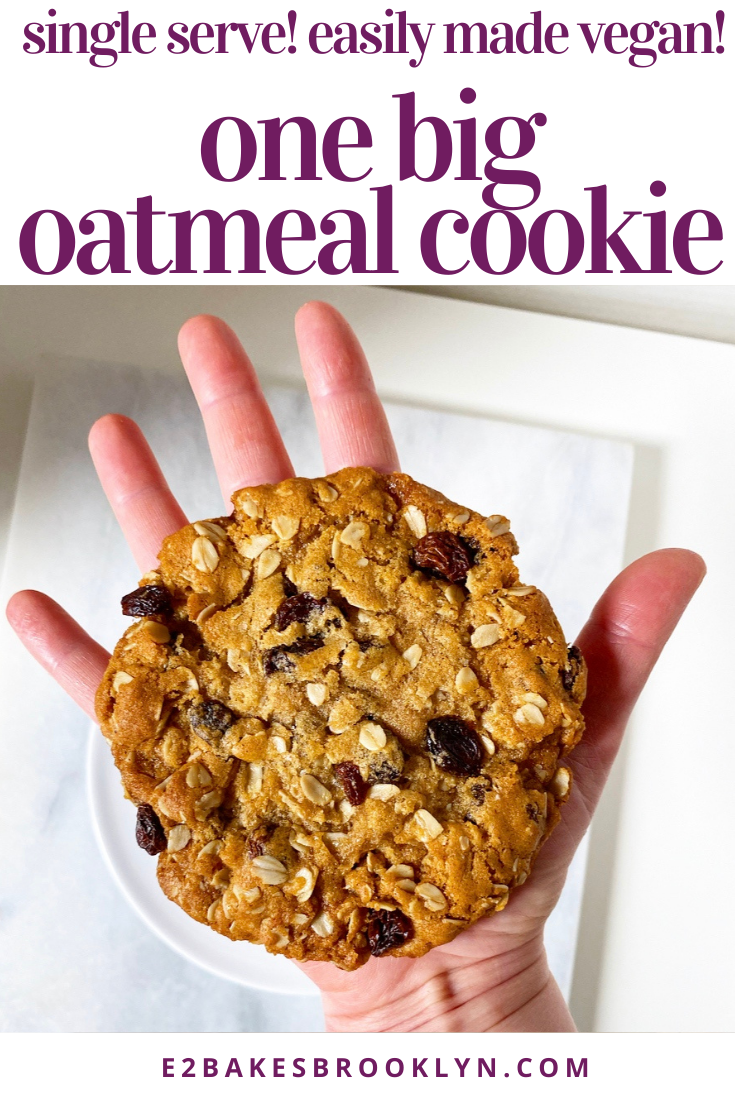
 If you’re the sort of person who loves big cookies and hates sharing, you’ve come to the right corner of the internet. Over the last couple of years, I’ve posted three “One Big” cookie recipes:
 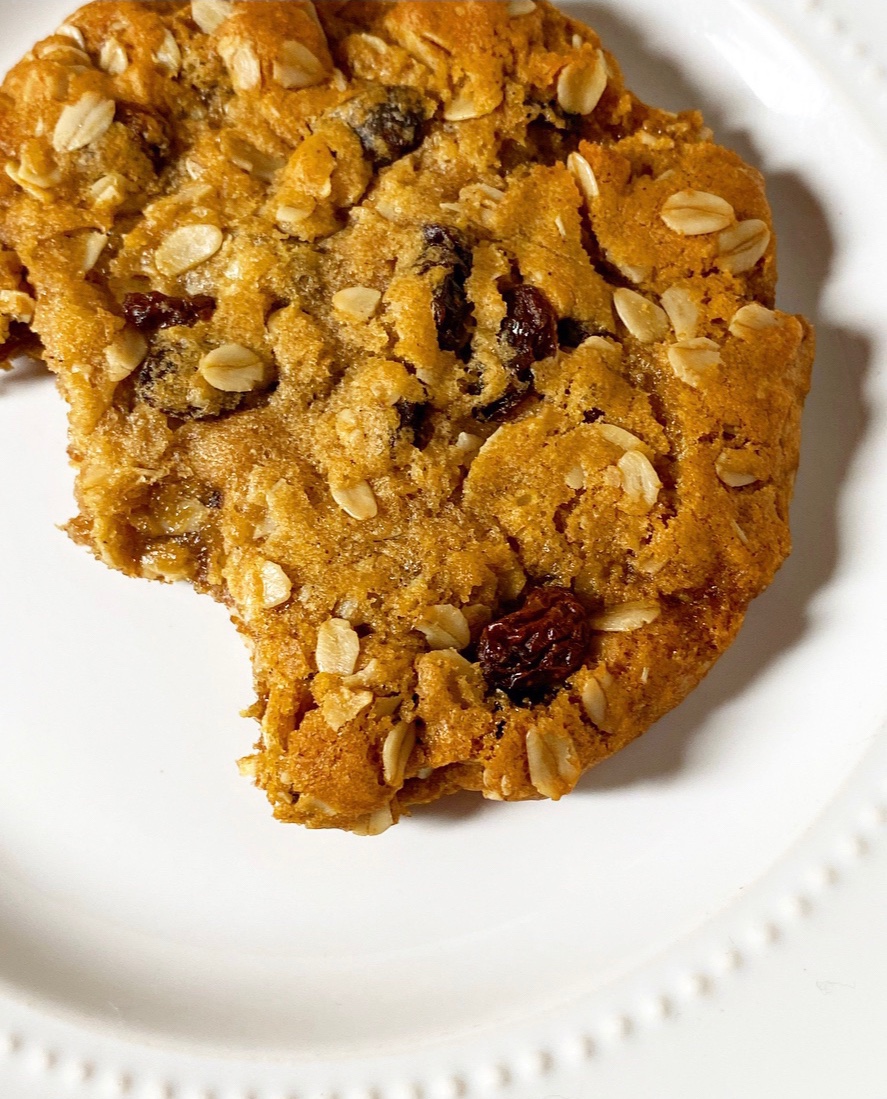 You’d think after posting three single-serve cookie recipes on this site, I’d be able to churn out a new one in my sleep, but you’d be wrong. This lone oatmeal cookie? It took 27 tries. Twenty. Seven. That’s the highest number of concentrated tests I’ve ever done for one recipe.
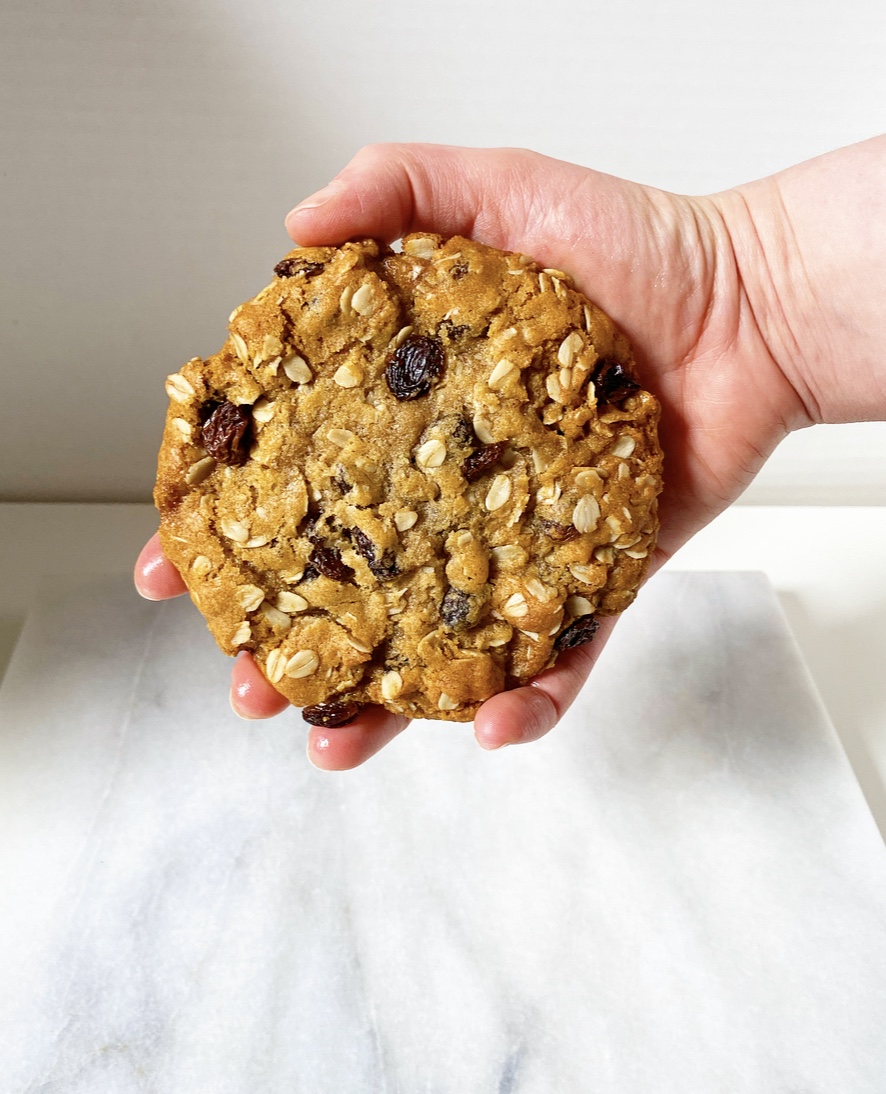
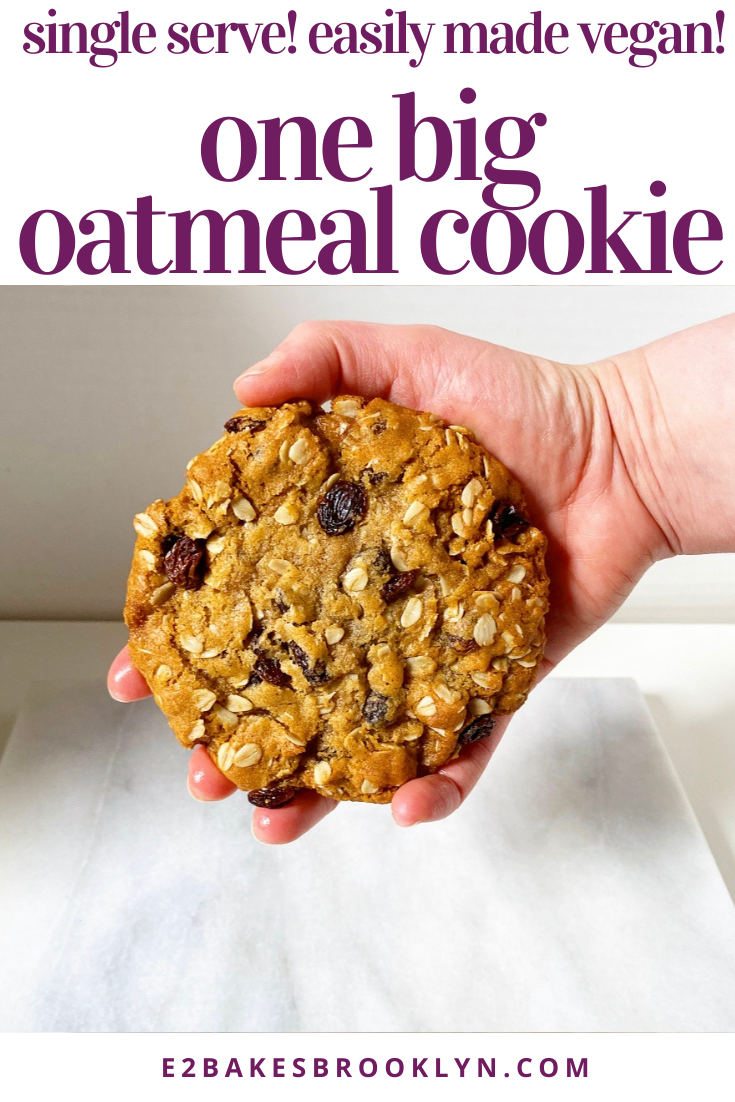
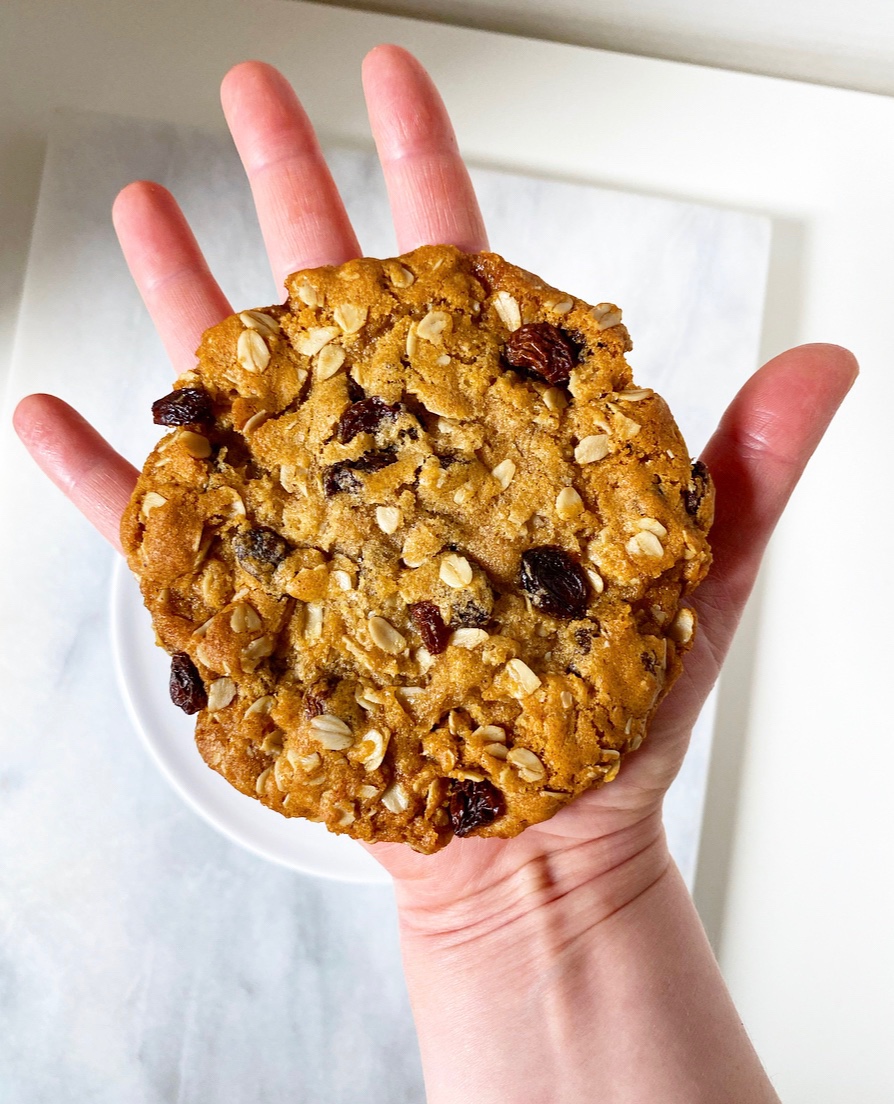 The good news about this recipe, though, is that while it was hard to get it exactly right, it is very simple. Oh, and it makes one kickass, golden brown, chewy as all get-out oatmeal cookie. Oh my goodness, it is so good. Trust me—I’ve bitten into 27 cookies to get this one exactly right. Quality control, you know?
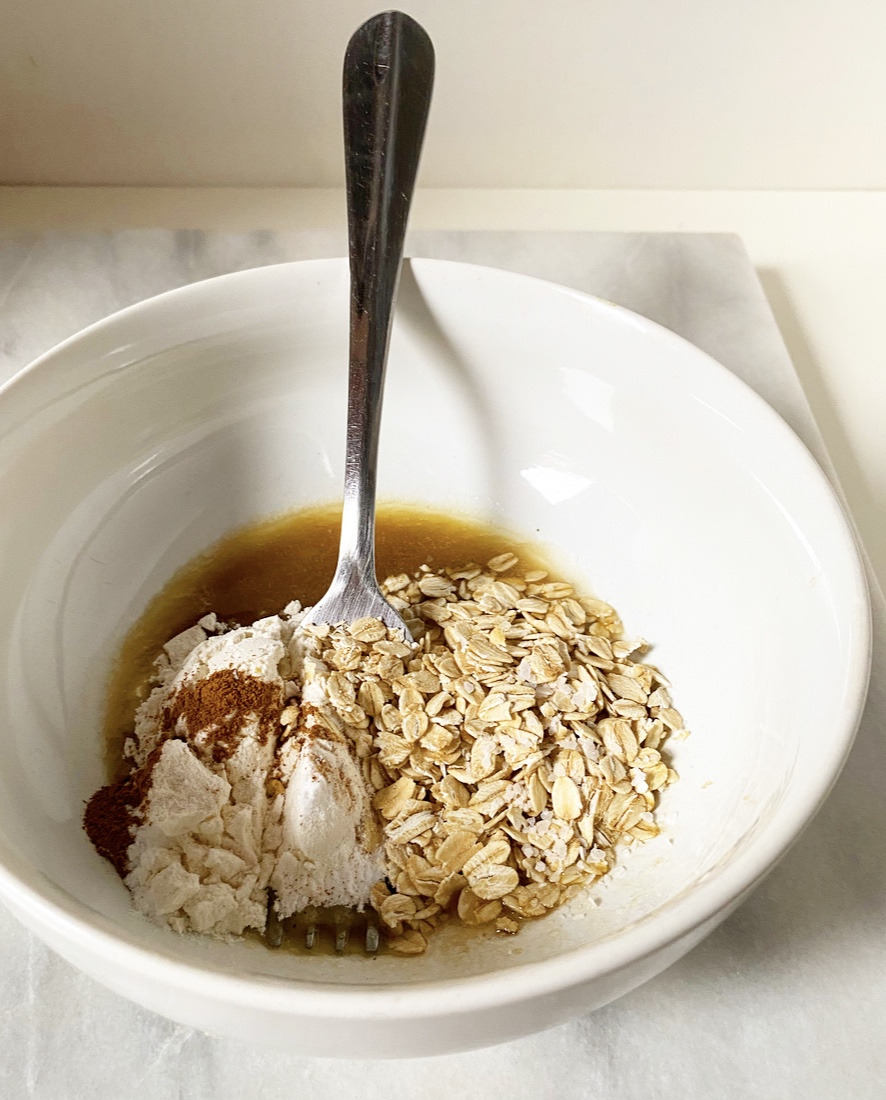 Like all my One Big cookies, the ingredients here are measured by the spoonful rather than in cups. Oats replace some of the usual flour (duh) and I’ve added a hint of cinnamon for that classic oatmeal cookie flavor. You’ll notice that there’s no egg in this dough, as I prefer to use water for such a tiny portion. As a bonus, no egg means this recipe can easily be made vegan! Just swap vegan butter for the dairy butter ☺️
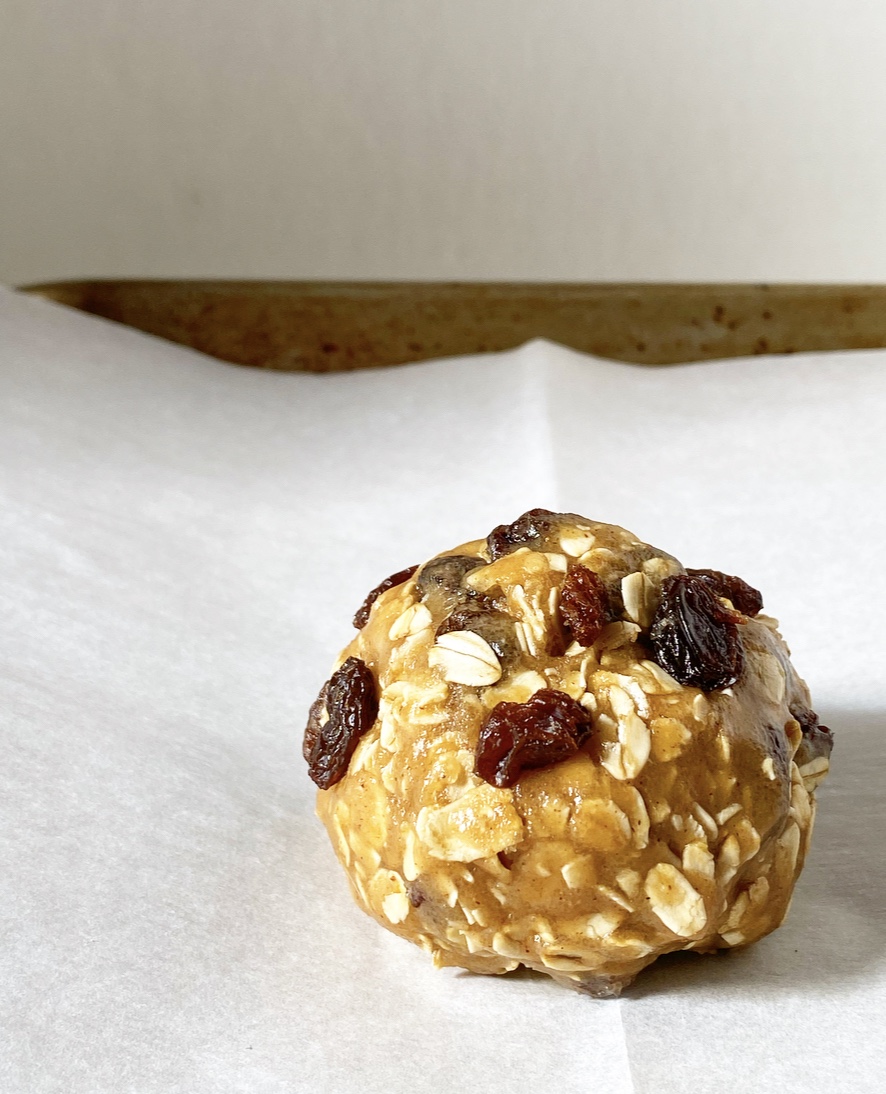
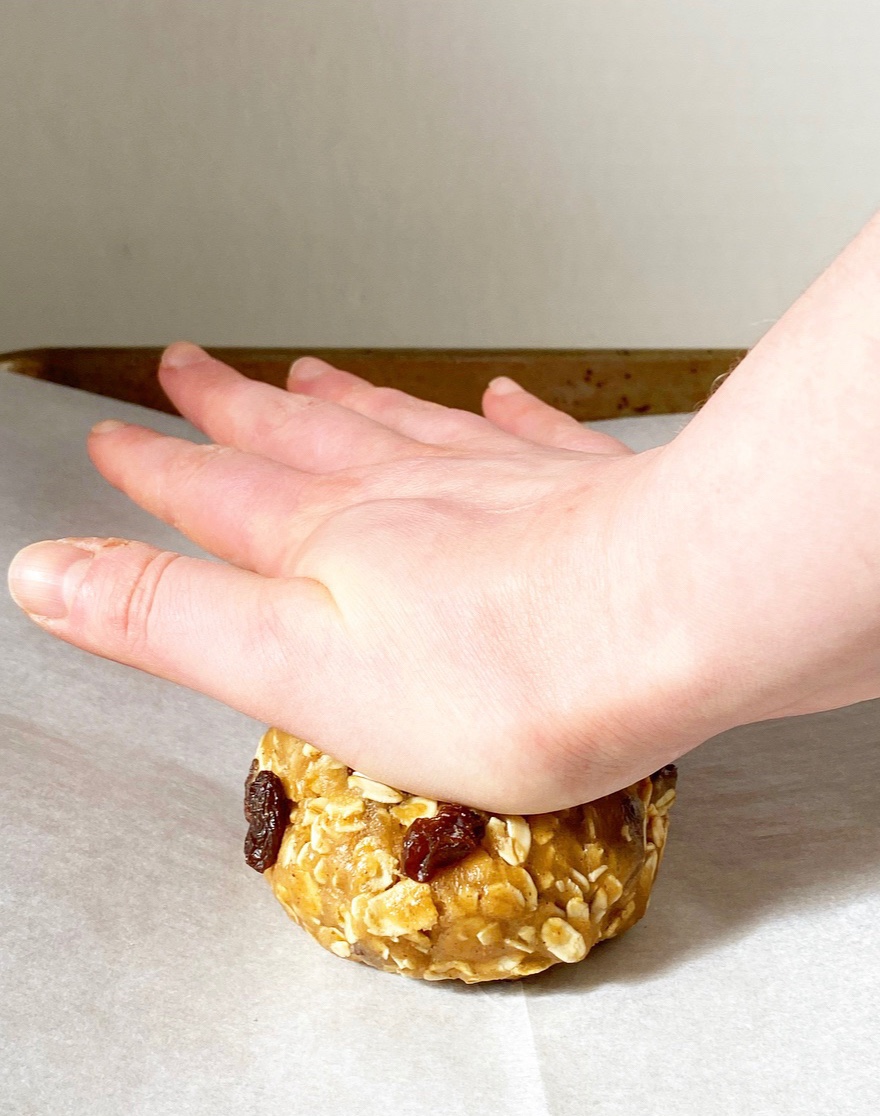
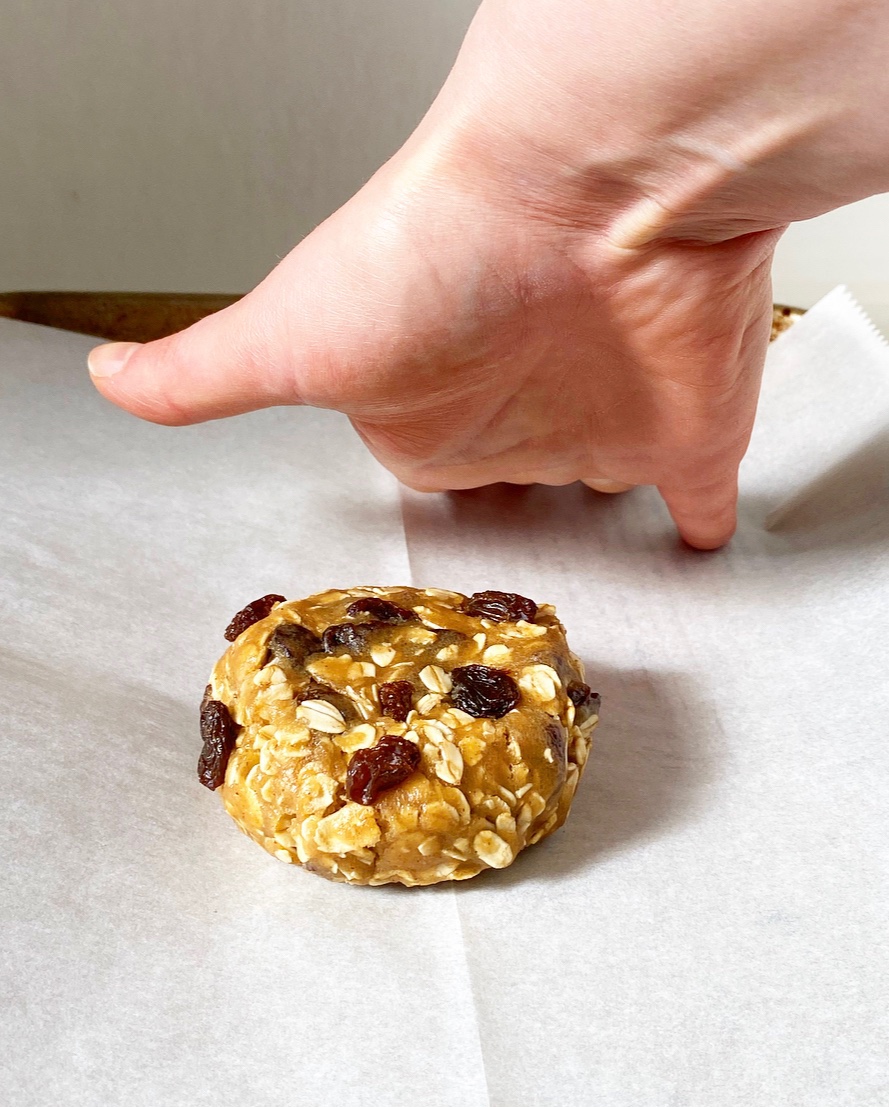 The big secrets to golden, chewy oatmeal cookie success? Before baking, press down on the dough ball to form a puck. This encourages a consistent shape, texture and browning pattern. Nothing terrible will happen if you don’t press down your dough ball, but your cookie likely won’t look like mine.
 As far as mix-ins go, use whatever you like. I went for classic
 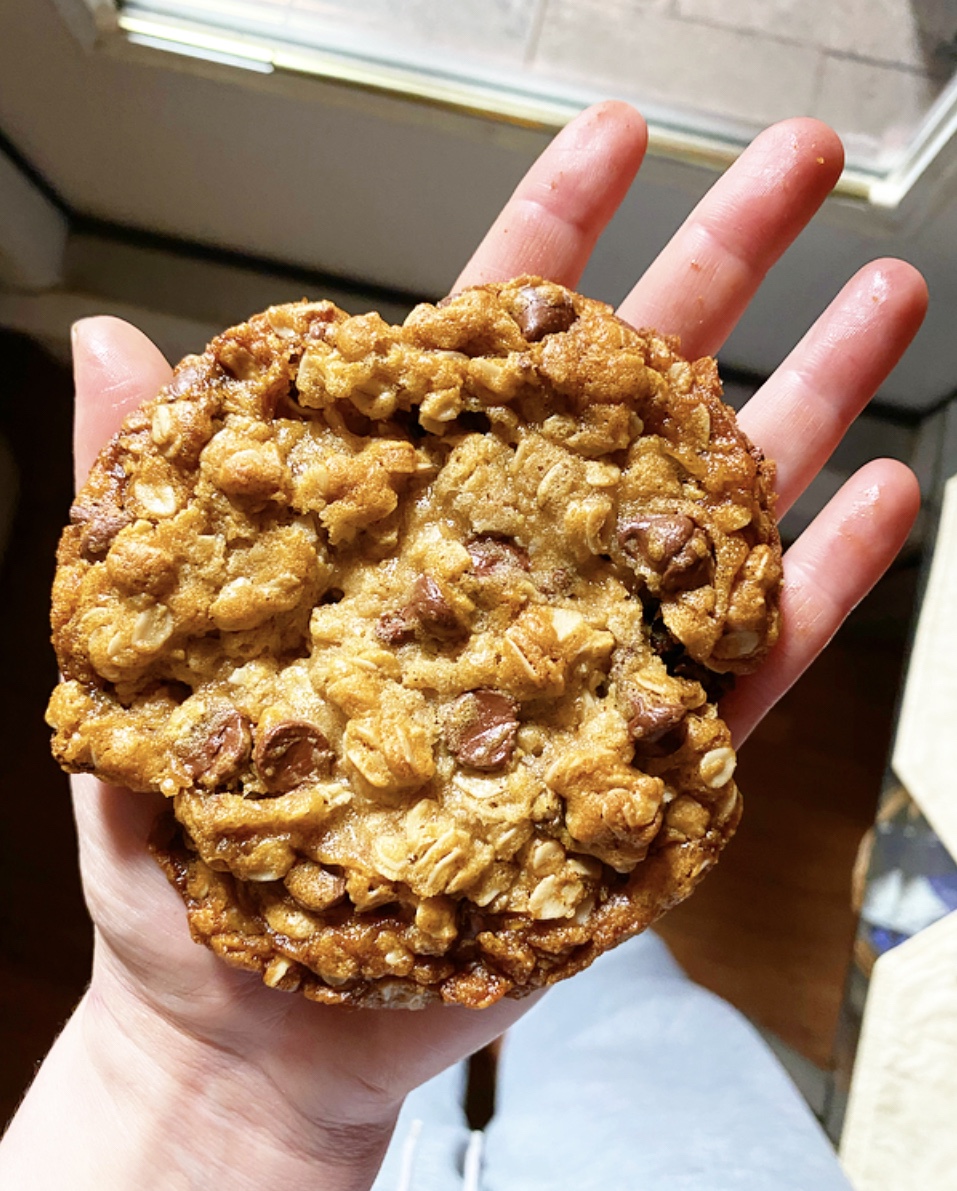 Have a good weekend, y’all. Make yourself a cookie.
 Did you know you can make a
 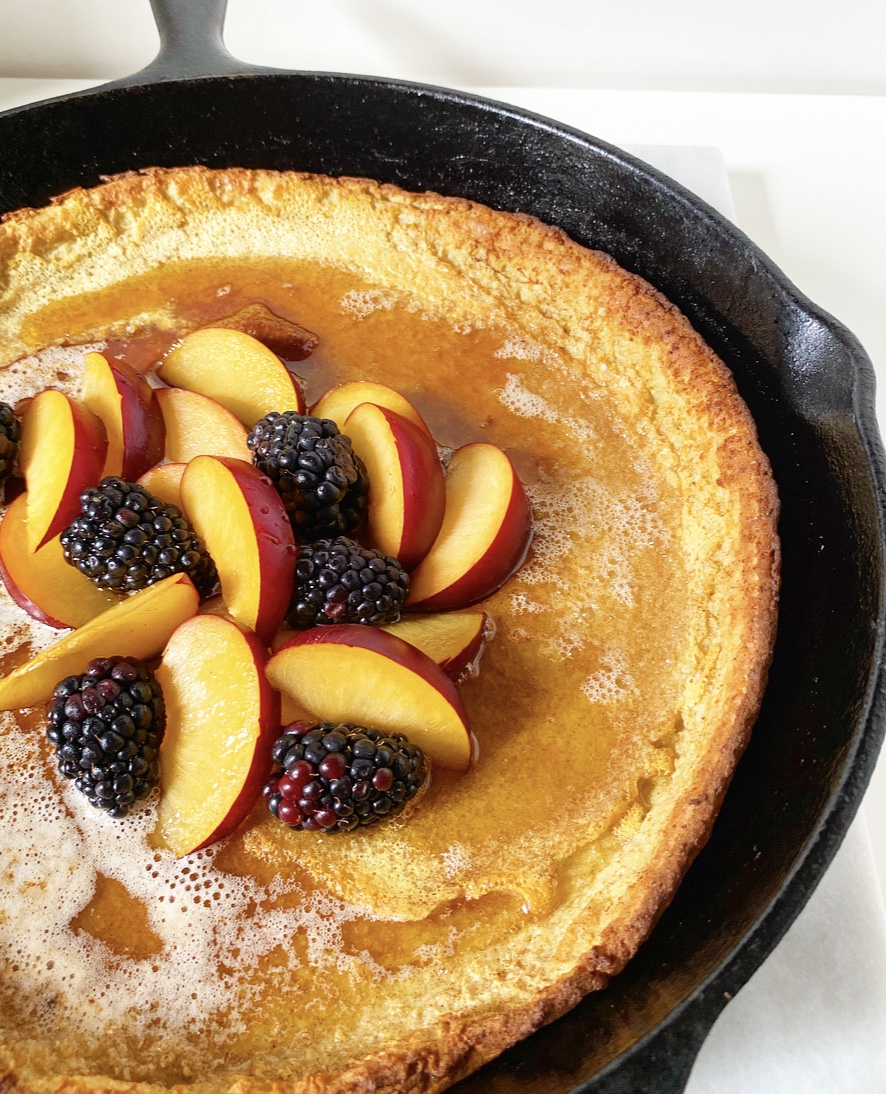 Well, I didn’t. It hadn’t even occurred to me until I made
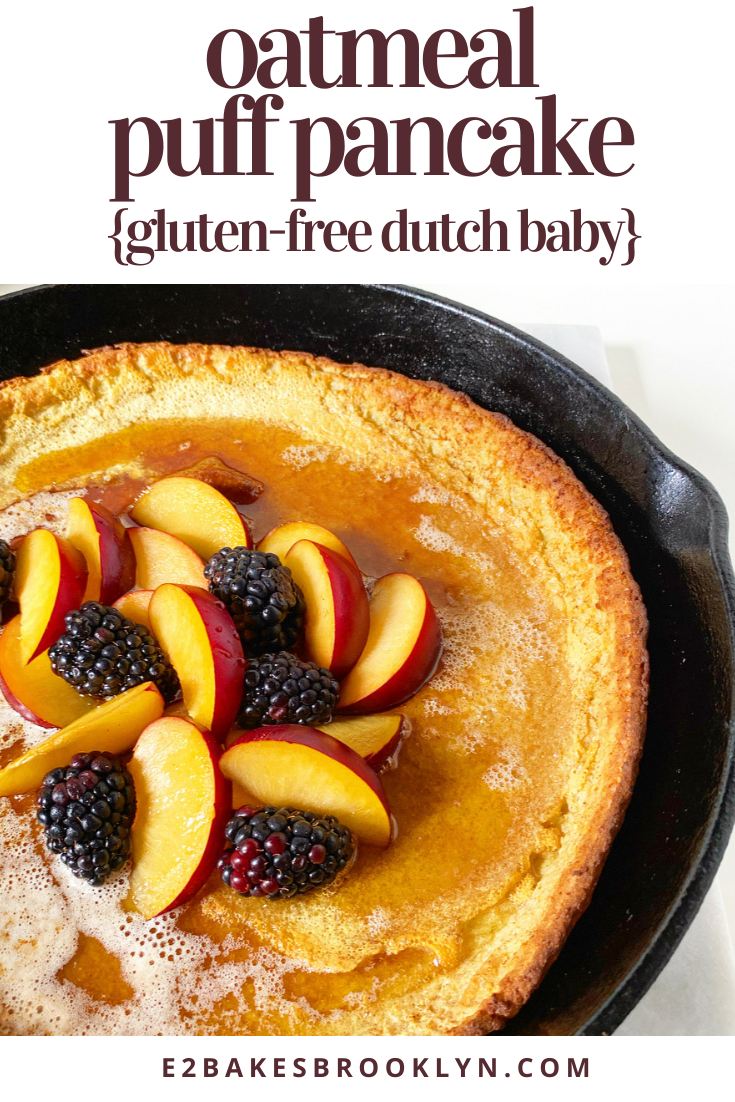
  Not only is this oven pancake completely whole grain, it’s also naturally gluten-free! If you or a fellow breakfast guest needs to be gluten-free, make sure your oats are certified gluten-free.
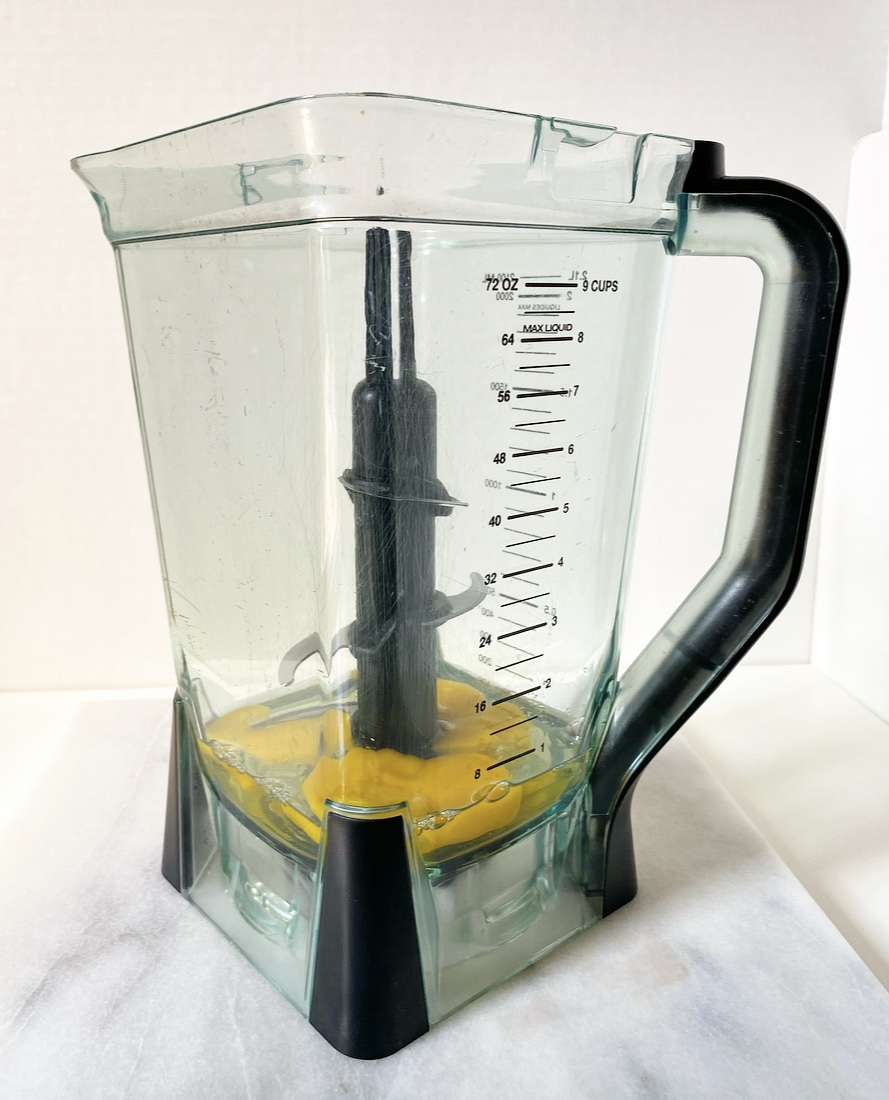

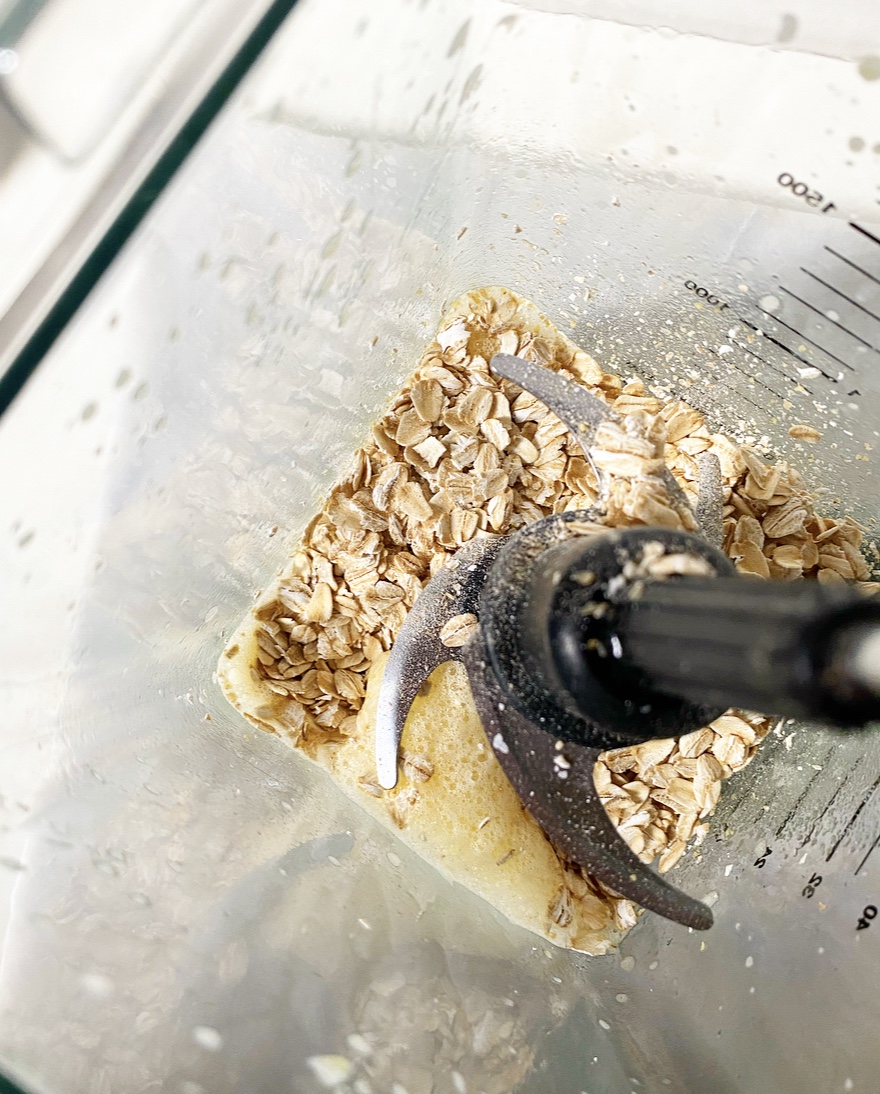
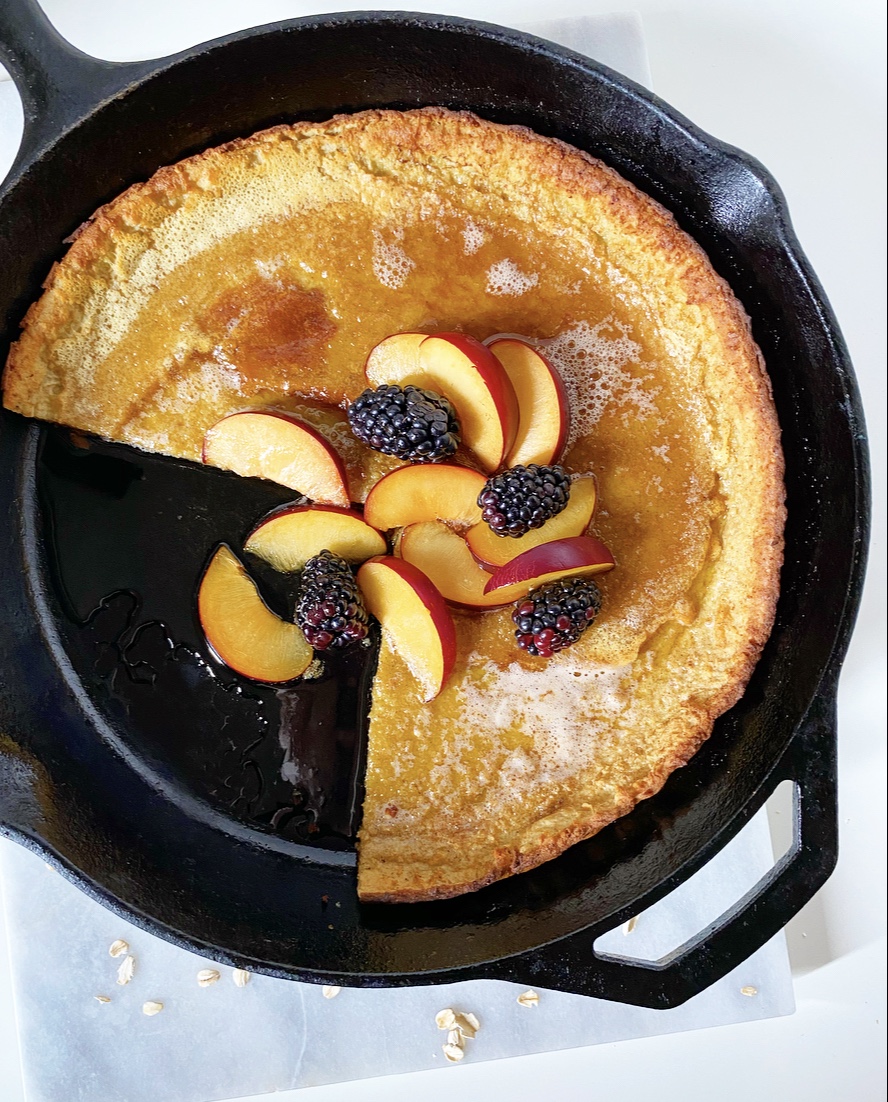
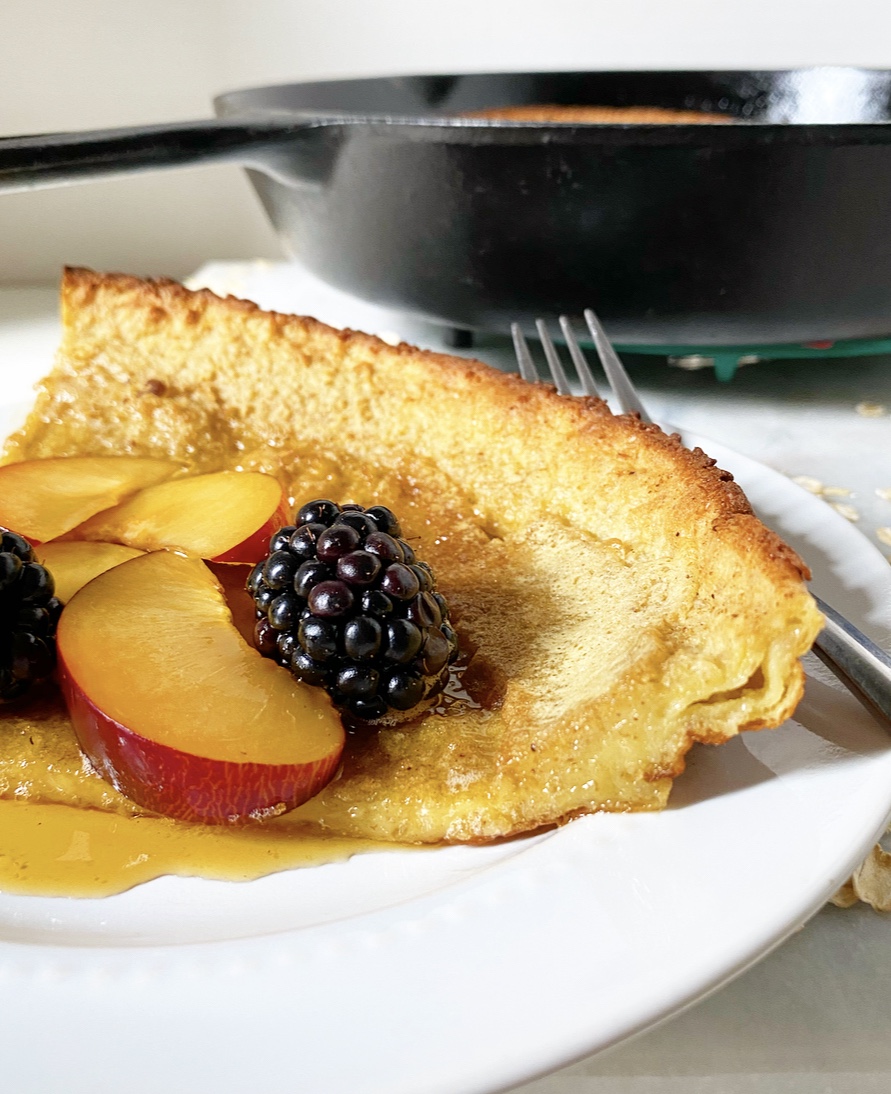
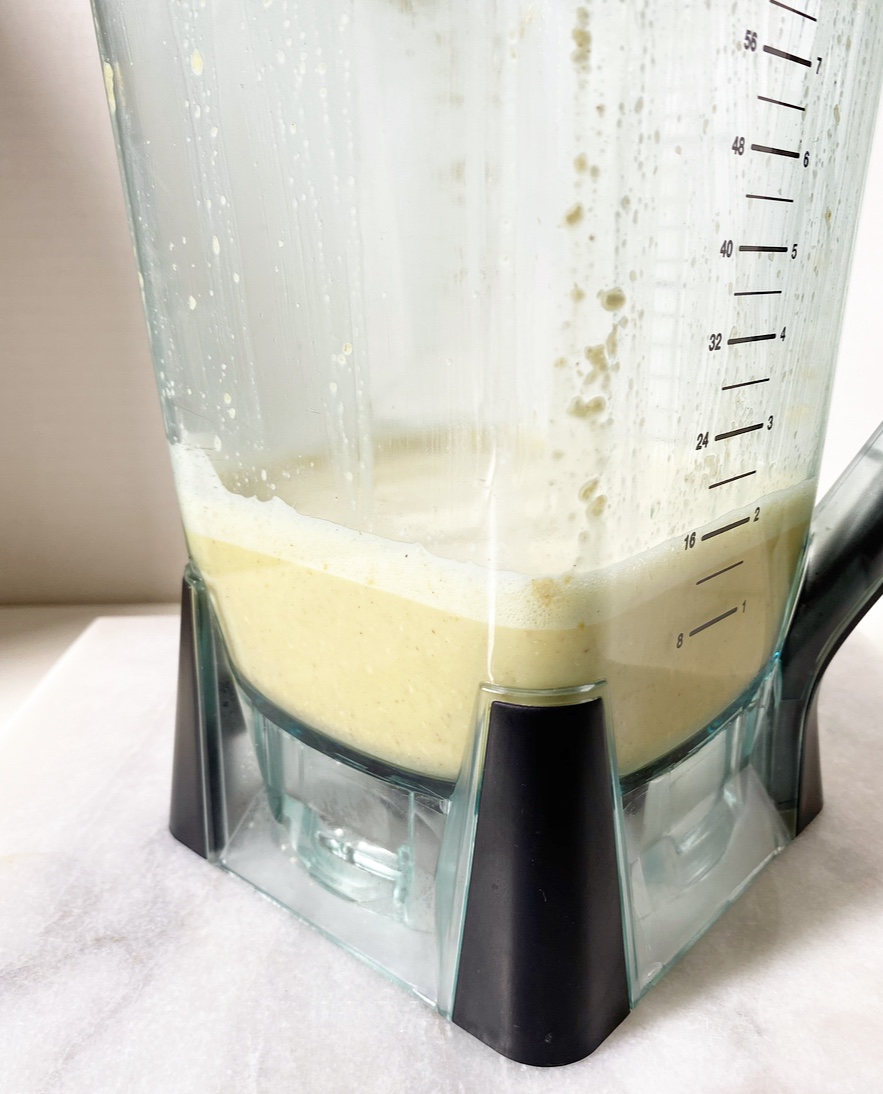 If you’re wondering if this Oatmeal Puff Pancake is more work than the traditional version, the answer is “no.” Just like its gluten-full counterpart, the batter comes together in under 90 seconds in a blender, then goes directly into a super hot, buttery pan, then into the oven for 18 minutes.
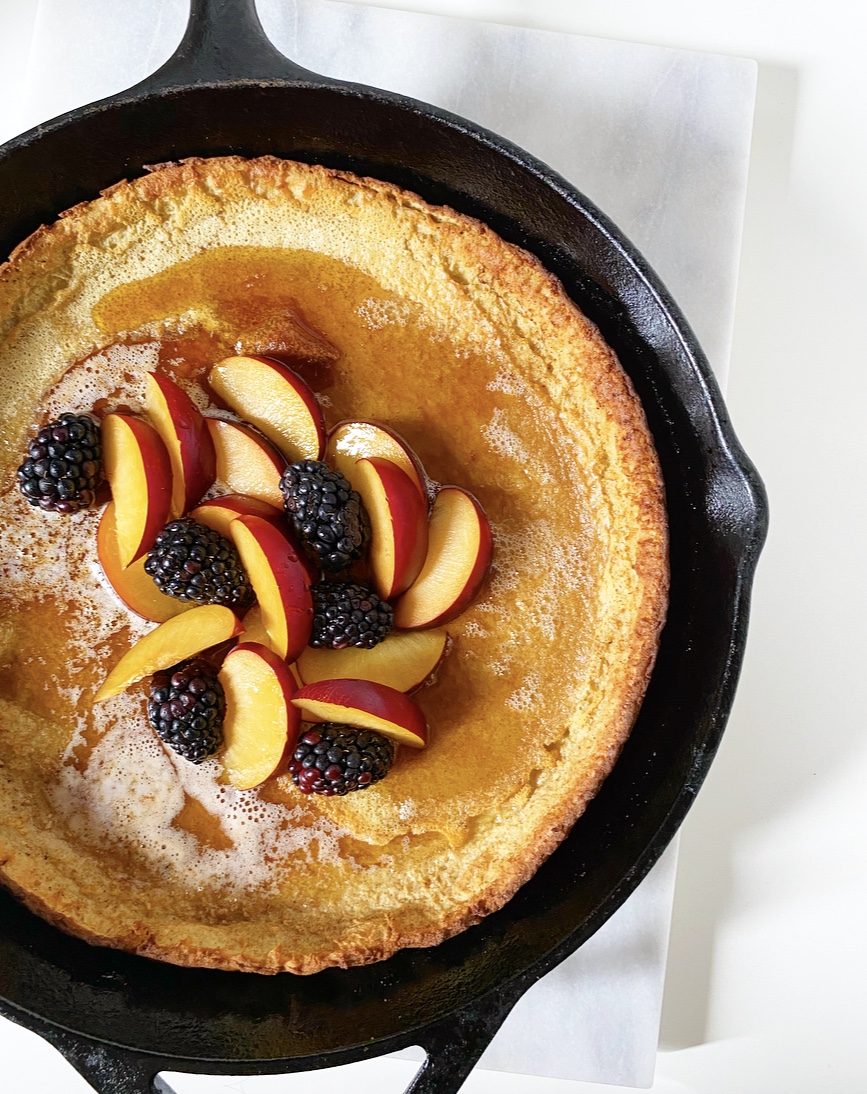
 The pancake is ready when the edges are golden brown and the center is beginning to take on color. It will also likely (but not always) have a few large bubbles, which will quickly disappear as the puff relaxes into a smoother bowl shape at room temperature.
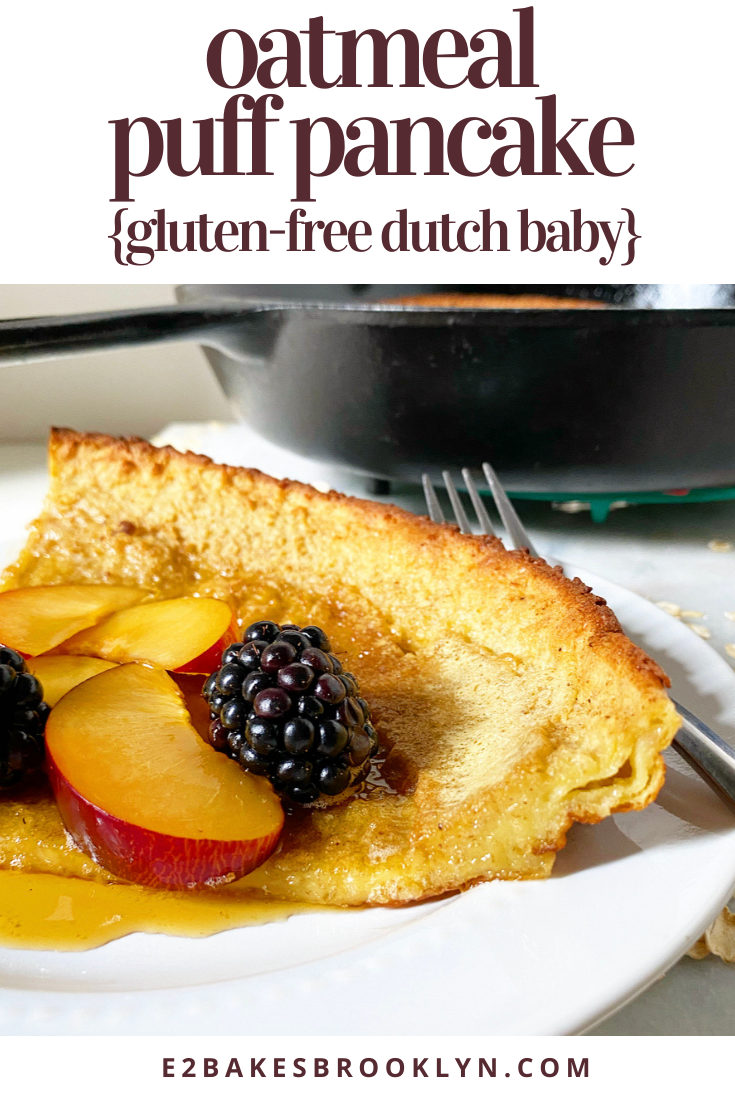
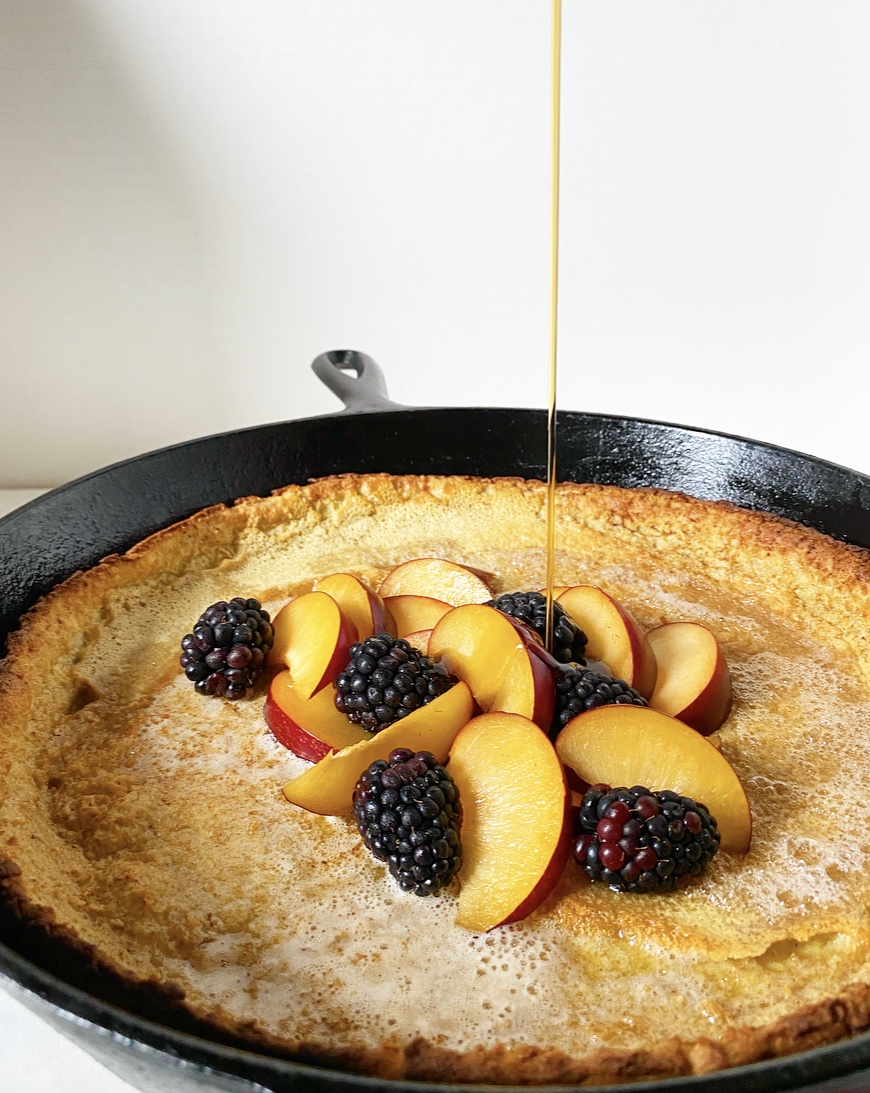 Once it’s deflated, fill your Oatmeal Puff Pancake with your favorite seasonal fruit (I went with the last of the plums and blackberries) and drizzle with maple syrup, or go more traditional with lemon and confectioner’s sugar. Then slice into this custard-centered beauty and behold its crisp-chewy edges.
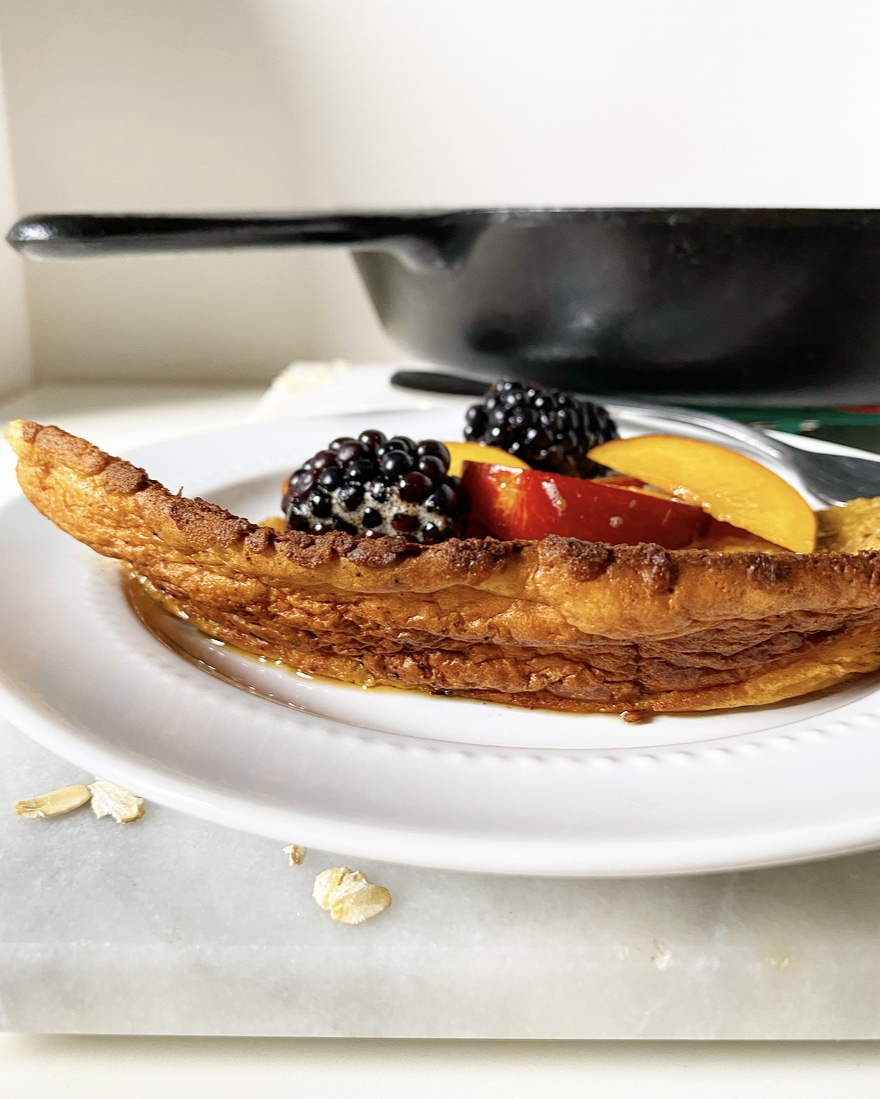
 Like other Dutch Baby recipes, this Oatmeal Puff Pancake can be scaled up or down depending on the size of your pan and how many servings you need. I’ve included times and proportions for four different yields in the recipe notes to make sure that there’s plenty to go around.