 People tell me all the time that they don’t bake because it doesn’t allow for improvising. I’m here to tell you that assumption about baking being all about precision is a big ol’ myth. At least half of the recipes in my archives started from a place of improvisation.
Now, could I have improvised so much when I first started baking? Probably not. The key is developing a few solid base recipes and paying attention to what different ingredients do—after that, it’s trying new things, like working with what you already have and fending off your crippling fear of failure. It’s the same with improvising during “regular” cooking, or in music or in theatre or in musical theatre. You’ve got to know the rules before you can bend them. But then, bend away, and if it doesn’t work, bend another way.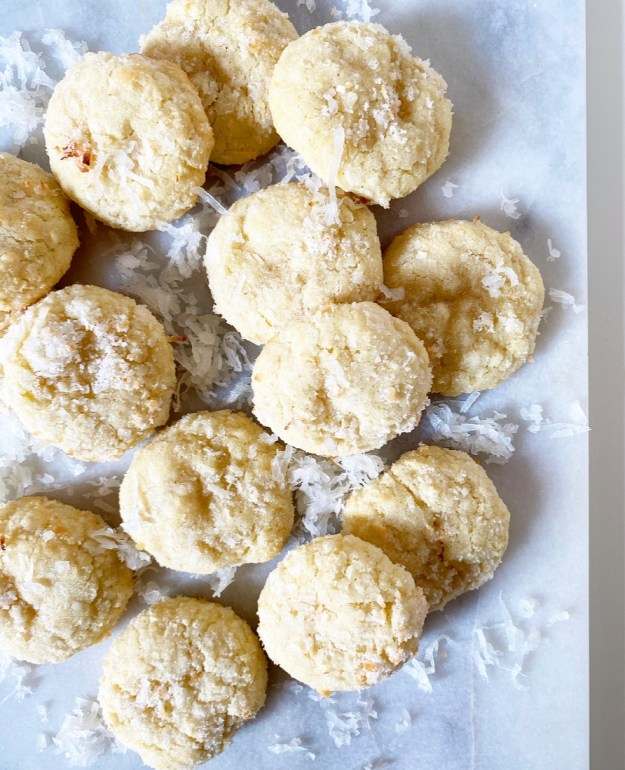 The base recipe for these Coconutdoodles has been on here once already this year. It looks different there, filled with pecans and white chocolate chips, but the recipe is almost *exactly* the same otherwise. Same with last year’s Funfetti Cookies—take out the white chocolate chips and rainbow sprinkles and you have a blank slate sugar cookie recipe.
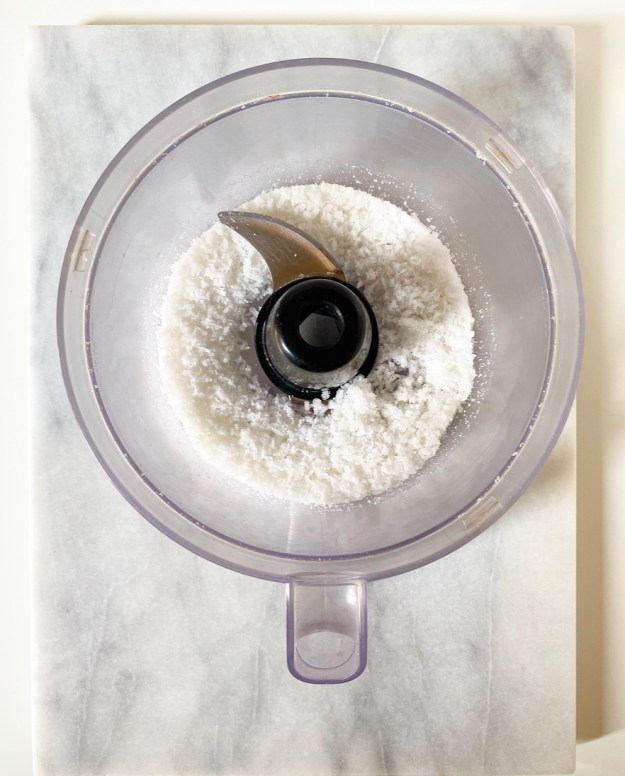


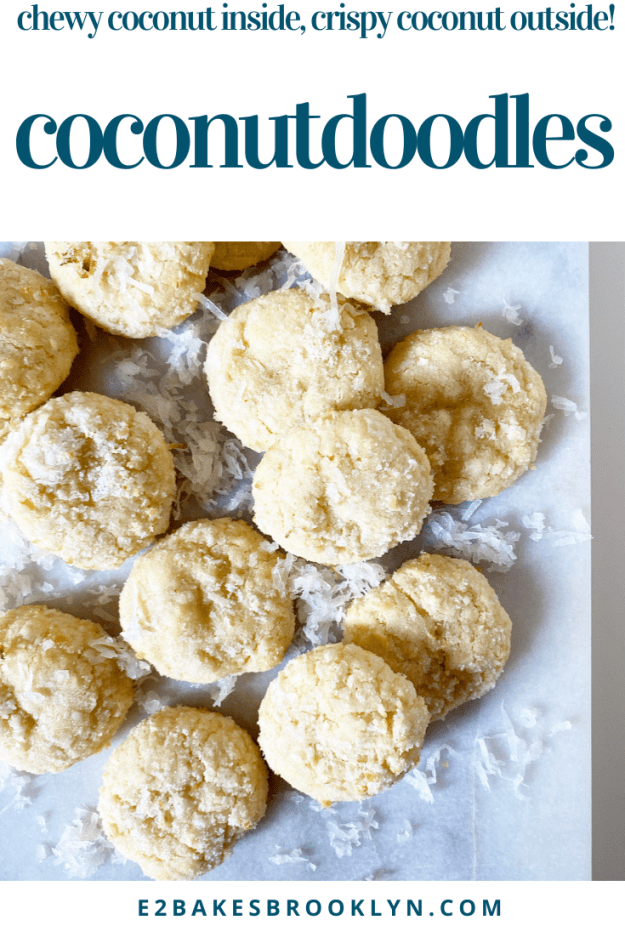
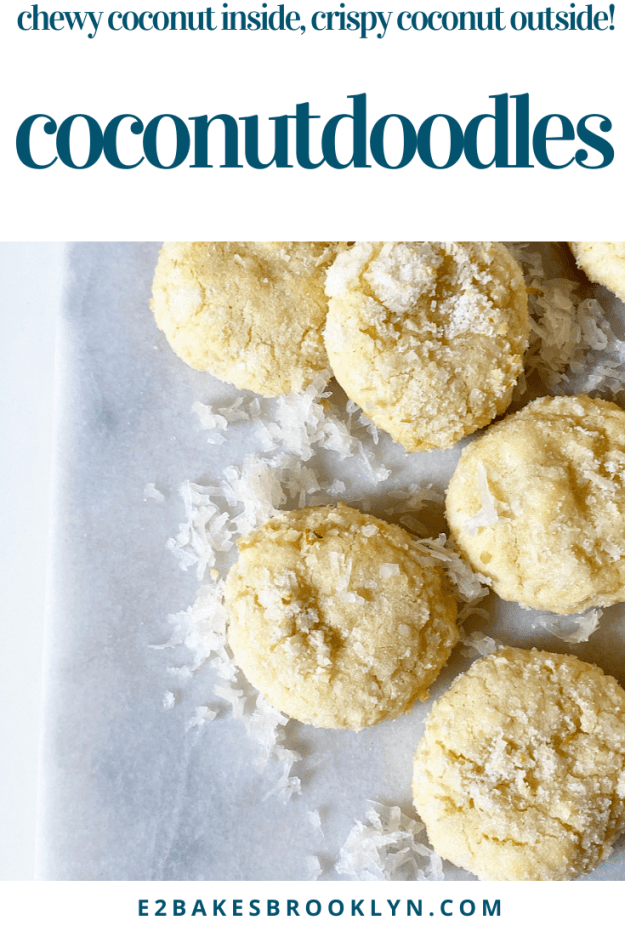
 That’s right, a blank slate. A new start. A place to improvise by adding that random half-bag of coconut you have leftover from…well, I don’t remember what, but that’s beside the point. The point (!) is to load up that dough with as much coconut as it can take, then blitz the rest into a powder with some sugar and roll your cookie dough balls in it, snickerdoodle-style. But it’s coconut, so…Coconutdoodles.
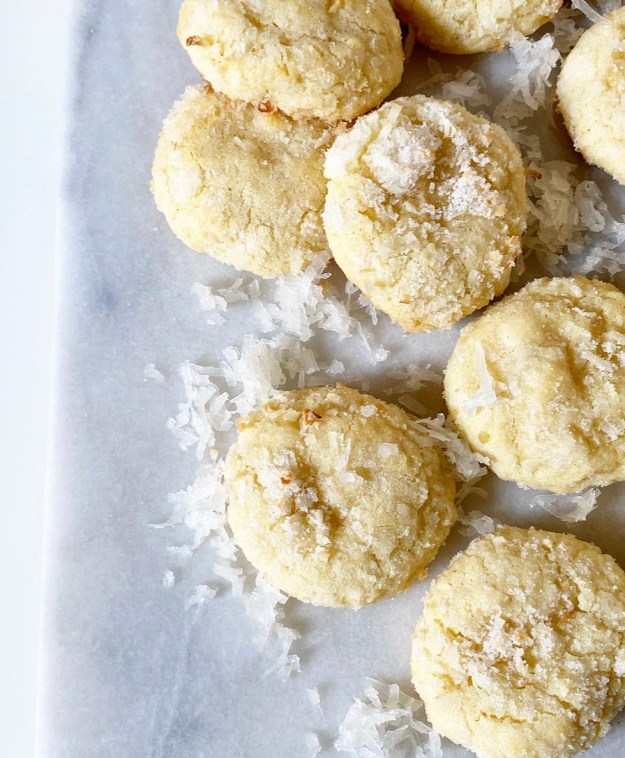
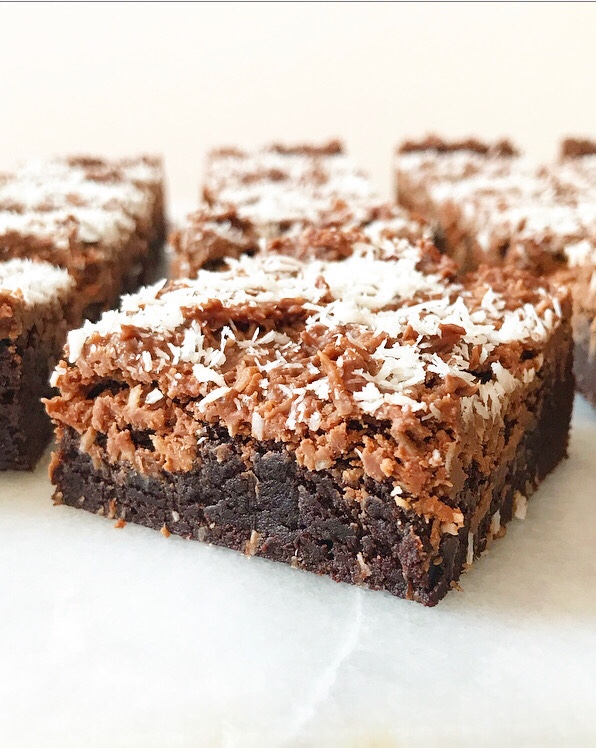
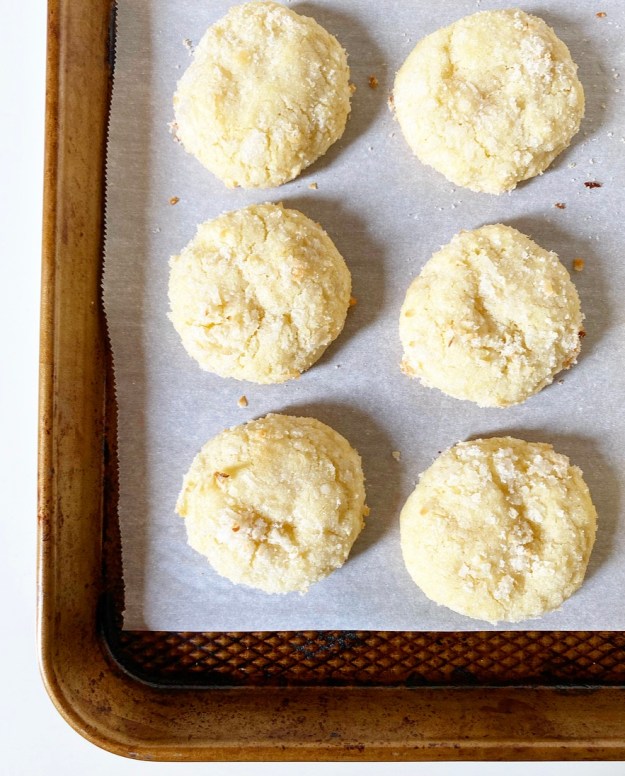 Coconutdoodles bake up super thick and puffy, and while the sugary coconut-crusted exteriors don’t really toast, they do get extra crispy. Oh, and the insides are super chewy and loaded with an obscene amount of coconut. Ob-scene. I really thought it might be too much, or that it might make the cookies crumbly, but it‘s the exact right amount and these cookies stay soft for days. I know because I ate this whole batch myself. That was weeks ago and I’m still sad that they’re gone.
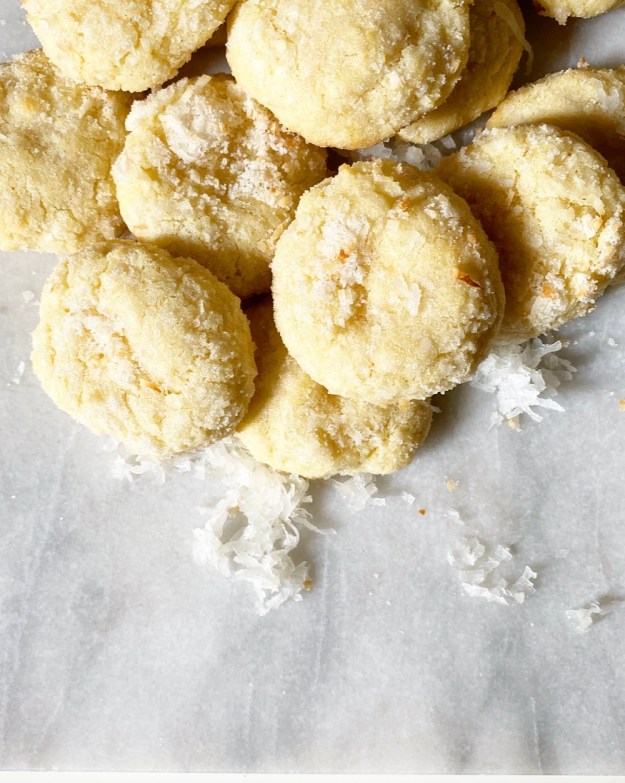 But you know what? I have this blank slate sugar cookie dough, and I’ve got another half-bag of coconut, and heaven knows I’ve got time to make cookies this weekend. I’ll save my crippling fear of failure for next weekend.
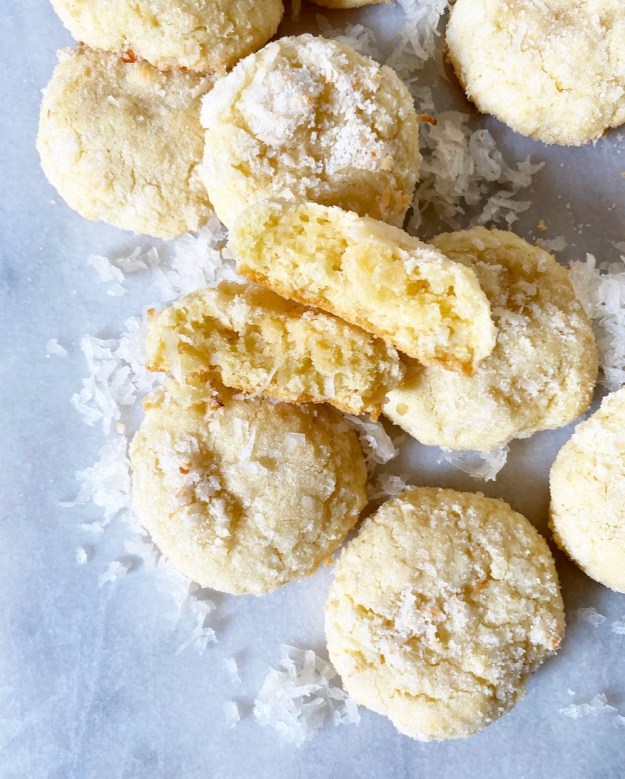
Coconutdoodles
makes about 2.5 dozen cookies
3 cups all-purpose flour
1 tablespoon cornstarch
1/2 teaspoon baking powder
1/2 teaspoon baking soda
1/2 teaspoon Kosher or sea salt
1 cup (2 sticks) unsalted butter, softened to room temperature
1 1/4 cups granulated sugar
2 large eggs, room temperature
2 teaspoons pure vanilla extract
1/4 teaspoon coconut extract (optional, but recommended)
2 cups sweetened flaked coconut
Coating:
1/3 cup granulated sugar
1/3 cup sweetened flaked coconut
In a medium mixing bowl, whisk together flour, cornstarch, baking powder, baking soda, and salt. Set aside.
In a large mixing bowl, use an electric mixer to cream butter until fluffy and lighter in color. Beat in granulated sugar. Mix in eggs one at a time, followed by vanilla. Add dry ingredients in two installments, beating until combined. Use a silicone spatula or wooden spoon to fold in coconut. Cover dough with plastic wrap and chill for at least 2 hours, or up to 3 days.
Preheat oven to 350F. Line two baking sheets with parchment. Set aside.
Make the coating. Combine granulated sugar and coconut in a food processor. Pulse 10-15 times or until mixture is snowy (no big pieces of coconut). Do not over-process, as mixture can become a paste. Place coating in a shallow bowl.
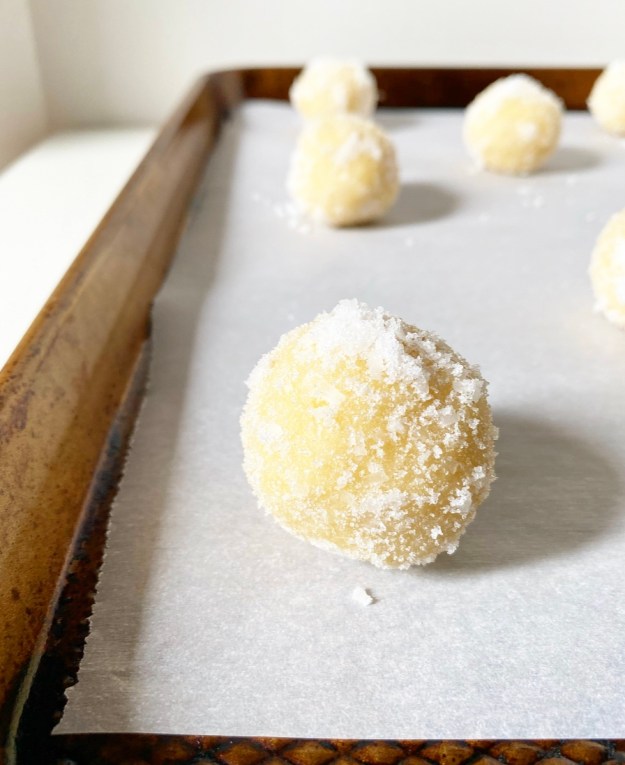
Scoop chilled dough in 2 tablespoon increments, and roll into balls. Roll each dough ball in the coating mixture. Place dough balls at least two inches apart on prepared baking sheets. Bake cookies 10-11 minutes, until puffy. Let cool on baking sheets for five minutes before removing to a rack to cool completely. Repeat process with any remaining dough, letting the baking sheets come back to room temperature between batches.
Cookies will keep extremely well in an airtight container at room temperature for up to a week.


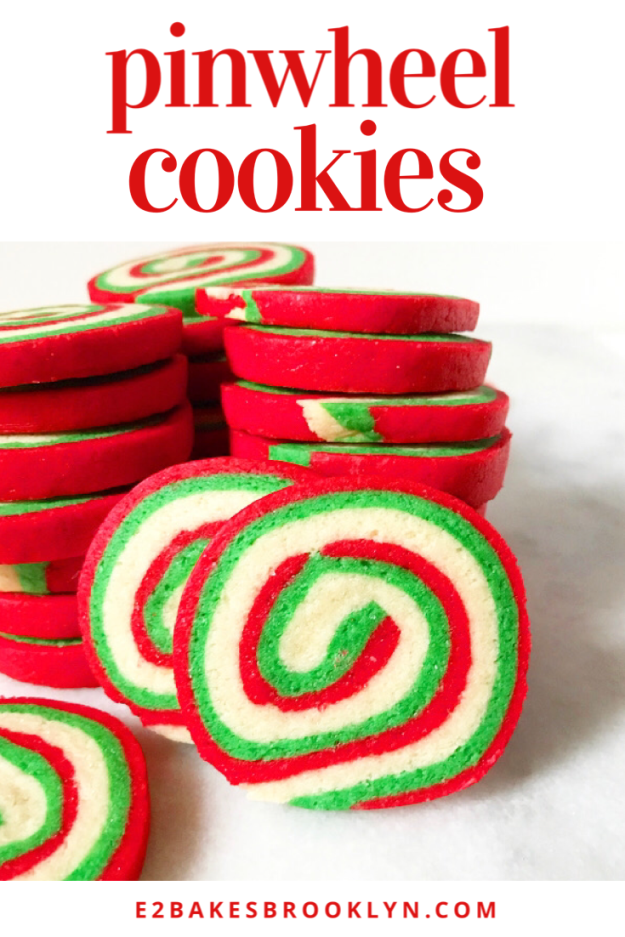
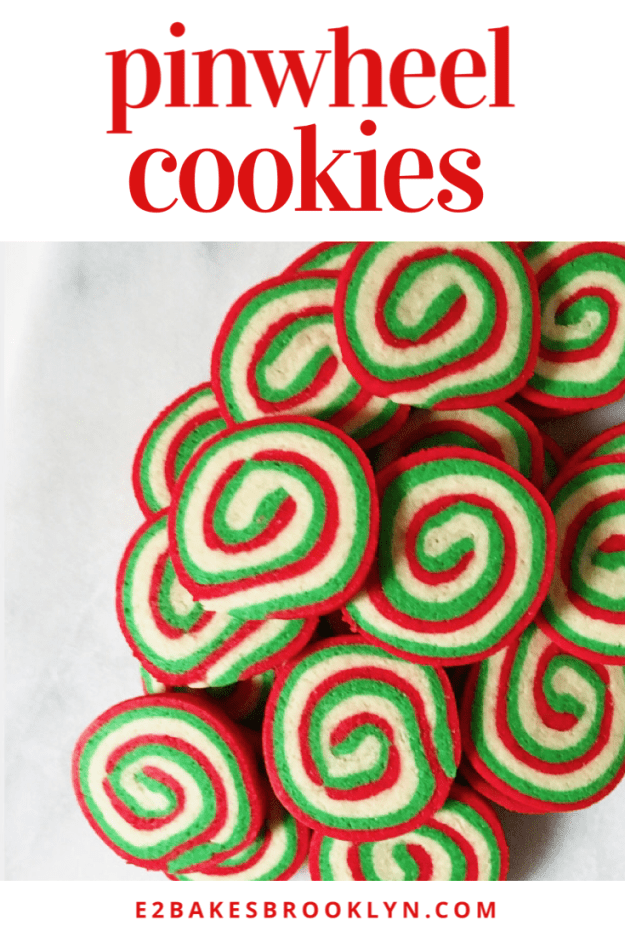
 I have had these Pinwheel Cookies on my “to bake” list for years, but every time the holidays have come around, I’ve said “next year.” But now, having gotten brave and made them four times without any real hitches, I can confidently say that the Pinwheel intimidation factor is entirely in the presentation. I mean, all those colors and the signature swirl and the abject cuteness—you can see why I was worried. What if mine were hideous?
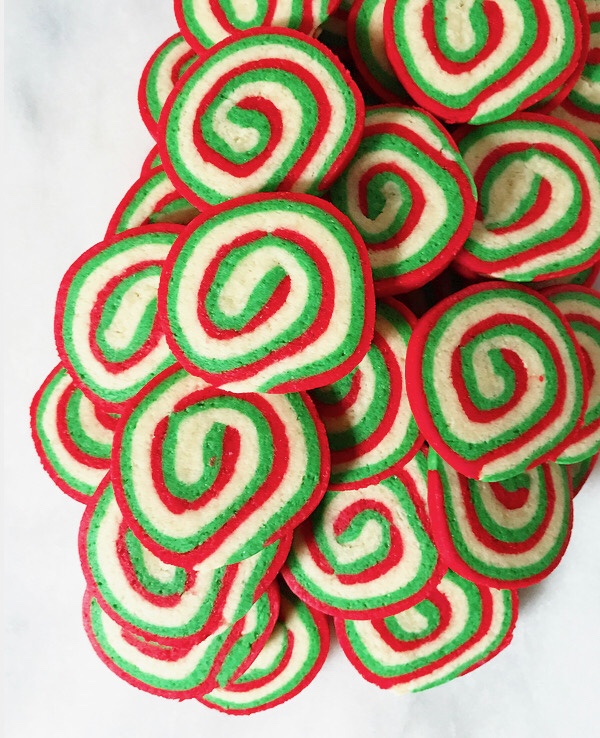 I was sure that I, with my fairly limited motor skills, would need months to figure out a method that worked for me. Turns out all I really needed were 48 hours and a little self-confidence. If I can make Pinwheel Cookies, so can you! I mean, even if you really screw them up (which you won’t!) they’re still going to be cookies, right?! Let me walk you through the process.
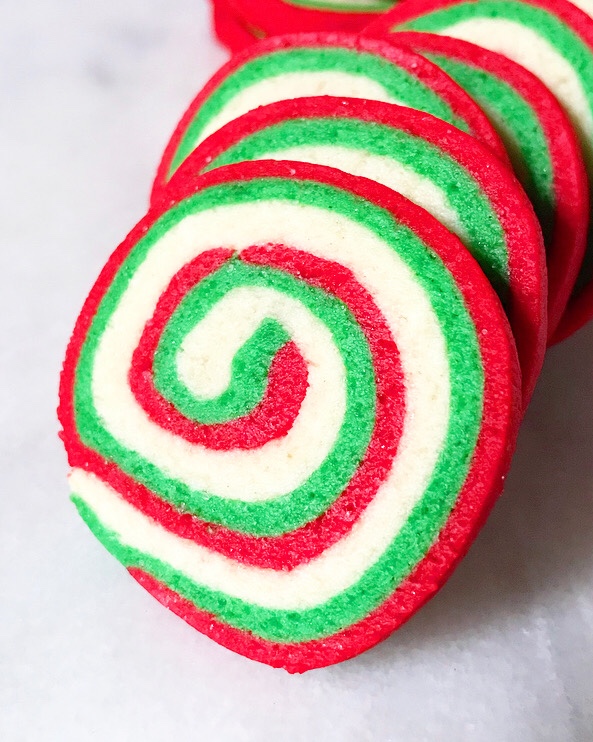 As I said, these are simpler to make than they look, but be sure you read through the recipe a couple of times before beginning. That’s Baking 101, but I know I’ve skipped it and found myself in a bind more than a few times. This recipe is not difficult, but it does have many steps, including two short chills and one long one. You want to know what’s coming before you start!
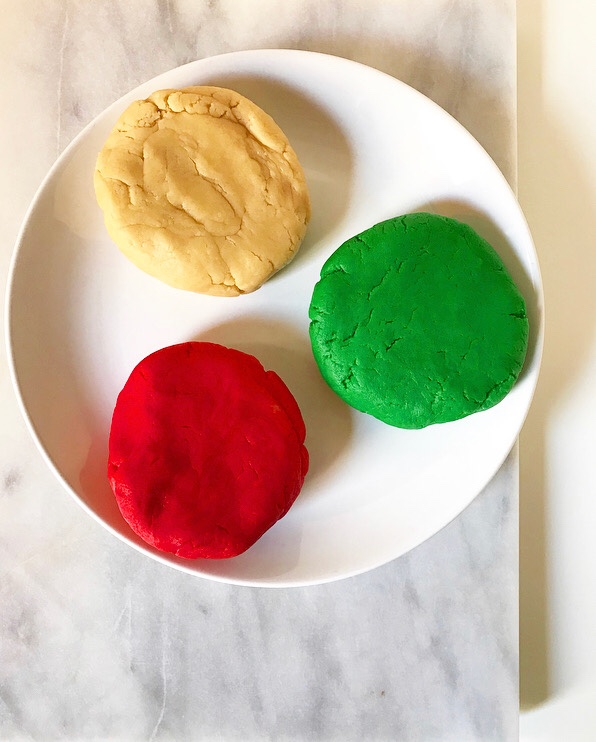 The dough I used here is my tried & true
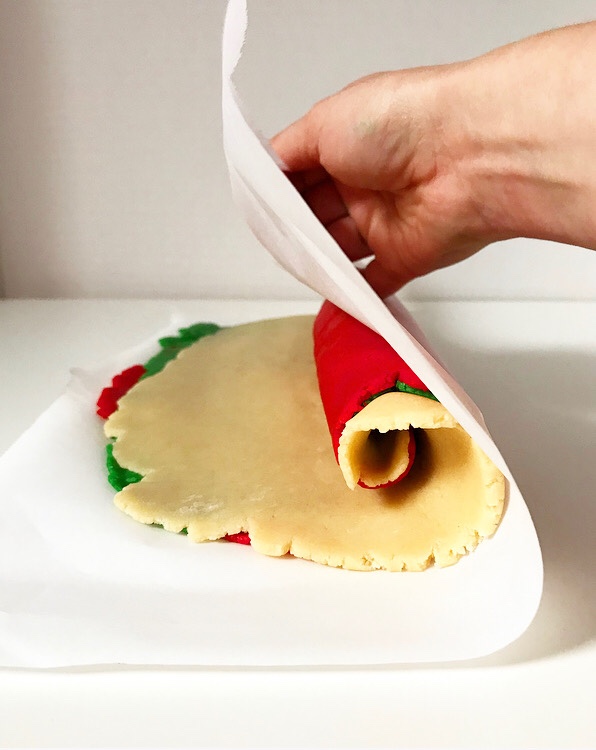
  This part always stresses me out, but I promise it’s not a big deal. I’ve tried stacking the dough in frozen sheets, among other ways, but the best I’ve found is rolling them all on parchment, then stacking and peeling off the parchment. If your dough tears, simply press it back together with your fingers. Once all the colors are stacked, put the dough into the in the fridge for a few minutes before rolling it up into a cylinder.
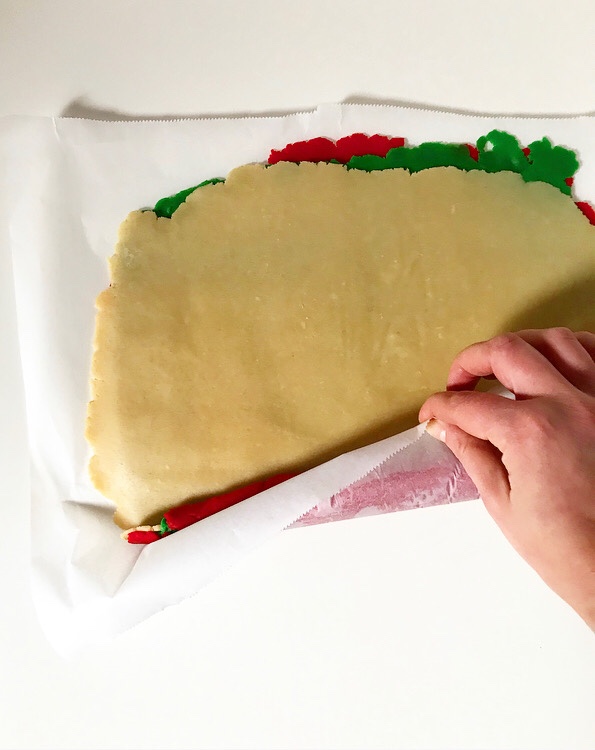
 Some recipes will tell you to trim off the edges of the dough before rolling, but I’ve found that unnecessary. If it’s bothering you, though, go ahead and even out the long sides.
 Before I chill the dough, I like to smooth the cylinder, rolling it back and forth and stretching it out to 16 inches in length and 1 1/2 inches in diameter. This ensures that all the layers of the cylinder stick together in one cohesive piece and that all the cookies will be roughly the same size. Trim off the uneven ends, wrap the dough in plastic wrap and chill it for a good three hours. If you’re working ahead, you can triple-wrap it and put it in the freezer. Just thaw overnight before slicing.
 The great part about Pinwheel Cookies is that the hard part is done before the final chill. After that, all you’ll need to do is slice them into 1/4-inch thick pieces, arrange them on a sheet pan, and bake them for 8 minutes. Let them cool on a rack and then throw ‘em on a platter, in a tin or a cookie jar.
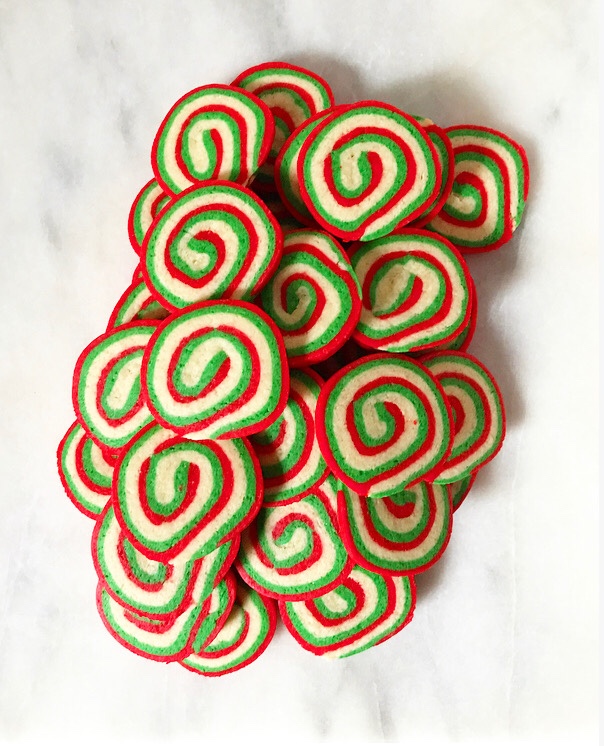 All that’s left to do is eat three and declare this the “Year of the Pinwheel.” Nobody else will have any idea WTF you’re talking about, but I do and I think you’re a holiday baking badass.
 It’s no secret that I love sprinkles. Like big pink puffy heart ❤ ❤ ❤ them. You’d be surprised at the amount of restraint I have to practice so that half the recipes on this site aren’t loaded with rainbow-colored
  I know it’s silly, but I don’t care. You can tell me all you want that
  Sprinkles make me happy. Don’t rain on my
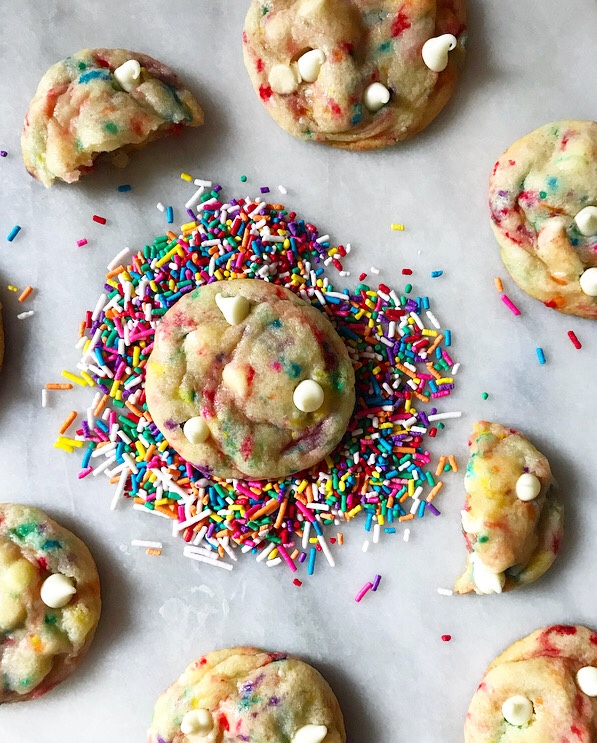
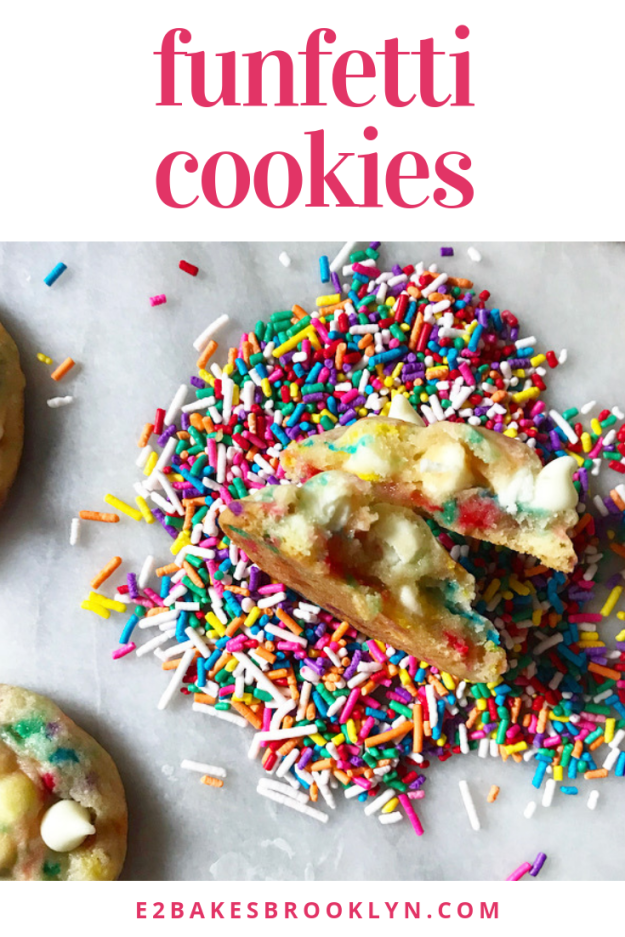
  I mean, how could anyone be anything but beaming while eating a soft, chewy sugar cookie bursting with color and studded with white chocolate chips? This batch is long gone, but just looking at the photos makes me smile 🙂
 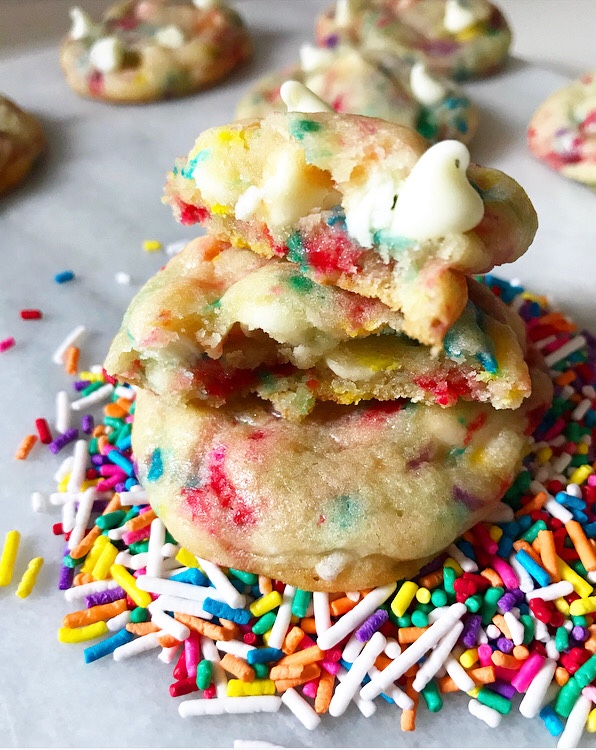 You know what else makes me smile? Miniature schnauzers (also all dogs ever),
 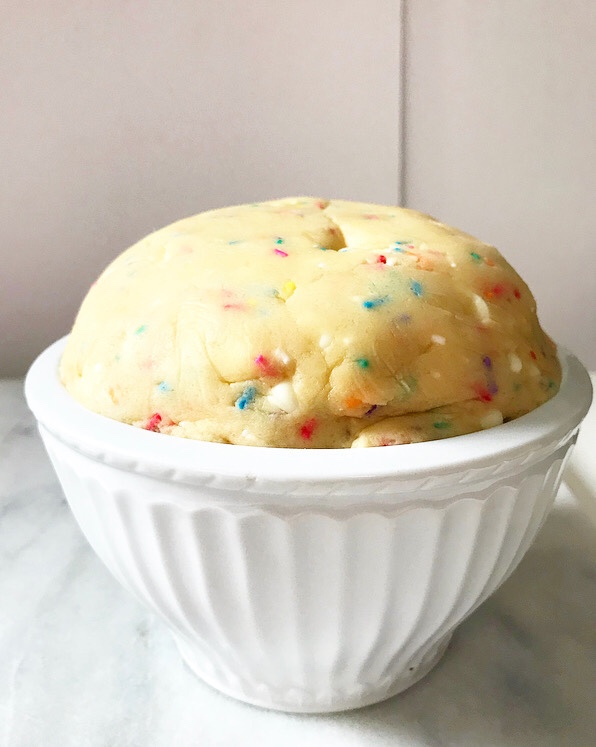 This recipe starts with a buttery drop sugar cookie dough that you probably have all the ingredients for right now! #score
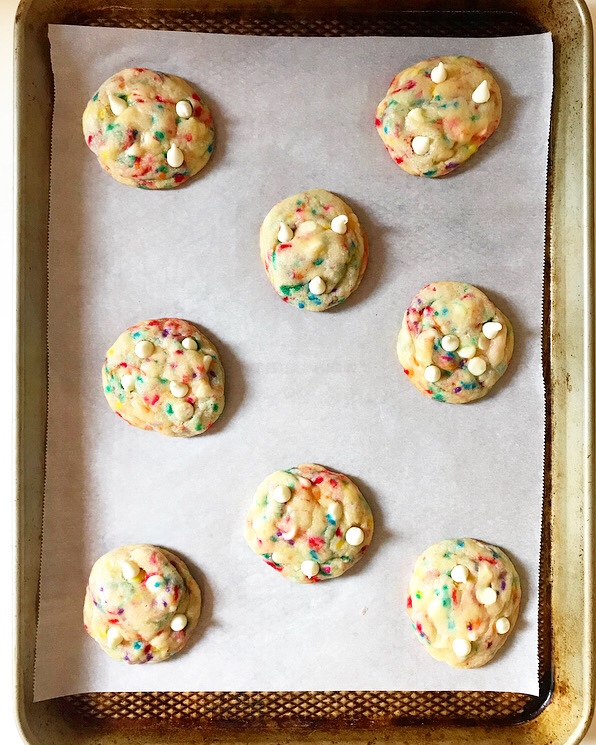 You could, of course, skip the accoutrements and bake up a batch of really delicious plain sugar cookies, but I promise the sprinkles and white chocolate chips are worth the extra trip to the grocery store. They take an already great recipe and turn it up to 11.
 I don’t know about you, but I simply don’t have time or spare calories for cookies that aren’t an 11.


 I’m not sure exactly how I’ve allowed 3+ years to go by without giving you my recipe for Chocolate Cut-Out Cookies, but I’m happy to be rectifying that travesty today.
 I mean, how dare I deprive you of this dead-easy recipe for these deeply chocolaty, shockingly tender blank-slate cookies for 362 posts! How. Dare. I.
 You may think I’m being dramatic—they’re cookies, not rocket science—but these are really delicious. Like more chocolaty than any plain, no-frills cookie really ought to be.
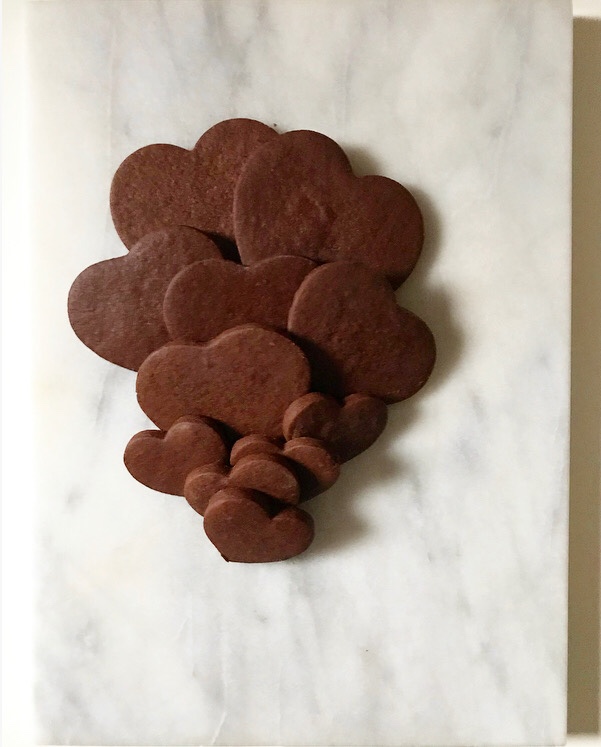
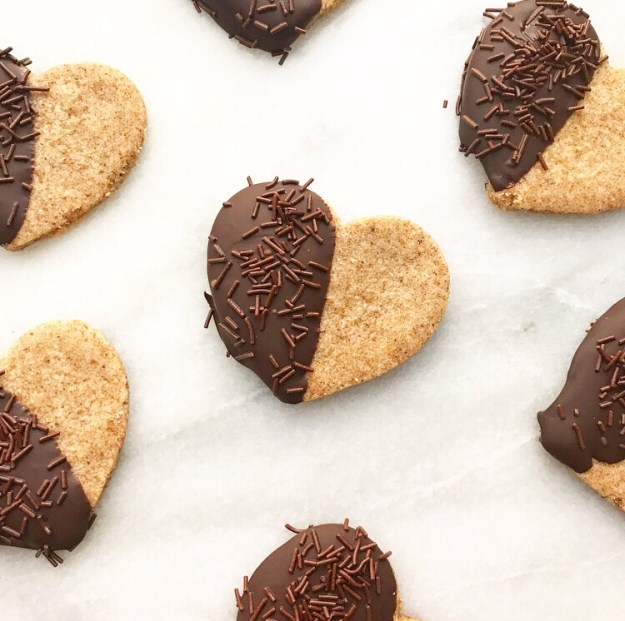
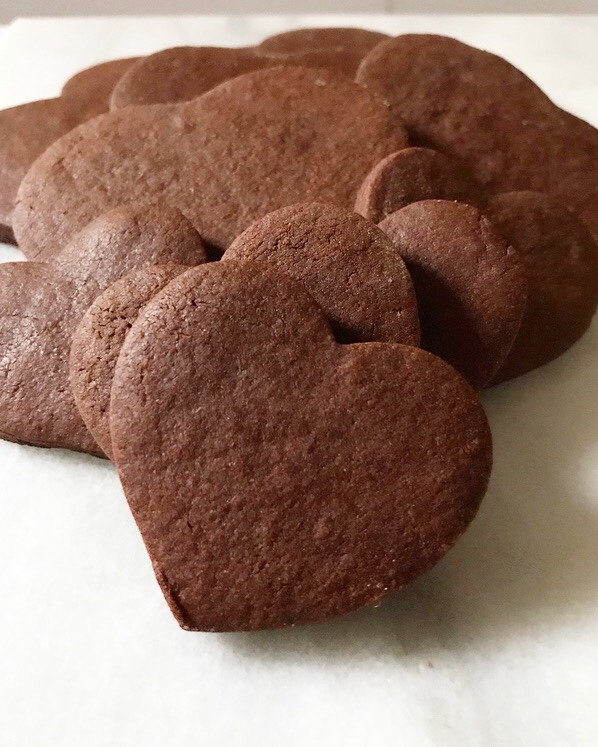 So rich and buttery and utterly decadent that you’d be more than happy to eat them by their lonesome…
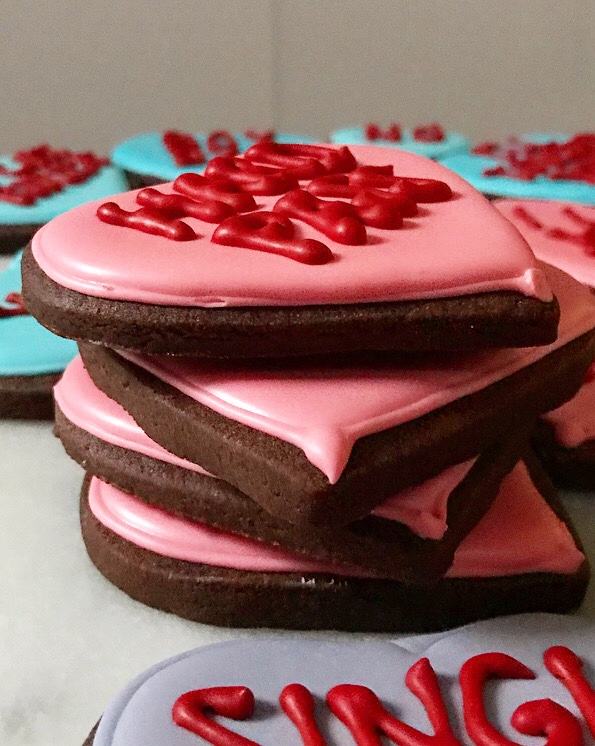 …but then you’d be missing out on the cheeriness that comes with a layer of my go-to
  Or perhaps you, like me, prefer your cookies and icing with a little light-hearted snark. I’m not one of those people that hates Valentine’s Day—
 Perhaps I’ve had my heart broken one too many times. Or maybe I just know exactly what I want: a man who will tolerate me for all my weirdness and vast amount of baking equipment.
 Yes. That and a pile of cookies.