I make a lot of cakes—a lot. In any given month, I make at least ten, plus any that are tested and posted on this blog. What can I say? I have friends who like to celebrate and like my cakes. I’m flattered.
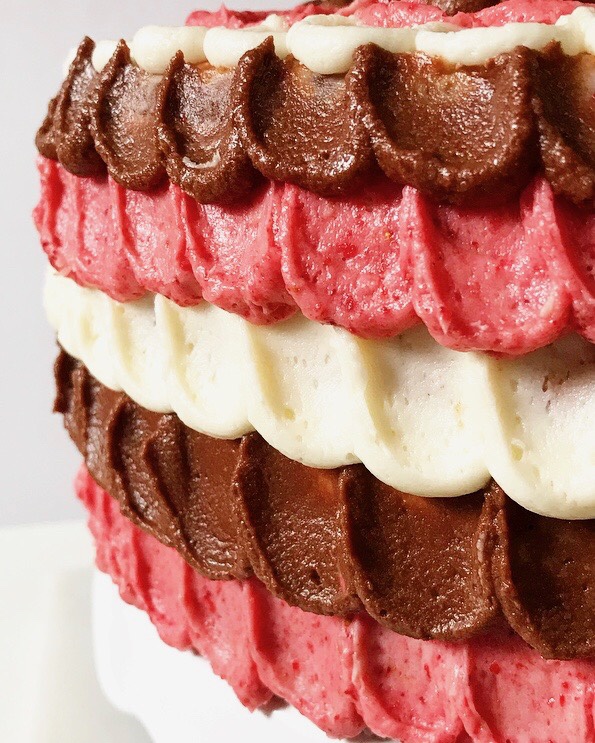 Of course, this means that making cake—something that once only brought joy—can sometimes be a slog. I don’t necessarily mind when baking feels like work (because it is my work), but I’d be lying if I said I couldn’t wait to come home and bake layers after a long day of blogging and personal cheffing. The joy understandably gets a little lost when I’m making a double batch of vanilla layers at 11pm on a Tuesday.
 But when inspiration strikes and I can be creative, it could be 4am and I’d be psyched to be baking. My roommate might not particularly like it, but I’d be in heaven.
 Such was the case last month when I made a cake for a friend whose only instruction was that it should have something strawberry involved, at his young daughter’s request. Other than that, I could go wild.
 And so that request for a strawberry element somehow meshed with vanilla and chocolate and became Neapolitan…and I went wild. Wild! And it was so much fun (and so delicious!) that I went and made a second cake for this blog. You’re welcome 😉
 Y’all. Y’ALL. This cake. It is a thing. A real undertaking. A project best done over the course of two days. The most intricate cake work that’s ever been on this blog (aside from the wedding cake, of course).
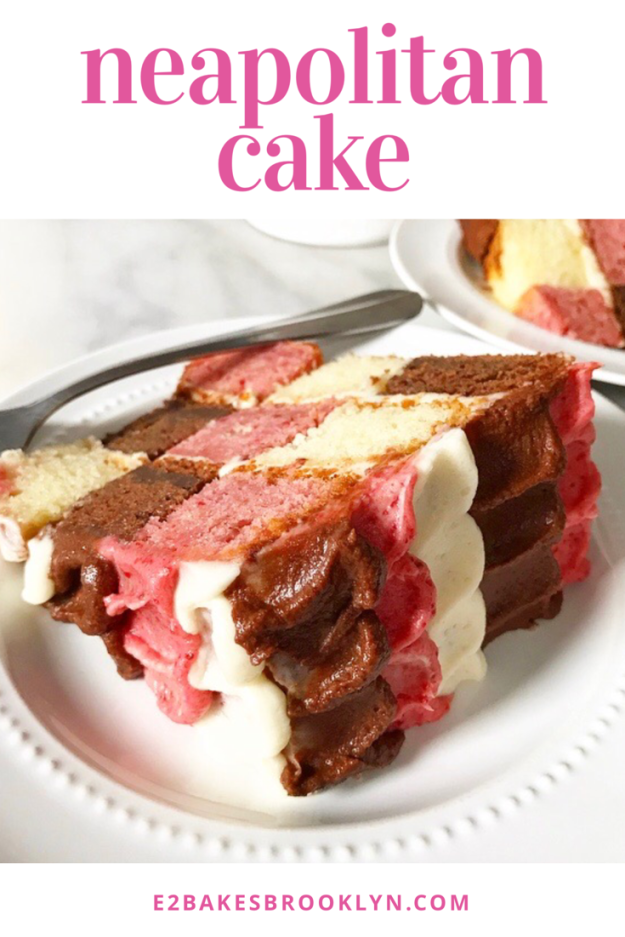
 But I am also completely obsessed with it. I mean, what’s not to love about this checkerboard chocolate, vanilla, and strawberry interior and the ruffled tricolor buttercream exterior? It’s the most fun!
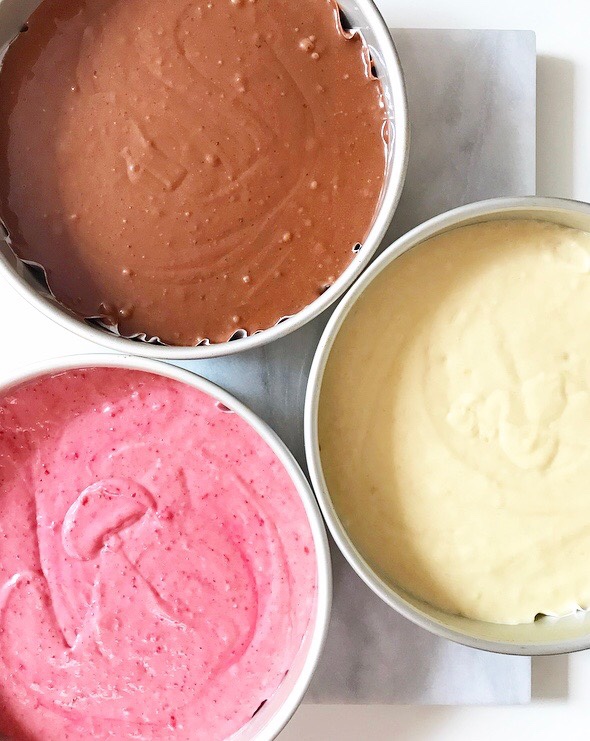 The cake layers are all made from one batter. Once it’s mixed together, it’s divided in thirds. One is left plain—that’s the vanilla layer. Another is spiked with freeze-dried strawberries, and the last with cocoa powder and melted chocolate.
 They’re baked, cooled, evened…
 …and then punched into rings and reassembled.
 And layered in a specific order with thin layers of vanilla buttercream.
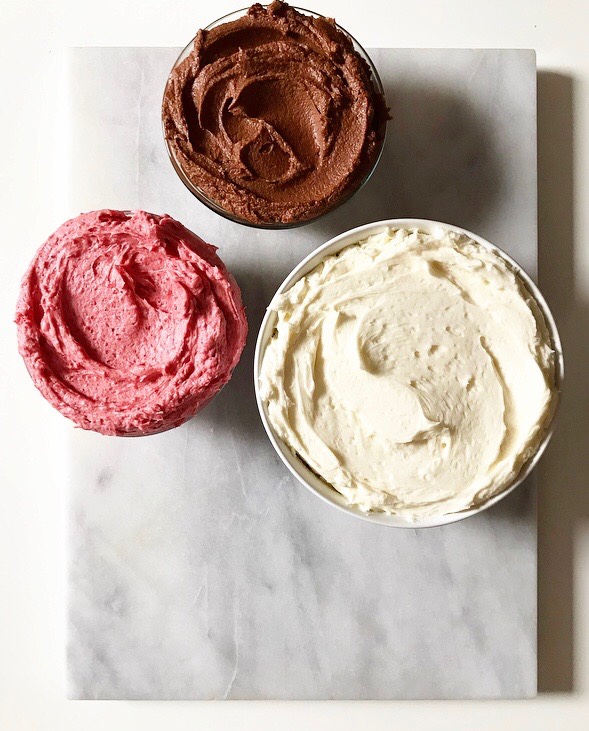
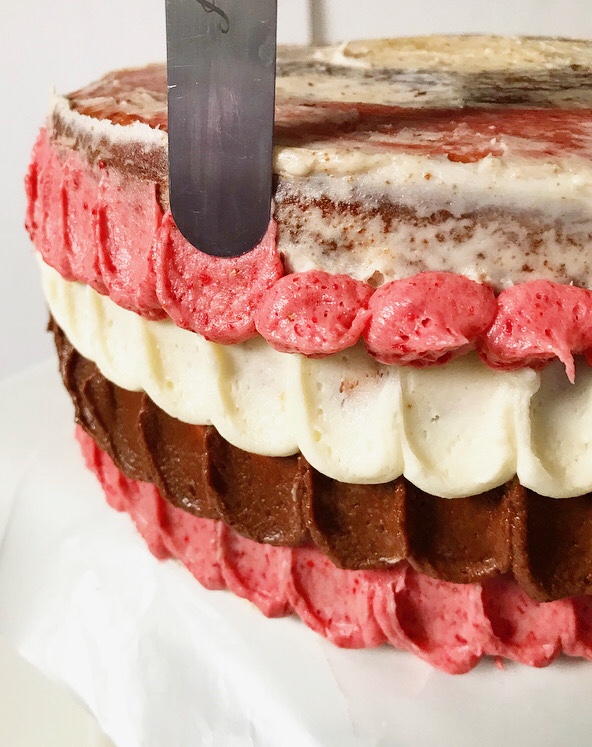


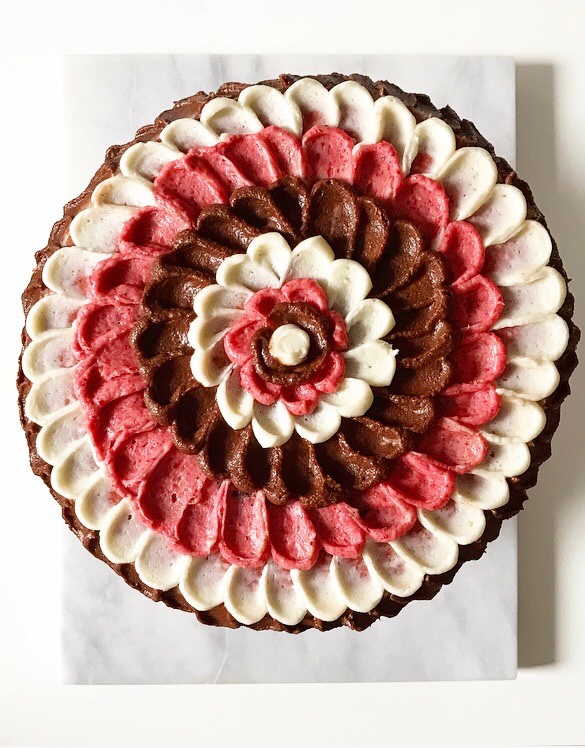 And then decorated in the most fun (and shockingly easy!) ruffle pattern. Or, you know, however you like.
 When all is said and done and sliced and served, all your friends’ minds will be blown at your Neapolitan Cake prowess. As they freaking should be.
Neapolitan Cake
makes one 3-layer 9-inch round cake
Cake Batter:
5 cups all-purpose flour
1 tablespoon baking powder
1/2 teaspoon Kosher or sea salt
3 cups granulated sugar
1 1/2 cups (3 sticks) unsalted butter, melted & cooled slightly
5 large eggs, room temperature
4 teaspoons pure vanilla extract
2 cups whole milk, room temperature
1 cup full-fat sour cream, room temperature
For the Strawberry Layer:
1 1.2 ounce package freeze-dried strawberries, pulverized
2 tablespoons whole milk
red food coloring (I used 6 drops red gel), optional
For the Chocolate Layer:
1/4 cup natural unsweetened cocoa powder
2 ounces dark chocolate, chopped
1/4 cup whole milk
Special Equipment:
6 inch round cake ring/cookie cutter
3 inch round cake ring/cookie cutter
Preheat oven to 350F. Grease 3 9-inch round cake pans. Line the bottoms with parchment and grease again.
Make the cake batter. In a large mixing bowl, whisk together flour, baking powder, salt, and granulated sugar. Set aside.
Pour melted butter into a medium mixing bowl. Whisk in eggs one at a time, followed by vanilla.
In a large measuring cup, use a fork to stir together whole milk and sour cream.
Whisk half the butter mixture into dry ingredients, followed by half the milk mixture. Add remaining mixture, followed by remaining milk mixture.
Make the flavored layers. Pour 3 1/4 cups of batter into one of the pans. This is the vanilla layer. Set aside.
Pour 3 1/4 cups of batter into each of two small mixing bowls.
To make the strawberry layer, whisk pulverized freeze-dried strawberries, whole milk, and food coloring into one of the bowls of batter. Transfer to another prepared pan. Set aside.
Make the chocolate layer. Whisk cocoa powder into the last bowl of batter.
Put chopped dark chocolate in a microwave-safe bowl. Microwave in 15 second increments, stirring in between, until melted and smooth. Whisk into batter, followed by whole milk. Transfer to remaining prepared pan.
Smooth the tops of all the pans-full of batter. Tap each full pan on the counter five times to release any large air bubbles. Bake cakes 32-37 minutes, or until a toothpick inserted in the centers comes out clean. Let cakes cool in pans for fifteen minutes. Run a small thin knife around the edges of the pans and invert the cakes onto cooling racks to cool completely. Layers may be wrapped in plastic and refrigerated for up to 2 days.
Even the layers. Working with one layer at a time, use a serrated knife to trim all layers until they are of even height (mine were each 1 1/4 inch tall).
Assemble the layers. Working with one layer at a time, place layer on a cutting board or other surface. Use the 6-inch ring to cut out the center. Use the 3-inch ring to cut out the center of the 6-inch circle of cake. Wipe rings clean. Repeat with remaining layers.
Separate all circles/rings of cake so that you have 3 3-inch center pieces, 3 6-inch middle rings, and 3 9-inch outer rings. Make layers by pressing pieces together like a puzzle. Layers should be as follows:
• chocolate outer ring, vanilla middle ring, strawberry center
• vanilla outer ring, strawberry middle ring, chocolate center
• strawberry outer ring, chocolate middle ring, vanilla center
For Layering & Assembly of Cake
Simple Syrup:
1/2 cup granulated sugar
1/2 cup water
Vanilla Buttercream:
1 cup (2 sticks) unsalted butter, softened to room temperature
1 pound confectioner’s sugar
pinch of Kosher or sea salt
1 tablespoon pure vanilla extract
3-5 tablespoons heavy cream
Strawberry Buttercream:
1 1.2-ounce package freeze dried strawberries
1/2 cup (1 stick) unsalted butter, softened to room temperature
2 cups confectioners sugar
pinch of Kosher or sea salt
2 teaspoons pure vanilla extract
5-6 tablespoons heavy cream
Chocolate Buttercream:
1/2 cup (1 stick) unsalted butter, softened to room temperature
1 1/4 cup confectioners sugar
6 tablespoons natural unsweetened cocoa powder
pinch of Kosher or sea salt
1 teaspoon pure vanilla extract
3 tablespoons heavy cream
Make the simple syrup. Combine sugar and water in a small saucepan over low heat. Stir constantly until sugar dissolves, about 3-5 minutes. Remove from heat.
Make the vanilla buttercream. In a large mixing bowl, beat butter until light and fluffy, about two minutes. Beat in confectioner’s sugar in three installments, scraping down the bowl as necessary. Beat in salt, followed by vanilla. Add in heavy cream until desired consistency is reached.
Make the strawberry buttercream. In a medium-large mixing bowl, use an electric mixer to beat butter until light and fluffy, about 2 minutes. With the mixer on low, beat in confectioner’s sugar, strawberry powder, and salt. Mixture may be alarmingly crumbly—this is normal. Add vanilla and 5 tablespoons of heavy cream. Beat until very fluffy, about 2 minutes. If desired, mix in another tablespoon of heavy cream until the proper consistency is reached.
Make the chocolate buttercream. In a large mixing bowl, use an electric mixer to beat butter until light and fluffy (about two minutes). Beat in confectioner’s sugar, followed by cocoa powder and salt, scraping down the bowl as necessary. Add in vanilla and heavy cream. Beat on high for 1-2 minutes, until very fluffy.
Place the layer with the chocolate outer ring on a serving plate or cake stand. Brush with simple syrup. Top with a thin layer of vanilla buttercream. Place the layer with the vanilla outer ring on top. Brush with simple syrup. Top with a thin layer of vanilla buttercream. Place the layer with the strawberry outer ring on top. Brush with simple syrup. Frost the entire cake with a very thin layer of vanilla buttercream (a “crumb coat”). Refrigerate for 15 minutes or up to 1 day.
Load remaining vanilla, strawberry, and chocolate buttercreams into piping bags (or ziplocks with smalls corners snipped off). Remove the cake from the refrigerator.
To decorate the cake as pictured, working with one buttercream at a time, pipe a ring of dollops around the entire bottom of the cake. Use the back of an offset spatula to press into each dollop and drag upward to create a “ruffle” effect, wiping clean as needed. Use another buttercream to make a ring of dollops above the first (now-ruffled), and repeat the same pressing/dragging method to create the same pattern. Use the remaining color of buttercream, and continue the method, alternating in a pattern until you have frosted your way up the cake, onto the top, and to the center.
Slice and serve. Leftover cake may be kept covered at room temperature for up to two days or in the refrigerator for up to five.

 I must have a thing for sweetened condensed milk right now—this is the third post in a row that requires cracking open a can of the good stuff.
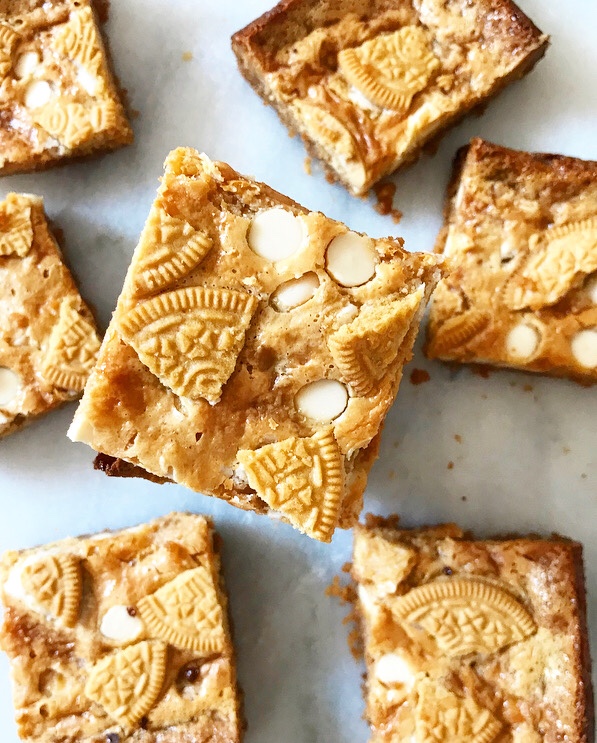 Can you blame me? It’s just so versatile! If you want something to be smooth, creamy, or structurally sound without a million ingredients, sweetened condensed milk is probably the ingredient you want. See exhibits
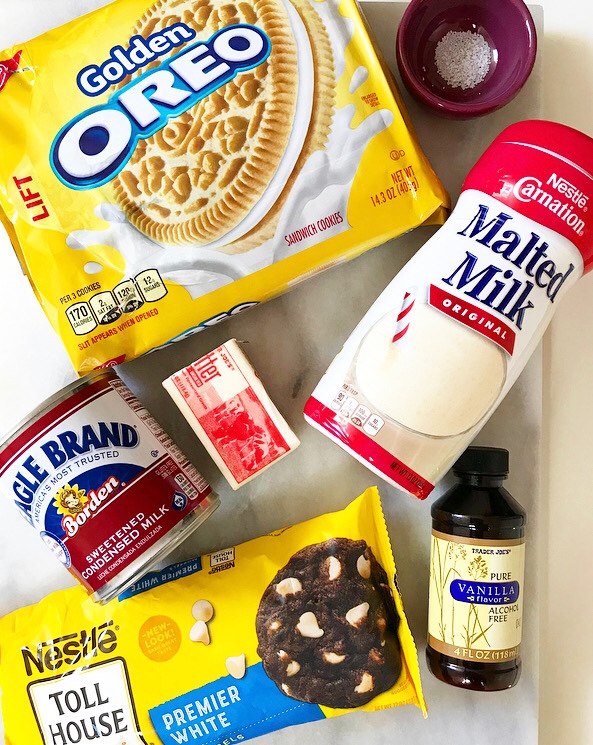
 Sweetened Condensed Milk is probably most popular as the key ingredient in Magic Bars (aka 7 Layer Bars, aka Hello Dollies). In those, it acts as a soft, chewy filling and a vehicle for various chocolate chips, nuts, and coconut. I don’t currently have a recipe for traditional Magic Bars—rest assured, you can find a million of them online—but I have taken the basic formula and put it on a
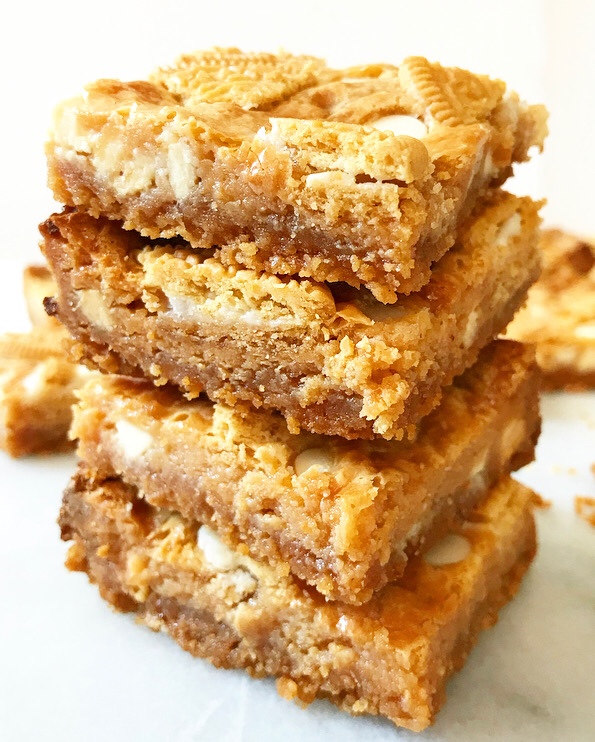
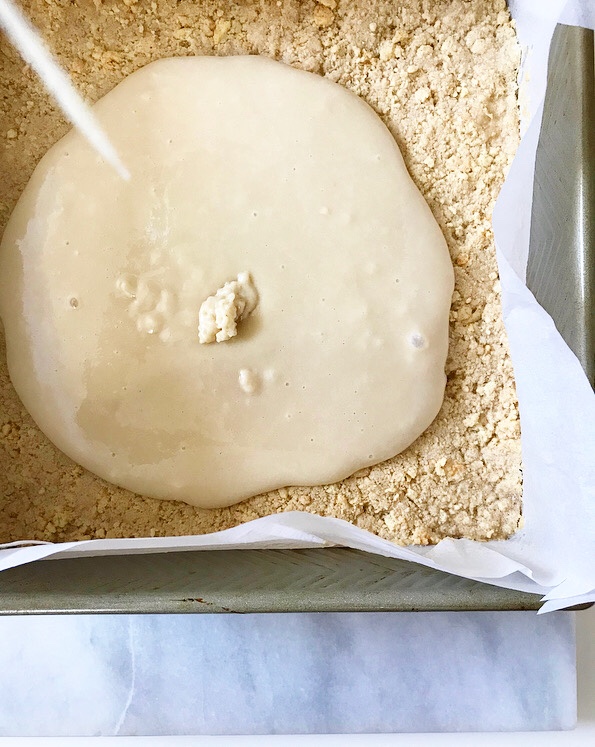
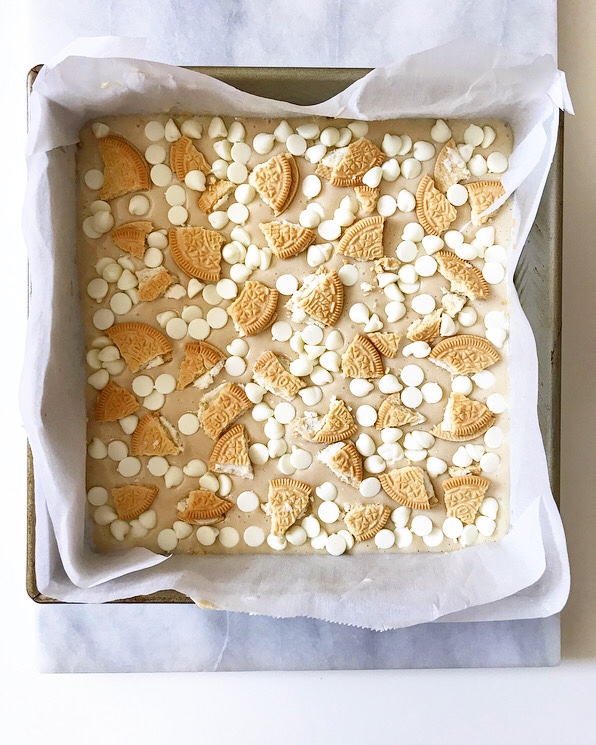
  That’s right—Vanilla Malt Magic Bars, y’all! They’re soft and chewy with a big vanilla malt flavor and a buttery cookie crumb crust. The filling is studded with white chocolate chips and broken pieces of Golden Oreo, and the tops are ever so slightly crackly thanks to the way sweetened condensed milk caramelizes in the oven.
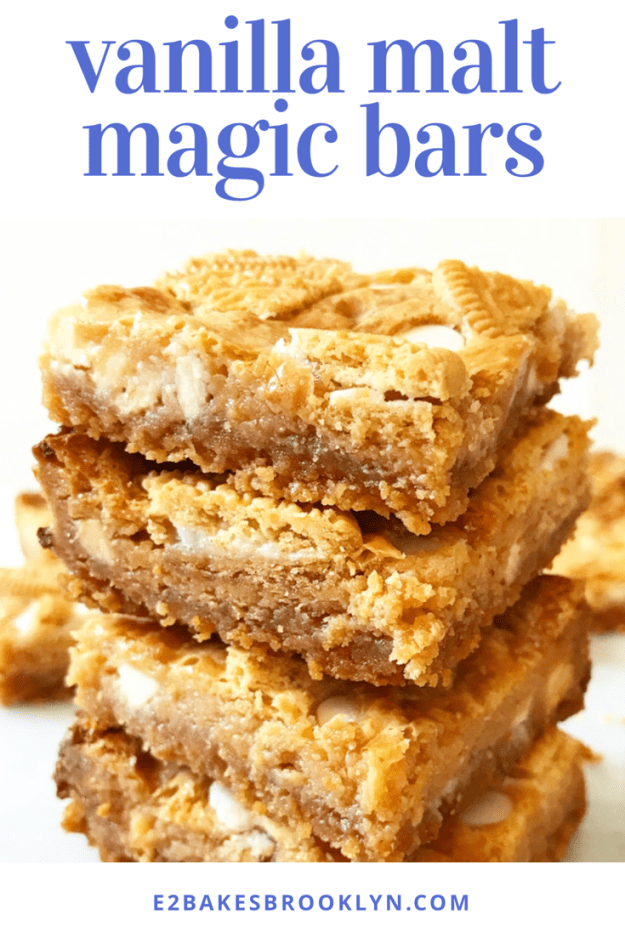
 These bars require just seven ingredients and come together quickly and easily…again, because sweetened condensed milk makes things a snap.
 Oh, and they stay soft and delicious for days on end because…well, you know.
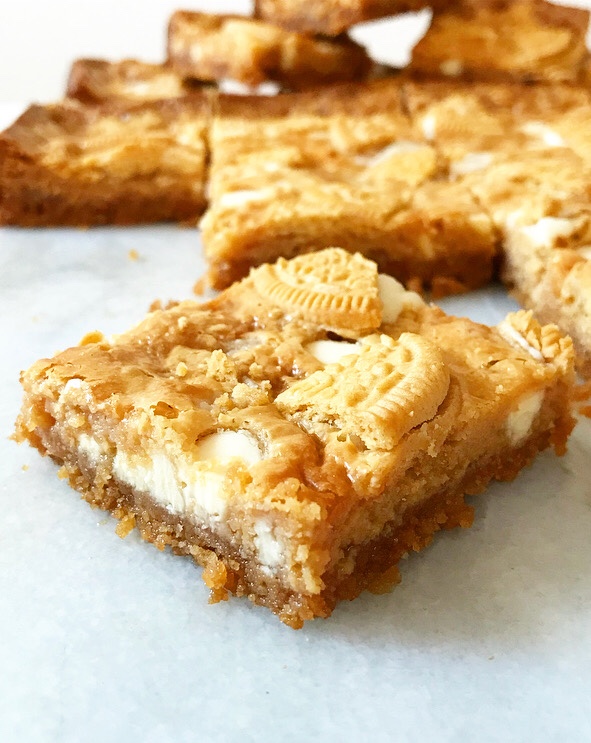


 I had no intention of making a third (or
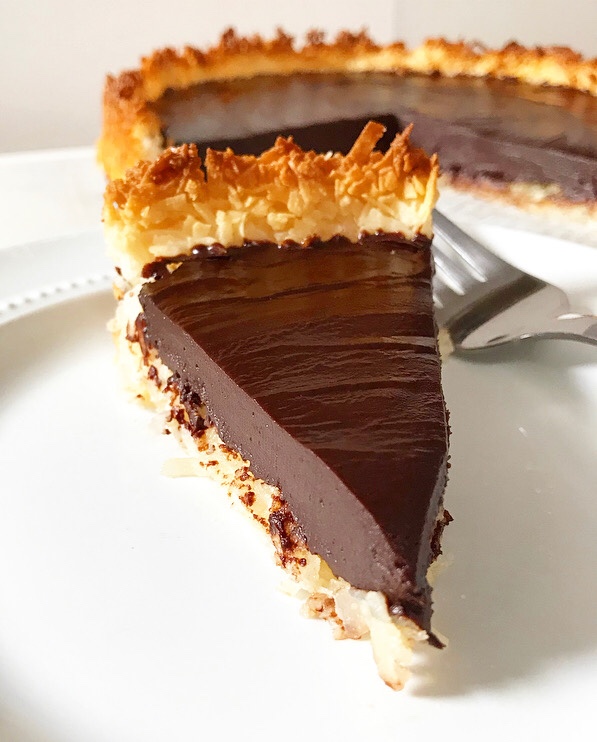
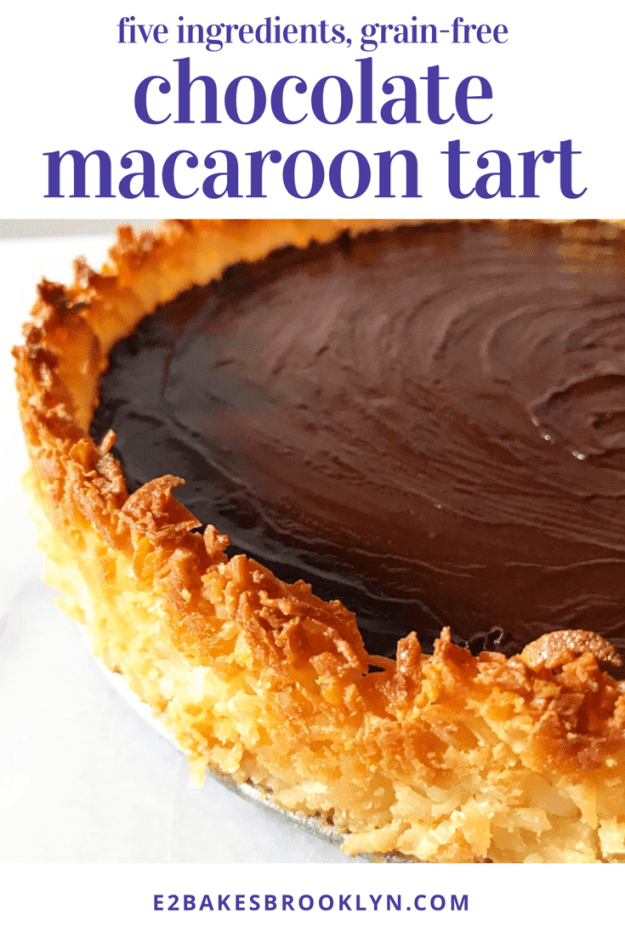
 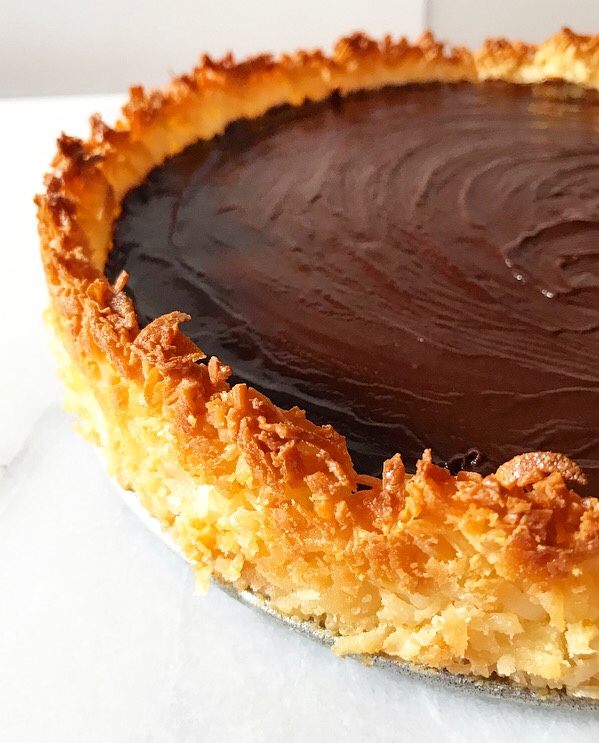 So, what’s so special about a macaroon crust? For one, it’s basically a big chewy, crisp-edged coconut macaroon cookie that you can bake and fill with whatever no-bake filling you like.
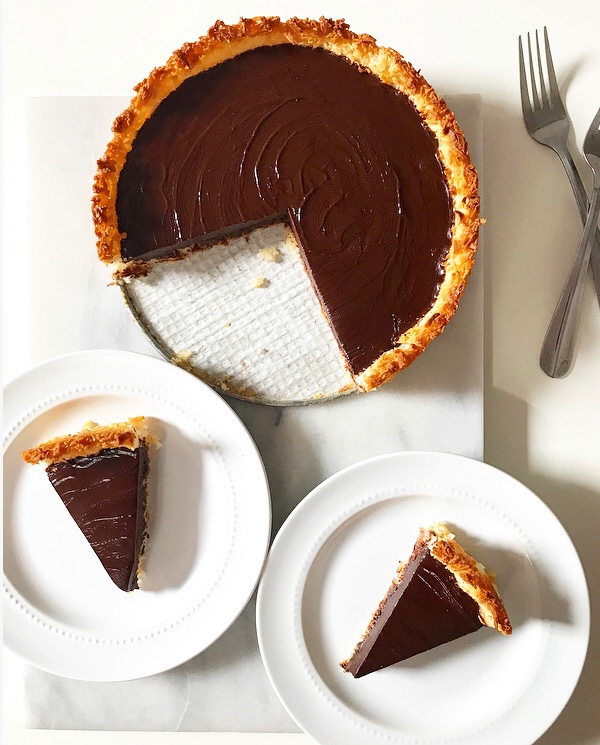 There is no “for two.” It’s that simple.
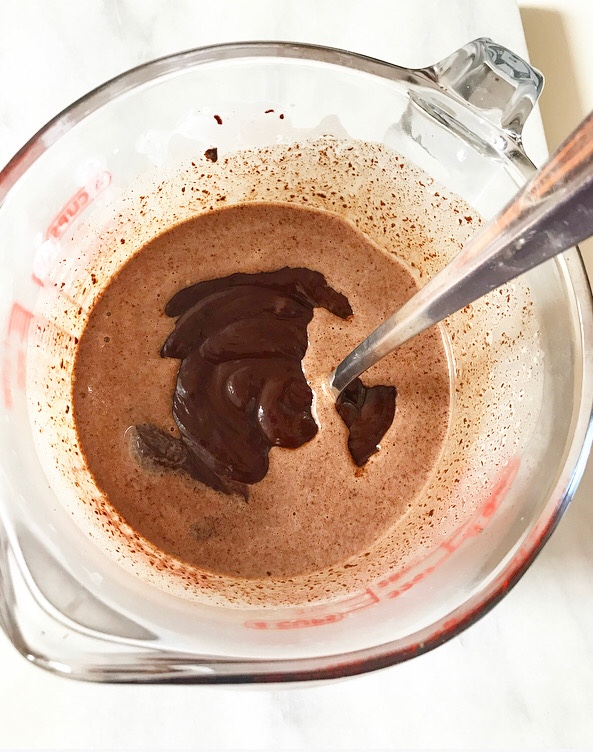
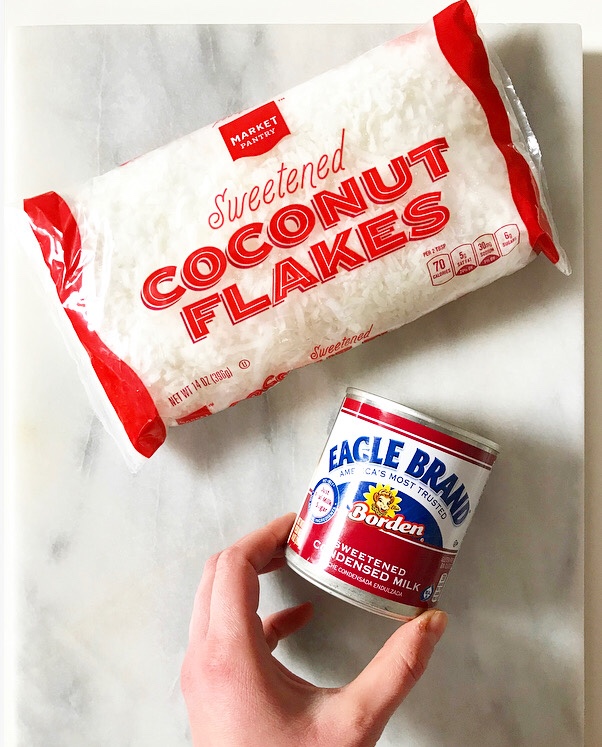 Now, there are many ways to make a macaroon crust. Some have flour, some contain egg whites. I looked at a few options before realizing that it would probably work with just two ingredients: sweetened flaked coconut and sweetened condensed milk.
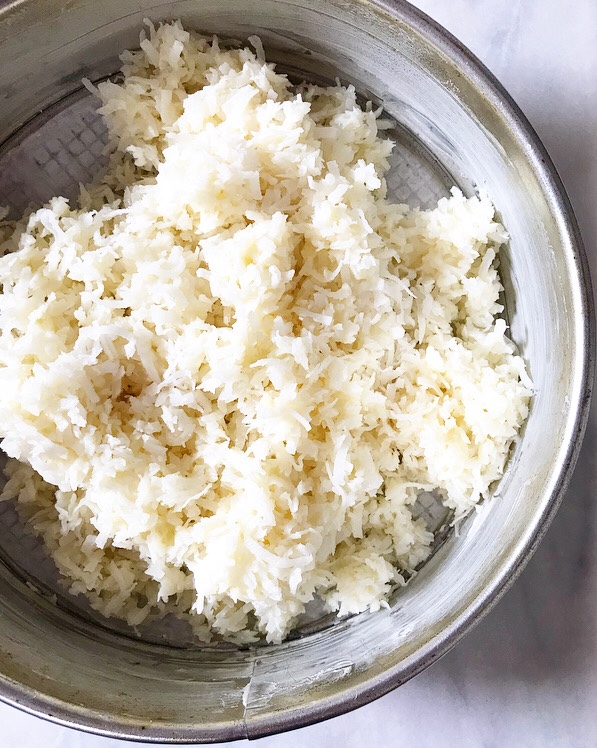
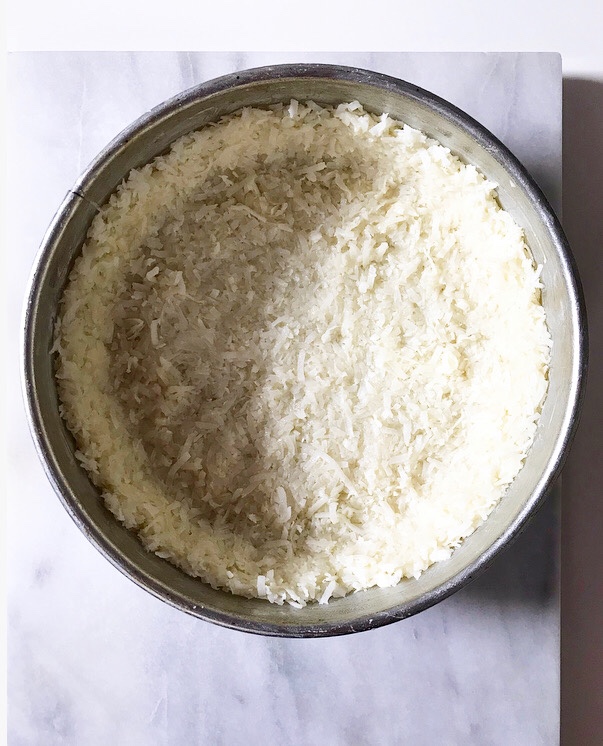 I folded the ingredients together and pressed the mixture into a heavily-greased springform or tart pan.*
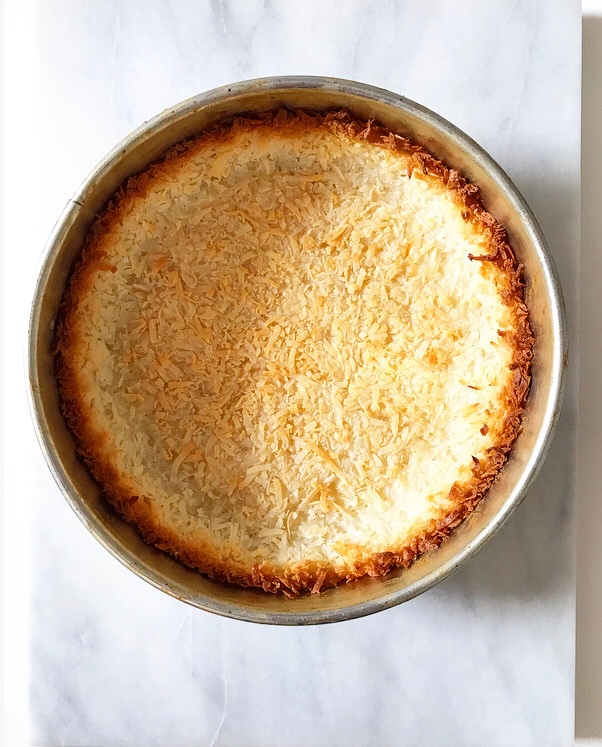 Half an hour later, it was toasty at the edges and light-golden in the center.
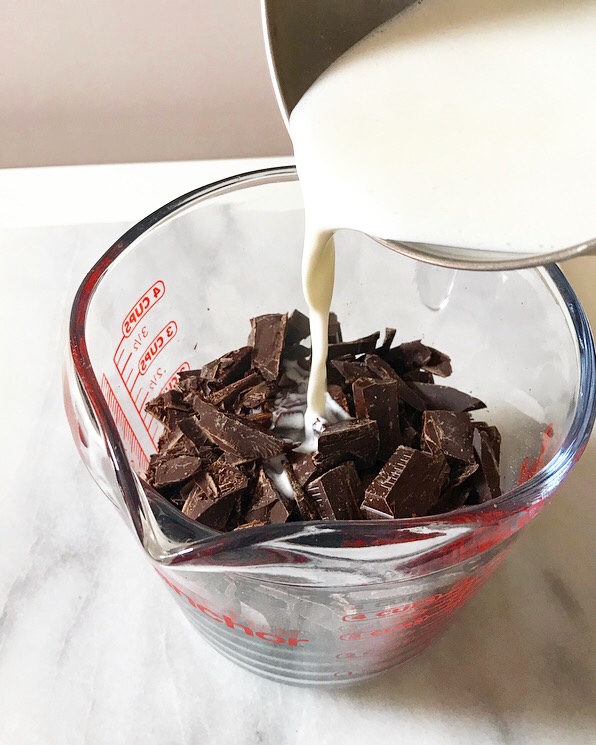
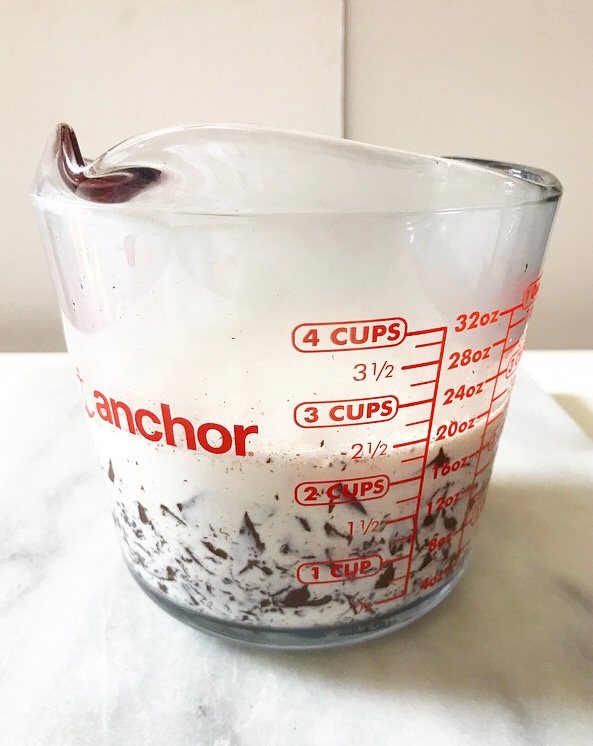

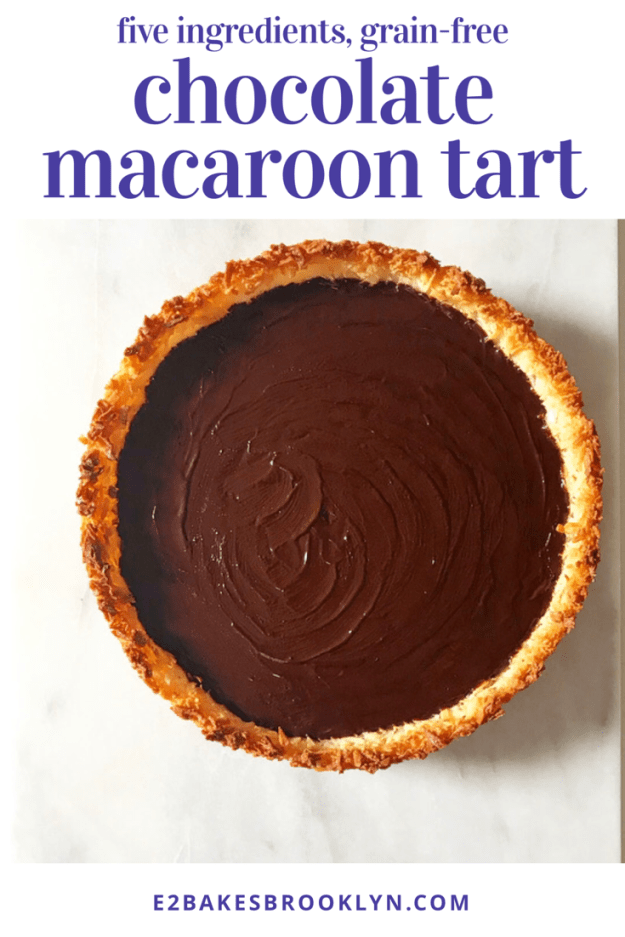
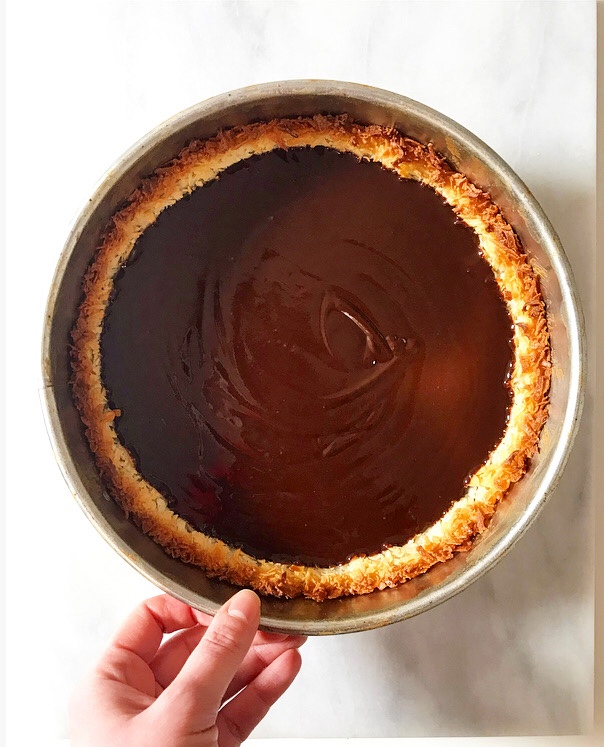 I filled it with chocolate ganache and let it set up in the fridge before slicing.
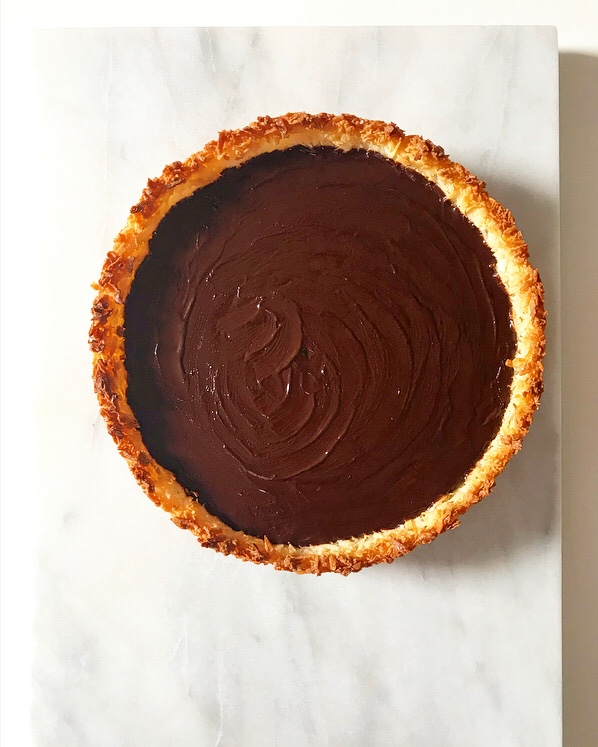 (I also gave it a few swipes with the back of a hot spoon for some rustic glossiness and because I am a control freak.)
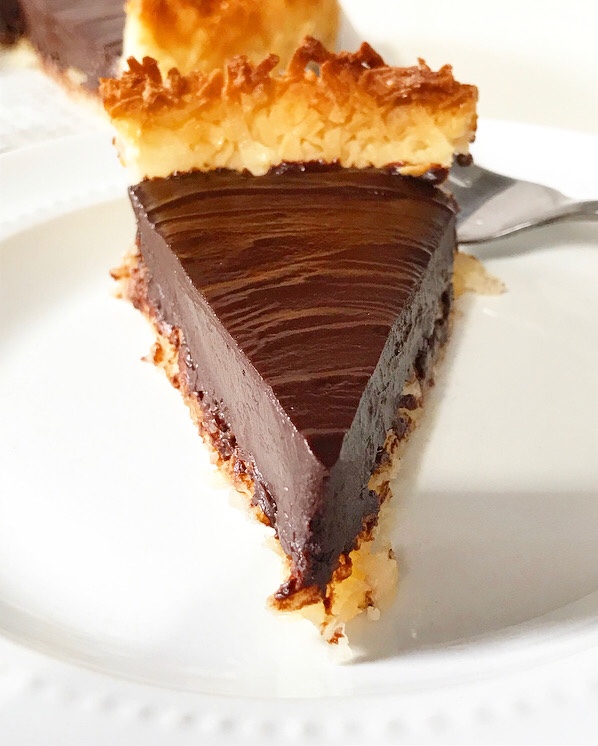 Who knew five Ingredients and no grains could make something this irresistible?! Silky chocolate ganache filling + toasty coconut crust 🙌🏻🙌🏻🙌🏻
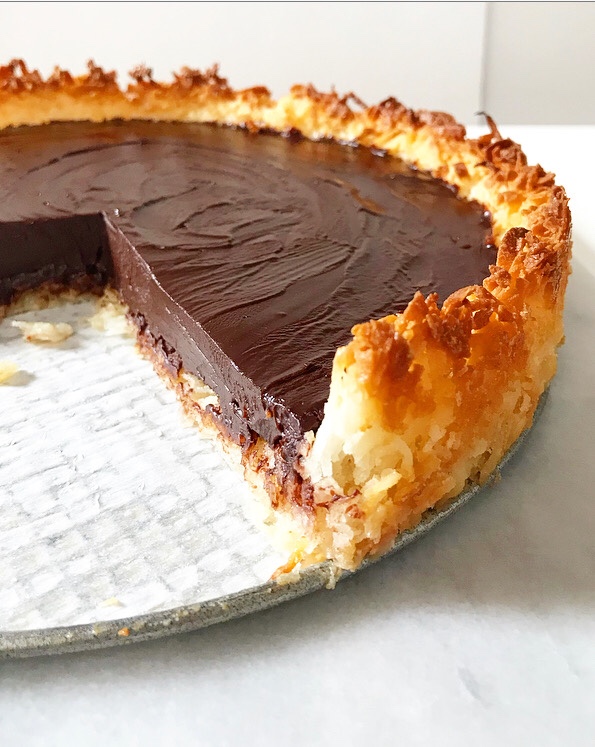 It’s like eating a chocolate-coconut candy bar…but classier because it’s a tart. We all know how much classiness matters when you’re sneaking cold wedges of Chocolate Macaroon Tart out of the fridge after your bedtime. Not that I’ve ever done that. Twice. On the same night.
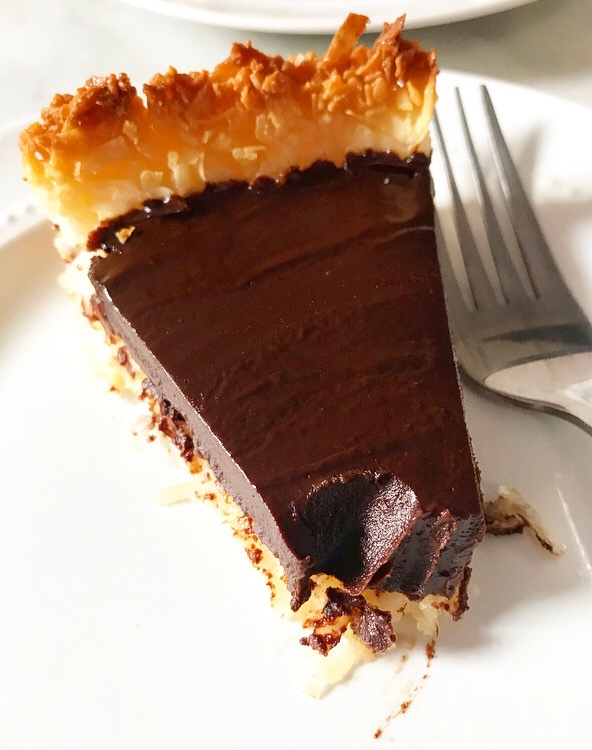 Happy
Happy 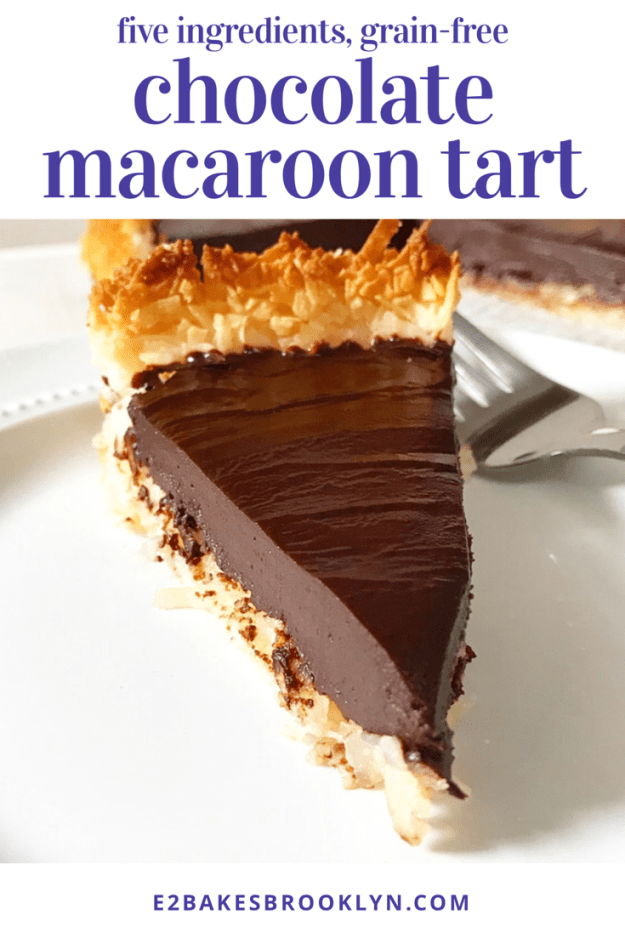
 Hi there 👋 I made you some cookies.
 I mean, I baked them last week and ate them all already, but you understand, right? Things that taste like
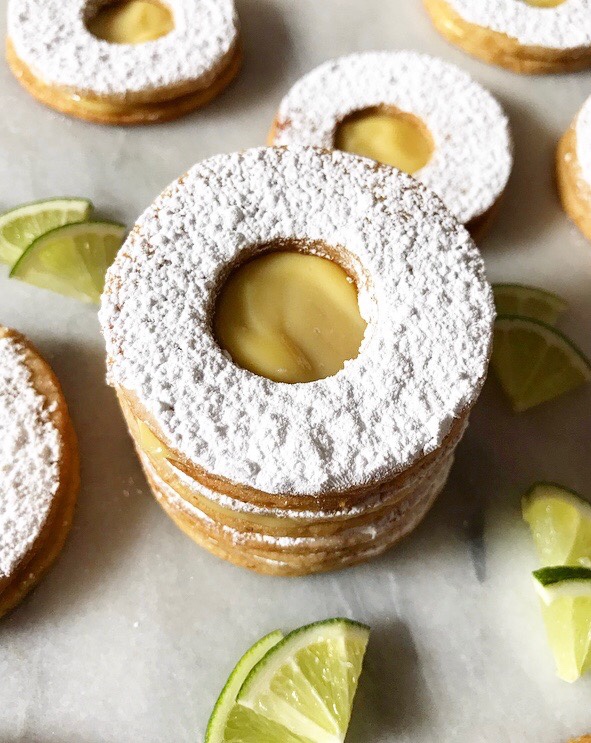
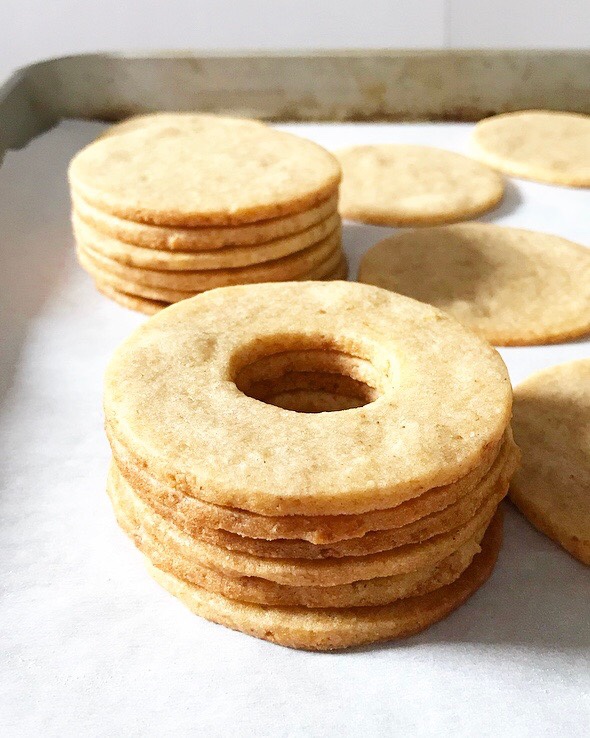
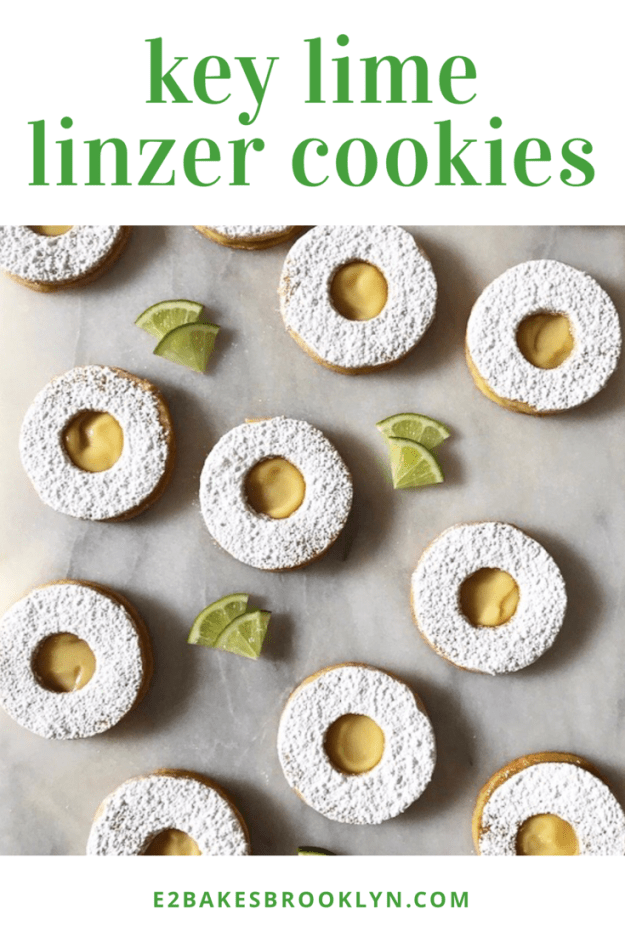
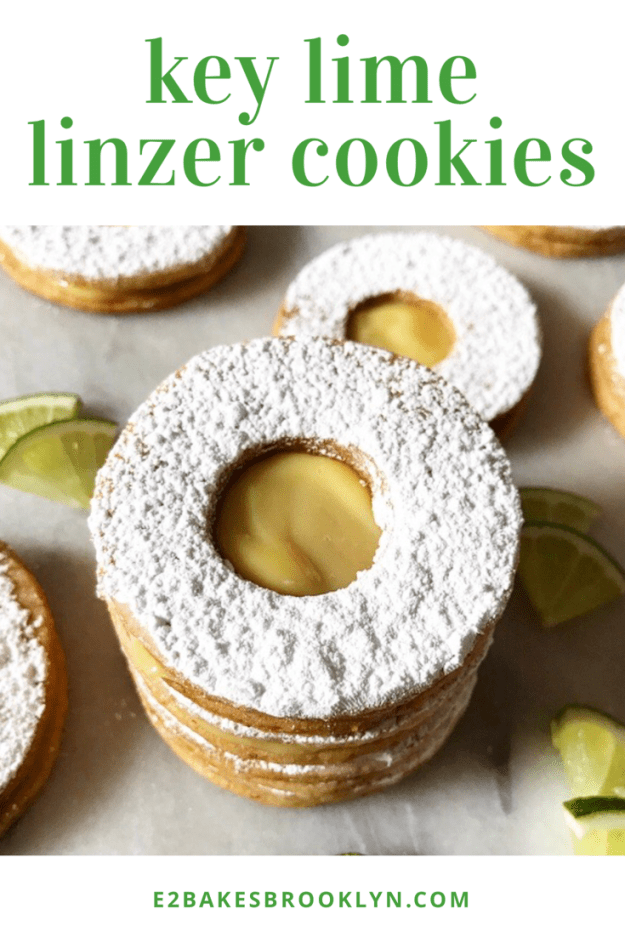
 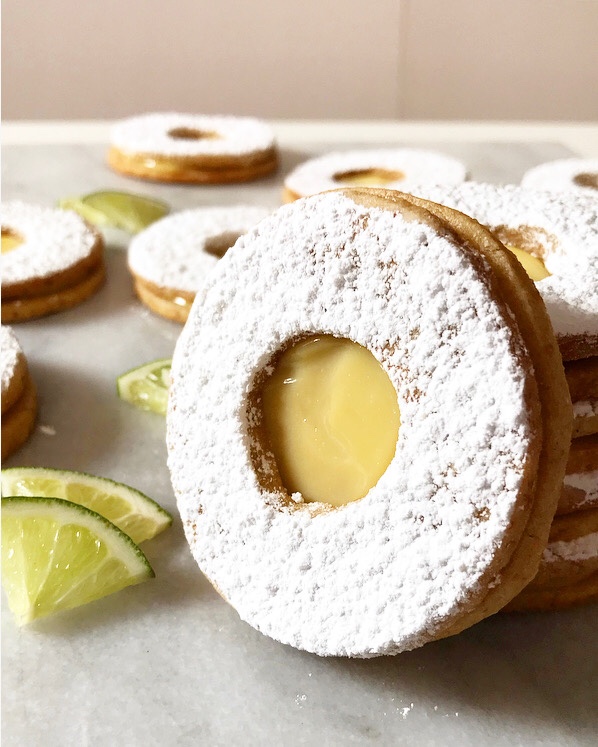 These are linzer cookies—basically sandwich cookies with little cut-out picture windows to show the filling, which is traditionally jam. Today, I decided to go in another direction with flavors reminiscent of key lime pie. I just love the results—they look so sunny and happy.
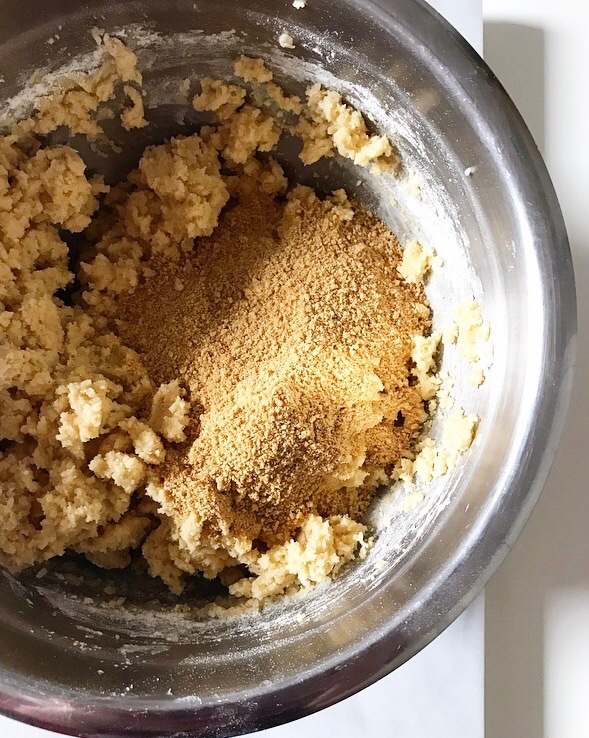
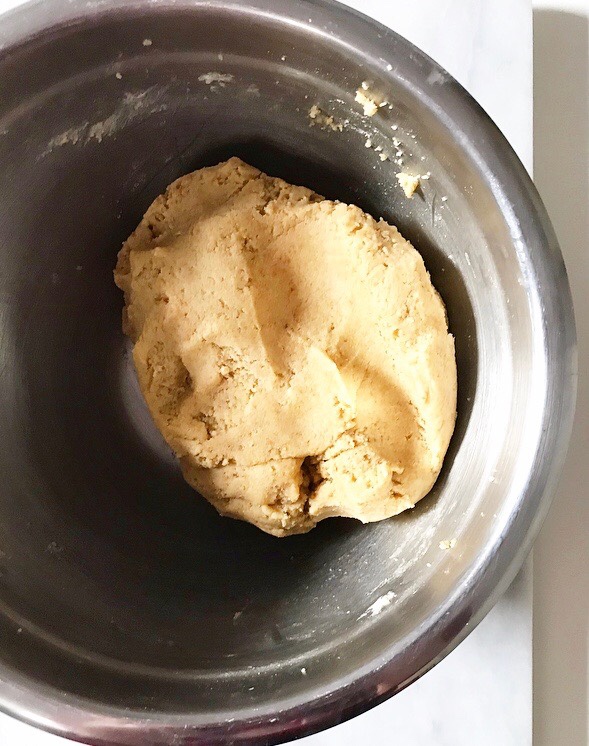
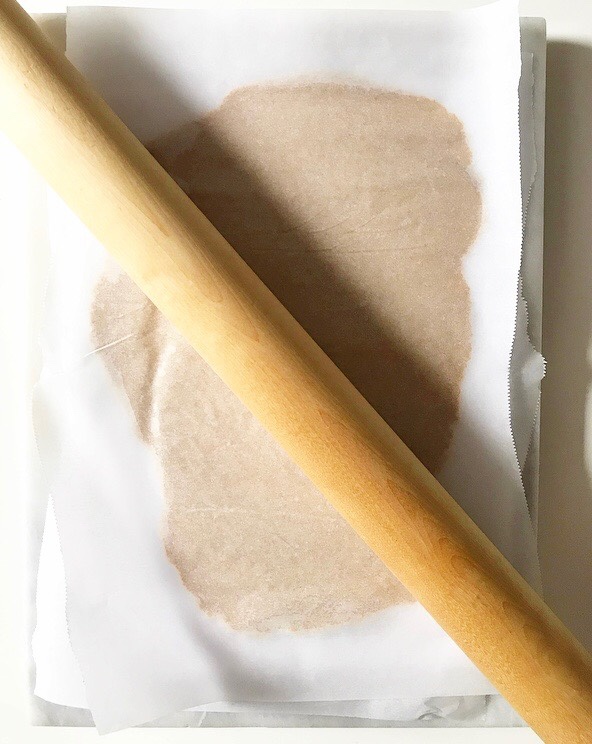
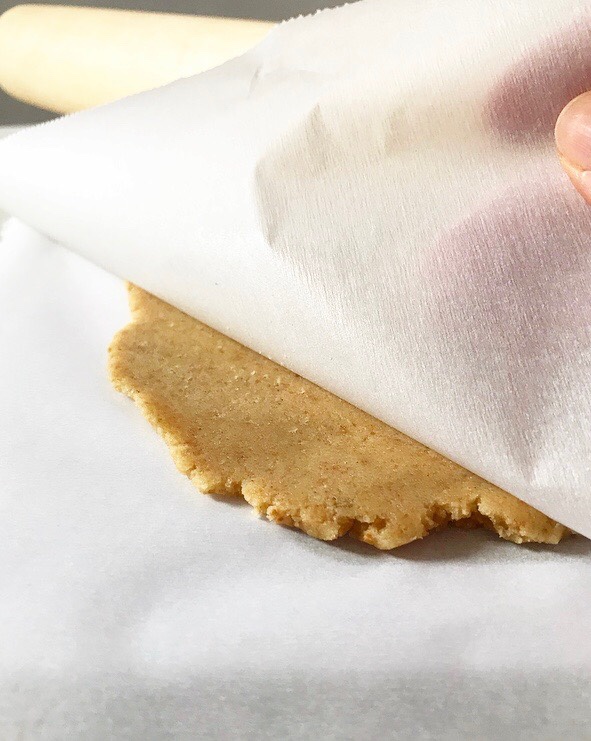 The cookie recipe is a spin on my favorite roll-out
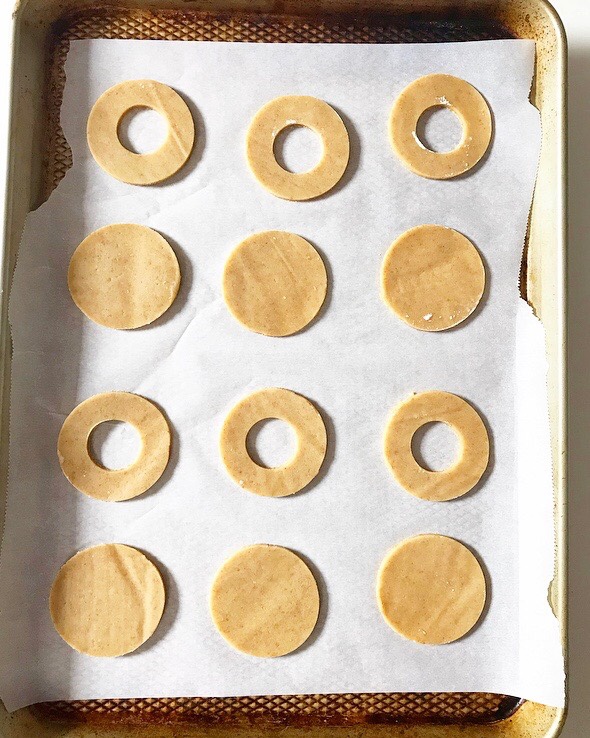
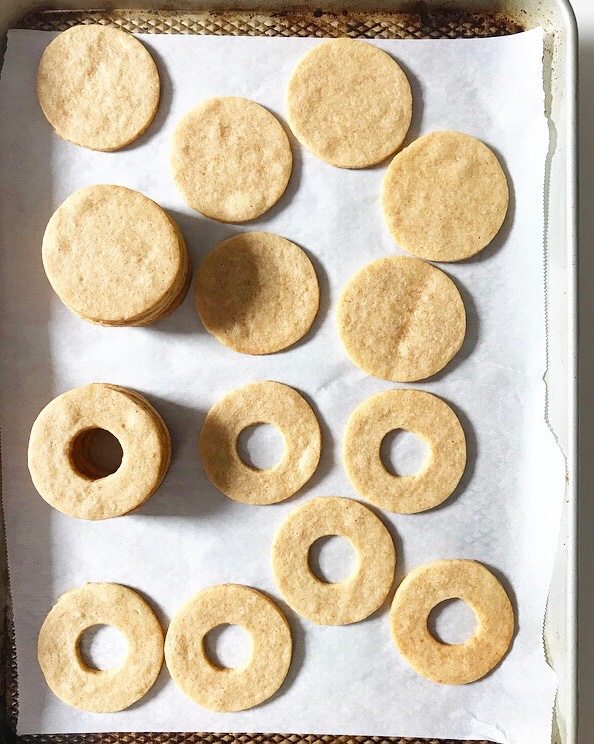
 You’ll notice one glaring omission in these linzers: I left out the traditional nuts. While most recipes have almonds or pecans (or
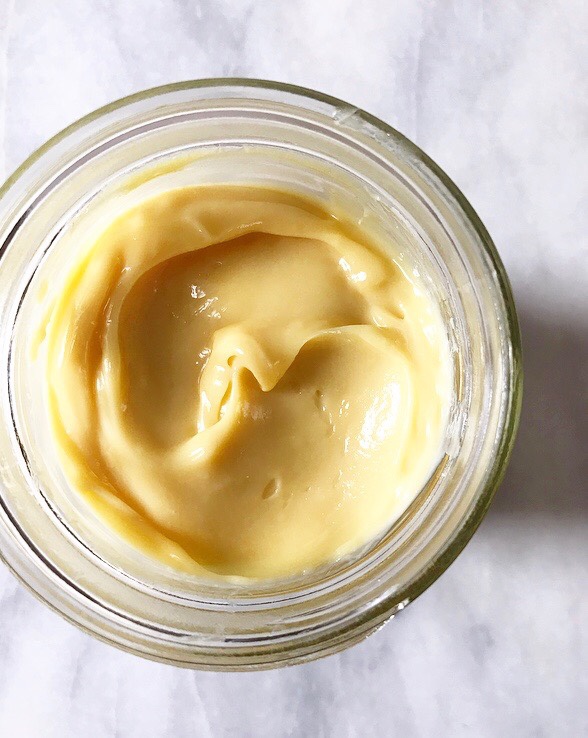
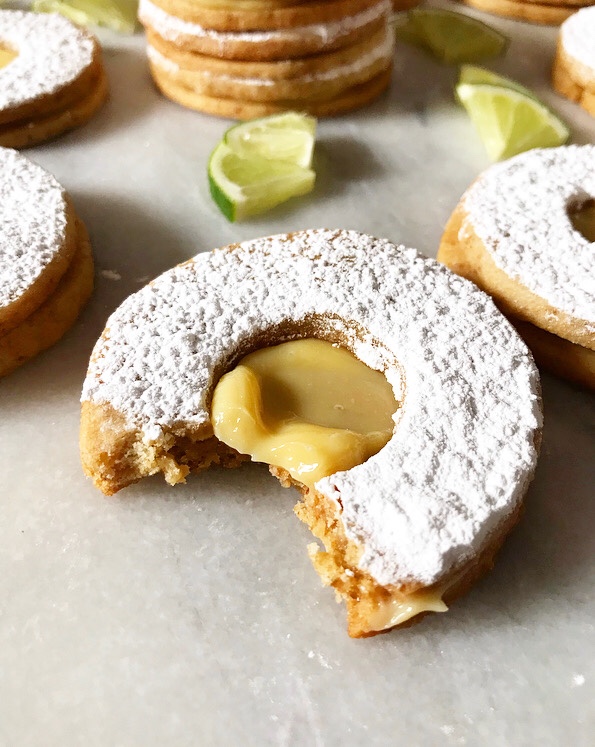
 Speaking of filling, you’re going to want to put this stuff on everything. Toast, vanilla wafers, ice cream, swirled into yogurt, eaten off a spoon, and probably five other things I haven’t thought of yet. It’s basically key lime pie filling that’s cooked over a double boiler and then allowed to chill until rich, thick, tangy and delicious. It has the texture of a citrus curd, but is half the work and requires only three ingredients! Yesssss. The filling recipe makes a bit more than you’ll need for these cookies, so you’ll have plenty leftover to use elsewhere. Trust me, you’ll be glad to have this stuff around.
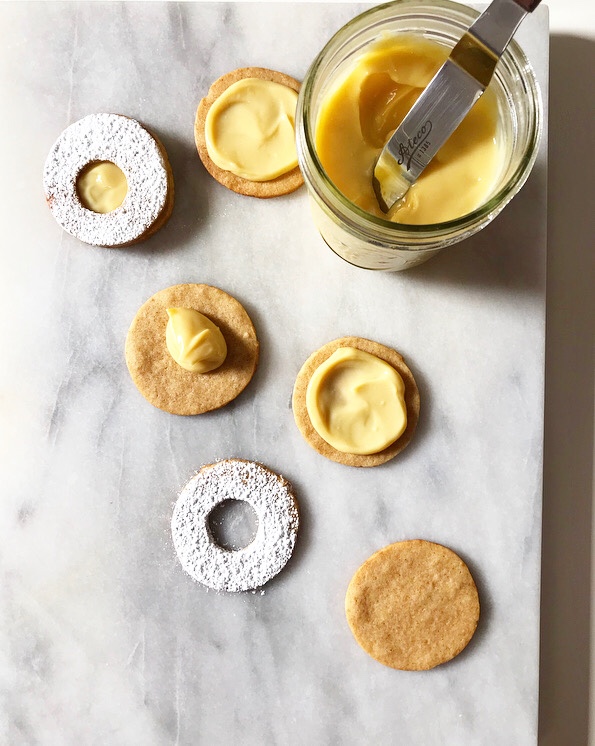
 While it’s good in all sorts of applications, this creamy, dreamy key lime filling is especially good sandwiched between two thin cookies and topped off with a dusting of confectioner’s sugar. I think most things are.
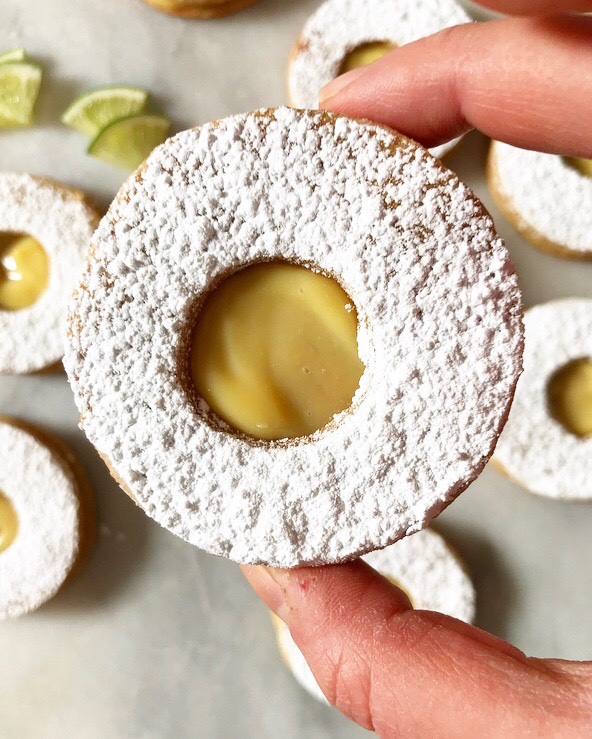

 Just in case you thought I had this baking thing figured out, know that these far-from-picture-perfect Carrot Cake Petit Fours were the fourth test batch and by far the least hideous.
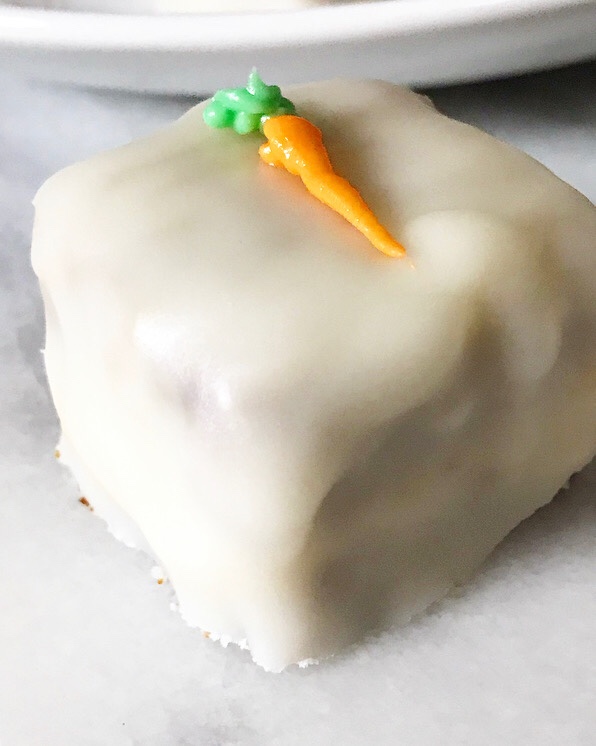 Part of me wants to try again, but it’s not a good part. As a rule, any part of you that can feel utterly demoralized by cake (!) doesn’t deserve too much of your attention. Or maybe it deserves all of your attention? Maybe it should to go to therapy…?
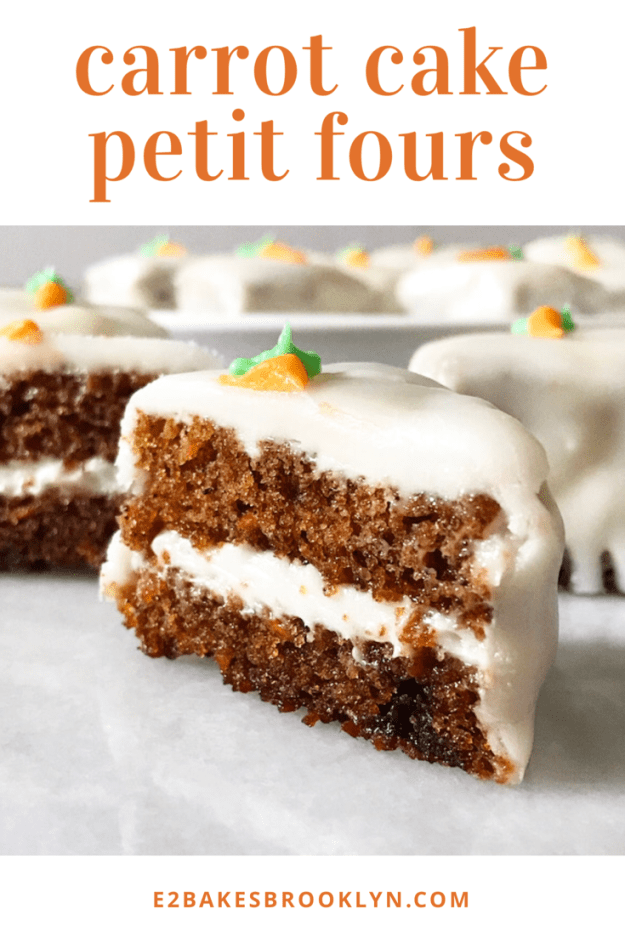
 So, uh, back to Carrot Cake Petit Fours. These sweet little squares are basically miniature layer cakes. They’re super cute and delicious, and just the right amount of cake so that you don’t feel any guilt about going back for seconds. I can eat one in about three bites—four, if I’m being ladylike. <—But why start now?!
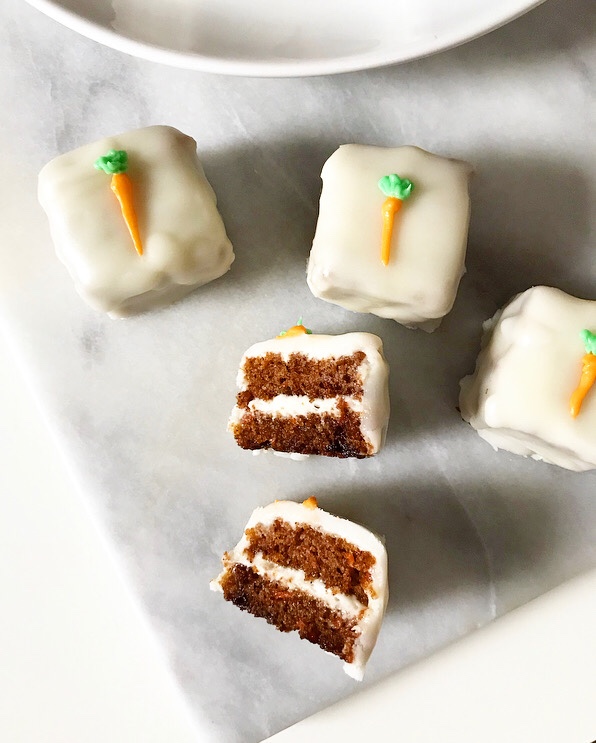 Traditional white almond petit fours are my family’s Easter dessert of choice, so I have been trying my hand at these little cakes for the last couple of years in an effort to recapture my youth. Last year, I went for
 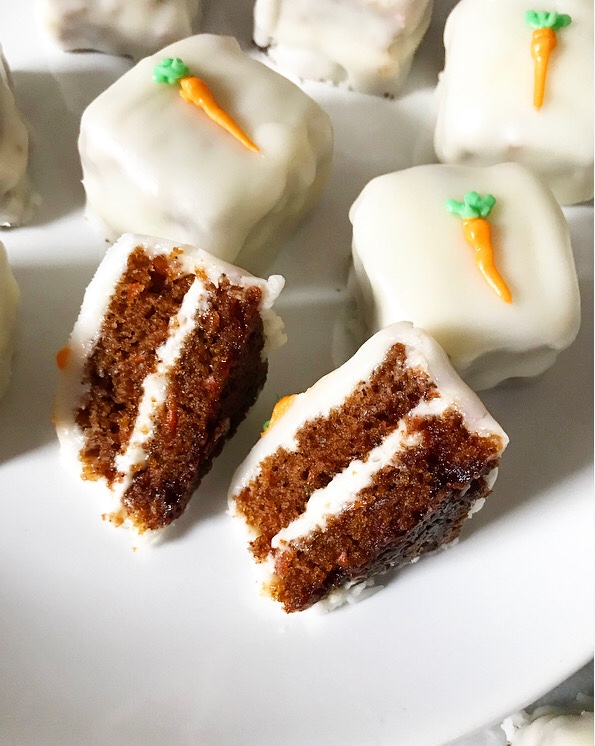 Now, I’ve learned a lot of things in these efforts, chief among them that petit fours are a
 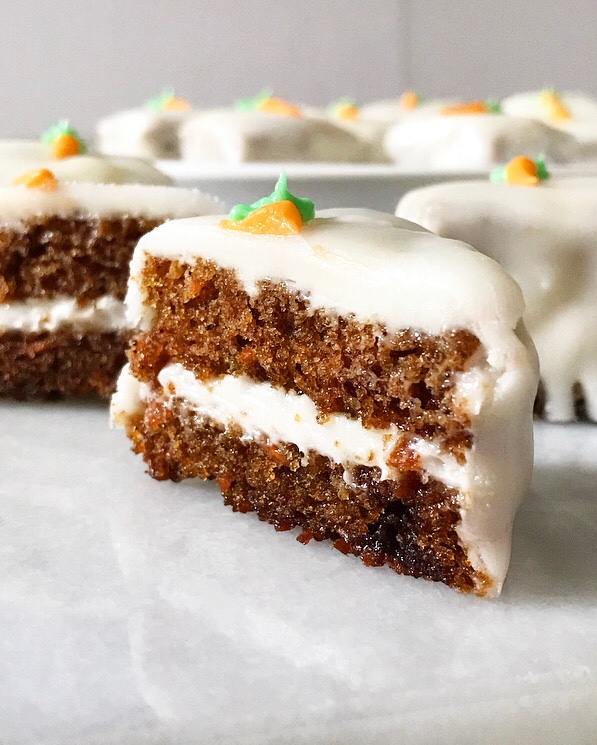 Alas, today is not that day. But I’ll be the first to tell you that while my poured fondant skills leave something to be desired, my carrot cake game is strong 💪 Flavored with dark brown sugar and warming spices, and studded with the perfect amount of shredded carrots, this cake is seriously phenomenal. And it should be—it’s a streamlined version of my favorite
 As for assembly, the cake is baked and chilled before being torted (sliced in half equatorially to produce two thin layers) and filled with my favorite fluffy Cream Cheese Frosting. I don’t usually like to say that any of my recipes are the “best ever,” but I make an exception for my Cream Cheese Frosting. It’s the best ever.
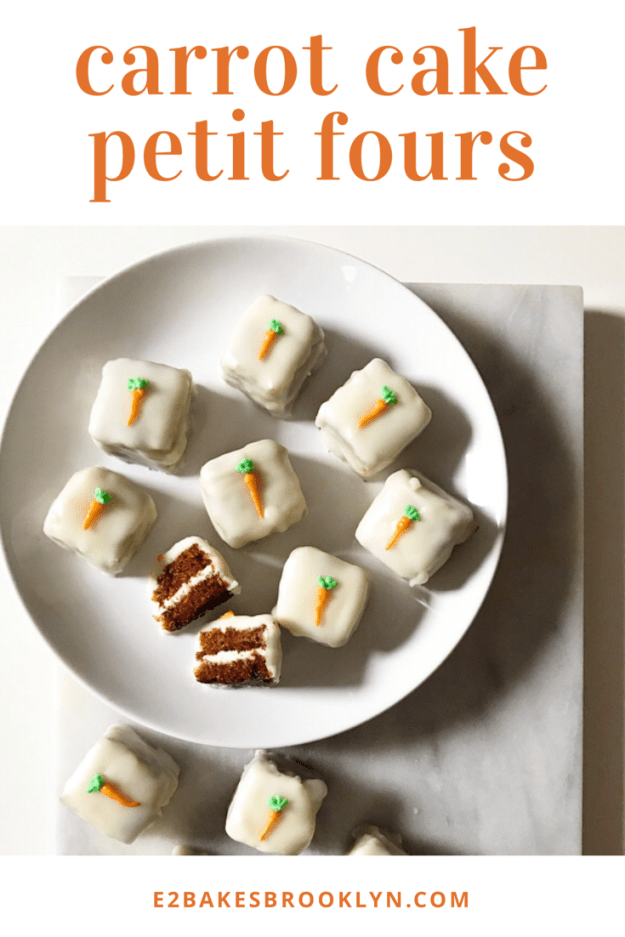
 After being stacked back together, the cake is trimmed to remove any crispy or uneven edges. Then the remaining cake is sliced into 1 1/2-inch squares. Those are crumb-coated (lightly frosted), and then the real fun starts.
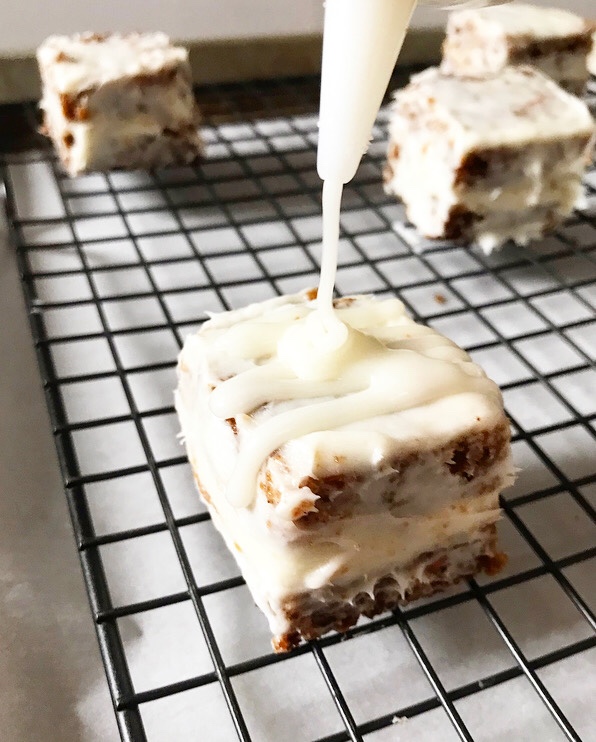


 Petit fours are traditionally coated in poured fondant for a clean finish. Easier said than done! The good news is that poured fondant is mercifully quick and easy to make—just some melting and whisking over a double boiler. The less good news is that I tried three different methods of applying it to the cake and the best is a squeeze bottle. It allows for the most control, with spooning/spreading coming in as the best alternative. Dipping is a big no for these—crumb city. As I said before, this is a
  But when all is said and done and decorated with little piped carrots, it’s totally worth it. The moist carrot cake, cream cheese frosting, and even the poured fondant assembly—totally worth it. Because they are just that delicious and that frigging cute, imperfections and all.