One of the great things about yeast doughs—aside from the fact that they’re way easier than they’re made out to be—is that they all seem to have multiple uses. My Kolache dough makes kickass Cinnamon Rolls, my Babka dough is really just a filled brioche, and my quickest sweet roll dough can be used for King Cake, Monkey Bread and these Cinnamon-Sugar Pull-Aparts!
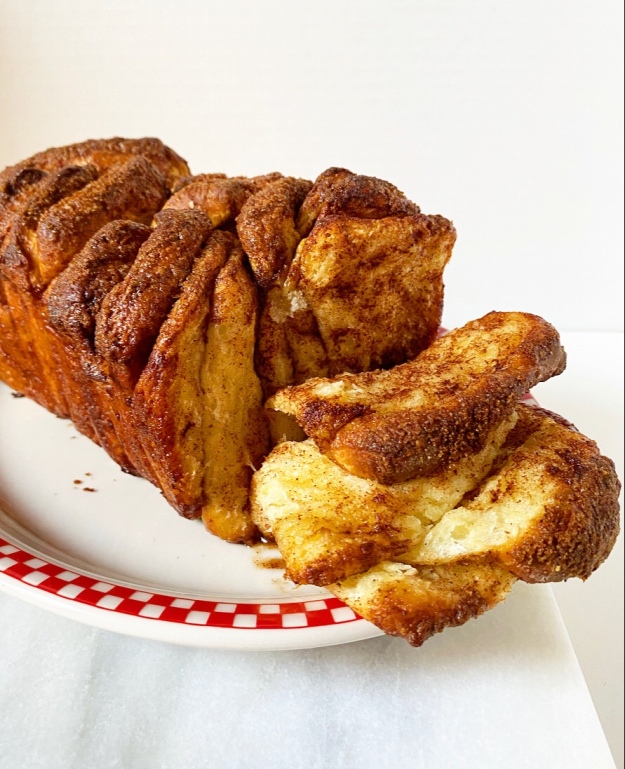 Love a multitasker ❤ ❤ ❤
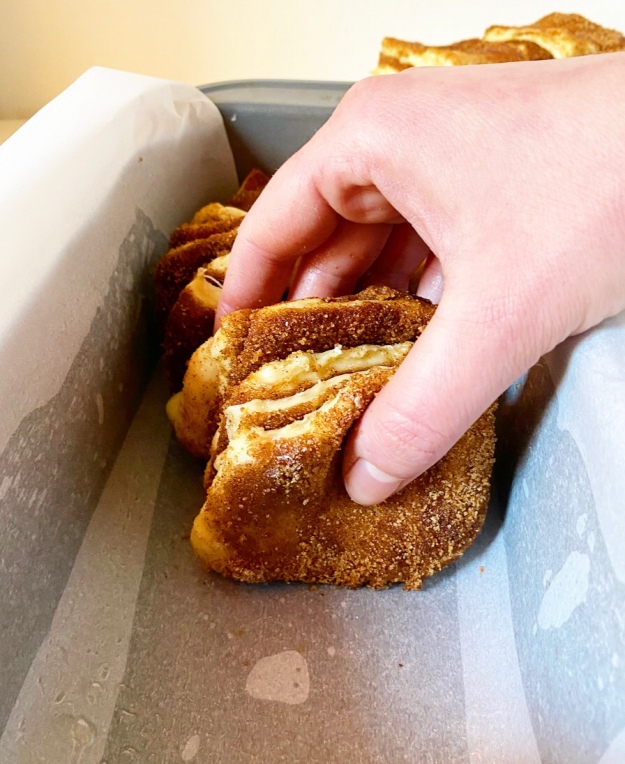
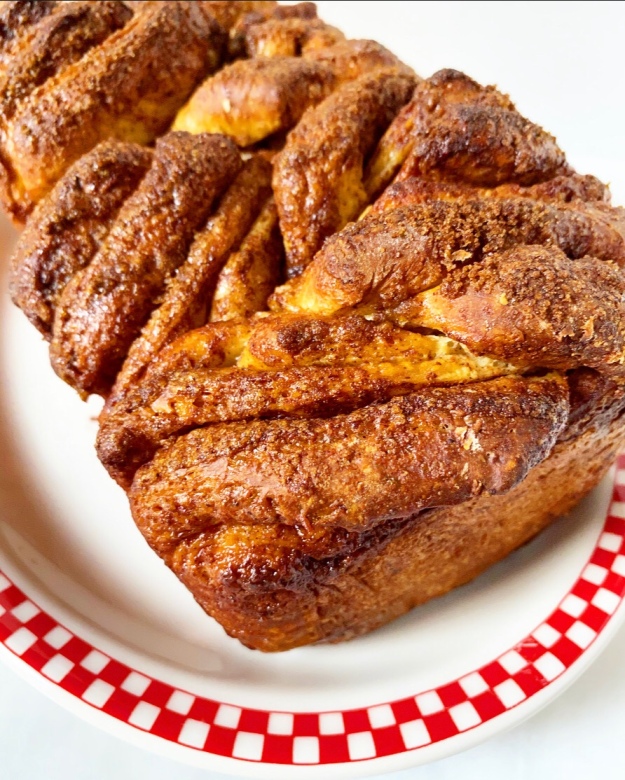
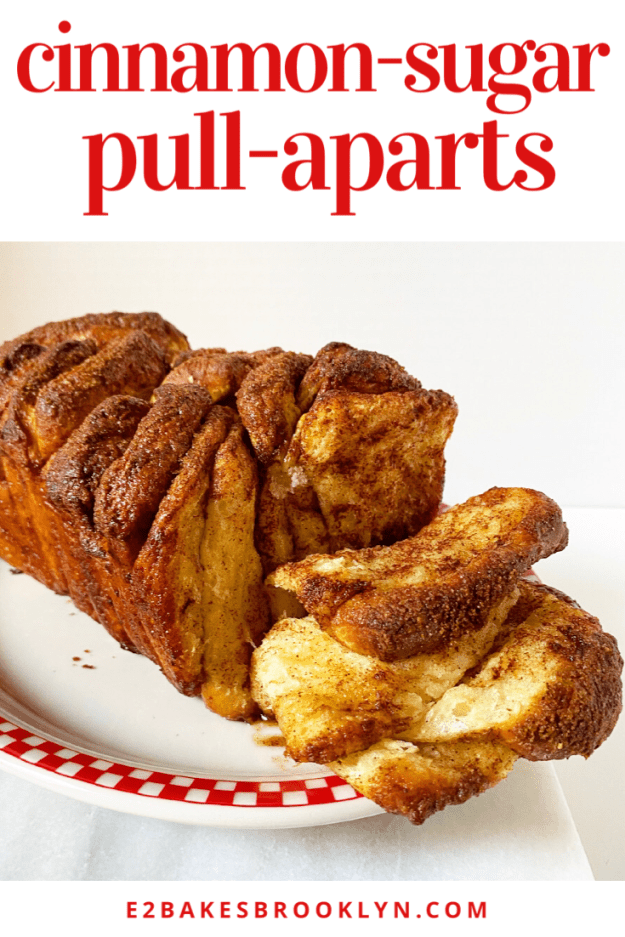
 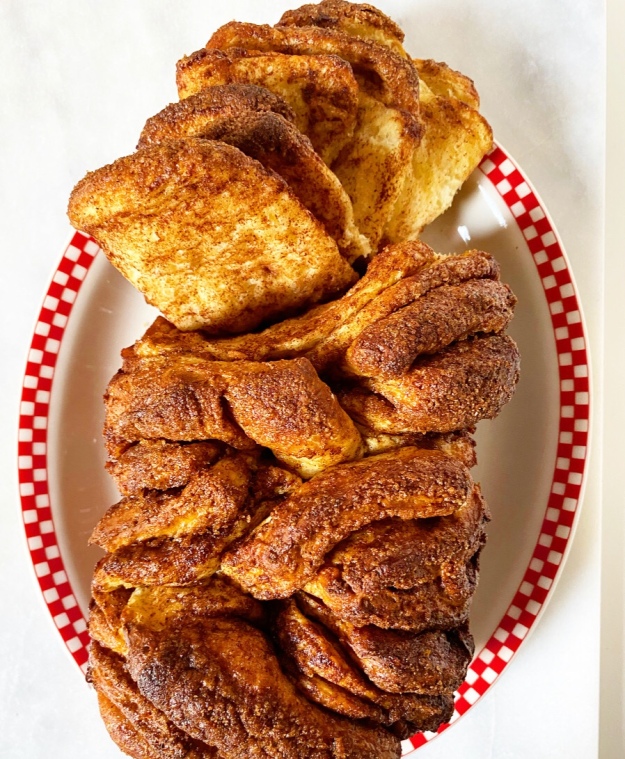 If you’ve never heard of pull-aparts, they’re basically a loaf of bread made of individual pieces layered with a filling (sweet or savory) and baked so that the whole can be pulled apart with your fingers instead of sliced with a knife.
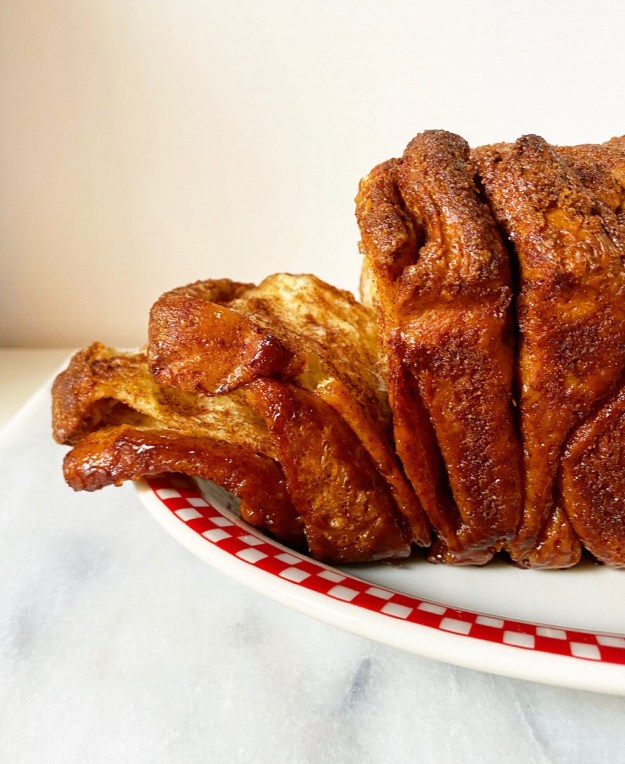 Achieving this is really simple. The process begins like you’re going to make cinnamon rolls. Make a dough, make a cinnamon-brown sugar filling. Roll that dough out and top it with the filling. Nothing you haven’t (probably) done before.
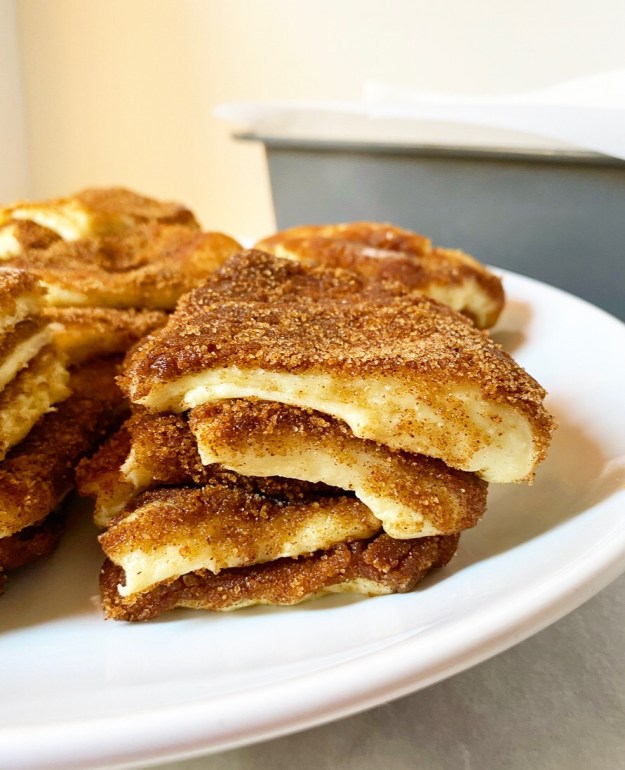
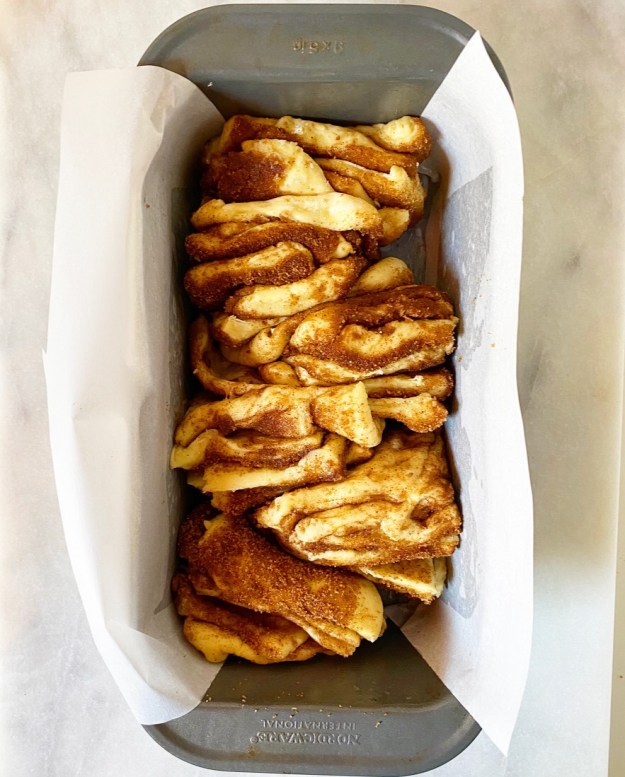
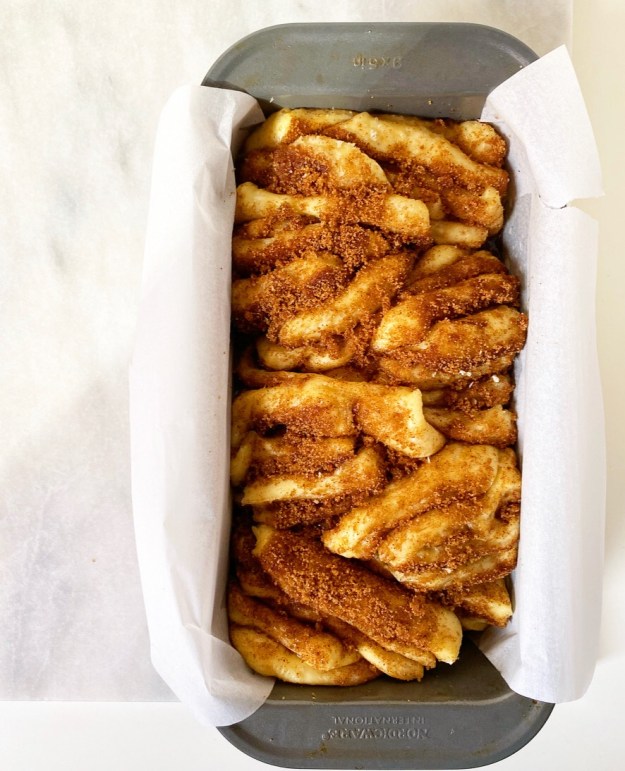
 Then, though, things get a little wacky. Instead of rolling the filled dough into a cylinder, it’s sliced into 36 squares, which are then piled into six stacks of six and arranged in a line(-ish thing) down the center of a loaf pan. The assembled loaf is allowed to rise for about an hour and then baked for 40 minutes, until deeply browned on top and cooked through in the center.
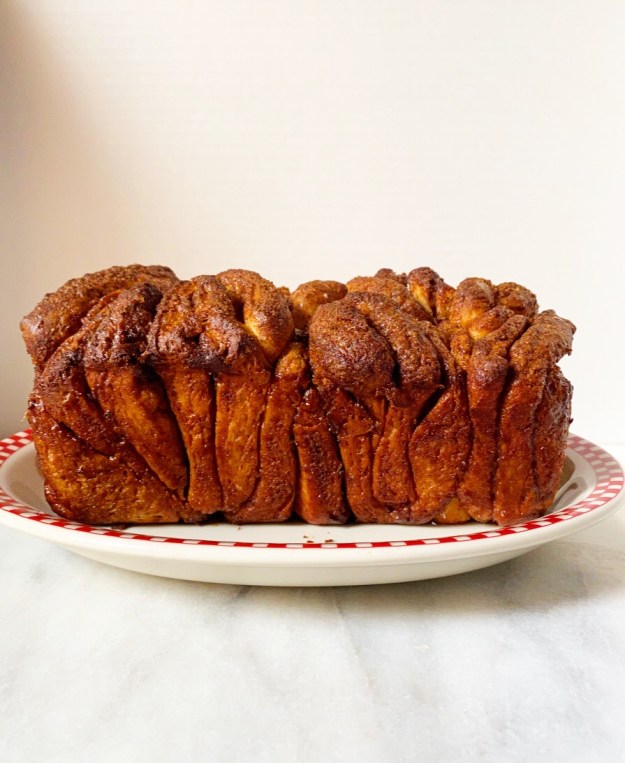
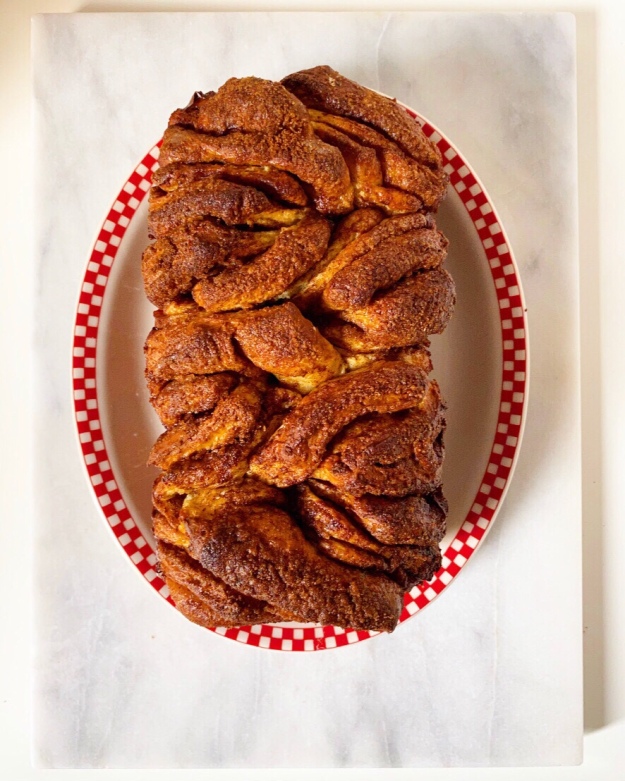
 Let your pull-aparts cool for 20 minutes or so before removing them from the pan. Put the loaf on a serving platter and then blow it a kiss goodbye because it’s going to be quite literally pulled apart in front of your eyes. And it will be glooooorious.
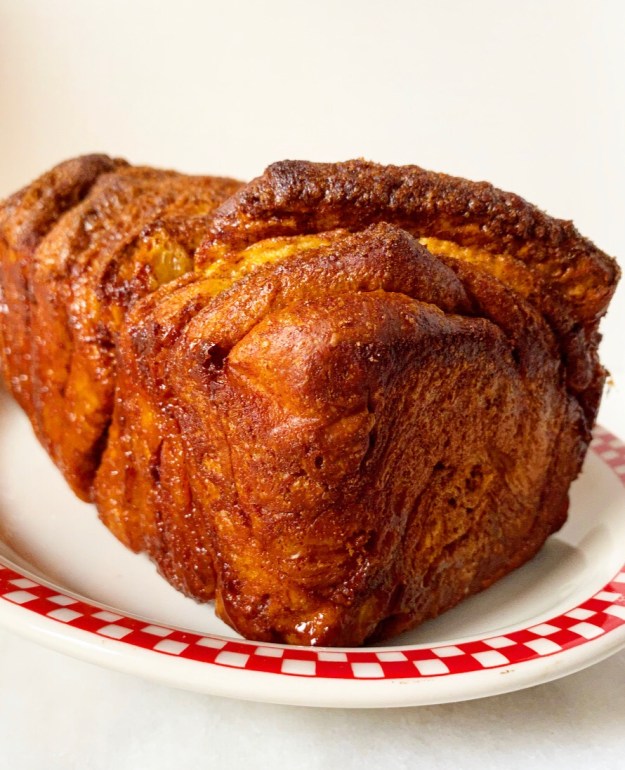
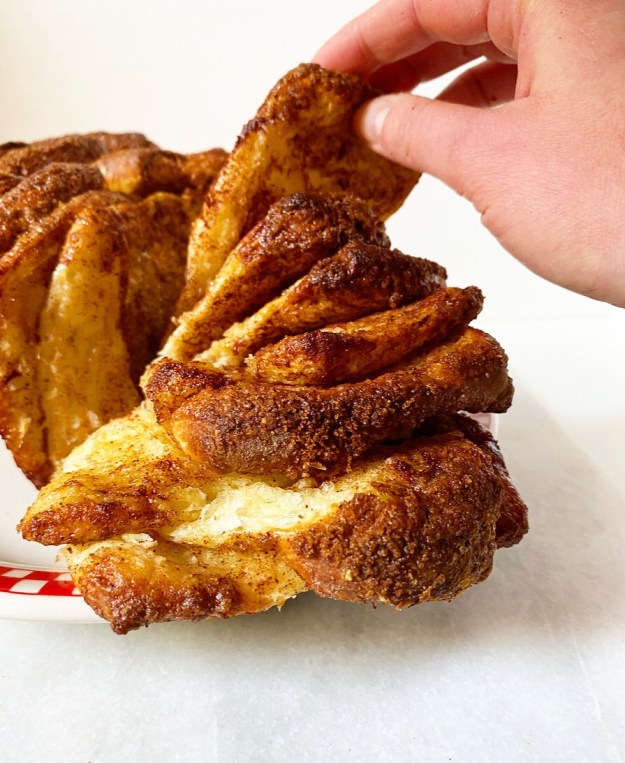 I mean, it’s basically the center of a cinnamon roll’s swirl cut into squares and baked into a loaf shape so that it’s soft and gooey on the inside and crisp and brown on the outside and how could that be anything but glooooorious?
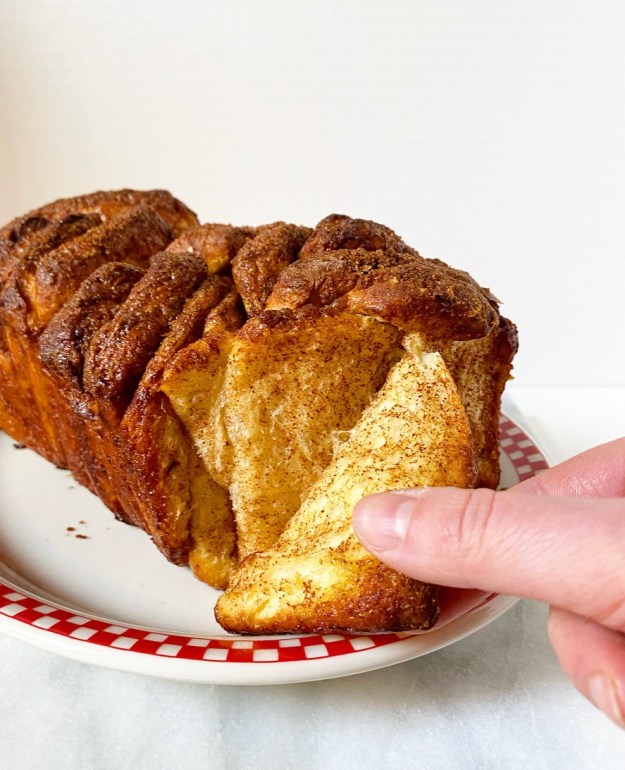
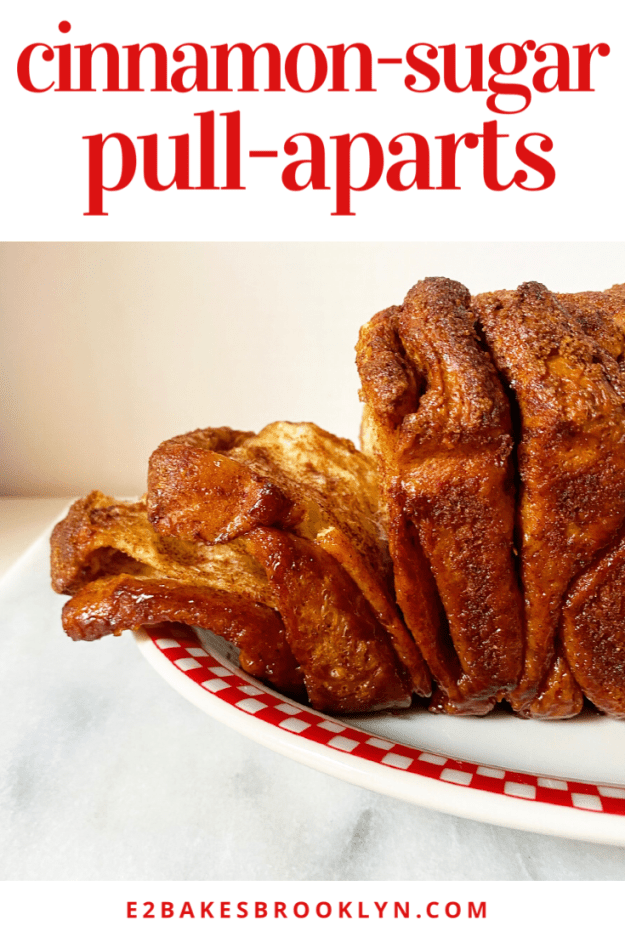
Cinnamon-Sugar Pull-Aparts
makes one 9×5” loaf
Dough:
2 2/3-3 cups all-purpose flour
3 tablespoons granulated sugar
1 packet (2 1/4 teaspoons) instant yeast (I use Fleischmann’s Rapid Rise Yeast)
1 teaspoon Kosher or sea salt
1 cup whole milk
4 tablespoons unsalted butter
2 large eggs, beaten, room temperature
Filling:
3/4 cup light or dark brown sugar, packed
2 tablespoons ground cinnamon
pinch of Kosher or sea salt
4 tablespoons unsalted butter, melted
Grease a 9×5-inch loaf pan. Line with parchment, leaving overhang on the long sides for easy removal. Grease again. Set aside.
In a large mixing bowl, whisk together 2 1/2 cups all-purpose flour, sugar, instant yeast, and salt. Set aside.
In a small saucepan, heat whole milk and butter until hot to the touch, about 110F.
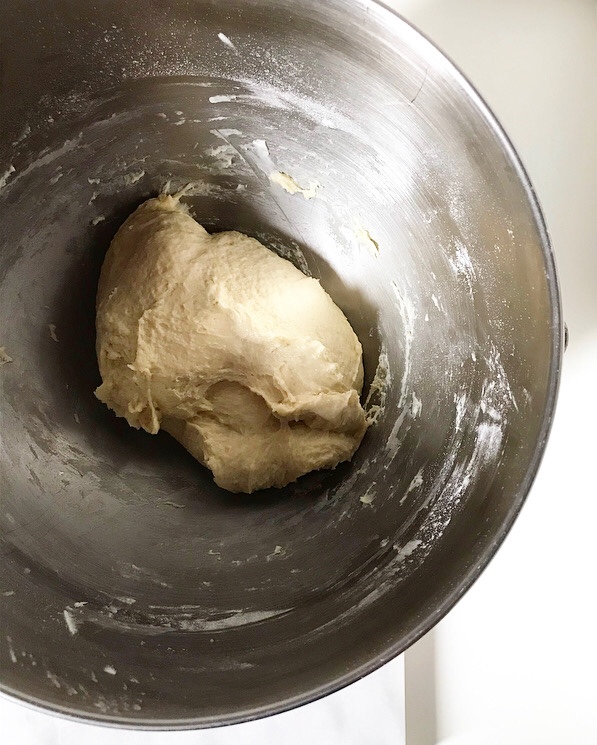
Use a silicone spatula or wooden spoon to fold milk mixture into dry ingredients , followed by beaten eggs. Add more all-purpose flour until dough starts to pull away from the sides of the bowl. Knead 5-6 minutes before forming into a ball. Cover with plastic wrap and let rest for 10 minutes (you may do this in a bowl, but I just do this on my surface).
Prepare the filling. In a small bowl, whisk together brown sugar, cinnamon and salt.
On a lightly floured surface, roll dough into a 14×14-inch square. Drop filling over the dough by the spoonful. Brush exposed dough with melted butter, leaving a 1/4-inch border on all sides. Sprinkle with cinnamon-sugar mixture. Roll floured rolling pin lightly over filling to adhere.
Use a pizza cutter or sharp chef’s knife to cut square in 6 strips. Then slice it in 6 strips in the opposite direction, resulting in 36 squares. Pile squares, filling-side-up, in stacks of 6 (you’ll have six stacks of six).
To assemble, take one stack and place in the pan with the plain side (the bottom of the stack) against one of the small ends of the pan. Place 4 more of the stacks in the same position against each other. Turn the remaining stack in the opposite direction so that its plain side (bottom of the stack) is against the remaining small end of the pan.
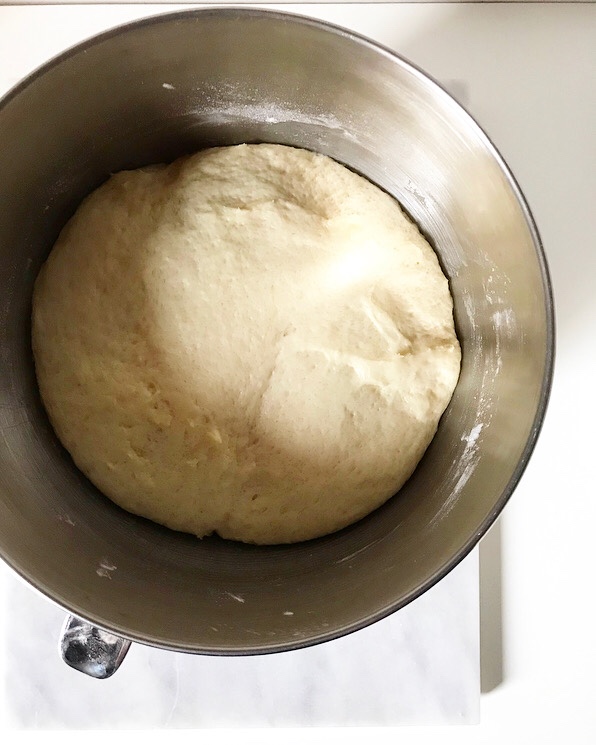
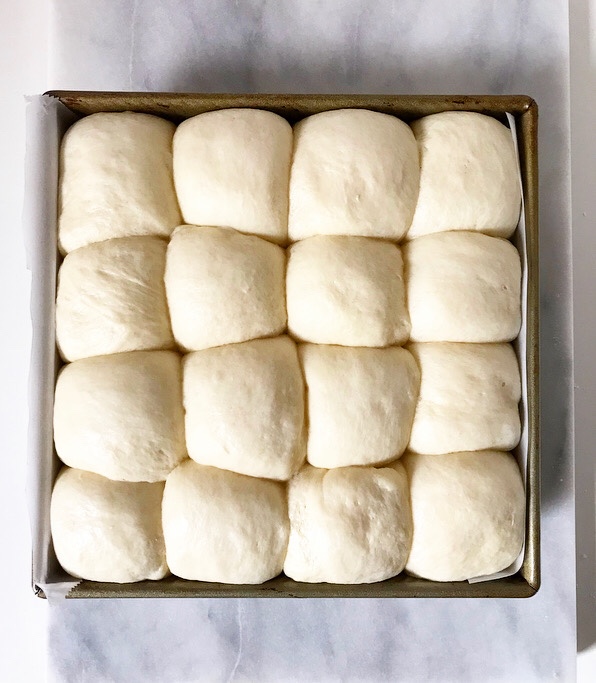
Cover pan with a clean, dry tea towel (not terrycloth) and let rise in a warm, draft-free environment for 60-90 minutes, until doubled in bulk. You know it’s ready when you poke it with your finger and it doesn’t “bounce back.”
Preheat oven to 350F. Place pan on a rimmed baking sheet. Bake for 35-40 minutes or until well-browned. If you are concerned about it being done in the center, a thermometer should register at 190F.
Let cool 15-20 minutes. Run a thin, flexible knife around the edge of the pan to release, then use the parchment to lift the loaf onto a surface. Peel off parchment, set on a serving platter and enjoy.
Cinnamon-Sugar Pull-Aparts are best served warm or room temperature on the day they are made. Leftovers will keep covered at room temperature for up to 48 hours.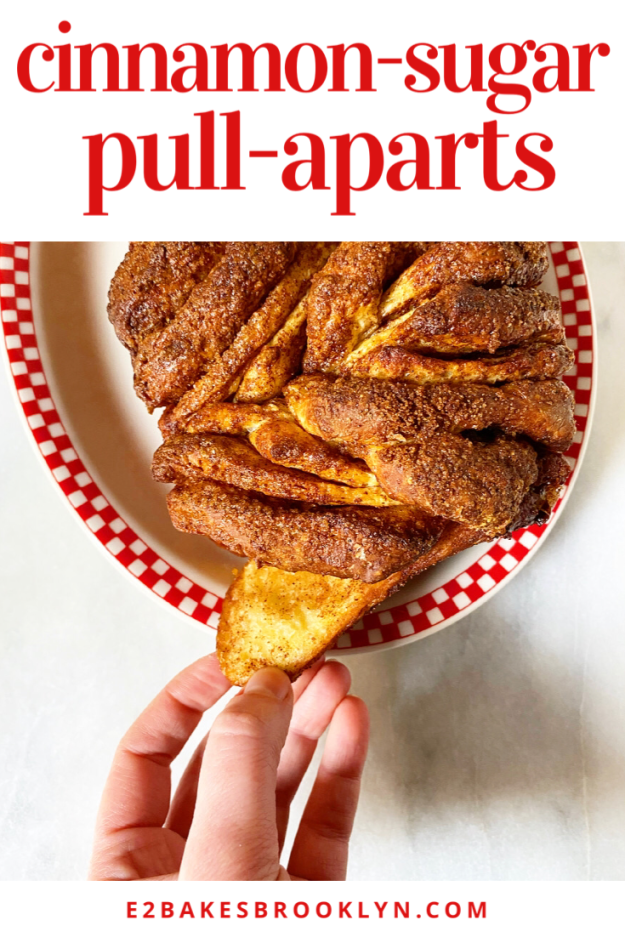
 When I officially wore myself out baking a few weeks ago and took an
 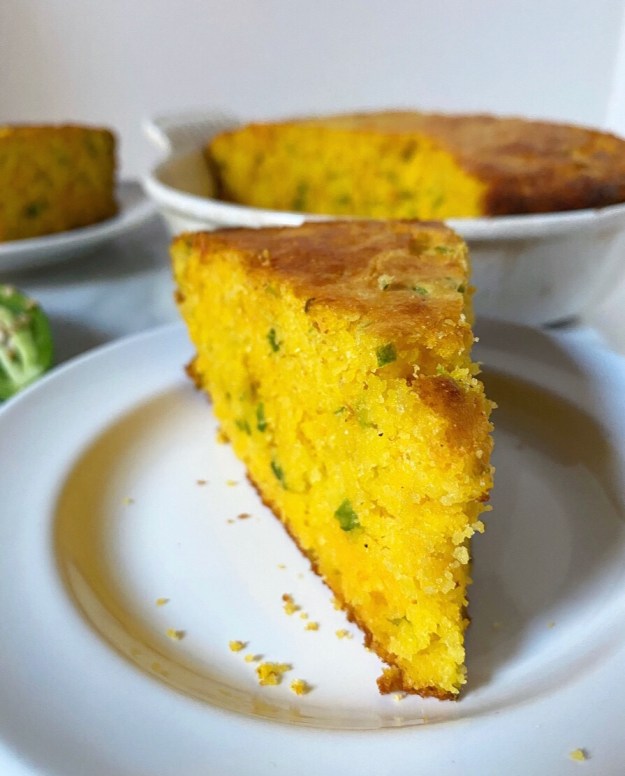 But then, on the sixth day (Friday), I woke up thinking about Cheesy Jalapeño Cornbread. I had all the ingredients (hi, I keep a weird bag of jalapeños in my crisper) and I wanted to make it so bad—the way only someone who obsessively bakes gets about a recipe, as though my body might just go into autopilot and start whisking together ingredients without permission from my brain.
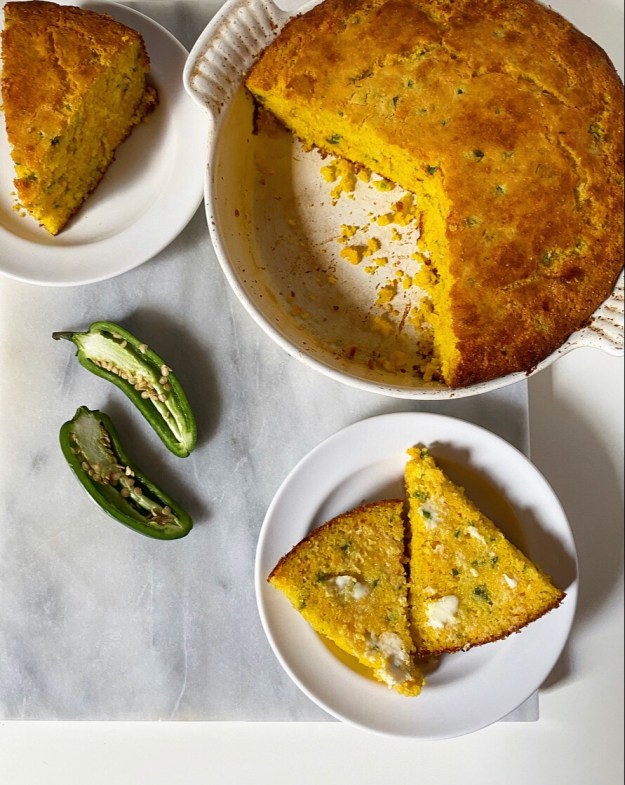
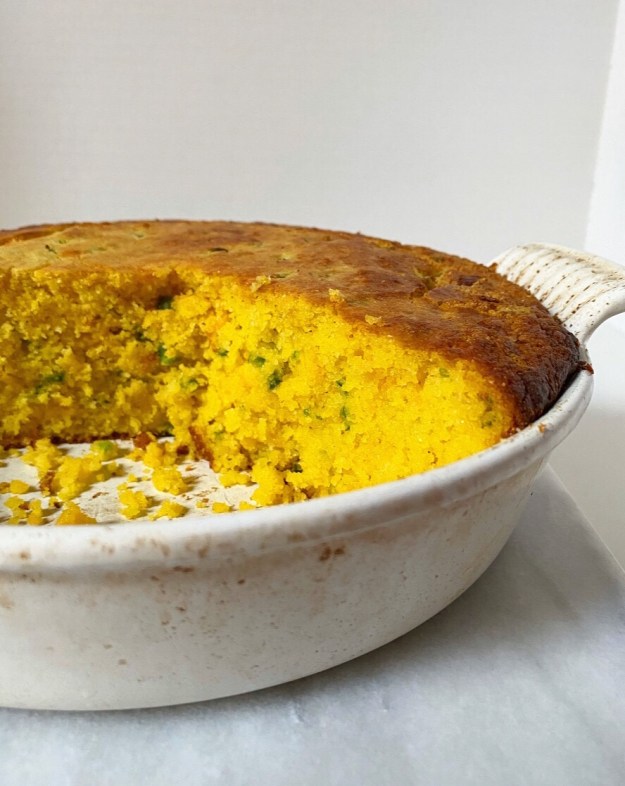
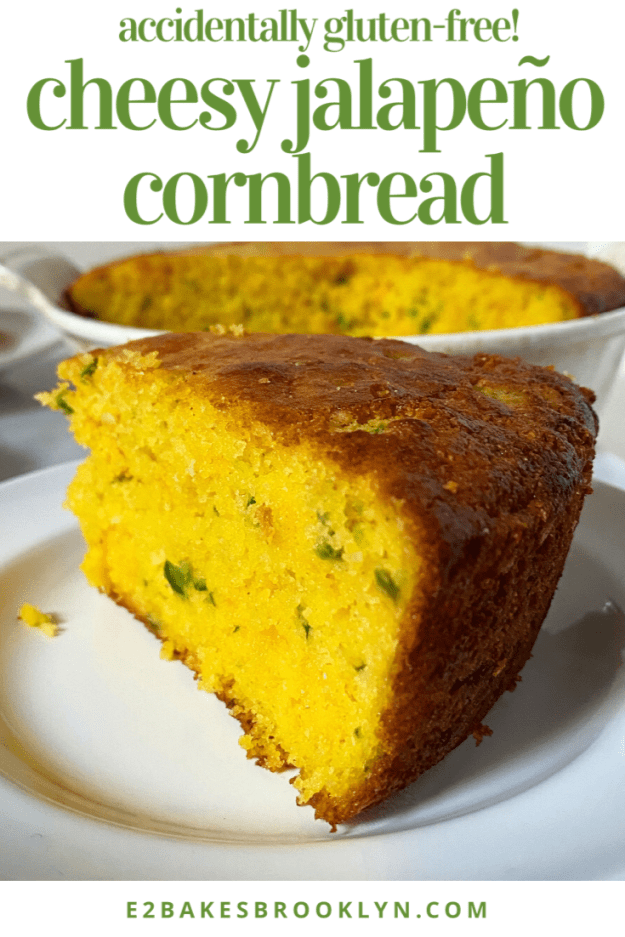
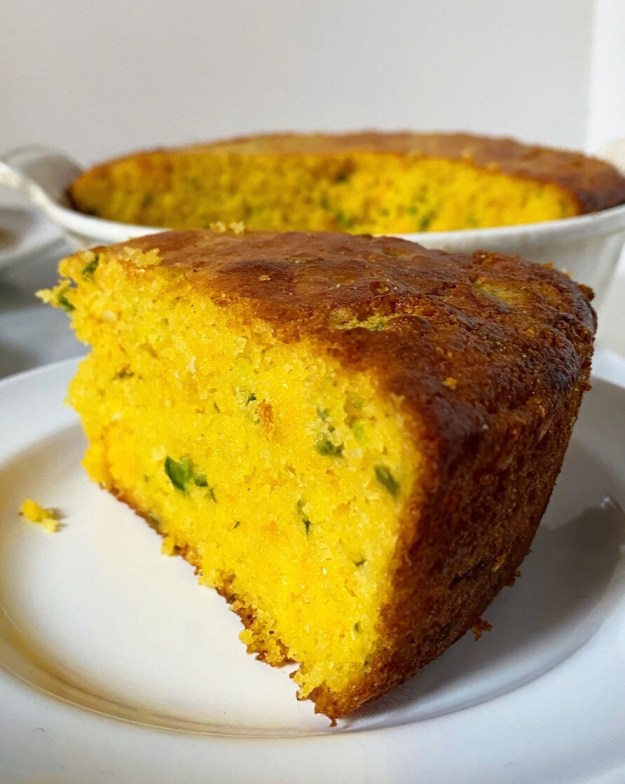 Then Monday came and lo,* there was Cheesy Jalapeño Cornbread, and it was good. Still is good. Like really good. It’s got crisp edges and a brown lid, but the center is tender and almost custard-like from the additions of sour cream and eggs. As it’s made with only yellow cornmeal, there’s no way to overmix and make it tough—difficult to overdevelop the gluten when there is none!
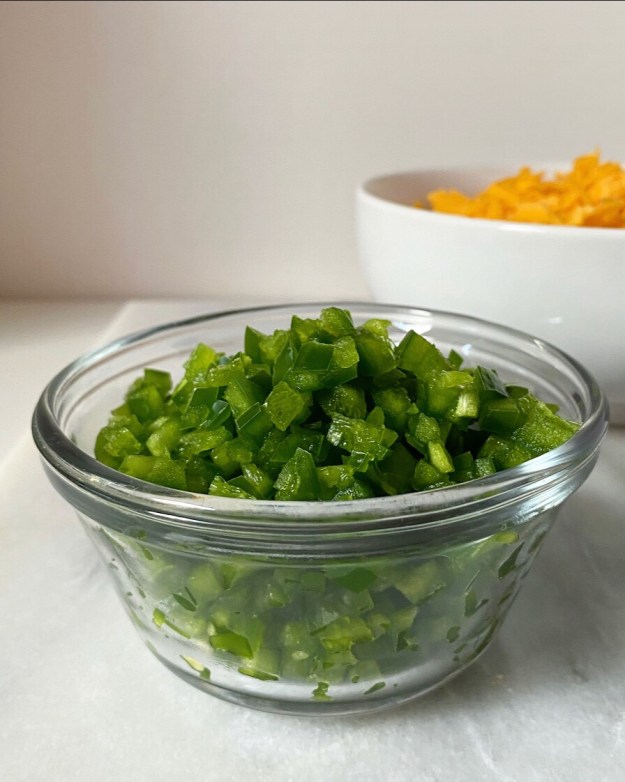
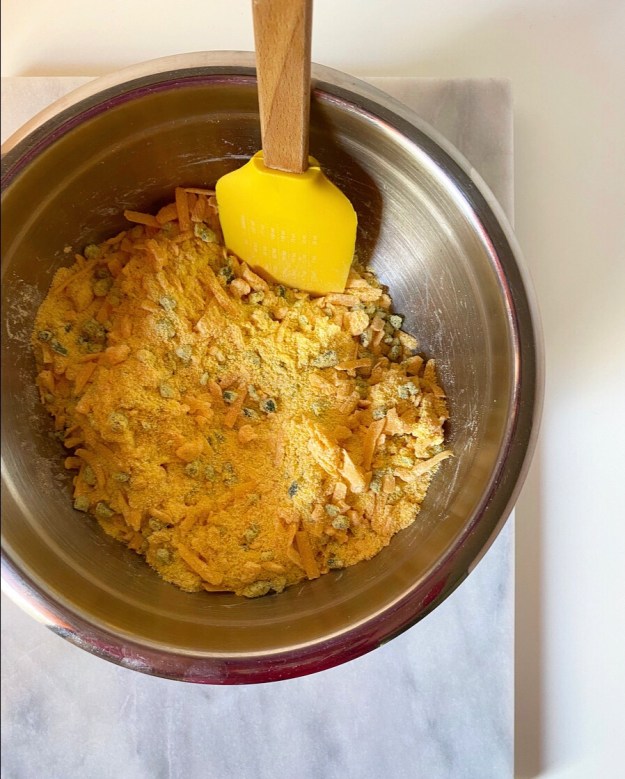
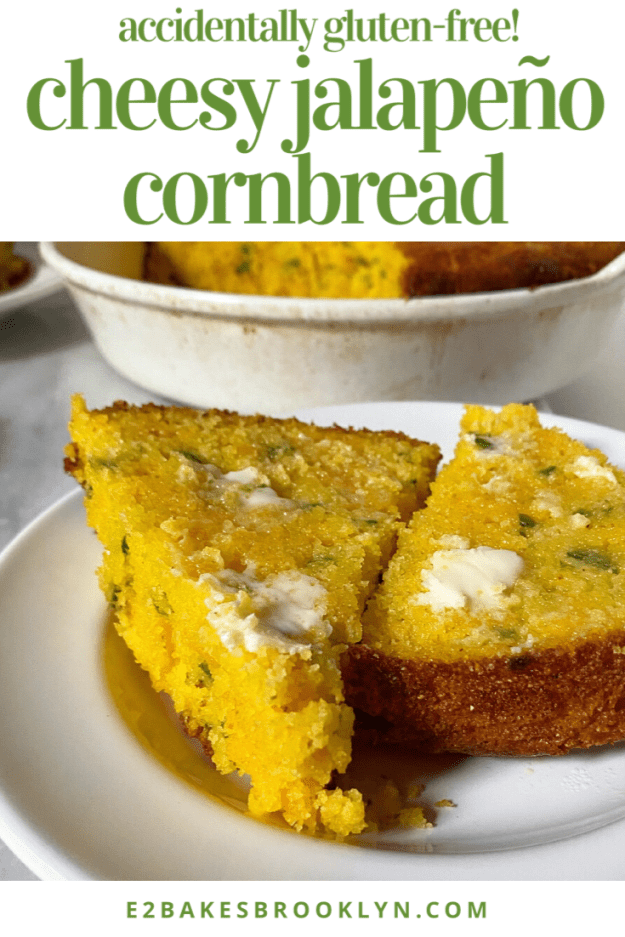
 As far as spice levels go, I like to live on the edge….but I used three jalapeños with seeds in the first round and sort of regretted it. This one (the second) is still almost too spicy for me, even after discarding half the seeds, but a bevy of shredded sharp cheddar and a few tablespoons of sugar offset all that intensity. If you’re sensitive to heat, maybe forgo seeds altogether, reduce the amount of jalapeño or try my
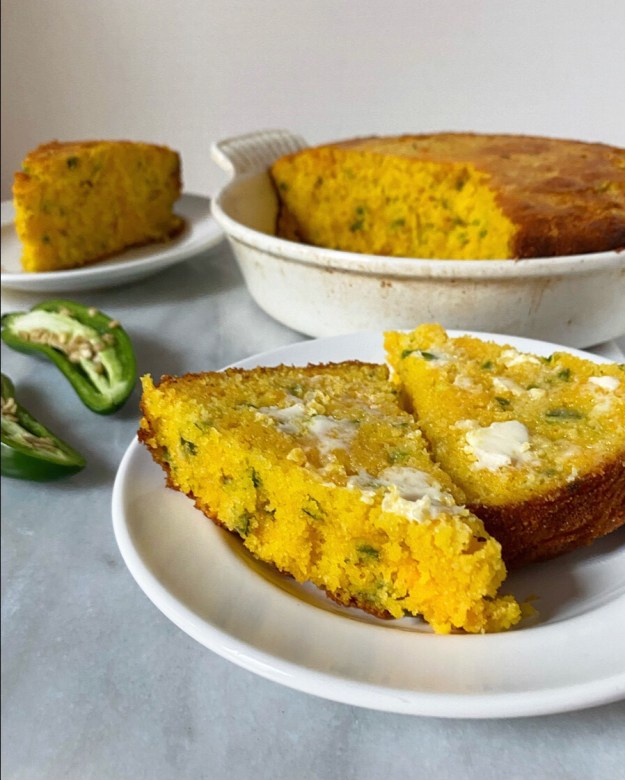

 Until recently, I’ve eaten (baked) frozen dinner rolls at every holiday dinner of my life and had exactly zero idea that I was missing anything. Warm bread is warm bread, right?
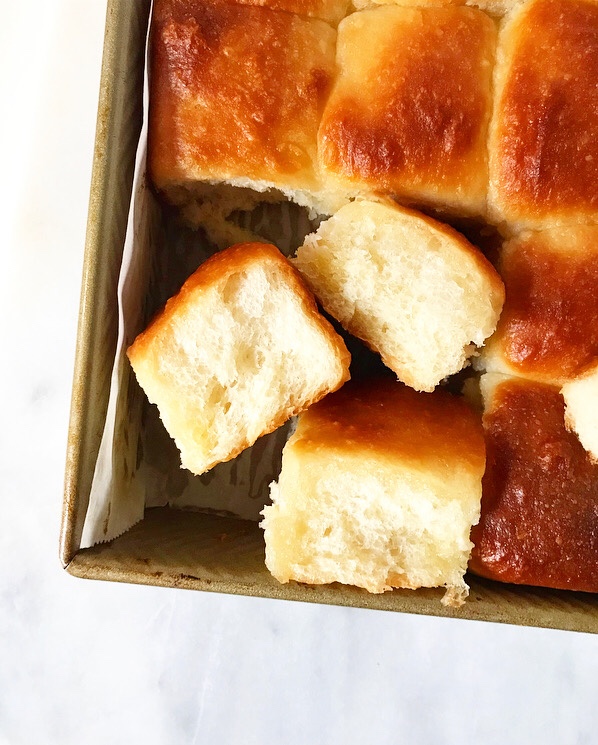 I mean, I’m sure I will eat a (baked) frozen dinner roll in the future because warm bread, but now I know the magic and ease of buttery, homemade Fluffy Dinner Rolls and I can never fully go back. In the story of my life, time will be defined as “Before Fluffy Dinner Rolls” and “After Fluffy Dinner Rolls.”
 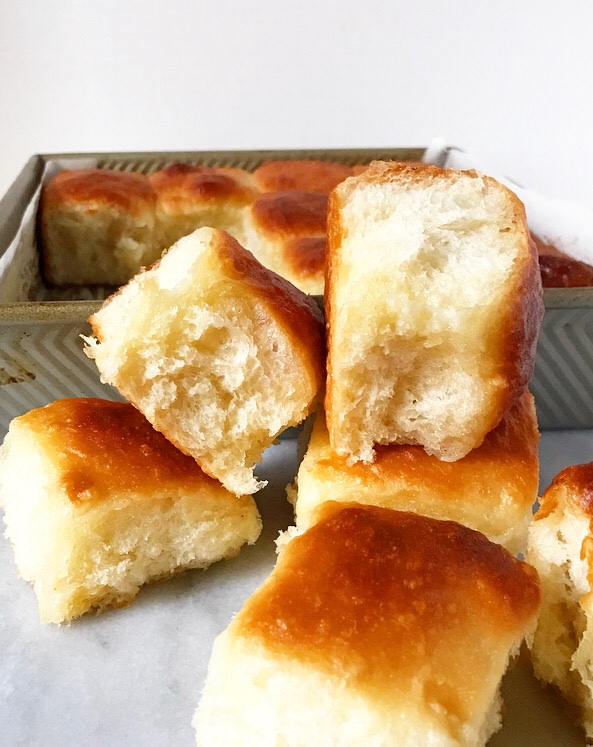 Okay, maybe not. But I am changed, and I have a sneaking suspicion that some of you are in the same boat I once was—out there living your lives, blissfully unconcerned that your holiday table is missing something or that you have been denied anything—and I am here to mess all that up by giving you an easy six-ingredient dinner roll recipe that will blow your freaking minds with its buttery, golden wonderfulness and ruin freezer aisle rolls for you forever. #sorrynotsorry
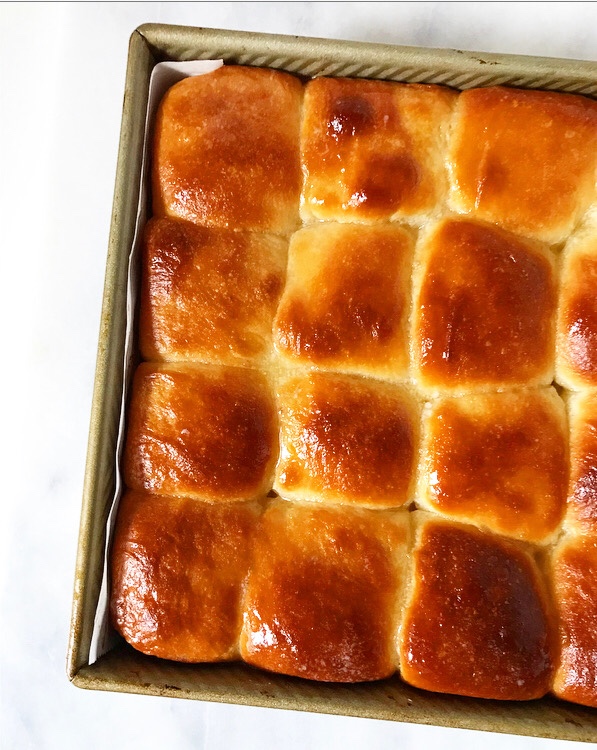
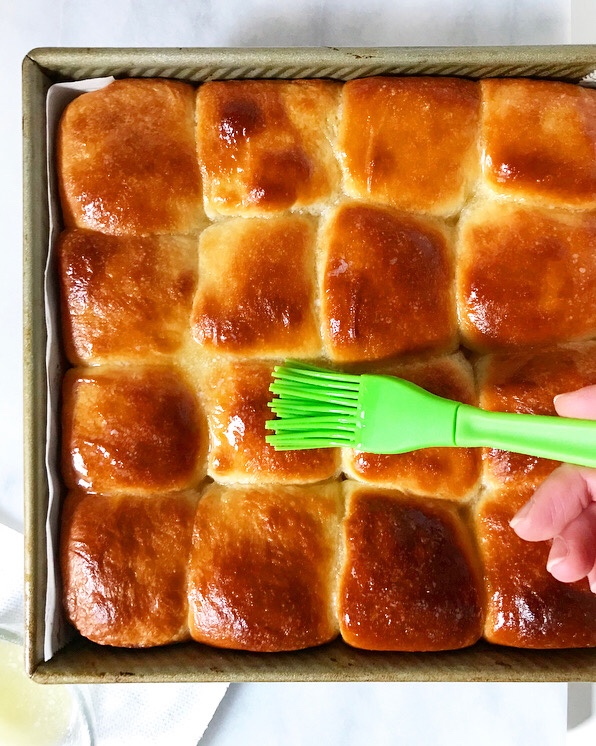
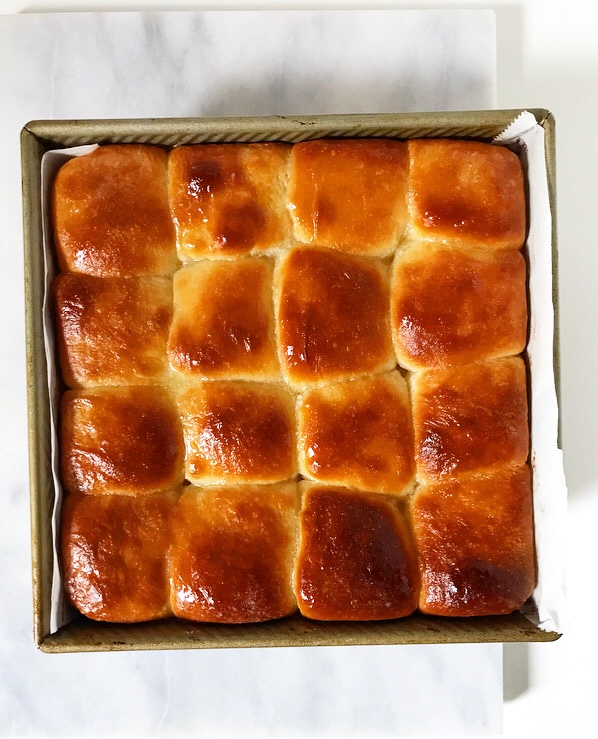
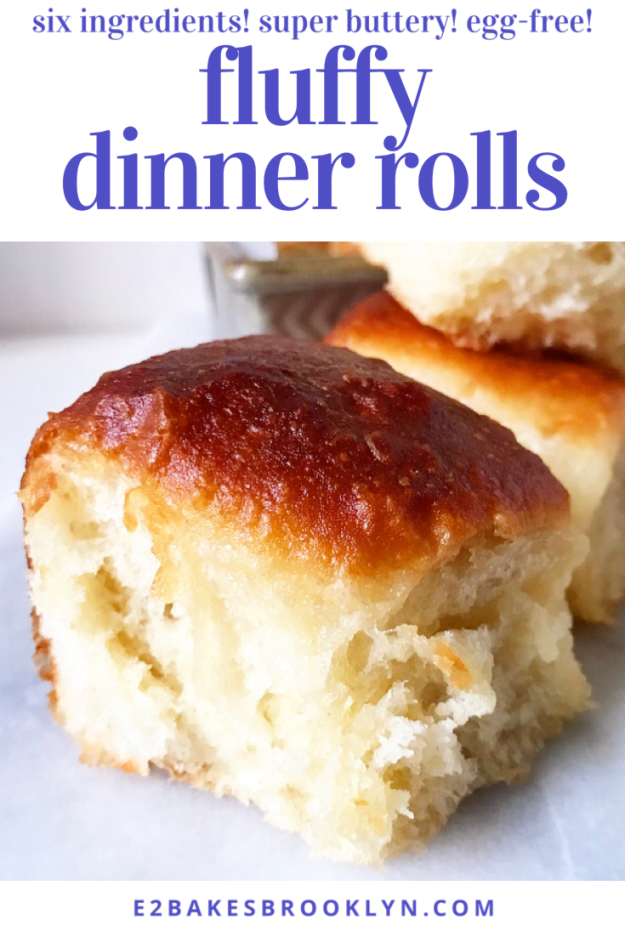
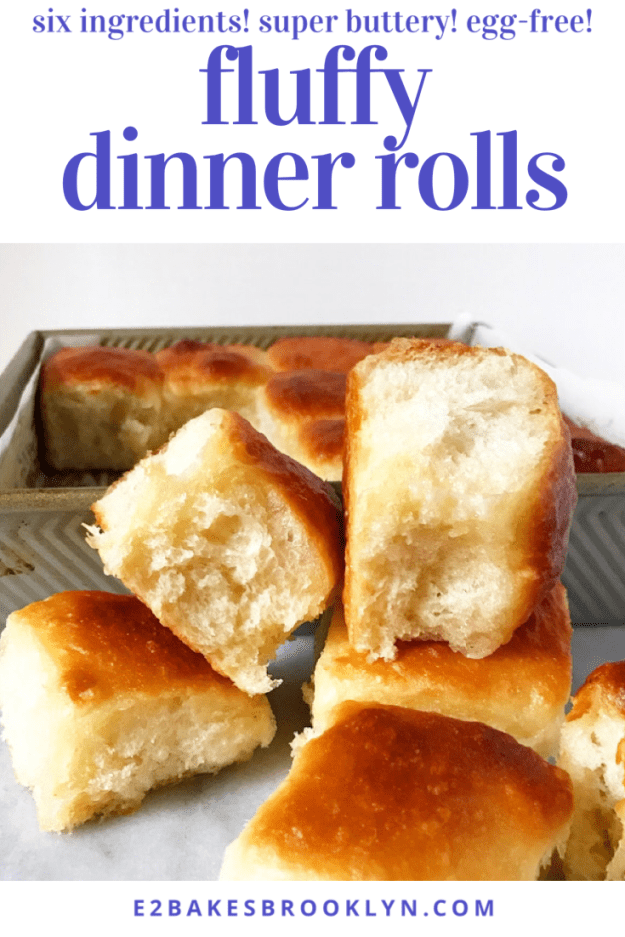
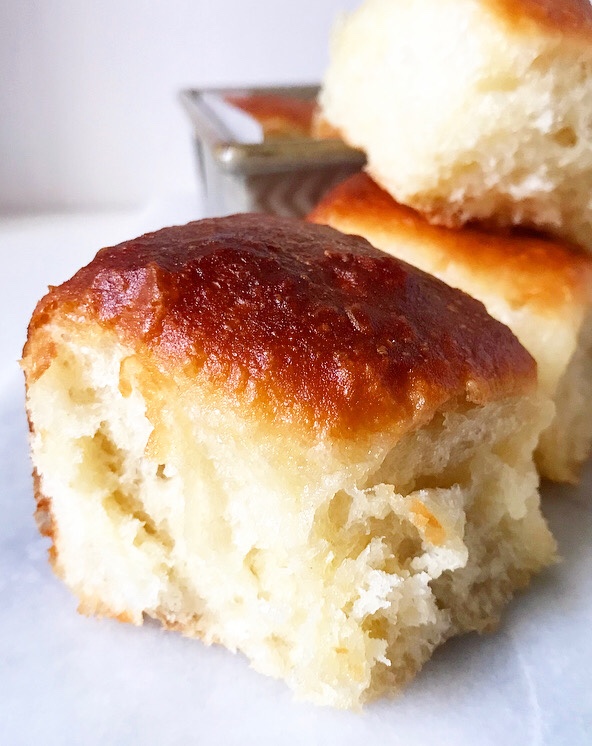 These Fluffy Dinner Rolls, y’all. They are fluffy. So fluffy. And they are slightly sweet and buttery as all get-out (whatever that means). There’s butter in the dough, and more is brushed on both before and after baking!
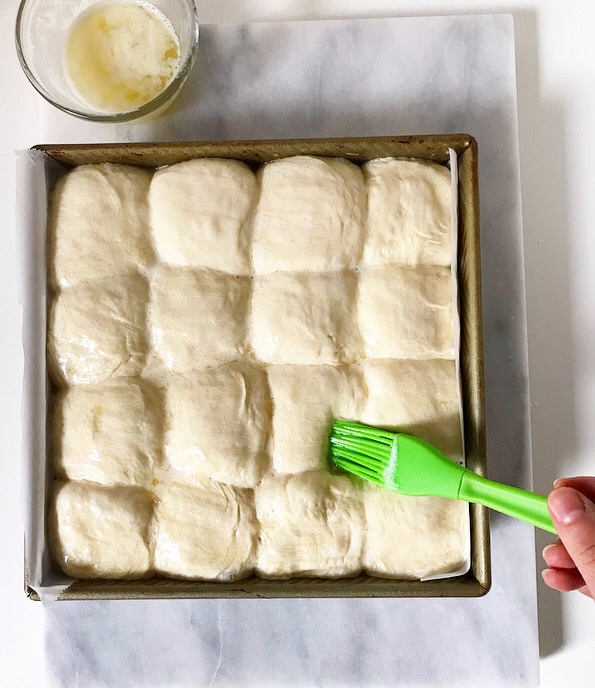
 Did I mention their softness? When I was testing this recipe, I spent a lot of time poking the golden tops of these rolls and watching them bounce back, just because I could. So soft! So dang fluffy!
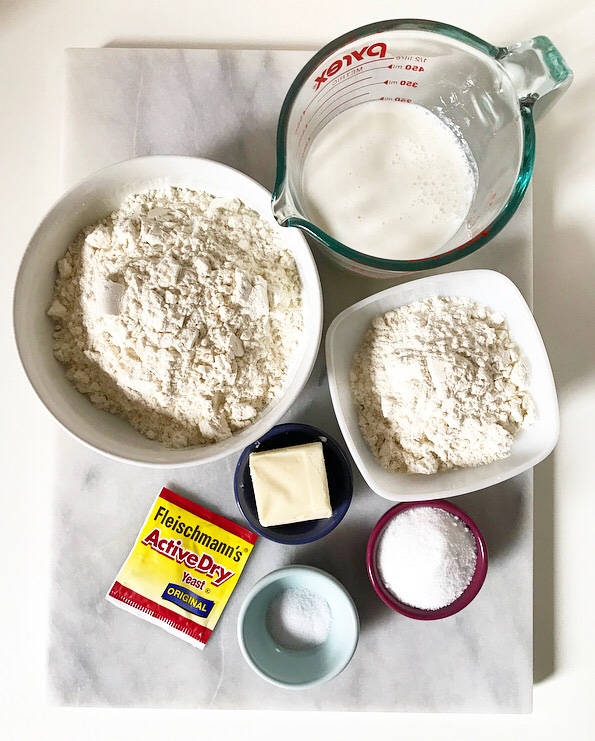
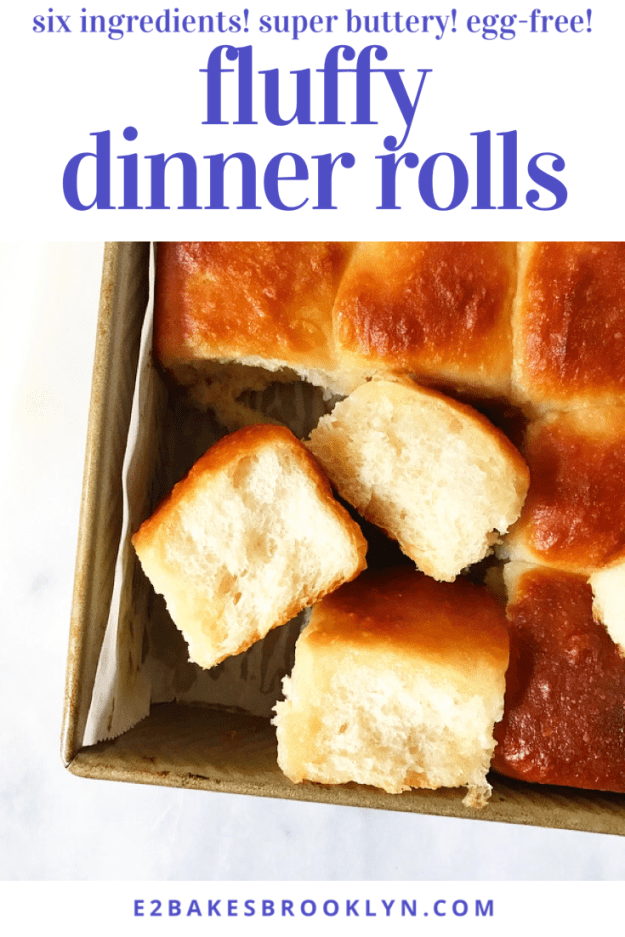
 As I said, these beautiful dinner rolls require just six ingredients: flour, yeast, sugar, salt, butter and buttermilk. These rolls are egg-free, but lack nothing in the flavor or texture departments.
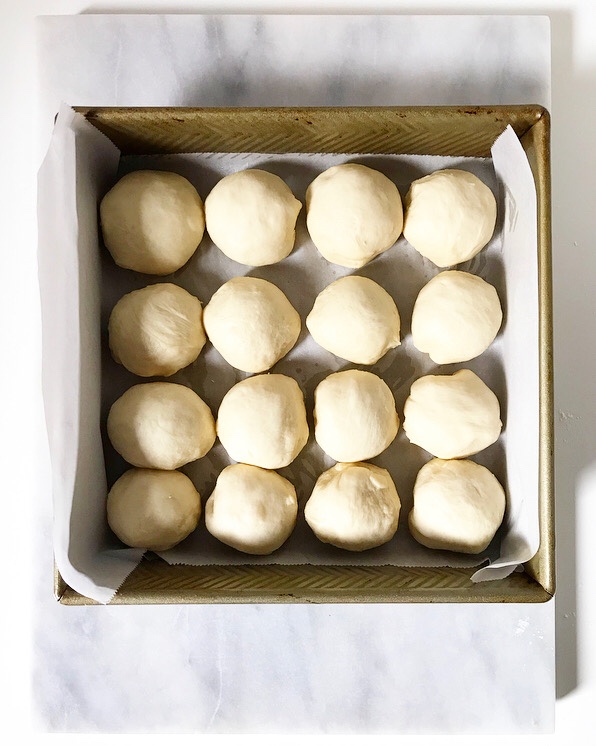
 They are super simple to make, too. Don’t let the length of the recipe fool you—I just wanted to ensure that you have all the information you need for Fluffy Dinner Roll success. I’ve included instructions for a stand mixer and mixing by hand, and for using both active dry and instant yeasts. I tried my best to describe how to shape them, but it’s surprisingly difficult to explain with words alone, so here are some pictures of what I did:
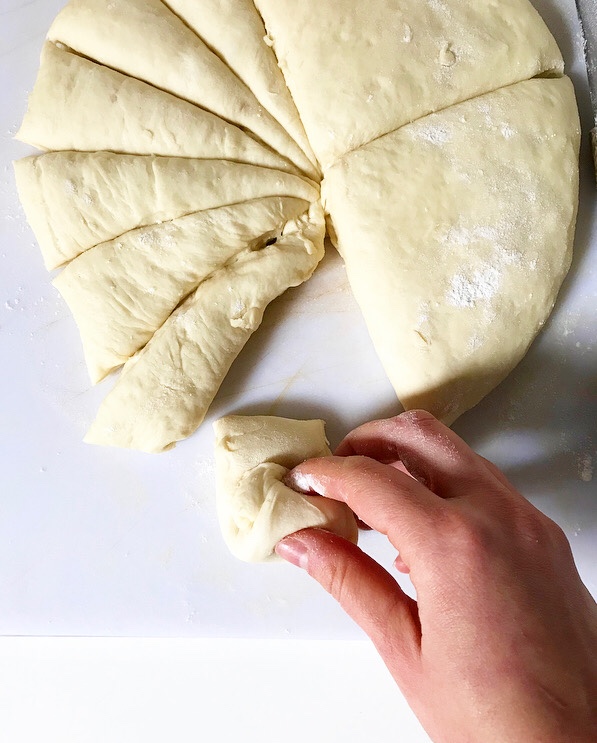
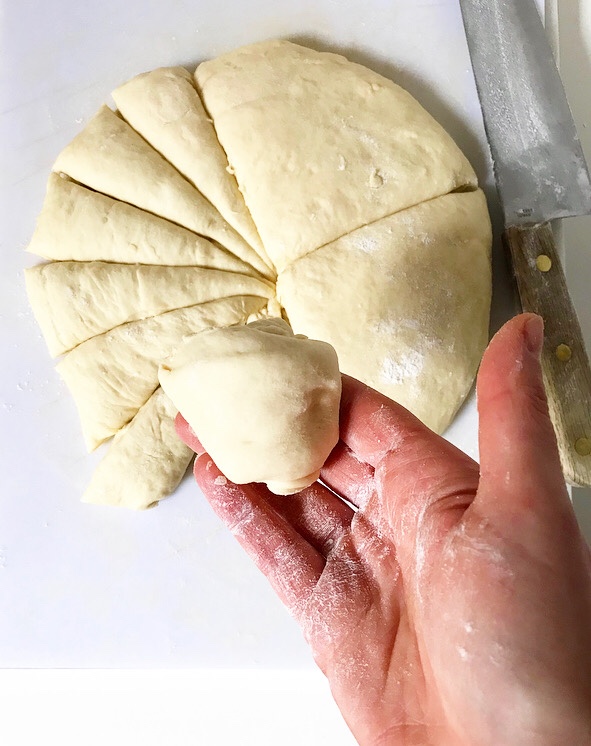
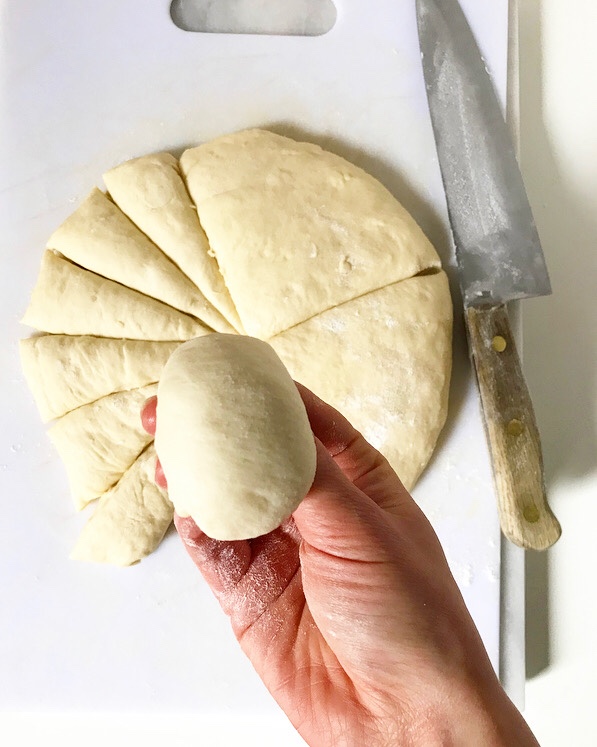
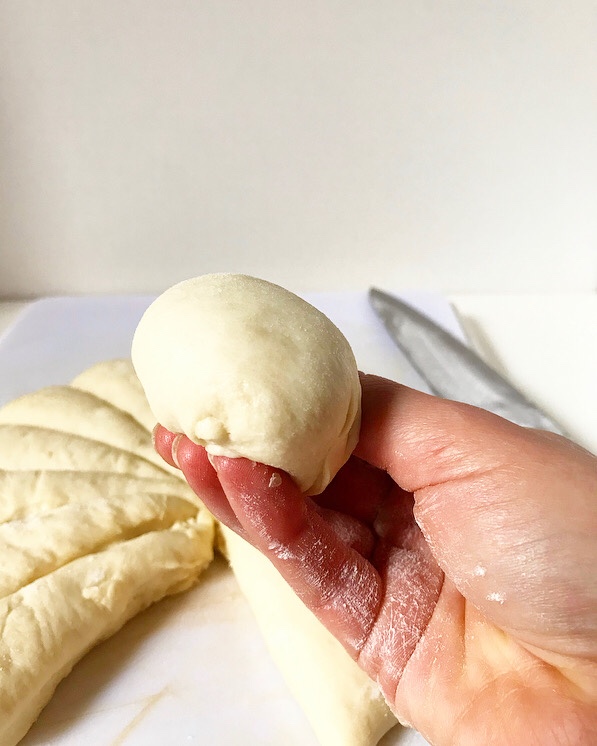 Don’t worry, they don’t have to be shaped perfectly to be delicious. It took me three batches to get a consistent shaping method. Those other four batches? They were for quality control. Or maybe just making up for lost time.
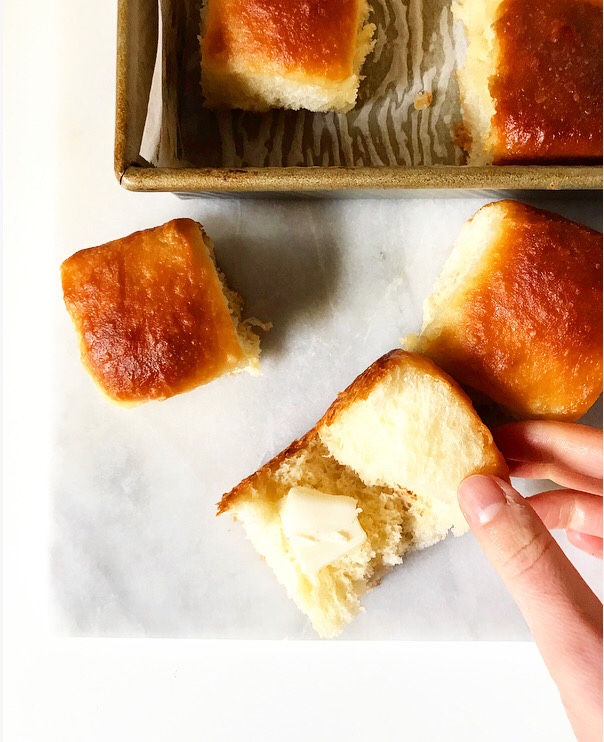
 There’s little rhyme or reason as to what I choose to blog—it’s usually just whatever I’ve felt like making lately. In case you hadn’t noticed, I’ve been on a bit of a breakfast kick. I’m not exactly sure how many fall breakfast options I think you need, but it’s at least three:
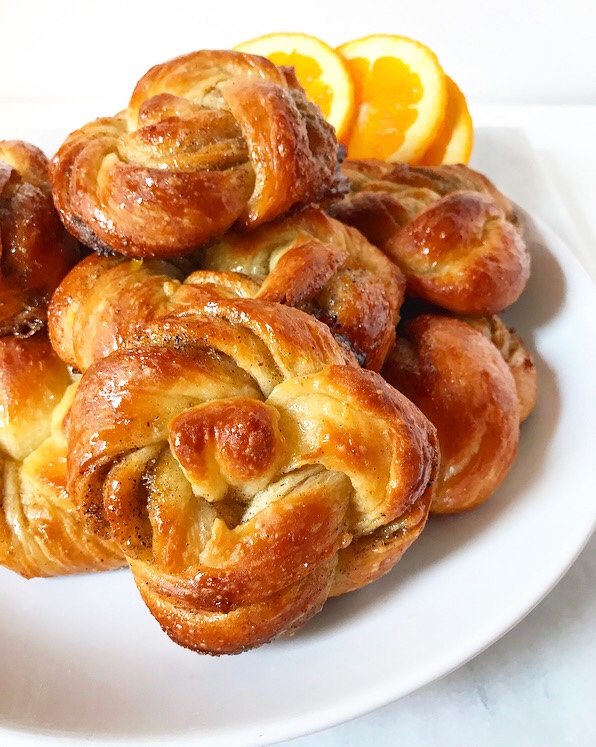
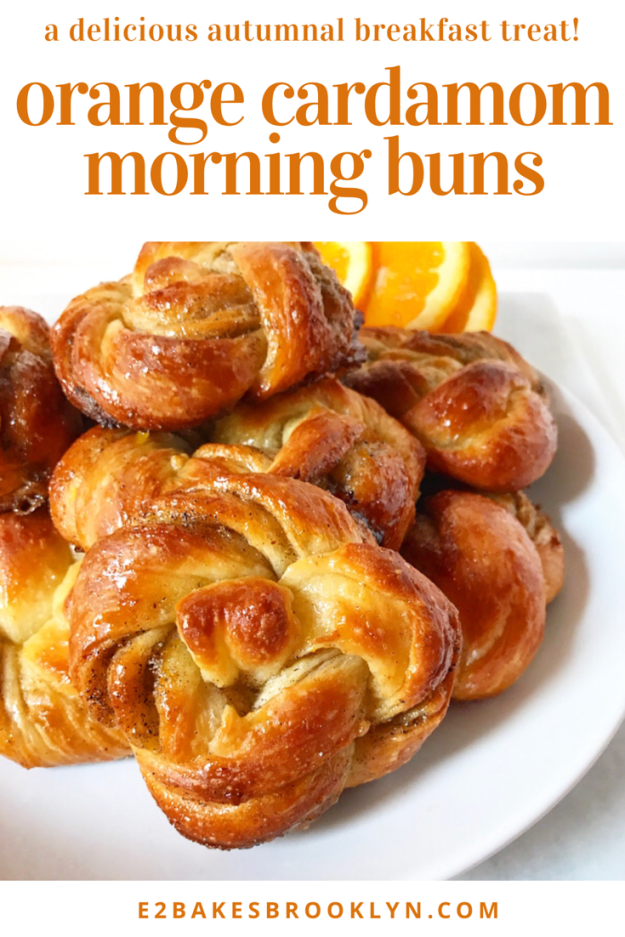
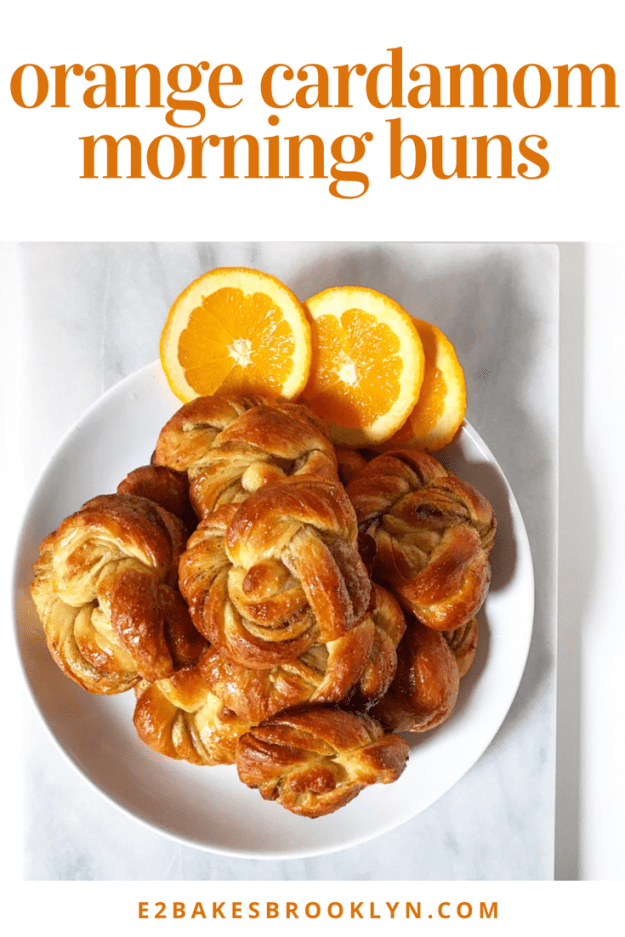
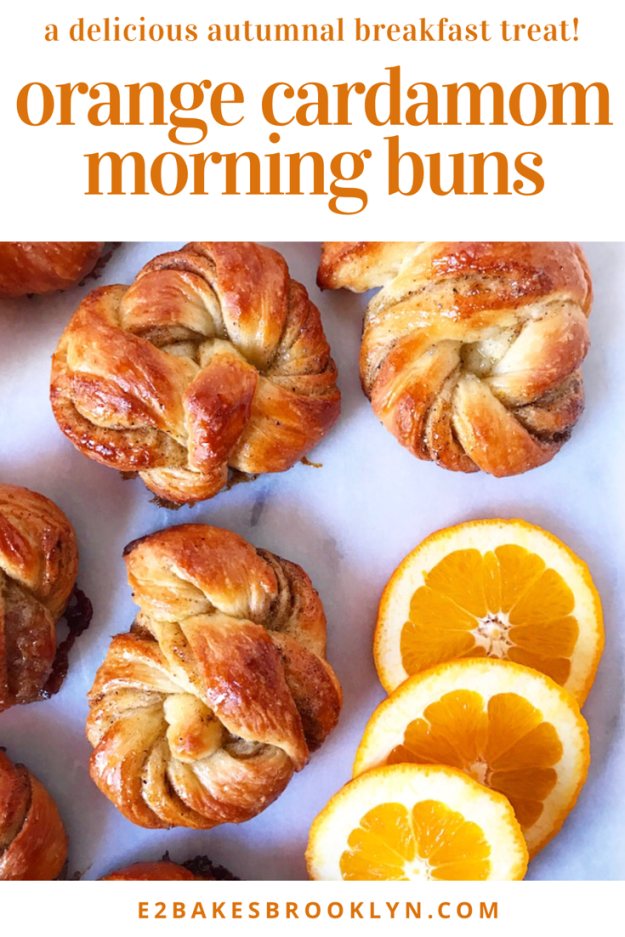
 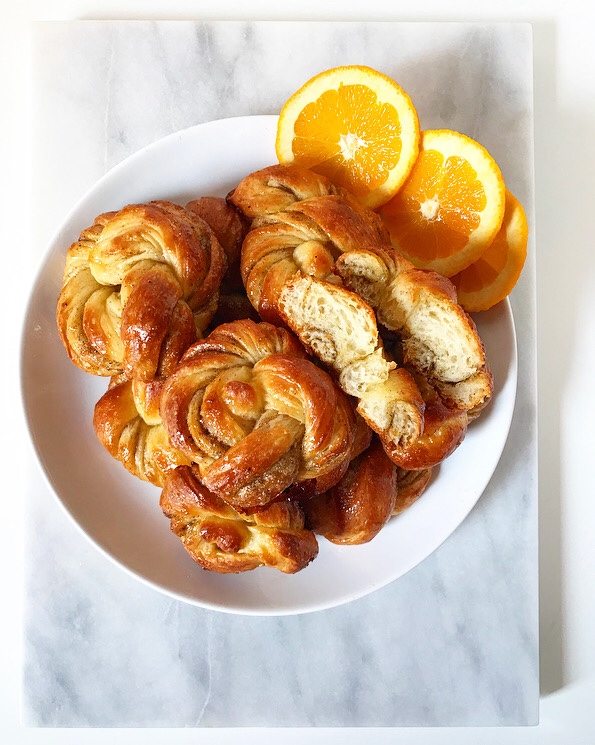 I mean, look at these sticky, swirly things! You need them. I need them. Preferably on Saturday morning alongside my daily French press.
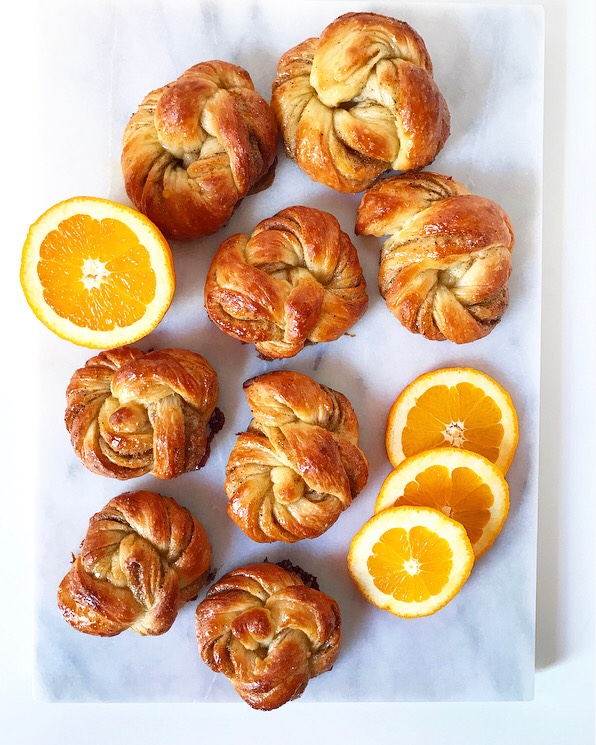 They’re flaky and fluffy, filled with a fragrant orange-cardamom sugar, and twisted to perfection. The crowning glory is a brush of orange-cardamom glaze as soon as the buns come out of the oven, which gives them an extra layer of flavor and their gleaming appearance.
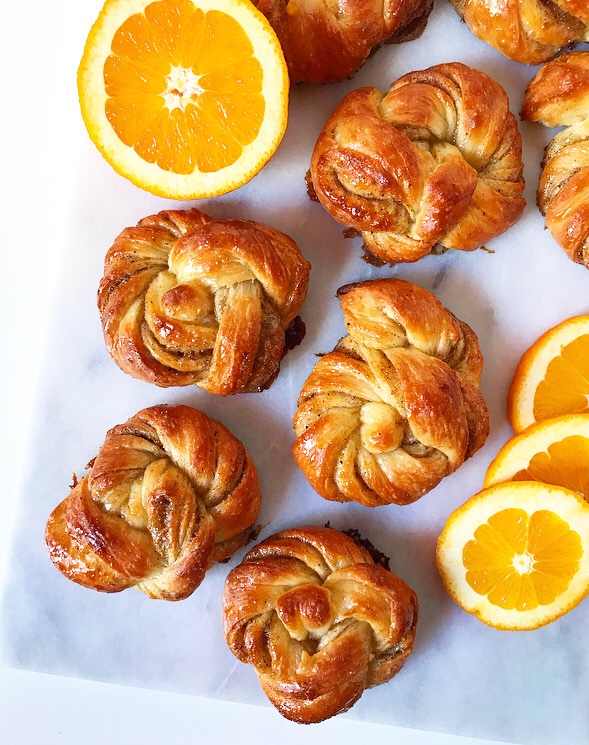 Oh, and they take two hours start-to-finish—a rarity in the from-scratch breakfast bun realm. And their twists? Much easier than they look. My motor skills are seriously lacking (I am comically bad with scissors), so if I can shape them, anyone can.
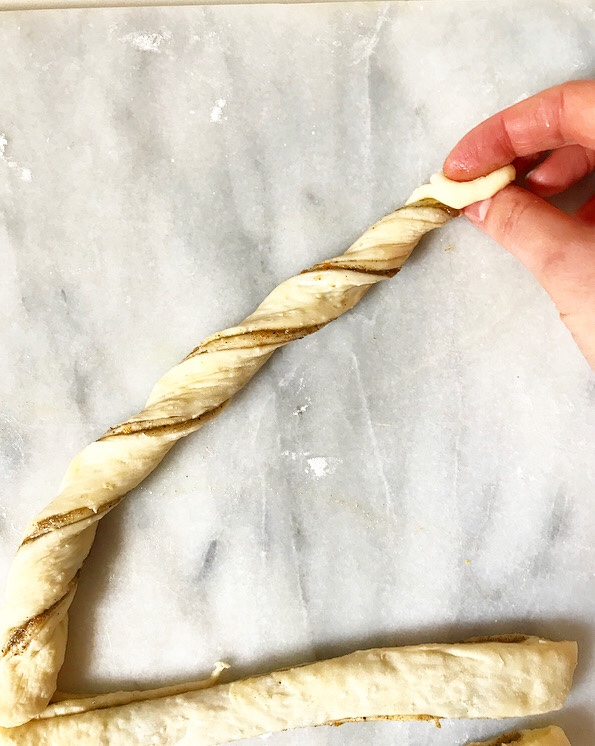

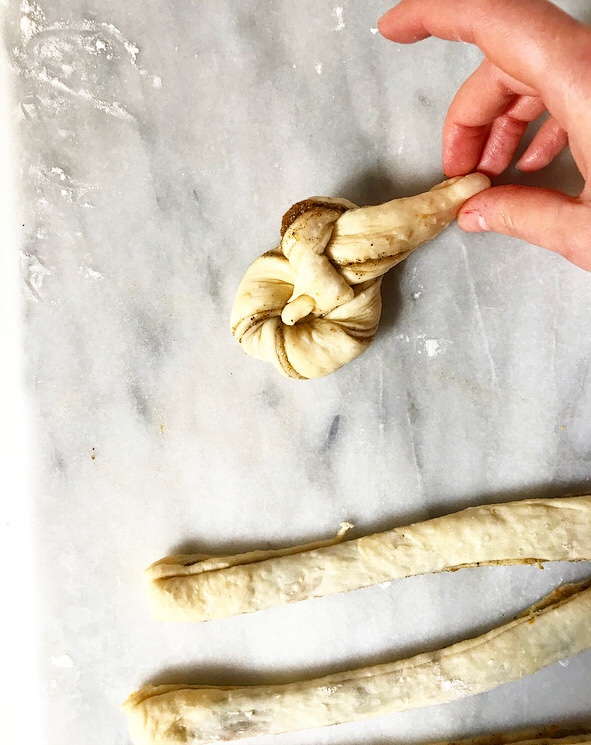
 Just twist a strip of dough and tie it in a knot. Boom, done.
 Even if you do it “wrong” (which is near-impossible), I promise they will still turn out beautifully. And even if they don’t (which is also near-impossible—can you see that I did this with one hand?), call ‘em rustic. That’s what I do. If anyone complains, eat theirs. That’s also what I do.
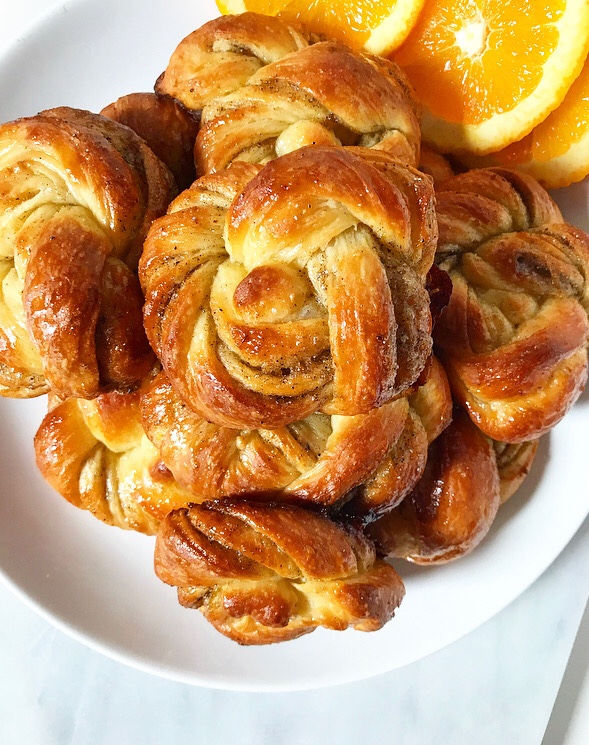 What?! You don’t need that negativity at breakfast.
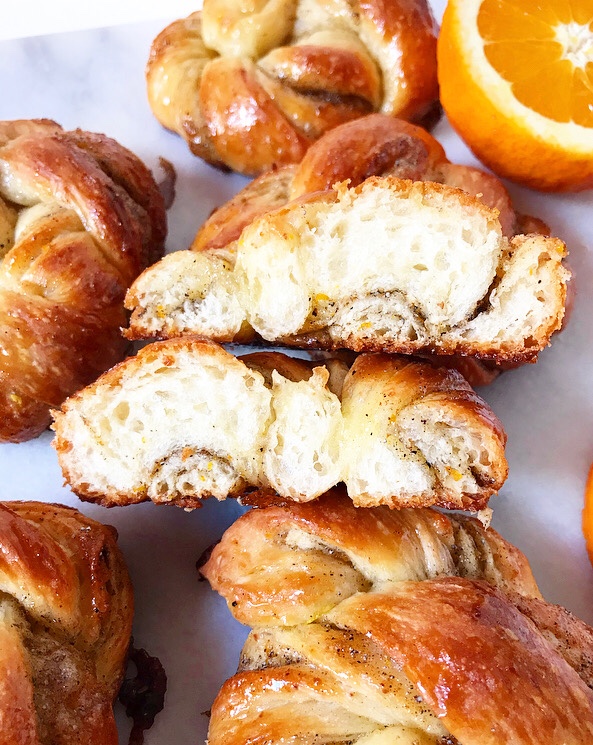
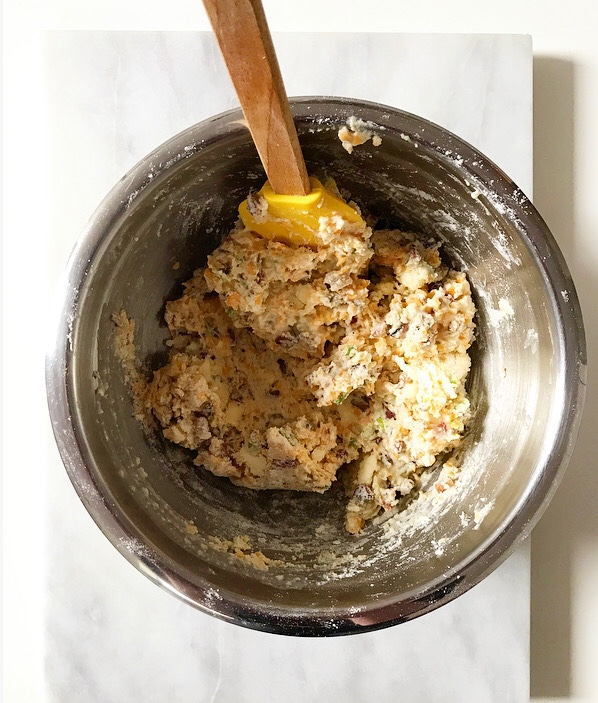
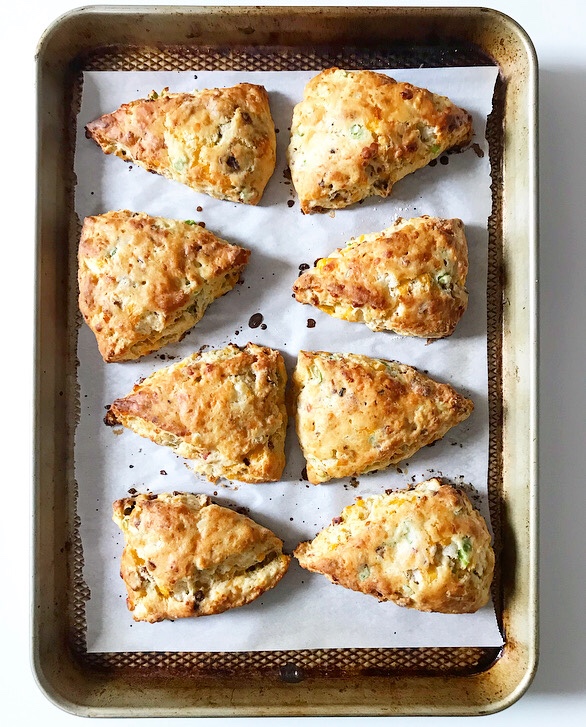
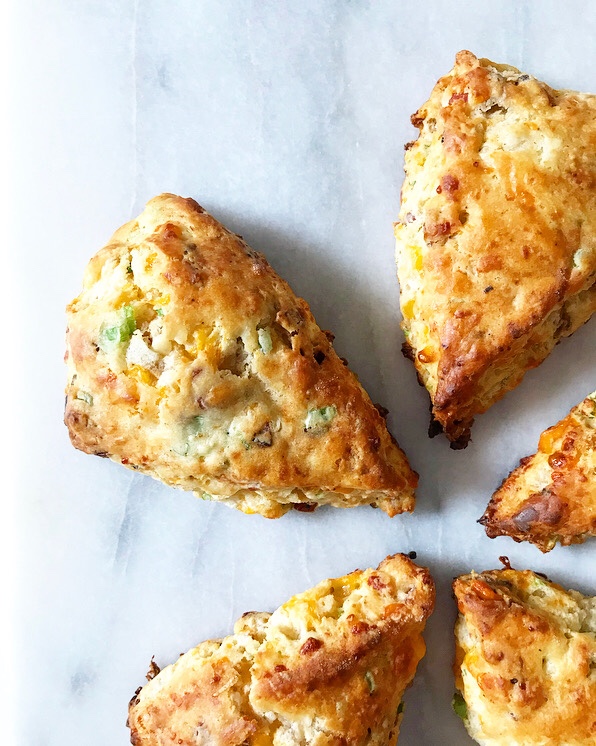
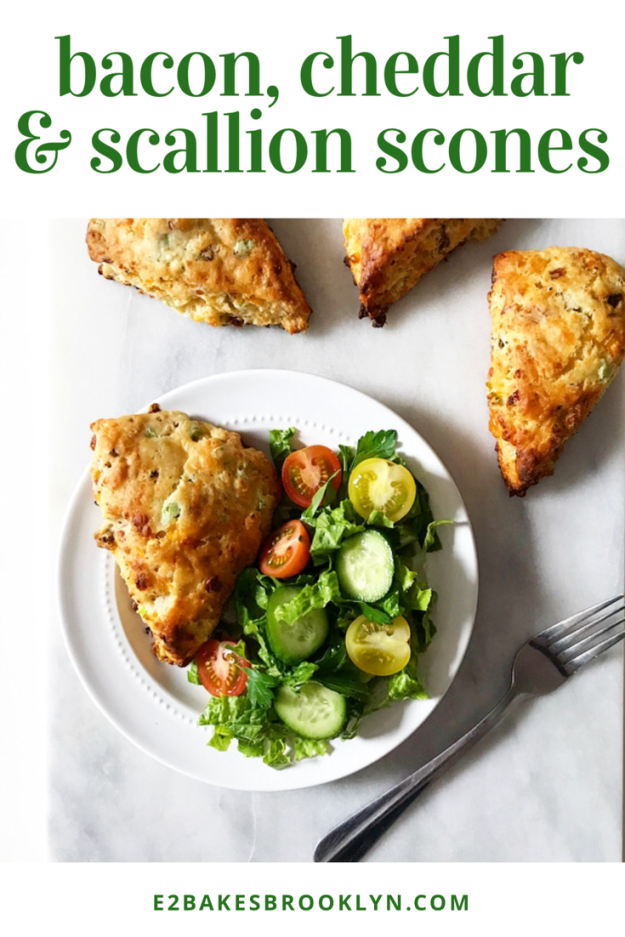
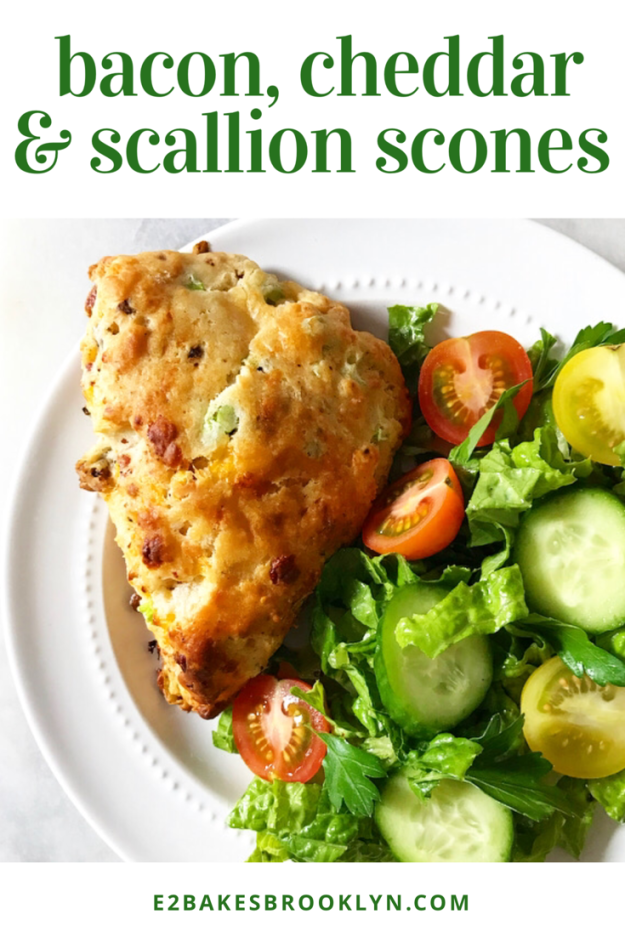
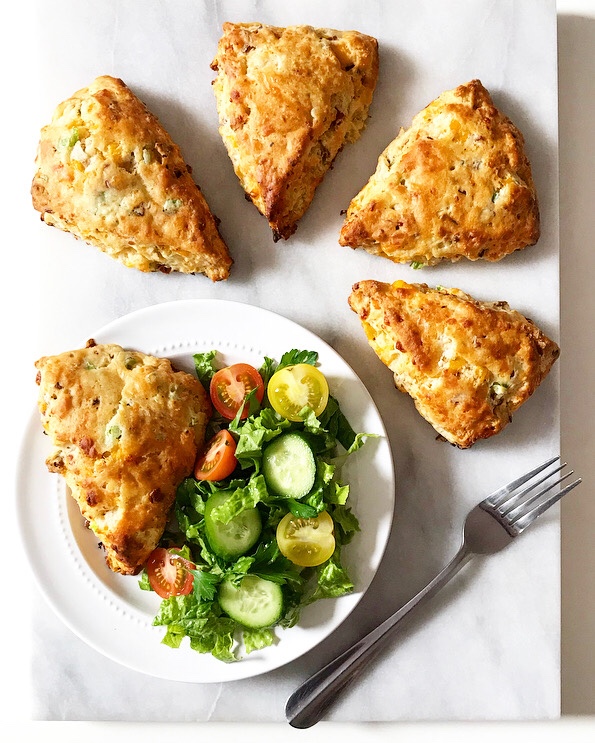 I don’t know how exactly this began, but somewhere along the line, I got it in my mind that there is no combination that says “casual-but-classy spring lunch” quite like a savory scone with a big green salad.