 I’m slowly but surely settling back into life in Brooklyn.
Last week, I basically felt like packing up and impulsively moving to Maine. You know, because living there would be just like being on vacation. #logic
 Arriving home to a heatwave, the end-of-the-month cake rush, and a week full of work at my day job (which I love, but work is work) was just enough to make me lose my pretty little mind.
Note to self: never go on vacation during the week preceding the craziest week of the month. Just don’t do it.

 I worked through the weekend, but did pause Saturday night to have a mini-Maine reunion with VJ and Shira. I made tostadas and we ate all of the guacamole and loved on some cute cats. And on Sunday morning, I felt so. much. better. You know you have good friends when you can travel together for eight days, survive the hottest twelve hour drive in the history of twelve hour drives, and still want to hang out together.
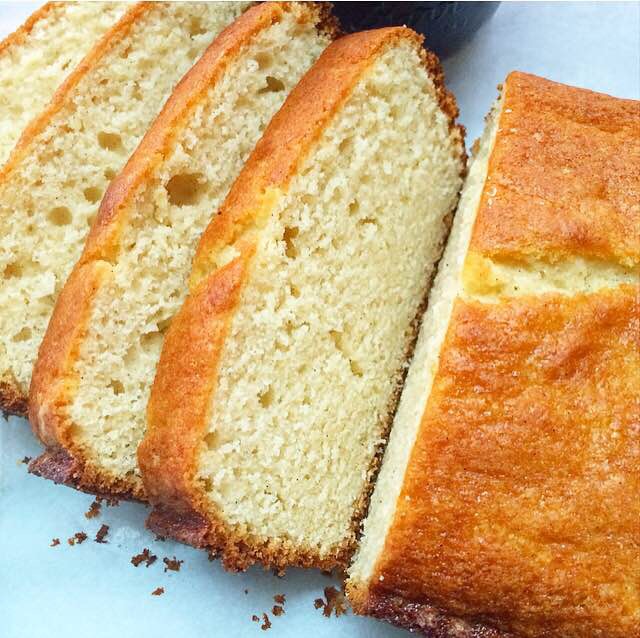
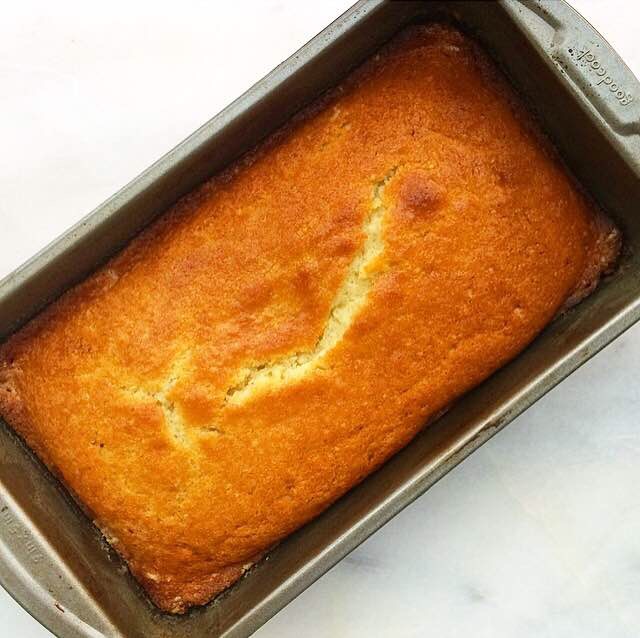
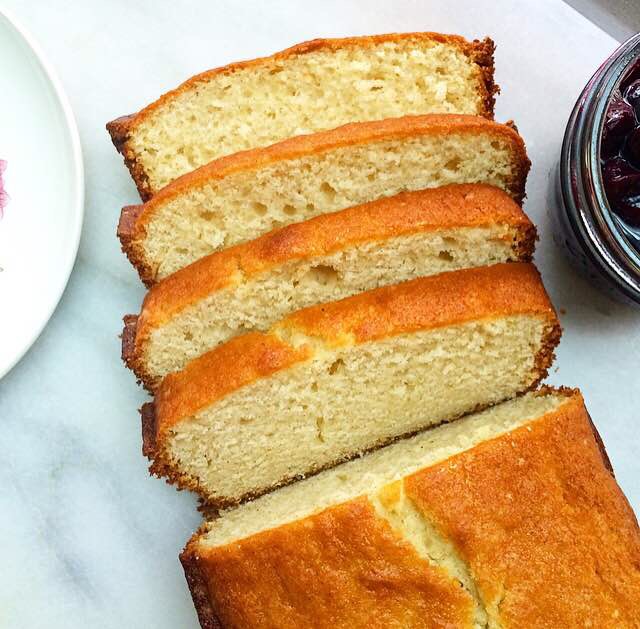
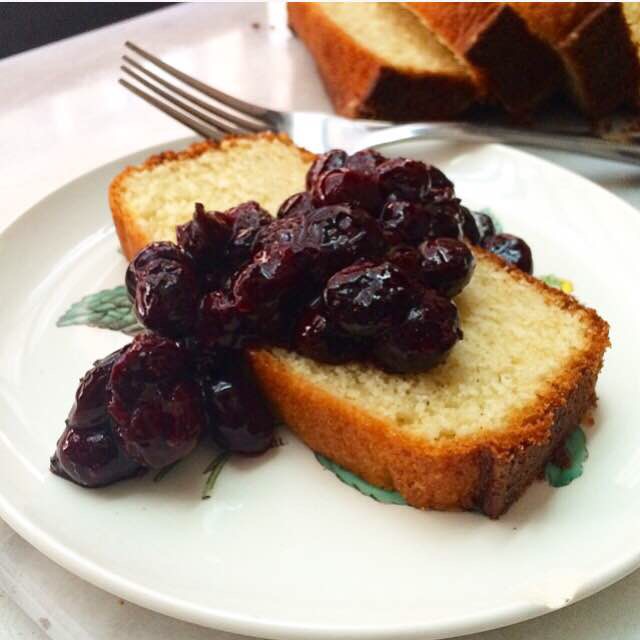
 I didn’t do much baking for myself or this blog last week (aside from this Chocolate Cream Pie), and honestly, I didn’t really want to. I love baking, but with the heatwave, a gazillion cakes, and work, all I really wanted to do was crank the AC up to high and take a nap. But I didn’t, and I survived it. All of the cakes turned out well, even though the frosting was a little soft from the heat. I made crowd favorites: vanilla, chocolate, and two carrot cakes, but my favorite was a coconut cake. Even in the midst of all the insanity last week, I made a mental note that that cake was blog-worthy.
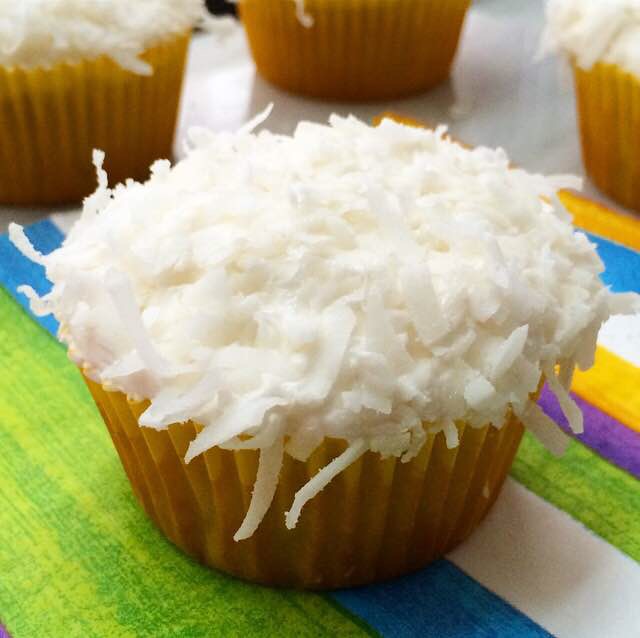
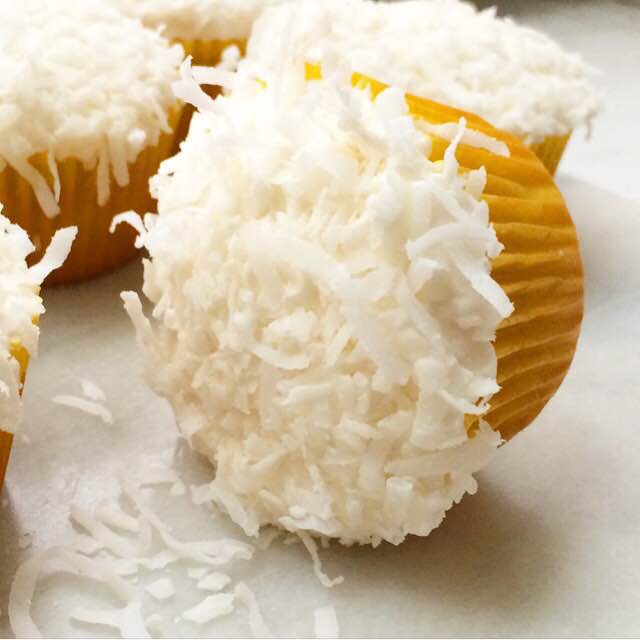
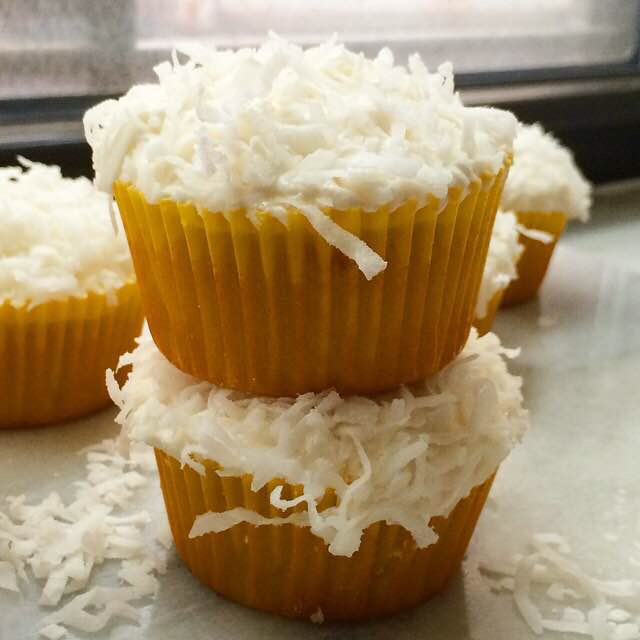
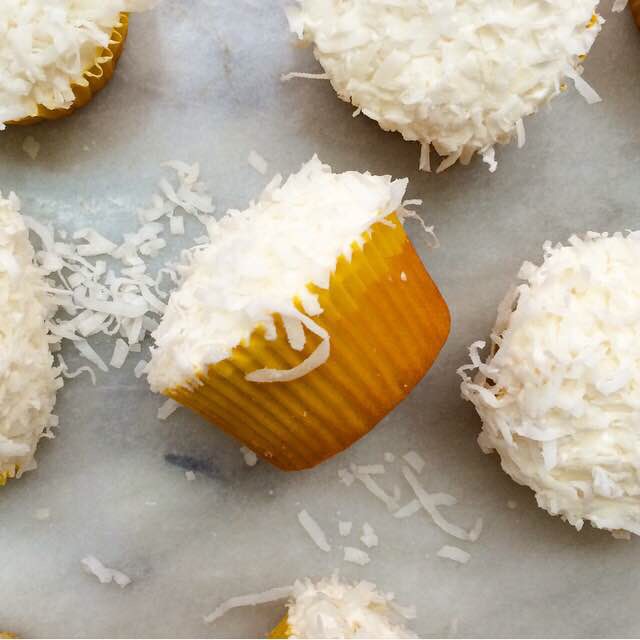 And so, here it is in cupcake form. Soft, buttery, coconut-scented cupcakes, brushed with a coconut simple syrup, topped with coconut buttercream, and rolled in sweetened shredded coconut. Yes, there are four doses of coconut–there’s no mistaking the flavor of these sweet little cupcakes!
I made these yesterday morning and ate two while chatting with my roommates in our finally-not-sweltering living room. One of them, who rarely tries any of the baked goods he is constantly surrounded by, told me that this was the best coconut cake he had ever eaten. I don’t know about “best ever,” but I do know that starting this week with Coconut Cupcakes is a sure sign that things are looking up.
 Coconut Cupcakes
makes 16-18 cupcakes (or one 9-inch round cake*)
Cupcakes:
1 1/2 cups all-purpose flour
2 tablespoons cornstarch
1/2 teaspoon baking powder
1/4 teaspoon baking soda
1/2 teaspoon Kosher or sea salt
1/2 cup (1 stick) unsalted butter, softened to room temperature
1 cup granulated sugar
2 large eggs, room temperature
1 1/2 teaspoons pure vanilla extract
1 teaspoon coconut extract
1 cup buttermilk, room temperature
Coconut Simple Syrup:
1/4 cup granulated sugar
1/4 cup water
1/2 teaspoon coconut extract
Frosting:
1/2 cup (1 stick) unsalted butter, softened to room temperature
2 cups confectioner’s sugar
pinch of Kosher or sea salt
1 teaspoon pure vanilla extract
1/2 teaspoon coconut extract
1-2 tablespoons heavy cream
1-1 1/2 cups sweetened shredded coconut
Preheat the oven to 350F. Line a standard muffin tin with 12 cupcake liners. Set aside.
Make the cupcakes. In a medium mixing bowl, whisk together flour, cornstarch, baking powder, baking soda, and salt. Set aside.
In a large mixing bowl, use an electric mixer to beat butter until light and fluffy. Beat in sugar. Mix in eggs one at a time, followed by vanilla and coconut extracts, and buttermilk. Add dry ingredients in two installments, combining completely after each addition.
Fill prepared muffin cups 2/3-3/4 full. Tap pan on the counter five times to release any large air bubbles. Bake cupcakes 16-18 minutes, until a toothpick inserted in the centers of a few cupcakes comes out clean. Let cupcakes cool in the pan for five minutes before removing to a rack to cool completely. Repeat baking process with any remaining batter, making sure to fill any unused muffin cups 1/4 full with water to prevent the pan from warping.
Make the coconut simple syrup. Combine sugar and water in a small saucepan over medium heat. Cook, stirring occasionally, until sugar has dissolved and mixture begins to bubble at the edges. Remove pan from heat. Stir in coconut extract. Use a pastry brush to paint each cooled cupcake with the hot syrup.
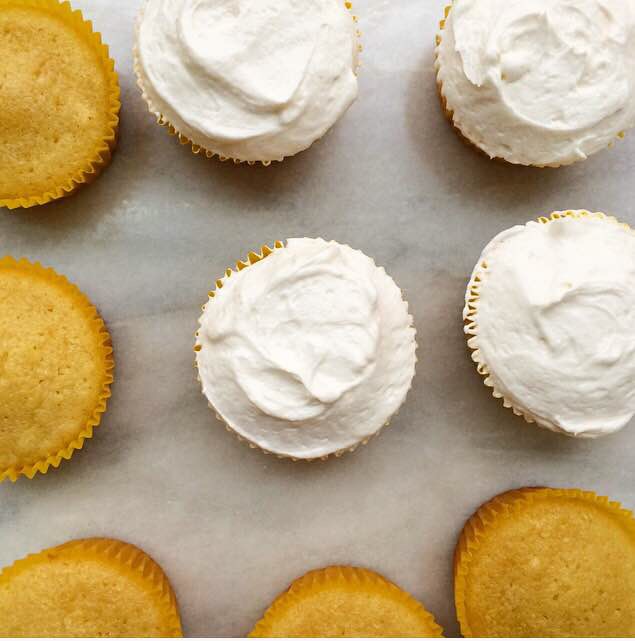
Make the frosting. In a large mixing bowl, use an electric mixer to beat butter until light and fluffy. Mix in confectioner’s sugar and salt, followed by vanilla and coconut extracts. Add 1 tablespoon heavy cream and beat frosting for one minute, until fluffy. If a looser frosting is desired, add another tablespoon of heavy cream and beat for another minute. Use an offset knife to frost cupcakes.
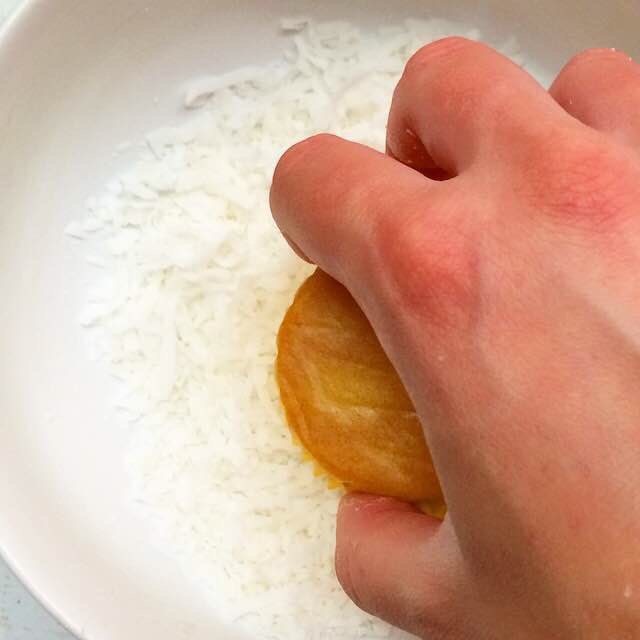
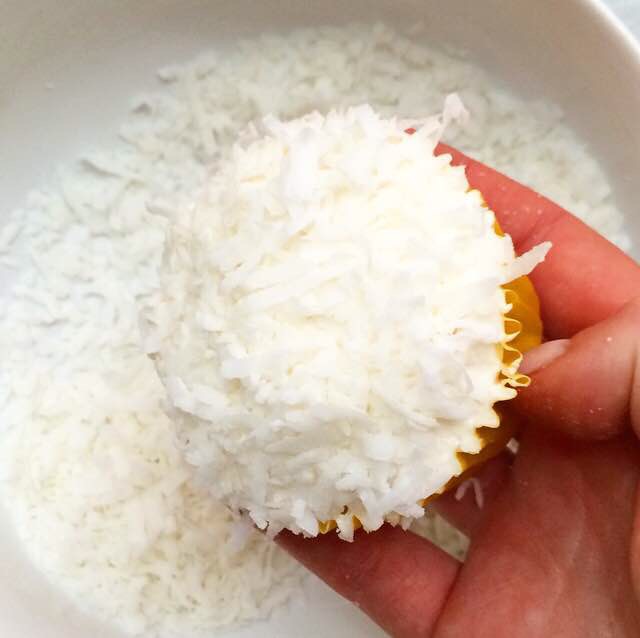
Place sweetened shredded coconut in a small bowl. Dip the top of each frosted cupcake into coconut.
Serve cupcakes immediately, or keep in an airtight container at room temperature for up to two days. Cupcakes will keep in the refrigerator for up to five days.
Note:
This recipe may also be used to make a single-layer 9-inch round cake. Bake batter in a greased pan for 32-35 minutes, or until a toothpick inserted in the center comes out clean. Let the cake cool in the pan for 15 minutes before inverting onto a rack to cool completely. Brush with warm coconut simple syrup, and frost and decorate as desired.


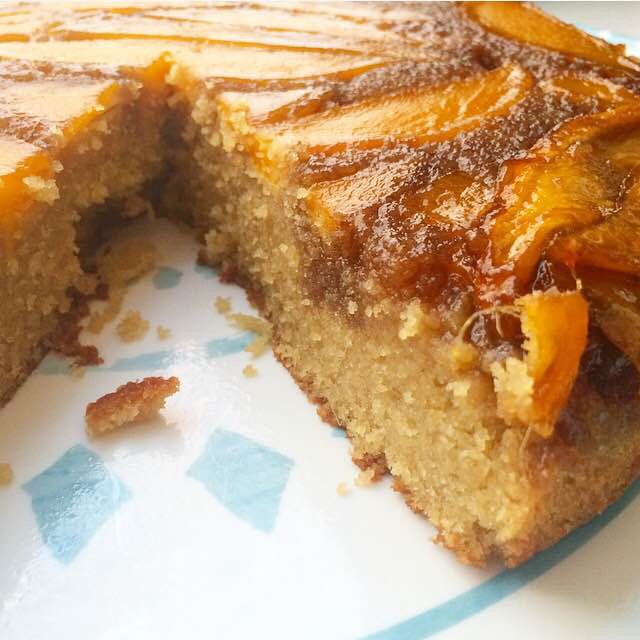
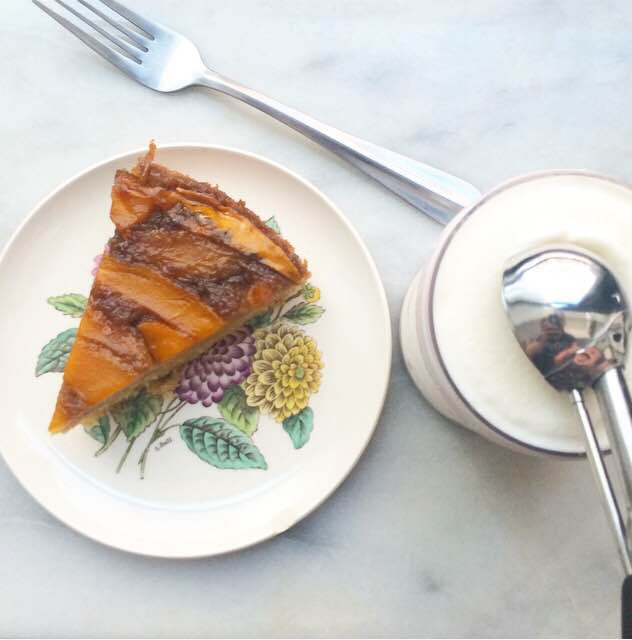
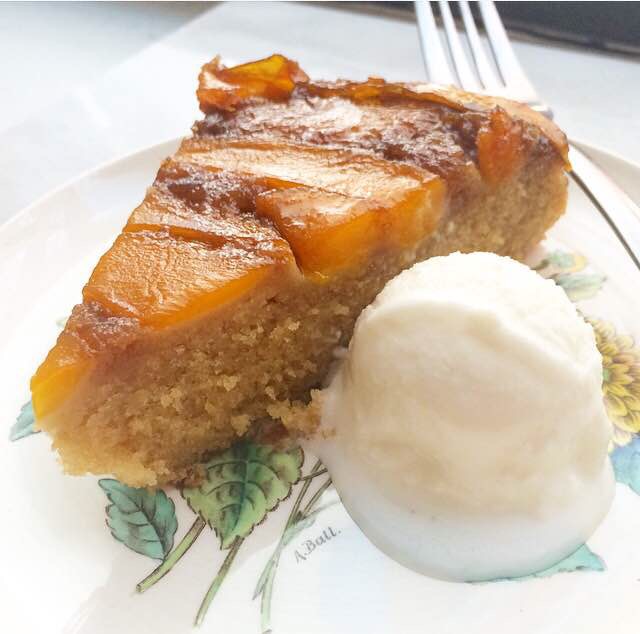
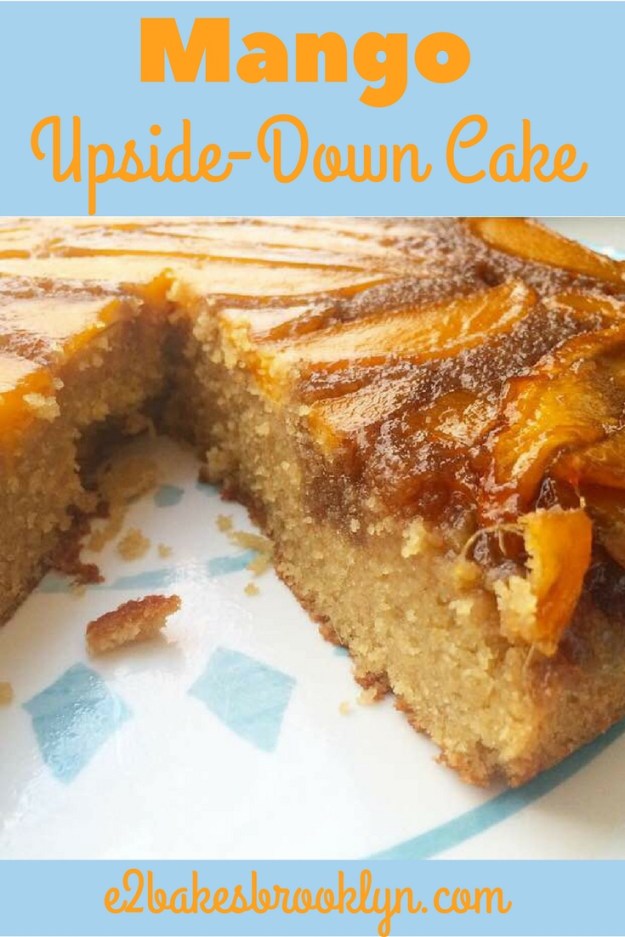
 Let the cake cool in the pan for a few minutes before inverting it onto a cake stand or large serving plate. Don’t worry if a few pieces of mango stick to the pan–just use your fingers to nudge them back into place. Nobody will ever know it didn’t come out in one fell swoop.