I had never seen Italian Rainbow Cookies (aka Seven Layer Cookies) until I moved to New York. Come to find, they are everywhere here. I mean everywhere. Little Italy (duh), bakeries, bodegas, bagel shops, grocery stores—everywhere. I can’t go a day without seeing these festive Italian-American confections, and yet, it took me eleven years to try one.
 What can I say? Almond cake, jam, chocolate, food coloring—Italian Rainbow Cookies are kind of a lot. Even when I did finally try one, I wasn’t a huge fan. Most of the versions you see in NYC are mass-produced, and while they are ostensibly fine, they’re nothing to write home about. Dry, too dense, probably full of stuff that wouldn’t go in a homemade cake…
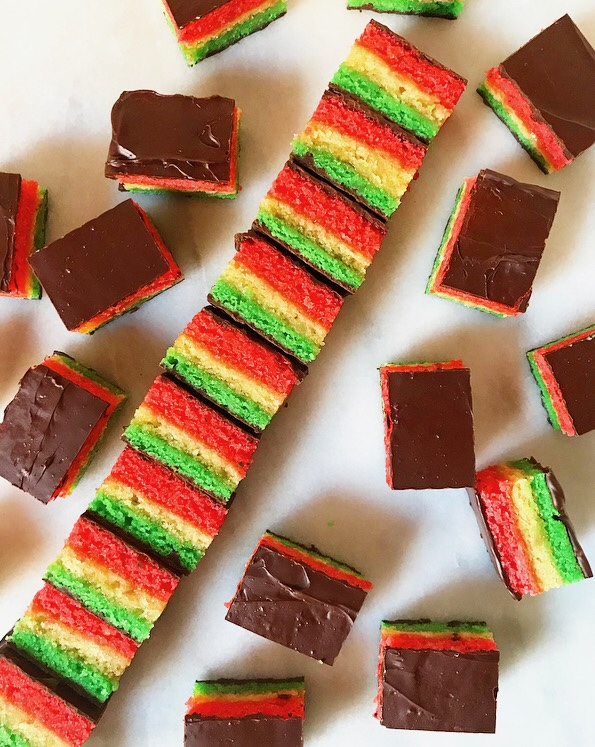 All that is to say that homemade Italian Rainbow Cookies are where it’s at. Sure, they take a little more effort than popping down to the corner store and handing over some cash, but they are also infinitely better, and you don’t have to put on a coat to make them.
 Most Italian Rainbow Cookies are made from a standard torte batter that’s spiked with almond paste. Mine are different though, relying on almond flour instead. These cookies are grain-free—inclusive baking for the win!
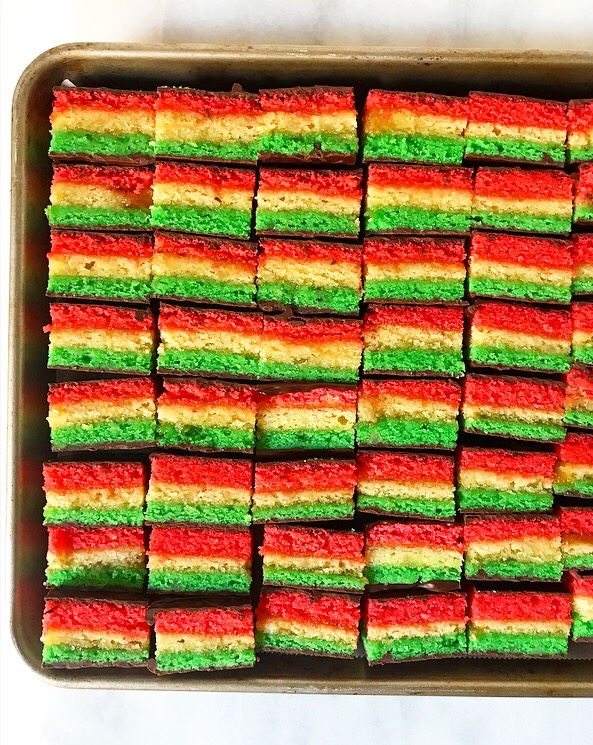 For the colorful layers, I used my Flourless Almond Cake recipe as a starting point, doubled the batch, then tweaked it to use softened butter, and added almond paste and a bit of baking powder.
Once the batter is mixed up, it’s divided into three portions. One is dyed red (I like mine a bit pink), another is dyed green, and the third is left plain. They’re each baked for 10 minutes and will look super underdone when they’re ready, but a toothpick inserted in the centers should come out clean.

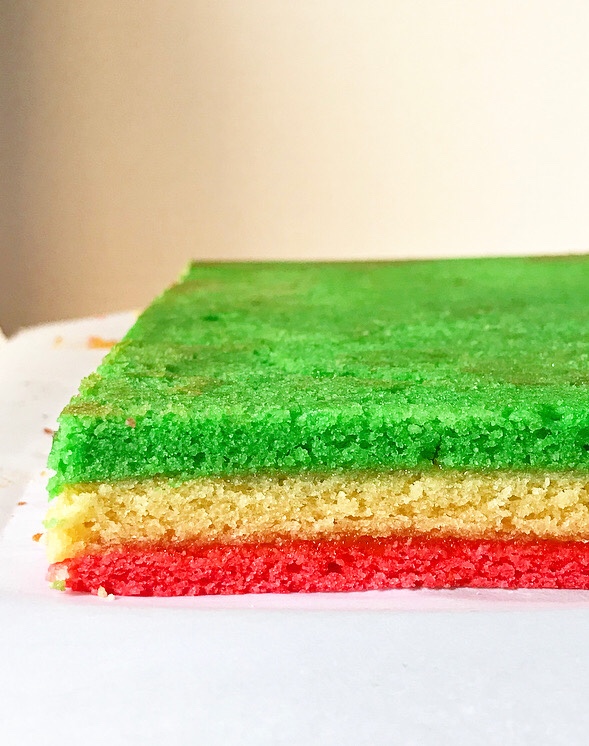 The layers are very thin and will cool quickly. Once you can handle them, spread two of them with jam and stack ‘em up so they resemble the Italian flag. Then put them in your refrigerator and weigh ‘em down for several hours. I like to leave mine in the fridge overnight—you want those layers to become besties for the resties.

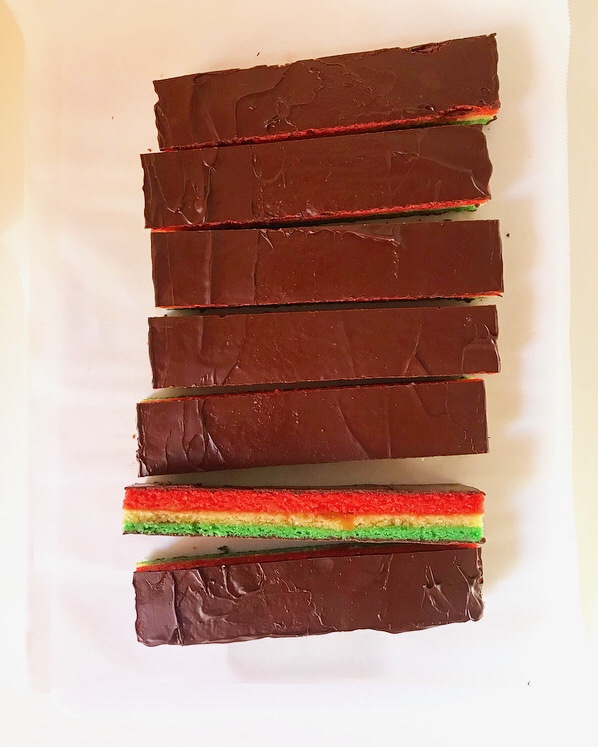 Once the chill time is up, give each side a good swipe of dark chocolate and a chill, and then slice them into as many pieces as you like. The cookies here are 1 1/2”x1” with the total count coming out to 49. That’s enough to keep some, gift some, and still have a few to leave for Santa!
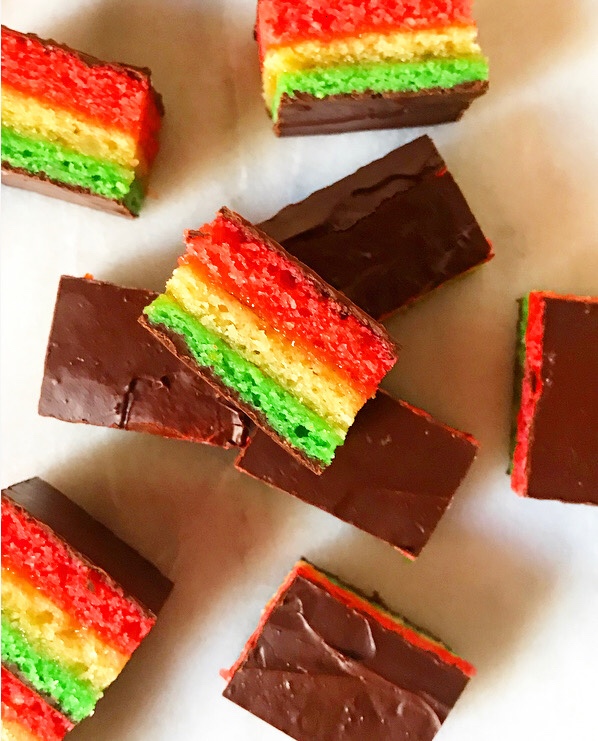 I know this all sounds like a lot of work, but it really happens very quickly and is pretty simple. The most taxing part is making the batter (whipped egg whites alert!) and that’s really no problem. Really, the biggest obstacles between you and a batch of homemade Flourless Italian Rainbow Cookies are time and fridge space.
If you can’t find either of those things between now and Christmas, don’t worry. New Yorkers eat them all year round, and you can, too.
Flourless Italian Rainbow Cookies {Grain-Free}
makes one 9×13 pan, 4-5 dozen cookies
6 large eggs, separated, room temperature
1 cup granulated sugar
4 ounces almond paste (not marzipan)
1/2 cup (1 stick) unsalted butter, softened to room temperature
3 teaspoons pure vanilla extract
1 teaspoon pure almond extract
3 cups blanched almond flour (measured by spoon & level)
1 teaspoon baking powder
1/4 teaspoon fine sea salt
5-6 drops red gel food coloring (liquid will work)
5 drops green gel food coloring (liquid will work)
For assembly:
1 10-ounce jar jam (raspberry and apricot are traditional)
6 ounces bittersweet chocolate
2 tablespoons unsalted butter
Read this recipe before proceeding. None of the steps are difficult, but there are a lot of them. The active work time for this recipe is between 2-3 hours, and there is one 4 hour chill.
Preheat oven to 350F. Grease 3* 9×13-inch pans. Line the bottoms with parchment and grease again. Set aside.
Separate egg yolks from whites. Set whites aside in a very clean, dry bowl.
Pour sugar into a large mixing bowl. Pinch almond paste into small pieces. Turn your mixer to low and allow to mix until the largest pieces of almond paste are the size of small peas. Add butter and mix until fluffy. Add vanilla and almond extracts. Add egg yolks one at a time, mixing until combined. Add half the almond flour, the baking powder and salt, and beat until combined. Mix in remaining almond flour. If using a stand mixer, transfer batter to a separate bowl.
Wash and dry mixer attachments, along with a medium mixing bowl. I also like to wipe down the equipment with vinegar, just to ensure that everything is completely clean before I add the egg whites. There is no way to salvage this recipe if the egg whites are contaminated with oil, yolk, or even water.
Transfer egg whites to the very clean, dry medium mixing bowl. Use the very clean, dry electric mixer to whip them until stiff peaks form, about 2-3 minutes.
Use a silicone spatula or wooden spoon to stir 1/3 of the whipped egg whites into the almond mixture. Gently fold half the remaining egg whites into the mixture, followed by the other half.
Divide batter into three bowls (about 1 1/4 cups batter in each). Leave one plain, dye one pink(red, and dye the remaining one green.
Taking care to wipe down silicone spatulas, spoons, etc., between colors, transfer batters to the three pans. Use an offset spatula to smooth batter to the edges of the pans, taking care to wipe it clean between colors.
Bake the pink/red and plain layers for 10-11 minutes. They will look underdone, but a toothpick inserted in the centers should come out clean. Let cool in their pans for 5 minutes before removing to racks to cool completely.
Bake the green layer for 10-11 minutes, until a toothpick inserted in the center comes out clean. Let cool in their pans for 5 minutes before removing to racks to cool completely.
Prepare the jam. Transfer jam to a small microwave safe bowl. Microwave 30 seconds and stir to see if it’s loose enough to sieve. If not, microwave in 15 second increments until it is (it shouldn’t take more than 30 seconds).
Place a wire mesh sieve over a heatproof bowl. Pour warm jam into the sieve and use a spoon to press it through. Discard solids.
Assemble layers. Top the pinkish-red layer (still on the rack) with a piece of parchment. Top with a cutting board or sheet pan (top side down) over the parchment. Use both hands to grab the rack/layer/board situation and invert. Remove rack and discard pinkish-red layer’s baking parchment. Spread 3-4 tablespoons of strained jam over the entire layer.
Carefully invert plain layer over the pinkish-red layer. Peel off and discard plain layer’s baking parchment. Spread 3-4 tablespoons of jam over the entire layer.
Carefully invert green layer over the green layer over the plain layer. Peel off and discard green layer’s baking parchment. Replace with a new sheet of parchment. Place a rimmed sheet pan over the top of the parchment.
Set this entire contraption in the refrigerator. Place a few canned goods in the sheet pan to weigh down the layers. Refrigerate 4 hours or overnight.
Remove layers contraption from refrigerator. Remove weight, sheet pan and parchment over the green layer. Use a serrated knife to slice off a thin edge all the way around.
Prepare the chocolate. Combine chopped bittersweet chocolate and butter in a microwave-safe bowl. Microwave in 15 second increments, stirring in between, just until smooth.
Spoon half the chocolate over the green layer. Use an offset spatula to smooth it just to the edges. Use the cutting board (or sheet pan) under the layers to transfer them to the freezer* for 10 minutes, or until chocolate is set.
Remove layers from freezer. Top chocolate with a sheet of parchment. Top with a cutting board (or sheet pan) over the parchment. Use both hands to grab the cutting boards on both sides of the layers. Holding them tightly, invert. Remove cutting board and discard parchment over the pinkish-red layer.
If chocolate has cooled too much, reheat for 10-15 seconds. Spoon remaining chocolate over the pinkish-red layer. Use an offset spatula to smooth it just to the edges. Use the cutting board (or sheet pan) under the layers to transfer them to the freezer* for 10 minutes, or until chocolate is set.
Slice cookies into 1 1/2×1-inch pieces. I use a serrated knife, but press directly down instead of sawing. Wipe down knife between cuts.
Serve cookies. Leftovers will keep in an airtight container container in the refrigerator for several days. Put wax paper between layers of cookies to prevent sticking.
Note:
If you do not have 3 9×13-inch pans, you may bake the layers one at a time, washing and drying the pans between layers. Cover any batter with plastic wrap and let sit at room temperature until you need it.


 With all the coconut recipes in my archives, you’d never guess that I couldn’t stand it when I was a child. I don’t know when I started to like it—I’m guessing around the time when my whole extended family randomly started bringing German Chocolate Cake to every occasion…?
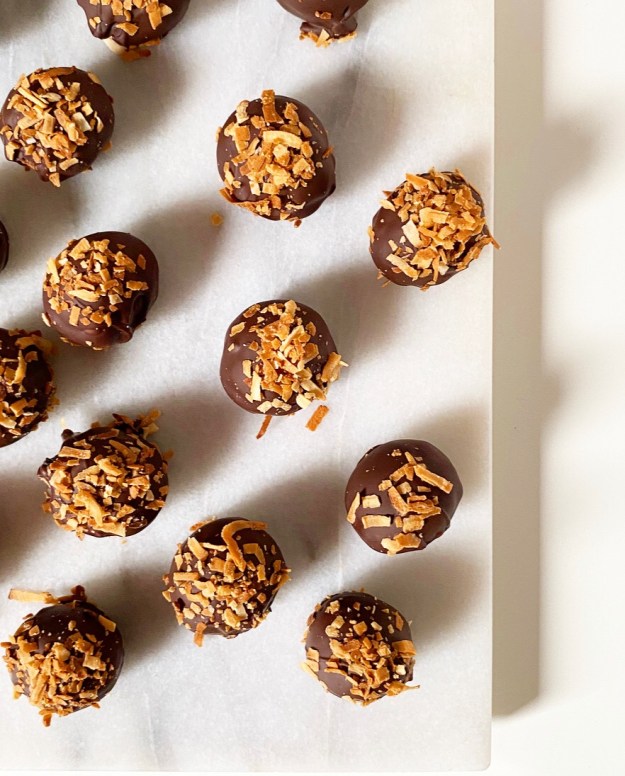 I spent a good chunk of January working on a coconut cookie for the blog, but the recipe’s just not quite “there.” I was a little bummed after round 4, realizing that I was going to have to let the recipe come to me rather than forcing it (baking gets spiritual around these parts). In the meantime though, I had three bags of sweetened flaked coconut taking up space in my kitchen. I realize that bags of coconut don’t have souls, but I swear they were taunting me.
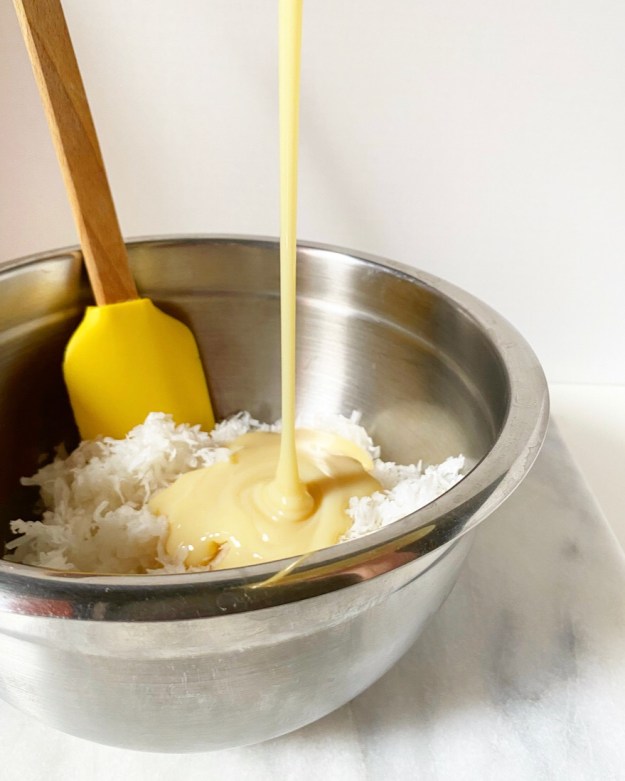


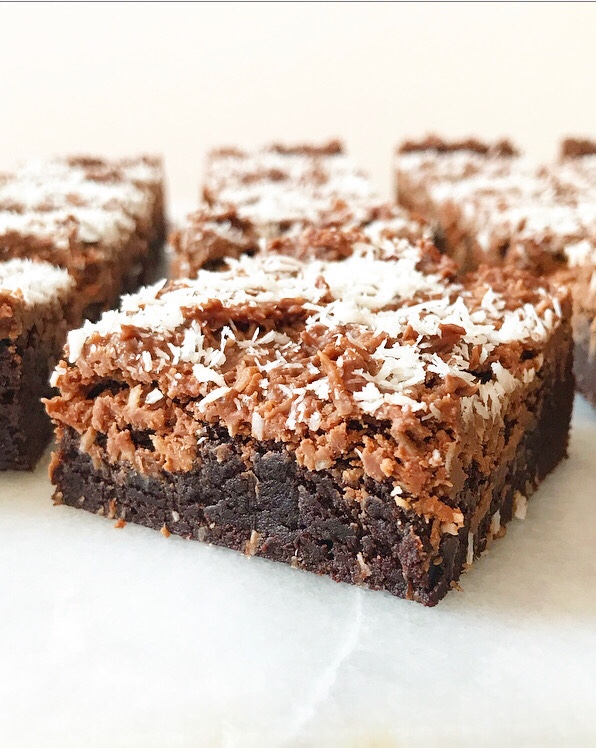
 And so, I threw the contents of one in a bowl with a cup of sweetened condensed milk (a la this), rolled the mixture into balls, coated them with dark chocolate and topped ‘em off with toasted coconut, and called them Valentine’s Day-appropriate…which they are.
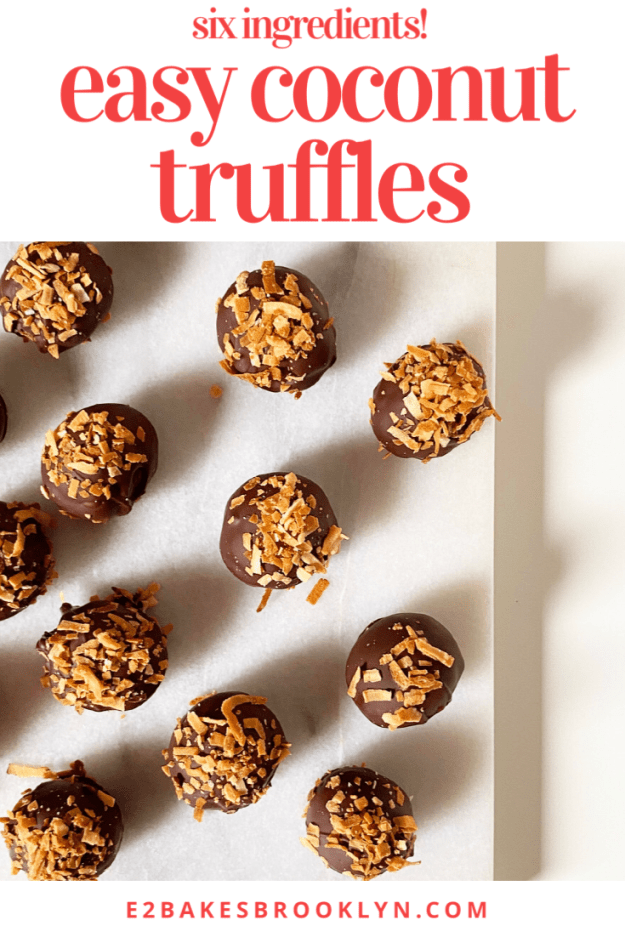
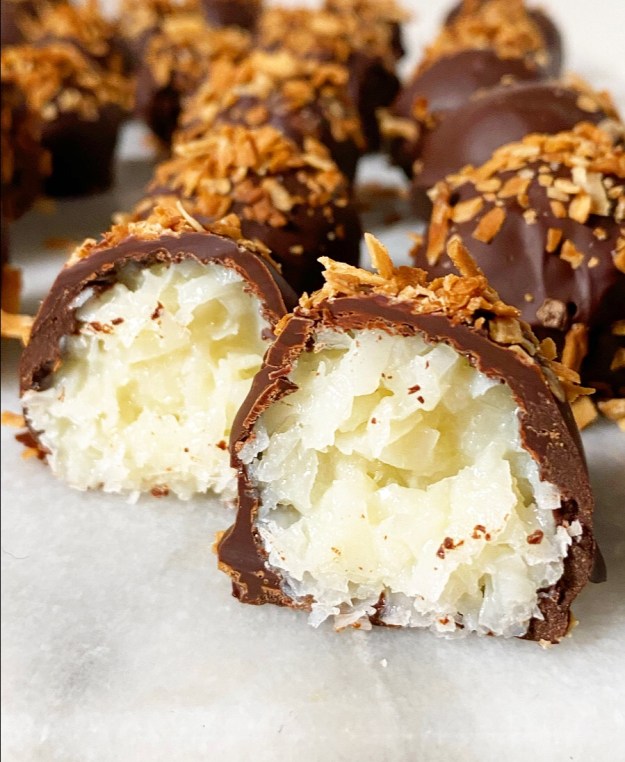 Easy Coconut Truffles are way better than any candy you’ll find in a heart-shaped box, and super fun to make at home. They require a grand total of six ingredients (!) and are chock-full of coconut flavor thanks to the creamy filling and toasty garnish. And even though they’re a little imperfect, they’re completely wonderful.


 Hello, it’s me, your completely exhausted food blogger friend!
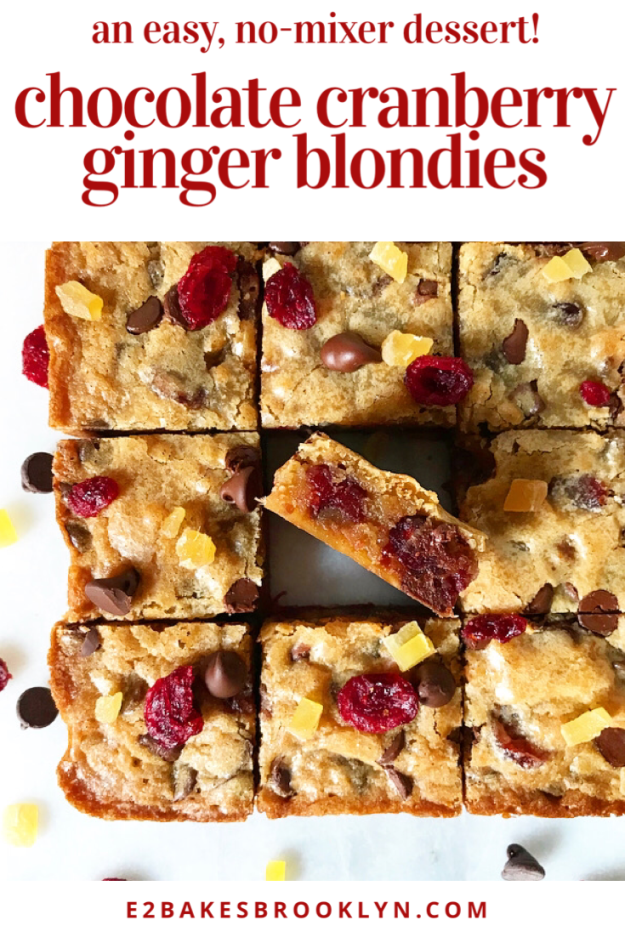
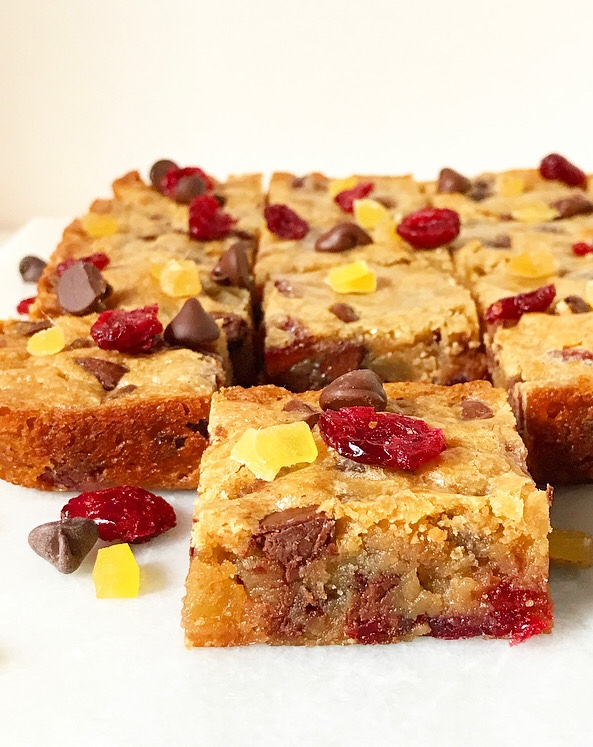 It’s been determined that our Christmas dinner dessert will be a
  The
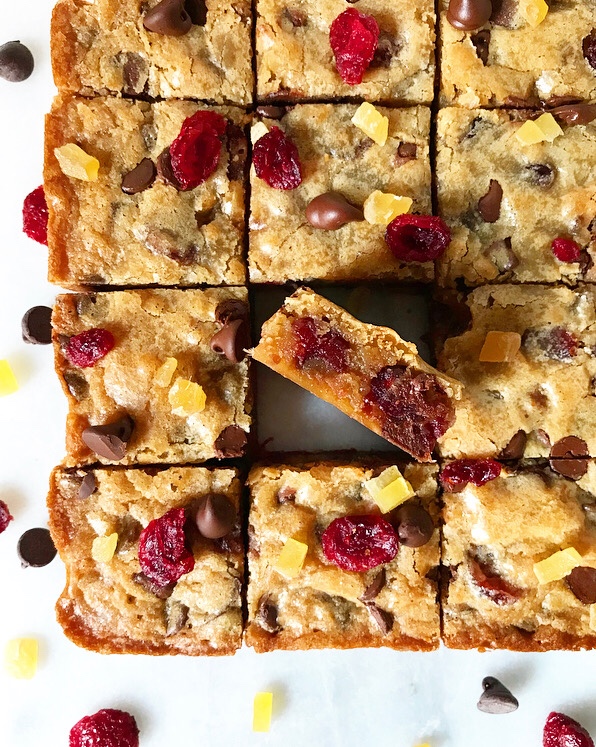
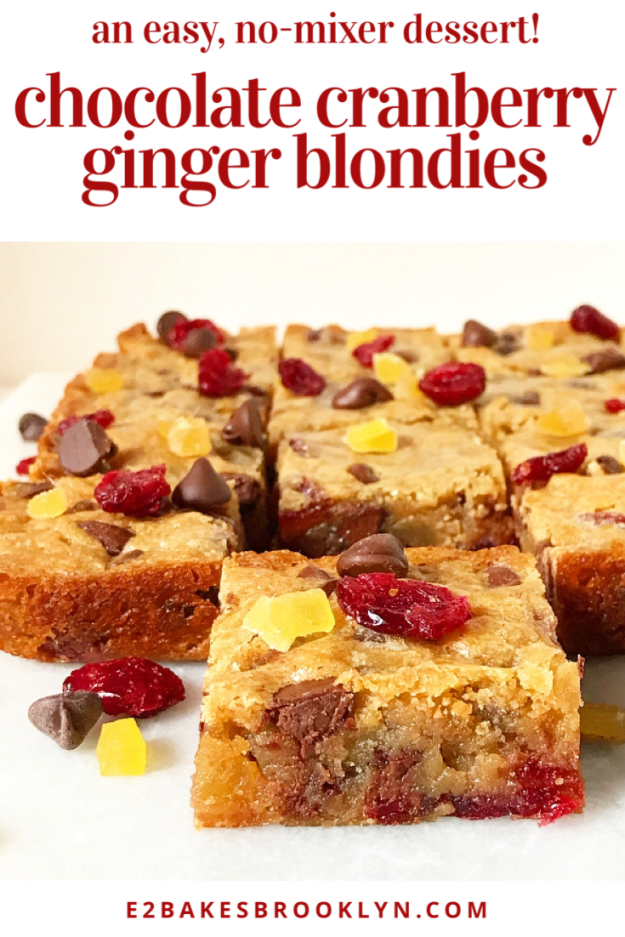
The 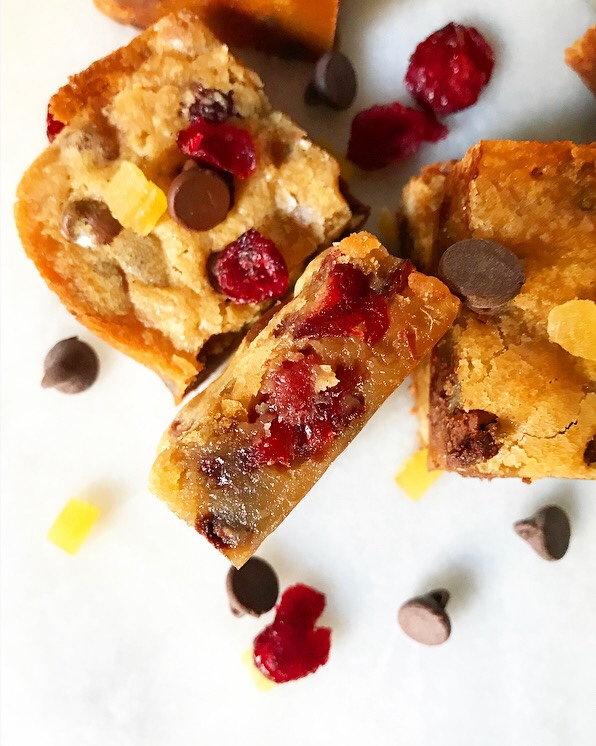 You could put 1 1/4 cup of any mix-in you like in this blondie batter and it’d bake up beautifully. I went with chocolate chips, dried cranberries and candied ginger because I had a little of all of those in my cookie mix-in cabinet—it’s as simple as that. It helps, of course, that chocolate, cranberries and candies ginger are both beautiful *and* sweet, tangy, delicious holiday fare. I mean, are these calling your name like they are mine?
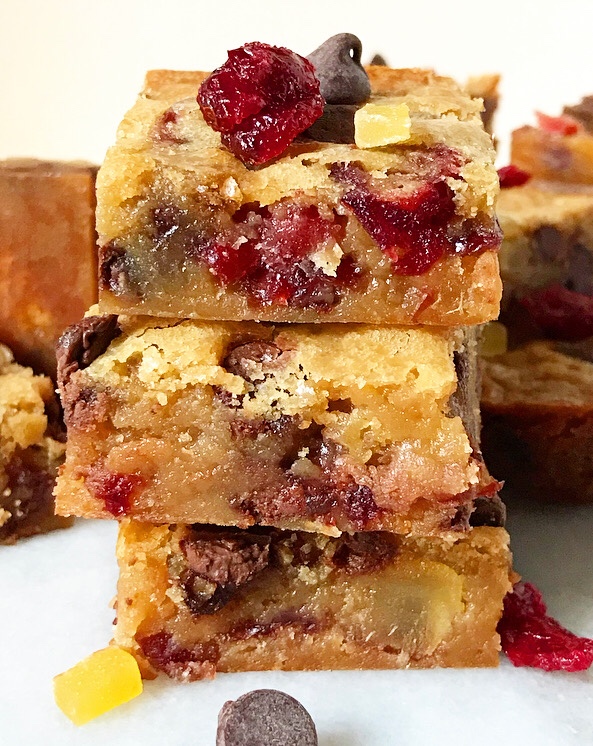 I’ll be taking this Wednesday off posting because it’s Christmas (duh). I hope you have a wonderful holiday filled with good food and people you love. I’ll be back Friday with my last recipe of 2019 and probably some dog pictures.
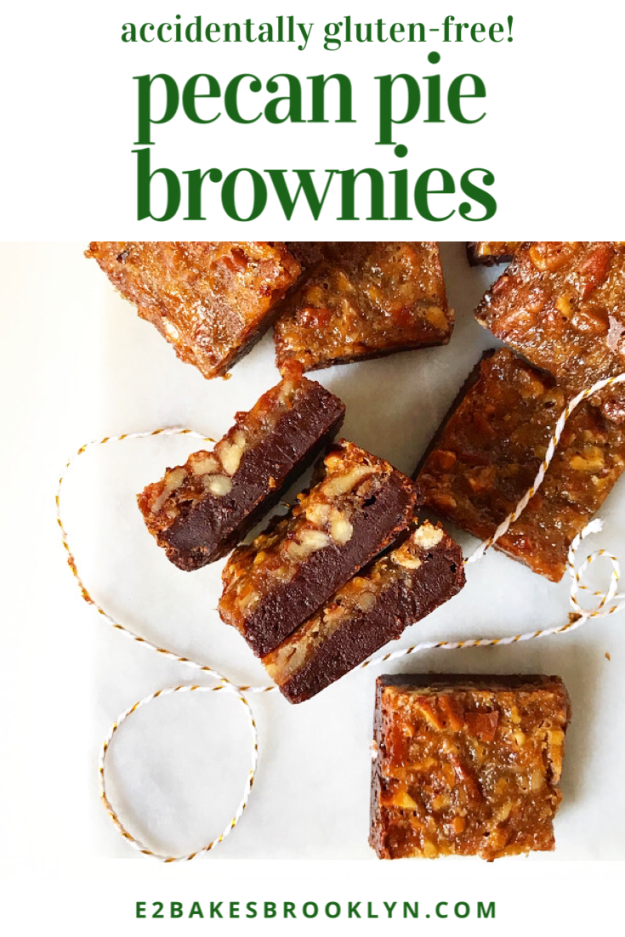
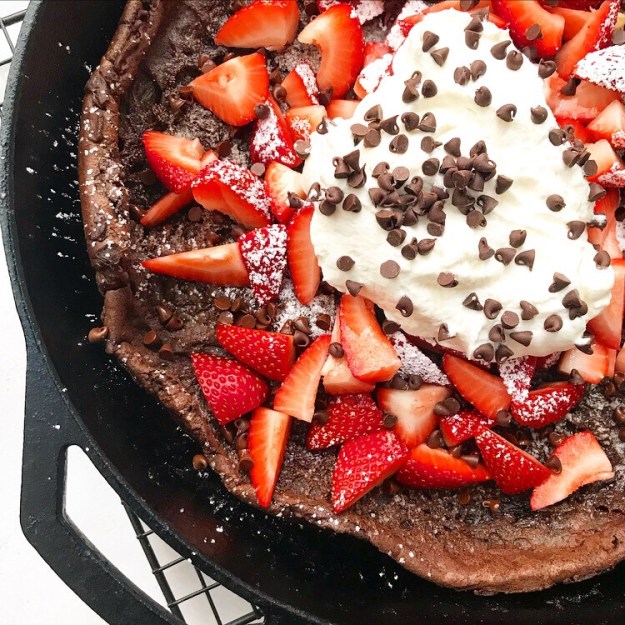
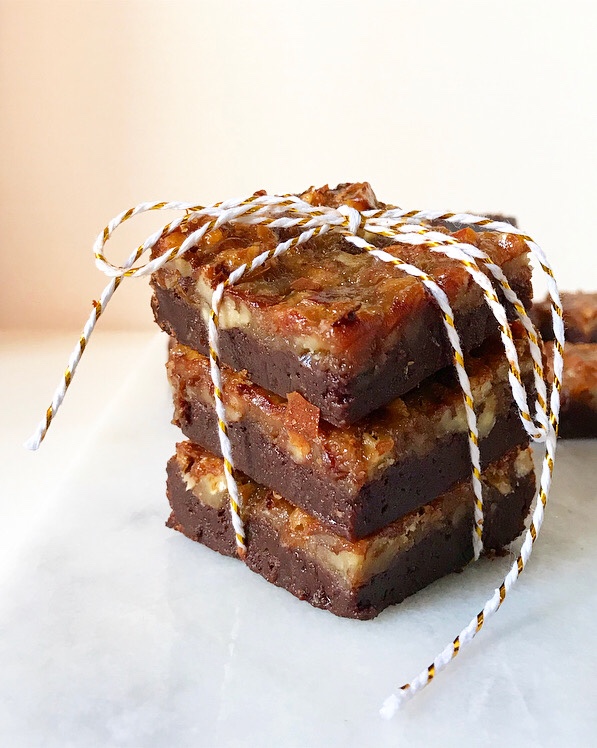 It’s Christmastime, y’all. I’ve got visions of sugarplums dancing in my head. And by sugarplums, I mostly mean these Pecan Pie Brownies.
 Just imagine a pan of rich, chocolaty
  During testing, I tried three different methods of adhering the pecan filling to the top of the brownies. The best, by far, is giving the filling a quick (3-5 minute) pre-cook on the stovetop to jumpstart the thickening. It’s very easy, but does require a sieve. Please don’t let that stop you though—I loathe sieving things, but this is pretty painless, and it beats the hell out of slicing up your brownies only to find scrambled egg bits or a thin layer of pecanless goo underneath. *shudder*
 Once you’ve done the 15 seconds of sieving, you get to stir in toasted pecans and spoon it over some soft-set brownies and bake until…divine. Yes—that’s the only word for these. Chewy, fudgy, nutty and sticky-sweet without being cloying; let’s just say these are difficult to resist. I brought a box on my family vacation to
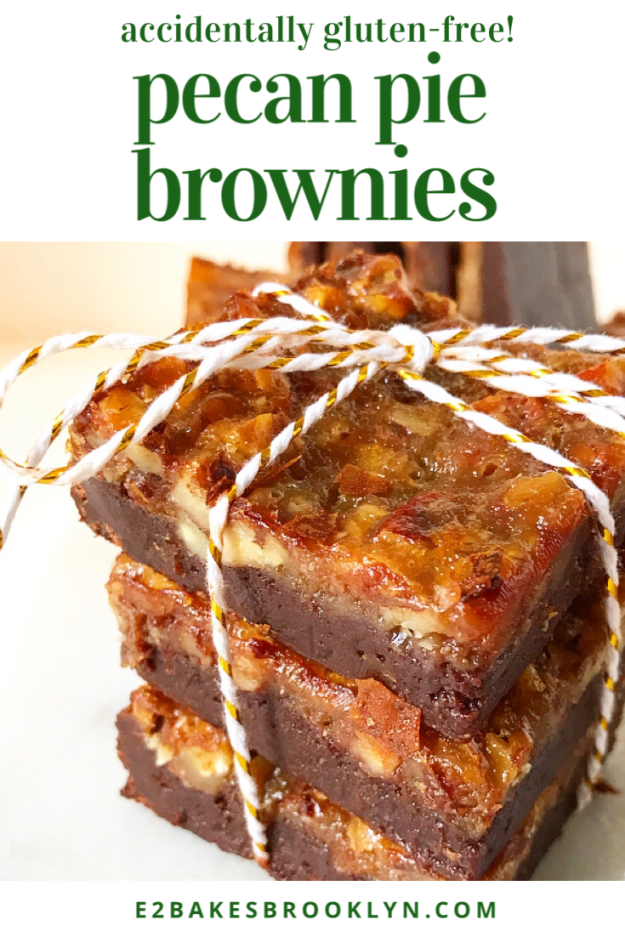
  As if these need more endorsement, Pecan Pie Brownies also happen to be gluten-free. There are no unusual flours or gums here—this recipe simply doesn’t require gluten-containing ingredients. Inclusive holiday treats for the win!
 Pecan Pie Brownies would be wonderful as part of a cookie tin or holiday party spread, or for enjoying during a cozy Christmas movie night at home. I’m sure they’d work well left as a treat for Santa, too! I will say that, as a childless adult, they really hit the spot when eaten in PJs while watching The Crown and counting down the days until you head home for the holidays. You know, in case you were wondering.