 The last morning on Swan’s Island is usually a bit of a bummer. Sure, we’re still on-island for the day, but the thought of leaving on the following morning’s early ferry is looming. We’ve accepted that this will not be the year that we canoe. The only thing left on our “must” list is to hike around the lighthouse. It’s time to buy the things we’ve been eyeing at the vintage/antiques stores all week. To go say goodbye to the couple that owns the general store—after five summers, we’re on a first name basis. It’s time to take our recycling and garbage to the transfer station.*
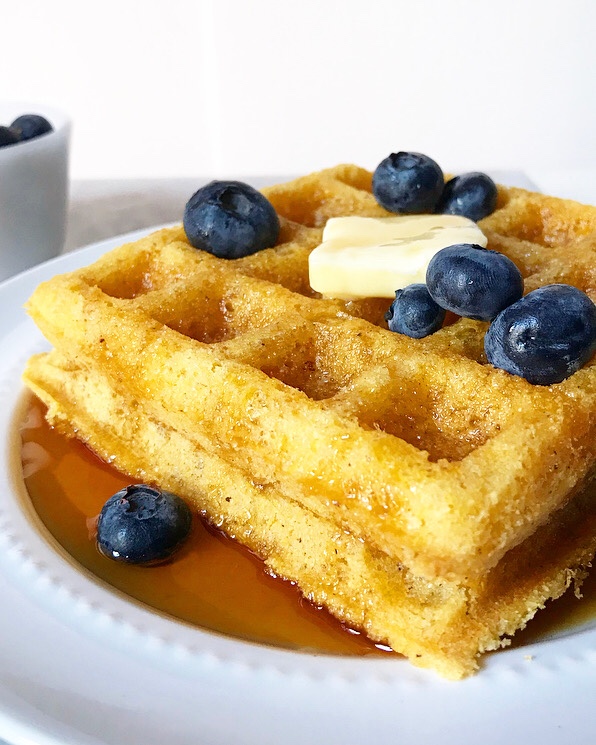
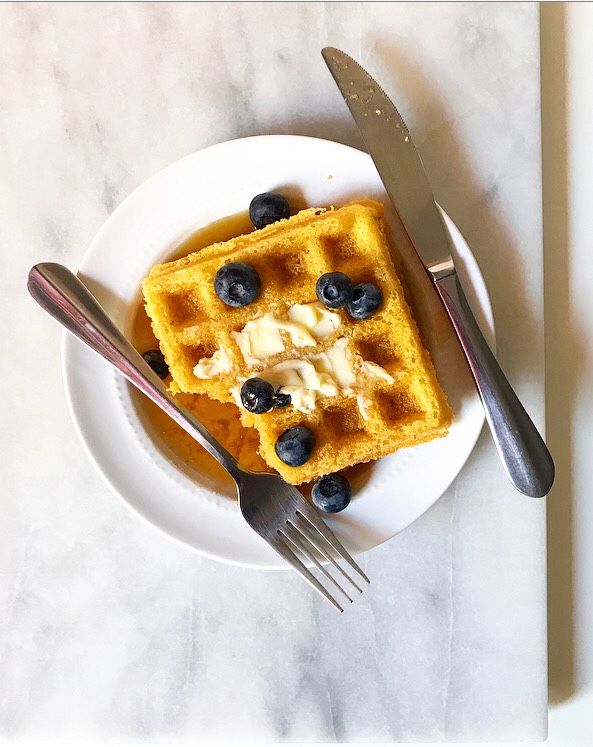
*It’s not all fairy princess magic time, even though there is something sort of endearing about the whole process. I wish NYC waste disposal were so adorable. But it’s also time for one last good breakfast. Since VJ bought herself a waffle iron a couple of years ago, waffles have been a vacation must for us. She usually takes the helm on that, veganizing a very good gluten-free mix and serving up breakfasts that I am more than happy to eat on the cove-facing patio, but she politely agreed to my request to “mess with the waffle iron” this year.
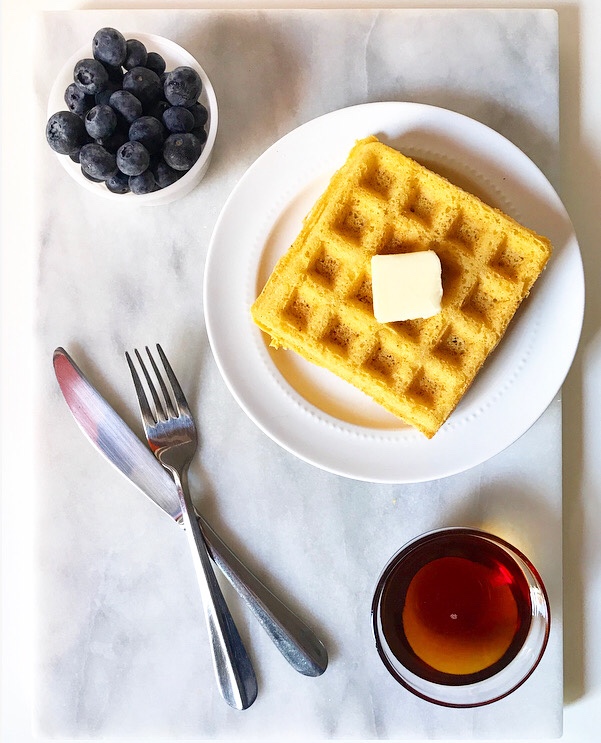 Initially, she may have regretted this. I had it in my head that my Cornmeal Pancake batter would work just as well in a waffle iron. Truly, I was so sure of this that I was congratulating myself weeks ahead of time for being such a culinary genius and had practically already written the accompanying blog post.
I should probably mention that I had never made a waffle from scratch before.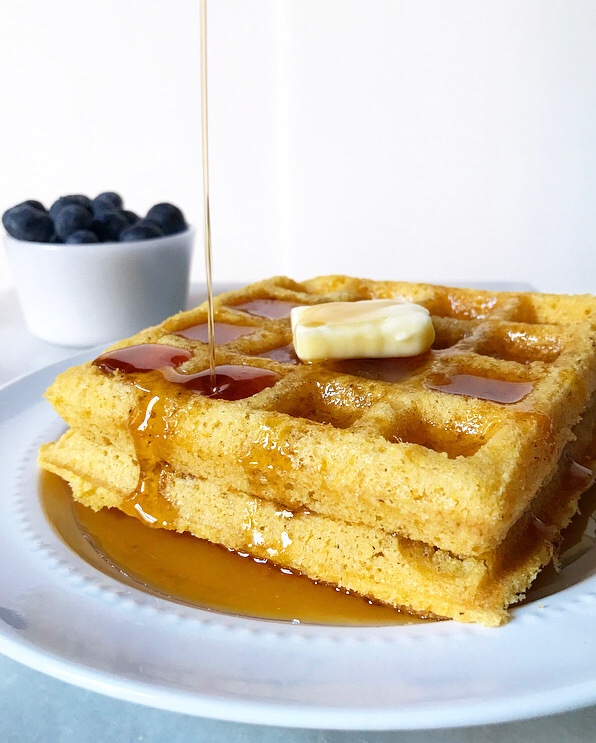
 You can see where this is going—the first round was akin to cornmeal styrofoam. Turns out, waffle batter generally needs to be thinner than pancake batter, lest the final product be tough, dry and heavy. We ate the waffles anyway (bad waffles are still waffles), but it took two days and neither of us was particularly jazzed about it. Needless to say, I was a little disheartened, and spent a couple of days writing and rewriting the recipe until I was ready to try again on the final morning.
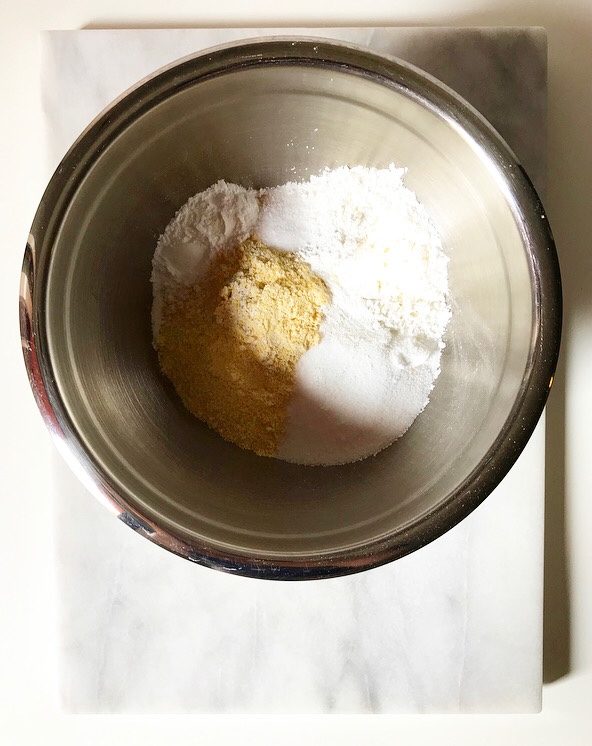
 As I began mixing together dry ingredients and measuring out aquafaba and oil, I started to worry that round two would be disastrous too, but I ladled the batter into the iron anyway. VJ and I had an unspoken agreement that we would eat the results, no matter how awful.
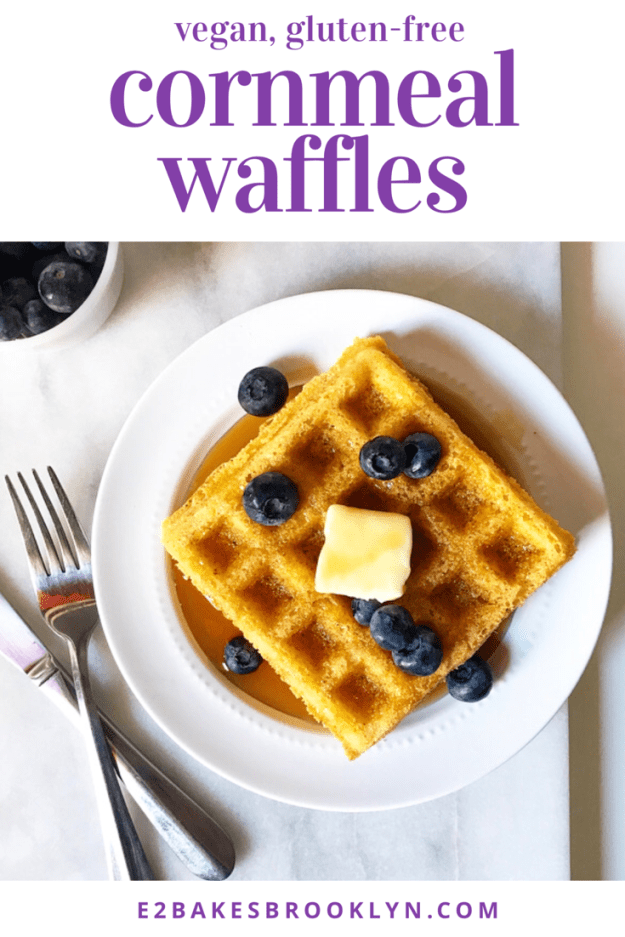
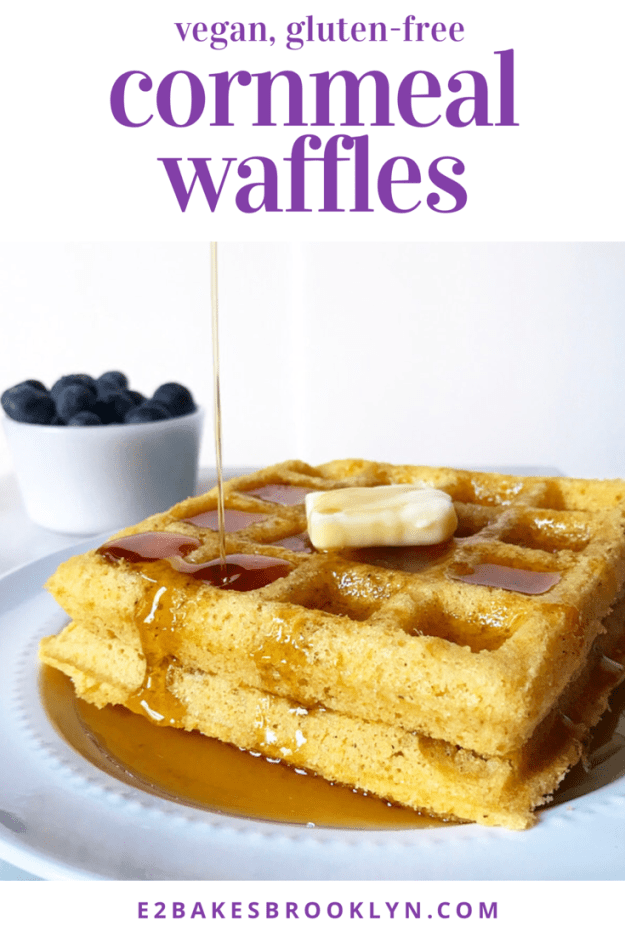
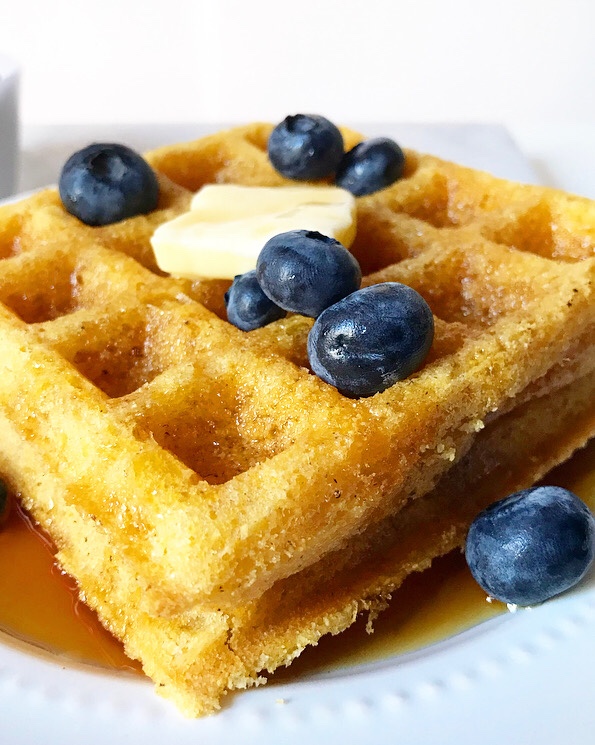 But we were pleasantly surprised. My adjustments—reducing the cornmeal and doubling the aquafaba (chickpea canning liquid/egg substitute)—had worked, producing lighter, softer waffles with crisp edges and a good corn flavor. We finished them in one sitting. No arduous styrofoam-esque breakfasts here!
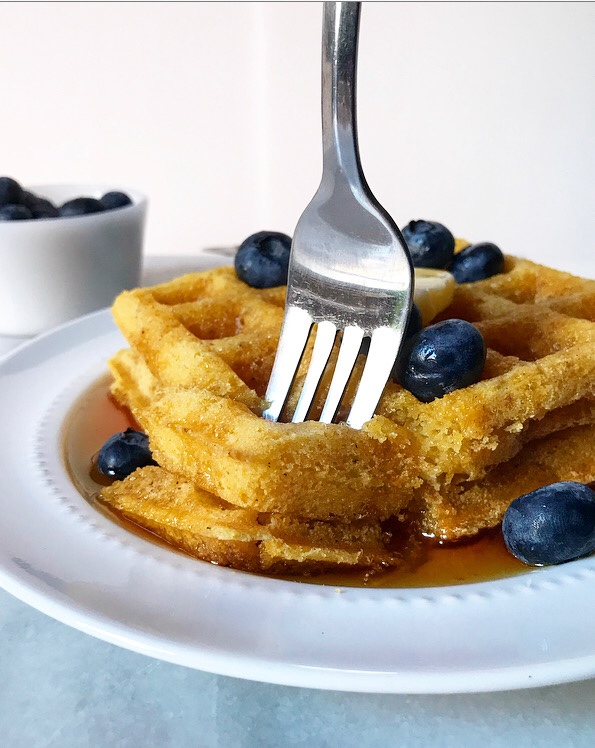
 Long story short, in addition to my haul from the vintage stores, this vacation also resulted in my purchase of a waffle maker. I’ve been home for about six days now and have already gotten a good return on my investment: I’ve made this recipe
 four six more times. You know, just to be sure they’re worthwhile. And also because I like having a freezer full of waffles.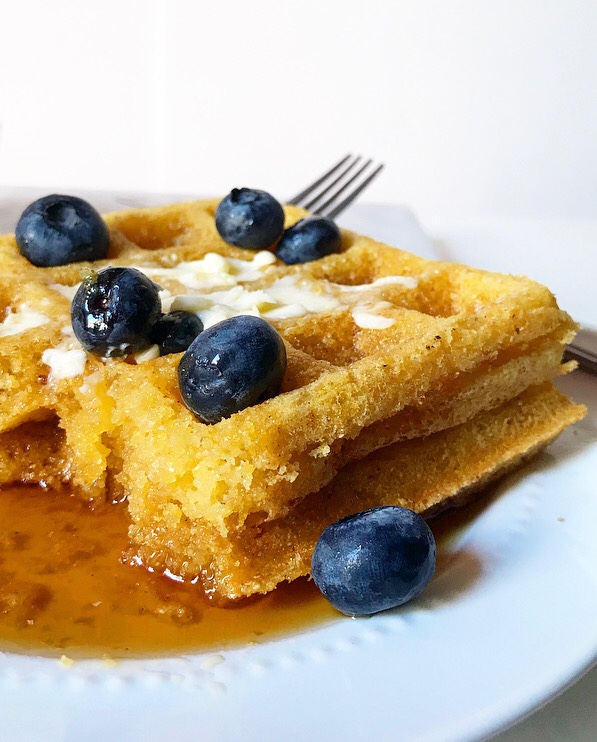
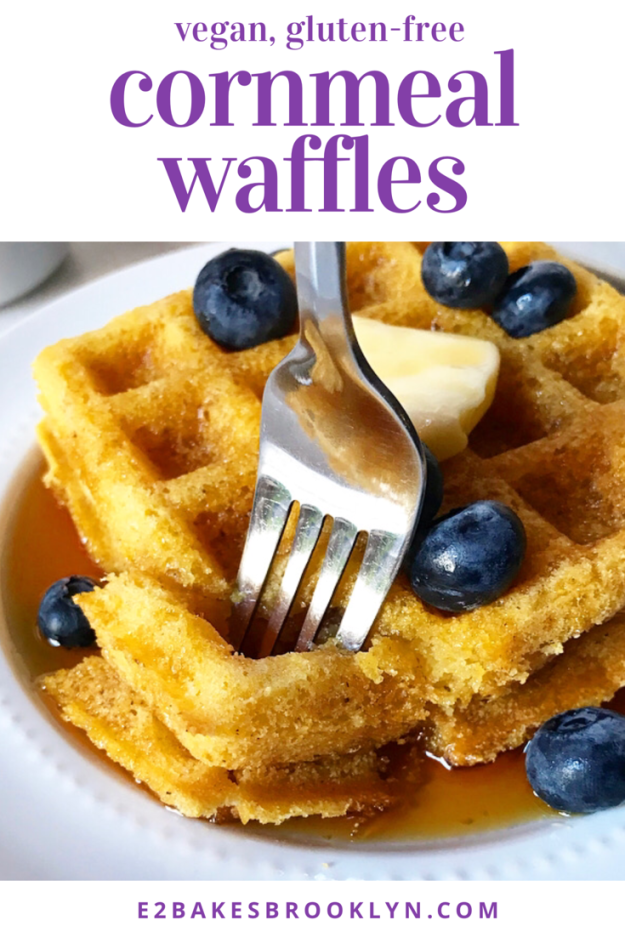
Cornmeal Waffles {Vegan & Gluten-Free}
makes about 8-10 4-inch waffles
If you do not want/need these waffles to be vegan, two large eggs may be substituted for the aquafaba.
1 tablespoon apple cider vinegar
~1 cup unsweetened almond milk (or other milk of choice)
2 cups yellow cornmeal
1/3 cup cornstarch
1/4 cup granulated sugar
1 teaspoon Kosher or sea salt
1 tablespoon baking powder
6 tablespoons aquafaba (chickpea canning/cooking liquid)
6 tablespoons neutral-flavored oil
2 teaspoons pure vanilla extract
For the waffle iron:
cooking spray
For serving (optional):
salted butter (traditional or vegan)
warmed maple syrup
seasonal fruit
Preheat oven to 200F. Place a cooling rack over a rimmed baking sheet.
Heat waffle iron according to package directions.
Pour vinegar into a liquid measuring cup. Add just enough almond milk to reach the 1 cup mark. Stir and set aside.
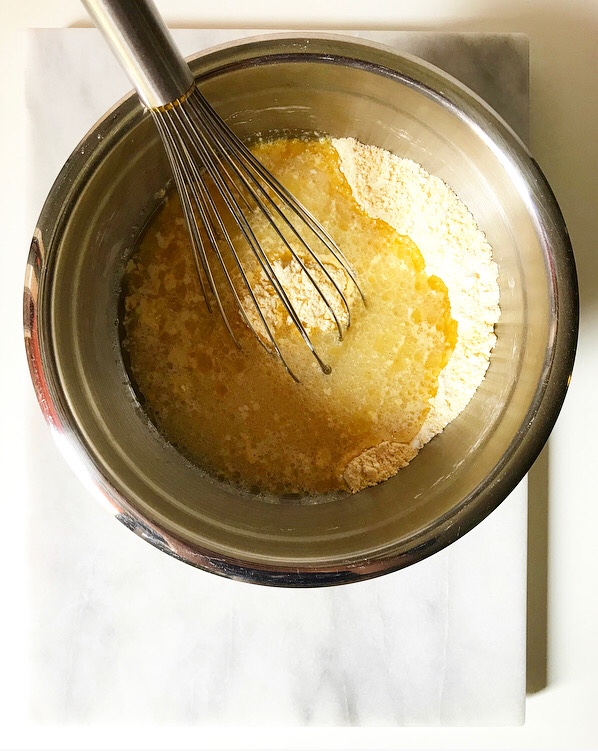
In a medium mixing bowl, whisk together cornmeal, cornstarch, sugar, salt, and baking powder.
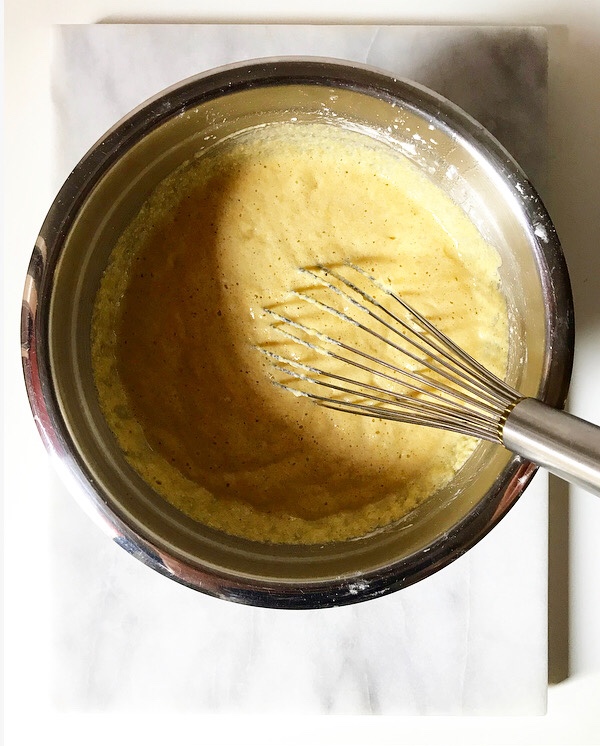
In a small mixing bowl, whisk together aquafaba, oil, almond milk mixture and vanilla. Pour wet ingredients into dry and whisk to combine.
Grease waffle iron with cooking spray. Pour 1/3-1/2 cup (depending on the size of your waffle iron) of the waffle batter into each well of the iron and close the top. Let cook until steam dissipates and the waffles are turning golden at the edges and divots, about 6 minutes.
Transfer cooked waffles to the prepared rack-over-pan and place in the oven to keep warm. Re-grease the waffle iron and cook remaining batter.
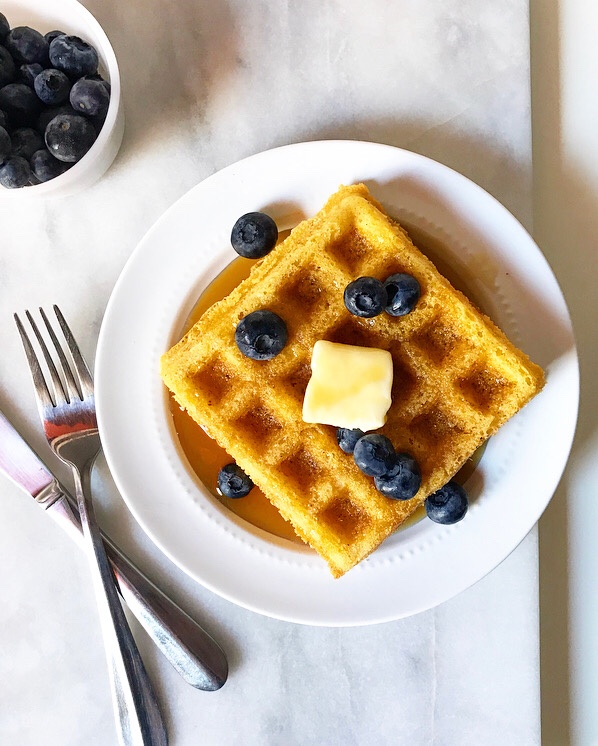
Serve waffles with butter, warmed maple syrup, and seasonal fruit, if desired. Enjoy immediately.
Leftovers may be layered with parchment, placed in a freezer bag, and frozen for up to 3 months. Reheat in the toaster.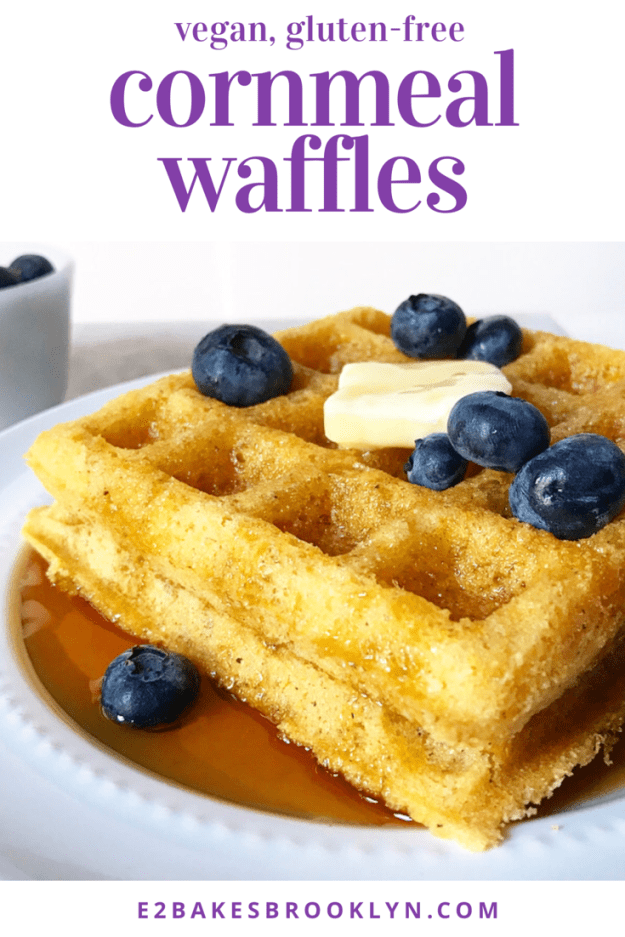
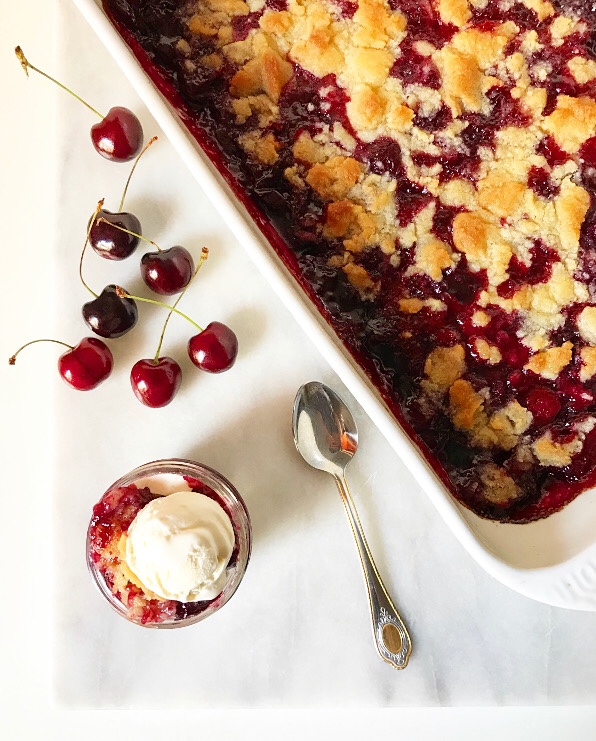
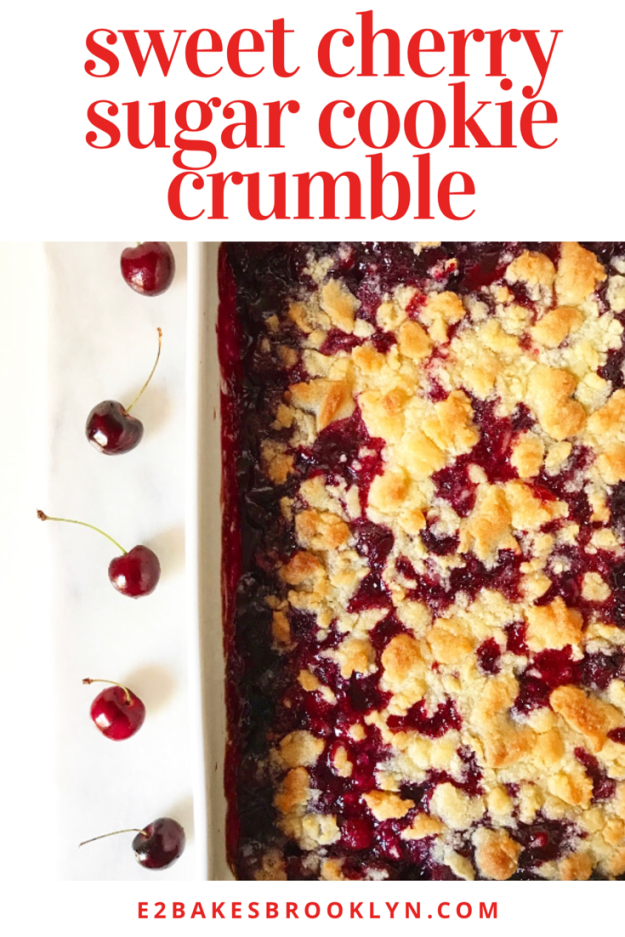
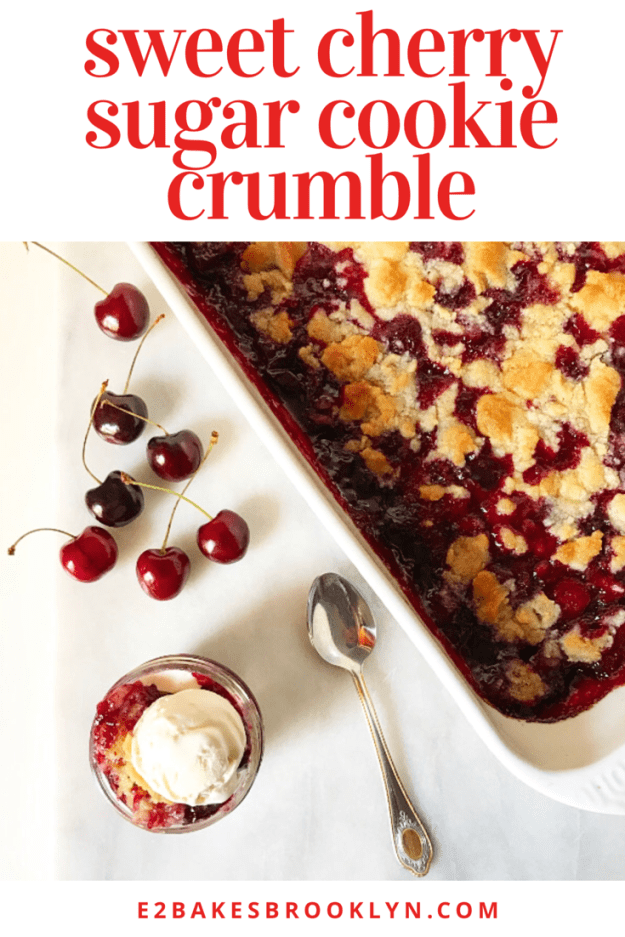
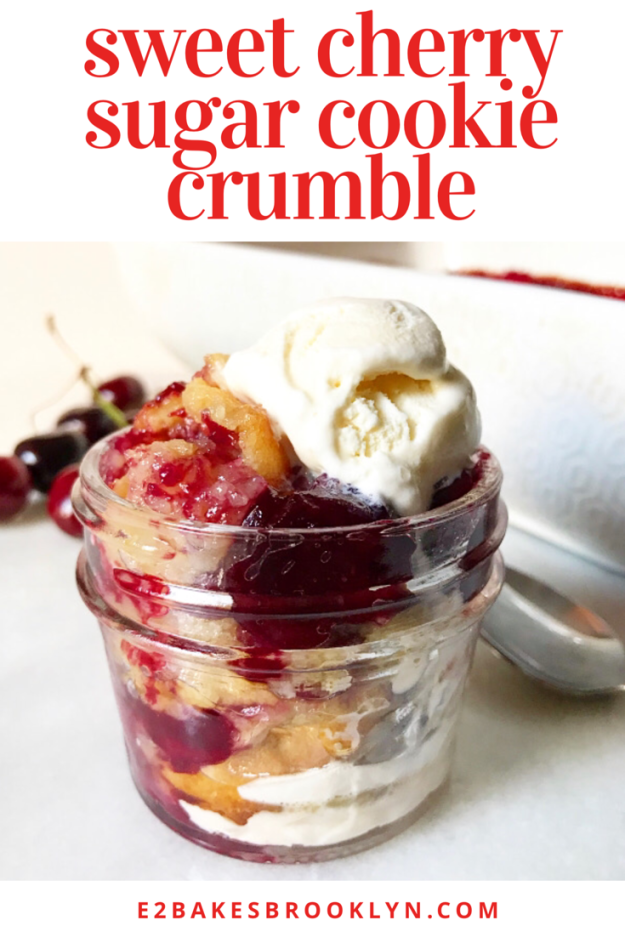
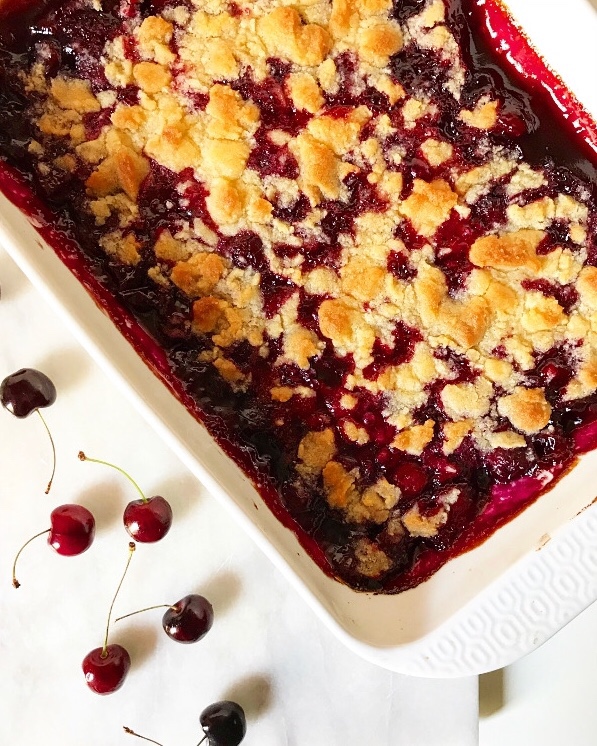 Sweet Cherry Sugar Cookie Crumble is exactly what it sounds like: a layer of soft sweet cherry filling topped with a crispy sugar cookie crumb. Where
 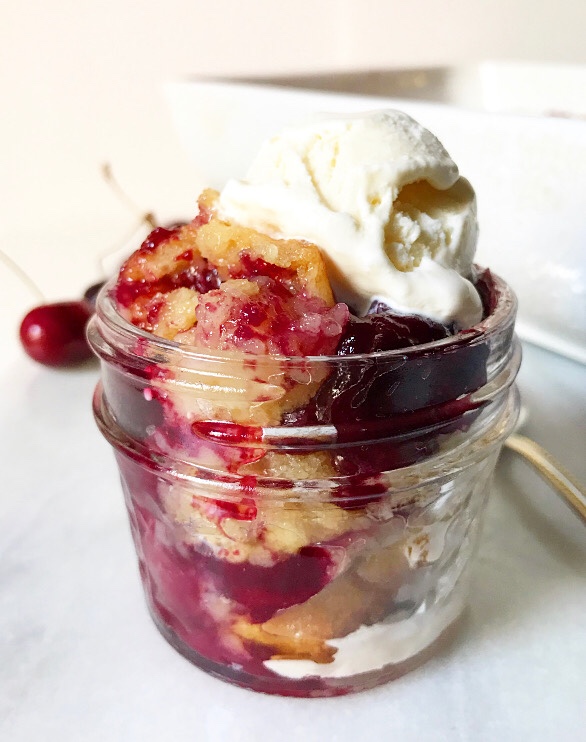 This is the sort of dessert that can be made in an hour start-to-finish and be served warm from the oven—no need for fussing over delicate pastry or waiting hours for molten filling to become cool enough to slice.
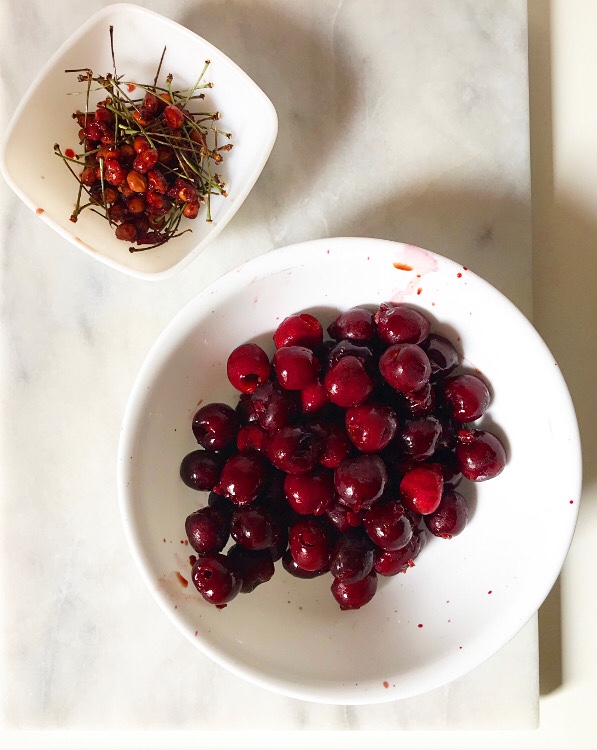
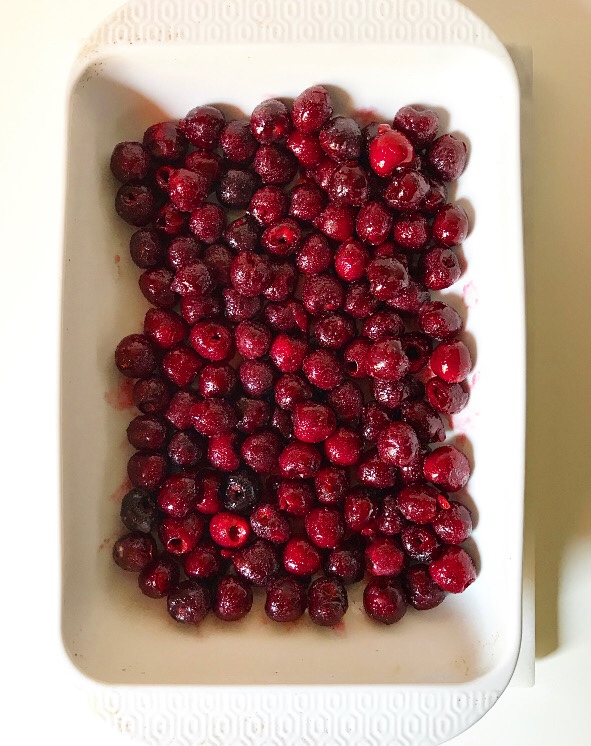

 To make this crumble, toss together a quick fresh cherry filling and tip it into a baking dish. Next up, stir together the sugar cookie crumble, which is just the crumb topping from my
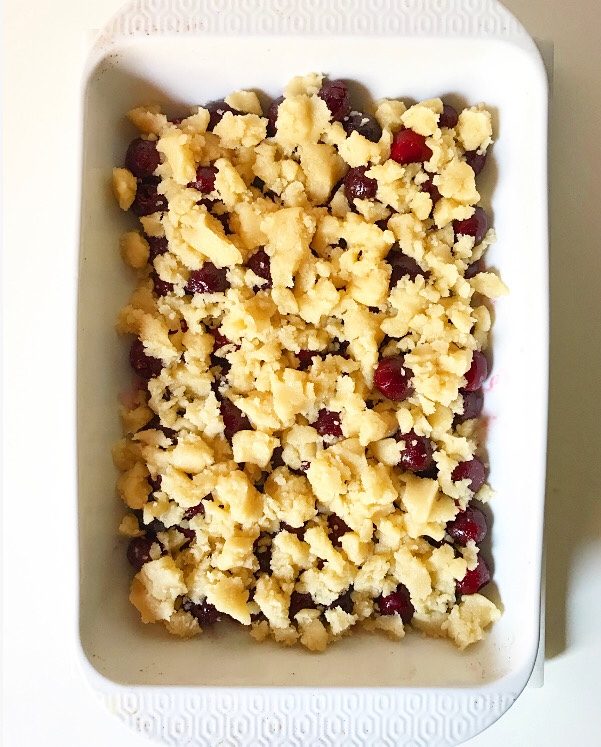
 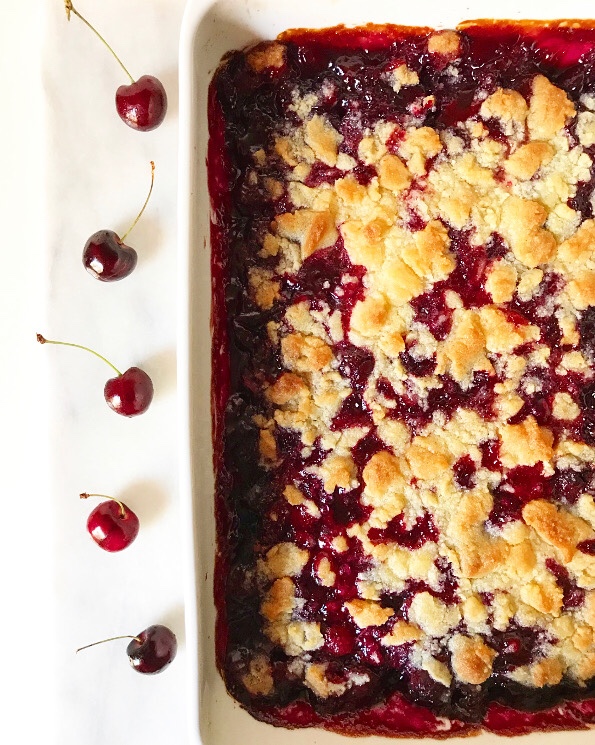 Scatter that over the top of the cherries and then bake the whole thing at 375F until the crumb is golden and the fruit is bubbling and tender. Let it cool about ten minutes before spooning the hot crumble into bowls and topping it with vanilla ice cream.
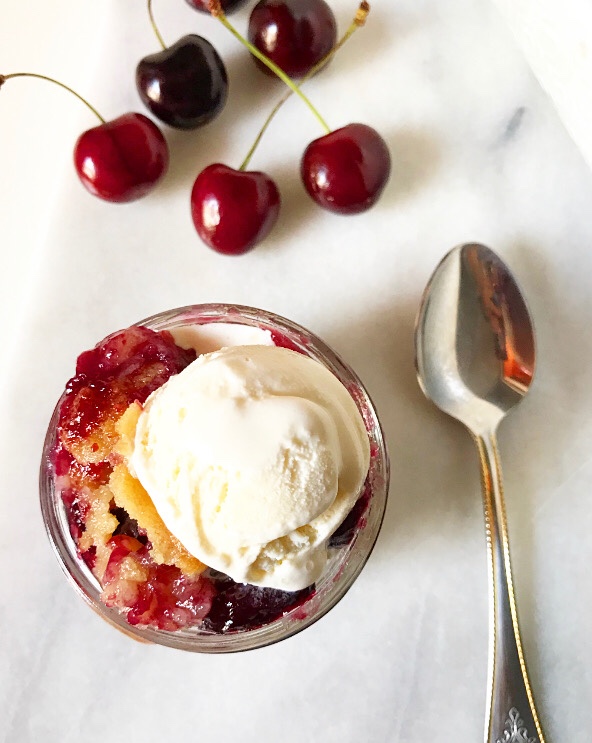 Eat. Go for seconds. Repeat.
 I must have a thing for sweetened condensed milk right now—this is the third post in a row that requires cracking open a can of the good stuff.
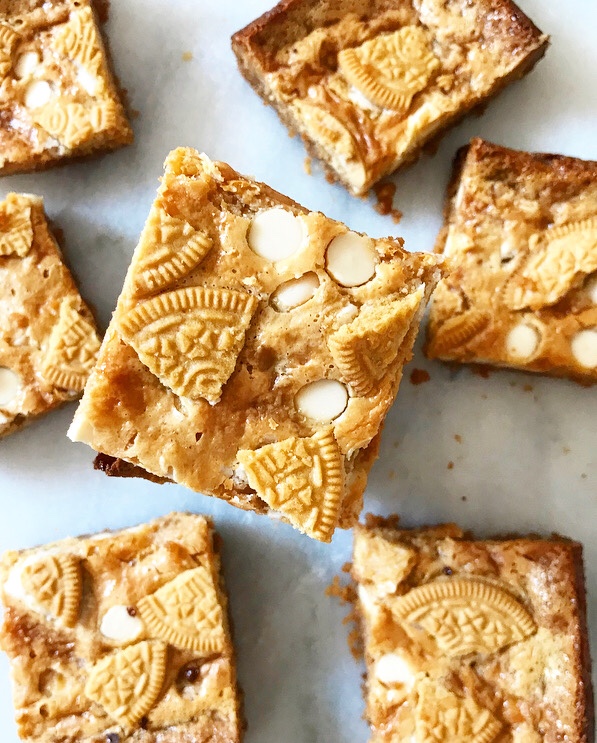 Can you blame me? It’s just so versatile! If you want something to be smooth, creamy, or structurally sound without a million ingredients, sweetened condensed milk is probably the ingredient you want. See exhibits
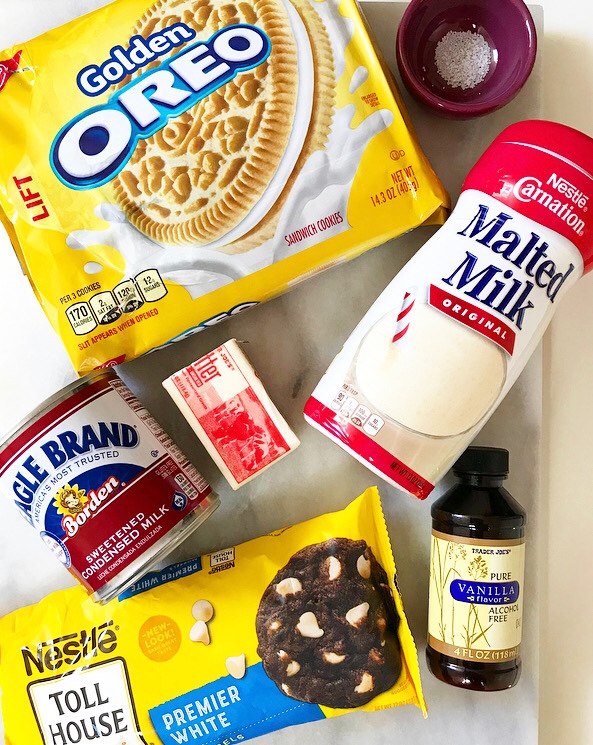
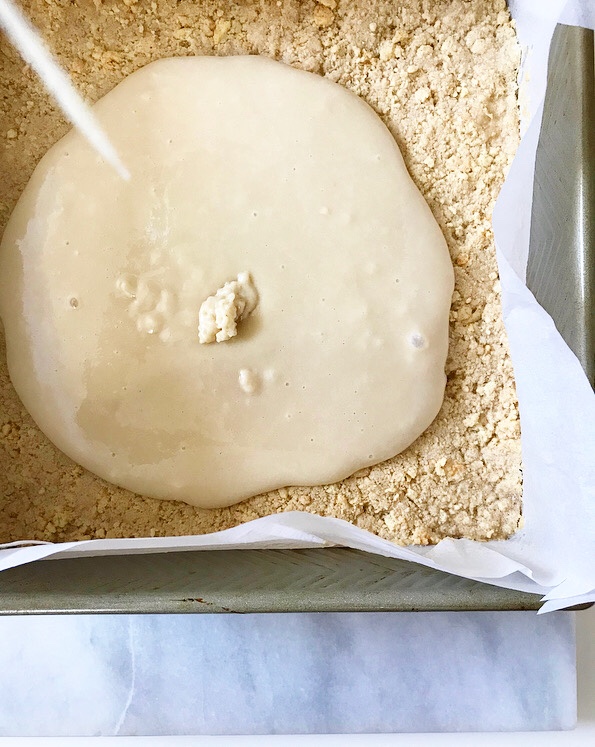
 Sweetened Condensed Milk is probably most popular as the key ingredient in Magic Bars (aka 7 Layer Bars, aka Hello Dollies). In those, it acts as a soft, chewy filling and a vehicle for various chocolate chips, nuts, and coconut. I don’t currently have a recipe for traditional Magic Bars—rest assured, you can find a million of them online—but I have taken the basic formula and put it on a
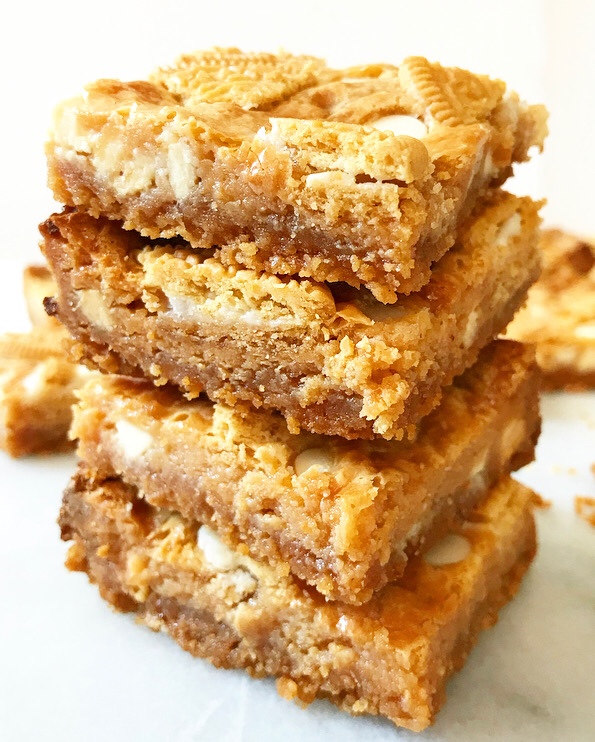
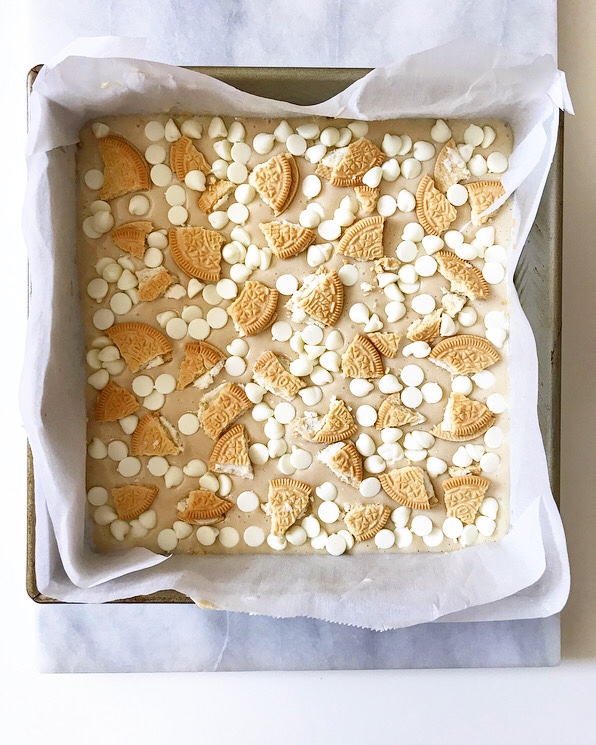
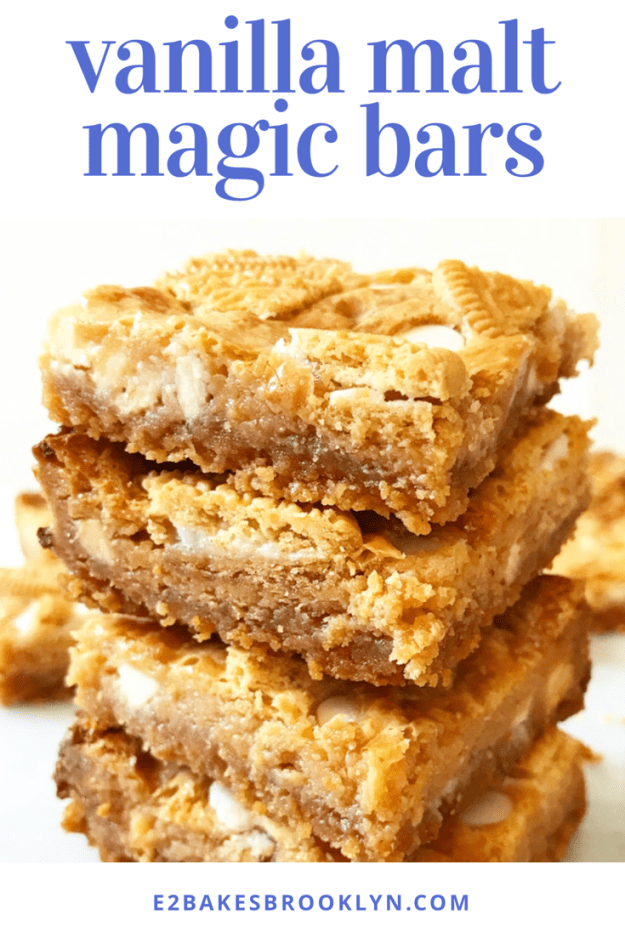
  That’s right—Vanilla Malt Magic Bars, y’all! They’re soft and chewy with a big vanilla malt flavor and a buttery cookie crumb crust. The filling is studded with white chocolate chips and broken pieces of Golden Oreo, and the tops are ever so slightly crackly thanks to the way sweetened condensed milk caramelizes in the oven.
 These bars require just seven ingredients and come together quickly and easily…again, because sweetened condensed milk makes things a snap.
 Oh, and they stay soft and delicious for days on end because…well, you know.
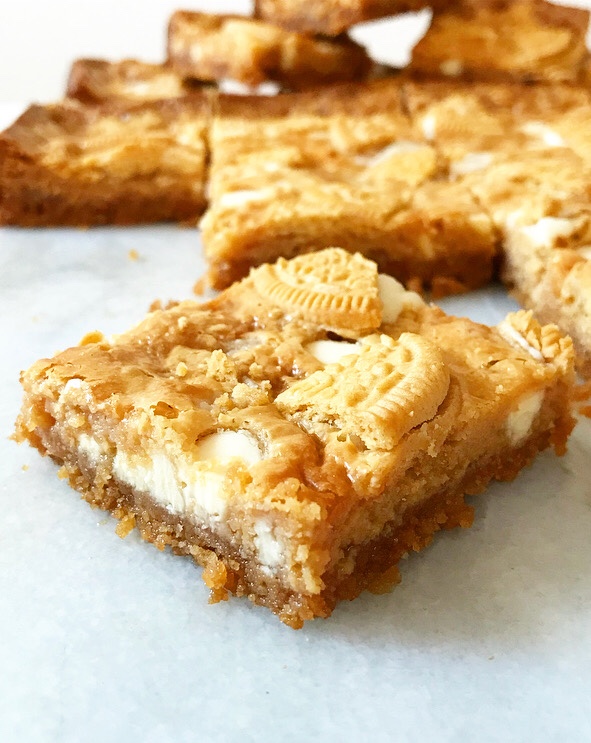


 I had no intention of making a third (or
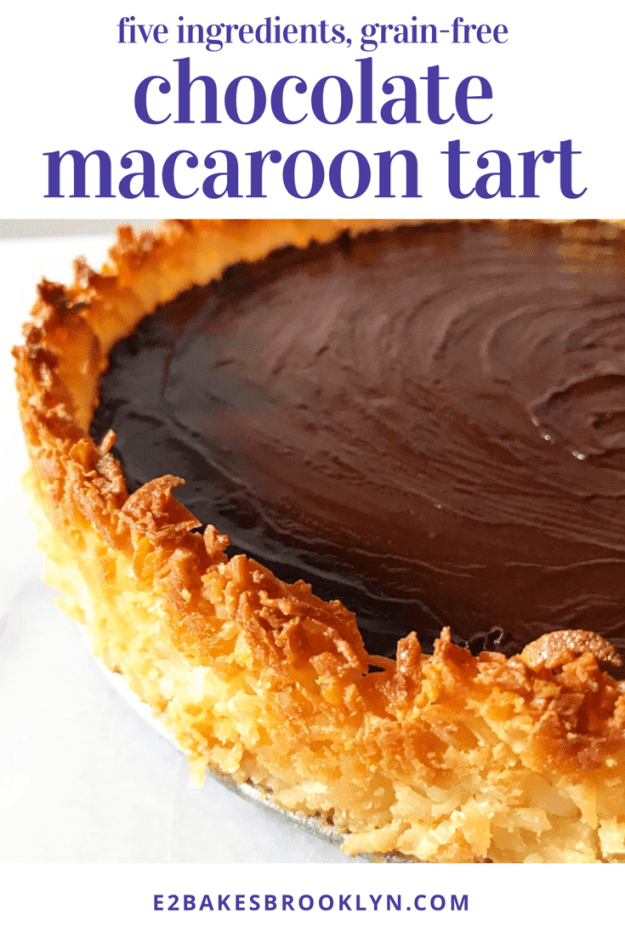
 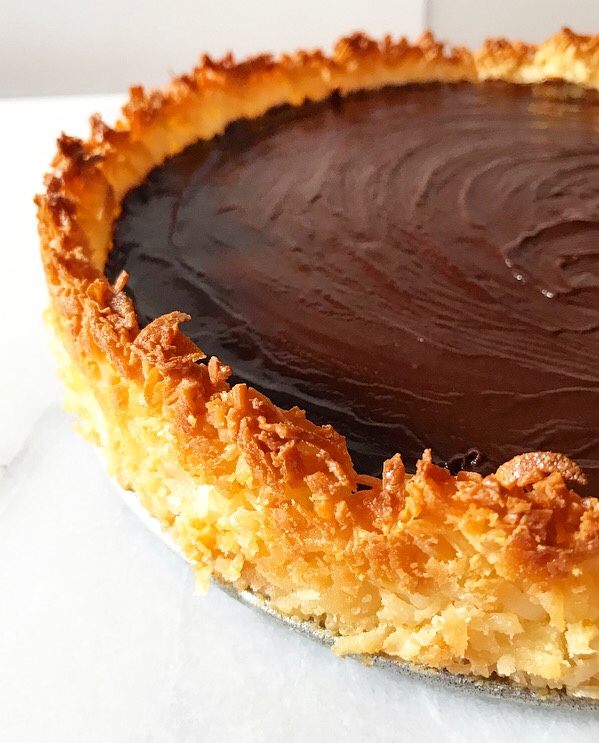 So, what’s so special about a macaroon crust? For one, it’s basically a big chewy, crisp-edged coconut macaroon cookie that you can bake and fill with whatever no-bake filling you like.
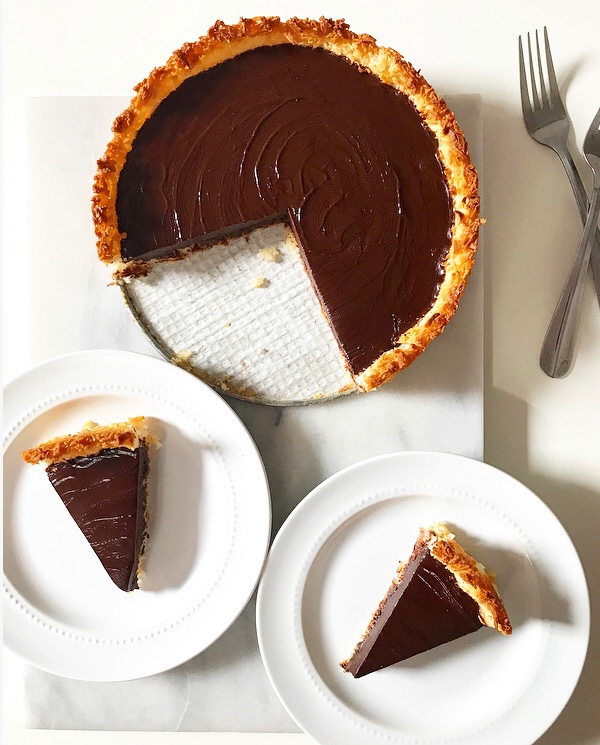 There is no “for two.” It’s that simple.
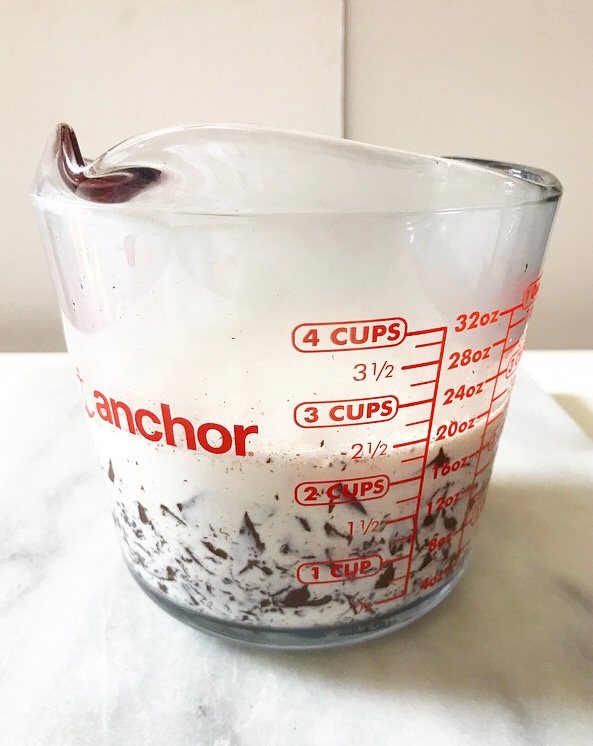
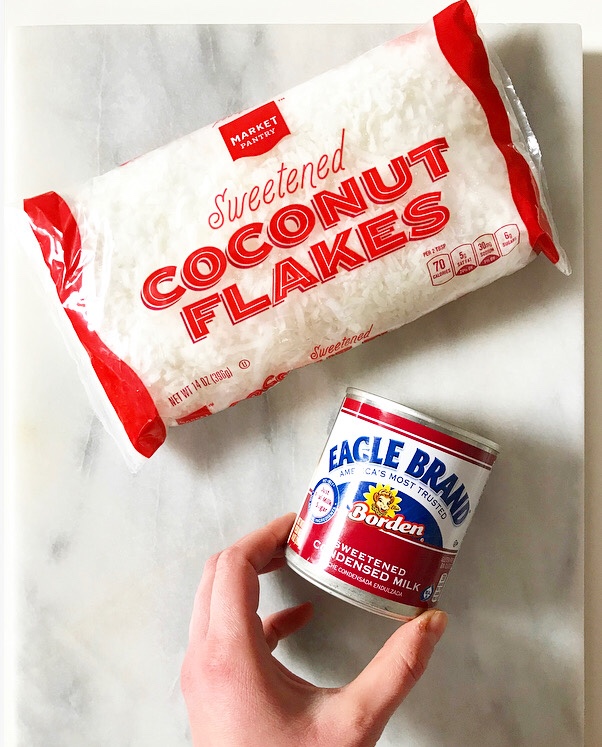 Now, there are many ways to make a macaroon crust. Some have flour, some contain egg whites. I looked at a few options before realizing that it would probably work with just two ingredients: sweetened flaked coconut and sweetened condensed milk.
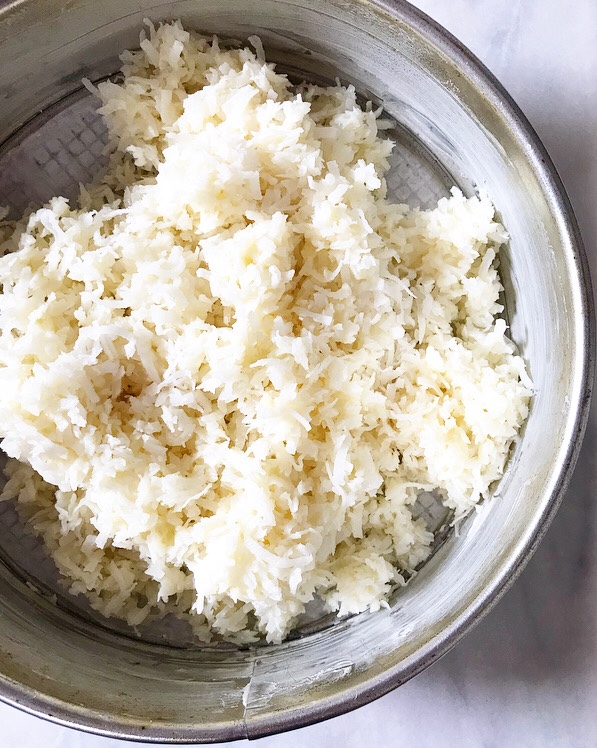
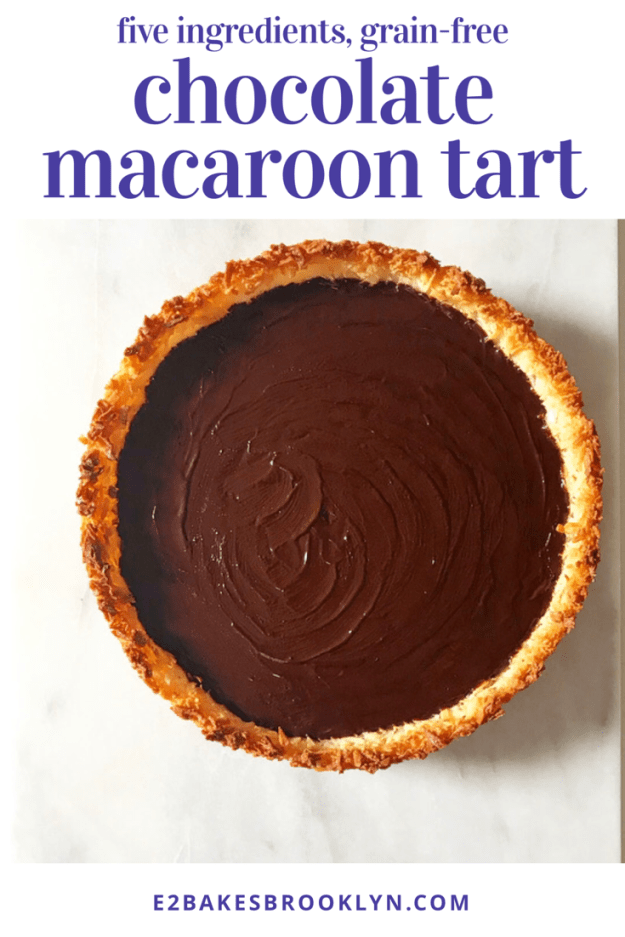
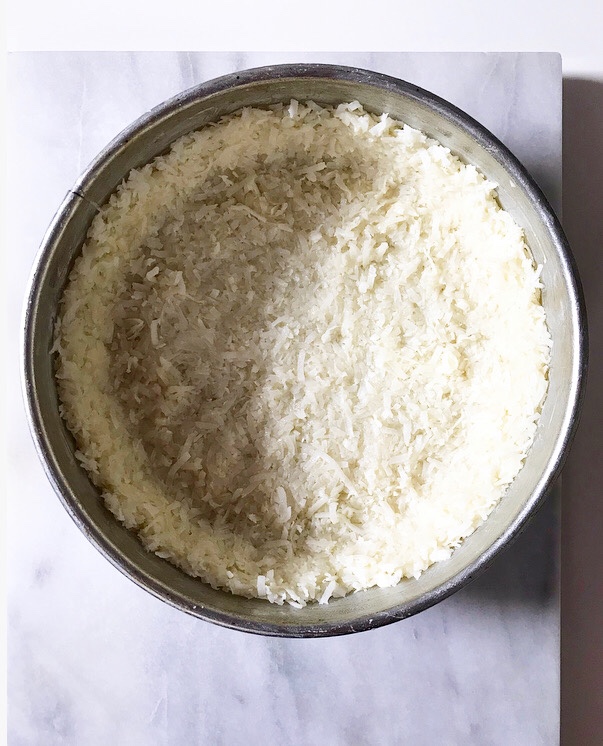 I folded the ingredients together and pressed the mixture into a heavily-greased springform or tart pan.*
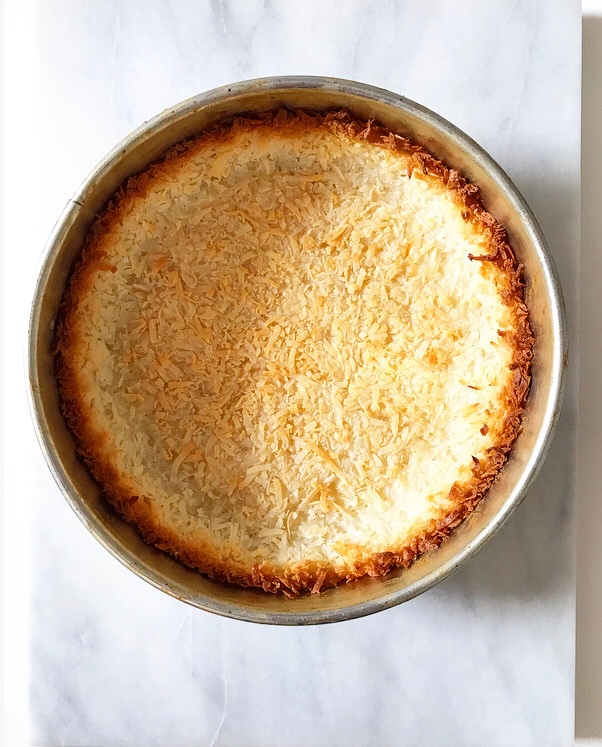 Half an hour later, it was toasty at the edges and light-golden in the center.
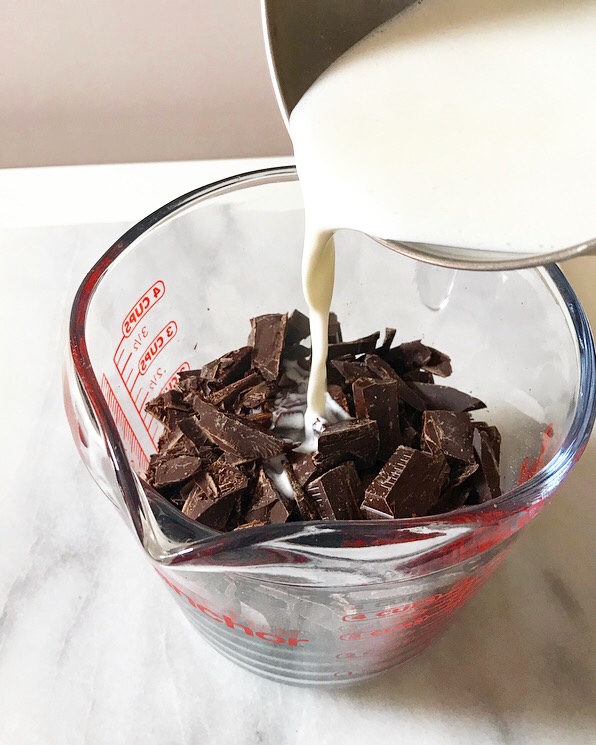
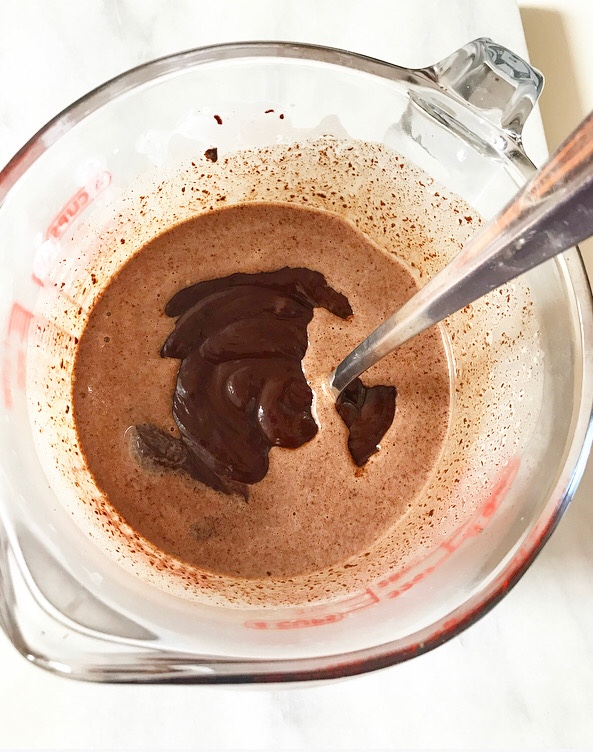

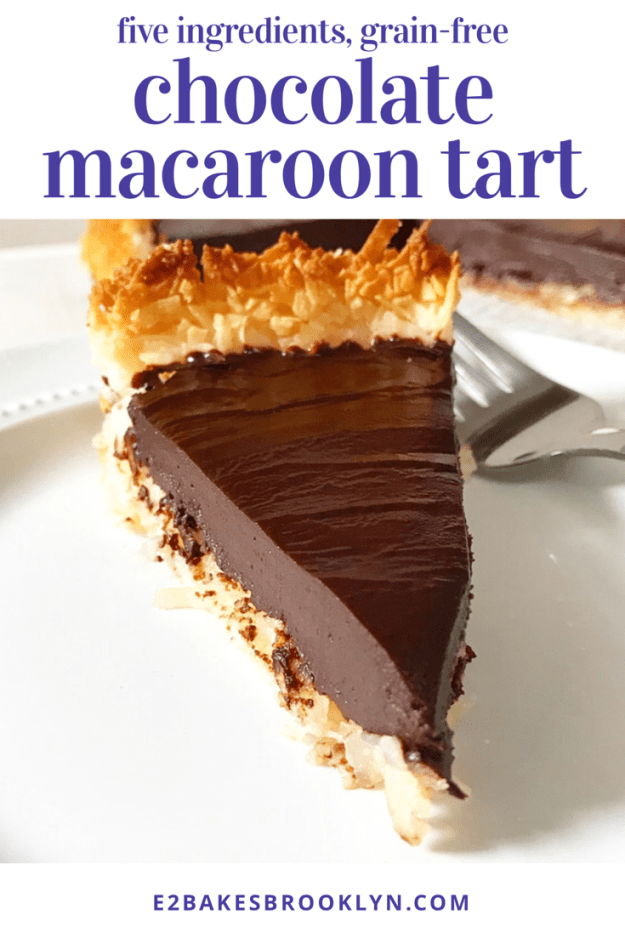
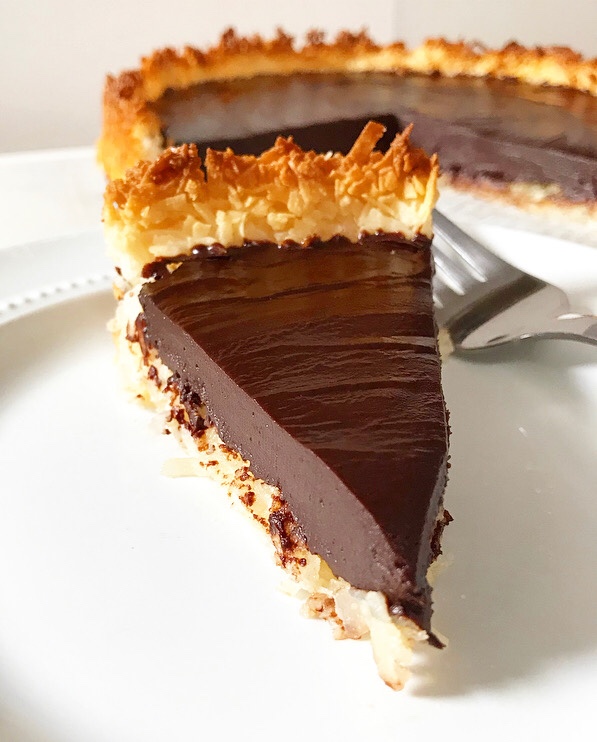
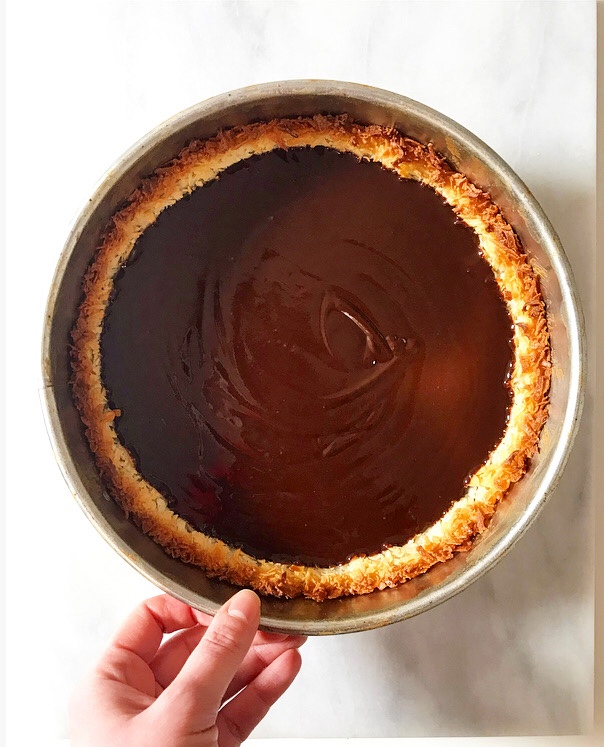 I filled it with chocolate ganache and let it set up in the fridge before slicing.
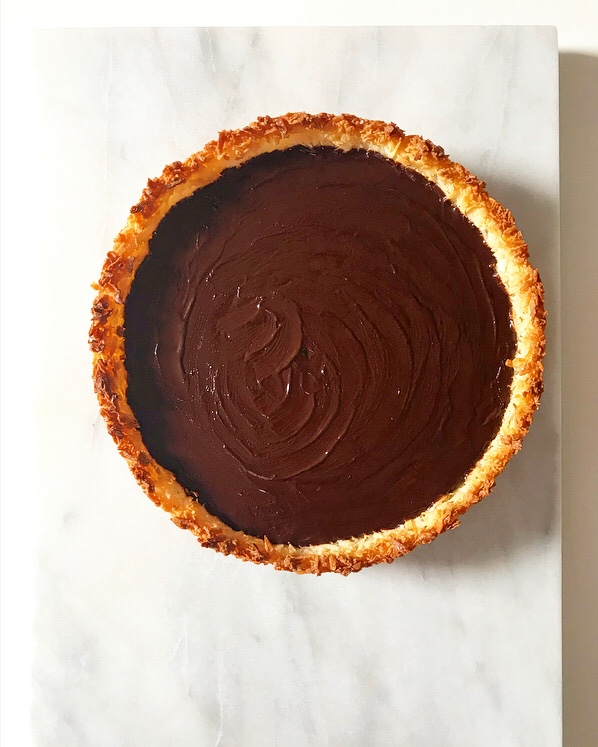 (I also gave it a few swipes with the back of a hot spoon for some rustic glossiness and because I am a control freak.)
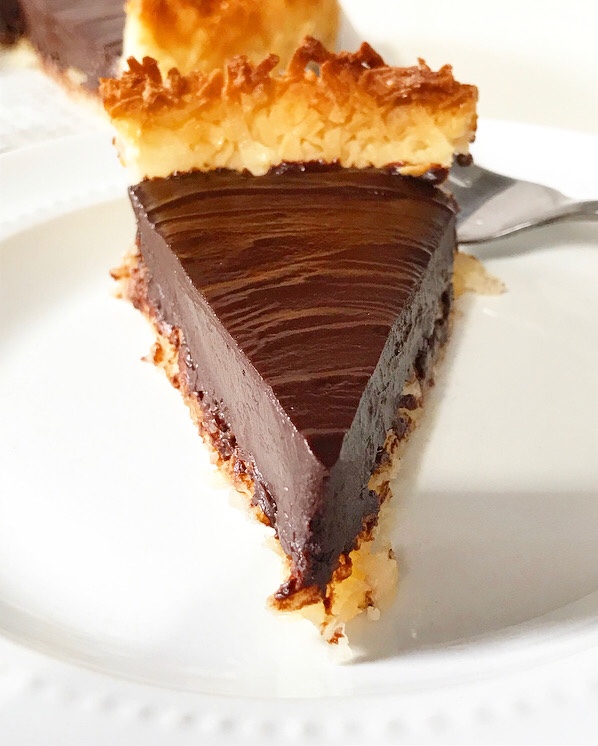 Who knew five Ingredients and no grains could make something this irresistible?! Silky chocolate ganache filling + toasty coconut crust 🙌🏻🙌🏻🙌🏻
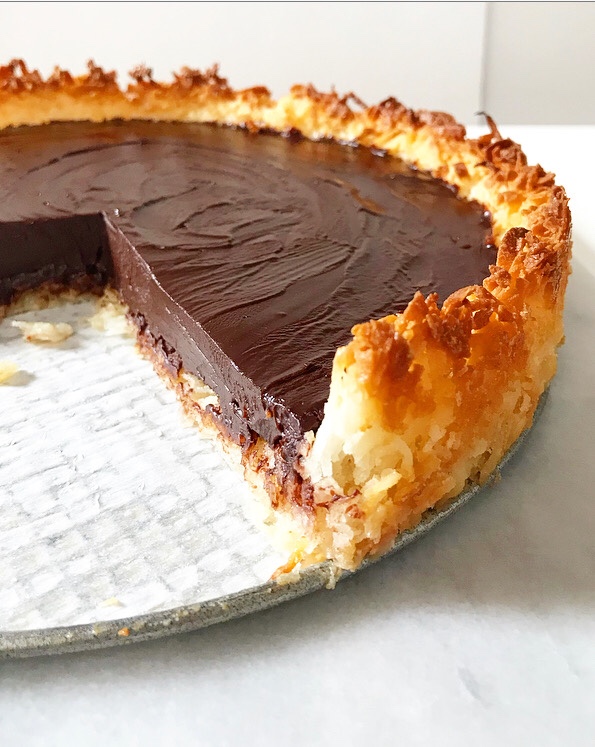 It’s like eating a chocolate-coconut candy bar…but classier because it’s a tart. We all know how much classiness matters when you’re sneaking cold wedges of Chocolate Macaroon Tart out of the fridge after your bedtime. Not that I’ve ever done that. Twice. On the same night.
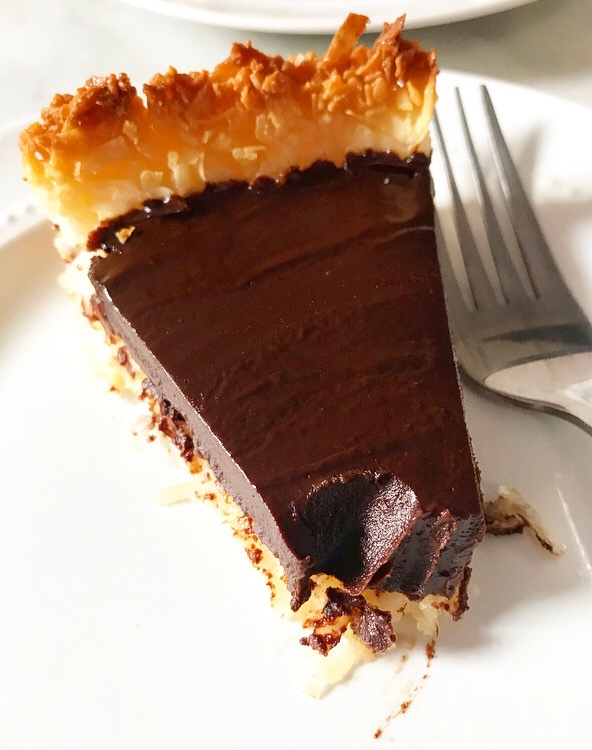 Happy
Happy