 It’s fall, y’all! And not a minute too soon. I have been obsessed with these Pumpkin Pie S’mores for weeks and am so excited that I finally get to share them on here today!
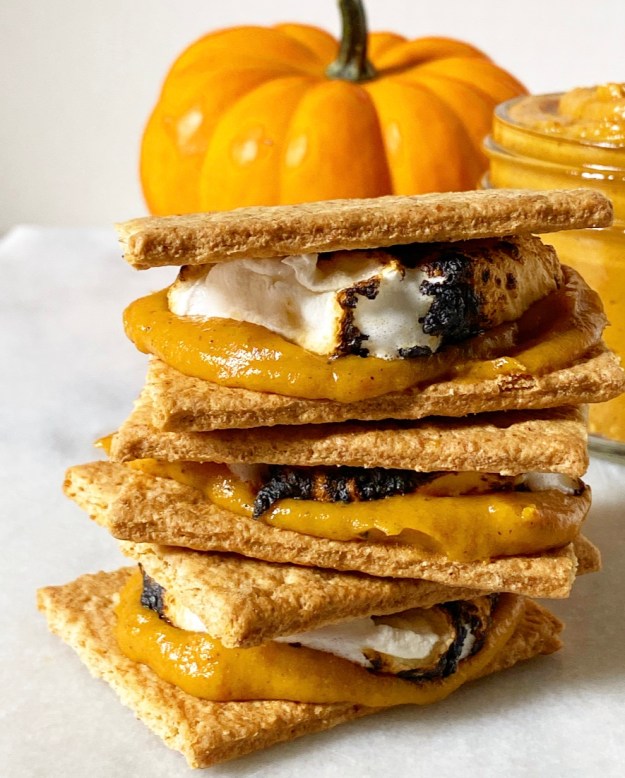
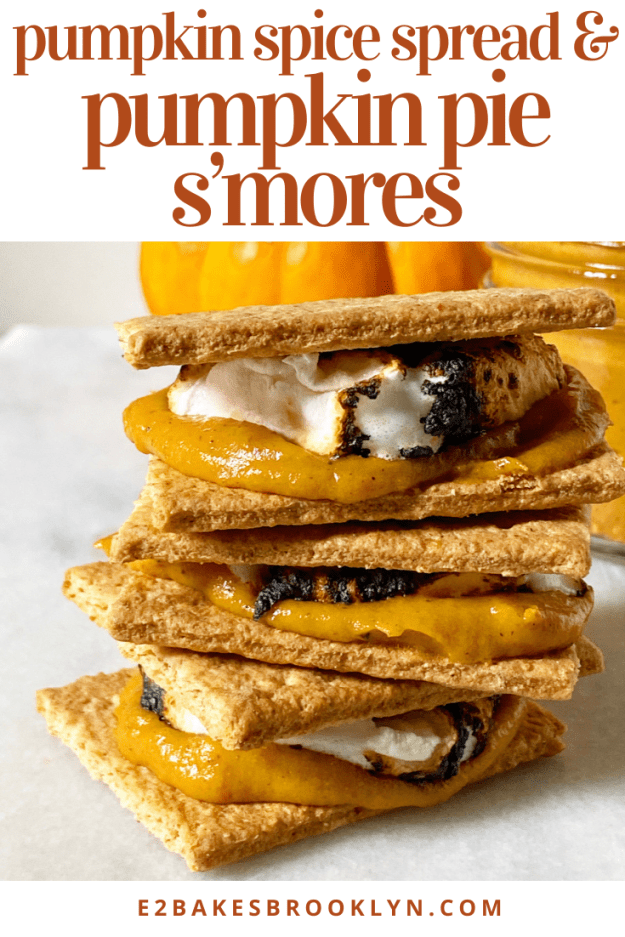
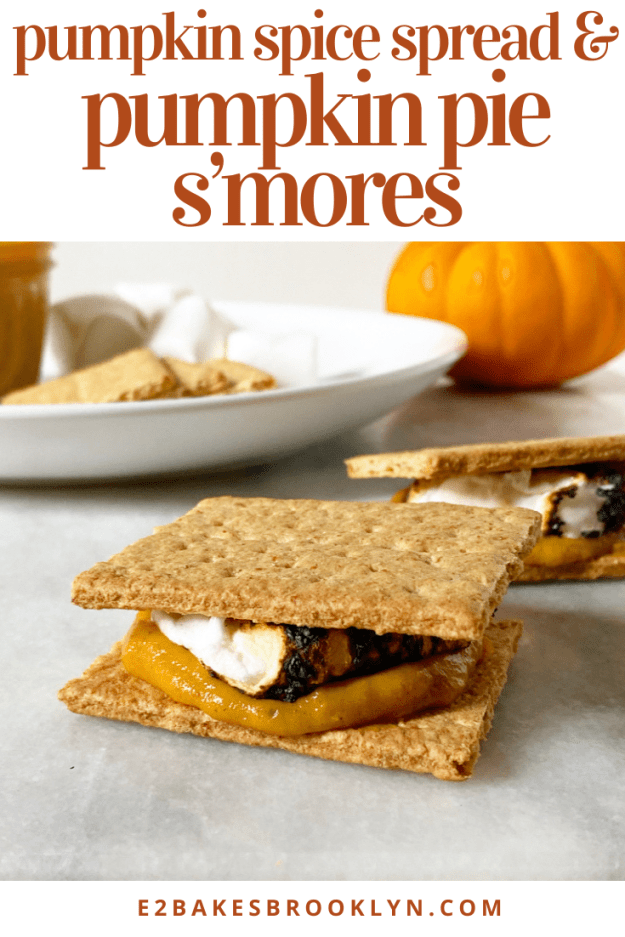
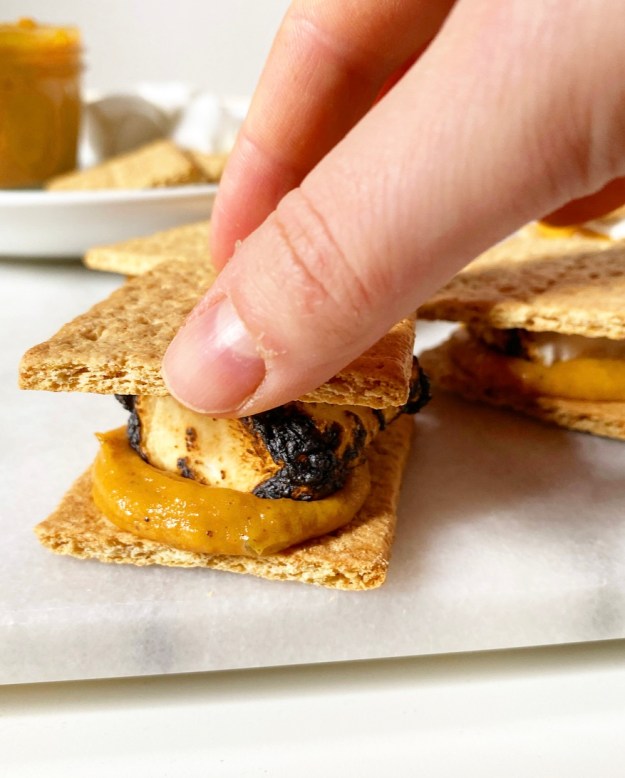 You read that right: Pumpkin Pie S’mores! As in graham cracker, toasted marshmallow and a little puddle of pumpkin pie all stacked together in one perfect bite. These are absolutely magical, if I do say so myself. And, I do, since I’ve been eating one around midnight pretty much everyday since Labor Day.
 The key to this whole operation is a homemade Pumpkin Spice Spread. It’s basically a soft-set pumpkin pie filling that can be used anywhere you could use a little pumpkin spice flourish. Toast, biscuits, scones, cookies, swirled through no-churn ice cream, spread on a waffle, used as a fruit dip, or—you know it—stacked into seasonal s’mores! If you’re into pumpkin, this is a total game changer.
 For those of you wondering if you can bypass the homemade spread by using pumpkin butter or mixing together some canned pumpkin, spices and brown sugar for your s’mores, the answer is “sure…but it won’t be the same.” While those options both work in a pinch, neither is as rich and decadent as Pumpkin Spice Spread. It’s made with sweetened condensed milk and has some body from egg yolks, so it’s every bit as luxurious as its pastry-wrapped counterpart and far more versatile. You’ll be seeing a lot of this stuff on here this season!
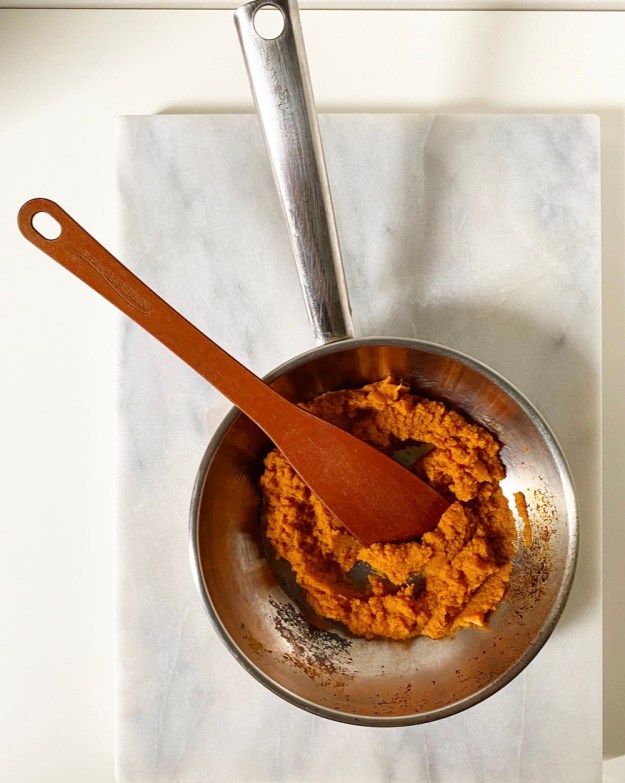
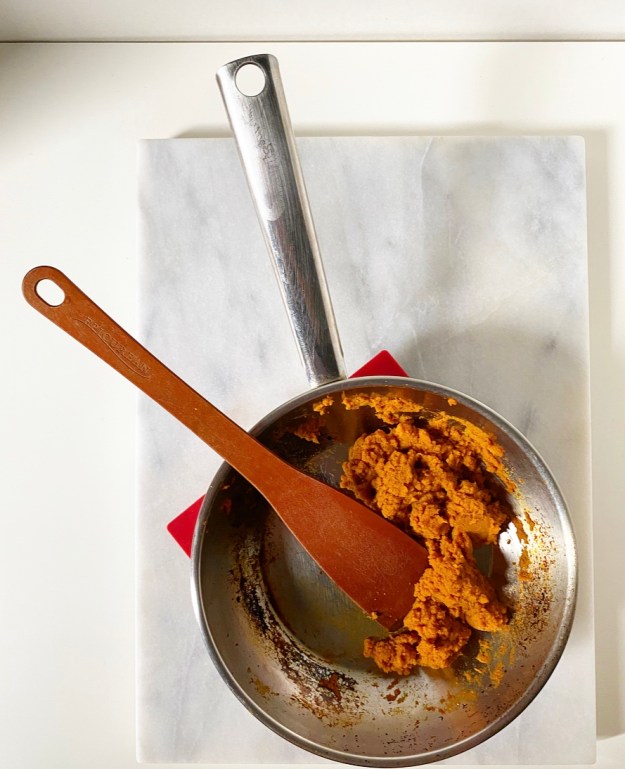
 The whole Pumpkin Spice Spread process takes 25 minutes, fifteen of which are hands-off. The most “involved” step is caramelizing the pumpkin, and that’s no trouble at all. It’s literally pushing a cup of pumpkin purée around a dry sauté pan for ten minutes until some of its liquid evaporates and it darkens ever so slightly. This is to ensure that your Pumpkin Spice Spread is nice and thick and never one-note. If you’re pinched for time, you could probably get away without this step, but it really makes a difference in the end product.
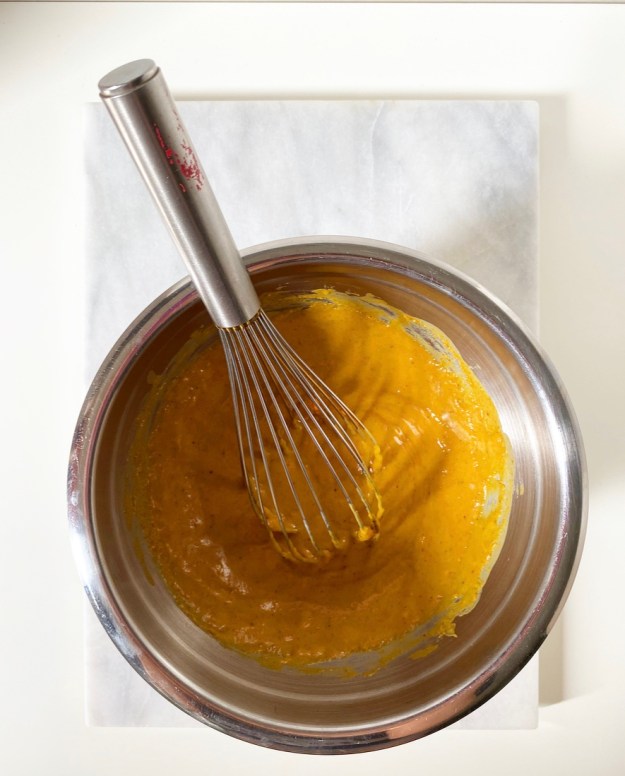
The second and final step is to whisk the pumpkin together with the sweetened condensed milk, egg yolks, a spoonful of pumpkin pie spice and some salt. Set the whole bowl over simmering water for fifteen minutes, stirring when you remember, and…that’s it. I mean, you should definitely let it cool, but…that’s it. Well, except for the part where you dig it out of the fridge every night and sandwich some with graham crackers and a toasted marshmallow. Oh yeah, that’s it.
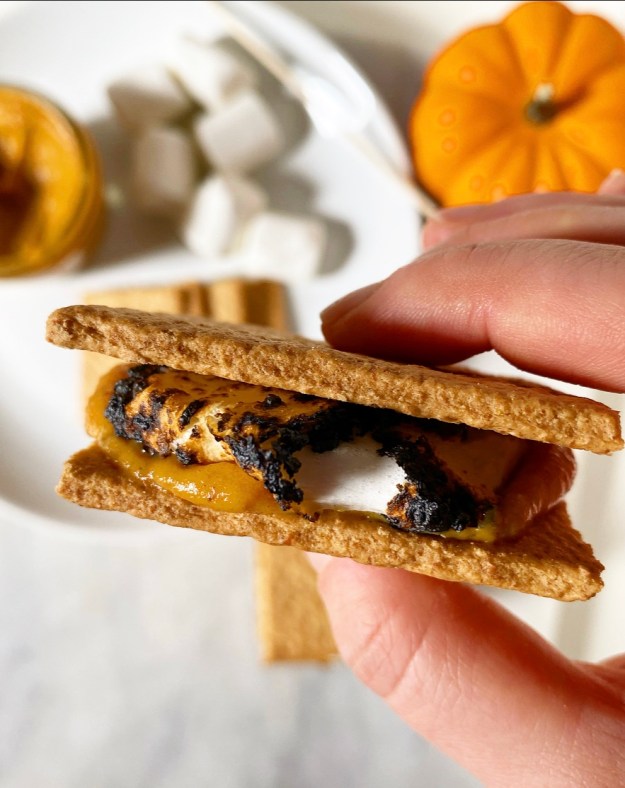
Pumpkin Spice Spread
makes about 2 cups
1 cup pure pumpkin purée (I use Libby’s)
1 14-ounce can sweetened condensed milk
2 large egg yolks
1 teaspoon pumpkin pie spice
pinch of Kosher or sea salt
Place pumpkin in a small sauté pan over medium-low heat. Cook, stirring frequently, for about 10 minutes, until slightly drier and a tiny bit darker in color. Remove from heat.
Fill a small pot with 1-2 inches of water. Set a heatproof bowl over the top, ensuring that the water does not touch the bottom of the bowl. Remove bowl and bring water to a simmer.
In the heatproof bowl, whisk together sweetened condensed milk, egg yolks, pumpkin pie spice and salt. Whisk in pumpkin purée. Place bowl over simmering water, creating a double boiler. Let cook, stirring frequently, until slightly thickened, about 15 minutes (it will thicken further as it cools). Remove from heat and let cool for 20 minute before transferring to a heatproof container. Press a piece of plastic wrap to the surface. Let cool completely at room temperature before storing in the refrigerator.
Pumpkin Pie S’mores
makes 4 s’mores
4 whole sheets honey graham crackers
2 tablespoons Pumpkin Spice Spread
4 large marshmallows
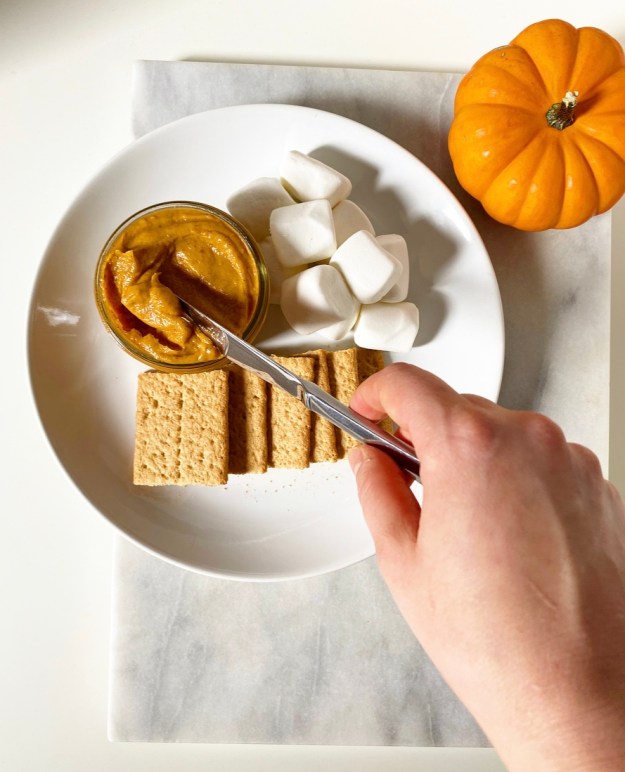
Carefully break each graham cracker sheet in half to produce 2 squares (8 squares total). Place bottom-side-up on a surface.
Top 4 of the graham squares with 1/2 tablespoon (1 1/2 teaspoons) each of the Pumpkin Spice Spread.
Toast the marshmallows. Place each marshmallow on a skewer. Turn a gas stove flame (or other heat source) to medium-low. Carefully toast marshmallow over the top before transferring it onto Pumpkin Spice Spread. Repeat with other marshmallows. Turn off stove. If you’d like to toast your marshmallows with another at-home method, see here.
Top marshmallows with the remaining graham squares, top-side-up. Serve immediately.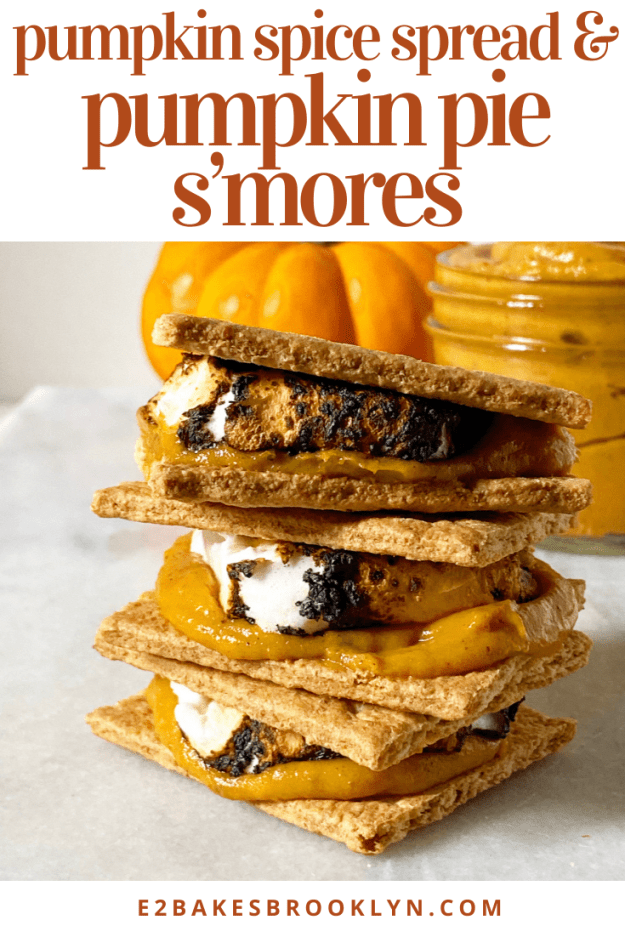
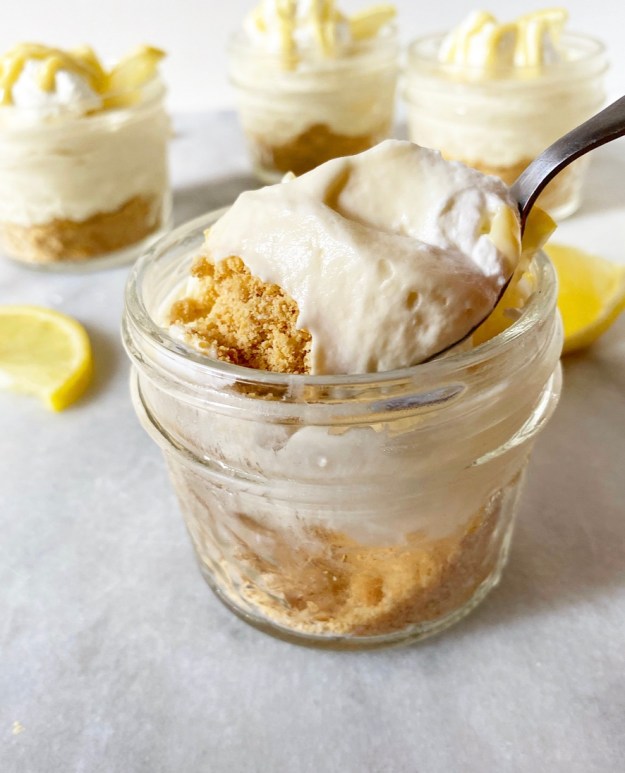
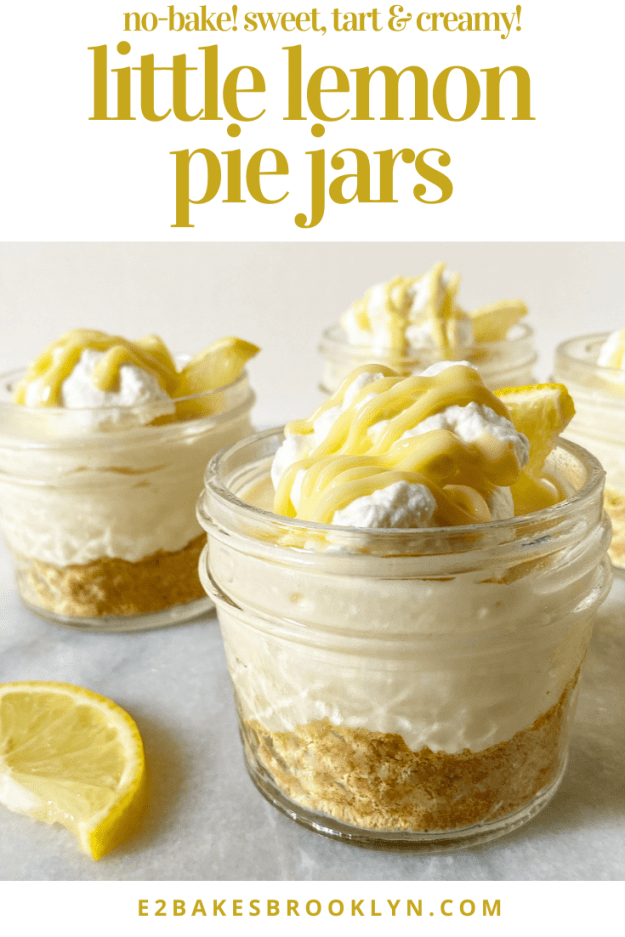
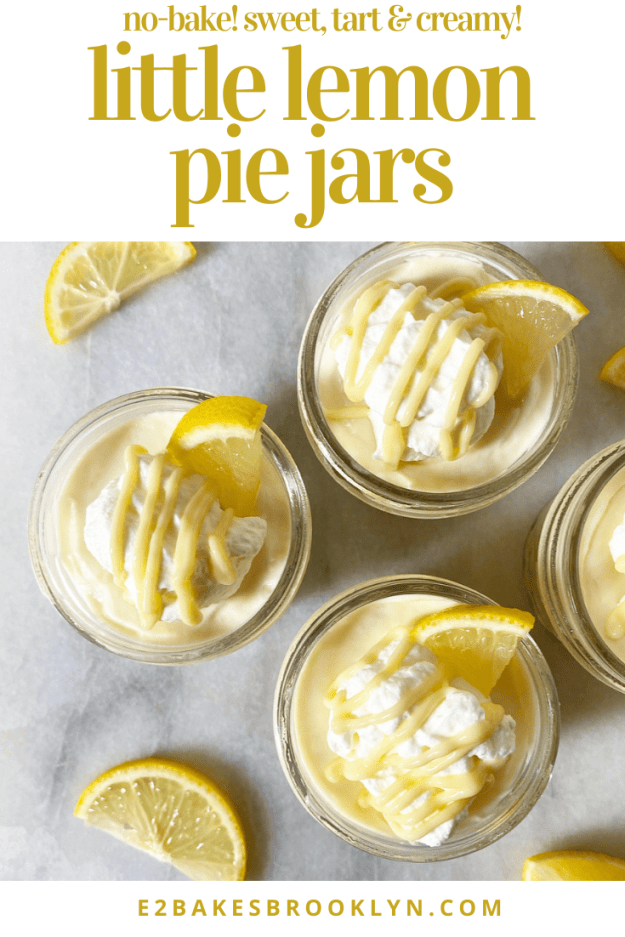
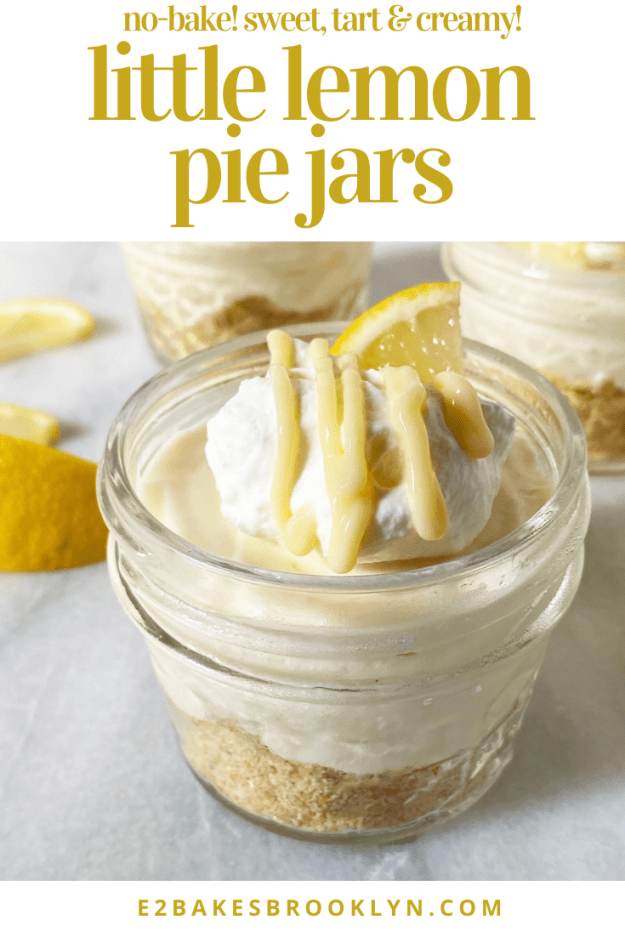
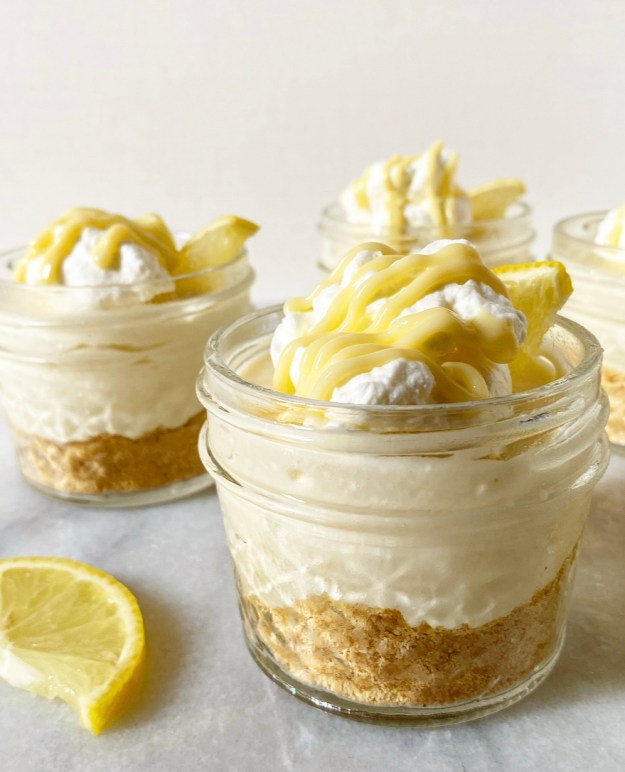 These Little Lemon Pie Jars are are the best no-bake dessert I’ve had in quite some time. They’re cold, creamy and tangy, but not overly rich, and their single-serve presentation makes them ideal for any socially-distanced gathering during these hotter months.
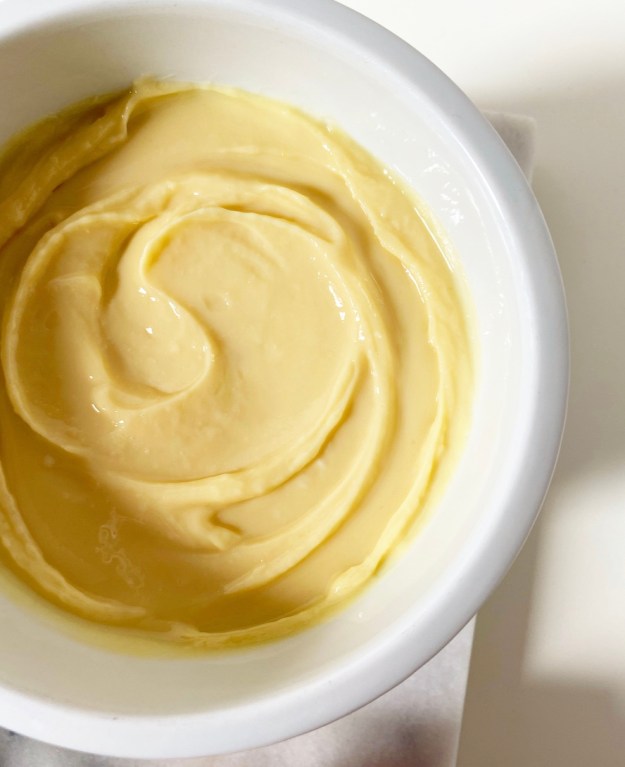
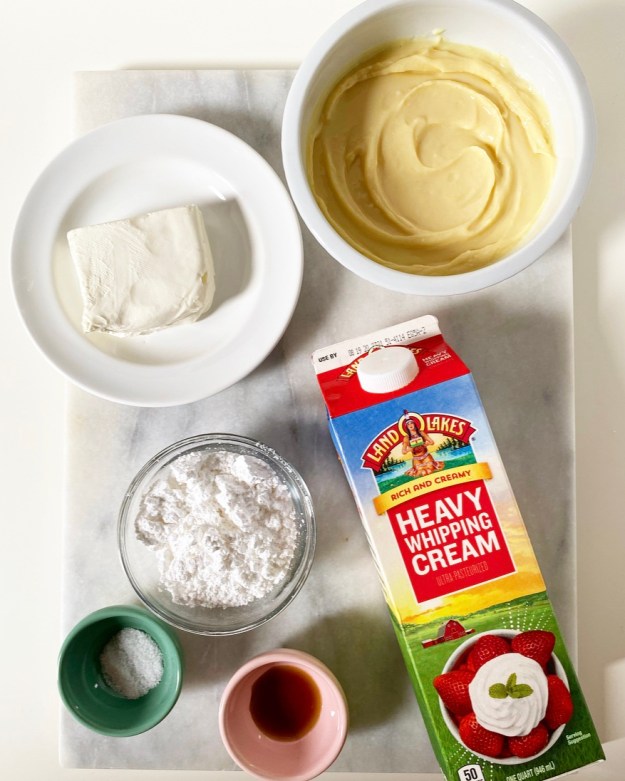
 Little Lemon Pie Jars are incredibly simple to make. The lemon filling is made with a fluffy combination of cream cheese, confectioner’s sugar, whipped cream, and my favorite
 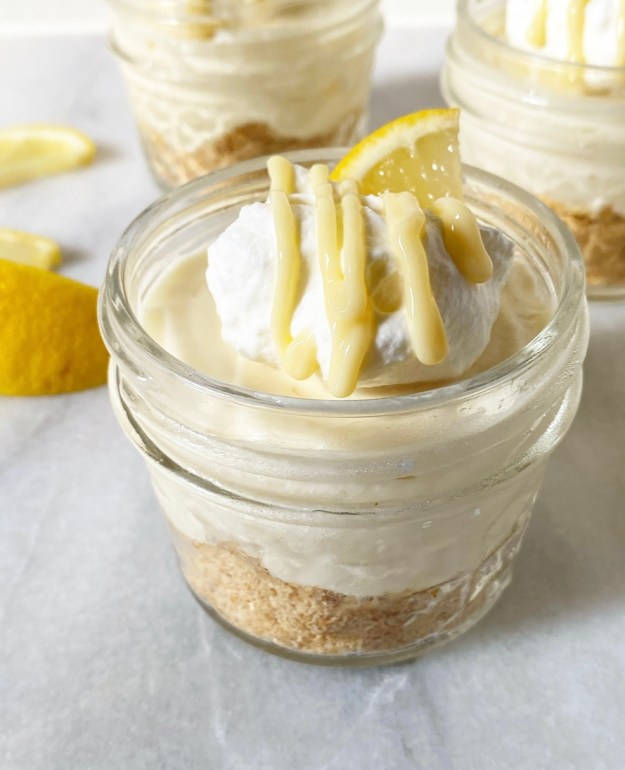 Once the curd is made and cooled, the filling takes all of ten minutes to mix and spoon over the crust. Oooh, this crust. While the lemon filling is plenty sweet and refreshing on its own, the crust provides textural contrast and cuts the richness.
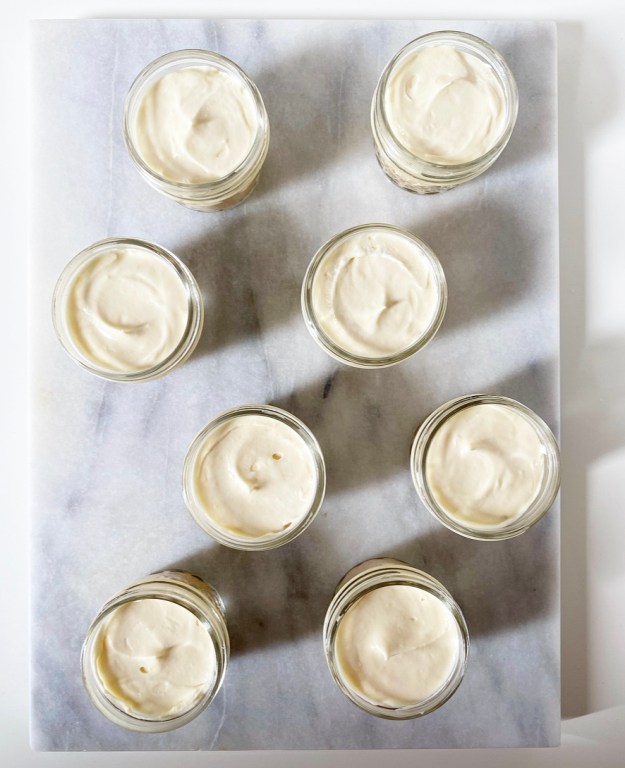
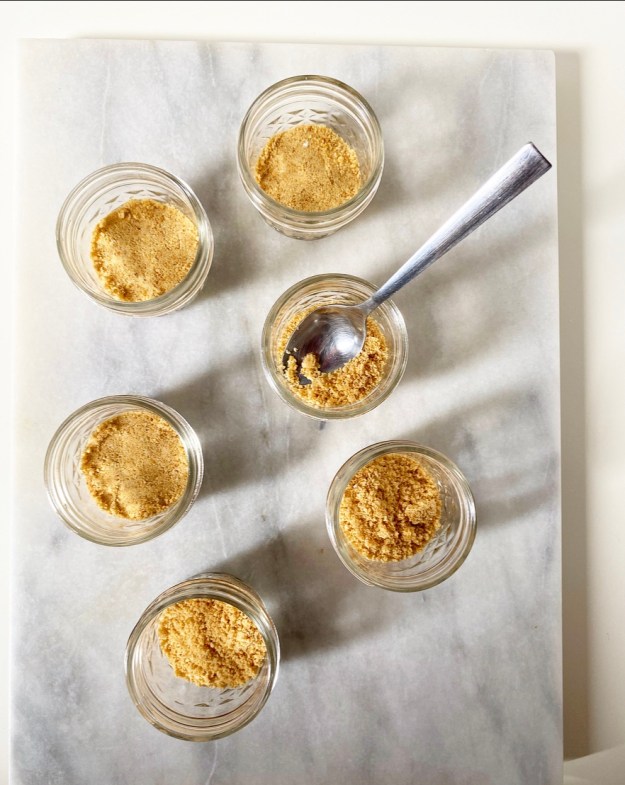
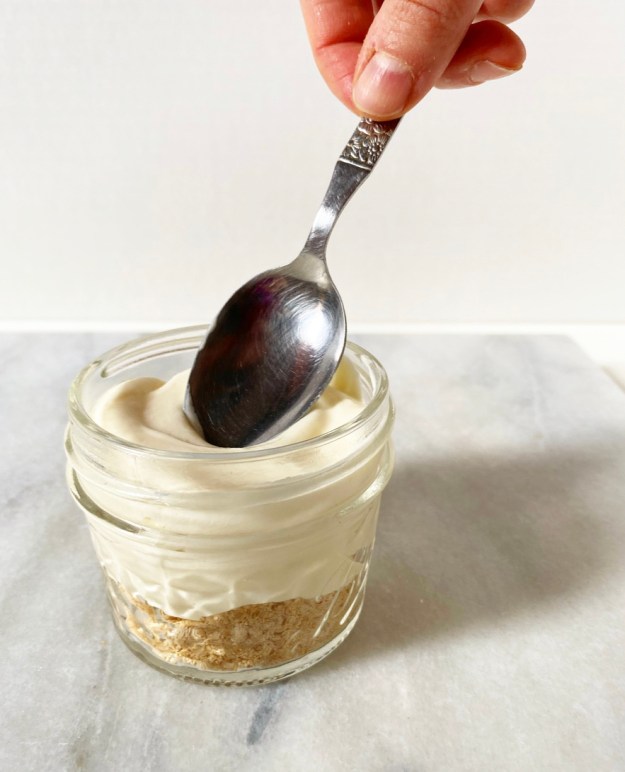
 Simply mix up some graham cracker crumbs, confectioner’s sugar, a pinch of salt and melted butter until everything is lightly moistened, then press the mixture into the bottoms of eight small mason jars. It won’t set hard, instead staying a little on the crumbly side. Where this wouldn’t work particularly well for a traditional pie, it works like a dream here. I love that I can dig my spoon into the bottom of the jar and get a little crust in every bite.
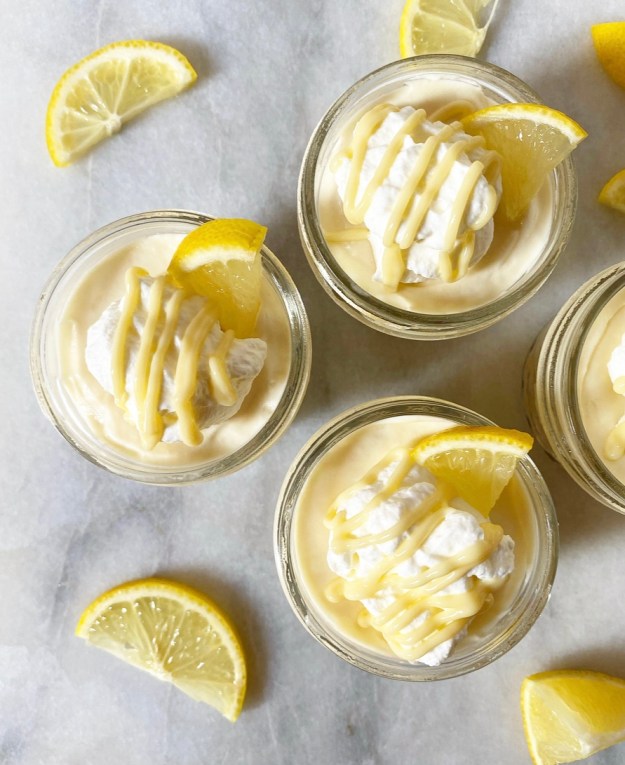 You can garnish these little pies however you like or not at all. I’ve been saying some version of this a lot lately, but it’s the truth: we’re in a pandemic and there are no dessert rules. I dressed these pictured pie jars up with whipped cream, teensy lemon wedges and extra drizzles of lemon curd for their glamour shots, but I ate the leftovers plain out of the fridge and they were just as delicious.
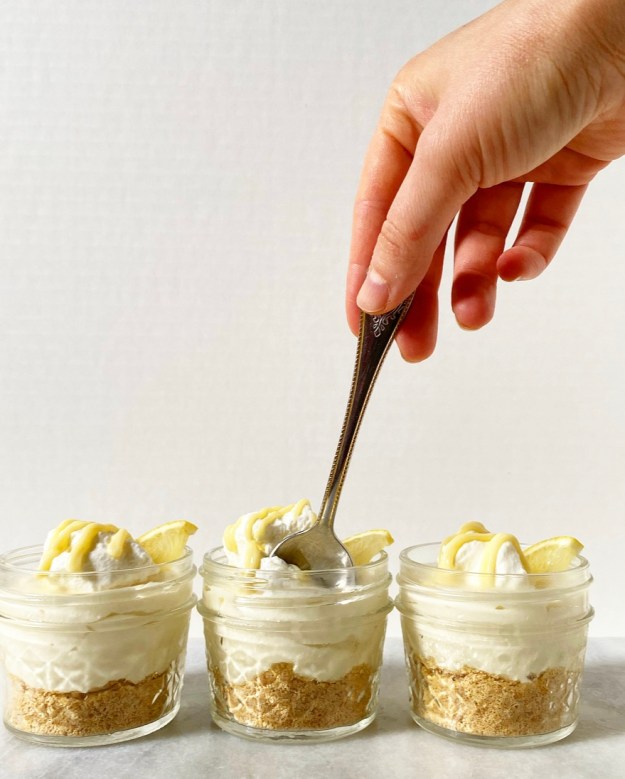
 If you’ve been around here a while, you know I loathe
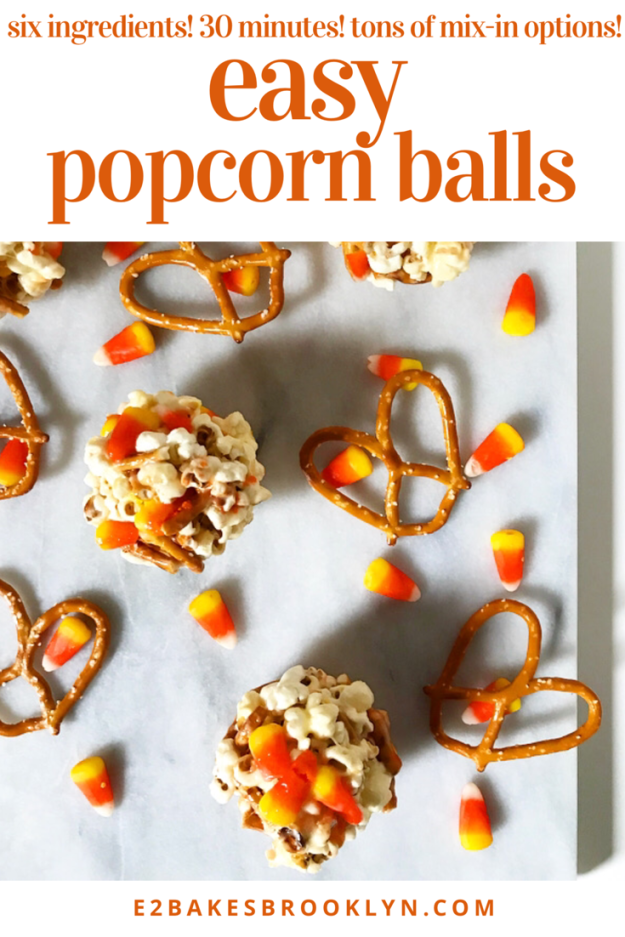
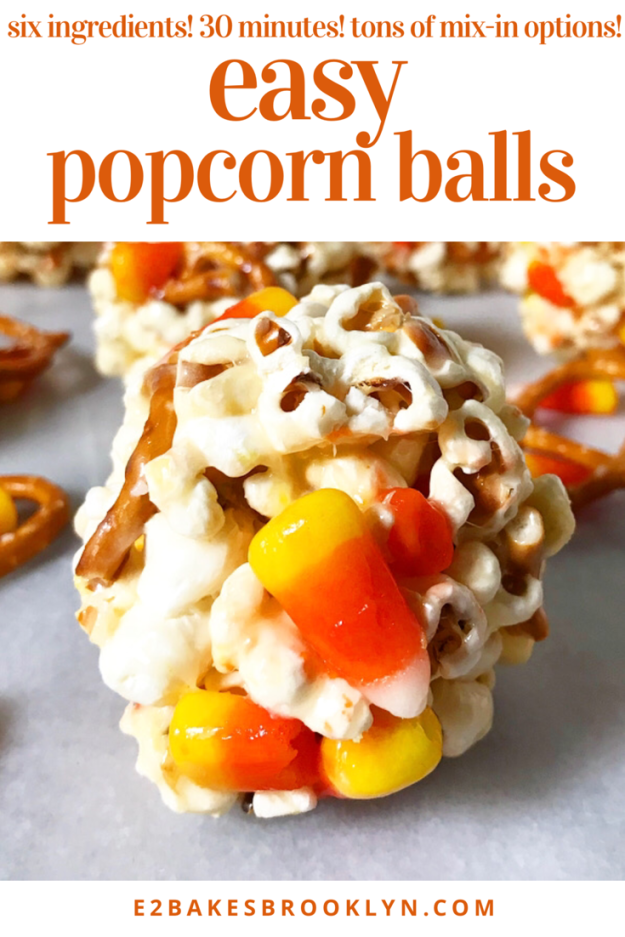
 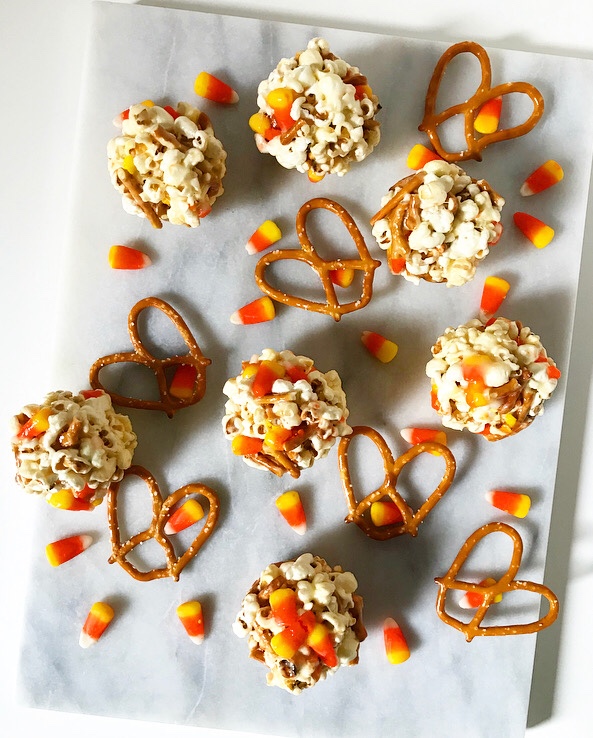 But seriously, I have no idea why I had never had a popcorn ball before a few weeks ago. Maybe it’s a northern thing? Do Texans just not make popcorn balls? Do I secretly love Halloween? Is my entire life a lie???
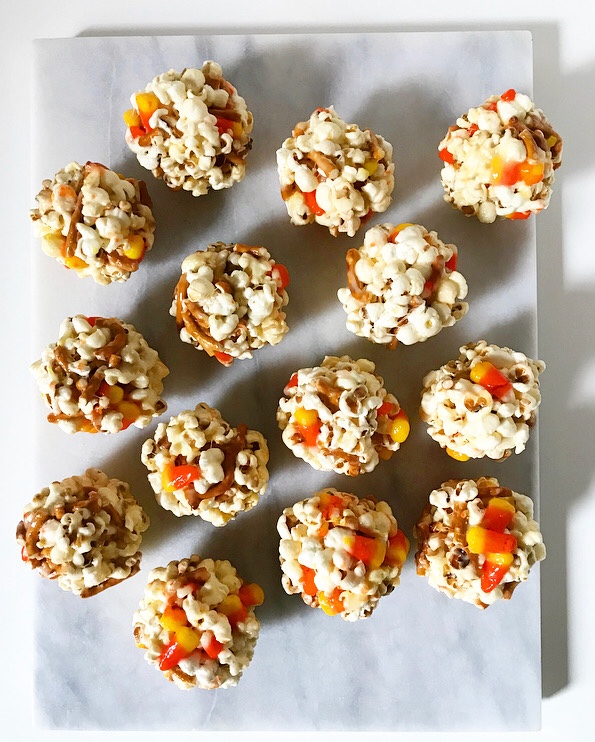 …whatever it is, I am now firmly in support of all things Halloween as they relate specifically to spherical sticky-sweet popcorn. And also
 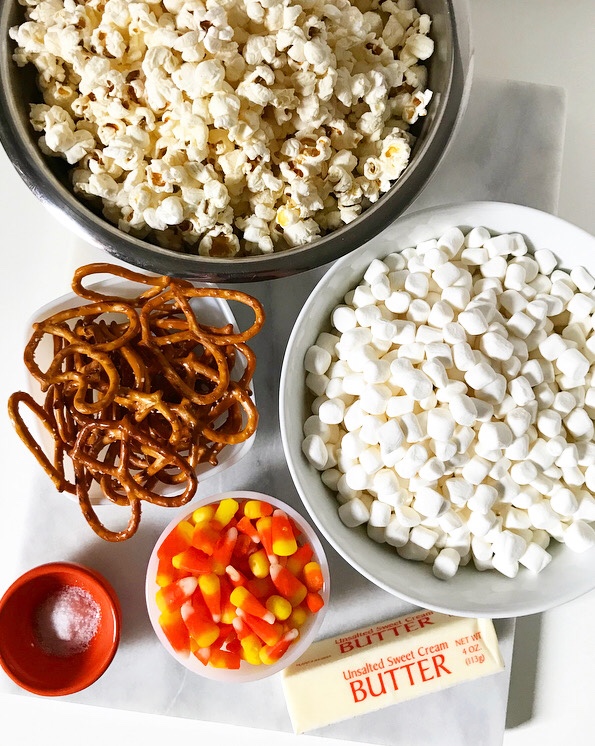 Lots of popcorn ball recipes are molten sugar or caramel-based and require a candy thermometer, but I went in a different, easier direction, using
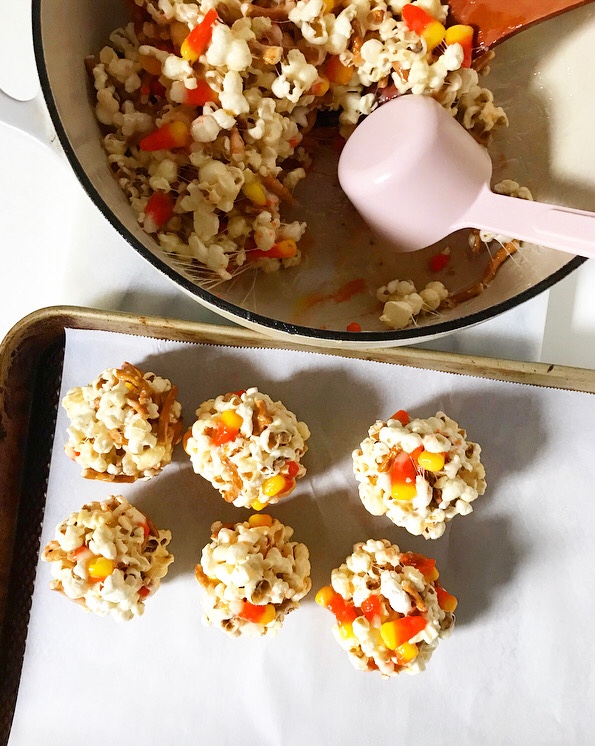

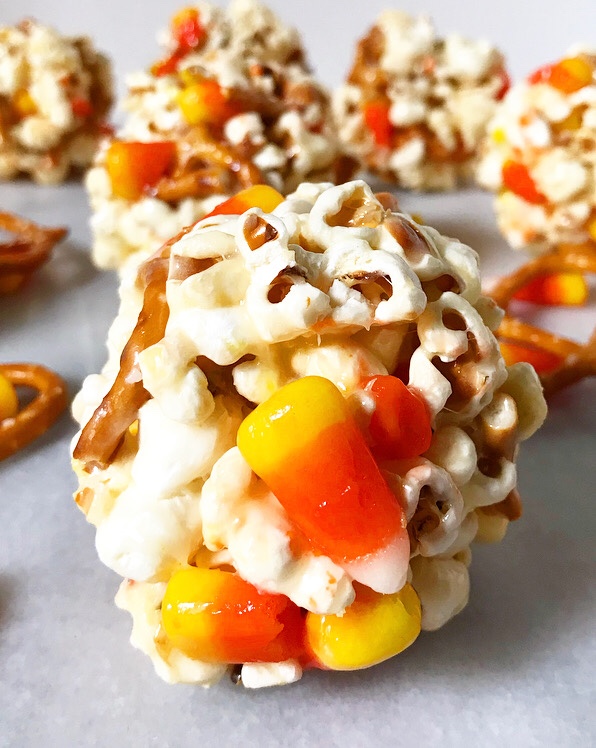
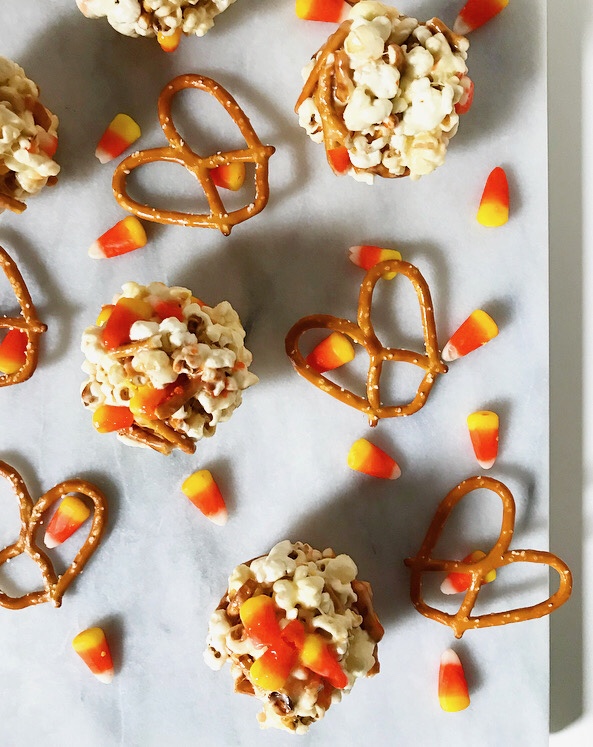 Once the mixture is to your liking, let it cool for about 5 minutes, just until you can handle it. Then butter your hands and press heaping 1/2 cups of sticky popcorn into balls and set them on a piece of parchment. After that’s done…well, you’re done. Except for the part where you watch the World Series and eat crunchy, just barely gooey, candy corn & pretzel-studded popcorn balls and call it Halloween. Or maybe that’s just me.
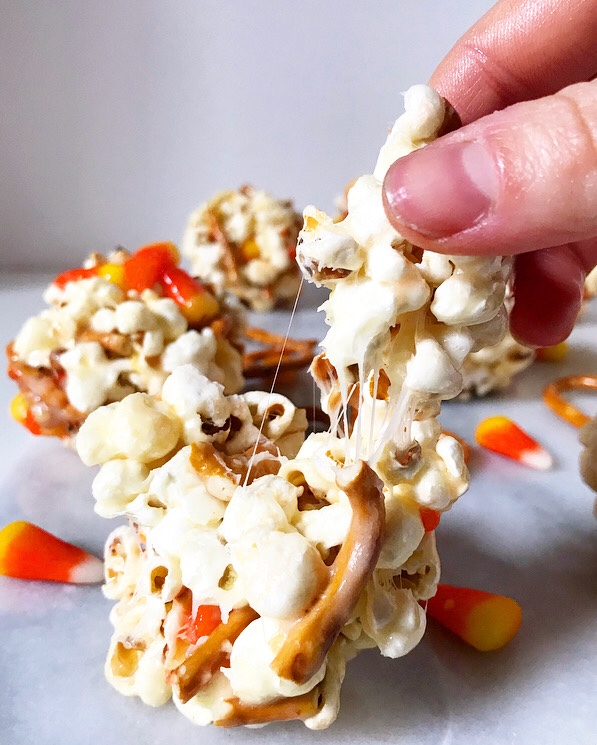
 Sometimes it takes years of thinking and testing and cursing and problem-solving—or, to be brief, “general creative agony”—to formulate a recipe. Other times, the recipe comes up and metaphorically slaps you in your dessert-obsessed face.
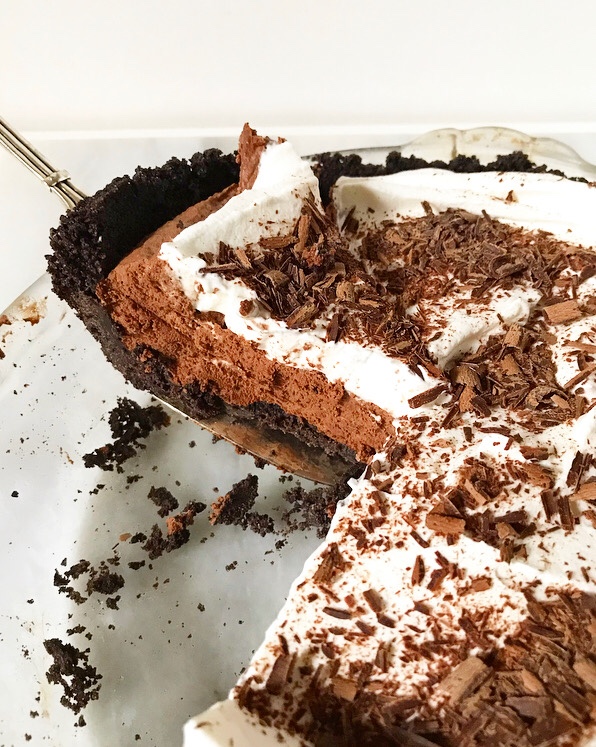 You can guess which sort of recipe this Chocolate Mousse Pie is.
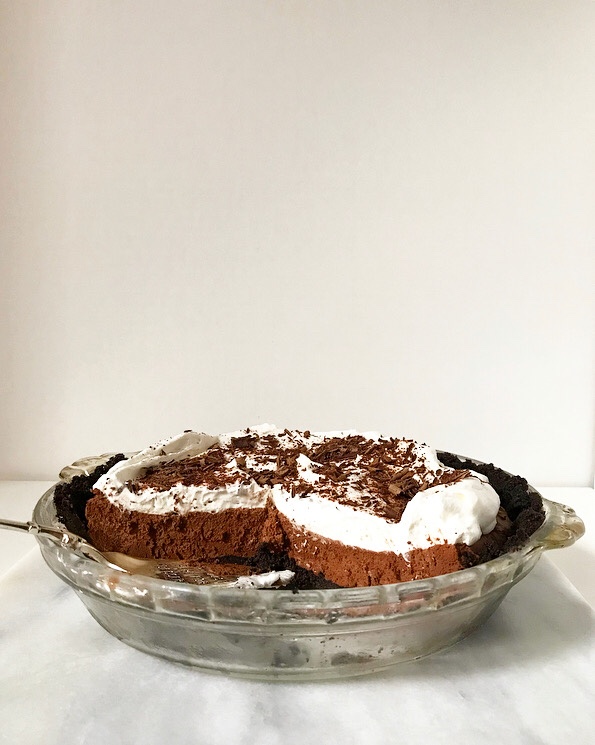 Y’all! How did I not make a Chocolate Mousse Pie sooner? How did it never cross my mind? I’ve had a magnificent
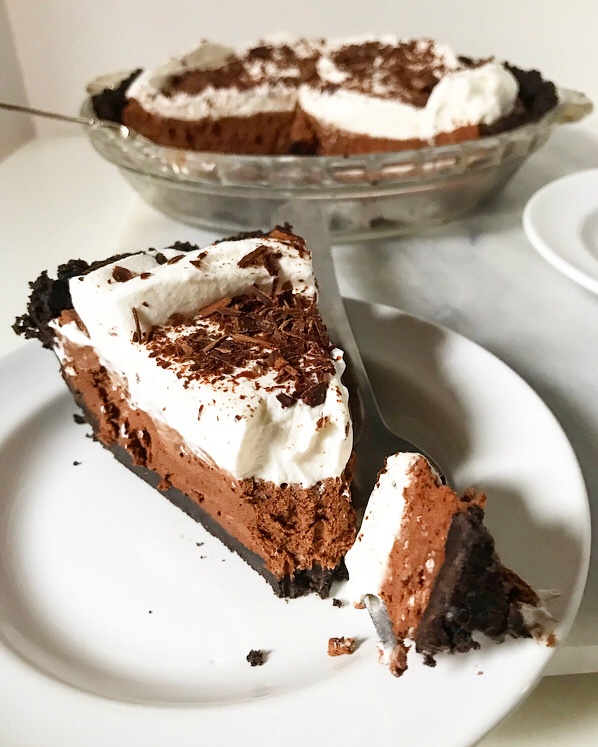
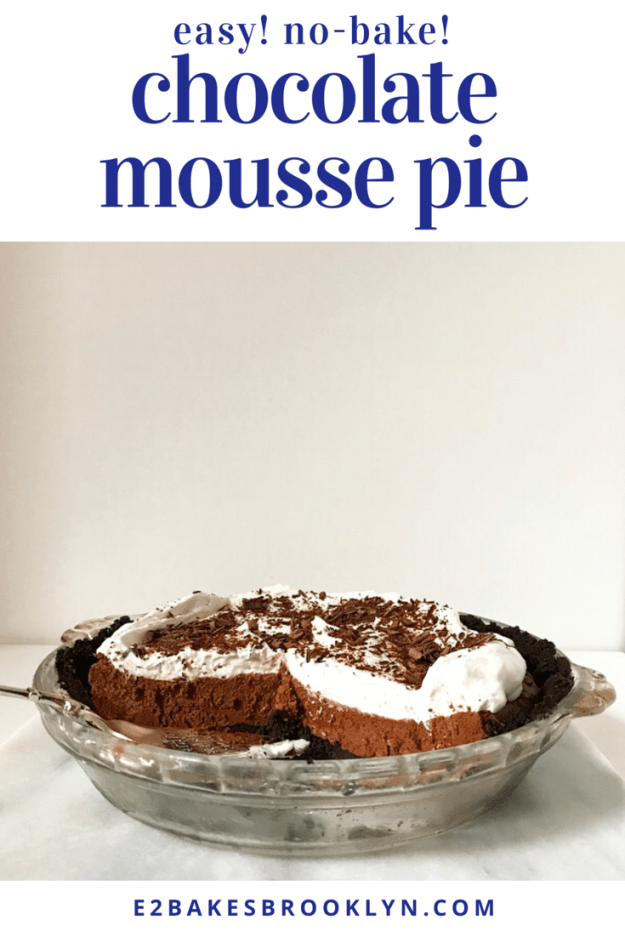
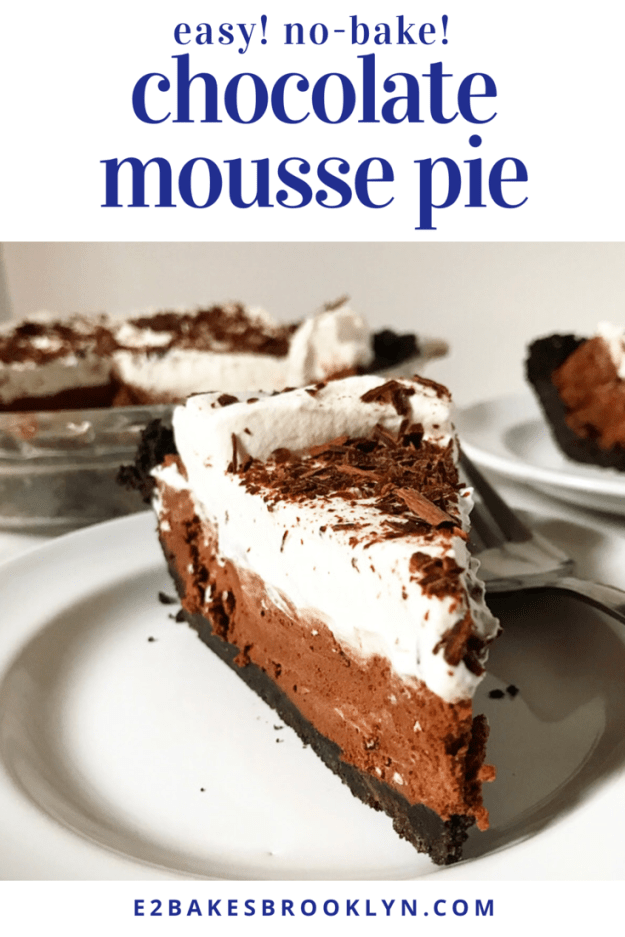
  This is exactly the sort of recipe I love to have in my back pocket. It’s super simple to make and a universal crowd-pleaser. Who can resist fluffy homemade chocolate mousse, whipped cream, and Oreo crumb crust? Not this baker.
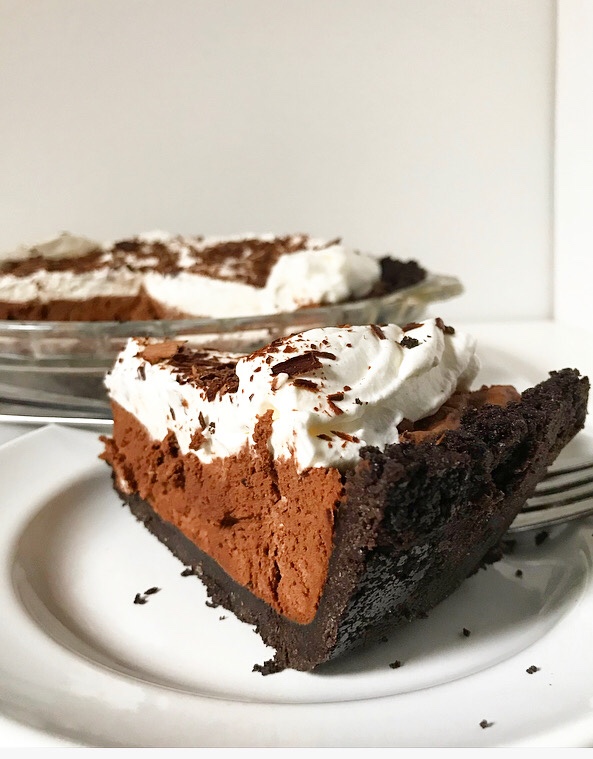 …or should I say “no”-baker? This is a no-bake pie, after all! There are a couple of chilling steps in the recipe, but no need to crank up your oven. I’ve got a few
  But! But. It’s not even
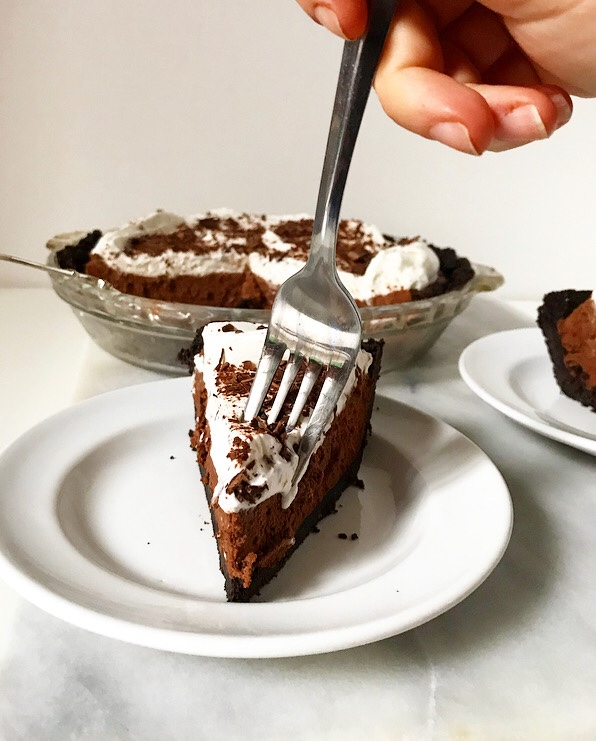

 I first came across a granita recipe in the summer of 2009 and thought “That looks easy and delicious. I’m going to make that.” And then ten years passed.
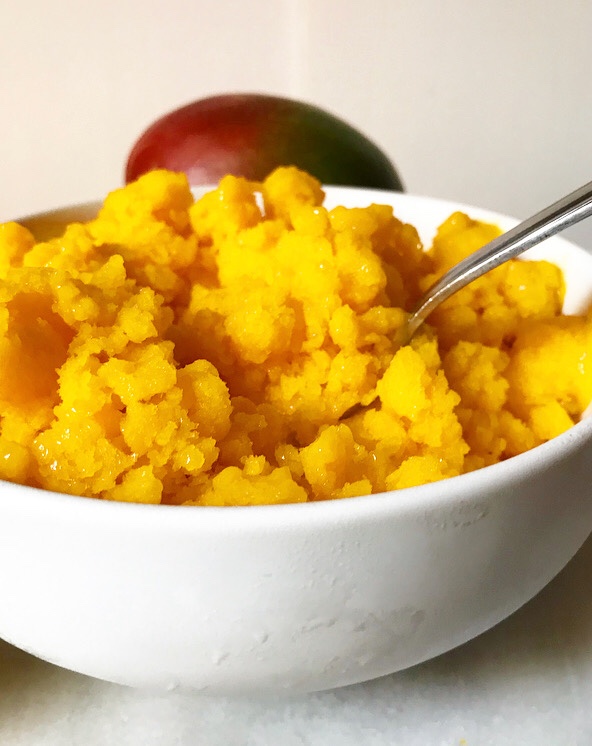
 If you are wondering what the heck I’m talking about, granita is a
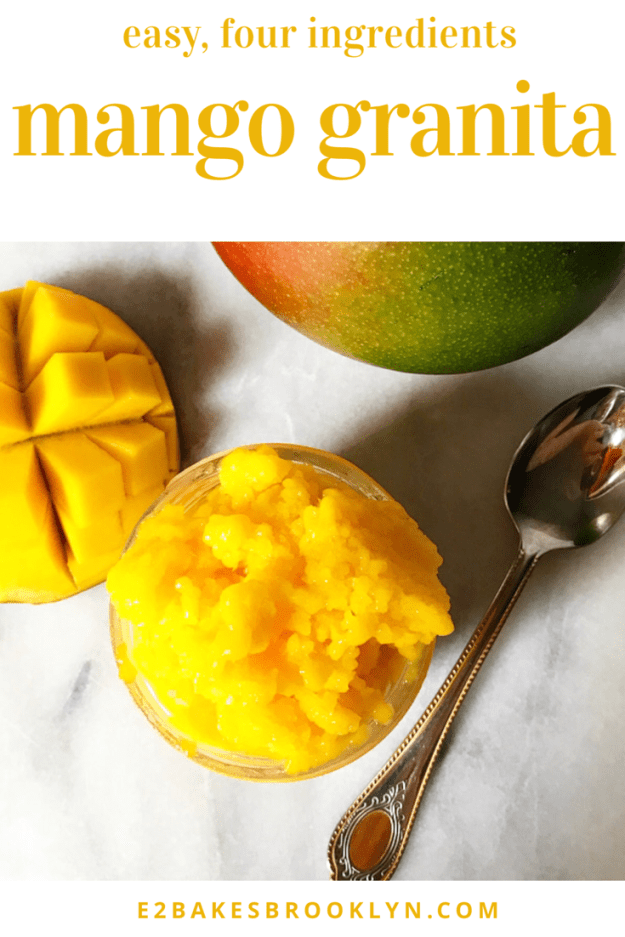
 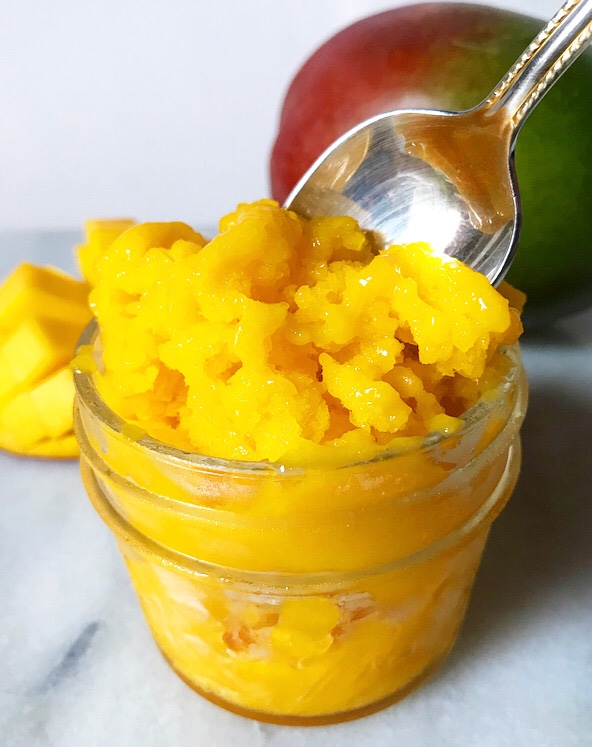 To make this Mango Granita, you’ll need:
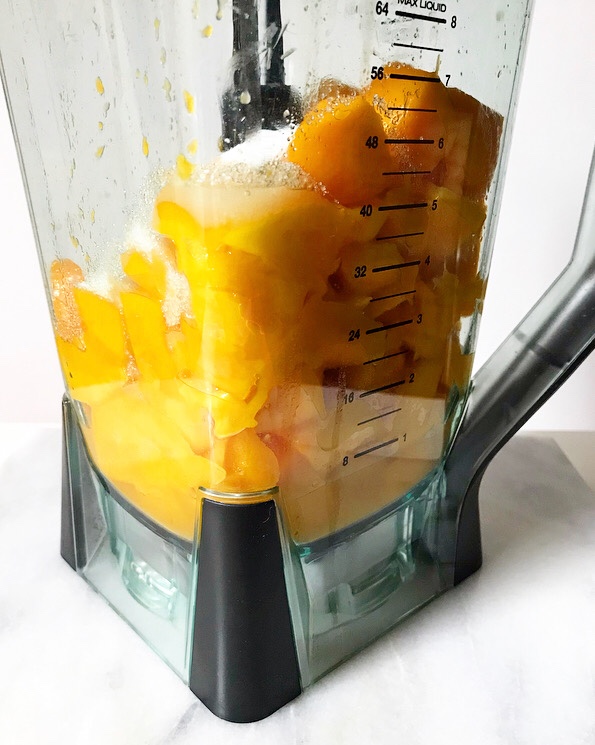
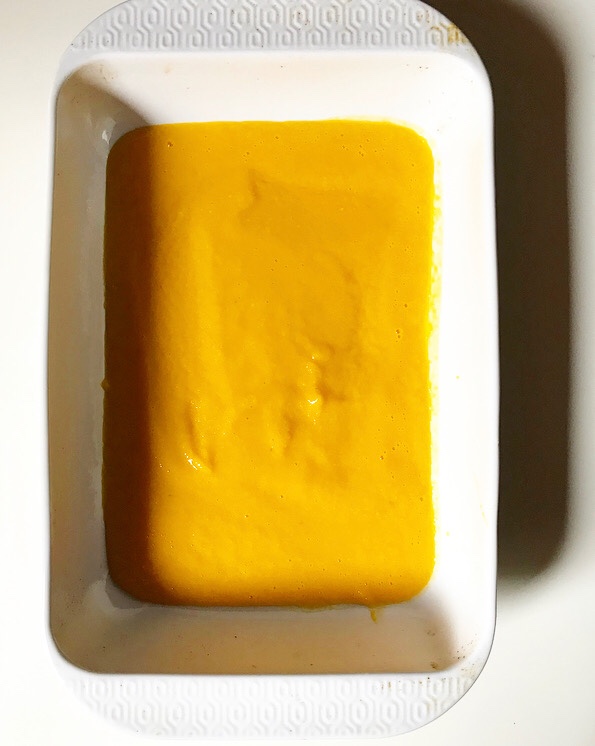 The process is simple. Blitz all the ingredients in a blender until smooth, then pour the purée into a large dish and put it in the freezer for an hour.
 When that time is up, remove the dish from the freezer. Starting at the outer edge, use a fork to drag the frozen purée into the looser center. This will begin the process of making fluffy, snowy ice crystals. At first, you may feel like you’re dragging a fork through soup, but an hour later, it’ll be a different story.
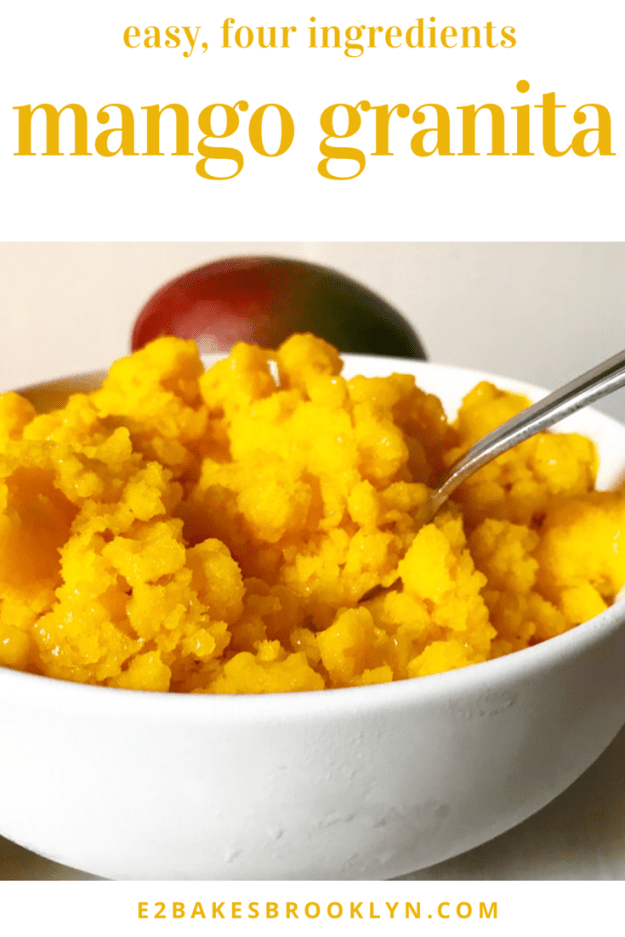
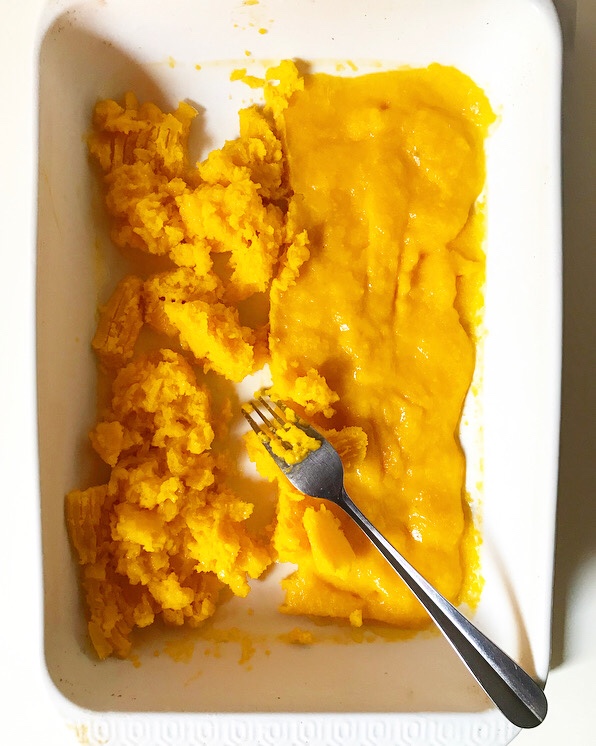 And then, thirty more minutes will go by and crystals will really begin to form! The grainy texture is the “gran-” in granita.
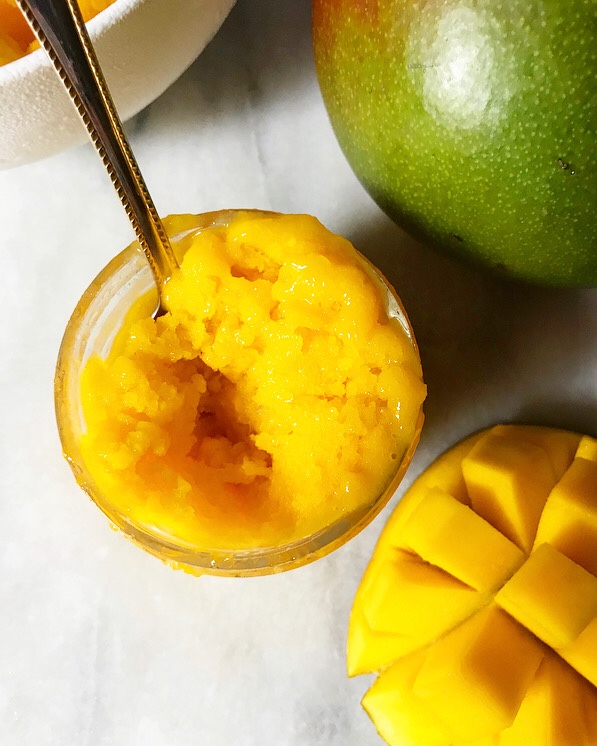
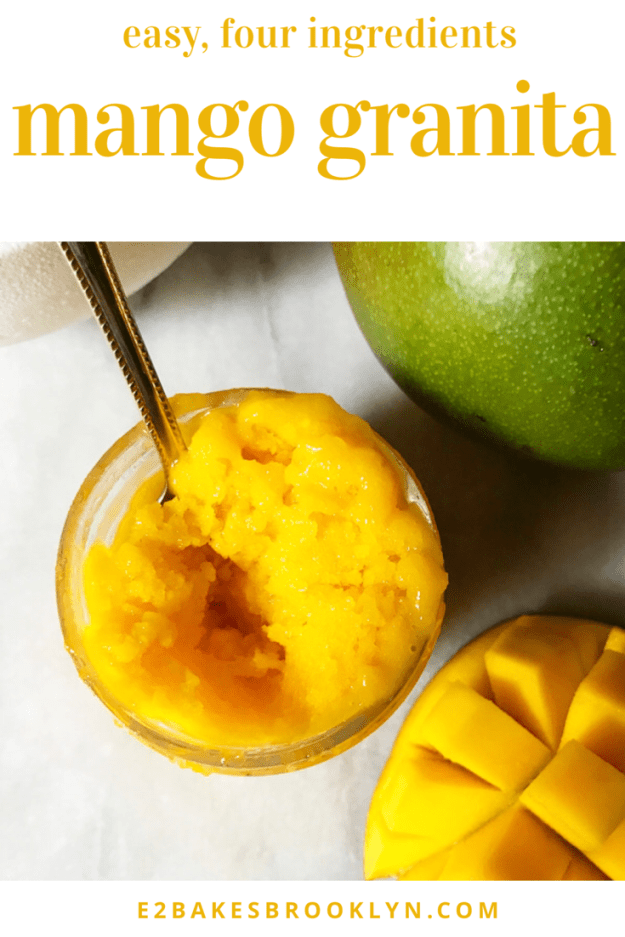
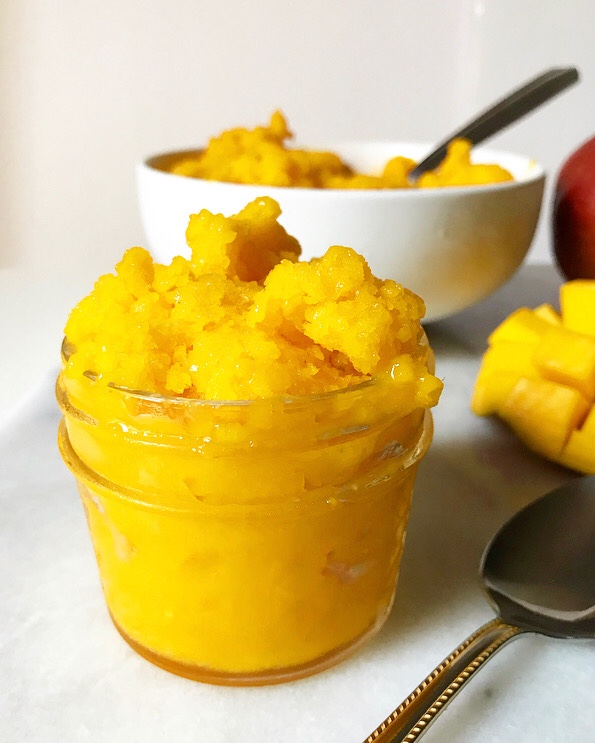
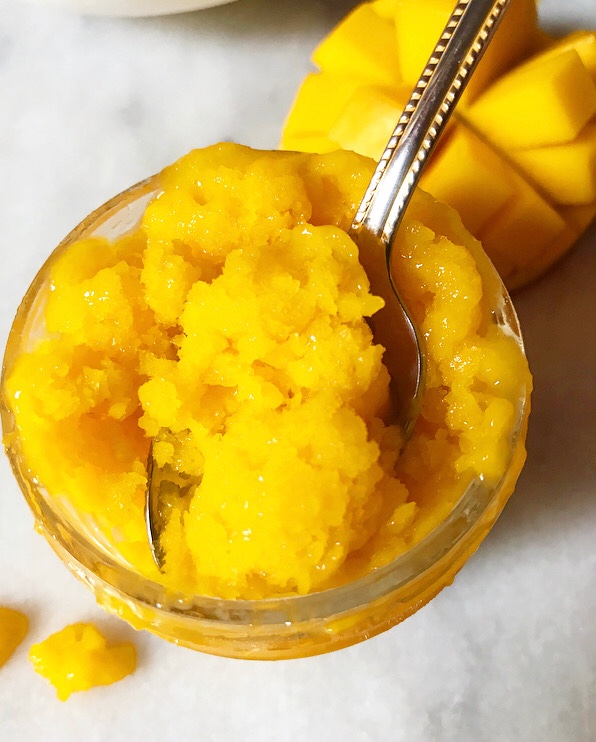
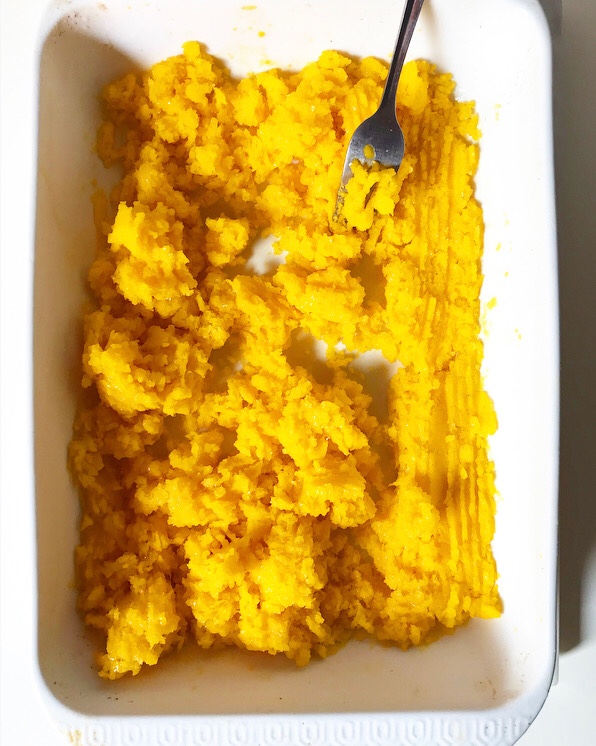 You’ll know it’s ready when it looks like this:
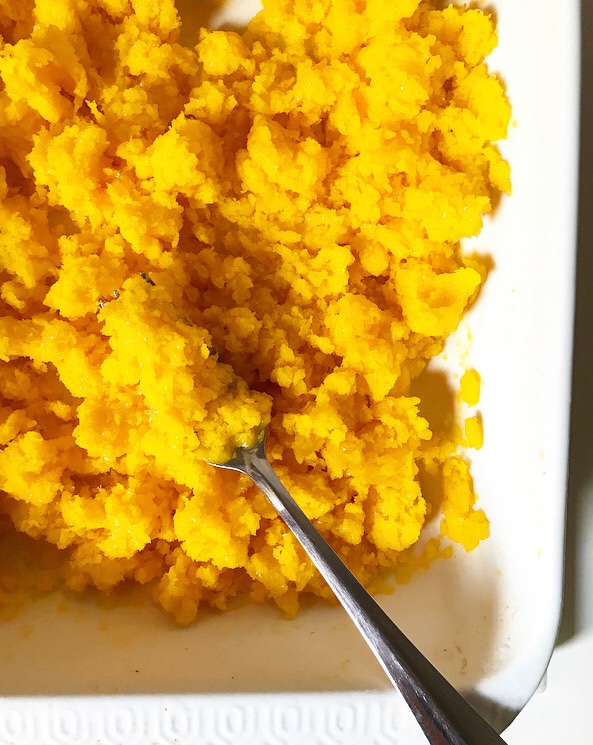
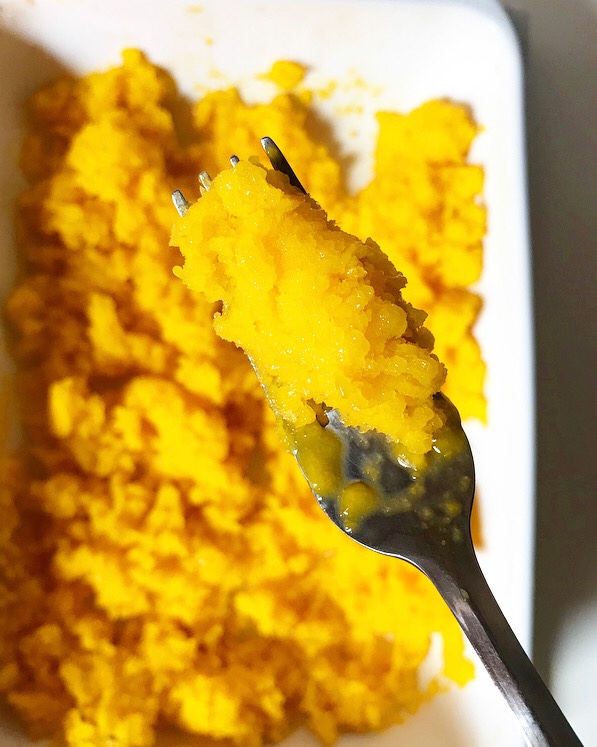
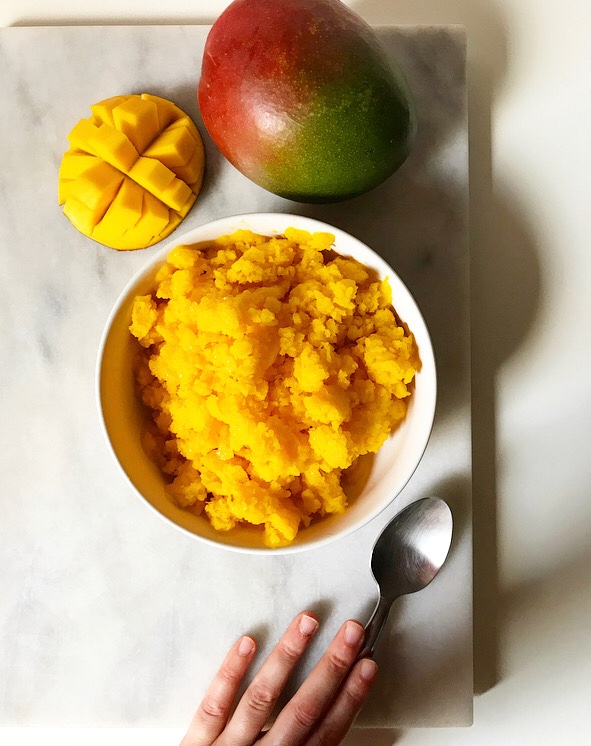 Mango Granita is as delicious as it is beautiful—light and refreshing and perfect for these sweltering last few weeks of summer! The texture is somewhere between a snow cone and a sorbet. Where you might think this would be icy, it’s super smooth and surprisingly creamy. This is the sort of dessert that is great for any occasion from watching Netflix in your PJs to a cookout to a dinner party. It’s vegan, nut-free, low calorie and low sugar–a wonderful option for a crowd!
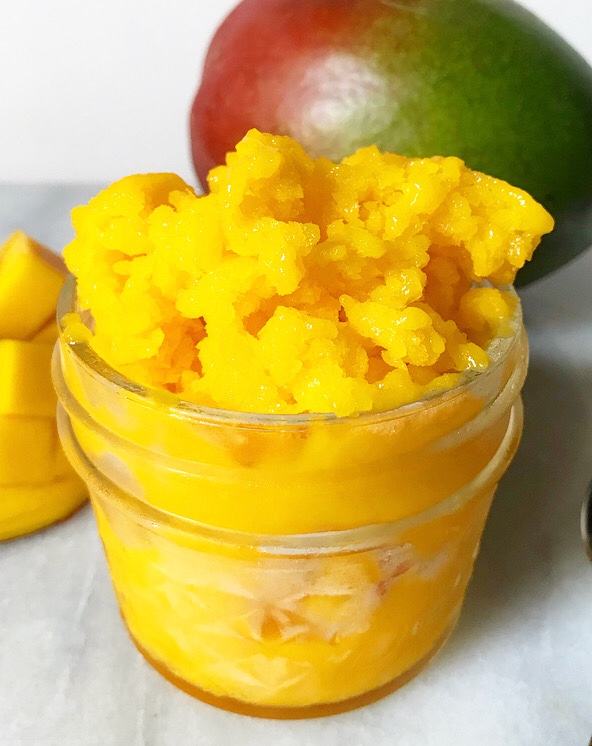
 Before I get to the recipe, here are a few more tips for granita success: