If you’re keeping track, this is my third Monster recipe in 18 months, but I took the long way around, posting two spin-offs of this recipe before posting the real deal. Logic isn’t always my bag.
 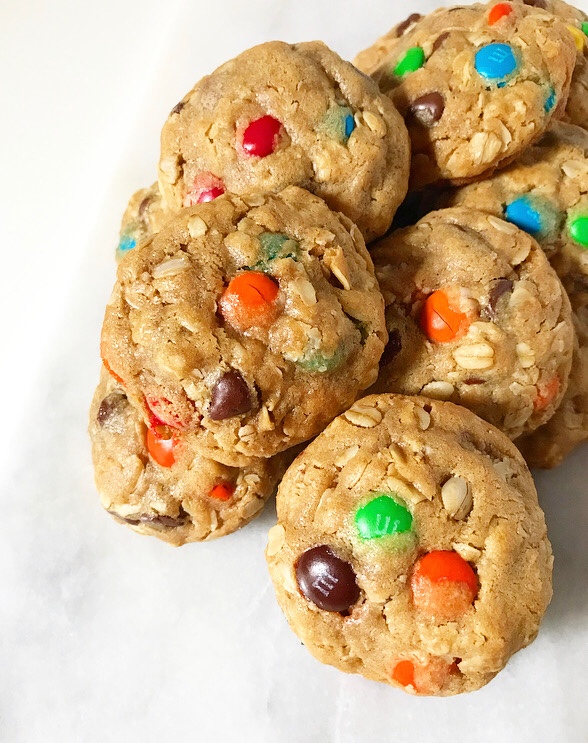 If you missed my Monster Blondies and Monster Carmelitas and are wondering why I’m talking about monsters and if this is another Halloween thing, the short answers are
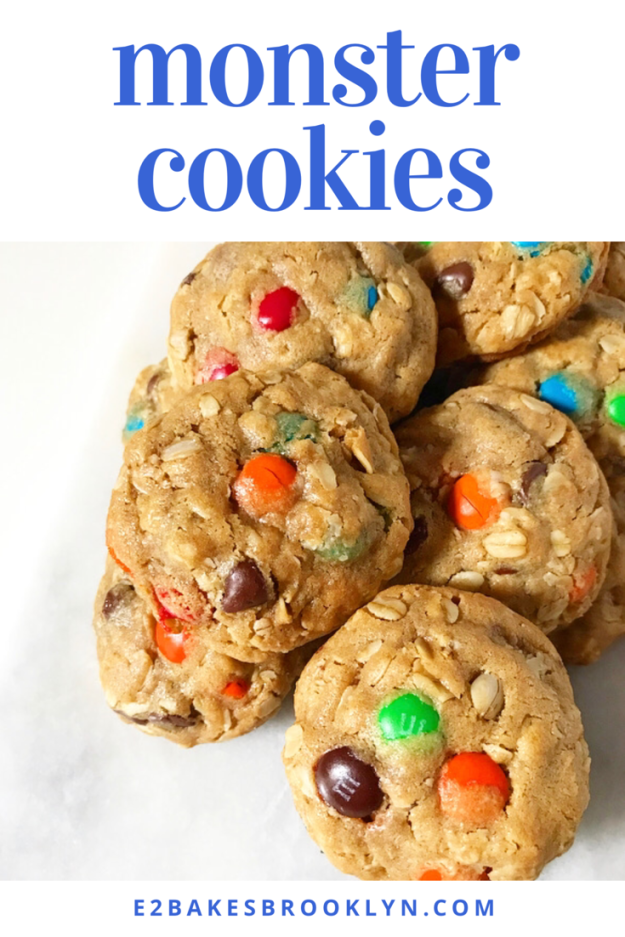
- Monster Cookies are peanut butter oatmeal cookies with M&Ms and chocolate chips.
- Nobody seems to know exactly where the name came from, but it has something to do with them being loaded with so many good things. A “Monster mash”-up, if you will.
- Not traditionally, but the name works. It’s Halloween food if you say it is. Or if you steal your kids’ Halloween candy and use it to make Monster Cookies.
When going about trying to make the best Monster Cookies I could muster, I started with my recipes for Oatmeal Raisin Cookies and Monster Blondies and went from there. After a few tweaks, like finding the right amount of peanut butter, reducing the oats and adding a chill, I’m happy to report that the results are pretty stellar.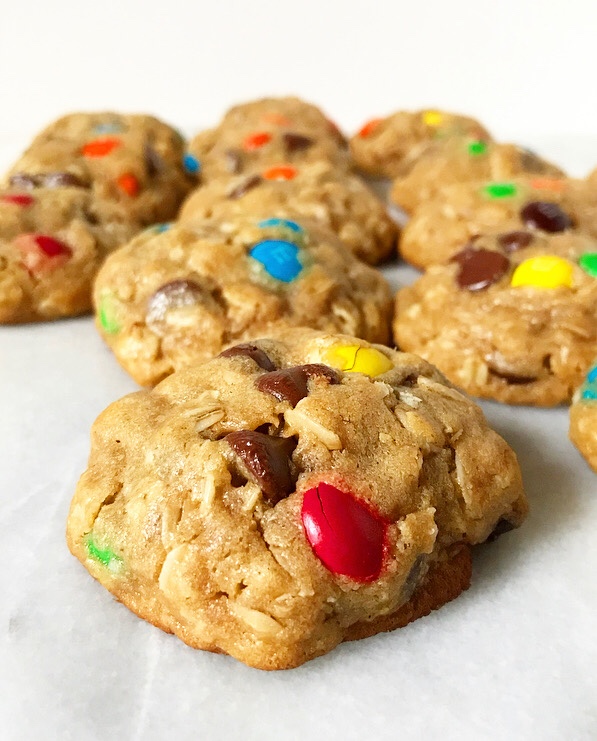 We’re talking puffy, chewy, peanut buttery cookies that have just the right amounts of oats, M&Ms and chocolate chips. I had every intention of pawning these off on friends and acquaintances, but they’re so delicious that I kept them all for myself. #sorrynotsorry
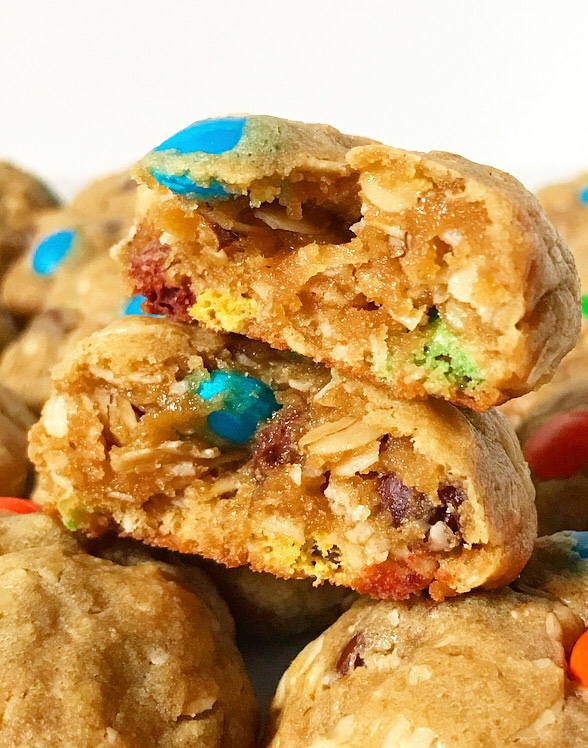 To that point, Monster Cookies stay good for a whole week! Day after day, I kept waiting to bite into one and be disappointed, but the batch came and went and nary a sad cookie was eaten.
But, I mean, when cookies are this colorful and delectable, how could they ever be anything but delightful?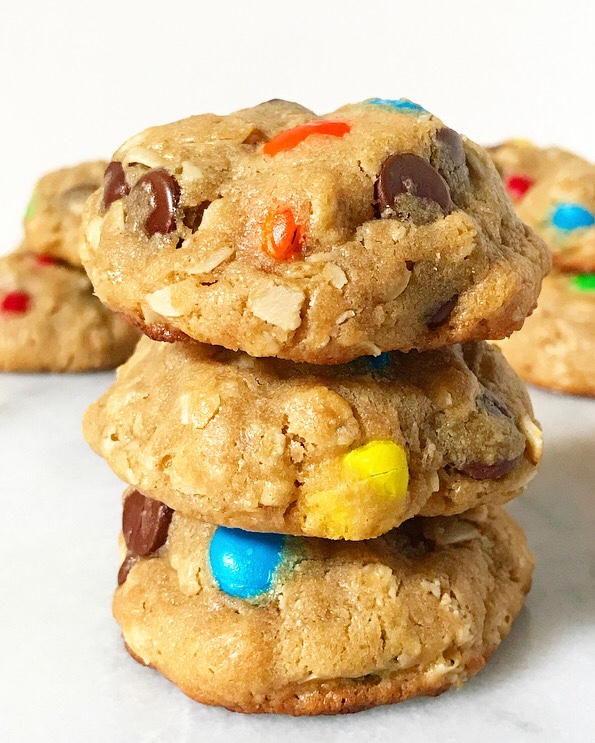
Monster Cookies
makes about 2.5 dozen cookies
1 1/4 cups all-purpose flour
1/4 teaspoon baking powder
1/2 teaspoon baking soda
1/2 teaspoon Kosher or sea salt
1/2 cup (1 stick) unsalted butter
3/4 cup creamy-style peanut butter
1 1/4 cups light brown sugar, packed
2 large eggs, room temperature
2 teaspoons pure vanilla extract
2 cups old-fashioned oats
3/4 cup M&Ms candy
3/4 cup semisweet chocolate chips
In a small bowl, whisk together flour, baking powder, baking soda, and salt. Set aside.
Combine butter and peanut butter in a microwave-safe bowl. Heat in 30 second increments in the microwave, stirring between, until melted and smooth. Transfer mixture into a large mixing bowl.
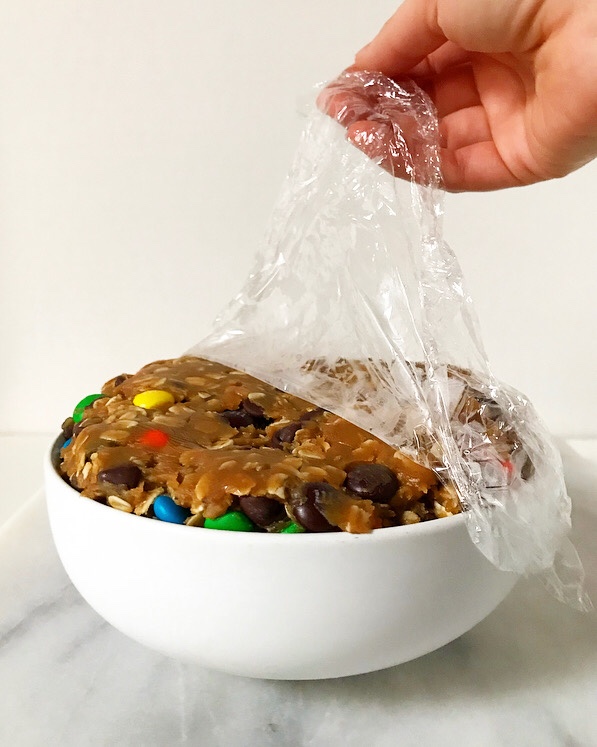
Whisk brown sugar into the butter-peanut butter mixture. Add eggs one at a time, whisking to combine, followed by vanilla. Mix in flour mixture. Use a silicone spatula or wooden spoon to fold in oats, followed by M&Ms and chocolate chips. Cover cookie dough with plastic wrap and chill at least 2 hours or up to 3 days.
Preheat oven to 350F. Line two rimmed baking sheets with parchment paper or silicone baking mats. Set aside.
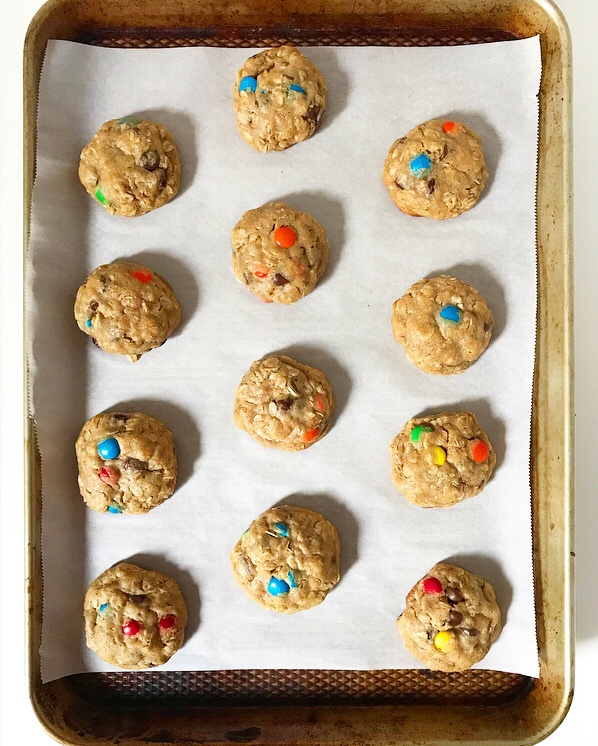
Scoop dough in 2 tablespoon increments and roll into balls. Set at least 2 inches apart on prepared pans. Bake 10-11 minutes, rotating pans top-to-bottom and back-to-front at the 6 minute mark.
Let cookies cool on their pans for 7-10 minutes before removing to a rack to cool completely. Repeat dough rolling and baking until all dough is used.
Cookies will keep very well in an airtight container at room temperature for up to a week.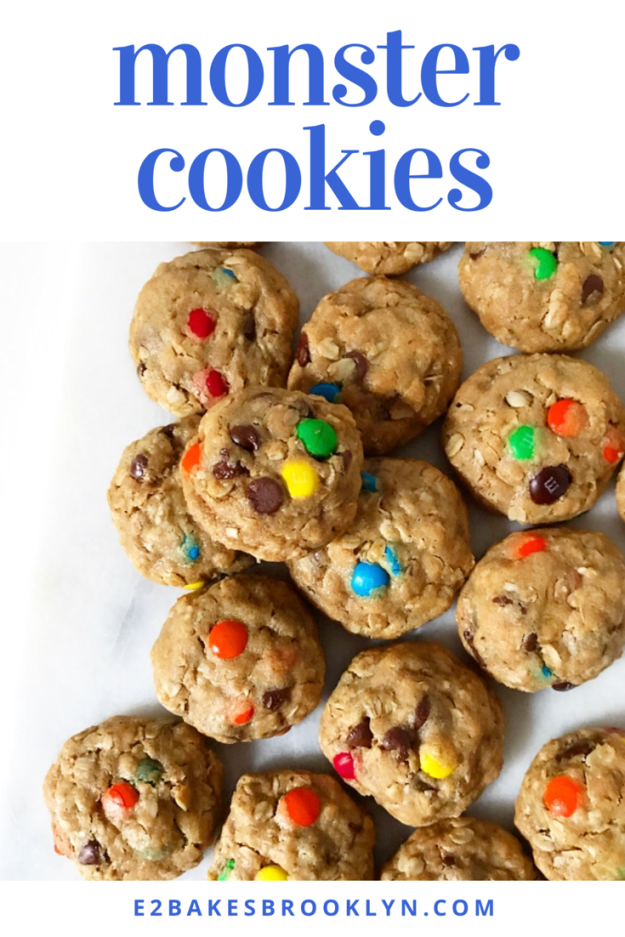
 Let me take this moment to express gratitude for the 1998 remake of
 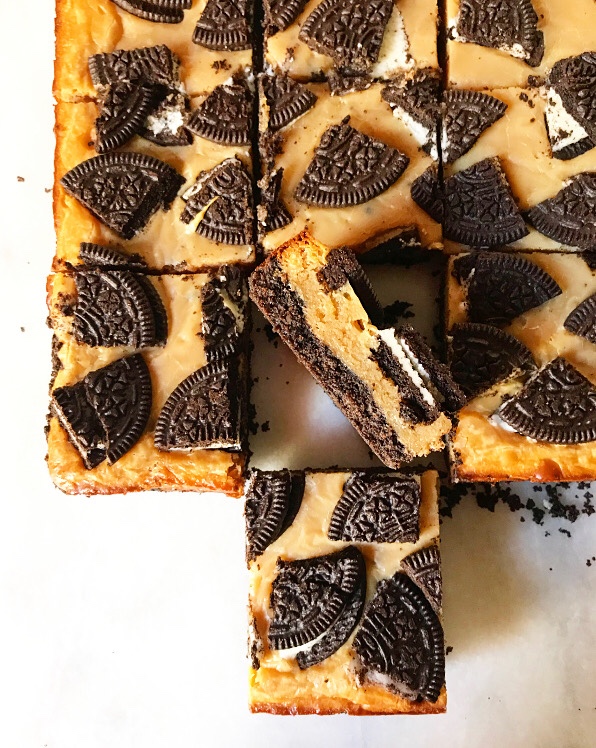 Besides the obvious dipping of Oreos directly into peanut butter, I’ve paired the two in
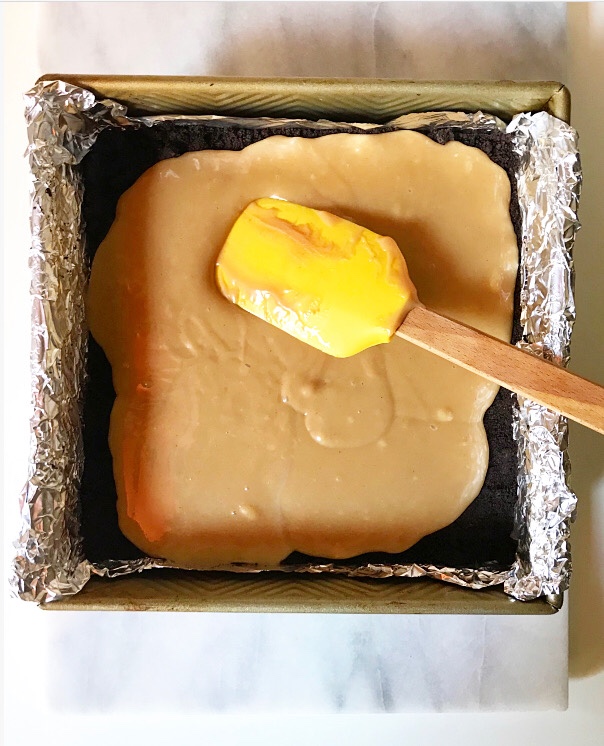

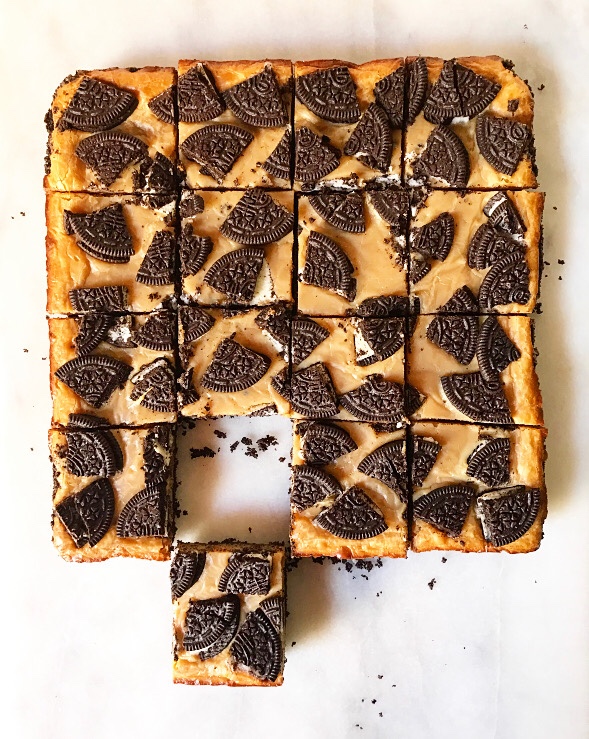
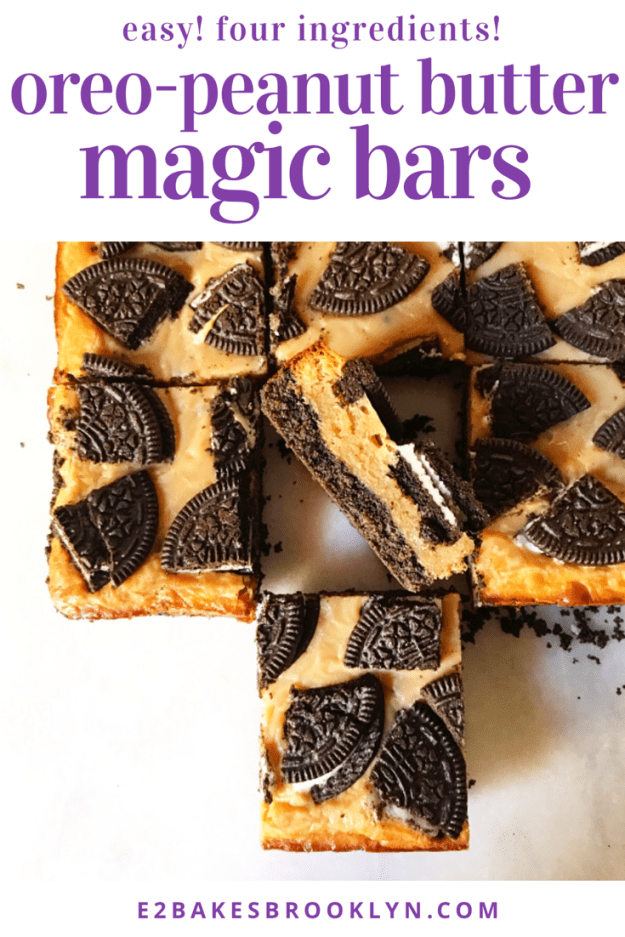
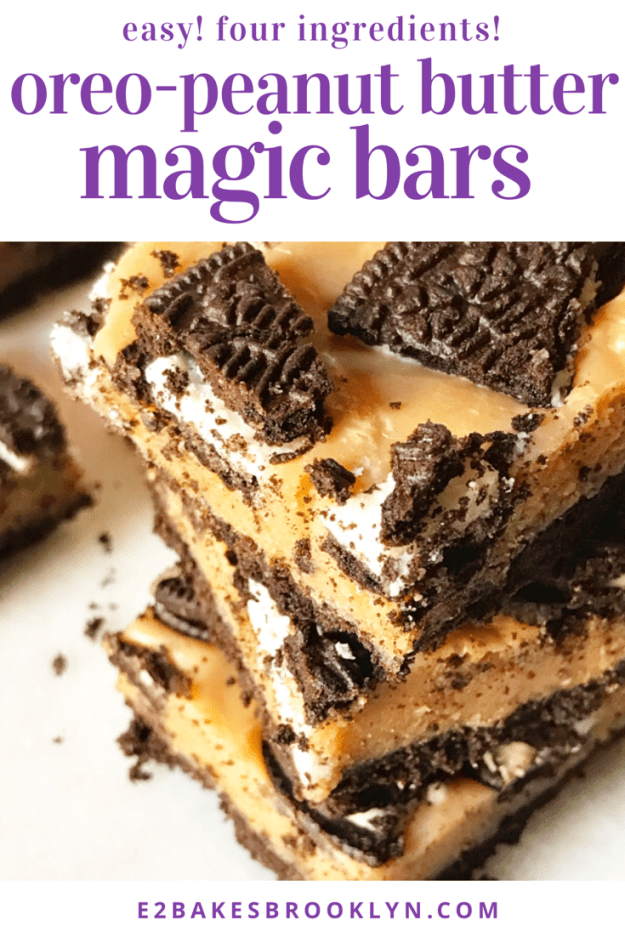
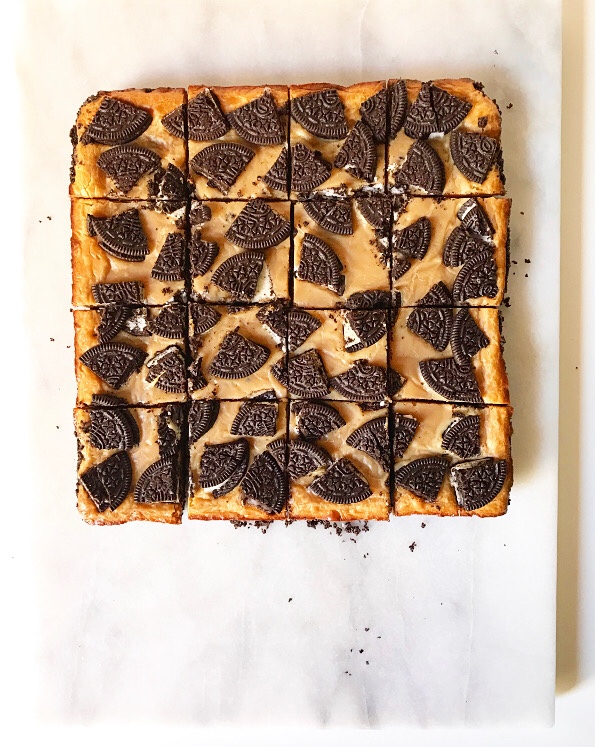 They have just four ingredients–Oreos, peanut butter, butter & sweetened condensed milk–and come together in less than 45 minutes. Oh, and they’re ridiculously easy and far more delicious than any baked good with four (!) ingredients should be.
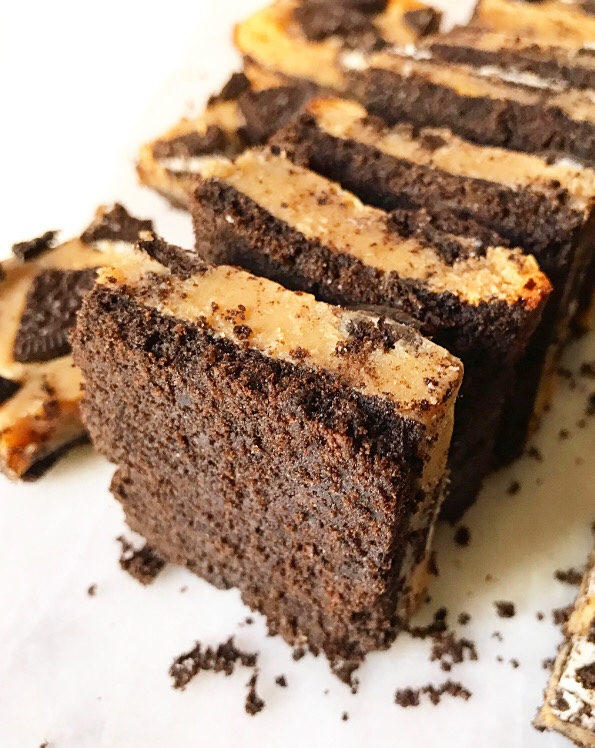 We’re talking soft, chewy peanut butter filling and buttery Oreo crust here, people!
 Those are two of my very favorite things. One of the great duos, if you will.
 Today is my 34th birthday!


 It’s been a really fun one so far: my little sister is visiting, I made
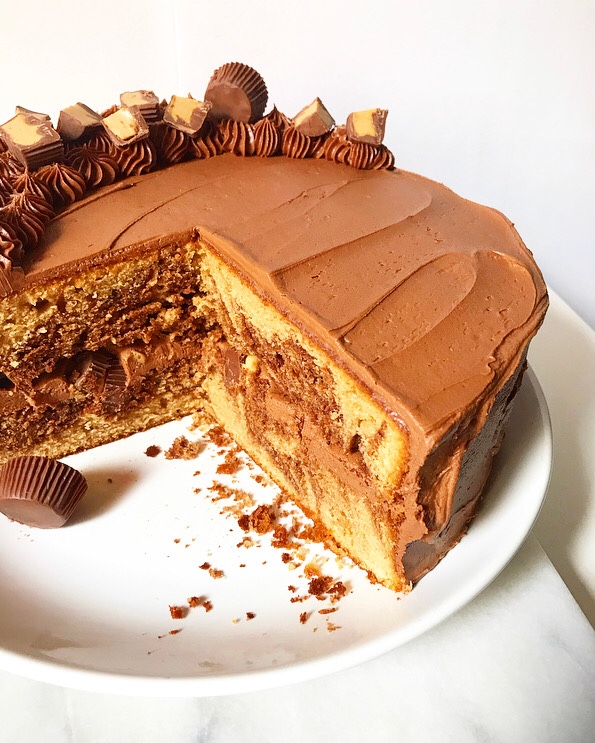
 Now it’s time to talk birthday cake. I make many (many many many) throughout the year, but this one is mine: Peanut Butter Marble Cake, y’all!
 We’re talking thick layers made with my favorite
  The cake is filled and frosted with a silky Chocolate-Peanut Butter Buttercream. This stuff is sweet-salty magic and it swoops like a dream!
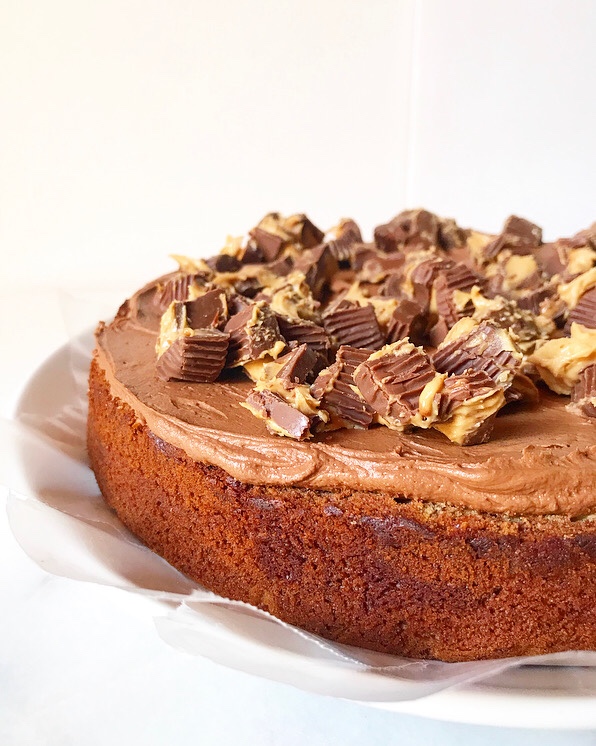 All that, and I didn’t even mention all the chopped peanut butter cups in the middle! There are even more on top 😊
 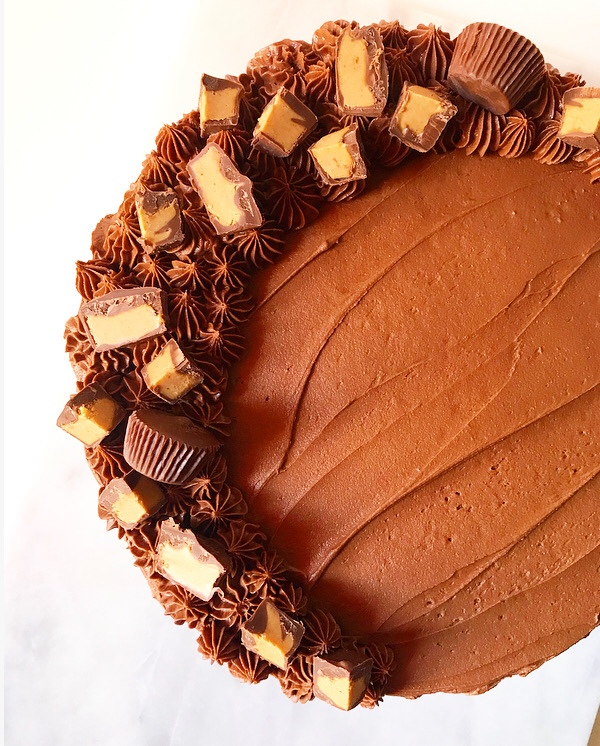 It’s a total showstopper—the ultimate chocolate-peanut butter cake, as far as I’m concerned.
 I can’t think of a more delicious way to start my 35th trip around the sun 🎉


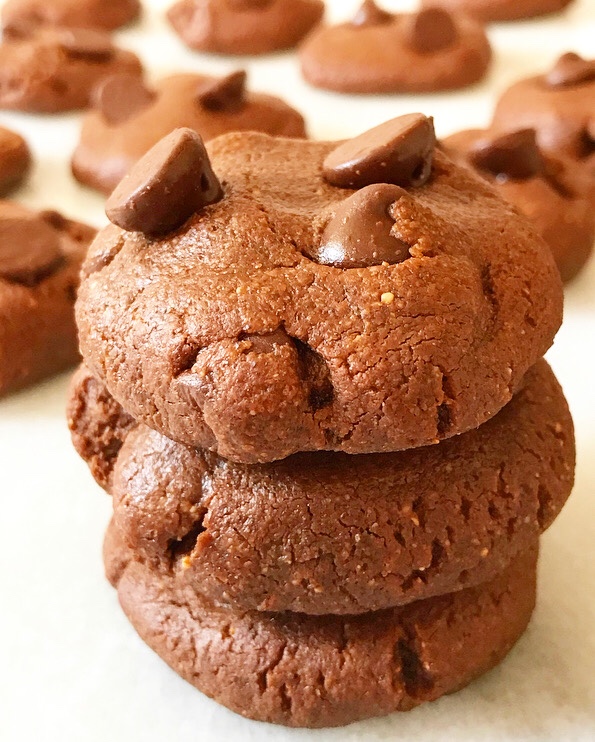
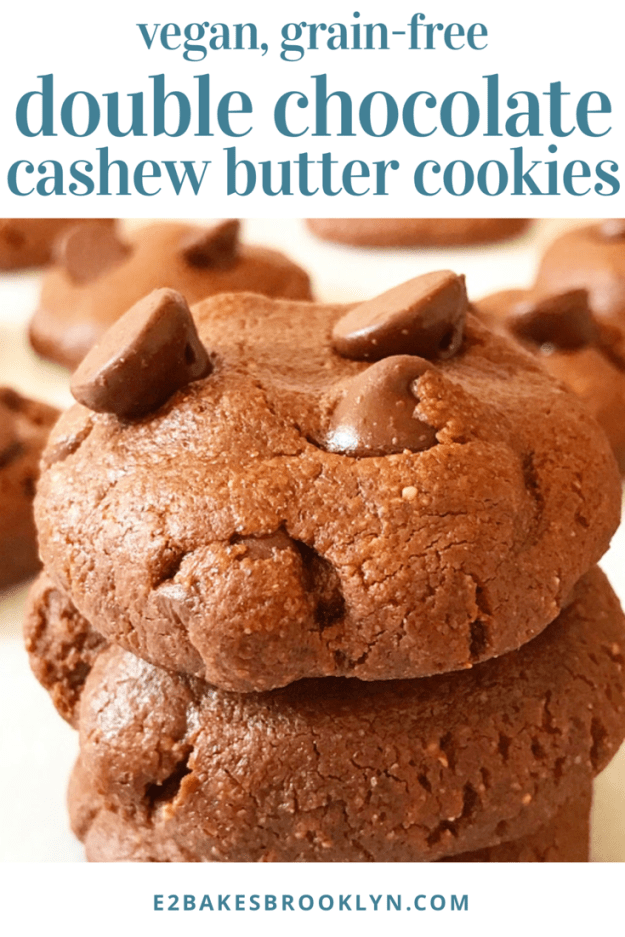
 I started dreaming of these Double Chocolate Cashew Butter Cookies when I posted their classic
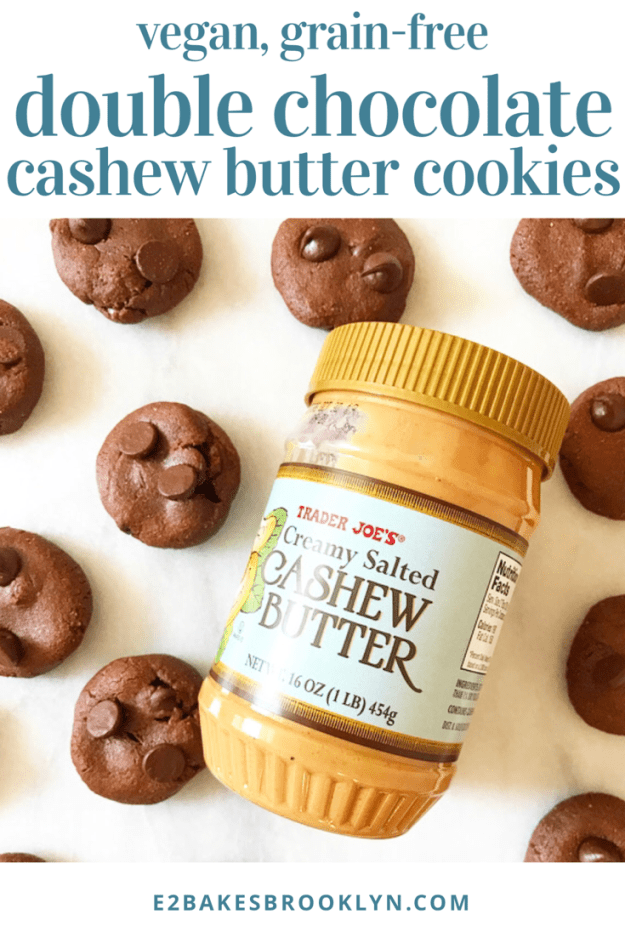
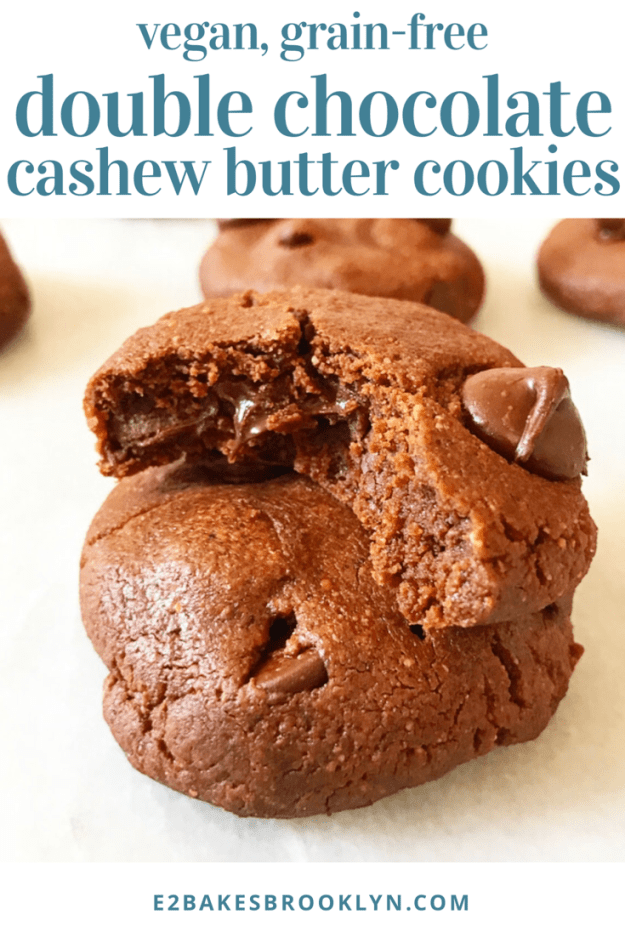
  These thick, puffy, chewy chocolate cookies are so, so good. And vegan. And grain-free. And dead-easy. Just…what?! Give me alllllll the
 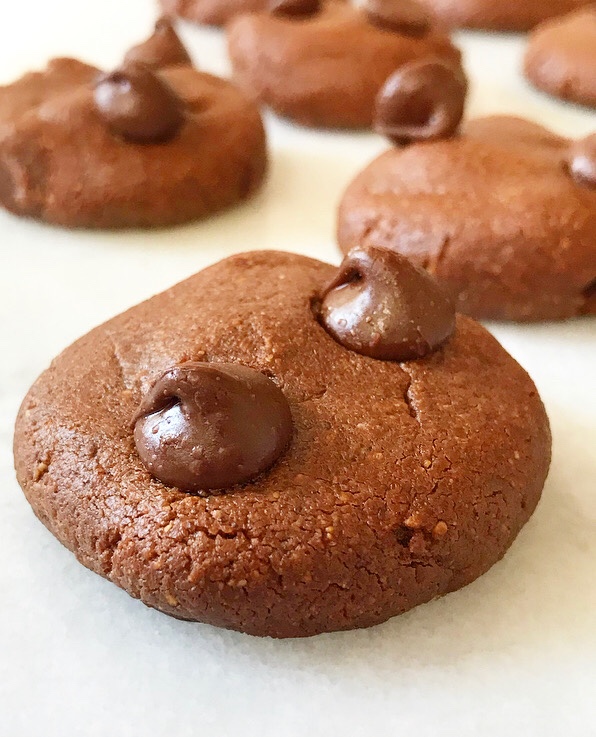 This is a one-bowl, no-mixer, no-chill, cookies-within-30-minutes-of-a-craving recipe. Oh, and should you have some modicum of self-control, these two-bite treats keep incredibly well at room temperature for upwards of a week. In fact, I think they get better as time goes on. The buttery cashew flavor mellows and melds with the cocoa and chocolate chips, and the results are brownie-like and wonderful ❤
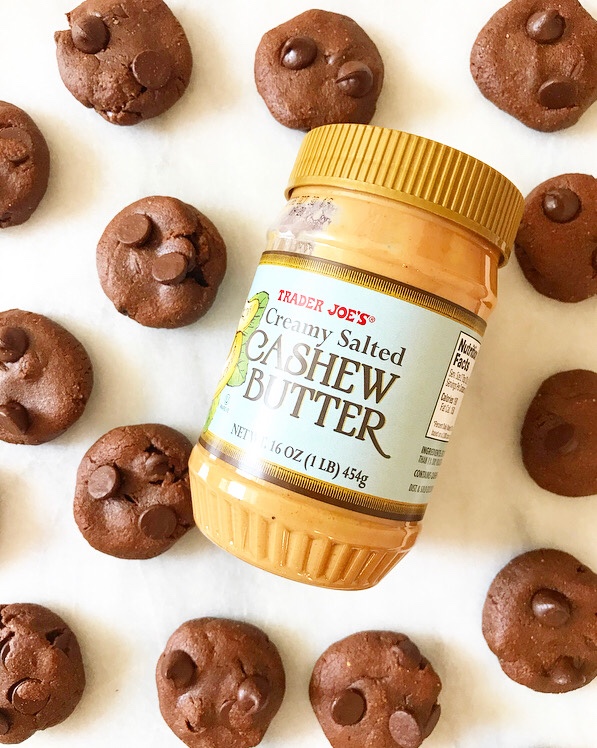
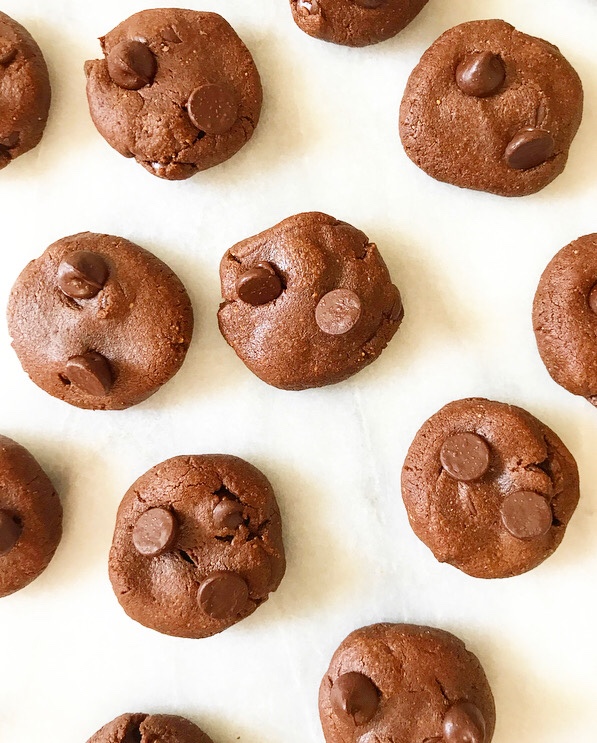 I find good quality, reasonably-priced cashew butter at Trader Joe’s, but if you don’t happen to live in a spot smack in between two TJ’s, never fear. I haven’t tried it, but I am 96% sure you could make these with well-stirred natural peanut butter. And honestly, I think the only way to improve this recipe would be to add peanut butter.
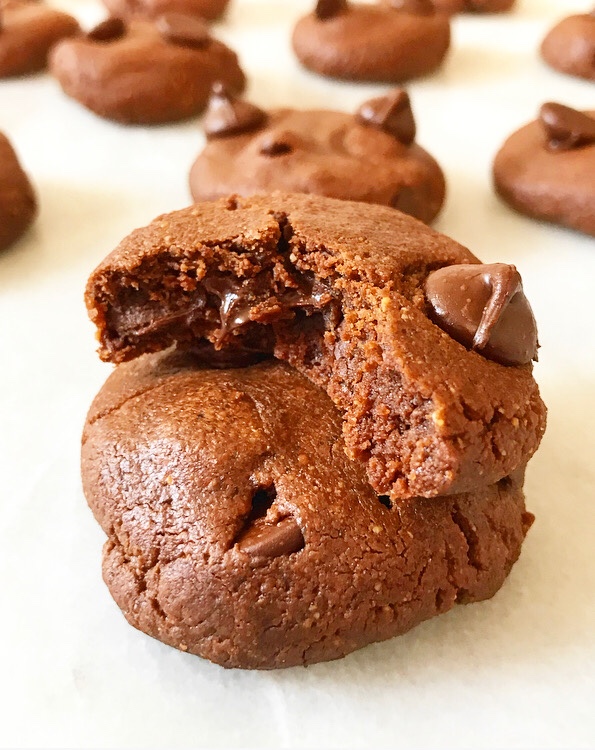
 There is a small town between Austin, Texas, and my hometown of Fort Worth that is called Hamilton. From the passenger seat of my parents’ SUV, it looks like any other small Texas town—there’s nothing remarkable about it from that particular vantage point, except that it is home to my family’s favorite pit stop,
 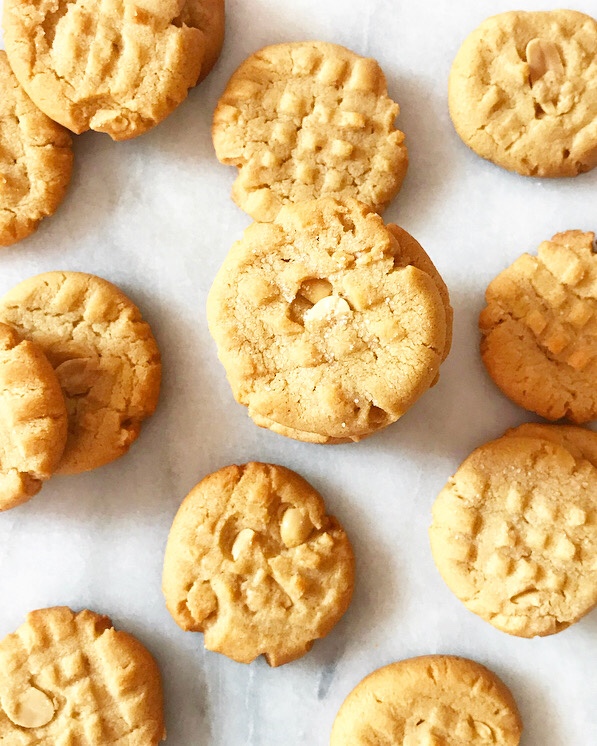 I should say that we have always called it The Flying Dutchman. I don’t know why—that’s just what we’ve always called it. I’d like to tell you that we will change our ways and call it Dutchman’s Hidden Valley from here on out, but we won’t so I won’t. A 35+ year family habit is not easily broken.
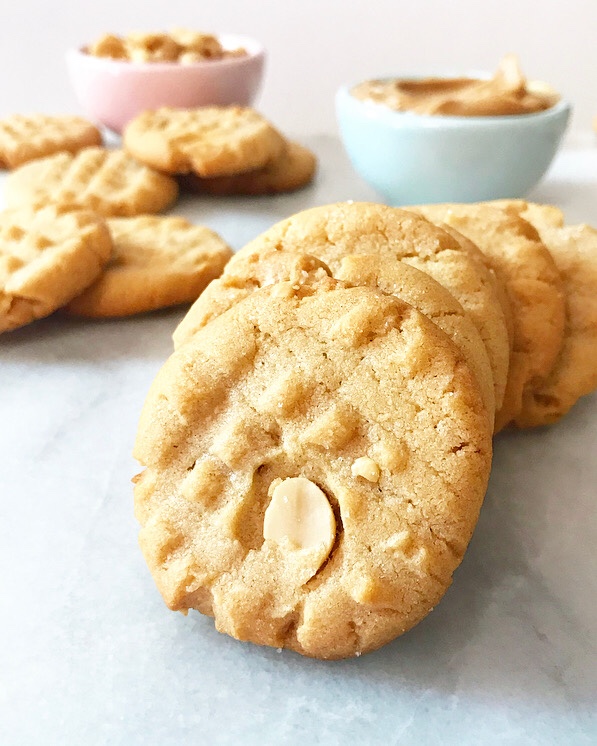 My dad began stopping at Dutchman’s Hidden Valley in the early 1980s on his way to visit my older sister down in Fredericksburg. He’d stretch his legs and grab a Bavarian ham sandwich before getting back on the road. When he met my mom, he introduced her to the store. Fast forward ten or so years, and she and my grandma began taking Eliot and me to Dutchman’s on our way to family reunions in Kerrville. And now, twenty years beyond that, my parents take the back route to visit my older sister again, this time in Austin. They say it’s because I-35 is a mess, which is true, but I think it’s actually so they can get a sandwich.
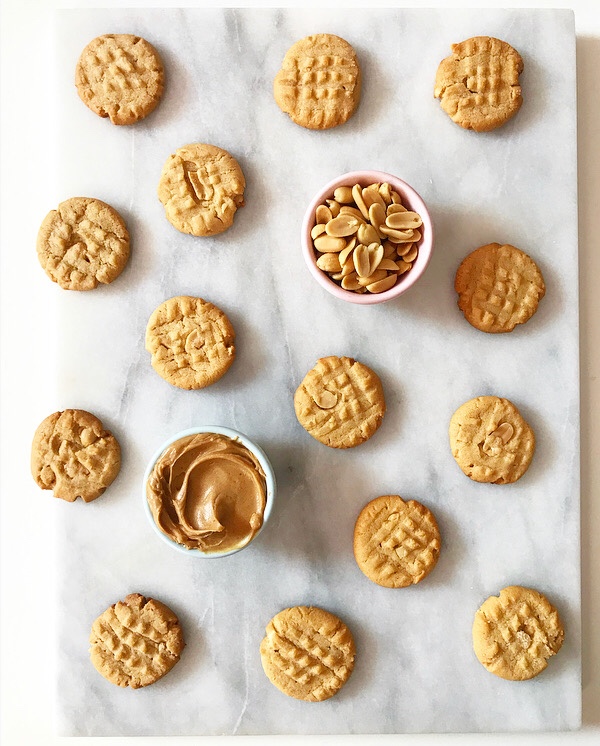 I haven’t lived in Texas or driven the back roads in a very long time now, but a couple of Christmases ago I had the pleasure of riding with my mom from my sister’s home in Austin to my parents’ in Fort Worth. We were listening to
 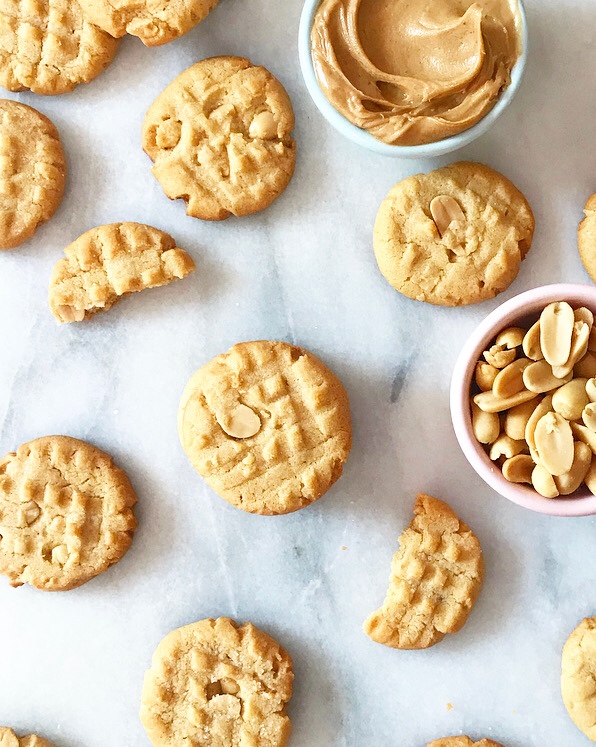 Crispy, crunchy and not-too-sweet, with an almost-savory peanut butter flavor, my mom and I talked about them all the way home. Dutchman’s peanut butter cookies are probably the best I’ve ever had in my life, and I have thought of them frequently and fondly for the last 15 months. I’m still kicking myself for not grabbing another on the way out the door—I think they were 60 cents each.
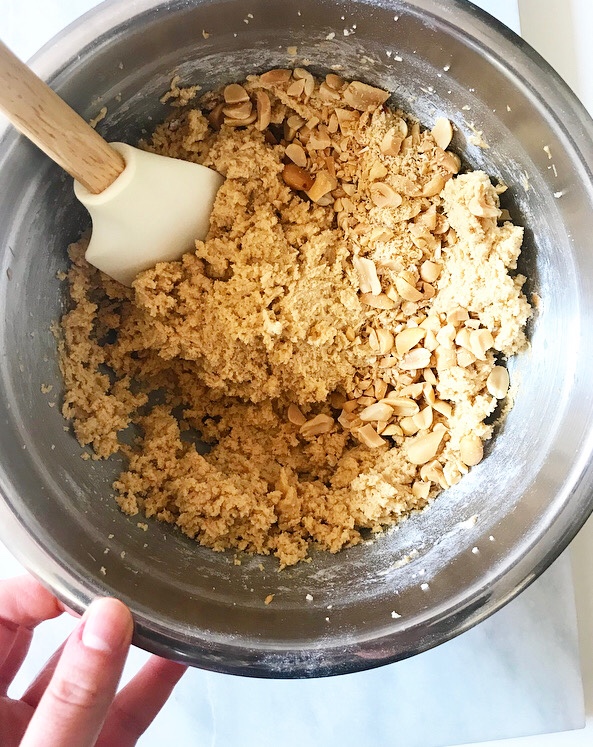
 Now, I am sure I will end up in Texas at some point this year, but I don’t know when, and I am highly unlikely to find myself passing through the sleepy metropolis of Hamilton. My trips are rarely more than a few days, so road trips to get Bavarian ham sandwiches and chips and my newfound-favorite peanut butter cookies are difficult to squeeze in.
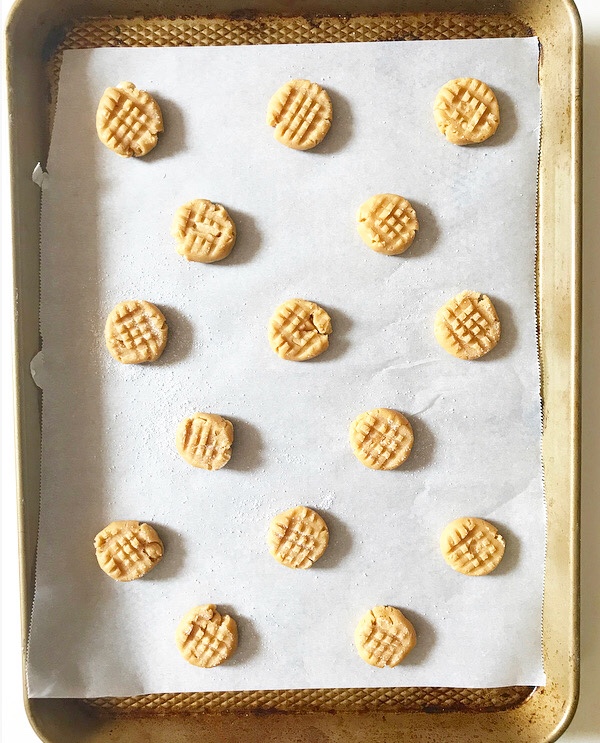
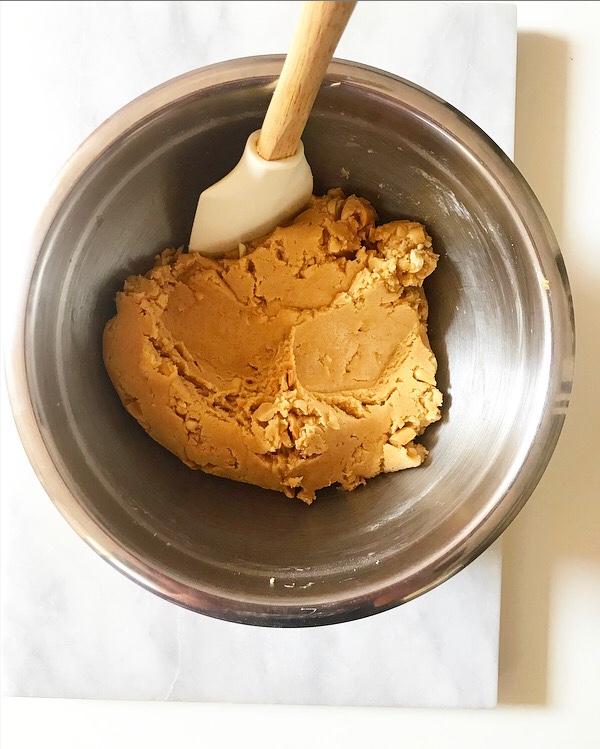
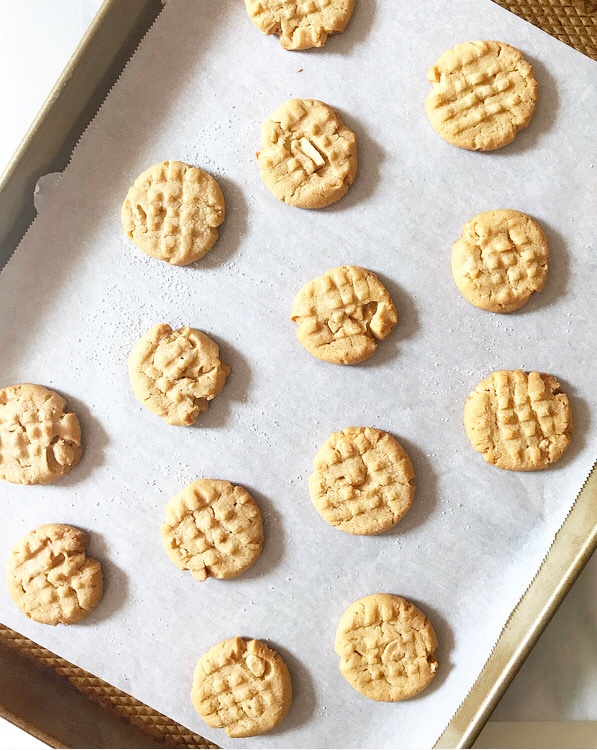 This is all a very long way of saying that I have done my best to recreate Dutchman’s peanut butter cookies in my New York kitchen. I’ve done a pretty good job, if I do say so myself 🙂
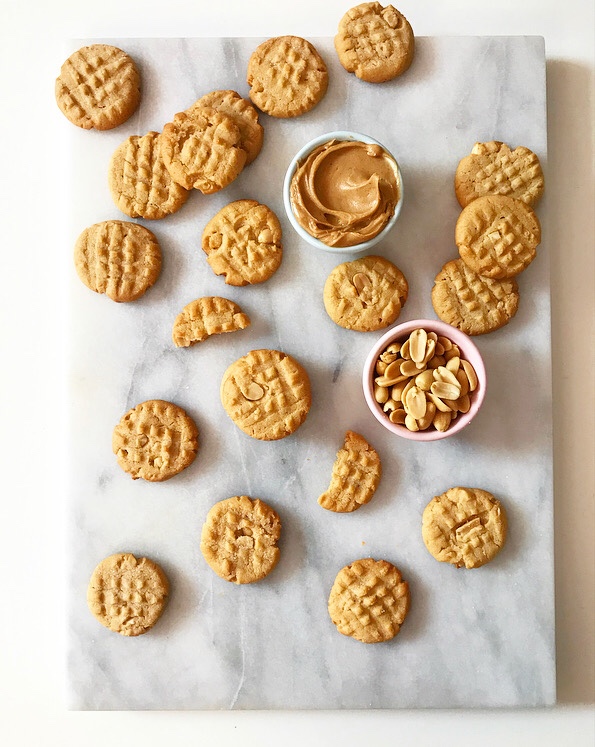
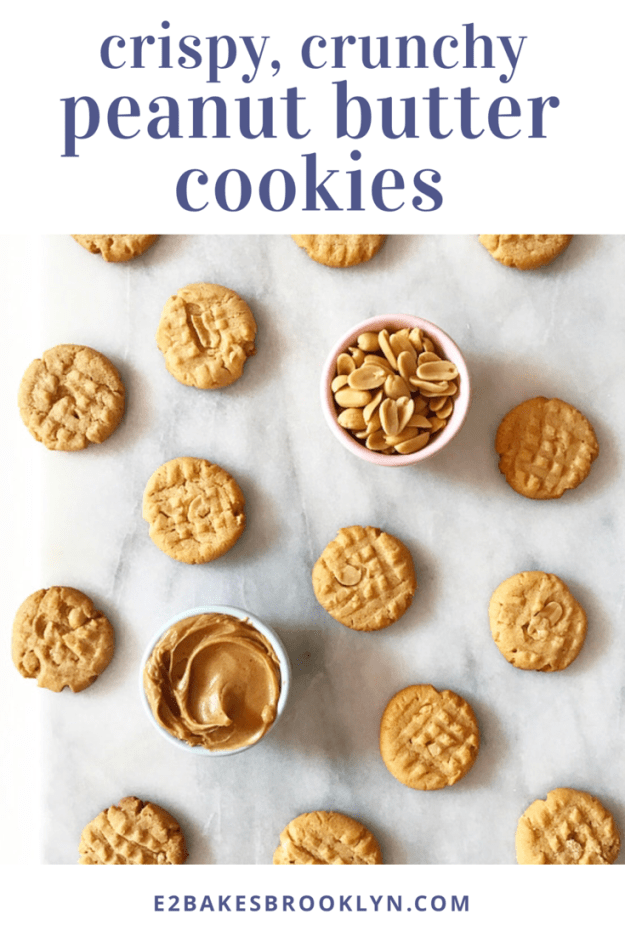
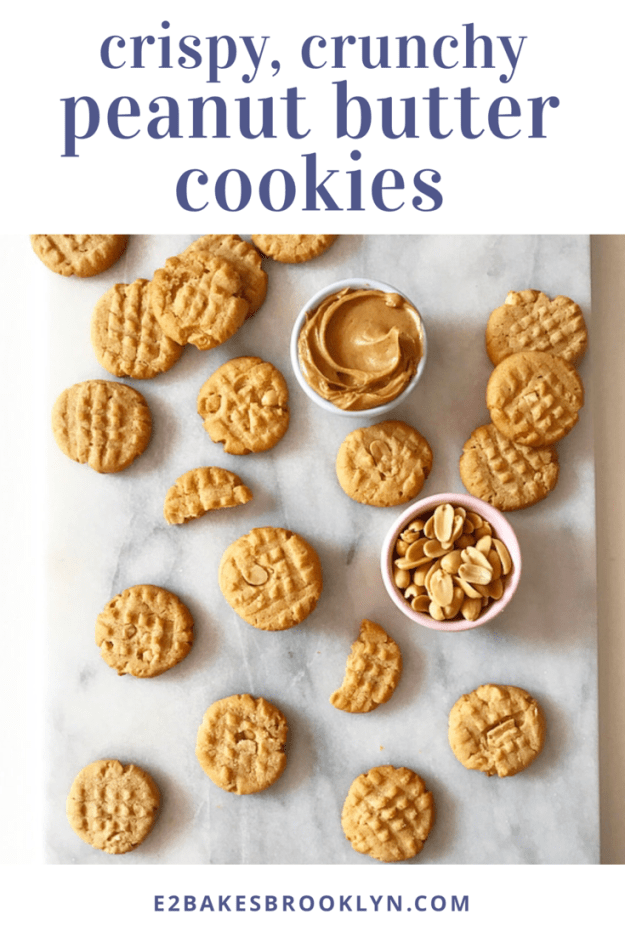
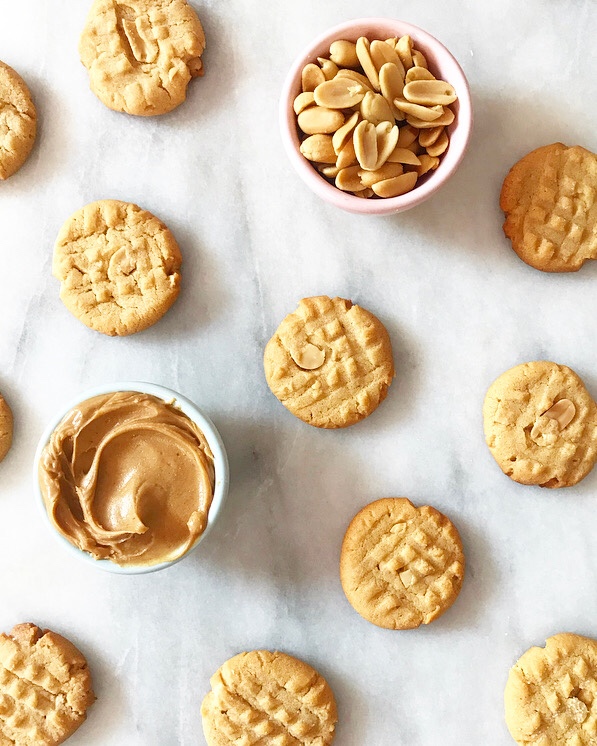
 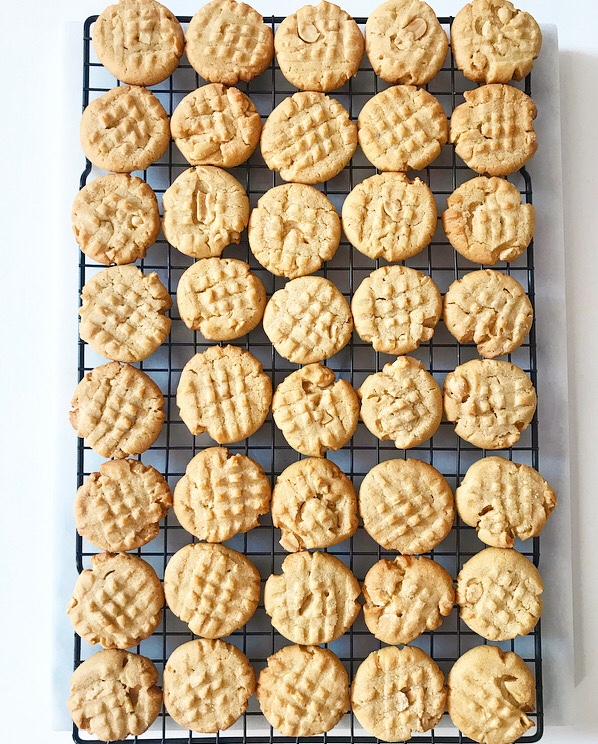 These Crispy, Crunchy Peanut Butter Cookies are crispy and crunchy (duh) and sort of sandy. They aren’t overly sweet—there’s barely 1/2 teaspoon of added sugar in each one—and while I believe Dutchman’s cookies’ savory edge may come from lard (rural Texas, y’all), mine comes from a smattering of roasted peanuts. If you want a sweeter cookie, you can swap all or part of the peanuts for chocolate chips, or leave the add-ins out entirely.
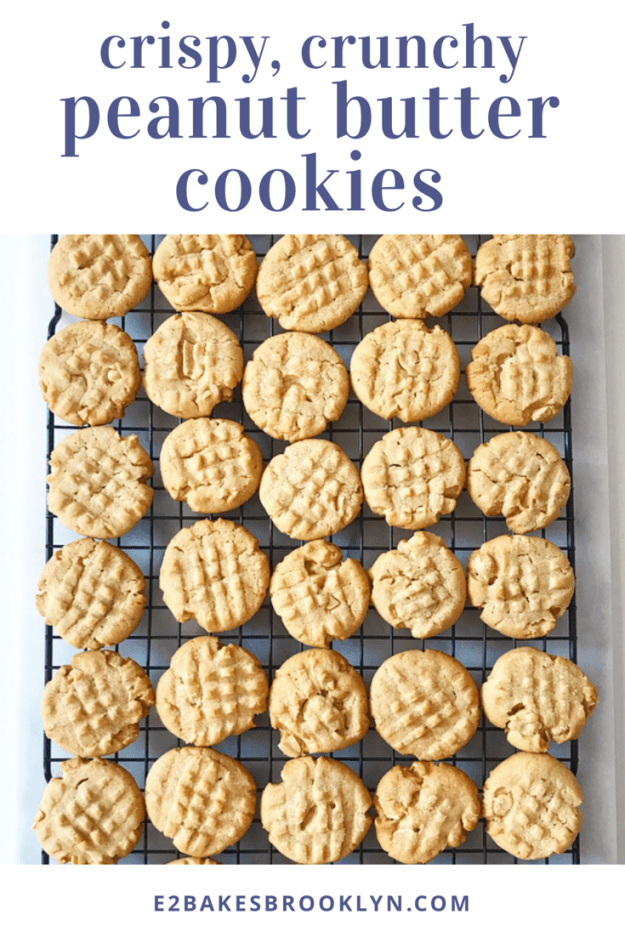
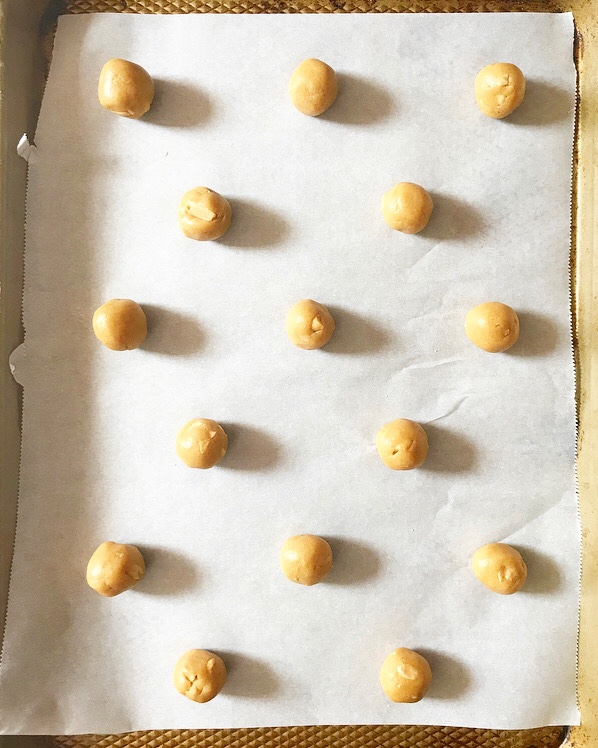
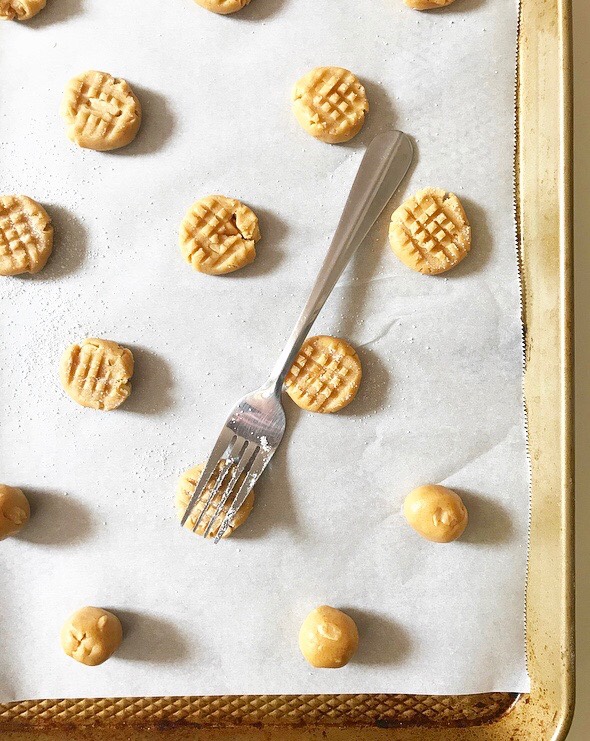
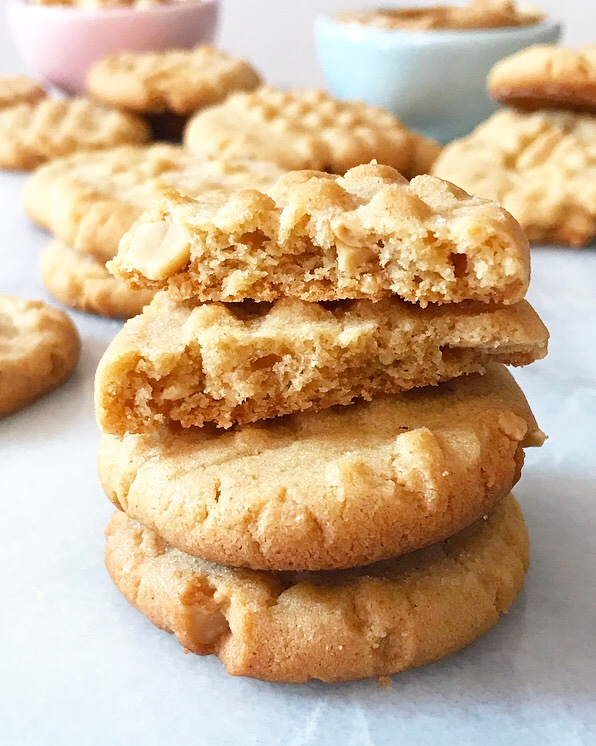 Hands-down, my favorite part of this recipe is that it doesn’t require a chill. The dough is sturdy and easy to roll from the get-go, so the time between the moment the peanut butter cookie craving strikes and when they are baked and ready is mercifully brief. Oh, and these cookies hold up well for at least ten days and develop deeper peanut butter flavor over time, so you can eat them frequently and think of them fondly and not have to worry about when you’ll have time to bake more, or when you can get to a roadside antique store & sandwich counter in Hamilton, Texas, to get your fix.