 Last Pi Day (March 14th aka 3.14 aka π), I posted a recipe for Pecan Pie Kolaches that was mostly just me saying “What is happening? What is happening? Here’s a recipe, I guess,” and trying not to have a full-scale meltdown while the world closed up. Needless to say, this year’s post is a little less dramatic.
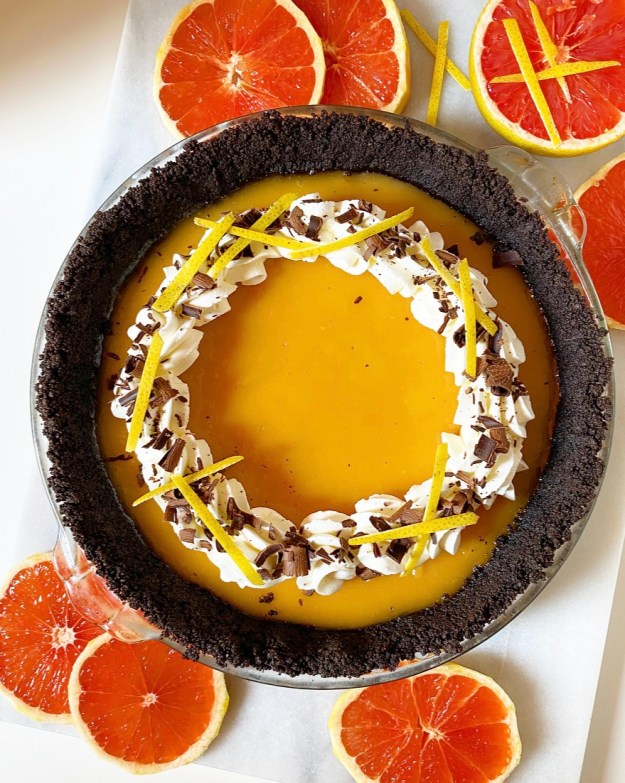
Except for the pie. It’s bringing all the drama in the best possible way. The colors, the textures, the slightly unusual flavor combination–it’s everything I want these days.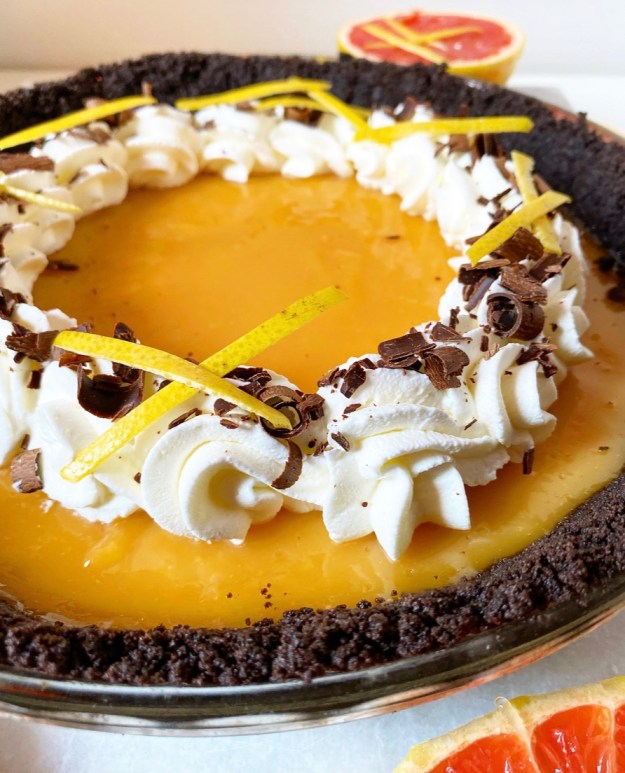 Grapefruit Pie with Oreo Crust is out of this world delicious and a stunner to boot. Crumbly Oreo crust is filled with a soft and tangy Grapefruit filling and finished with whipped cream, chocolate curls and thin strips of grapefruit zest.
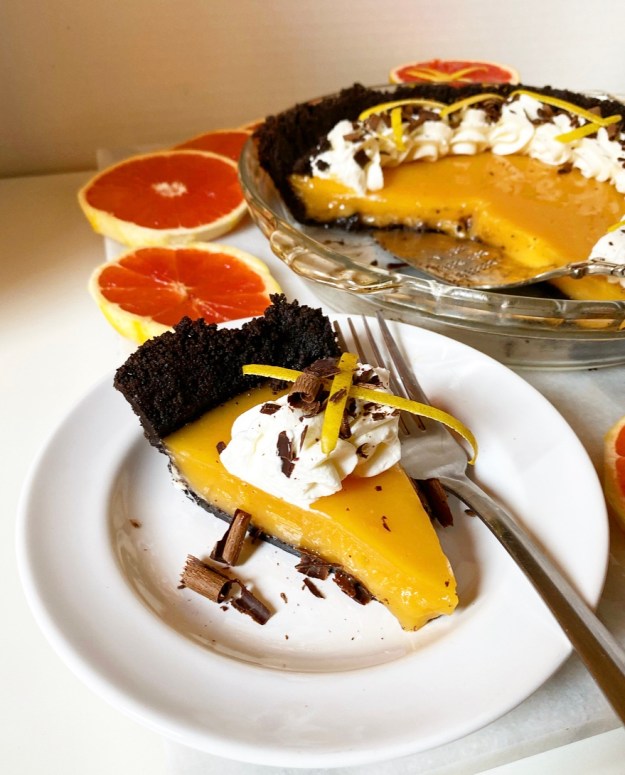 If you think I’ve lost my mind combining grapefruit and chocolate, know that I would have turned my nose up at this just a few years ago. However, after trying key lime and chocolate together, I am sold. The tang of citrus and the bitterness of chocolate are a perfect pairing. Try it—you’ll love it.
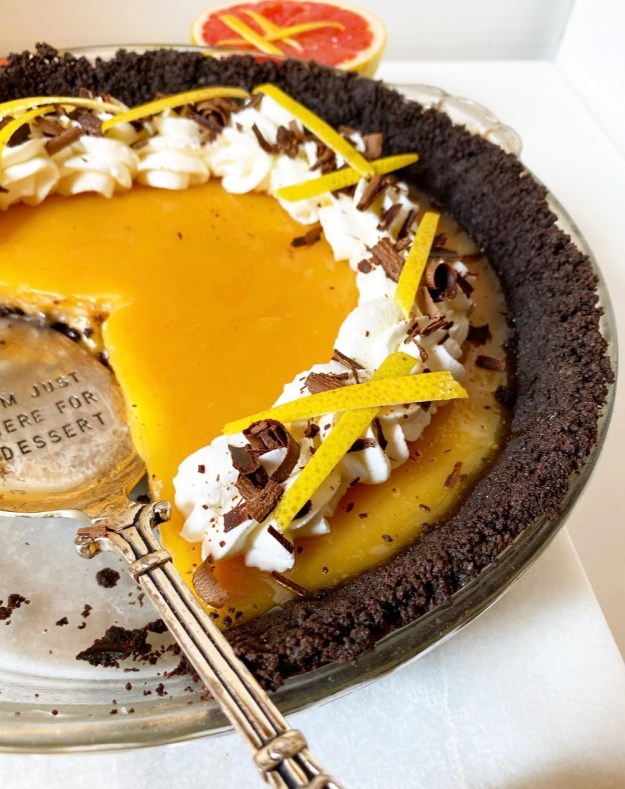 This pie is pretty simple to make, but as with most simple things, it does require some preparation. The filling is a play on my Lemon Meringue Pie, wherein the structure mostly comes from egg yolks and cornstarch. It’s a lot like making homemade pudding, which is really no big deal.
Cornstarch, sugar, salt and water are whisked together over medium heat until thick. This mixture is used to temper (warm) the egg yolks, before it’s all simmered with a grapefruit reduction and a hint of lemon juice. Whisk in a little butter, pour it through a sieve and voila! Grapefruit pie filling.
(I think I may have accidentally made it sound complicated by laying the method out like that, but I promise you it’s simple and comes together quickly.)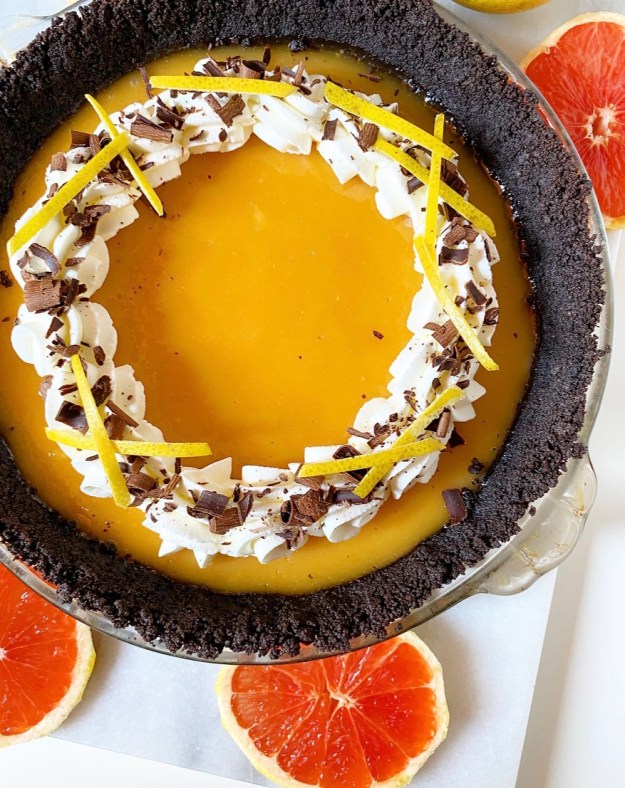 Once the filling and crust are prepared, it’s just a matter of pouring one into the other and letting them get nice and cold together. This cannot be rushed, so plan ahead.
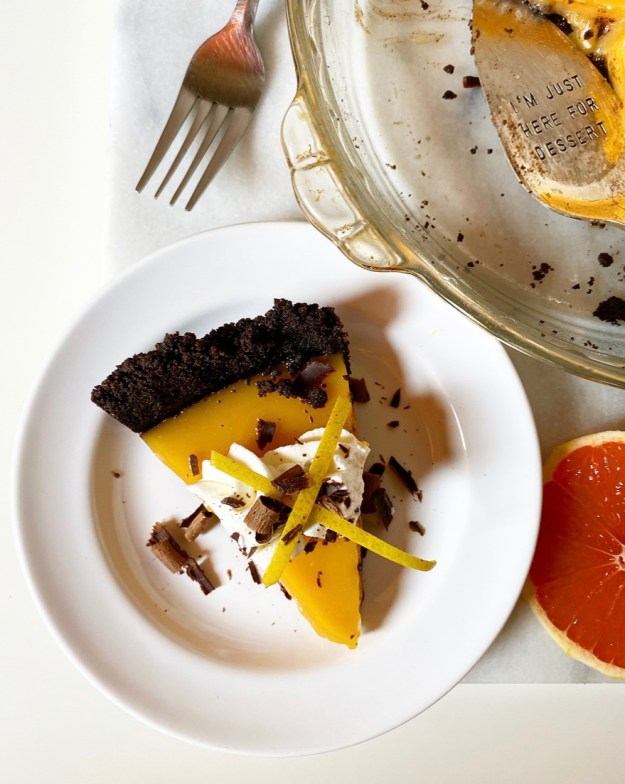
 When Grapefruit Pie with Oreo Crust is completely chilled, it will still be a little on the jiggly side, like a citrus curd with a little more body. After you add a flourish of whipped cream and the garnishes of your choosing, you’ll be treated to a tart, sweet, creamy, crumbly confluence of goodness. The cream offsets the tanginess of the filling, and the buttery chocolate crumb crust rounds it all out. This pie is rich and refreshing–the perfect way to start what will hopefully be a much simpler twelve months for us all.
Happy Pi Day, y’all. 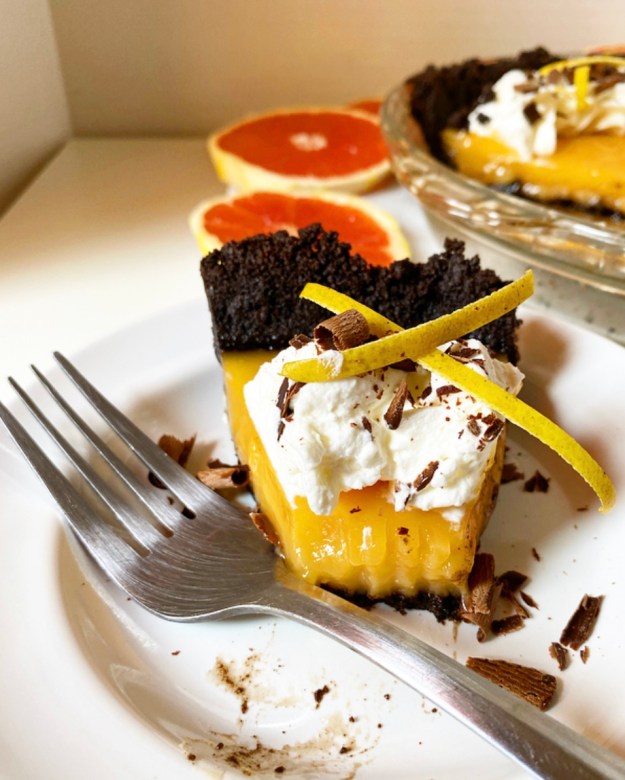
Grapefruit Pie with Oreo Crust
makes one 9-inch pie
Oreo Crust:
24 Oreos
5 tablespoons unsalted butter, melted
Grapefruit Filling:
2 cups fresh grapefruit juice (from about 3 medium-large grapefruits)
1 cup granulated sugar
1/4 cup cornstarch
1/4 teaspoon Kosher or sea salt
1 1/3 cup water
5 large egg yolks
1 tablespoon fresh grapefruit zest
1 tablespoon fresh lemon juice
2 tablespoon unsalted butter
1 teaspoon pure vanilla extract
1 drop red liquid food coloring (optional)
Whipped Cream & Garnish:
1 cup heavy cream, very cold
4 tablespoons confectioner’s sugar
grapefruit zest (strips or grated)
chocolate curls
Preheat oven to 350F. Lightly grease a 9-inch pie plate.
Make the crust. Place Oreos in the bowl of a food processor and blitz until they are crumbs. Add melted butter and pulse until the mixture can be pinched together. Press it into the bottom and up the sides of the pie plate (I find that a 1/4 cup measuring cup helps with this). Bake the crust for 10 minutes and then let it cool while you make the filling.
Pour grapefruit juice in a small saucepan. Bring to a boil over medium-high heat and cook until reduced to 1 cup (about 10-12 minutes). Remove from heat and cool 5 minutes.
In a small mixing bowl, use a fork to beat egg yolks. Set aside.
In a large saucepan, whisk together sugar, cornstarch, and salt. Whisk in water. Heat over medium heat, stirring frequently, until the mixture reaches a simmer and thickens. Turn heat to low.
Whisking constantly, pour 1/3 cup of the mixture into the bowl of egg yolks until fully combined. Whisking constantly, add egg yolk mixture back to the pan. Return heat to medium. Stir in grapefruit zest, followed by grapefruit reduction and lemon juice. Continue whisking until the mixture has boiled for 1 full minute. Remove from heat. Whisk in butter, vanilla and optional red food coloring. Push filling through a sieve to remove solids.
Pour filling into crust. Gently tap the pan on the counter a few times to help air bubbles disperse. Pop any surface bubbles with a toothpick as needed. Let pie cool to room temperature, then chill for at least 4 hours. Filling will be set, but jiggly, when ready.
Just before serving, make whipped cream. Combine heavy cream and confectioner’s sugar in a large mixing bowl. Use an electric mixer to whip the mixture on low for 30 seconds before whipping on high for 1-2 minutes, or until stiff peaks form.
Load whipped cream into a piping bag fitted with a large star tip. Pipe as desired over the top of the pie. Garnish with grapefruit zest strips and/or chocolate curls, if desired.
Slice pie with a large, sharp chef’s knife, wiping it clean between cuts. Serve immediately.
Pie is best upon assembly, but leftovers may be kept in the refrigerator for a day. The filling may weep a tiny bit over time.


 In five years, I’ve deleted exactly three recipes from this blog. I’ve kept terrible photos, absurdly lengthy writing and even some personal stuff on here, so you may be wondering why I’d remove whole recipes. The answer is simple: because they were bad. Not “not perfect,” not “unoriginal.” Just bad. They didn’t taste good and/or work properly, and those are basically the only two requirements for me to put a recipe on here, so I deleted them. Among the group were a batch of Whole Wheat Chocolate Chip Muffins that were truly atrocious, and which I have finally found the time to rework into something delicious.
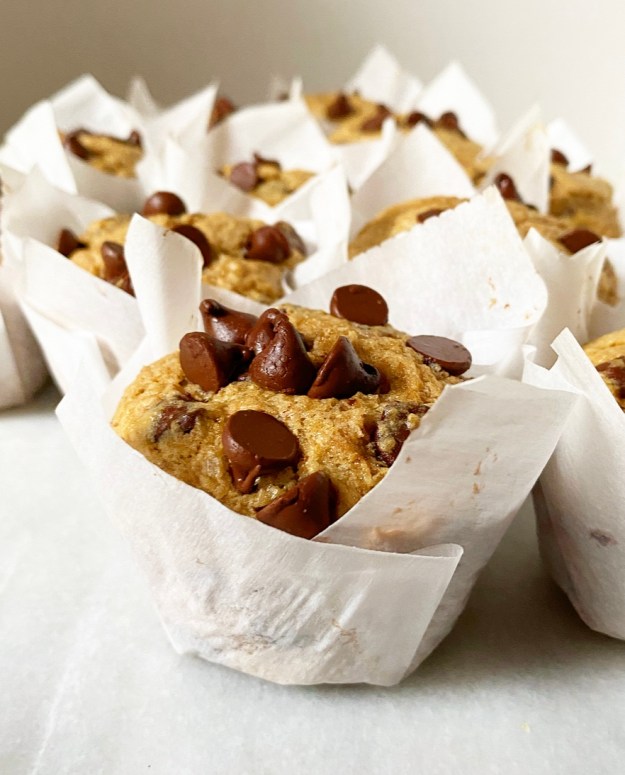 Now, I didn’t intentionally write a terrible muffin recipe. There were circumstances. I wrote the old recipe for Whole Wheat Chocolate Chip Muffins when I was five days off the break-up a four year relationship. That was my first mistake—don’t try to do good work when you’re heartbroken.
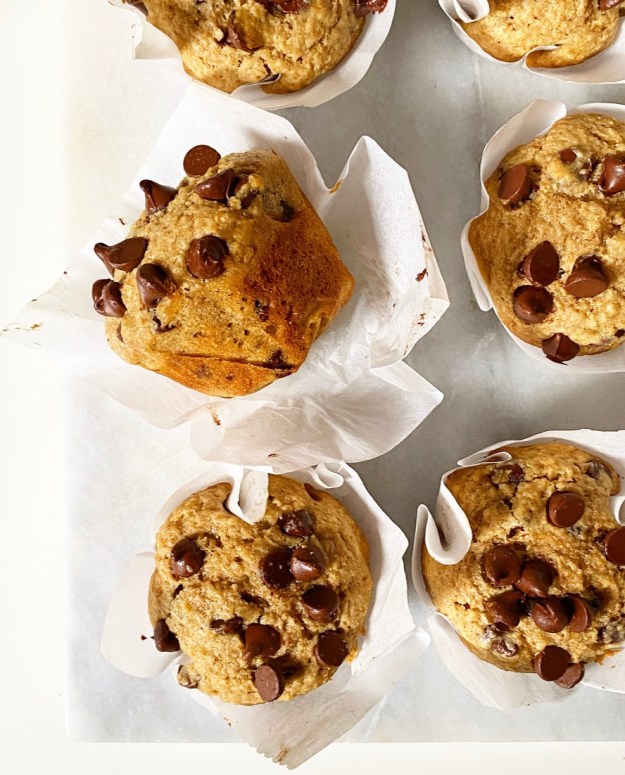 Two weeks ago, I found myself five years more experienced, very over that boyfriend, and with a large bag of mostly-unallocated whole wheat flour. Armed with that and a newfound
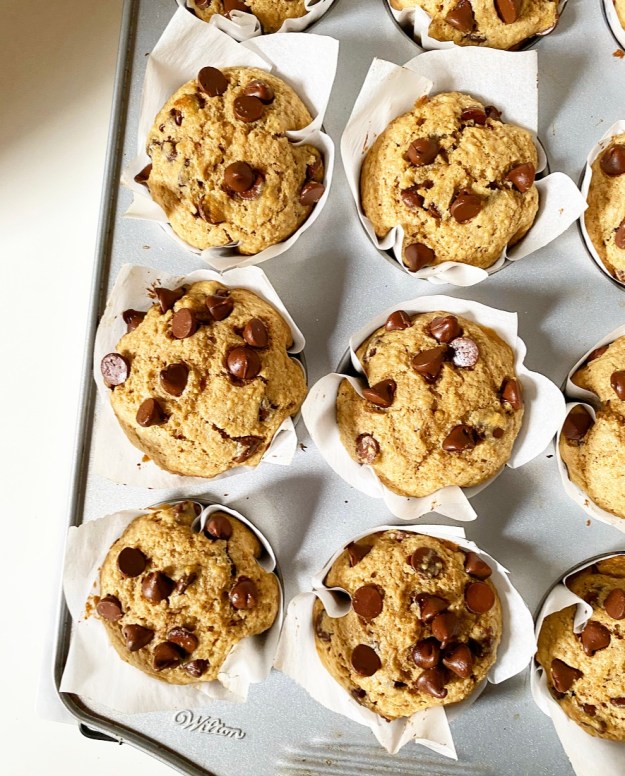
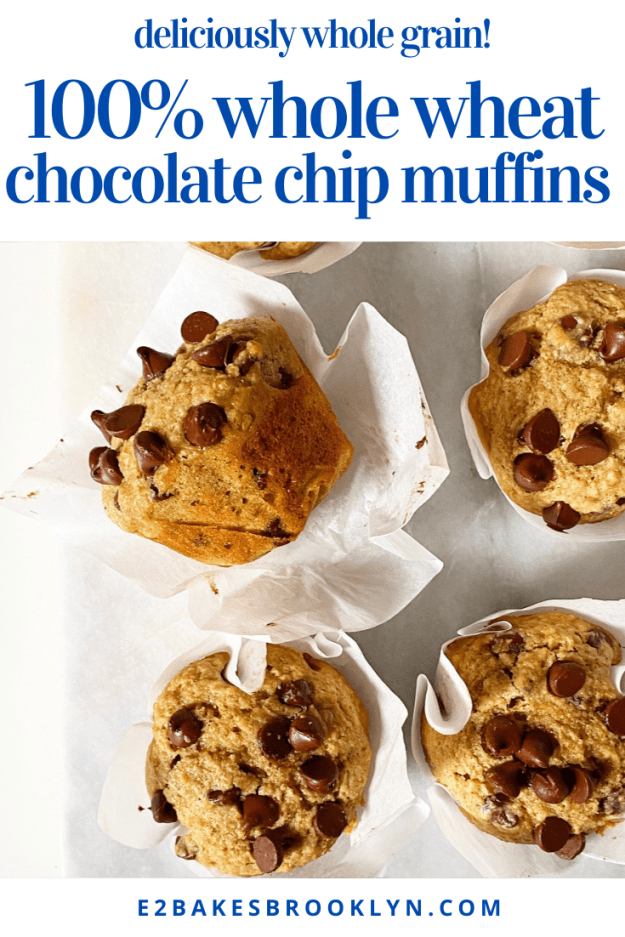
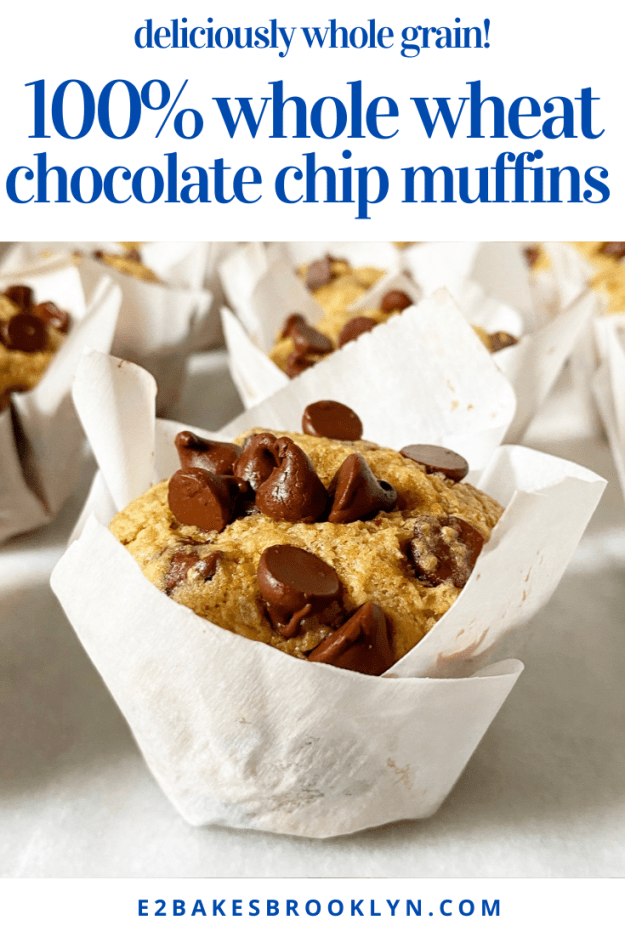
 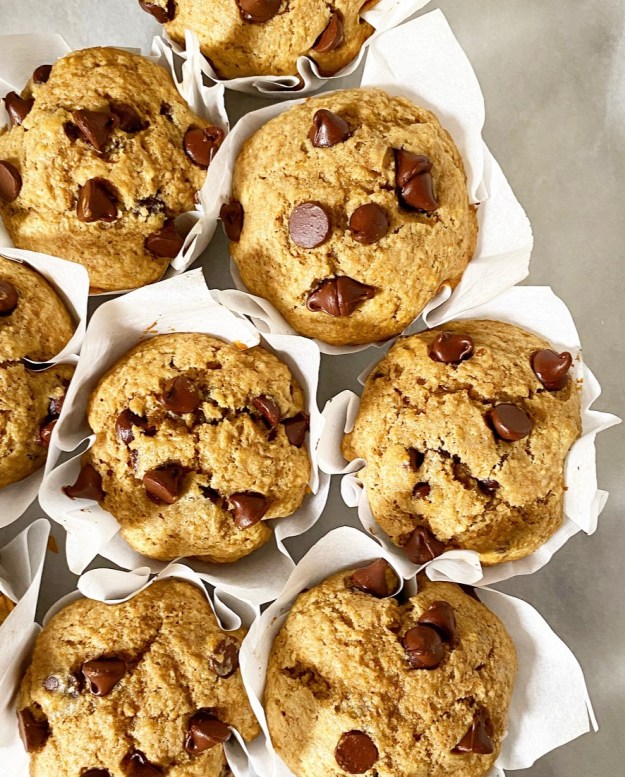 These Whole Wheat Chocolate Chip Muffins are soft and just sweet enough, with plenty of chocolate chips and whole grain flavor. Butter, sour cream and eggs keep them moist and balance the potential for heaviness that comes with using all whole wheat flour. They also get a little lift from starting in a 400F, then continuing at 350F until they’re fluffy, puffy and perfect.
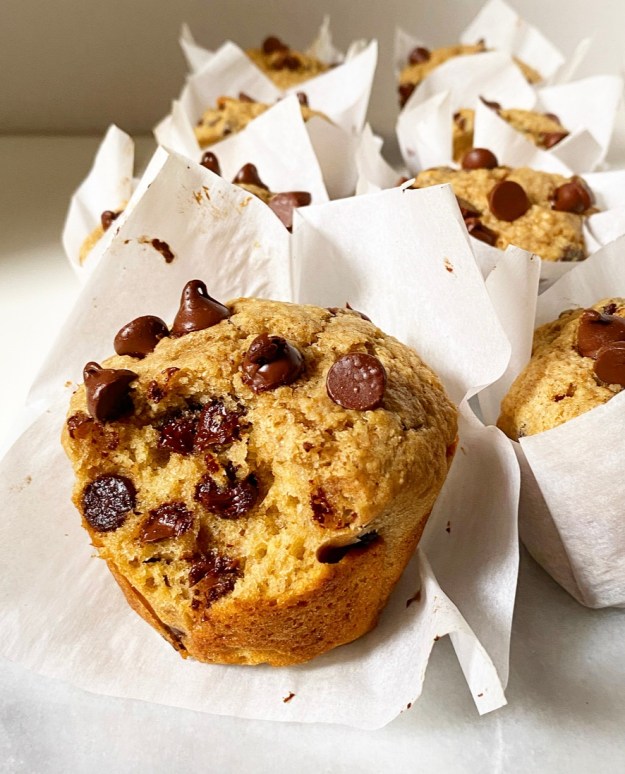

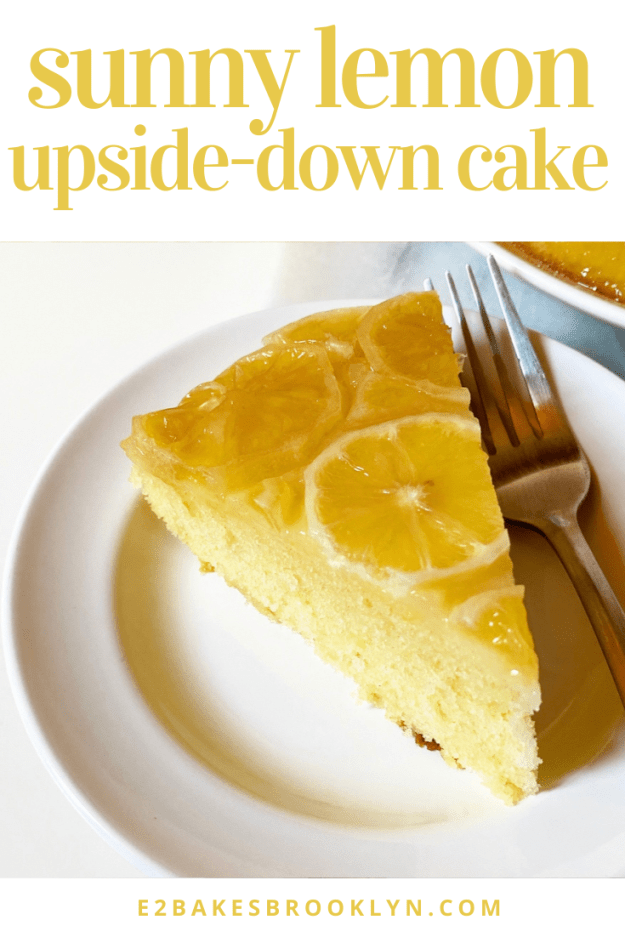
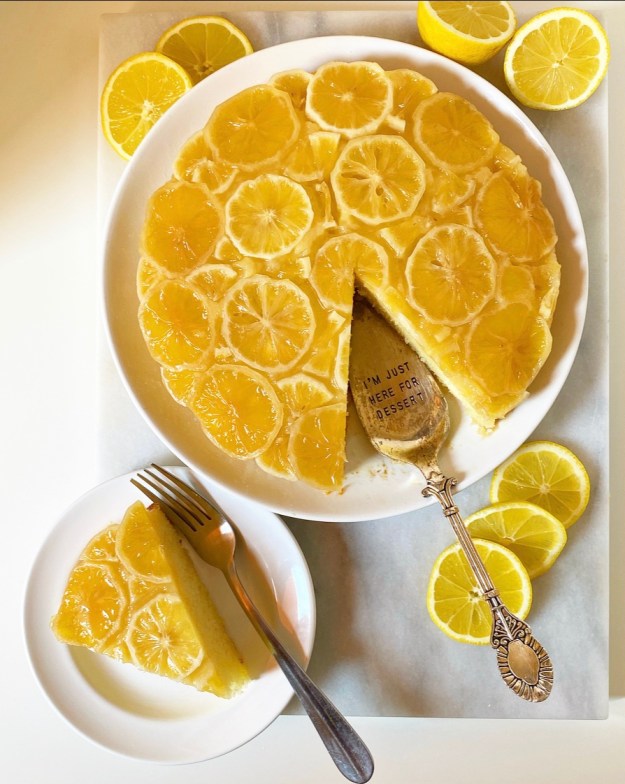 If you love a real mouth-puckering punch of lemon, this Sunny Lemon Upside-Down Cake is for you. We’re talking buttery lemon cake topped with a sticky mosaic of sliced lemons—all the lemon flavor you could ever want. It’s sunny and happy-looking enough to drive any late-winter blues away, at least for the two minutes it takes to eat a slice!
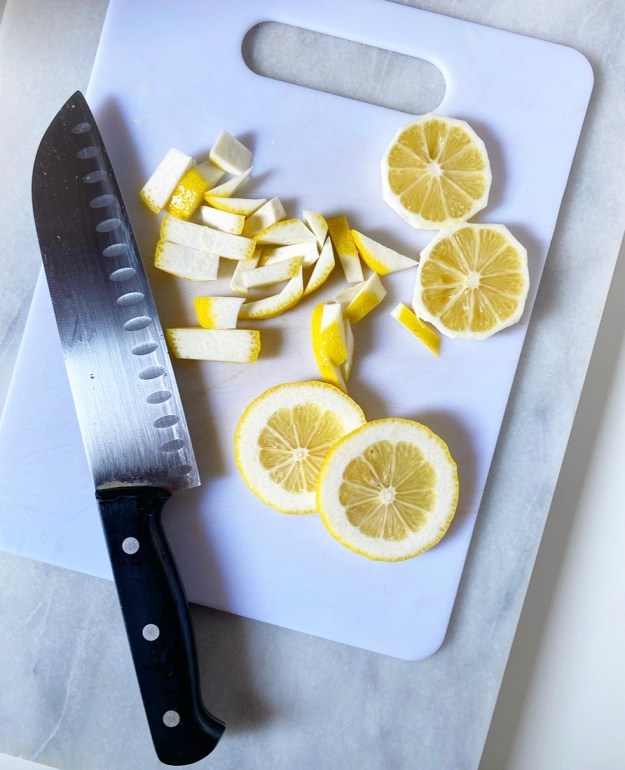
 All my previous
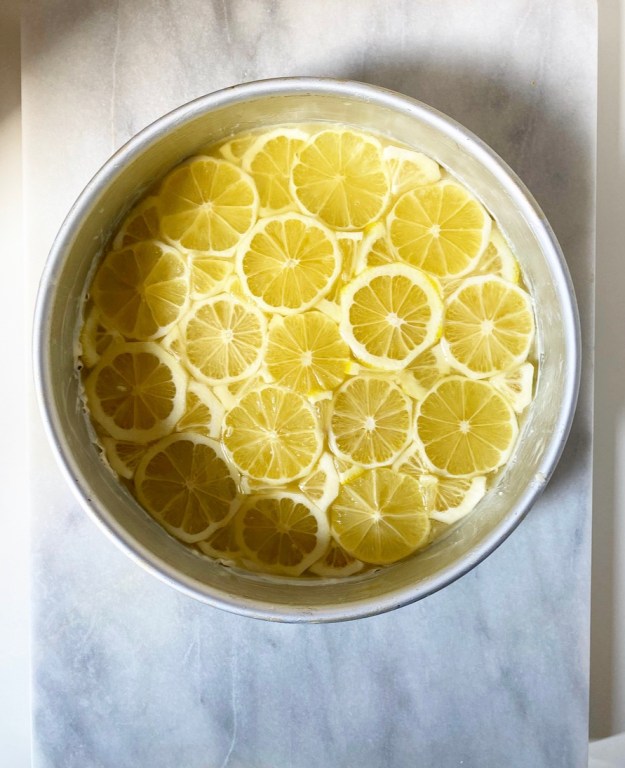
  Once your lemon mosaic is assembled, bury it in thick lemon cake batter; this recipe is my go-to vanilla cake with some lemony flair. The cake will need nearly an hour to bake. Don’t be alarmed when when you pull it from the oven and it looks like a nightmare—there’s a reason this cake is served upside down!
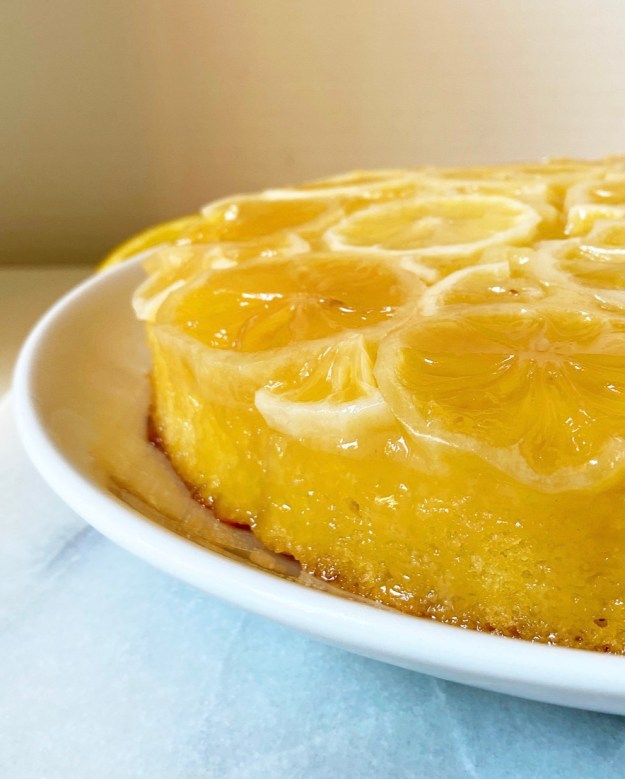 Another way this cake is different from my other
 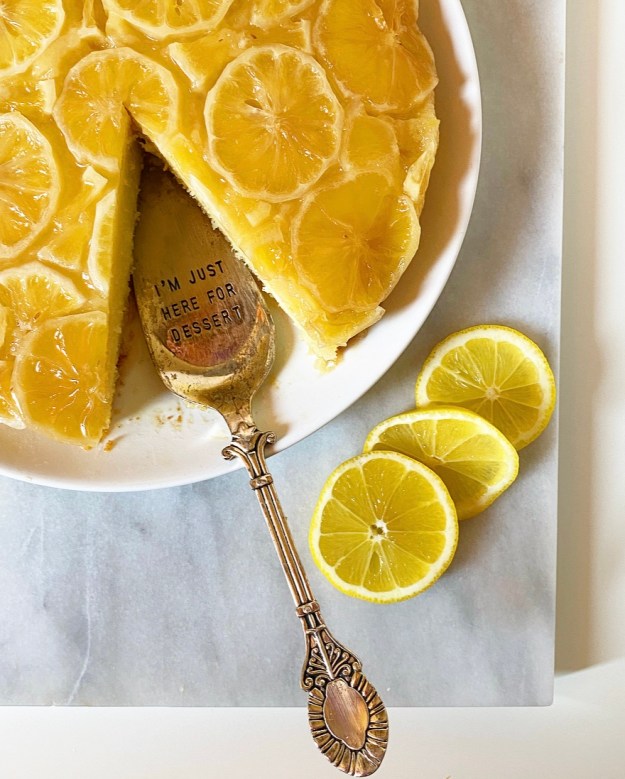 Once your cake is on a plate, all that’s left to do is slice through the top with a serrated knife, grab a fork and enjoy this dessert which, like it’s name suggests, both looks and tastes like a ray of sunshine. I, for one, can’t see or taste it without smiling.
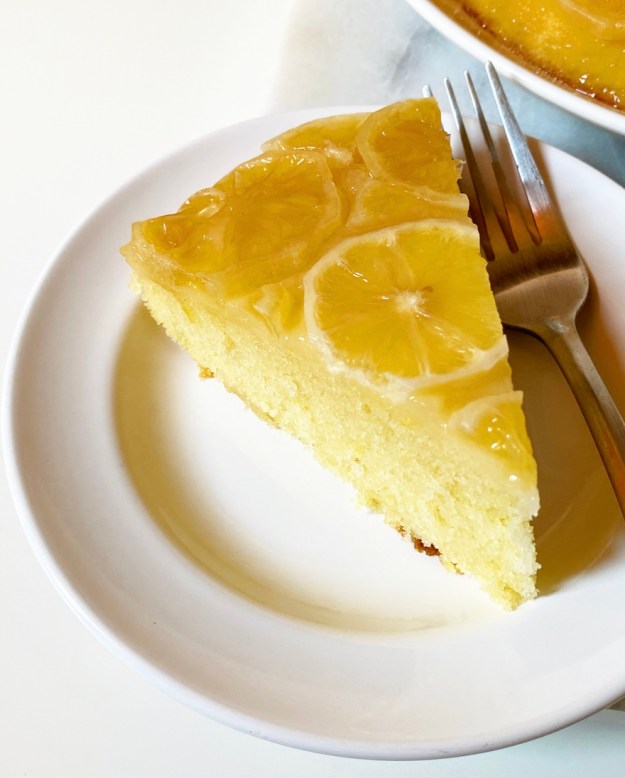

 Today I’m taking this blog into new territory: bread! You won’t find me feeding any sourdough starters or anything, but I have taken a chance on a few bread recipes over the last year because…well, I had some time on my hands. English Muffin Bread is my favorite by a long shot. It’s got all the craggy structure of English muffins, toasts like a dream, and is so delicious it’s kind of ridiculous.
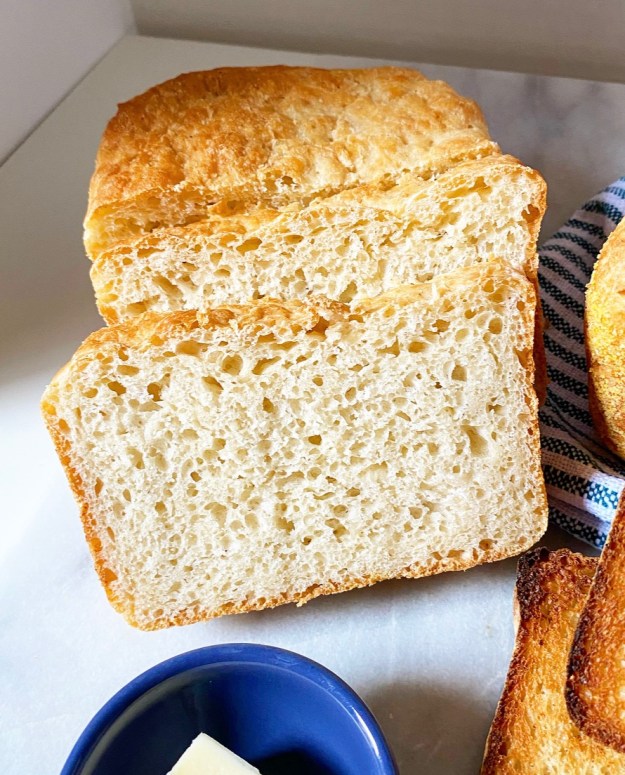 I first heard about English Muffin Bread when
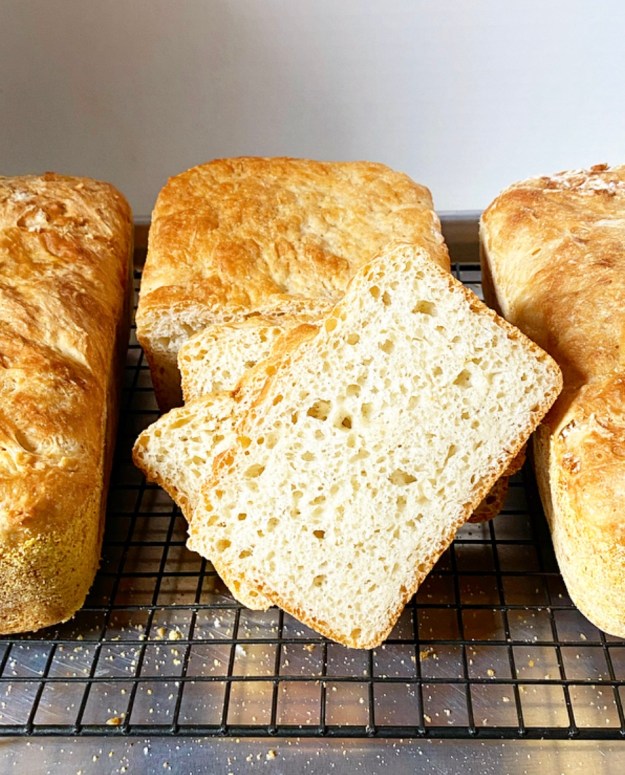
 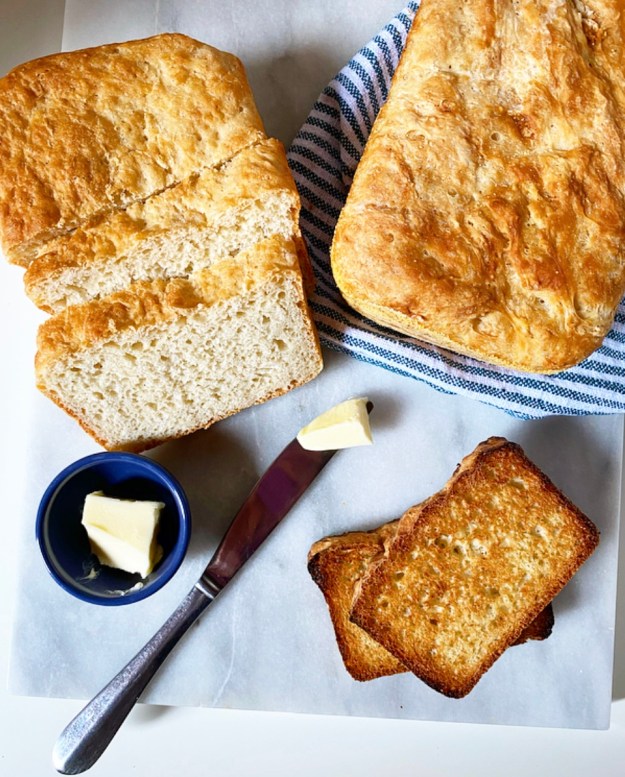 My English Muffin Bread is a one bowl, no-knead, single rise situation. By giving this dough just a few minutes of your time and then a bit of patience, you’ll be rewarded with all the craggy texture you love in English muffins, but in a sliceable, toastable loaf. Two of them, actually.
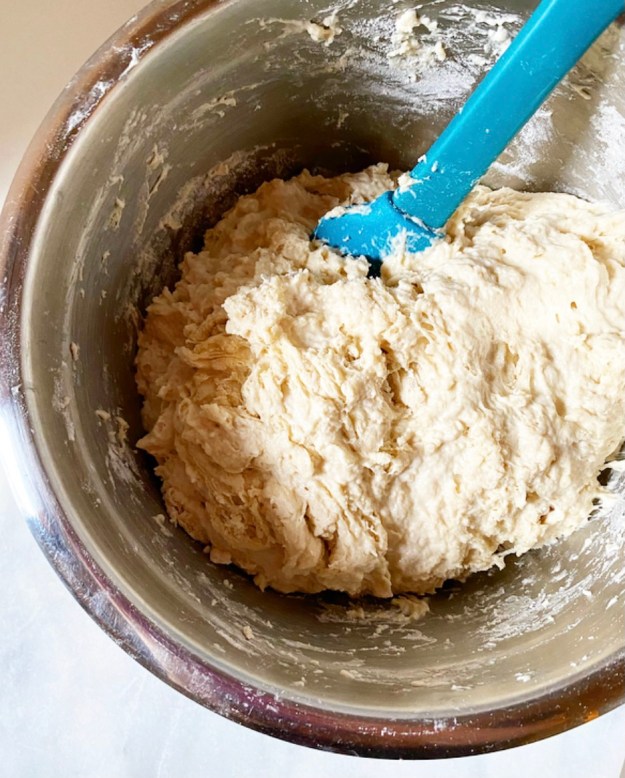 English Muffin Bread couldn’t be easier to make. Simply whisk together flour, a touch of sugar, kosher salt, instant yeast and a little baking soda, then stir in water and melted butter until a shaggy dough forms. Divide your dough in two, then put it in two cornmeal-dusted loaf pans. No, you didn’t miss a kneading step—thanks to the high volume of liquid and the desired texture, there’s no need to knead! <—see what I did there?!
 Let your dough rise for about an hour, just until it peaks over the tops of your pans. The combination of yeast and baking soda along with the single rise mean that the oven-ready dough will be very airy and a little delicate. It should be a bit wet looking and a little jiggly—be gentle with the pans so you don’t knock out any of the holey, craggy structure.
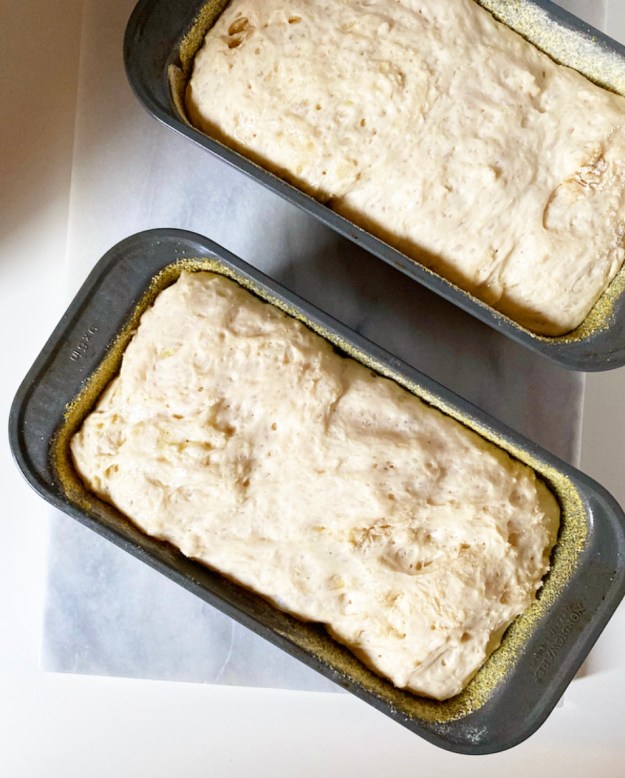 Bake your loaves for 25-30 minutes as 400F, until golden all over and hollow-sounding when tapped. If you’re worried about under-baking, a food thermometer should register 190F when the bread is done.
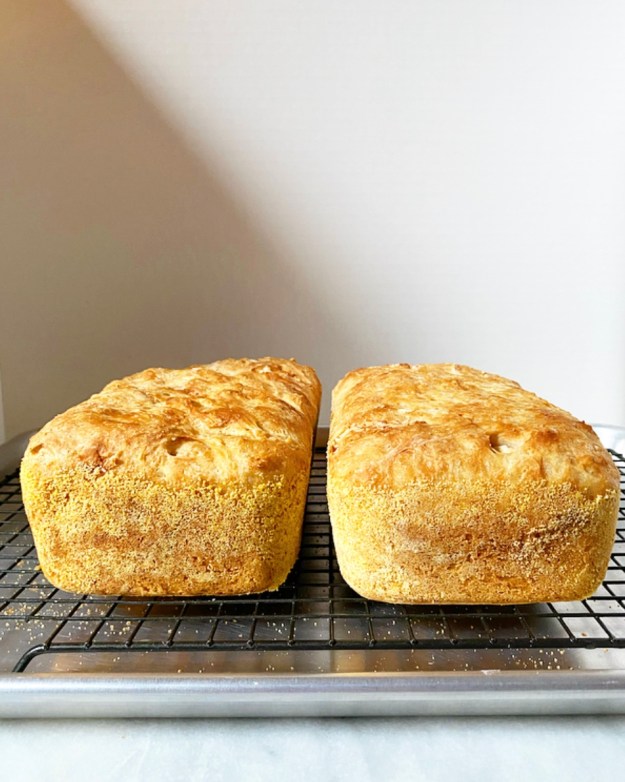
 Turn your loaves out onto a rack as soon as they come out of the oven, then let them cool completely. This is supremely important. Do not let the intoxicating smell of fresh-baked bread tempt you to rip into this while it’s cooling or you will find a gross, gummy mess. The hole structure needs to cool completely for maximum English muffin goodness. I find that cooling takes 2-3 hours, but that’s a small price to pay for the quality of toast you are about to consume.
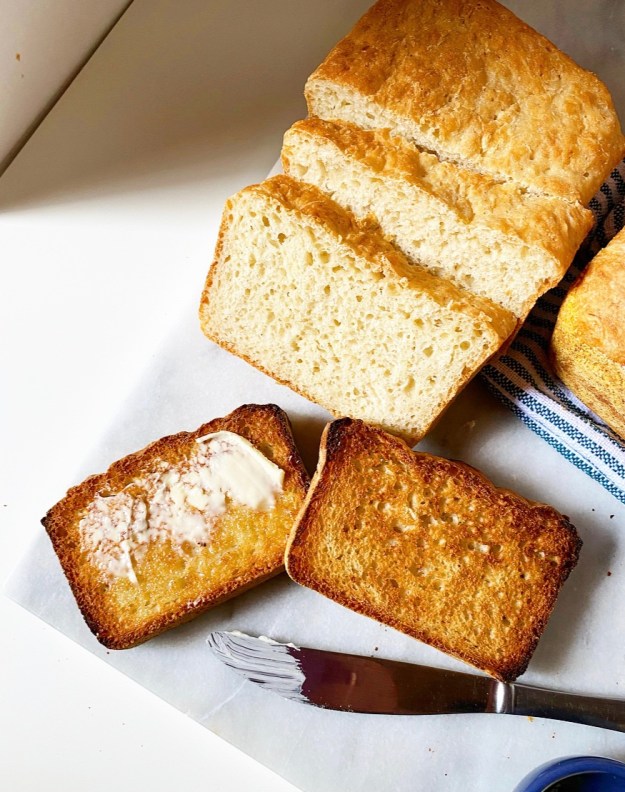 While you can absolutely enjoy a slice of English Muffin Bread without doing anything to it, an extra crispy, golden brown, toasty finish really makes each slice sing. The holes and crags are emphasized, the cornmeal on the edge gets extra crunchy, the minuscule amount of butter in the dough gives it just enough richness. Like a perfectly toasted English muffin, it’s perfect with a smear of soft butter. Or honey. Or jam. Or Nutella. Or peanut butter. Or avocado. Or fried into French toast. Or made into a grilled cheese.
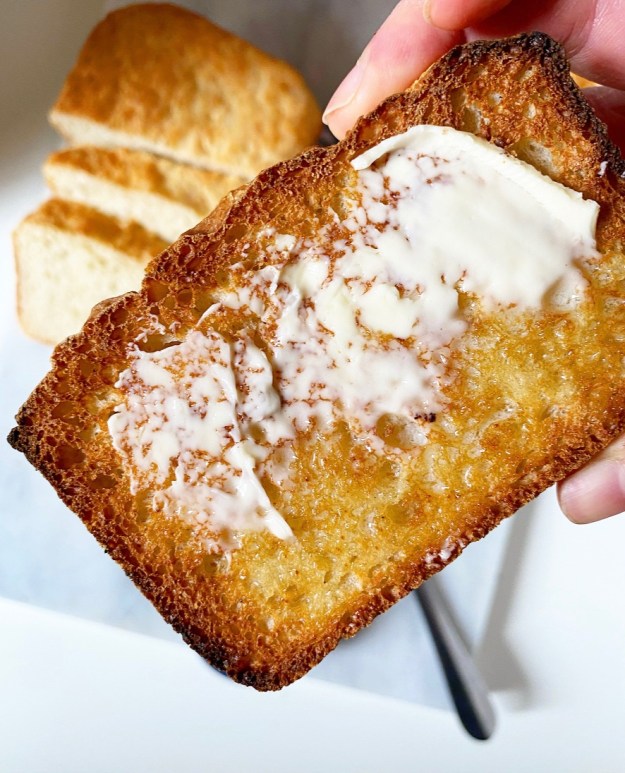
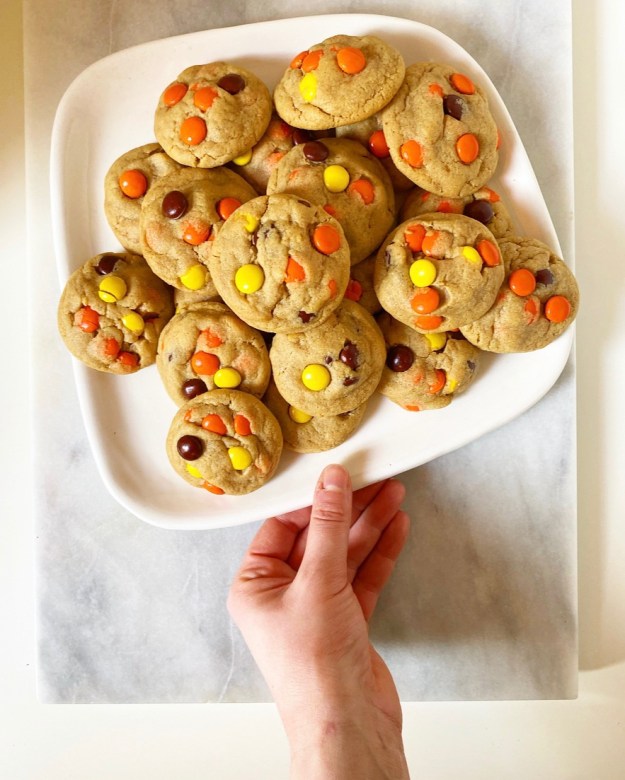
 These Reese’s Pieces Peanut Butter Cookies were the maiden voyage of my brand new sheet pans! If the results are any indicator, I think we’re off to an auspicious start.
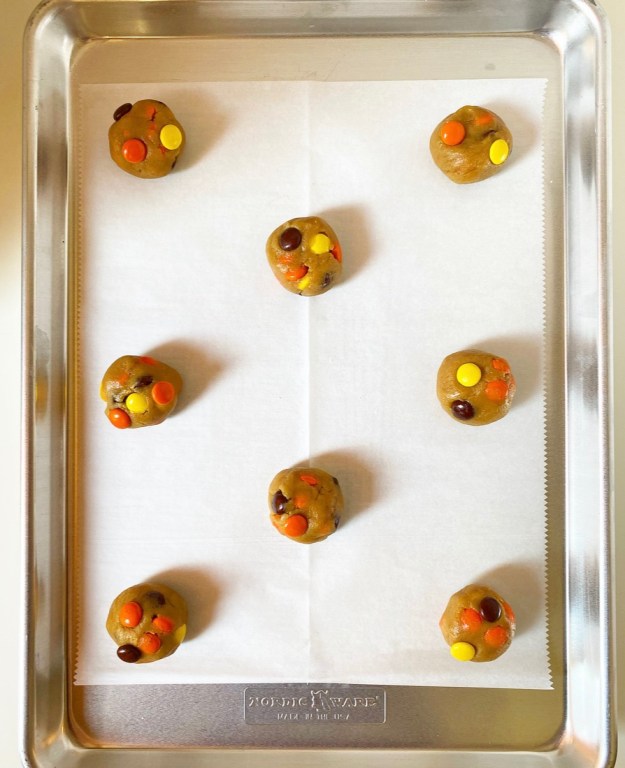
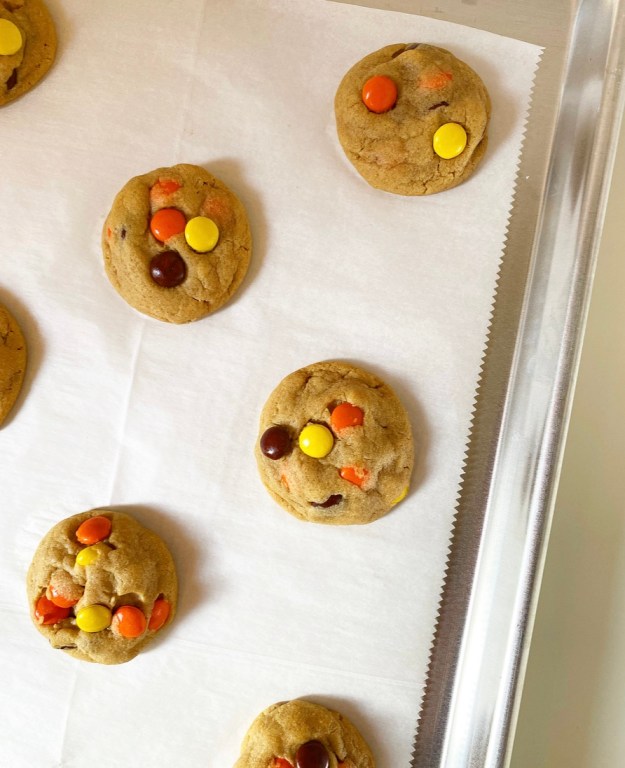 We’re talking thick, soft cookies with tons of peanut butter flavor and an extra peanut buttery crunch from the Reese’s Pieces strewn throughout! You could obviously swap in chocolate chips or M&Ms or any other add-in you like, but I am all about that
  This cookie dough is super fun and easy to make. It comes together in just a few minutes and doesn’t require a mixer or a chill—score! Just mix, scoop, roll and bake. If you were to turn on your oven right now, you could have puffy peanut butter cookies in half an hour. Half an hour!
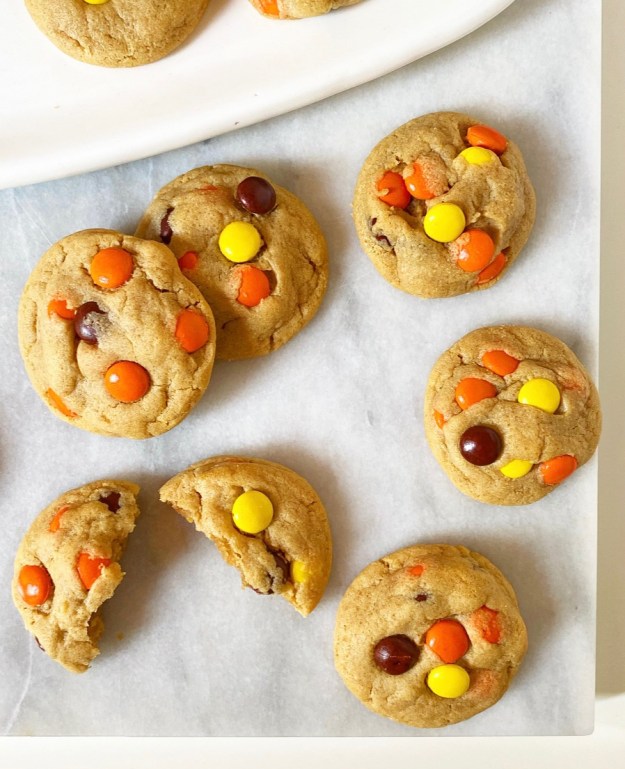
 Pretty sure that’s the height of luxury on the fiftieth weekend of quarantine. Or at least it is around here.