Three years ago, I went home to Texas for three weeks over Christmas. I was there for the holidays and a family wedding a week into the new year, and I had determined that it was easier to spend an extended period in my home state than it was to fly back and forth. My little sister was home for her winter break too, so we had an odd period of time where our childhood living arrangements were real again, except that everyone had a driver’s license and their own bathroom this time.
Our parents were happy to have us home, even though three weeks is a long time to have company. They made sure we were fed and had transport and as much access to their miniature schnauzer as we wanted (which was all of the access), and requested little in return. In fact, the only thing that was asked of me was to teach my mom to make a cheesecake. Her mom, my grandmother, made wonderful cheesecakes, so I liked the idea that my mom would know how to make one too.
Of course, there was one problem: I had never made a traditional cheesecake. I still haven’t. Sure, I have baked layers and swirls of it into other things and I have even made a couple of vegan cheesecakes, but I have never done the full springform in a water bath thing. I know it’s not technically difficult, but I live in fear that water will seep into my cake no matter how tightly-wrapped it is and that the work and necessary 24-hour chill will be for nothing. Other people are afraid of pie crust. I am afraid of cheesecake.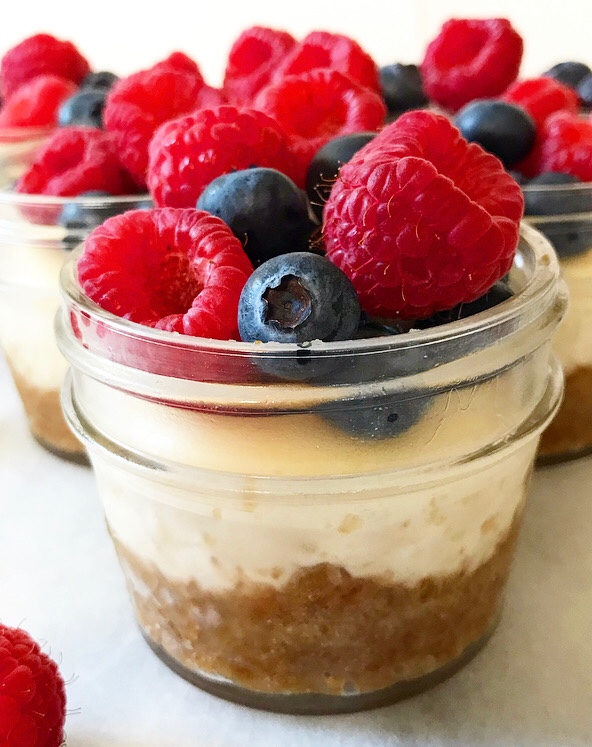 But! But. I was going to make a cheesecake with my mom, even going so far as to have my older sister give her a Fat Daddio cheesecake pan for Christmas. I was going to do this thing. And then…I didn’t because we found 43 other ways to fill our time and there was the wedding and then it was time to go back to NYC.
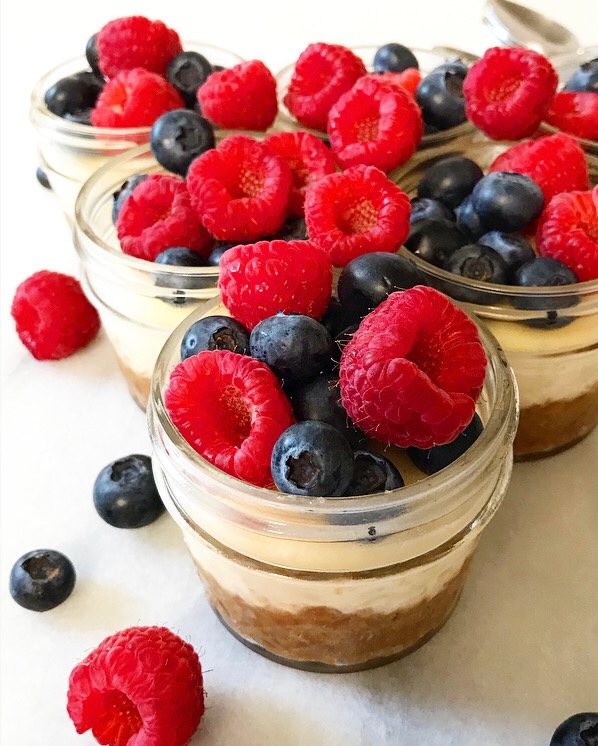 Now it’s Mother’s Day weekend three years later and I still owe my mom a cheesecake. I remain reticent about attempting a big one (yes, I know it’s silly) and I don’t know when I’ll be with her long enough to carve out the time, so I have made it easy on both of us and made miniature versions that don’t involve a foil-wrapped pan. Happy Mother’s Day, Mom! I made you six cheesecakes.
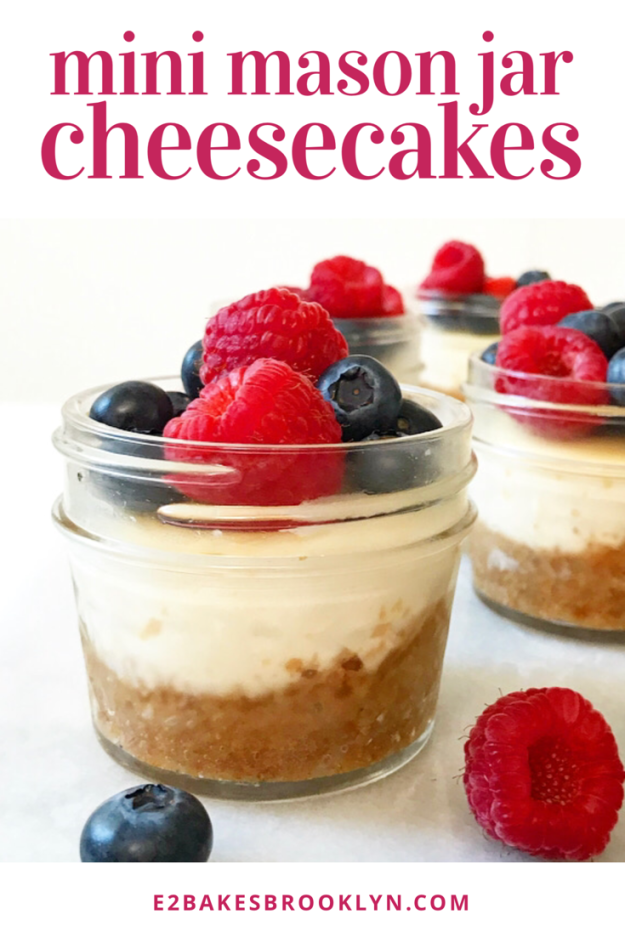
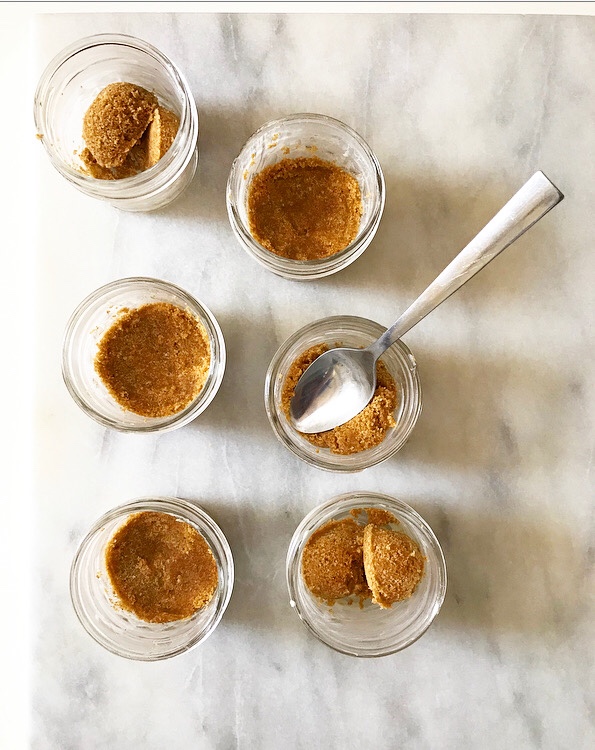
 This small-batch recipe makes just enough to fill six 4-ounce mason jars, but you can easily scale it up depending on your needs. The cheesecake itself is remarkably easy to make—it has a total of nine ingredients and two major steps (both of which are easy), and most of the time commitment is spent waiting for things to cool.
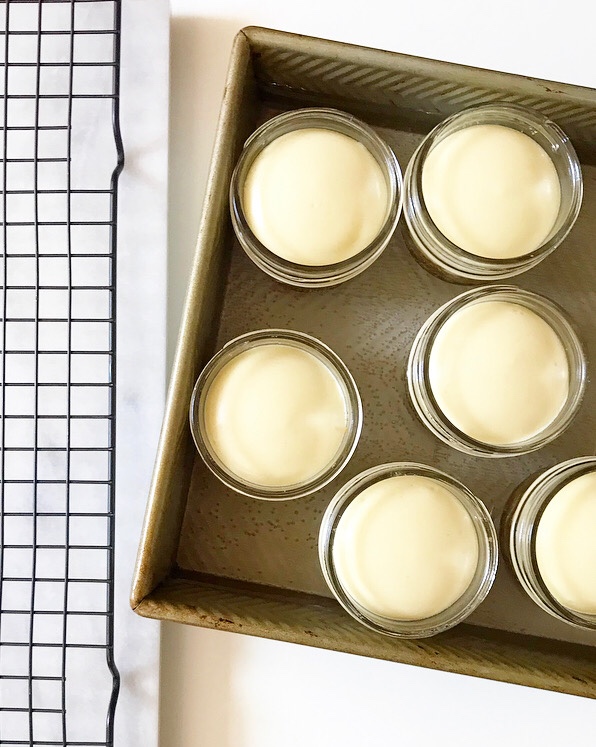
 As for the water bath (“bain-marie”) step that I fear so much, it’s a breeze. Mason jars are water-tight, so my fear of soggy cheesecake foiled-by-foil doesn’t apply here. These mini desserts bake up evenly and beautifully every time!
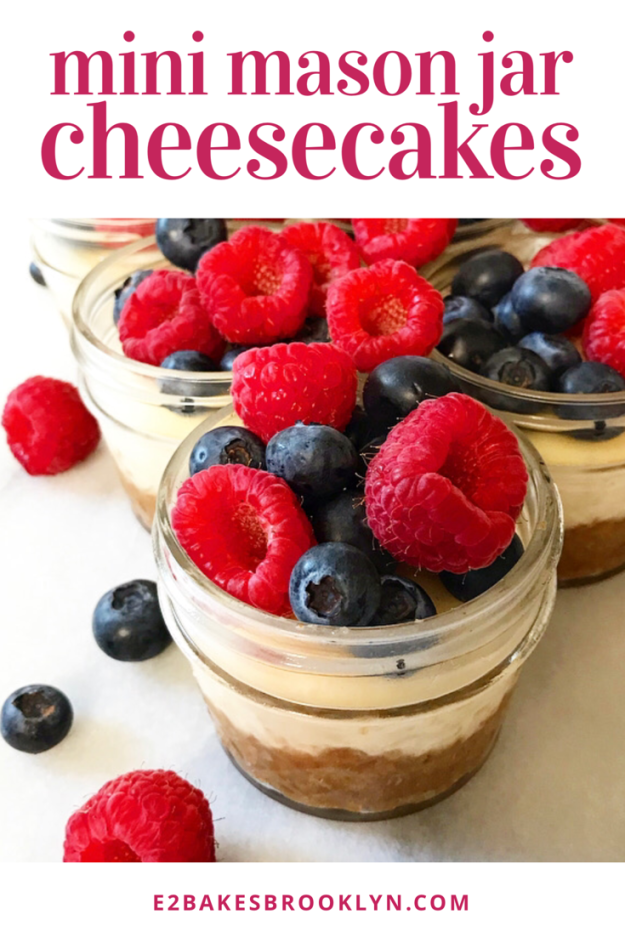
 They are delicious, too: rich, creamy and tangy with a brown sugary graham cracker crust. You can top them with anything you like: strawberry-rhubarb compote, cherry pie filling, whipped cream, peanut butter caramel…anything! I kept it simple by piling on fresh berries. Why create more work for myself when the perfect topping is sitting in the produce department, you know?!
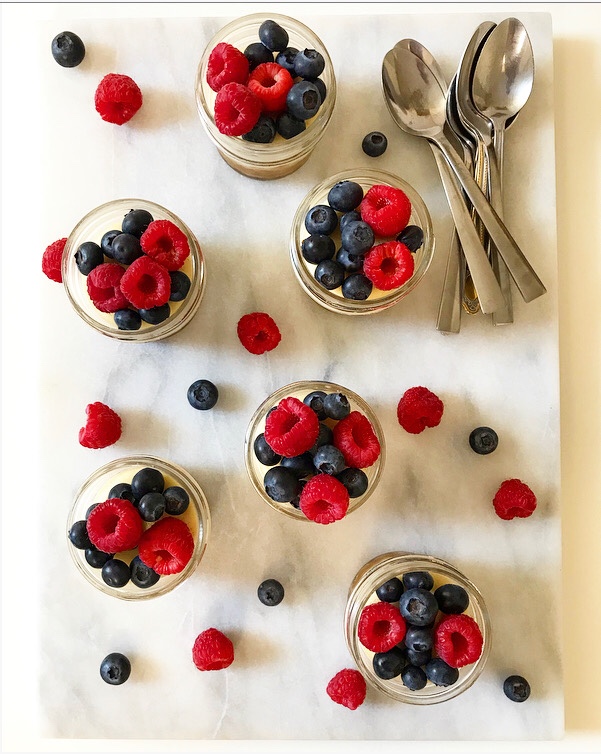 Aside from being cute, delicious, and portion-controlled, I love that these cheesecakes are portable. Just press a little plastic wrap to their surfaces after chilling, screw on the mason jar lids, and pack them into a cooler for premium picnicking. Pack the topping(s) separately and let everyone customize their own!
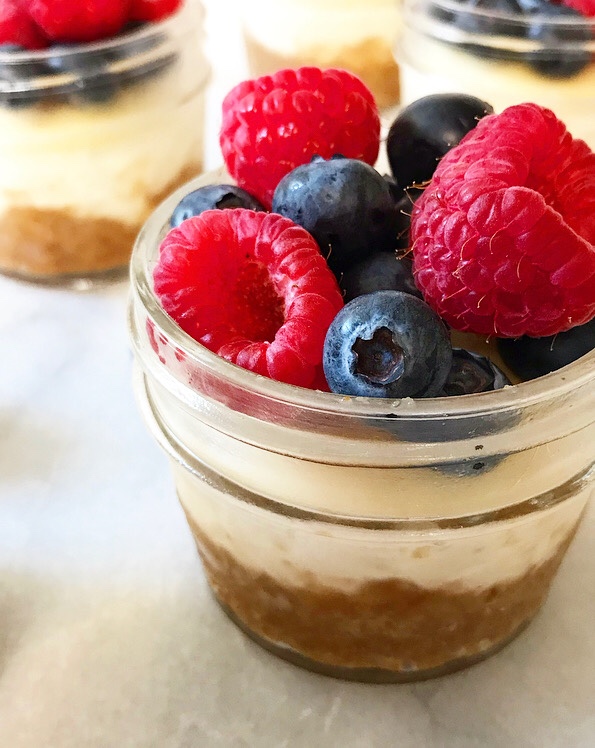 So, after 3.5 years of blogging, there is my first “traditional” cheesecake! Maybe I’ll be brave enough for the real deal before Labor Day. Got any leak-proofing tips for me? Leave them in the comments!
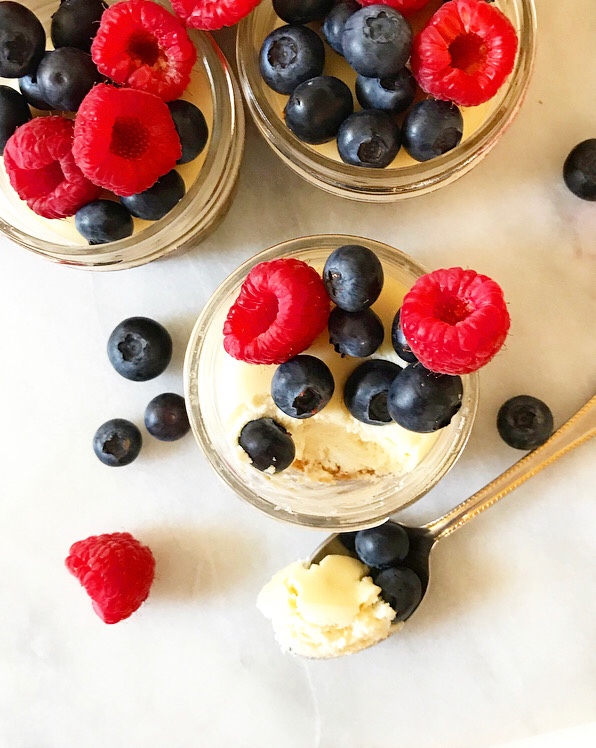 Happy Mother’s Day to all those celebrating, especially my cute mom ❤
Mini Mason Jar Cheesecakes
makes 6 small cheesecakes
Crust:
9 graham crackers
1/4 cup light brown sugar, packed
pinch of Kosher or sea salt
6 tablespoon unsalted butter, melted
Cheesecake Filling:
1 8-ounce brick full-fat cream cheese, room temperature
1/4 cup granulated sugar
1 large egg, room temperature
1/4 cup full-fat sour cream, room temperature
1 teaspoon pure vanilla extract
For Garnish:
seasonal berries
strawberry-rhubarb compote
whipped cream
peanut butter caramel sauce
Preheat oven to 325F. Grease 6 4-ounce mason jars.
Make the crust. Place graham crackers in the bowl of a food processor and process until no large pieces remain. Add light brown sugar, melted butter, and salt. Process until the mixture resembles wet sand, scraping down the sides of the bowl as necessary.
Place 3 tablespoons of the crust mixture into eat prepared mason jar. Press down to form a crust. Place mason jar crusts in a high-rimmed dish. Bake crust for 10 minutes. Cool on a rack while you prepare the filling.
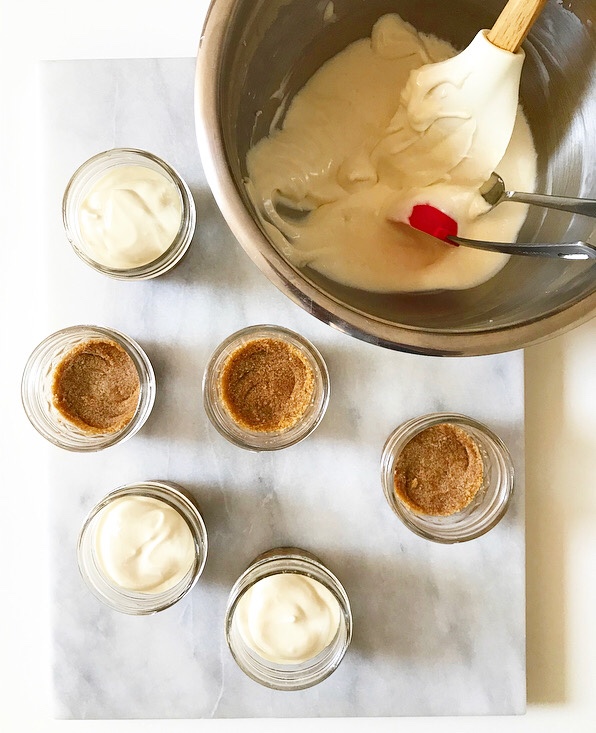
Make cheesecake. In a medium mixing bowl, use an electric mixer to beat cream cheese until fluffy. Mix in sugar, followed by egg, sour cream, and vanilla, until mixture is smooth.
Place 3 tablespoons of the cheesecake mixture in each mason jar. Use the back of a spoon to lightly smooth out the tops, then tap each one on the counter a few times to release any air bubbles. Return jars to the high-rimmed pan, and place the pan on a counter near the oven.
Bring a small pot of water to a boil. Remove from heat. Carefully pour water into the baking pan until it is halfway up the sides of the cheesecakes. Do not get water in the mason jars. Carefully move pan into the oven. Bake 30 minutes until puffed and ever-so-slightly golden.
Carefully remove pan from oven. Use tongs to remove mason jar cheesecakes to a rack. Do not get water in the mason jars.
Let cheesecakes cool completely on a rack. Transfer to the refrigerator for at least 3 hours, or until thoroughly chilled. If not serving immediately, press plastic wrap to the surface. Garnish with berries or other desired topping before serving.
Store leftover cheesecakes in the refrigerator for up to 4 days. To freeze, press plastic wrap to the surfaces of the cheesecakes and screw on mason jar lids. Freeze for up to one month. Thaw in the refrigerator overnight or in a dish of lukewarm water at room temperature for 90 minutes.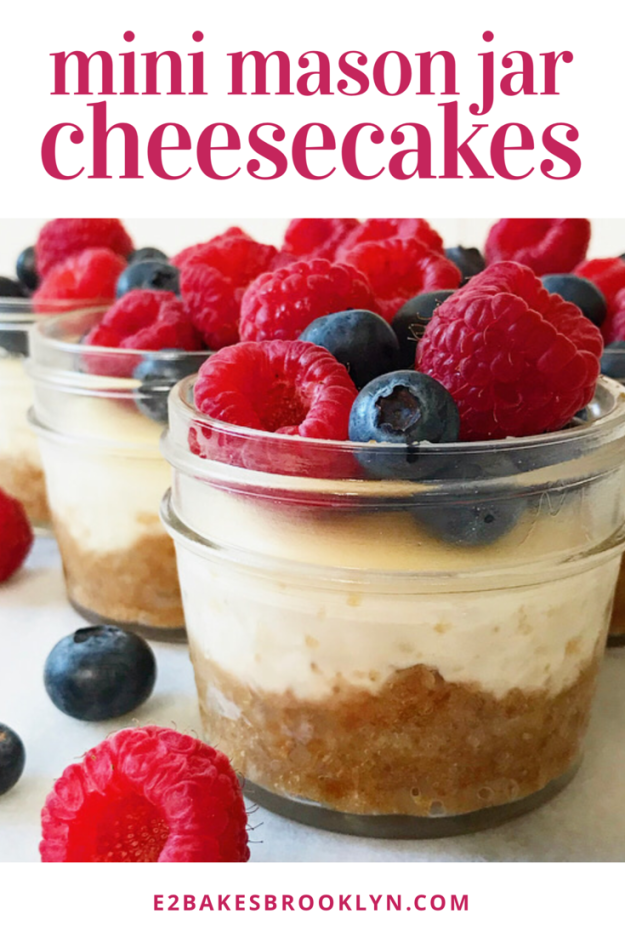
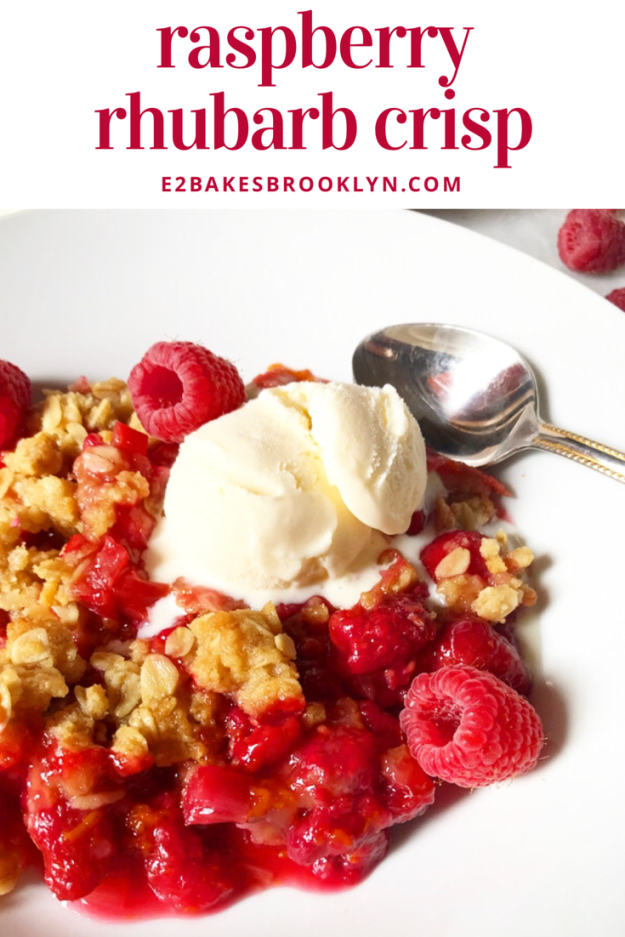
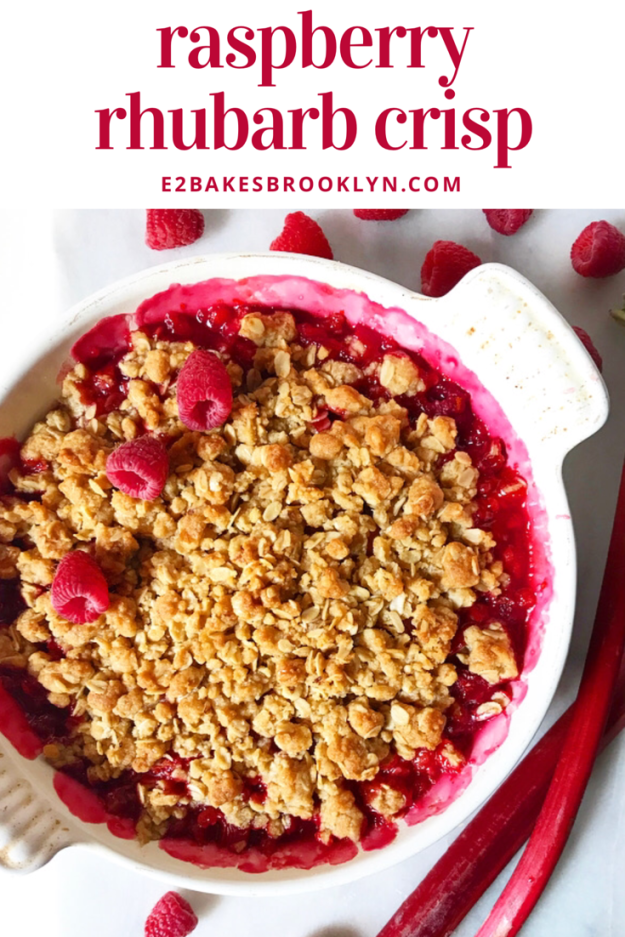
 I love making crisps. They’re every bit as good as pie, but easier and much (!) quicker to make, and can be served warm with vanilla ice cream, so the time between the moment the craving strikes and the moment you dive in spoon-first is mercifully brief.
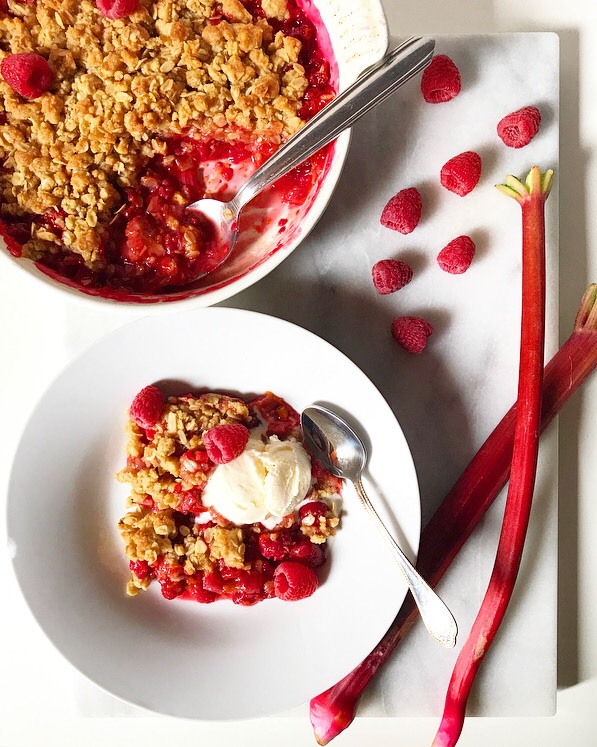 What I’m trying to say is that you need more crisps in your life. *I* need more crisps in *my* life. There’s only one in my archives—a pear, ginger & chocolate concoction that you should absolutely make in the fall—and that is atrocious. Just awful. Especially considering there are so many delicious berries and rhubarb (!!!) available right this second.
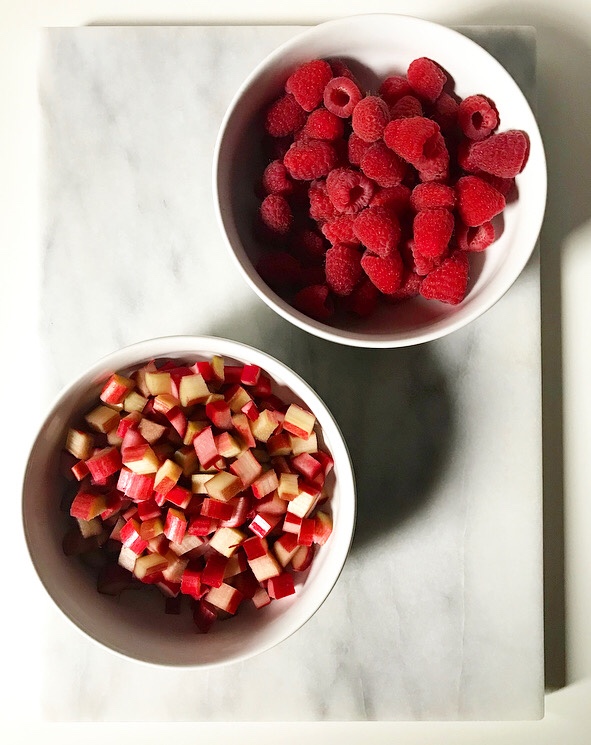
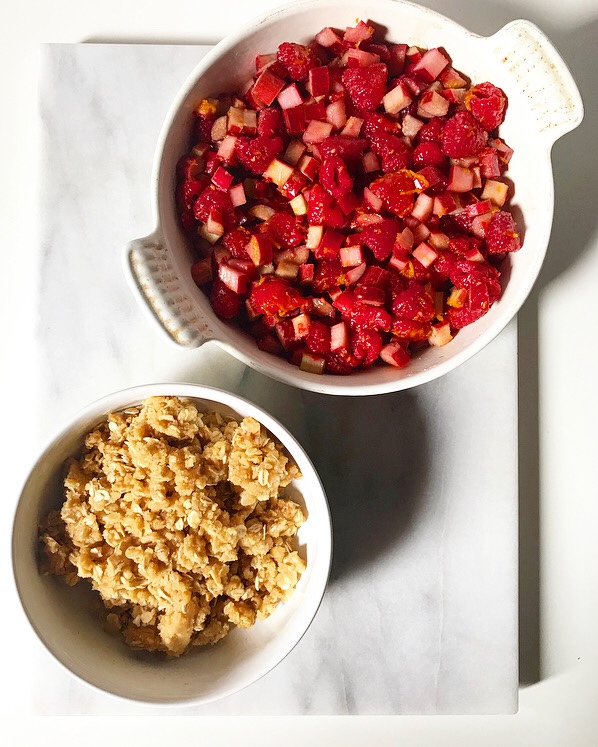
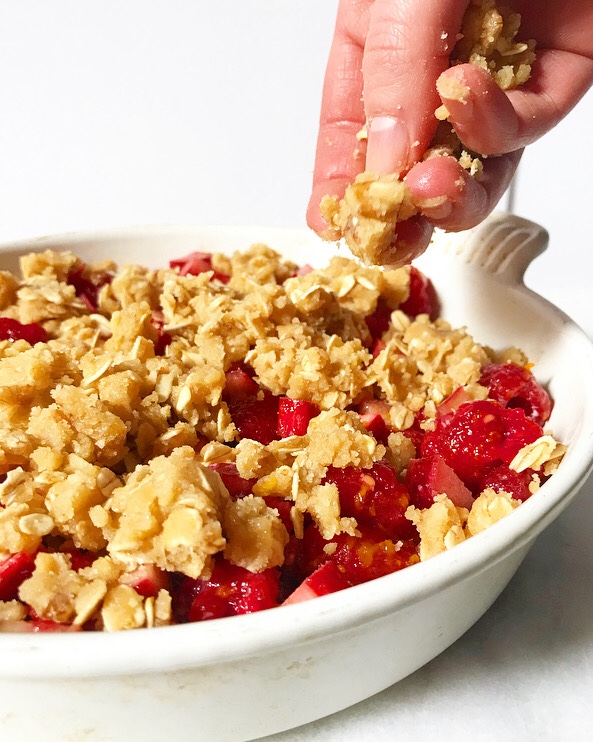
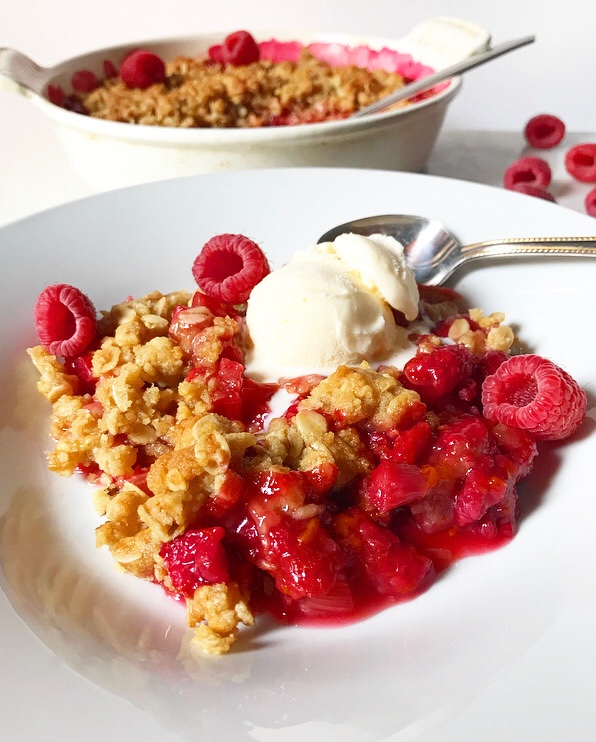
 Berries and rhubarb that can only be improved with hints of ginger and orange and clusters of buttery, brown sugary oat & walnut dough scattered over the top and baked until…well…crisp.
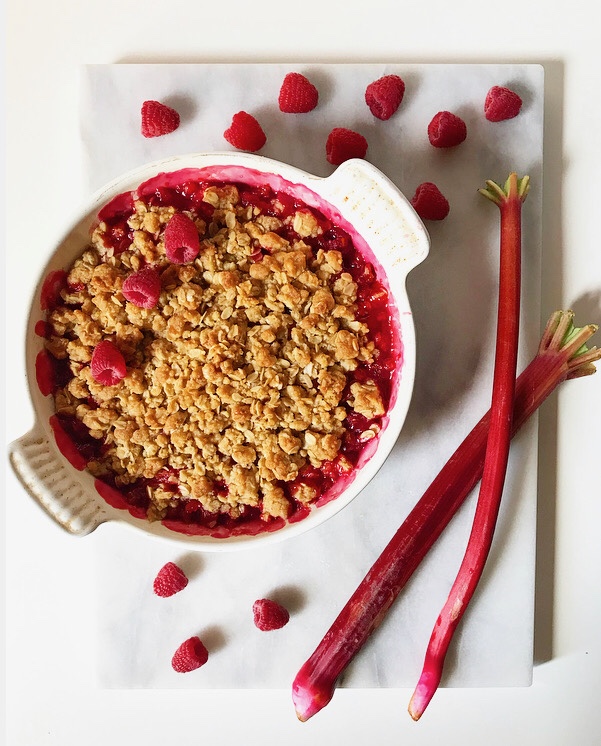
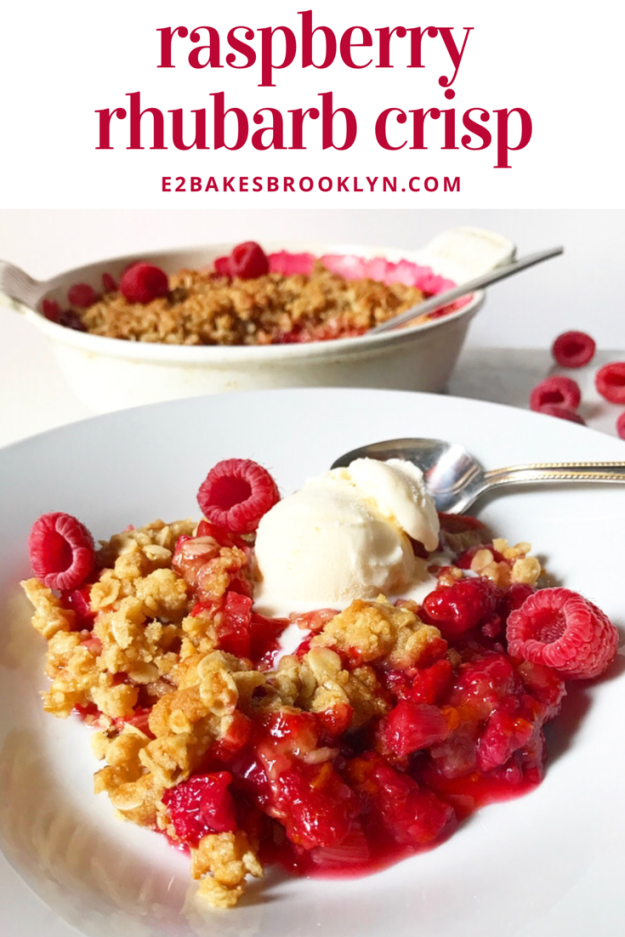
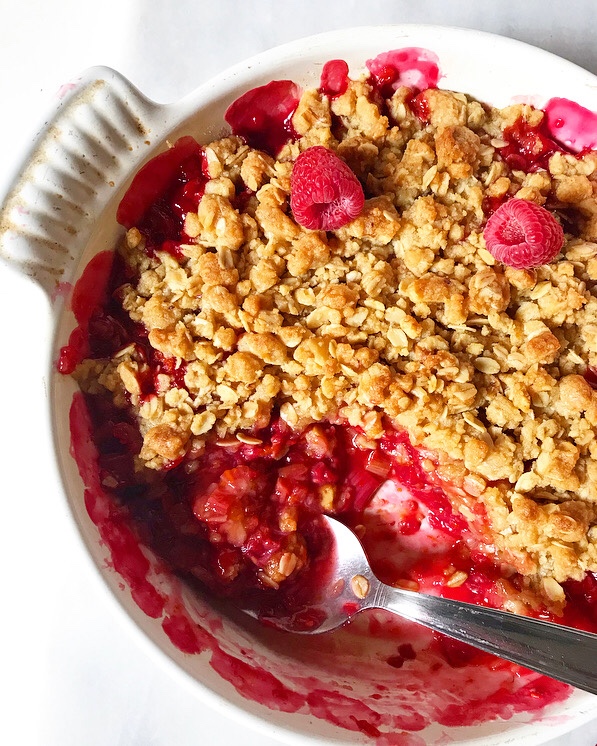 Sweet, tart, jammy, gorgeous, and seriously simple, this seasonal dessert can only be improved with a scoop of vanilla ice cream. The way it melts into the spaces between the fruit and the crisp topping is just…
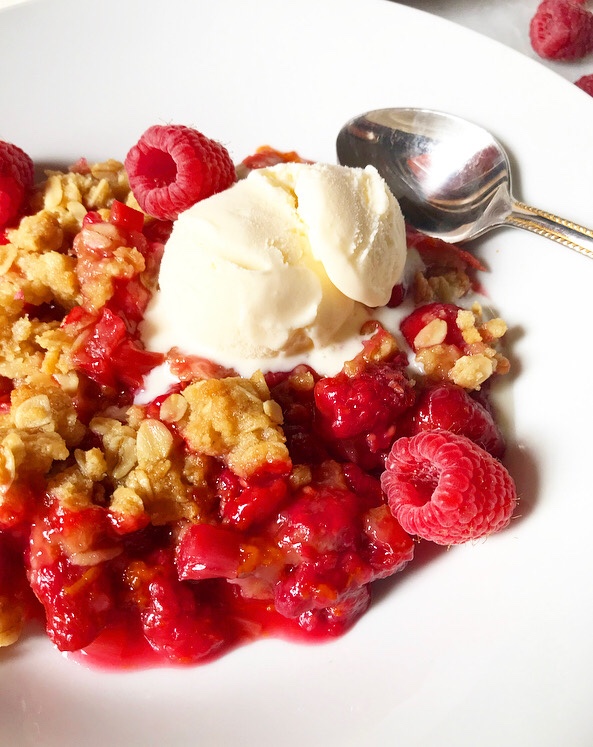 …well, I guess you’ll have to make the recipe and see for yourself.
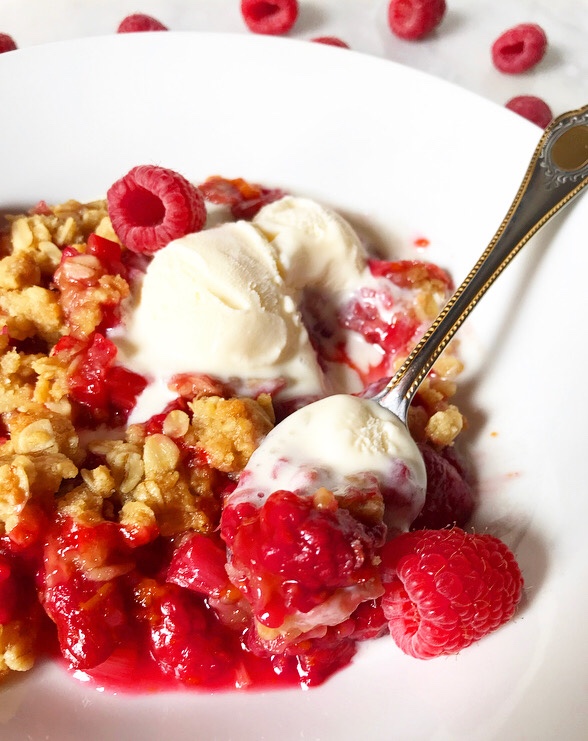
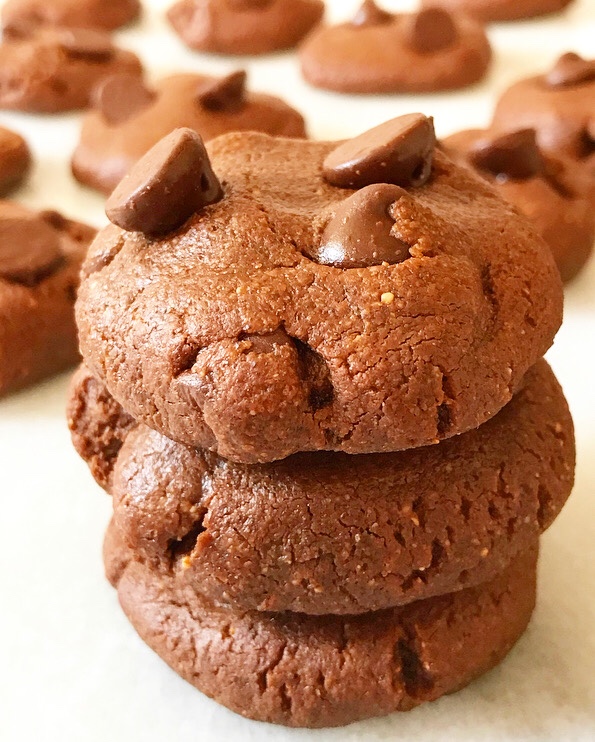
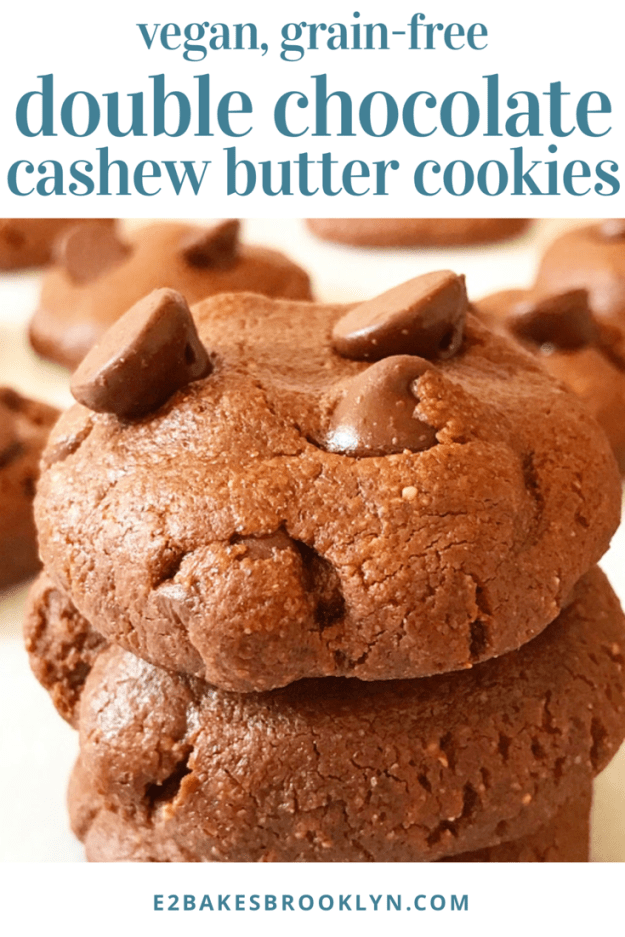
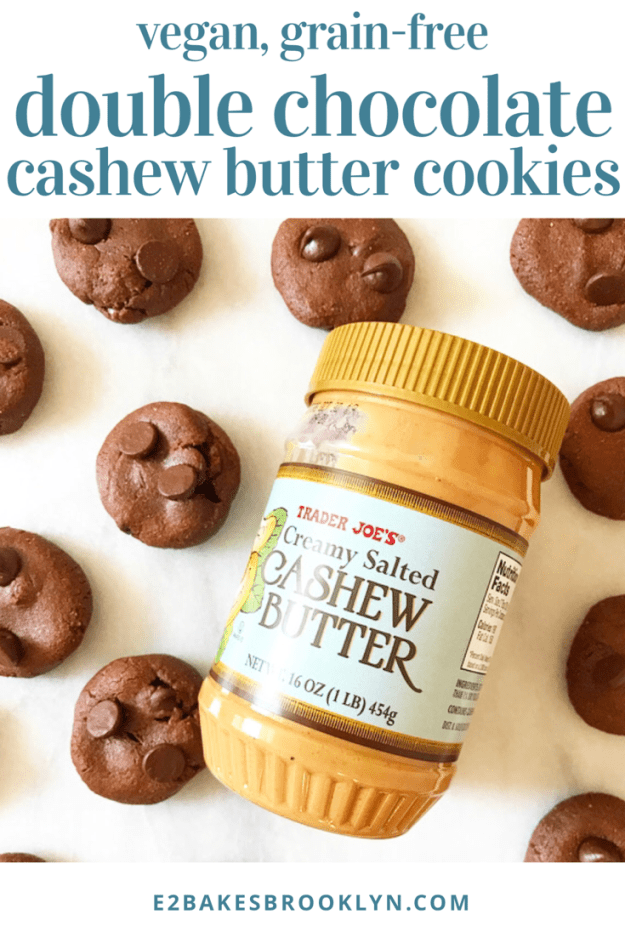
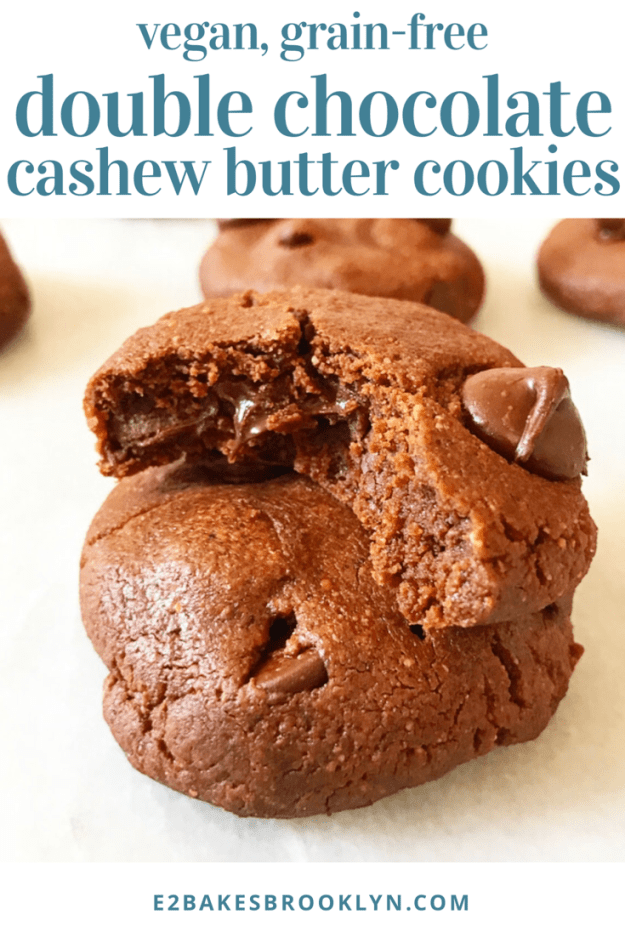
 I started dreaming of these Double Chocolate Cashew Butter Cookies when I posted their classic
  These thick, puffy, chewy chocolate cookies are so, so good. And vegan. And grain-free. And dead-easy. Just…what?! Give me alllllll the
 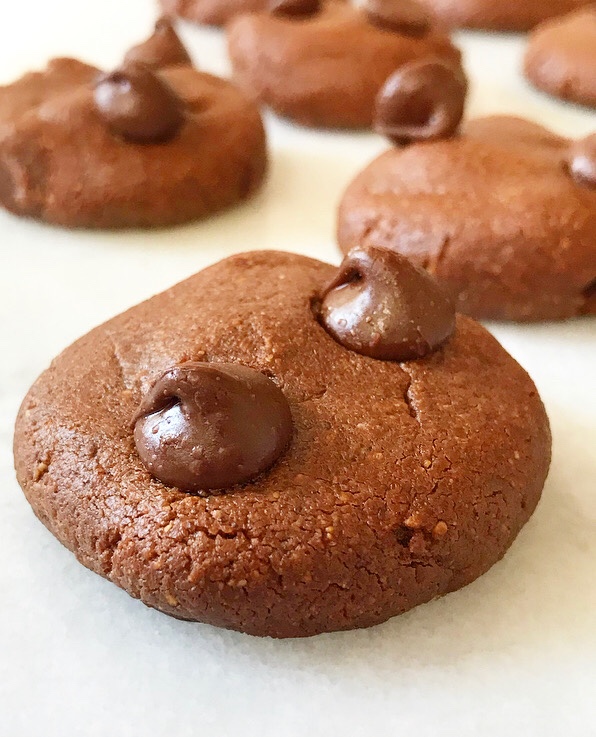 This is a one-bowl, no-mixer, no-chill, cookies-within-30-minutes-of-a-craving recipe. Oh, and should you have some modicum of self-control, these two-bite treats keep incredibly well at room temperature for upwards of a week. In fact, I think they get better as time goes on. The buttery cashew flavor mellows and melds with the cocoa and chocolate chips, and the results are brownie-like and wonderful ❤
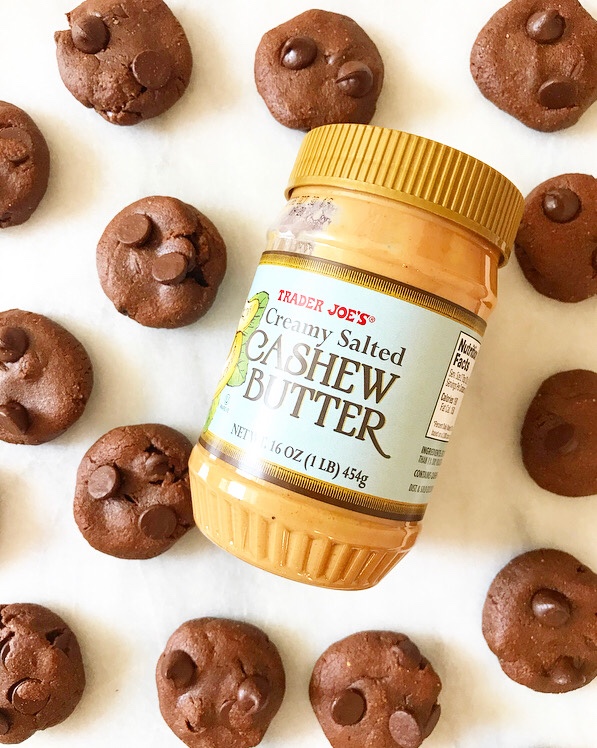
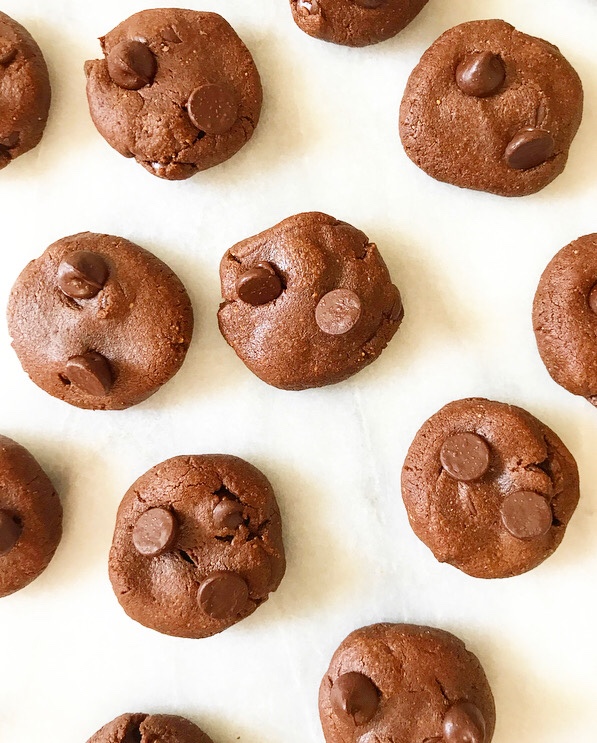 I find good quality, reasonably-priced cashew butter at Trader Joe’s, but if you don’t happen to live in a spot smack in between two TJ’s, never fear. I haven’t tried it, but I am 96% sure you could make these with well-stirred natural peanut butter. And honestly, I think the only way to improve this recipe would be to add peanut butter.
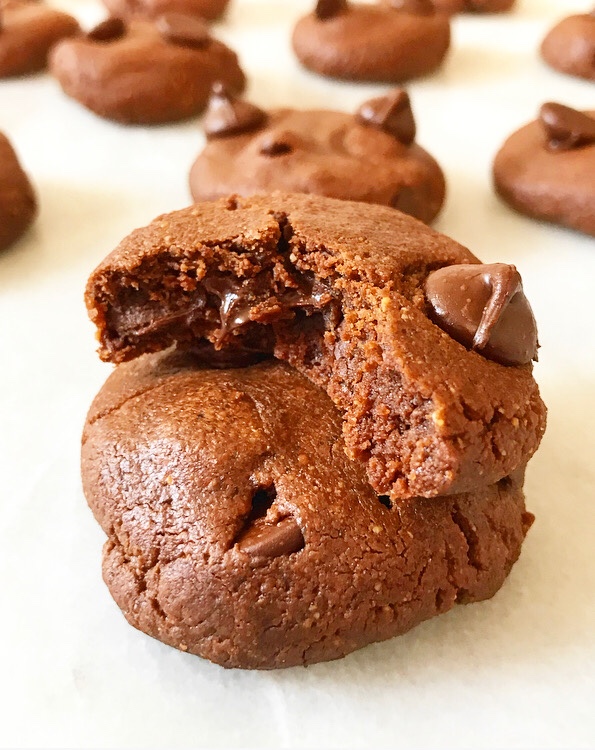
 I must have a thing for sweetened condensed milk right now—this is the third post in a row that requires cracking open a can of the good stuff.
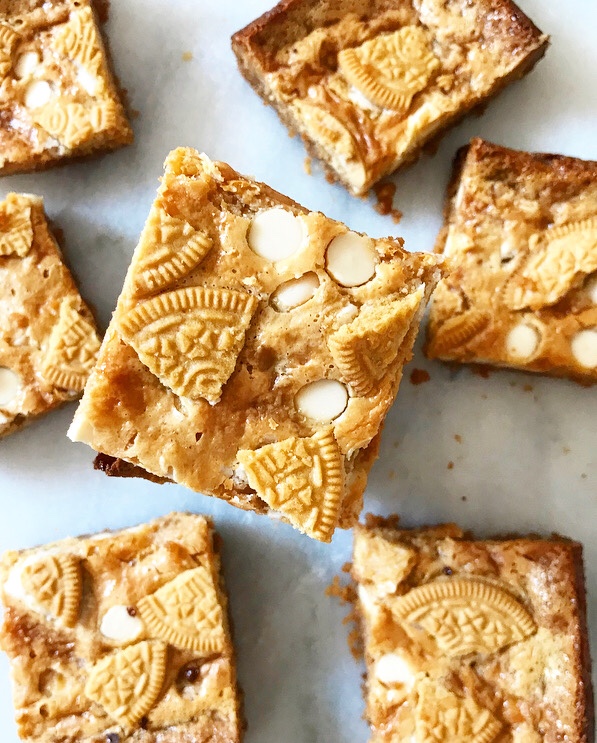 Can you blame me? It’s just so versatile! If you want something to be smooth, creamy, or structurally sound without a million ingredients, sweetened condensed milk is probably the ingredient you want. See exhibits
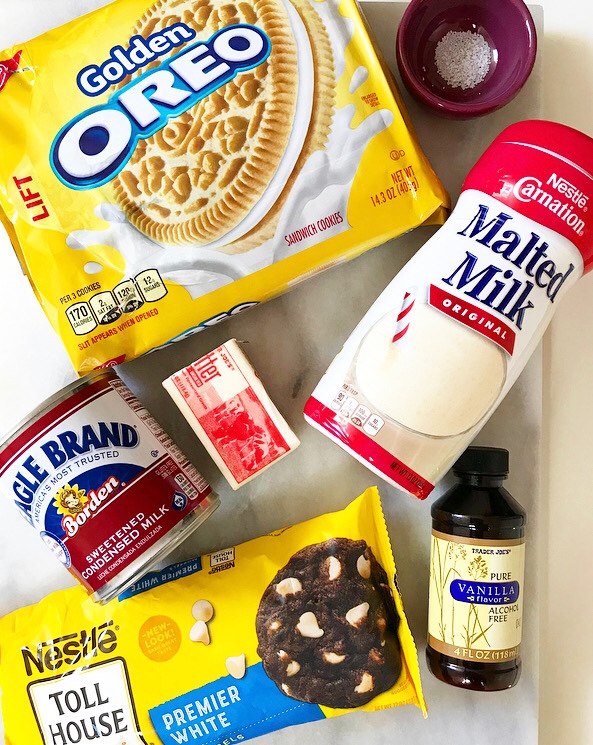
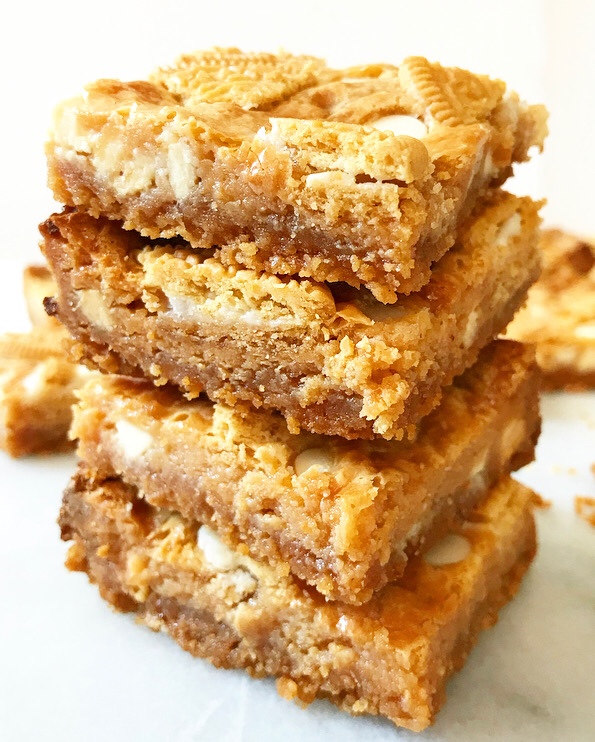
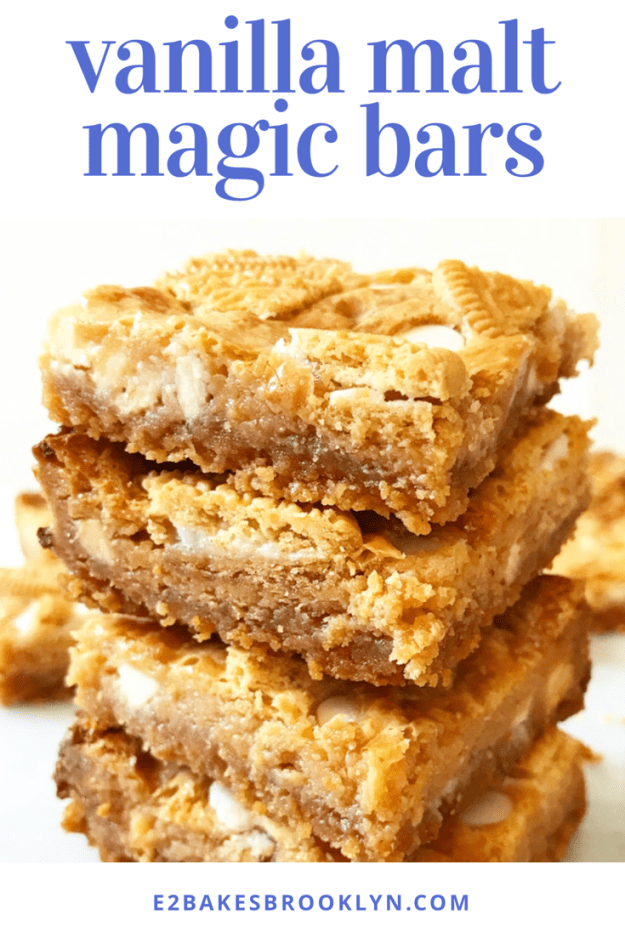
 Sweetened Condensed Milk is probably most popular as the key ingredient in Magic Bars (aka 7 Layer Bars, aka Hello Dollies). In those, it acts as a soft, chewy filling and a vehicle for various chocolate chips, nuts, and coconut. I don’t currently have a recipe for traditional Magic Bars—rest assured, you can find a million of them online—but I have taken the basic formula and put it on a
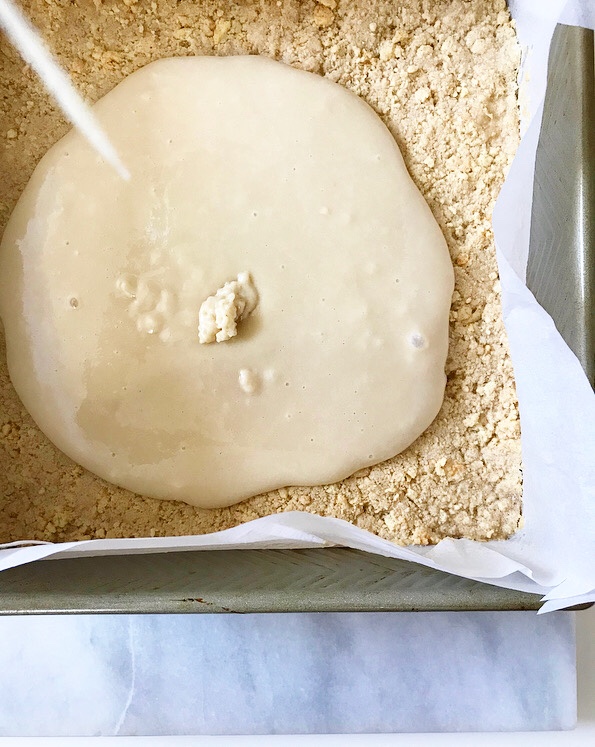
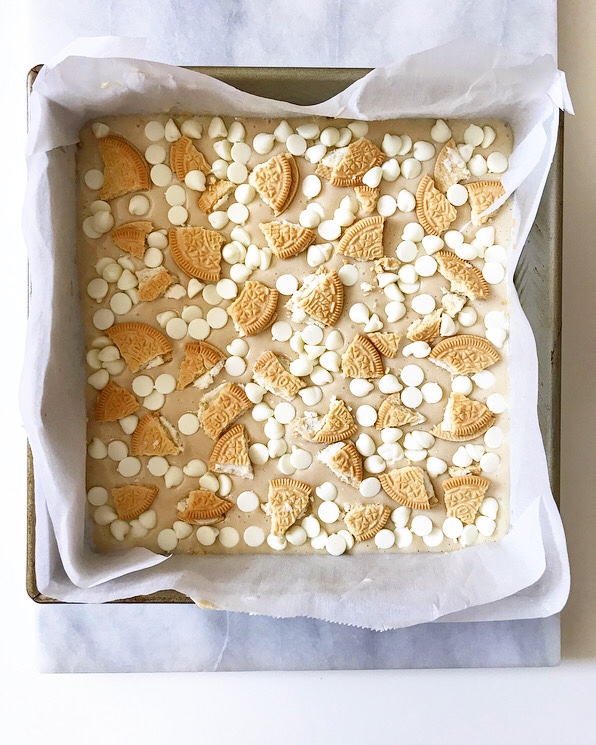
  That’s right—Vanilla Malt Magic Bars, y’all! They’re soft and chewy with a big vanilla malt flavor and a buttery cookie crumb crust. The filling is studded with white chocolate chips and broken pieces of Golden Oreo, and the tops are ever so slightly crackly thanks to the way sweetened condensed milk caramelizes in the oven.
 These bars require just seven ingredients and come together quickly and easily…again, because sweetened condensed milk makes things a snap.
 Oh, and they stay soft and delicious for days on end because…well, you know.
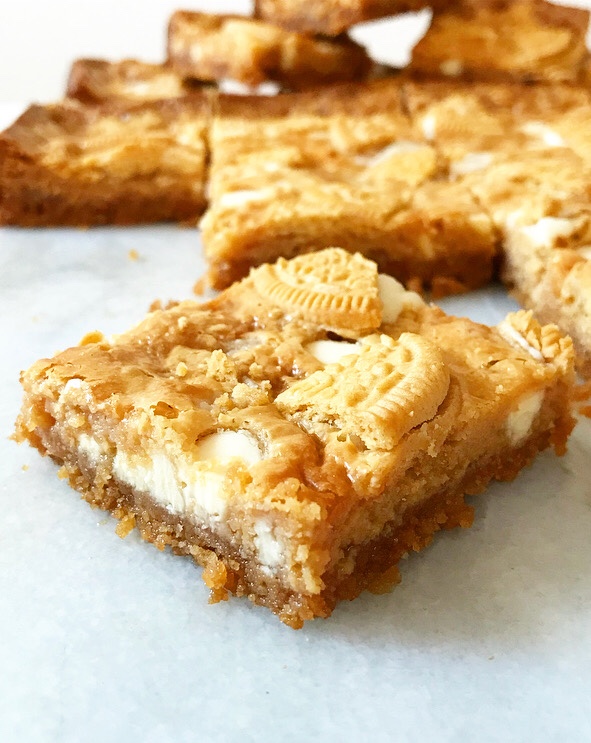


 I had no intention of making a third (or
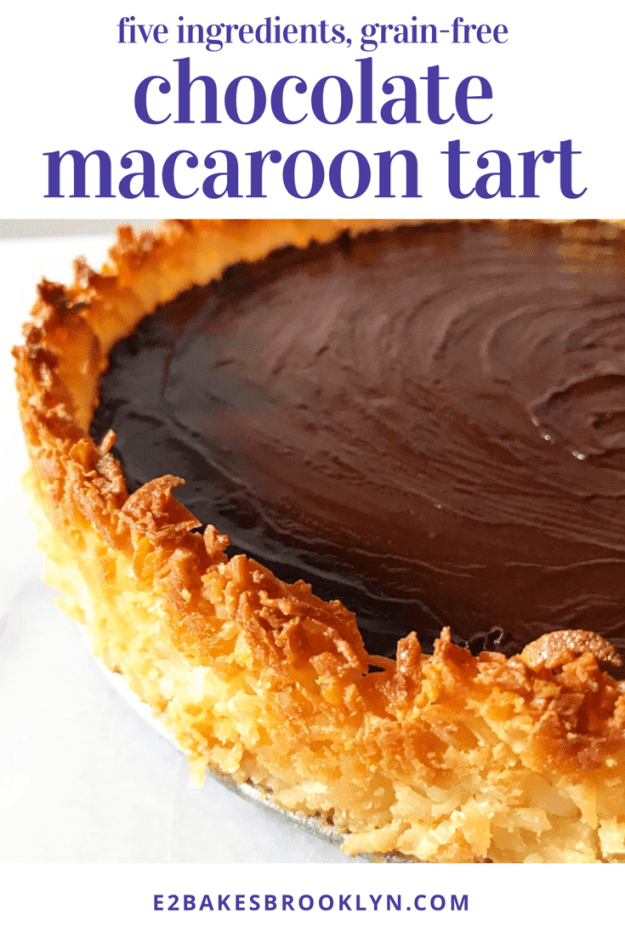
 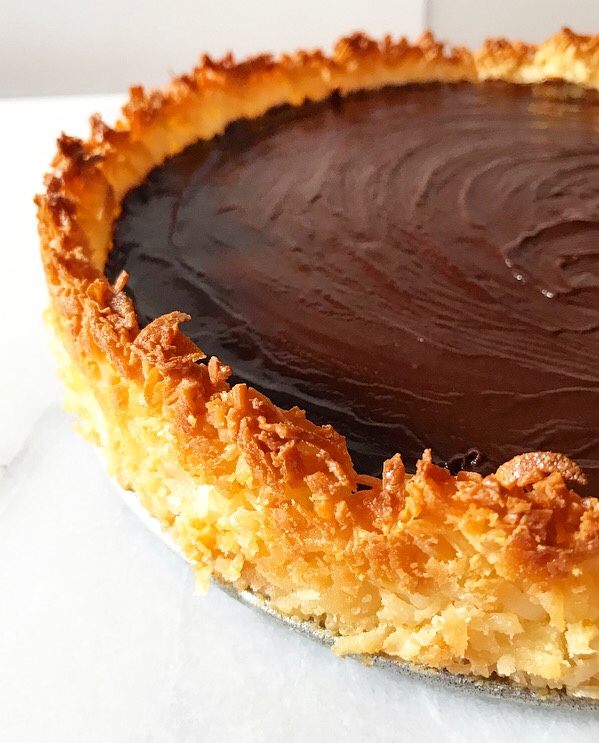 So, what’s so special about a macaroon crust? For one, it’s basically a big chewy, crisp-edged coconut macaroon cookie that you can bake and fill with whatever no-bake filling you like.
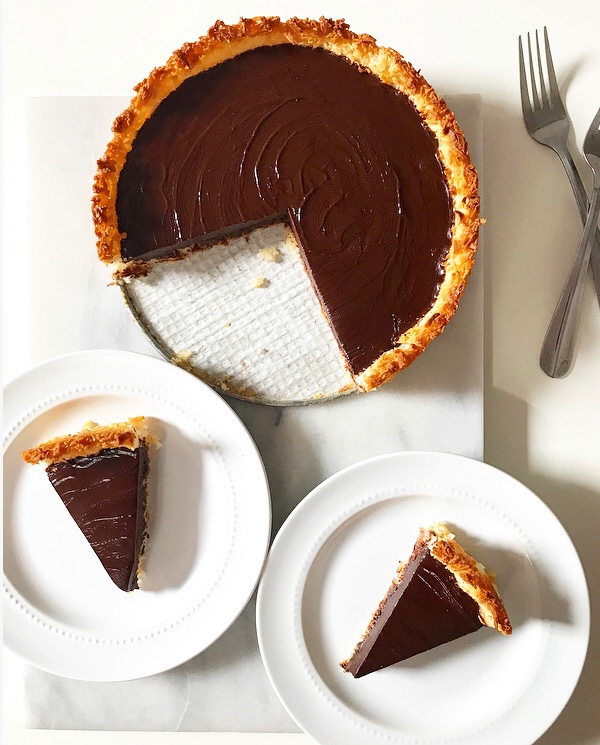 There is no “for two.” It’s that simple.
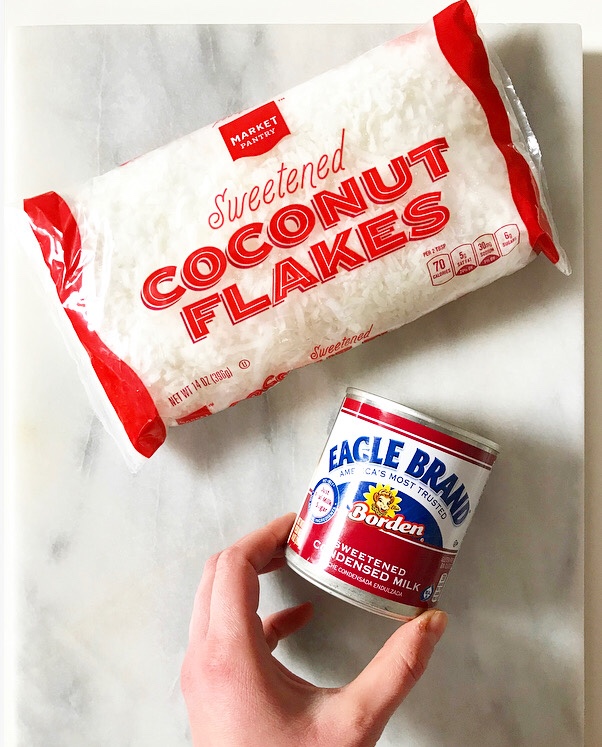 Now, there are many ways to make a macaroon crust. Some have flour, some contain egg whites. I looked at a few options before realizing that it would probably work with just two ingredients: sweetened flaked coconut and sweetened condensed milk.
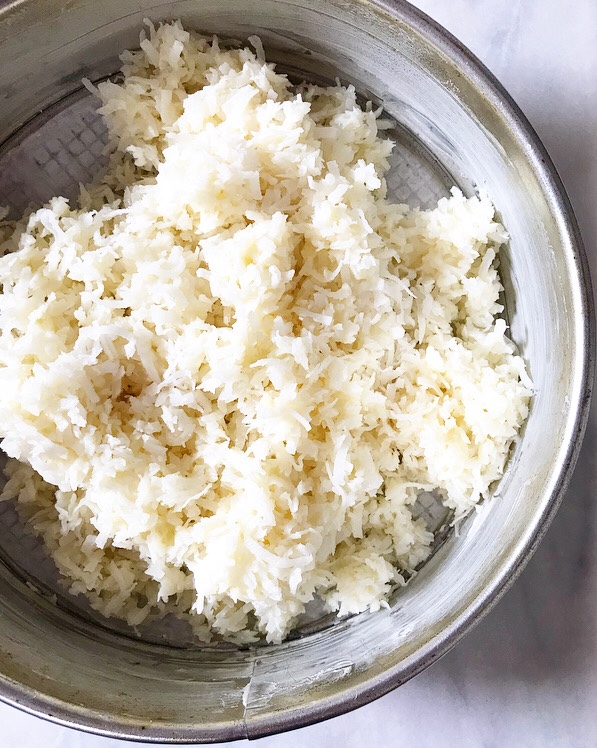
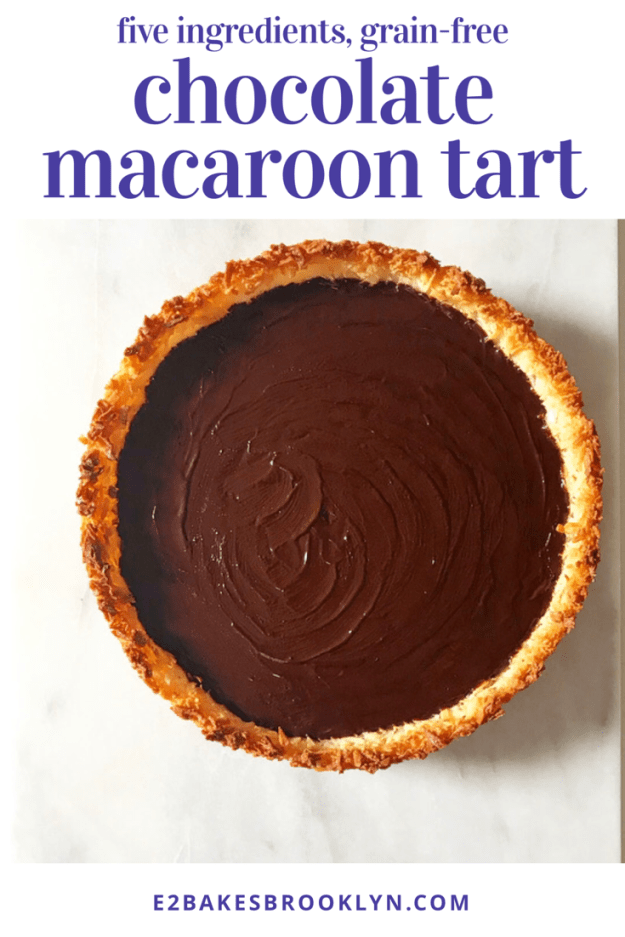
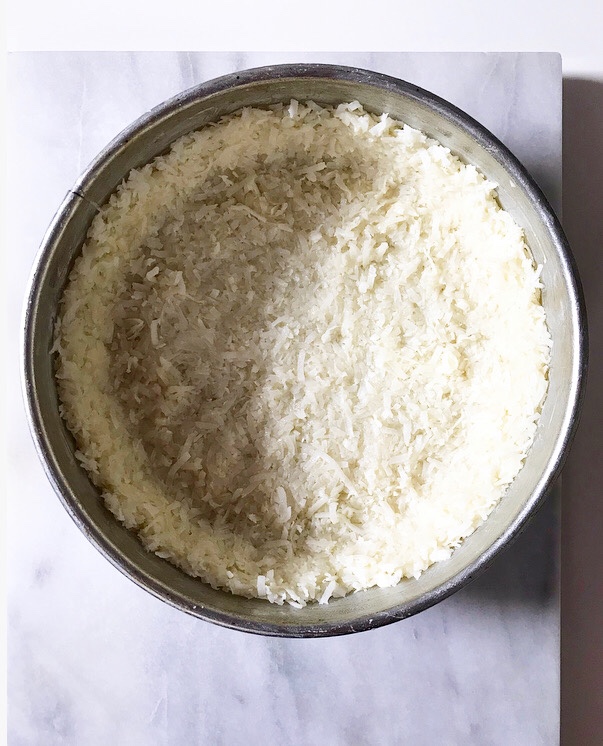 I folded the ingredients together and pressed the mixture into a heavily-greased springform or tart pan.*
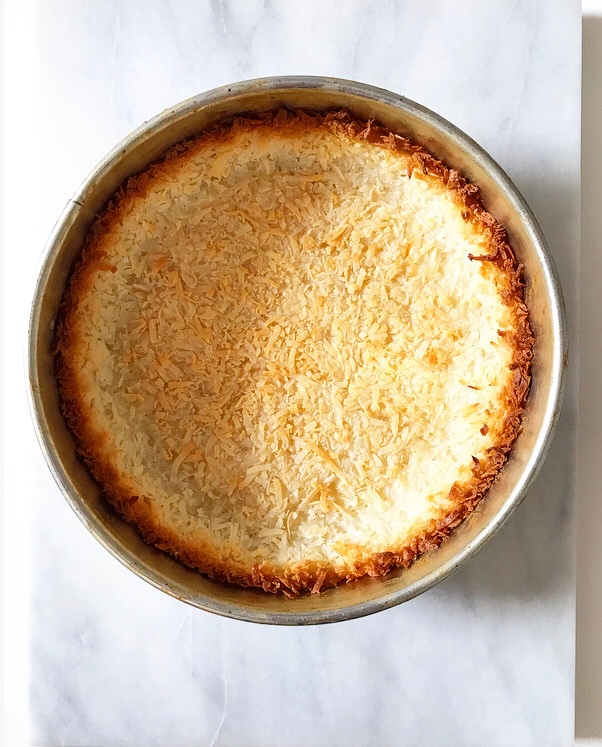 Half an hour later, it was toasty at the edges and light-golden in the center.
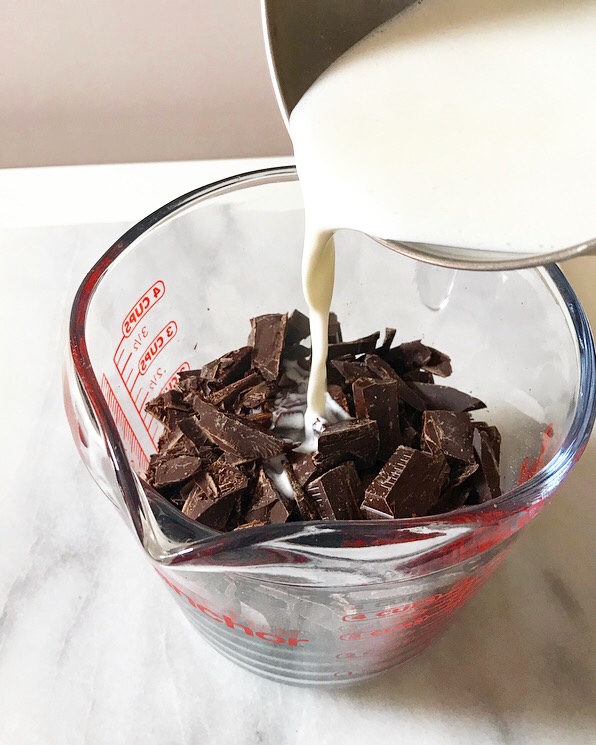
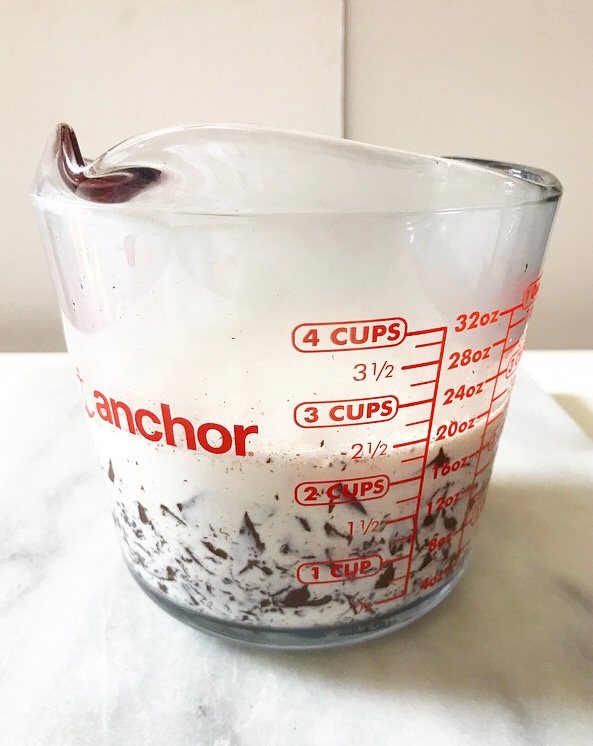
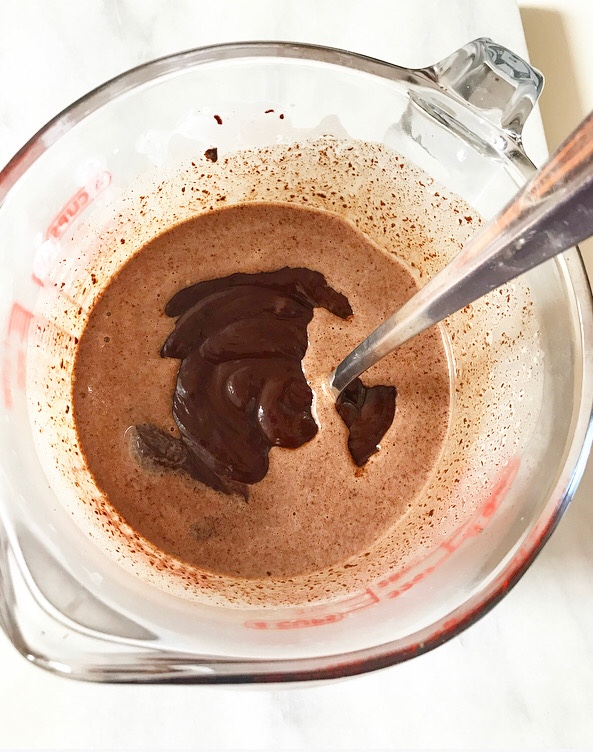

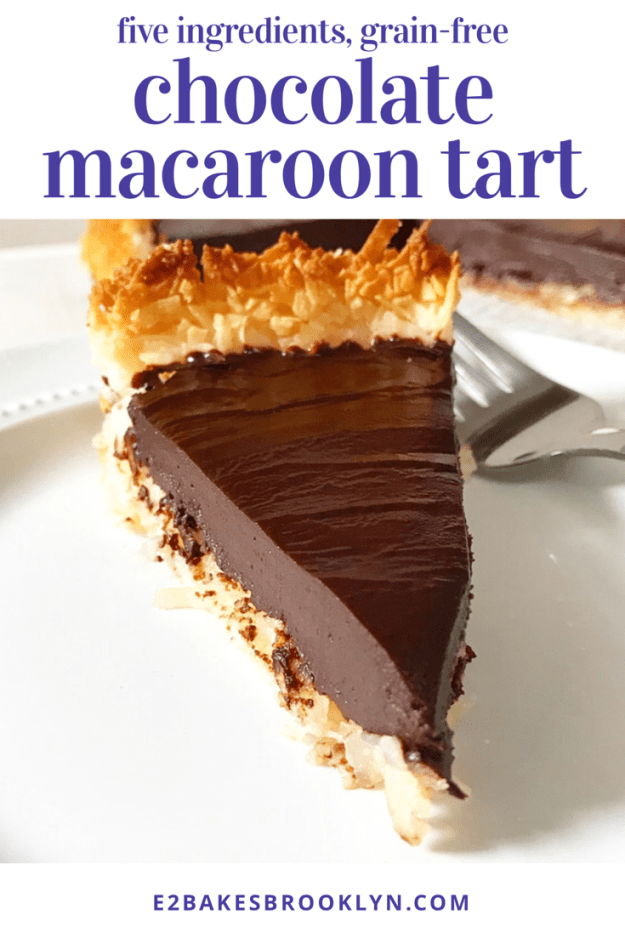
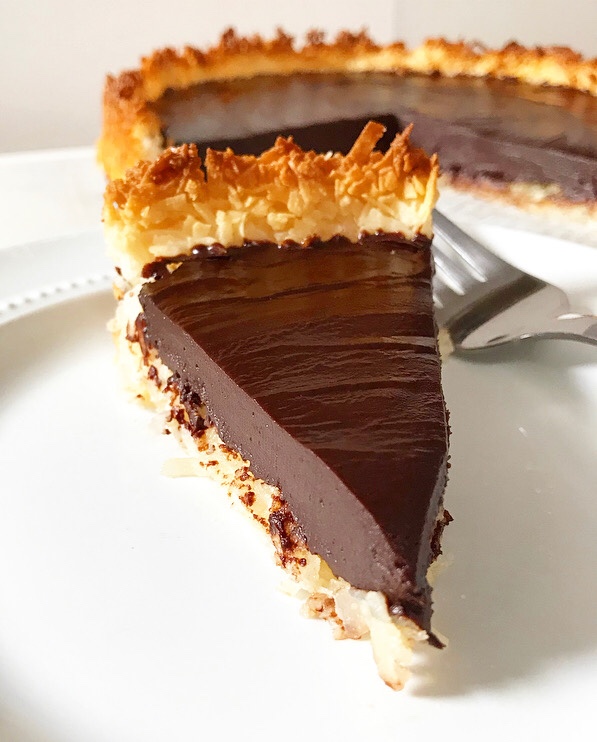
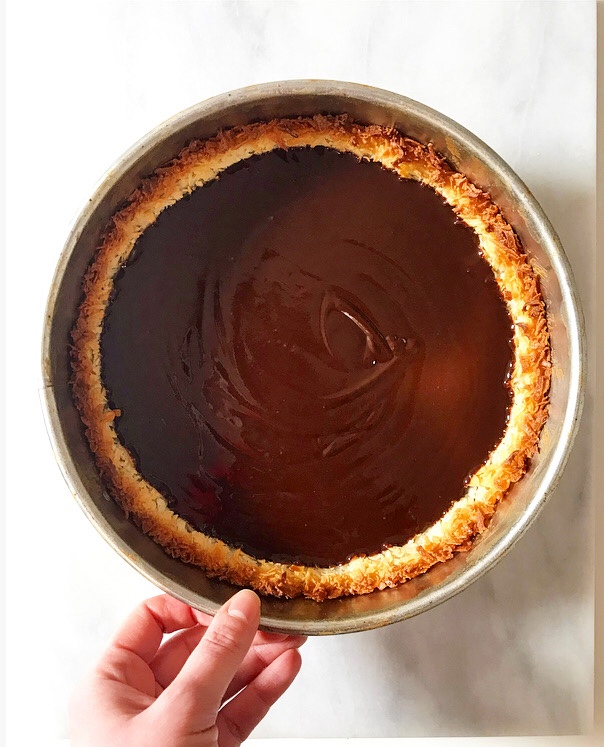 I filled it with chocolate ganache and let it set up in the fridge before slicing.
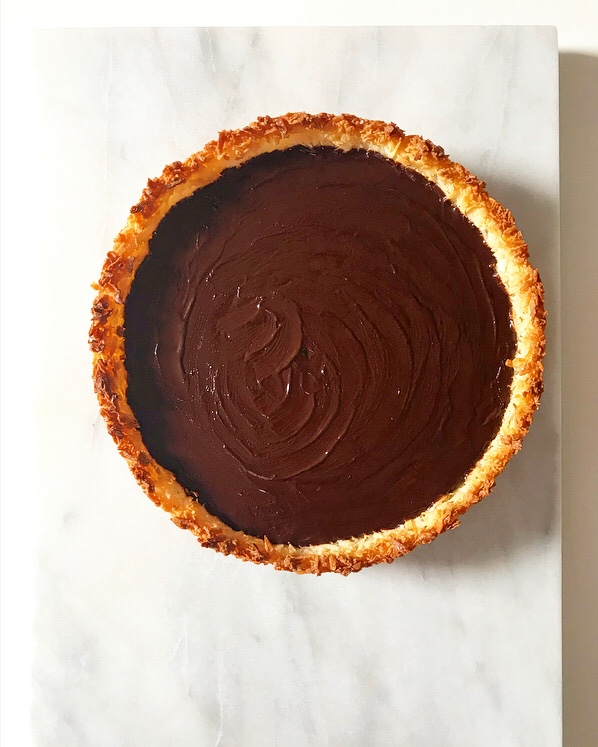 (I also gave it a few swipes with the back of a hot spoon for some rustic glossiness and because I am a control freak.)
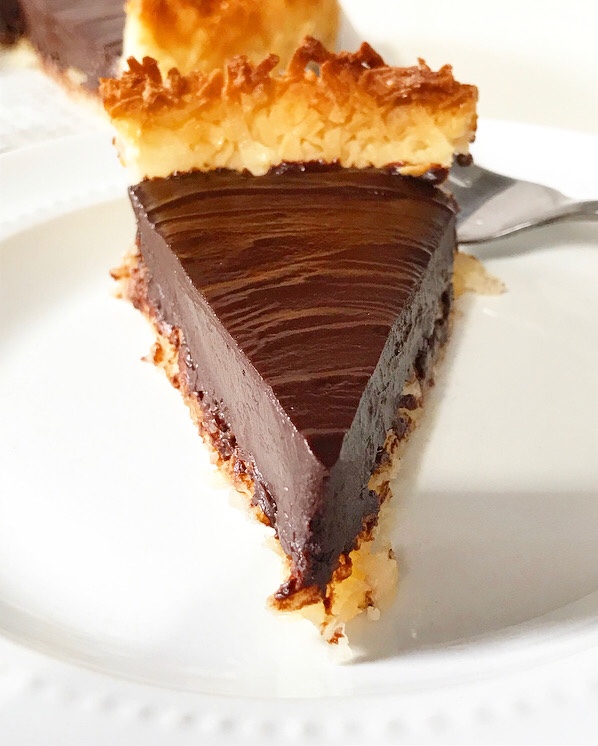 Who knew five Ingredients and no grains could make something this irresistible?! Silky chocolate ganache filling + toasty coconut crust 🙌🏻🙌🏻🙌🏻
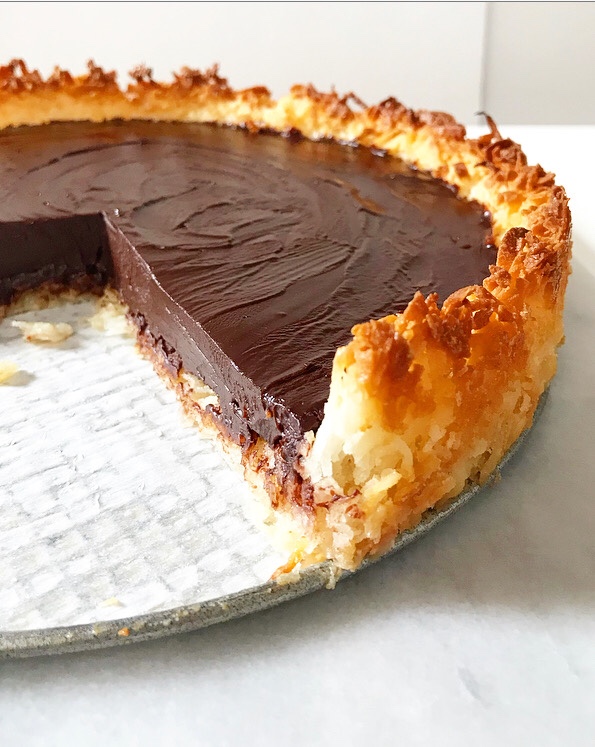 It’s like eating a chocolate-coconut candy bar…but classier because it’s a tart. We all know how much classiness matters when you’re sneaking cold wedges of Chocolate Macaroon Tart out of the fridge after your bedtime. Not that I’ve ever done that. Twice. On the same night.
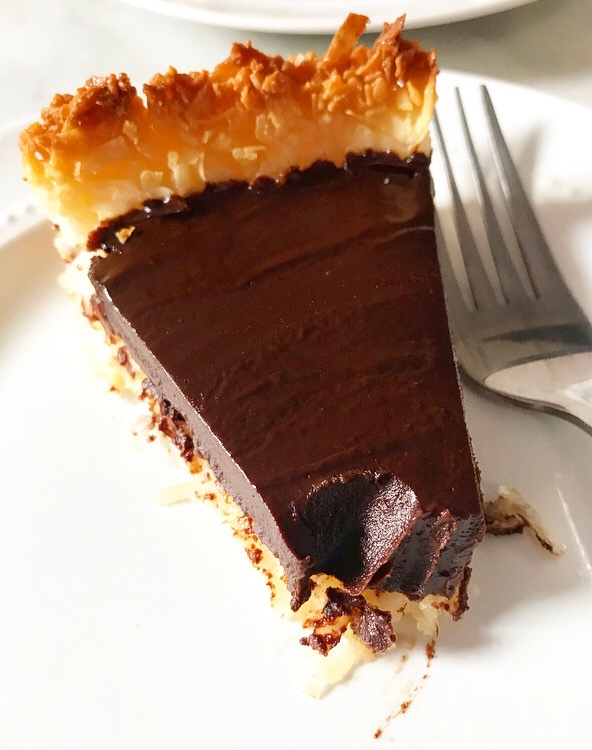 Happy
Happy