Happy Christmas week! Happy Solstice! Happy almost the end of 2020!
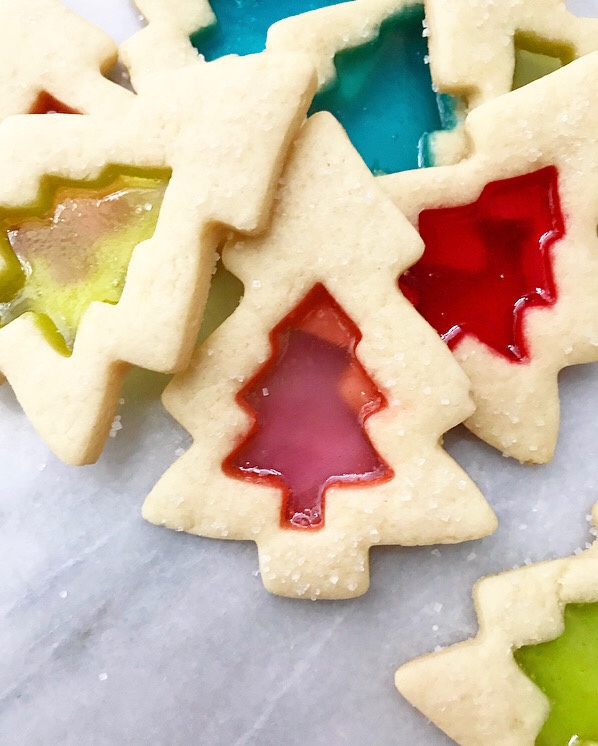
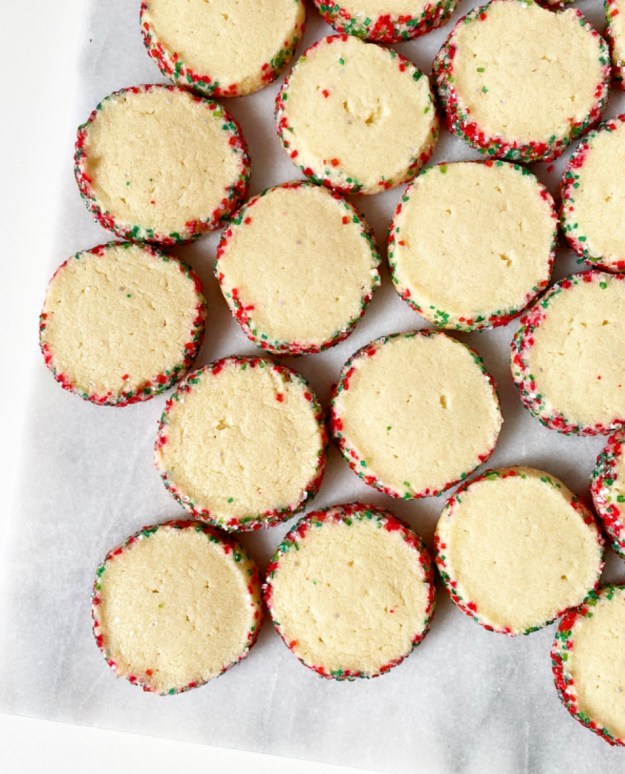 I’m coming at you on this winter Monday to give you one last cookie recipe before Christmas. Don’t worry, it’s super easy—just a slice & bake shortbread that’s been rolled in sparkling sugar so it looks *fancy.* And it is. But it’s also stupendously easy. I don’t know about you, but when it’s four days before Christmas, I only have time for things that are stupendously easy.
 This dough is super rich and buttery, and comes together in 15 minutes. Once mixed, divide it in two and shape each half into a log. Don’t worry about perfect round shaping—you can fix flaws after an hour-long chill. It’s much easier to form smooth shapes when the dough isn’t so pliable.
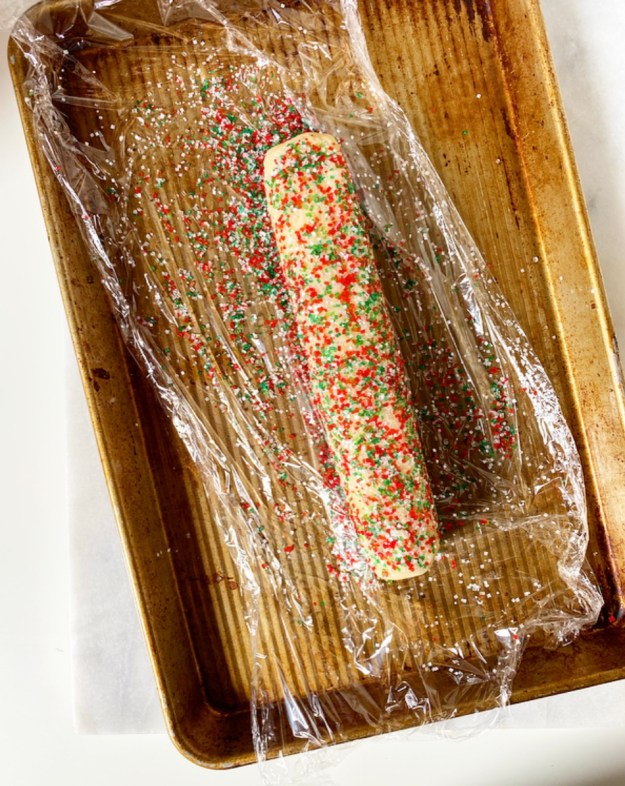 Next up, coat your shortbread in sparkling sugar! Working with one log at a time, give your shortbread a few rolls to even out any odd shaping. Then, roll them in a few tablespoons of festive sparkling sugar (this is the Mistletoe Blend from NY Cake Supply). I find it easiest to coat the shortbread by using my hands and a sheet of plastic wrap. Just do your best with this and don’t worry about perfection—these will all be a little different and they will all be gorgeous.
Don’t have sparkling sugar? Use sprinkles. I recommend using jimmies (the cylindrical kind) instead of non-pareils (the little balls), as those will bleed their colors.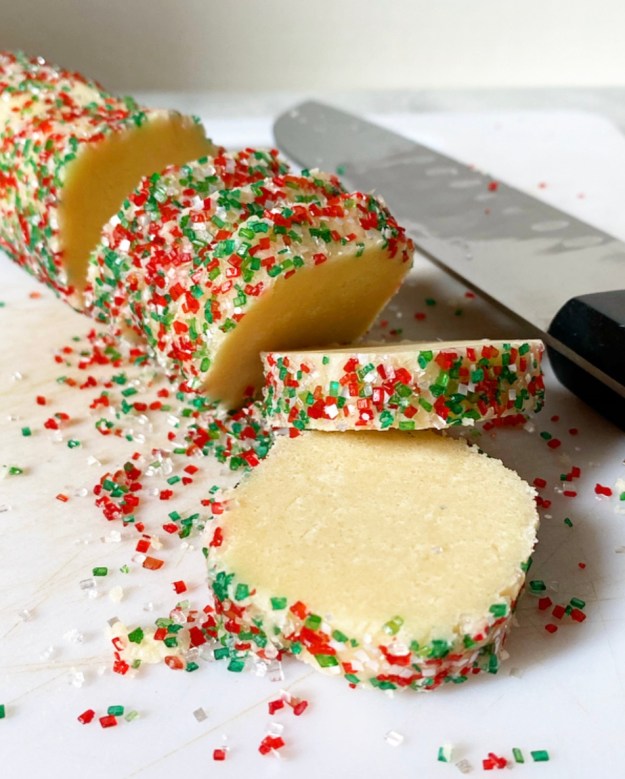 After coating, the shortbread will need another hour chill. I know—I know!—two chills are too many, but they are easily the most annoying part of this recipe. One upside, however, is that this means you can make the Sparkling Shortbread dough days in advance and then slice & bake when you have time.
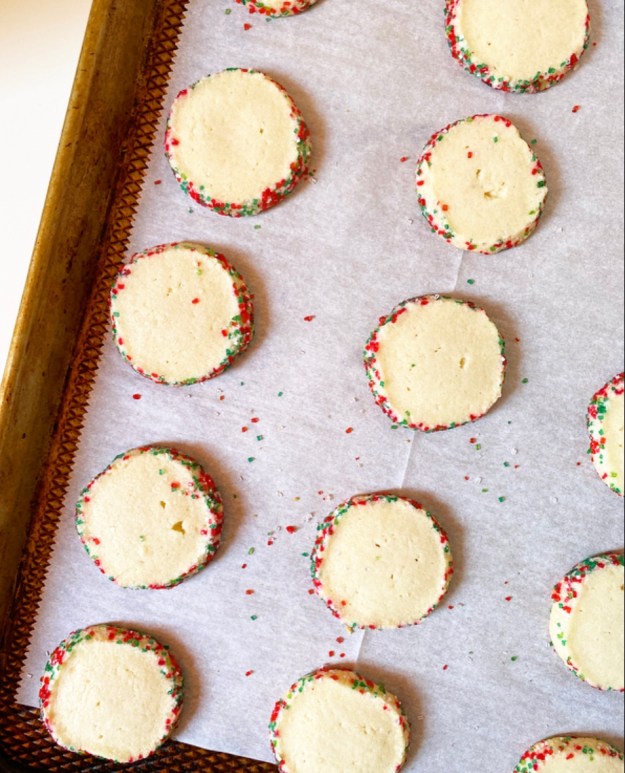 When it’s time to bake, slice the dough in 1/4-inch rounds and bake for 20 minutes at 300F, so they’re fully done but not brown. Despite not containing any leaveners, these cookies will puff and spread (but not too much).
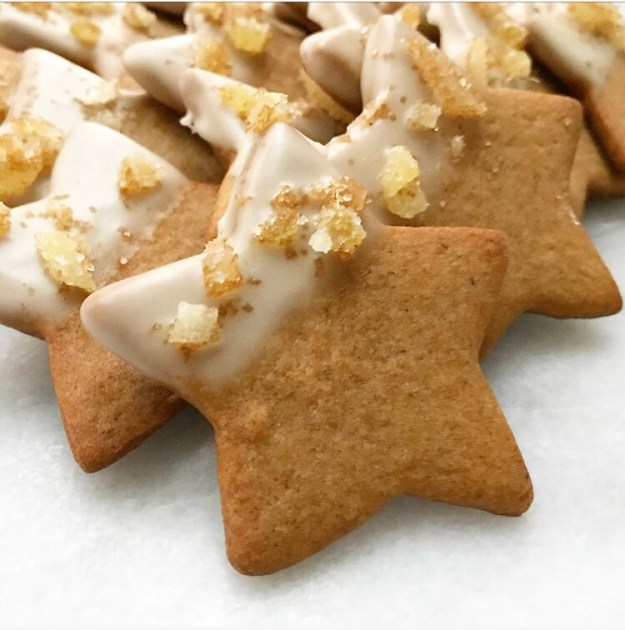
 Once the shortbread are baked and cooled…well, that’s it! Time to eat. Sparkling Shortbread are crisp and buttery with a little extra crunch and zazz from their sugared edges. Truly, they’re so simple and stunning that I don’t know why you’d bother to make any other cookies this close to Christmas. Keep a few for yourself, drop a few off with a friend and leave a few for Santa. Everybody needs a little sparkle right now.
 There’s only one more E2 Bakes recipe left this year, and it’s coming up Wednesday! Any guesses???
Sparkling Shortbread
makes about 3 dozen cookies
1 cup (2 sticks) unsalted butter, softened to room temperature
1/3 cup granulated sugar
1/3 cup confectioner’s sugar
1/2 teaspoon pure vanilla extract
1/4 teaspoon Kosher or sea salt
2 cups all-purpose flour
For coating:
6-8 tablespoons (about 3 ounces) coarse sparkling/decorative sugar
Place softened butter in a medium-large mixing bowl and use an electric mixer to beat it until light and fluffy, about 1-2 minutes. Add dark brown and confectioners sugars and mix until fluffy. Mix in vanilla and salt. With the mixer on low, beat in flour. Dough will be crumbly looking, but should hold together very well when pinched.
Divide dough in two parts. Form each into a 9-inch log and wrap in plastic. Don’t worry if they aren’t perfectly round. Chill for 1 hour.
Line a small sheet pan or a surface with a sheet of plastic wrap and place 3-4 tablespoons of sparkling sugar on top. Unwrap one log of dough. Give it a few light rolls to form more of a round log shape. Place dough on top of sugar and use your hands and the plastic wrap to coat the log in sparkling sugar. Wrap in plastic and refrigerate for 1 hour or up to 3 days. Repeat this process with remaining log of dough and remaining sparkling sugar.
Place oven racks in central positions. Preheat oven to 300F. Line 2 rimmed sheet pans with parchment paper.
Unwrap one log of dough and place on a cutting board. Use a large, sharp chef’s knife to slice log into 1/4-inch rounds. Place at least 2 inches apart on prepared pans.
Bake cookies for 20-22 minutes, or until no longer shiny but not brown at all. Let cool on the pans for 10 minutes. Use a thin spatula (not your fingers!) to remove cookies to cooling racks to cool completely.
Serve. Leftovers will keep in an airtight container at room temperature for several days.


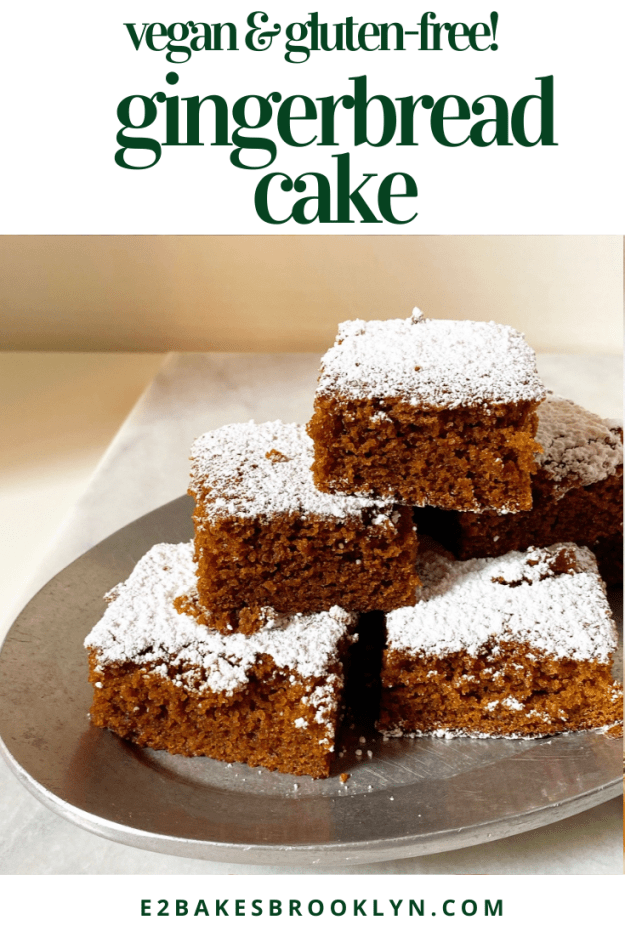
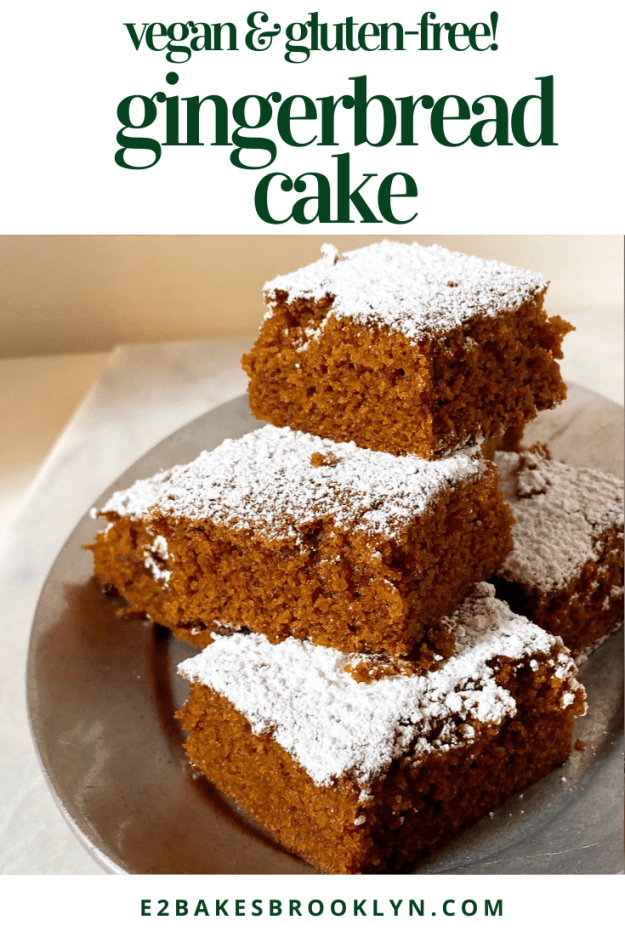
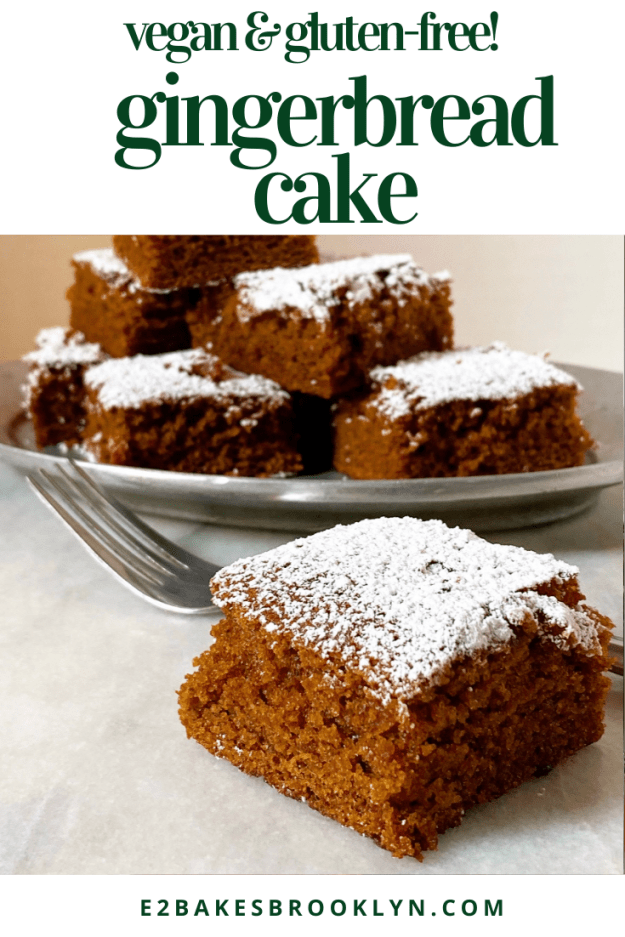
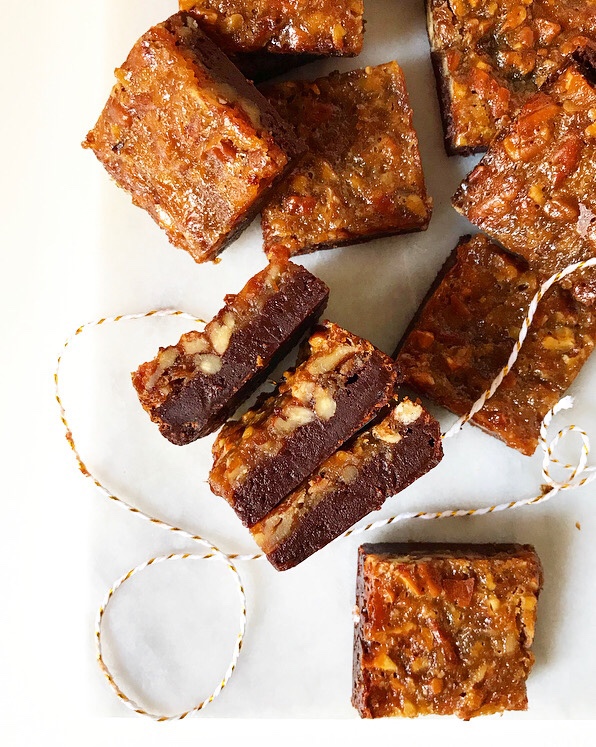
 My friend, VJ, loves gingerbread. Loves it. She speaks often about how before she had to stop eating gluten and went vegan, her grandma used to serve hers with canned peaches and whipped cream. While I am not much for canned peaches, the
  Over the years, VJ has asked me to make gingerbread cakes for various milestones and occasions, but I have mostly failed. I even failed this past Thanksgiving! Too greasy, too dry, vaguely tarry, completely flavorless—I’ve made all the gingerbread cake failures under the sun. Let’s not discuss the occasion on which she had to serve store-bought ice cream cakes (that she couldn’t even eat!) at her own party because my attempt at this cake was so vile.
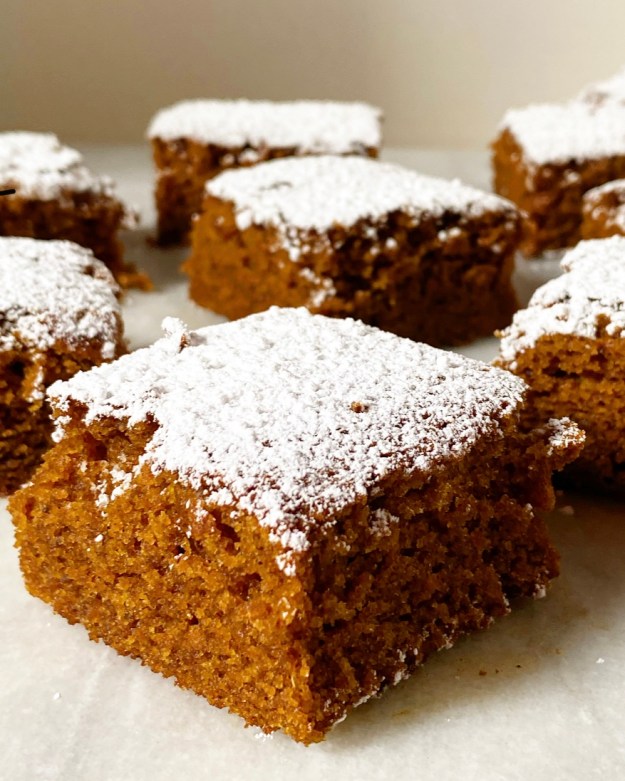 It’s not just because I like to have a gluten-free vegan item on my holiday line-up every year (which I do). It’s that VJ’s 40th birthday is next week—you know I can’t let my favorite gluten-free vegan’s milestone birthday pass without cake. No way. Not rain, nor sleet, nor masked and distanced delivery will stop me from getting this cake to her on December 23rd.
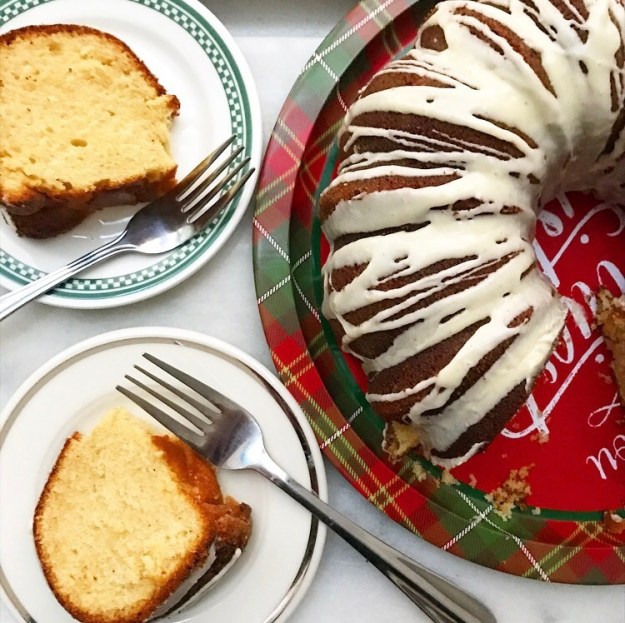
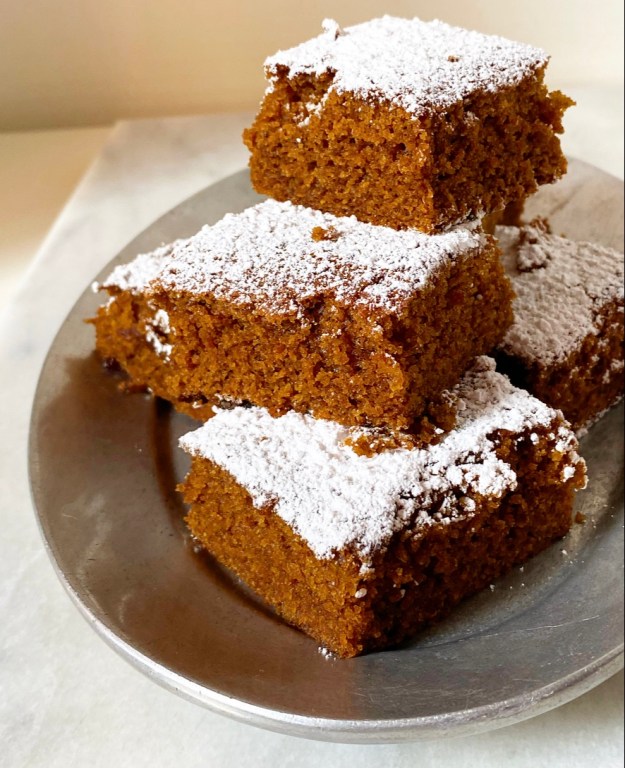 Holy crap, y’all, this is good. Super moist with nothing to distract from its deep dark flavor, it’s better than most traditional flour, egg and dairy-based gingerbreads I’ve had. It’s definitely not better than VJ’s grandma’s though, because nothing is ever better than grandma’s. Believe me, I’ve tried to out-do grandmas and it never goes well. But anyway…
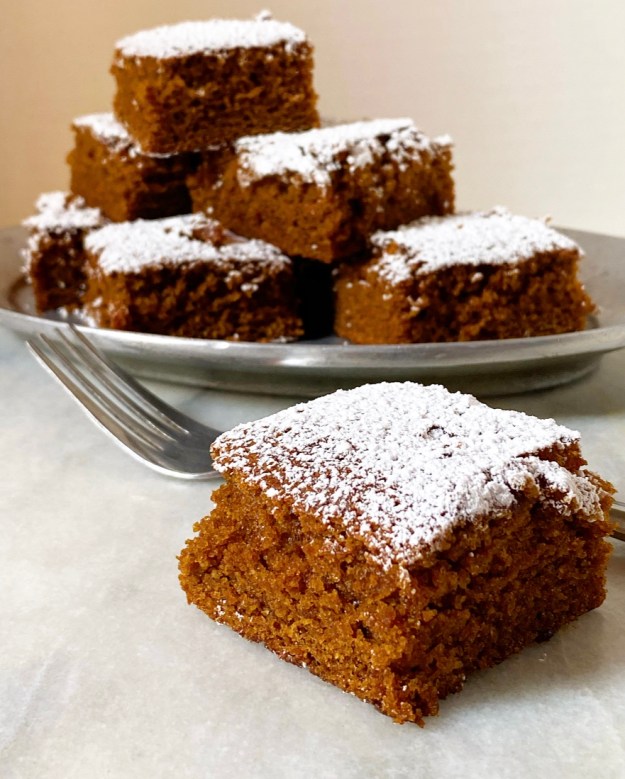
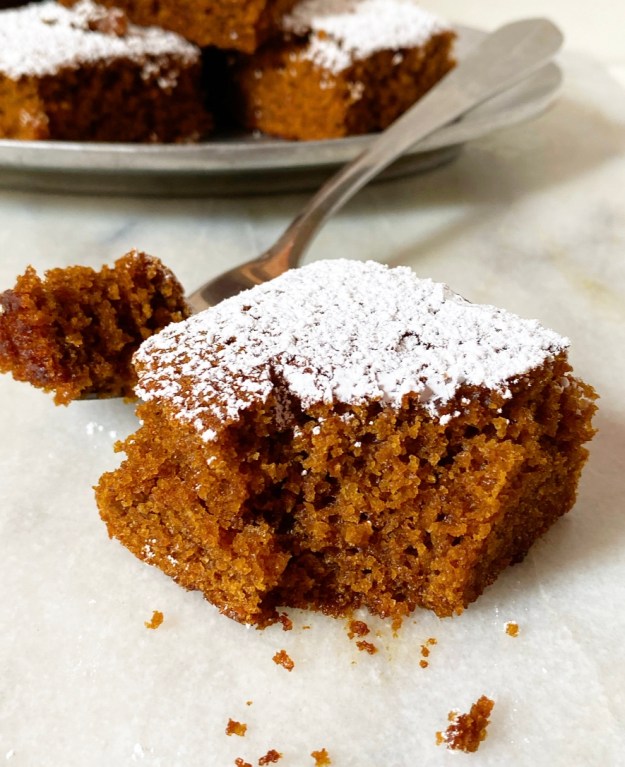 This Gingerbread Cake tows the line somewhere between holiday dessert and wintry everyday cake. It doesn’t need a blanket of frosting (although I think a little vegan
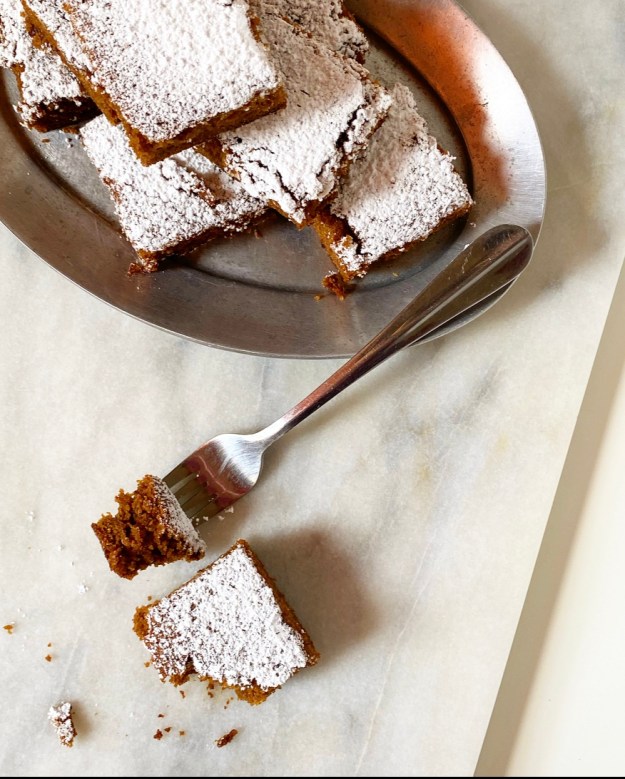
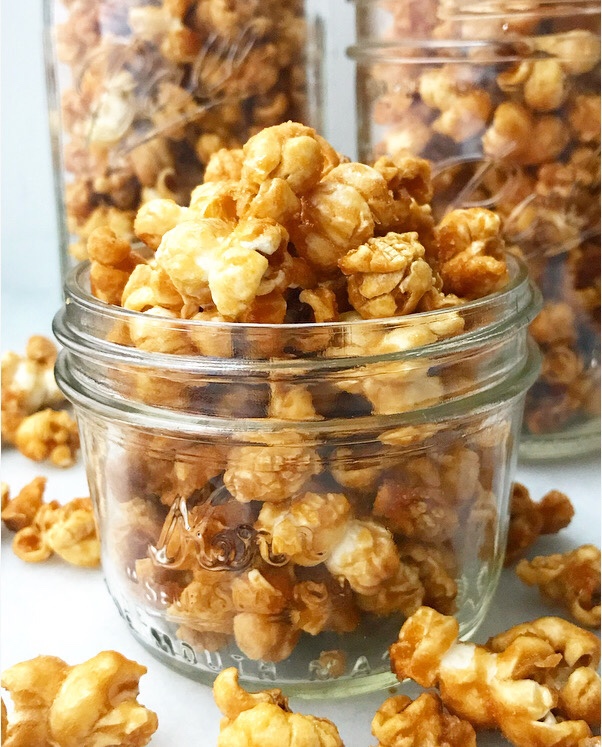
 I know what you’re thinking. “Hasn’t Caramel Sauce already been
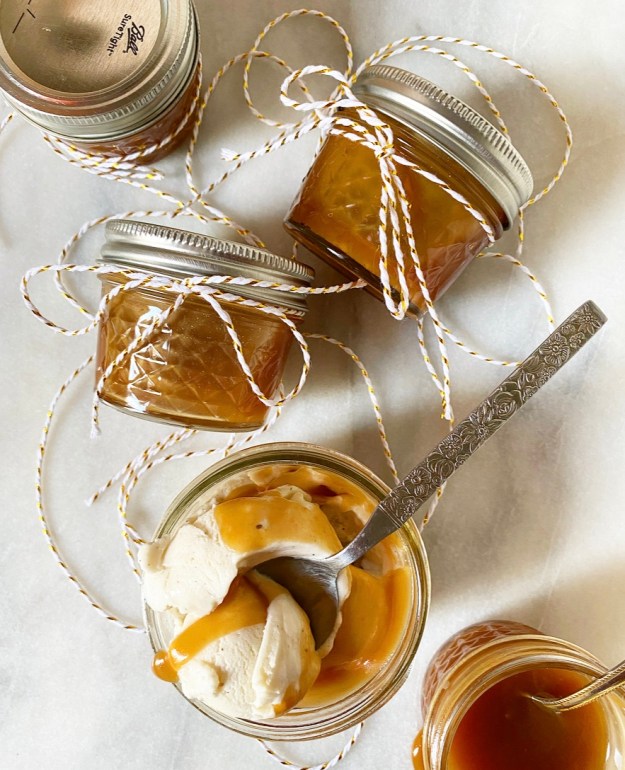
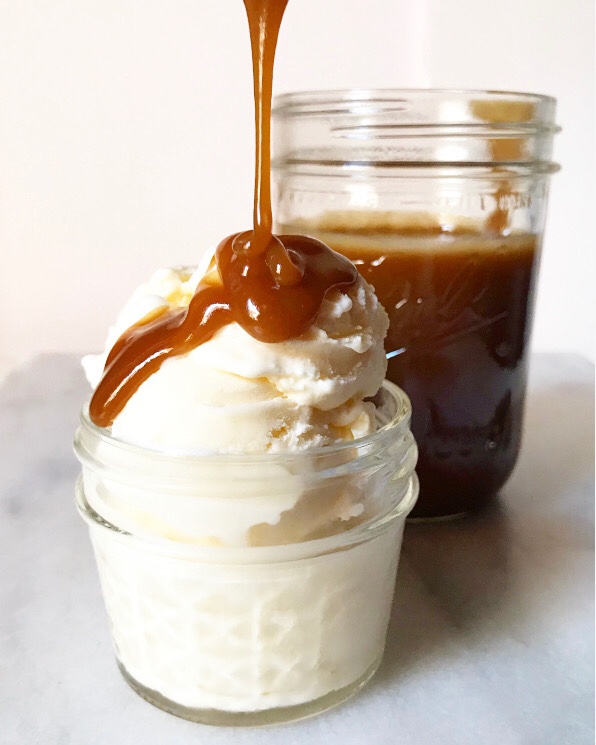
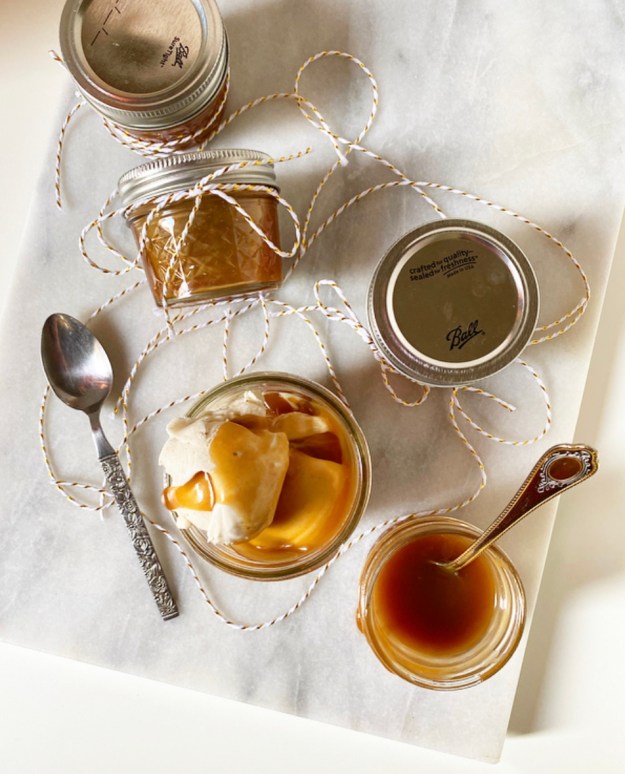
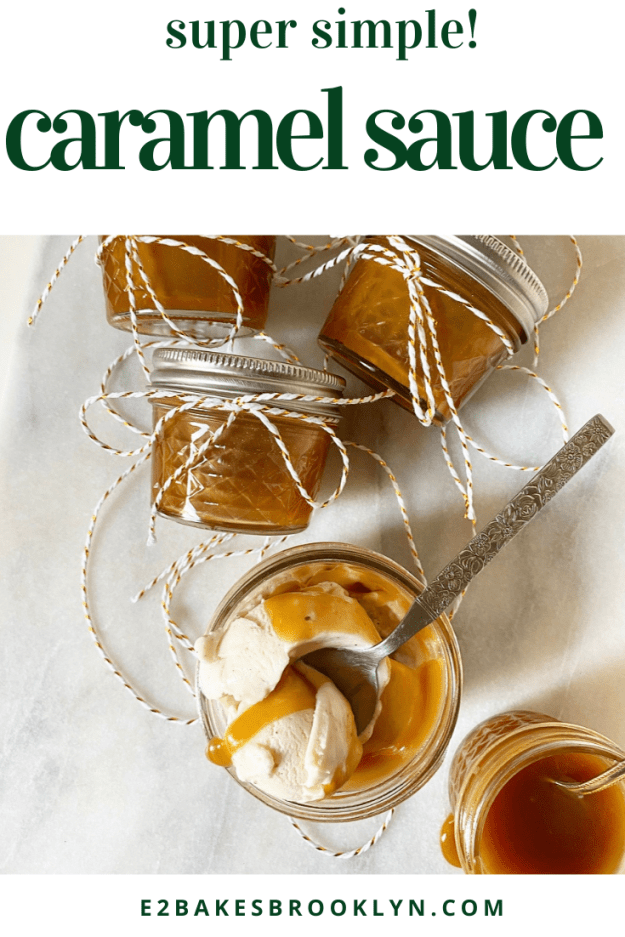
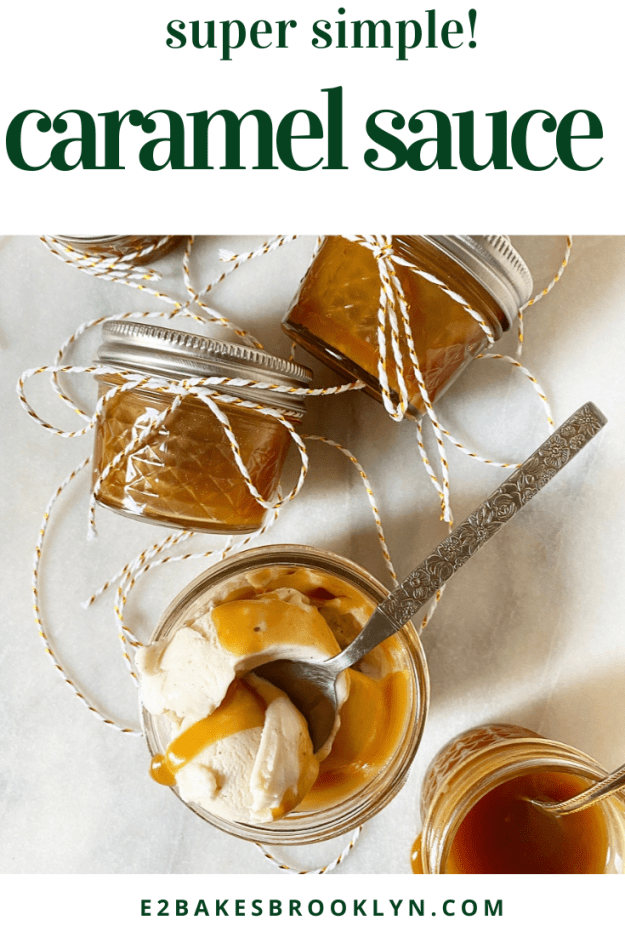
 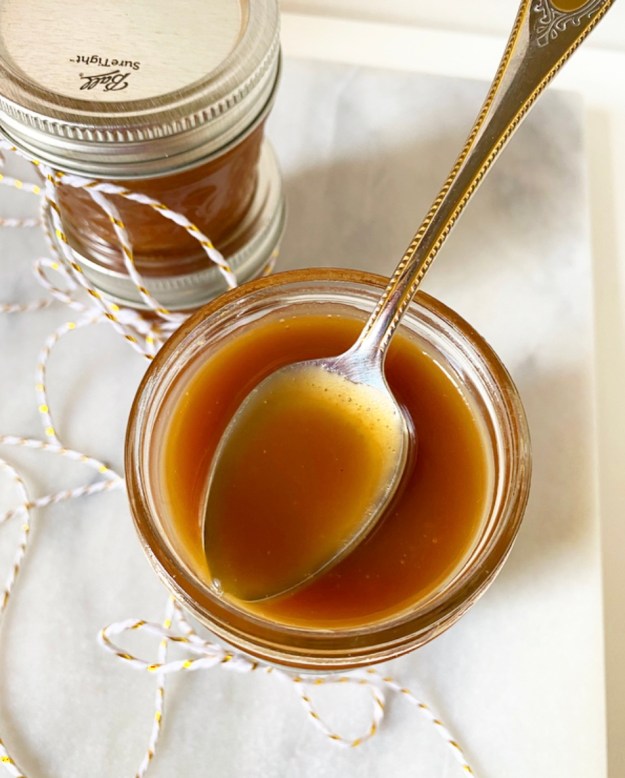 So, why am I posting Caramel Sauce now, at the holidays, instead of mid-summer like every other ice cream topping and dessert sauce in my archives? Because it is perfect for food gifting. Perfect! It’s easy, you can make it days or weeks ahead (watch the dates on your dairy), and who wouldn’t be absolutely thrilled to receive a little jar of homemade Caramel Sauce from someone they love? A monster, obviously.
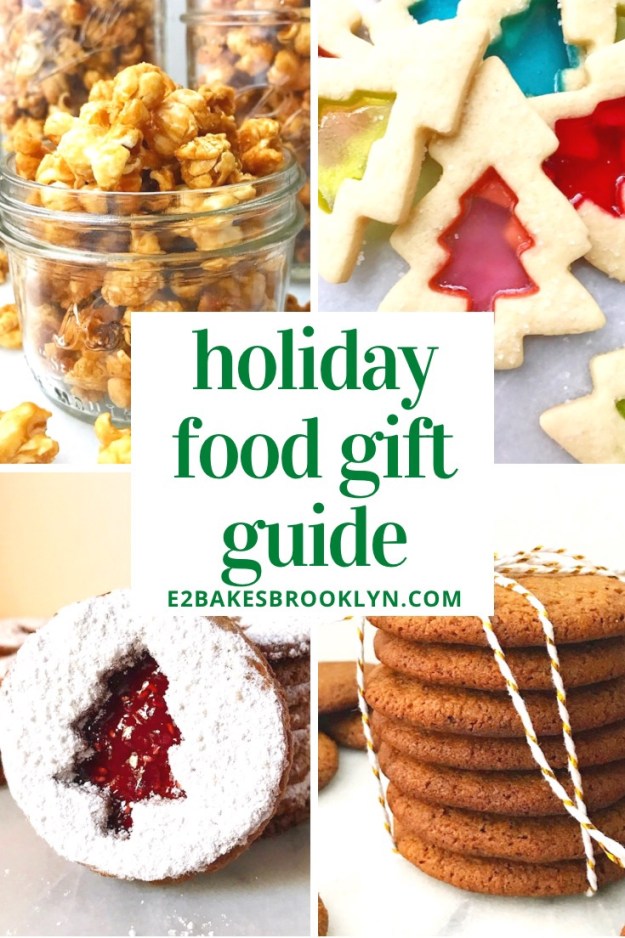
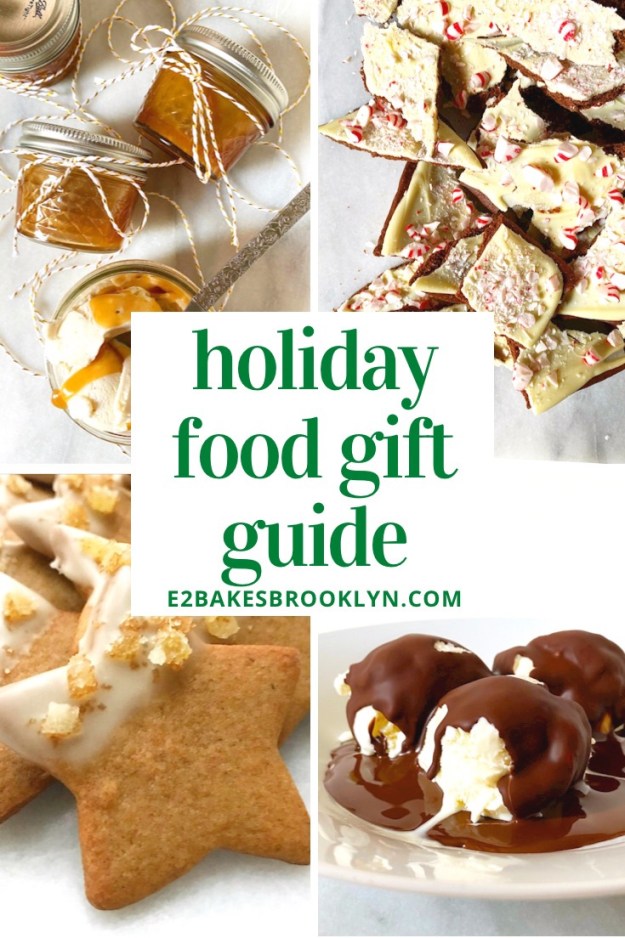 Truth is, I’ve been meaning to write a little homemade food gift guide for years, but am just now getting around to it. I am a big proponent of homemade gifts, having done everything from making clay ornaments to puffy painting to sewing stuffed animals. I can tell you from experience that food is definitely the quickest, easiest and cheapest in terms of DIY gifting, and as sugar, butter and flour have been my artistic media of choice for the last 7.5 years, I have learned a lot about what makes for quality food gifts.
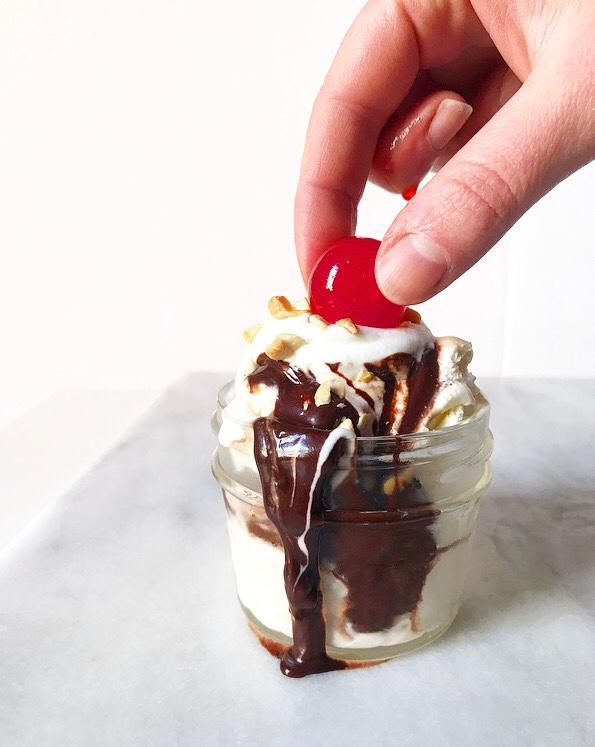

 Don’t forget that
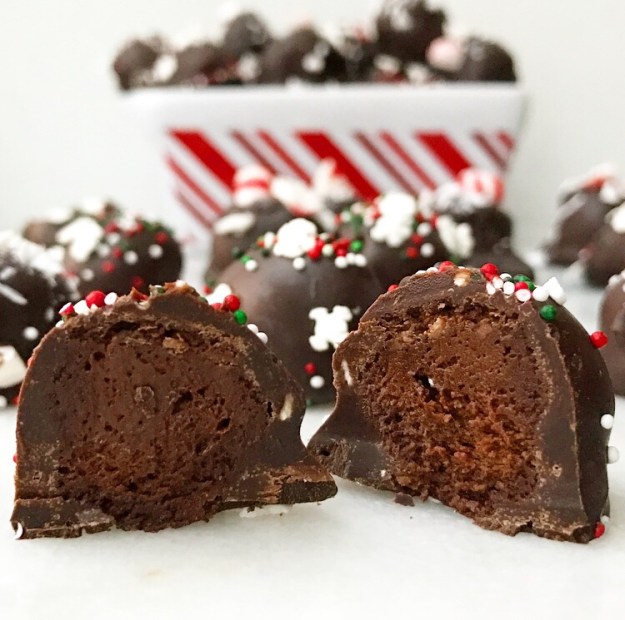
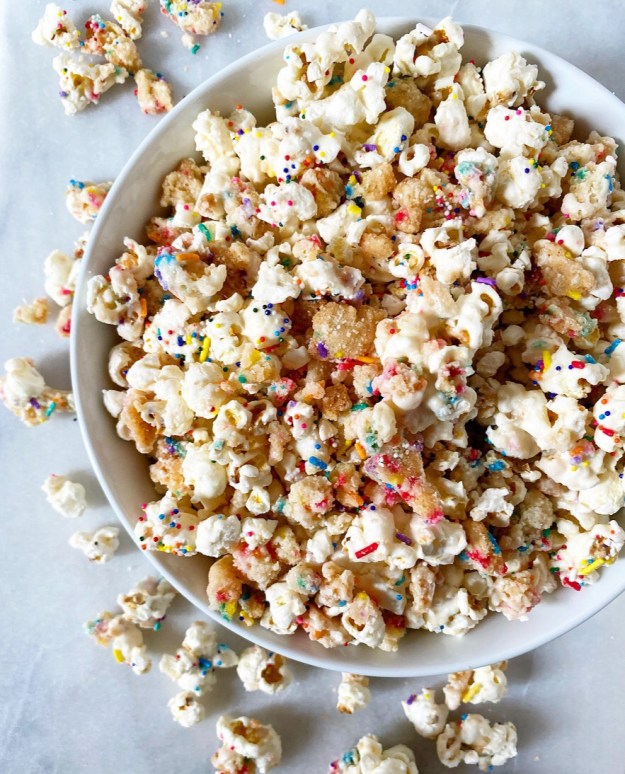
 If I were to gift candy this year, I’d go for popcorn. People LOVE popcorn. <–that’s me, I’m people. The


 This is just the tip of the food gifting iceberg–I could go on forever. I hope this guide inspires you to treat your friends to something sweet this month. It’s going to be strange and solitary holiday for many of us, and I know a little homemade something would do us all some good.
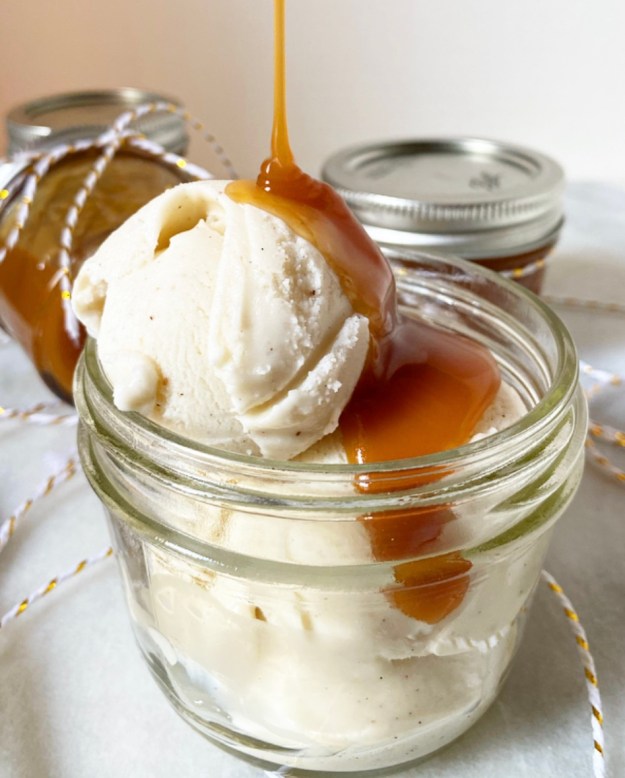
 How have I never put peppermint bark on here? It’s chocolate, it’s peppermint, it’s festive, it’s iconic, and yet it’s never graced this blog. That is, unless you count assembling it on top of a giant sheet of chocolate cookie and then breaking it into a zillion jagged pieces, which I very much do.
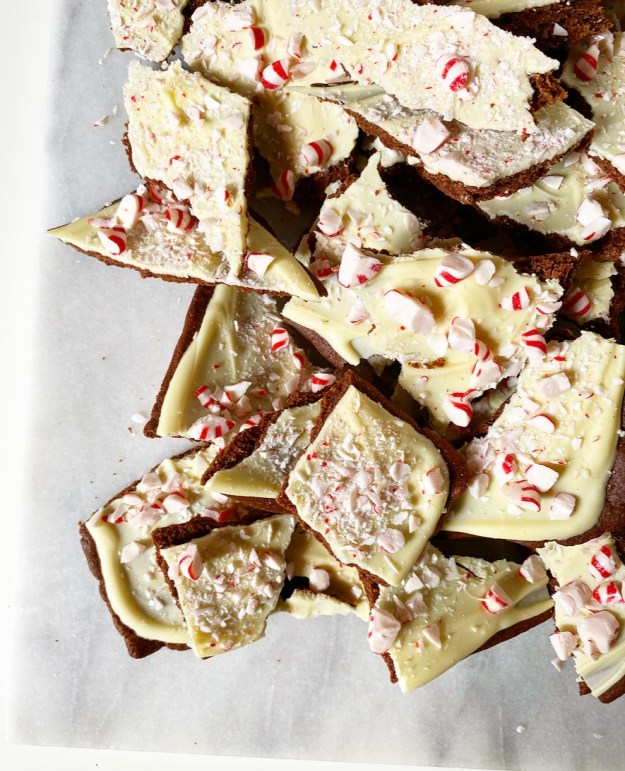 Ooooh y’all, these have been a long time coming. Over the years, I have tested putting peppermint bark on a cookie cake, shortbread bars, potato chips and brownies, none of which have made to on the blog, but these Peppermint Bark Cookies? These are where it’s at. If you make one new cookie recipe this holiday season, let this be it. It’s the best of two worlds (peppermint bark and cookies, duh), surprisingly simple, and so, so good.
 The dough comes together in a flash. It’s just my
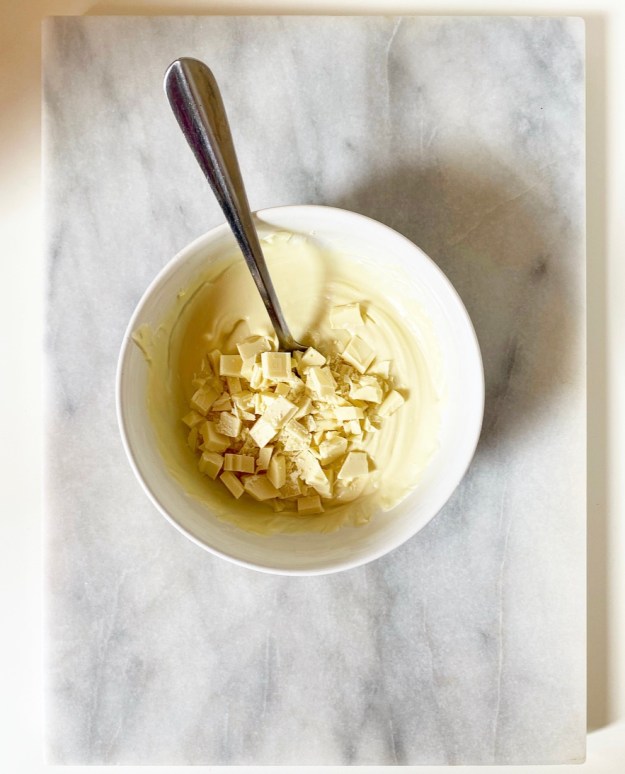
 This part—the peppermint bark part—is easy, but I still have a few tips for you.
 And speaking of peppermint, I like to use starlight peppermints in my Christmas baking. Some bakers prefer candy canes, but peppermints are cheaper ($1!) and look the exact same as candy canes when all bashed up. Oh, and unpopular opinion? They taste better than your average candy cane. Fight me.
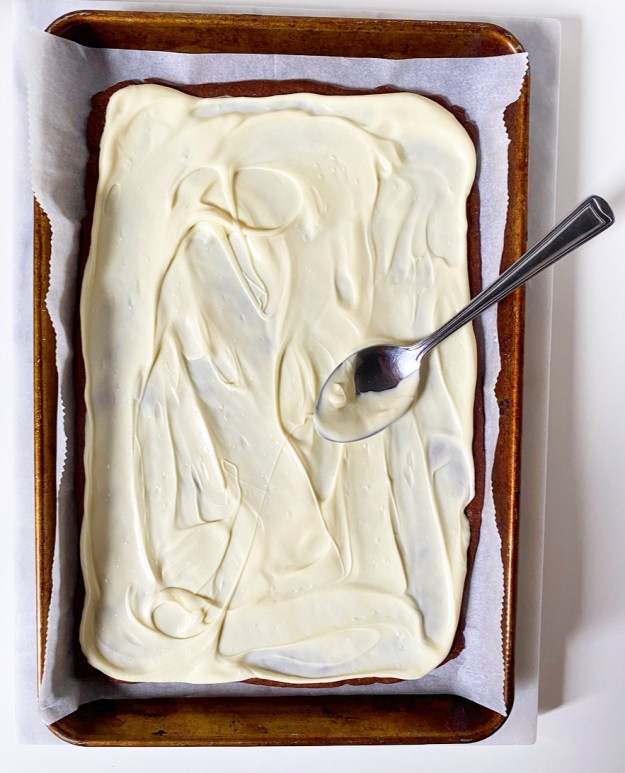
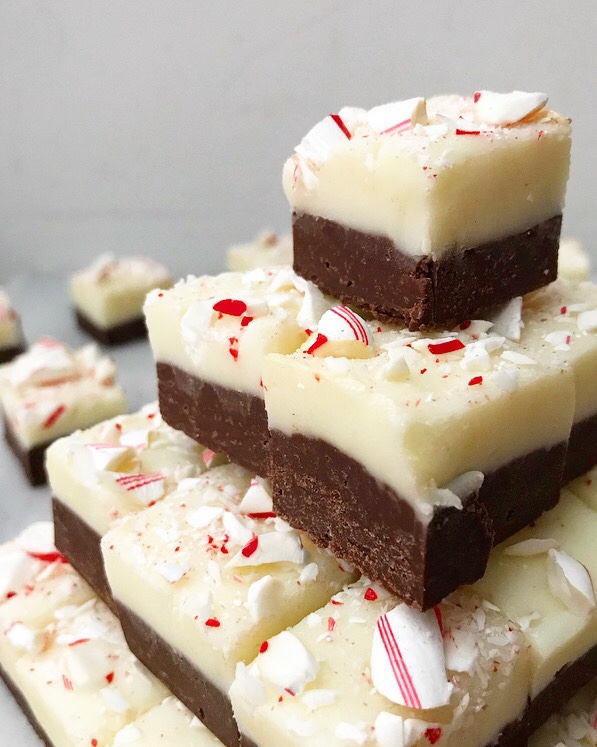
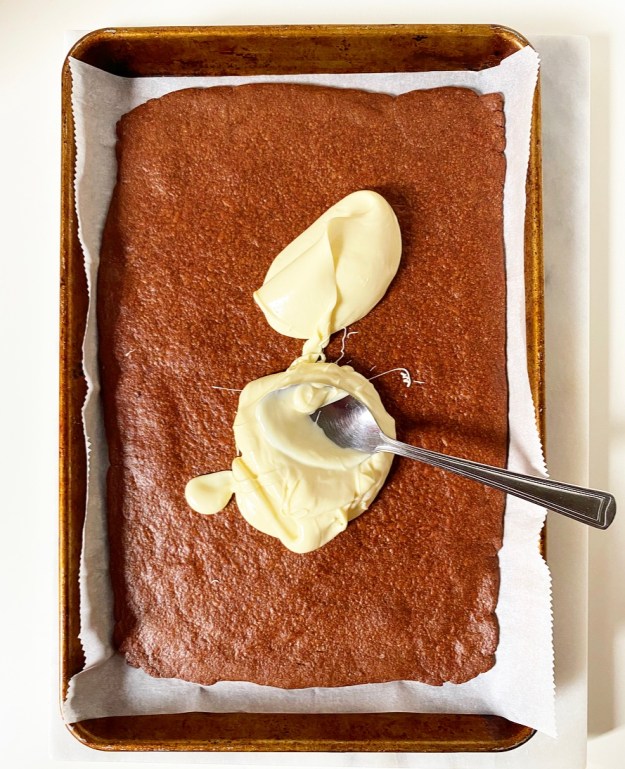
 To make the peppermint bark, spread the melted white chocolate all over the big chocolate cookies and scatter on the bashed peppermints. Then give your cookies a 20 minute freeze to set the bark. You can also let it set at room temperature, but it will take a couple of hours and that seems like a lot when cookies can be had so much sooner.
 The last step in this process is the most fun: breaking the big cookies into shards! Just like with traditional peppermint bark, make the pieces as big or small as you like. Try to let go of the outcome—the charm here is that each piece is different. If you need uniformity with your Peppermint Bark Cookies, you can obviously slice the big rectangles into squares.
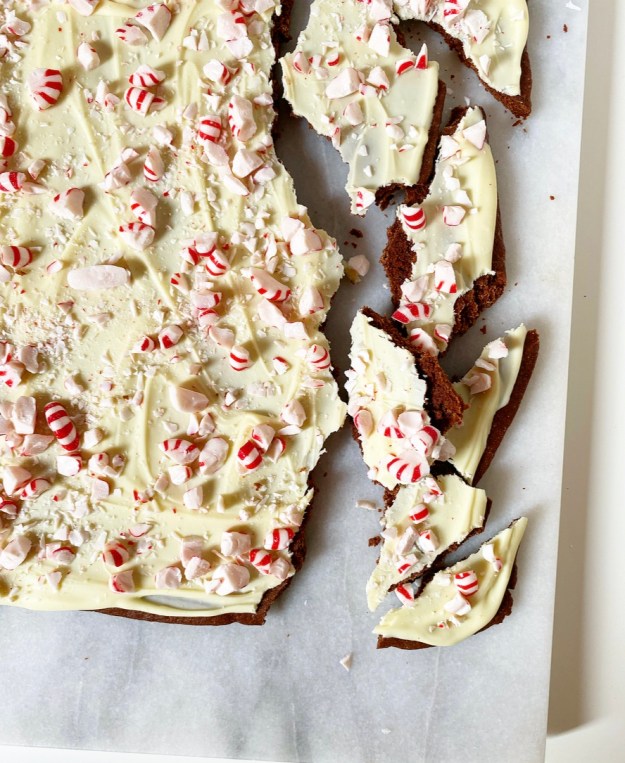 After that, it’s time to treat yourself! These cookies have it all: a soft chocolate base, a layer of smooth, snappy, peppermint-spiked white chocolate, a smattering of candy, and a whole lot of holiday cheer. They’re so delicious that you could easily hoard the whole batch to yourself, but I think they’d be amazing packed up in tins and gifted. And speaking of food gifting, that’s what we’re talking about on Friday. See you then!


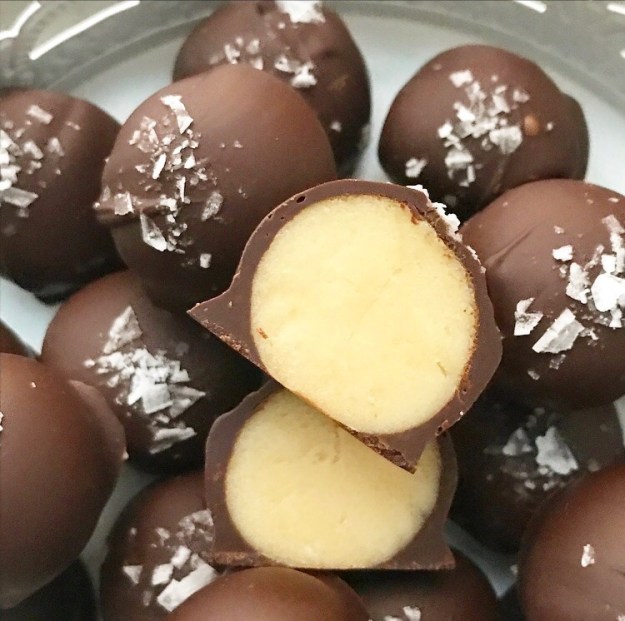
 A few years ago, I put out a call for holiday
 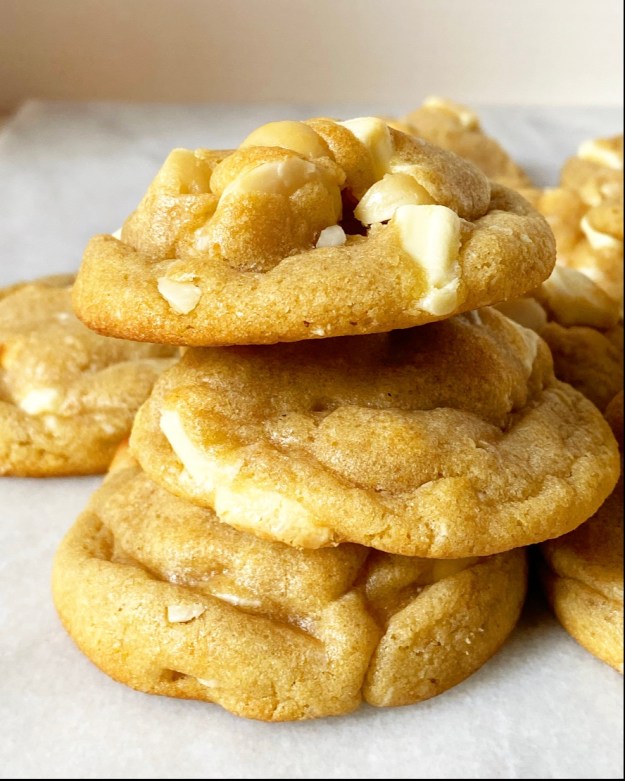 You might be thinking “are white chocolate macadamia nut cookies a holiday cookie?” To that I say…sure, why not?! If someone puts them out at the holidays, I think they’re a holiday cookie. Just because a recipe doesn’t match our own personal experience and nostalgia doesn’t mean it doesn’t align with someone else’s.
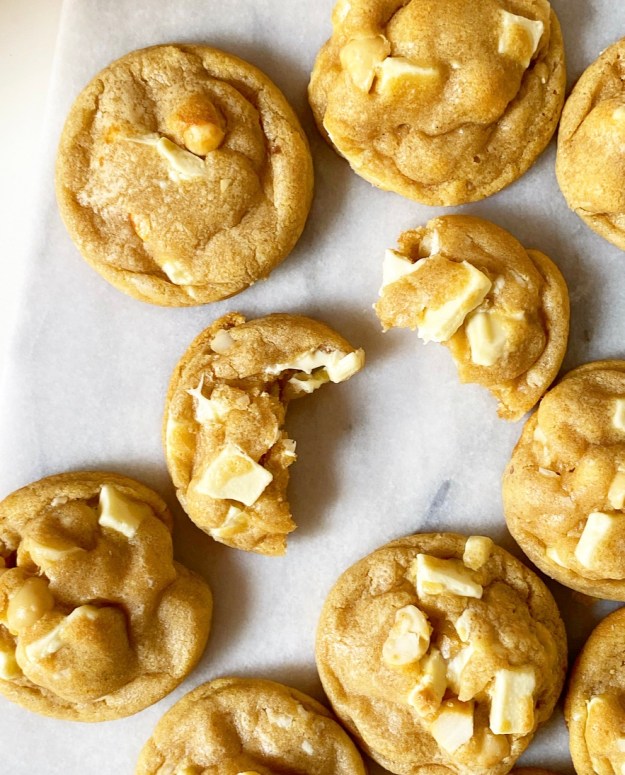
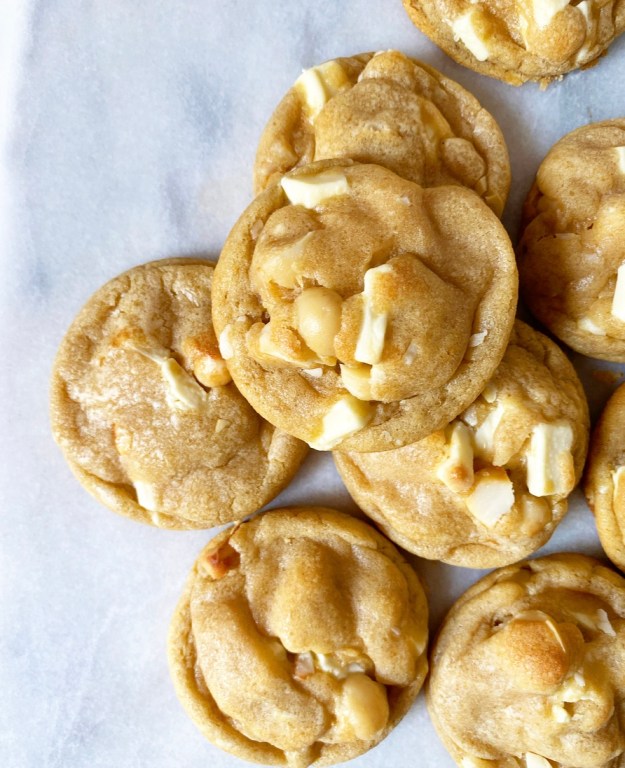
 So, here we are with my second holiday cookie of the season: Brown Butter White Chocolate Macadamia Nut Cookies. Yes, that name is seven words long but it is #worthit—brown butter takes this chewy, nutty classic cookie recipe from good to WOW! Like, why have we not been doing this all along?
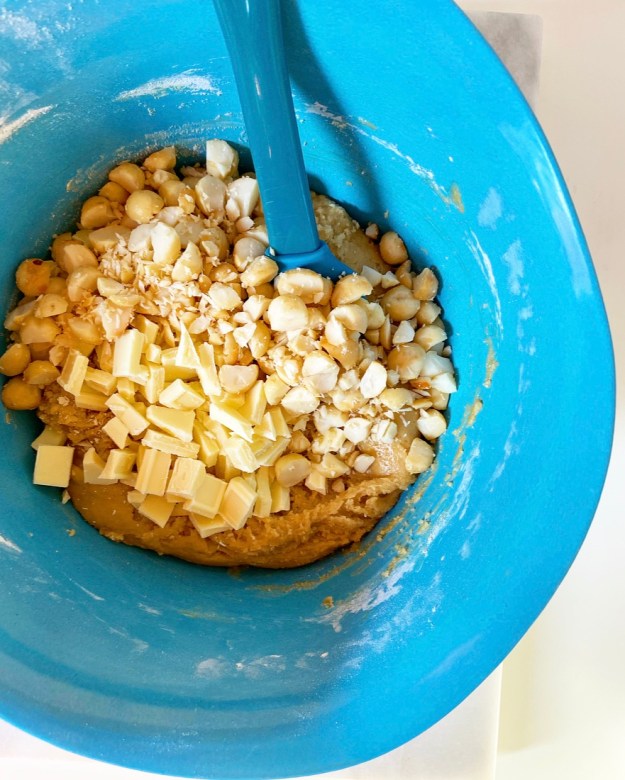 The cookie dough is straightforward and doesn’t require a mixer or anything fancy. I’ve made these with both white chocolate chips (about a cup) and chopped white chocolate, and prefer the chopped stuff every time. It has more cocoa butter, fewer stabilizers, and it just tastes better, period. As for the macadamia nuts, you can use roasted-salted or raw. I love control and have access to raw macadamias through
  And maybe, just maybe, share a few and spread a little holiday cheer.