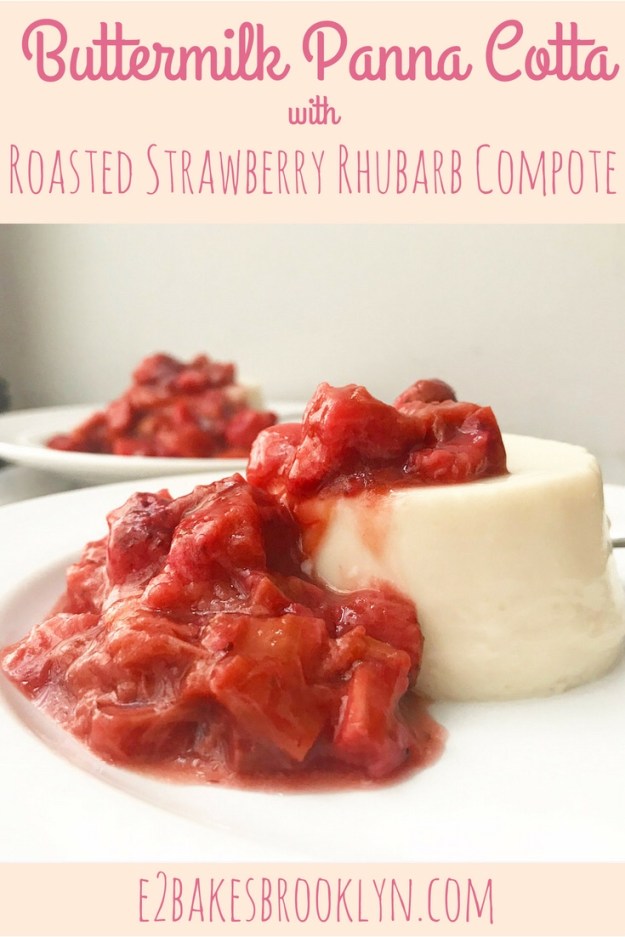
 Mother’s Day is this weekend and while I won’t be spending the holiday with my mom, I still have “mom food” on the brain. In the case of my mom, that means vanilla and/or fruit, and also things that are both easy and fancy. This Buttermilk Panna Cotta with Roasted Strawberry Rhubarb Compote absolutely fits that bill.
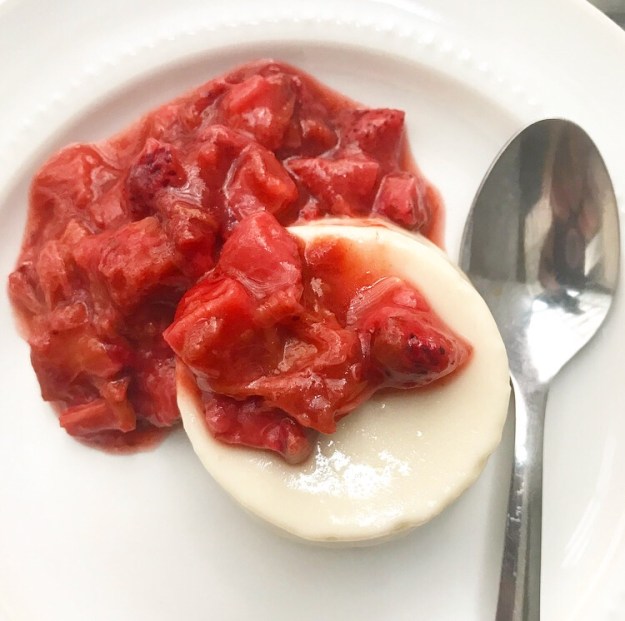 Panna cotta (Italian for “cooked cream”) is a soft-set cream-based pudding commonly served with fresh berries or a berry sauce. Most are made with a combination of heavy cream and whole milk, but the version I’m serving up today has a pleasant tang, thanks to the addition of buttermilk. It has the creaminess you expect in a custard, but where custards are set with eggs, panna cotta relies on gelatin.
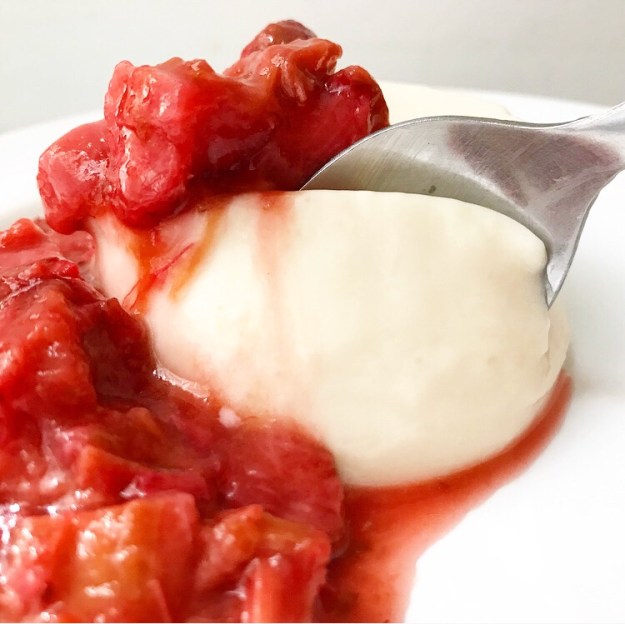 I’ve considered panna cotta a “restaurant only” food for years, thinking it was too fancy or time consuming to make at home, or that it required a skill set I didn’t have…
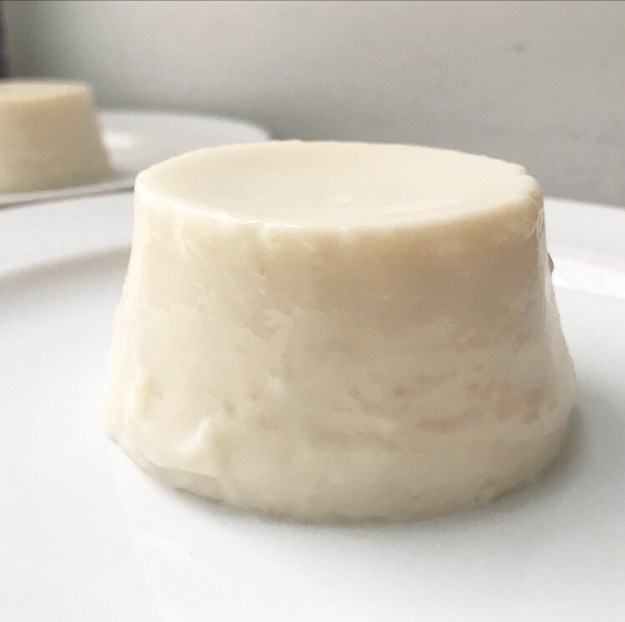
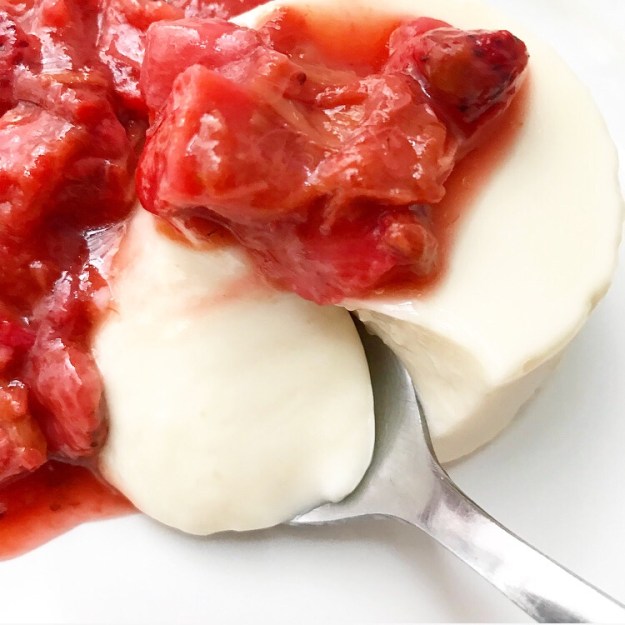 …and it’s turned out to be exactly as difficult and time-consuming as making Jell-o. But softer and creamier and with a silky smooth texture.
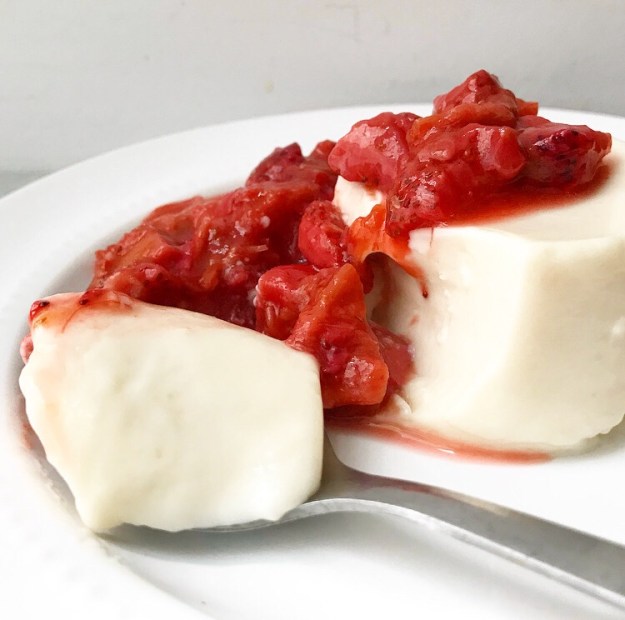 What I’m trying to say is that panna cotta is the ultimate high brow/low brow dessert.
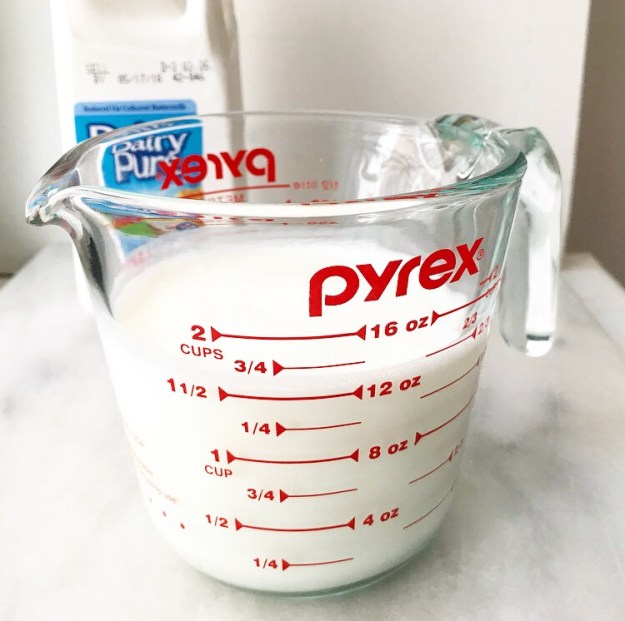
 My Buttermilk Panna Cotta has five ingredients and takes all of five minutes of effort (seven, if you count the time for measuring). The time consuming part is waiting for it to set up—this can take anywhere from two to four hours, depending on whether you’re serving it in the mold or inverting it onto a plate. Gelatin gets stronger over time, so if you want to serve free-standing panna cottas, make sure to plan ahead. Otherwise, you can just serve them straight from their molds.
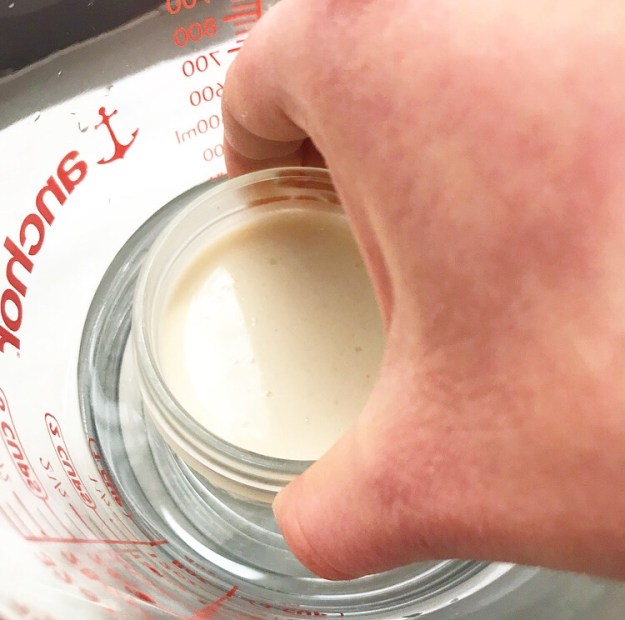
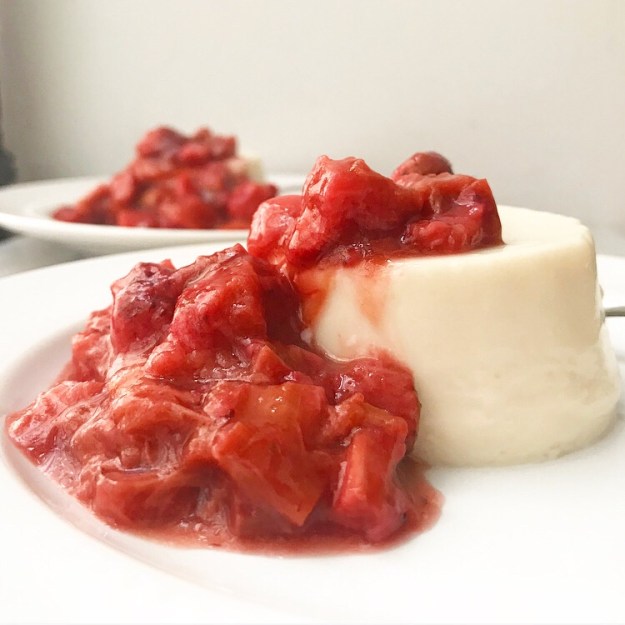
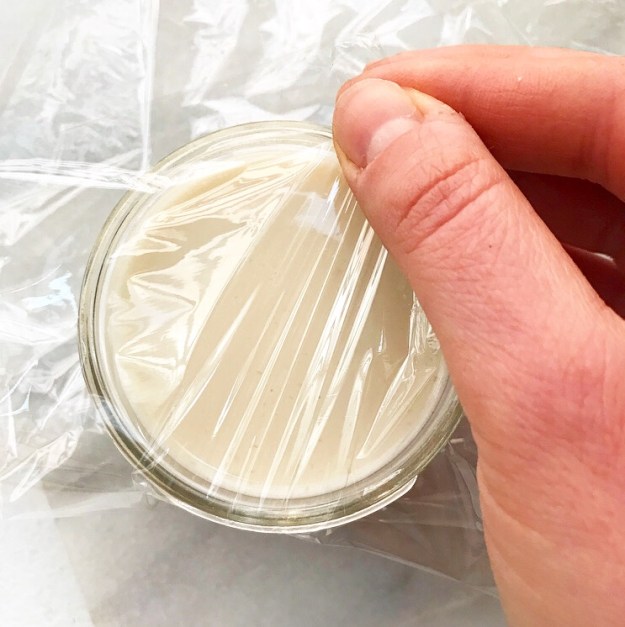
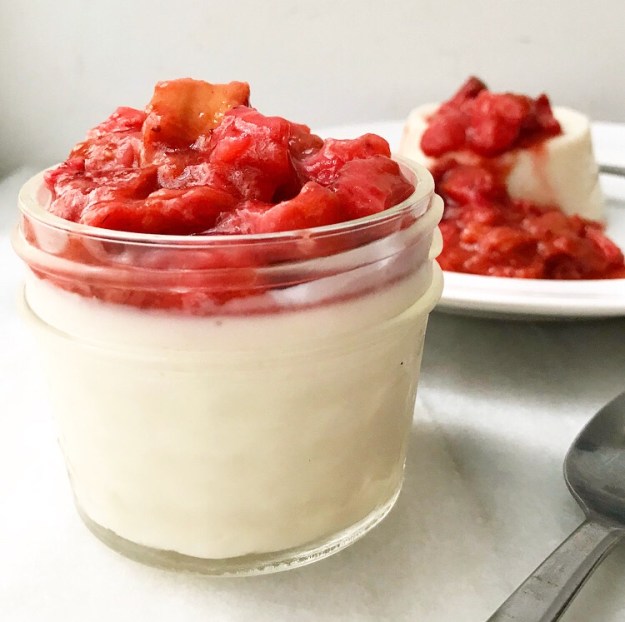
 And speaking of molds, you can find all different kinds online, but I spent $10 on a dozen 4-ounce mason jars last week and, even if I break every last one tomorrow, I already feel like I have gotten my money’s worth. They’re a perfect combination of form and function, and I love the way they showcase these layers of Buttermilk Panna Cotta and Roasted Strawberry Rhubarb Compote.
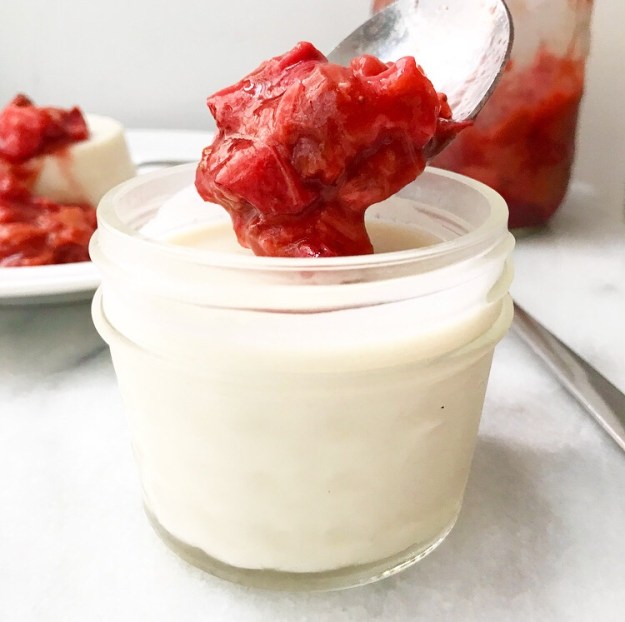
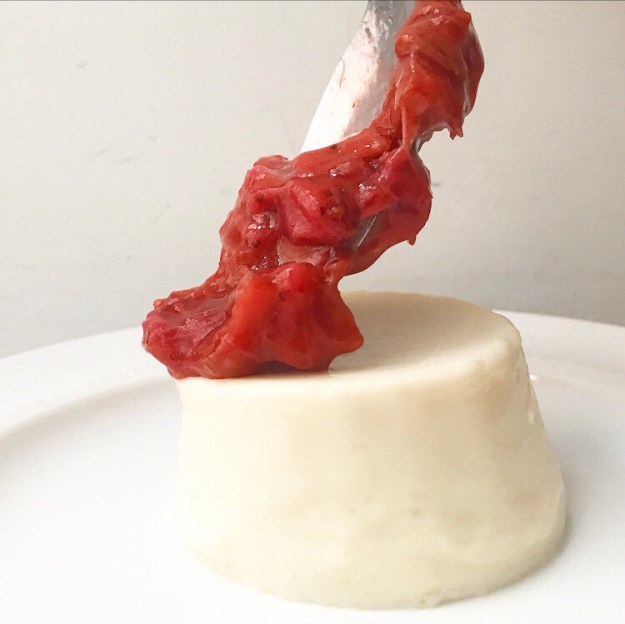
 After all that talk about panna cotta, I bet this compote seems like an afterthought, but I assure you it. is. not. In fact, this sauce is what really makes this dessert sing!
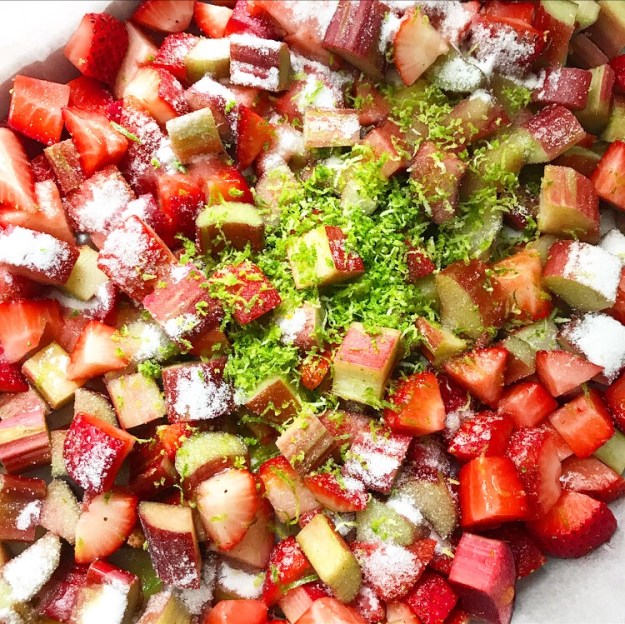
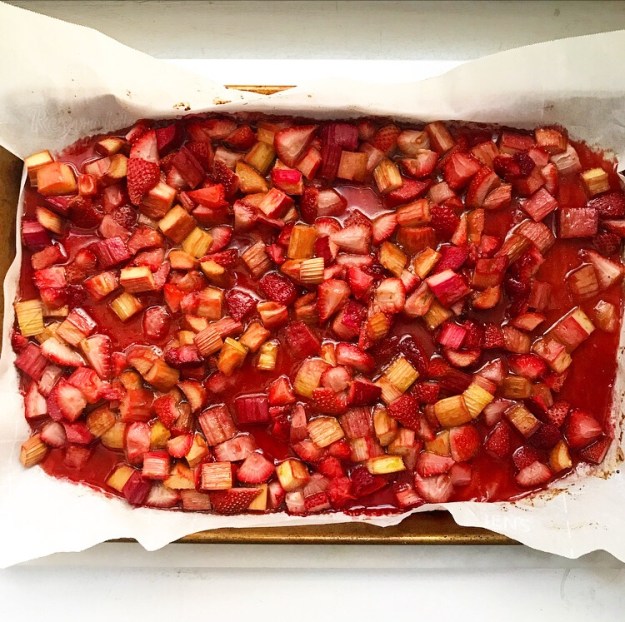

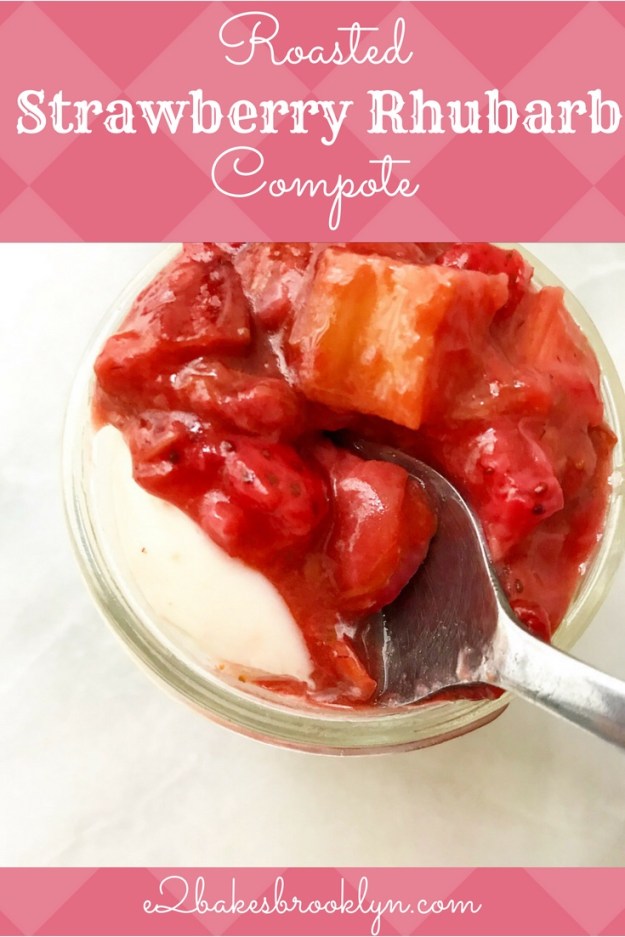
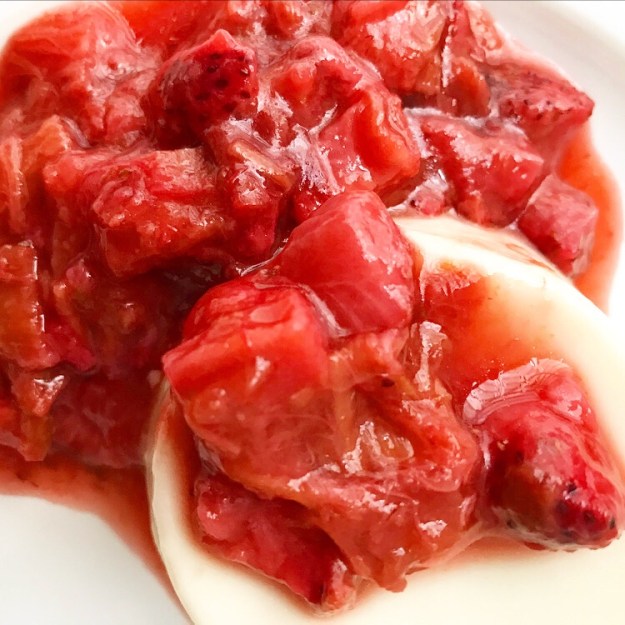 The sweet-tart combination of strawberries and rhubarb is a classic for a reason. Here, it’s amped up with just a touch of sugar and some lime zest before being tossed with olive oil and roasted until saucy. This takes minimal time and effort and makes much more than you’ll need for six panna cottas. I suggest spooning the leftovers over ice cream or plain yogurt, or just eating them directly from the jar…not that I’d know anything about that.
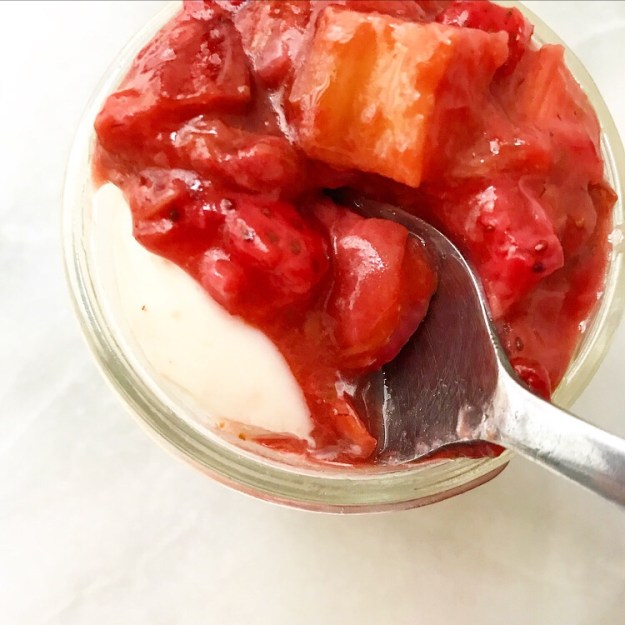 Happy Mother’s Day to everyone celebrating, especially my mom. Thanks for loving me so hard.
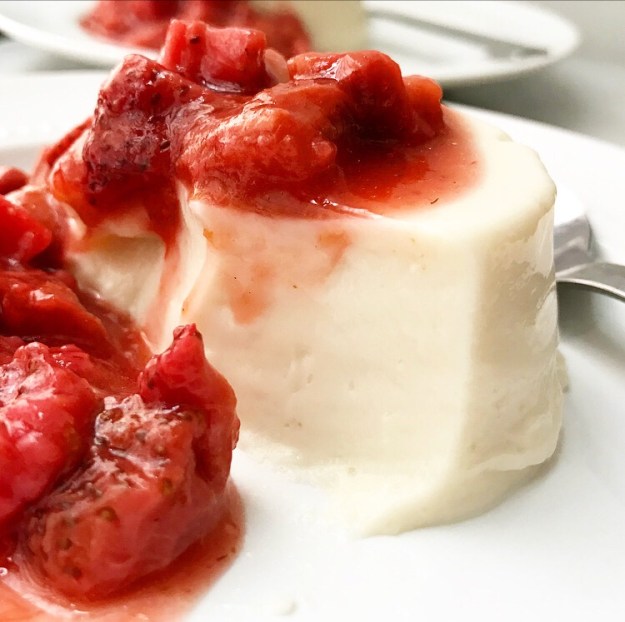
Buttermilk Panna Cotta
makes six 4-ounce servings
1 cup heavy cream, divided
1 1/4-ounce packet unflavored gelatin (2 1/4 teaspoons)
1/2 cup granulated sugar
1 tablespoon pure vanilla extract
1 2/3 cups buttermilk (low fat is fine)
For Serving:
Roasted Strawberry Rhubarb Compote (recipe below)
Gelatin is an animal byproduct. Buttermilk Panna Cotta is not a vegetarian dessert.
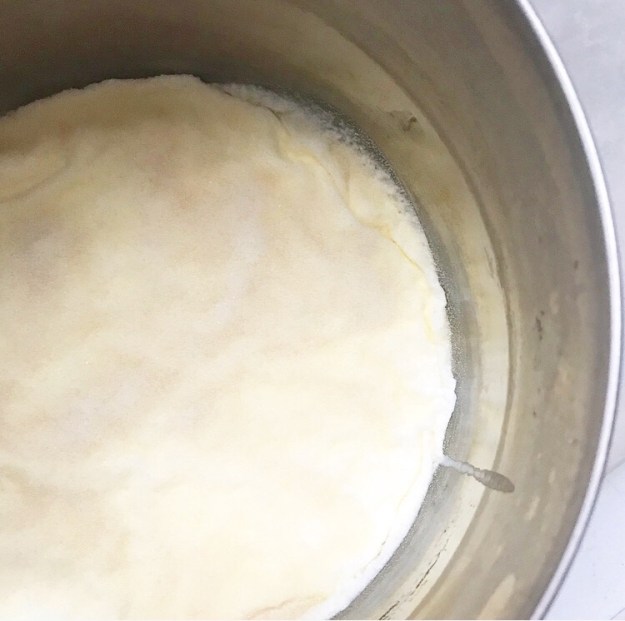
Pour 1/2 cup heavy cream into a small saucepan. Sprinkle gelatin granules over the top. Let sit 5-10 minutes, or until gelatin starts to become saturated and surface in wrinkled.
Lightly grease 6 4-ounce molds (I like mason jars) with oil. Set aside.
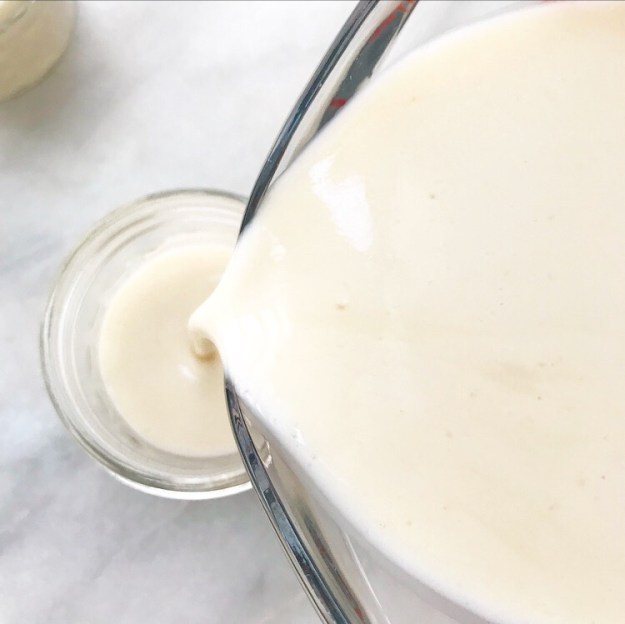
Pour remaining 1/2 cup heavy cream and sugar into the saucepan. Place pan over low heat. Whisk constantly for 3-5 minutes, or until sugar and gelatin have completely dissolved. Do not let boil. Remove from heat. Add vanilla and buttermilk and whisk for 1 minute, or until fully combined.
Divide mixture among greased molds. Cover with plastic wrap. Chill at least 4 hours (or overnight) if you wish to release the panna cottas from their molds. If being served directly from the molds, they only need a 2 hour chill.
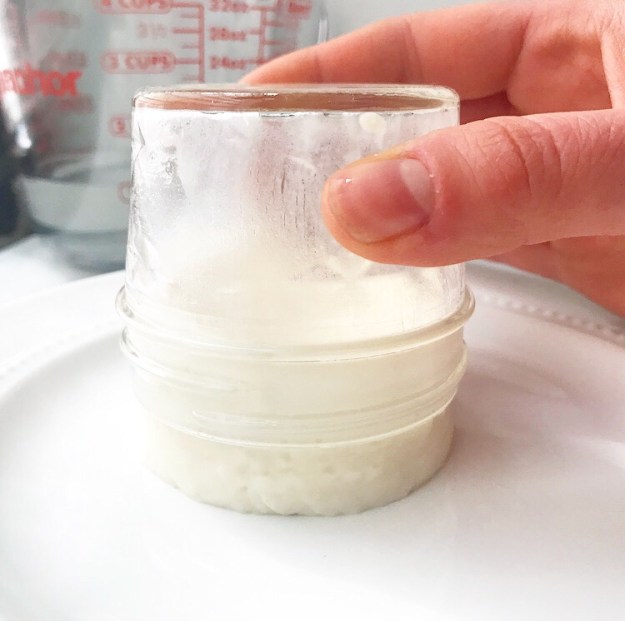
Release the panna cottas from their molds. Fill a deep container with a couple of inches of hot water. Place an in-mold panna cotta in the water for 1 minute.
Swipe a damp paper towel over the plate you wish to use for serving the panna cotta. This will make it easy to move the panna cotta for more aesthetically-pleasing plating.
Remove in-mold panna cotta from the hot water. Run a thin, flexible knife around the edge to break the suction seal. Invert panna cotta onto prepared plate. Tap/jostle mold as necessary to release panna cotta. Repeat process with remaining panna cottas.
Top with Roasted Strawberry Rhubarb Compote. Serve immediately.
Panna cottas (still in their molds and without topping) will keep in the refrigerator for up to 2 days. After that point, they may become rubbery.
Roasted Strawberry Rhubarb Compote
makes about 3 cups
1 pound fresh strawberries
1 pound fresh rhubarb, poisonous leaves removed
4 tablespoons granulated sugar
pinch of Kosher or sea salt (optional)
2 teaspoons lime zest
1 tablespoon olive oil
Preheat oven to 375F. Line a rimmed sheet pan (or jelly roll pan) with parchment.
Trim, hull, and dice strawberries into 3/4-inch pieces. Cut rhubarb into 3/4-inch pieces. Place on prepared pan and top with sugar, optional salt, lime zest, and olive oil. Toss together with clean hands.
Bake mixture for 30 minutes, stirring every 10 minutes. Compote is ready when strawberries and rhubarb are soft and juices have thickened slightly (they will still be on the thin side).
Let cool before using. Store compote in an airtight container in the refrigerator.
 I’m usually not the sort of blogger who labels her own recipes as “the best ever,” but y’all…this Chocolate Pudding might be the best ever. At the very least, it’s the best I’ve ever had.
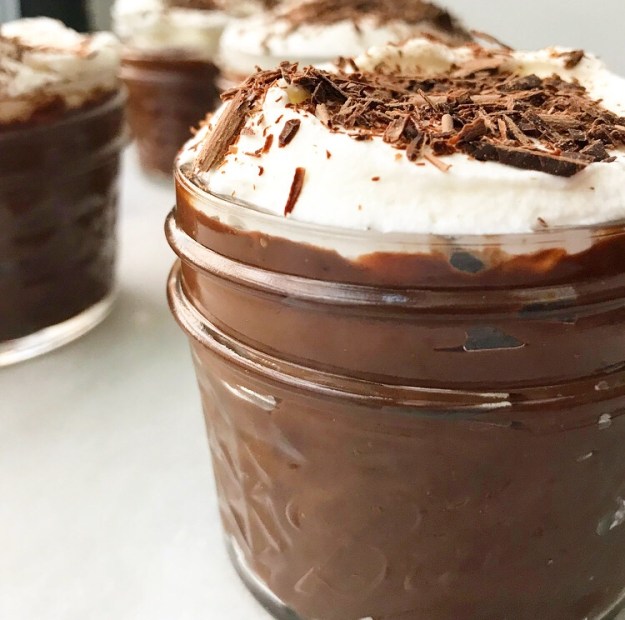 Of course, until a few years ago, I’m pretty sure that the closest I’d ever come to eating pudding made from scratch was my mom making Jell-o Cook & Serve vanilla pudding on an occasional weekend night. I’m not complaining though—she served it in a set of rarely-used champagne coupes, so it felt very fancy for something we ate on the couch in front of the TV.
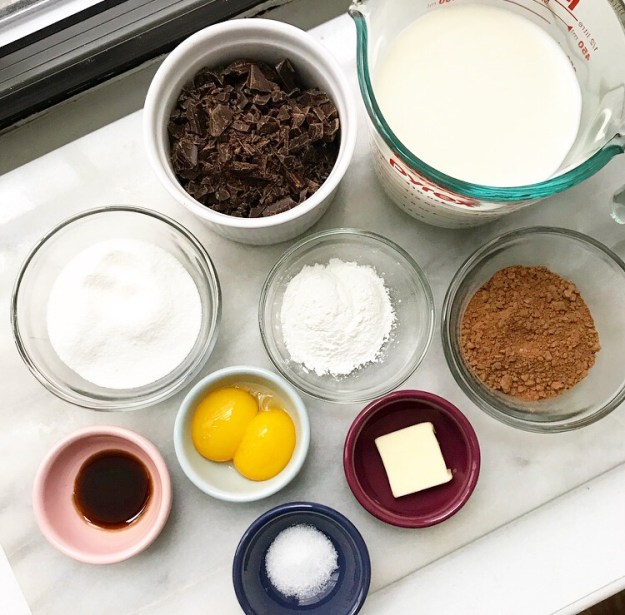
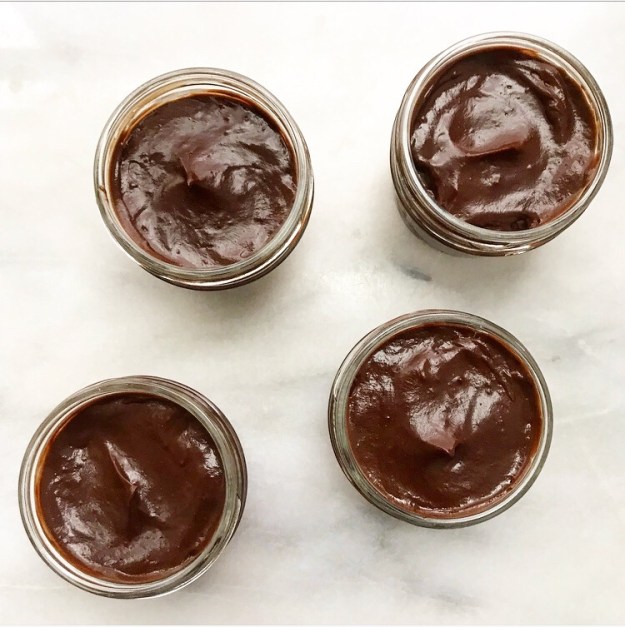
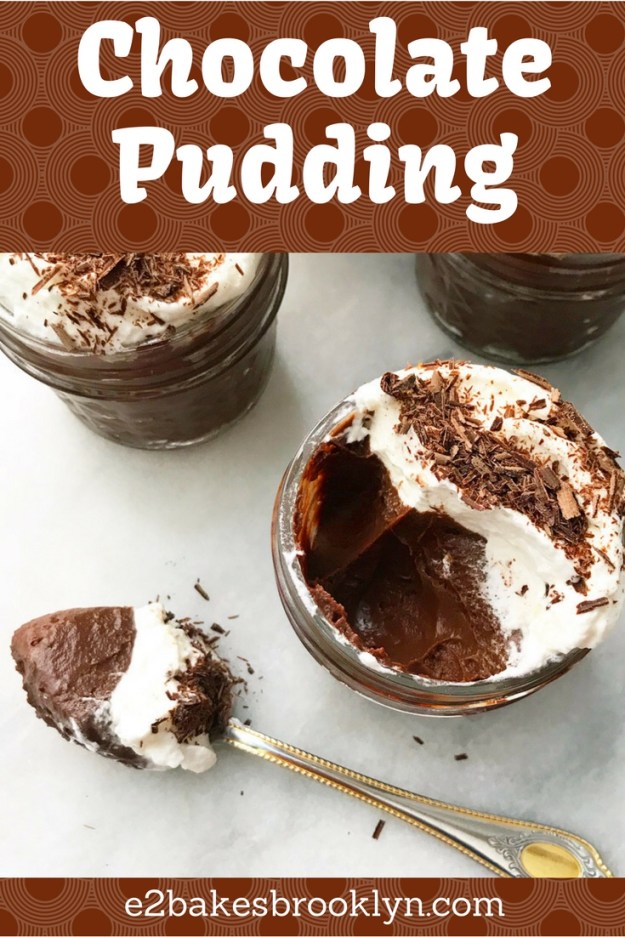
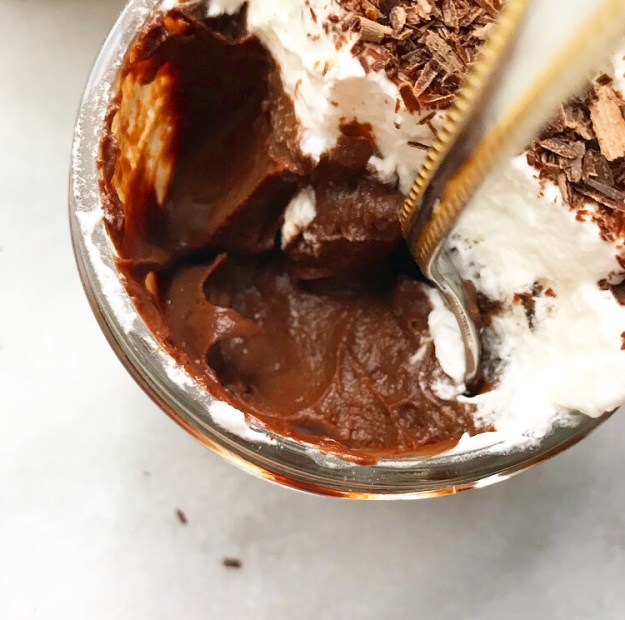
 This pudding though? It doesn’t need any elegant glassware to feel luxurious. It’s made with both cocoa and chopped bittersweet chocolate, giving the finished pudding a bold, in-your-face flavor. I cut the added sugar way down too, so there’s no cloying sweetness to distract from the intensity of the chocolate.
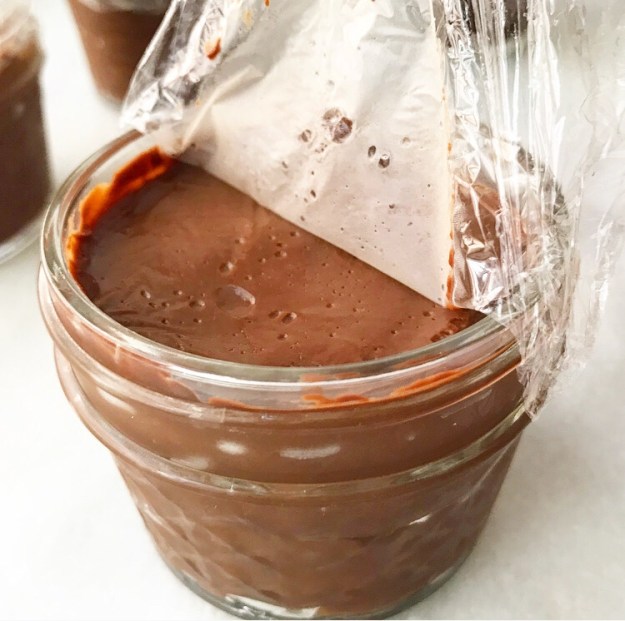
 I can guarantee you that there is no boxed mix on the market that makes a chocolate pudding that’s anywhere near this chocolaty.
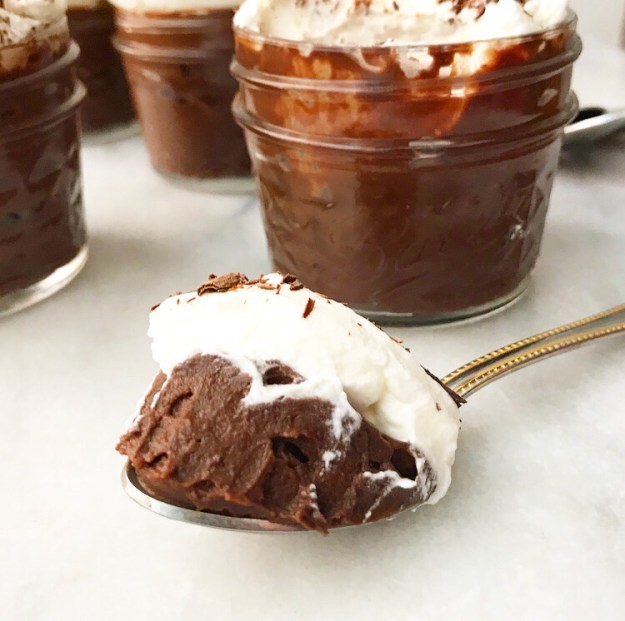
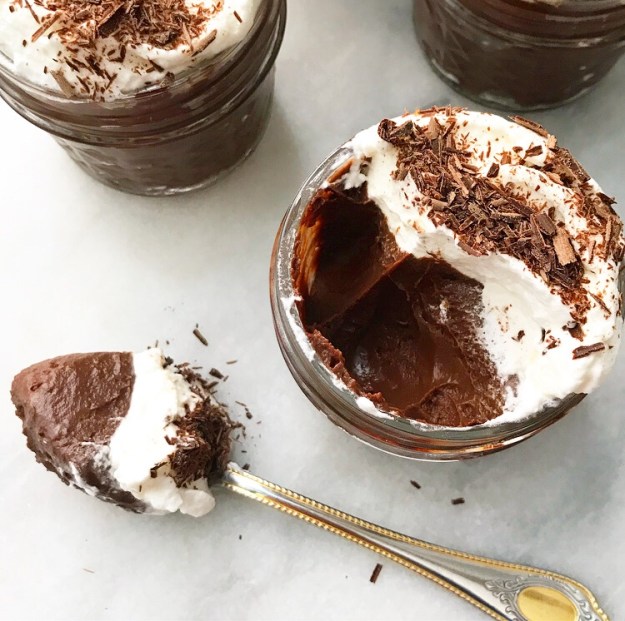
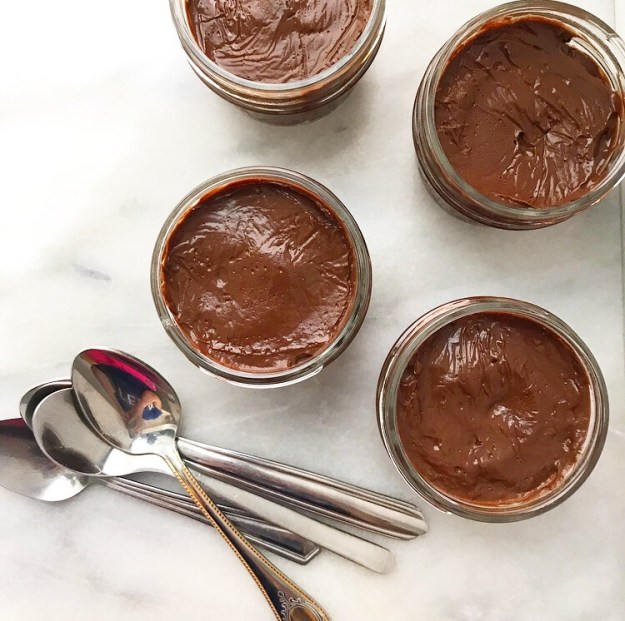
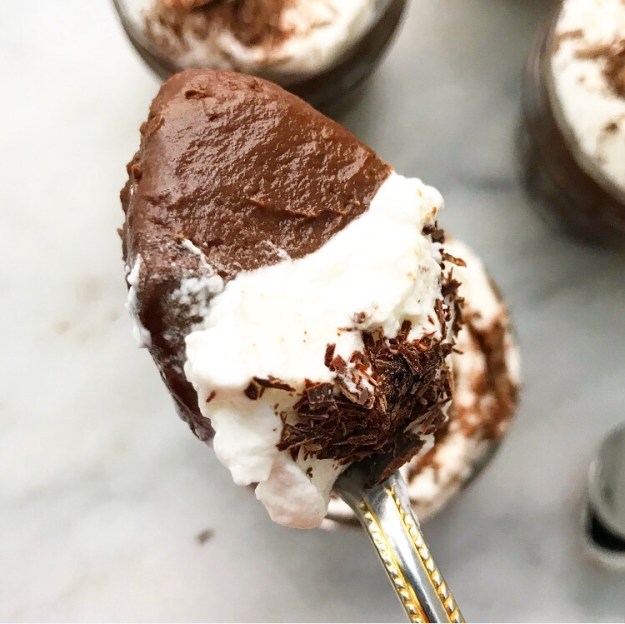
 This Chocolate Pudding is super thick, too. I mean, your average store bought pudding cup can’t hold a spoon straight up like that, now can it?!
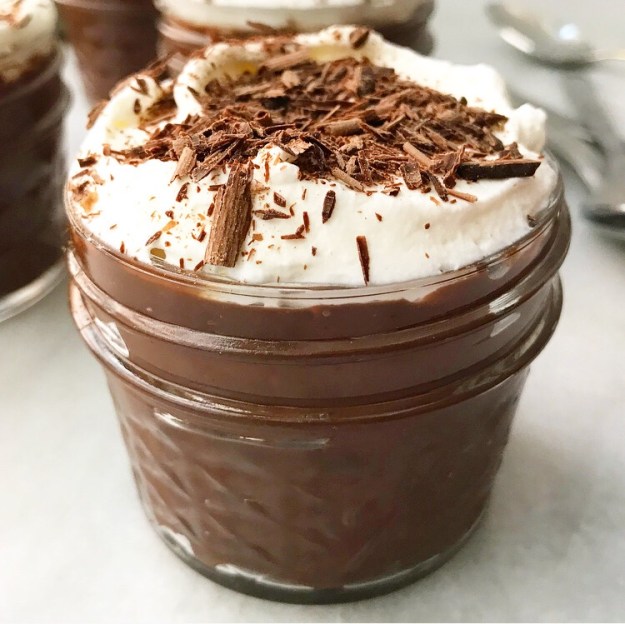
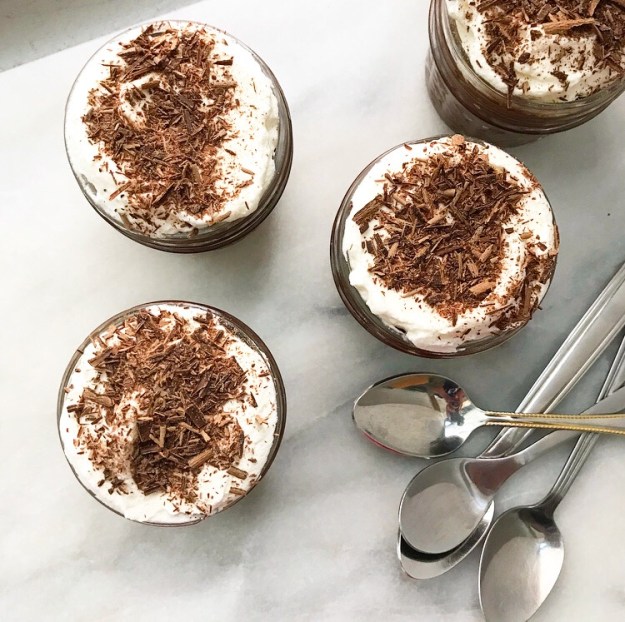 Another thing I love about this recipe is that it takes all of twenty minutes from the time I start measuring out ingredients to the time I put the pudding in the refrigerator to chill. This makes it perfect for a lazy night in or for a game night or cookout. I even think you could deck the individual servings out with whipped cream and shaved chocolate and serve them at a dinner party.
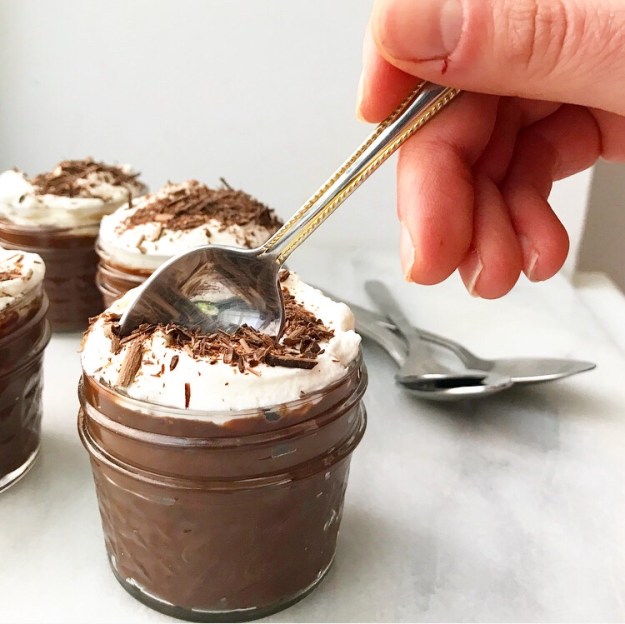
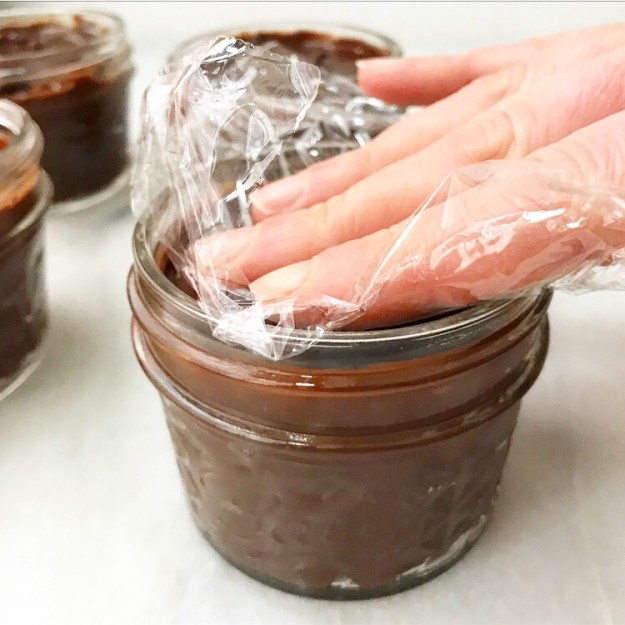
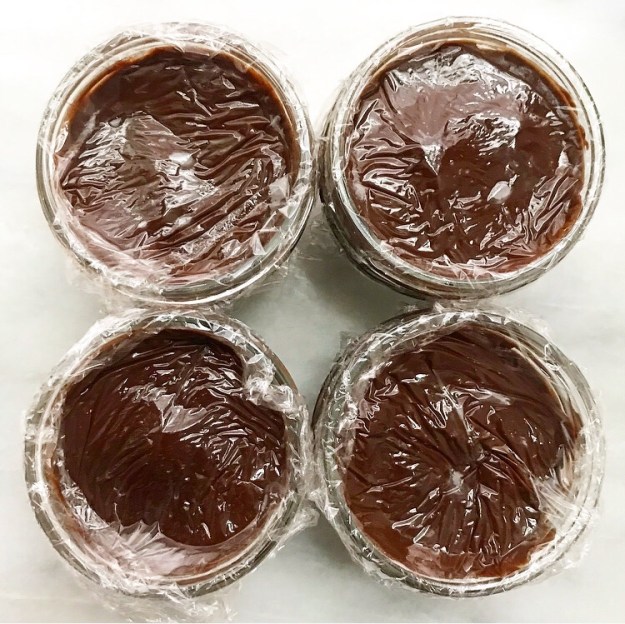
 My Chocolate Pudding stays good for a few days in the fridge, so it’s a great make ahead option too. If you can resist the temptation to take a cold, creamy bite, that is.