 Full disclosure: I’m not posting any new Halloween recipes this year, but I did update my Candy Corn Cupcakes, so that’s something. Right? I don’t know. I’m just not a Halloween gal. I can’t help it. I did purchase some sparkly cat ears, but I’ve mentally moved on to November.
 I spent one morning last week loading my freezer with pie dough because—can you believe it—it’s almost time to talk about Thanksgiving food. Almost. Not yet. Don’t worry, I’m going to let Halloween happen before we discuss pie (!) and side dishes (!!!) and everything that goes with a teeny Thanksgiving fit for a pandemic (?????).
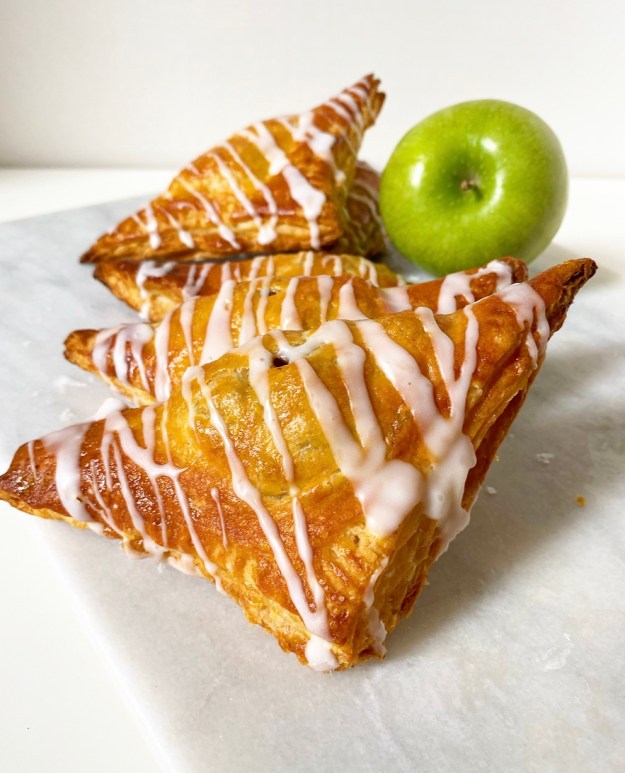
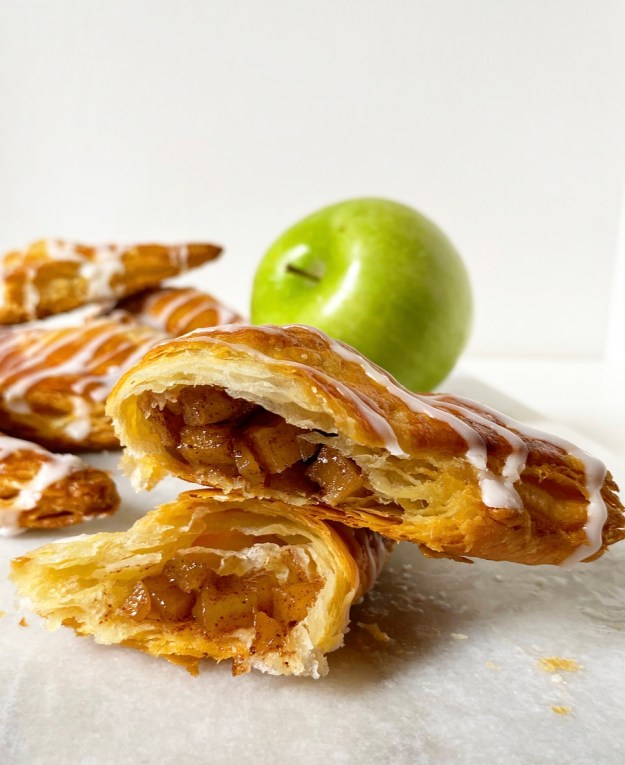 Again though—not yet. Not today, not Friday. But also, if you made these Apple Turnovers a part of your Thanksgiving dessert spread, I don’t think you’d have any complaints. Flaky pastry folded around perfectly-spiced apple filling? Oh hell yes. Pass ‘em my way, please.
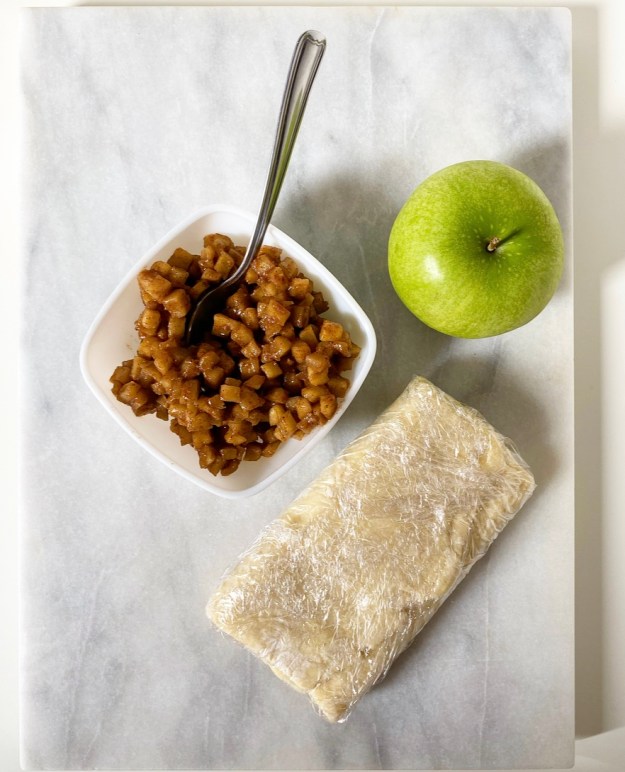
 But why wait til Thanksgiving when you can have apple turnovers today? Or this weekend? Or on election night? I always like to have a cooking or baking project on election night to keep myself from spiraling, and that goes double this year. I pickled carrots in 2012 and made chili in 2016. Is 2020 the apple turnover election night? Maybe so.
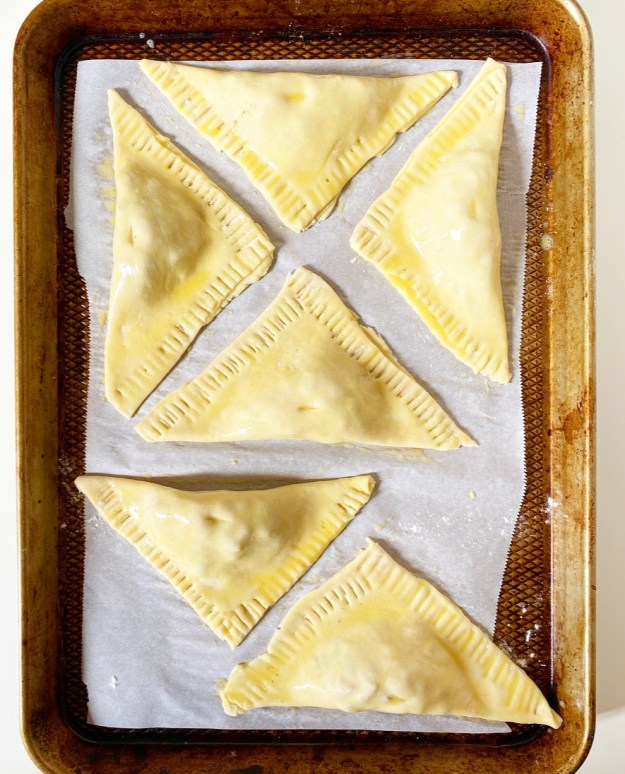
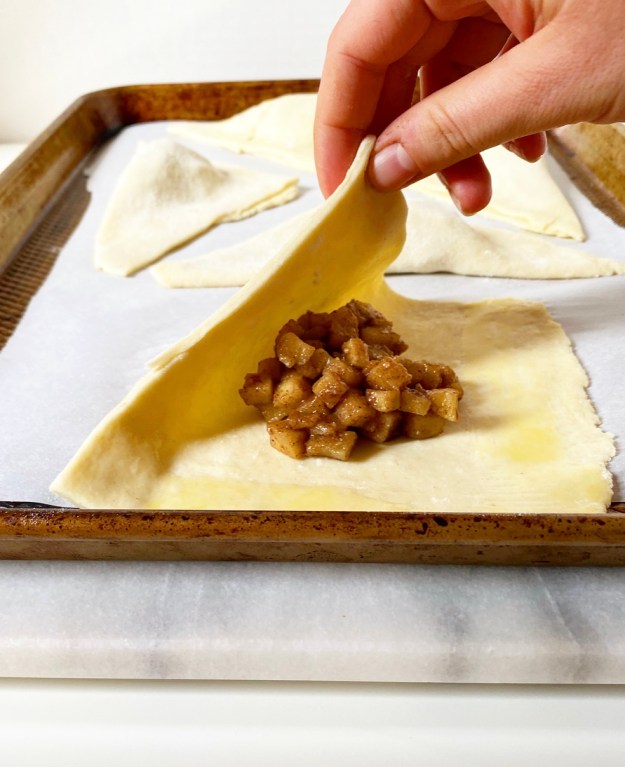
 I make turnovers approximately once every four years, which is ridiculous because they are incredibly simple. Truly, they’re hardly a recipe—just put some filling on a square of puff pastry, fold it over (ahem, “turn it over”) into a triangle, bake until brown, and then drizzle on a glaze. Whether you use homemade rough puff pastry or the thawed frozen stuff, these are one of the easiest homemade pastries out there, y’all.
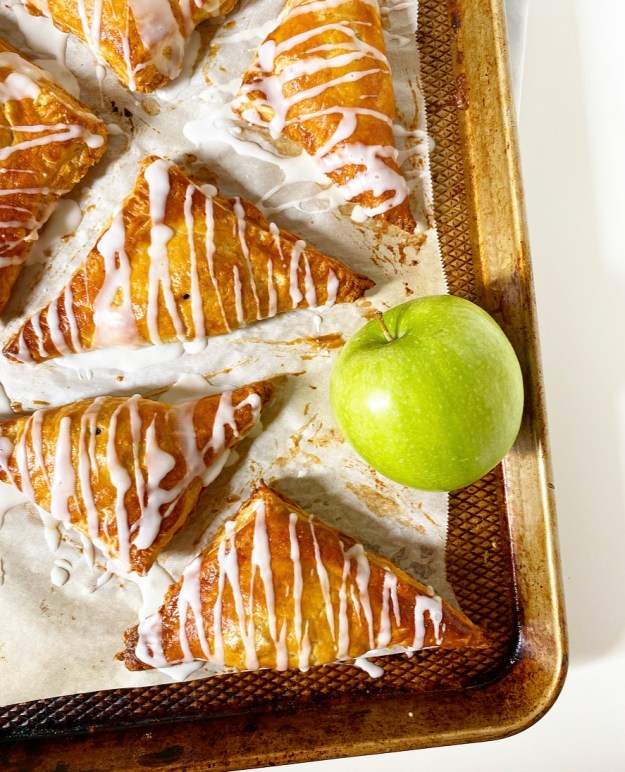 Oh, and they’re so delicious—crisp, buttery, flaky and chock-full of apple filling. They’re a comfort pastry if I’ve ever had one. Is that a thing? Comfort pastries? It should be a thing. Let’s make it a thing.
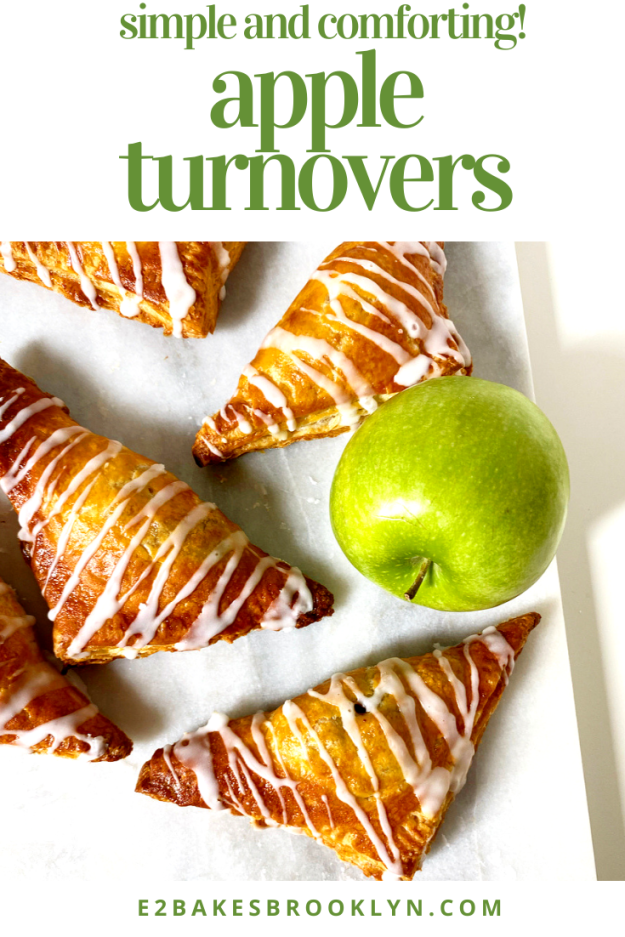
Apple Turnovers
makes 6 turnovers
Apple Filling:
2 tablespoons unsalted butter
2 large baking apples, 1/4-inch diced
3 tablespoons light or dark brown sugar, packed
1 teaspoon cornstarch (or flour)
3/4 teaspoon ground cinnamon
1/8 teaspoon ground allspice
1/8 teaspoon ground nutmeg
pinch of Kosher or sea salt
1 teaspoon apple cider vinegar (or lemon juice)
Rough Puff Pastry:*
1 cup all-purpose flour
1/4 teaspoon Kosher or sea salt
5 ounces (10 tablespoons) unsalted European-style butter, very cold, cut into small pieces
1/4 cup water or milk, very cold
Egg Wash:
1 large egg
1 teaspoon water
Glaze:
1/2 cup confectioner’s sugar
pinch of salt
2-3 teaspoons milk
Apple Filling and Rough Puff Pastry may be made a day in advance. Keep both tightly wrapped in the refrigerator until ready to use.
Make the Apple Filling. Heat a medium skillet over medium heat. Add butter and swirl to melt. Add apples and cook, stirring frequently, until softened but not mushy (about 8-10 minutes). Reduce heat to medium-low. Stir in brown sugar, cornstarch, cinnamon, allspice, nutmeg and salt. Stir in apple cider vinegar. Remove from heat and let filling cool to room temperature. Refrigerate for at least 1 hour or overnight.
Make the pastry. In a large mixing bowl, whisk together flour and salt. Use a pastry blender or two forks to cut butter into dry ingredients until the largest pieces are the size of small peas. Pour in cold water or milk and stir with a silicone spatula or wooden spoon until a shaggy dough forms.
Flour a surface and a rolling pin. Turn dough out onto surface, and use your hands to pat it into a rough rectangle. Roll the dough into an 8×10″ rectangle. Fold dough in thirds, and give it one quarter turn. Roll into an 8×10″ rectangle again, fold, and turn. Repeat rolling, folding, and turning until it has been done six times total. Wrap folded dough in plastic wrap and refrigerate for at least one hour, or up to 48 hours.
Make the tart. Place an oven rack in the center position. Preheat oven to 400F. Line a rimmed sheet pan with parchment.
Make egg wash. Combine egg and water in a small bowl and whisk together with a fork.
Flour a surface and a rolling pin. Unfold dough. Roll dough out to 10×14-inch rectangle. Slice into 6 squares.
Working with one square at a time, roll it into a 5-inch square. Place 2 slightly-heaping tablespoons of apple filling in the center. Paint two intersecting edges of each turnover with egg wash. Fold dough into half to seal. Use a fork to crimp the edge. Remove to prepared pan. Repeat with remaining dough and filling, chilling for 15 minutes if dough becomes sticky or difficult with which to work.
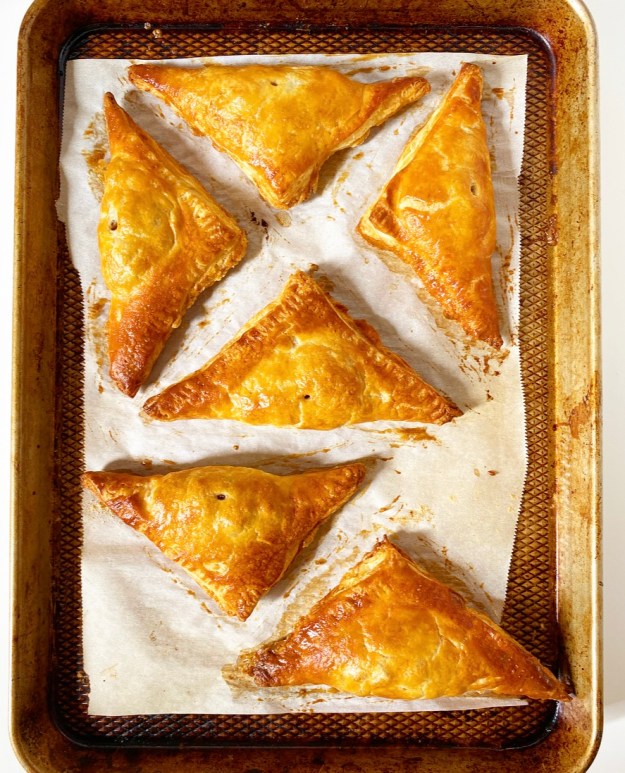
Chill pan of turnovers for 10 minutes. Cut vents in each turnover. Brush all exposed pastry with egg wash. Bake 25-27 minutes or until golden. Let cool on the pan for 10 minutes before removing to a rack to cool completely.
Make glaze. In a small bowl, use a fork to whisk together confectioner’s sugar, salt and 2 teaspoons milk. Add more milk by the 1/2 teaspoon until the desired consistency is reached. Drizzle over cooled turnovers. Glaze should set after 20 minutes.
Turnovers are best the day they are made, but will keep in an airtight container at room temperature for up to 2 days. Pastry will soften over time.
Note:
If you do not wish to make the Rough Puff Pastry, you may use one sheet of frozen all-butter puff pastry that you have thawed according to package directions.

 I’ve been meaning to put a Chicken Pot Pie on here for years, but inevitably I’d forget about it until the day before Thanksgiving (things to do with turkey leftovers!) or winter would slip away from me too quickly, and then it was summer, and who wants to make—let alone eat—a Chicken Pot Pie in July?
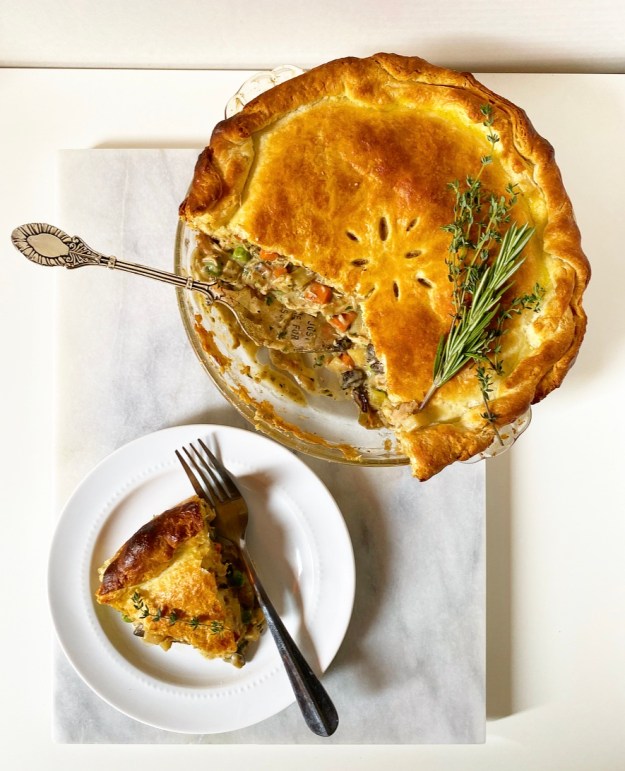
 Imagine my delight when the right timing and opportunity finally presented themselves a few weeks ago, when it seemed like every big-time food person in the world was making
 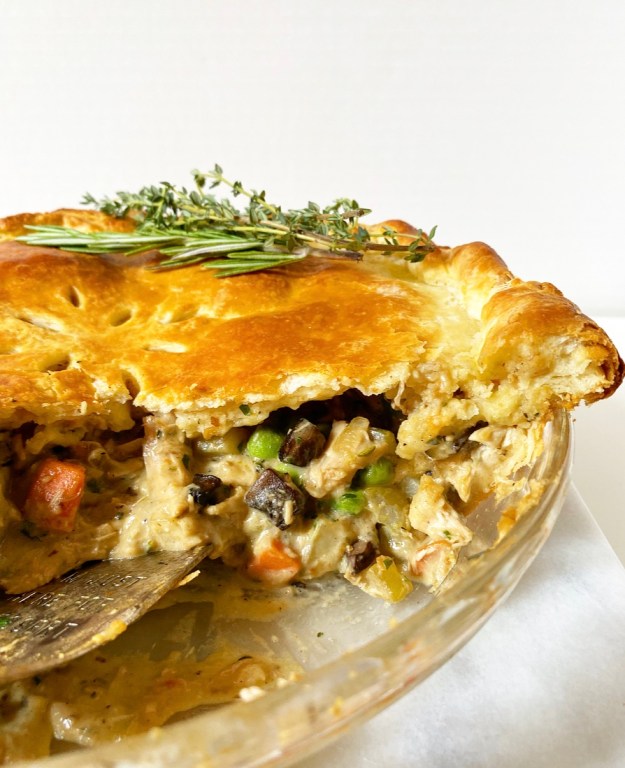 I started making pot pies
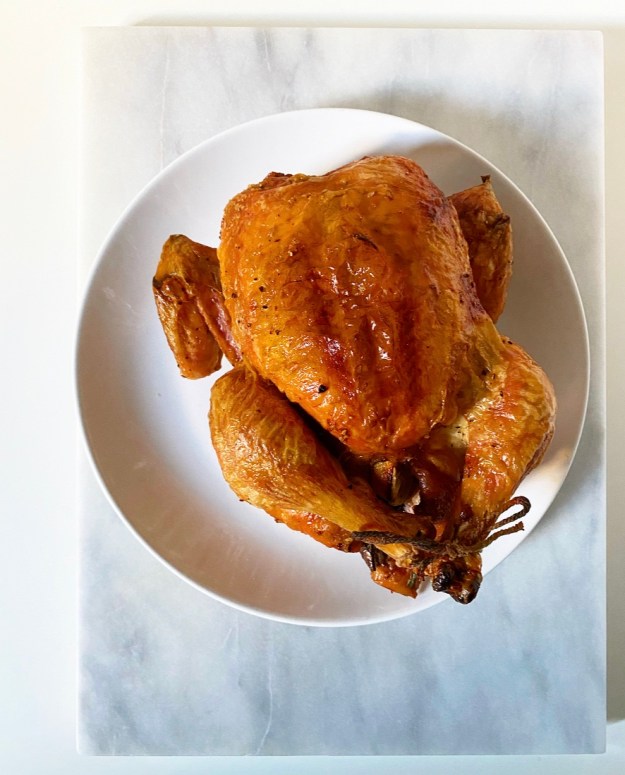
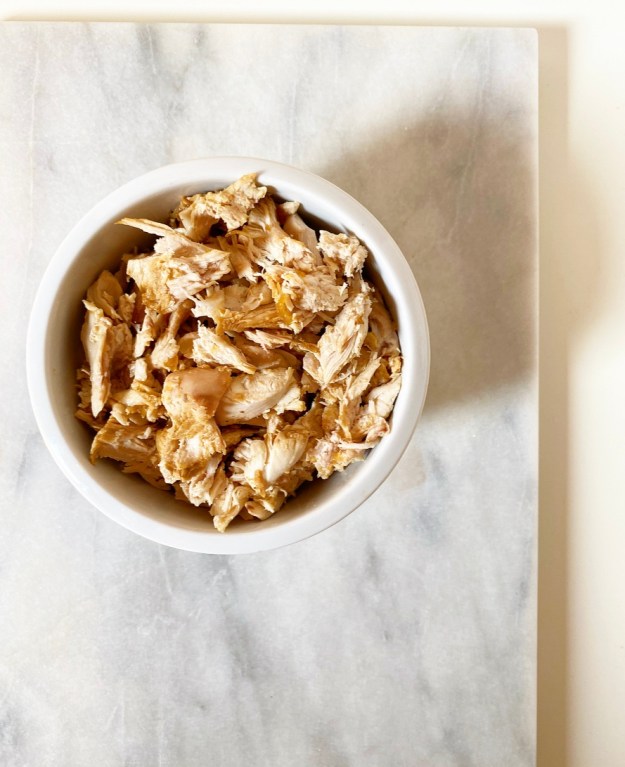 I won’t lie to you, a from-scratch Chicken Pot Pie can take a bit of time to prepare. All of the filling ingredients have to be cooked before they can be put together. This includes the chicken; I made a
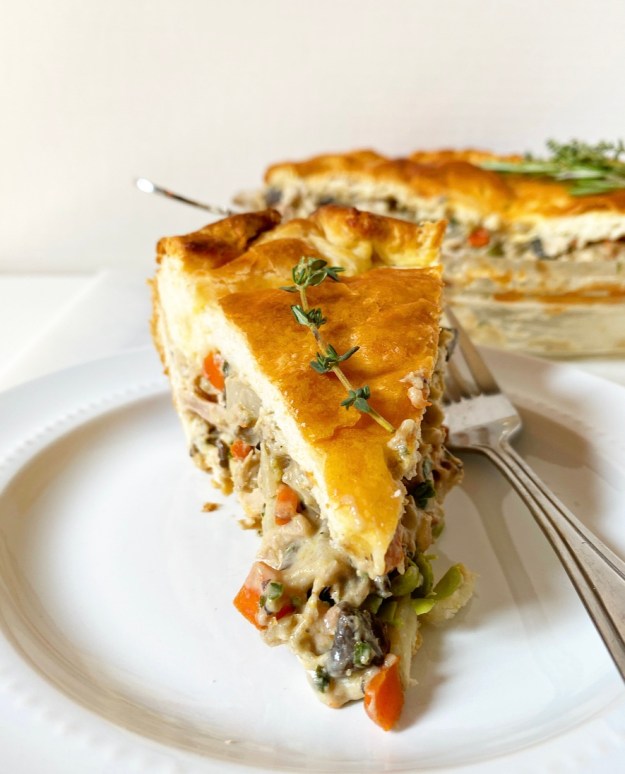
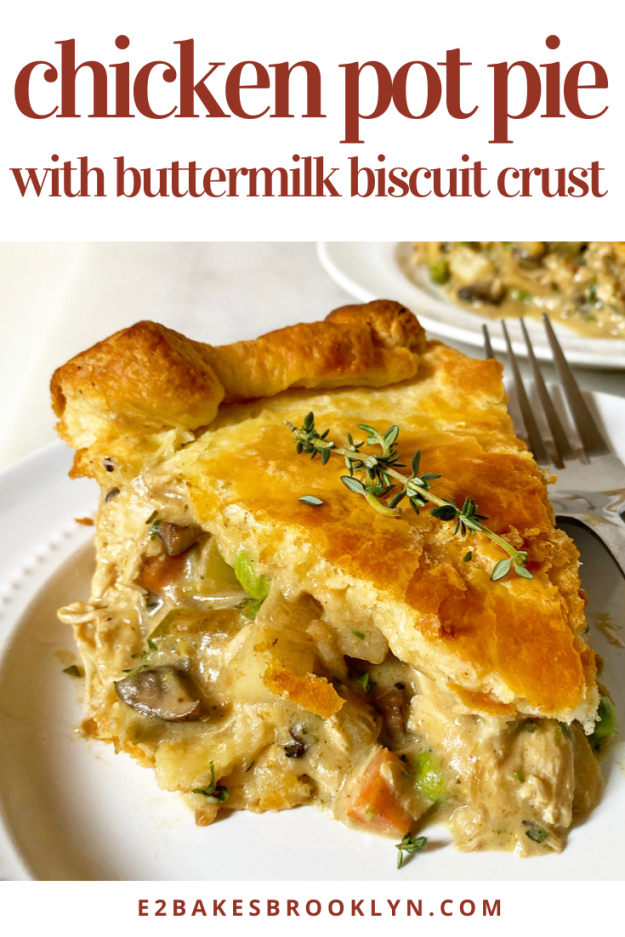
 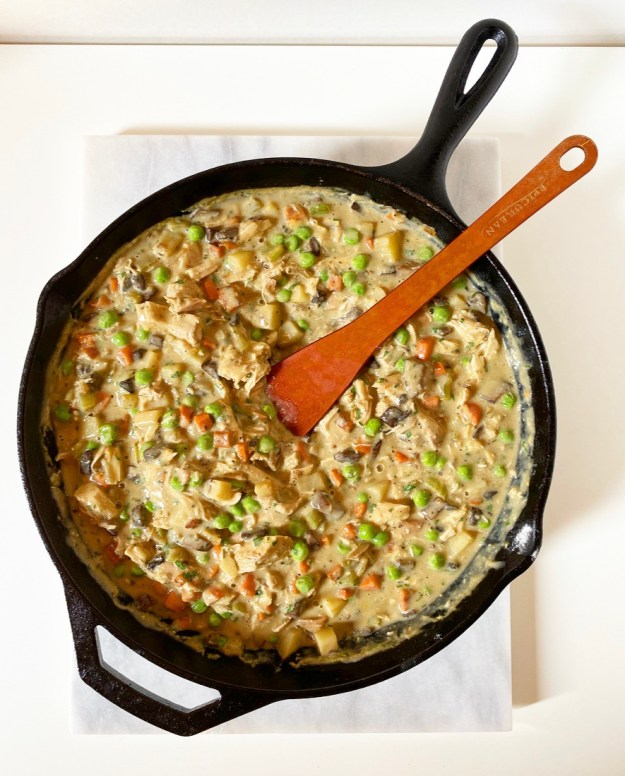 Once the various vegetables are cooked in butter until fork-tender, they all go in a big skillet together, and then you build the gravy on top of them. Stir in some flour (creating a sort of roux), then chicken stock, cream, dijon mustard, fresh herbs, salt and pepper. Simmer it all for ten minutes before removing the saucy, bubbling mix from the heat. Stir in your chicken and some frozen peas, then set your filling aside so you can roll out the buttermilk biscuit crust.
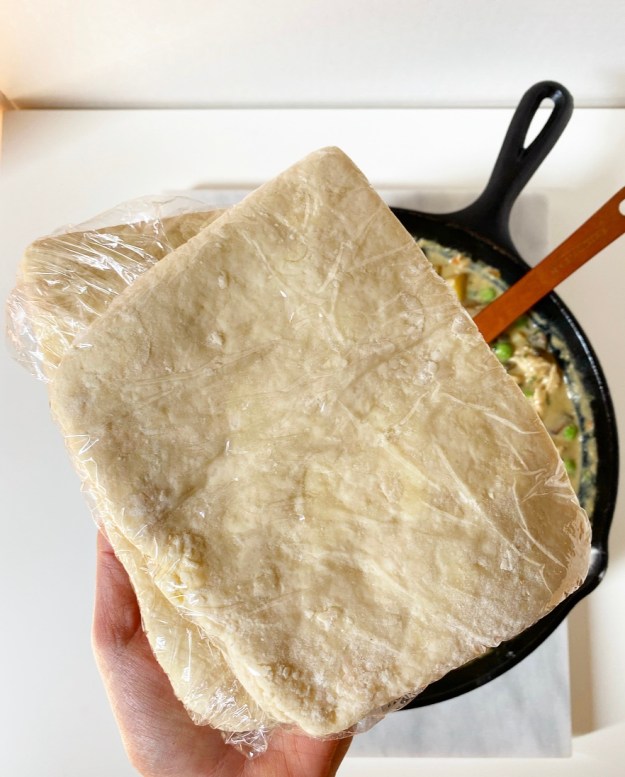
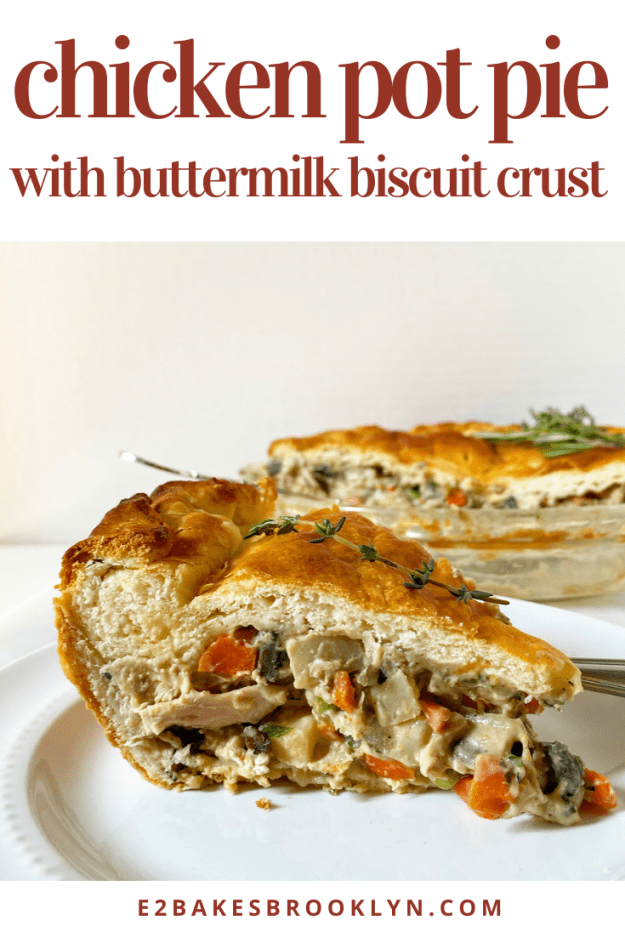
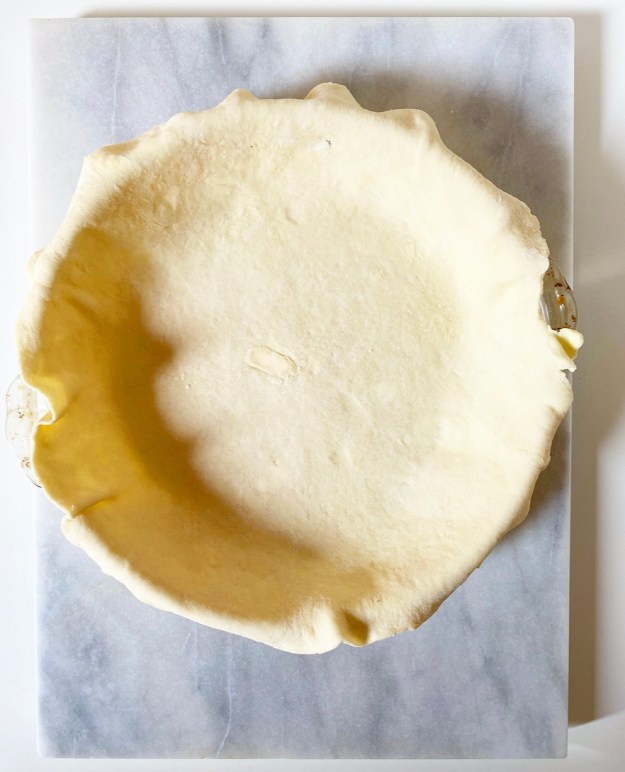 Oh yes, back to the buttermilk biscuit crust! It’s tender and flaky, and you’re going to freaking flip over how easy it is to make. The dough comes together exactly as it does when you’re making traditional biscuits, except after all the folds and turns it’s split in half and chilled while you make the filling. At this point, when the filling is cooling a bit, the dough is rolled out and fitted to the pan just like any other pie crust. As biscuit dough is softer and contains half the butter of most pie doughs, I found this remarkably easy with which to work.
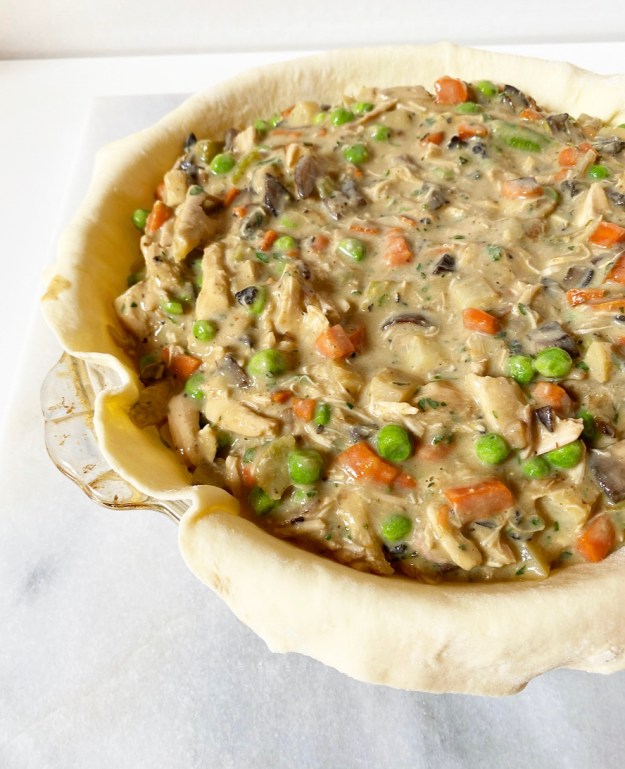 To finish off your Chicken Pot Pie, fill the bottom crust with your filling, then drape on the top crust, cut a few vents, paint the whole thing with egg wash, and bake it for about 30 minutes. Once your pie is burnished and bubbling, it’s time for dinner.
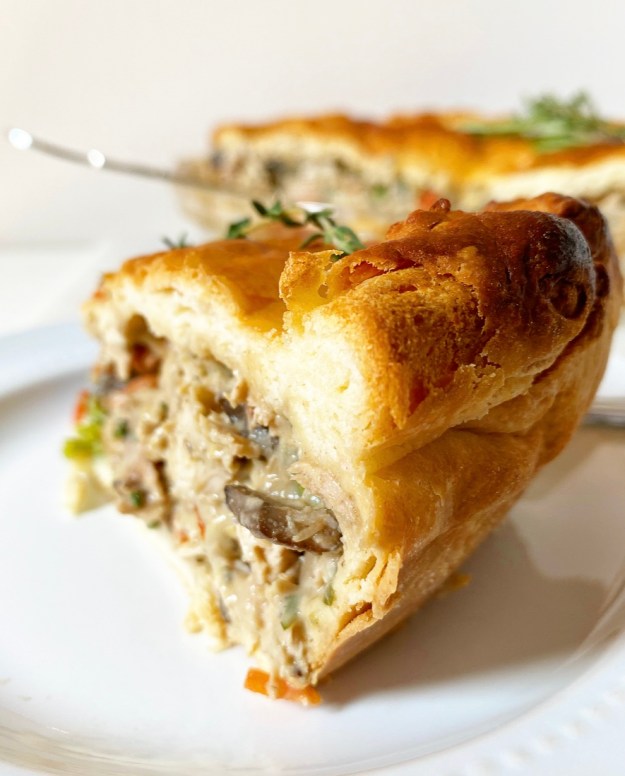
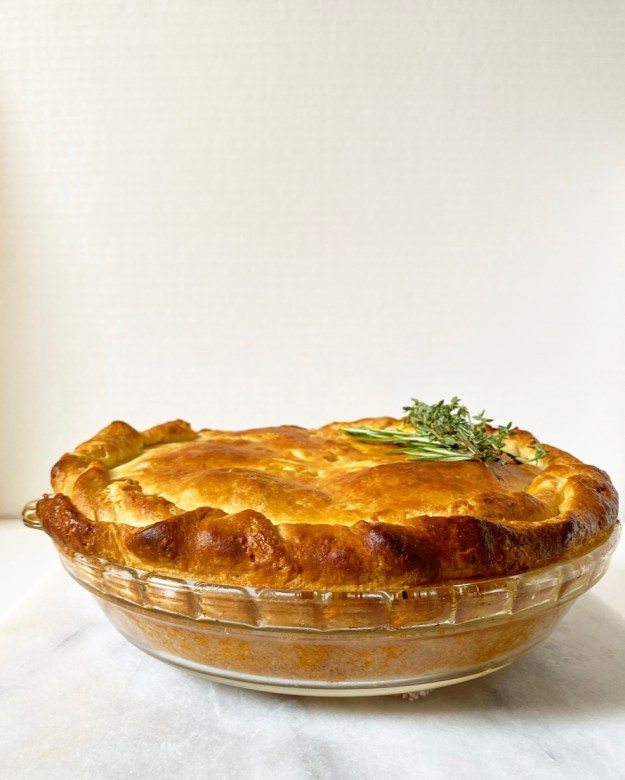 And oh, what a dinner it is. The filling is creamy and chickeny and rich, but never as heavy as I think it will be. The buttermilk biscuit crust is slightly puffed and perfectly browned, and retains distinct layers, just like it would in its traditional form.
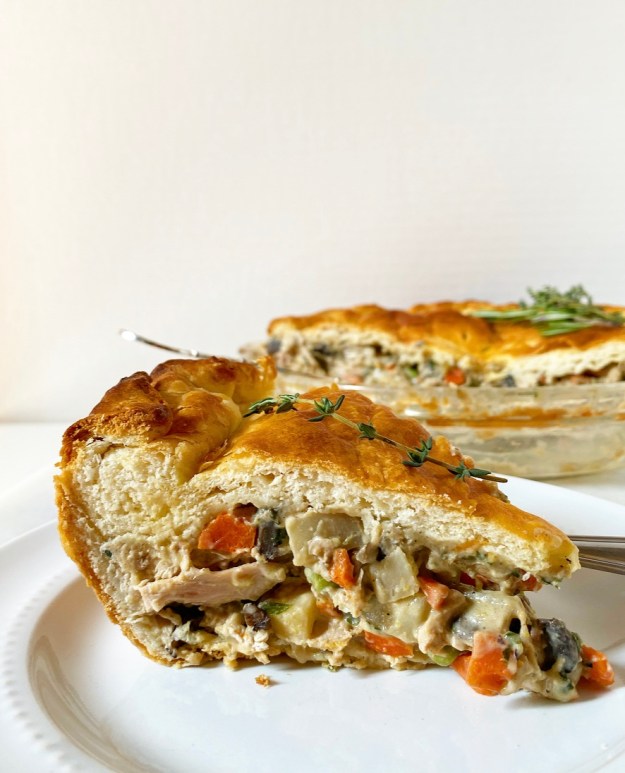 This is the best sort of Sunday dinner…or Monday through Thursday dinner if you, like me, have the enviable job of eating the whole thing yourself. Food blogger life isn’t always as glamorous as it seems, but I was happy to take this one for the team.
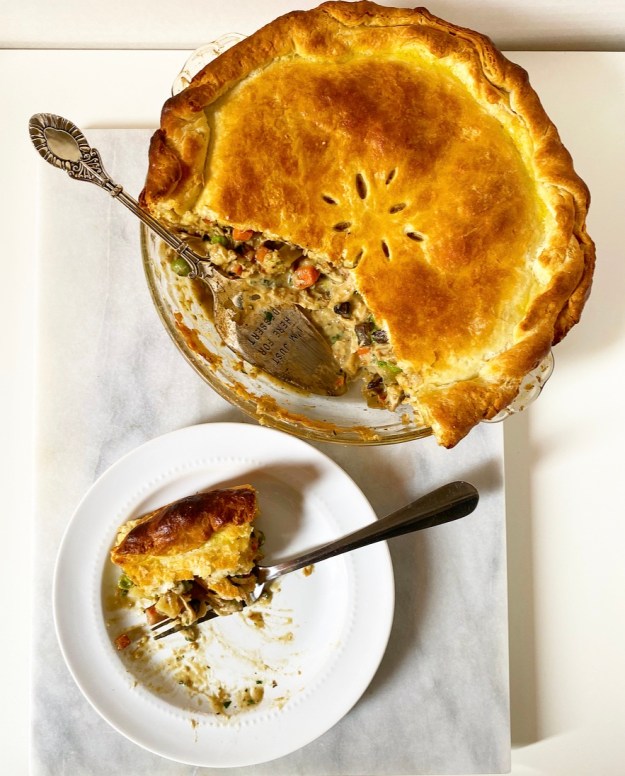


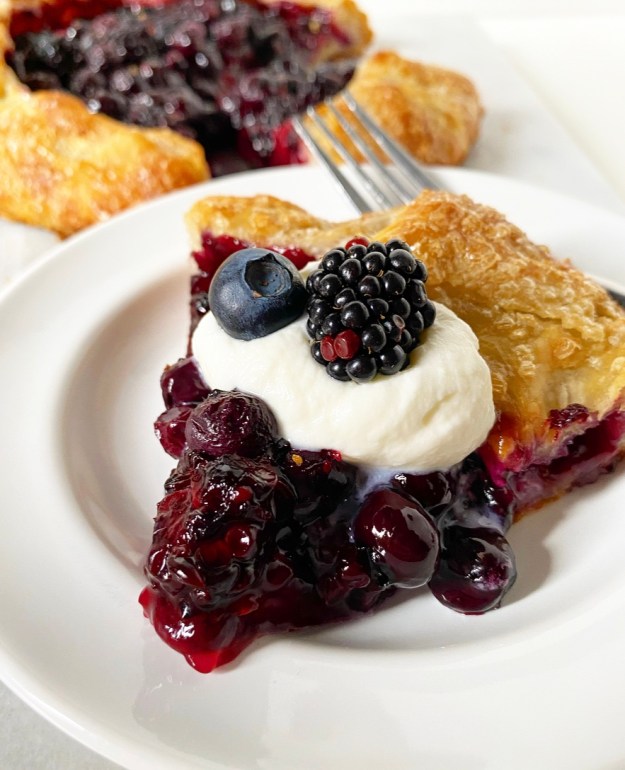
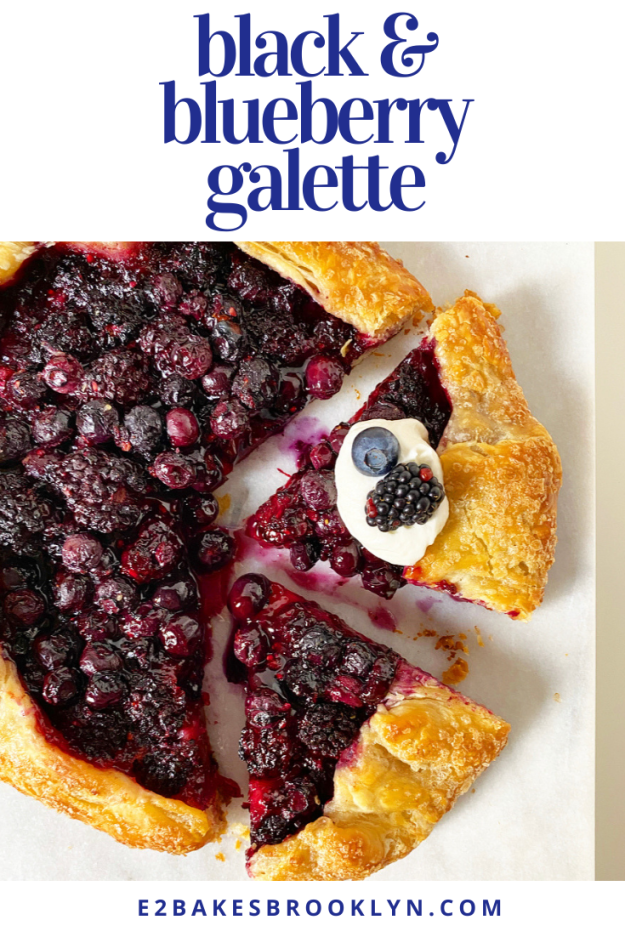
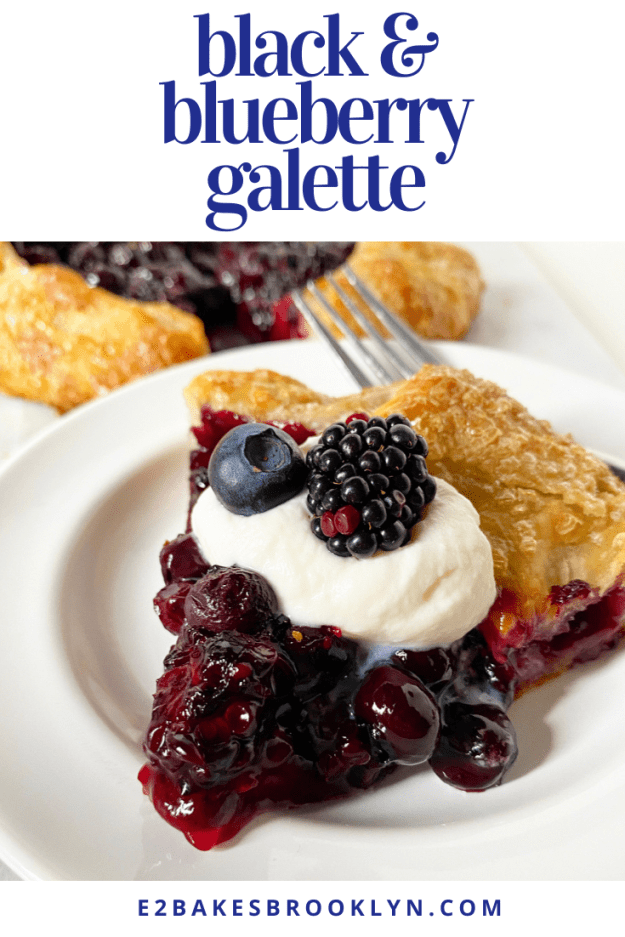
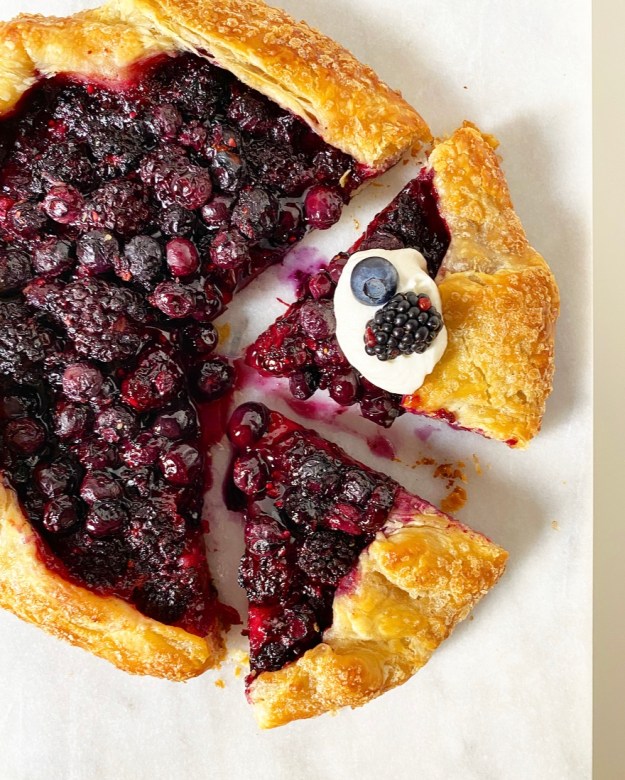 While there is a time and place for a traditional crimped and latticed pie, my kitchen in the middle of a heatwave is not it. That said, there are a ton of berries at the markets right now, and it would be a real shame to miss tucking them all into a flaky shell, now wouldn’t it?
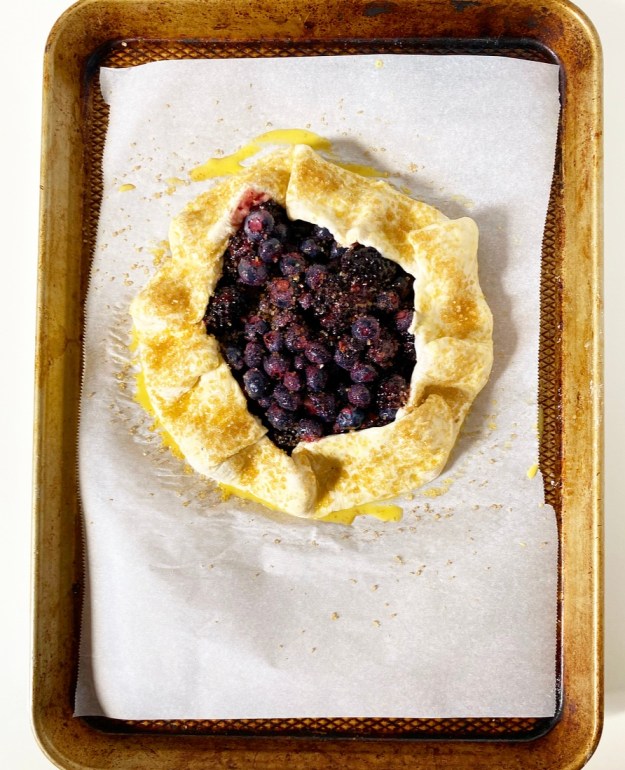

 I used my
 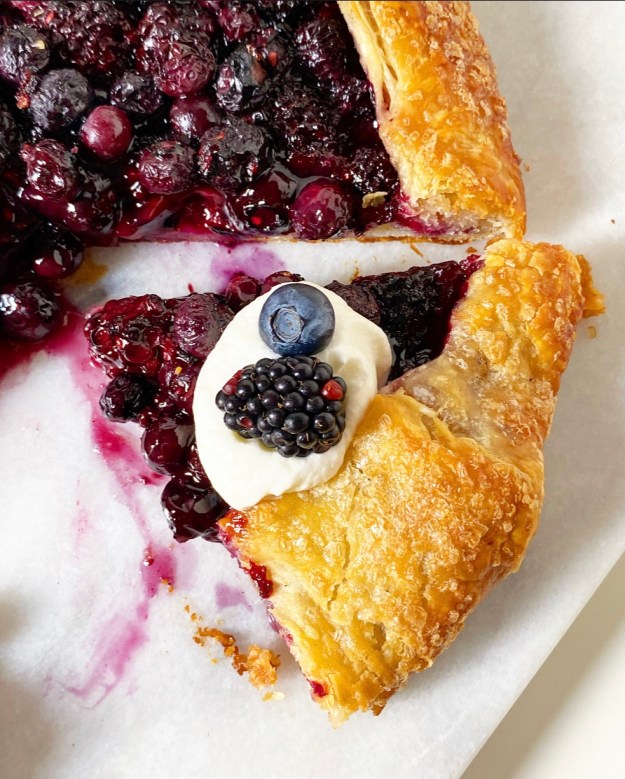 Generally speaking, I think baking should be an enjoyable process, so if making dough from scratch is going to ruin the fun of making a galette, by all means, take the easy way out. Use whatever pie dough you like here, even the refrigerated store-bought stuff. I am pretty sure a sheet of puff pastry would work, too. Whatever your dough of choice, just remember to keep your surfaces floured and your dough cold.
 I used blackberries and blueberries in this galette for a multitude of reasons, chief amongst them that these varieties looked the best at my local green market a few weeks ago. They also happen to remind me of
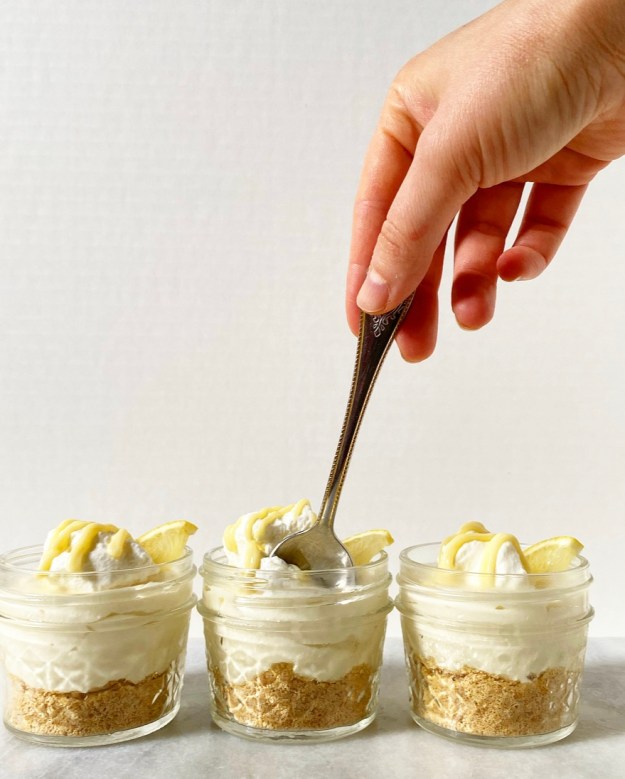
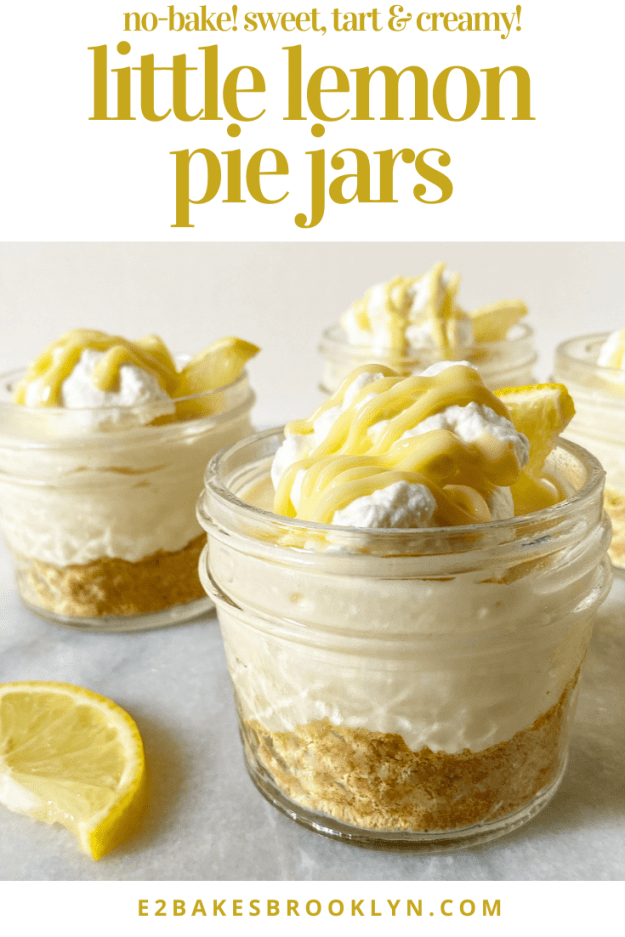
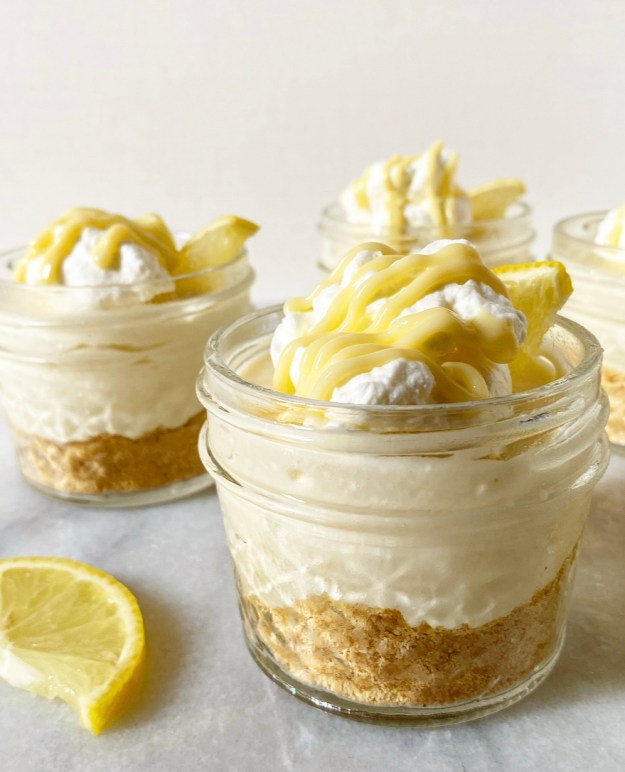 These Little Lemon Pie Jars are are the best no-bake dessert I’ve had in quite some time. They’re cold, creamy and tangy, but not overly rich, and their single-serve presentation makes them ideal for any socially-distanced gathering during these hotter months.
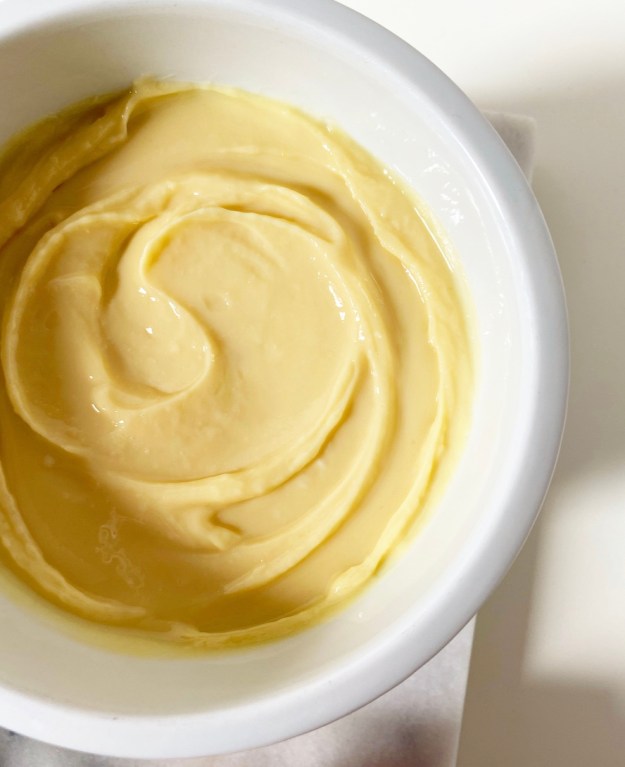
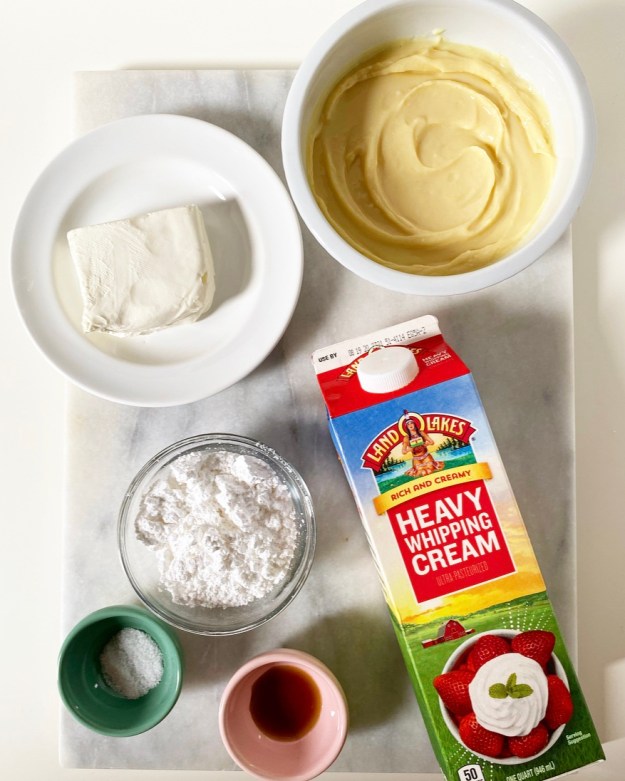
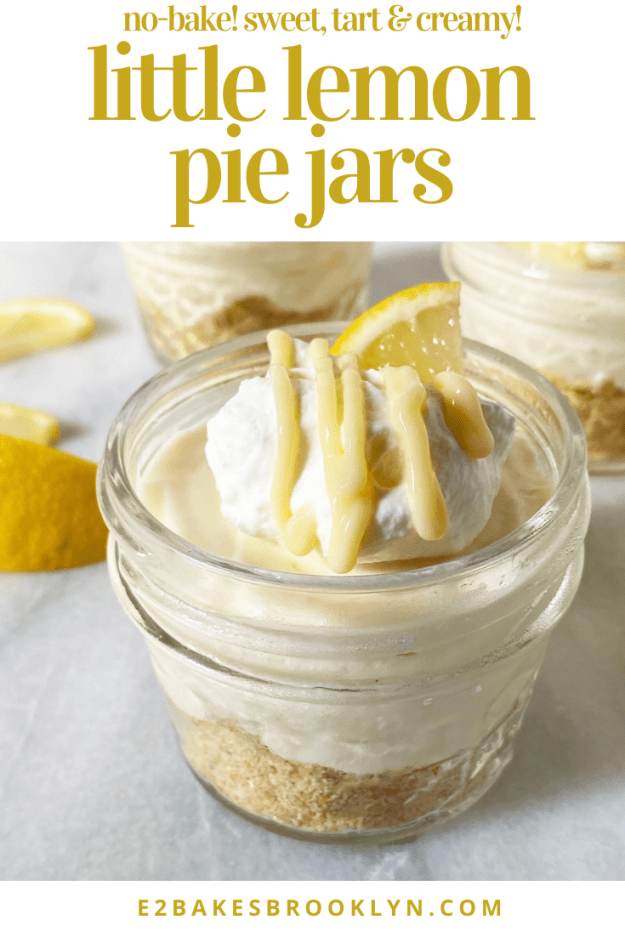
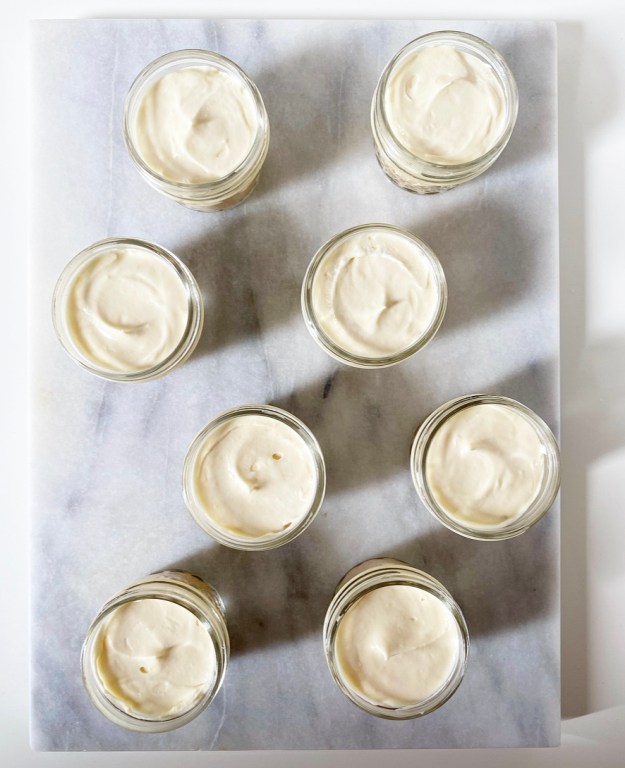 Little Lemon Pie Jars are incredibly simple to make. The lemon filling is made with a fluffy combination of cream cheese, confectioner’s sugar, whipped cream, and my favorite
 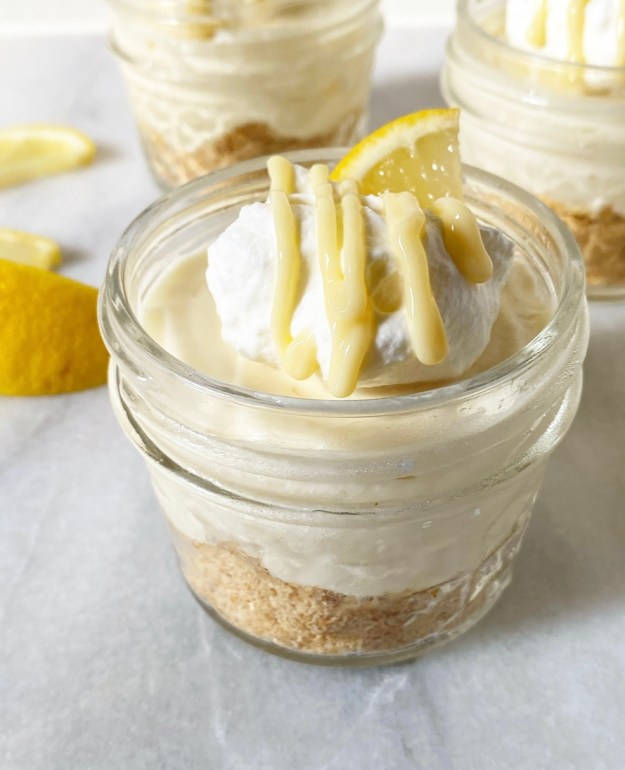 Once the curd is made and cooled, the filling takes all of ten minutes to mix and spoon over the crust. Oooh, this crust. While the lemon filling is plenty sweet and refreshing on its own, the crust provides textural contrast and cuts the richness.
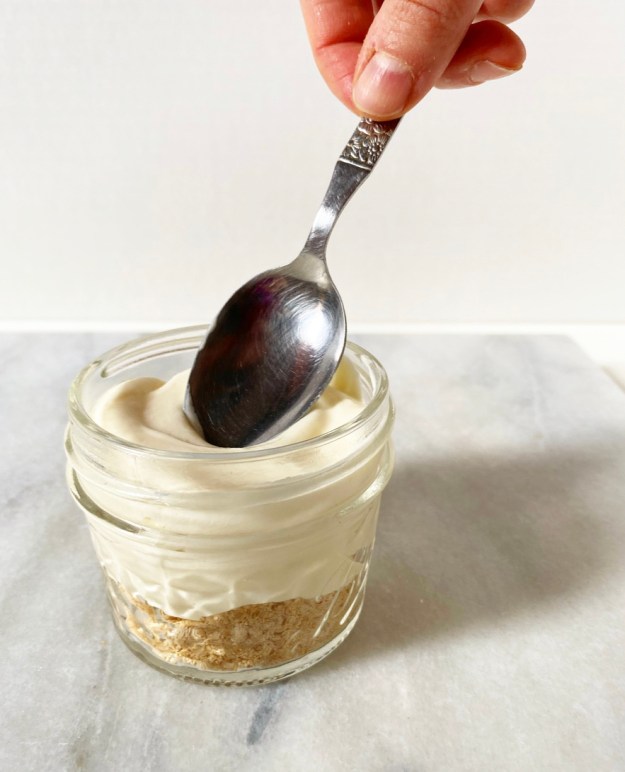
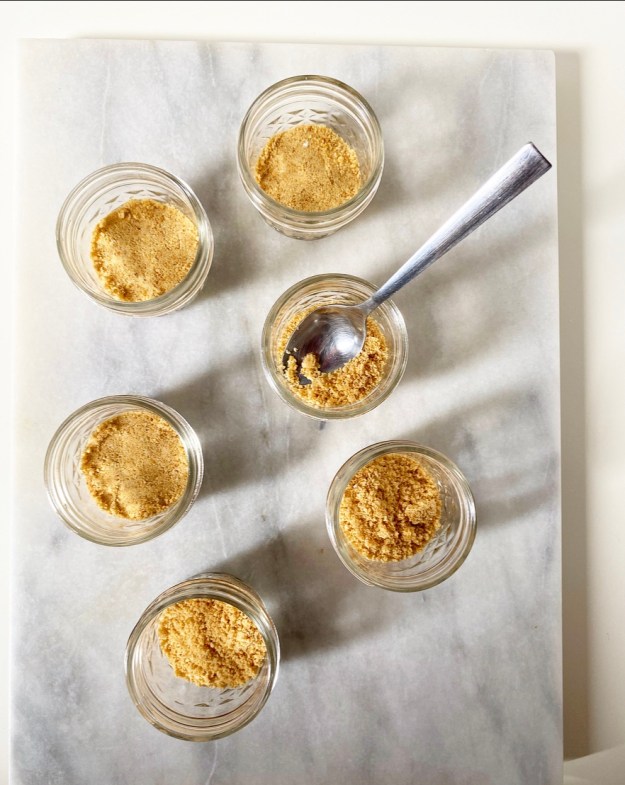
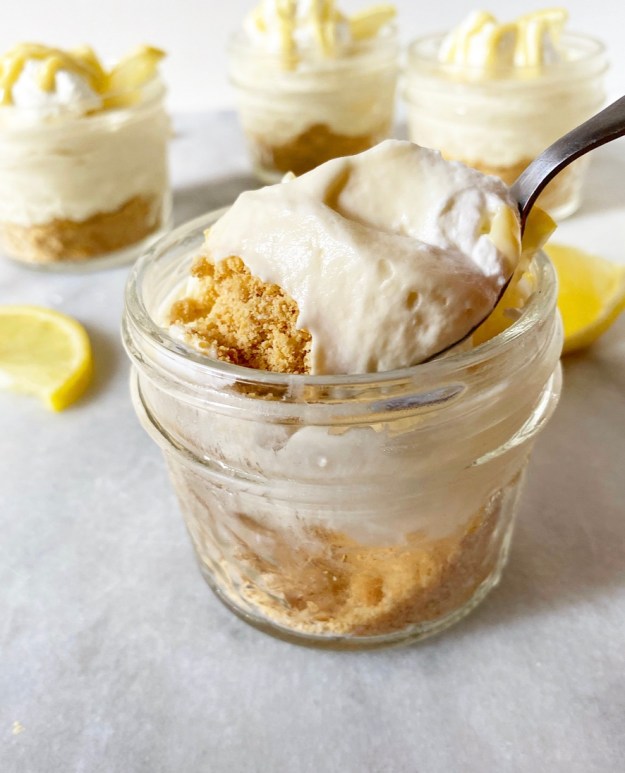 Simply mix up some graham cracker crumbs, confectioner’s sugar, a pinch of salt and melted butter until everything is lightly moistened, then press the mixture into the bottoms of eight small mason jars. It won’t set hard, instead staying a little on the crumbly side. Where this wouldn’t work particularly well for a traditional pie, it works like a dream here. I love that I can dig my spoon into the bottom of the jar and get a little crust in every bite.
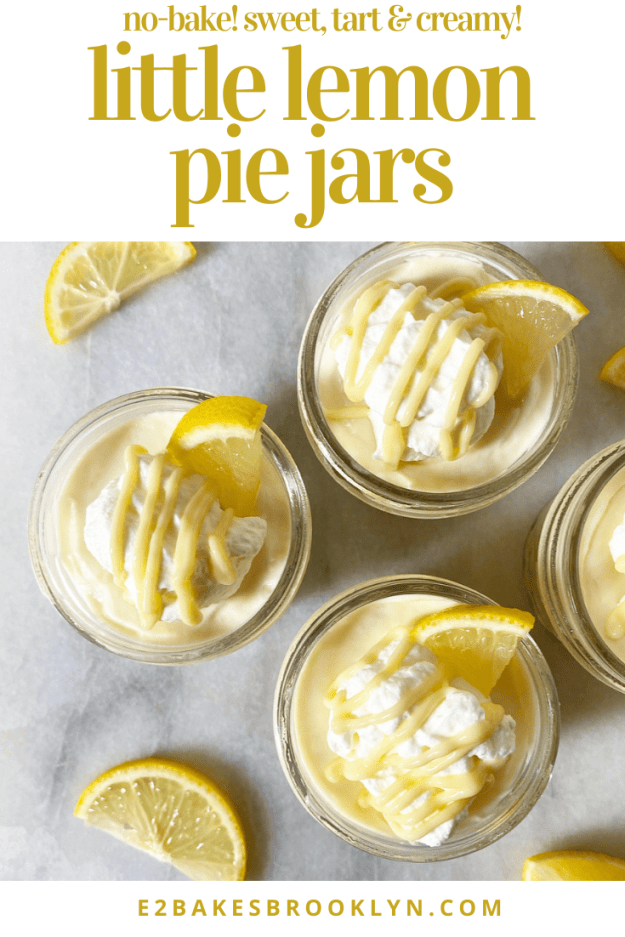
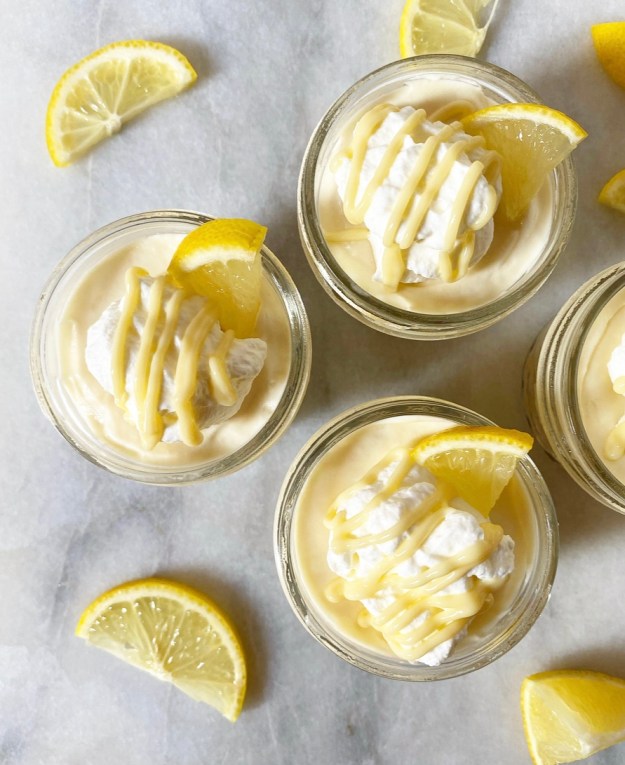 You can garnish these little pies however you like or not at all. I’ve been saying some version of this a lot lately, but it’s the truth: we’re in a pandemic and there are no dessert rules. I dressed these pictured pie jars up with whipped cream, teensy lemon wedges and extra drizzles of lemon curd for their glamour shots, but I ate the leftovers plain out of the fridge and they were just as delicious.