 I first had Brownie Pie at an Easter brunch almost twenty years ago, but I’m here to tell you to make it for Thanksgiving. Yes! You may not realize it with everything going on, but Turkey Day is twenty days out. Twenty days! I started off the festive foods with Wednesday’s Pimento Cheese Tarte Soleil, and now we’re on to the first of my usual three pies and one of my favorite sides ever…but I’m getting ahead of myself. I’m here to talk about Brownie Pie, so let’s get to it!
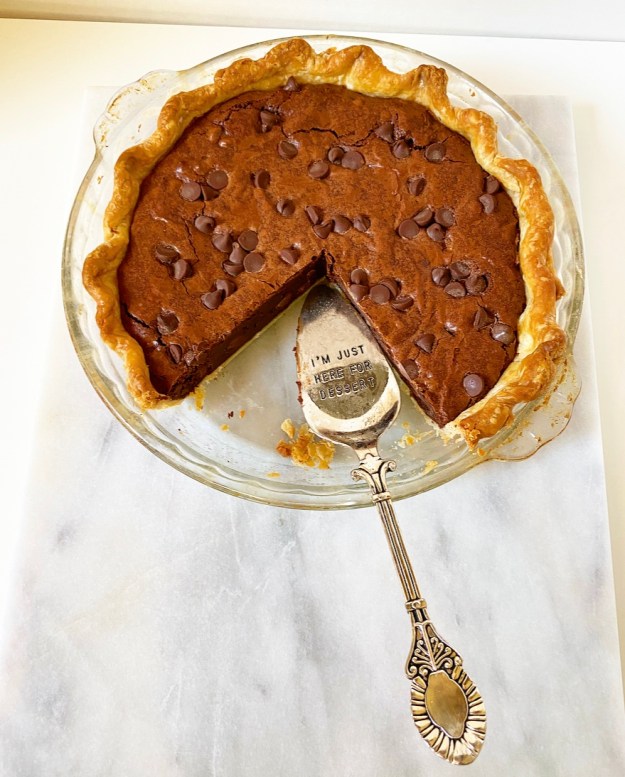
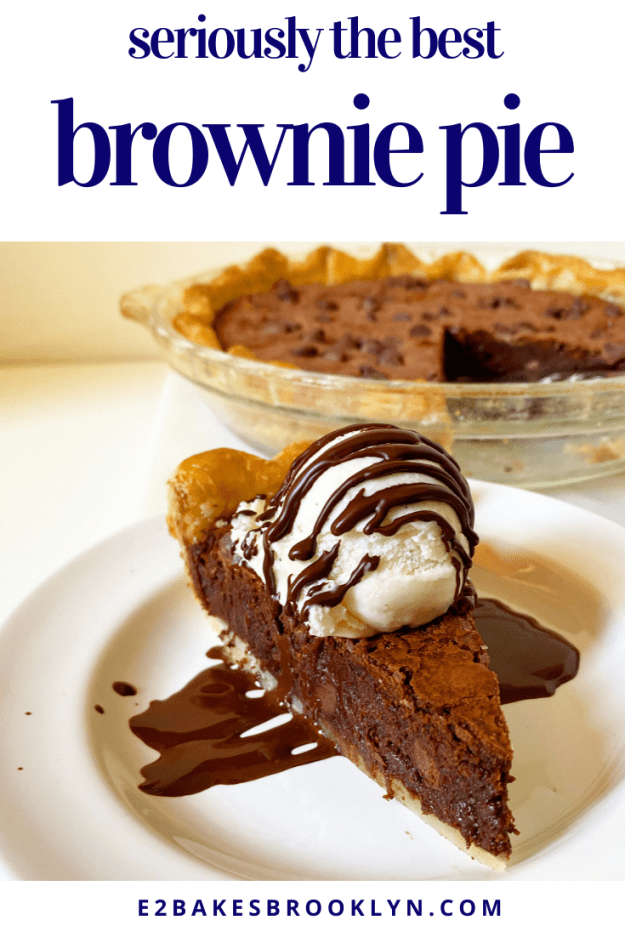
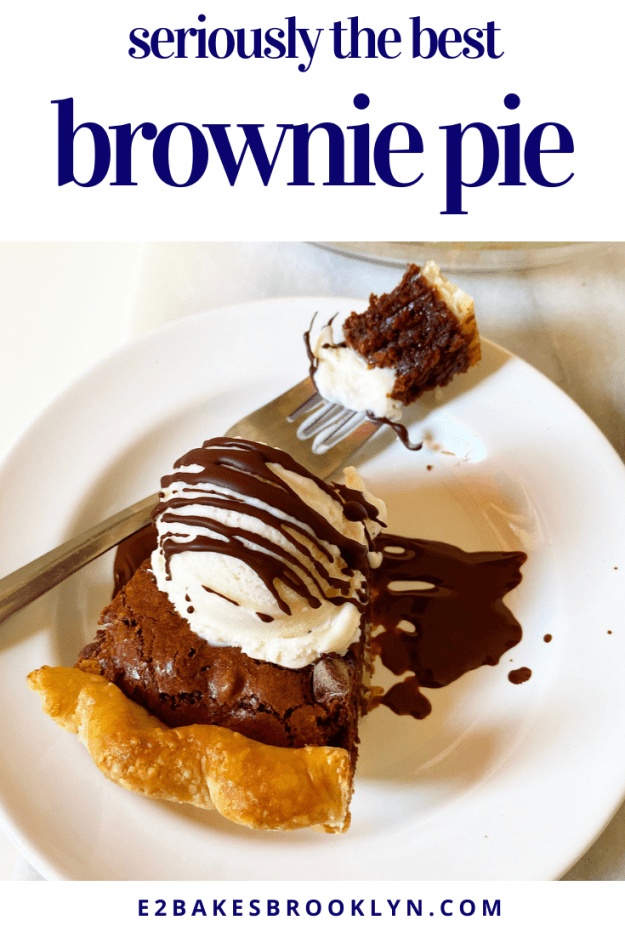
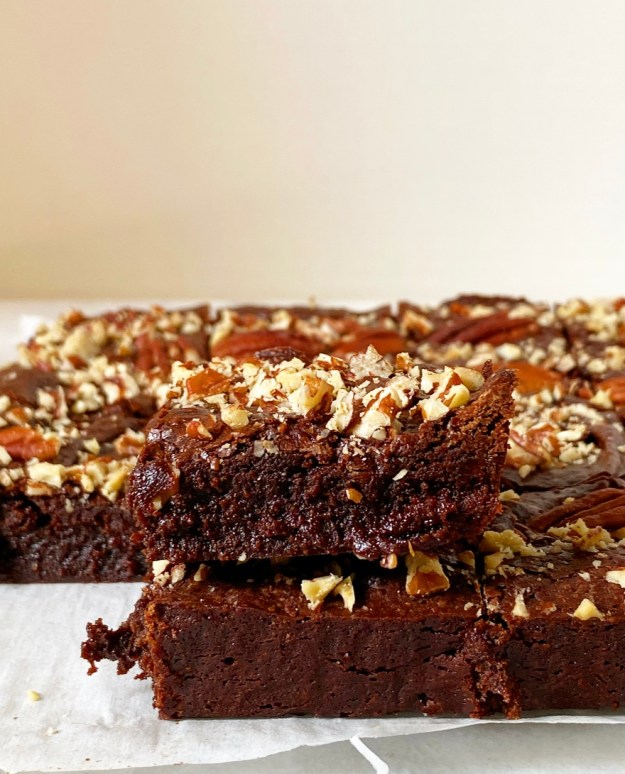
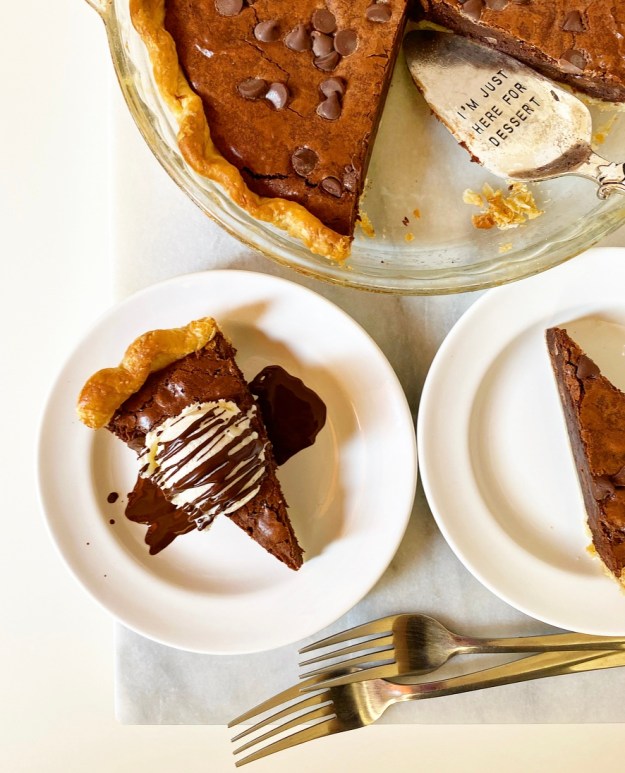 Brownie Pie? Like brownies *in* a pie? You better believe it. We’re talking dense, chewy, fudgy, crackly-topped brownies baked up in a flaky all-butter crust. This is a perfect food, people!
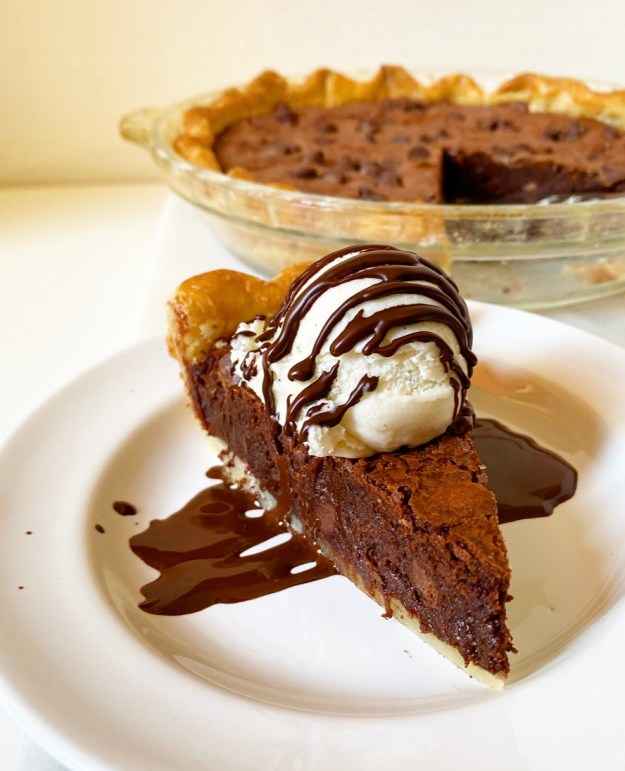 Now, Brownie Pie not quite as simple as baking brownie batter in a pie crust…but it almost is. You just have to partially blind-bake (bake without filling) the pie crust first, lest your bottom crust stay raw. Don’t worry, it’s not as terrifying as it sounds.
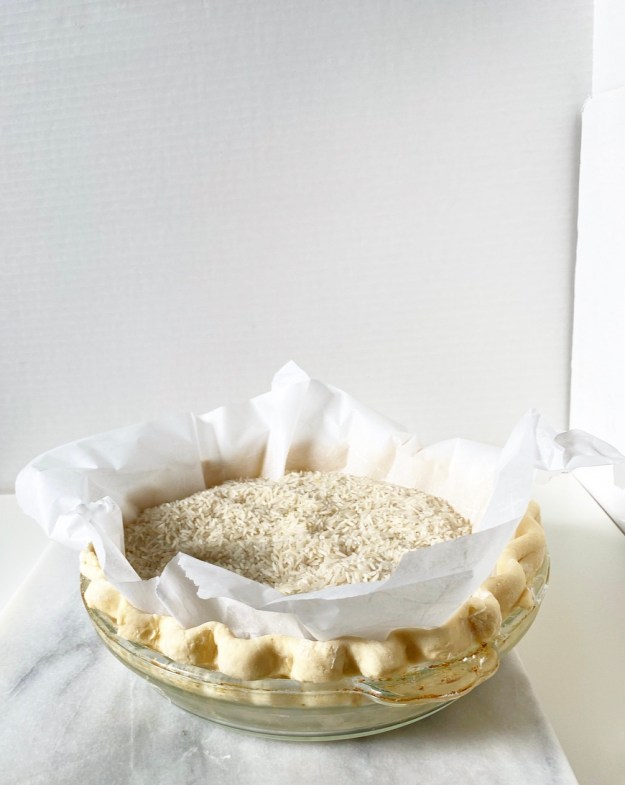
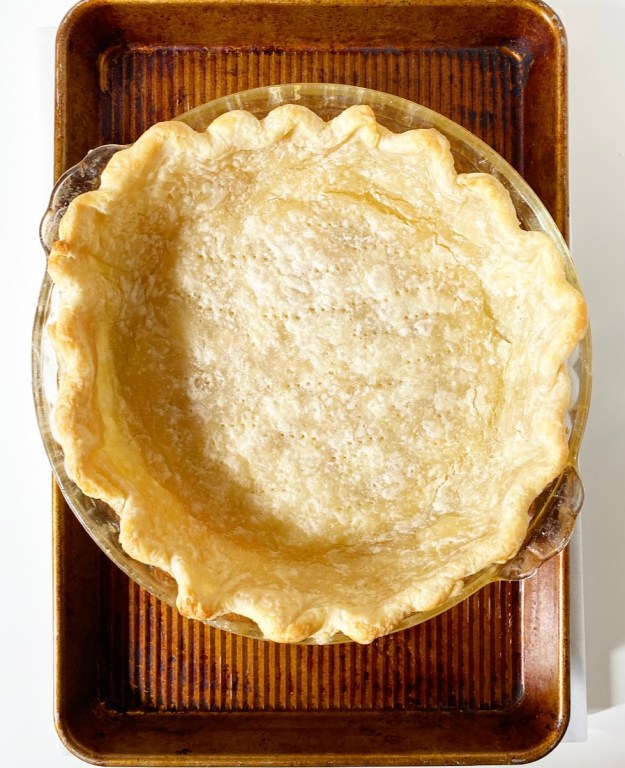 To partially blind-bake, begin by rolling out your dough, then fit and crimp it in a pie plate like you normally would. Next, give it a good chill before lining it with parchment, filling it up with your weights of choice (pie weights, dried beans, rice) and baking for 20 minutes. Then simply lift the parchment and weights out of the crust, dock it with a fork and bake for another 10 minutes, until it starts to brown.
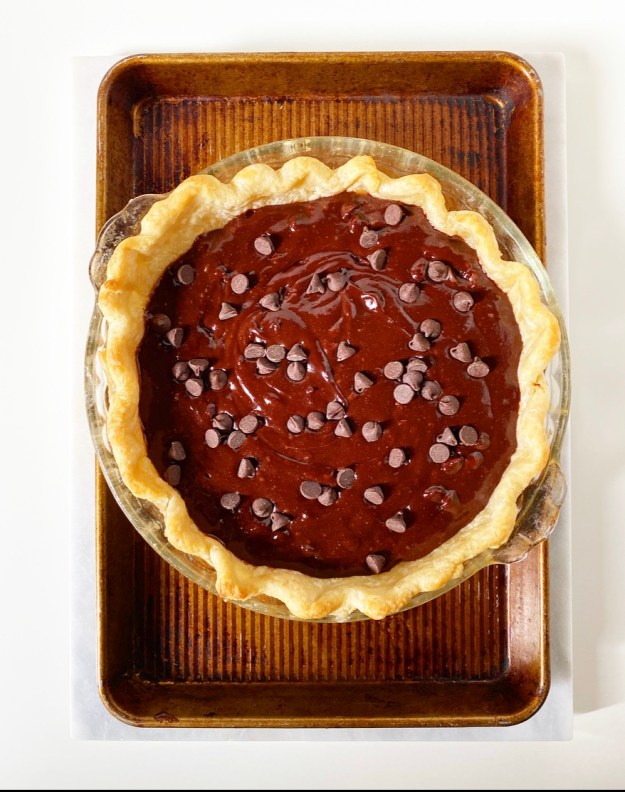
 After that—which, again, is much less of an ordeal than it sounds—it’s as simple as pouring the brownie batter into the crust and baking it off. I used my trusty Cocoa Brownies recipe with a bit more salt and 2/3 cup of chocolate chips for a little extra zazz. If you have another brownie recipe or box mix that you like, feel free to use it! Make sure that it makes enough for an 8” or 9” square pan—you don’t want to overfill your pie plate or worse, have to clean your oven floor.
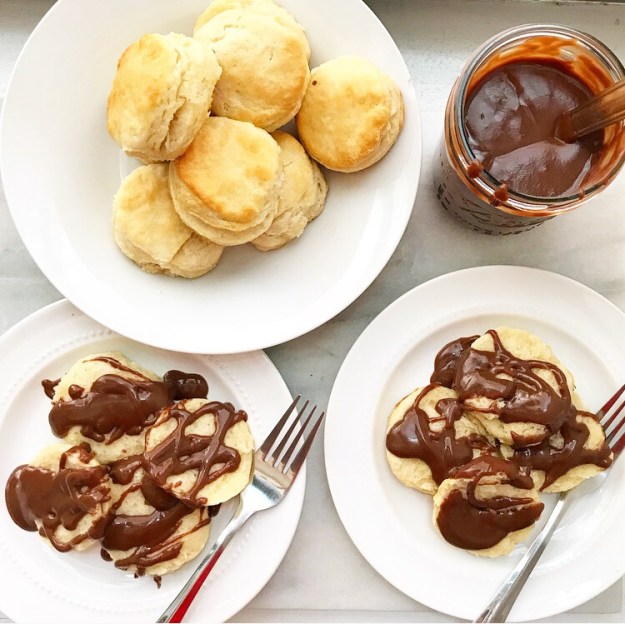
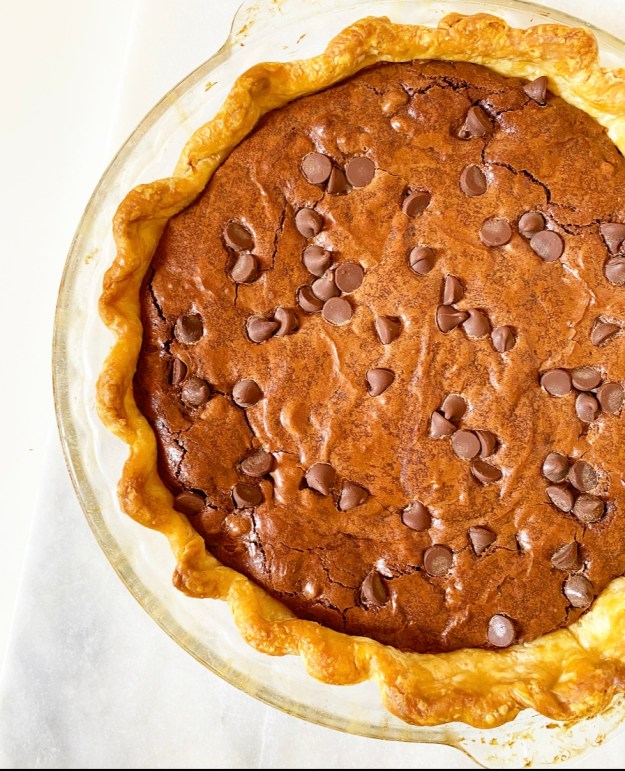
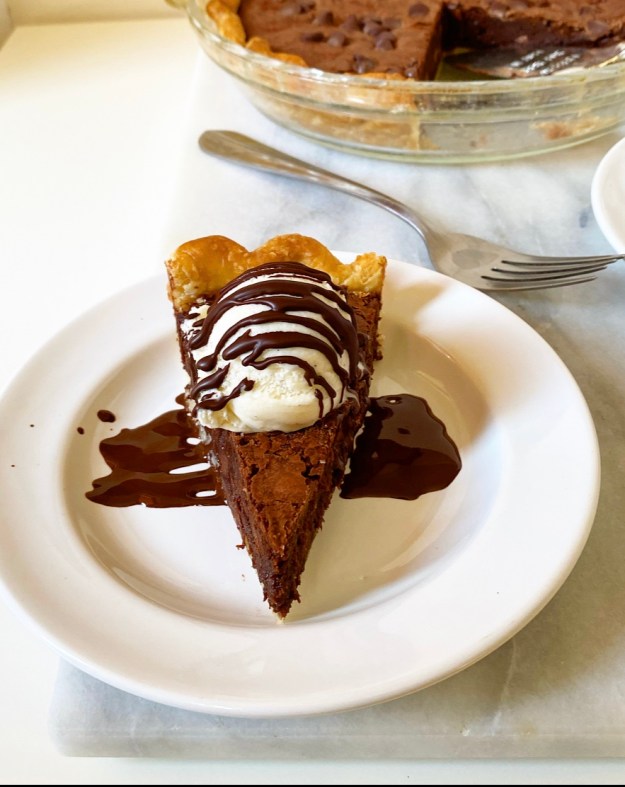 Brownie Pie’s final bake is 30-35 minutes. Ideally, you should let it cool completely for the cleanest slices, but I don’t want to be that person who tells you not to eat warm brownies, so you decide when to slice your pie. Follow your heart and all that. Whatever you do though, don’t skip the vanilla ice cream and chocolate shell.
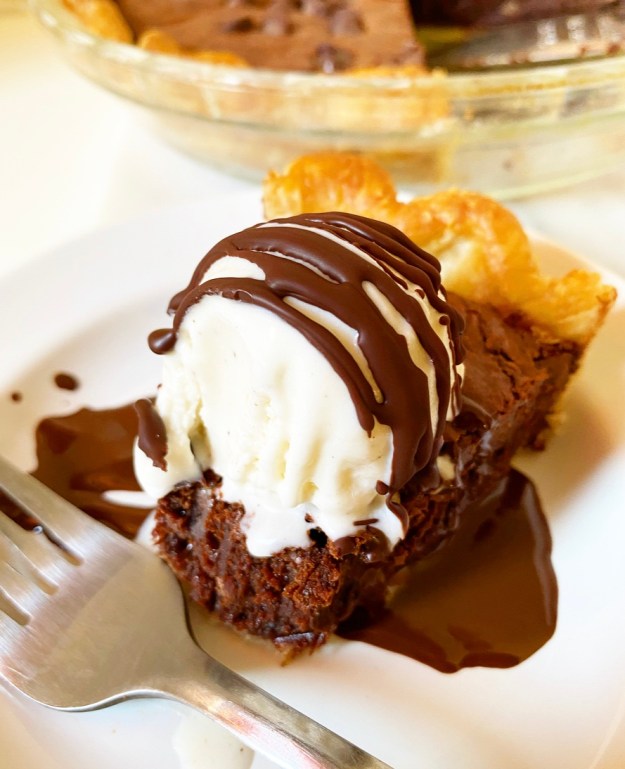
Brownie Pie
makes one 9-inch pie
1/2 recipe All-Butter Pie Dough or other good single crust recipe
10 tablespoons unsalted butter, cut into small pieces
3/4 cup granulated sugar
1/2 cup light or dark brown sugar, packed
3/4 cup + 2 tablespoons cocoa powder (natural or dutch process)
2 large eggs, cold
1 teaspoon pure vanilla extract
1/2 cup all-purpose flour
3/4 teaspoon Kosher or sea salt
2/3 cup semisweet chocolate chips, divided
For serving (optional):
vanilla ice cream
whipped cream
chocolate shell
chocolate syrup
On a floured surface, roll out pie dough to a 12″ diameter. Fit into a deep 9-inch pie plate and trim the overhang to 1/2-inch. Crimp the edges and freeze for 30 minutes or refrigerate for an hour.
Place an oven rack in the lowest position. Preheat oven to 350F.
Remove pie crust from the freezer. Prick the bottom several times with the tines of a fork. Line frozen crust with a big piece of parchment. Fill the center with pie weights (or dried beans or rice).
Place the prepared pie crust on a rimmed baking sheet and bake for 20-25 minutes, or until pie crust has “set” and is starting to turn golden in places, but is far from done. Use parchment to lift out pie weights. Dock (prick) crust all over with a fork. Return crust to the oven for 10 minutes.
Meanwhile, make the brownie batter. In a small pot over medium-low heat, melt butter, granulated and brown sugars, and cocoa powder together, stirring frequently, until a thick, grainy mixture forms. Remove from heat and let mixture cool 5-7 minutes.
Add vanilla and eggs to the pot, and stir/whisk to combine. Add flour and salt and stir/whisk to combine. Fold in 1/2 cup semisweet chocolate chips. Pour batter into par-baked crust and spread to the edges. Scatter remaining 2 tablespoons chocolate chips over the top and press lightly to adhere.
Bake pie 30-35 minutes, until filling is set and crust is golden. Let cool completely on a rack.
Slice and serve with desired toppings. Cover leftovers and keep at room temperature for up to two days. Leftovers will keep in the refrigerator for up to five days.
 I had a very difficult time deciding what to post today. The election has zapped any creative energy I had left, and just…what do I want to talk about post-Election Day? Do I go straight into
 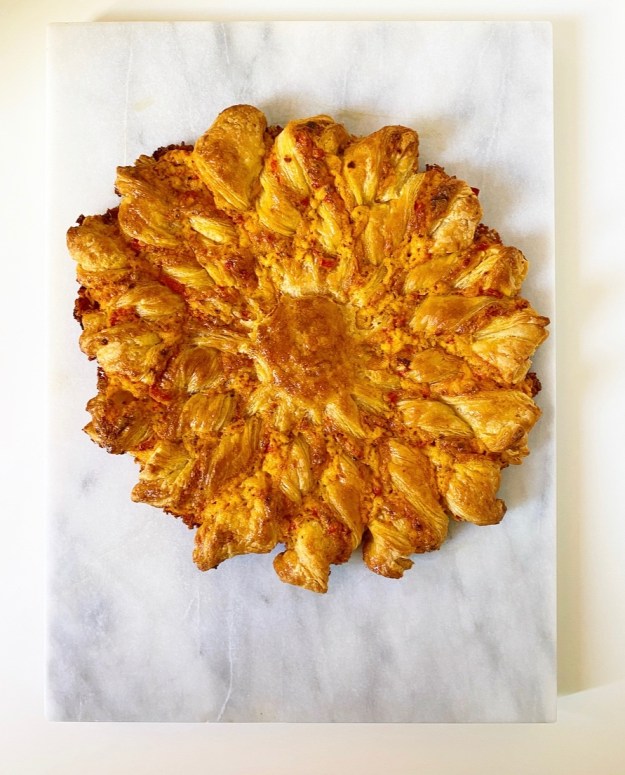 Instead though, I’m going with
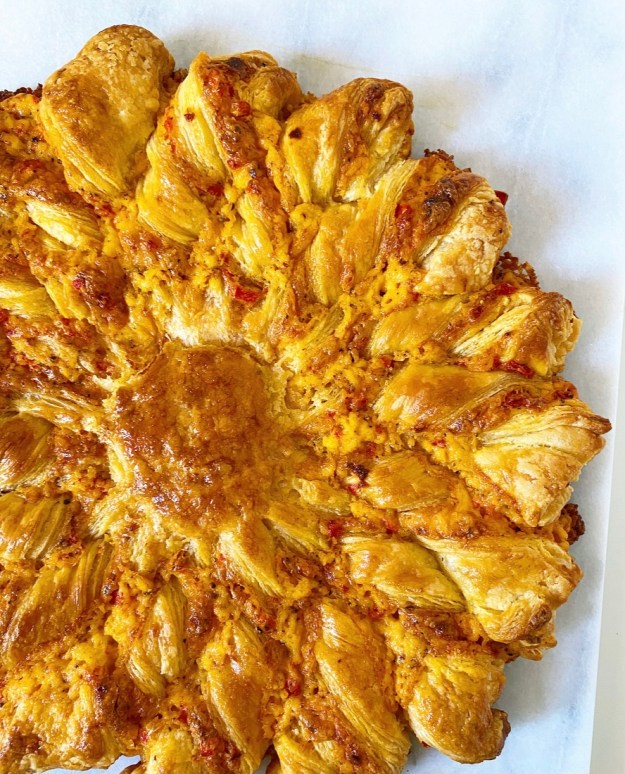
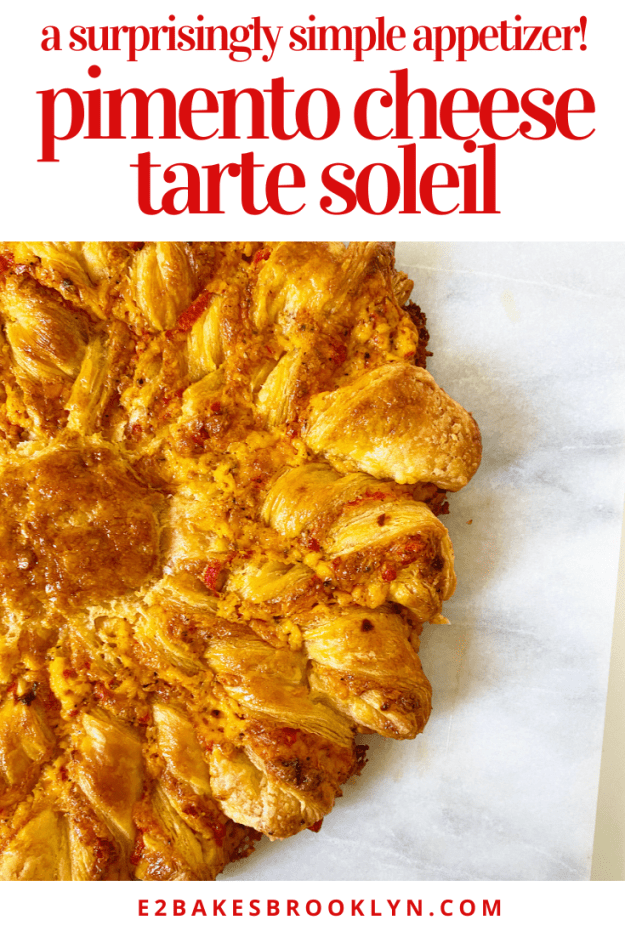
 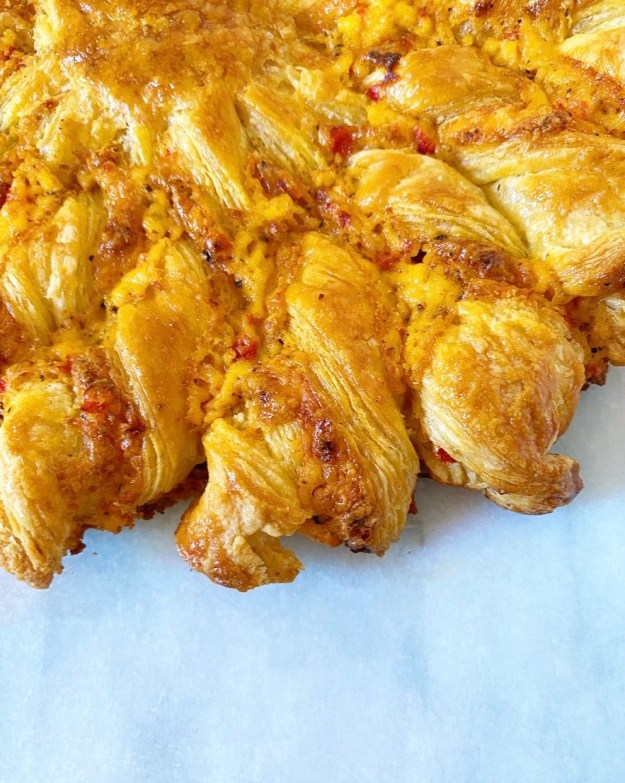 While Pimento Cheese Tarte Soleil sounds fancy, it’s really quite simple, as most things made with puff pastry are. As usual, I went with easy from-scratch
 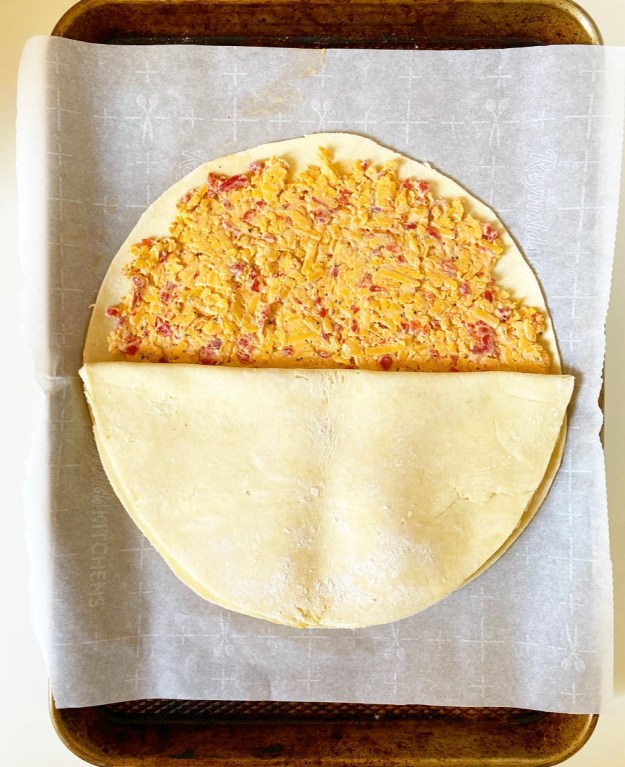 No matter which dough you use, roll your sheets out about as big as you can (mine were 12×14”) and cut out two 12-inch circles. Top one with a batch of homemade pimento cheese, then seal the edges together with a swipe of water.
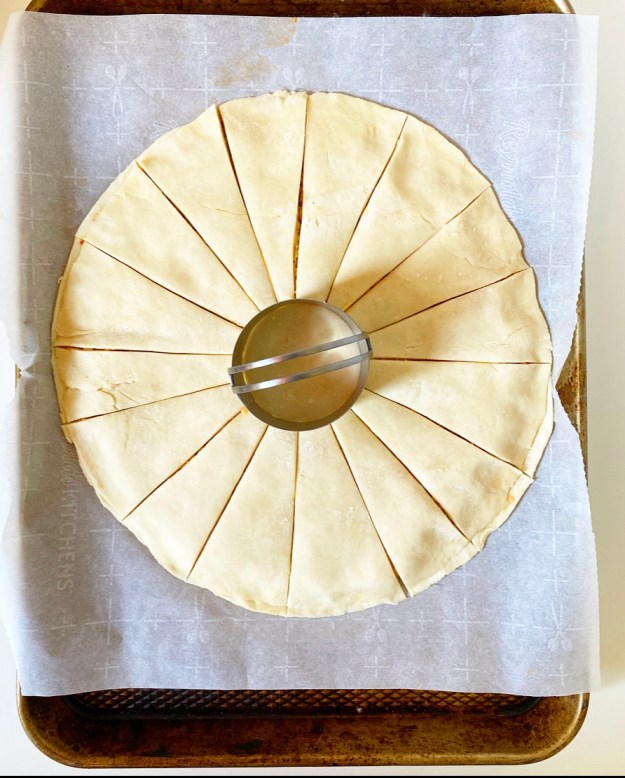
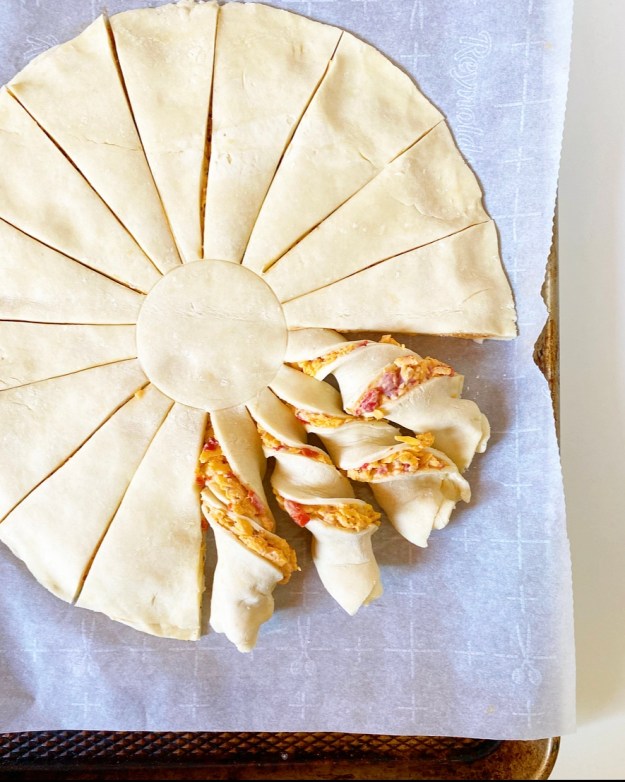
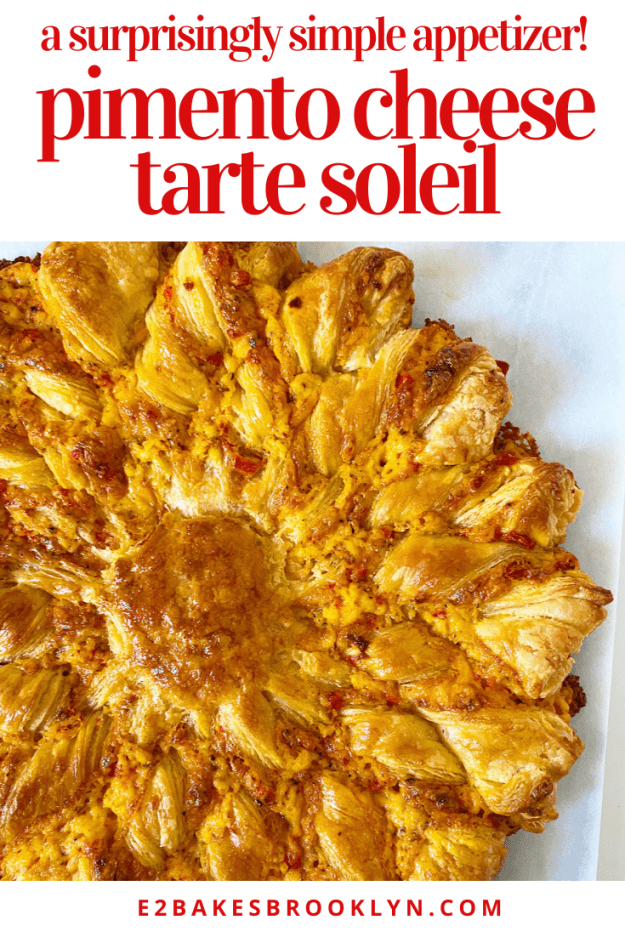
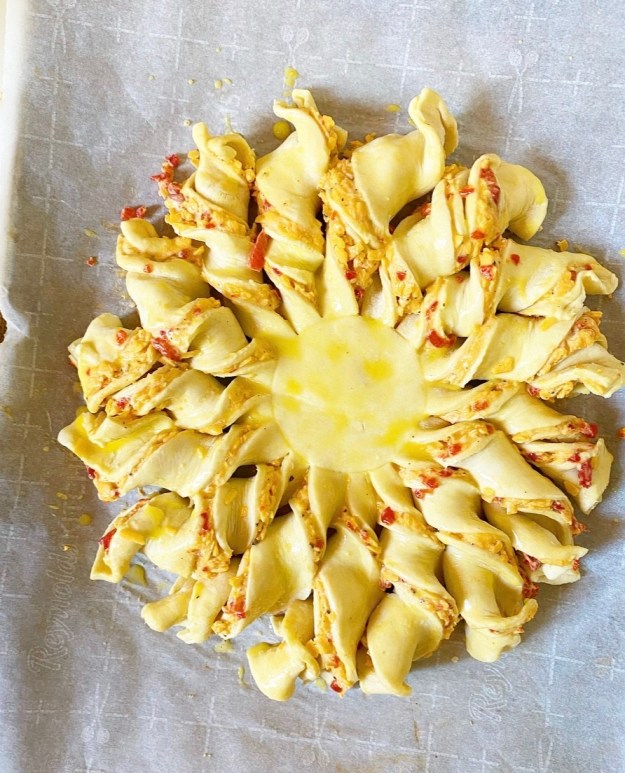 Next up, create the soleil (sun shape). Place a 2.5-3 inch cutter or vessel in the center of your pastry circles, then use a sharp chef’s knife to slice the edges into sixteen rays. Twist them up for beauty reasons, then brush the whole tarte with egg wash and bake until golden all over.
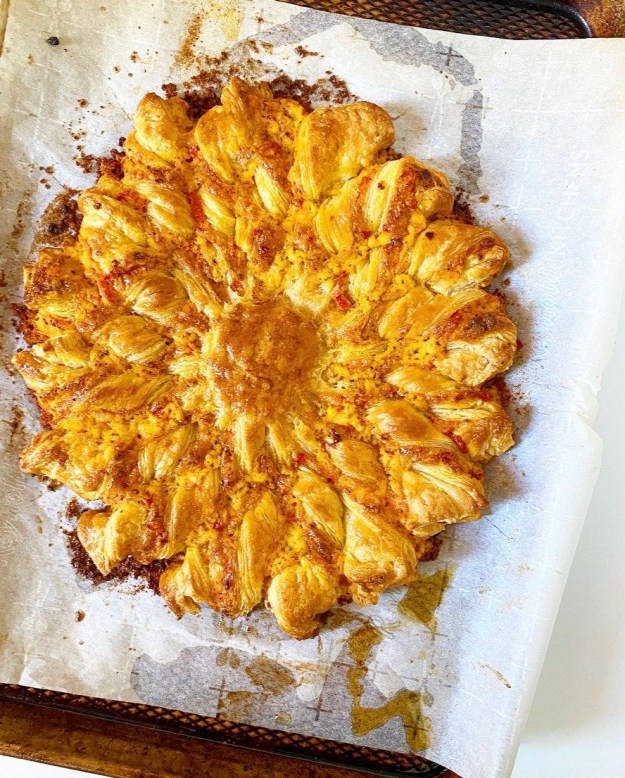
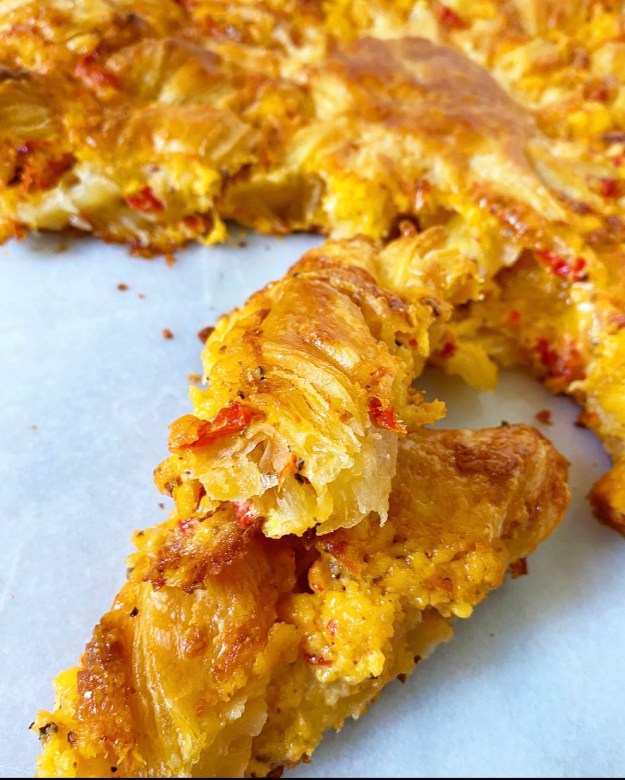
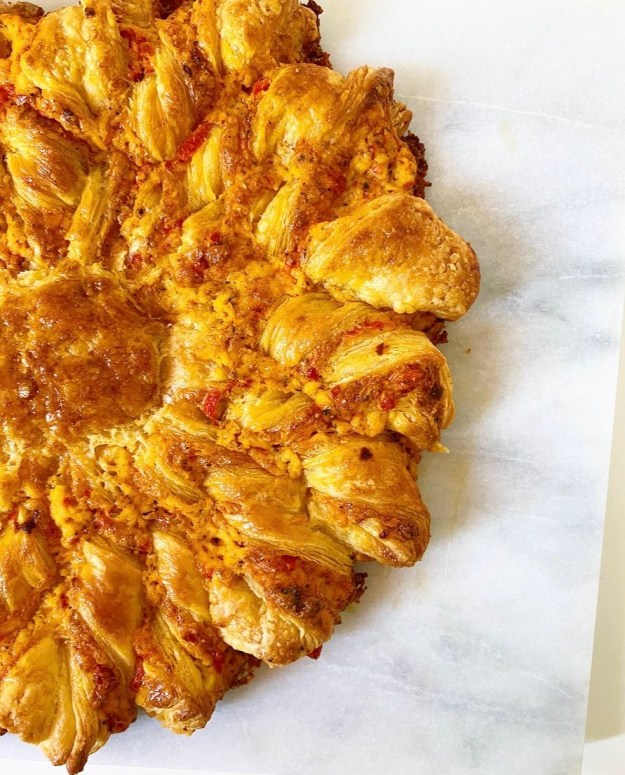 This tarte, y’all. This. Tarte. I love that it’s both low brow and high brow–“
 I usually post something to be a part of a Thanksgiving
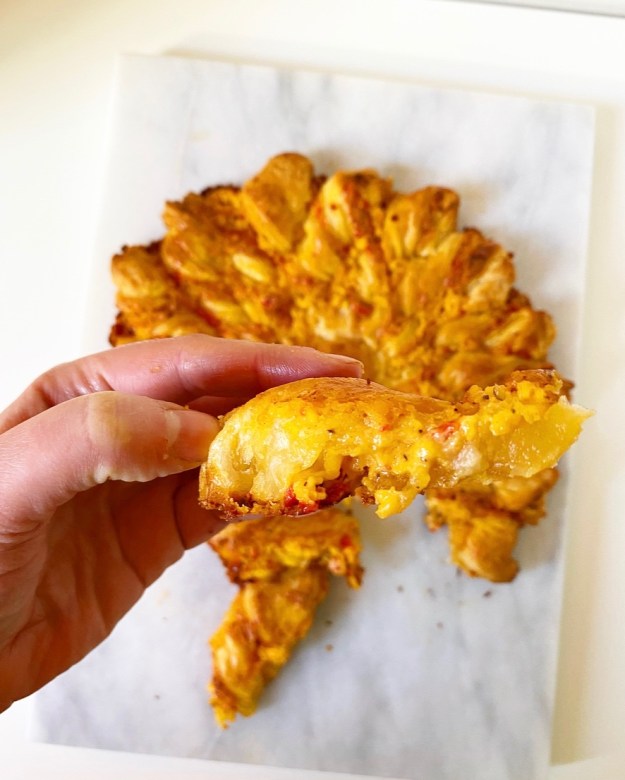
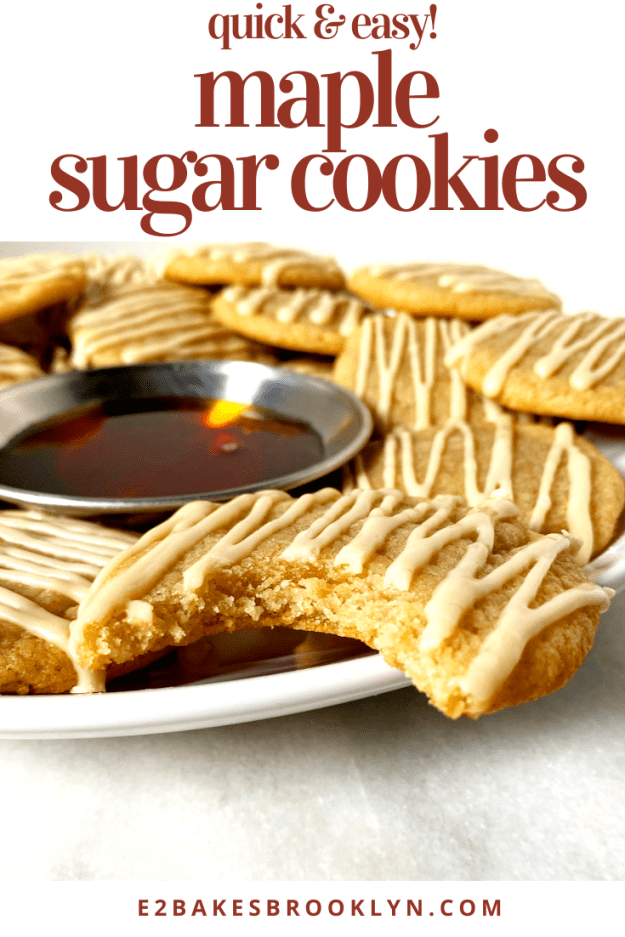
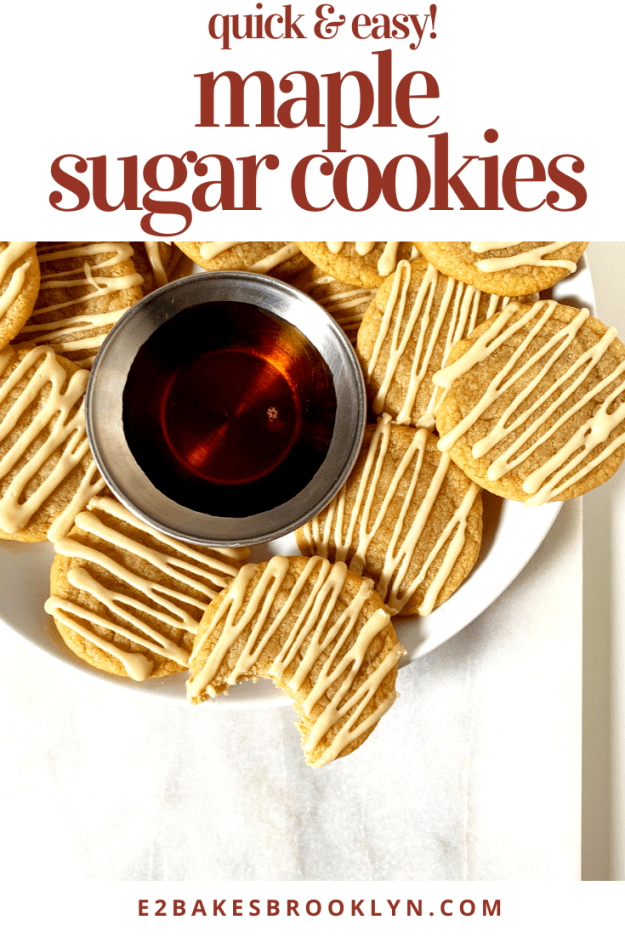
 Y’all, please believe me when I tell you these are *the* best and easiest Maple Sugar Cookies out there. They are so, so good. Throughout the pandemic, I’ve agonized over how best to distribute my blogging leftovers, but these? I kept them all to myself. I didn’t even give one to my roommate.
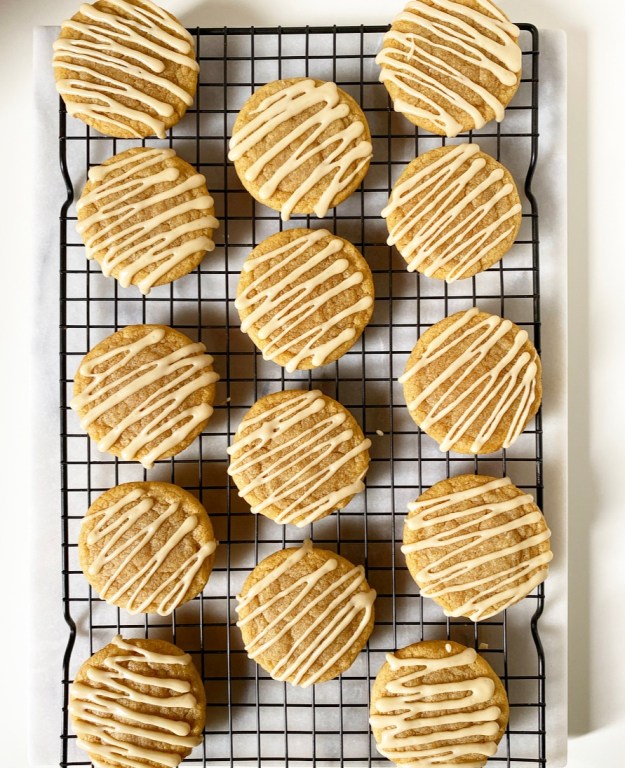 So, what makes these Maple Sugar Cookies the best? Well, to start with, they’re chewy sugar cookies with big maple flavor–you can’t go wrong with that combo! In addition to maple syrup in both the dough and the glaze, these cookies are filled with a bunch of other very delicious things like nutty brown butter, light brown sugar, vanilla, and a pinch of nutmeg that really makes the flavors sing. Basically, there’s no way these were ever going to be anything but great.
 Heck, you don’t even need a bowl for this recipe! Nope, the dough comes together in a pot on the stove. I was inspired to try this method after seeing Lauren Brennan’s
 To make Maple Sugar Cookies, start by browning the butter. Just when the milk solids turn golden, remove the pan from the heat and stir in the sugars and maple syrup. Let the mix cool about ten minutes before adding an egg, two teaspoons of vanilla and the dry ingredients. Then let the dough rest for ten more minutes before scooping, rolling and baking.
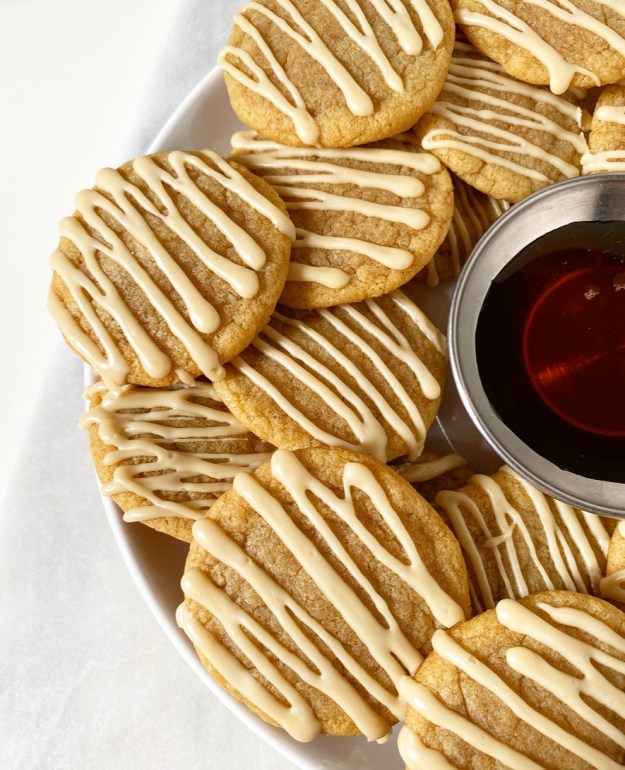
 While these cookies are delicious enough that they don’t need adornment, you know I love a glaze. This one is just confectioner’s sugar, maple syrup and a pinch of salt. Whirl it up and drizzle it on the finished cookies. You may drizzle with a fork, or follow my lead and use a piping bag with the tiniest corner snipped off. Hello, I am a control freak.
 The last step in making Maple Sugar Cookies? Wait, but not for long. Just for like an hour or so. As with many baked goods, the flavors need this time to meld and settle. Will your cookies be bad if you eat them right away? Of course not—they’re cookies!—but the maple flavor won’t shine through the way it will sixty minutes later. Trust me when I tell you that, after an hour, you will be rewarded for your patience with perfect chewy, mapley cookies with hints of brown butter and brown sugar. And while the batch makes plenty to share, I won’t blame you one bit if you hoard them all to yourself.

 Full disclosure: I’m not posting any new Halloween recipes this year, but I did update my
  I spent one morning last week loading my freezer with
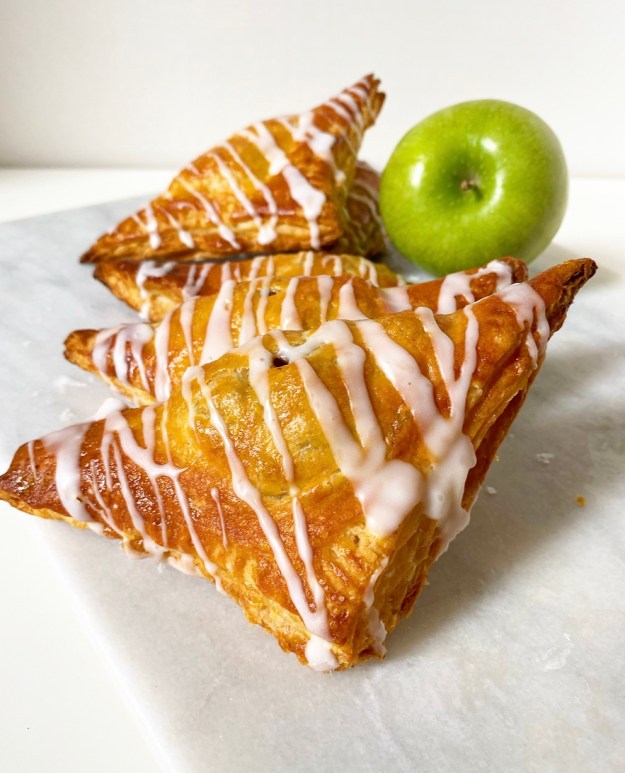
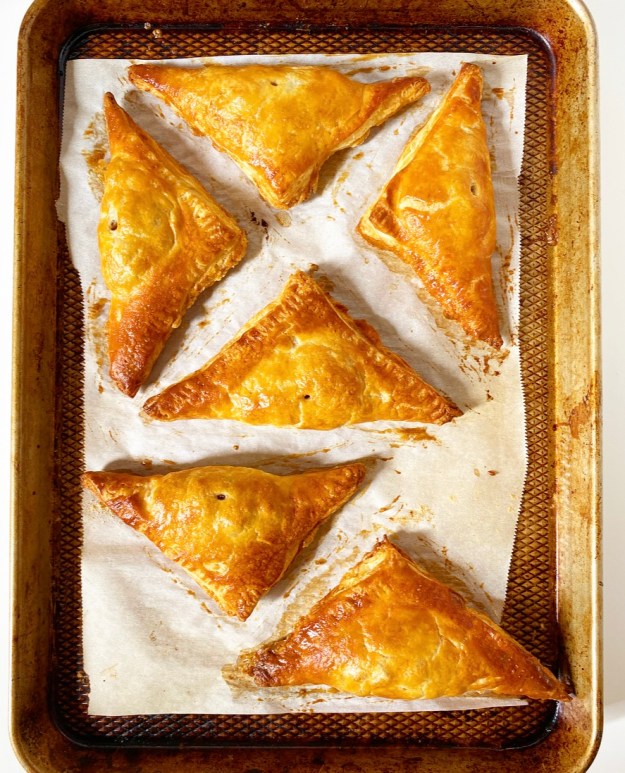
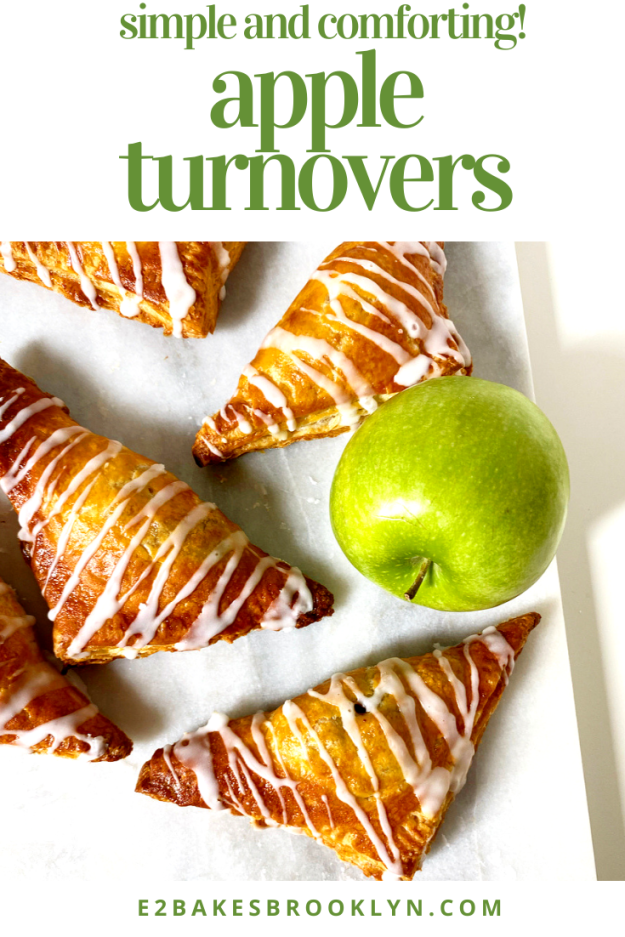
 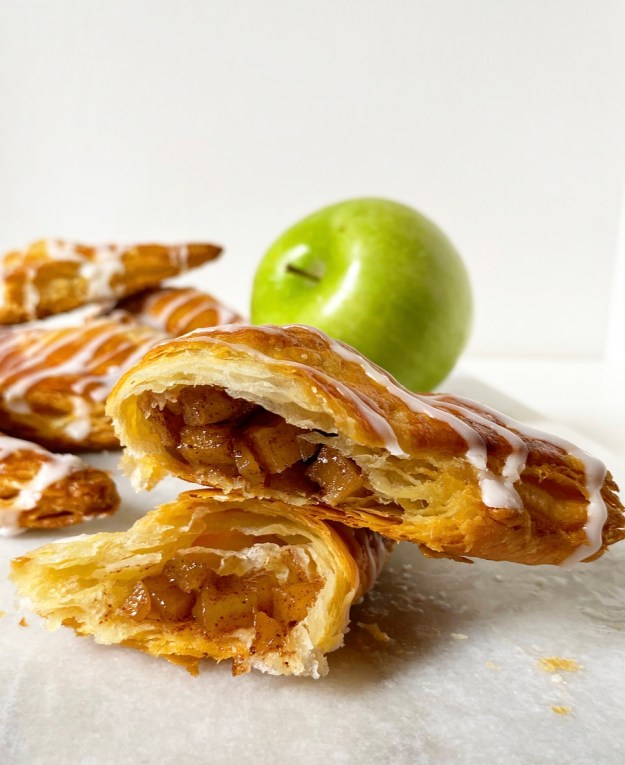 Again though—not yet. Not today, not Friday. But also, if you made these Apple Turnovers a part of your Thanksgiving dessert spread, I don’t think you’d have any complaints. Flaky pastry folded around perfectly-spiced apple filling? Oh hell yes. Pass ‘em my way, please.
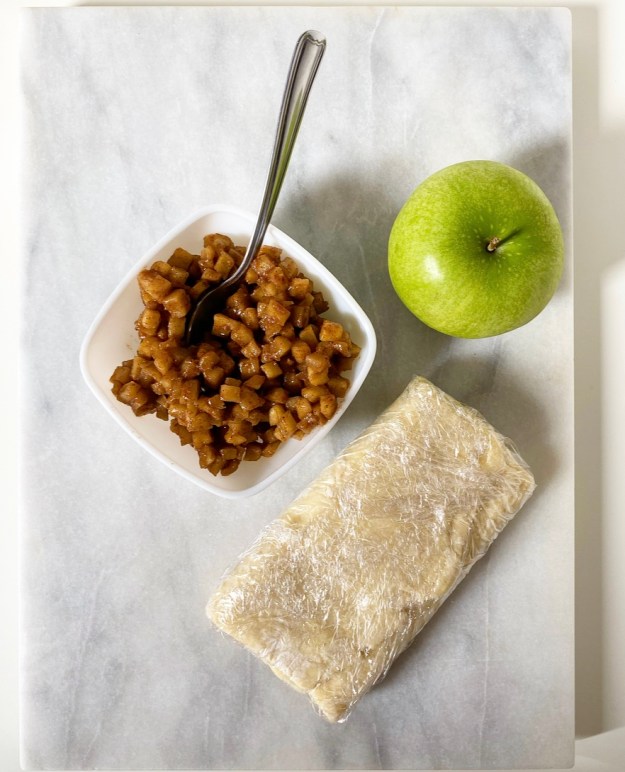
 But why wait til Thanksgiving when you can have apple turnovers today? Or this weekend? Or on election night? I always like to have a cooking or baking project on election night to keep myself from spiraling, and that goes double this year. I pickled carrots in 2012 and made
 I make turnovers approximately once every
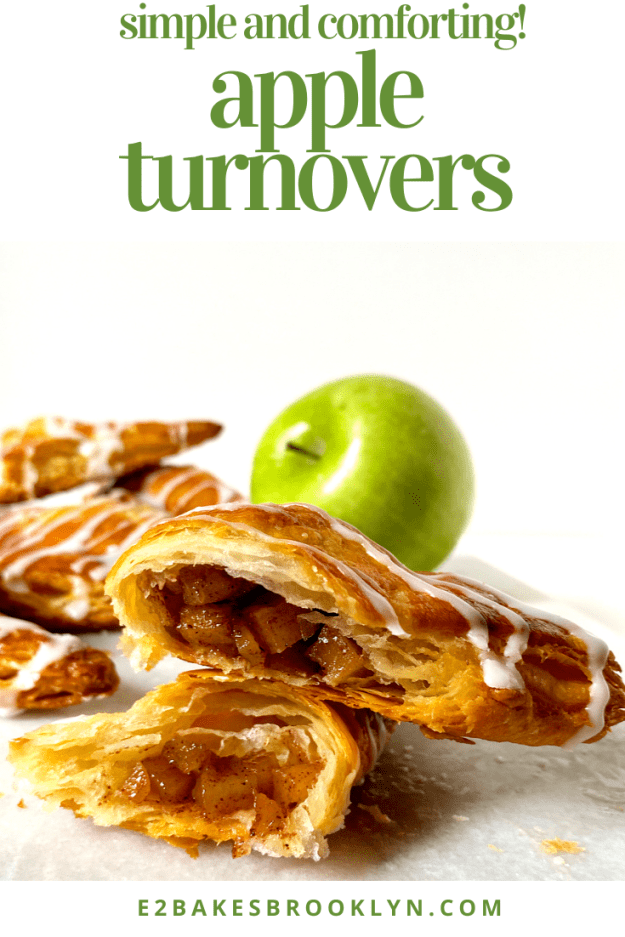
 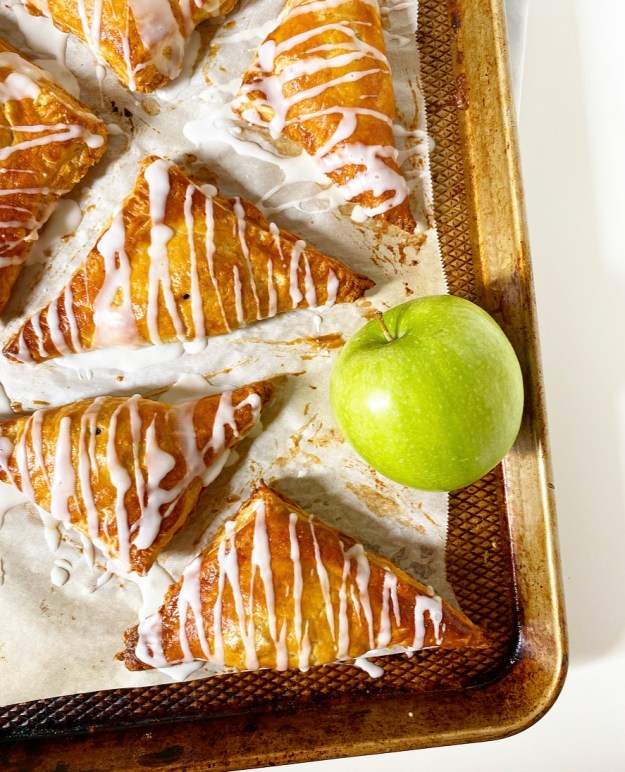 Oh, and they’re so delicious—crisp, buttery, flaky and chock-full of apple filling. They’re a comfort pastry if I’ve ever had one. Is that a thing? Comfort pastries? It should be a thing. Let’s make it a thing.

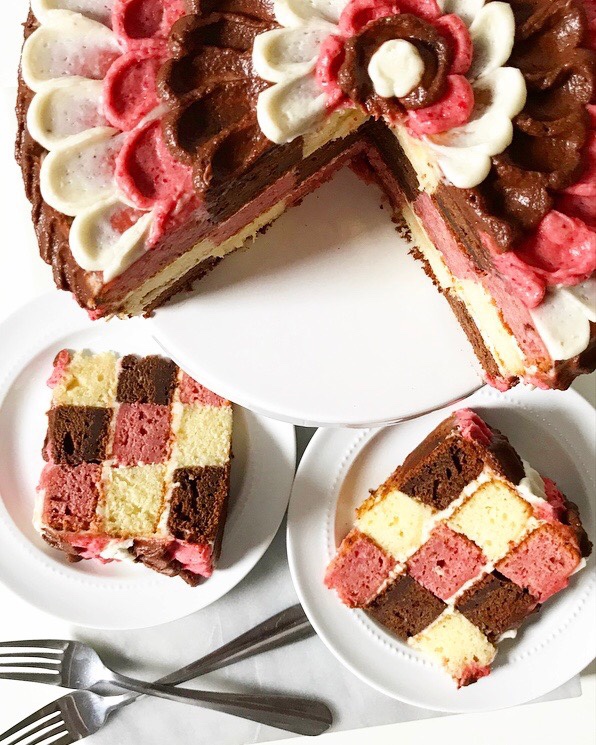
 Wedding Cake Trilogy {