 I have baked with oats a fair amount over the last few years. Granola, baked oatmeal, gluten-free vegan chocolate chip cookies, graham crackers, oatmeal creme pies, jam squares—I’ve made them all, but the most iconic oat dessert of all, the Oatmeal Raisin Cookie, has eluded me.
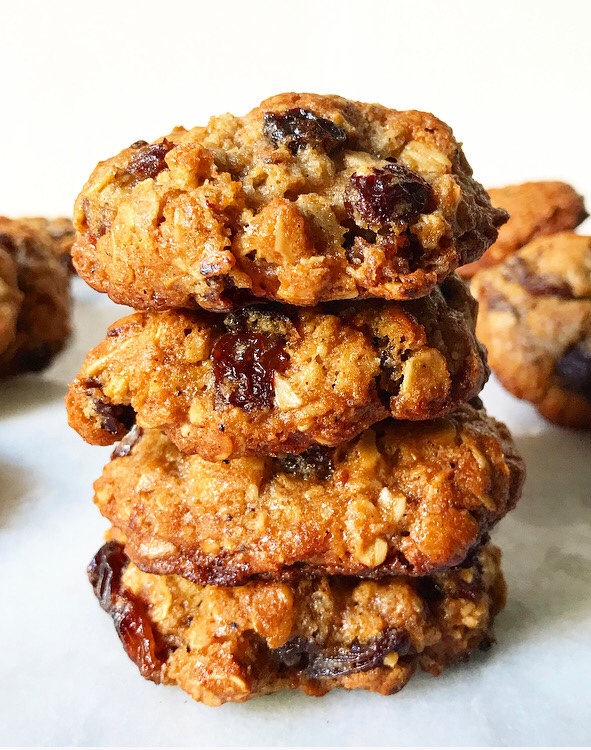 Oh, I’ve tried. Of course I have. But, prior to this, every oatmeal cookie that has come out of my kitchen has been disappointingly flat in both appearance and flavor, and I’ve had a bit of a complex about it. I mean, is it so wrong to want a thick, chewy cinnamon-scented cookie with toasty oats and raisins with actual flavor and texture???
Well, no. No, it is not.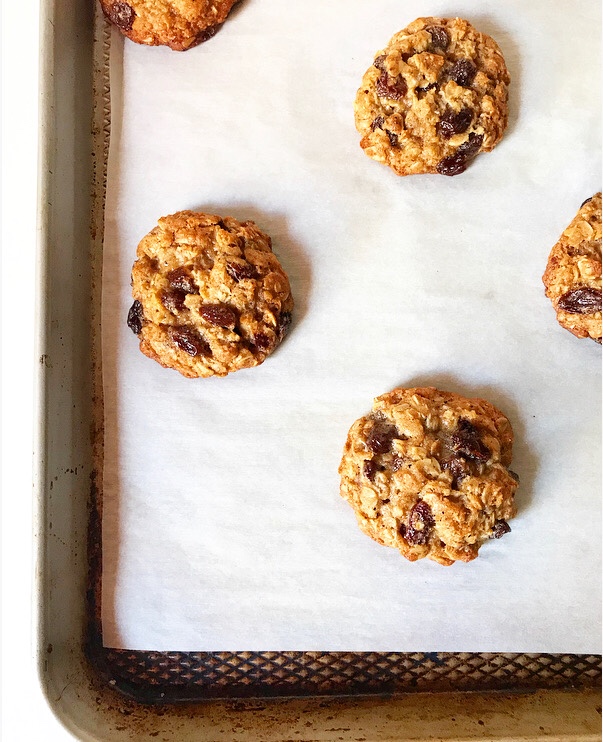 Enter my dream Oatmeal Raisin Cookies, the results of years of boredom and frustration and some concentrated testing. They take a little longer to prepare than your average oatmeal cookie, but that’s because you’re adding big flavor and texture you just can’t get otherwise.
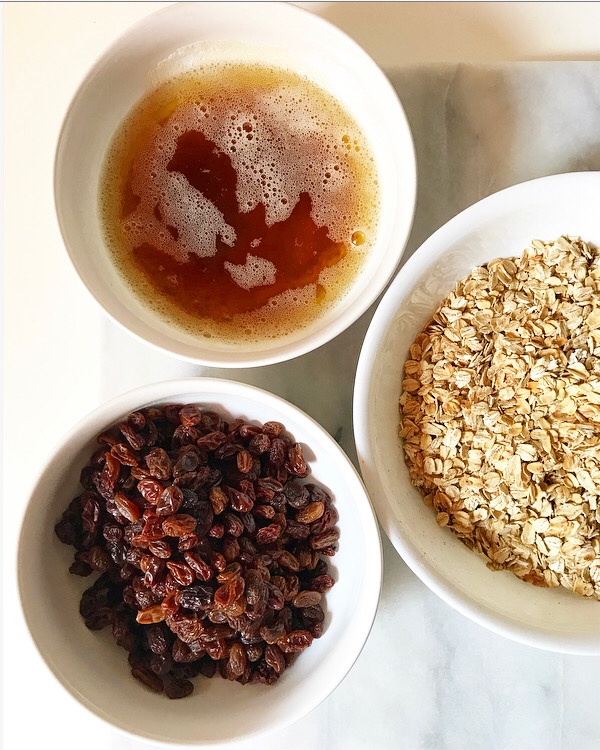
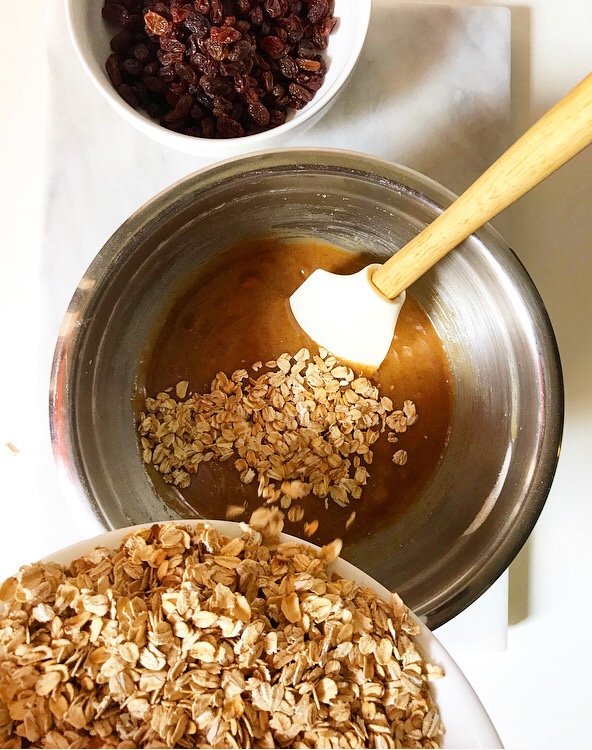
- I toast my oats because toasted oats have an incredible nutty flavor and crispness that regular oats do not. The process takes all of five minutes and makes a huge difference in the final product. Oatmeal cookies should have big oat flavor!
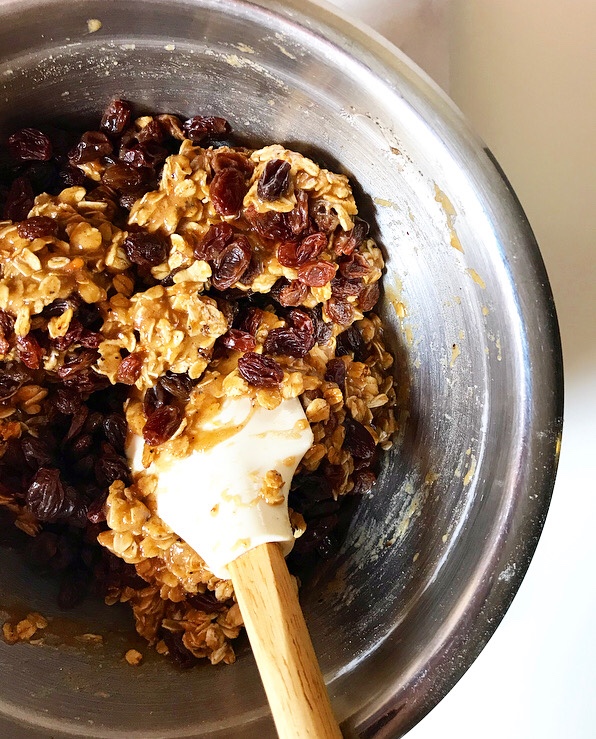
- Nothing is worse than a tough, waxy raisin in an otherwise great cookie. I like to ensure that my cookies will be studded with plump, flavorful raisins by giving them a quick soak in boiling water. This step is hands-off, but makes the final cookies extra chewy and delicious and has the added benefit of keeping them from drying out after a day or two.
- Most oatmeal cookie recipes call for creamed softened butter to aerate the dough, but melted butter generally produces chewier results. We want chewy cookies, do we not?! You could just use plain melted butter here, but I like to take it a step further—brown butter, y’all. That depth of flavor cannot be matched!
- This dough is sweetened with only dark brown sugar for both flavor and texture. The molasses in brown sugar helps these cookies stay soft and chewy for days.
- I swapped some of the usual baking soda for baking powder, which is 4x weaker. Using equal volumes of both leaveners means that we get results that spread out less and puff up more.
- I chill this cookie dough (and most of my others) because cold dough spreads less in the oven. We want thick cookies, not flat ones!
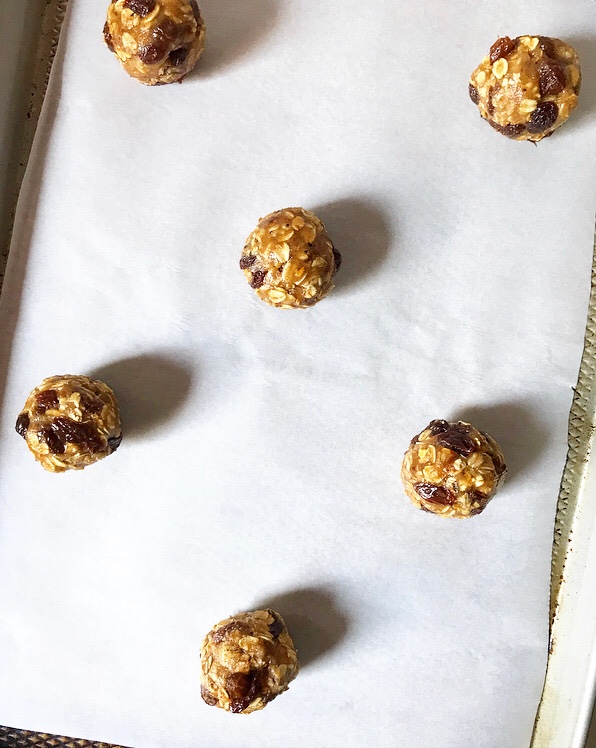
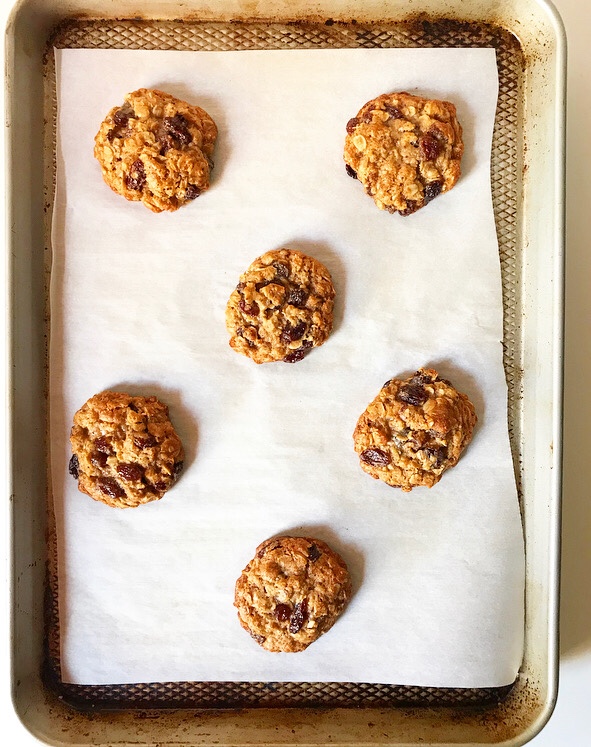
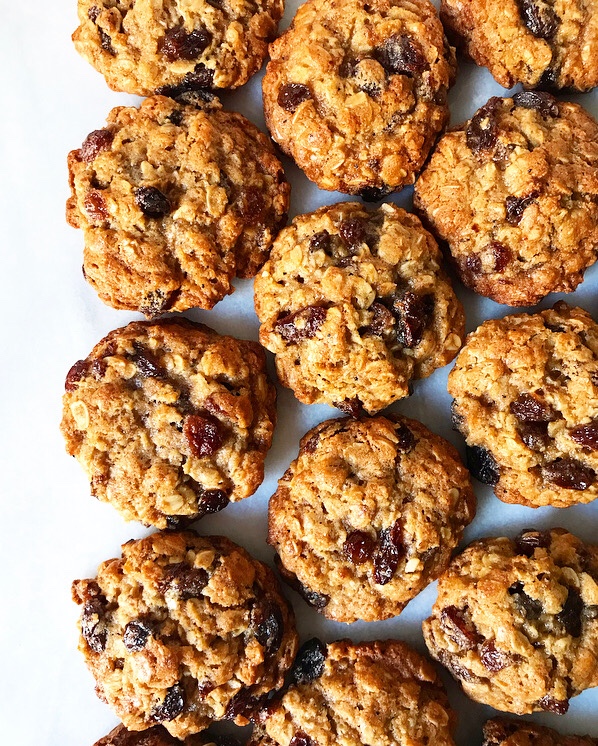
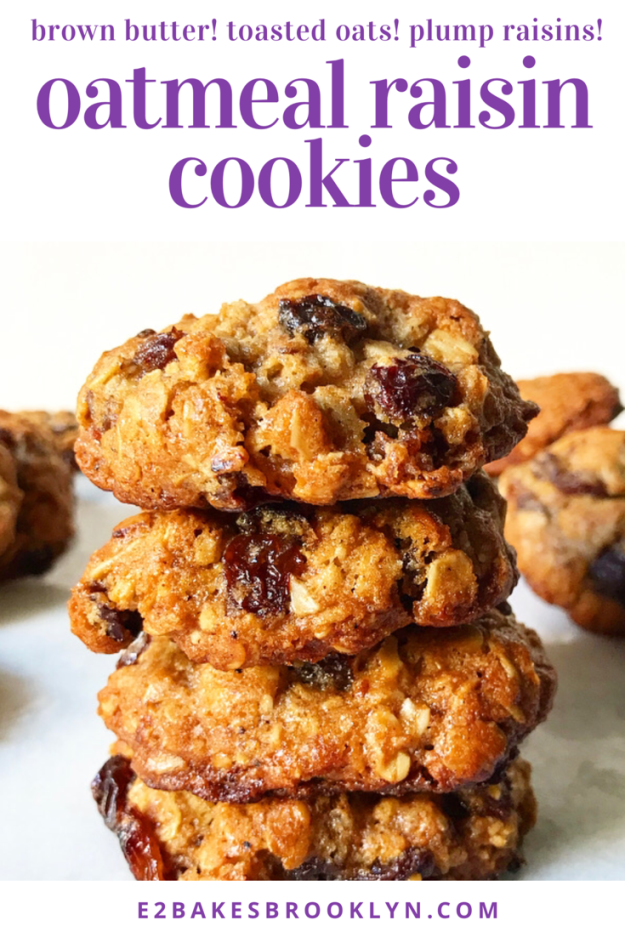
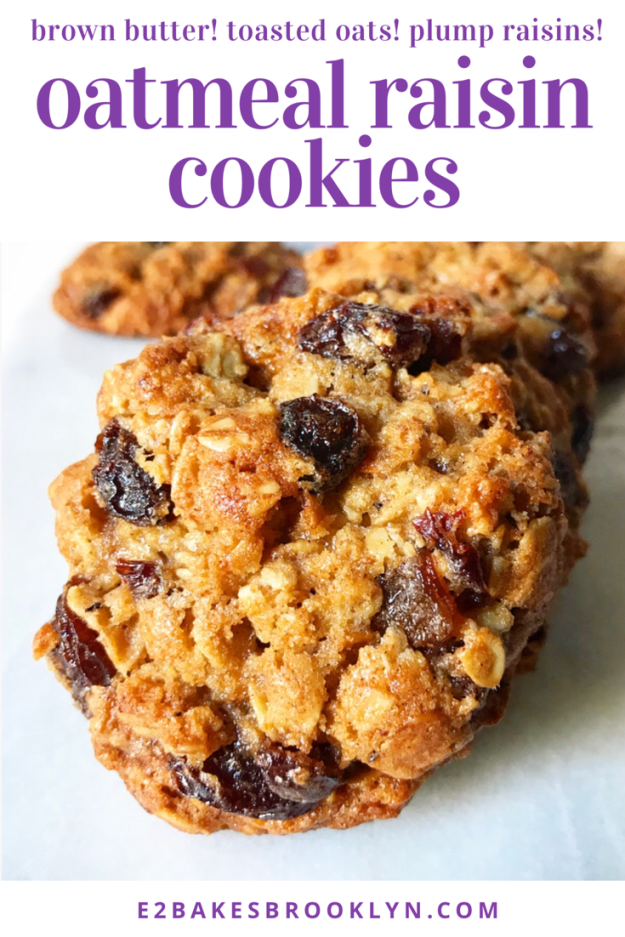
The cold dough is scooped and rolled in two-tablespoon increments before being baked for 11-13 minutes, or until they look just slightly underdone. They’ll finish cooking as they cool, and the centers will stay soft and chewy.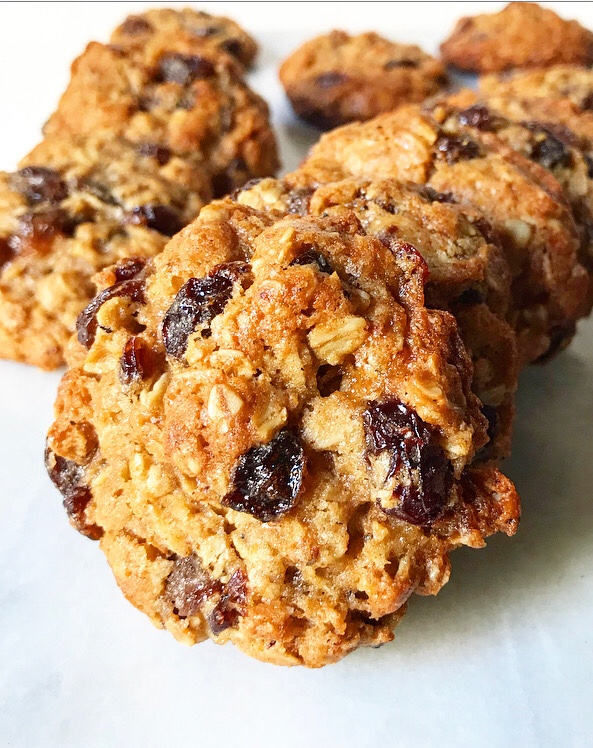 Y’all! Are those not the most delicious-looking Oatmeal Raisin Cookies you’ve ever seen? Because those are the most delicious-looking Oatmeal Raisin Cookie I’ve ever seen. The best I’ve ever eaten, too–thick, rich and chewy with big hits of molasses and cinnamon, and all those toasty, buttery oats and raisins, of course!
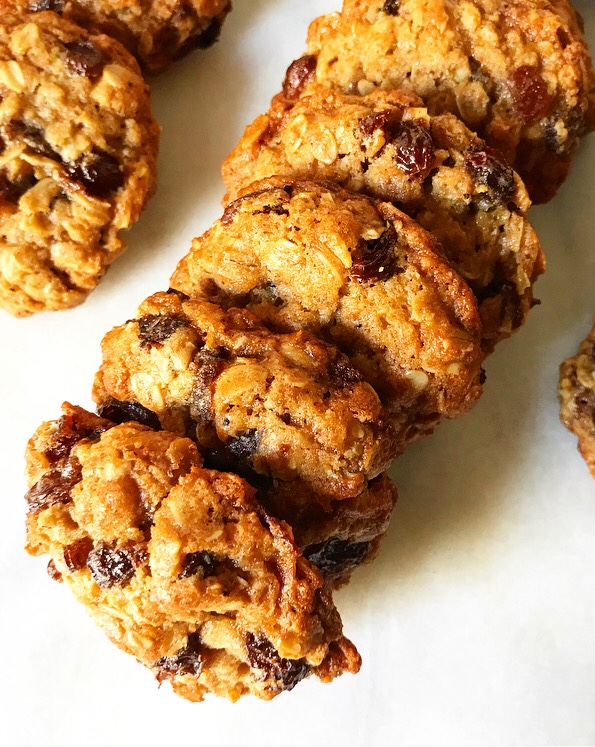 Like I said, they’re the Oatmeal Raisin Cookies of my dreams. (And maybe now your dreams, too.)
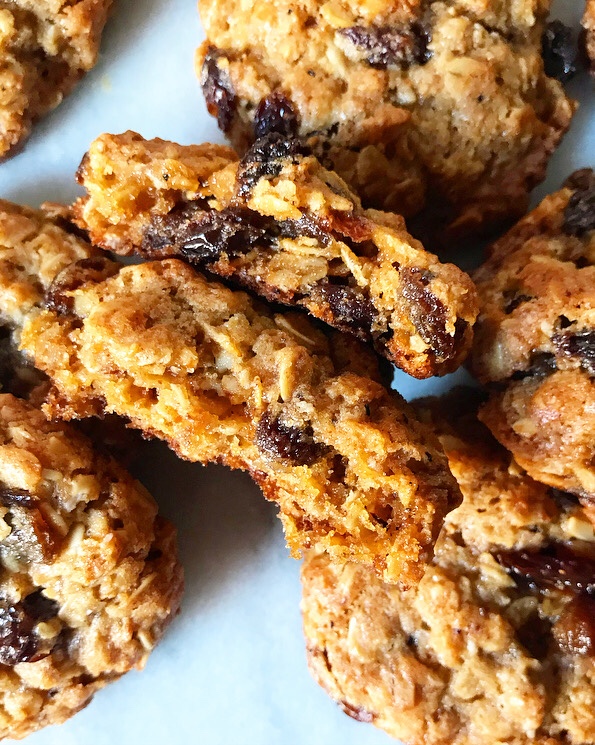
Oatmeal Raisin Cookies
makes about 2 dozen
1 1/2 cups raisins
water
3 cups old-fashioned oats
1 cup (2 sticks) unsalted butter
1 1/2 cups all-purpose flour
1 teaspoon ground cinnamon
1/2 teaspoon baking powder
1/2 teaspoon baking soda
1/2 teaspoon Kosher or sea salt
1 1/3 cups dark brown sugar, packed
2 large eggs, room temperature
1 1/2 teaspoon pure vanilla extract
Plump the raisins. Place raisins in a small saucepan and cover with water. Heat over medium-high heat until it simmers, then remove from heat and set aside. Wait 5 minutes, then pour mixture through a sieve to discard water. Set raisins aside.
Toast the oats. Heat a large dry skillet over medium heat. Add oats and toast, stirring constantly, for 5-7 minutes or until fragrant with some darker pieces. Remove to a bowl. Set aside.
Brown the butter. Place butter in a light-colored saucepan over medium heat. Let butter melt. Butter will bubble and crackle as the water content evaporates. Swirl the pan frequently for 5-7 minutes, keeping an eye on the color. When the solids are turning brown and the butter is nutty and fragrant, remove the pot from the heat and immediately pour the brown butter into a large mixing bowl. Let cool a few minutes.
In a small bowl, whisk together flour, cinnamon, baking powder, baking soda, and salt. Set aside.
Whisk dark brown sugar into brown butter. Add eggs one at a time, whisking to combine, followed by vanilla. Mix in flour mixture. Use a silicone spatula or wooden spoon to fold in toasted oats, followed by raisins. Cover cookie dough with plastic wrap and chill at least 2 hours or up to 3 days.
Preheat oven to 350F. Line two rimmed baking sheets with parchment paper or silicone baking mats. Set aside.
Scoop dough in 2 tablespoon increments and roll into balls. Set at least 2 inches apart on prepared pans. Bake 11-13 minutes, rotating pans top-to-bottom and back-to-front at the 6 minute mark.
Let cookies cool on their pans for 7-10 minutes before removing to a rack to cool completely. Repeat dough rolling and baking until all dough is used.
Cookies may be kept in an airtight container at room temperature for up to a week.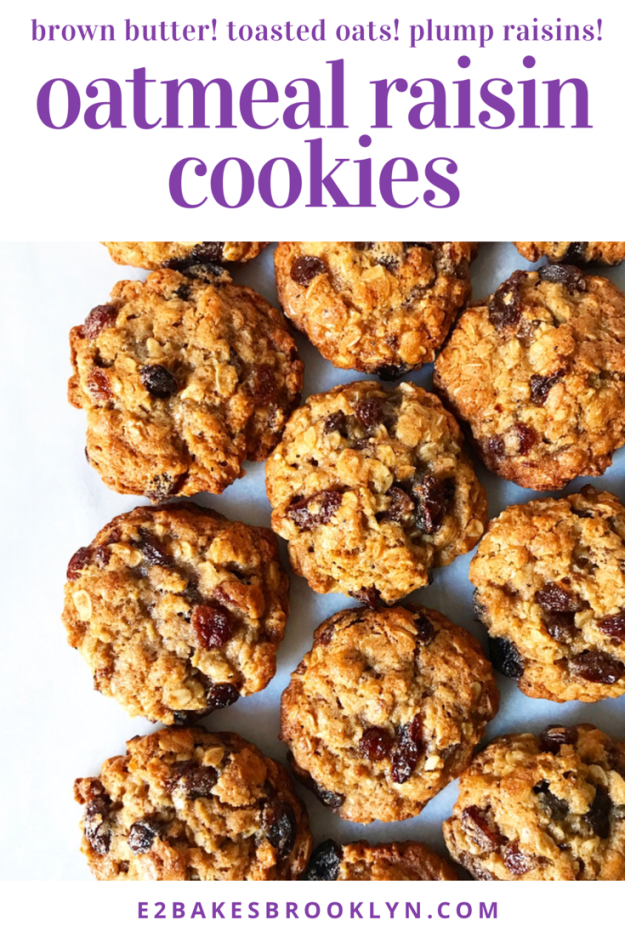
 Can you believe it’s Labor Day Weekend? I am stunned at how quickly this summer has gone by! It was a really great one for me: my entire immediate family visited over the course of three months and I got to go to my beloved
 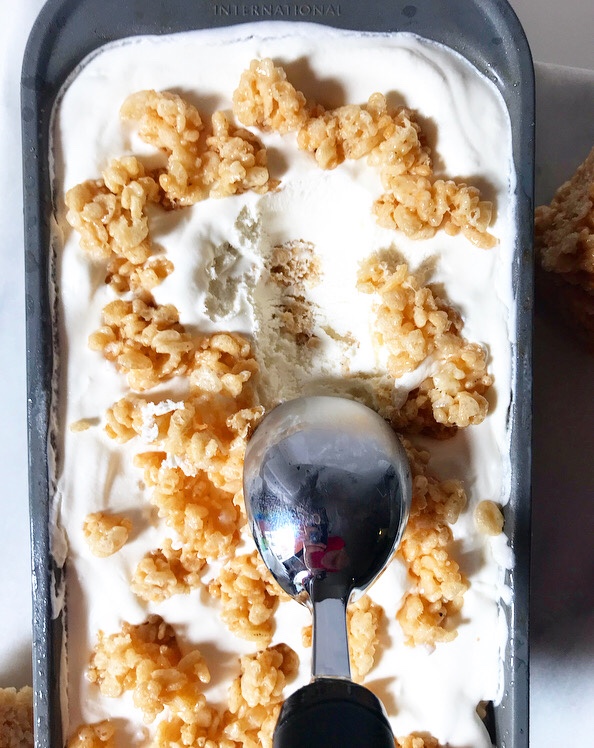 One of my favorite memories from the last few months is my parents’ last-minute trip to NYC. Long story short: in late June, I was telling my mom about how much I loved The Ferryman and how I wished she could see it before it closed in couple of weeks…and six hours later, she and my dad had booked flights and a hotel, we’d been offered a front row seat to the East River fireworks display, and we had tickets to both The Ferryman (the day before it closed!) and Come From Away! My family are not terribly spontaneous people, so this was pretty wild.
 The whole visit was a ball, and even though we were all exhausted by the last night, we decided to go for one last good meal. And so it was that I loaded my parents into a car and we took the short ride down to Red Hook for some harbor views (my favorite),
 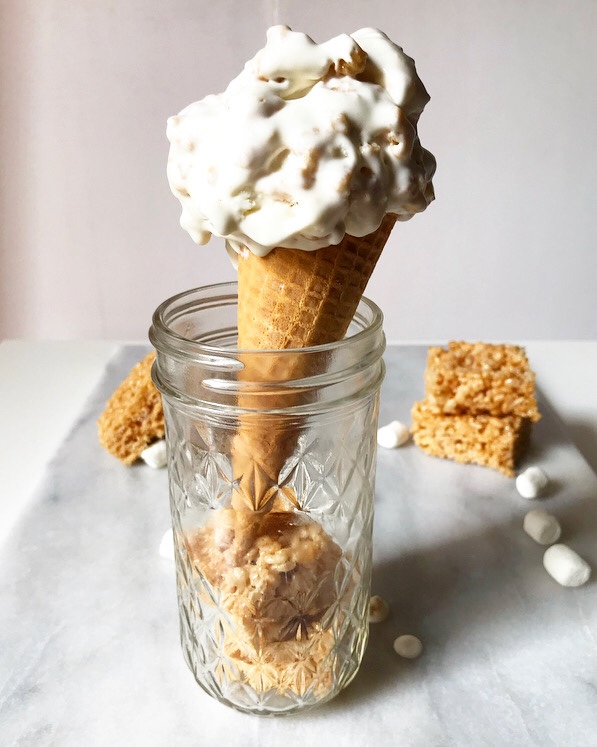 This recipe is based off the scoop of Rice Krispies Treats-centric Snap Mallow Pop! that I had that night at the Red Hook location of
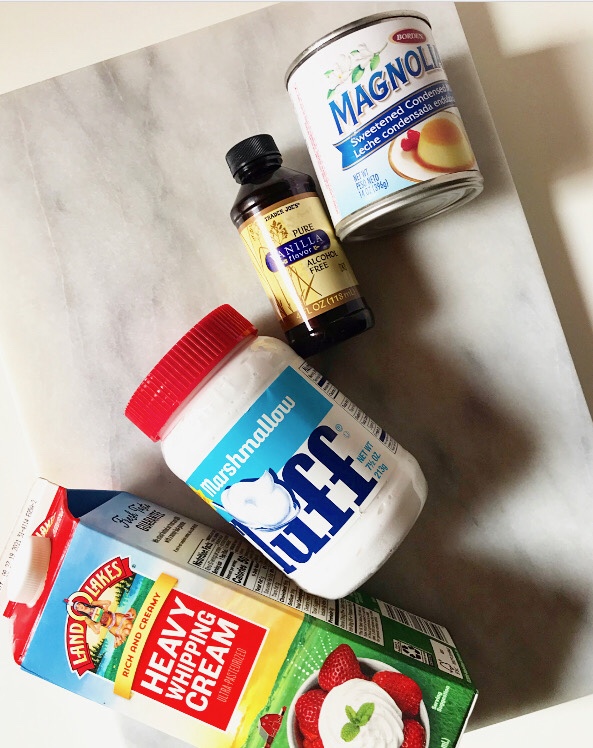
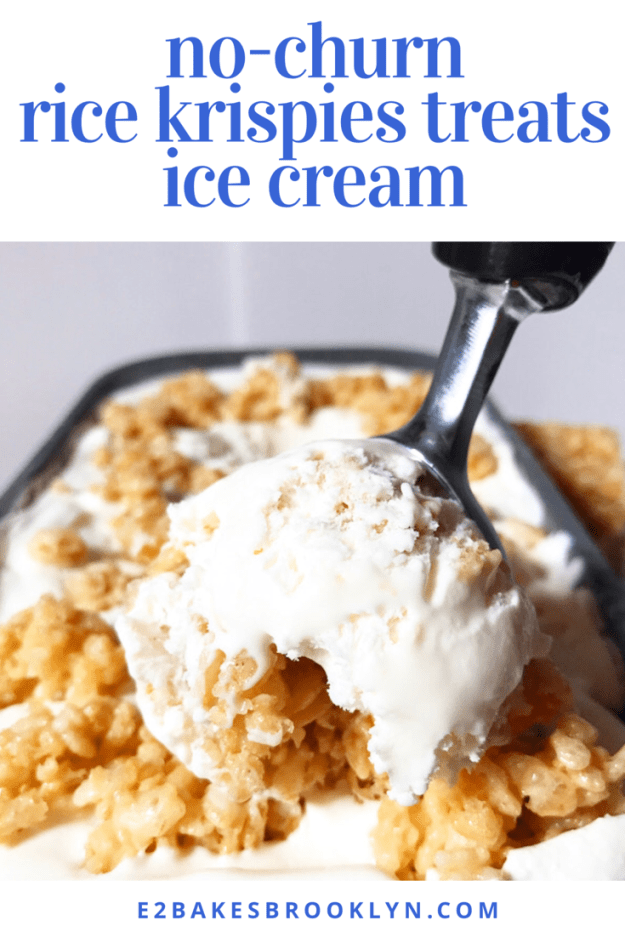
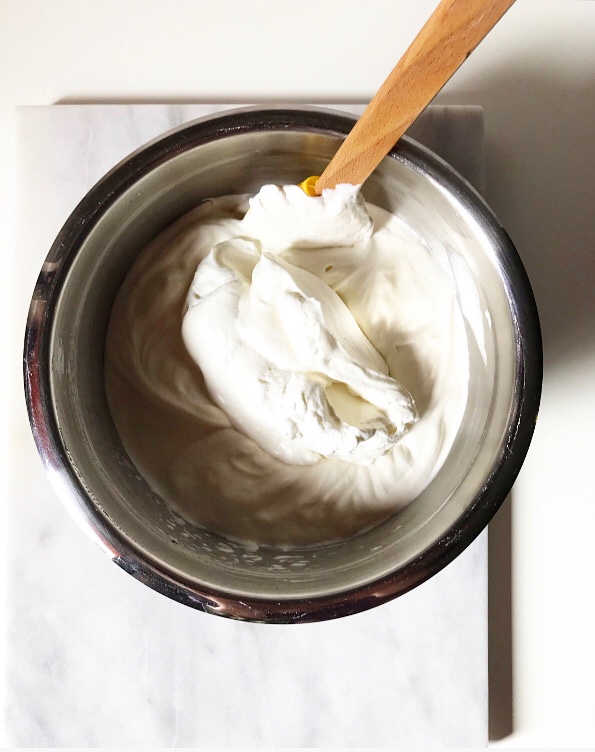 Making a no-churn ice cream base is simple. At its most basic, it’s just folding whipped cream (for creaminess, heft and scoopability) into sweetened condensed milk (for sweetness and to prevent ice crystals from forming). I always throw in a little vanilla, and this time I added a cup of marshmallow fluff for big marshmallow flavor!
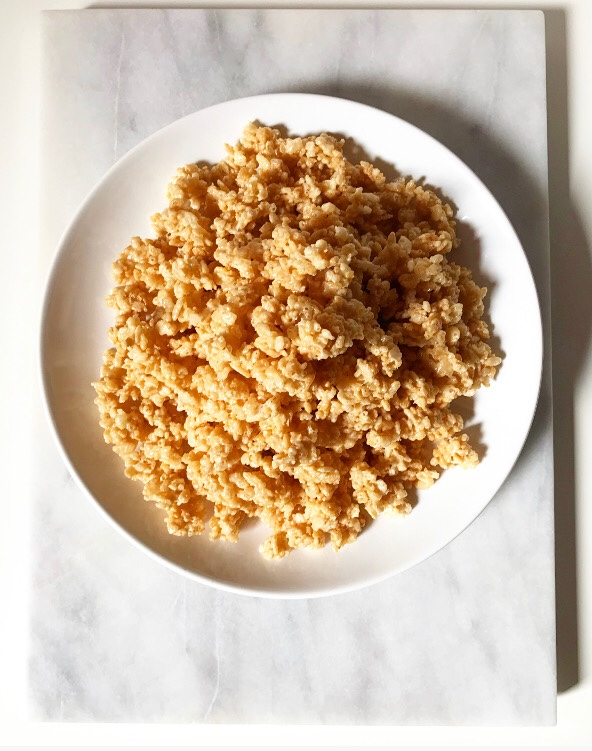 As far as the Rice Krispies Treats go, you can make whichever version of that recipe you like (if you go with the original recipe on the back of the box, I’d cut it in half). I tend to go rogue and keep mine to a 1:1:1 formula: 1 tablespoon butter, 1 cup mini marshmallows, 1 cup Rice Krispies cereal. Except in this case I double it, so 2:2:2…?
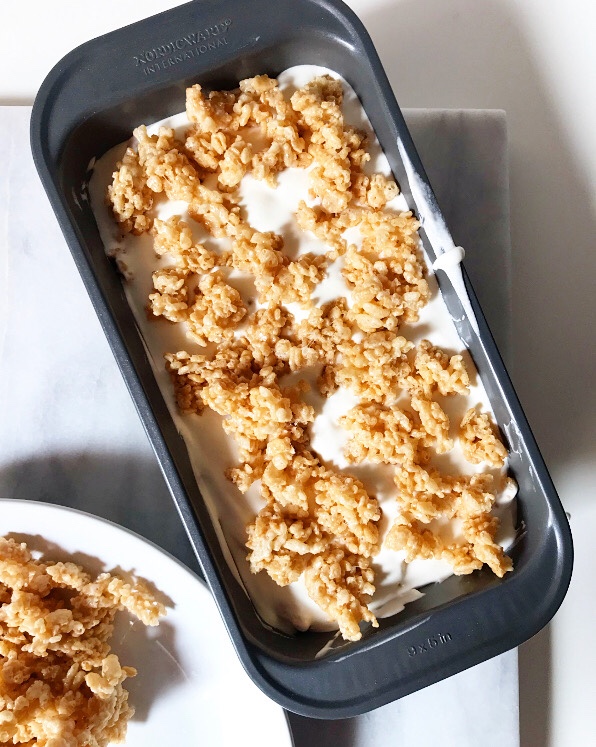
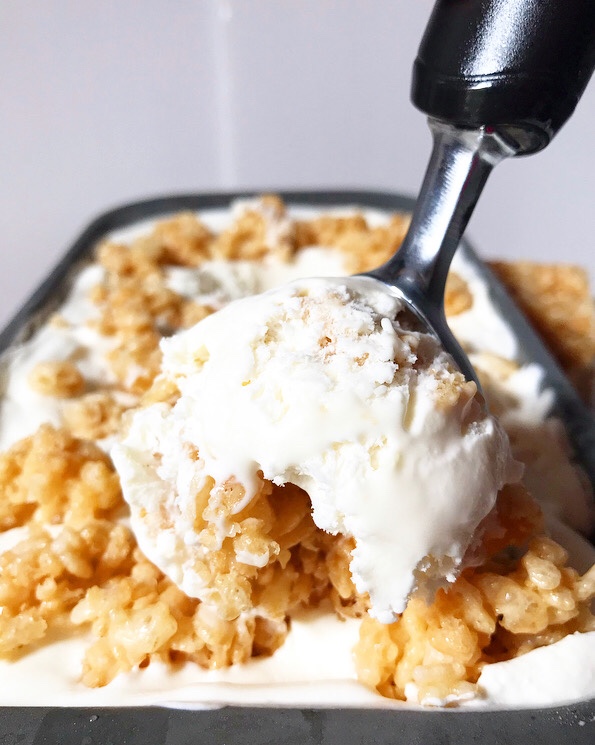
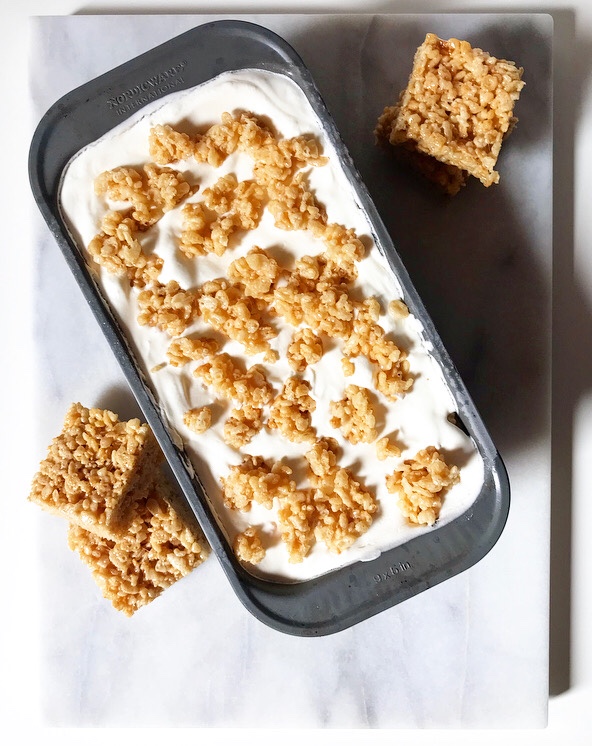 Once they’re made and cooled, pinch/pull the treats into small pieces. Those will get layered with the marshmallow ice cream base and then frozen.
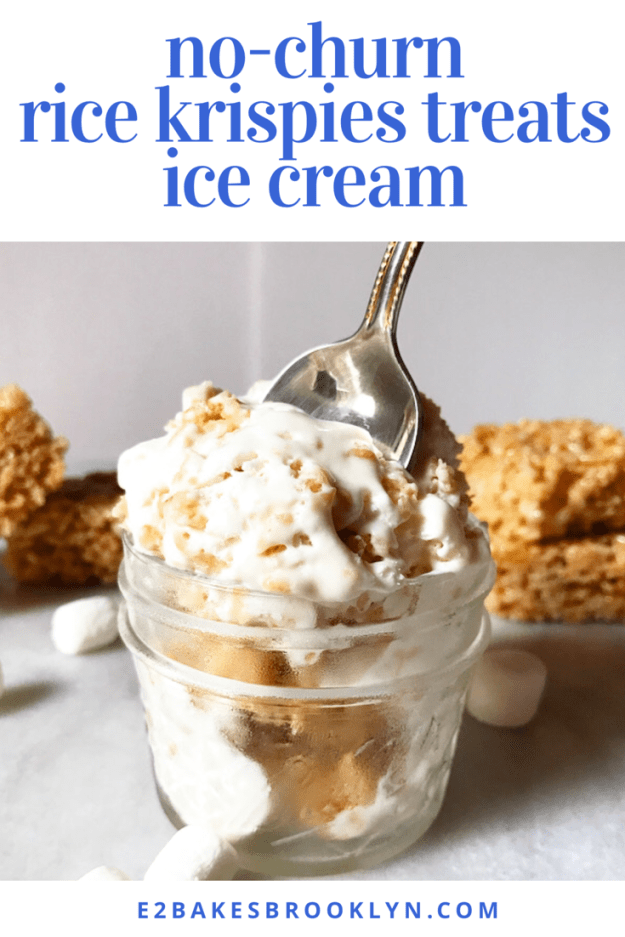
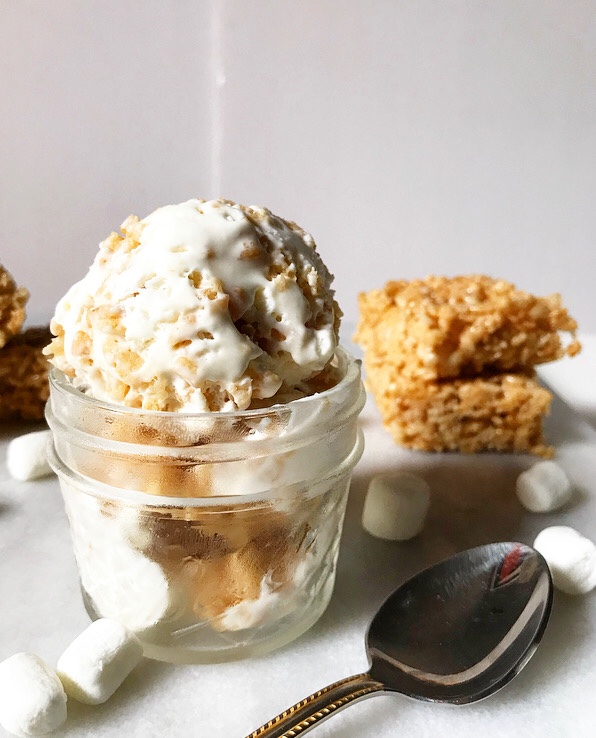 And scooped. And eaten in a cup.
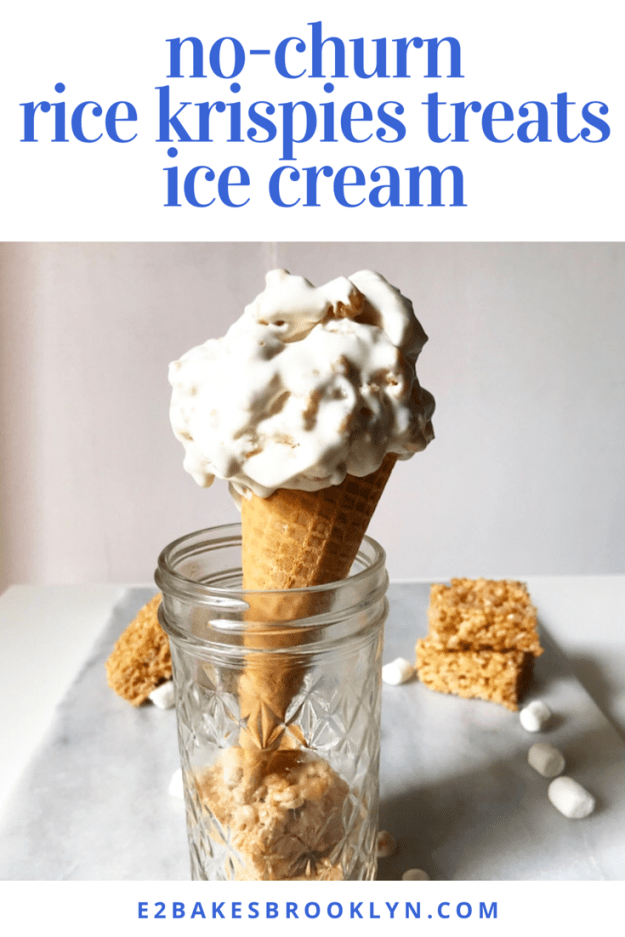
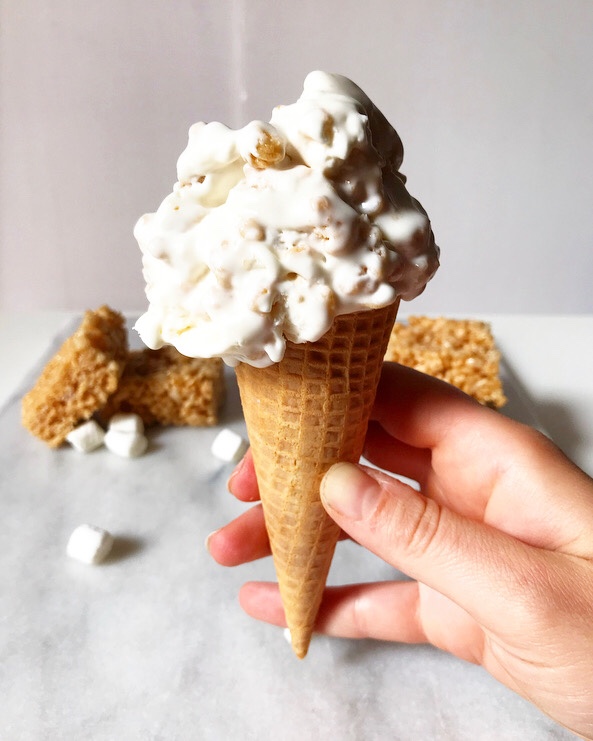 Or a cone. Or maybe both. It’s the last weekend of summer. Get wild. Eat ice cream twice.
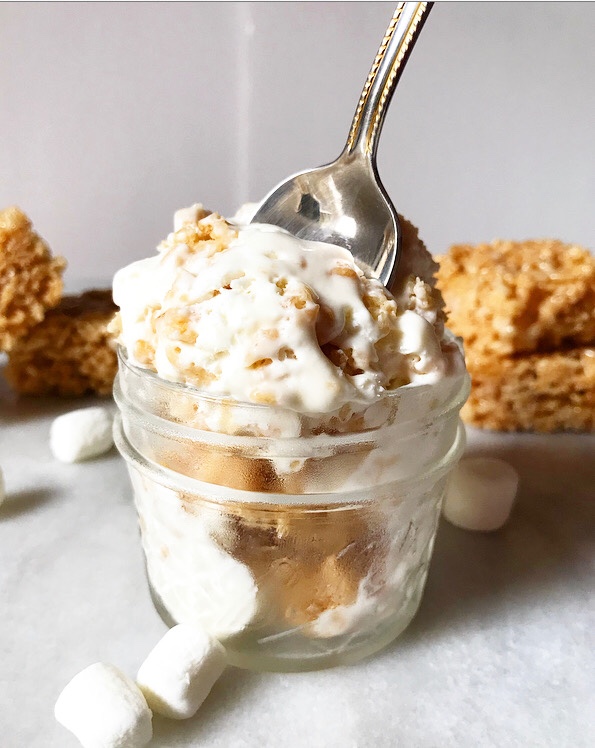
 The end of summer always seems to be a time when I lose my recipe muse, albeit briefly. It’s disconcerting and annoying, but temporary, and understandable, I think.
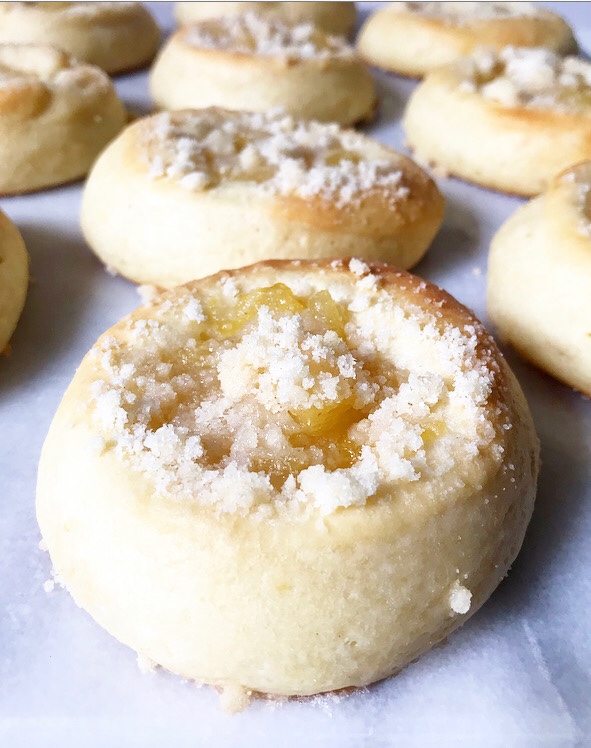 Times like this are why I have my ever-growing list of blog inspiration. I wrote down “pineapple kolaches maybe?” after I made pineapple-centric
 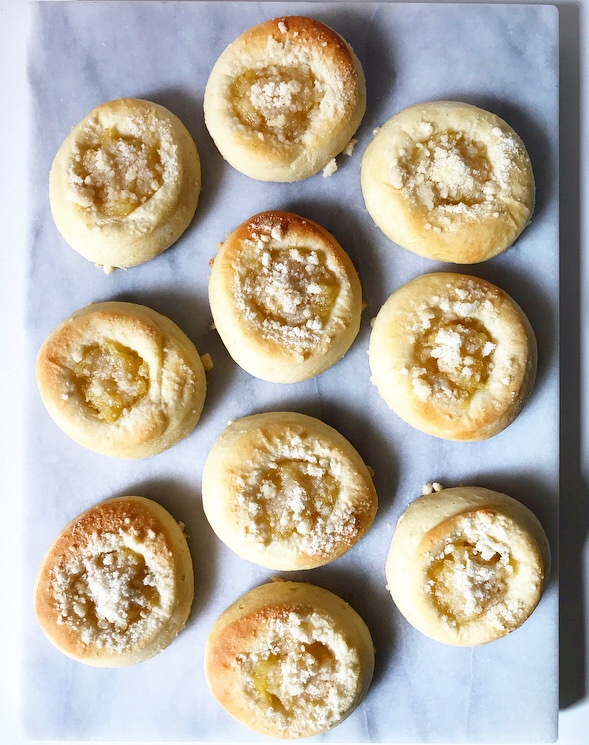 And I am, thank goodness. I think we can all agree that the unofficial last week of summer deserves some quality baked goods.
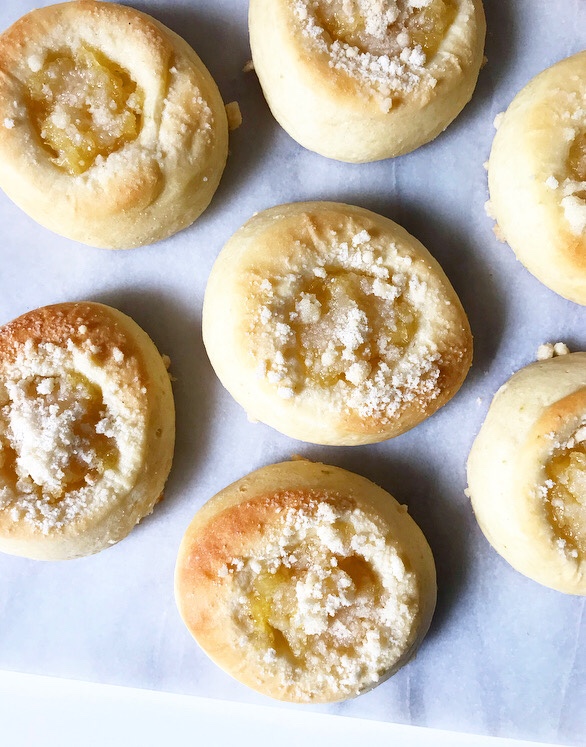
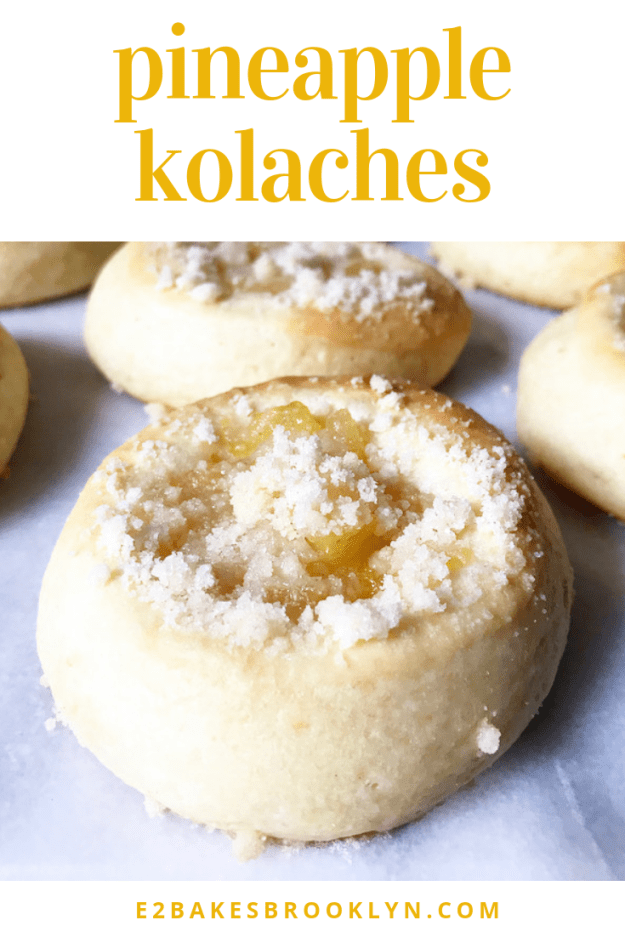
 Make no mistake: these Pineapple Kolaches are quality.
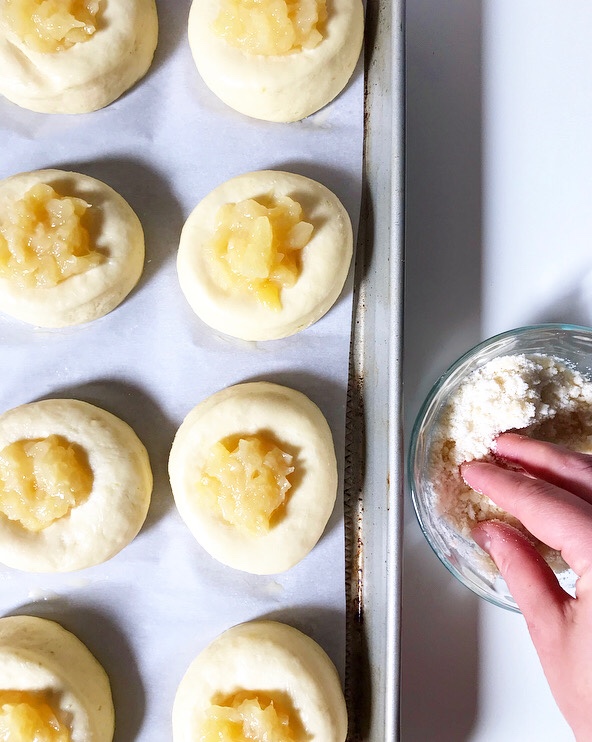
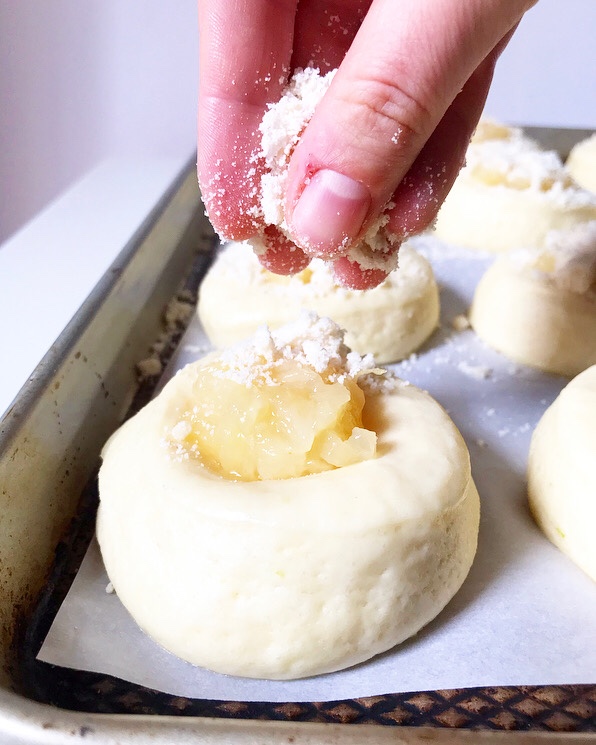
 Kolaches are surprisingly simple to make—I think they’re less intensive than your average cinnamon rolls. The dough and filling are both made the night before baking. The next day, the kolaches are assembled, proofed, sprinkled with posypka (crumble) and baked until ever-so-slightly golden. It sounds like a lot, but the total “active” work time is probably 60-75 minutes and the payoff is 🍍🍍🍍🙌💗🎉‼️
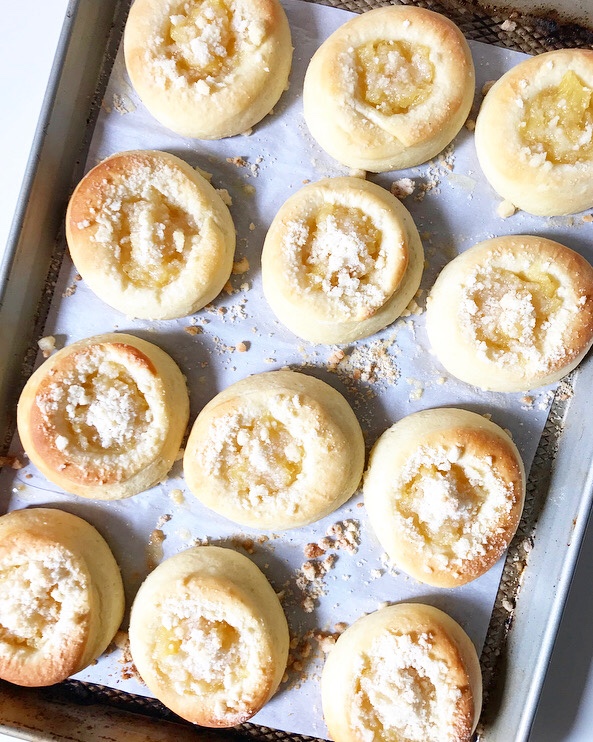
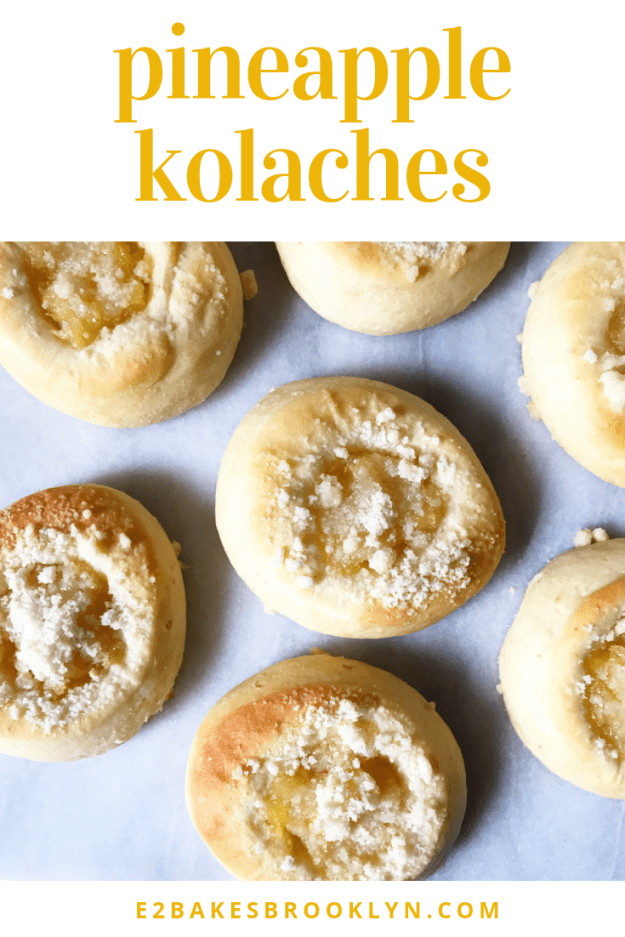
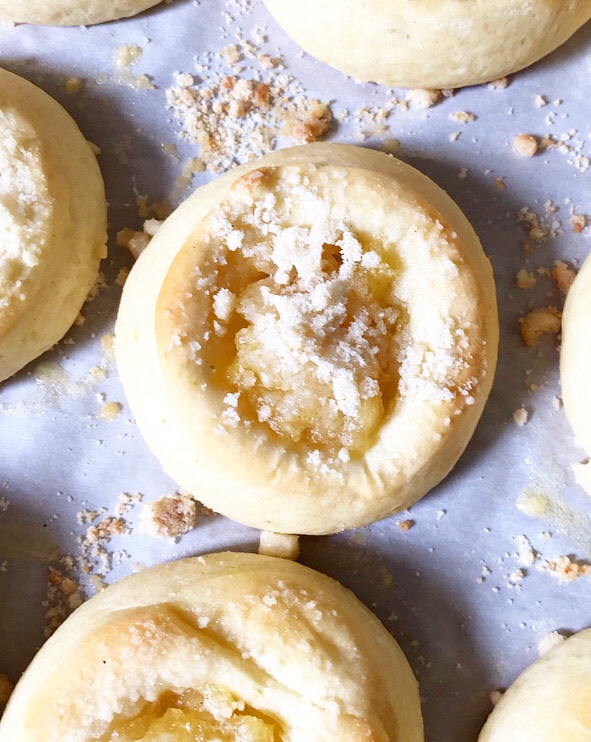 There’s little that beats a soft, fresh from the oven, butter-brushed pastry with jammy pineapple filling.
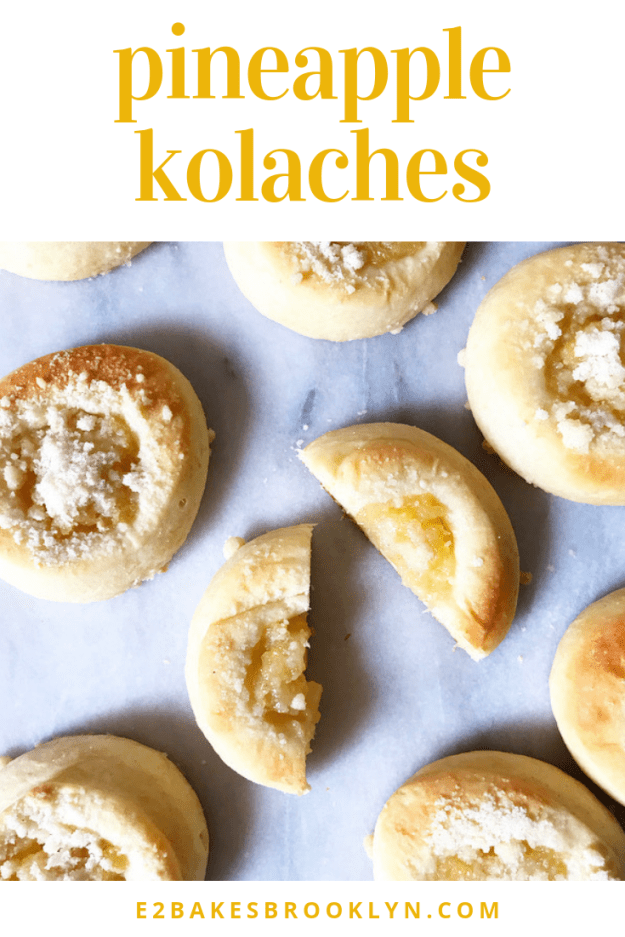
 I won’t be diving into any pools this holiday weekend, but I really want to dive into that well of filling. Don’t you?!
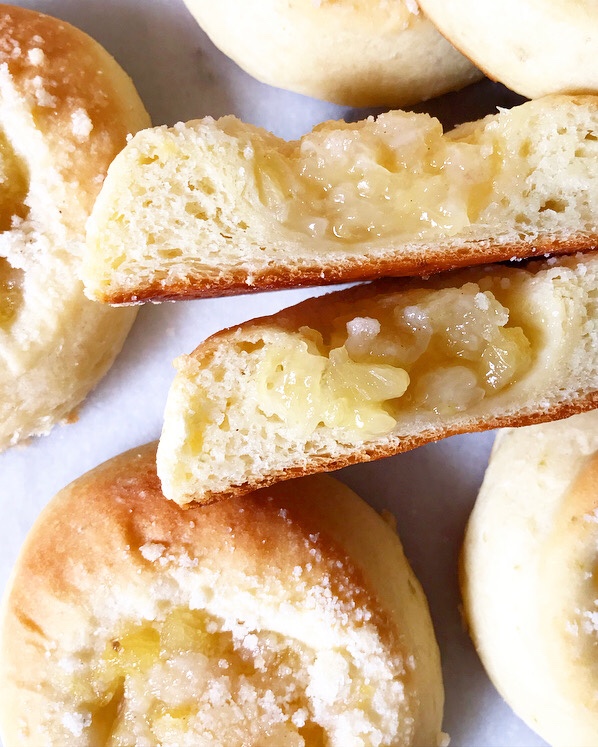
 I first came across a granita recipe in the summer of 2009 and thought “That looks easy and delicious. I’m going to make that.” And then ten years passed.
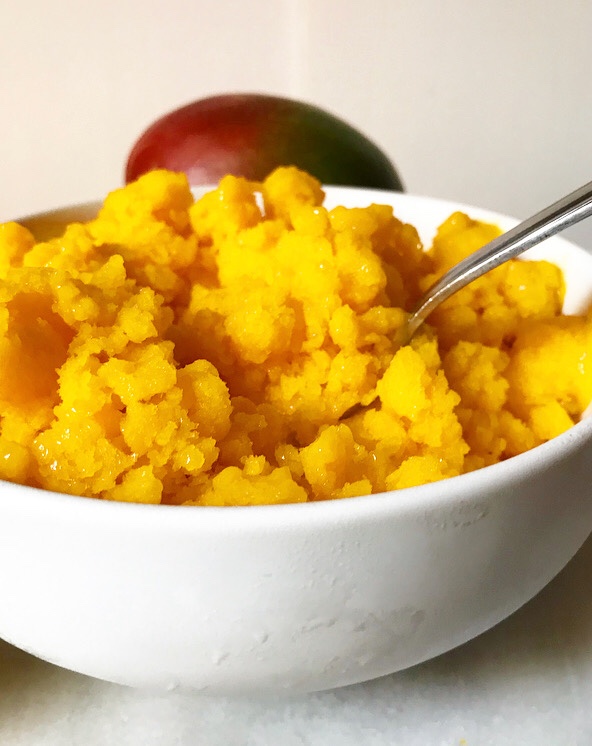
 If you are wondering what the heck I’m talking about, granita is a
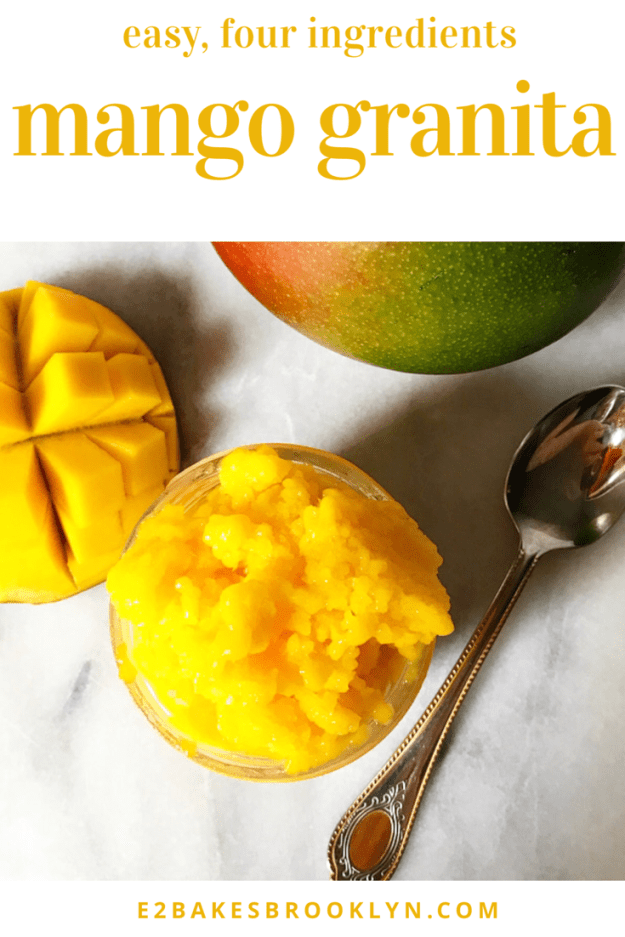
 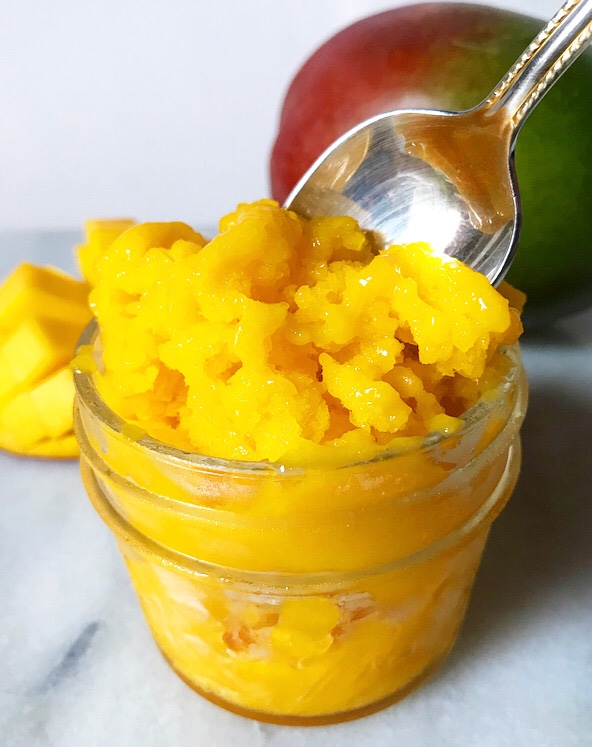 To make this Mango Granita, you’ll need:
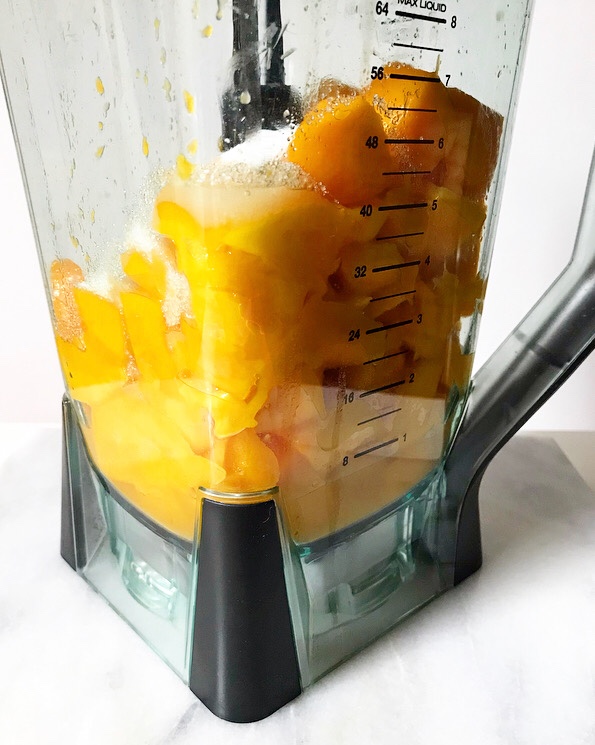
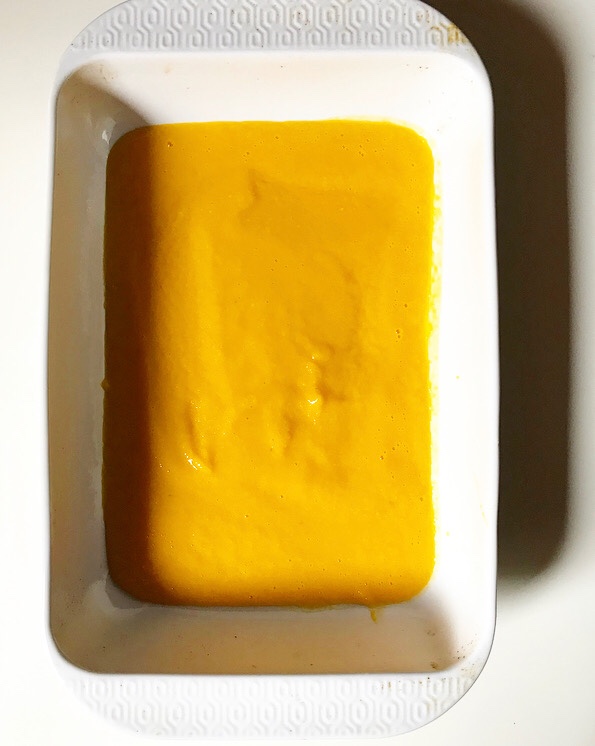 The process is simple. Blitz all the ingredients in a blender until smooth, then pour the purée into a large dish and put it in the freezer for an hour.
 When that time is up, remove the dish from the freezer. Starting at the outer edge, use a fork to drag the frozen purée into the looser center. This will begin the process of making fluffy, snowy ice crystals. At first, you may feel like you’re dragging a fork through soup, but an hour later, it’ll be a different story.
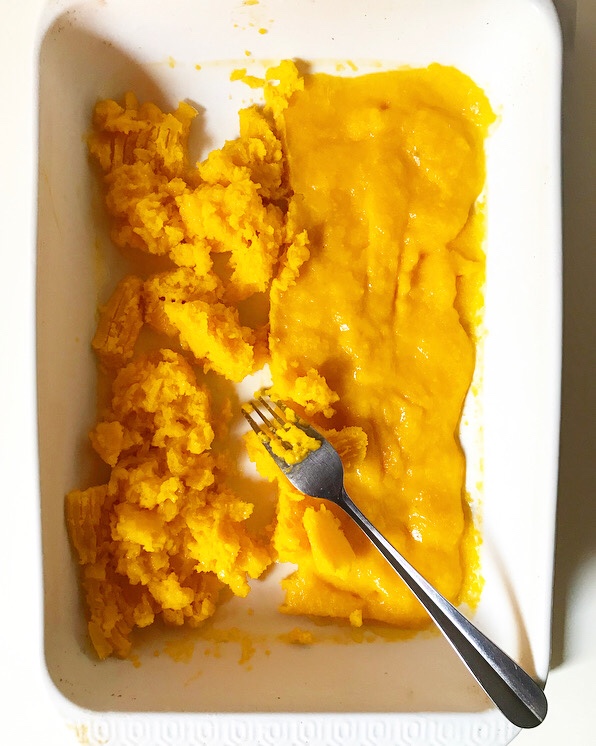 And then, thirty more minutes will go by and crystals will really begin to form! The grainy texture is the “gran-” in granita.
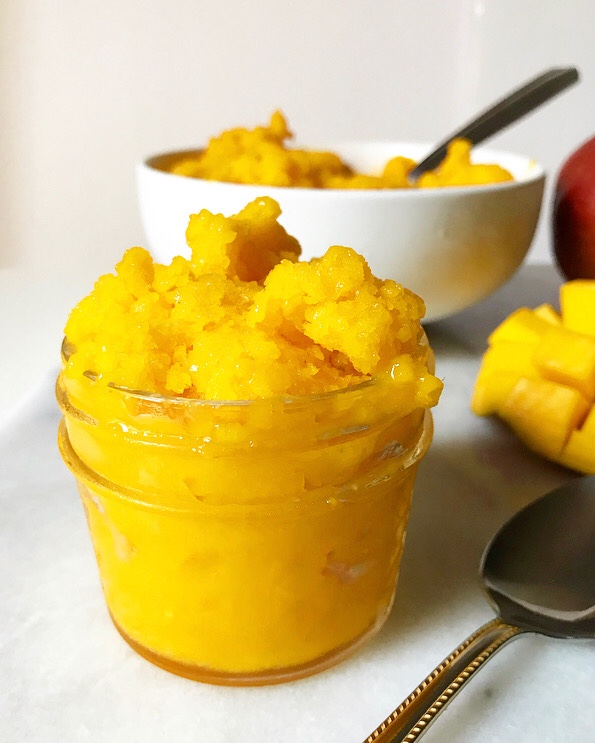
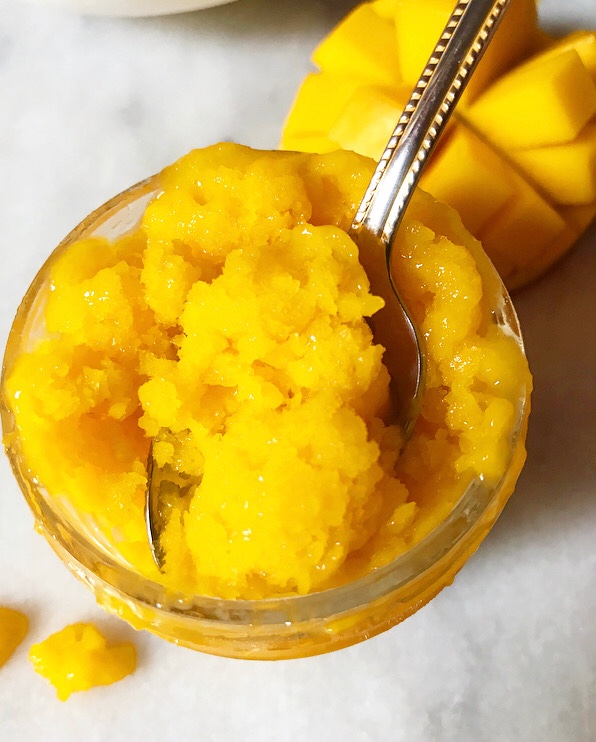
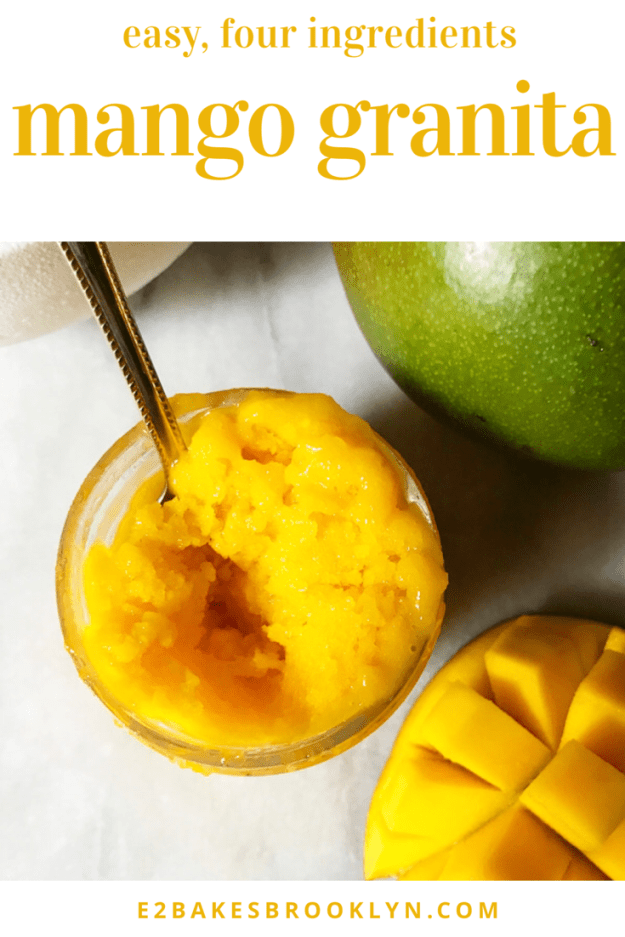
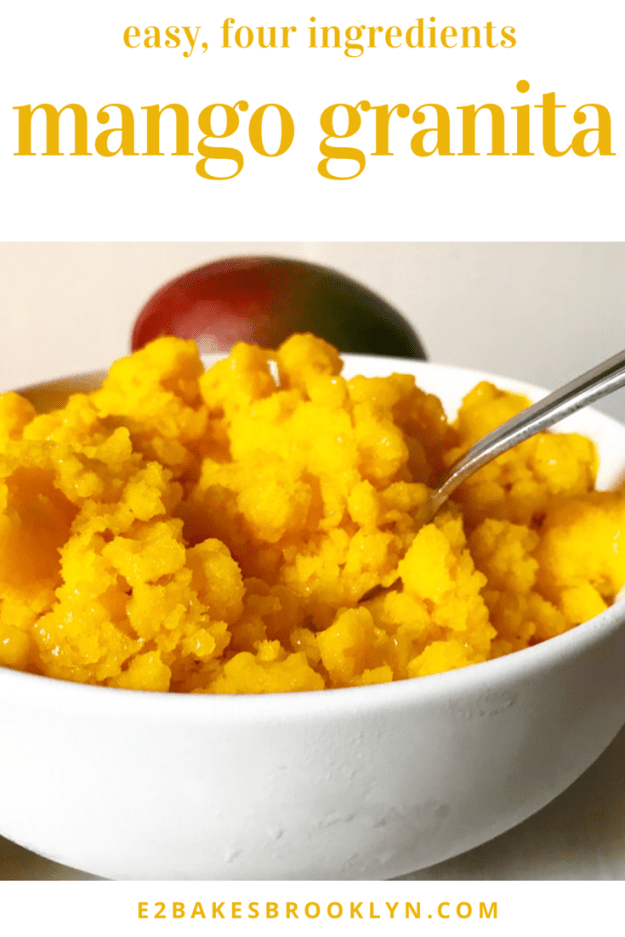
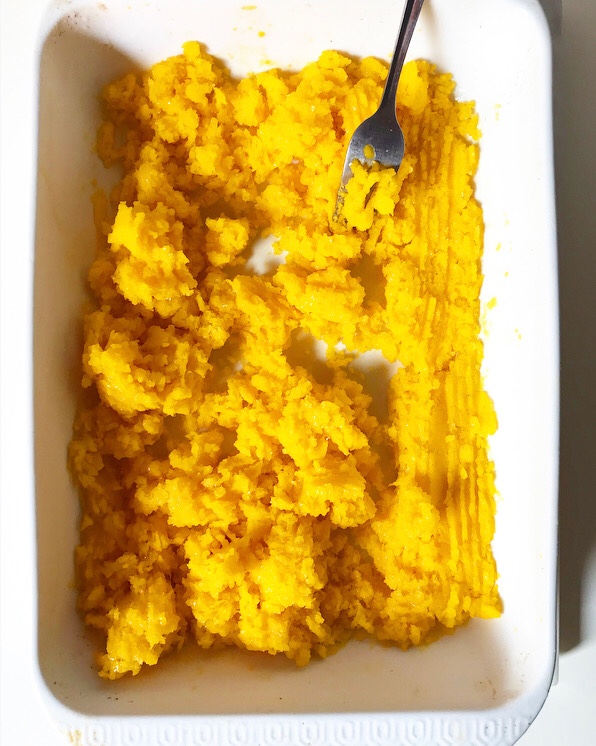 You’ll know it’s ready when it looks like this:
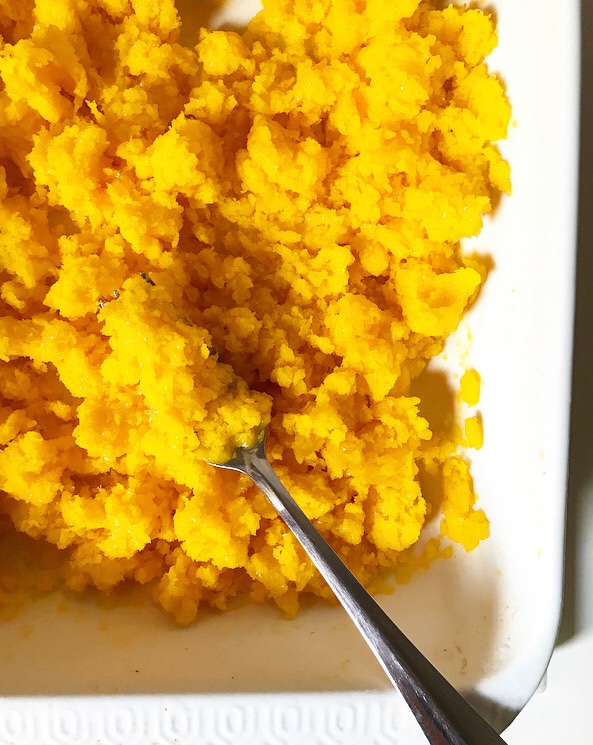
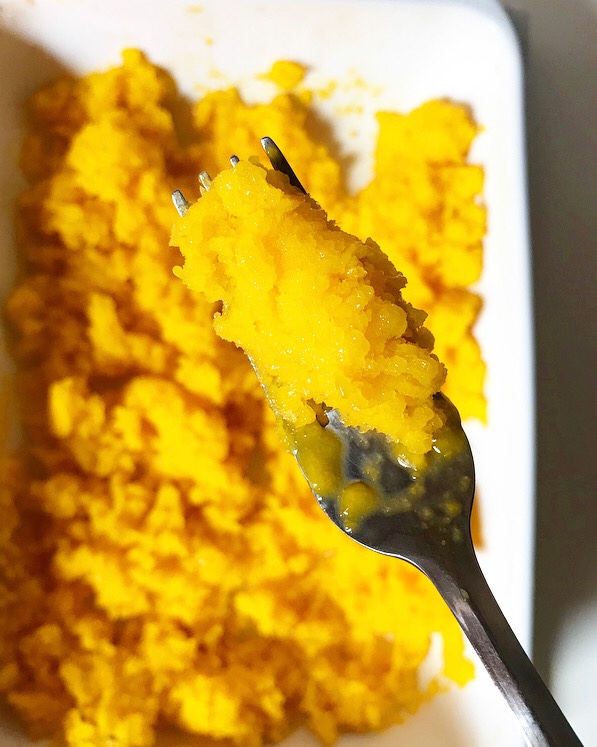
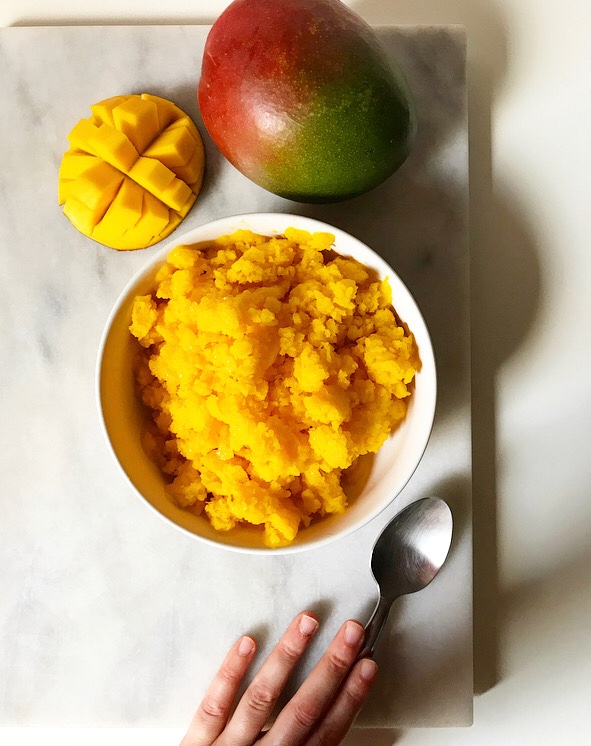 Mango Granita is as delicious as it is beautiful—light and refreshing and perfect for these sweltering last few weeks of summer! The texture is somewhere between a snow cone and a sorbet. Where you might think this would be icy, it’s super smooth and surprisingly creamy. This is the sort of dessert that is great for any occasion from watching Netflix in your PJs to a cookout to a dinner party. It’s vegan, nut-free, low calorie and low sugar–a wonderful option for a crowd!
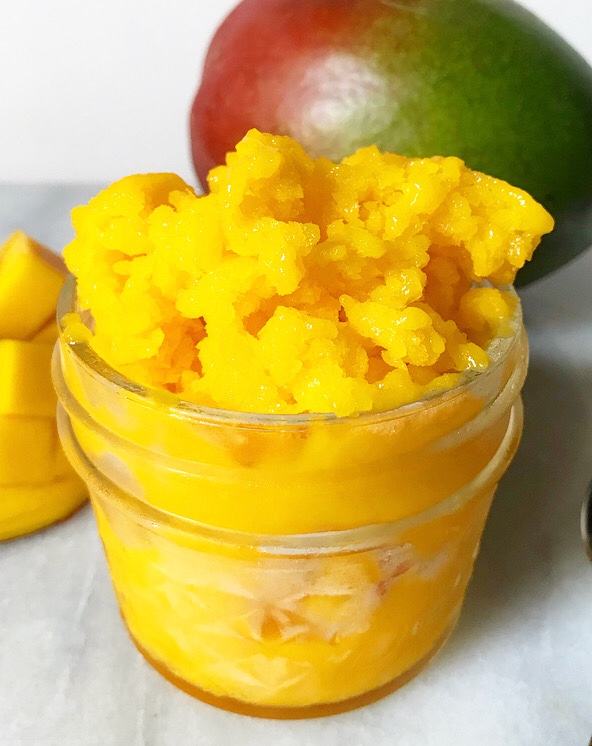
 Before I get to the recipe, here are a few more tips for granita success:
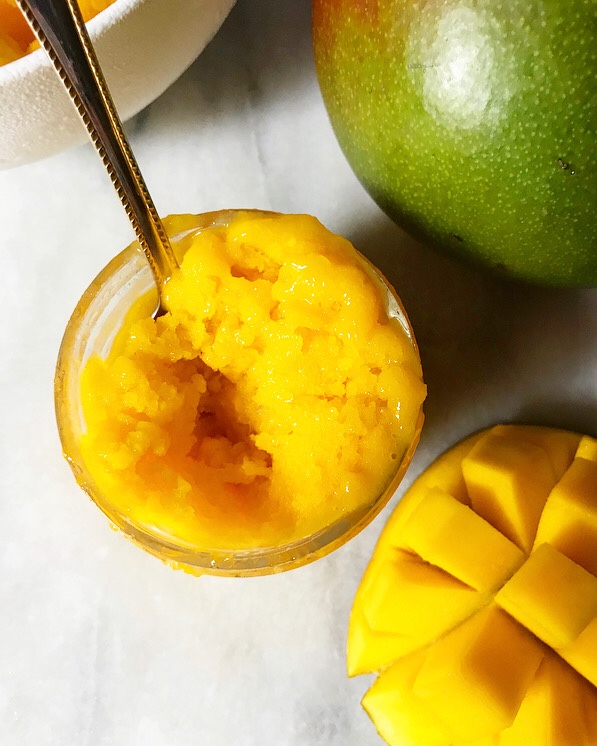
 I have been asked many times over the last several summers for my favorite cobbler recipe. Every time, I have referred these inquiries elsewhere—usually to
 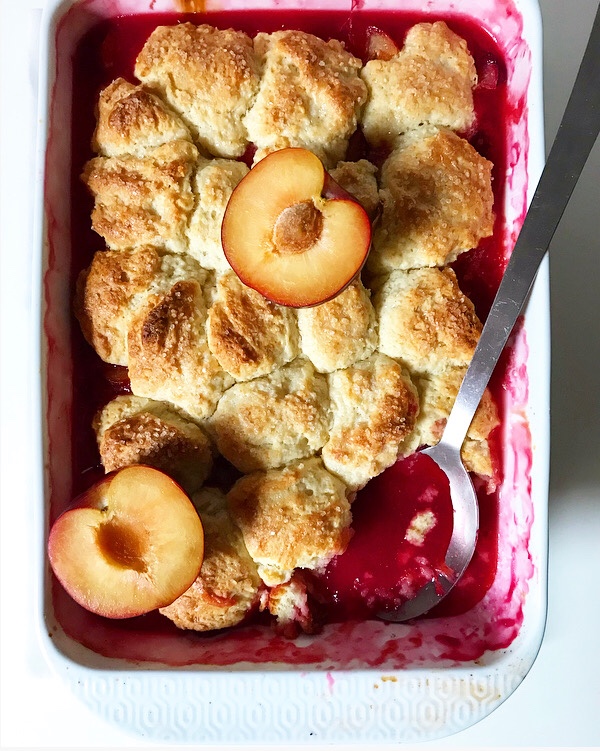 But that was before I started a blog and spent time trying to bake with all types of seasonal produce, even stone fruit, which I previously thought should never be warmed. Pre-2015 Liz would never, ever have eaten
 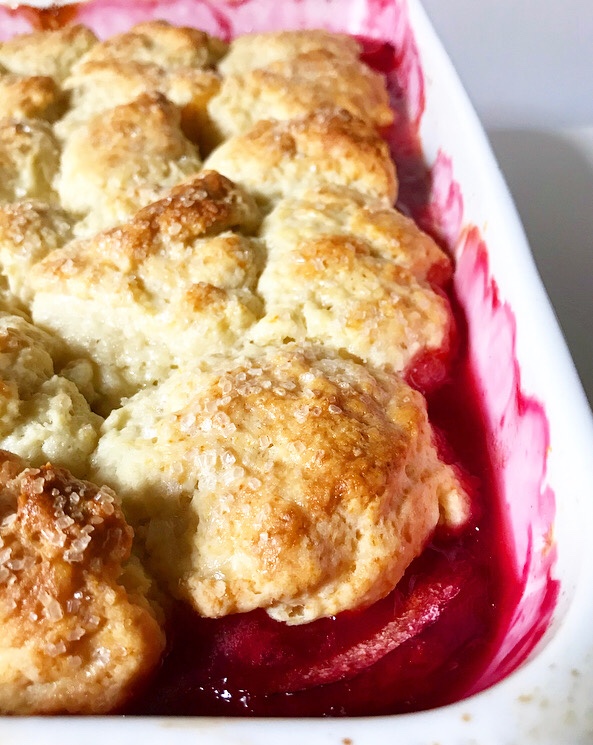 In retrospect, I’m not sure why I ever turned my nose up at this particular category of dessert—I mean, what could be bad about fluffy biscuits baked over seasonal fruit and served with ice cream?! Too many textures, maybe? I don’t know. Perhaps I’ll figure it out one day. For now, I know that I’m a cobbler convert, thanks in no small part to the glut of fabulous plums at my local green market and a drive to bake even when my un-air-conditioned kitchen is already 85 degrees.
 Trust me, though. This Plum Cobbler is worth heating up the house. It may very well make a believer of even the staunchest of the anti-cooked-stone-fruit contingent.
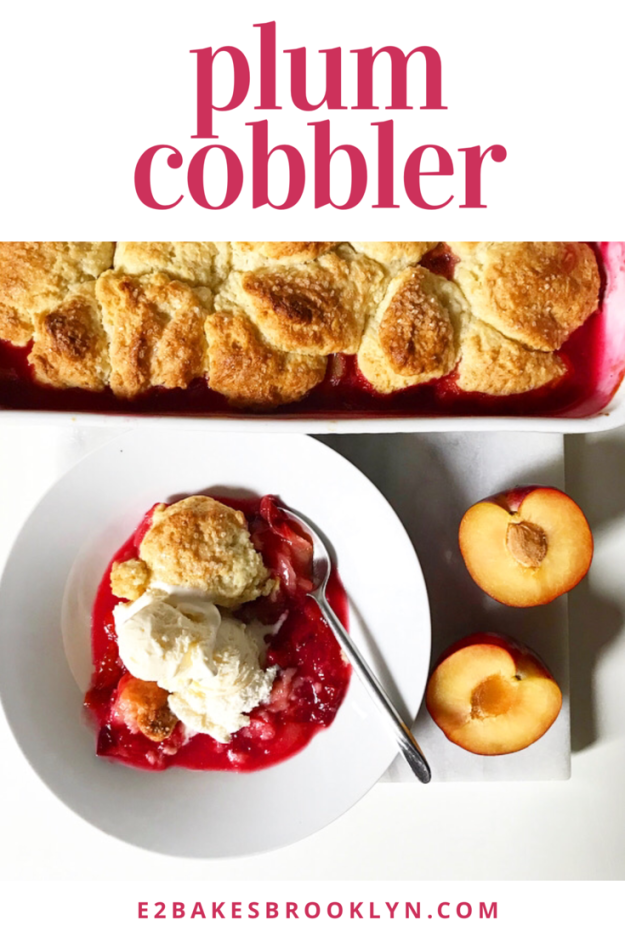
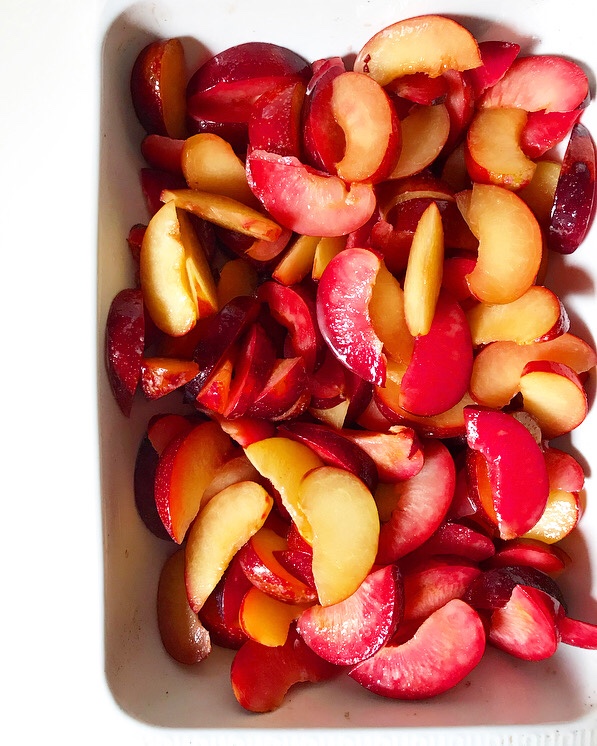 The filling is made of sliced fresh plums (I used a mix of red and black), sugar, lemon juice and ground ginger for depth, and a touch of cornstarch. It’s piled into a baking dish and dotted with butter.
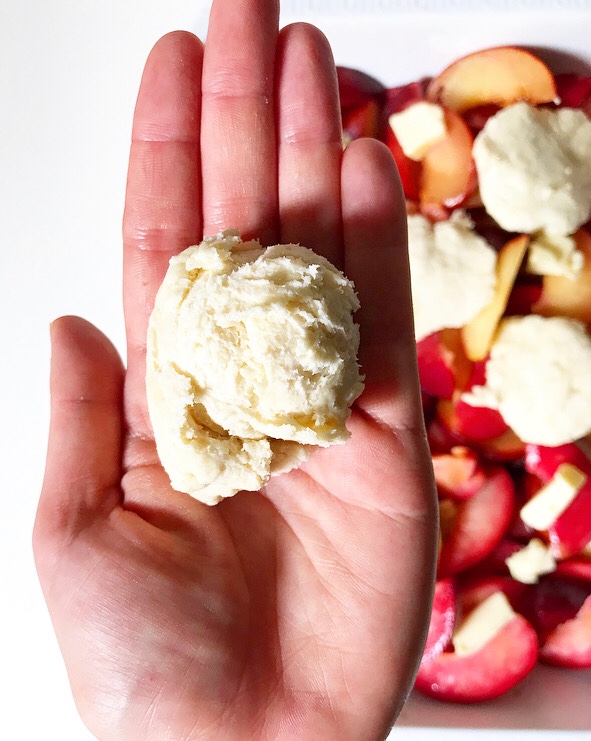
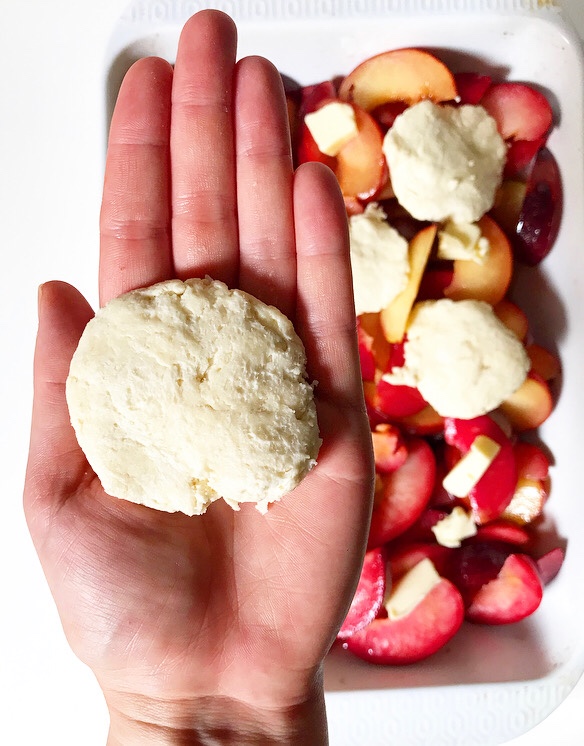 Next up is the topping, which is simply my
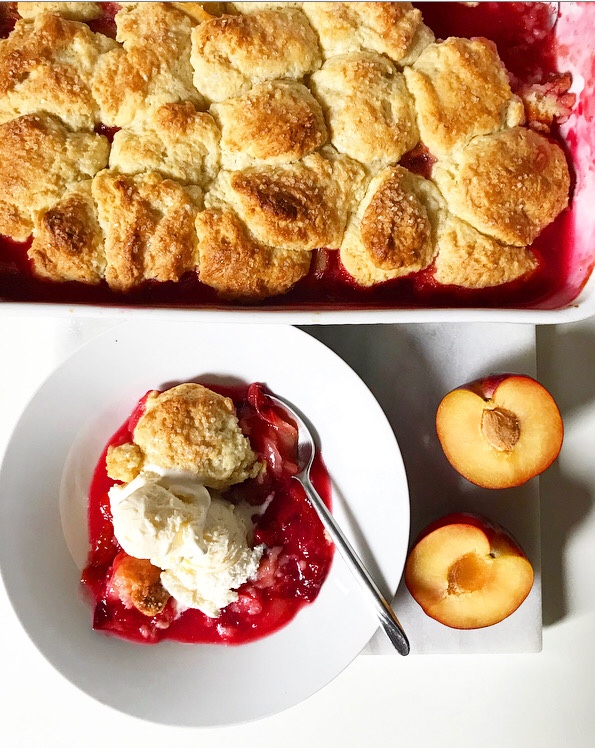
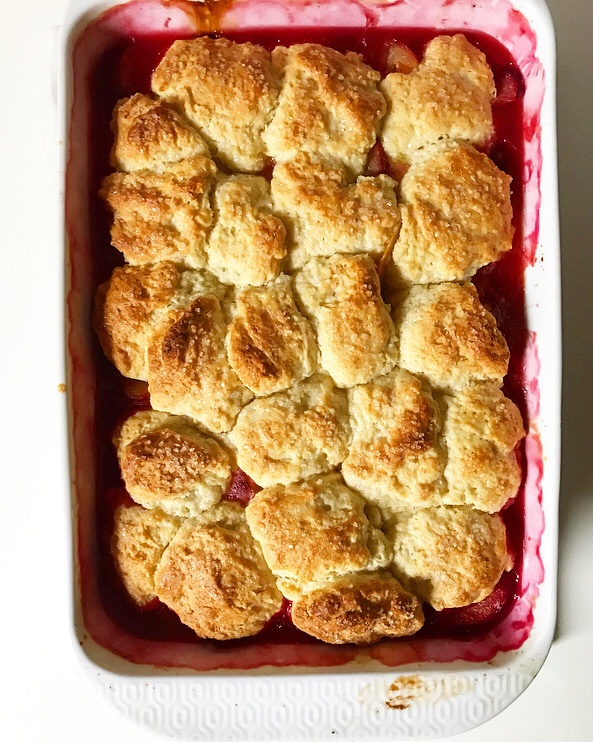 The flattened pieces are then arranged in a cobblestone pattern—this is where the name cobbler comes from. After brushing the dough with cream and sprinkling on some coarse sugar, everything is baked for 45 minutes, or until the biscuits are golden and the filling is bubbling.
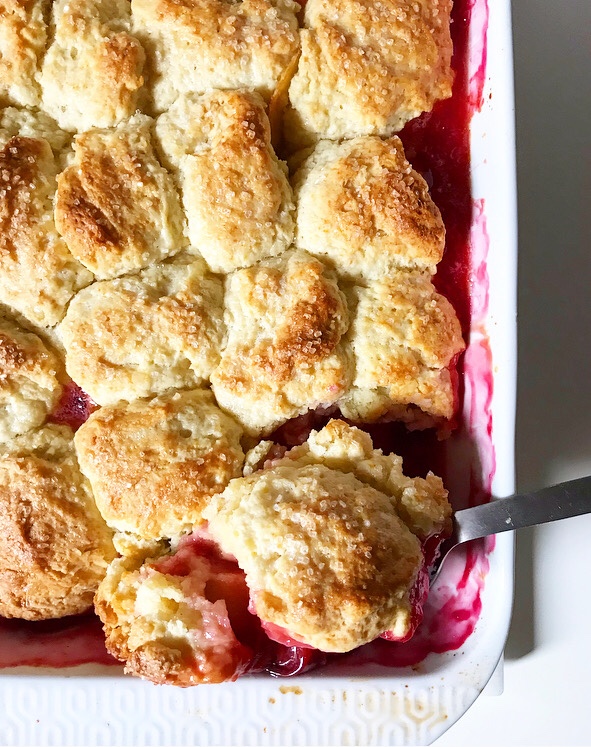
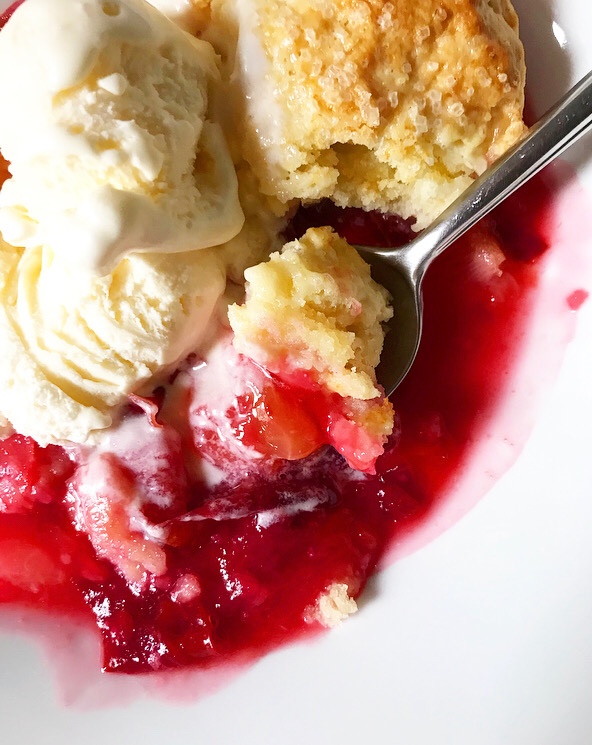
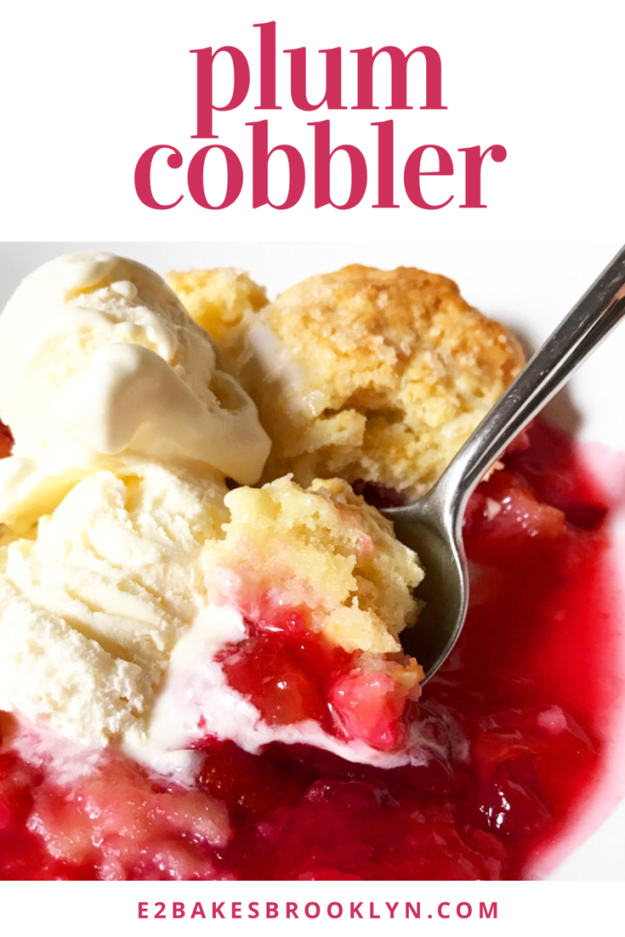
 Maybe my favorite thing about cobbler (and crisps and crumbles) is that it’s best hot from the oven. I like to let mine cool ten minutes, just until the filling stops bubbling, before spooning it into shallow bowls and finishing it off with vanilla ice cream.
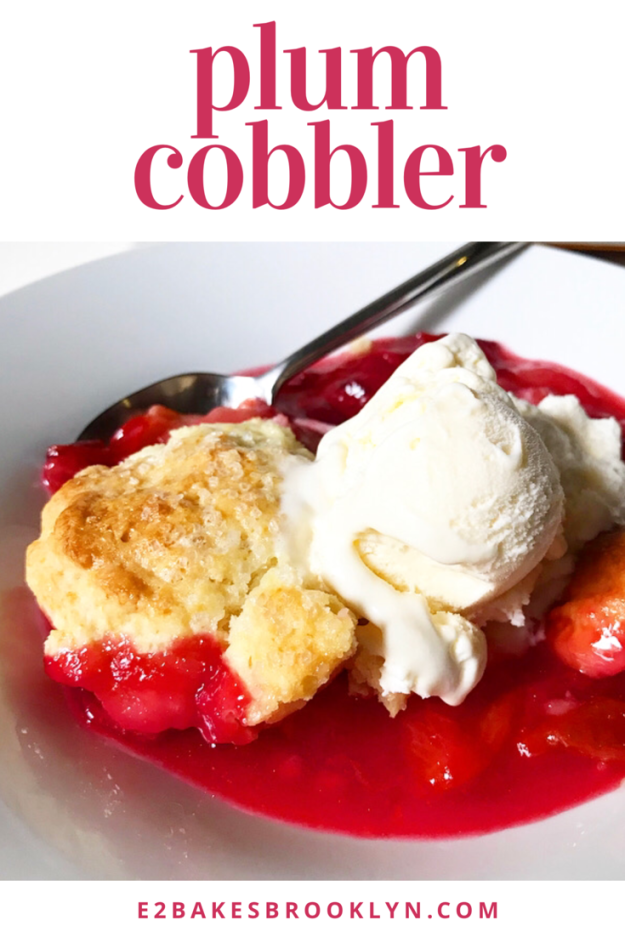
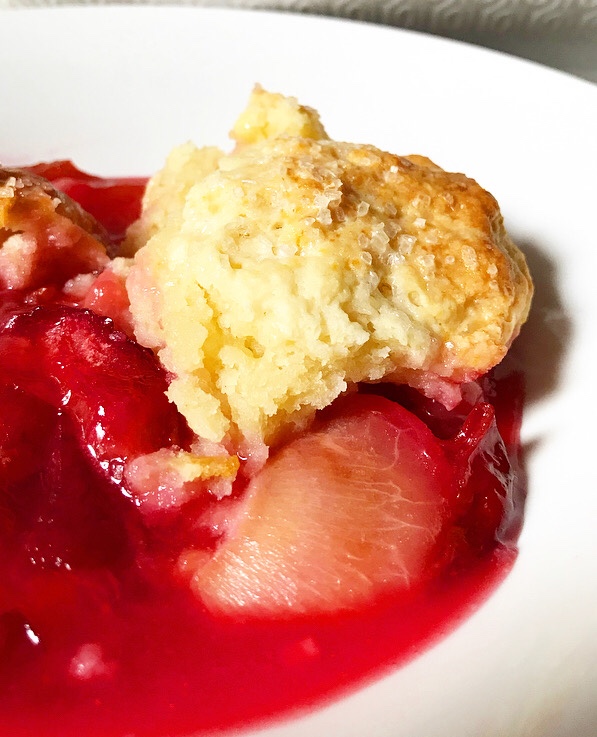
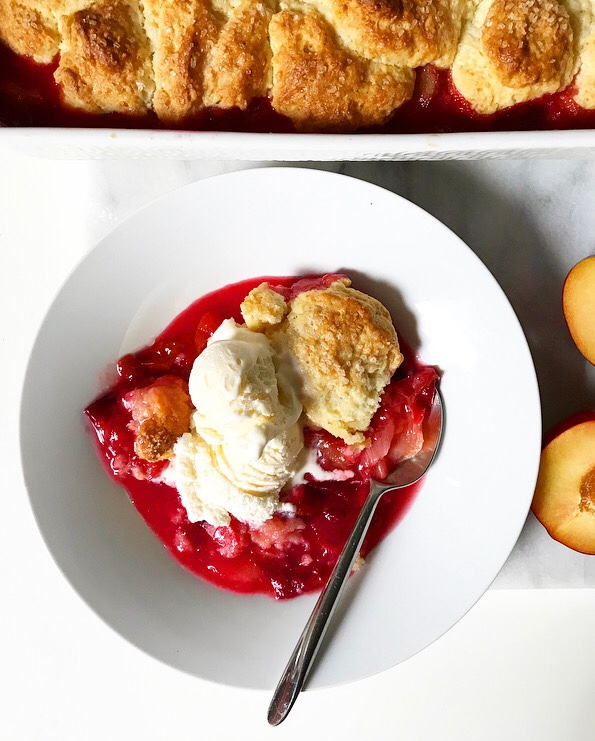 Plum Cobbler is tart and sweet and a bit on the syrupy side, the perfect contrast to the fluffy biscuit topping. And that’s to say nothing of the outstanding vibrant color of the filling or the way slow-melting ice cream rounds out this bowl of late summer goodness. It’s damn near impossible to resist.