Hello! What have you been up to? I’ve been baking myself crazy, but it’s been a really fun few days!
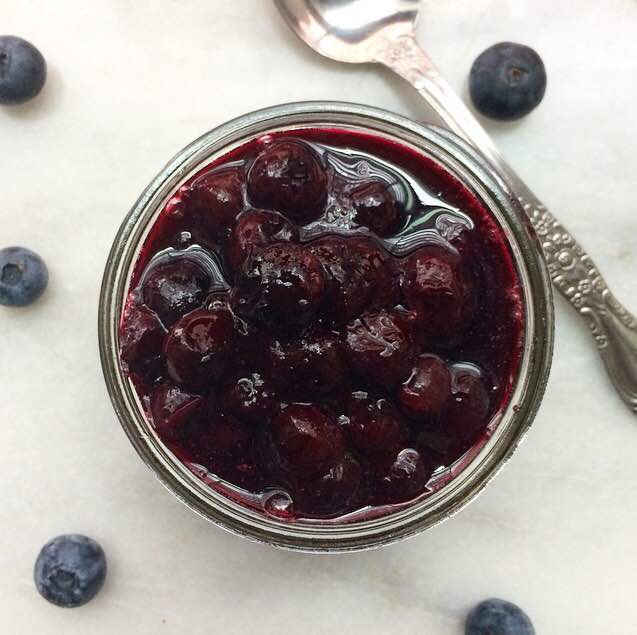
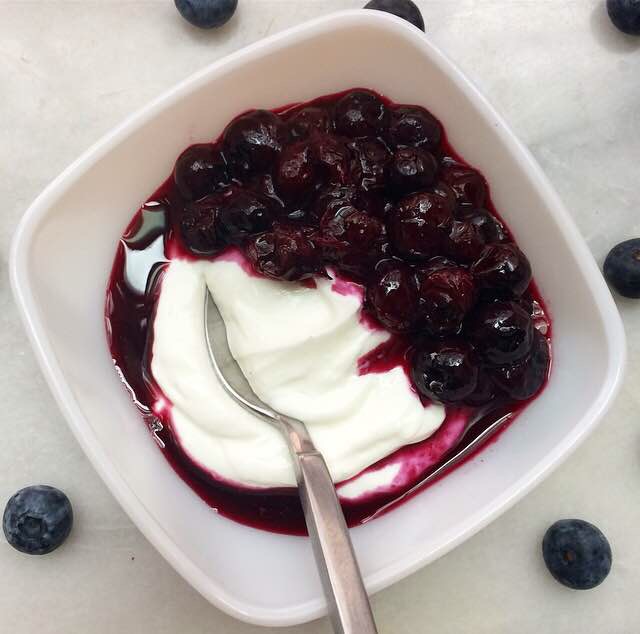
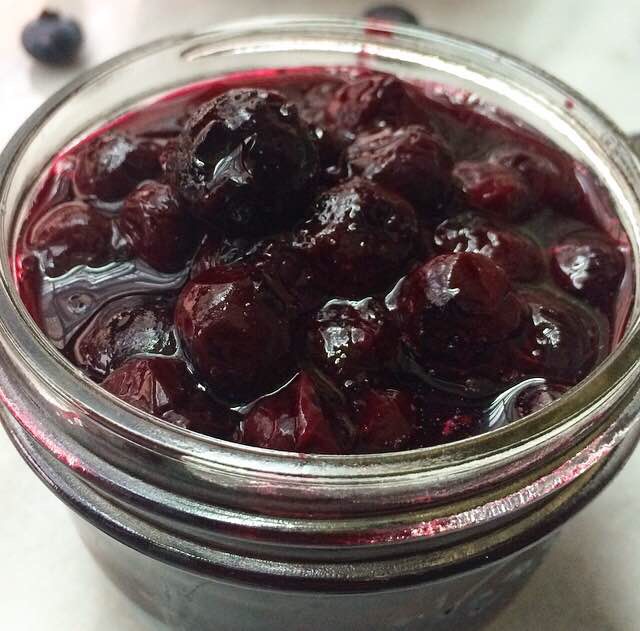
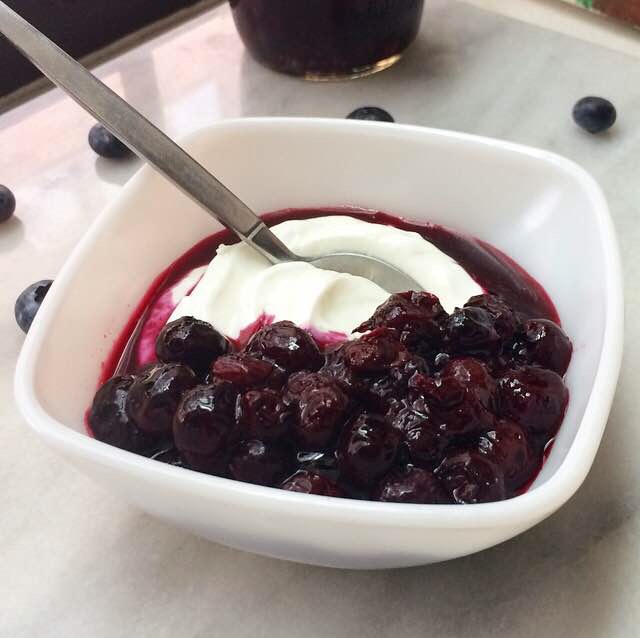
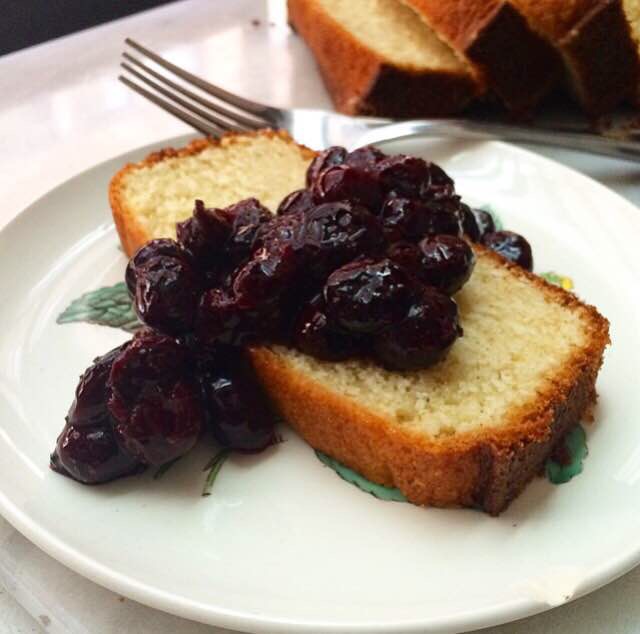
This past weekend, I made six pies and some no-churn vanilla ice cream and had a little Pre-Pi Day Pie Party. I made a grapefruit variation of my Blood Orange Chess Pie and a truly amazing cherry cream cheese pie (coming soon!), among others, but the real hit was a no-bake vegan, grain-free, refined-sugar free, raw pie that I made for my allergic and super health-conscious friends. Everyone loved it! Check out that recipe–Rebecca knows what’s up.
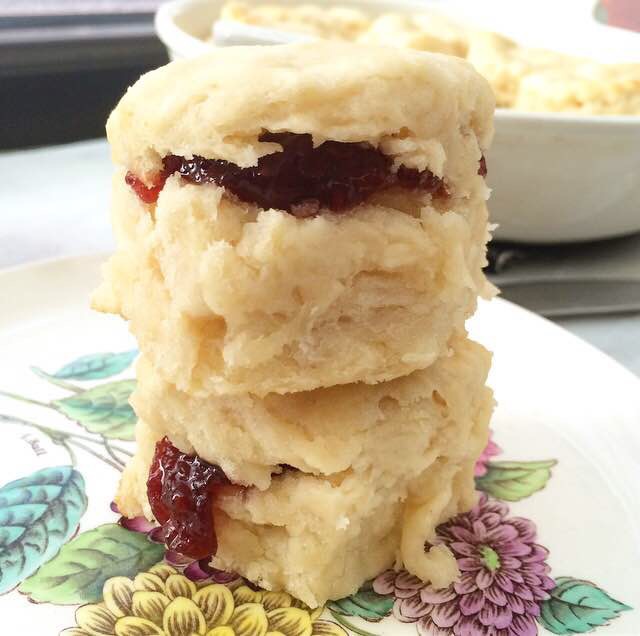
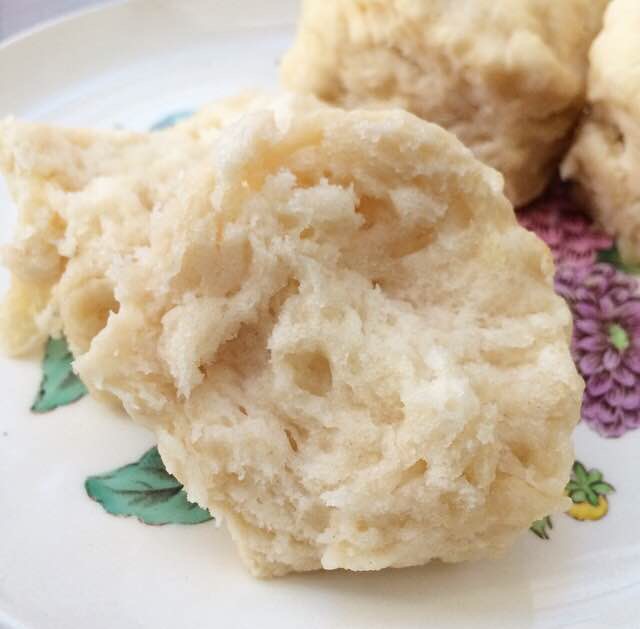
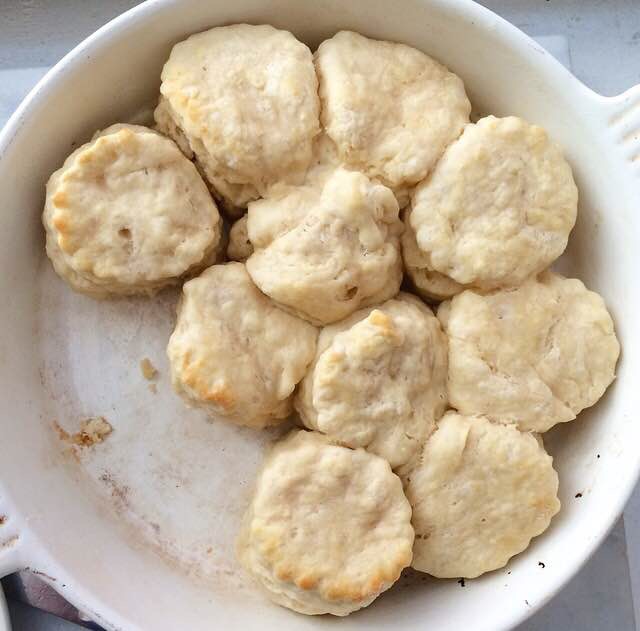
On Sunday, I attended an Irish Tea Party hosted by my friend, Claire, who is an amazing cook. There were scones and sausages and tea sandwiches, and some really fantastic tea, of course! I brought a vegan version of this Irish Chocolate Potato Cake, just for fun 😊 I don’t make many vegan cakes, but this was a hit with everyone! I’ve included adjustments for veganizing this recipe in the notes below.
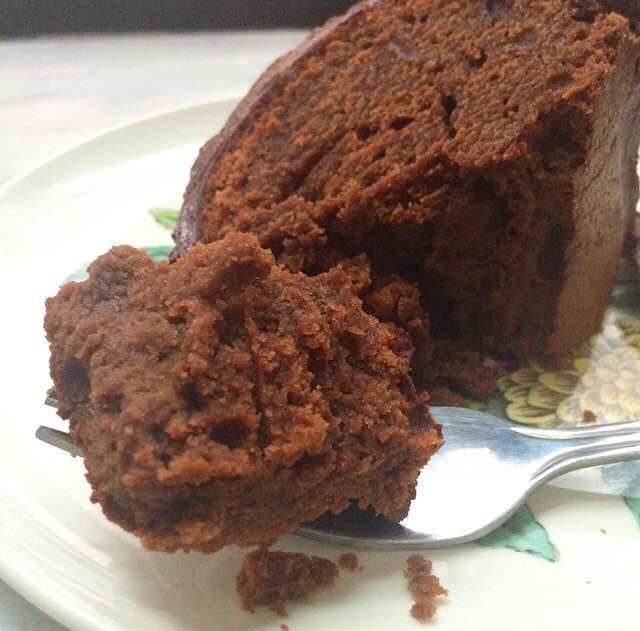
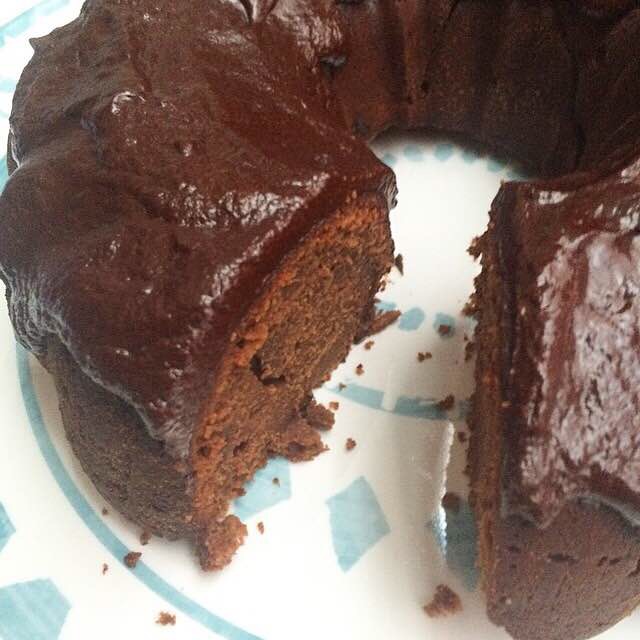
 Now, let’s talk about this cake. Yes, there really are potatoes in there–a whole cup! But don’t go running for the hills quite yet. The potatoes are cooked and then put through a ricer (or sieved), so you won’t find any large chunks of root vegetable mixed in with your chocolate! No, the potatoes keep everything supremely moist, and make this cake one-of-a-kind. If I hadn’t directly told you that there were potatoes in your dessert, I promise you wouldn’t even notice!
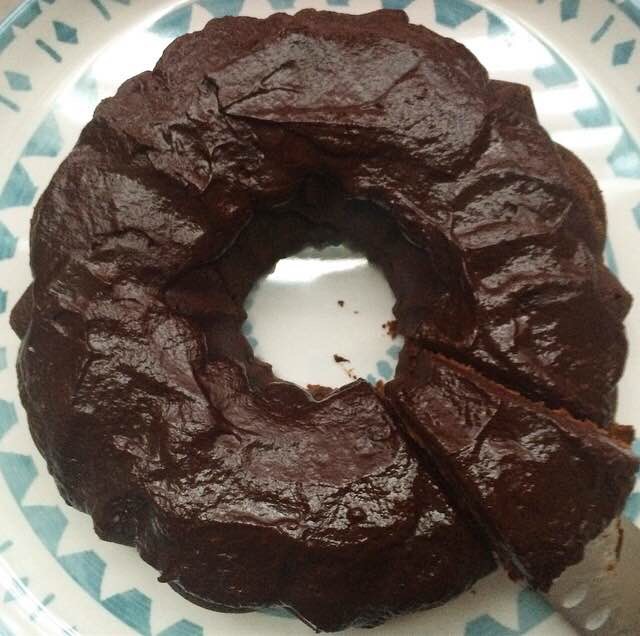
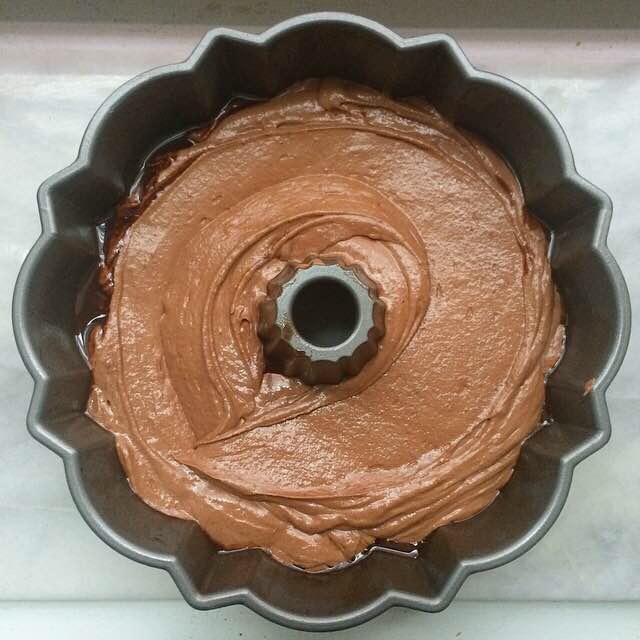
Irish Chocolate Potato Cake is made in a bundt pan. If you’ve ever made a bundt cake, you know the fear that comes with releasing it from the pan! Will it come out in one piece? How many chunks will be missing? When you’ve spent thirty minutes mixing up batter and an hour baking the thing, it can be disheartening to see what should come out as a gorgeously-shaped cake come out less than beautiful. But, never fear! I have just the trick to keep all your bundt cakes turning out perfectly every time.


 For greasing the pan, I use a 1:1 combination of neutral-flavored oil (usually canola) and dry ingredients. With vanilla and other non-chocolate cakes, the dry ingredients are usually just all-purpose flour. But as this cake is full of chocolate, using all flour could leave a white film on the finished cake. It would still taste good, but it might look a little funny. Here, we add a tablespoon of natural unsweetened cocoa powder to the mix, which turns the whole mixture a lovely chocolate color. Use a pastry brush (or a very clean, dry hand) to spread the mixture into every last nook and cranny of the pan. Really coat the thing. It might take a few extra minutes, but it’s better than having a stuck cake! This ratio of oil and dry ingredients will work on most varieties of cake. Since I’ve started using it, I have spent much less money on parchment paper, and absolutely no time worrying about getting my cakes to release!
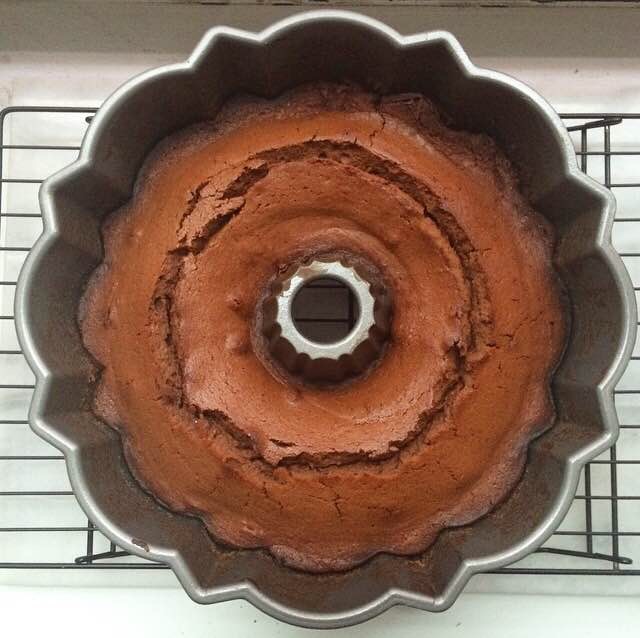
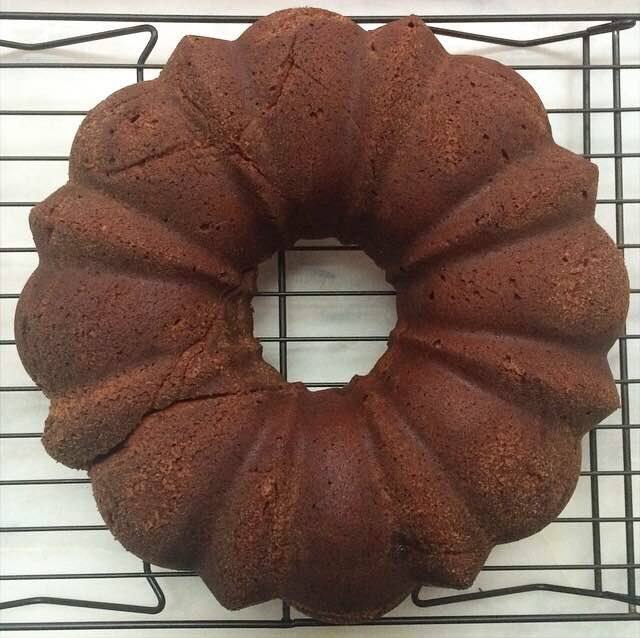
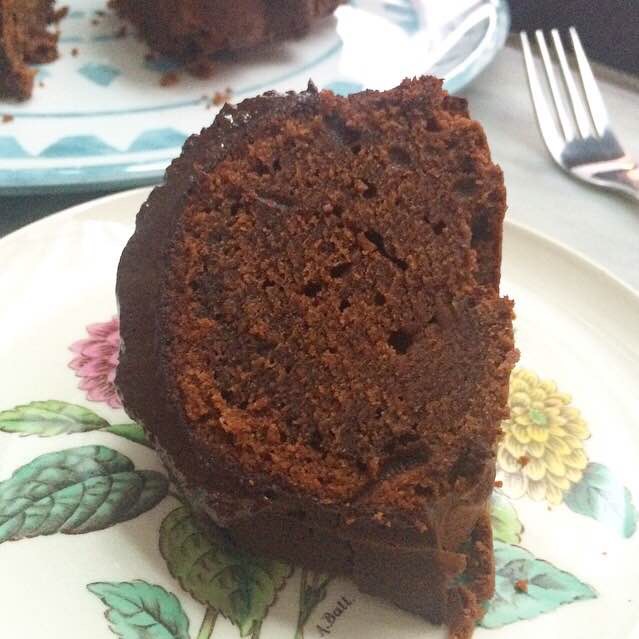
 The thick, beautiful chocolate batter is poured into the prepared bundt pan and baked at 350F for 45-50 minutes, until a toothpick inserted several places comes out clean. Let the cake cool in the pan for fifteen minutes or so before running a small, thin knife around the outer edge of the baked cake. This makes inverting it onto a cooling rack super simple. Place a cooling rack upside-down on top of the bundt pan. Hold on tight and flip everything quickly…and voila! A beautiful cake 😊


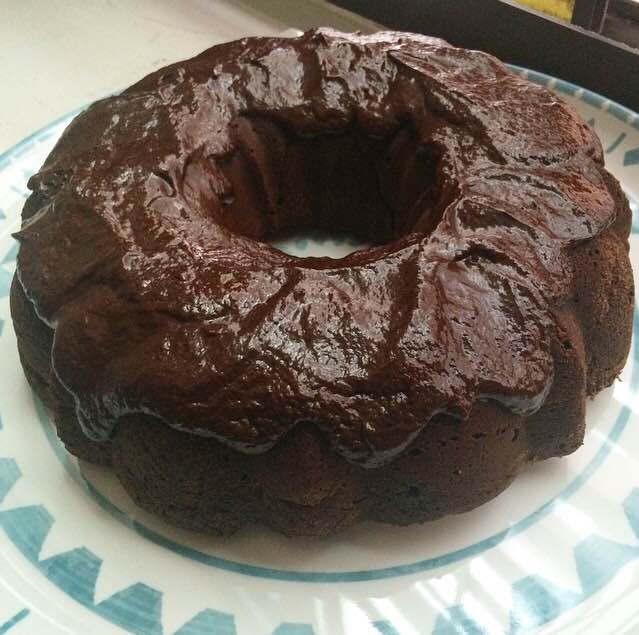
Let it cool to room temperature, and spread or drizzle with chocolate ganache. Let that set for a few minutes before slicing and serving.
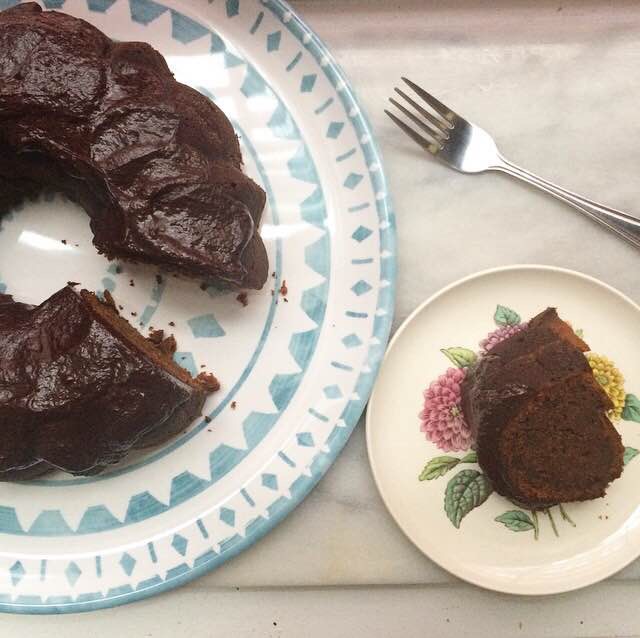
This Irish Chocolate Potato Cake is perfect for celebrating St. Patrick’s Day, or for any occasion that may demand bundt cake. I highly recommend enjoying a slice with a cup of tea. Actually, I think I’ll do that right now and call it breakfast 😊
 Irish Chocolate Potato Cake {with Vegan Alternative}
adapted from cookingwithmaryandfriends.com
makes one 12.5 cup capacity bundt cake
For Greasing:
1/4 cup neutral-flavored oil
3 tablespoons all-purpose flour
1 tablespoons natural unsweetened cocoa powder
Cake:
2 cups all-purpose flour
2 tablespoons cornstarch
2 teaspoons baking powder
1 1/2 teaspoons ground cinnamon
1 1/2 teaspoons ground nutmeg
1 teaspoons Kosher or sea salt
1 cup unsalted butter, softened to room temperature*
4 ounces unsweetened chocolate, melted
1 cup granulated sugar
1 cup light brown sugar, packed
4 large eggs, room temperature*
1 teaspoon pure vanilla extract
1 cup cooked, riced russet potatoes, warm room temperature*
1/2 cup buttermilk, room temperature*
Ganache*:
1/2 cup heavy cream
4 ounces dark chocolate (60% or so), chopped
Preheat oven to 350F. Grease the bundt pan. In a small bowl, use a fork to whisk together oil, flour, and cocoa powder. Use a pastry brush to grease the inside of the bundt pan, making sure to paint all the nooks. Set aside.
In a large mixing bowl, whisk together flour, cornstarch, baking powder, cinnamon, nutmeg, and salt. Set aside.
In a separate large mixing bowl, use an electric mixer to cream the butter until it is light and fluffy. Beat in melted chocolate, followed by granulated and light brown sugars. Add eggs one at a time, beating after each addition. Beat in vanilla, followed by riced potatoes and buttermilk. Add dry ingredients in three installments, beating until completely combined. Transfer batter to prepared pan, and smooth the top. Tap full pan on the counter five times to release any large air bubbles. Bake cake for 45-50 minutes, until a toothpick inserted in a few places comes out clean.
Let cake cool in pan for 15 minutes. Use a small, thin knife to loosen the outer edges of the cake. Carefully invert cake onto a cooling rack, and allow cake to cool to room temperature.
Once the cake reaches room temperature, warm heavy cream in a small saucepan over medium high heat until bubbles start to form at the edges of the pan. Do not let it come to a full boil. Pour hot cream over chopped dark chocolate, and let it sit for a few minutes while chocolate softens. Stir together with a fork until completely combined. Drizzle or spread ganache over the top of the cooled cake. It will set in about an hour at room temperature.
Cake may be served immediately. Leftovers may be kept covered at room temperature for up to two days, or refrigerated for up to four.
Notes:
1. Vegan alternative: 1 cup vegan buttery spread, like Earth Balance, softened to cool room temperature.
2. Vegan alternative: use flax “eggs.” Mix 1/4 cup ground flax seed with 3/4 cup warm tap water. Let sit 5 minutes before adding to the recipe.
3. If you, like me, do not have a ricer, use a wooden spoon or silicone spatula to push cooked potatoes through a mesh sieve. This is the one I use.
4. Vegan alternative: add 1 teaspoon white or apple cider vinegar to a liquid measuring cup. Fill to the 1/2 cup mark with your non-dairy milk of choice.
5. Vegan alternative: in a double-boiler or the microwave, melt 4 ounces of chopped certified-vegan dark chocolate with 1 teaspoon coconut oil. Stir until smooth, and drizzle or spread on the cooled cake.
 Everyone has that one friend who can’t eat anything.
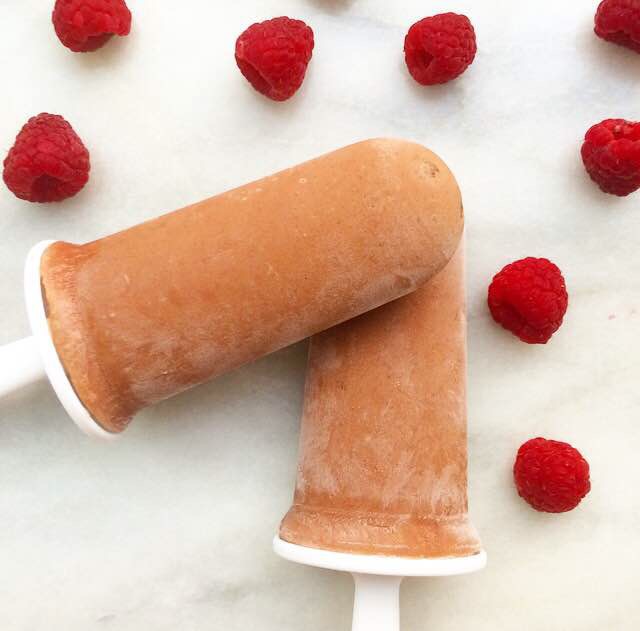 For me, that’s my pal, VJ. She’s a gluten-free vegan. Of course, I am one of those people who can and will eat just about anything. When we became friends, I worried that we’d never be able to eat together. Food is such an important part of all our lives: beyond preparation and consumption, there is the social aspect of sharing a meal with someone else. Due to our different diets, I wasn’t sure we’d ever be able to happily eat at the same restaurant or make dinner together.
  But I shouldn’t have worried. Not only is VJ a wizard when it comes to navigating menus for options that are both gluten-free and vegan, but she straight-up doesn’t care what anyone else at the table is eating as long as they’re having a good time. When we went to Maine last month, she stood on a rickety chair taking action shots while our friend, Liz, and I rushed around the kitchen making pie and Lemon Bars that she couldn’t enjoy. VJ came and sat with me at the Swans Island Post Office at midnight, just so I could use WiFi to post those recipes on this blog. And she regularly reads and shares my posts, even though I rarely make recipes that fall into her dietary parameters. She’s the kind of friend that everyone should be so lucky to have–one who is selfless, flexible, encouraging, and supportive.
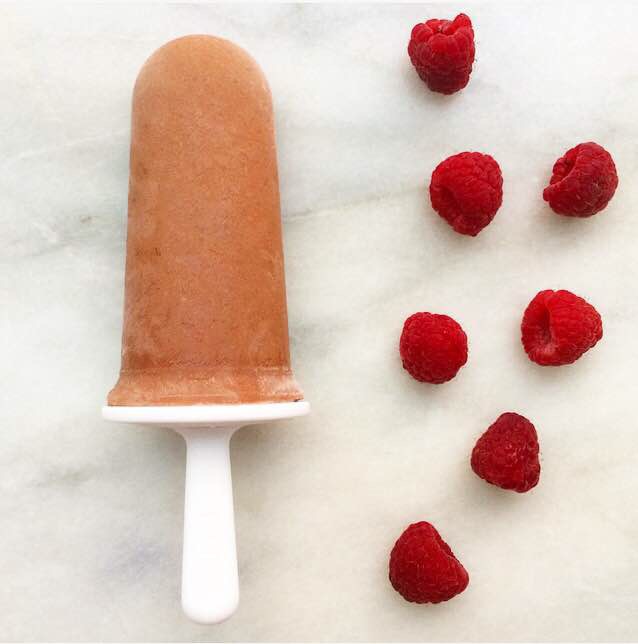
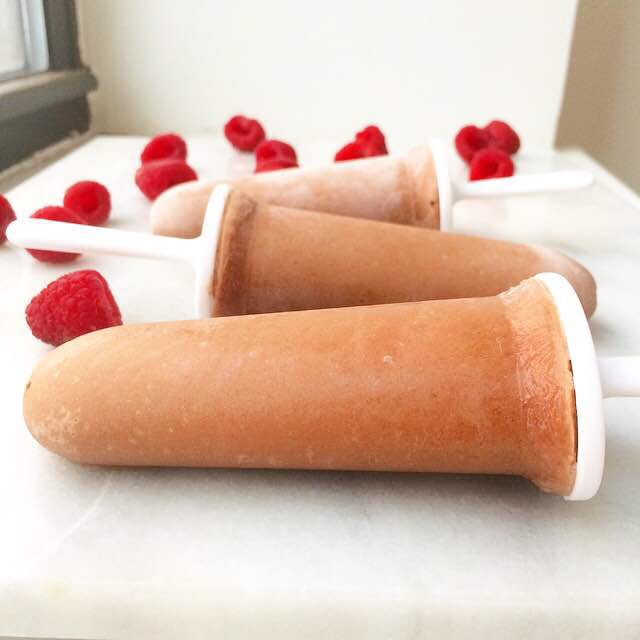 You’ll never believe what’s in these Raspberry Fudgesicles. There’s no dairy, and not one bit of sugar. Nope. Not even a little bit. These ice pops are completely nutritious, but they certainly don’t taste that way!
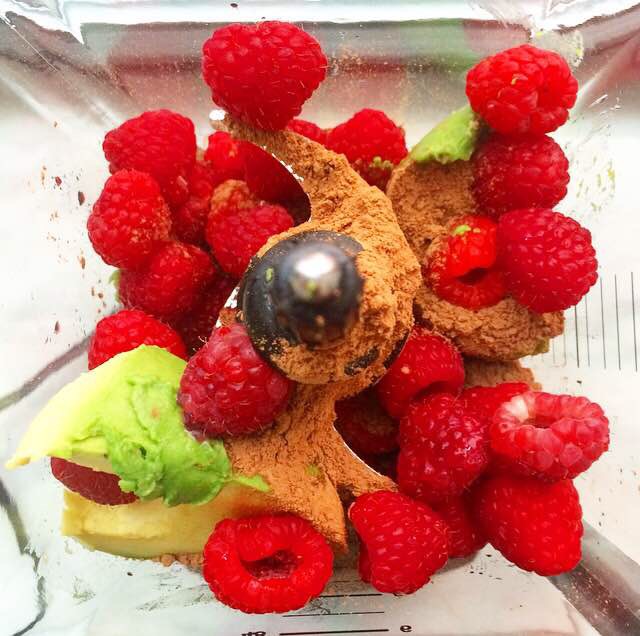
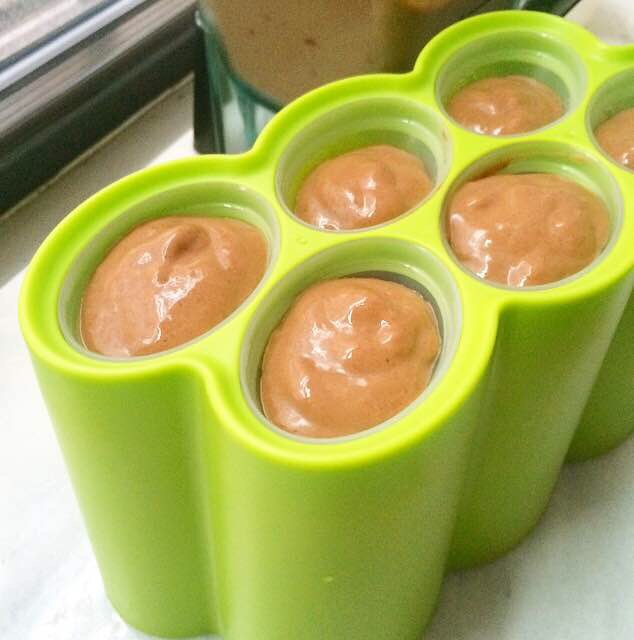 How does that work? It’s simple, really. Coconut milk and avocado keep them creamy. Dates make them sweet. Fresh raspberries and cocoa powder make them delicious! Add to that a bit of vanilla and a few cups of ice cubes and blend until smooth. Pour the mixture into ice pop molds, add popsicle sticks, and freeze for several hours.
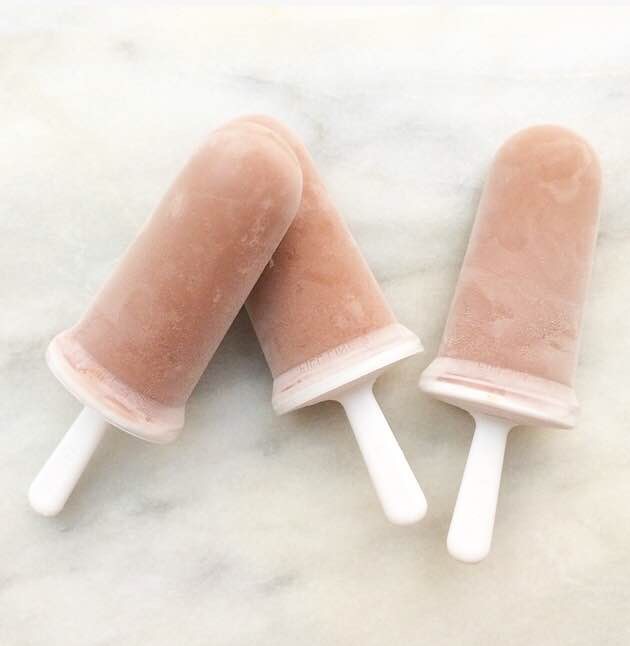
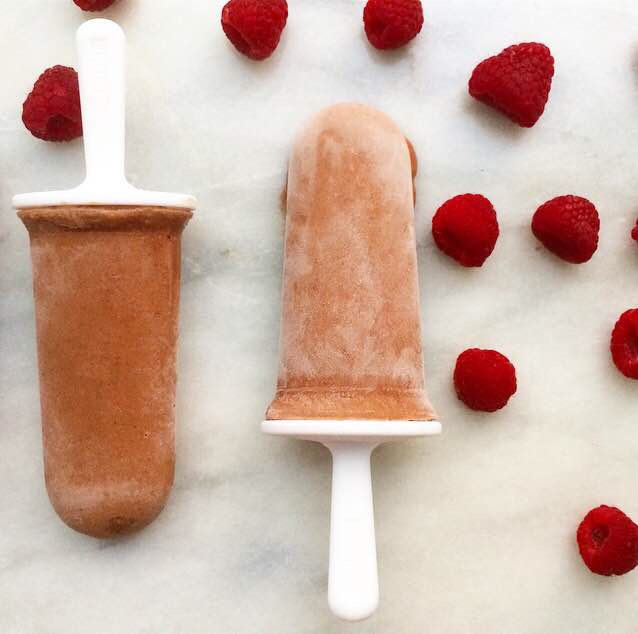 Once you release your ice pops from their molds and take a taste, you won’t believe that they are actually good for you! These creamy Raspberry Fudgesicles are full of chocolate-raspberry flavor and melt just like those fudgesicles you got from the ice cream truck when you were a kid. Except there’s no need to feel guilty having one of these. Nope! Full of vitamins and minerals, protein and good fats, and completely free of sugar, they’re practically healthy enough for breakfast 😊
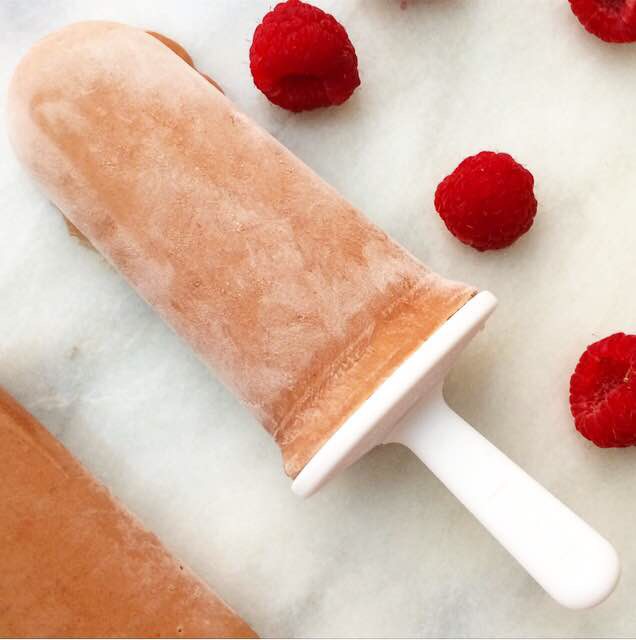 Raspberry Fudgesicles {Vegan & Sugar Free}