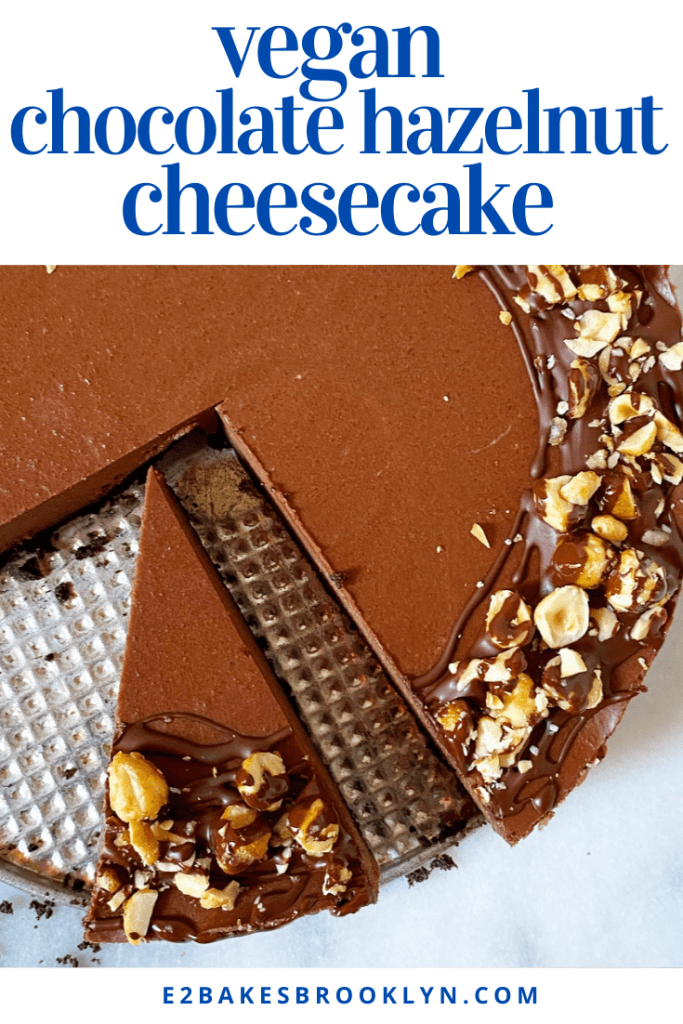
It is far too hot to bake today, but that’s okay because Vegan Chocolate Hazelnut Cheesecake requires no baking at all.

We’re talking all the rich, creamy, irresistible texture of a classic cheesecake with none of the dairy and exactly zero reasons to crank your oven. Oh, and more deep dark chocolate-hazelnut flavor than you can shake a stick at. (What does that even mean?)

This take on vegan cheesecake is made with toasted hazelnuts for flavor and raw cashews for creamy texture. They’re soaked together overnight for maximum tenderness, then combined in a blender with coconut cream, coconut oil, maple syrup, vanilla extract, salt, and—oh yeah—half a pound of melted dark chocolate. Put on the lid and then blitz-blitz-blitz until smooth.

This is the part where I get on my soapbox:
Please get yourself a good blender. You deserve a good blender. Good doesn’t necessarily mean expensive—it means a blender that actually blends things until smooth. Whether that’s a fifty year-old Oster (my parents’ amazing blender) or a Vitamix, a solid blender is crucial to vegan cheesecake success, and a million other things. I have a Ninja that I bought for $100 five years ago and it rules. Get a good blender!!!
*steps off soapbox*

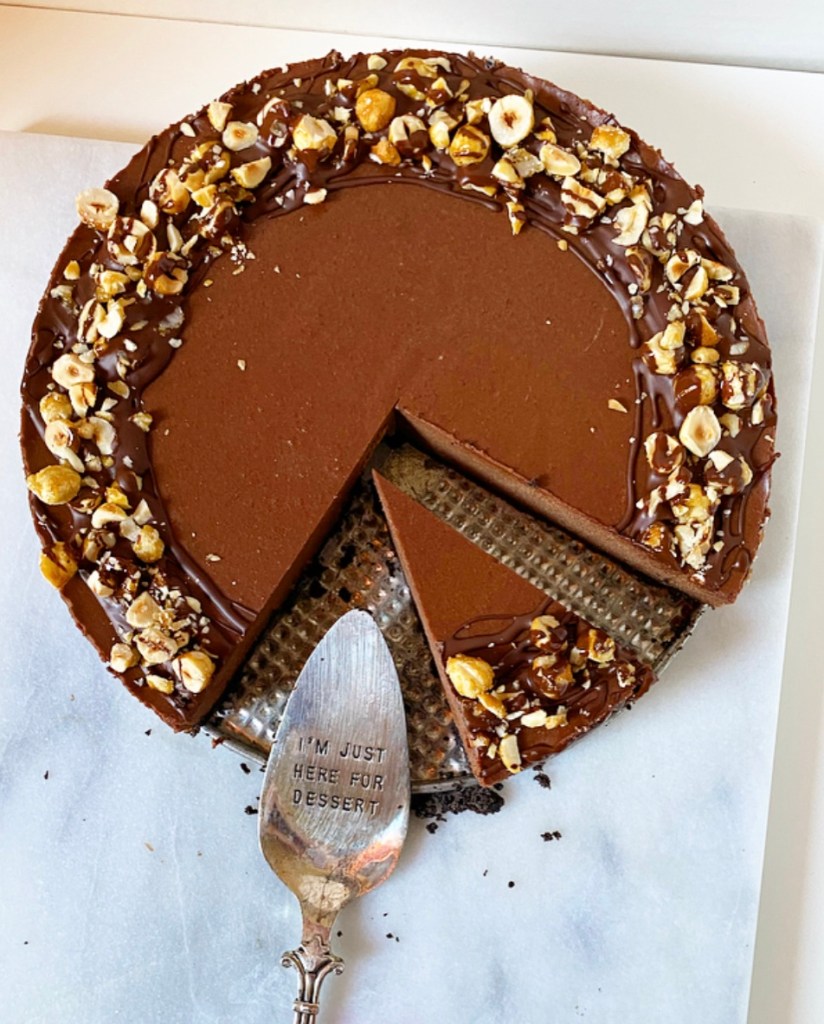
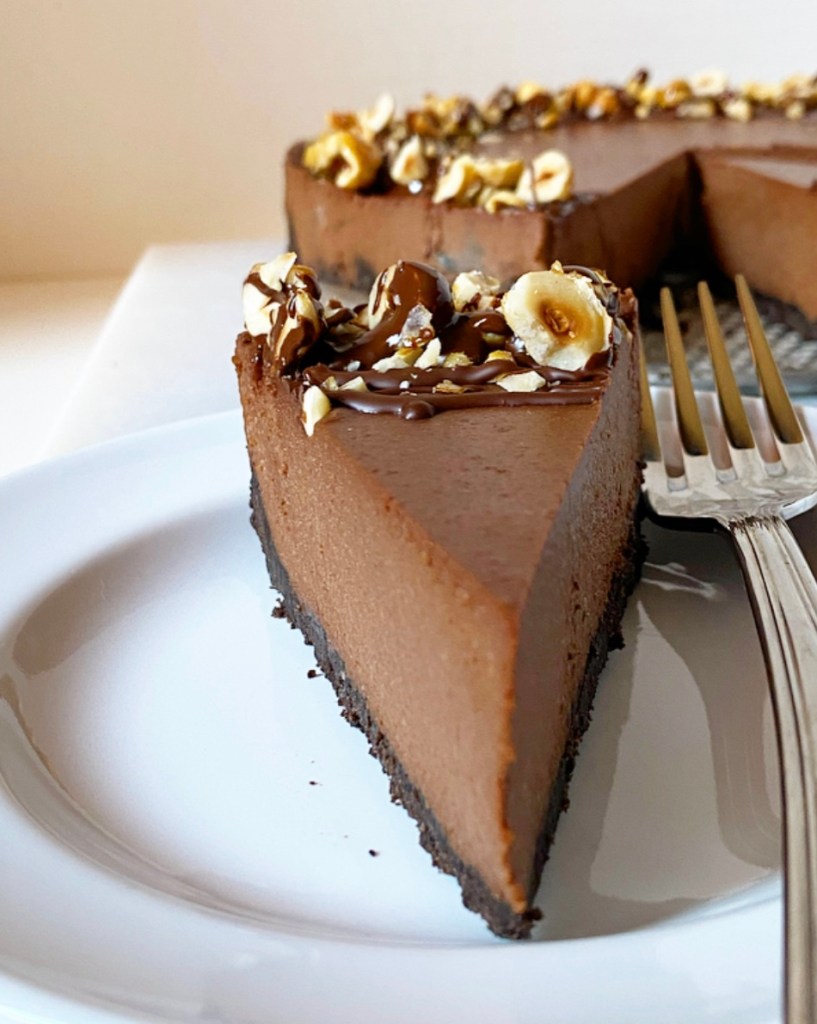
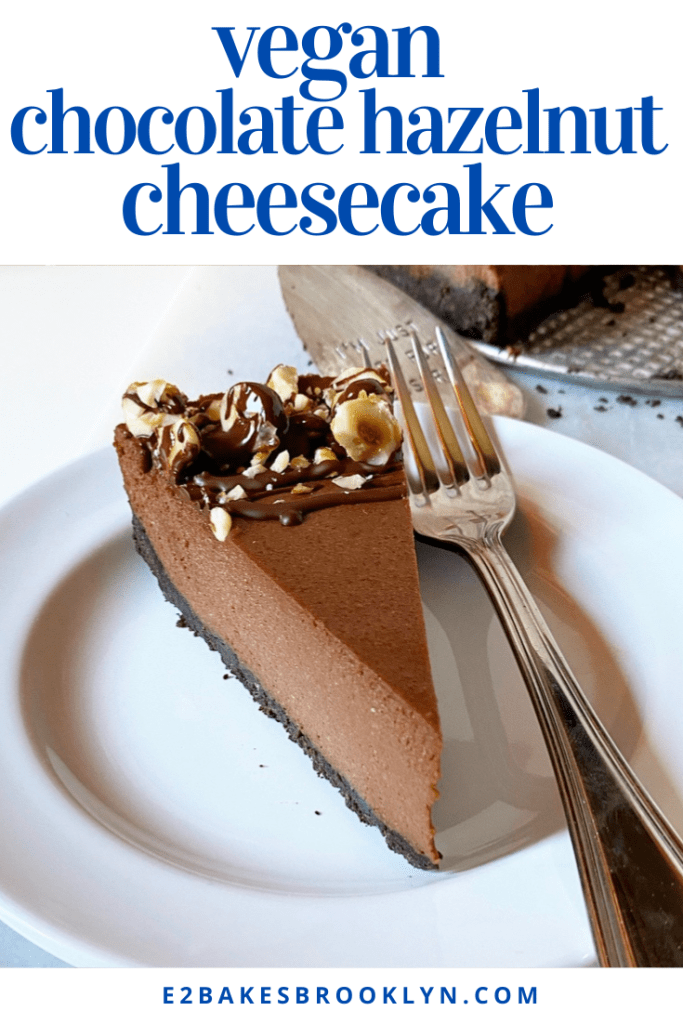
Ahem…the batter is then poured over an Oreo crust—yes, Oreos are vegan!—and chilled until firm. Then it’s released from the springform and finished off with some Homemade Chocolate Shell and easy candied hazelnuts before being sliced and served. You can use a plate and fork if you’re fancy (or taking pictures) or just eat ice cold slices with your fingers like a wild animal, as I did.
I’m pretty sure that’s what hot girl summer is all about.

Vegan Chocolate Hazelnut Cheesecake
makes one 9-inch cheesecake
Filling:
1 cup whole raw hazelnuts
1 cup whole raw cashews
1 14-ounce can coconut cream (not cream of coconut)
4 tablespoons maple syrup
1 1/2 teaspoons pure vanilla extract
1/4 teaspoon Kosher or sea salt
6 tablespoons coconut oil (preferably refined), melted and cooled
8 ounces dark chocolate, melted
Crust:
24 Oreos (or other chocolate sandwich cookies)
5 tablespoons coconut oil or melted vegan butter
Candied Hazelnut Garnish:
1/3 cup whole raw hazelnuts
3 teaspoons granulated sugar
Homemade Chocolate Shell
The night before you want to make the cheesecake, toast and peel the hazelnuts. Place hazelnuts in a dry skillet over medium heat. Stir frequently until fragrant, 7-10 minutes. Immediately transfer hazelnuts to a clean, dry hand towel. Fold towel around the hazelnuts and then rub the towel with the palm of your hand. This will allow the hazelnut skins to loosen. This step does not have to be done perfectly.
Place peeled hazelnuts in a 3-4 cup container that has a lid. Add cashews. Cover with water. Refrigerate for 4-12 hours.
Lightly grease a 9-inch springform pan with coconut oil.
Make the crust. Place Oreos in a high-powered blender and blitz until they are crumbs. Add coconut oil or melted vegan butter, and pulse until the mixture can be pinched together. Transfer crust mixture to prepared pan, and press it to the edges to form an even layer. Refrigerate for 15 minutes to set.
Very carefully wipe it out the blender with a paper towel.
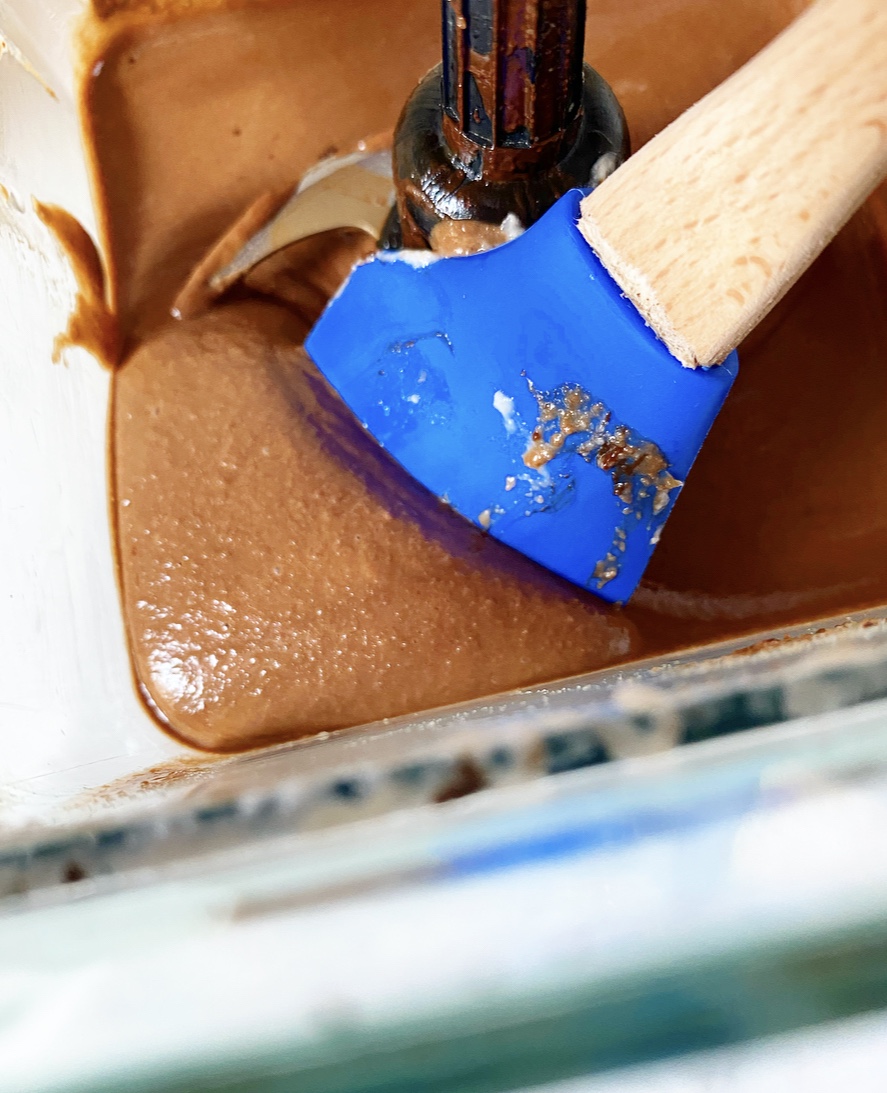
Make the filling. Drain soaked hazelnuts and cashews and place them in the blender. Add half of the coconut cream (~2/3 cup), maple syrup, vanilla, and salt. Process until the mixture is smooth. Add remaining coconut cream & coconut oil, followed by melted chocolate. Continue processing until everything is fully combined and smooth.
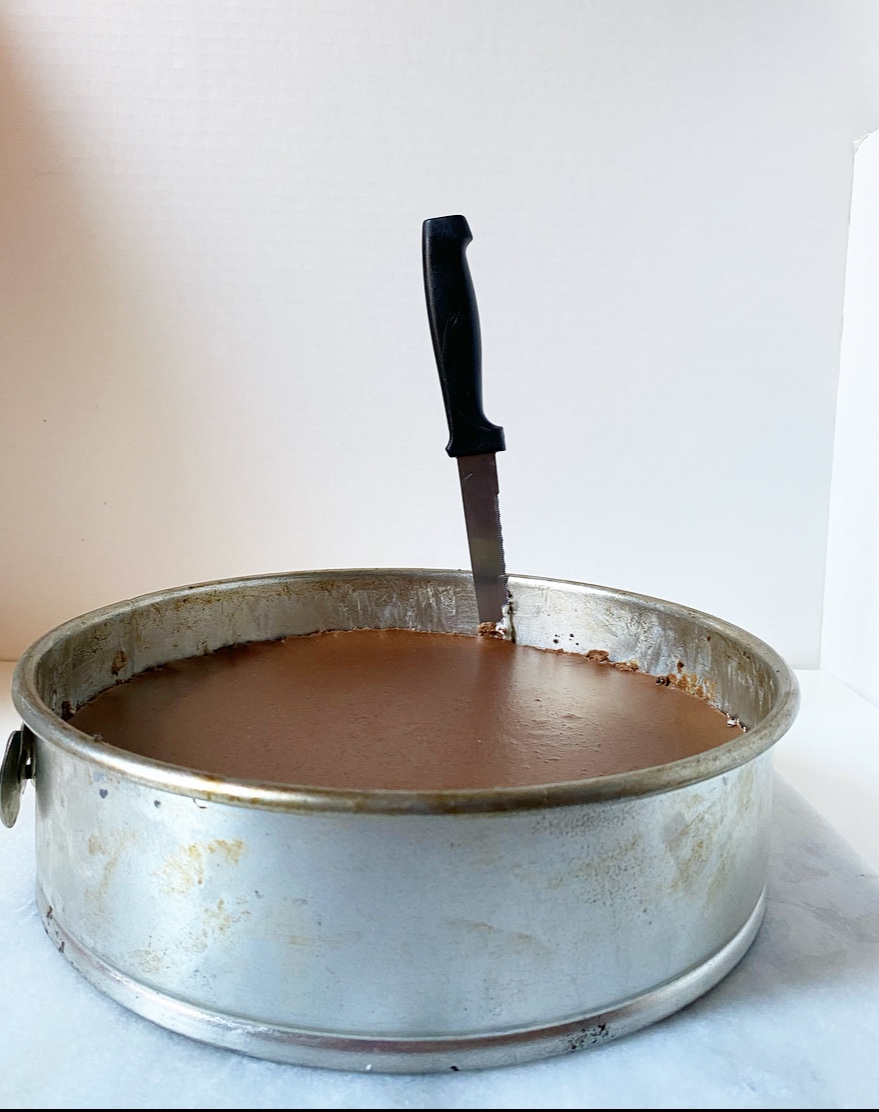
Pour filling mixture over crust and smooth with an offset spatula. Refrigerate for at least 3 hours (or freeze for 1 hour).
Make the candied hazelnut garnish. Line a plate with parchment and set aside. Place hazelnuts in a dry skillet over medium-low heat. Toast for 2-3 minutes, stirring frequently, until fragrant and shiny. Add sugar by the teaspoon, stirring until it dissolves (it may smoke up a bit). When all sugar has dissolved, remove hazelnuts to prepared plate. Let cool completely. Place on a cutting board and give them a rough chop with a large, sharp chef’s knife.
Run a thin, flexible knife around the edge of the pan. Release the cheesecake from the springform pan, and allow it to sit at room temperature for 10 minutes. Drizzle with chocolate shell, then immediately scatter on the candied hazelnuts. Slice with a large, sharp chef’s knife, wiping the blade clean between cuts. Serve.
Leftovers will keep covered in the refrigerator for a few days. Filling may slump slightly in very hot weather.


 When I posted
 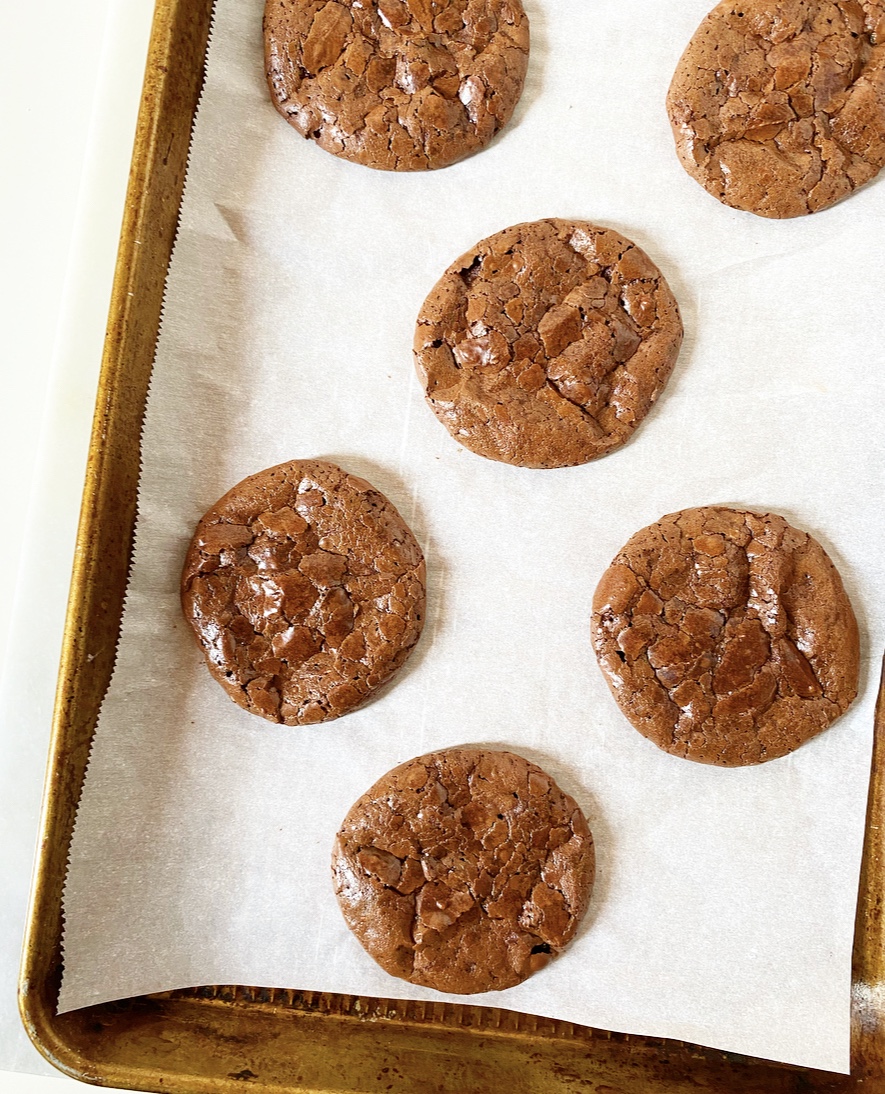 These cookies are on the sweeter side (confectioner’s sugar provides a lot of the structure), so I added a teaspoon of granulated espresso to the recipe to keep them from being cloying with ice cream. I also cut the size of the cookies in half for a dozen medium cookies instead of six large ones.
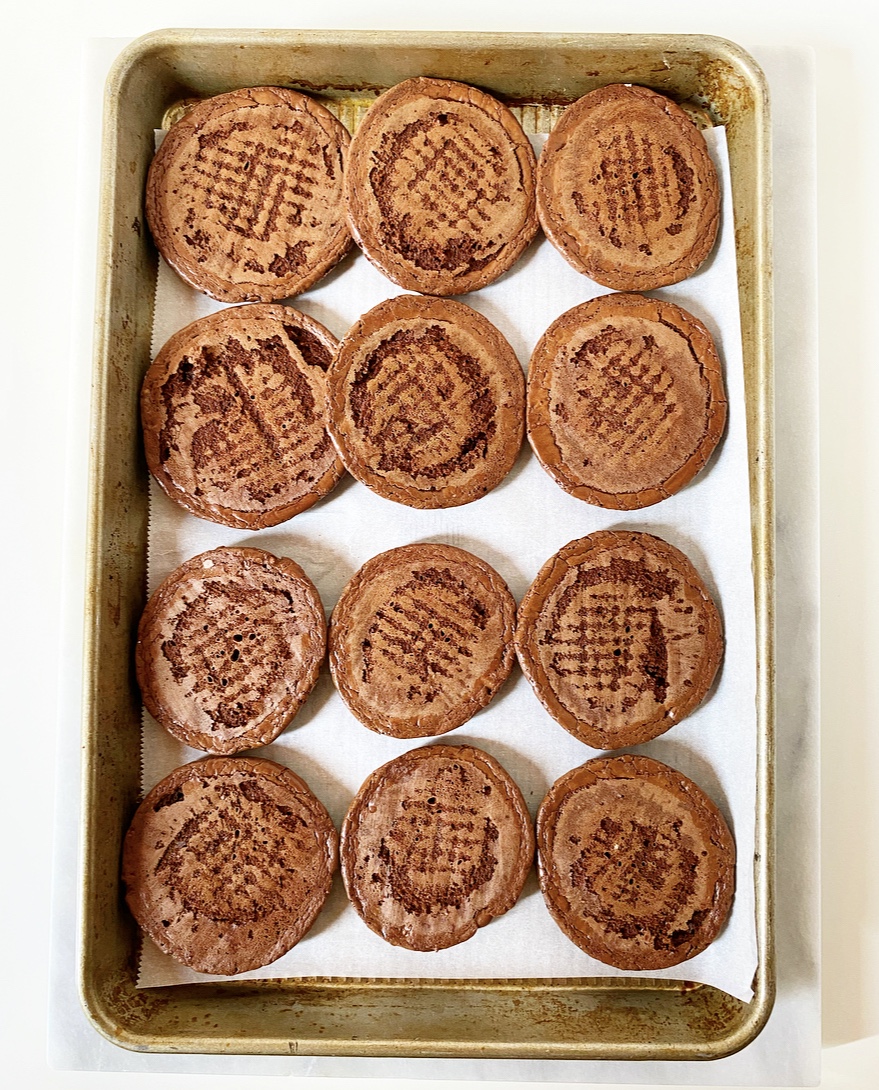 Next up, you’ll need to freeze the cookies for about 30 minutes. This helps the ice cream to stay on the solid side and the cookies from getting too soft during assembly. This step is not strictly necessary, but it is good insurance against ice cream sandwich frustration.
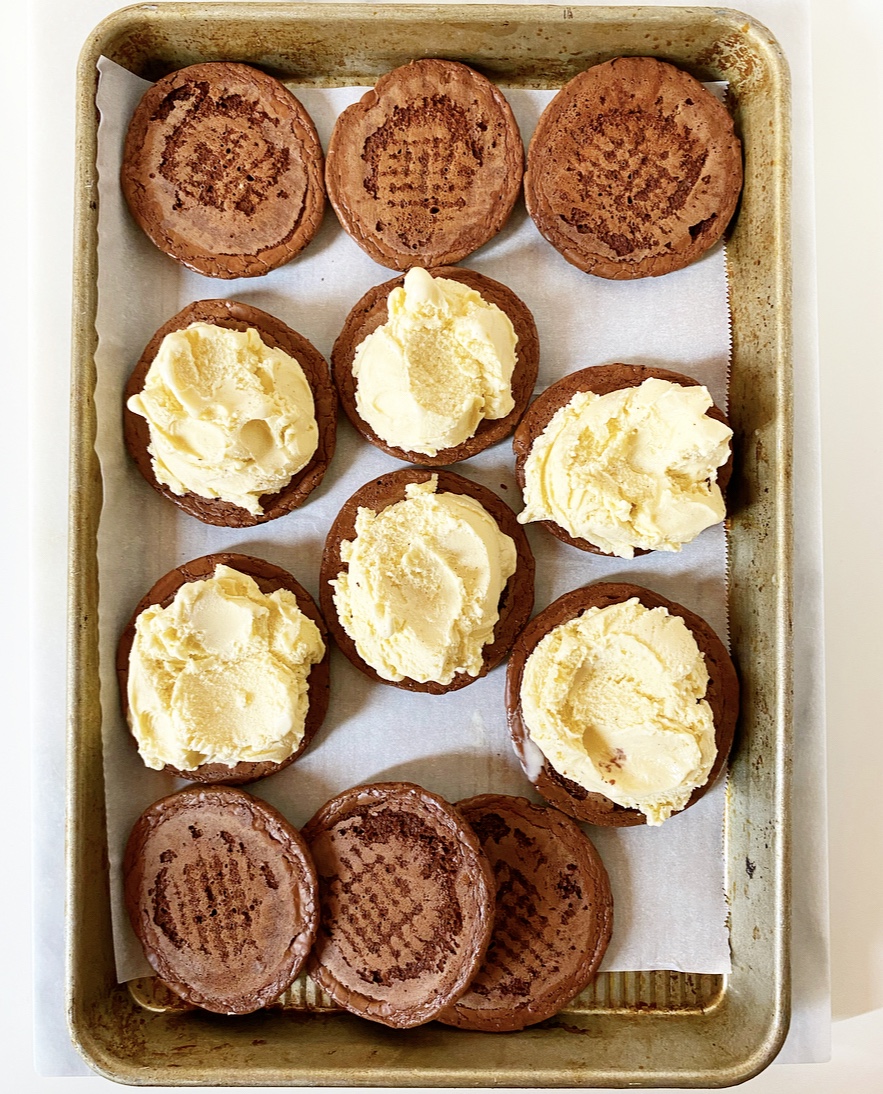
 Regarding ice cream, use whatever flavor you want. I went with a mid-level nationwide brand’s vanilla here and it was fine—good, even—but I will go higher quality next time. Oh, and I’ll probably go with mint chocolate chip because it’s my favorite. The point is to use what you love and not settle for less. Cookies are an important part of ice cream sandwiches, but ice cream is the *most* important part.
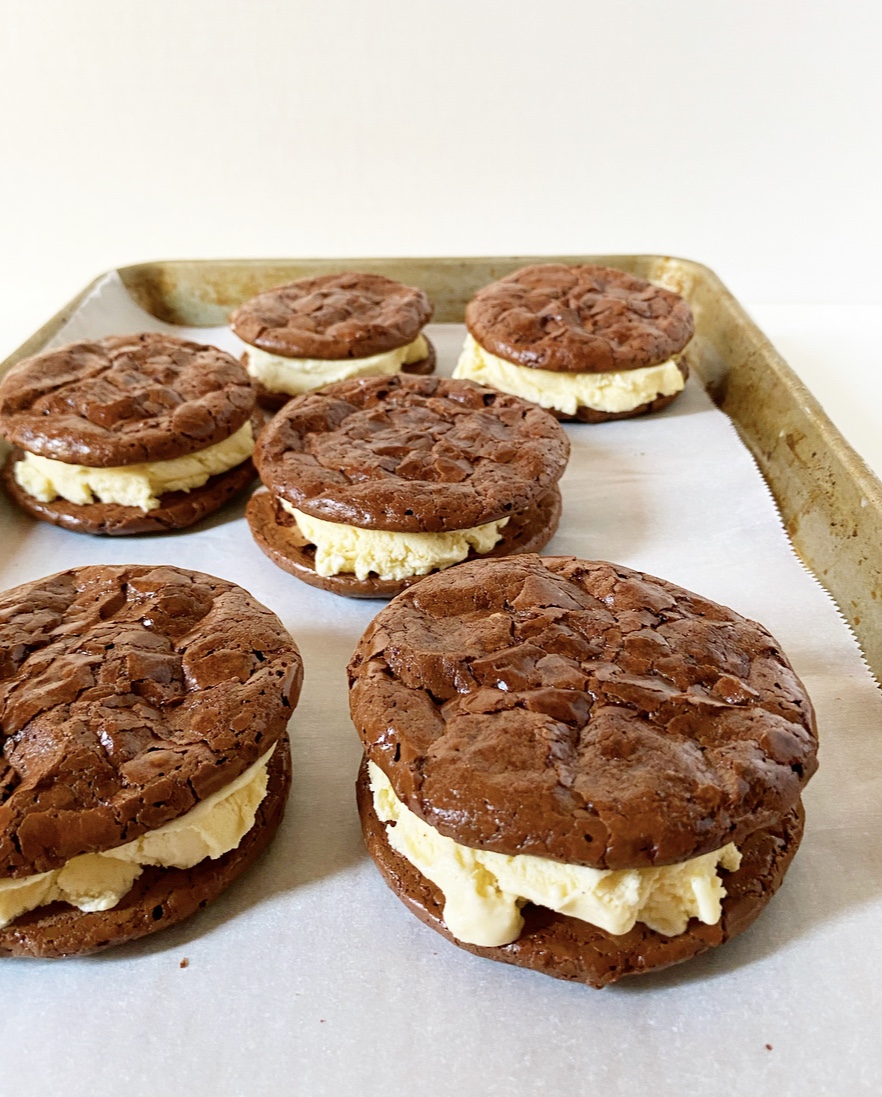
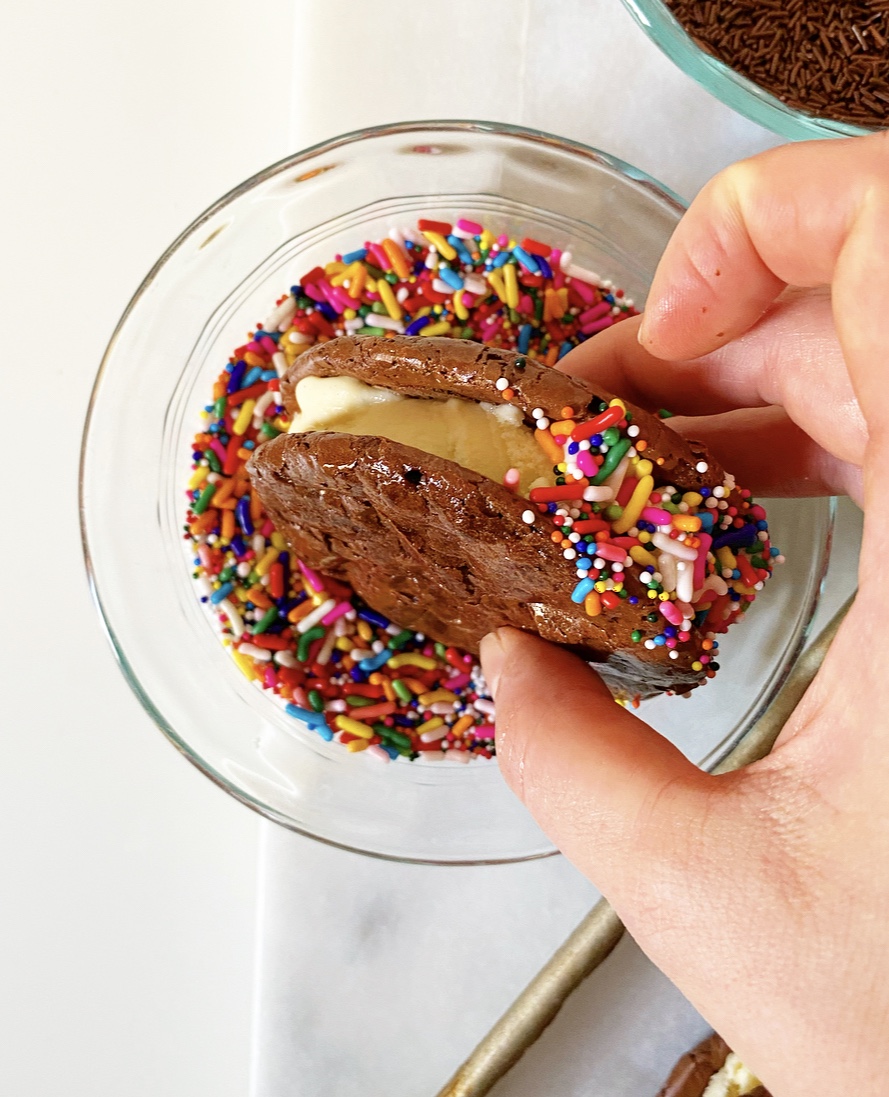
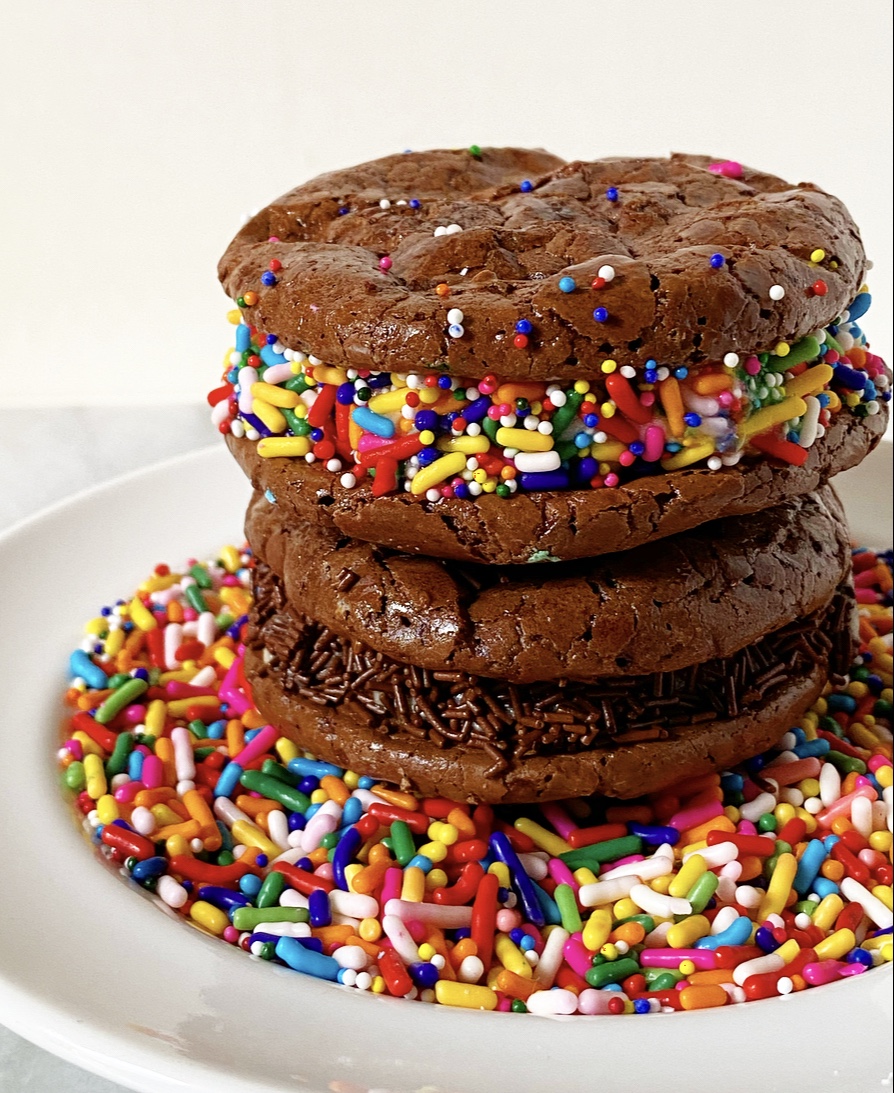
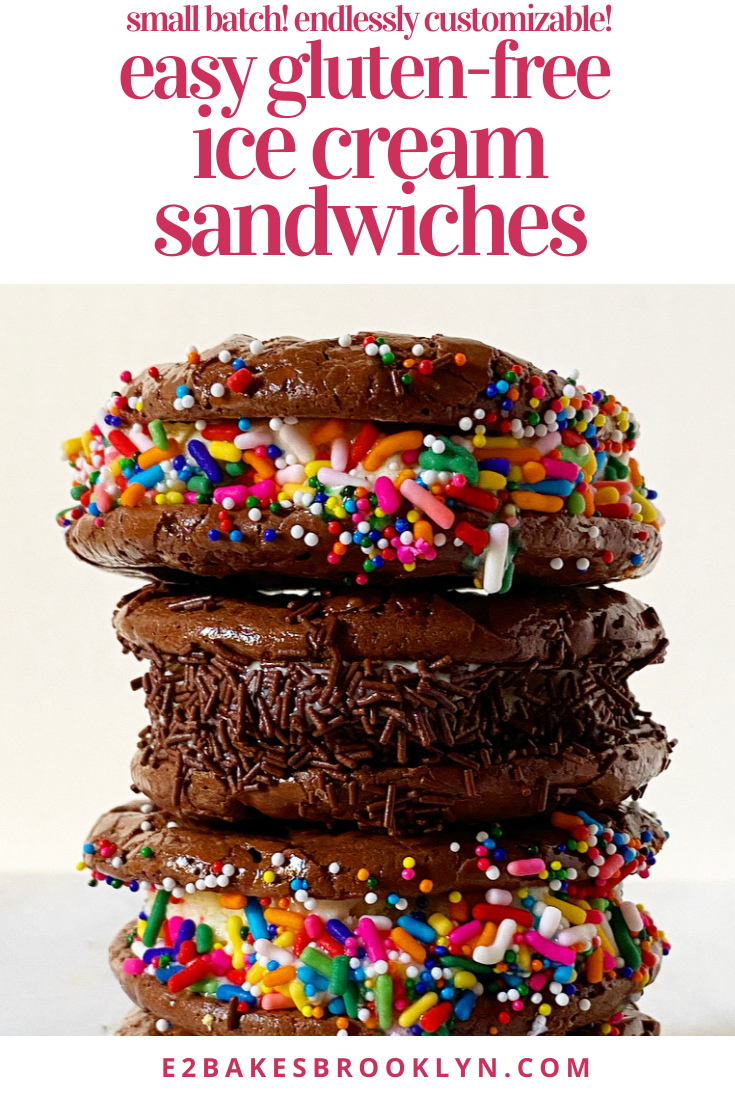
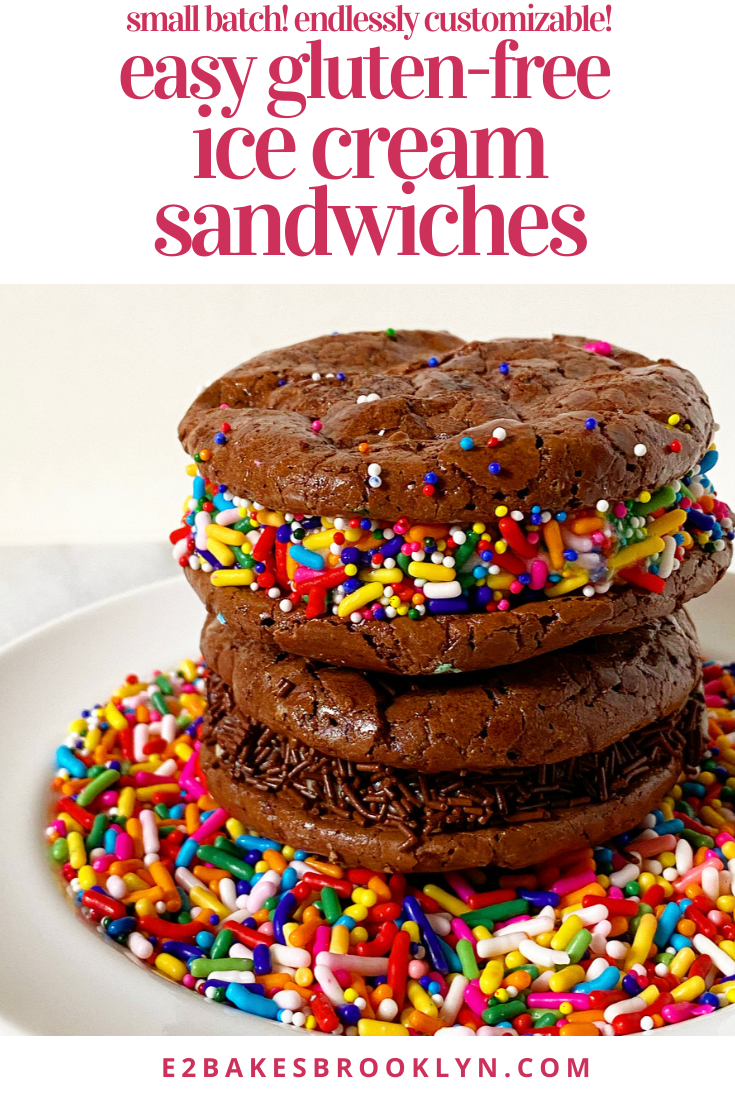
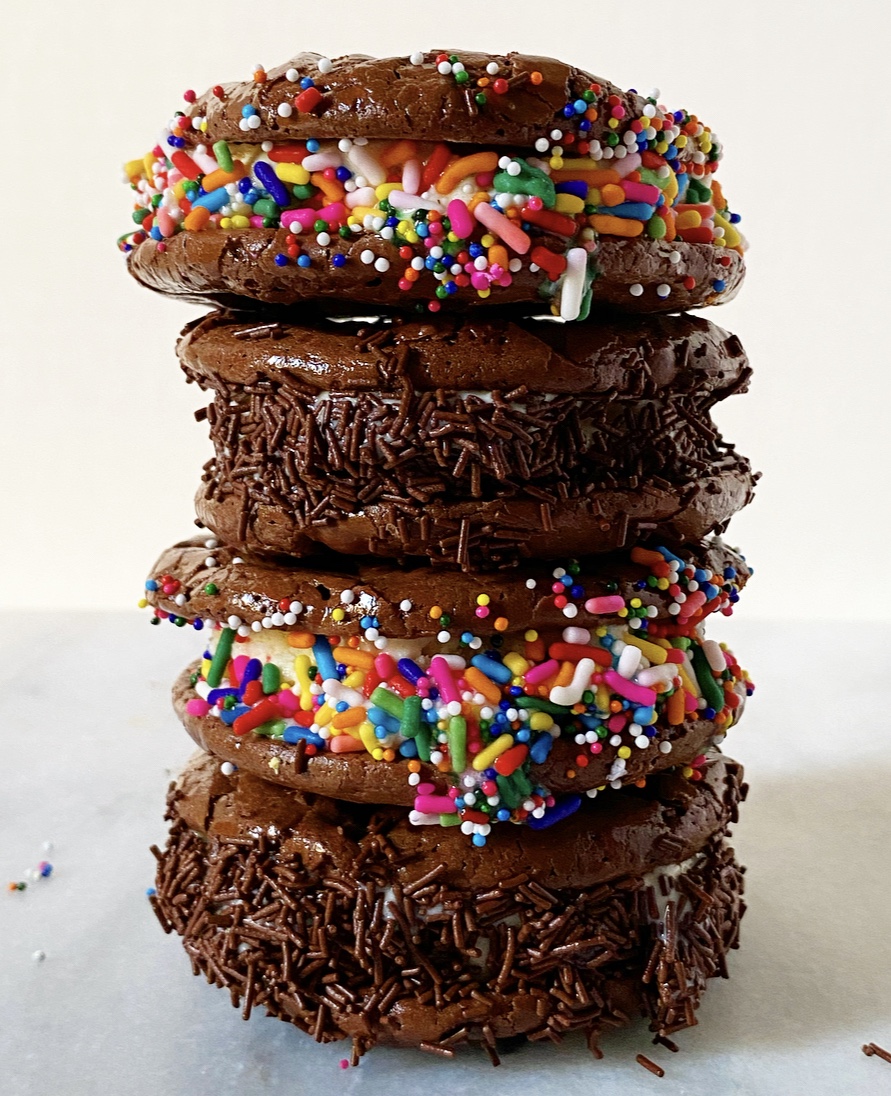
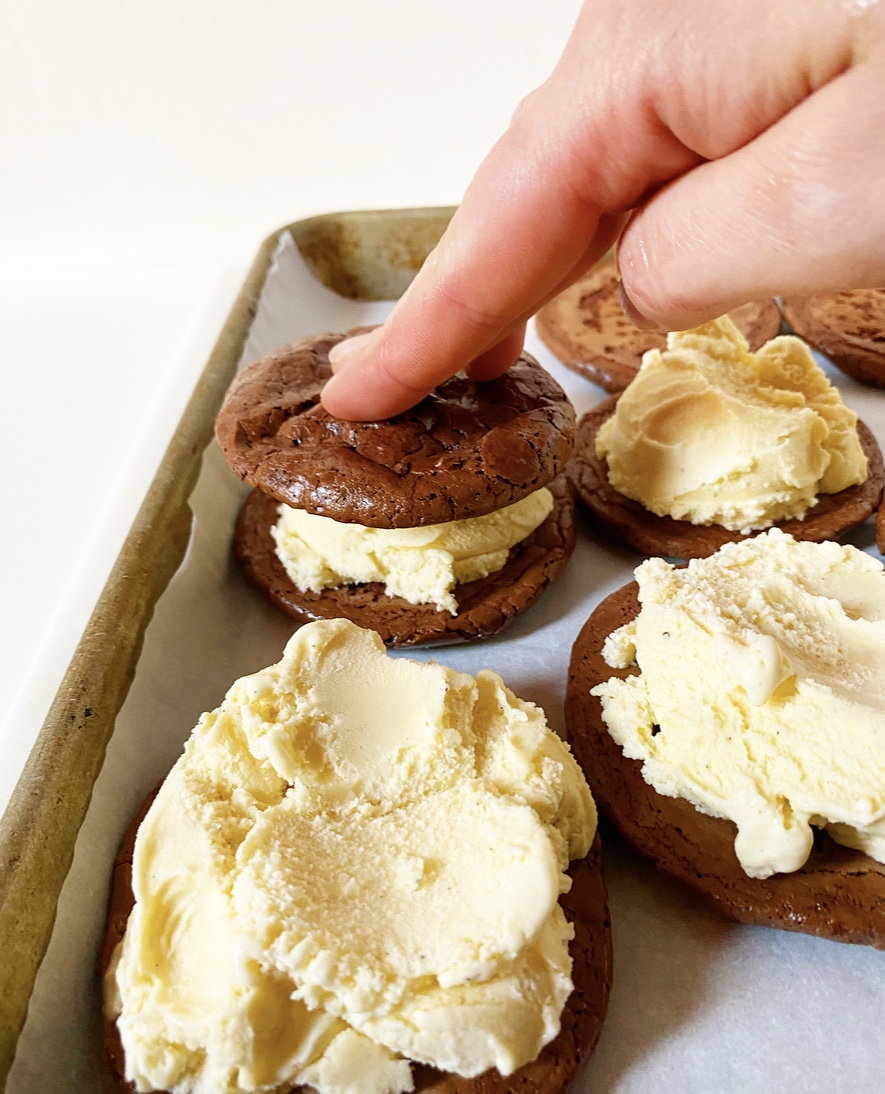
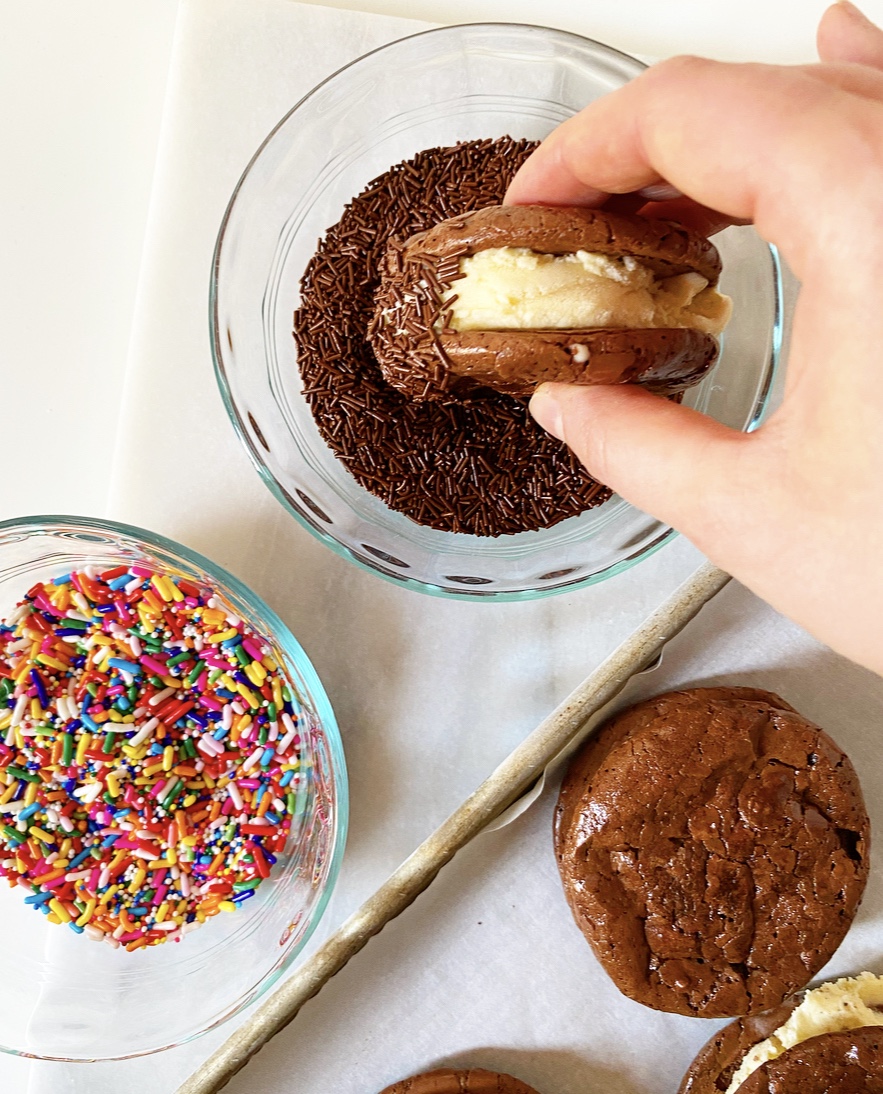 Freeze the sandwiches before rolling them in your sprinkles of choice or chopped nuts or mini chocolate chips or candy bar pieces or crushed Oreos. Again, use what you love and don’t settle for less. <—good life advice?
 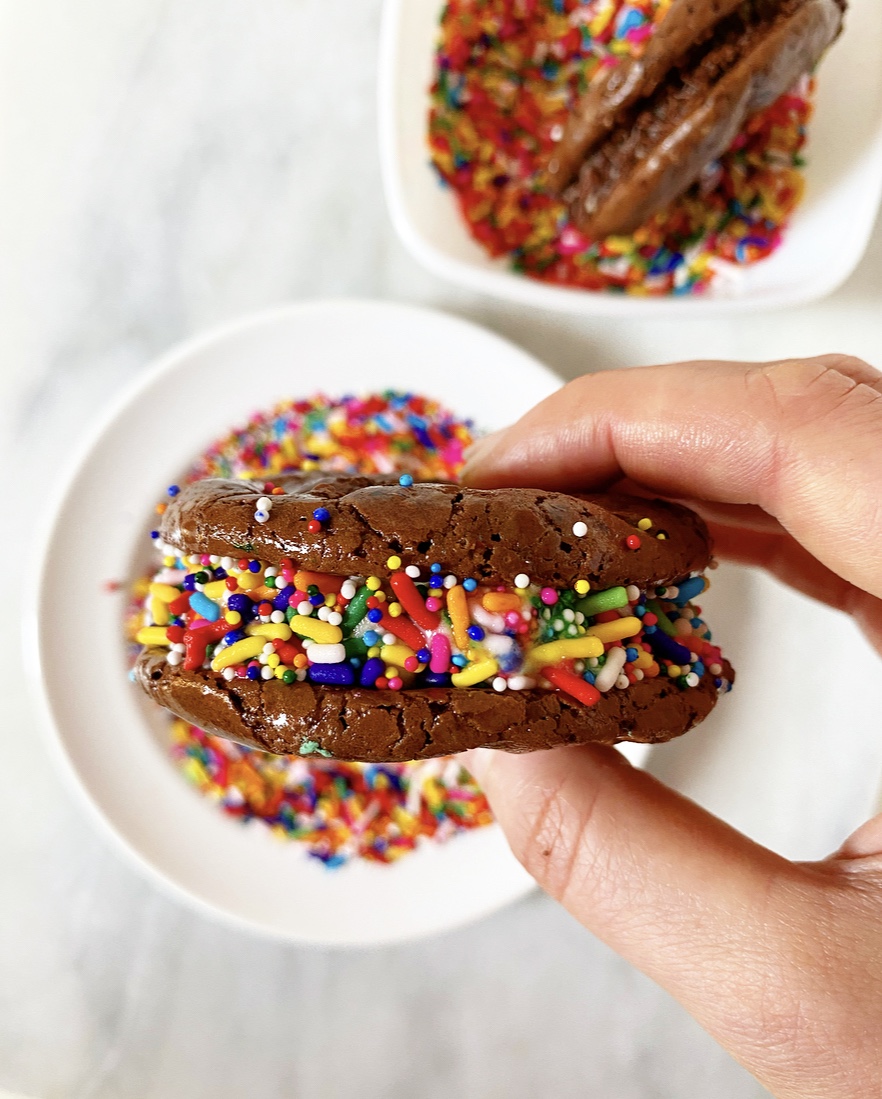 The last step is to freeze your ice cream sandwiches again for several hours or up to a day before digging in. Yes, you can eat them right after assembly, but the ice cream squidges out the sides and then you’re just eating two cookies with a translucent smear of ice cream and a weird smattering of sprinkles and then licking ice cream off a salad plate like a wild animal.
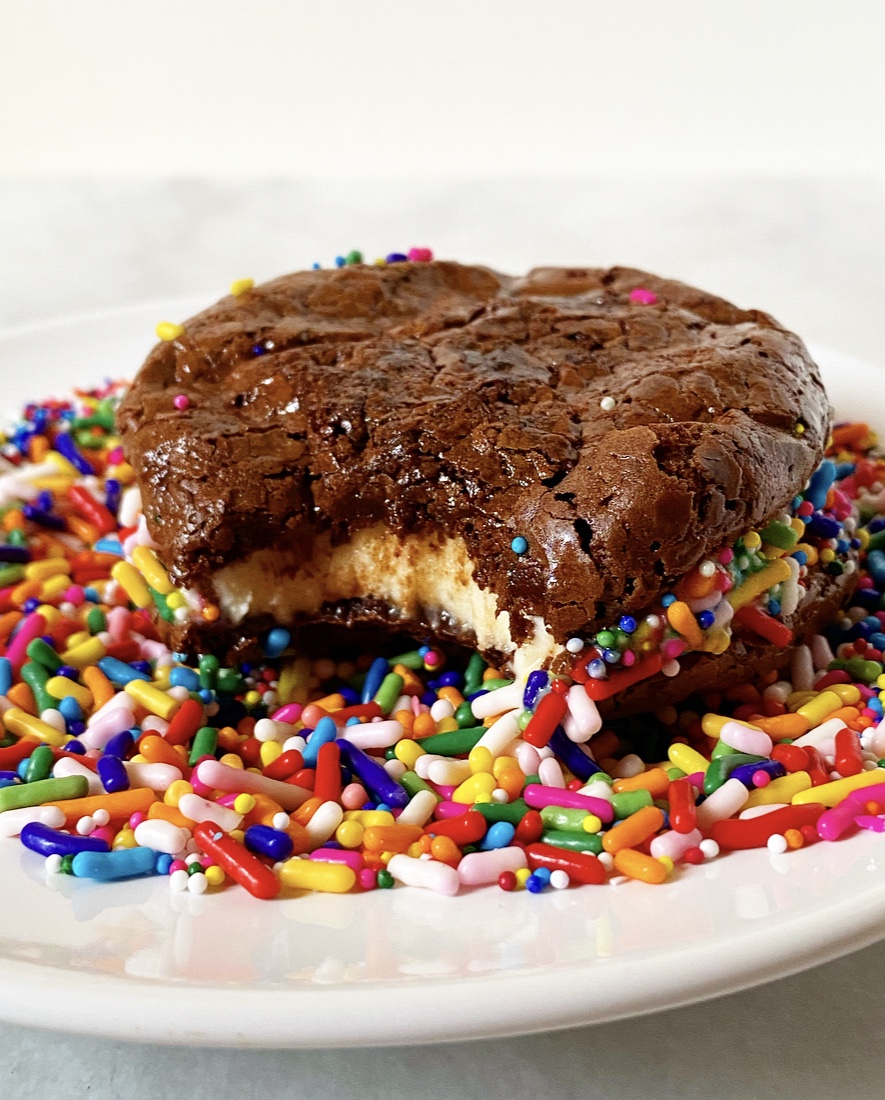 Anyway, freezing the completed ice cream sandwiches for a few hours allows the ice cream to adhere to the cookies so that the sandwiches become single entities. That’s something I really care about with my ice cream sandwiches. Considering how much I loathe the patriarchy, I sure do love to be able to eat things in a ladylike manner.
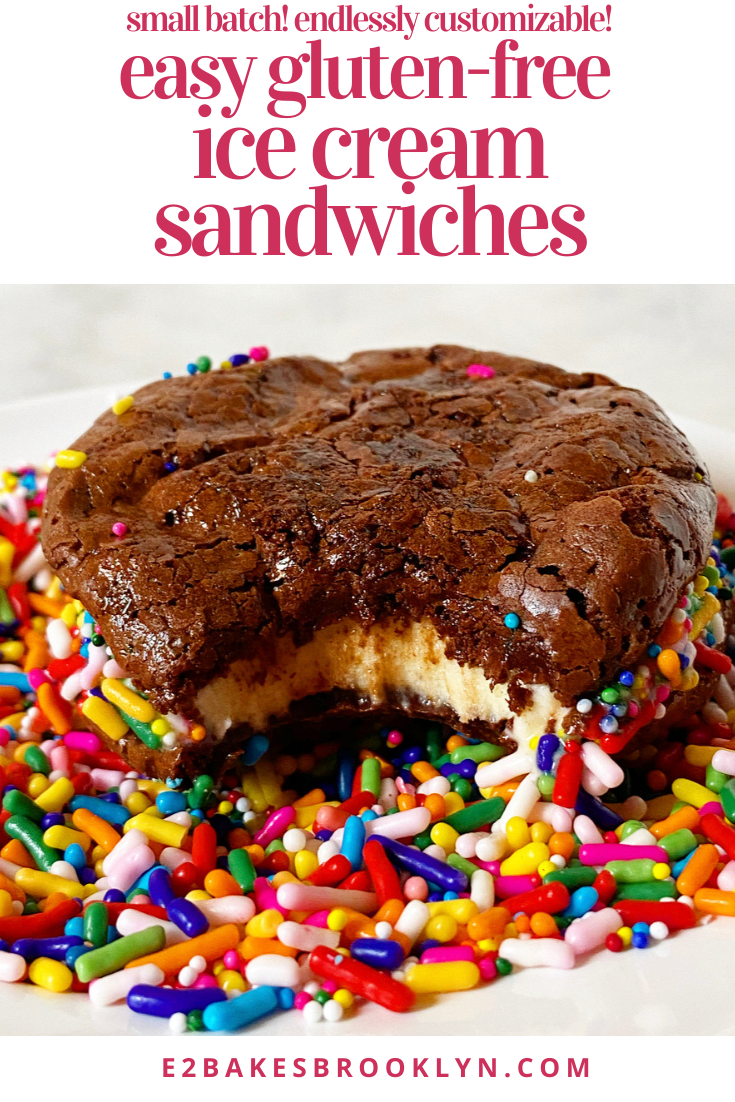
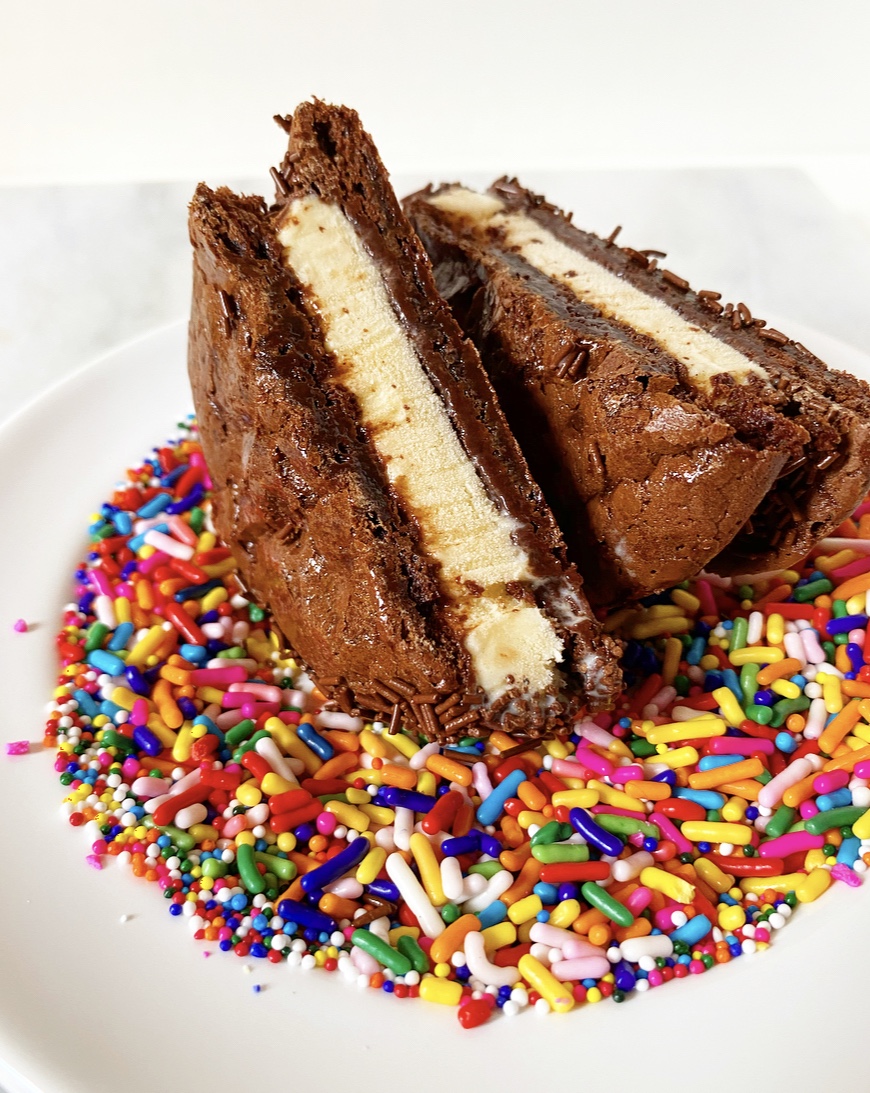 I assure you, they’re worth the lengthy freezer time. The cookies never fully freeze, instead softening a tiny bit and getting extra chewy. And then there’s the ice cream and crunchy sprinkles. Like I said, perfect.