 New York City is not the place to move if you’re a salsa snob.
I should know. I’ve lived here almost nine years and have yet to find a Mexican restaurant whose salsa is not obviously from a jar. The worst experiences have been one that was mostly ketchup and Tabasco, and another that contained basil.*
*Note to Mexican restaurants everywhere: salsa and marinara are not interchangeable.
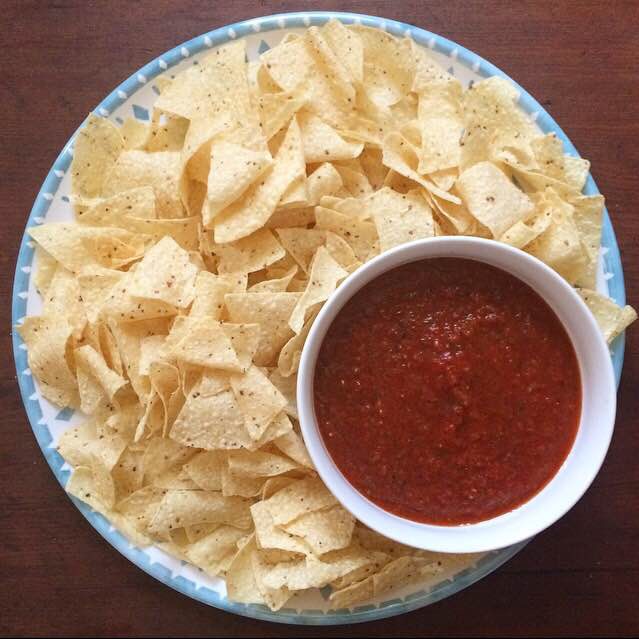
 Luckily for me, I love to cook, so I have not been doomed to only eat subpar salsa for my tenure in NYC. I’ve learned to make several different varieties–my red Restaurant-Style Salsa is the favorite among my friends. I could definitely make that and some tostadas for Cinco de Mayo and have a perfectly good dinner. But lately, I’ve been seeing gorgeous green tomatillos at my favorite vegetable market, and they are just begging to be made into salsa. Being a total salsa fiend, I am happy to oblige.
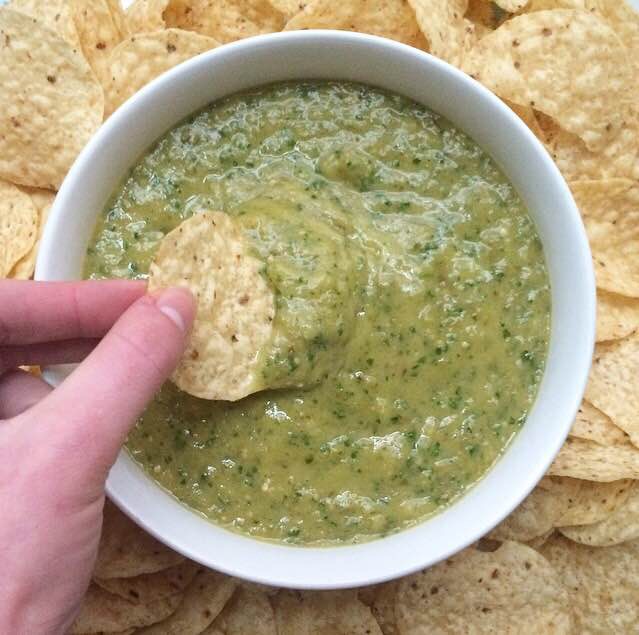
 This Roasted Tomatillo Salsa is my favorite salsa ever. It’s a little sour from the tomatillos (but not overly so) with pops of freshness from the cilantro and lime, and has a rich, smooth texture. Thick and chunky salsa is not my style.
Roasted Tomatillo Salsa takes slightly more work than the Restaurant-Style Salsa, but it’s still a breeze. Most of the 35 minute prep time is just waiting for everything to roast and cool, so it really is a snap.
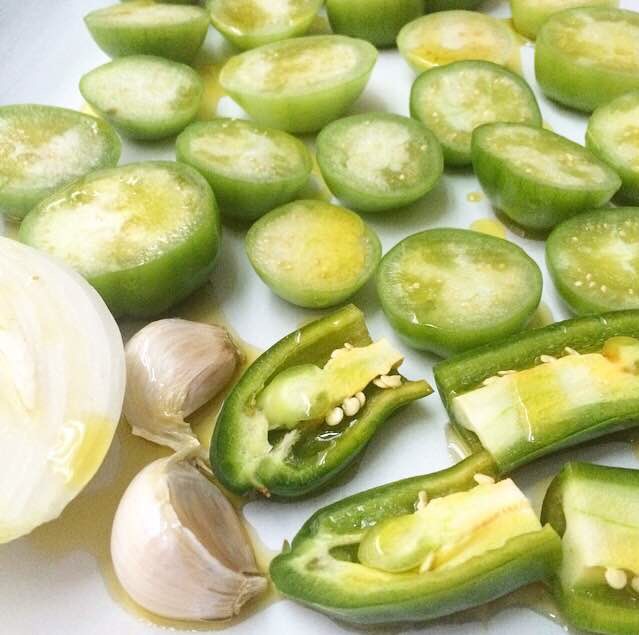
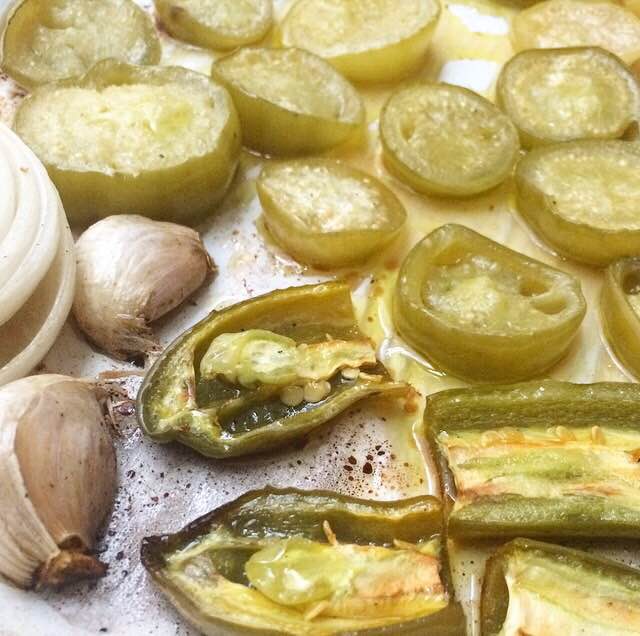
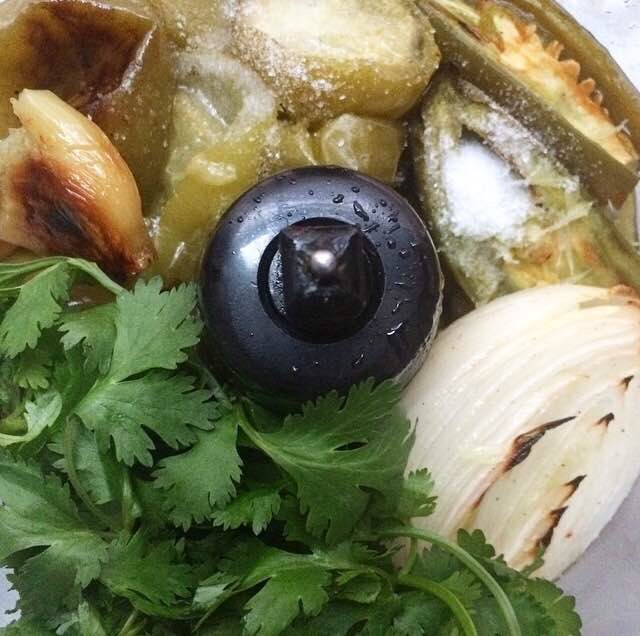 Slice some fresh tomatillos in half and place them on a baking sheet with half an onion, two fresh jalapeños, and a couple of cloves of unpeeled fresh garlic. Drizzle everything with olive oil and roast it in a 425F oven for about twenty minutes. Let the vegetables cool for ten minutes, squeeze the soft garlic from its peels, and blitz everything in a food processor (or high-powered blender) with some fresh cilantro, lime juice, and salt. That’s it! This salsa is hardly any work at all, and is infinitely better than any prepared salsa you can imagine.
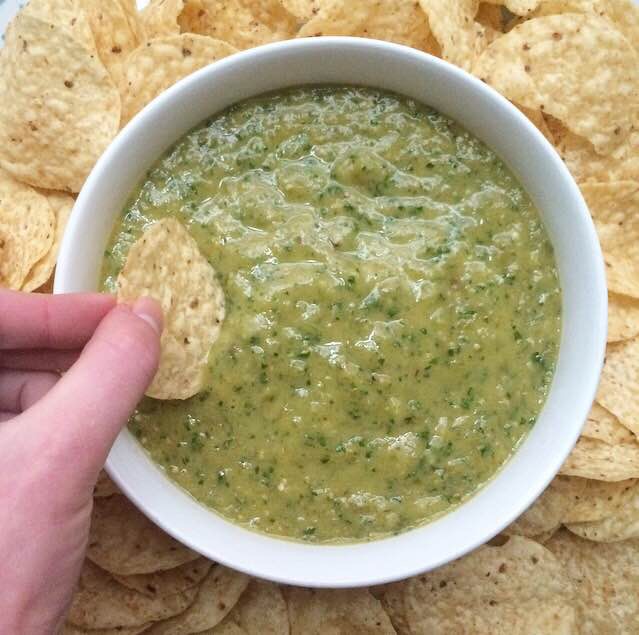
 Serve Roasted Tomatillo Salsa with nachos, quesadillas, tacos, tostadas, or tortilla chips. Use it as the base for an amazing chicken soup! Pour it over chicken enchiladas before they go in the oven. Spoon it over eggs scrambled with tortillas and cheese and have migas for breakfast <– did that yesterday. Highly recommend.
Any way you serve it, this Roasted Tomatillo Salsa will be a new favorite.
 Roasted Tomatillo Salsa
makes about 2 cups
1 1/2 pounds fresh tomatillos,* husked and rinsed
1-2 fresh jalapeño peppers, stems removed
1/2 medium white onion, peeled
2 cloves garlic, not peeled
olive oil, for drizzling
1/3-1/2 cup fresh cilantro, washed
juice of 1 lime
1/2-3/4 teaspoon Kosher or sea salt
Preheat oven to 425F. Line a baking sheet with parchment paper. Set aside.
Slice tomatillos in half. Slice jalapeños in half, and seed if desired. Place on baking sheet along with onion and garlic. Drizzle all vegetables with olive oil. Roast for 15-20 minutes, until starting to brown. Let cool ten minutes.
Squeeze garlic out of its skins. Place roasted vegetables in the bowl of a food processor or high-powered blender. Add cilantro, lime, and salt. Purée until smooth.
Serve immediately, or refrigerate in an airtight container for up to five days.
Note:
Tomatillos and green tomatoes are not interchangeable.


 Let’s take a sugar break. It’s been a while since I’ve posted anything on the real food side of things, and I’ve honestly overdone it with all the treats lately. But who can blame me? There were
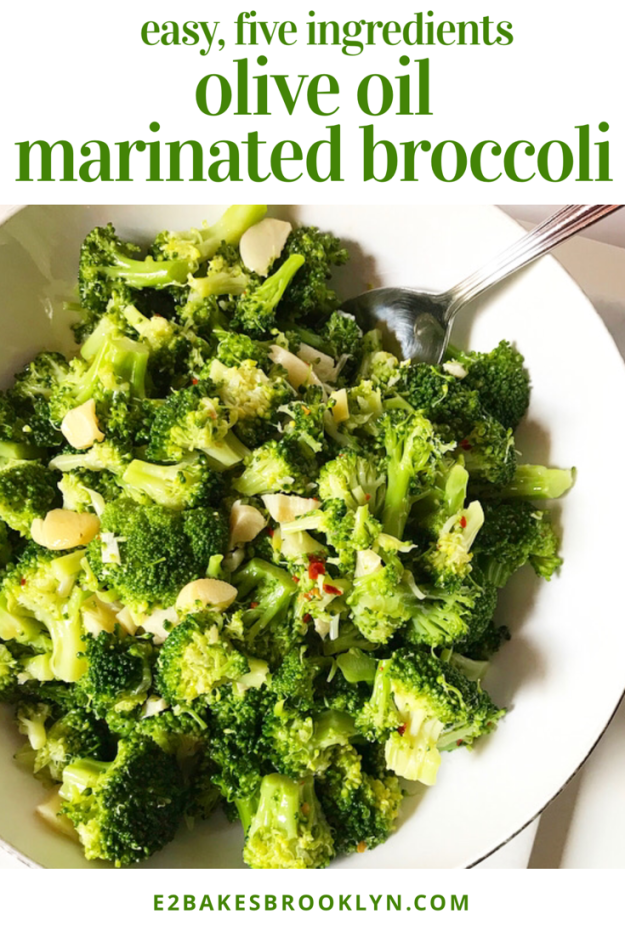
 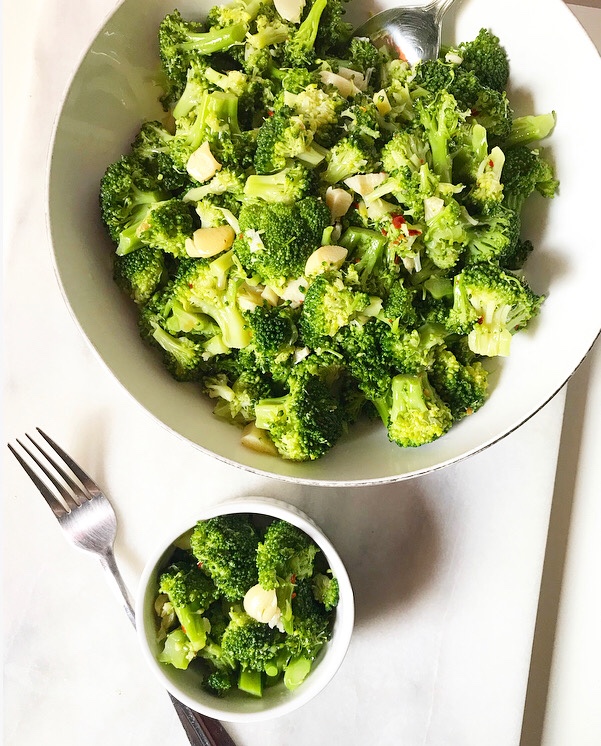 So, let’s eat some broccoli. Really good, crunchy broccoli coated in a salty, spicy, garlicky marinade.
  Yes, I get psyched up over vegetables. His dad also made the best peach pie I’ve ever had, but that’s a story for another day.
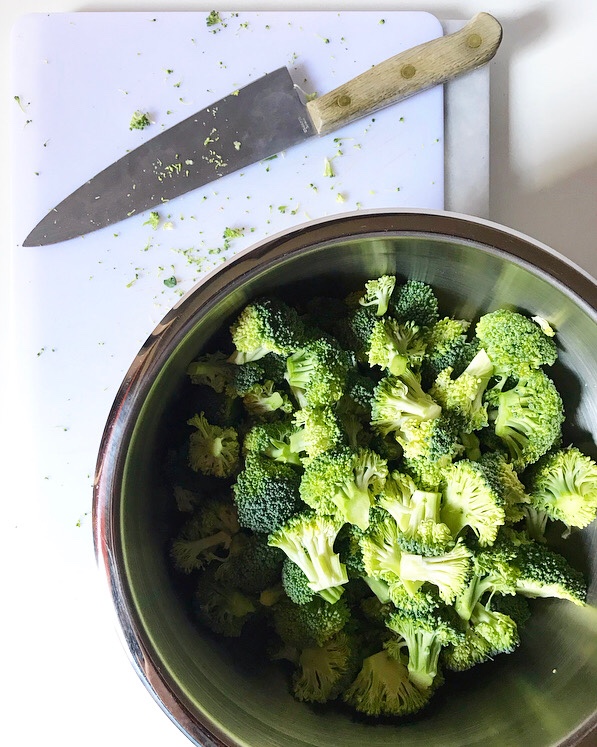
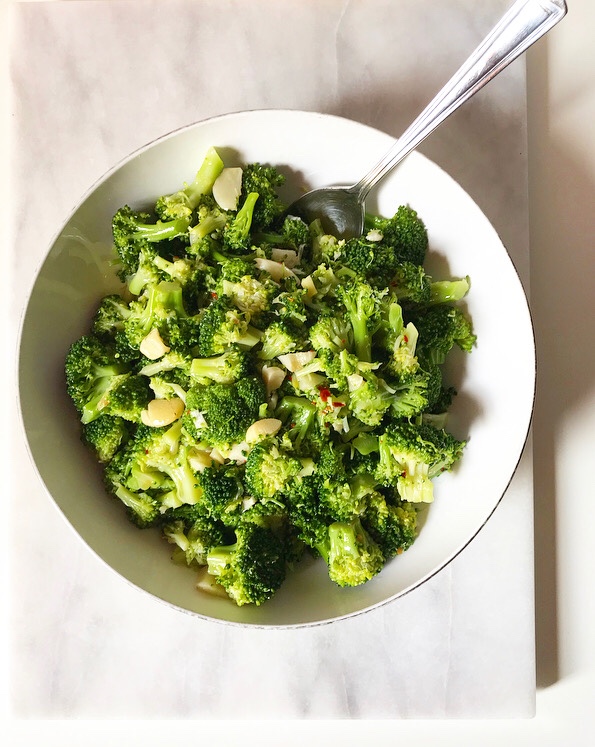
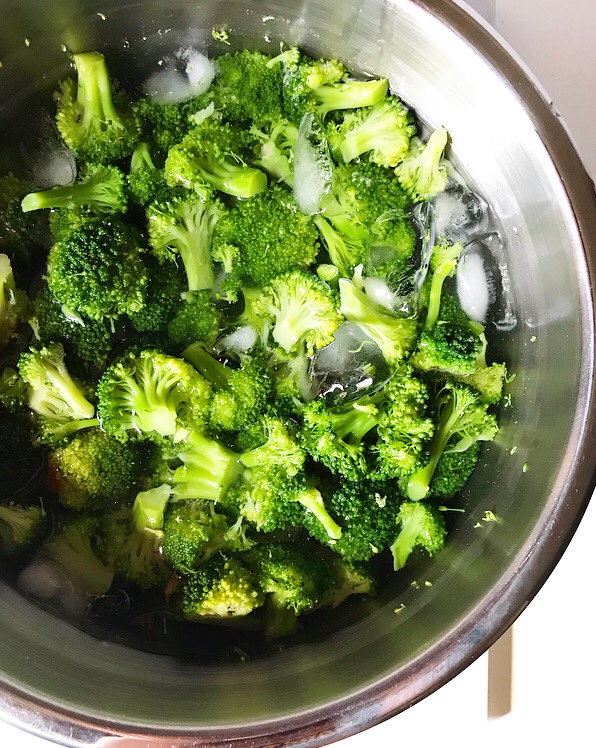 This broccoli is super easy and so good it’s ridiculous. There’s hardly any cooking involved. All you have to do is warm up some olive oil with garlic, salt, and red pepper flakes, and then pour it over a ton of broccoli florets that have barely been cooked.
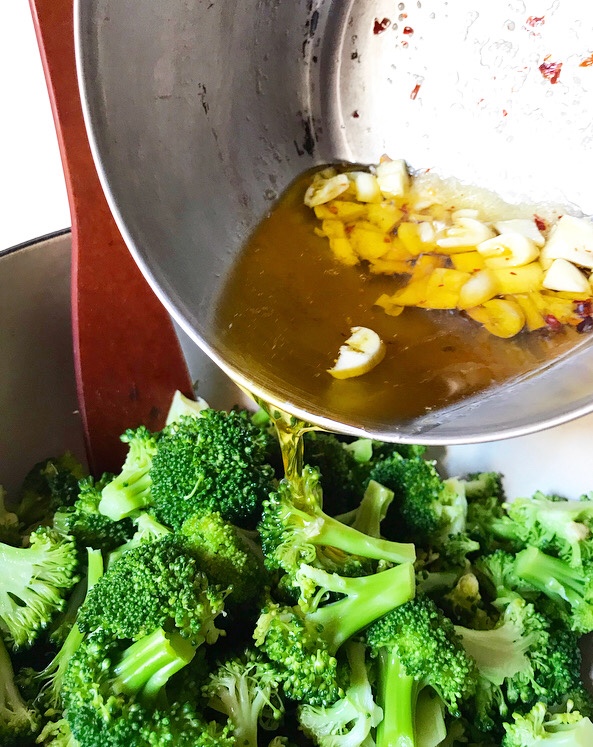
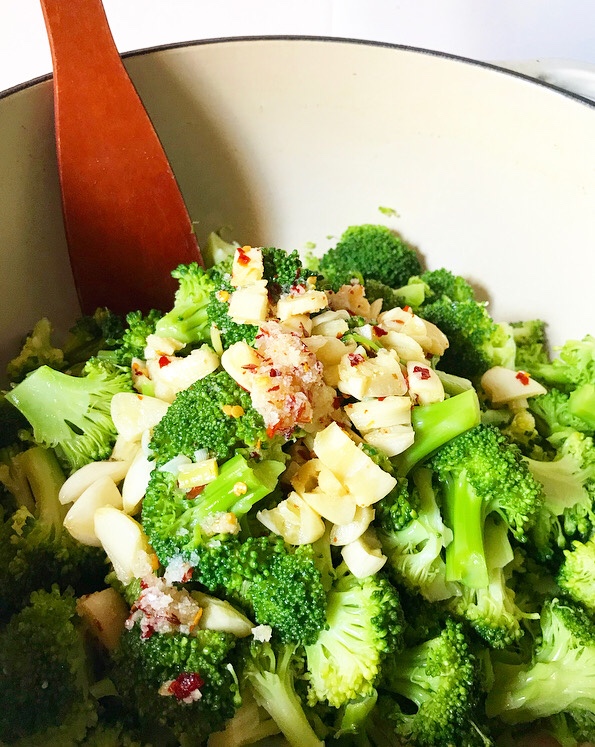
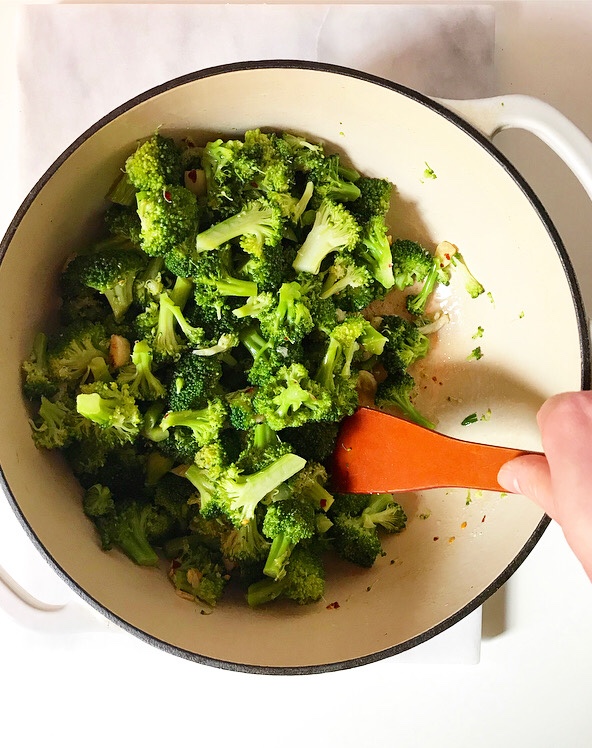 Toss it all together, cover it in plastic wrap, and let it sit for an hour or two at room temperature. That’s it–barely even a recipe. The broccoli softens just slightly and it soaks in all the salty, spicy goodness from the marinade.
 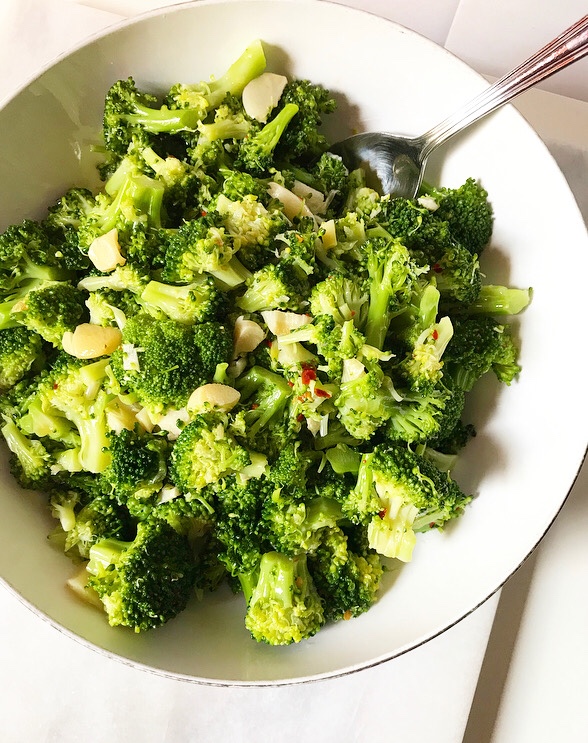 This recipe makes a lot. Like 8-10 servings a lot. But that means your vegetable side is done for at least two days, depending on how many you are feeding. Also, like soup and stew, the longer this sits, the better it will be. It’s great on day one, but the leftovers are *amazing.* The broccoli pictured only sat for two hours, and it was good, but when I went back for more later that night it was truly fantastic.
 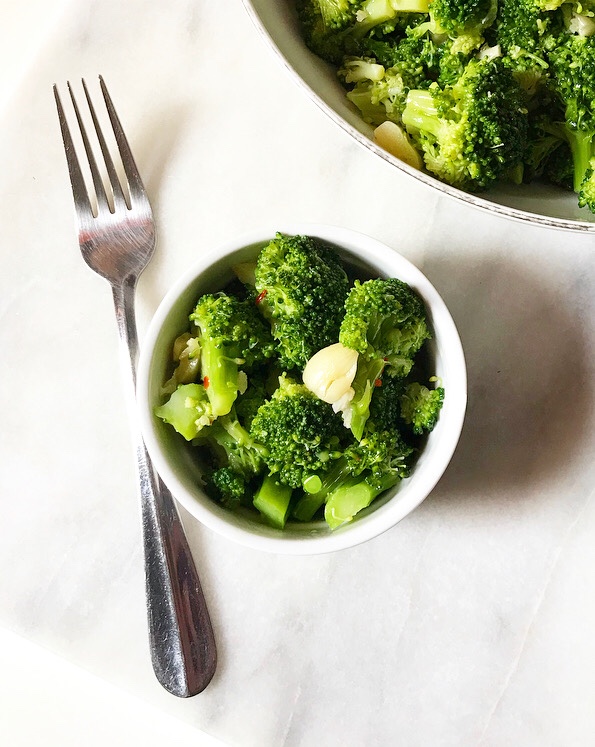 Marinated broccoli is great with chicken, pork, fish, beef, tofu,
  Olive Oil Marinated Broccoli is a great side for weeknight dinners, and is great in packed lunches. I’ve served it at casual dinner parties and am planning to bring it to picnics in Prospect Park all summer long! Add this to your list of easy side dishes–it’ll be a favorite in no time!


 Living far away from home means that when I get a call from friends or family, I “play the hits,” if you will. I tell them all about the big things going on in my life–a new apartment, the awesome kid I take care of, the brown and white spotted schnauzer I saw yesterday (I really love a schnauzer). But in all the fuss of sharing my life and hearing about theirs, I can let amazing things go by the wayside because they might seem mundane if the person on the other end of the phone call is not directly involved.
 Take for example this Everyday Cassoulet. It’s rich and delicious and one of my favorite meals to make at home, but at the end of the day it’s *just* dinner. Everybody eats dinner. It’s not really a “call your mom down in Texas to tell her about it” kind of thing.
 We all have our go-to meals though. My best friend, Emily, asked me a few months ago what I had been making for dinner lately, and this was the first thing I told her about. Mind you, I’ve been making this for five years. When I found the original recipe, I still lived in Manhattan! I was still working office jobs! The only thing I had ever baked from scratch were Ina Garten’s brownies! And while all of those things have changed, my go-to dinner has not.
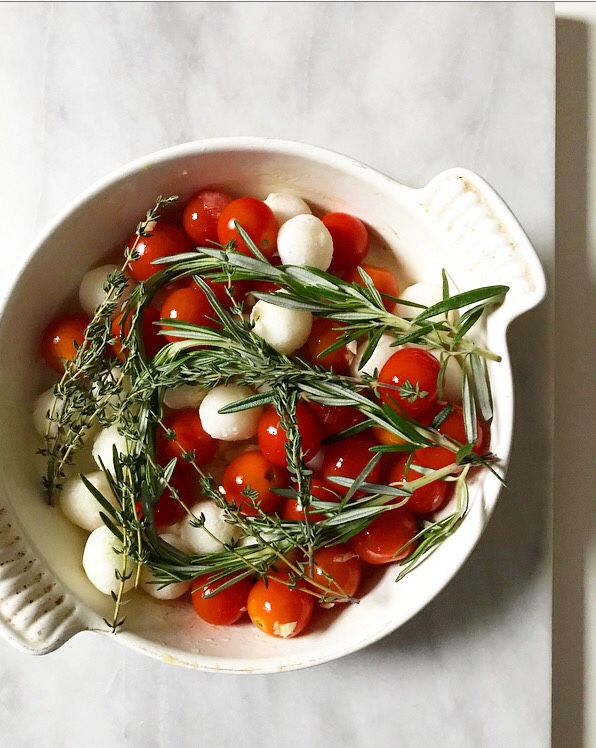
 Some of you may be wondering: what is cassoulet? It’s a slow-cooked meat and white bean stew from the south of France. Cassoulet is traditionally baked in a dish called a cassole. The fanciest versions contain things like goose, lamb, and duck confit. But this is a weeknight version of the classic French dish, so it’s been pared down. Don’t worry though, it’s still every bit as good and comforting as the real deal!
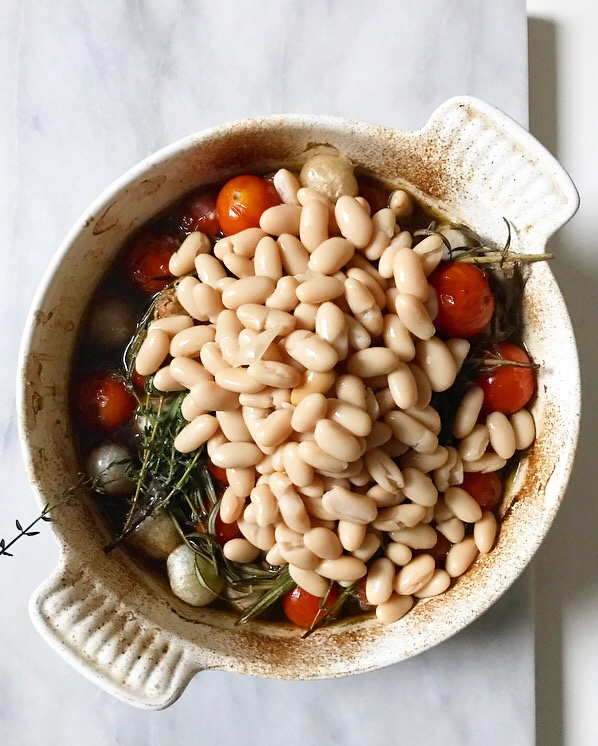
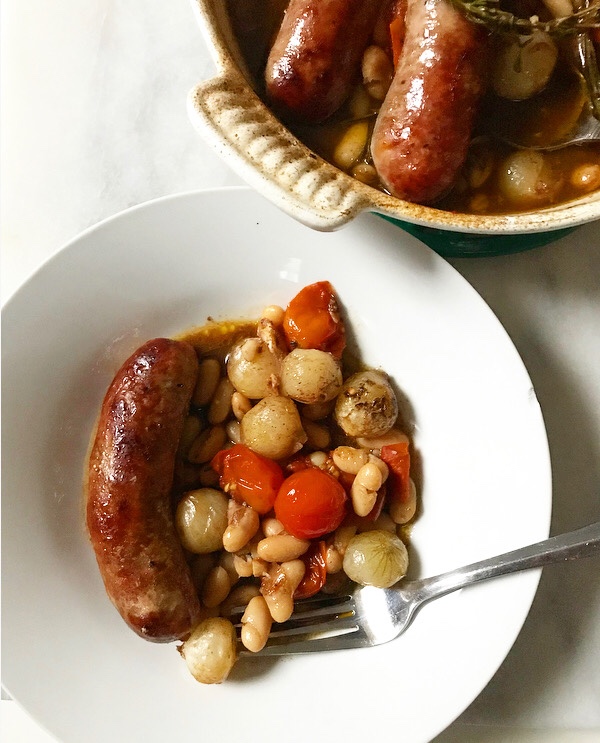
 This Everyday Cassoulet is made with Italian sausages in place of any specialty meats. Traditional white beans are baked with grape or cherry tomatoes, pearl onions, crushed garlic, and fresh herbs. Nothing has to be sliced or diced–you only need a knife to crush the garlic! Everything is drizzled with a simple mixture of balsamic vinegar, olive oil, and Dijon mustard, and baked for an hour in a regular casserole pan–no need for specialty dishes here!
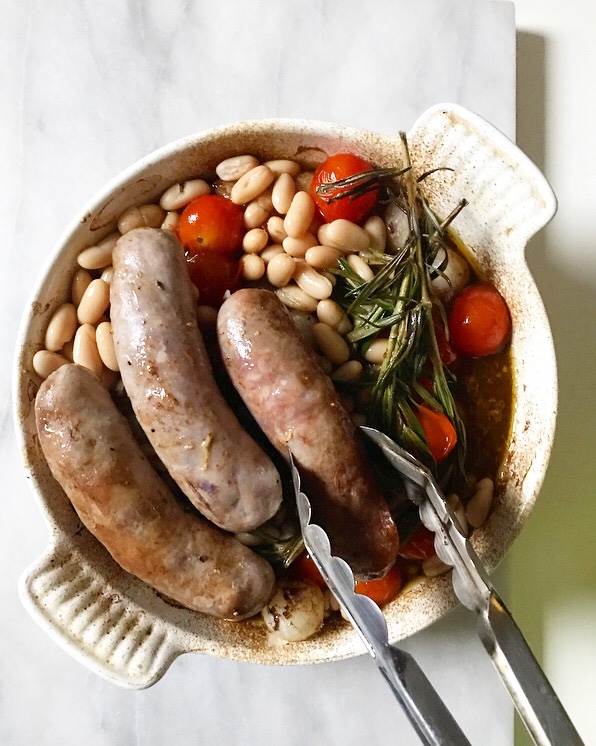
 And oh my, is it delicious. The sausages get super crispy, and the tomatoes burst and create the most wonderful sauce with the balsamic mixture. The beans soak in all the flavors and get super tender. This is fantastic served with crusty bread. I forgot it when I took these photos, but trust me, you’ll need it.
 Put this Everyday Cassoulet on your list of weeknight dinners! It’s easy as can be, but sure doesn’t taste like it! Your family and friends will definitely ask for the recipe 🙂