I know I just posted a mango recipe yesterday, but the universe seriously wants me to eat all the mangoes right now. Trader Joe’s has mango everything (even Joe-Joe’s!) and my beloved green market is positively bursting at the seams with them! And when they’re two for $3, how can I resist?!
I’ve been eating them with strawberries and lime, blitzing them into smoothies, making salsa, throwing dried mango into my granola and eating it with the fresh stuff. If there’s a way to eat a mango, I am doing it. I’m like Bubba in Forrest Gump…but with mango.
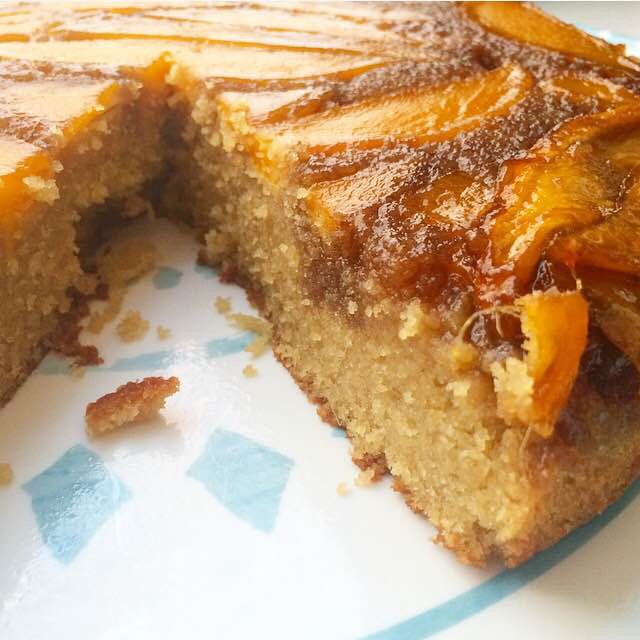
 I usually enjoy my mangoes raw, but today I’m switching it up a little bit with this Mango Upside-Down Cake! It’s a soft brown sugar cake topped with thinly sliced mango and a simple brown sugar caramel. It’s super easy and perfect for entertaining this summer.
 Since this cake is served upside-down, the mangoes are baked underneath the cake batter. This recipe starts with melting butter and dark brown sugar together until the sugar is no longer grainy. Once this happens, take the mixture off the heat, stir in some salt, and spread it over the bottom of the pan. Top the mixture with an even layer of thinly-sliced mango, cutting small pieces to fill in any large gaps.
 Next comes the cake batter, which is basically my Vanilla Layer Cake batter with more brown sugar and the tiniest bit less vanilla extract. It’s a moist, soft, slightly dense cake that pairs perfectly with the juicy mango and caramel. Bake it all together for about 35 minutes, or until the smell of brown butter and caramelized mango makes you totally insane!
 Let the cake cool in the pan for a few minutes before inverting it onto a cake stand or large serving plate. Don’t worry if a few pieces of mango stick to the pan–just use your fingers to nudge them back into place. Nobody will ever know it didn’t come out in one fell swoop.
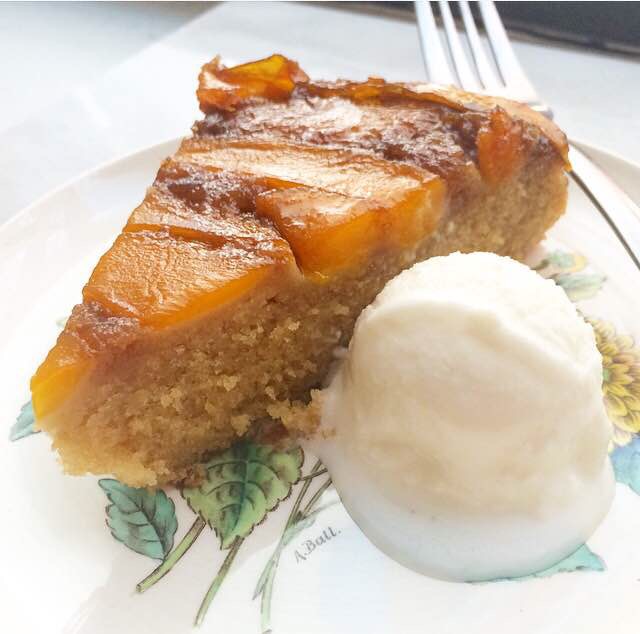
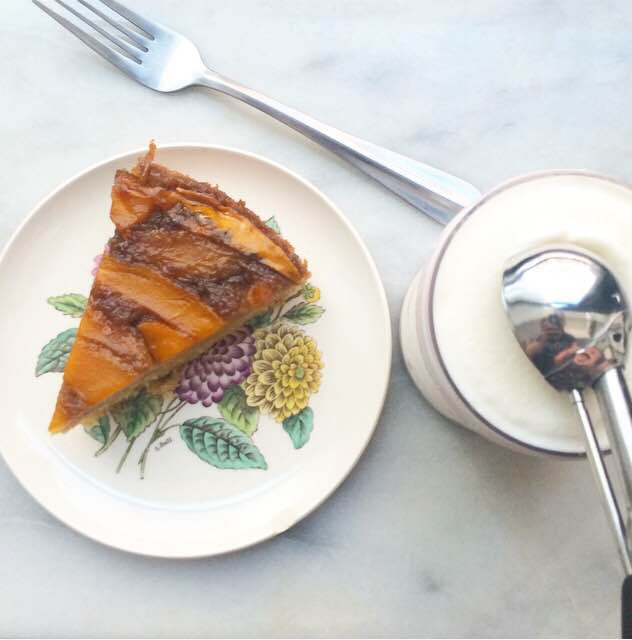 My favorite thing about this cake is that you don’t need to wait forever to serve it. There’s no worrying about melting buttercream or fretting over your piping skills. Nope. Mango Upside-Down Cake doesn’t require any decorating and can be served warm, room temperature, or cold! The cake pictured here was still slightly warm from the oven, and was amazing with a little scoop of coconut gelato.
Mango Upside-Down Cake is perfect for any occasion this summer, whether it’s Fourth of July, or that you came home from Trader Joe’s with eleven mangoes 😊
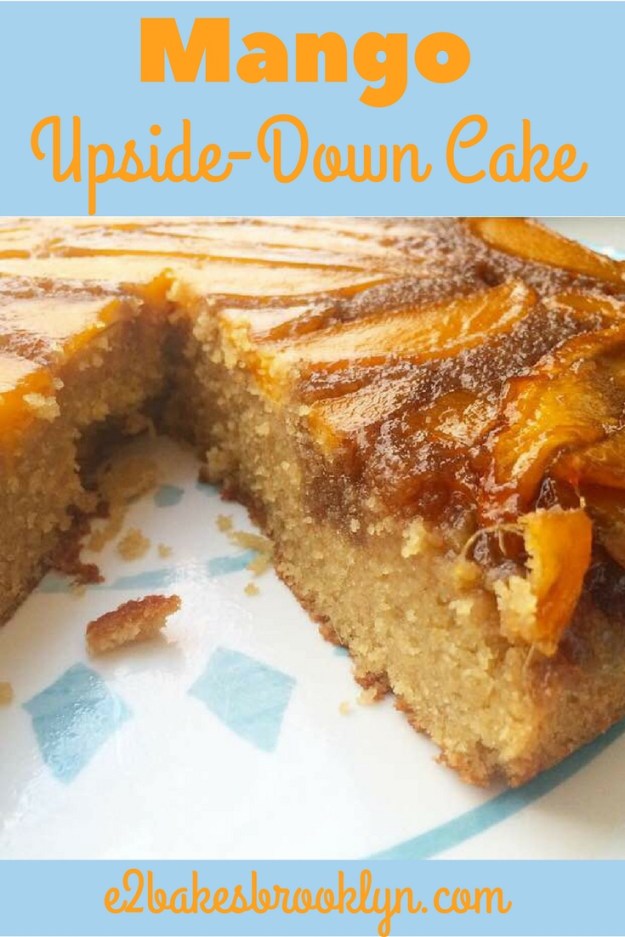
 Mango Upside-Down Cake
makes one 9-inch round cake
Mango Layer:
1/4 cup (1/2 stick) unsalted butter
2/3 cup dark brown sugar, packed
pinch of Kosher or sea salt
2 small (or 1 1/2 large) mangoes, thinly sliced
Cake:
1 1/2 cups all-purpose flour
2 tablespoons cornstarch
1/2 teaspoon baking powder
1/4 teaspoon baking soda
1/2 teaspoon Kosher or sea salt
1/2 cup (1 stick) unsalted butter, softened to room temperature
1/2 cup dark brown sugar
1/2 cup granulated sugar
2 large eggs, room temperature
2 teaspoons pure vanilla extract
1 cup buttermilk,* room temperature
For Serving:
Vanilla or Coconut Ice Cream
Preheat oven to 350F. Lightlu grease a 9-inch round cake pan with butter.
Make the mango layer. In a small saucepan, combine butter and dark brown sugar. Place over medium-low heat and stir constantly until butter and sugar are melted and no longer grainy, 3-5 minutes. Remove pan from heat and stir in salt. Pour mixture into prepared pan, using a silicone spatula to spread it over the entire bottom of the pan. Top the brown sugar mixture with one even layer of mango slices. Set aside.
Make the cake batter. In a small-medium mixing bowl, whisk together flour, cornstarch, baking powder, baking soda, and salt. Set aside.
In a large mixing bowl, beat butter with an electric mixer until light and fluffy, about 2 minutes. Beat in dark brown and granulated sugars. Add eggs one at a time, mixing completely after each addition. With the mixer on low, mix in vanilla and buttermilk. Add dry ingredients in two installments, scraping down the bowl as necessary.
Pour batter over mango layer, and spread with a silicone spatula to even out to top. Tap pan on the counter two or three times to release any large air bubbles. Bake 32-35 minutes, until a toothpick inserted in the middle comes out clean.
Let cake cool in the pan on a rack for 15 minutes. Run a small, thin knife around the edge of the pan a couple of times before inverting onto a cake stand or large serving plate mango layer-up.
Serve cake warm, room temperature, or cold.
Cake is best the day it’s baked, but will keep in the refrigerator for up to three days.
Note:
If you do not have buttermilk on hand, make your own! Pour one tablespoon of white vinegar or lemon juice in the bottom of a liquid measuring cup. Pour milk up to the 1 cup mark. Let sit five minutes before using as instructed in the recipe. I do not recommend using skim or fat free milk.


 When I first started out as a New York nanny, I worked for a family that lived in East Harlem. I took care of their baby girl, whom I affectionately called “Zu” (a nickname which bears no likeness to her actual name), from the time she was nine months old to when she was two and a half. And, oh, we had so much fun together. We read a million books, danced to Mary Poppins on vinyl, and I introduced her to the Peanuts (because Snoopy rules). We blew bubbles in the backyard, gave fist-bumps and high-fives, wore silly hats, and made cakes.
 But if you have children or have ever spent an extended period with anyone else’s children, you know that no matter how much fun you are having together, there comes a point where cabin fever sets in and you’d rather do anything than be in the house for two more minutes. When this happened, I’d put her in a baby carrier and we’d go find something to do. When it was nice, we’d go to the playground. When it was gross out, we’d go to Target and buy things I didn’t need. And sometimes, on very special occasions, we’d hop over to
  We always ordered the same thing, one Banana Pudding Pudgie. It’s a soft, chewy, white chocolate-studded cookie that tastes just like its namesake dessert. We’d go home and I’d cut it in quarters so she could grab them easily with her little fingers, and we’d enjoy it together before finding a new record to dance to. Those are some of my favorite memories ever. Just a simple little treat with my sweet, tiny friend.
 You guys, these cookies taste exactly like banana pudding. No, seriously. They literally taste exactly like the combination of vanilla pudding, bananas,
  Looking for more banana pudding? Check out my