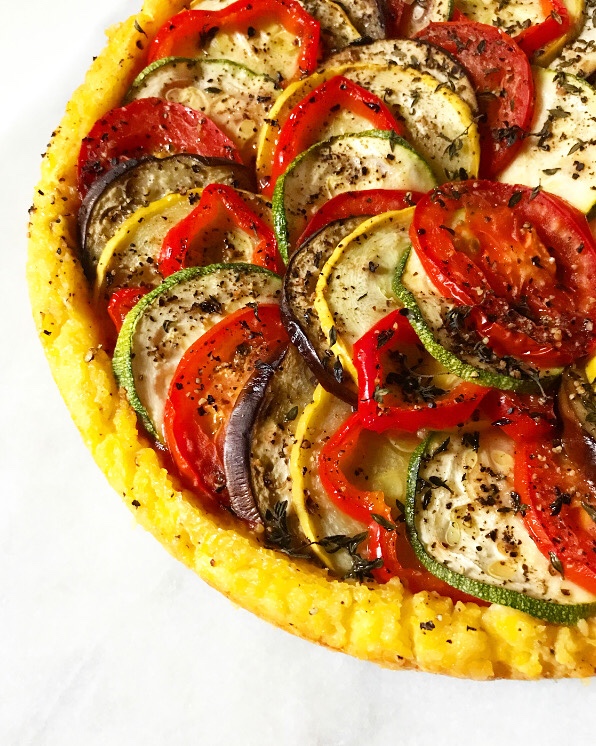
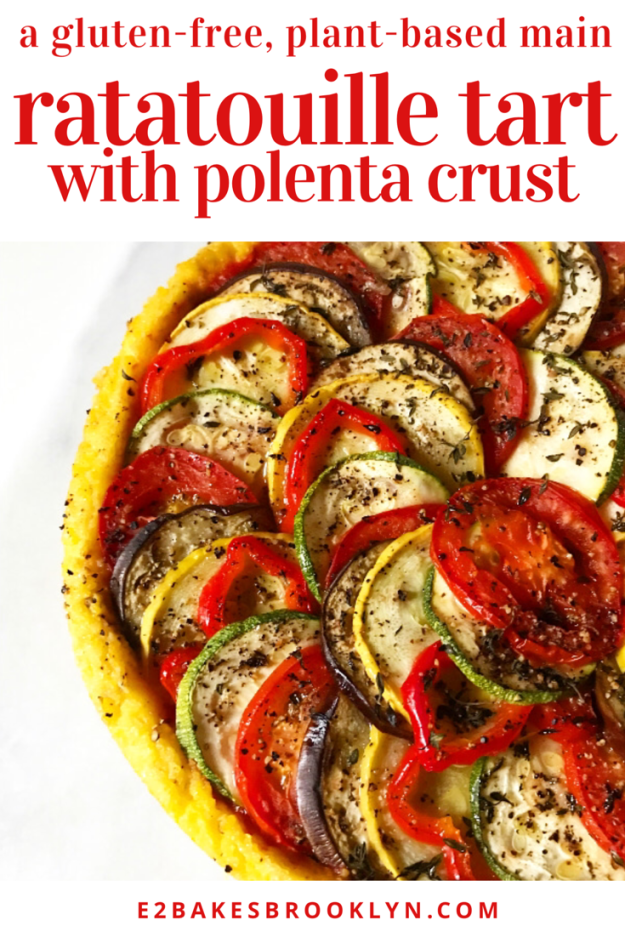
 If you’re searching for a plant-based summer recipe that is as visually striking as it is delicious, look no further. This Ratatouille Tart with Polenta Crust combines two of my favorite things—simply-prepared vegetables and soft corn polenta—and elevates them into one magnificent main. Did I mention that it’s naturally gluten-free and vegetarian?*
*I wrote vegan swaps in the recipe, too.
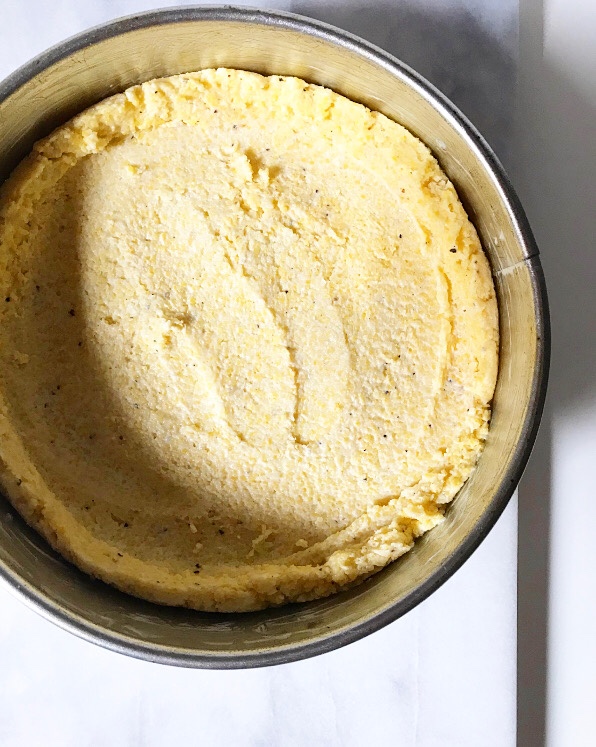 While this recipe takes some time to prepare, none of the steps are difficult and the results are more than worth the effort! You can make things easier for yourself by preparing the polenta and forming the crust a day ahead.
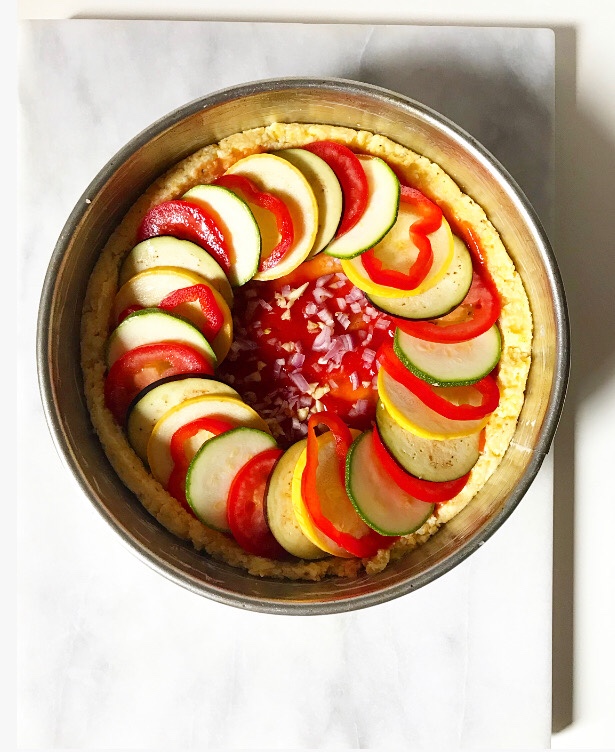
 When you’re ready to bake, spread on some tomato sauce and slice up a bunch of summer produce. If you’re a little fancier than I am and have a mandoline, this would be a great time to use it.
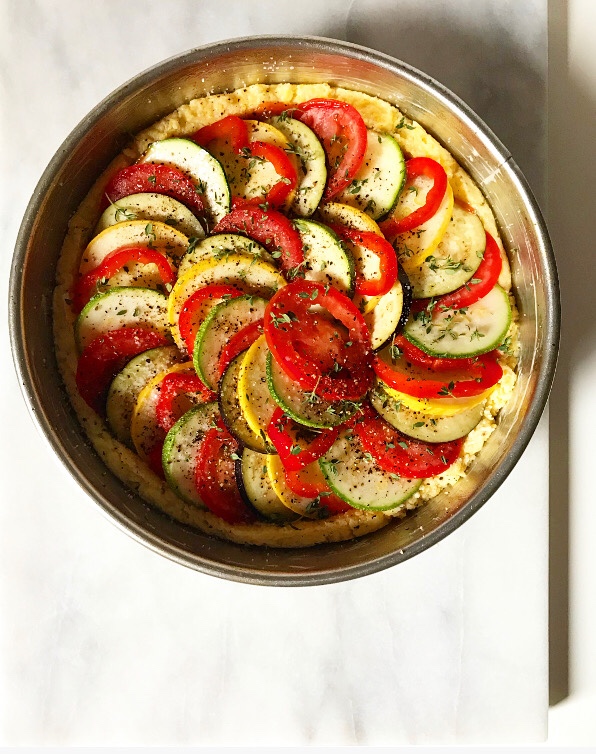
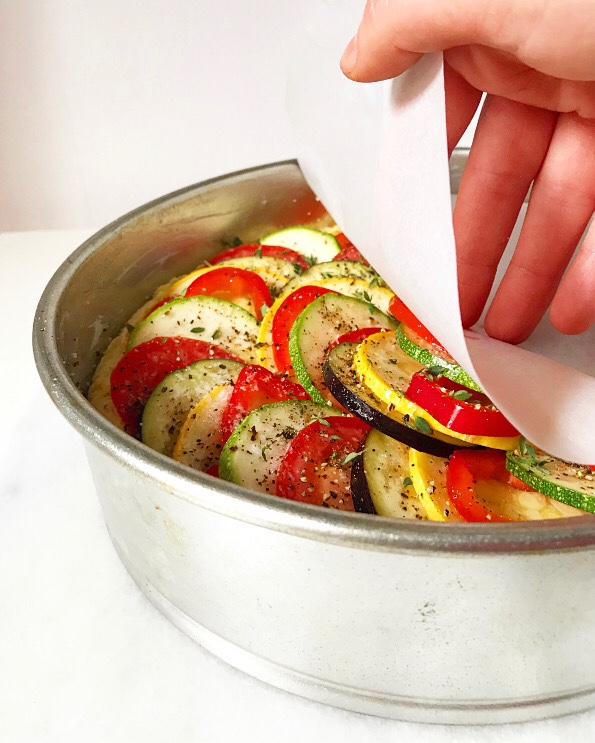 Assemble the tart by arranging the sliced vegetables in concentric circles and finishing them off with olive oil and fresh thyme. Cover the whole thing with a parchment round to ensure that everything cooks evenly. And then…
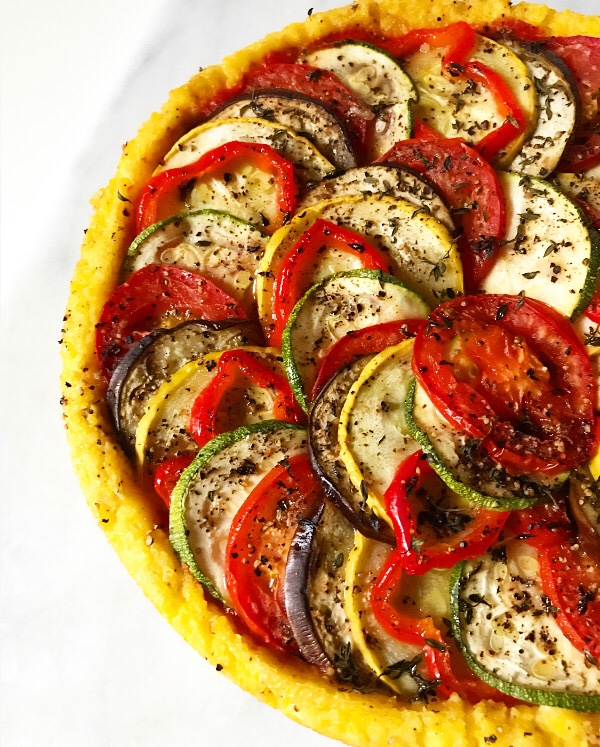
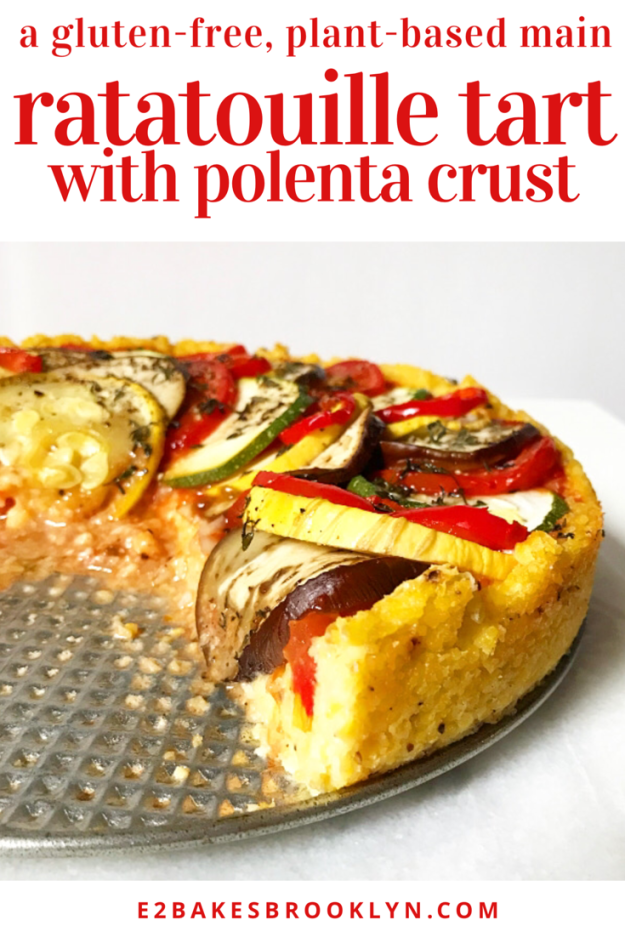
 …well, let’s just say I’ll pray for you during the thirty minutes between baking and slicing. I promise it’ll be worth the wait. I mean, when are polenta and ratatouille not worth the wait?!
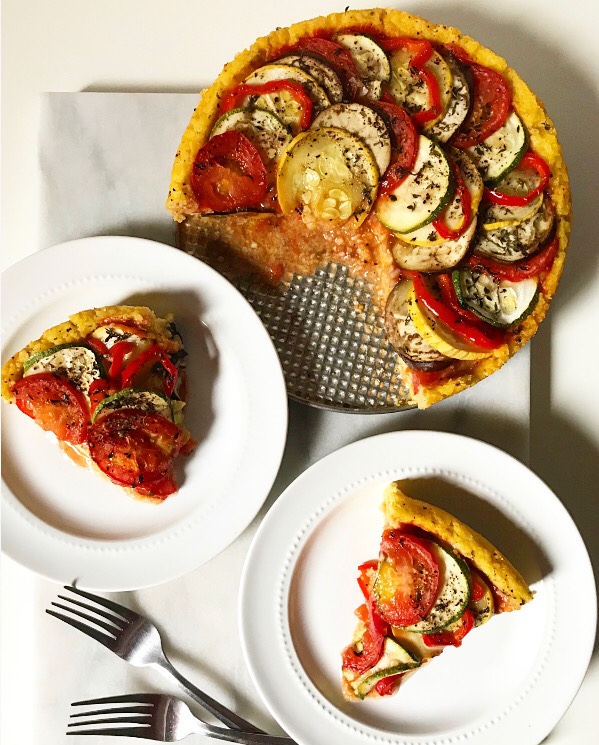
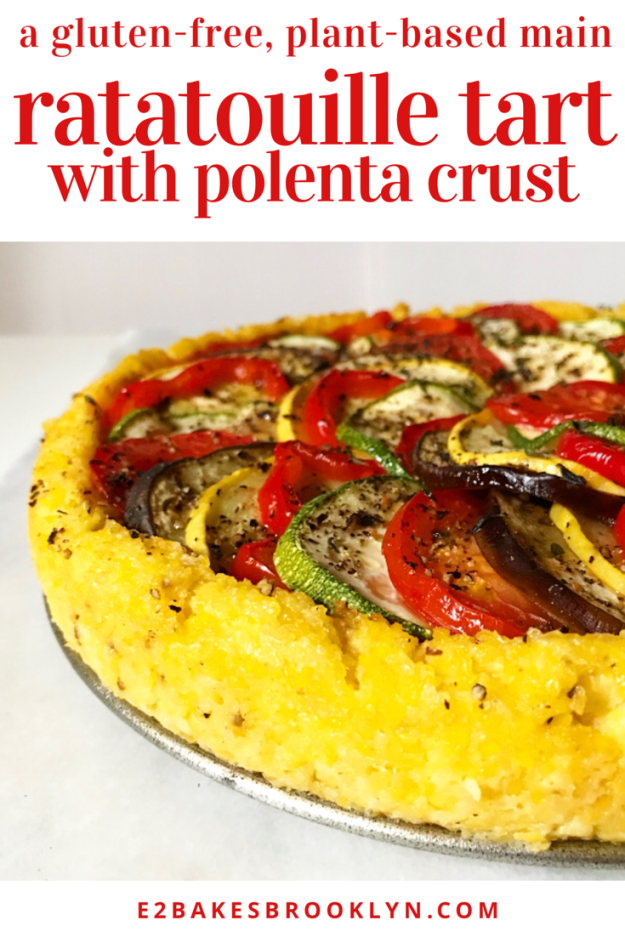
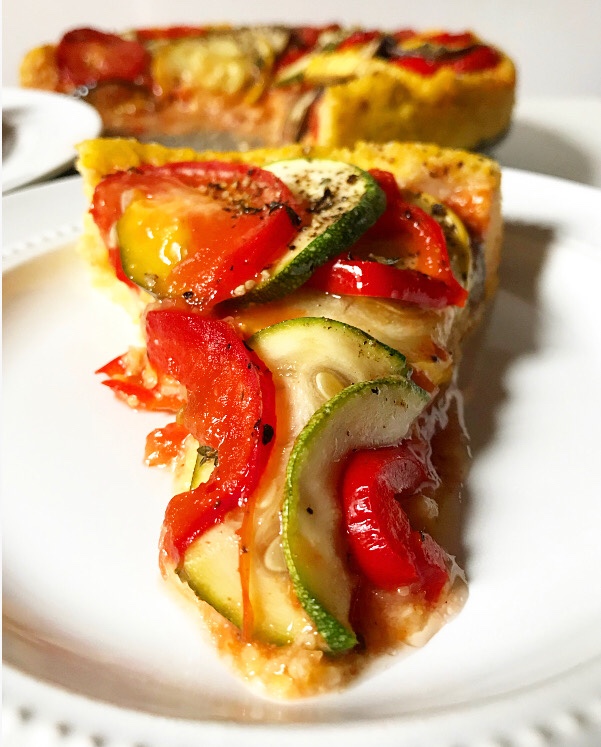 I love this tart when it’s fresh, but you should know that it slices particularly well at room temperature and cold, meaning this is a great make-ahead option. The tart pictured here was made on a Monday and reheated by the slice for lunches all week long.
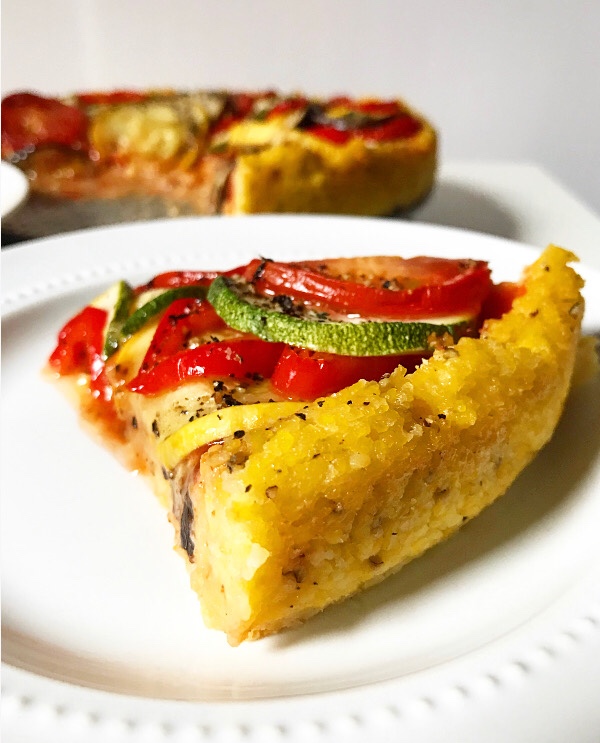 It was exactly as wonderful as it looks.
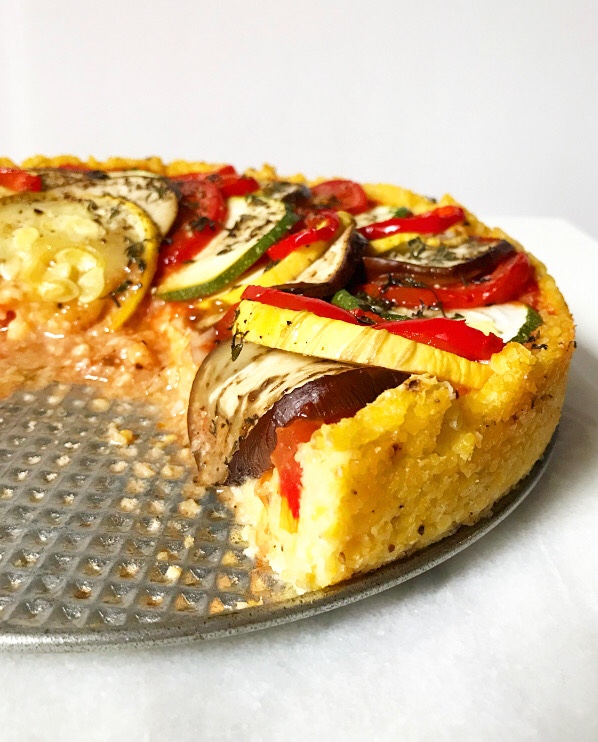
Ratatouille Tart with Polenta Crust
ratatouille adapted from Deb Perelman
makes 1 9-inch round tart, 4-6 servings
Polenta Crust:
2 cups water
1 cup whole milk (or unflavored, unsweetened plant milk)
1/2 teaspoon Kosher or sea salt
1 cup coarse ground cornmeal
2 tablespoons unsalted butter or olive oil
1/2 teaspoon prepared dijon mustard
few grinds freshly ground black pepper
Ratatouille:
1/4 cup tomato sauce
2 cloves garlic, minced
1/2 shallot, minced
1/2-1 teaspoon Kosher or sea salt (based on your taste), divided
~1/2 small, thin eggplant, 1/8 inch slices
~1/2 medium zucchini, 1/8 inch slices
~1/2 medium yellow squash, 1/8 inch slices
~1/2 long, thin red bell pepper, seeded, 1/8 inch slices
~1 1/2 roma tomatoes, 1/8 inch slices
1 tablespoon olive oil
few grinds freshly ground black pepper
1 1/2 teaspoons fresh thyme leaves
For assembly:
9-inch round piece of parchment paper
For serving (optional):
fresh parsley or other herbs
feta or goat cheese
Grease a 9-inch round springform pan or tart pan with removable bottom. Set aside.
Make polenta. Bring water and milk to a simmer. Keep an eye on it, as milk can boil over dramatically without much notice. Add 1 teaspoon salt. Whisking constantly, add polenta in a thin stream. Reduce heat to medium-low, whisking very frequently for 25-30 minutes, until thick. Remove from heat. Whisk in butter, dijon, and black pepper. Transfer to prepared pan and use a silicone spatula or wooden spoon to spread it to the edges. Let sit for 15 minutes.
Using the back of a wet spoon, press the polenta from the center toward the edges of the pan to create a rustic crust. Set aside. At this point, the crust may be covered and refrigerated for up to 24 hours.
Preheat oven to 375F. Prepare the ratatouille filling. Spread tomato sauce on the bottom of the tart. Scatter minced garlic and shallot over the top, along with 1/4 teaspoon of salt. Starting from the outer edge and working in a concentric circle to the center, arrange sliced eggplant, zucchini, yellow squash, red bell pepper and tomato in an overlapping pattern. Drizzle with olive oil and top with 1/4-1/2 teaspoon salt, black pepper and fresh thyme.
Cut a piece of parchment to fit over the pan, covering all exposed tart. Gently lay it in the pan. Bake tart 45-55 minutes, or until vegetables are tender. Remove and discard parchment. Let tart cool at least 30 minutes before slicing. Serve with fresh herbs or cheese, if desired.
Slices will be neatest at room temperature, but tart may be served at any temperature. Leftovers will keep covered in the refrigerator for up to three days.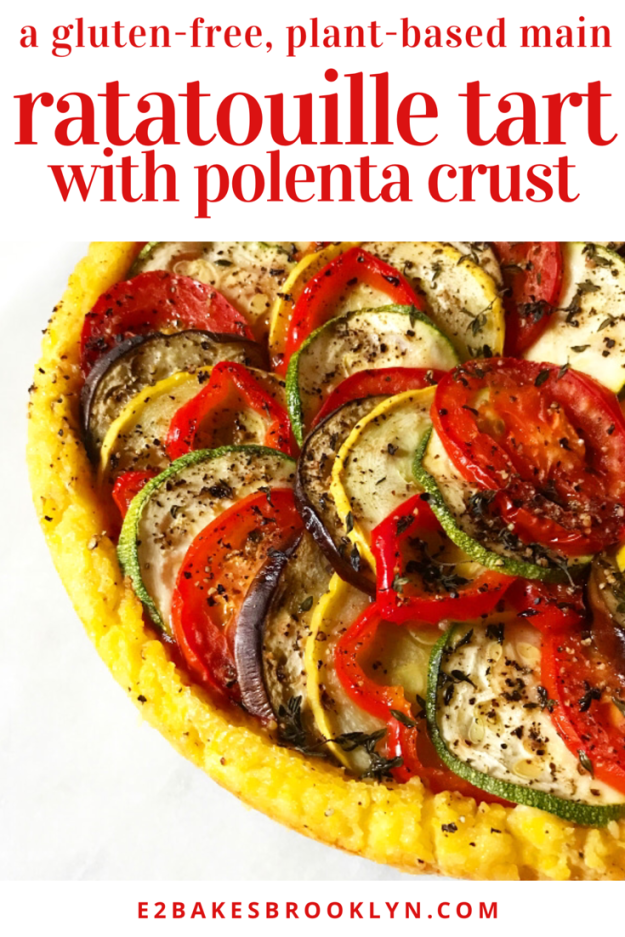


 Remember those
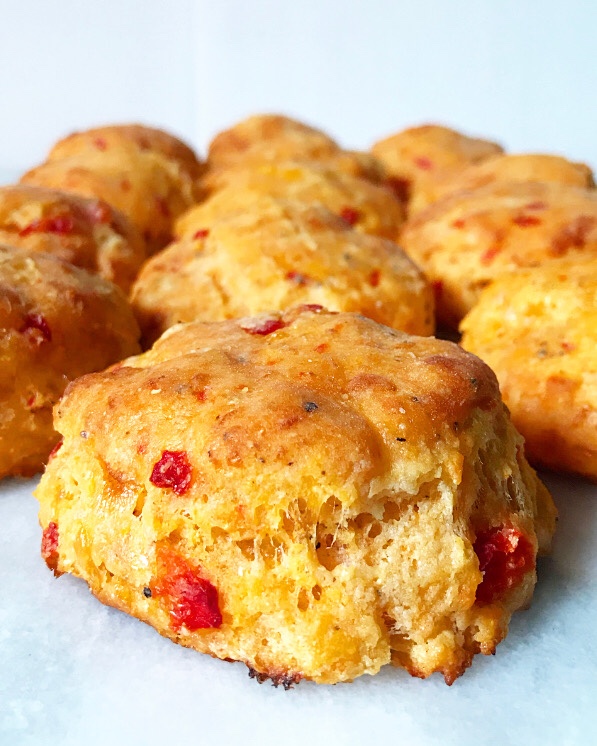
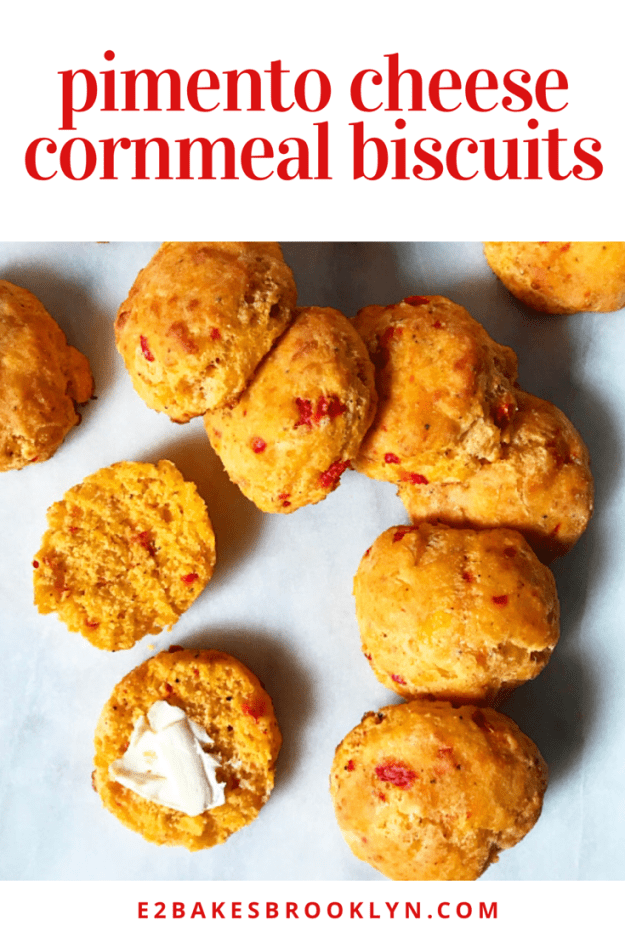
 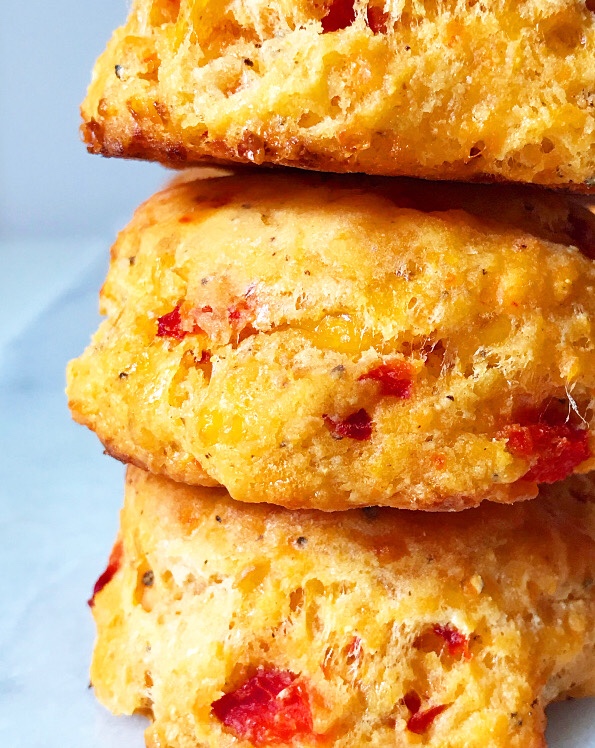 For those of you wondering what the heck pimento cheese is, it’s a creamy spread made of shredded cheddar, mayonnaise, sweet pimento peppers, and freshly-cracked black pepper. It’s incredibly popular in the southern U.S.—you’ll see it at every baby shower, cookout and picnic. You can buy the stuff in tubs in the grocery stores down there, but it’s next to impossible to find here, so I
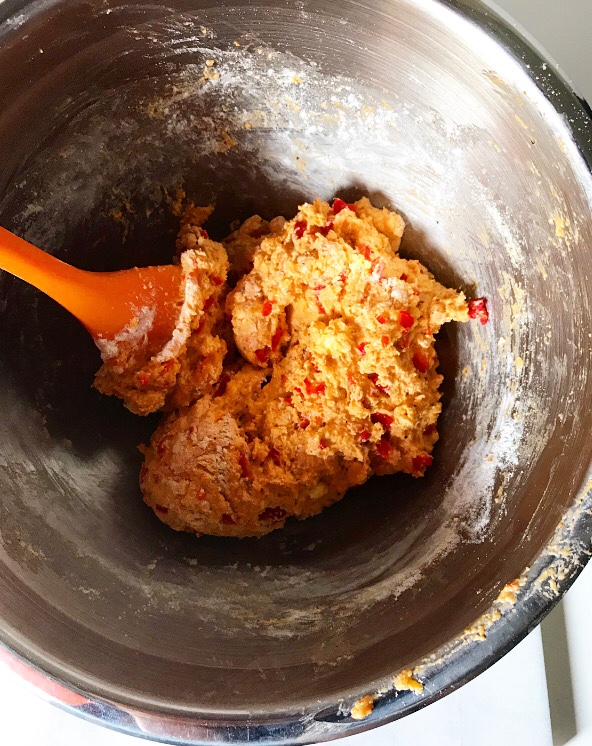
 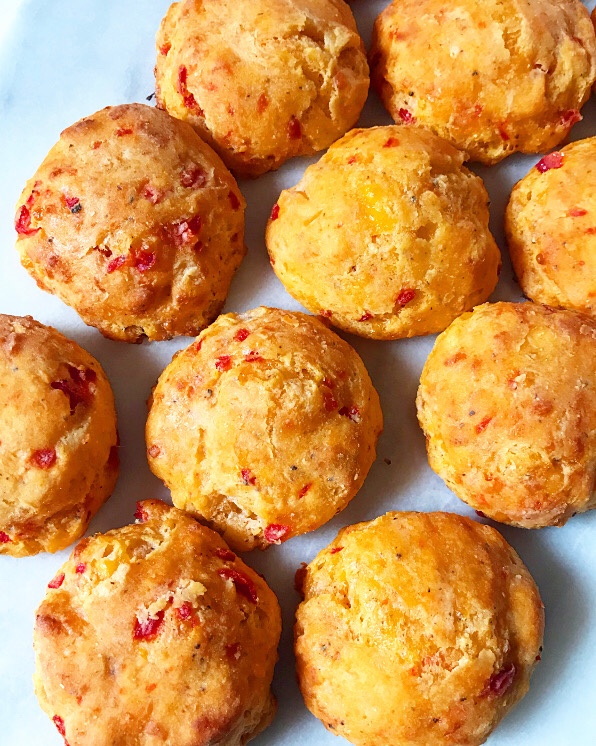 Here, I’ve taken the basic ingredients of that southern staple (minus the mayo) and folded them into a batch of cornmeal biscuit dough. The results are cheesy, spicy, sweet-pepper studded magic!
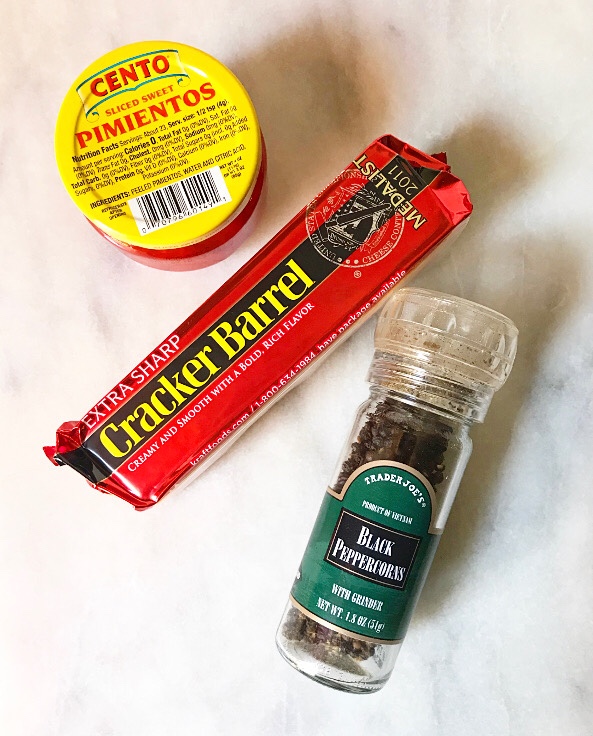
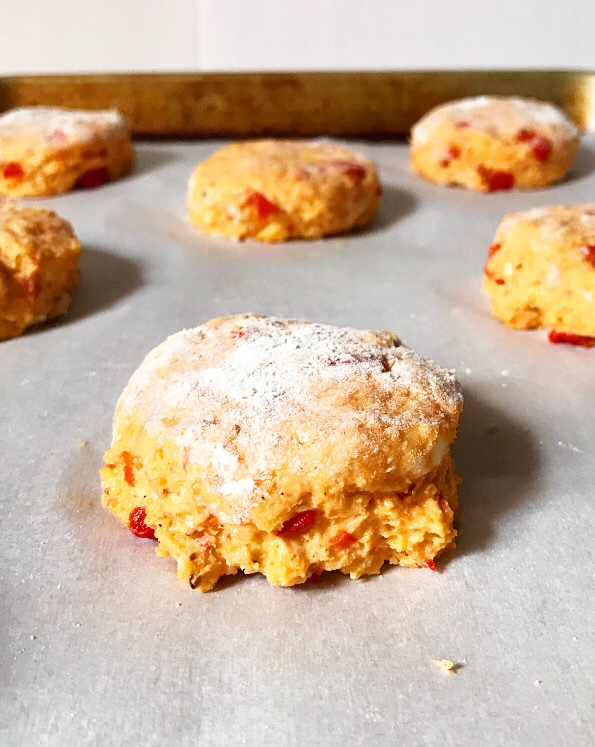
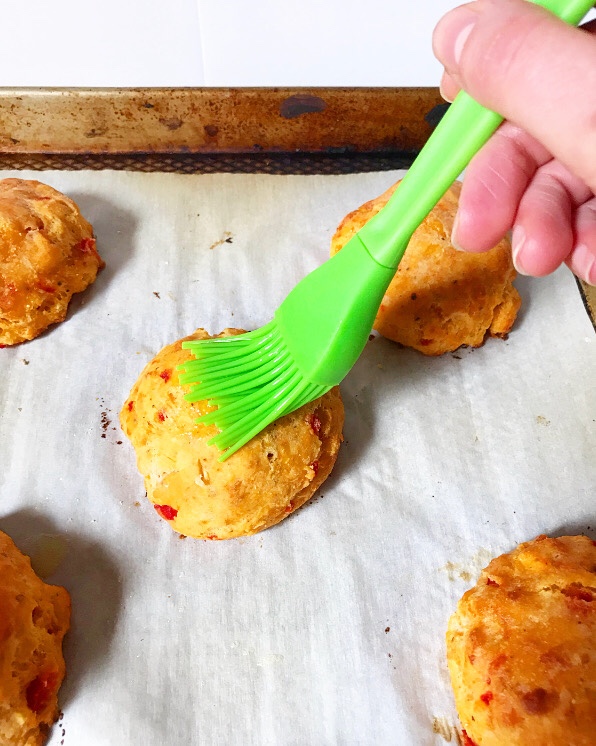
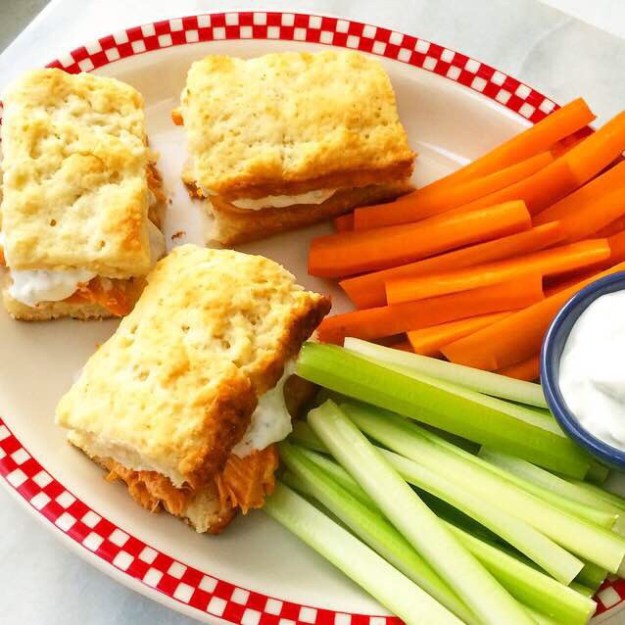
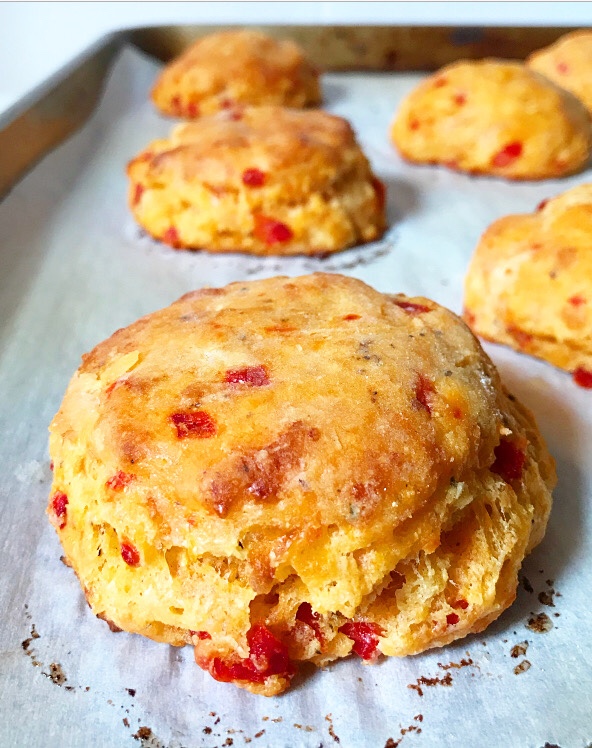 These are the cheese biscuits of my summertime dreams, and soon, yours. And those of your family and friends too, permitting you take a batch to your Fourth of July festivities tomorrow. You can serve them plain or with butter…
 …but maybe crisp up some bacon and grab some tomatoes and arugula because these happen to make the best BLT on the planet.
 CAN. NOT. BE. BEAT.
 Oh, and these aren’t pictured, but if you dice your leftover biscuits and sauté them in butter and olive oil, you’ll get some insane croutons. I ate these on salads for five days after I took these photos and I still want more.
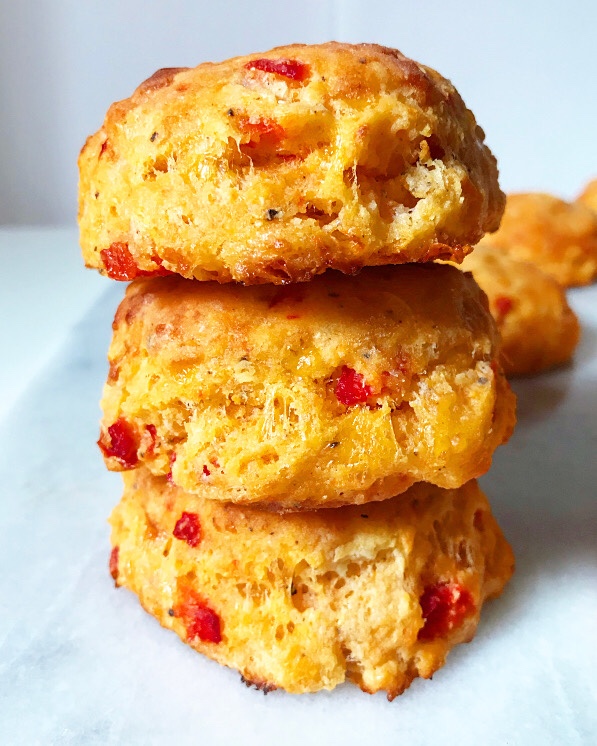 Happy Fourth of July, y’all! If you’re looking for cookout appropriate beverages, see

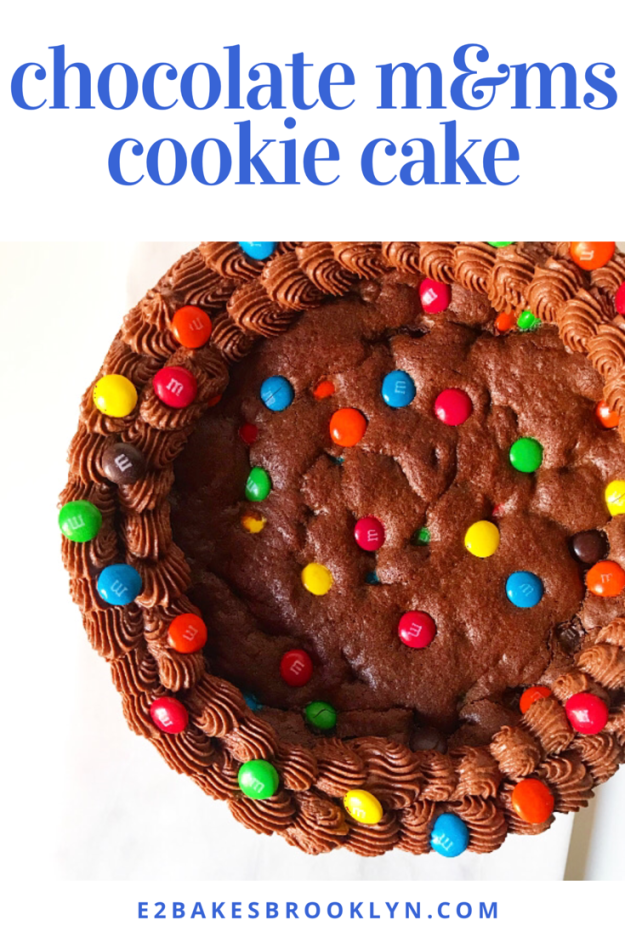
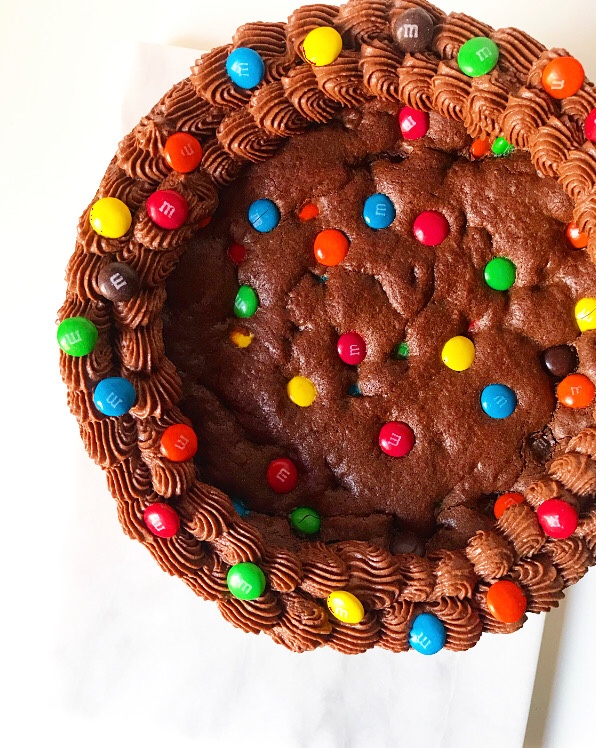 Back in November, I made this Chocolate M&Ms Cookie Cake for a friend’s birthday. I thought it was cute, so I posted a picture of it on my
 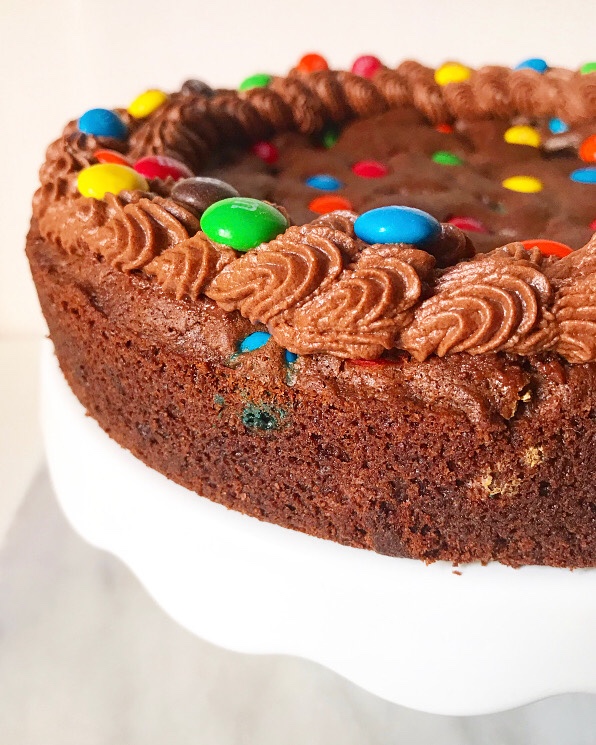 But I remembered now. Seven months later than anticipated, but I remembered. I promise you, Chocolate M&Ms Cookie Cake is worth the wait.
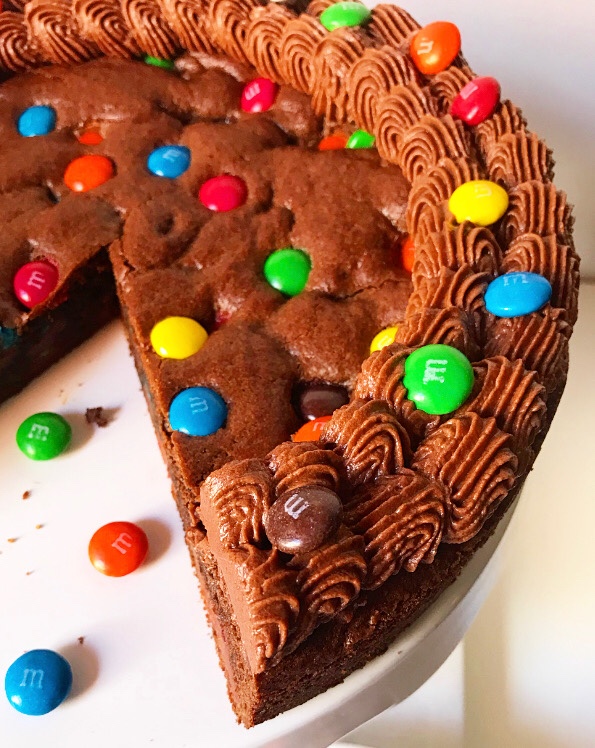 We’re talking about a rich, thick chocolate cookie studded with colorful candy and finished off with a flourish of chocolate buttercream. What’s not to love?!
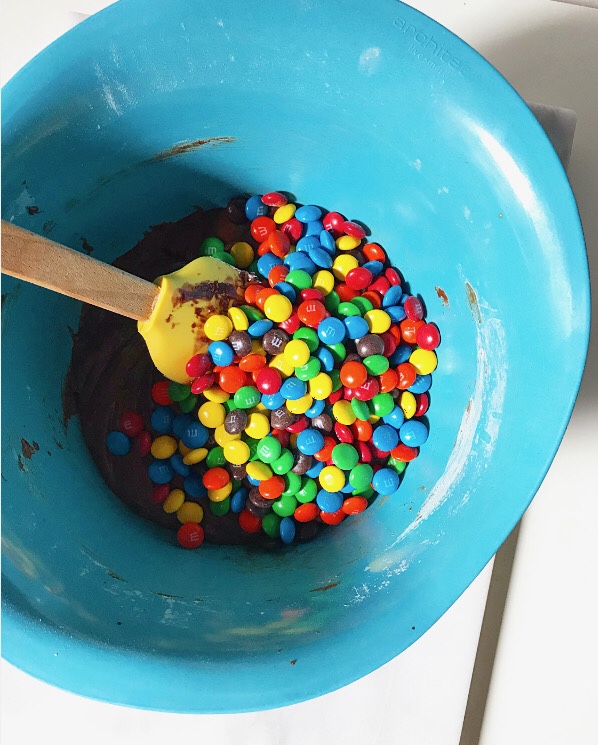
 It’s easy too—it’s basically just a slightly smaller batch of my
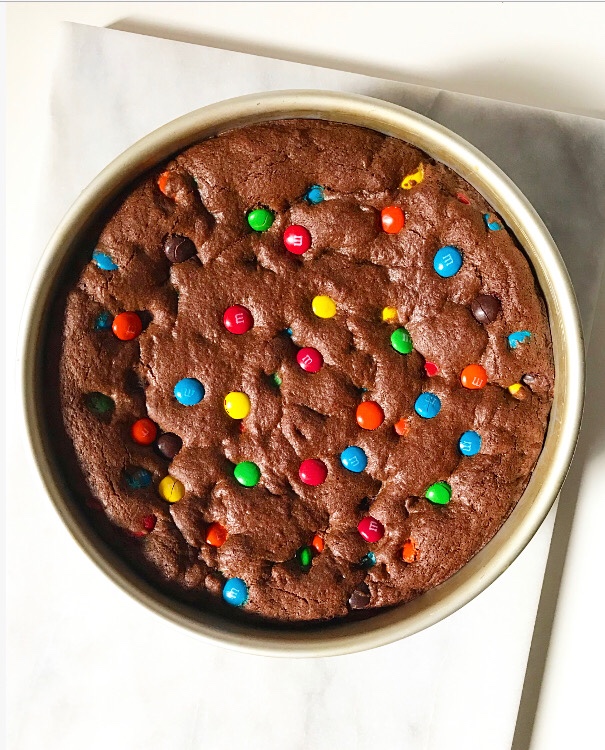
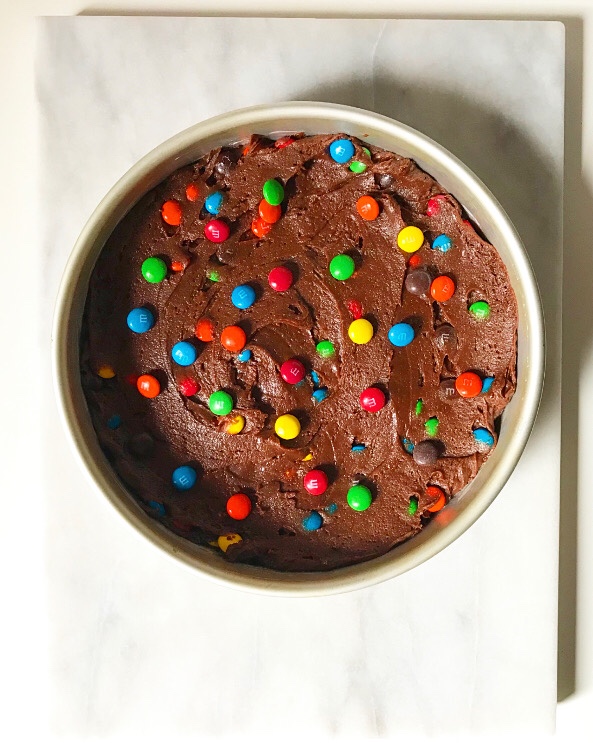
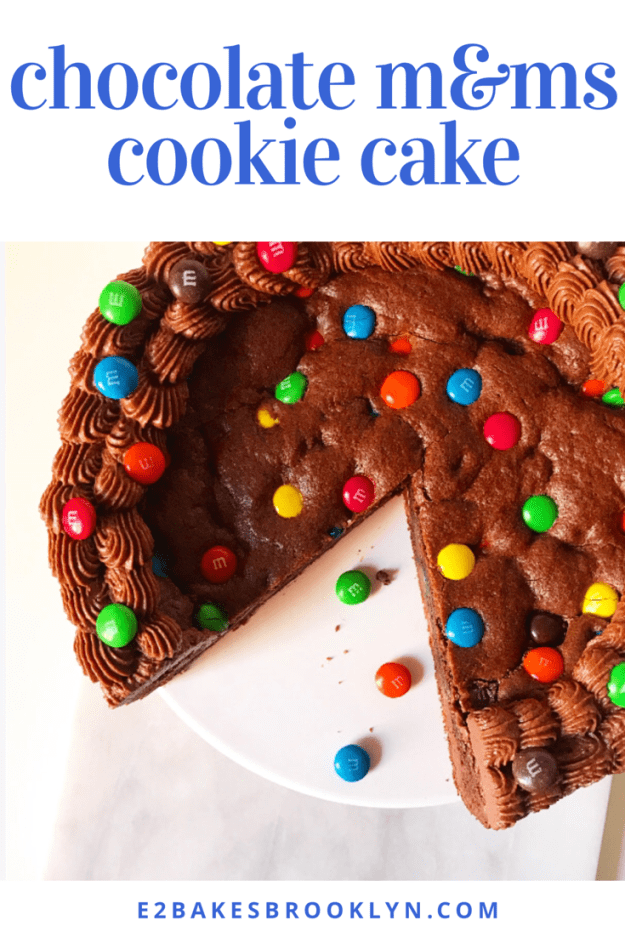
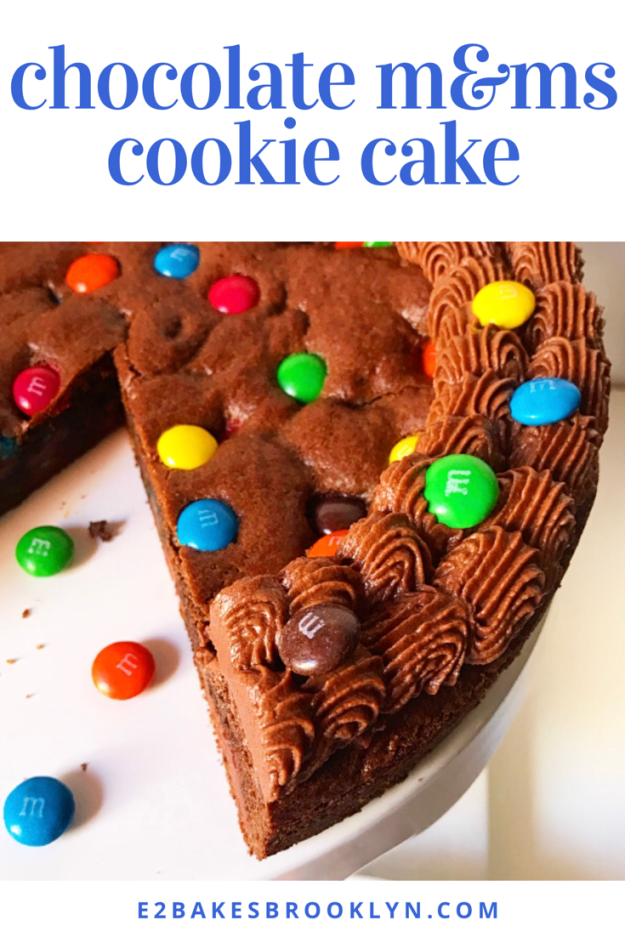
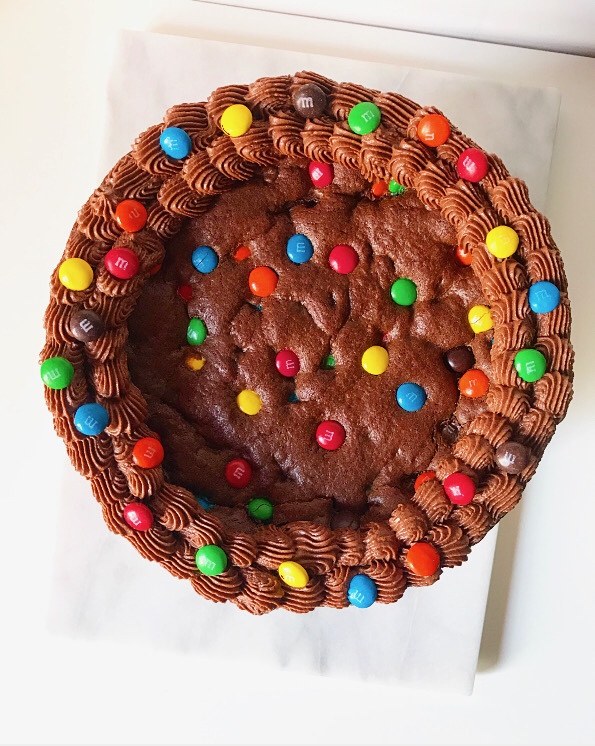 Bake it up in a cake pan, let it cool, and pipe on a buttercream border. In my opinion, that last step is the thing that takes this recipe from “giant cookie” to “cookie cake.” Not that there’s a thing in the world wrong with a giant cookie, am I right?!
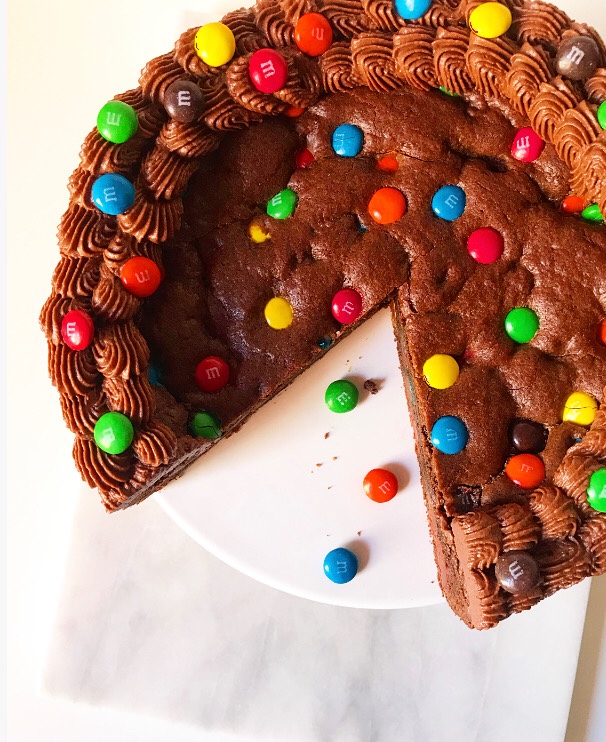 Slice it up and share with people you love this weekend or for the Fourth of July (with
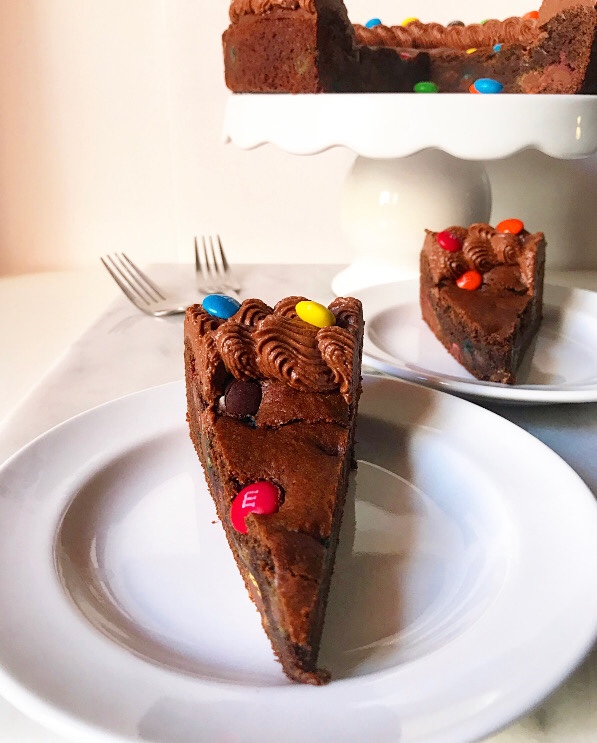
 I owe you an apology. The
  Sure, that cake is delicious—it’s cake!—but it’s not delicious enough to require four bowls, ample sifting, a whisk, a spatula, a mixer and whipped egg whites. Few things are.
 After being asked to make a few
  Simpler and better is exactly what you’ll find with this new, improved White Cake recipe. This rich, tender, fine-crumbed cake is a one-bowl endeavor, and while it does require a mixer, you don’t have to sift anything or whip egg whites. I’m calling it a huge win.
 This cake comes together differently than the others you’ll find on this site. Instead of the usual creaming method (creaming butter and sugar before adding eggs, dry ingredients and milk), this recipe is made using the reverse creaming method, which might be my new favorite way to make cakes. Let me walk you through the process.
 Start by combining flour, cornstarch, baking powder, salt and sugar in a large mixing bowl—the only mixing bowl you’ll need for this recipe. Give those a good stir with a whisk or a low mixer before adding all your softened butter.
 Next up, use your mixer to combine the two. This will take a few minutes and produce a rubbly, sandy-looking mixture. The purpose of doing this is to coat the flour with fat before adding the liquid ingredients. The butter creates a barrier that impedes gluten-development, producing a softer, more tender cake.

 And speaking of gluten-development, the last two steps are adding liquid ingredients (egg whites, extracts, and buttermilk), which are what will activate the gluten in the flour. Mix just until combined before dividing the batter into two pans and baking.
 Once the cake layers are cool, you may fill and frost them however you like. I kept it simple this time around with a white buttercream (just my vanilla buttercream with less vanilla) and went for the naked cake look.
 Ooooh. Ahhhhh.
 You’ll love this White Cake for its buttery vanilla-almond flavor, fine crumb, and did I mention it only requires one bowl?????!!!!!🙌😍💪🍰🎉
  It’s great on its own, but is also a wonderful blank slate for all sorts of applications. Feeling like
  Or maybe get brave and wild and do all three, because this White Cake is just that simple and just that good.


