Blueberry Doughnuts

Blueberry DoughnutsAre you tired of berry recipes yet? I hope not because I’ve got at least a couple more coming this summer…Blueberry Doughnuts…starting with Blueberry Doughnuts.Blueberry Doughnuts
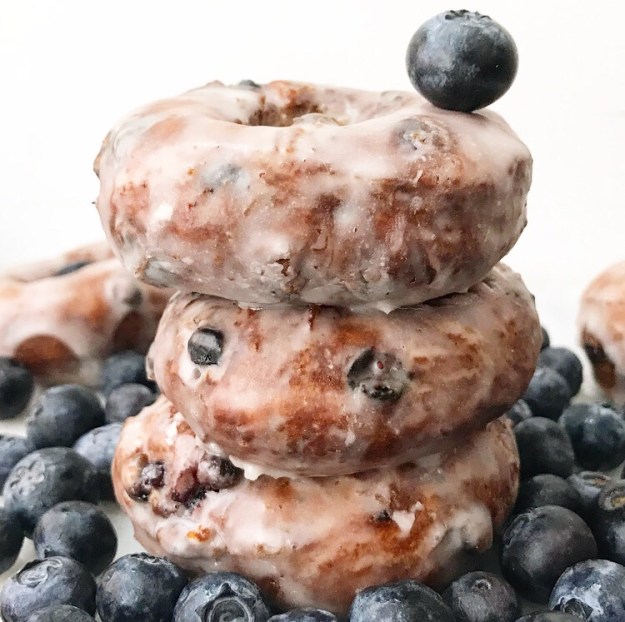
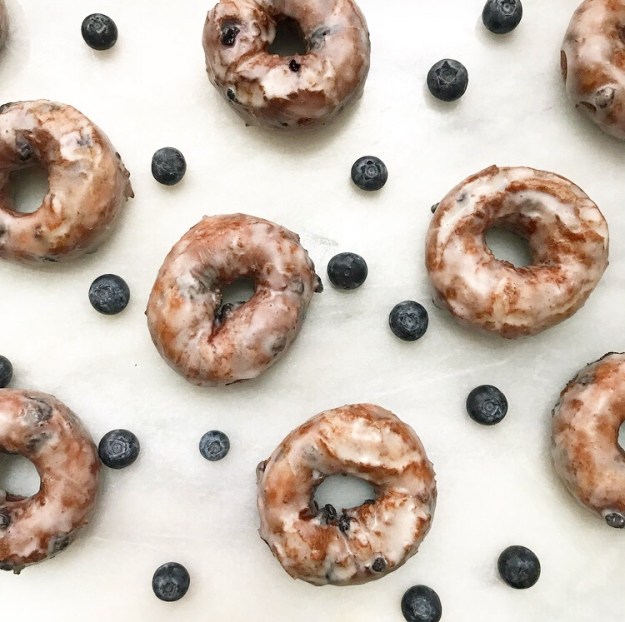
Oh, yes. We’re talking crispy-edged, fluffy-centered cake doughnuts that are absolutely loaded with teeny tiny blueberries. Real blueberries—not whatever sketchy goop they put in the Blueberry Doughnuts you find at the national chains!

Side note: Sorry for saying “goop” on a food blog/website that does not belong to Gwyneth Paltrow.Blueberry Doughnuts
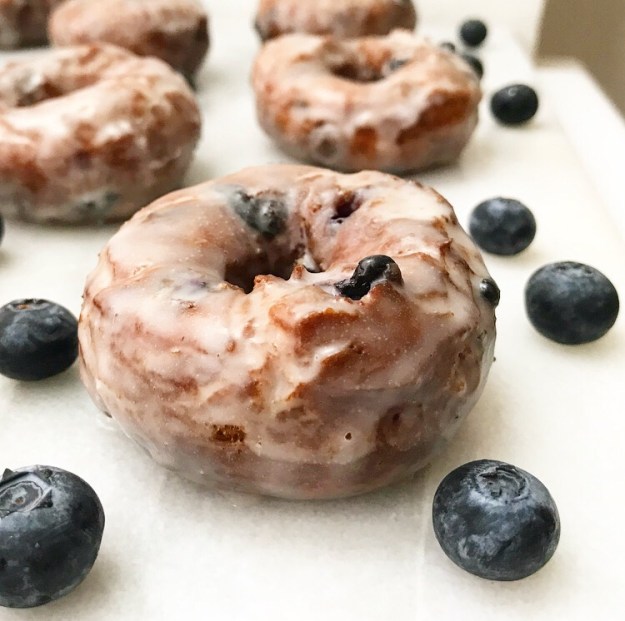
But back to doughnuts.

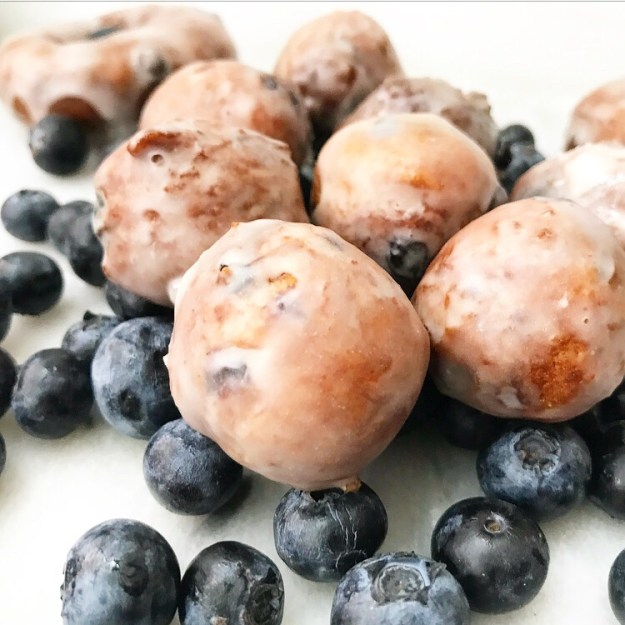
As it’s summer and blueberries are in season, you’d probably guess that I use fresh blueberries here, but you’d be wrong. As you can see in my photos, the fresh blueberries in my grocery stores are the size of marbles right now, and that’s just too big to work in these doughnuts. I tried two batches with those and ended up fishing most of them out of hot oil before they burst and spattered all over my kitchen! Hot oil burns are no fun, and neither are Blueberry Doughnuts with only one or two whole blueberries.Blueberry Doughnuts
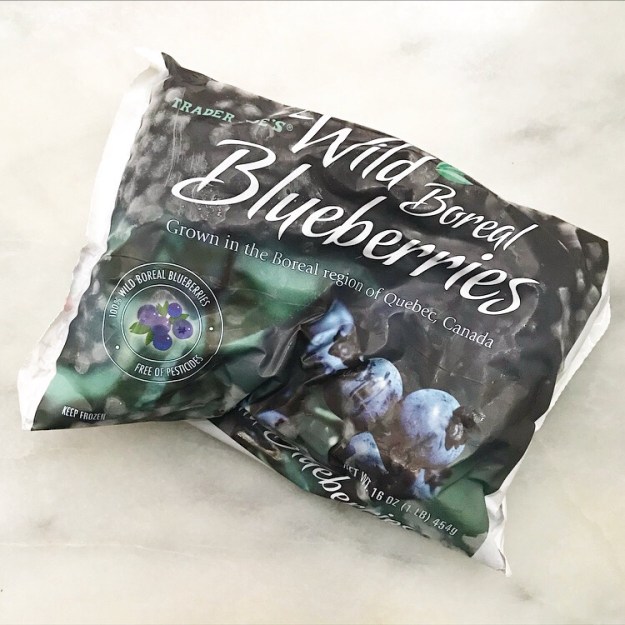
The secret to quality homemade Blueberry Doughnuts is to use the smallest blueberries you can find. If you have access to tiny wild blueberries and are somehow sick of eating them by the handful, they would work really well here. If, however, you are like me and don’t live anywhere near a wild blueberry patch, the frozen Wild Boreal Blueberries from Trader Joe’s work just fine 🙂 Blueberry DoughnutsBlueberry Doughnuts
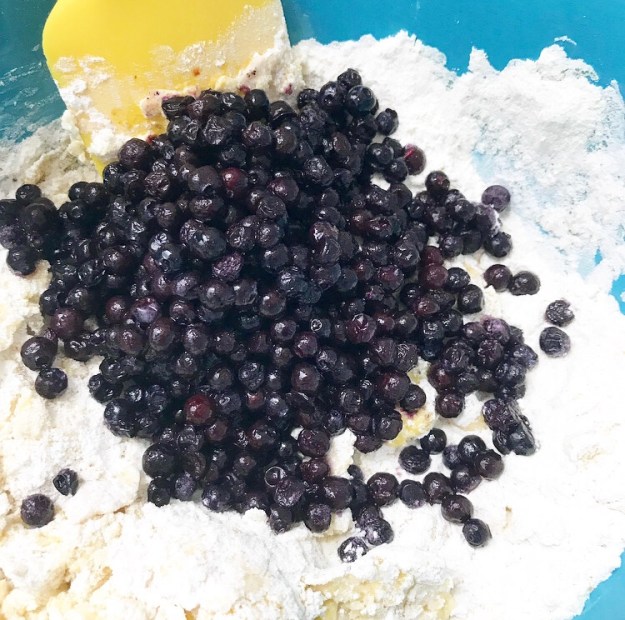
The rest of this recipe is just like making any other cake doughnuts. Fold the blueberries into a simple sour cream dough before rolling and cutting your doughnuts & doughnut holes. The frozen blueberries tend to turn the dough a periwinkle color—this dissipates during frying, but it’s kind of fun, right?!Blueberry DoughnutsBlueberry Doughnuts
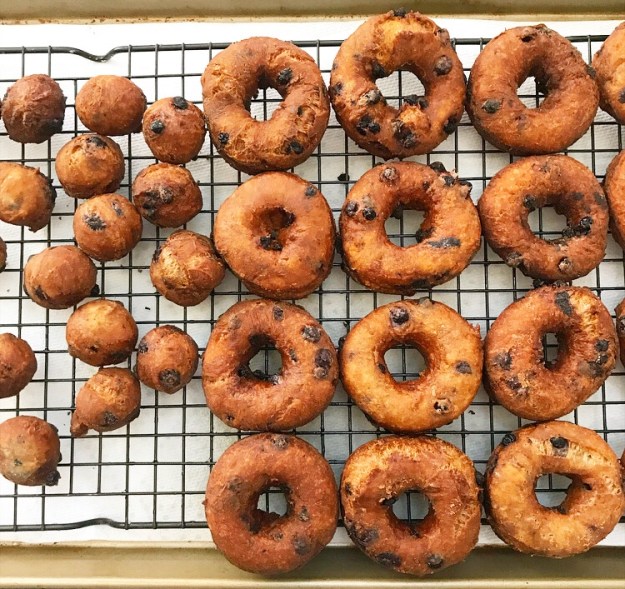
These doughnuts get a two minute fry in hot oil before being dipped in a classic glaze. If you want to jazz them up a bit, feel free to swap some of the water in the glaze for lemon juice, or even dip them in a creamy glaze like the one I use for Funfetti Cake Doughnuts!Blueberry DoughnutsBlueberry DoughnutsY’all, homemade Blueberry Doughnuts are sooo delicious! You’ll love their golden exteriors and blueberry-studded interiors, not to mention how surprisingly simple it is to make quality doughnuts at home ❤ Make a batch this weekend!
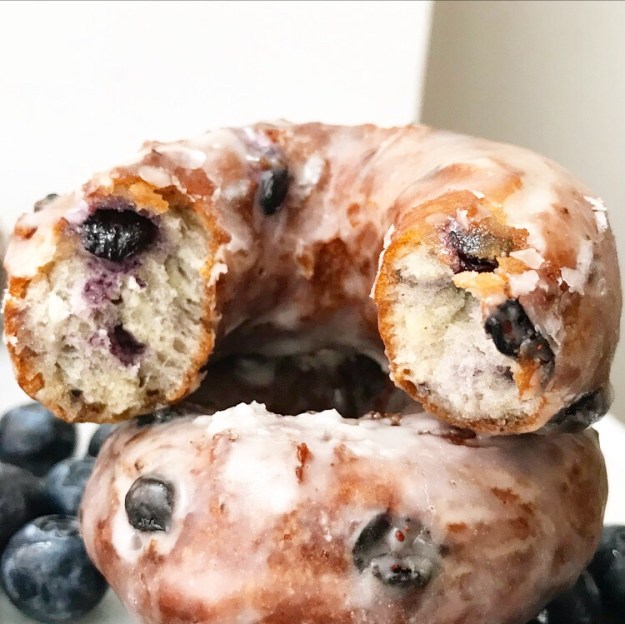
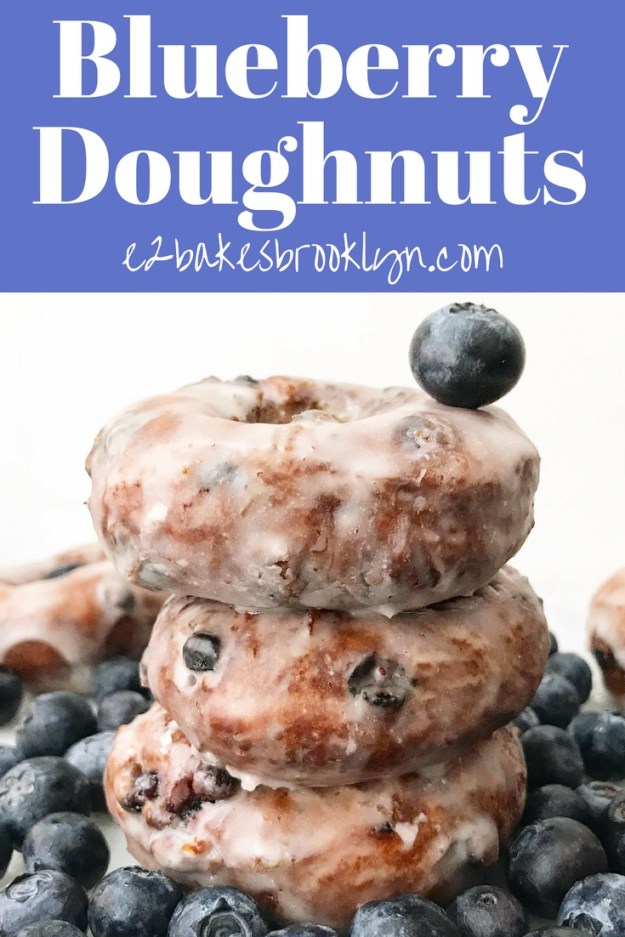
Blueberry Doughnuts

Blueberry Doughnuts
makes 16-18 2 1/2-inch doughnuts + doughnut holes

3 cups all-purpose flour
1/2 cup granulated sugar
1 tablespoon baking powder
1/8 teaspoon ground nutmeg
1/8 teaspoon ground cinnamon
1/4 teaspoon fine sea salt
1/2 cup (4 oz) full-fat sour cream
3 tablespoons unsalted butter
2 large eggs, room temperature
2 teaspoons pure vanilla extract
1 1/2 cups frozen blueberries, thawed and drained
vegetable or canola oil, for frying

Classic Doughnut Glaze:
1 pound confectioners sugar
1/2 teaspoon Kosher or sea salt
1 1/2 teaspoons pure vanilla extract
1 1/2 teaspoons light corn syrup (or mild honey)
6 tablespoons hot tap water

In a large mixing bowl, whisk together flour, sugar, baking powder, nutmeg, cinnamon, and salt. Set aside.

Combine sour cream and butter in a small bowl. Microwave in 30 second increments, stirring in between, until butter is totally melted. Let mixture cool a few minutes, until warm to the touch but not uncomfortably hot (if it’s too hot, it could scramble the eggs).

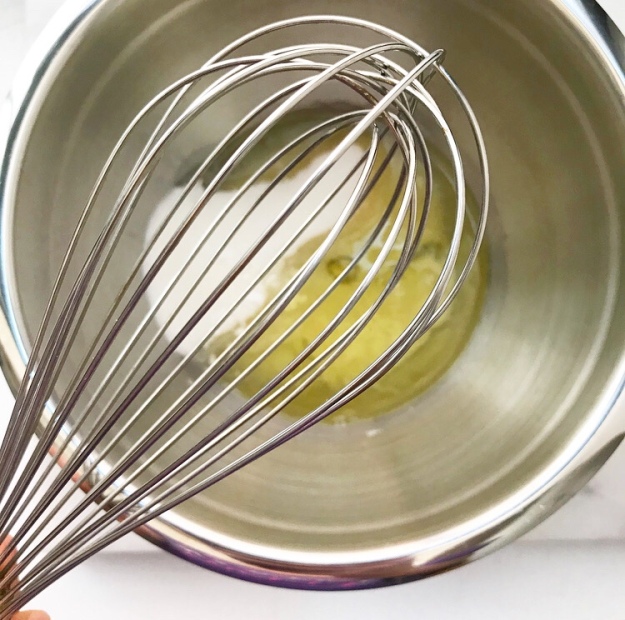
In a small mixing bowl, use a whisk to beat eggs. Whisk in sour cream/butter mixture, followed by vanilla. Use a silicone spatula or wooden spoon to fold wet ingredients into dry. Carefully fold in blueberries. Cover dough with plastic wrap and let sit at room temperature for 15 minutes. Dough will be a bit soft.

Line a rimmed sheet pan with parchment.

Liberally flour a surface and rolling pin. Uncover dough and transfer it to the floured surface. Roll it out to 1/2-inch thickness. Use a doughnut cutter (or graduated cookie cutters) to cut doughnuts. Place cut doughnuts on prepared pan. Re-roll dough as needed.

Pour about 2 inches of oil into a large heavy-bottomed pot and heat to 350F. Line a rimmed sheet pan with two layers of paper towels and set a cooling rack over the top.

Once oil reaches frying temperature, slip 2-3 doughnuts into the pot. Fry 1-1.5 minutes per side, until golden and cooked through. Remove to rack. Continue frying in batches of 2-3, letting the oil return to temperature in between. Fry doughnut holes for 1.5-2 minutes, flipping at around 45 seconds (some may flip on their own).

After all doughnuts are fried and cool enough to be handled, make the glaze. In a large mixing bowl, whisk all ingredients together until smooth. Pour glaze into a shallow dish. Dip one doughnut at a time, spooning more glaze over the top as you go. Transfer back to rack. Repeat with all remaining doughnuts. Glaze will set after 15-20 minutes.

Serve immediately. Doughnuts are best the day they are made. Leftovers will keep in an airtight container at room temperature for about a day.
Blueberry Doughnuts

Sweet Cherry Rhubarb Galette

Sweet Cherry Rhubarb GaletteThis is the 300th post on this site. Three hundredth! That was fast.

Sweet Cherry Rhubarb Galette

May 2015.

Sweet Cherry Rhubarb Galette

June 2018.

It doesn’t seem like it was all that long ago that I purchased this domain and posted a picture of my hand nudging a miniature Sweet Cherry Rhubarb Galette across my now-familiar Carrara marble pie board. The post just said “Making a few adjustments…stay tuned.” It remained the only thing on this site until I posted my inaugural Cocoa Brownies five months later, followed by 298 more things.Sweet Cherry Rhubarb Galette
The fact that post #300 is a recipe for that same Sweet Cherry Rhubarb Galette is pure coincidence—I didn’t even know this was a milestone post until last night. I’ve sworn for the last two summers that I’d post the actual recipe, but two years ago I waited too long into cherry season, and I had a super difficult time finding rhubarb last year. This summer though, I’ve got plenty of both.Sweet Cherry Rhubarb GaletteSweet Cherry Rhubarb GaletteSweet Cherry Rhubarb Galette
You may be wondering why I chose to pair rhubarb with sweet cherries in the first place, instead of the usual strawberries. The answers are:

  • Been there, done that.
  • Because sweet cherries and tart rhubarb are MFEO. (Name that movie.)
  • I like to live on the edge.
  • It was an accident.

Sweet Cherry Rhubarb GaletteSweet Cherry Rhubarb GaletteSweet Cherry Rhubarb GaletteSweet Cherry Rhubarb Galette
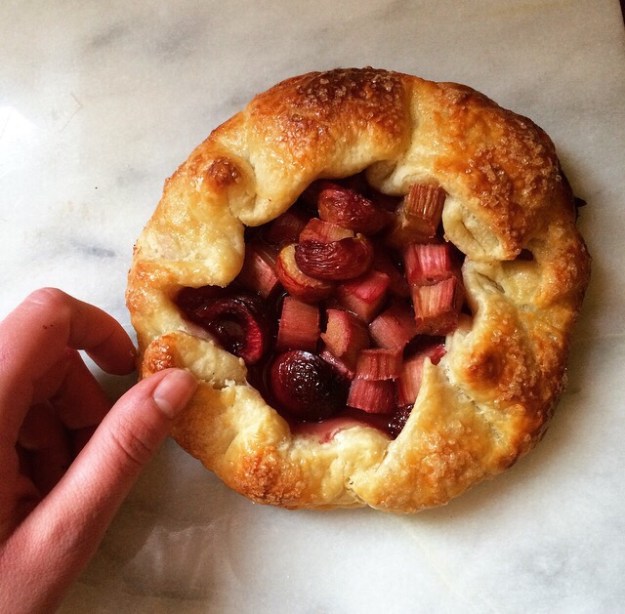
Back when I made my first-ever batch of Cream Cheese Pie Dough, I had a fridge full of rhubarb and not one measly strawberry, or even a box of blueberries. What I did have though was a big bag of cherries and a hankering for pie…er, freeform pie. I stirred together a simple filling and folded a circle of pie dough up around it before baking it for the better part of an hour.Sweet Cherry Rhubarb GaletteSweet Cherry Rhubarb Galette
The resulting galette was divine: sweet, tart, jammy fruit filling and the butteriest, flakiest crust ever to come out of my kitchen. Three years later, you’ve heard me wax on and on about that pie dough, but I don’t think I’ve ever mentioned that a Sweet Cherry Rhubarb Galette was the first thing I ever made with it.Sweet Cherry Rhubarb Galette
After 300 posts, you’d think I wouldn’t have left out any details, but I guess I still have a few things left to tell you. Chief among them, that you should go buy some cherries and rhubarb (and maybe some ice cream) and make yourself a galette.Sweet Cherry Rhubarb Galette

Sweet Cherry Rhubarb Galette
makes 1 galette, about 8 servings

1 1/2 cups sweet red cherries, pitted and halved
1 1/2 cups chopped rhubarb (1/2-inch dice)
1/2 cup granulated sugar
1/8 teaspoon ground nutmeg
3 tablespoons cornstarch
pinch of Kosher or sea salt
juice of 1/2 lime
1/2 recipe Cream Cheese Pie Dough, or other good pie dough
1 large egg
1 teaspoon water
coarse sugar, for sprinkling
vanilla ice cream, for serving (optional)

Arrange oven racks in the upper and lower positions. Preheat oven to 375F. Line a rimmed baking sheet with parchment paper. Set aside.

Combine cherry halves and chopped rhubarb in a large mixing bowl. Add sugar, nutmeg, cornstarch, salt, and lime juice. Stir together with a silicone spatula or wooden spoon and let sit for 15 minutes at room temperature.

Flour a surface and a rolling pin. Roll pie dough out until it is 1/8-inch thick. Trim edges so that you have a 12-inch circle. Transfer to prepared pan. Use a slotted spoon to remove cherry rhubarb filling from the bowl, leaving behind excess liquid. Mound filling in the middle of the dough, leaving at least 2 inches of excess on all sides. Fold dough over the sides of the filling, to contain it. Do not trim crust further as it will shrink while baking.

In a small bowl, whisk together egg and water. Brush mixture on exposed pie dough. Sprinkle with coarse sugar.

Bake galette on the upper rack for 25 minutes. Tent galette with aluminum foil and move to the lower rack. Bake for 20-25 more minutes. Crust will firm up as the galette cools.

Let galette cool completely in the pan on a rack. Remove to a cutting board. Slice and serve with vanilla ice cream, if desired.

Pie will keep covered at room temperature for three days, or in the refrigerator for up to four.Sweet Cherry Rhubarb Galette

Raspberry Coffee Cake

Raspberry Coffee Cake
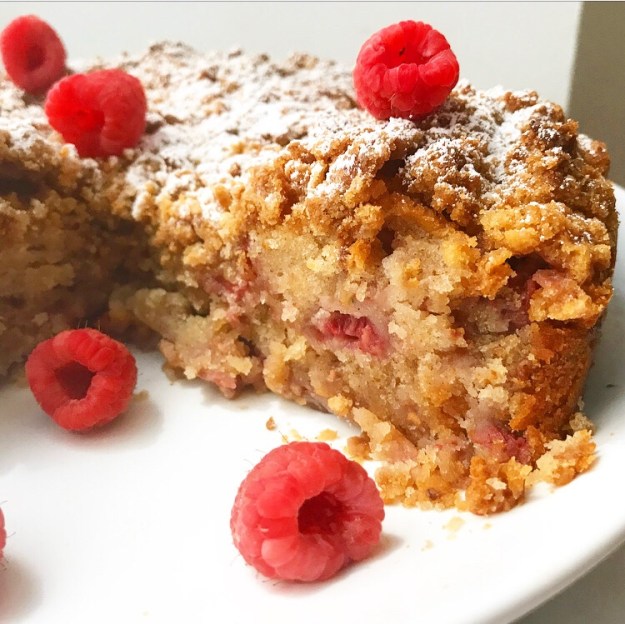
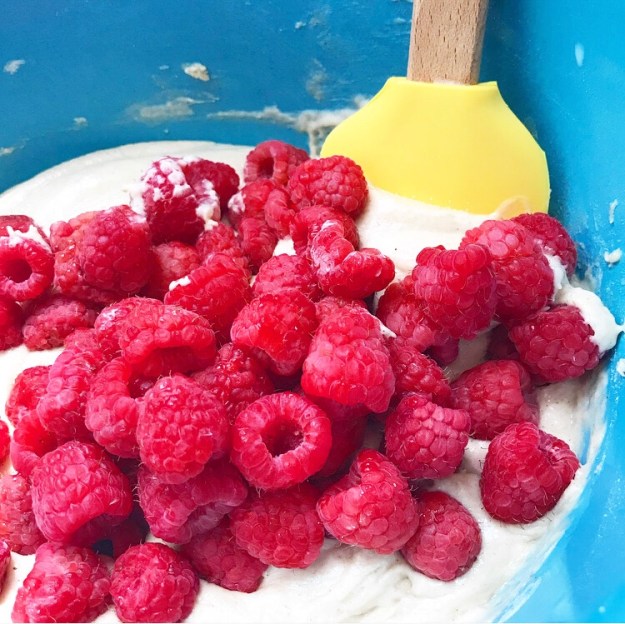
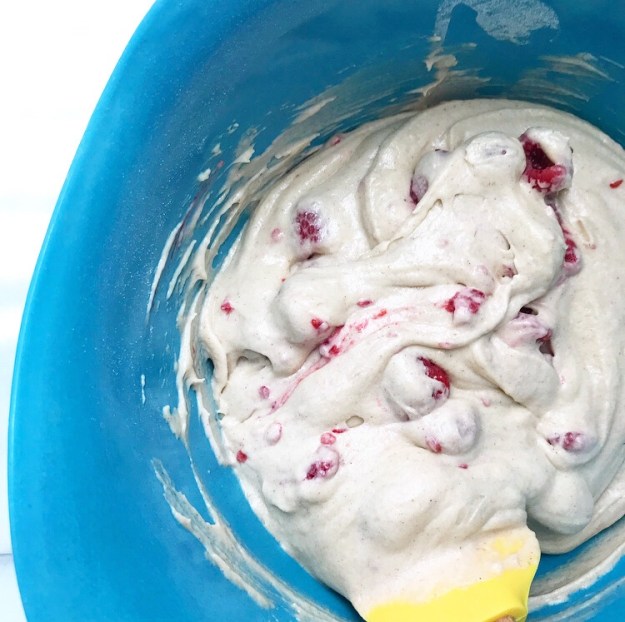
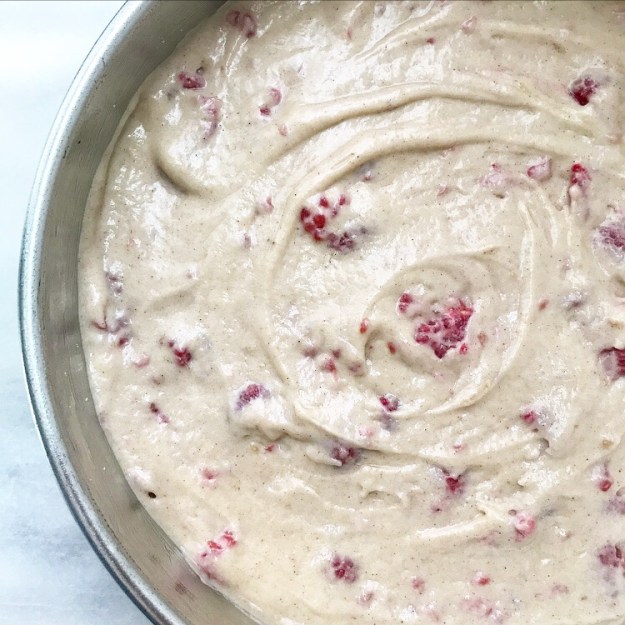
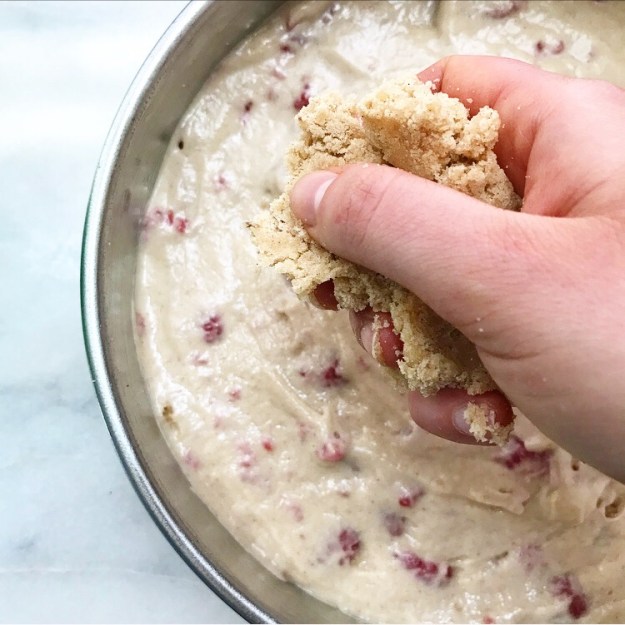
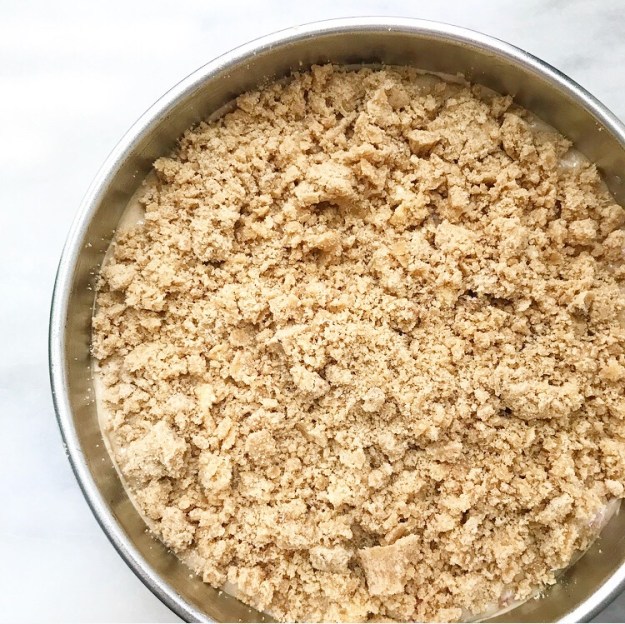
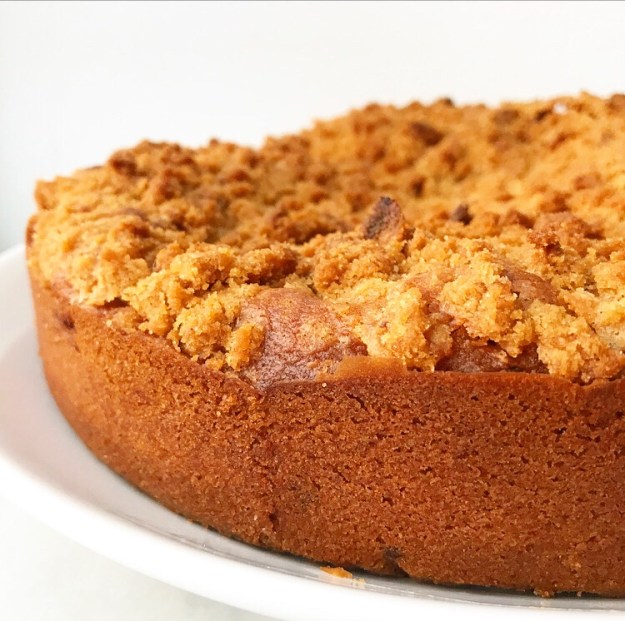
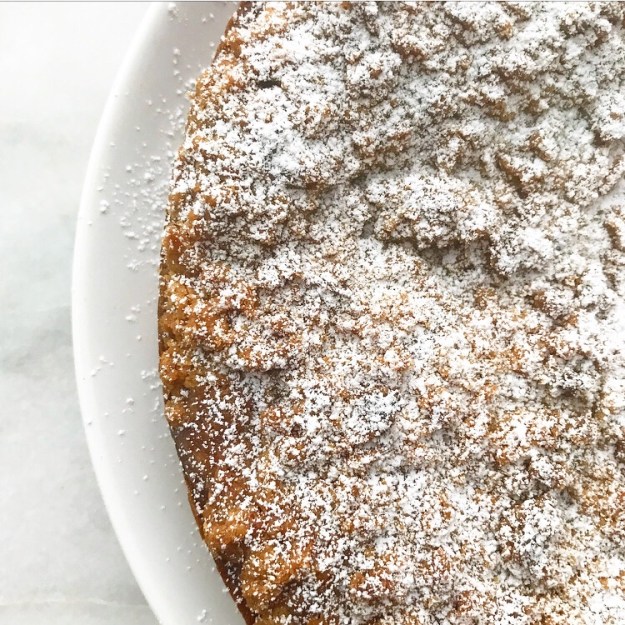
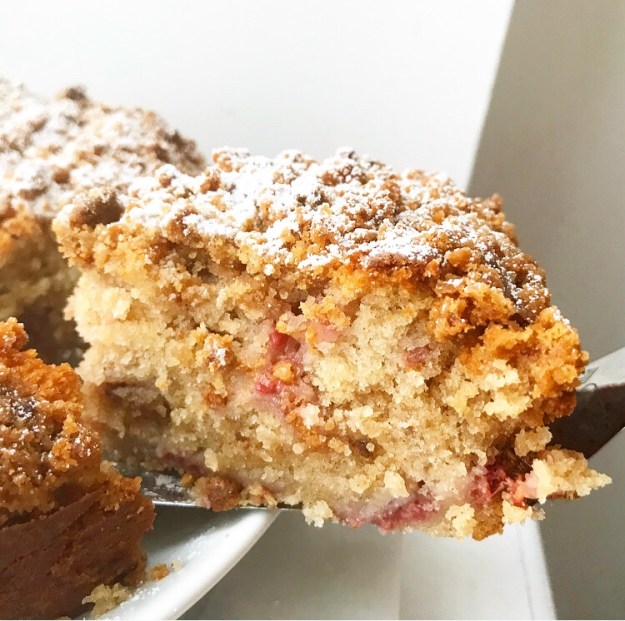
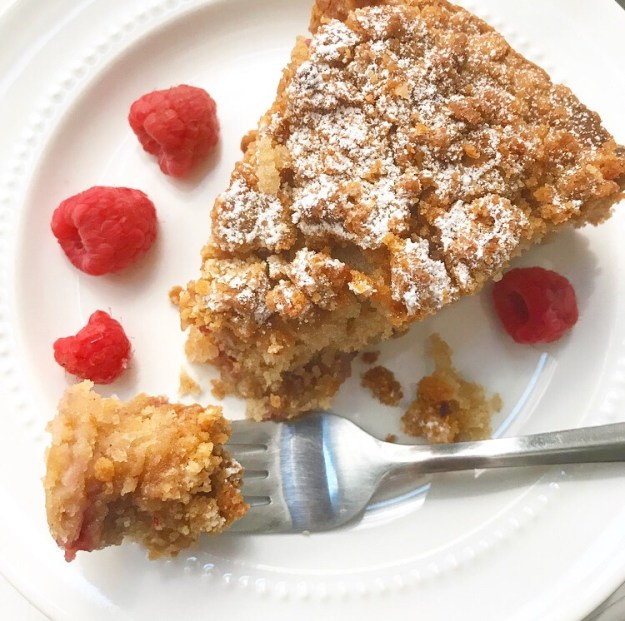
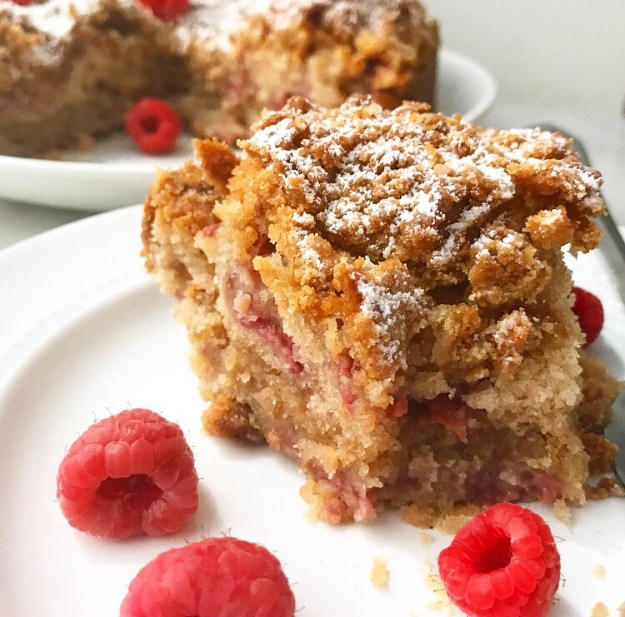
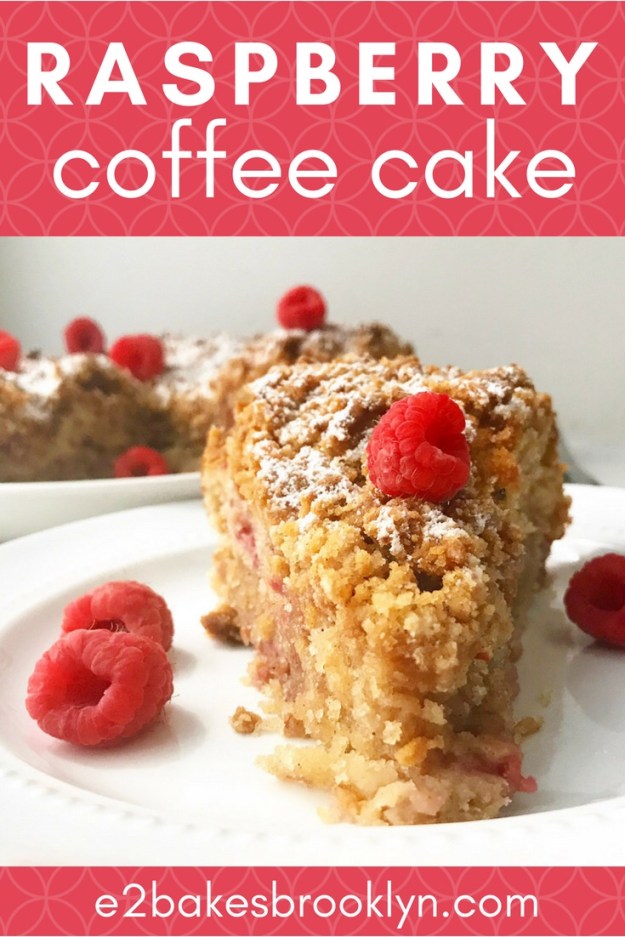
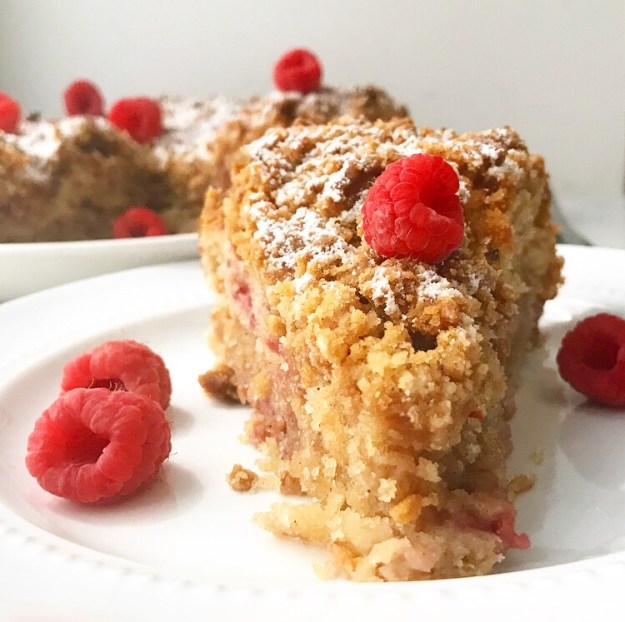
Raspberry Coffee Cake—it’s what’s for breakfast this weekend.Raspberry Coffee Cake
It can also be what’s for mid-morning snack, second breakfast, afternoon snack, or dessert. It’s also totally okay to sub a big hunk of it for one meal.* But only on the weekend because vegetables are important. Or something.

*Not a nutritionist, just a coffee cake enthusiast who believes in cake for lunch every once in a while, okay? Okay.Raspberry Coffee Cake
Raspberry Coffee Cake is a summertime spin on the Apple Cider Coffee Cake I made last fall. I’m looking forward to making the apple version again in a few months, but I am all about fresh seasonal berries right now. When I wrote my berry round-up a couple of weeks ago, I was shocked to see how few raspberry recipes I have in my archives, so I went and made a cake that showcases them in all their sweet, tangy glory!Raspberry Coffee CakeRaspberry Coffee CakeRaspberry Coffee Cake
This cake is super moist and delicious. In addition to the 1 1/2 cups of ripe red raspberries, the batter is made with sour cream, whole milk, butter, and a touch of brown sugar—basically, if you can think of an ingredient that makes cake amazing, it’s probably in this recipe.Raspberry Coffee CakeRaspberry Coffee CakeRaspberry Coffee CakeRaspberry Coffee Cake
I know coffee cake crumb qualifies more as an “element” than it does as an ingredient, but this cake has two layers of it and they definitely up the amazingness quotient. While the middle layer sort of melts into the middle of the cake, the stuff on top gets super caramelized and crispy while baking. YUM.Raspberry Coffee Cake
And speaking of baking, because it’s so moist, this cake needs to bake for a while. Like 75-minutes-a-while. The wait will seem eternal, but it will be absolutely worth it because cinnamon-scented cake bursting with raspberries and topped with crunchy crumbs is basically always worth it.Raspberry Coffee Cake
Another great thing? You don’t have to cool this cake completely before you slice into it. I mean, if you want to move it to a serving plate, you’ll want to wait for it to cool, but if it’s just you and family/friends who are family sitting around drinking cold brew and eating Raspberry Coffee Cake on a Saturday afternoon, slice that sucker up anytime you please.Raspberry Coffee Cake

Raspberry Coffee Cake
makes 1 9-inch round cake

Crumb:
1 cup + 2 tablespoons all-purpose flour
3/4 cup + 2 tablespoons light brown sugar, packed
1 teaspoon ground cinnamon
pinch of Kosher or sea salt
1 teaspoon pure vanilla extract
1/2 cup unsalted butter, cold, cut into cubes

Cake Batter:
2 cups all-purpose flour
1/2 cup granulated sugar
1/4 cup light brown sugar, packed
1 teaspoon ground cinnamon
1 1/2 teaspoons baking powder
1/4 teaspoon baking soda
1/2 teaspoon Kosher or sea salt
1/2 cup (1 stick) unsalted butter, softened to room temperature
1 large egg, room temperature
1/2 cup full-fat sour cream
1 teaspoon pure vanilla extract
2/3 cup whole milk
1 1/2 cups fresh raspberries (about 8 ounces)

Garnish:
1-2 tablespoons confectioner’s sugar (optional)

Make the crumb. In a large mixing bowl, whisk together flour, light brown sugar, cinnamon, and salt. Pour in vanilla. Add butter. Use your hands (or a pastry blender) to work butter into dry ingredients until a clumpy but homogenous mixture forms. Set aside.

Preheat oven to 350F. Grease a 9-inch springform pan with butter. Line with parchment. Grease parchment with butter. Set aside.

In a medium mixing bowl, whisk together flour, granulated sugar, light brown sugar, cinnamon, baking powder, baking soda, and salt. Set aside.

In a large mixing bowl, use an electric mixer to beat butter until fluffy. Mix in egg and sour cream; mixture may be a bit lumpy. Mix in half the dry ingredients followed by half the milk. Add remaining dry ingredients, followed by remaining milk. Use a silicone spatula (or wooden spoon) to fold in raspberries.

Pour half the batter into the prepared pan and spread it evenly. Top with half the crumb. Drop spoonfuls of the remaining batter over the crumb and gently spread to cover. Scatter remaining crumb over the top. Tap full pan a few times on the countertop to release any large air bubbles. Bake cake for 65-75, until a toothpick inserted in the center comes out clean.

Let cool 20 minutes in the pan on a rack. Run a thin, flexible knife around the edge of the pan before releasing the springform. Cake may be served warm or room temperature. If you’d like, let the cake cool completely, invert it and remove the parchment before placing on a serving platter. Sift confectioner’s sugar over the top. Serve.

Leftover cake will keep well at room temperature for up to two days, or in the refrigerator for up to five.
Raspberry Coffee Cake

Peanut Butter Caramel Sauce

Peanut Butter Caramel Sauce
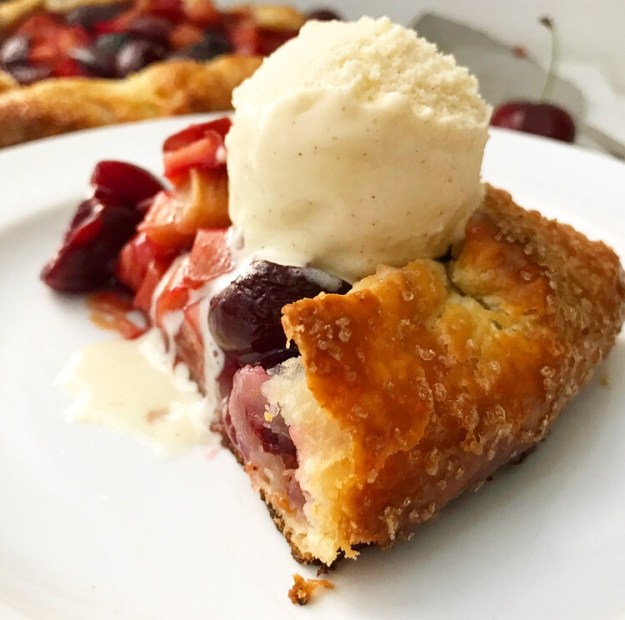
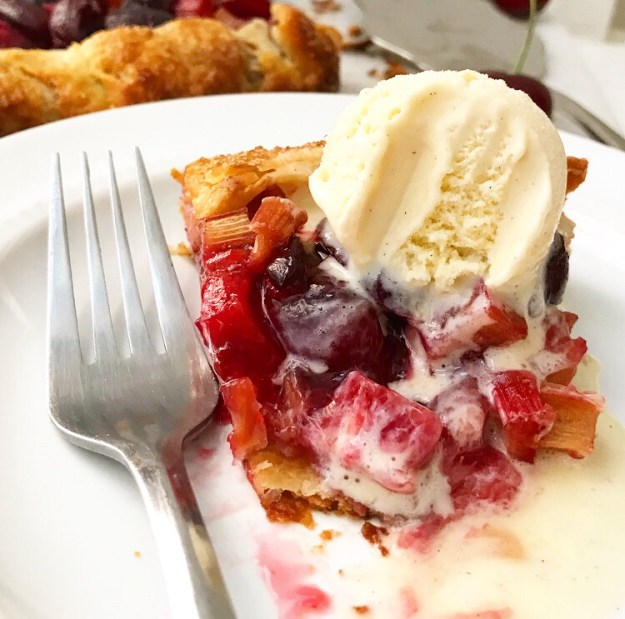
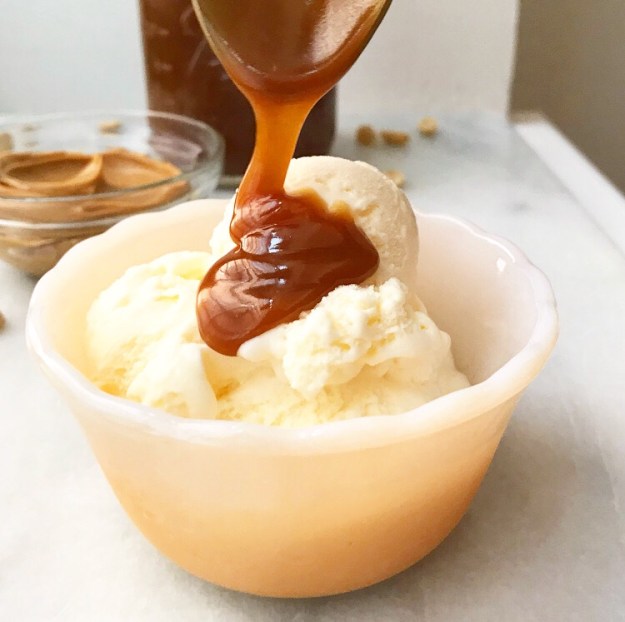
Here’s some fair warning that I might have a lot of ice cream-related recipes coming your way over the next month or two. I’ve been dreaming them up since the third snowstorm we had this past March, and I’m psyched that it’s finally time to share them! Believe me when I tell you that the Mint Chocolate Chip Ice Cream Cake I posted a couple of weeks ago is just the tip of the ice (cream) berg 🙂 Peanut Butter Caramel Sauce
Today is all about my new favorite ice cream topping: Peanut Butter Caramel Sauce. Yes, you read that right.Peanut Butter Caramel Sauce
Peanut. Butter. Caramel. Sauce. ❤ ❤ ❤ Peanut Butter Caramel SaucePeanut Butter Caramel Sauce
This stuff takes all of ten minutes to make and is out-of-this-world delicious! It’s literally as easy as melting some sugar, stirring in butter, heavy cream & creamy peanut butter, and then doctoring it up with some vanilla and salt. That’s literally it.Peanut Butter Caramel Sauce
Pour your hot Peanut Butter Caramel Sauce in a jar and then over some vanilla ice cream. Or chocolate ice cream. Or use it as a dip for apple slices. Or drizzle some over a Chocolate Puff Pancake.Peanut Butter Caramel SaucePeanut Butter Caramel SaucePeanut Butter Caramel Sauce
Or maybe whip some cream in a jar, chop some salted peanuts, and make yourself a quick peanut butter sundae on the hottest day of the year (so far). Don’t forget the maraschino cherry.Peanut Butter Caramel Sauce
It might get a little melty before you have a chance to snap a pic for your Instagram, but who cares? There’s Peanut Butter Caramel Sauce to be had.Peanut Butter Caramel Sauce

Peanut Butter Caramel Sauce
makes about 2 cups (1 pint)

1 cup granulated sugar
1/4 cup (1/2 stick) unsalted butter
3/4 cup heavy cream
1/3 cup creamy-style peanut butter (not natural-style)
2 teaspoons pure vanilla extract
1/4-1/2 teaspoon fine sea salt (depends on your preference)

Place sugar in a 2-3 quart saucepan over medium-high heat. Whisk sugar until the sugar melts and turns a deep copper color. Whisk in butter until completely incorporated. Remove the pan from the heat and stir in heavy cream. Caramel will bubble violently, but will quickly relax into a smooth sauce. Whisk in peanut butter, vanilla, and salt. Transfer sauce to a jar.

Sauce is best served warm or room temperature. Leftovers should be refrigerated in an airtight container for up to 2 weeks. Reheat by microwaving in 15 second increments, stirring between intervals.Peanut Butter Caramel Sauce

Triple Chocolate Cake

Triple Chocolate CakeThis cake deserves a better name.Triple Chocolate Cake
It’s thin layers of my favorite chocolate cake filled with chocolate pudding and frosted with the best buttercream ever to come out of my kitchen. It should have a more creative name than Triple Chocolate Cake.Triple Chocolate CakeTriple Chocolate CakeTriple Chocolate CakeTriple Chocolate Cake
Other name options included, but were not limited to:

• Fancier Chocolate Cake
• Gertrude’s Chocolate Cake*
• Eleven Layer Chocolate Cake**
• The Chocolate Cake of My Dreams (This Week, Specifically)
• Unnameable Chocolate Cake

*Gertrude is a chihuahua whom I have never met. She cannot actually eat chocolate, nor has she ever baked a thing (as far as I know). Things got weird, okay?
**Six thin layers of cake (three layers, split in half), five layers of pudding.Triple Chocolate Cake
When all was said and done and over-analyzed, I went with the least ridiculous, most accessible, accurate name. Triple Chocolate Cake it is—the most decadent, chocolaty cake ever to appear on this blog.Triple Chocolate Cake
Out of the three sources of chocolate in this cake, I’ve already discussed two of them at length. You’ve heard me wax on and on about my stellar chocolate cake and I recently wrote all about my seriously phenomenal chocolate pudding. I could have frosted this cake with a thick layer of chocolate buttercream, but instead I turned the volume up to 11…Chocolate Swiss Meringue Buttercream
…Chocolate Swiss Meringue Buttercream, y’all! The lightest, fluffiest, silkiest chocolate frosting I’ve ever made ❤

Every buttercream that has appeared previously on this site has been some variation on an American Buttercream: a frosting consisting of softened butter, confectioner’s sugar, and vanilla. I usually jazz mine up with heavy cream, and while they are all fluffy and luxurious, none are quite as divine as this one, which is airy from whipped egg whites and rich from butter and melted chocolate.Chocolate Swiss Meringue ButtercreamChocolate Swiss Meringue Buttercream
Let me give you a quick overview. It all starts with melting sugar into egg whites…Chocolate Swiss Meringue ButtercreamChocolate Swiss Meringue Buttercream
…and then beating it all into a glossy meringue. Next come two sticks of softened butter…Chocolate Swiss Meringue ButtercreamChocolate Swiss Meringue Buttercream
…and then ten ounces of melted bittersweet chocolate. Oh my word.Chocolate Swiss Meringue Buttercream
Unlike American buttercreams, this one requires a couple of bowls and a little patience, but it is worth every last ounce of effort. I swear, I would eat Chocolate Swiss Meringue Buttercream on a piece of cardboard if it were offered to me…Chocolate Swiss Meringue Buttercream
…but I would much prefer to eat it on chocolate cake. This one specifically.Chocolate Swiss Meringue Buttercream

Triple Chocolate Cake
makes 1 9-inch round cake

2 2/3 cups all-purpose flour
1 cup + 2 Tbsp natural unsweetened cocoa powder
1 2/3 cups granulated sugar
1 cup dark brown sugar
1 1/2 teaspoons baking powder
1 tablespoon (3 teaspoons) baking soda
1 1/2 teaspoon Kosher or sea salt
1 1/2 cups buttermilk (low fat is fine)
3/4 cup vegetable oil
3 large eggs, room temperature
1 tablespoon pure vanilla extract
1 1/2 cups strong, hot coffee

For Assembly:
1 recipe Chocolate Pudding (about 2 cups)
1 recipe Chocolate Swiss Meringue Buttercream (below)
mini chocolate chips, for garnish (optional)
chocolate sprinkles, for garnish (optional)

Cake layers and Chocolate Pudding may be made up to 2 days in advance and stored in the refrigerator.

Preheat the oven to 350F. Grease 3 9-inch round cake pans. Line the bottoms with parchment and grease again. Set aside.

Make the cake batter. In a large mixing bowl, sift together flour, cocoa powder, granulated sugar, dark brown sugar, baking powder, baking soda, and salt. Set aside.

In a separate large mixing bowl, whisk together oil and eggs, followed by vanilla, buttermilk, and coffee. Whisk in dry ingredients in three installments, just until combined. Divide batter evenly among the pans. Tap full pans on the counter five times to release any air bubbles. Bake 25-27 minutes, or until a toothpick inserted in the middle comes out clean.

Let cakes cool in pans for 10 minutes before running a small, thin knife around the edges. Invert cakes onto cooling racks and allow to cool to room temperature. Wrap in plastic wrap and refrigerate for 2 hours or up to 2 days. Layers are easiest to work with when they are cold.

Assemble the cake. Use a serrated knife to slice cake layers equatorially so that you are left with 6 very thin layers. Place one layer, cut-side-up on a serving plate or cake stand. Use an offset spatula to spread ~1/3 cup of chocolate pudding over the top. Place another thin layer on top and spread with more pudding. Repeat this process until you have 6 thin layers of cake and 5 of pudding. Tent the cake with plastic wrap and refrigerate while you prepare the Chocolate Swiss Meringue Buttercream.

Remove cake from the refrigerator and uncover. Use an offset icing knife to frost the outside of the cake with buttercream. Pipe as desired. Decorate with mini chocolate chips and/or chocolate sprinkles, if desired. Chill cake for at least 30 minutes before serving.

Leftover cake will keep covered in the refrigerator for up to 5 days.

Chocolate Swiss Meringue Buttercream
makes enough to fill, frost & decorate a 9-inch layer cake

1 cup (2 sticks) unsalted butter, softened to room temperature
10 ounces bittersweet chocolate
4 large egg whites*
1 cup granulated sugar
1/2 teaspoon fine sea salt
1/8 teaspoon cream of tartar**

Egg whites will not whip properly if they are not treated well. Before beginning, please ensure that all equipment used in this recipe is very clean and dry. I like to wipe down the bowl(s), whisk, and mixer attachments with vinegar before starting the recipe. There is no way to salvage this recipe if the egg whites are contaminated with oil, yolk, or even water.

Cut butter into 16 one-tablespoon pieces. Set aside.

Chop chocolate. Place chopped chocolate in a microwave-safe bowl and microwave in 15-second increments, stirring in between, until smooth. Set aside.

Fill a small pot with 1-2 inches of water. Set a very clean, dry heatproof bowl over the top, ensuring that the water does not touch the bottom of the bowl. Remove bowl and bring water to a simmer.

Combine egg whites, sugar, salt, and cream of tartar in the heatproof bowl. Place bowl over simmering water and whisk frequently until sugar dissolves. Test for readiness by rubbing a drop of the mixture between your clean, dry fingertips to feel for granules. Remove bowl from heat and wipe off the bottom to remove any condensation.

Use a very clean, dry electric mixer with a whisk attachment to beat egg white mixture until room temperature and doubled in size, about 7-10 minutes. At this point, the mixture (a meringue) should hold stiff peaks and be glossy.

Add butter 1 tablespoon at a time, mixing to combine. Buttercream will probably curdle before re-forming; this is normal. Continue to whip until it thickens and becomes airy and frosting-like. If the buttercream is taking a long time to thicken, it may be too warm. Simply pop the bowl in the refrigerator for 15 minutes before whipping again.

Pour in chocolate and whip until combined. Fill and frost cake layers as desired.

Leftover frosting will keep in an airtight container in the refrigerator for up to 2 weeks. Let come to room temperature and whip until fluffy before using.

Notes:

1. I use the ones leftover from making pudding.
2. Cream of tartar is required for this recipe. There is no substitute for this ingredient.

Triple Chocolate CakeChocolate Swiss Meringue Buttercream