How have I never put peppermint bark on here? It’s chocolate, it’s peppermint, it’s festive, it’s iconic, and yet it’s never graced this blog. That is, unless you count assembling it on top of a giant sheet of chocolate cookie and then breaking it into a zillion jagged pieces, which I very much do.
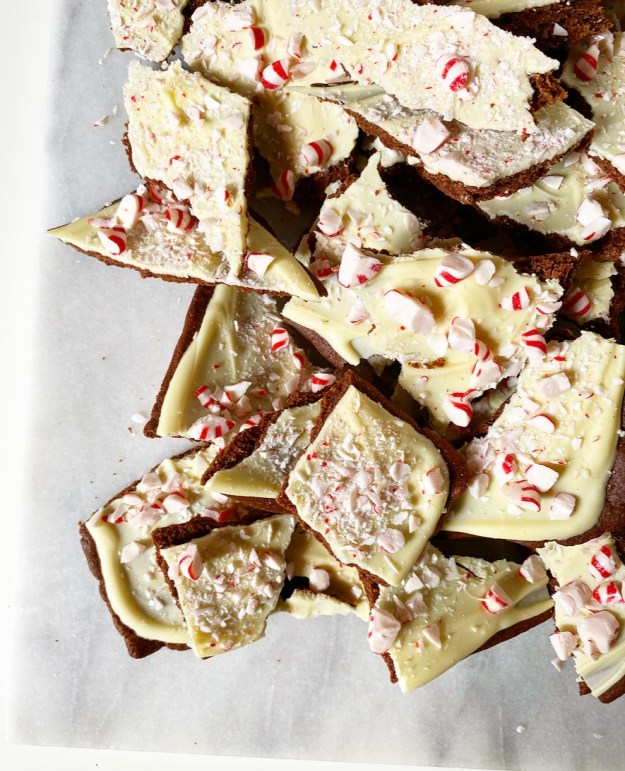 Ooooh y’all, these have been a long time coming. Over the years, I have tested putting peppermint bark on a cookie cake, shortbread bars, potato chips and brownies, none of which have made to on the blog, but these Peppermint Bark Cookies? These are where it’s at. If you make one new cookie recipe this holiday season, let this be it. It’s the best of two worlds (peppermint bark and cookies, duh), surprisingly simple, and so, so good.
 The dough comes together in a flash. It’s just my chocolate cut-out cookie recipe, but instead of stamping out cookies with graduated cutters, it’s divided in two and rolled into big rectangles. Each one gets a 15 minute freeze, a 17 minute bake and then has to cool completely before the peppermint barking. <—Sounds weird, keeping it anyway.
The way the recipe is written, these big cookies retain a good amount of softness, but aren’t gooey or underdone at all. Once baked and cooled, you can wrap them in plastic and wait a day or two before assembly, or you can get right to it.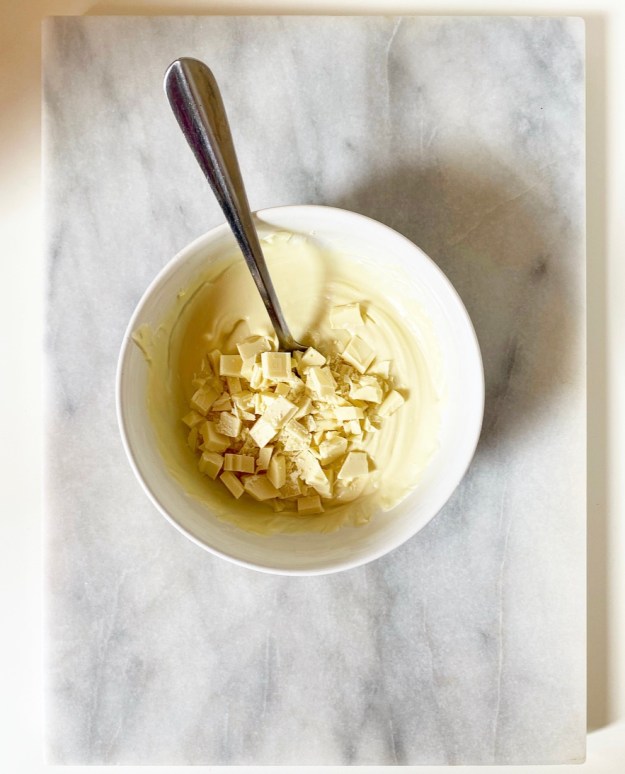
 This part—the peppermint bark part—is easy, but I still have a few tips for you.
Use good quality pure white chocolate, like Ghirardelli or even Baker’s. Please don’t use white chocolate chips. Just don’t. Melting white chocolate is always a little finicky, but white chocolate chips? Forget it—too many stabilizers. I’ve outlined a microwave method for melting white chocolate in the recipe; it’s easy, but involves a few stops and starts and adding more chopped white chocolate at a certain interval. You may be wondering if any of that matters and if you can’t just chuck it all together and call it a day. And yeah, you can, but your white chocolate will never be as smooth and spreadable as what you see here. Heat and time, y’all. They’re important.
After your white chocolate is melted, add 1/2 teaspoon of peppermint extract. This will make your white chocolate seize slightly for a few seconds, but just keep whisking and it will smooth out. Could you skip the extract? Sure. But that extra hint of peppermint is wonderful. And speaking of peppermint, I like to use starlight peppermints in my Christmas baking. Some bakers prefer candy canes, but peppermints are cheaper ($1!) and look the exact same as candy canes when all bashed up. Oh, and unpopular opinion? They taste better than your average candy cane. Fight me.
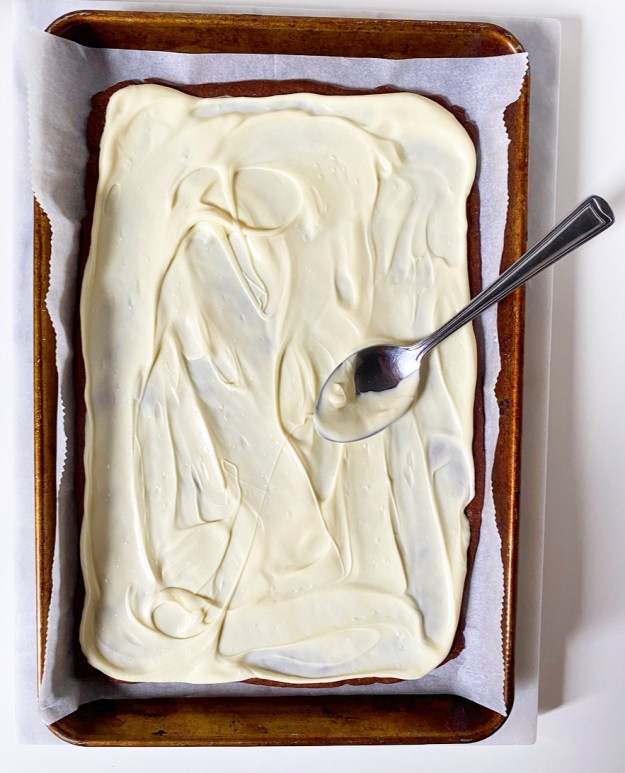
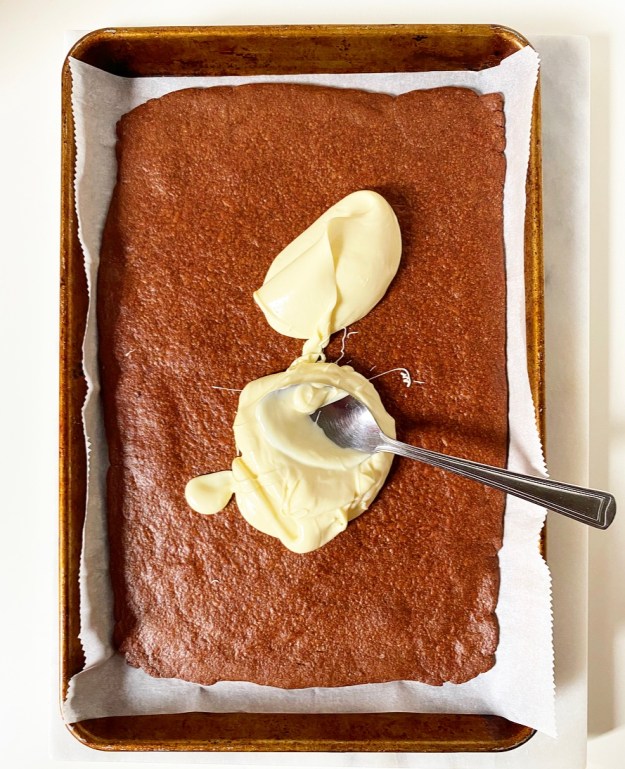
 To make the peppermint bark, spread the melted white chocolate all over the big chocolate cookies and scatter on the bashed peppermints. Then give your cookies a 20 minute freeze to set the bark. You can also let it set at room temperature, but it will take a couple of hours and that seems like a lot when cookies can be had so much sooner.
 The last step in this process is the most fun: breaking the big cookies into shards! Just like with traditional peppermint bark, make the pieces as big or small as you like. Try to let go of the outcome—the charm here is that each piece is different. If you need uniformity with your Peppermint Bark Cookies, you can obviously slice the big rectangles into squares.
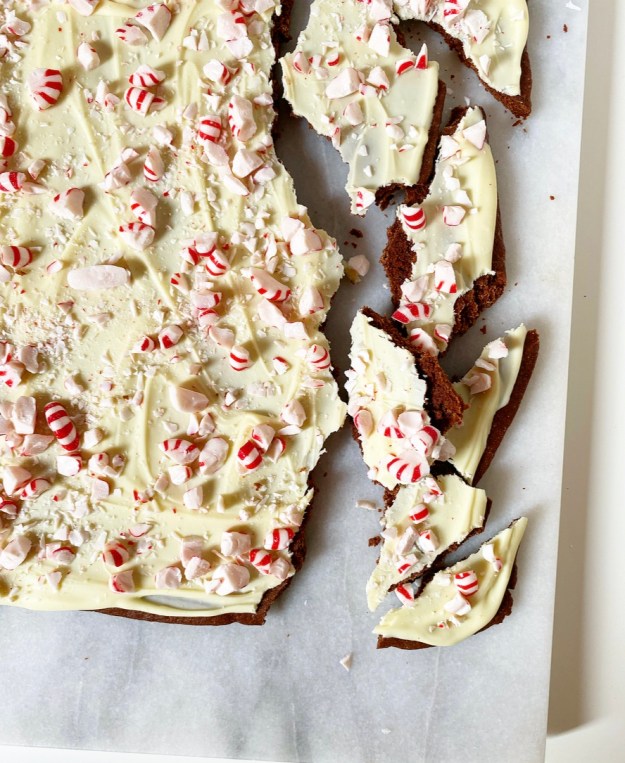 After that, it’s time to treat yourself! These cookies have it all: a soft chocolate base, a layer of smooth, snappy, peppermint-spiked white chocolate, a smattering of candy, and a whole lot of holiday cheer. They’re so delicious that you could easily hoard the whole batch to yourself, but I think they’d be amazing packed up in tins and gifted. And speaking of food gifting, that’s what we’re talking about on Friday. See you then!
Peppermint Bark Cookies
makes lots
Chocolate Cookie Base:
2 1/2 cups all-purpose flour
3/4 cup unsweetened cocoa powder (natural or Dutch process)
1 1/2 teaspoons baking powder
1/2 teaspoon Kosher or sea salt
1 cup (2 sticks) unsalted butter, softened to room temperature
1/2 cup granulated sugar
1/2 cup light brown sugar, packed
1 large egg, room temperature
2 teaspoons pure vanilla extract
For peppermint bark:
40 starlight peppermints
16 ounces pure white chocolate (not white chocolate chips)
1/2 teaspoon pure peppermint extract (not mint extract)
Special Equipment:
rolling pin
2 12×16-inch sheets parchment
2 quarter sheet pans or jelly roll pans
small hammer/meat tenderizer/heavy object
Place oven racks in central positions. Preheat oven to 350F.
Make chocolate cookie base. In a large mixing bowl, whisk together flour, cocoa powder, baking powder, and salt. Set aside.
In a separate large mixing bowl, use an electric mixer to beat butter until light and fluffy, about 2 minutes. Mix in granulated and light brown sugars, followed by the egg and vanilla extract. Add dry ingredients in 3 installments, combining completely after each. Use your hands to knead dough into a mass, then divide it in two.
Lightly flour your rolling pin. Place one half of the dough on a sheet of parchment. Gently pat it into a rectangle shape before rolling it out to an 8×12-inch rectangle. You may need to slice off edges and patchwork your corners together—this is fine. Transfer dough (on parchment) to one rimmed sheet pan. Freeze 15 minutes. Repeat with remaining half of dough.
Bake frozen dough rectangles 17-18 minutes, until puffed and no longer raw looking. Watch the edges to make sure they don’t burn. Let cool completely on their pans on racks.
Prepare the peppermint bark. Place starlight mints in a ziptop bag and seal. Place bag on a cutting board, or other surface that can take some light bashing. Use a small hammer or other heavy object to smash peppermints into small pieces (follow your preference). Set aside.
Chop 12 ounces of the white chocolate and place in a medium microwave-safe bowl. Microwave in 30 second increments, stirring between, until melted (this takes 60 seconds in my microwave). Chop remaining 4 ounces of white chocolate and add to melted white chocolate. Microwave in 15 second increments, stirring between, until melted (this takes about 30 seconds in my microwave).
Add peppermint extract to white chocolate and stir until smooth. White chocolate may appear to seize at first, but just keep stirring and it will smooth out.
Divide white chocolate mixture onto the two rectangles and use the back of a spoon or offset knife to spread it to the edges, leaving a narrow border if desired. Sprinkle crushed peppermints over the top. Freeze cookies for 20 minutes to set white chocolate.
Remove cookies from freezer and let thaw a few minutes before breaking into pieces. Serve.
Leftovers will keep in an airtight container for a few days. Peppermints may degrade over time.

 I first had Brownie Pie at an Easter brunch almost twenty years ago, but I’m here to tell you to make it for Thanksgiving. Yes! You may not realize it with everything going on, but Turkey Day is twenty days out. Twenty days! I started off the festive foods with Wednesday’s
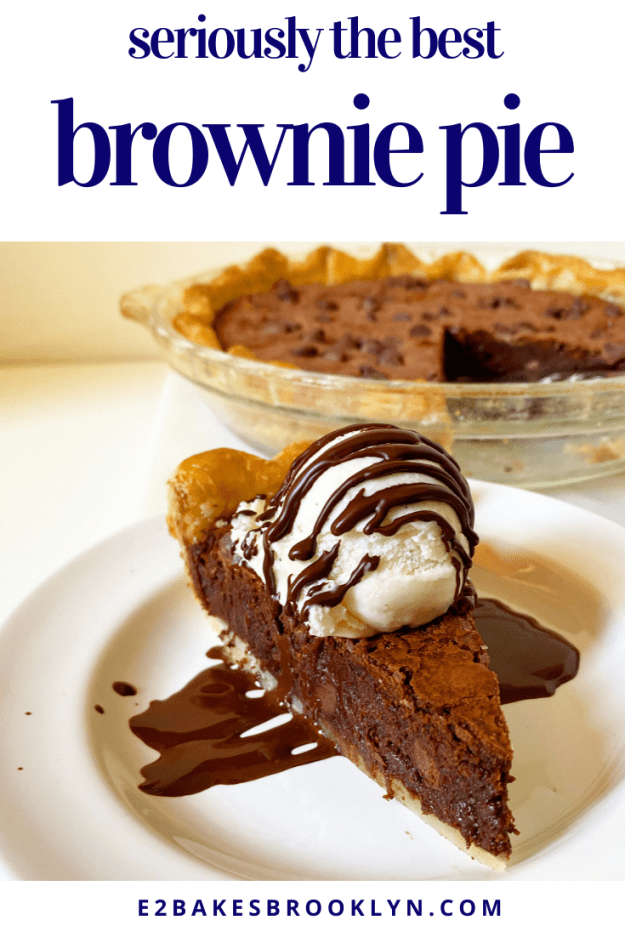
 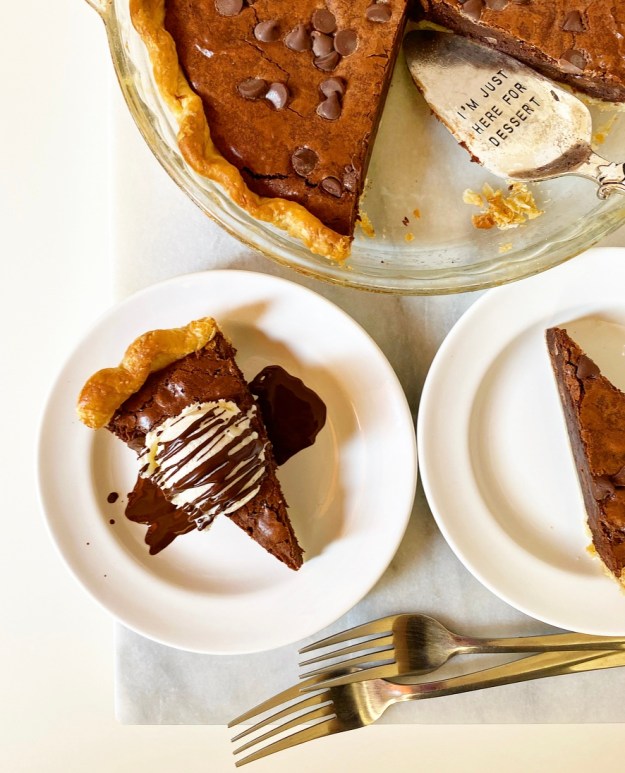 Brownie Pie? Like brownies *in* a pie? You better believe it. We’re talking dense, chewy, fudgy, crackly-topped brownies baked up in a flaky
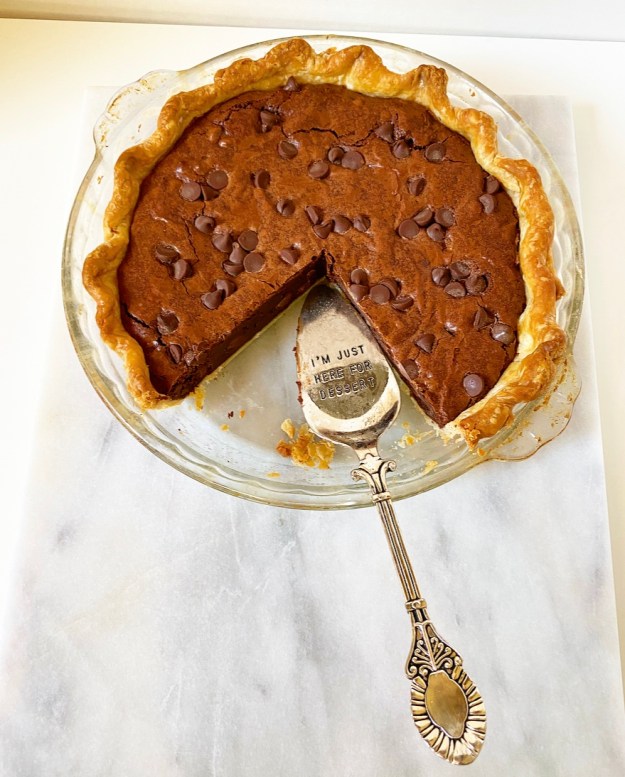
 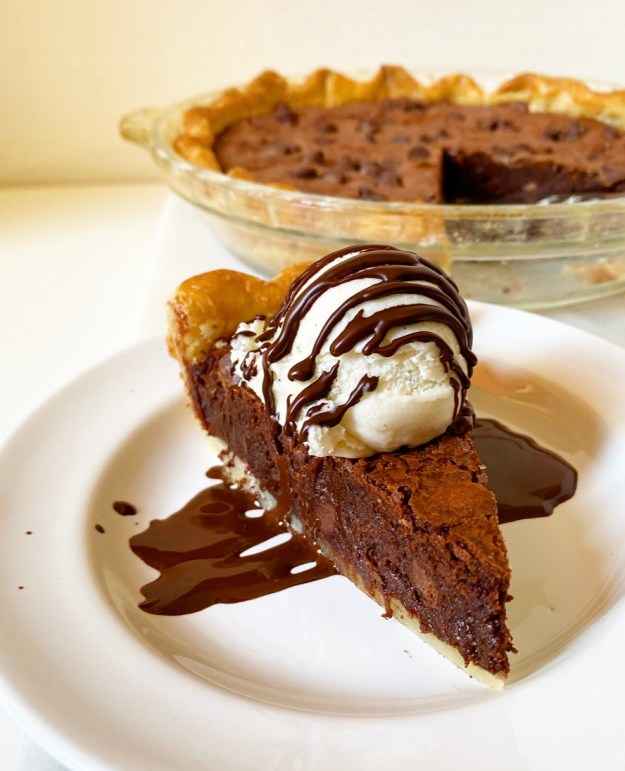 Now, Brownie Pie not quite as simple as baking brownie batter in a pie crust…but it almost is. You just have to partially blind-bake (bake without filling) the pie crust first, lest your bottom crust stay raw. Don’t worry, it’s not as terrifying as it sounds.
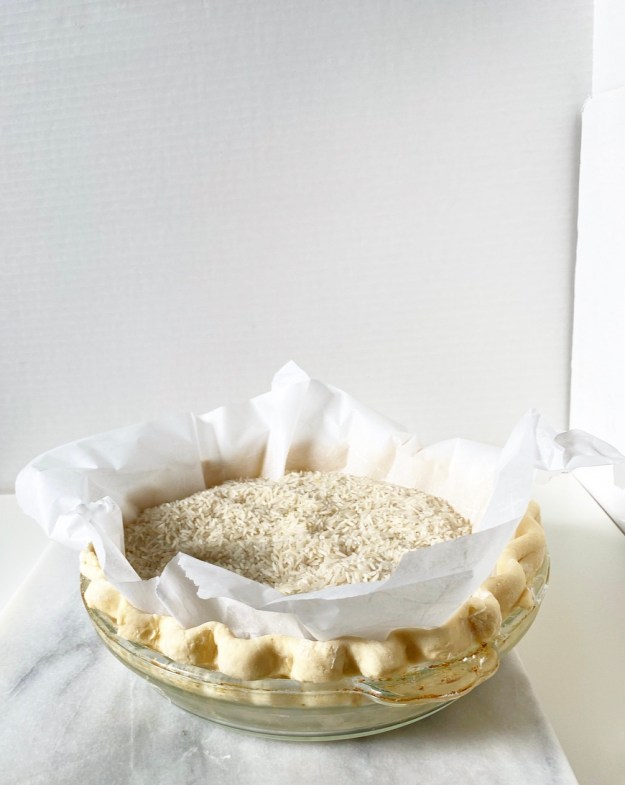
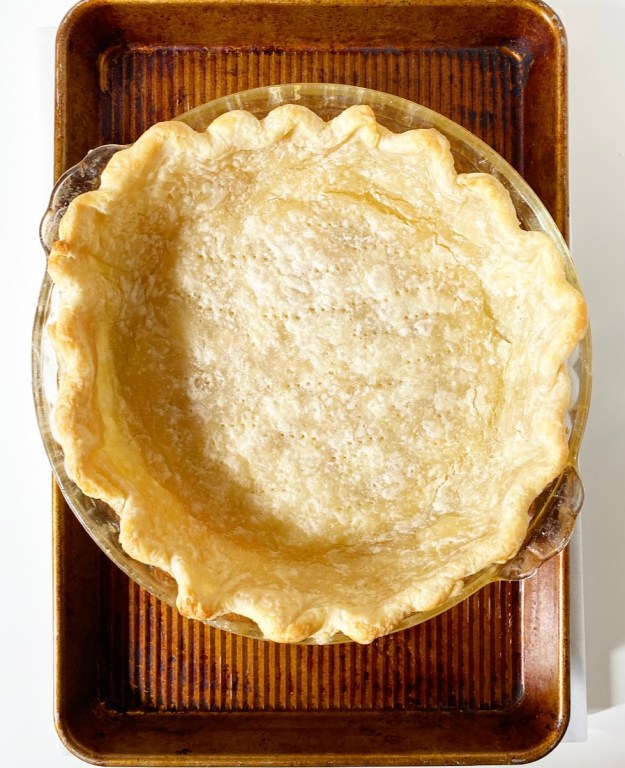 To partially blind-bake, begin by rolling out your dough, then fit and crimp it in a pie plate like you normally would. Next, give it a good chill before lining it with parchment, filling it up with your weights of choice (pie weights, dried beans, rice) and baking for 20 minutes. Then simply lift the parchment and weights out of the crust, dock it with a fork and bake for another 10 minutes, until it starts to brown.
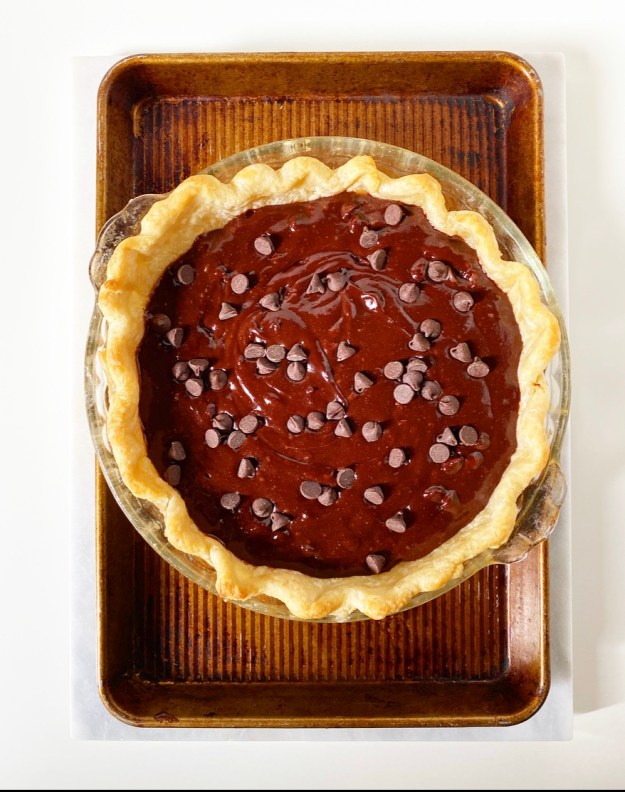
 After that—which, again, is much less of an ordeal than it sounds—it’s as simple as pouring the brownie batter into the crust and baking it off. I used my trusty
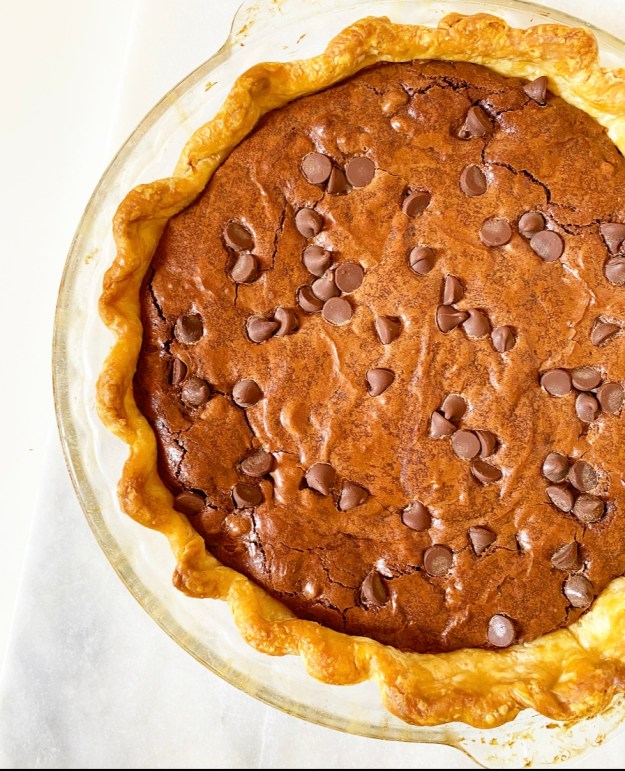
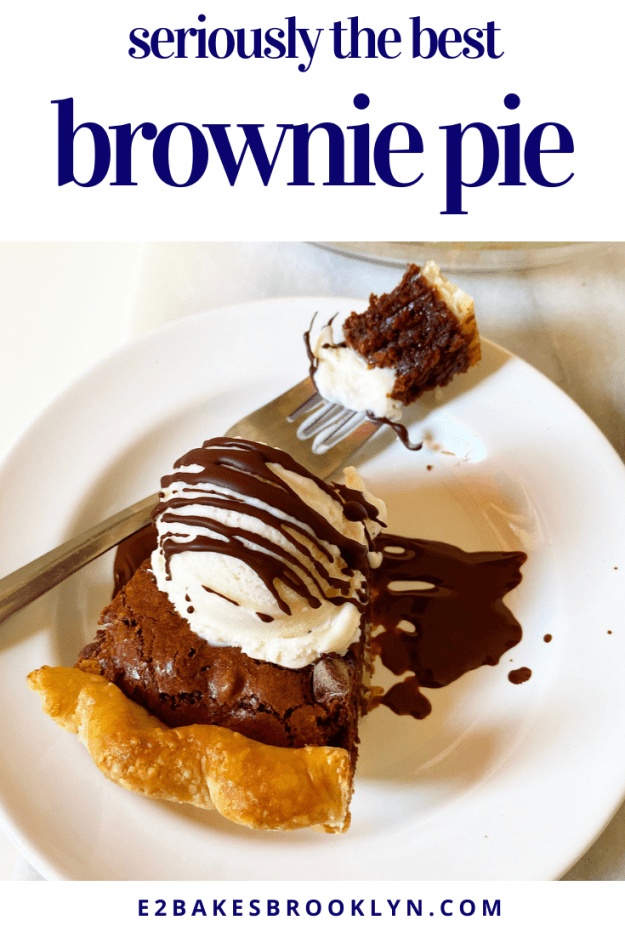
 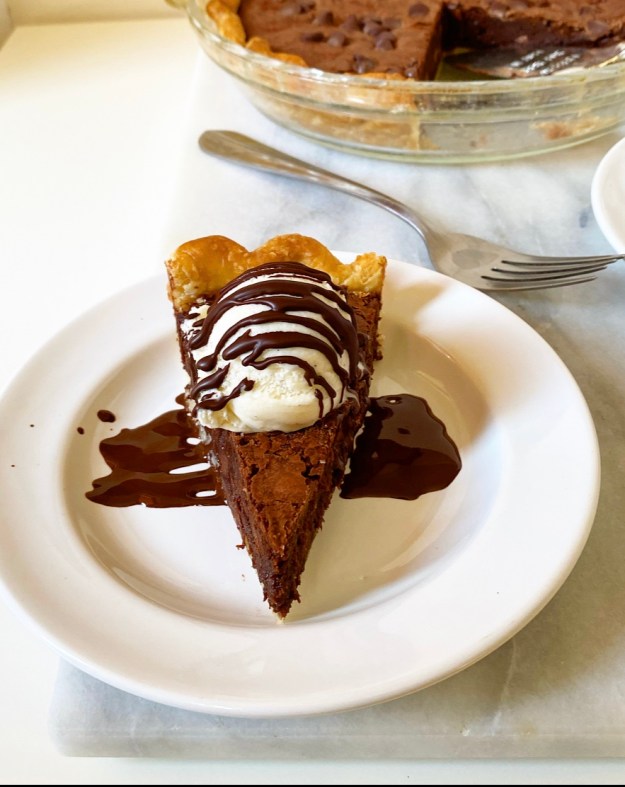 Brownie Pie’s final bake is 30-35 minutes. Ideally, you should let it cool completely for the cleanest slices, but I don’t want to be that person who tells you not to eat warm brownies, so you decide when to slice your pie. Follow your heart and all that. Whatever you do though, don’t skip the vanilla ice cream and
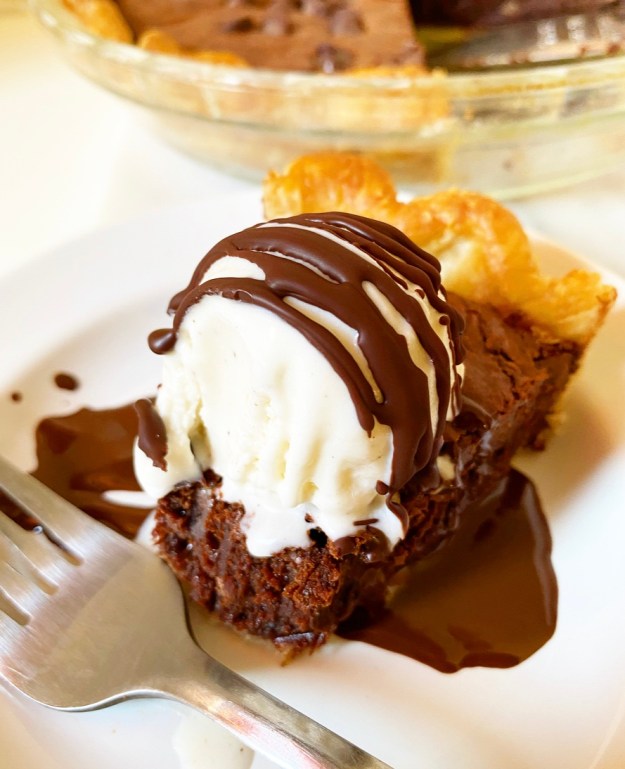
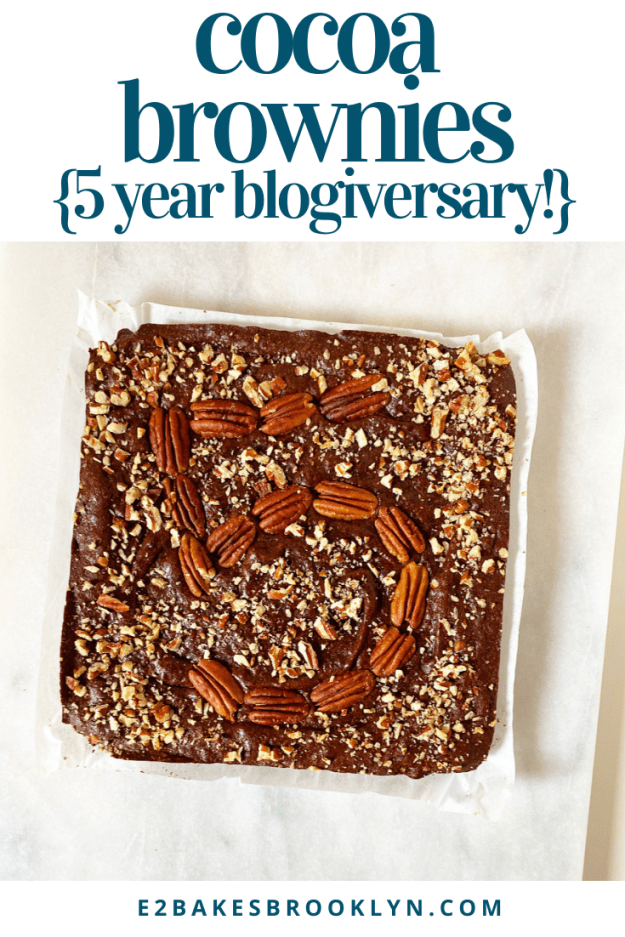
 E2 Bakes Brooklyn is five years old today! Yep, this little blog is exactly half a decade and 544 posts old. I can’t believe it.
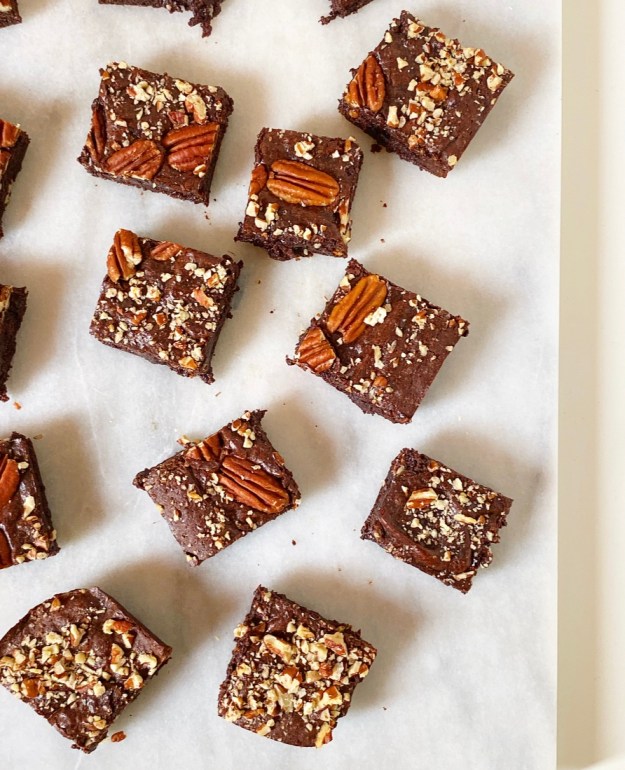 Today, I’m remaking the
 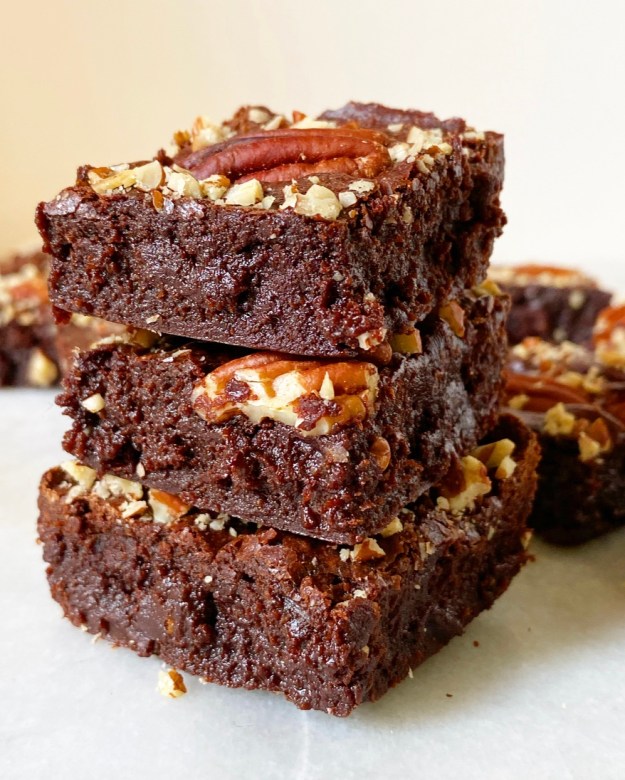 But still, do they warrant a repeat? Even on an anniversary? Well, call me nostalgic, but yes. And for the record, I’m not just revisiting my first post for nostalgia’s sake. As my favorite writer/comedian/
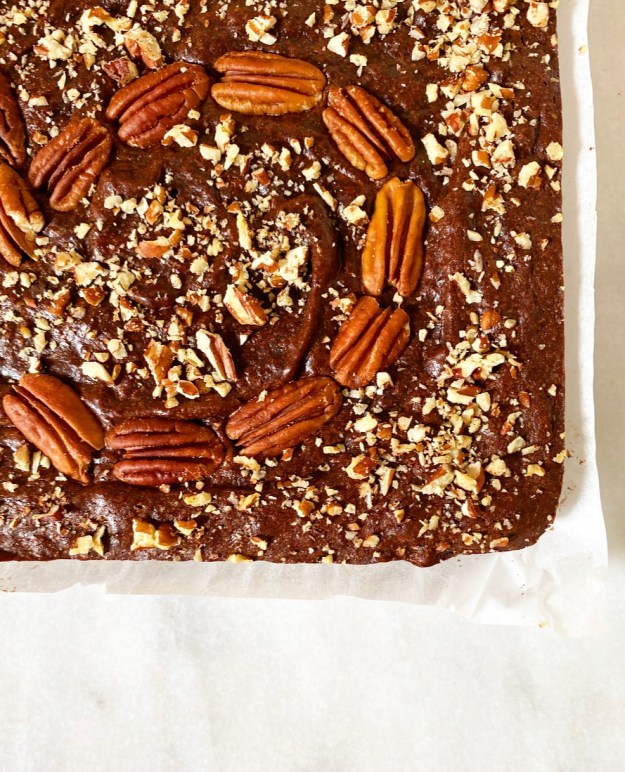
 I mean, I like my first post and the recipe, but the photos? Yikes. They’re not my
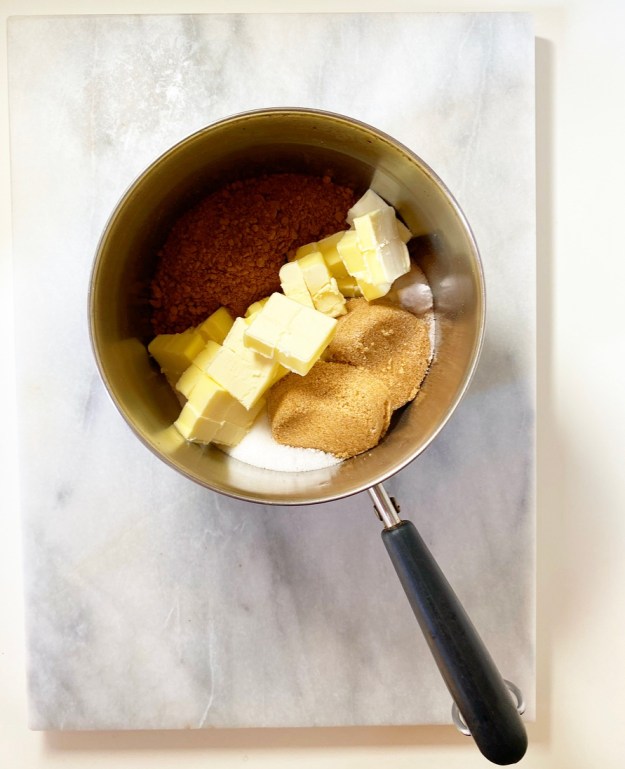

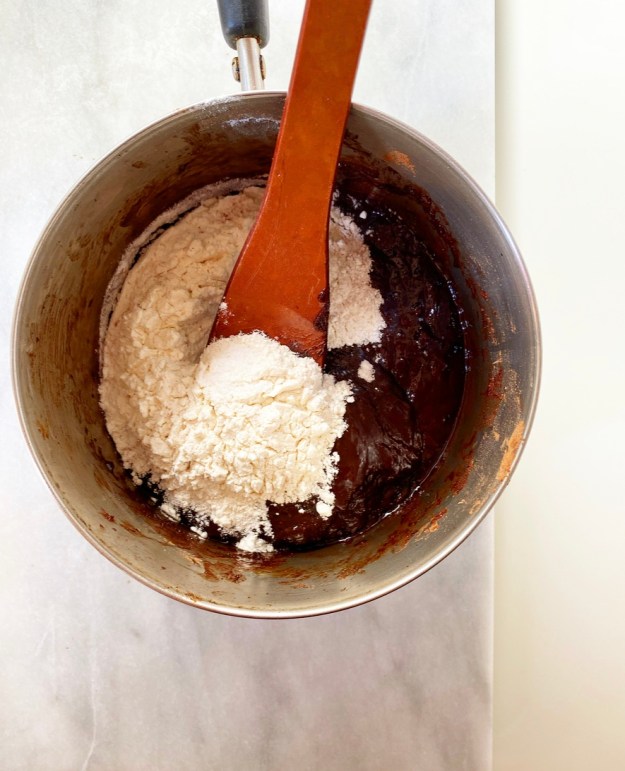 And baking? I’ve learned ten times as much about baking in the last five years as I have about photography. Still, these Cocoa Brownies didn’t need much of an update recipe-wise. In remaking them, I only made one major adjustment: I mixed them right in the pot where I bloomed (melted together) the butter, cocoa, and sugars. You can, of course, just mix the batter in a bowl, but why add more dishes if you don’t have to, am I right?! I simply waited for the cocoa mixture to cool a few minutes so I could add the eggs without scrambling them, then stirred in the dry ingredients. Then I just transferred the batter into an 8-inch square pan. Et voila!
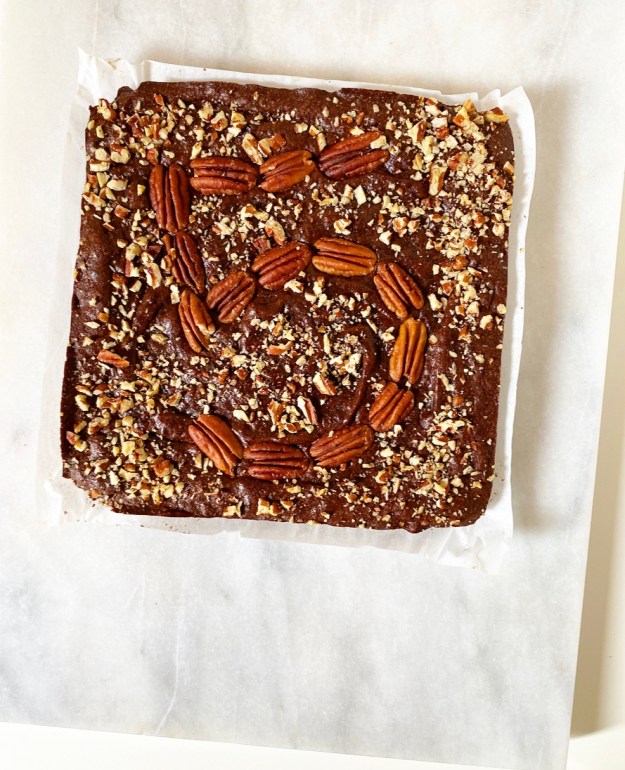
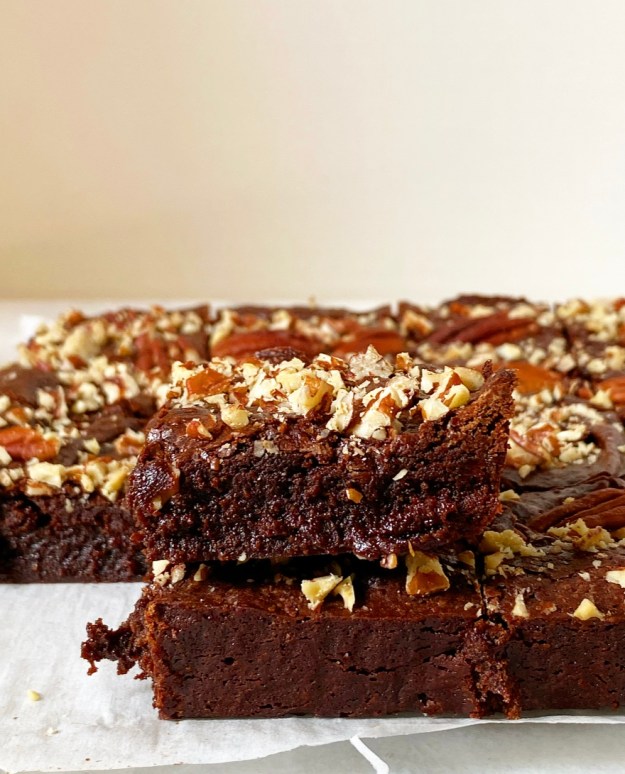
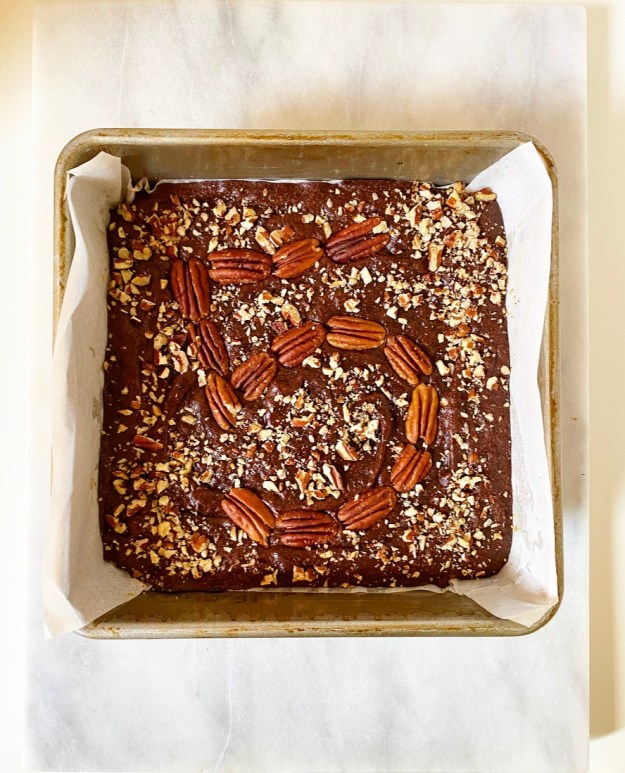 I decided to top this pan of goodness off with a pecan mosaic. My dad, the
 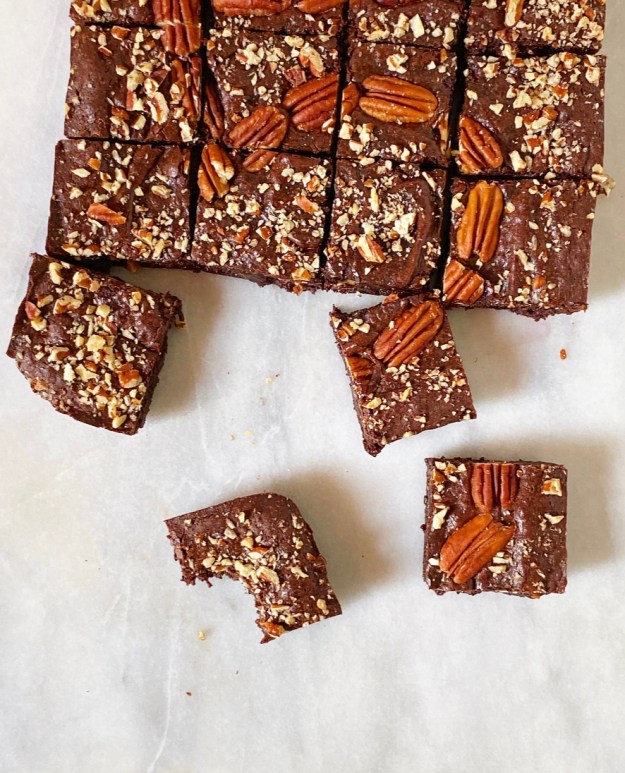 Cocoa Brownies bake in 30 minutes and cool in about an hour, making them the perfect simple treat for celebrating one of my biggest accomplishments to date—one that I couldn’t have done without you. This blog has helped me make new friends, reconnect with old ones, strengthen existing relationships, and interact with so many people that I truly would never have met if it weren’t for this compulsive home-baking and over-sharing habit of mine. Thank you for the kind notes, laughs, likes, questions, comments, and
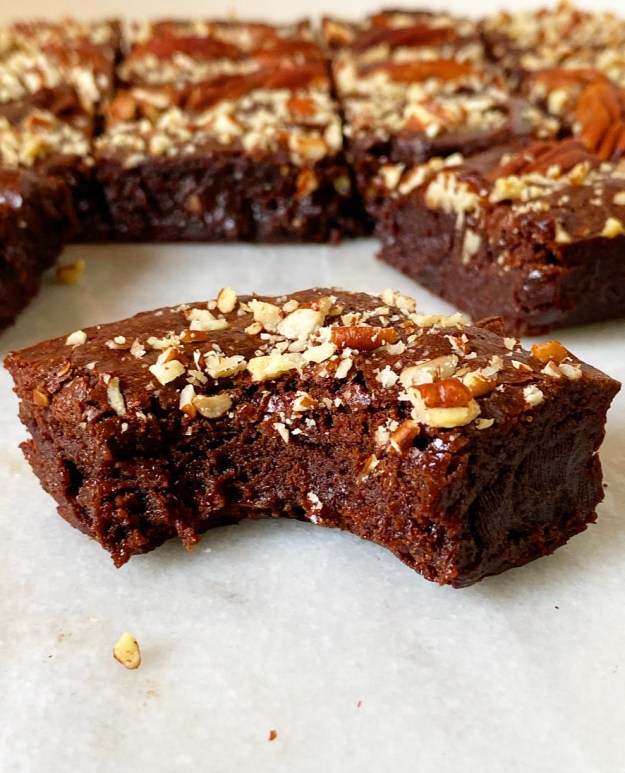

 It has been documented on here that I fear making cheesecakes, but that’s not exactly true. I don’t fear cheesecake, I fear a leaking springform pan in a water bath (bain marie). Yes, I know you are supposed to wrap it in foil, but I’ve never seen anyone explain in exacting, painstaking, borderline-dull detail how you should do that so that there is absolutely no risk of leakage. And so, I have still (!!!) never made a traditional baked-in-a-springform cheesecake.
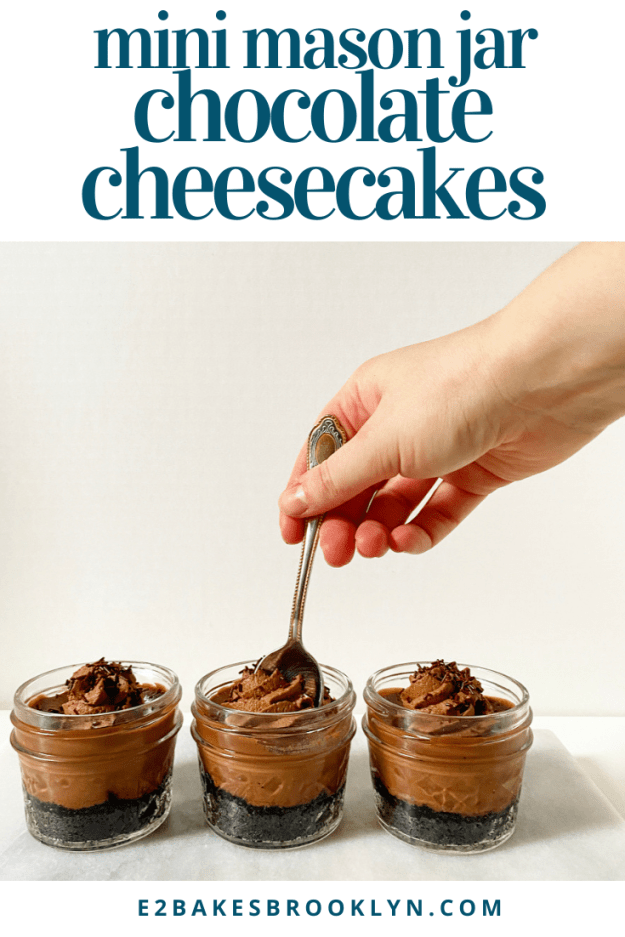
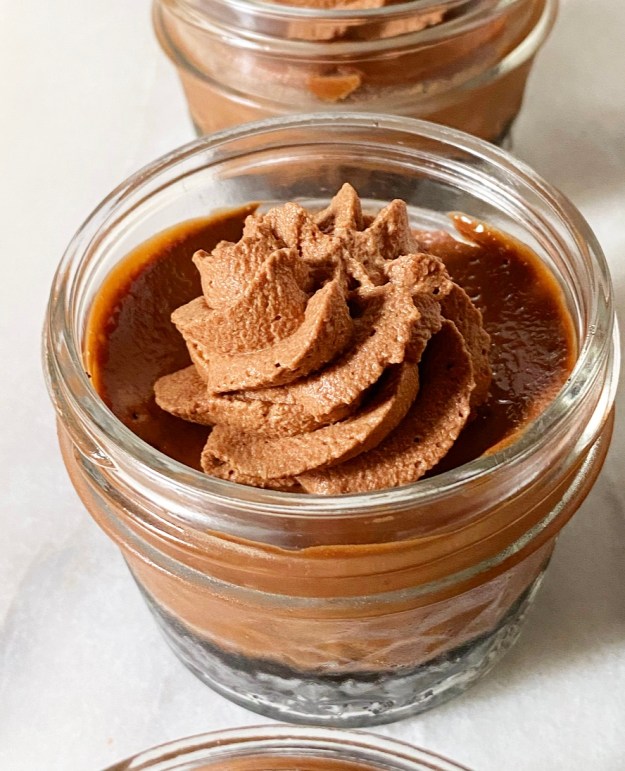
 These Mini Mason Jar Chocolate Cheesecakes are SO good, y’all. So. Good. And they come in very cute, water tight, social distancing-approved serving vessels. Super rich, chocolaty filling, Oreo crust *and* no fiddling with a springform pan? Sign me up!
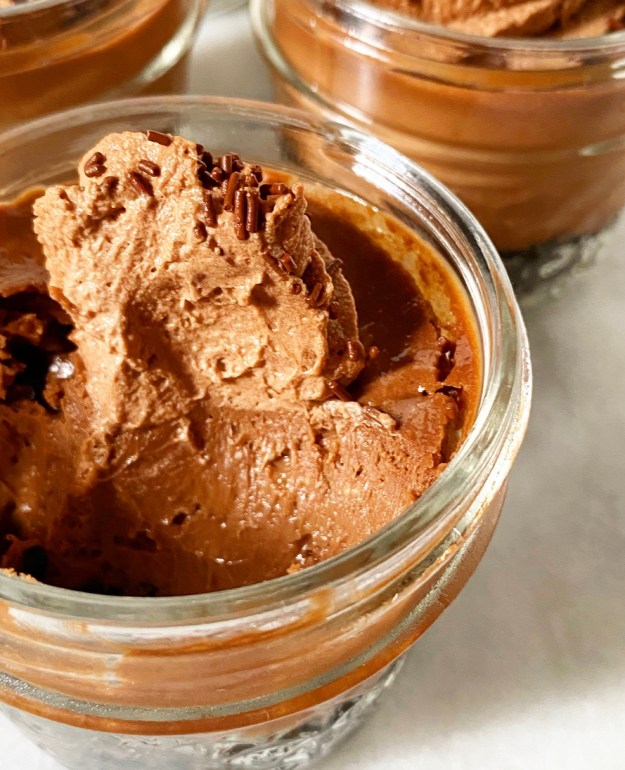 The crusts for these little cheesecakes are just Oreos and melted butter blitzed together in a food processor. Spoon a couple tablespoons into each of your mason jars and give them a few minutes in the oven before adding your filling.
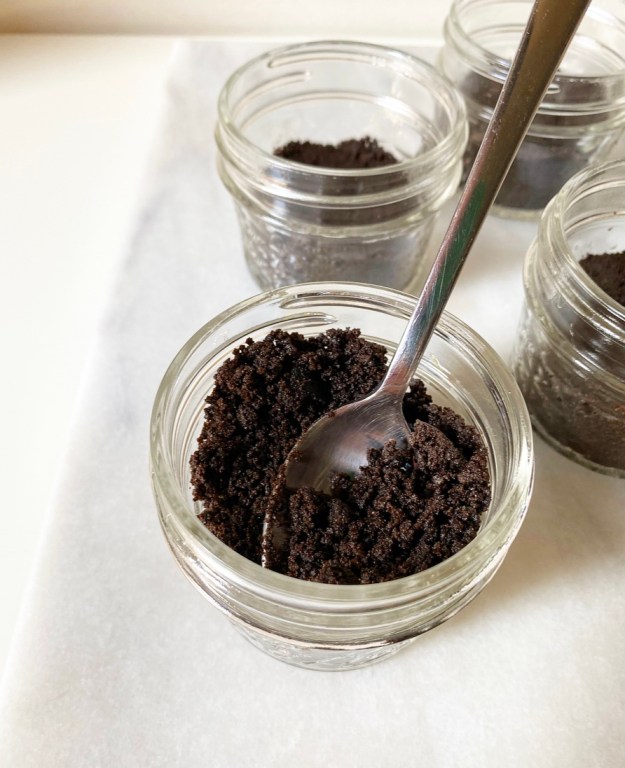 This chocolate cheesecake filling is super chocolaty from melted dark chocolate and cocoa powder, and has a little extra depth from light brown sugar (though granulated works too). The rest of the ingredients are standard cheesecake fare: cream cheese, sour cream, vanilla and an egg.
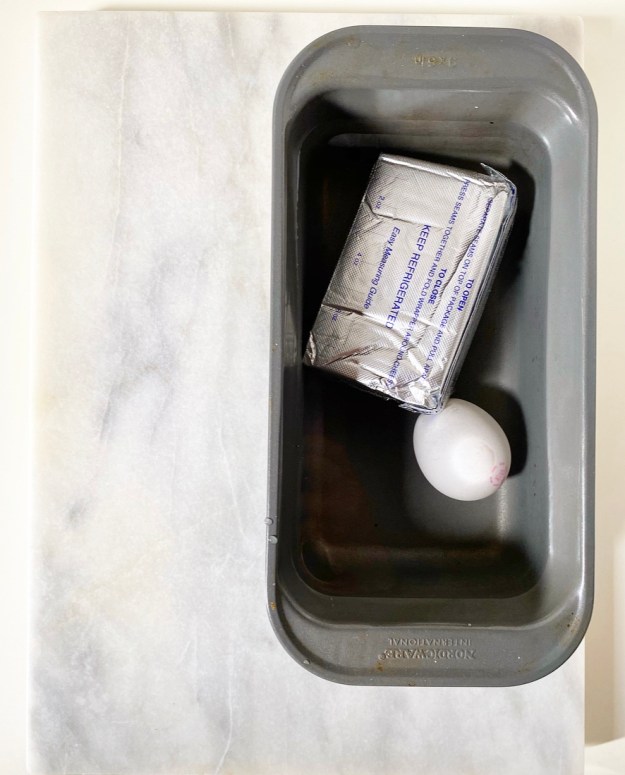 By far, the most important advice I can give you about making cheesecake is to make absolutely sure that your ingredients are at room temperature. If you’re more organized than I am, you can set your cream cheese out the night before. If you’re like me, just let it hang out (in its packaging) in a bowl of lukewarm tap water for 15 minutes. Throw your egg in there for maximum efficiency.
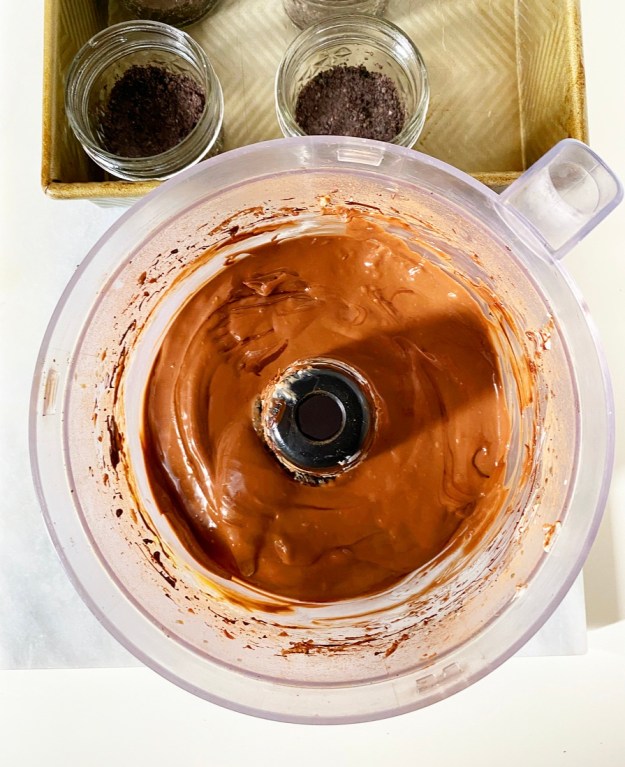
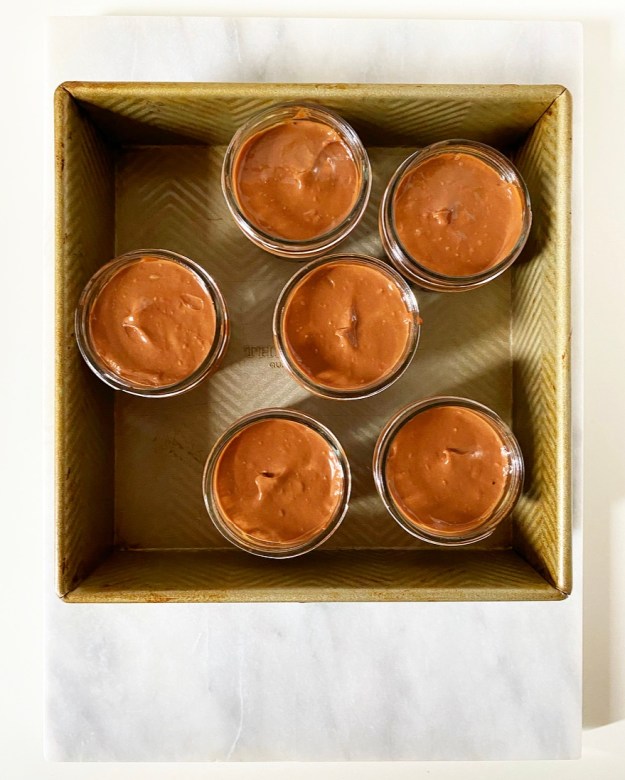 You can make the filling in your food processor (just wipe it out) or use a mixer. Either way, make sure to give the bowl some taps on the counter and let it rest a few minutes to release any large air bubbles before baking. Then spoon it onto your crusts and bake for about 25 minutes. Let the baked cheesecakes hang out in their water bath for five more minutes before transferring them to a rack to cool completely. This brief step helps them transition from the hot oven to your cooler counters more seamlessly. Cheesecakes are divas, in case you couldn’t already tell.
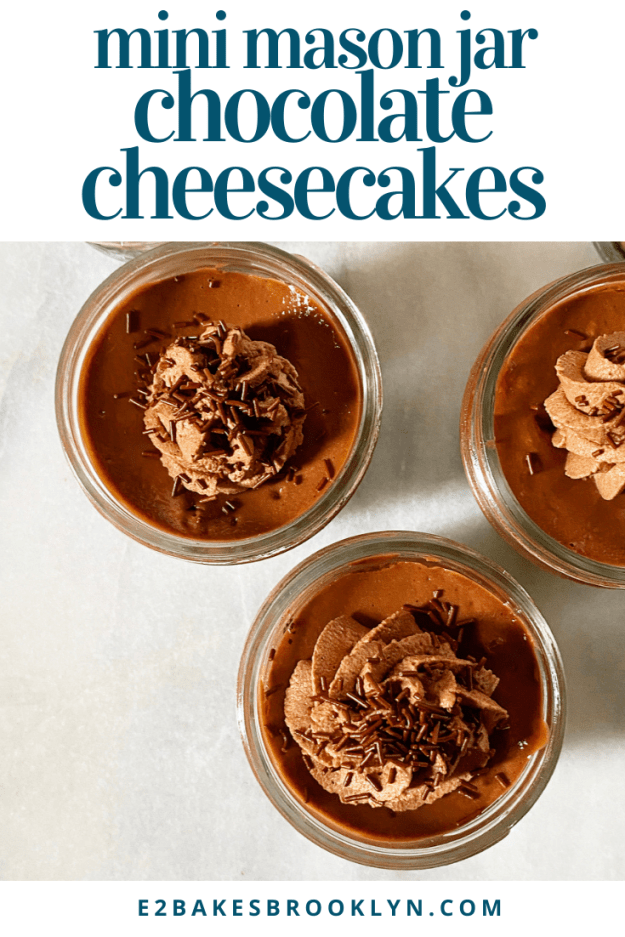
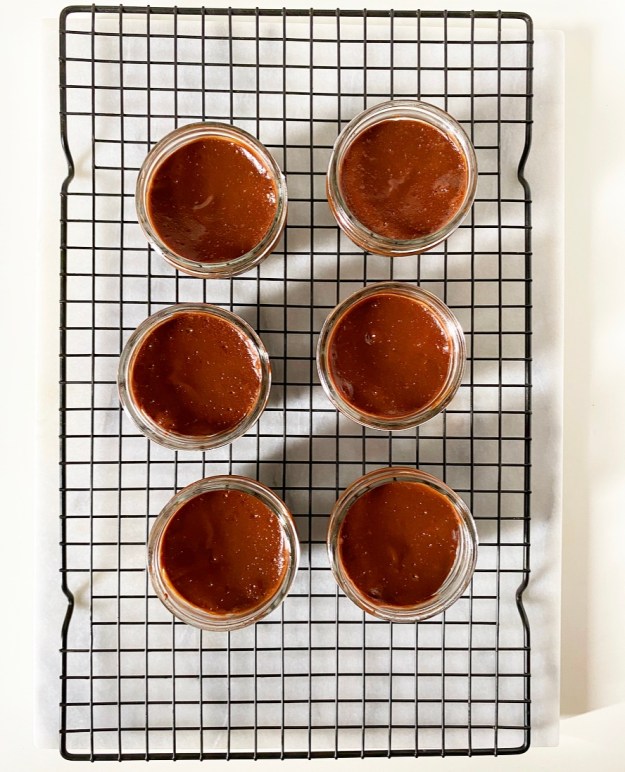 Once your chocolate cheesecakes hit room temperature, throw them in the fridge for a few hours to get nice and cold. This will seem endless, but will give you plenty of time to dream up toppings. I went for my new favorite
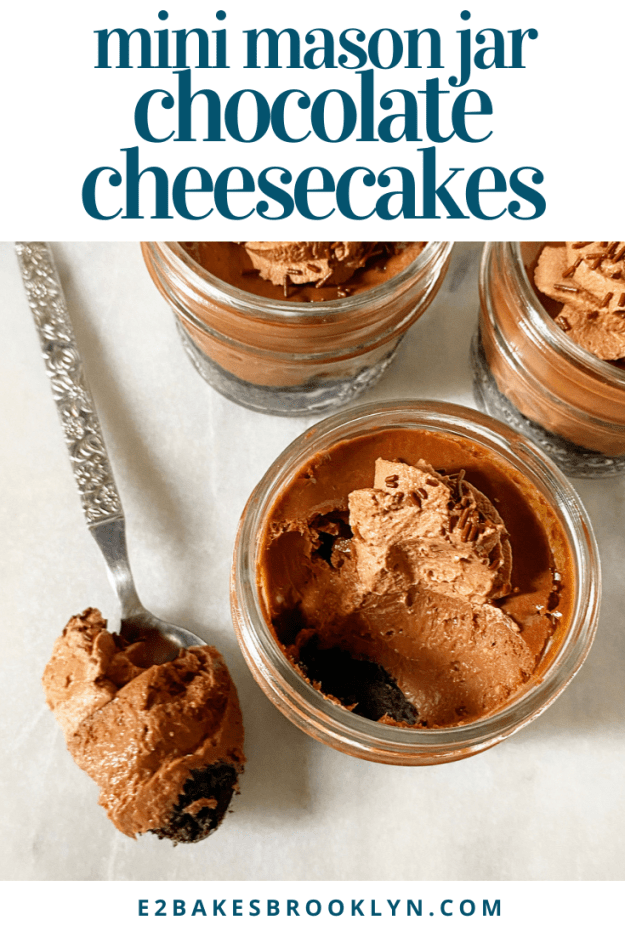
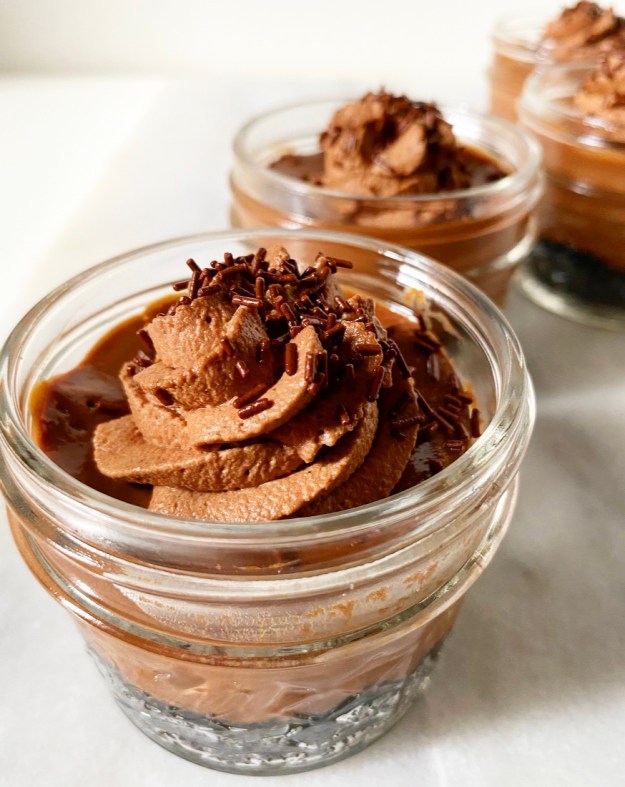
 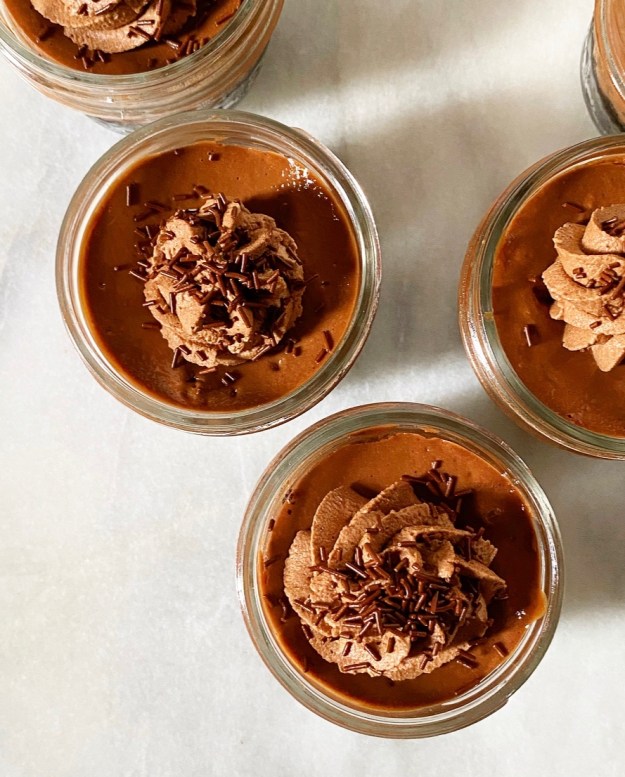 I won’t lie to you, Mini Mason Jar Chocolate Cheesecakes are a commitment, but take one bite and I promise you’ll agree that theyre entirely worth the effort. They’re super smooth and tangy with a big hit of chocolate, and that Oreo crust…well, I think we can all agree that Oreo crust should probably run for president.
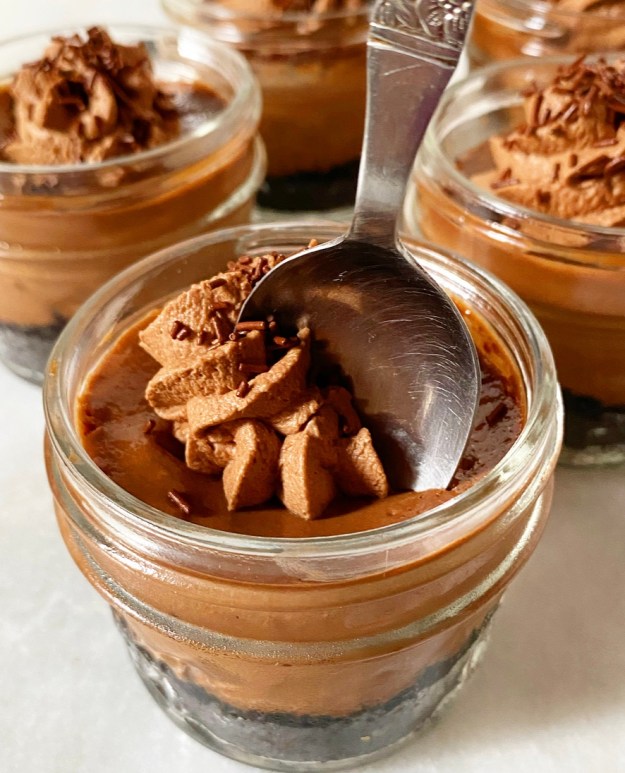 And on that note, enjoy this unofficial last weird weekend of this extremely weird summer. It’ll be two more weeks before I break out the pumpkin, and while that seems like eternity, I hope these chocolate cheesecakes soften the blow.
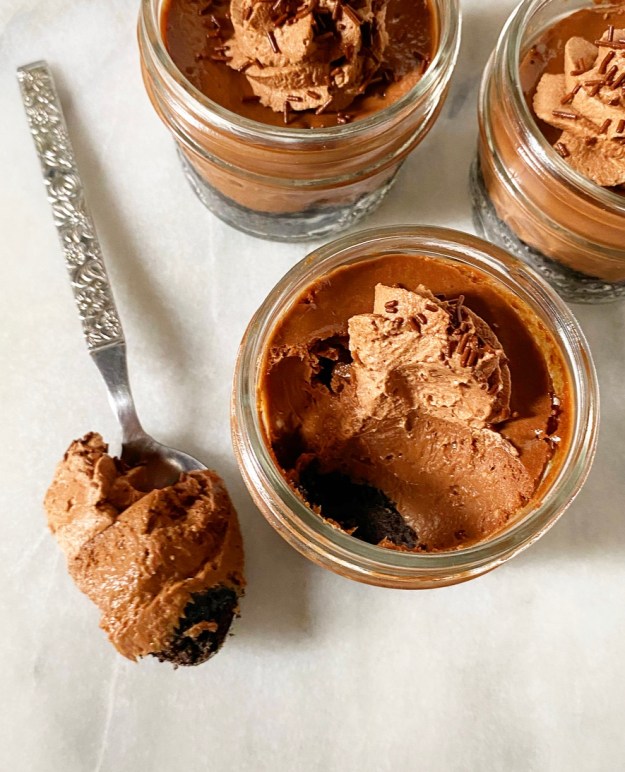
 For most of my 35 years, I’ve been under the impression that whipped cream is a perfect food. At it’s simplest, it’s just cream and air, and it goes on pretty much everything. Truly, it’s a one ingredient recipe (or two if you add sugar, or three with vanilla) to rule them all. I literally cannot think of a dessert that isn’t improved by the addition of whipped cream. It’s as perfect as a garnish gets…
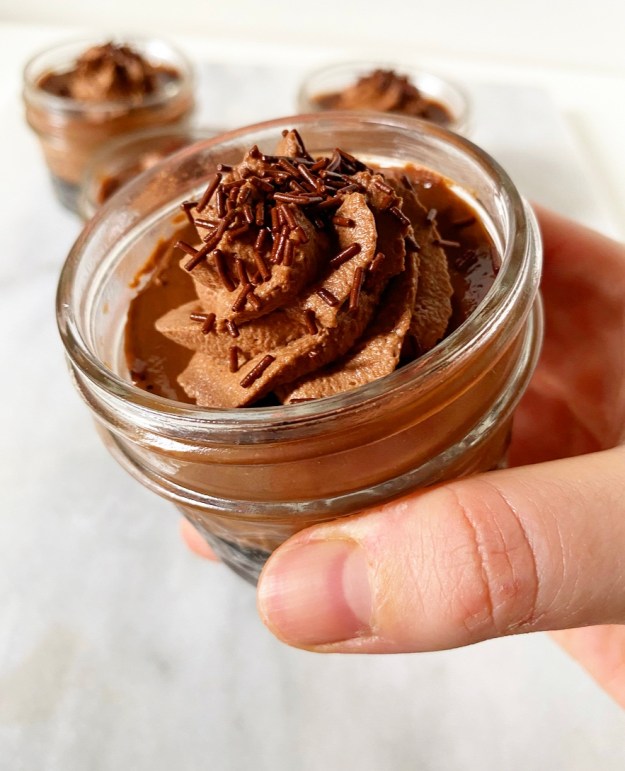
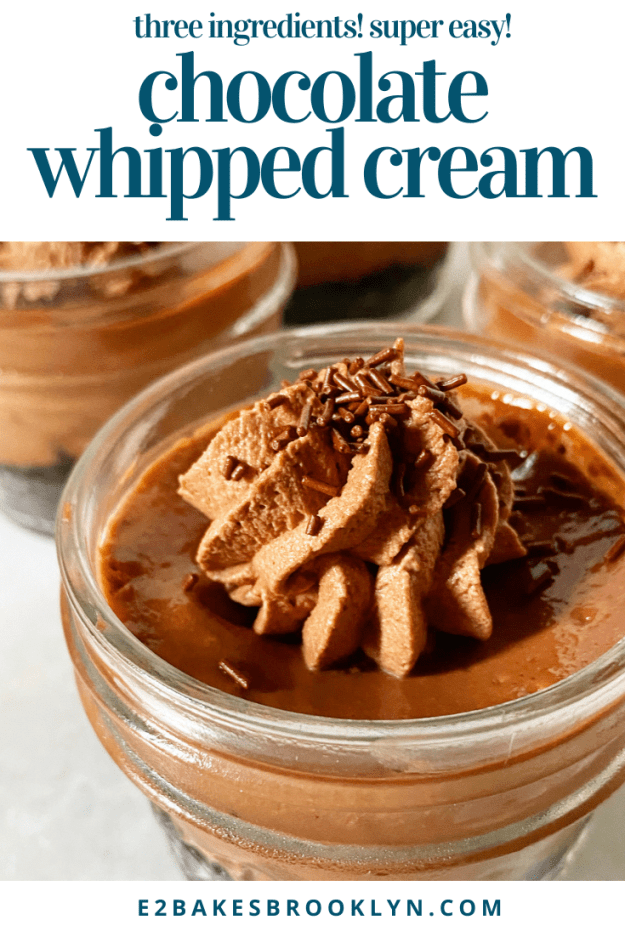
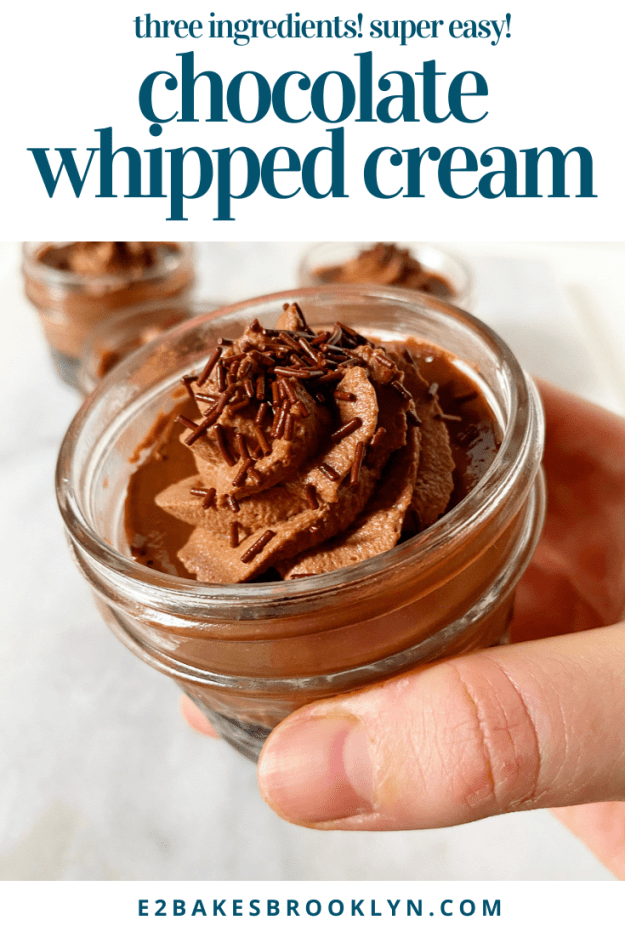
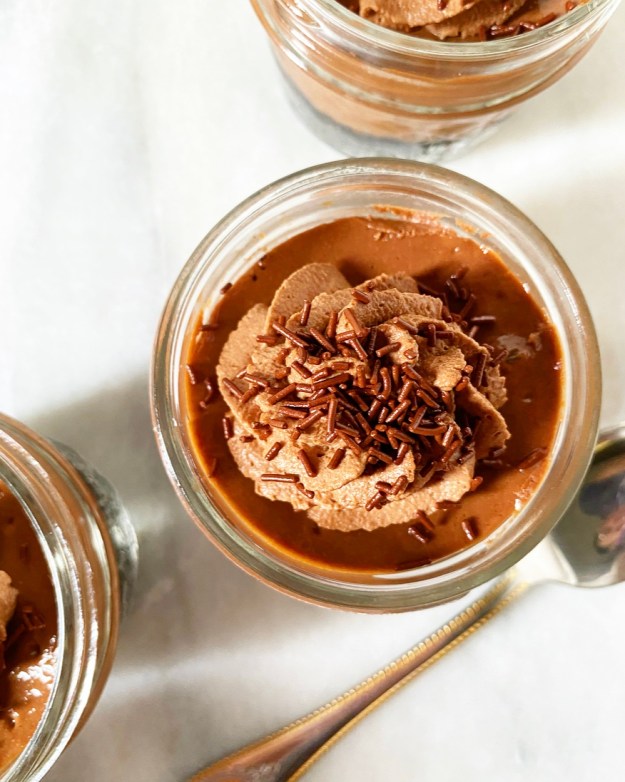 …or so I thought before I whipped cocoa powder into it. Chocolate Whipped Cream is a more perfect food. Beyond perfect, really. And I say this as an outspoken vanilla person. *clutches pearls*
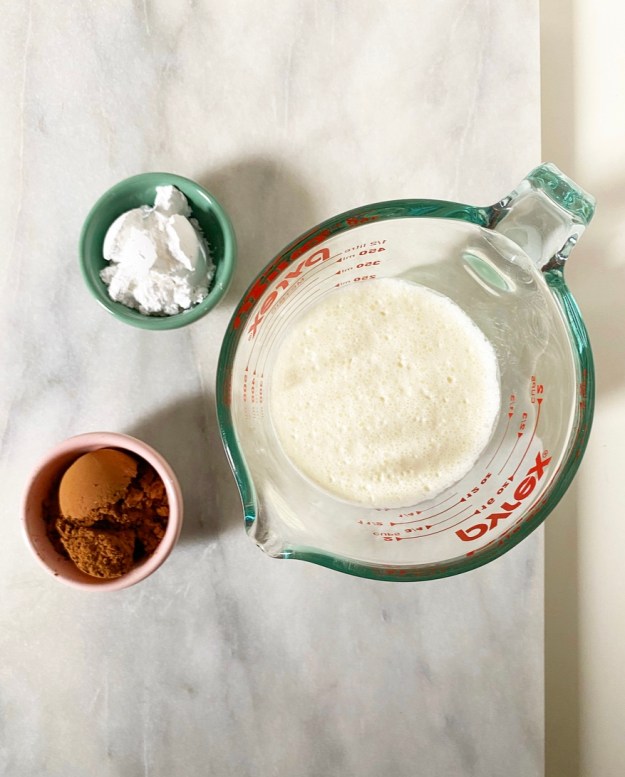
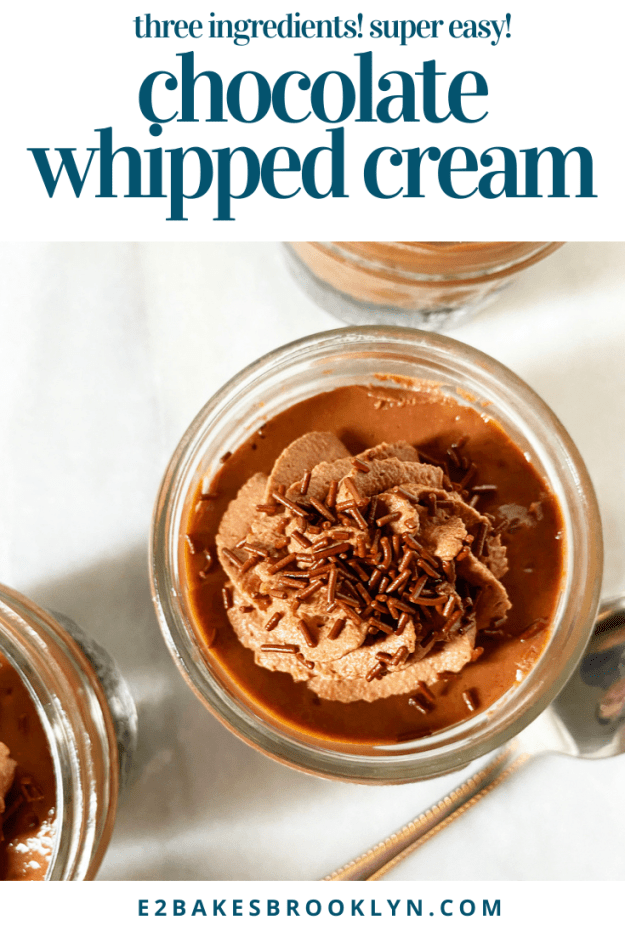
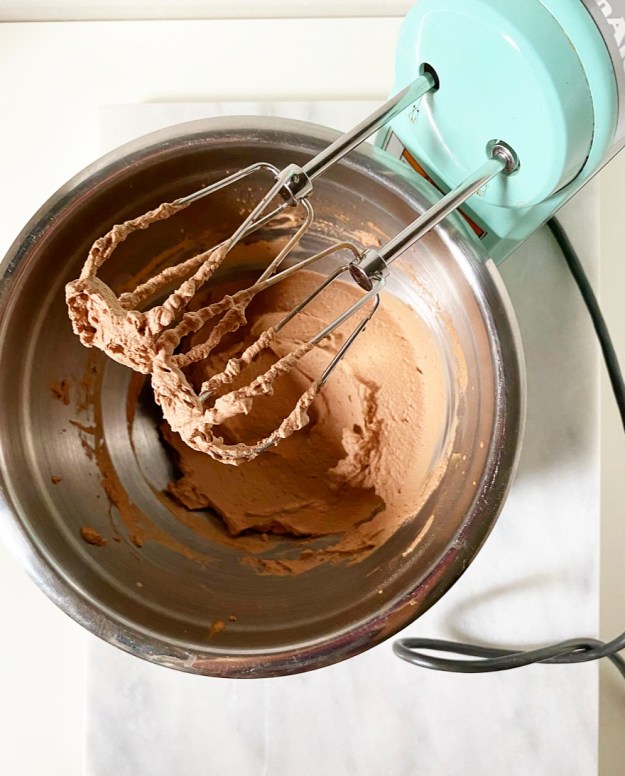 Like classic whipped cream, Chocolate Whipped Cream is a snap to make. Simply whip cold heavy cream, confectioner’s sugar and cocoa powder in a bowl until stiff peaks form. Alternatively, small batches take well to my beloved
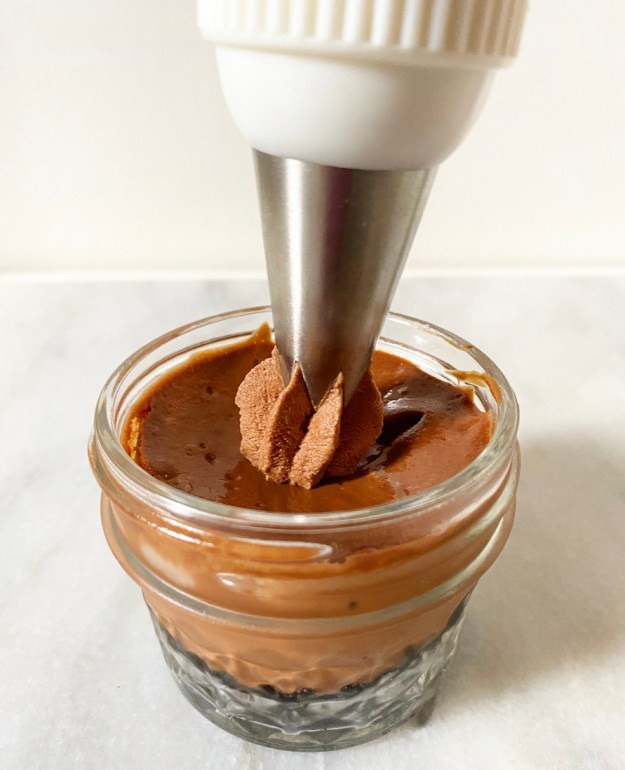
 Chocolate Whipped Cream is every bit as airy and smooth as it’s classic counterpart, and has a deep chocolate flavor to boot. I prefer mine on the bittersweet side, but feel free to bump up the confectioner’s sugar if you prefer yours sweeter. Oh, and if you don’t have confectioner’s sugar on hand, the granulated stuff will work just as well, although your final product may not be quite as stable.
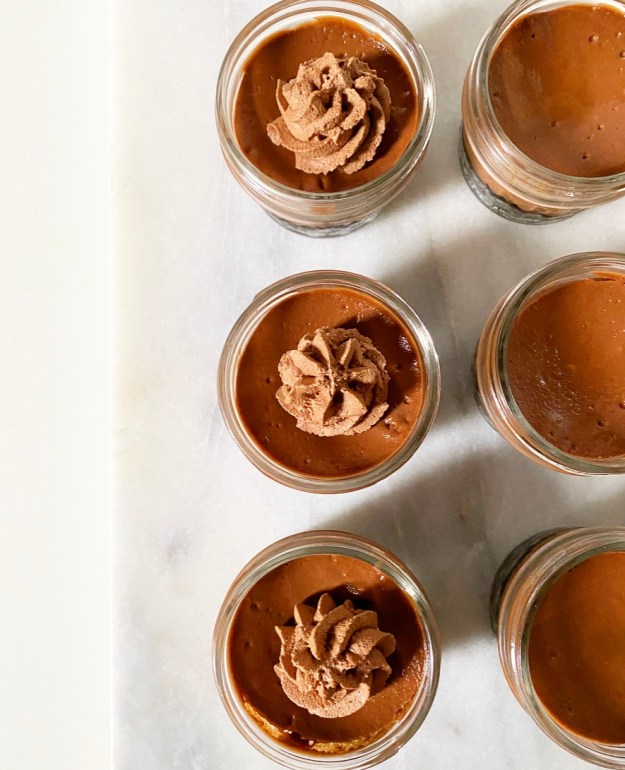 As for ways to use Chocolate Whipped Cream, follow your dessert-loving little heart. Use it as a fruit dip or as a topper on