 Is there any food that celebrates summer quite like a s’more? I don’t think so. I mean, it’s pretty difficult to argue with the near-perfect combination of graham cracker, melty toasted marshmallow, and chocolate on a searing hot day…
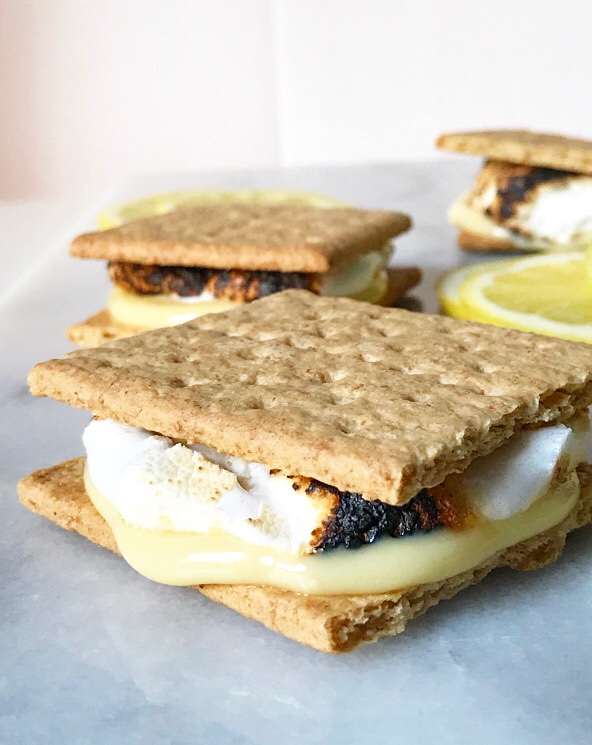 …but I’m going to anyway because of course I am. I like to occasionally dabble in the contrarian arts, and nothing on this blog screams “I do what I want!” louder than today’s Lemon Meringue S’mores!
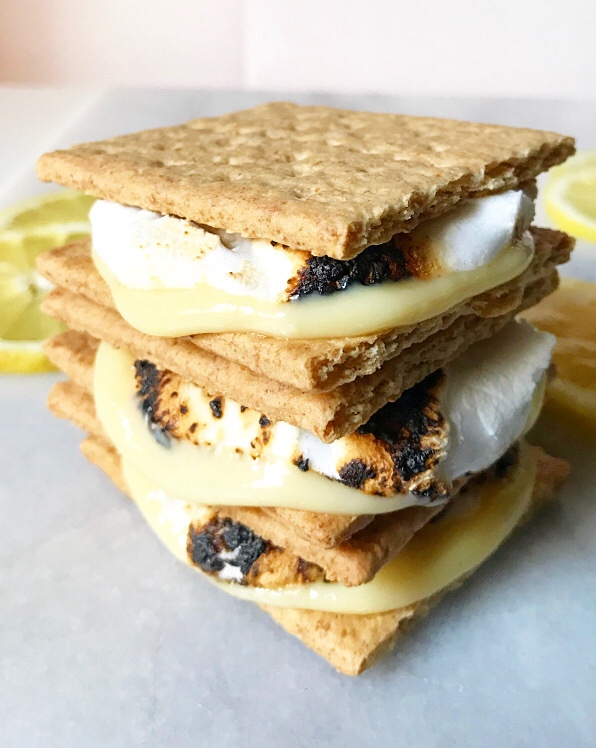
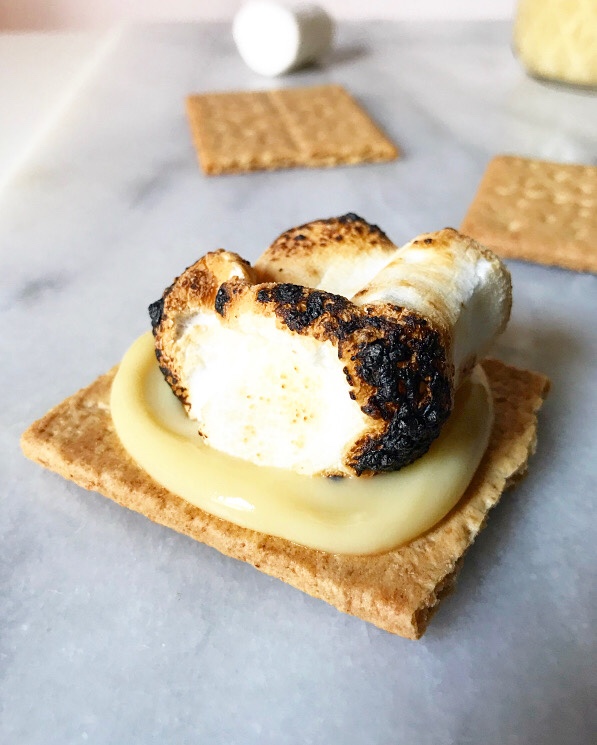
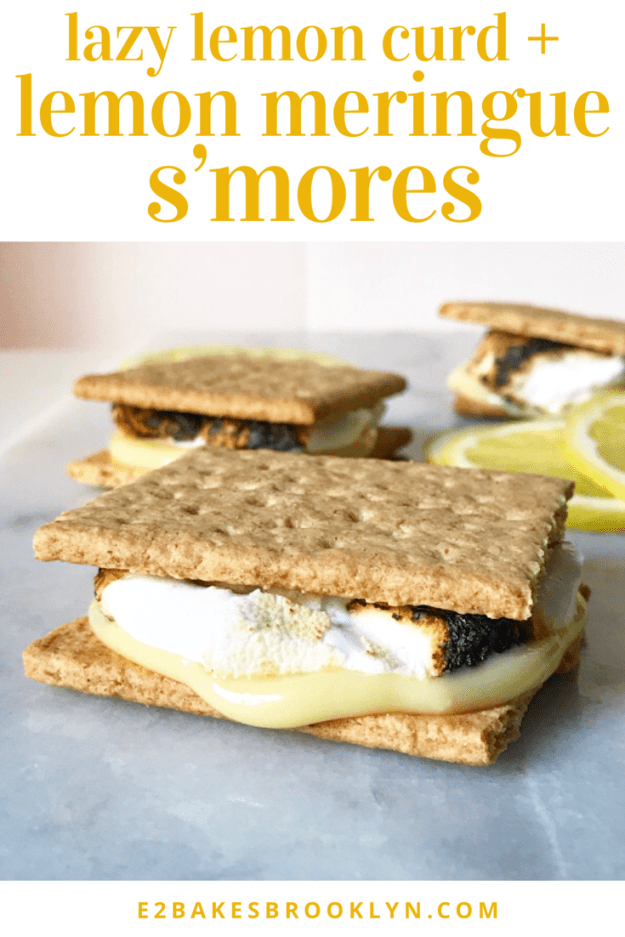
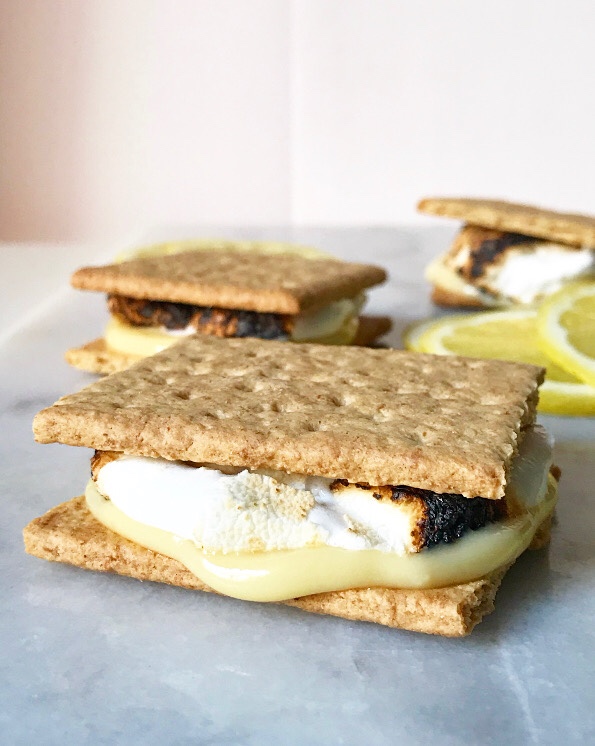 Yes, Lemon Meringue S’mores. As in, graham crackers, toasted marshmallow, and lemon curd. As in, a six—er, four—bite summertime treat that tastes just like Lemon Meringue Pie, but is about 1% of the work, permitting that you’ve already made the lemon curd. If you haven’t made it, that number goes up to a whopping 3%.
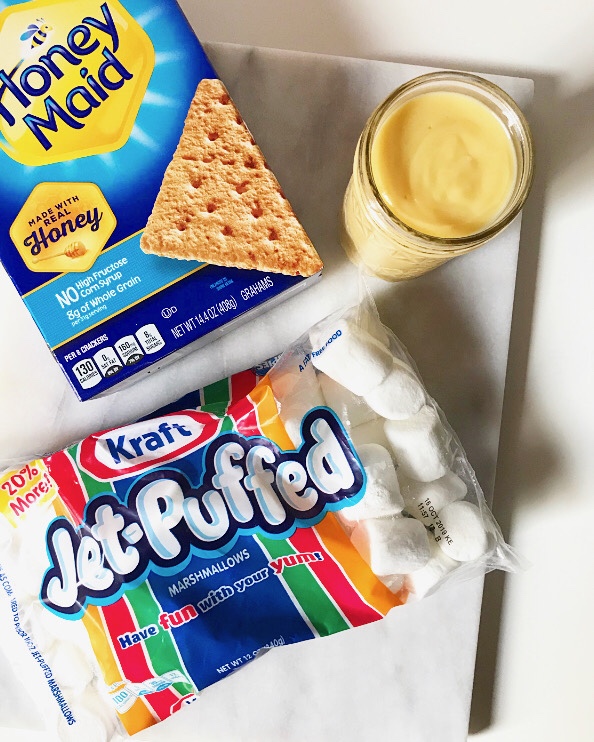
 You see, the lemon curd I use for Lemon Meringue S’mores isn’t just any lemon curd, y’all. It’s Lazy Lemon Curd. I mean, you’ll be hard-presses to find a citrus curd recipe that is particularly challenging, but this is one for the days when you reeeeeally don’t want to whisk something continuously or add butter bit-by-bit or strain anything.*
*I hate straining things. Hate. It. Not as much as I hate cleaning muffin pans, but almost. So, if I tell you to strain something, it means it really needs to be done. 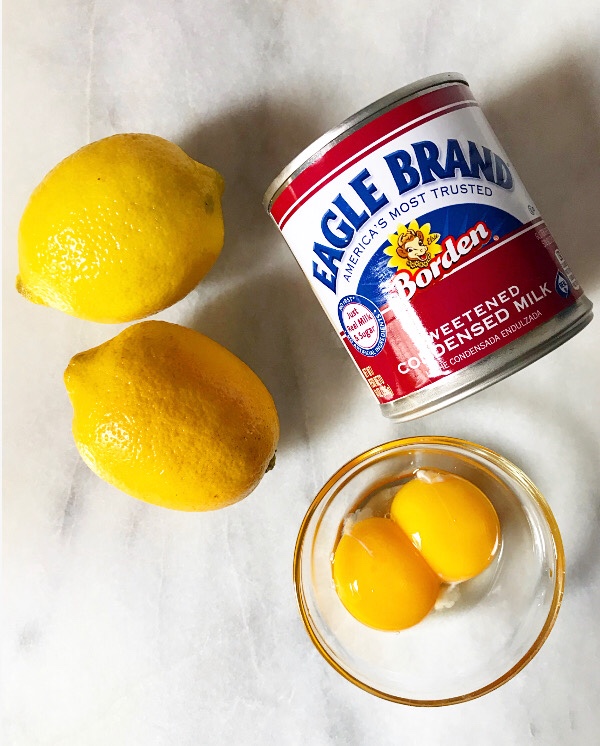
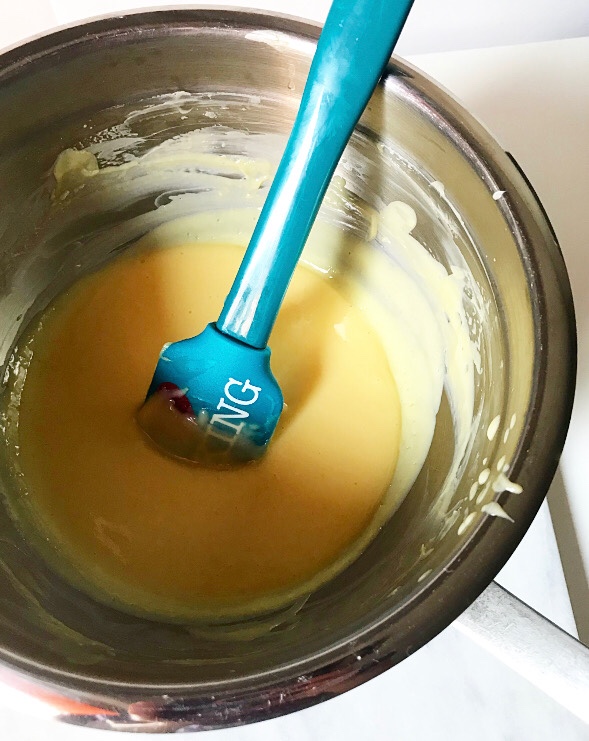
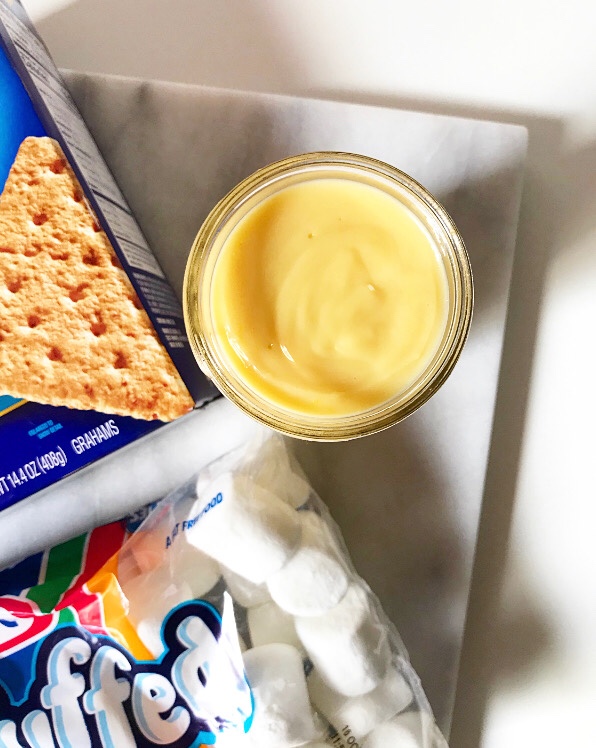
 This is an easy three-ingredient, two-step recipe. Whisk together some fresh lemon juice, two egg yolks and a can of sweetened condensed milk. Heat that mixture over a double boiler, stirring if/when you think about it, until it thickens slightly, which takes fifteen minutes. That’s literally it.
 If this recipe looks familiar, that’s because it is. Lazy Lemon Curd is just a sunny lemon spin on the filling for my Key Lime Linzer Cookies, and that is just a stovetop version of Key Lime Pie filling. It’s also the combination I use in my easy Pink Lemonade Bars. Sweetened condensed milk, y’all—it’s the unsung hero of my kitchen.
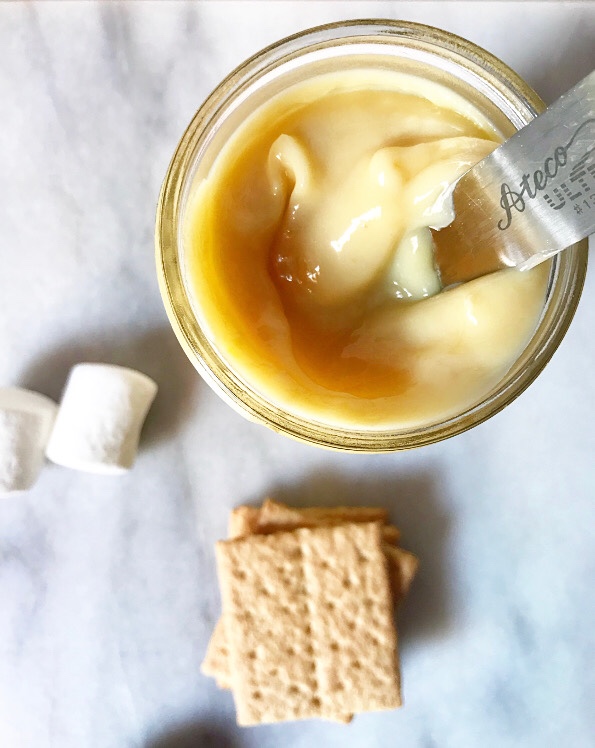
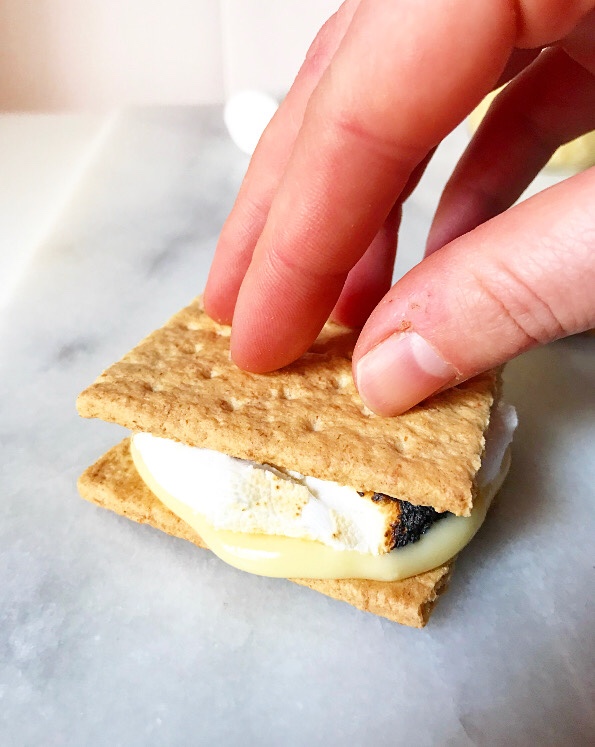
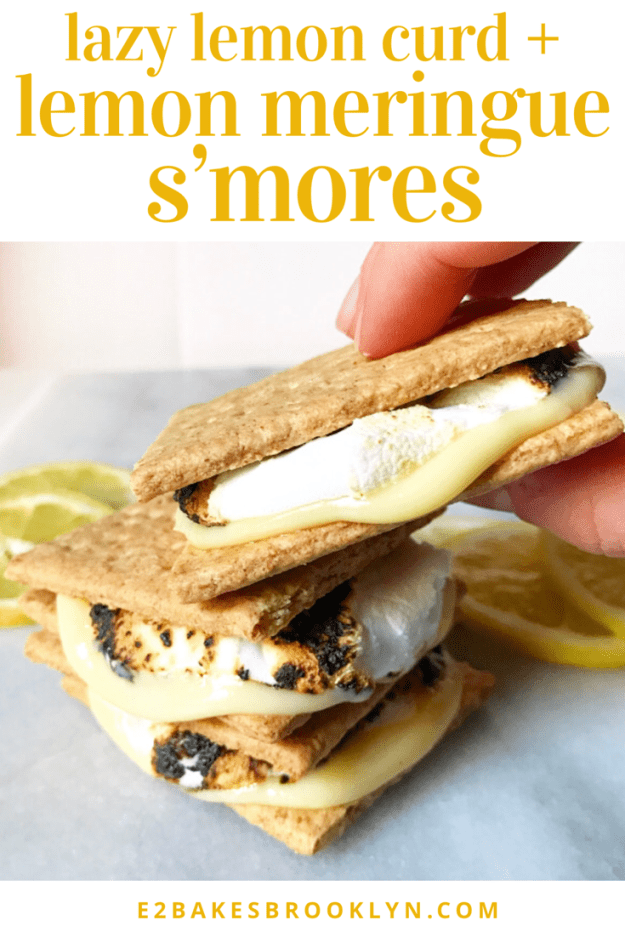
 Once your Lazy Lemon Curd has cooled a bit, make yourself some s’mores! Slather a little of the curd on a graham cracker, top it with a toasted marshmallow and sandwich it all with another graham cracker. And then repeat that process because you’re going to want two of these toasty, gooey, lemony treats. And because this stuff keeps well in the fridge, you can make Lemon Meringue S’mores all summer long. That’s something worth celebrating.
Lazy Lemon Curd
makes about 1 1/2 cups
2/3 cup fresh lemon juice (from about 3-4 lemons)
1 14 ounce can sweetened condensed milk
2 large egg yolks, room temperature
Make the filling. Fill a small pot with 1-2 inches of water. Set a heatproof bowl over the top, ensuring that the water does not touch the bottom of the bowl. Remove bowl and bring water to a simmer.
In the heatproof bowl, whisk together lemon juice, sweetened condensed milk, and egg yolks. Place bowl over simmering water, creating a double boiler. Let cook, stirring frequently, until slightly thickened (about 15 minutes). Remove from heat and transfer filling to a heatproof container. Press a piece of plastic wrap to the surface. Let cool completely at room temperature before storing in the refrigerator.
Lemon Meringue S’mores
makes 4 s’mores
4 whole sheets honey graham crackers
2 tablespoons Lazy Lemon Curd
4 large marshmallows
Carefully break each graham cracker sheet in half to produce 2 squares (8 squares total). Place bottom-side-up on a surface.
Top 4 of the graham squares with 1/2 tablespoon (1 1/2 teaspoons) each of the Lazy Lemon Curd.
Toast the marshmallows. Place each marshmallow on a skewer. Turn a gas stove flame (or other heat source) to medium-low. Carefully toast marshmallow over the top before transferring it onto lemon curd. Repeat with other marshmallows. Turn off stove. If you’d like to toast your marshmallows with another at-home method, see here.
Top marshmallows with the remaining graham squares, top-side-up. Serve immediately.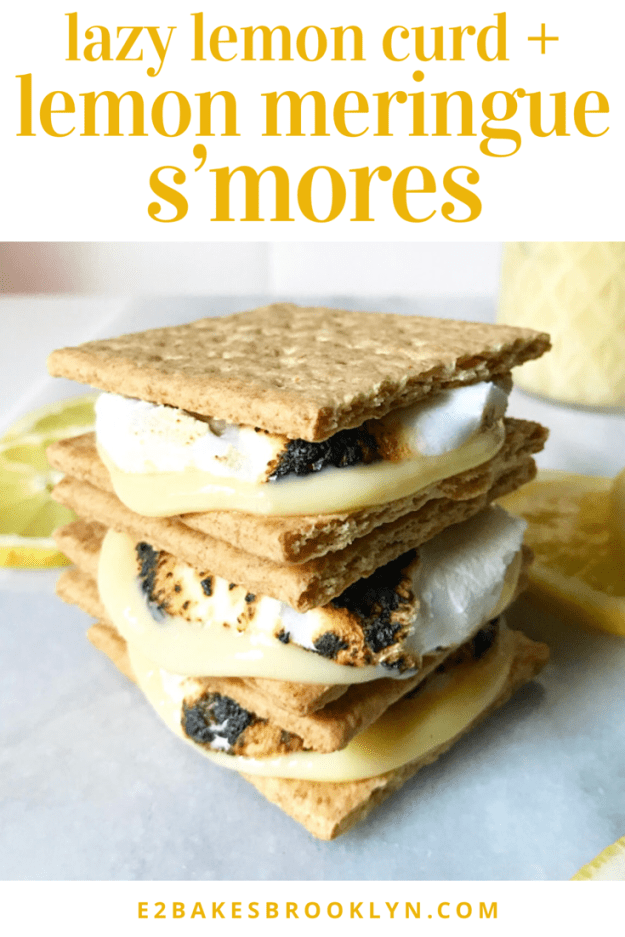
 I am irrationally irritated by the fact that strawberries are so popular in Valentine’s Day treats. The amount of time I spend stewing over this sort of thing is more than a little ridiculous, but can you blame me? Strawberries aren’t in season right now—most of the punnets in the produce section have the flavor and texture of a styrofoam cup, but they are red and pretty, so there’s no doubt that this February crop will sell like hotcakes* for years to come.
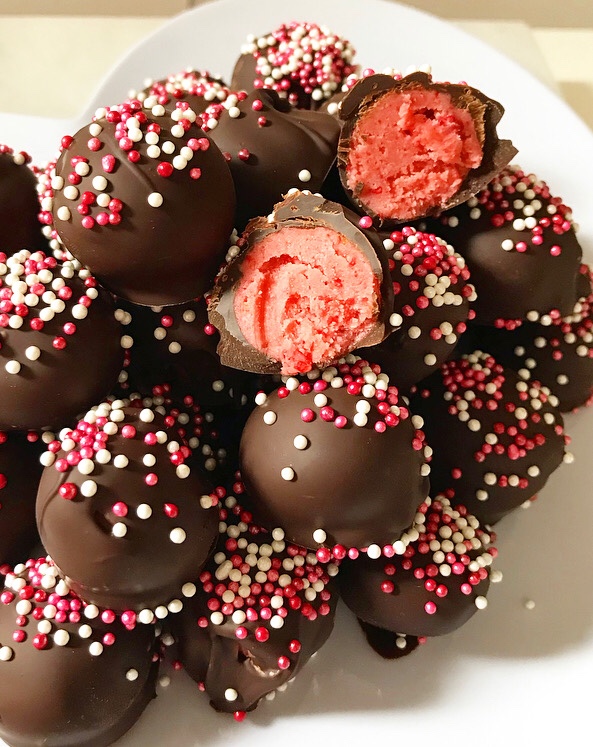 Personally, I like to bypass the off-season fruit this time of year and reach for freeze-dried strawberries instead. I buy ‘em at Trader Joe’s, whirl them into powder and fold it into all sorts of
 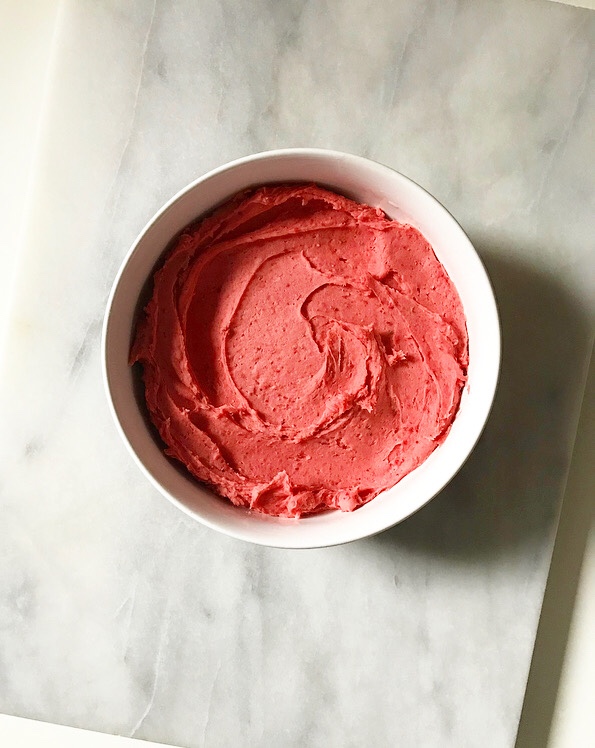 Fluffy buttercream with a fresh strawberry punch? Sign. me. up ❤
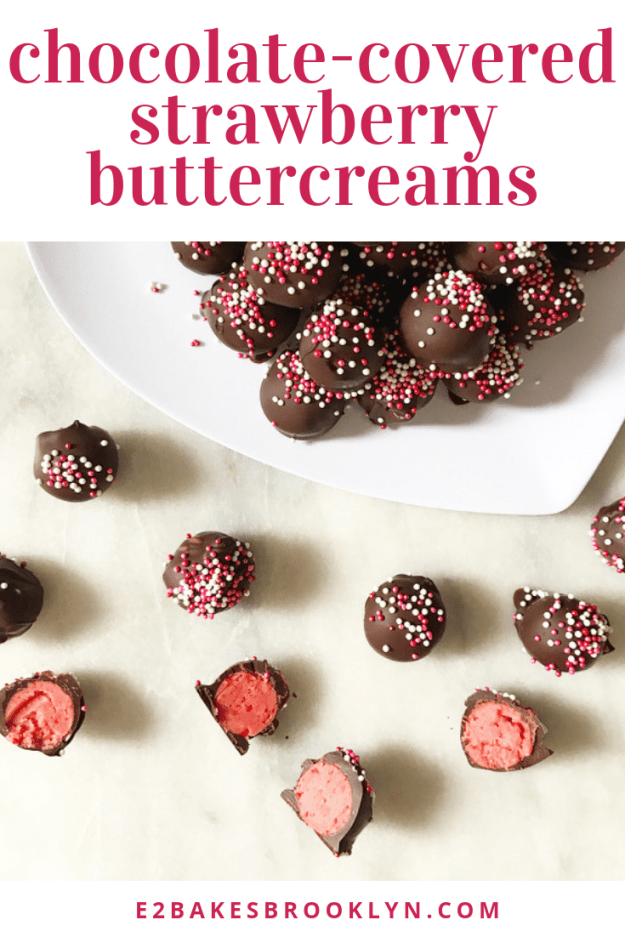
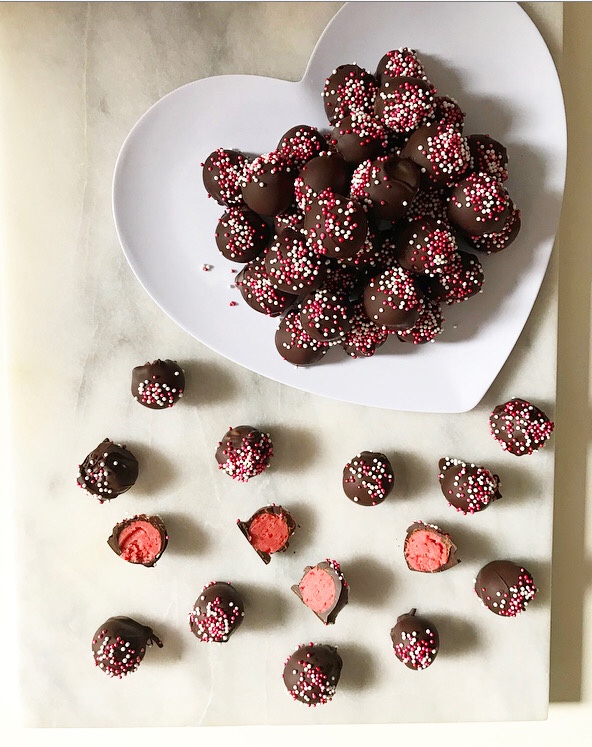 Frosting is, of course, most traditionally used as a flourish on cakes and cookies and bars, but today, I’m putting it in the spotlight with these Chocolate-Covered Strawberry Buttercreams!
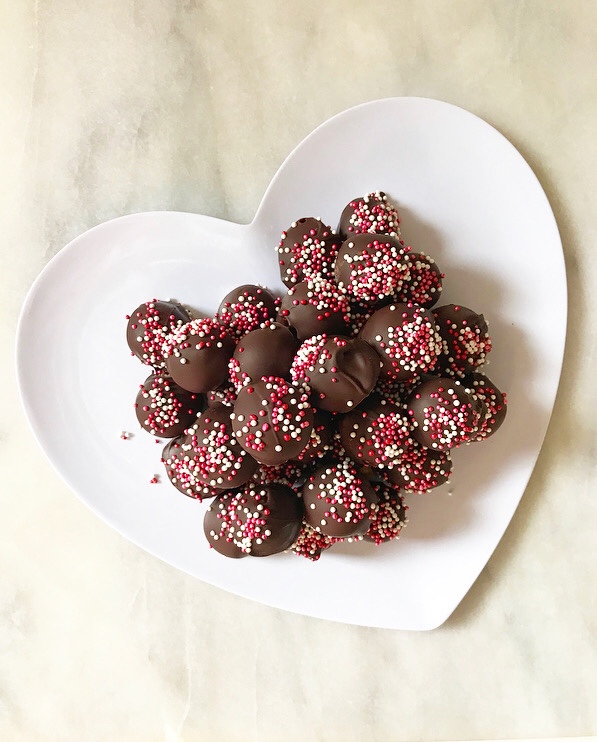
 These bite-sized bonbons have sweet, creamy strawberry buttercream centers, a crackly coat of dark chocolate coating, and a smattering of sprinkles—I don’t know about you, but that combination of things is definitely the way to my heart.
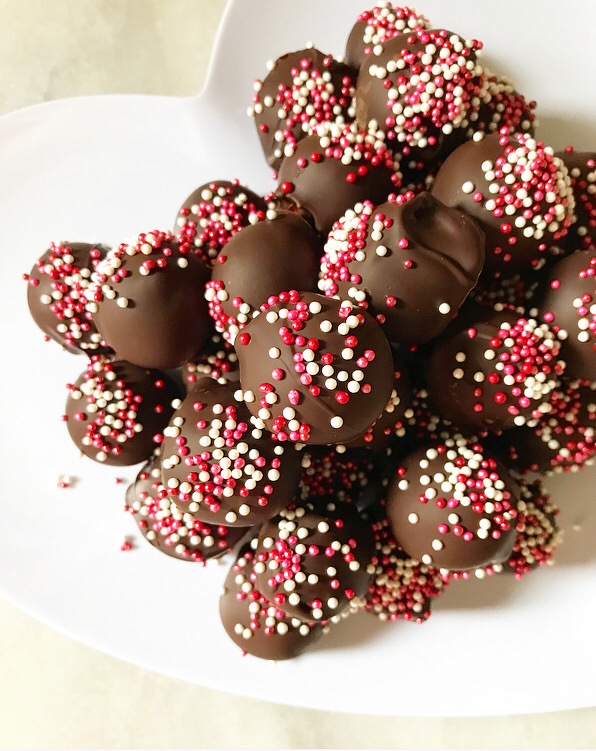 Add to that that these no-bake beauties are are simple to make and keep for days on end (as long as your heavy cream stays good), and you’ve got a Valentine’s Day treat that’ll have people lining up to get your number.
 I mean, they may only want it so that they can get more homemade candy, but is that such a bad thing?
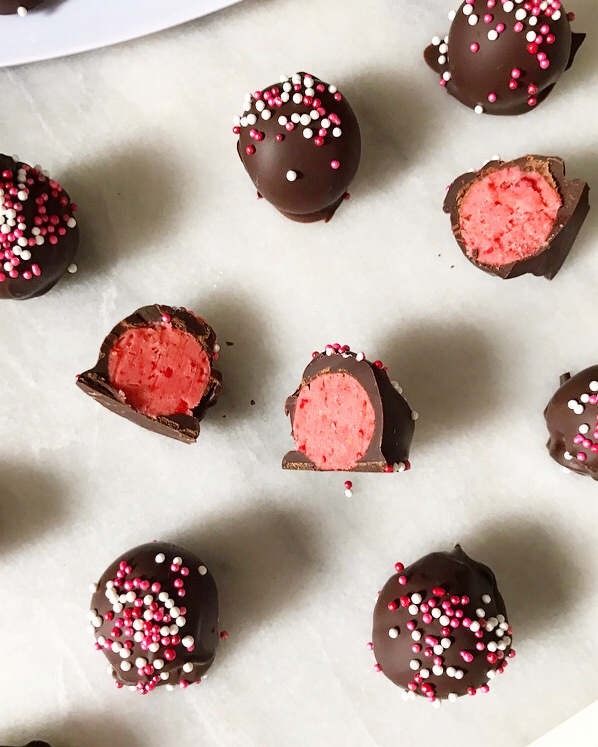

 If you’ve been on my
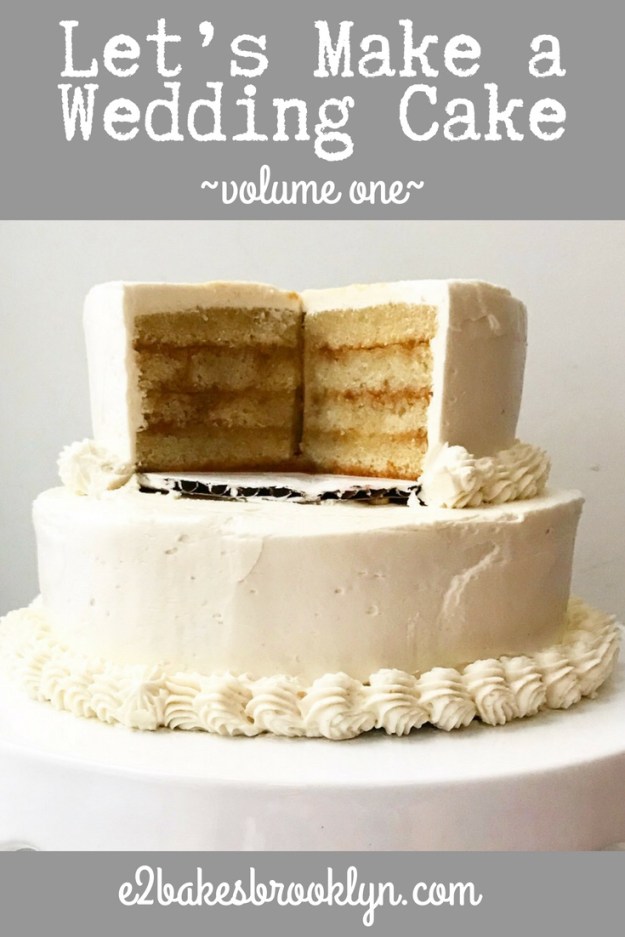
  One of my nearest and dearest friends is getting married on Sunday, and asked yours truly to make a big, beautiful cake for her and her dream man. I said yes—it was a proposal this baker couldn’t refuse. Of course, July 15, 2018, seemed very far away when I agreed to this last summer. In fact, it didn’t start feeling imminent until May, when she and future hubs planned a trip home to NYC to make some final arrangements, including a cake tasting.
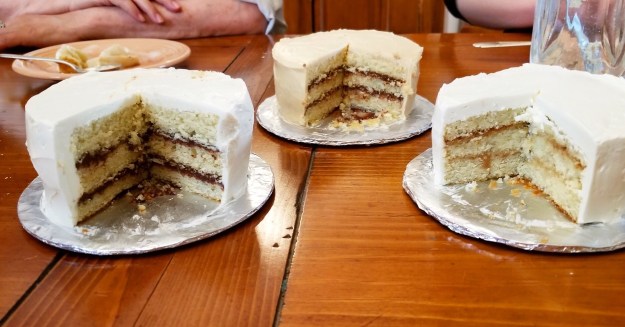 Cut to June 4th when I showed up to the bride’s mother’s apartment with three little layer cakes: all
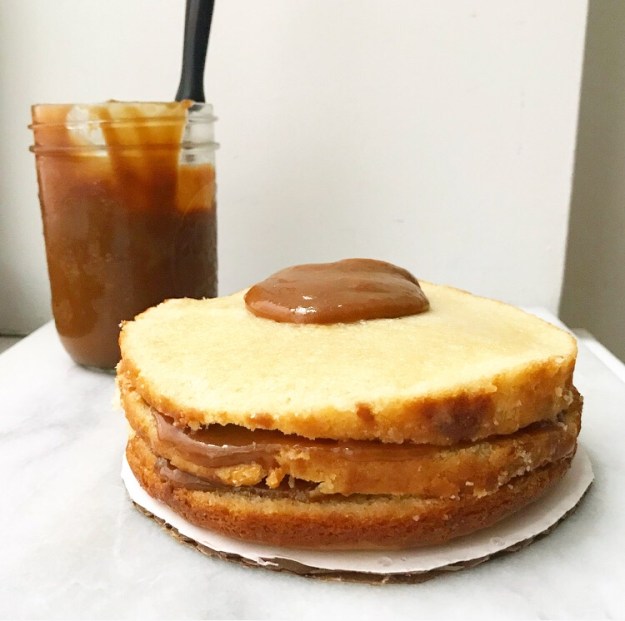
 The original plan was that they would choose one filling and one frosting and that would be that. About five minutes into the tasting we were all in agreement—vanilla, mocha, and bright-white Swiss Meringue Buttercream. But that was before the mother of the bride randomly stacked a bite of the caramel-filled cake on top of a bite of the mocha-filled cake and then insisted the rest of us do the same. Just like my friend and her betrothed, each filling was fine on its own, but they were better together—the combination of chocolate, espresso, and dark caramel is divine. And so, it stands that this cake will be vanilla layers with Swiss Meringue Buttercream and alternating mocha and caramel fillings.
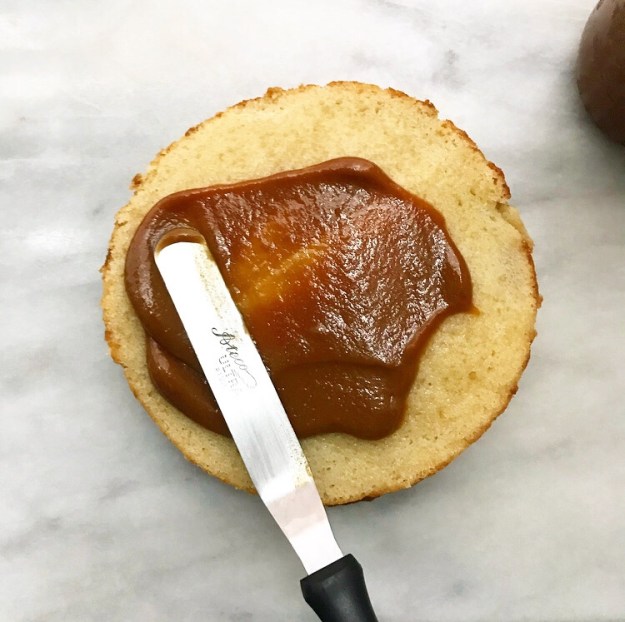 Since this cake has to be made, transported, and assembled in the middle of a hot, humid NYC July, I had to take melting into consideration when developing the recipe(s). Traditional American Buttercream (butter + confectioners sugar + vanilla + heavy cream, AKA most of the
  The frosting, which I’ll write more about on Friday, is made from egg whites, while the fillings are made with the yolks. The mocha filling is simply my
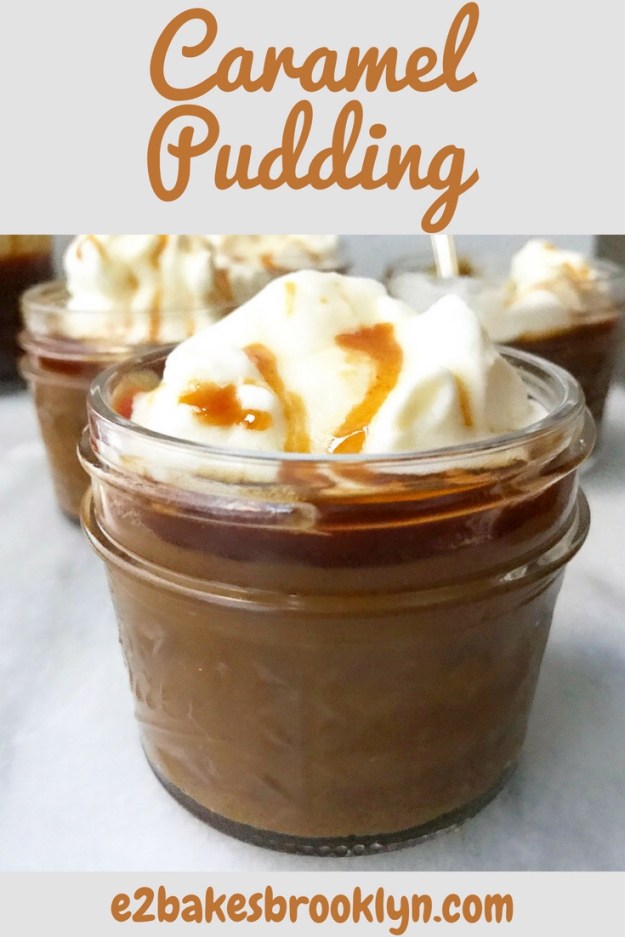
 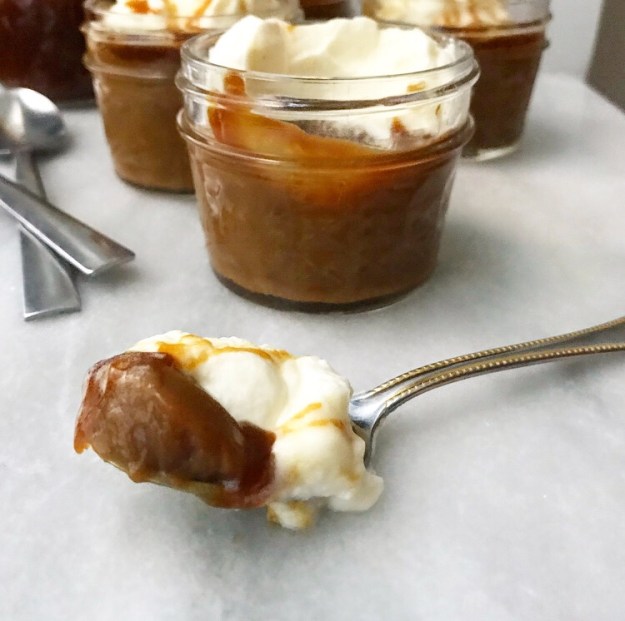 Today is all about the caramel filling—this rich, silky, insanely delicious pudding that is practically like eating a little bowl of pure caramel! So freaking good.
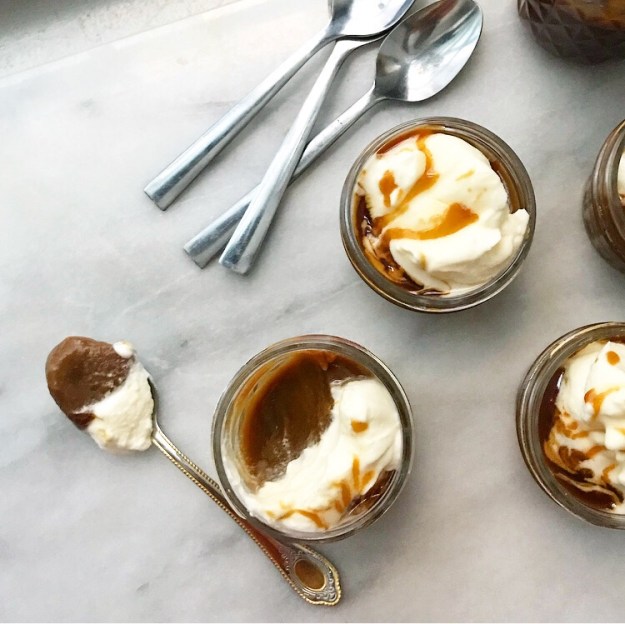 Caramel Pudding is a streamlined spin on the Butterscotch Cream Pie filling I made last fall. It’s super quick and easy to make, coming together in just 15 minutes on the stovetop. You may absolutely enjoy it without any accoutrements, but I especially love it with
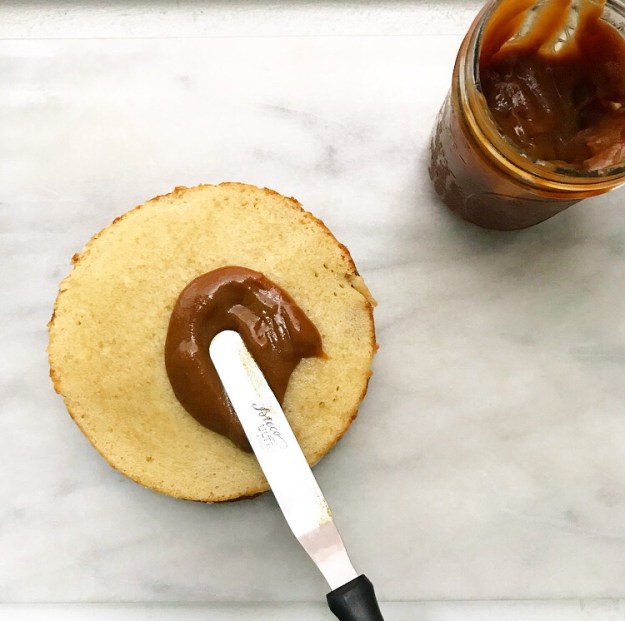
 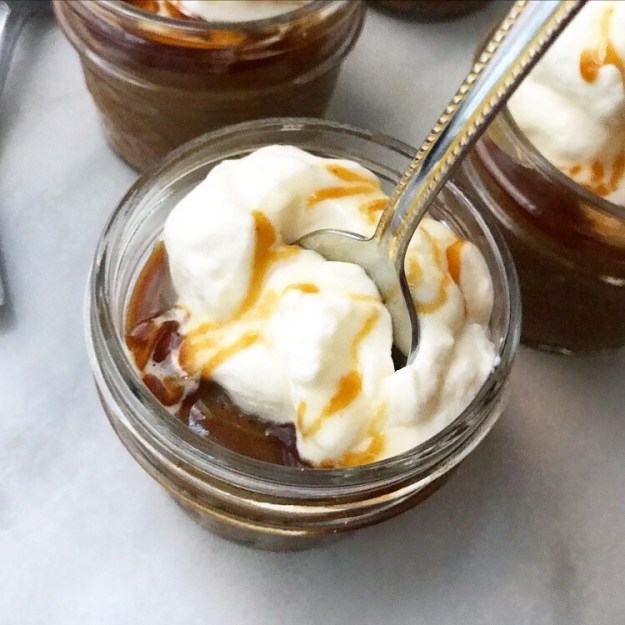 And, of course, it also works well as a cake filling, if whispers of dark caramel between layers of buttery vanilla cake are a thing you’re into.
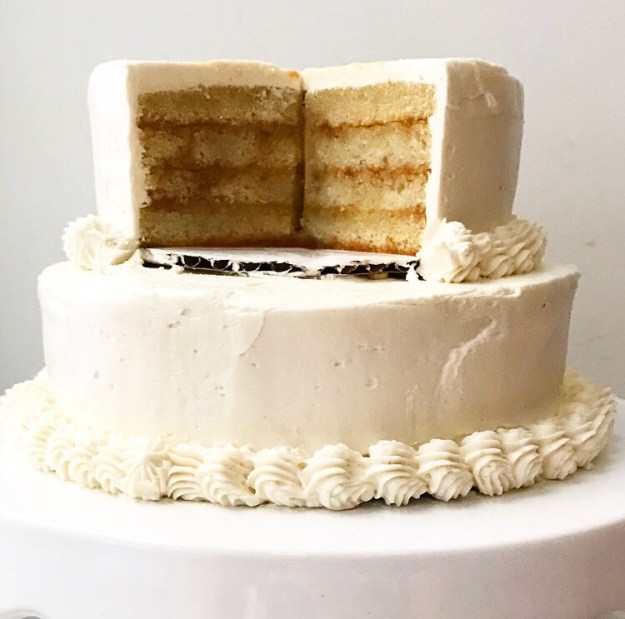 They are definitely a thing I’m into.
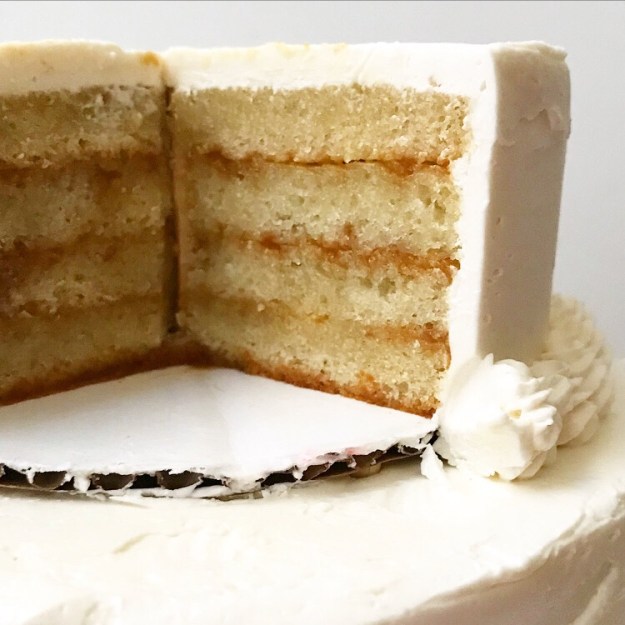
 Memorial Day is coming up and I’ve got your long weekend dessert needs covered.
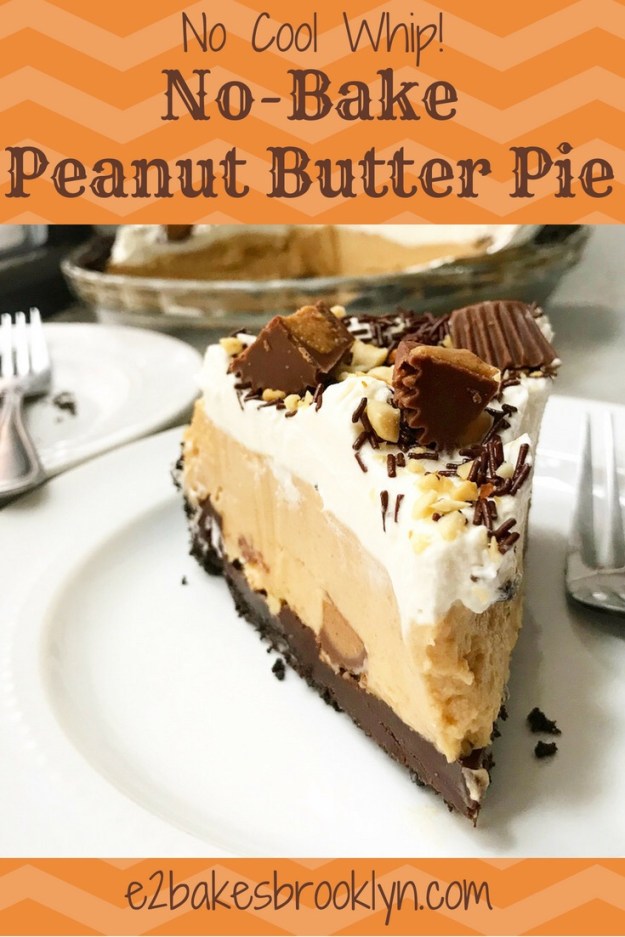
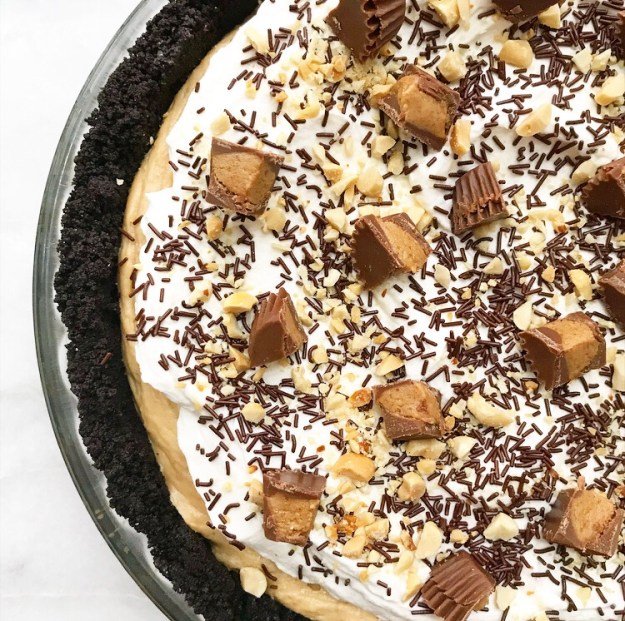 No-Bake Peanut Butter Pie, y’all! It’s a great way to ring in the unofficial start of summer.
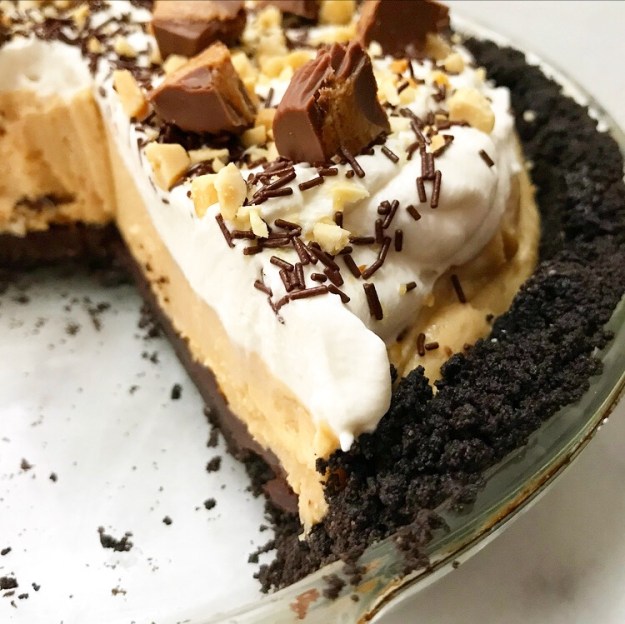 And since it doesn’t require cranking the oven, it’s the ideal dessert to make on a searing hot summer day. Lord knows we have plenty of those coming our way. (Even if it currently feels like it will just be
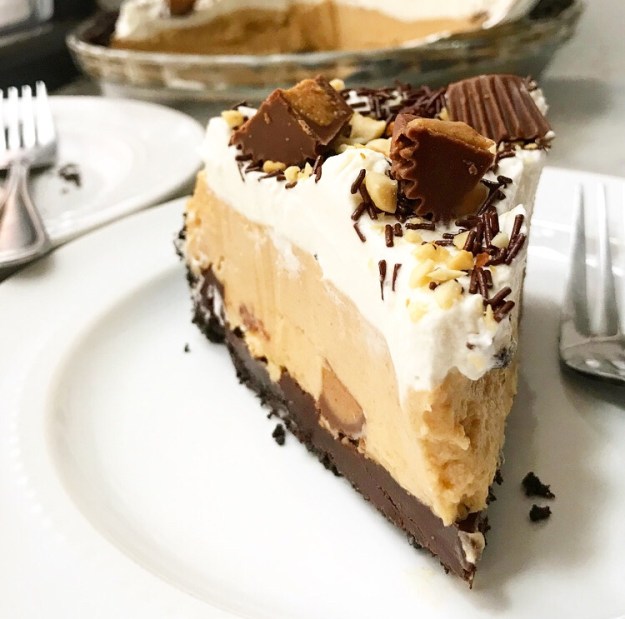
  This pie has it all. Seriously. There’s the Oreo crust…
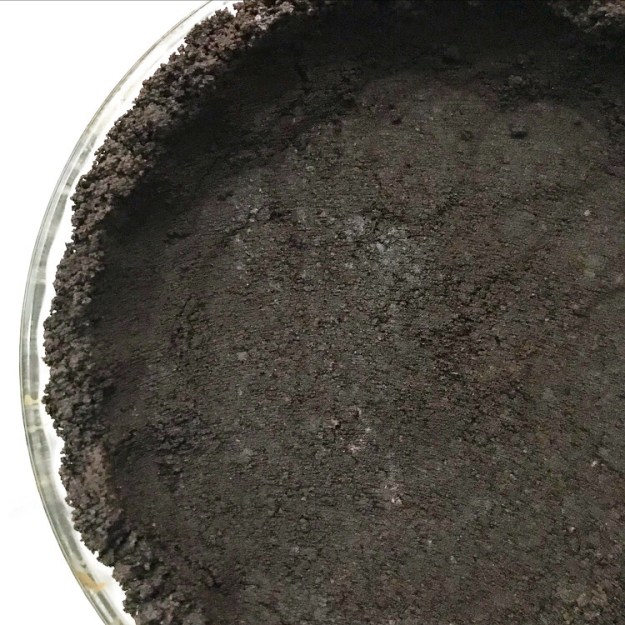 a puddle of ganache (aka a “
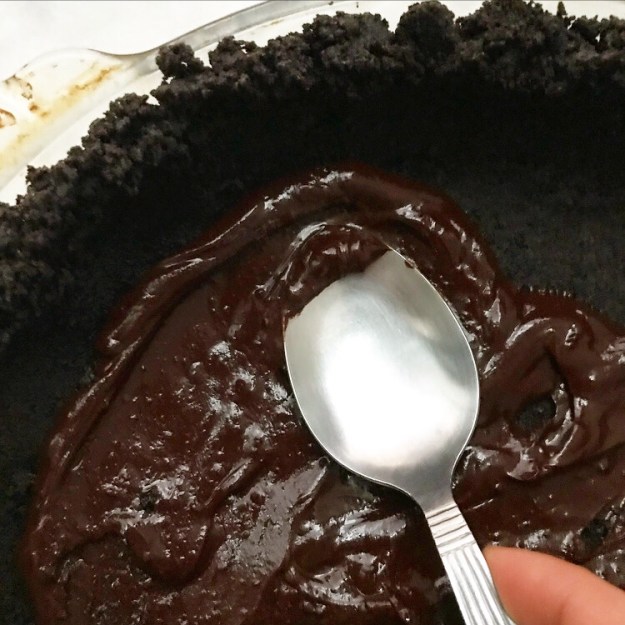 crunchy chopped peanuts and miniature peanut butter cups.
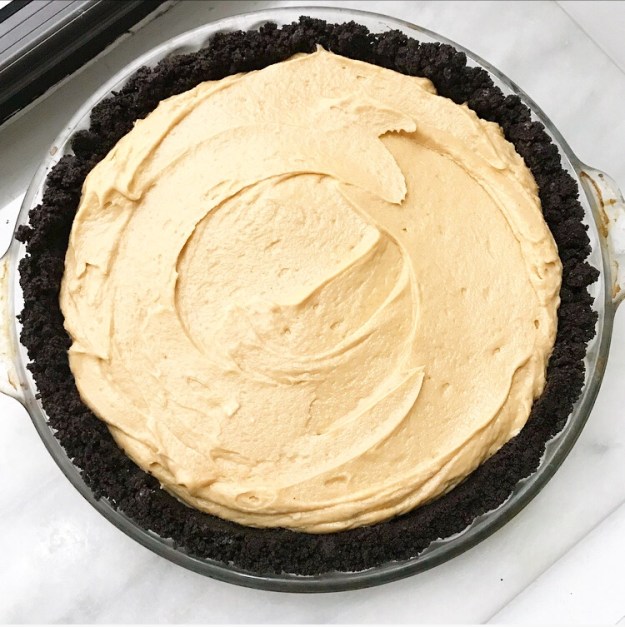
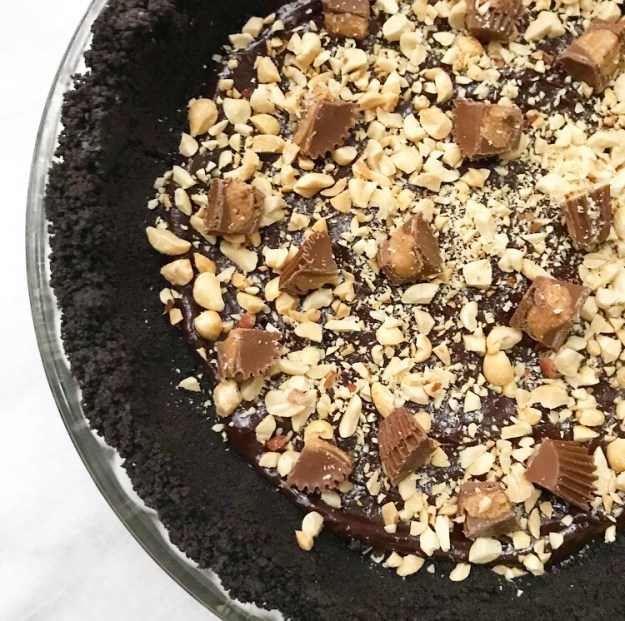 Then there’s the creamy peanut butter filling…
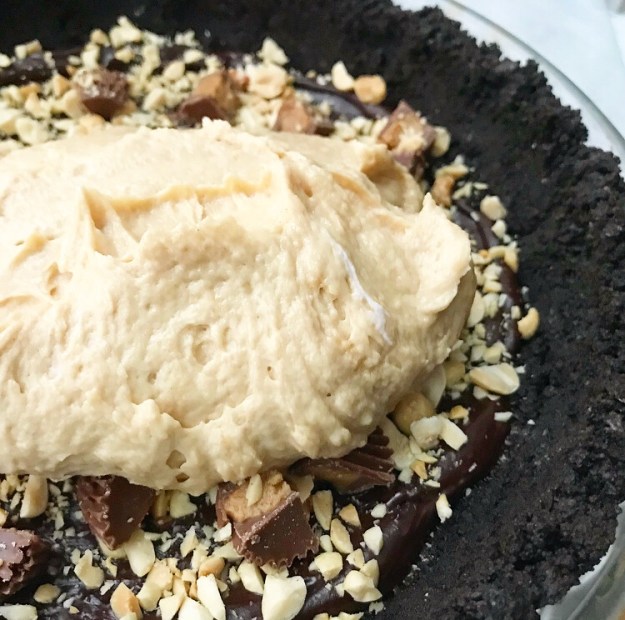
 whipped cream…
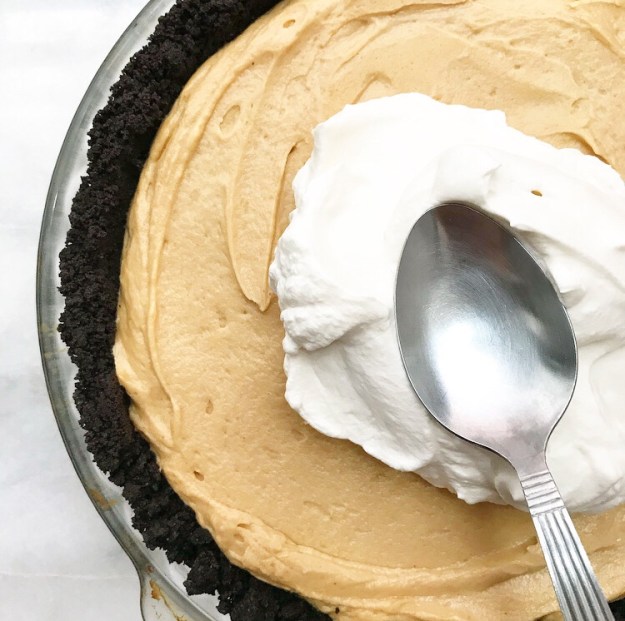 and more chopped peanuts and miniature peanut butter cups. Also, chocolate sprinkles.
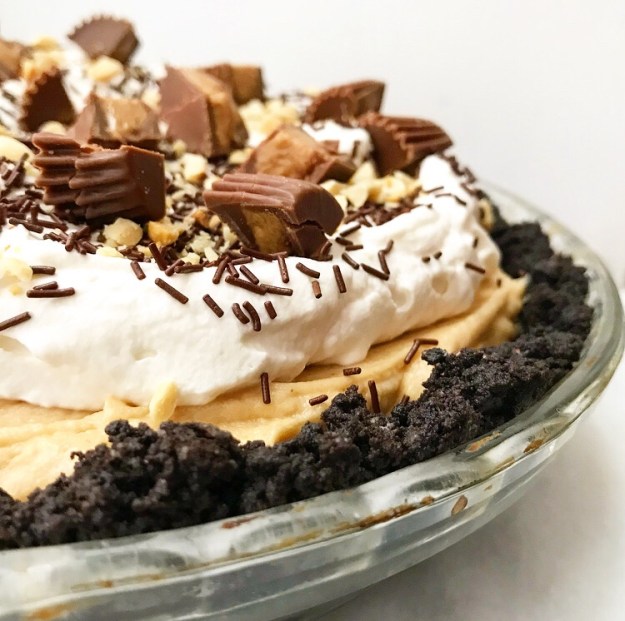 Yaaaaaaas.
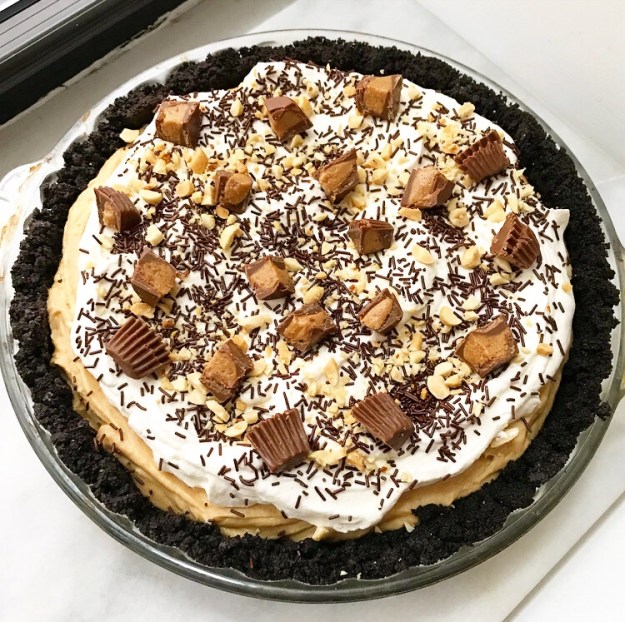 You and your friends won’t be able to get enough of this No-Bake Peanut Butter Pie. Make it for the holiday weekend or your beach trip or any summer birthdays. Heck, make it for all of those occasions.
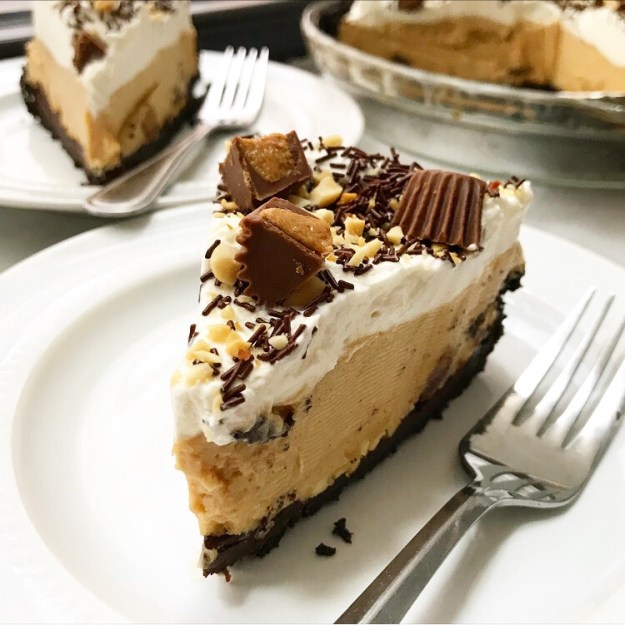 It doesn’t get much better than this.
 Mother’s Day is this weekend and while I won’t be spending the holiday with my mom, I still have “mom food” on the brain. In the case of my mom, that means
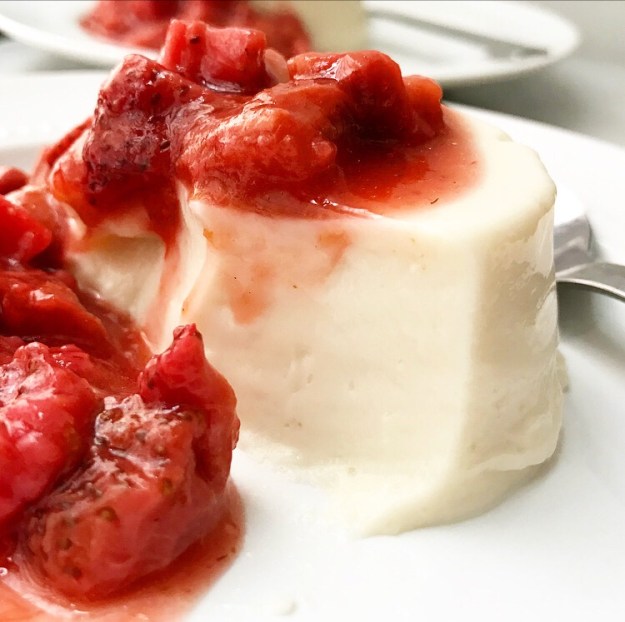
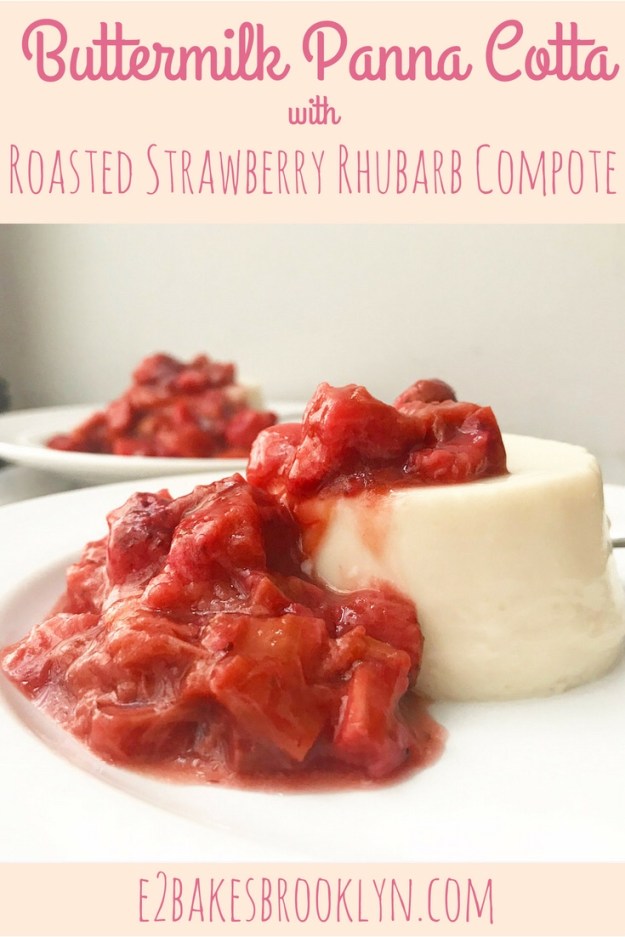
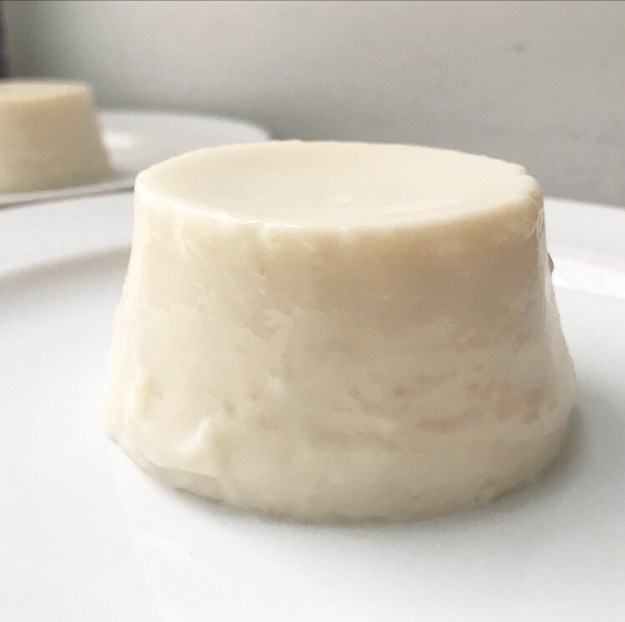
 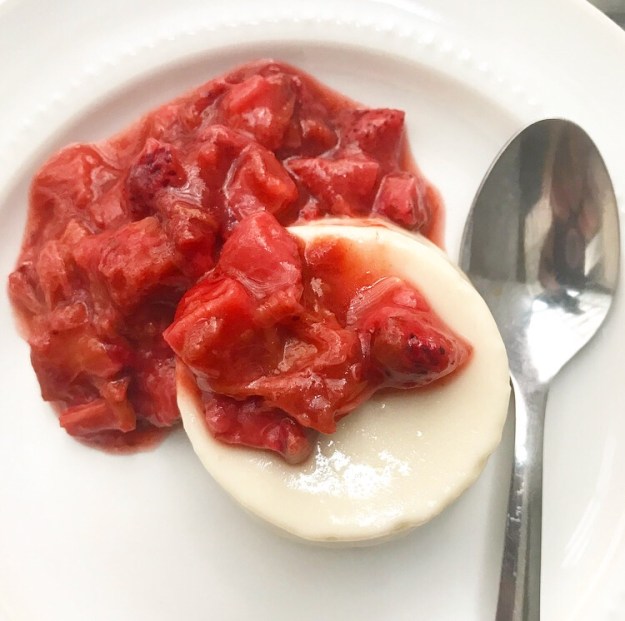 Panna cotta (Italian for “cooked cream”) is a soft-set cream-based pudding commonly served with fresh berries or a berry sauce. Most are made with a combination of heavy cream and whole milk, but the version I’m serving up today has a pleasant tang, thanks to the addition of buttermilk. It has the creaminess you expect in a custard, but where custards are set with eggs, panna cotta relies on gelatin.
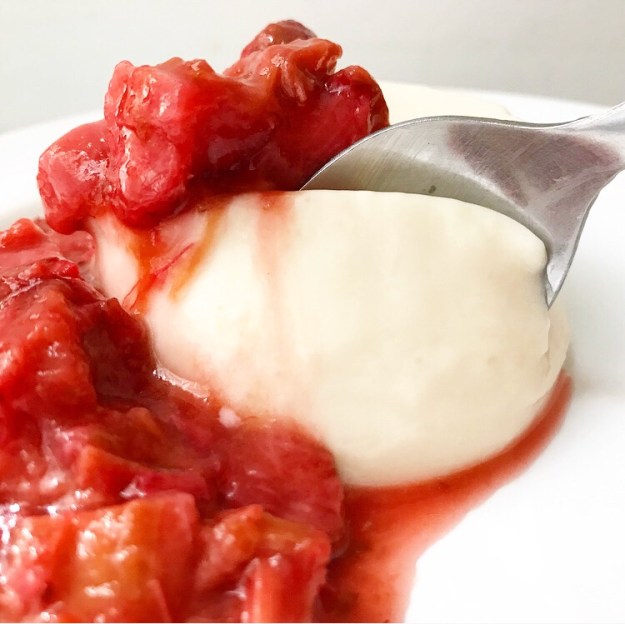 I’ve considered panna cotta a “restaurant only” food for years, thinking it was too fancy or time consuming to make at home, or that it required a skill set I didn’t have…
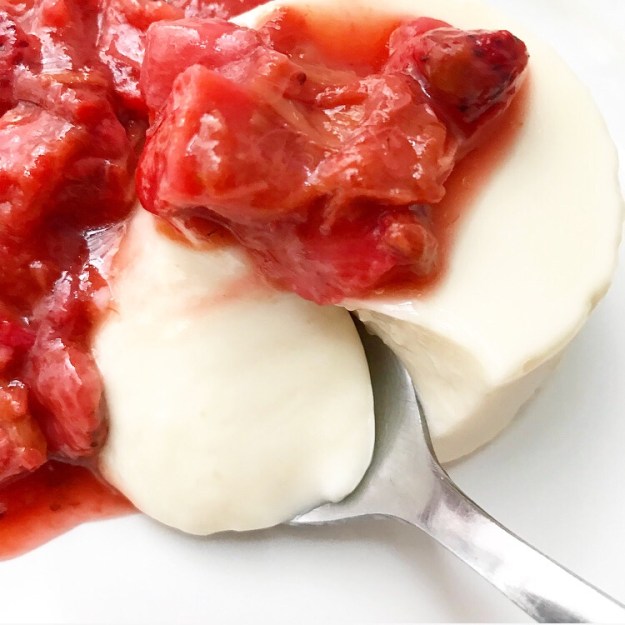 …and it’s turned out to be exactly as difficult and time-consuming as making Jell-o. But softer and creamier and with a silky smooth texture.
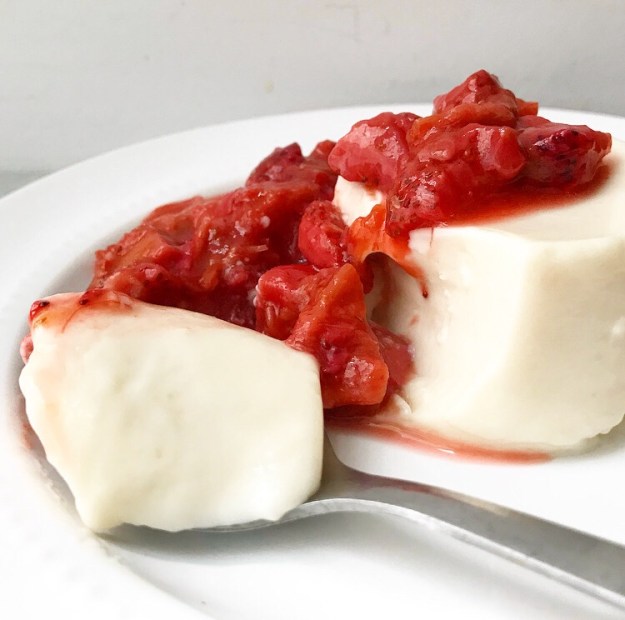 What I’m trying to say is that panna cotta is the ultimate high brow/low brow dessert.
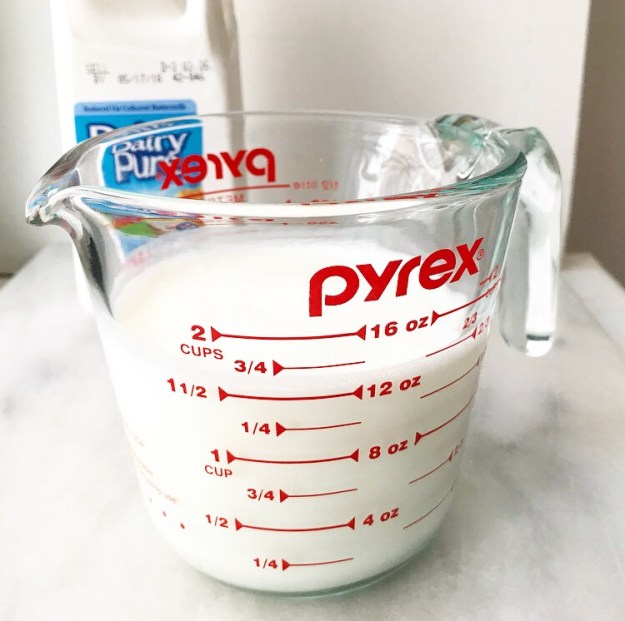
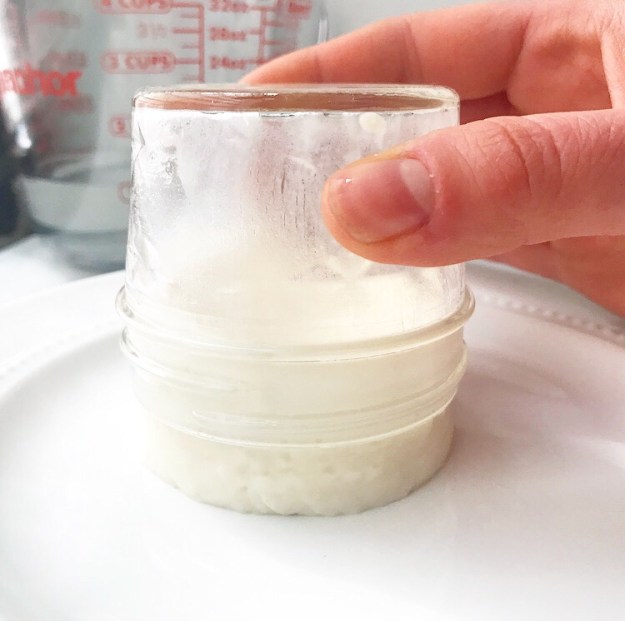
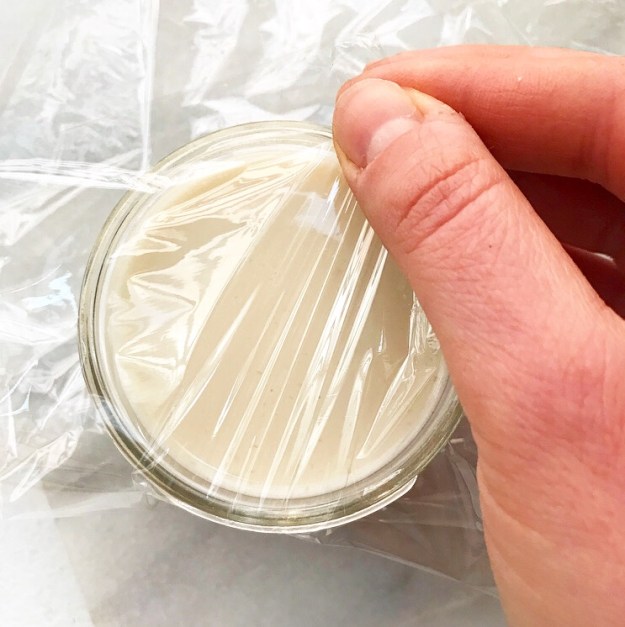 My Buttermilk Panna Cotta has five ingredients and takes all of five minutes of effort (seven, if you count the time for measuring). The time consuming part is waiting for it to set up—this can take anywhere from two to four hours, depending on whether you’re serving it in the mold or inverting it onto a plate. Gelatin gets stronger over time, so if you want to serve free-standing panna cottas, make sure to plan ahead. Otherwise, you can just serve them straight from their molds.
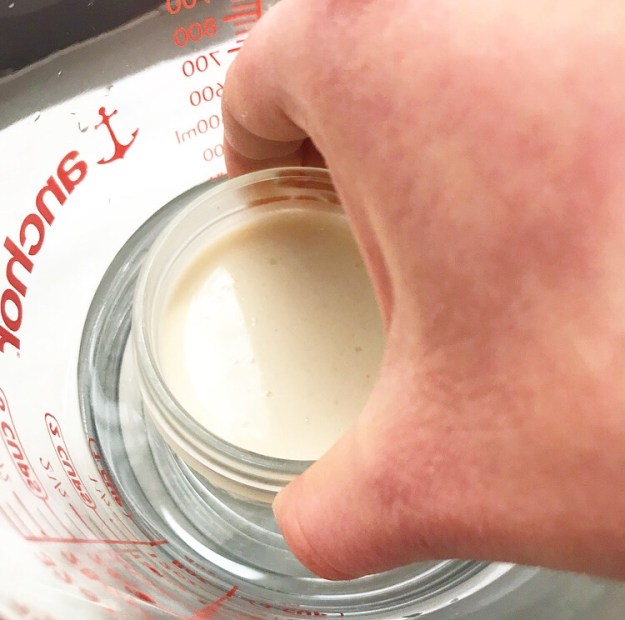
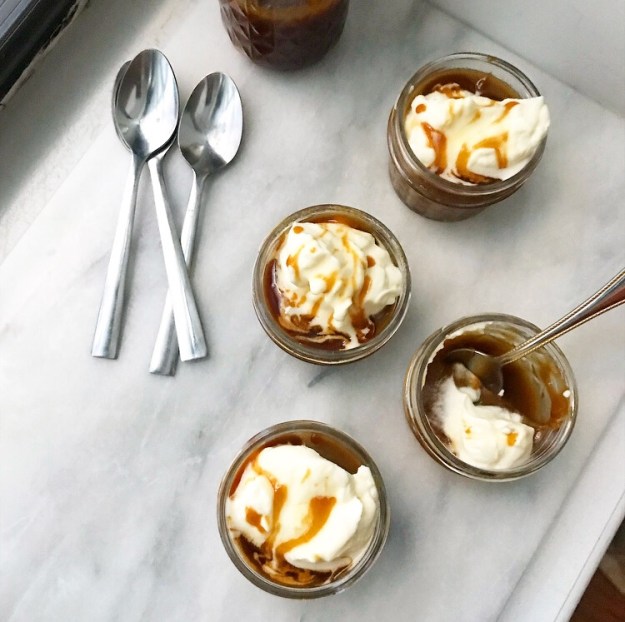
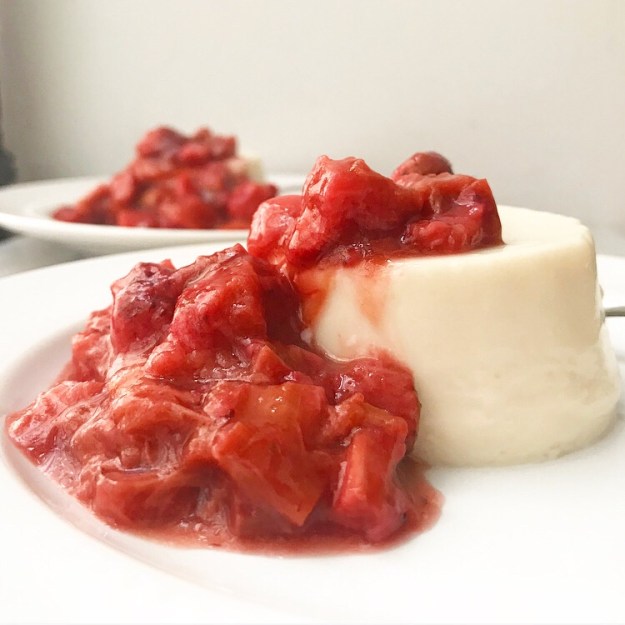
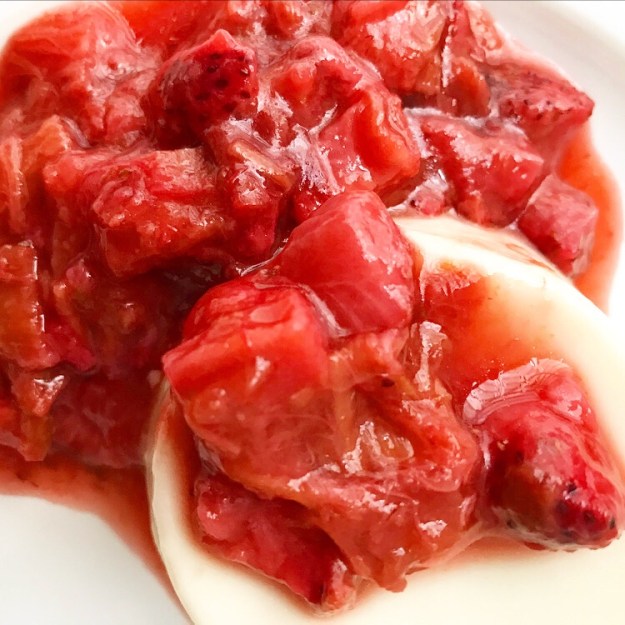
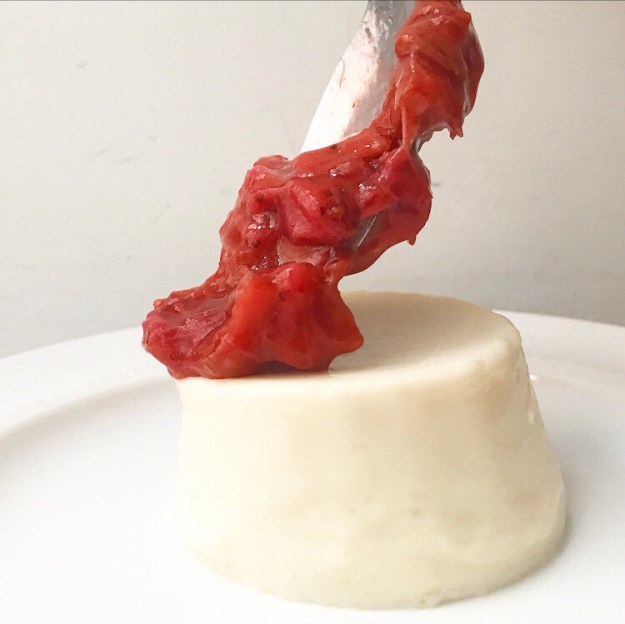 And speaking of molds, you can find all different kinds online, but I spent $10 on a dozen 4-ounce mason jars last week and, even if I break every last one tomorrow, I already feel like I have gotten my money’s worth. They’re a perfect combination of form and function, and I love the way they showcase these layers of Buttermilk Panna Cotta and Roasted Strawberry Rhubarb Compote.
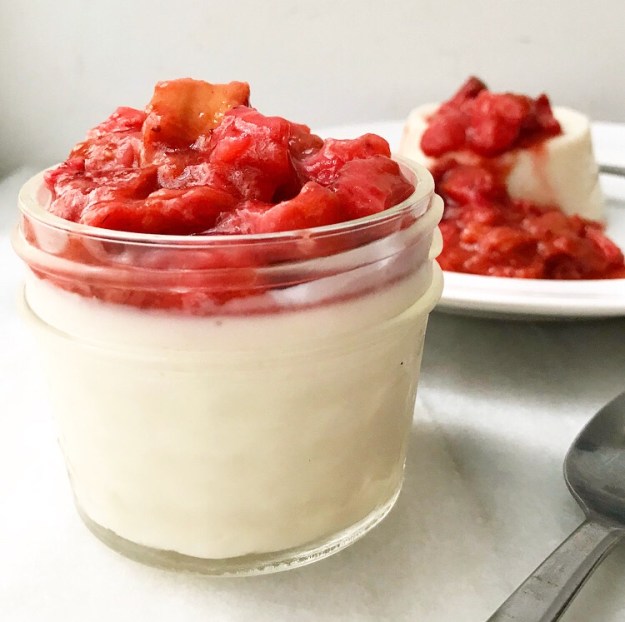
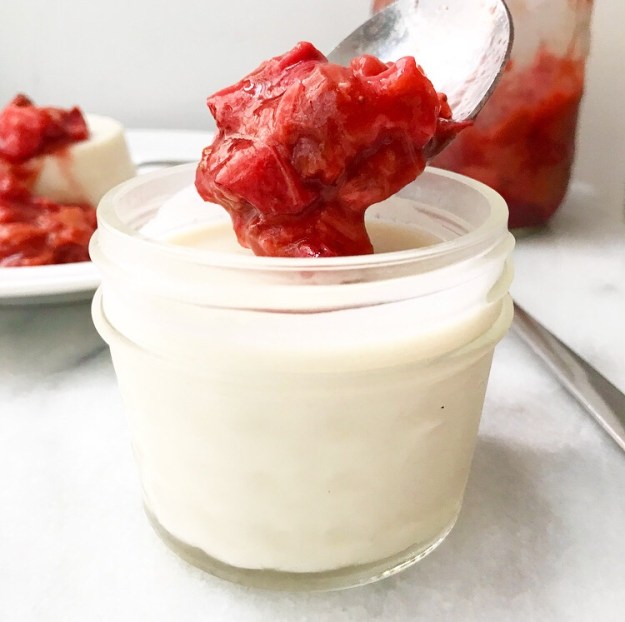
 After all that talk about panna cotta, I bet this compote seems like an afterthought, but I assure you it. is. not. In fact, this sauce is what really makes this dessert sing!
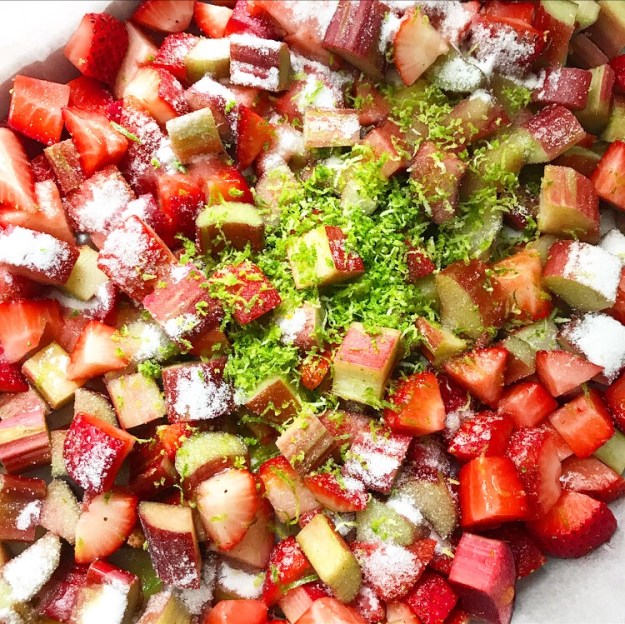
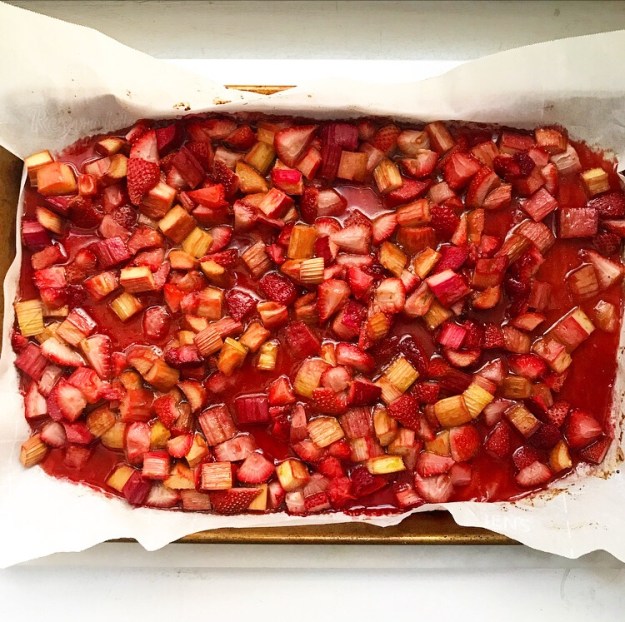

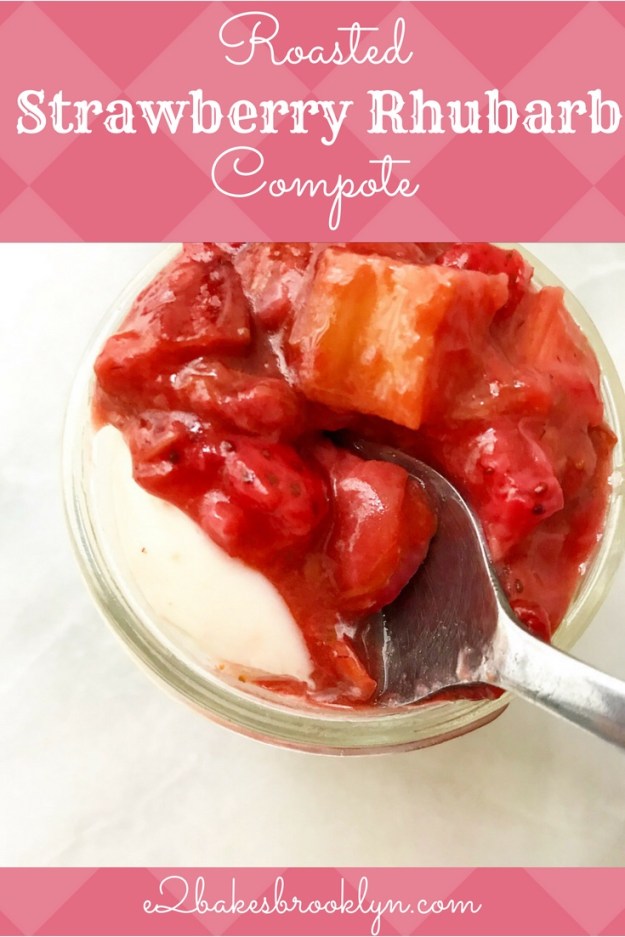
 The sweet-tart combination of strawberries and rhubarb is a classic for a reason. Here, it’s amped up with just a touch of sugar and some lime zest before being tossed with olive oil and roasted until saucy. This takes minimal time and effort and makes much more than you’ll need for six panna cottas. I suggest spooning the leftovers over ice cream or plain yogurt, or just eating them directly from the jar…not that I’d know anything about that.
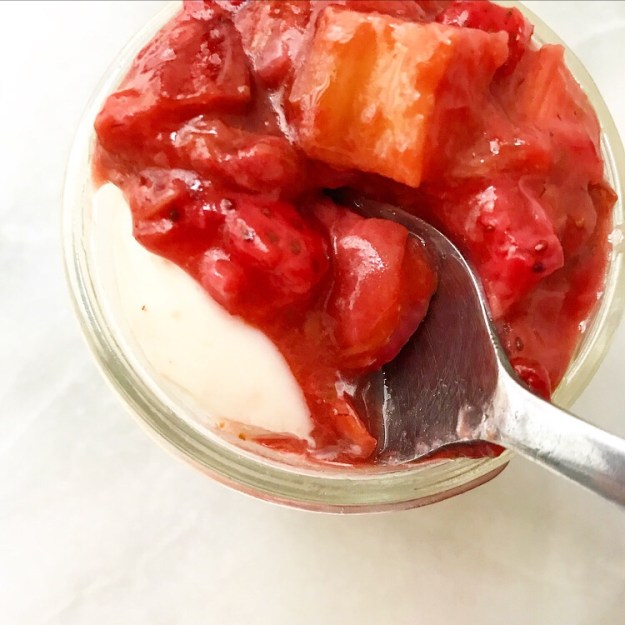 Happy Mother’s Day to everyone celebrating, especially my mom. Thanks for loving me so hard.