I didn’t have any real reason to make a Funfetti Layer Cake this week. There were no special occasions. Nobody asked for a cake. Today is my dad’s birthday and Sunday is my pal, David’s, but neither of them would have Funfetti as their first choice. Nope.
 I just made this cake because I felt like it. In the last few weeks, I have stocked up on sprinkles at Sahadi’s and finally made a white cake recipe that I love, and if those two things aren’t enough reason to slap together a layer cake this cheerful…well, I don’t know what is.
 I mean, really. This has got to be the happiest cake on earth. Or at the very least, the happiest cake in Brooklyn 😍


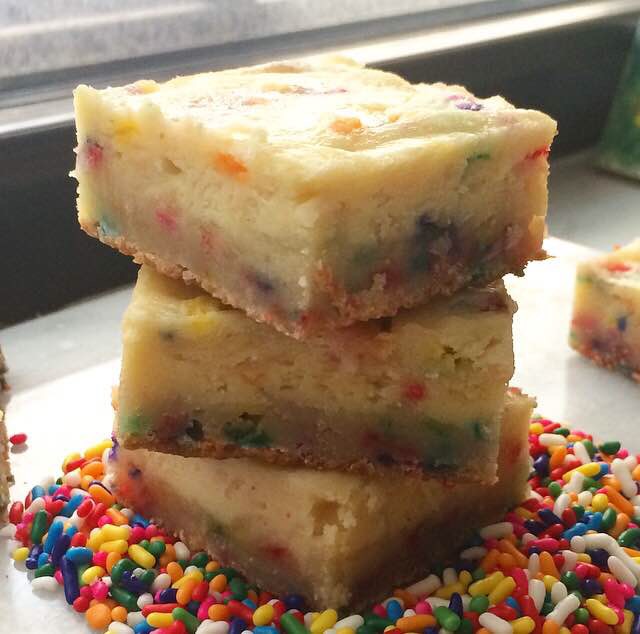
 Now, you may be wondering what sets Funfetti Layer Cake apart from a plain white cake with some sprinkles. The answer is…well, not much. In fact the only differences between my regular white cake recipe and this cake are 1/4 teaspoon of imitation butter extract (for that box mix flavor without the box mix) and a veritable ton of rainbow sprinkles. There’s no big secret or anything–Funfetti is just white cake with pizzazz. Because sometimes you just need cake with pizzazz, am I right?!
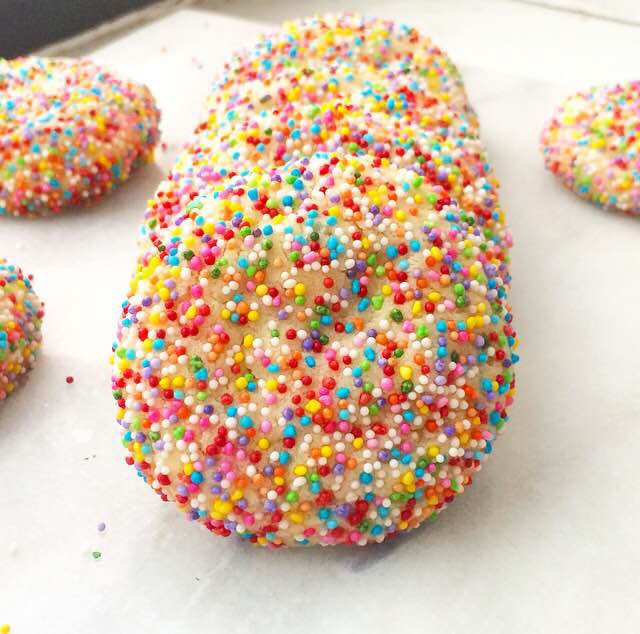
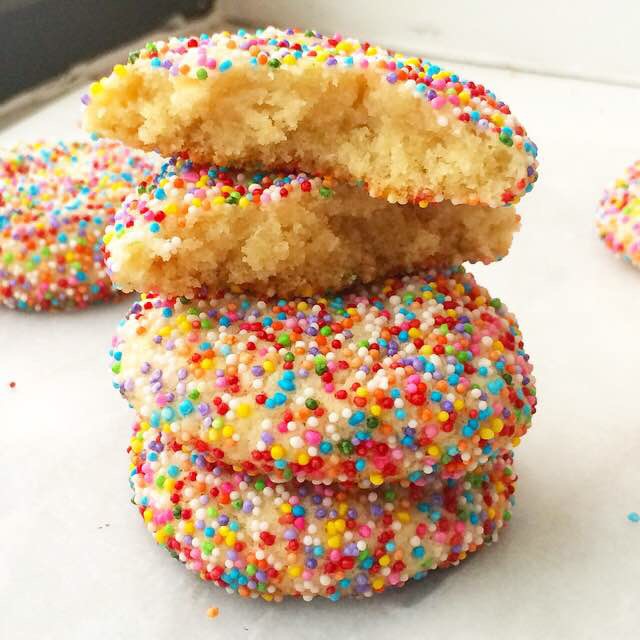
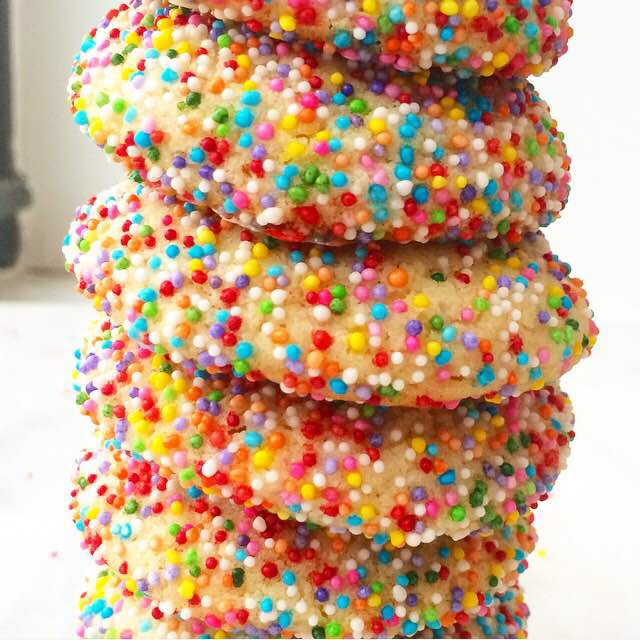
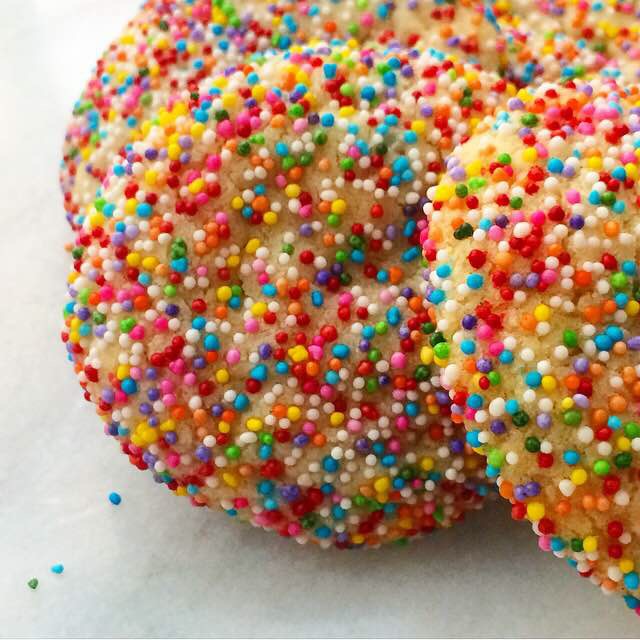
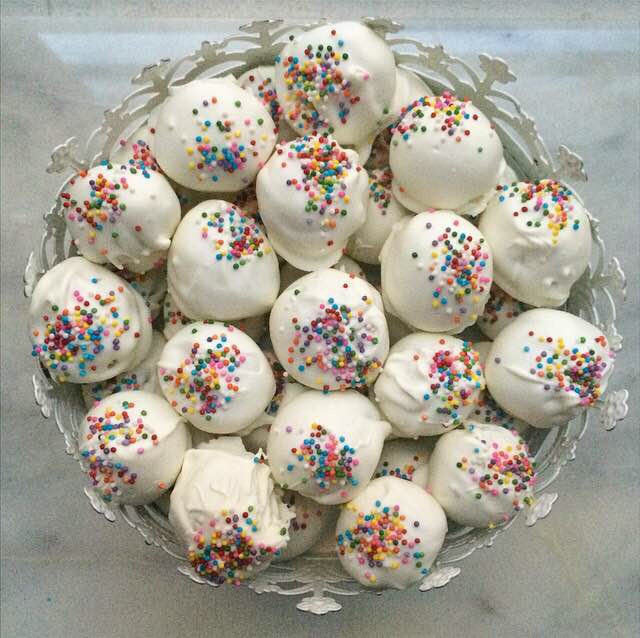
 I frosted this cake with vanilla buttercream and coated the sides with as many nonpareils as the frosting would hold! This was done mostly because, as I have previously mentioned, the kitchen is the warmest room in my apartment right now–not ideal for beautiful frosting! This coating of sprinkles covers all manner of sad-looking frosting, and it’s super cute 💗

 Look how adorable that is! I love how the bright white cake really makes the sprinkles pop. I’m just crazy about all that color 💕💕💕And as if aesthetics alone aren’t a good enough reason to make Funfetti Layer Cake from scratch, know that my version beats the pants off anything you can find in a box. The cake is light and buttery, and the frosting is super fluffy and delicious, and…oh, who am I kidding? This one’s all about the sprinkles.
Funfetti Layer Cake
makes 1 three-layer frosted cake
To Grease the Pans:
2 tablespoons neutral-flavored oil
2 tablespoons all-purpose flour
Cake:
2 2/3 cup all-purpose flour
1/3 cup cornstarch
2 cups granulated sugar
1 tablespoon baking powder
1/2 teaspoon Kosher or sea salt
3/4 cup (1 1/2 sticks) unsalted butter, melted and cooled slightly
1/4 cup neutral-flavored oil (I like canola)
2 teaspoons pure vanilla extract
1/8 teaspoon imitation butter extract (optional)
1 1/2 cups milk (not skim or fat-free)
1/2 cup full-fat sour cream
4 large egg whites, room temperature
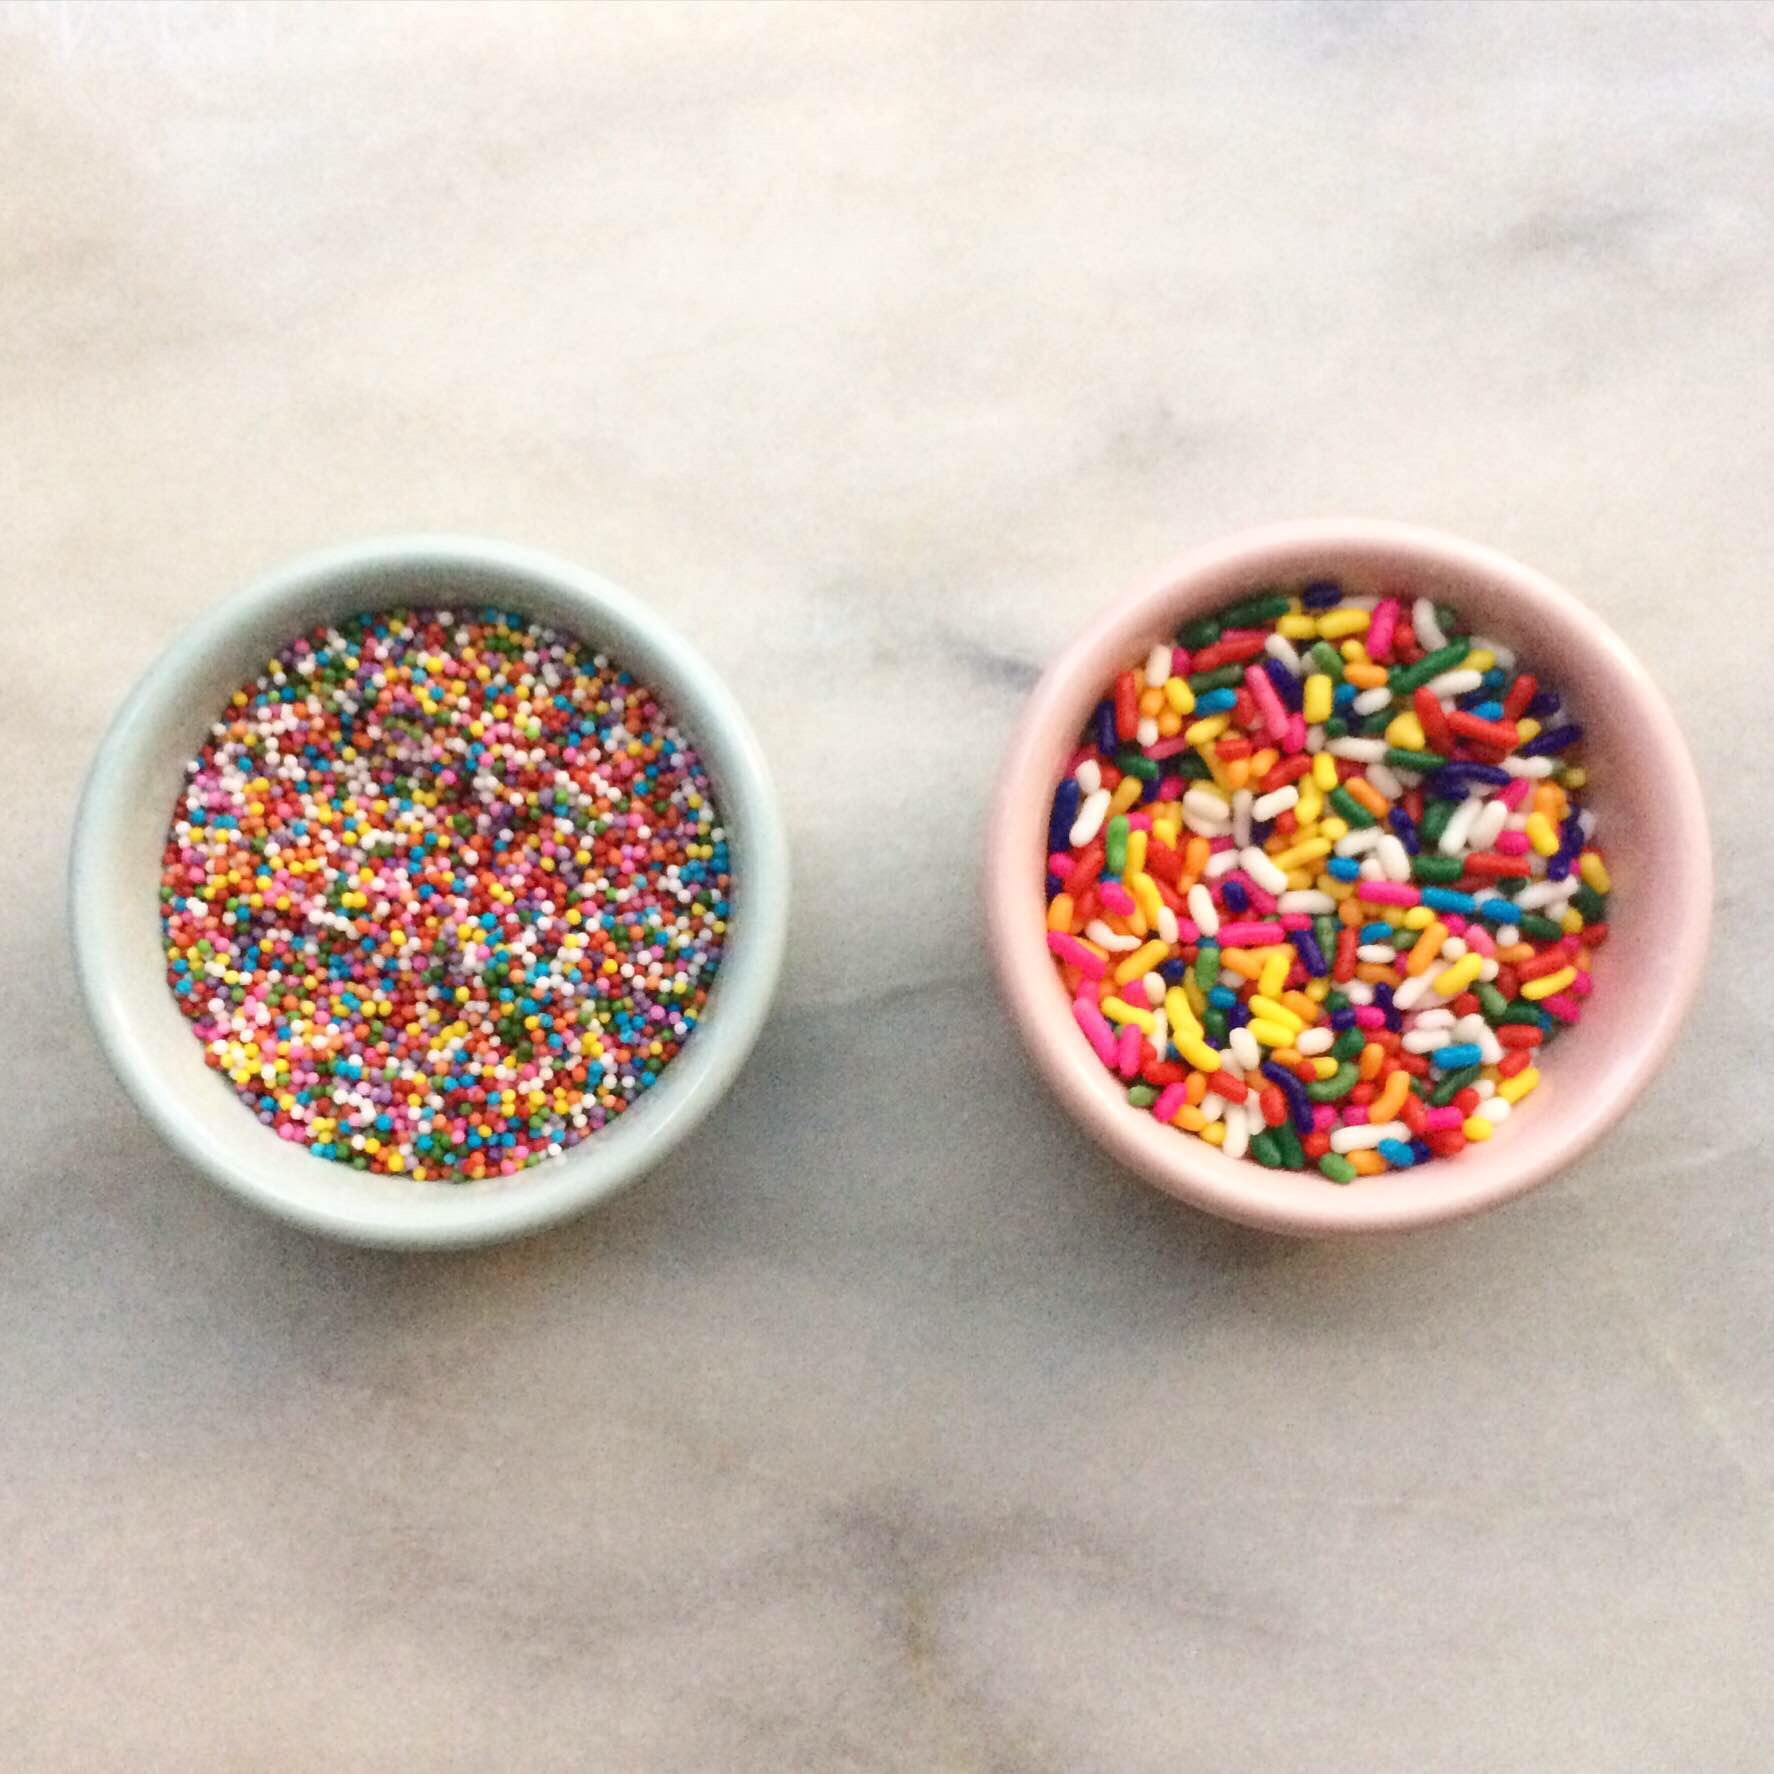
3/4 cup rainbow sprinkles (jimmies, not nonpareils)*
Frosting:
1 1/2 cups unsalted butter, softened to room temperature
5 1/2 cups confectioners sugar
pinch of Kosher or sea salt
1 tablespoon pure vanilla extract
5-8 tablespoons heavy cream
rainbow sprinkles (jimmies or nonpareils), for decoration
Preheat oven to 350F. Grease the pans. In a small bowl, use a fork to whisk together oil and flour. Use a pastry brush to apply a thin layer to the entire insides of three 9-inch round cake pans. Set aside.
In a large mixing bowl, combine flour, cornstarch, sugar, baking powder, and salt. Sift together four times. Do not skip this step. Set aside.
In a separate large mixing bowl, whisk together melted butter, oil, vanilla and almond extracts, sour cream, and milk. Set aside.
Place egg whites in a clean, dry medium-large mixing bowl. Use the whisk attachment on an electric mixer to beat egg whites on medium-high speed until they hold stiff peaks. Do not over mix. Set aside.
Fold dry ingredients into wet in three installments, scraping down the bowl as necessary. Carefully fold half the whipped egg whites into the batter, followed by the other half. Fold in sprinkles.
Divide the batter evenly into the prepared pans. Lightly tap each pan on the counter a couple of times just to help any large air bubbles dissipate. Bake for 23-25 minutes, or until a toothpick inserted in the centers comes out clean. Let cakes cool in the pans for fifteen minutes before running a small, thin knife around the edge of the pans and inverting the layers onto a rack. Allow to cool completely.
Make the frosting. In a large mixing bowl, beat butter until light and fluffy, about two minutes. Beat in confectioner’s sugar in three installments, scraping down the bowl as necessary. Beat in salt, followed by vanilla. Add in heavy cream until desired consistency is reached. Frost and layer cooled cakes. Decorate with sprinkles immediately after frosting.
Cake will keep covered at room temperature for up to three days, or in the refrigerator for up to a week.
Note:
For information on the difference between jimmies and nonpareils, click here.