 Everyone has that one friend who can’t eat anything.
Well, they can obviously eat something, but it’s rarely anything you can enjoy together.
 For me, that’s my pal, VJ. She’s a gluten-free vegan. Of course, I am one of those people who can and will eat just about anything. When we became friends, I worried that we’d never be able to eat together. Food is such an important part of all our lives: beyond preparation and consumption, there is the social aspect of sharing a meal with someone else. Due to our different diets, I wasn’t sure we’d ever be able to happily eat at the same restaurant or make dinner together.
 But I shouldn’t have worried. Not only is VJ a wizard when it comes to navigating menus for options that are both gluten-free and vegan, but she straight-up doesn’t care what anyone else at the table is eating as long as they’re having a good time. When we went to Maine last month, she stood on a rickety chair taking action shots while our friend, Liz, and I rushed around the kitchen making pie and Lemon Bars that she couldn’t enjoy. VJ came and sat with me at the Swans Island Post Office at midnight, just so I could use WiFi to post those recipes on this blog. And she regularly reads and shares my posts, even though I rarely make recipes that fall into her dietary parameters. She’s the kind of friend that everyone should be so lucky to have–one who is selfless, flexible, encouraging, and supportive.
VJ, this one’s for you.
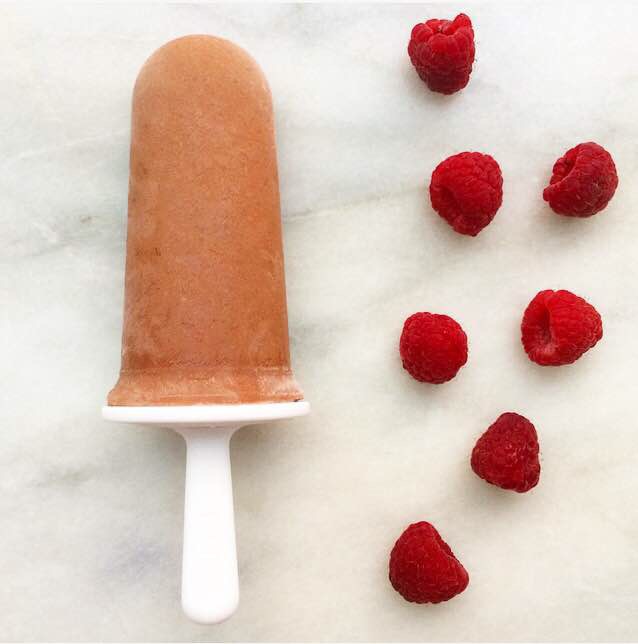
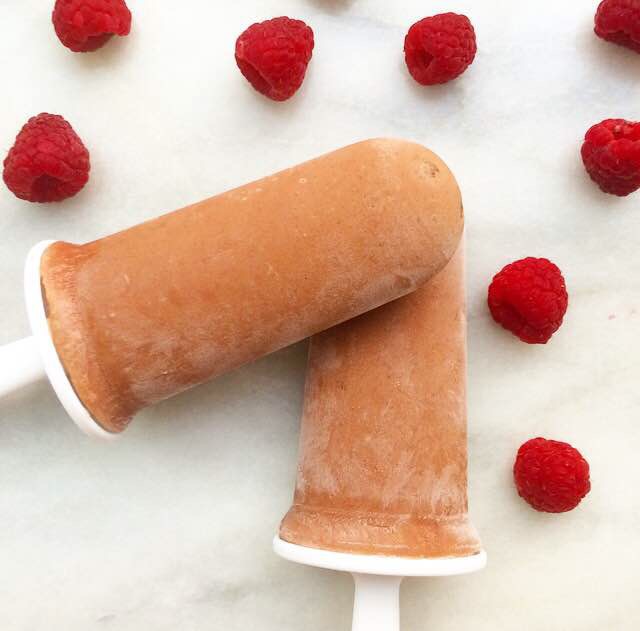
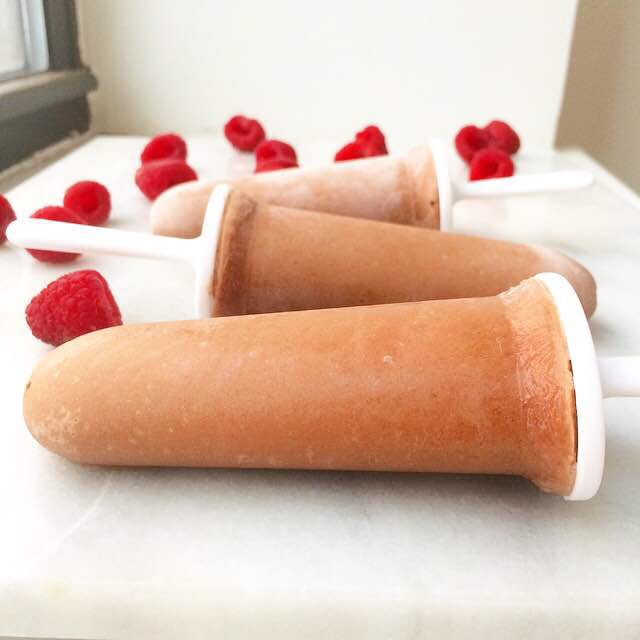 You’ll never believe what’s in these Raspberry Fudgesicles. There’s no dairy, and not one bit of sugar. Nope. Not even a little bit. These ice pops are completely nutritious, but they certainly don’t taste that way!
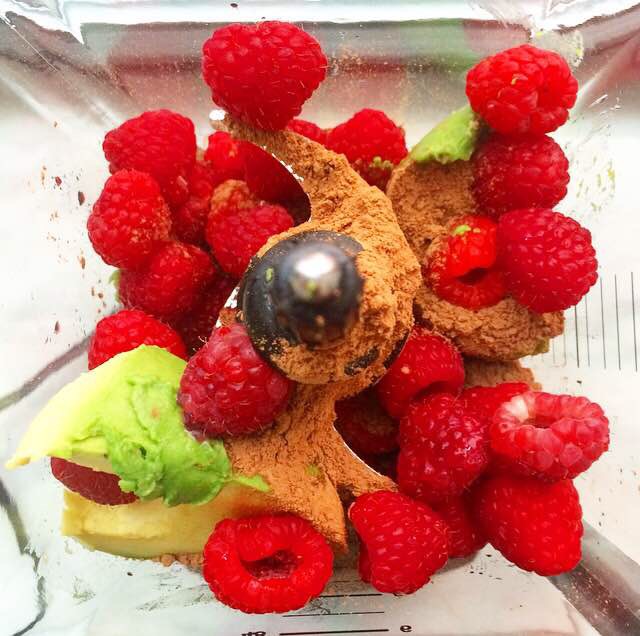
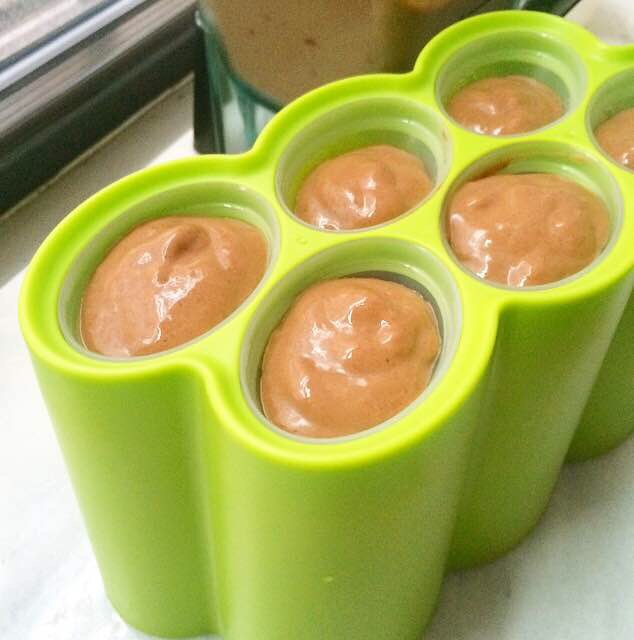 How does that work? It’s simple, really. Coconut milk and avocado keep them creamy. Dates make them sweet. Fresh raspberries and cocoa powder make them delicious! Add to that a bit of vanilla and a few cups of ice cubes and blend until smooth. Pour the mixture into ice pop molds, add popsicle sticks, and freeze for several hours.
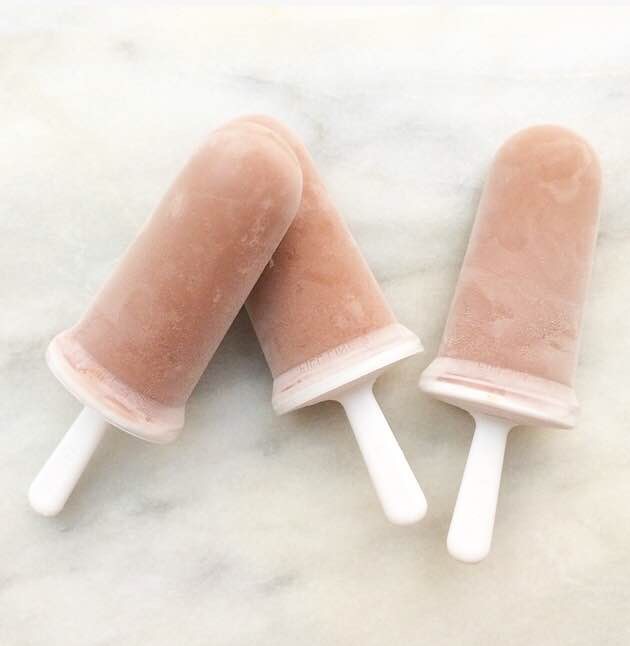
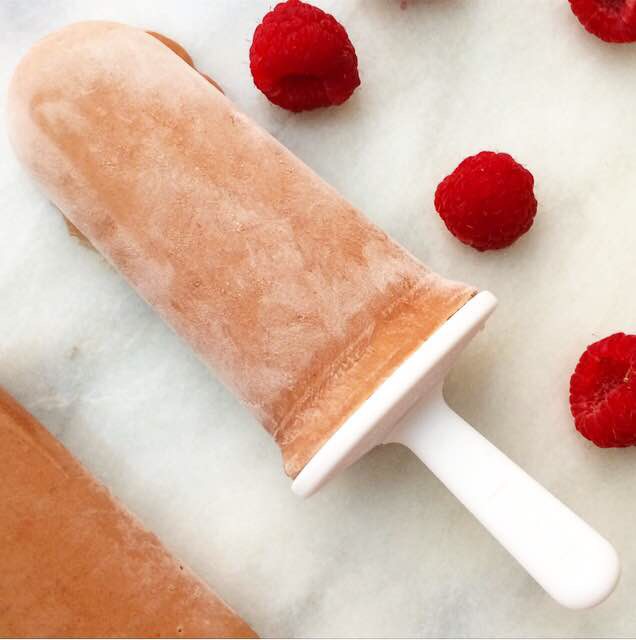
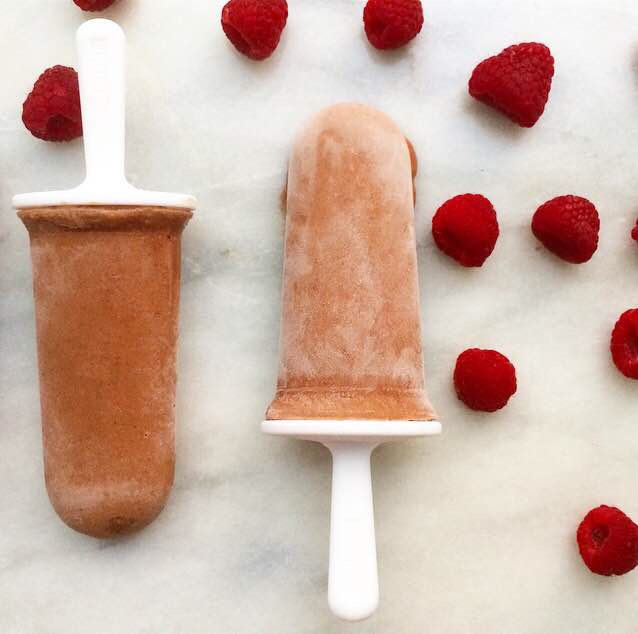 Once you release your ice pops from their molds and take a taste, you won’t believe that they are actually good for you! These creamy Raspberry Fudgesicles are full of chocolate-raspberry flavor and melt just like those fudgesicles you got from the ice cream truck when you were a kid. Except there’s no need to feel guilty having one of these. Nope! Full of vitamins and minerals, protein and good fats, and completely free of sugar, they’re practically healthy enough for breakfast 😊
My favorite thing about these Raspberry Fudgesicles is that I can share them with just about anyone. Vegan, sugar-free, full of nutrients, and totally delicious, they’re the best way to cool down with your friends this summer.
 Raspberry Fudgesicles {Vegan & Sugar Free}
makes about 12 standard ice pops
24 Medjool dates, pits removed
1/2 ripe avocado
1/2 cup cocoa powder (natural or Dutch process)
6 ounces fresh raspberries
1 15 ounce can full-fat coconut milk
1 teaspoon pure vanilla extract
3 cups ice cubes
Combine dates, avocado, cocoa powder, fresh raspberries, coconut milk, and vanilla in a high-powered blender, and blend until smooth. Add ice and blend again until smooth. Divide among ice pop molds and add popsicle sticks. Freeze at least six hours or overnight.
Before enjoying, run molds until warm water for 1-2 minutes before removing ice pops.


 Let’s take a sugar break. It’s been a while since I’ve posted anything on the real food side of things, and I’ve honestly overdone it with all the treats lately. But who can blame me? There were
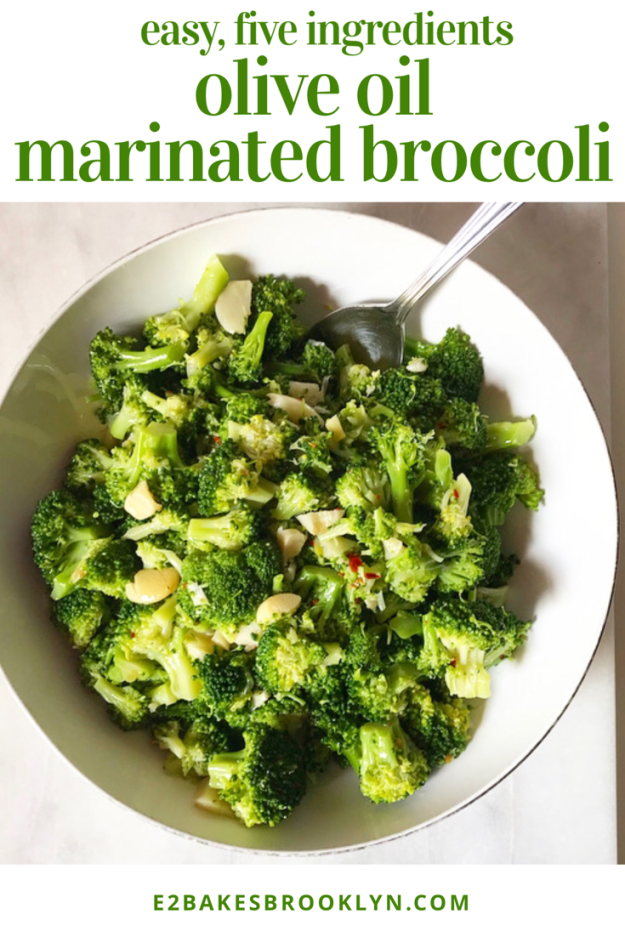
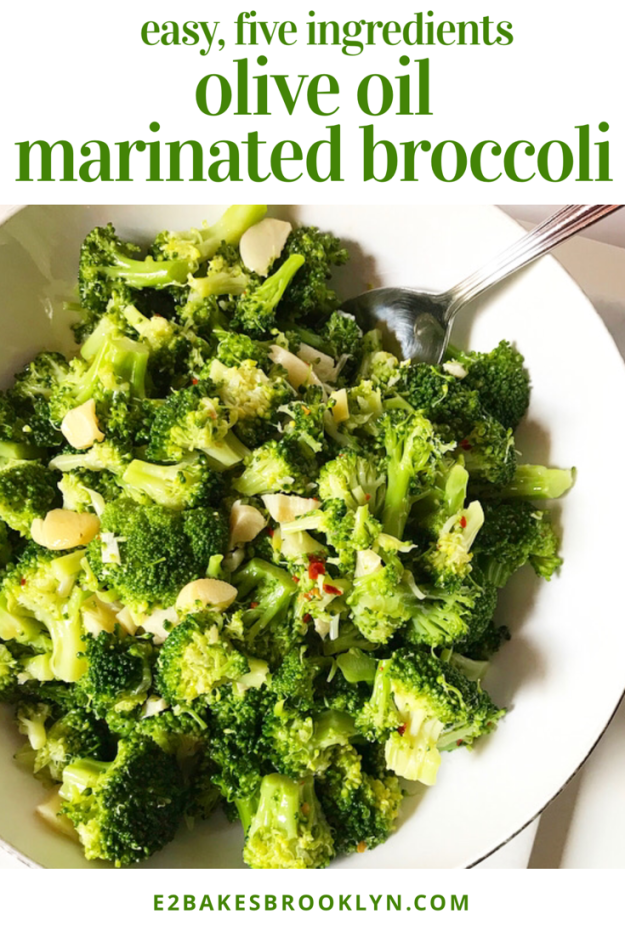
 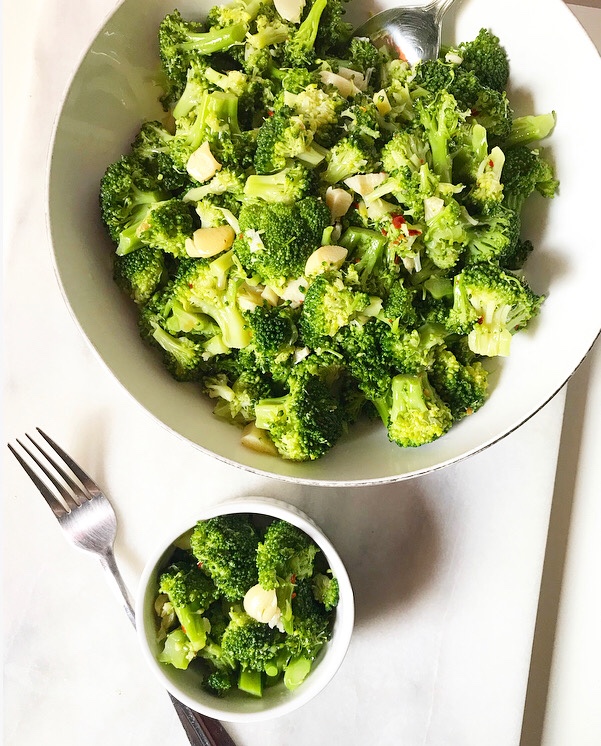 So, let’s eat some broccoli. Really good, crunchy broccoli coated in a salty, spicy, garlicky marinade.
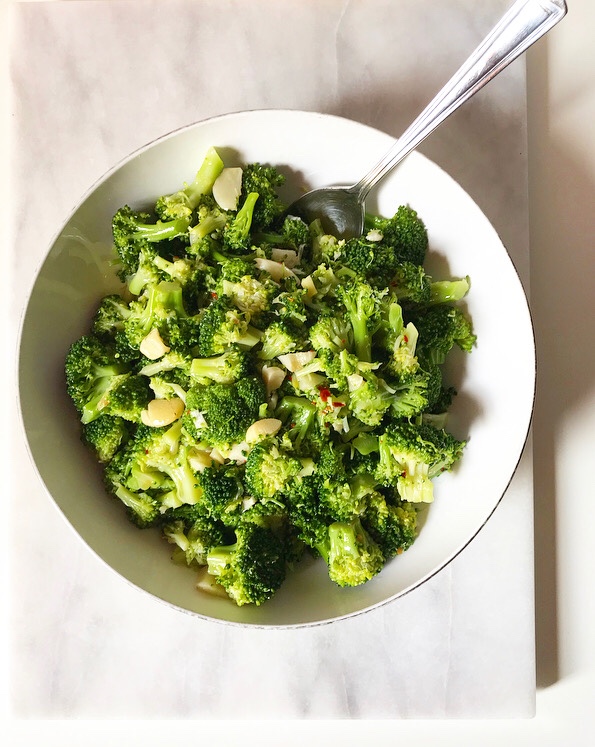
  Yes, I get psyched up over vegetables. His dad also made the best peach pie I’ve ever had, but that’s a story for another day.
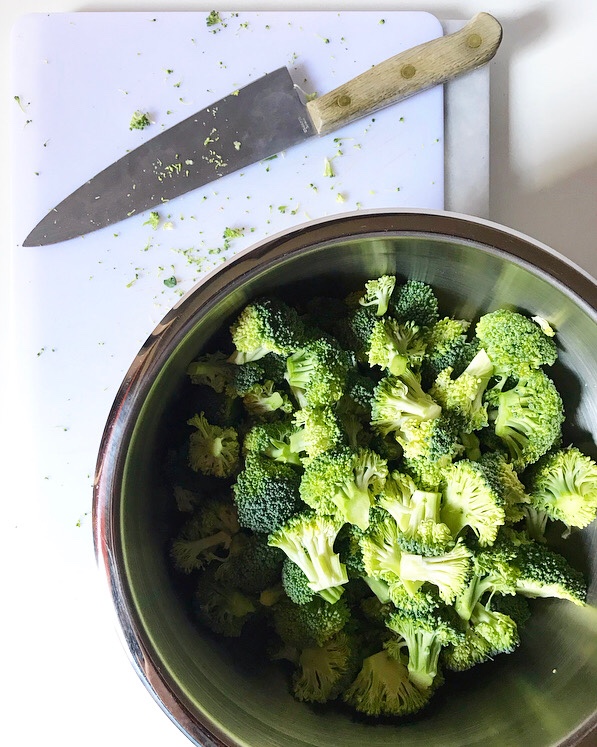
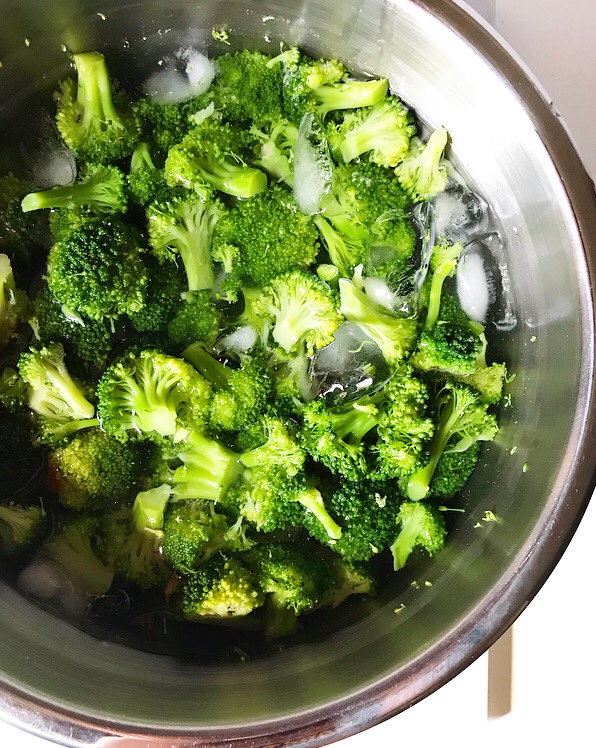 This broccoli is super easy and so good it’s ridiculous. There’s hardly any cooking involved. All you have to do is warm up some olive oil with garlic, salt, and red pepper flakes, and then pour it over a ton of broccoli florets that have barely been cooked.
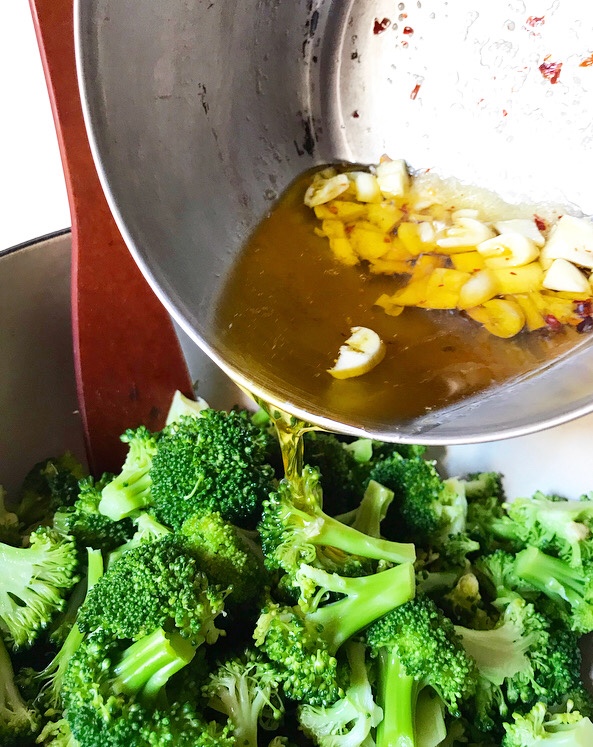
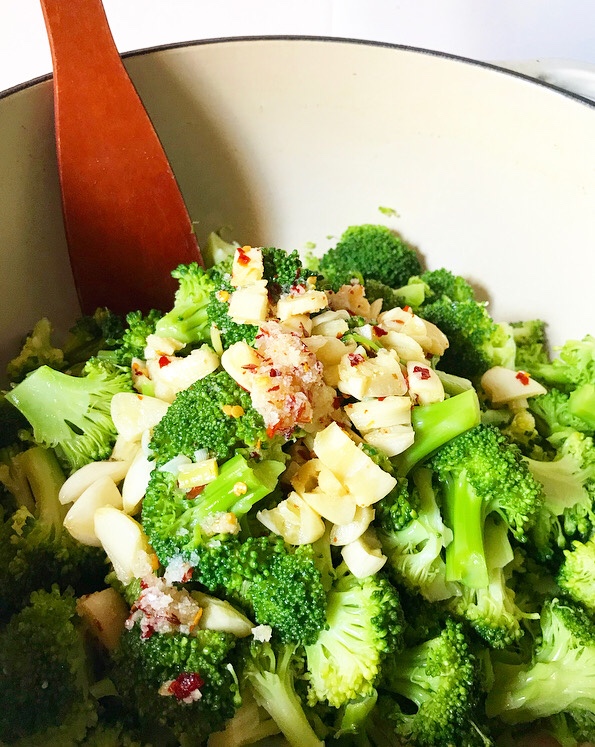
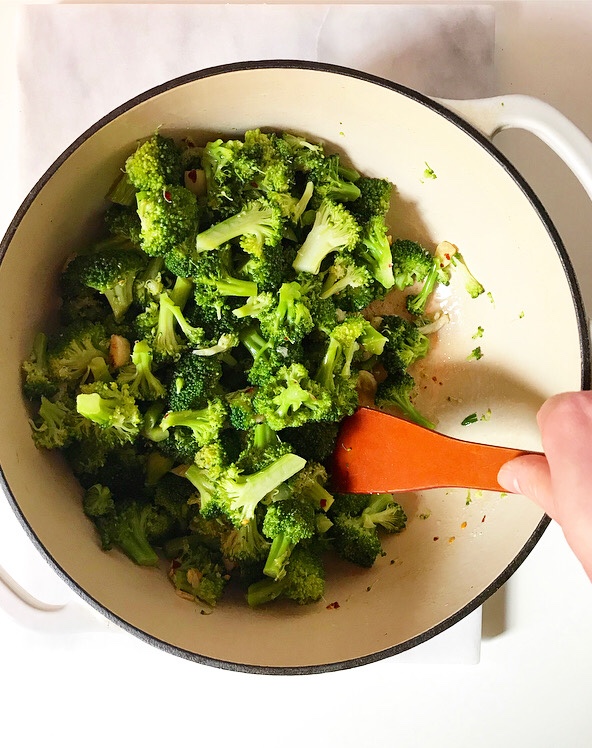 Toss it all together, cover it in plastic wrap, and let it sit for an hour or two at room temperature. That’s it–barely even a recipe. The broccoli softens just slightly and it soaks in all the salty, spicy goodness from the marinade.
 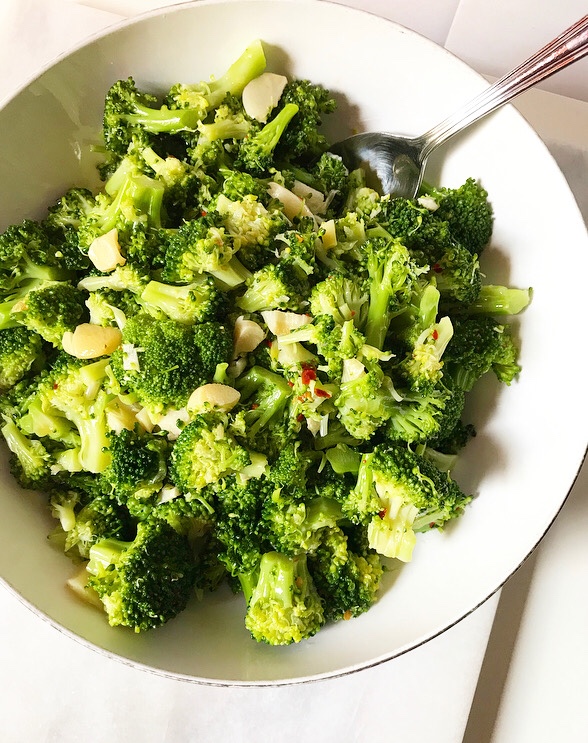 This recipe makes a lot. Like 8-10 servings a lot. But that means your vegetable side is done for at least two days, depending on how many you are feeding. Also, like soup and stew, the longer this sits, the better it will be. It’s great on day one, but the leftovers are *amazing.* The broccoli pictured only sat for two hours, and it was good, but when I went back for more later that night it was truly fantastic.
 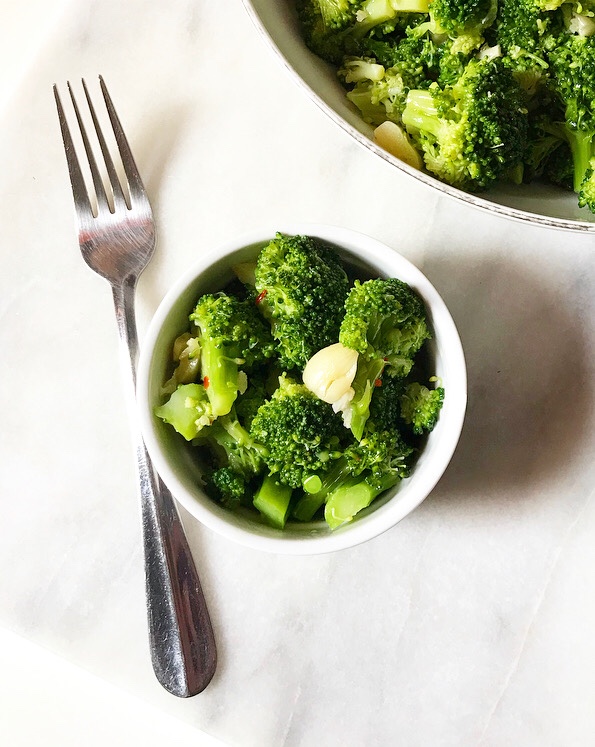 Marinated broccoli is great with chicken, pork, fish, beef, tofu,
 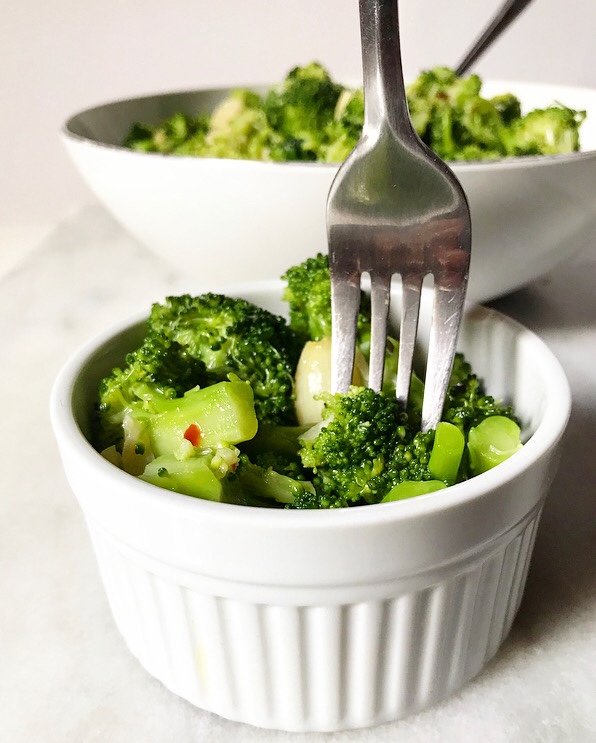 Olive Oil Marinated Broccoli is a great side for weeknight dinners, and is great in packed lunches. I’ve served it at casual dinner parties and am planning to bring it to picnics in Prospect Park all summer long! Add this to your list of easy side dishes–it’ll be a favorite in no time!