 I’ve been thinking about Texas a lot lately, partially because I haven’t been to visit my family in 14 months and also because there was a devastating winter weather/energy crisis all over the state last week. Truly, I was consumed with horror listening to the news and compulsively checking in with friends and family to make sure they were alright.
Thankfully, all my loved ones seem to be “okay” (all things considered) and have handleable structural damage. I am obviously not personally affected as I haven’t lived in Texas for 13+ years, but I learned a few things about myself last week while I held my breath for everyone who does.
1) It doesn’t matter how far away I live or for how long, I will always hurt when Texas hurts.
2) If I am ever in a full-scale disaster, I’m calling my sister-in-law so she can tell me what to do. She thinks of everything and is the most prepared person I know. She ground coffee beans in her car, y’all.
3) Thinking about Texas makes me think about pecans, which make me think about pecan pie.
 If you didn’t know, the pecan is the state nut of Texas (though we have a lot of men of note who might give it a run for its money). We call them “puh-cahns” in my neck of the woods and we put them in everything: chocolate chip cookies, sticky buns, Thanksgiving stuffing, you name it. The queen of all pecan desserts is obviously Pecan Pie, which (surprise!) happens to be the Texas state pie. It’s been declared by the Texas House of Representatives, so it’s legit.
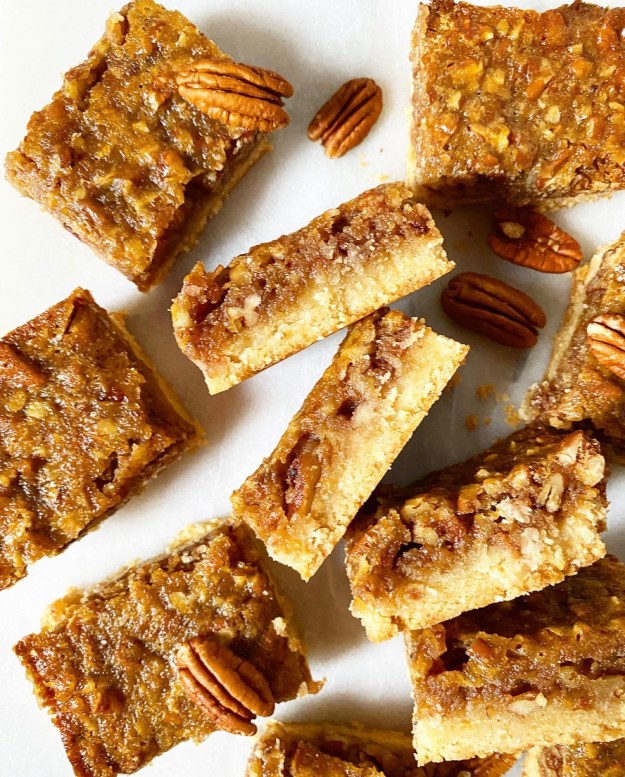
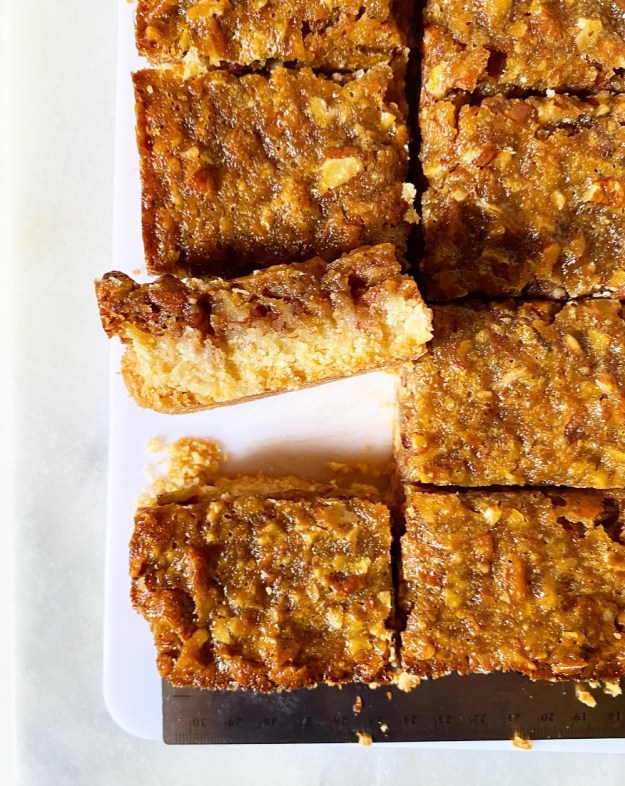
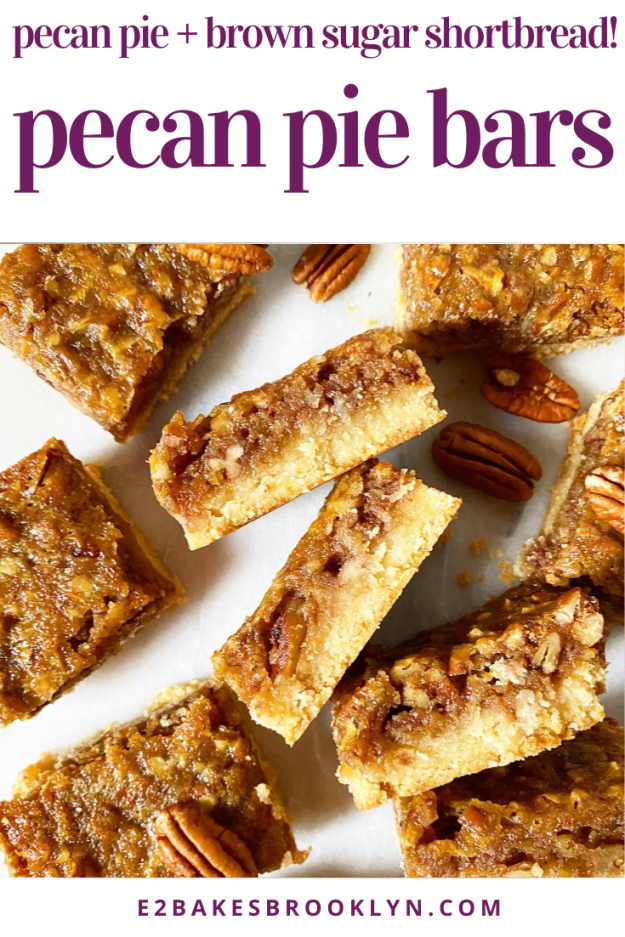
I make a killer Maple Pecan Pie and have recipes for Pecan Pie Brownies and Pecan Pie Kolaches, but Pecan Pie Bars were missing from my culinary arsenal until last week. Rest assured, they were worth the wait.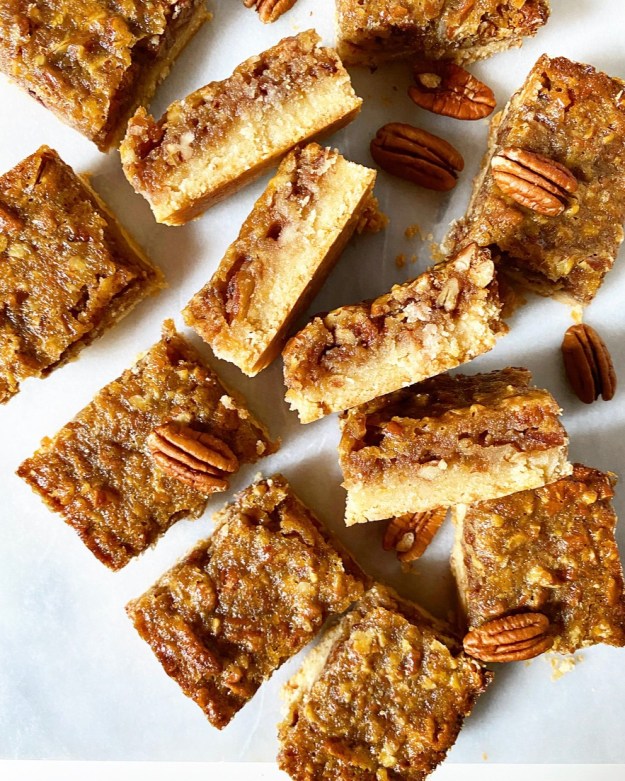 My Pecan Pie Bars are thick and buttery, with equal layers of brown sugar shortbread and sweet pecan pie filling. While some pecan pie bar recipes have a single layer of pecans perched on top of approximately 100 feet of sugar goo that goes everywhere the second you take a bite, that’s just not my style. Nope! These babies are packed to the gills with toasted pecans and will not disintegrate before you finish them. Handheld desserts shouldn’t require a fork and three napkins, y’all.
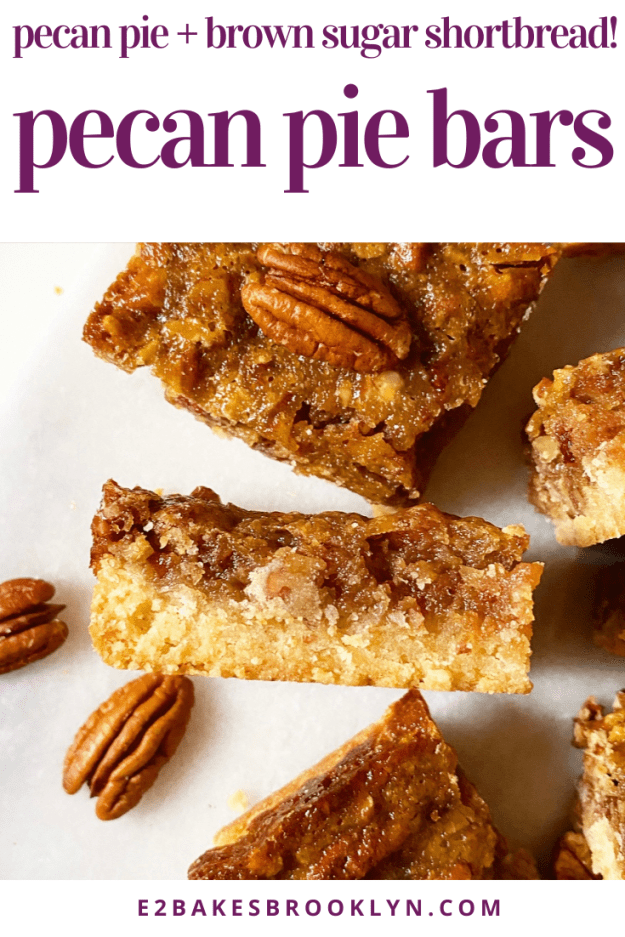
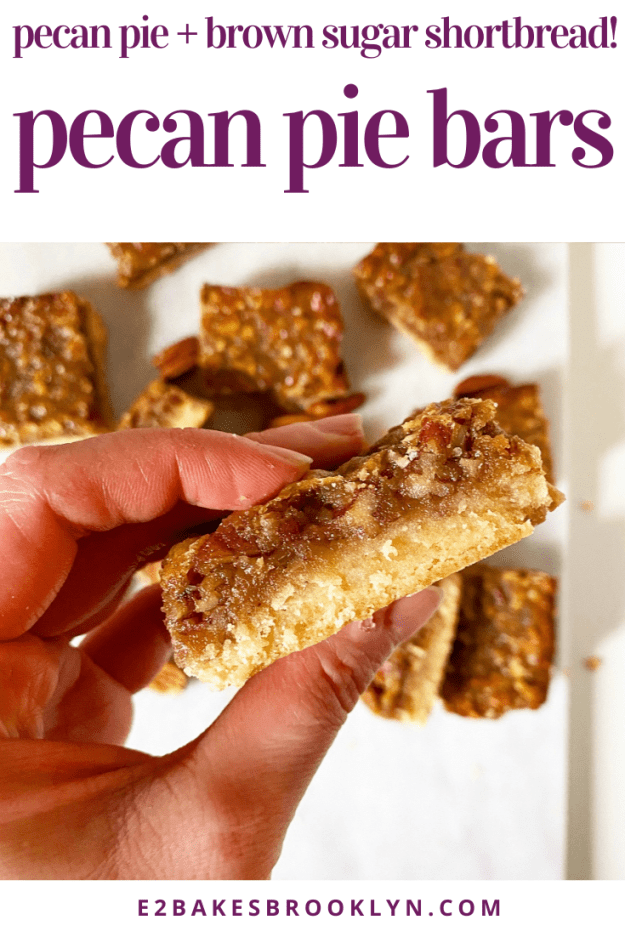
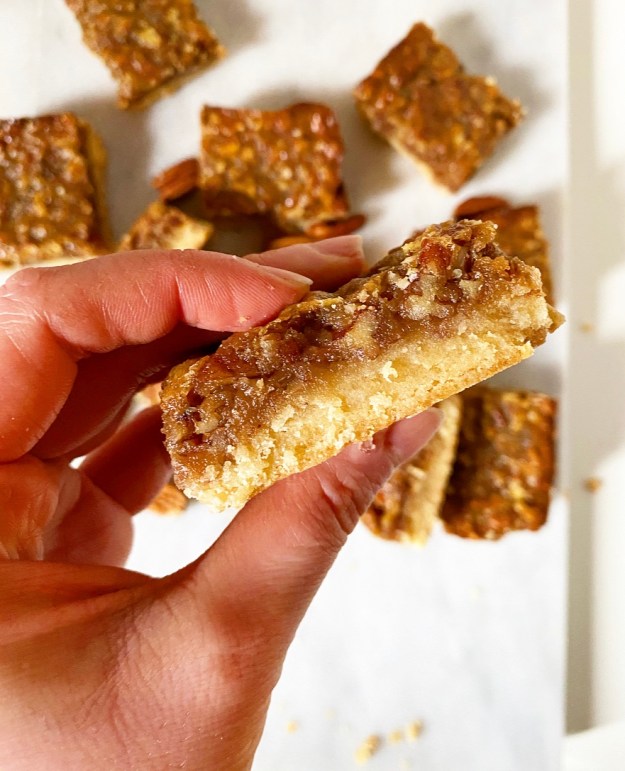 I prefer the pecans in my Pecan Pie (and adjacent desserts) to be chopped pretty thoroughly, but feel free to leave the pieces larger (or even whole) if that’s what makes you happy. You could also tile whole pecans on top of the filling before baking if a pretty topper is important to your Pecan Pie Bar enjoyment. As for me, I think these are pretty perfect as-is. They may not quite be the state pie of Texas, but they sure are delicious.
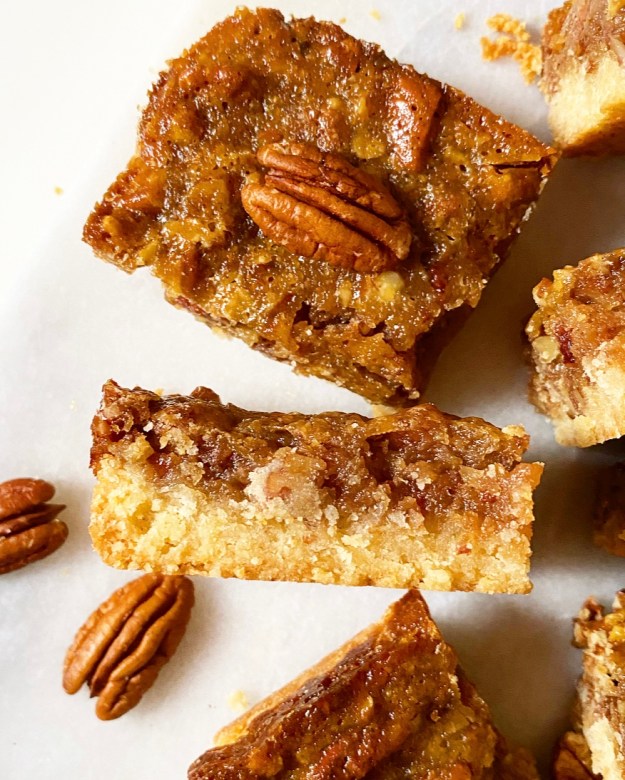 If you’d like to make a donation to help with hunger, housing or damage from the events in Texas last week, please consider supporting Funky Town Fridge, Austin Mutual Aid, or Lucha Dallas. I am seriously considering hosting a virtual baking class (either via Zoom or live on a social media platform) in the next few weeks to benefit continued relief down there. Would you be interested in participating or donating? Let me know in the comments!
Pecan Pie Bars
makes one 8- or 9-inch pan, about 12-16 bars
Pecan Pie Filling:
1 1/3 cup pecan halves, roughly chopped
2/3 cup maple syrup or light corn syrup
1/3 cup dark brown sugar, packed
2 large eggs, room temperature
1 1/2 teaspoons apple cider vinegar
1 teaspoon pure vanilla extract
1/4 teaspoon ground nutmeg
1/4 teaspoon Kosher or sea salt
3 tablespoons unsalted butter
Shortbread Crust:
1 1/2 cups all-purpose flour
1/3 cup granulated sugar
1/2 teaspoon Kosher or sea salt
3/4 cup (1 1/2 sticks) unsalted butter, cold
Preheat oven to 350F. Grease an 8- or 9-inch rimmed square baking pan with butter. Line with parchment, leaving overhang on two sides for easy removal. Set aside.
Scatter pecans on a dry rimmed sheet pan. Roast 5-7 minutes, or until fragrant. Set aside.
Make the shortbread crust. In a medium mixing bowl, combine flour, brown sugar, and salt. Add cold butter. Use your fingertips to rub butter into flour until the largest pieces are the size of small peas. It may be powdery, but should hold together when pinched.
Press shortbread mixture into prepared pan. Spread it around to cover the bottom of the pan before using the flat bottom of a measuring cup (or the heel of your hand) to pack it down into an even layer. Prick several times with a fork. Bake 10 minutes to set.
Make pecan pie filling. In a medium saucepan, whisk together maple syrup (or corn syrup), brown sugar, eggs, vinegar, vanilla, nutmeg, and salt. Add butter. Whisk constantly over medium-low heat, just until it’s just beginning to bubble at the edges (about 7 minutes). Mixture will barely thicken.
Set a mesh strainer over a heatproof bowl. Pour filling mixture through to remove any bits of cooked egg. Fold pecans into filling.
Spoon pecan pie filling over par-baked shortbread. Bake 30-35 minutes, or until the center barely jiggles when the pan is jostled.
Let bars cool completely in the pan on a cooling rack. Chill for 1-2 hours for cleanest slicing.
Use parchment overhang to remove bars to a cutting board. Use a large, sharp chef’s knife to slice into bars, wiping clean between cuts as necessary. Serve.
Leftovers will keep an airtight container at room temperature for up to 4 days or in the refrigerator for up to a week.
 If you’re the sort of person who loves big cookies and hates sharing, you’ve come to the right corner of the internet. Over the last couple of years, I’ve posted three “One Big” cookie recipes:
 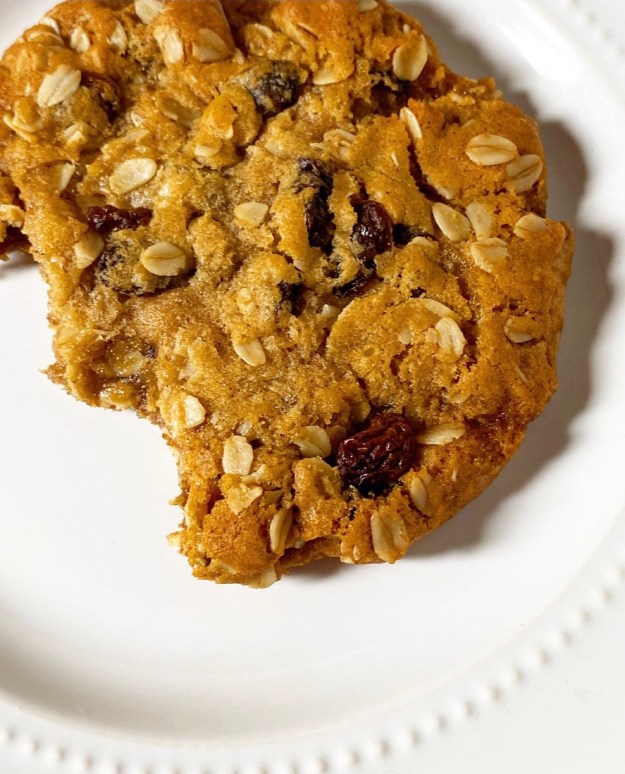 You’d think after posting three single-serve cookie recipes on this site, I’d be able to churn out a new one in my sleep, but you’d be wrong. This lone oatmeal cookie? It took 27 tries. Twenty. Seven. That’s the highest number of concentrated tests I’ve ever done for one recipe.
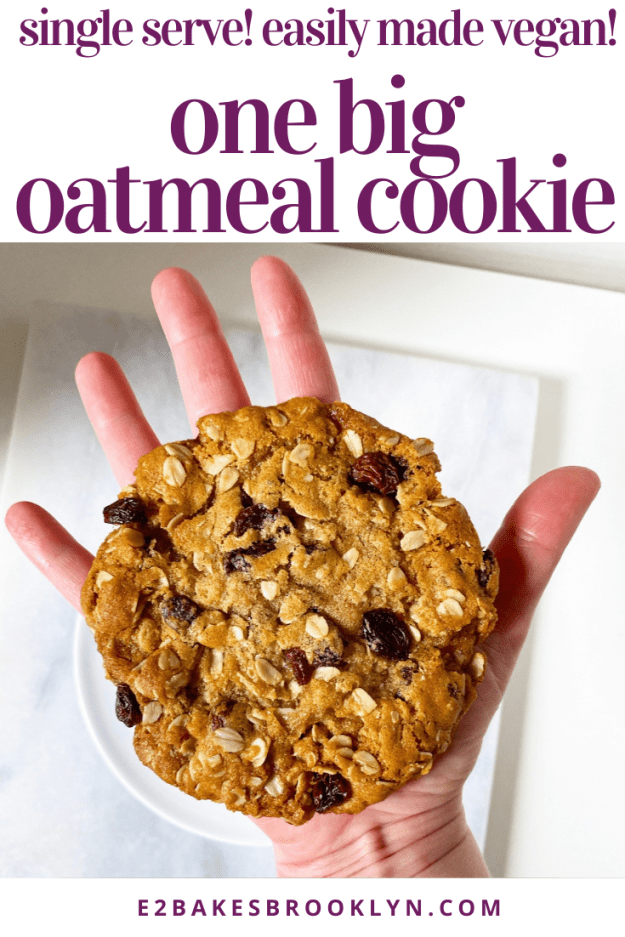
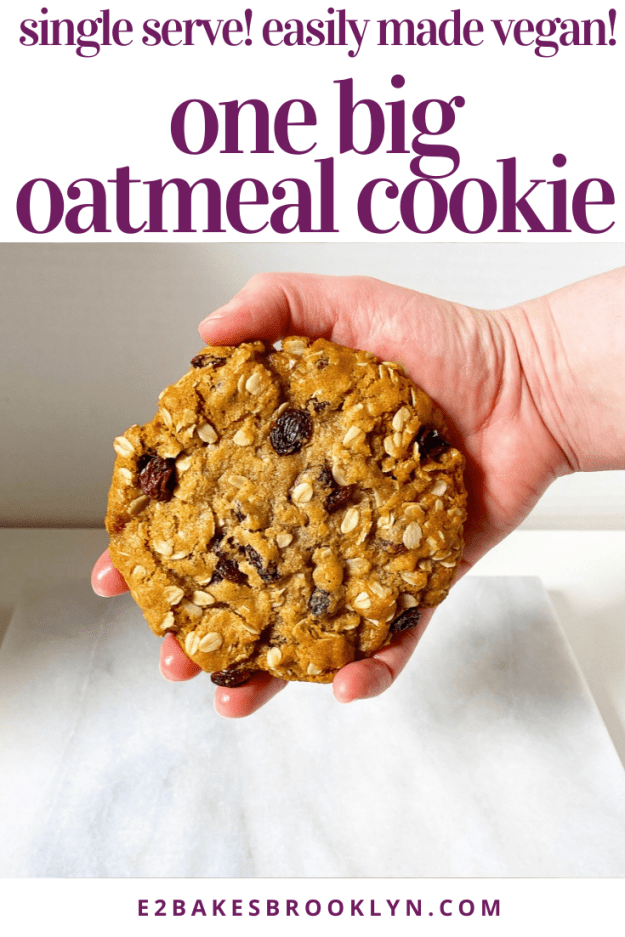
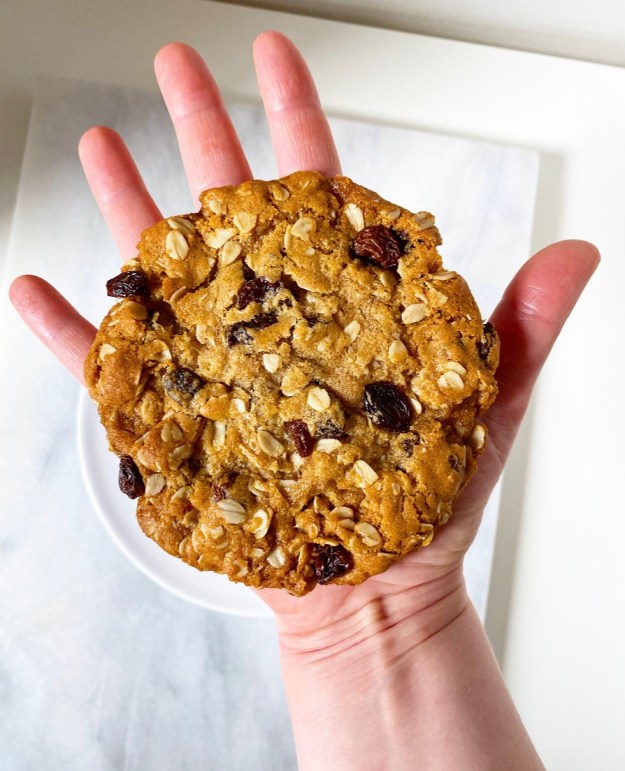 The good news about this recipe, though, is that while it was hard to get it exactly right, it is very simple. Oh, and it makes one kickass, golden brown, chewy as all get-out oatmeal cookie. Oh my goodness, it is so good. Trust me—I’ve bitten into 27 cookies to get this one exactly right. Quality control, you know?
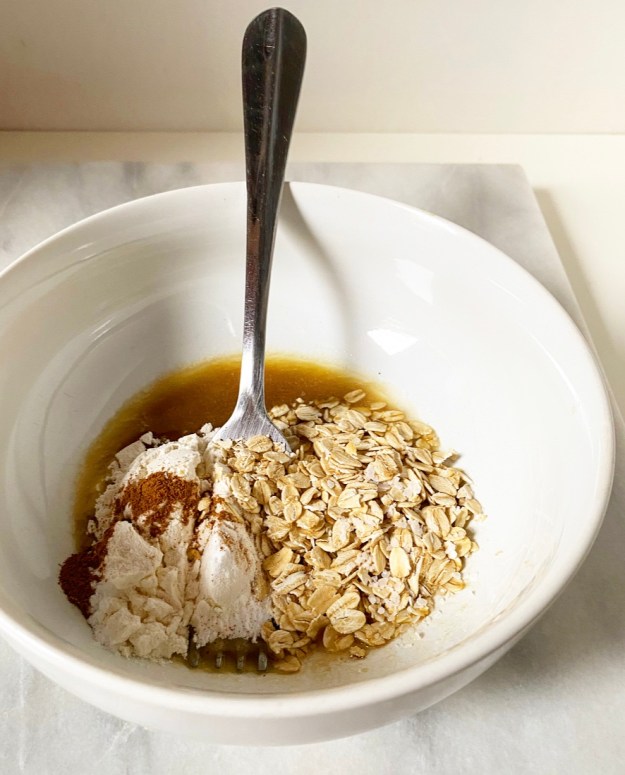 Like all my One Big cookies, the ingredients here are measured by the spoonful rather than in cups. Oats replace some of the usual flour (duh) and I’ve added a hint of cinnamon for that classic oatmeal cookie flavor. You’ll notice that there’s no egg in this dough, as I prefer to use water for such a tiny portion. As a bonus, no egg means this recipe can easily be made vegan! Just swap vegan butter for the dairy butter ☺️
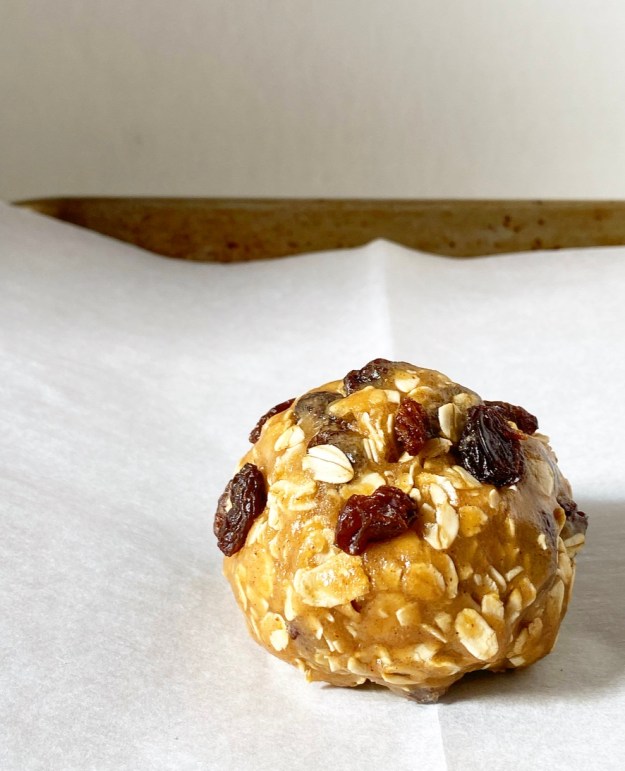
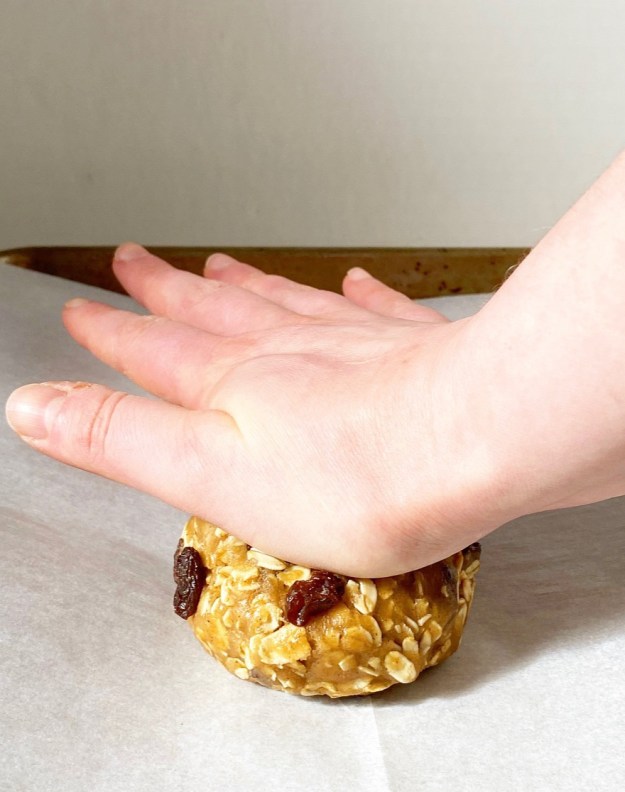
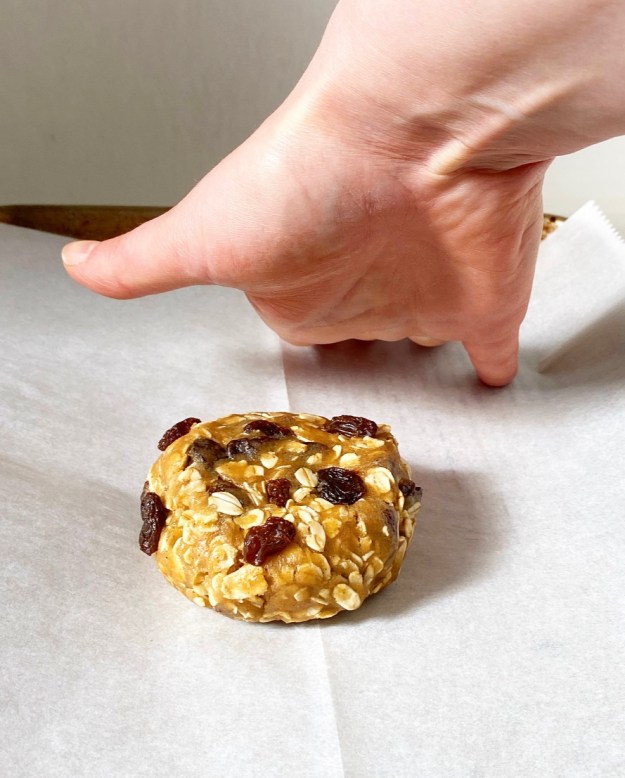 The big secrets to golden, chewy oatmeal cookie success? Before baking, press down on the dough ball to form a puck. This encourages a consistent shape, texture and browning pattern. Nothing terrible will happen if you don’t press down your dough ball, but your cookie likely won’t look like mine.
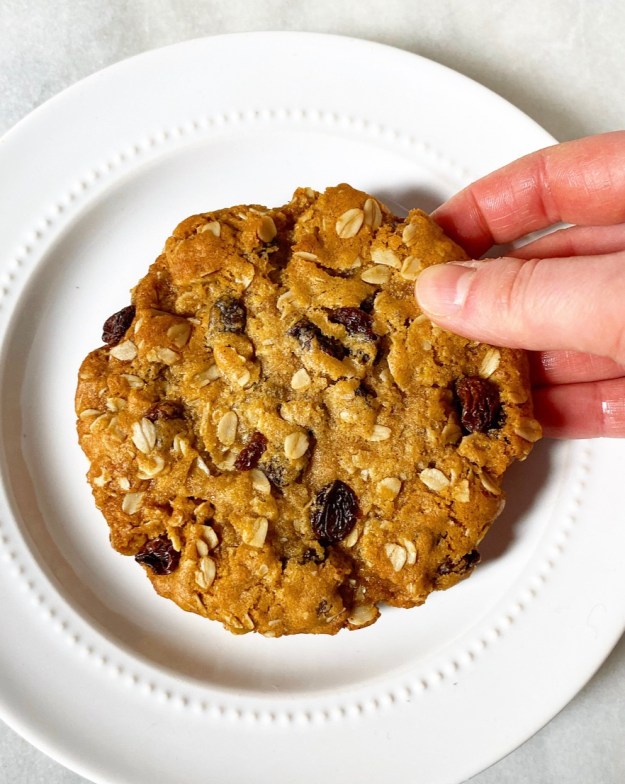 As far as mix-ins go, use whatever you like. I went for classic
 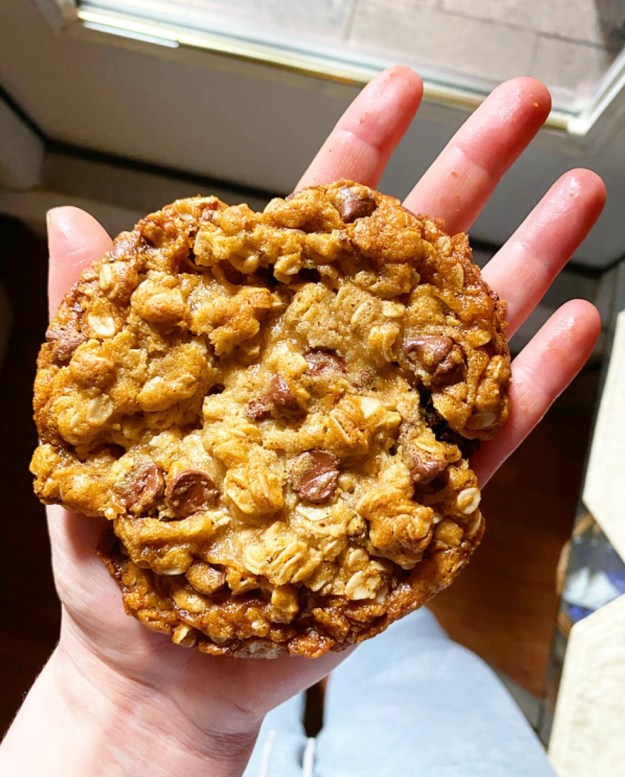 Have a good weekend, y’all. Make yourself a cookie.
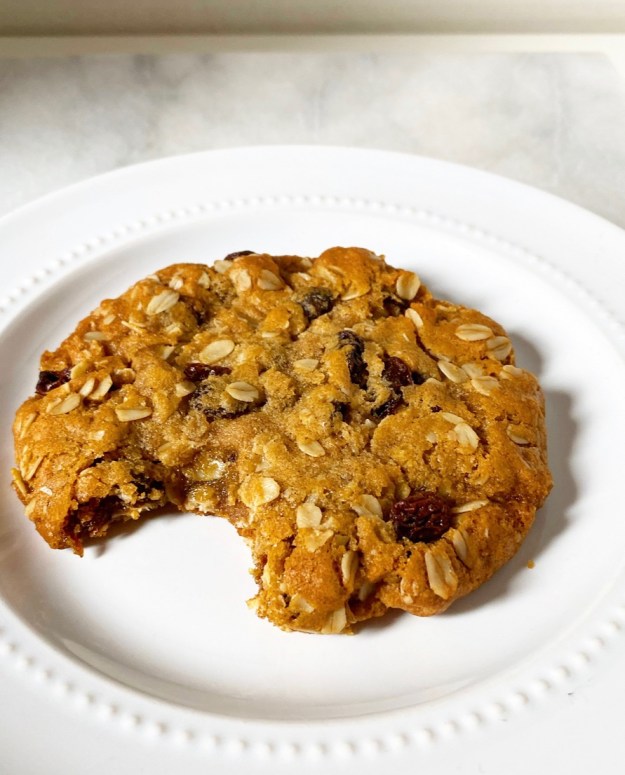
 When I was a kid, I had a friend whose mom hated to cook except for Saturday breakfast. A lot of the meals I ate with this family were takeout, but come the weekend, there were eggs and bacon, orange juice, blueberry muffins, and cinnamon rolls from one of those cans you have to thwack against the edge of your countertop. Little me thought it was the best ever (Puff Pancakes obviously excepted).
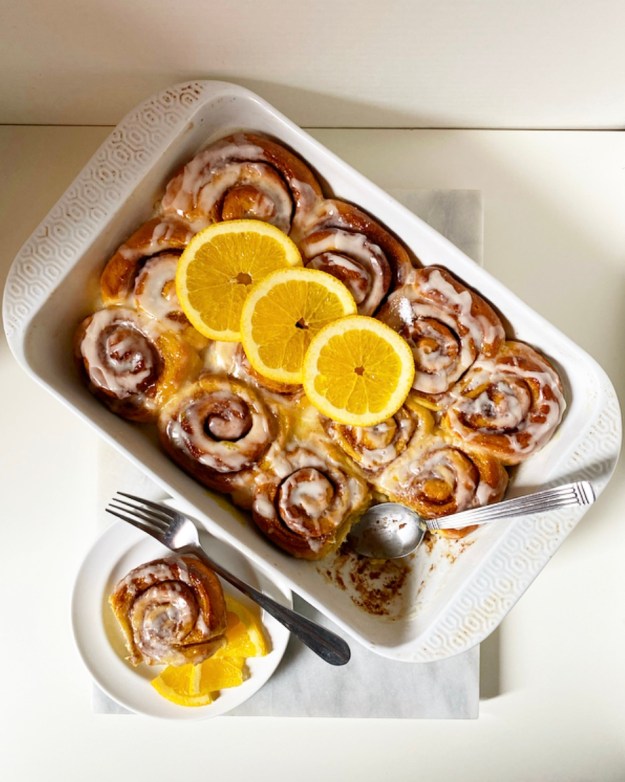 I had one complaint though, because of course I did. Every once in a while the cinnamon rolls would be the orange kind, and while everyone in that family loved them, I deeply did not. I kept my mouth shut—#manners—but I hated them. In fact, I still do, but only because I hate fake orange flavoring.
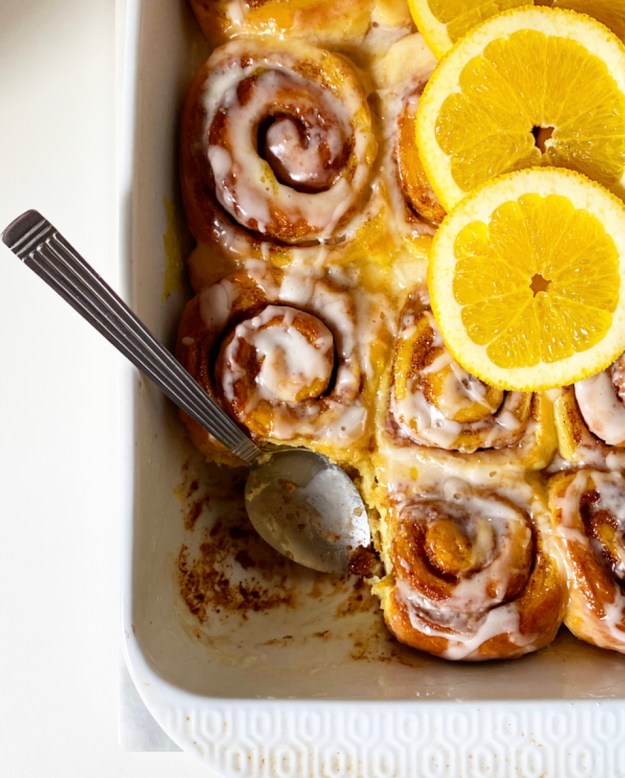
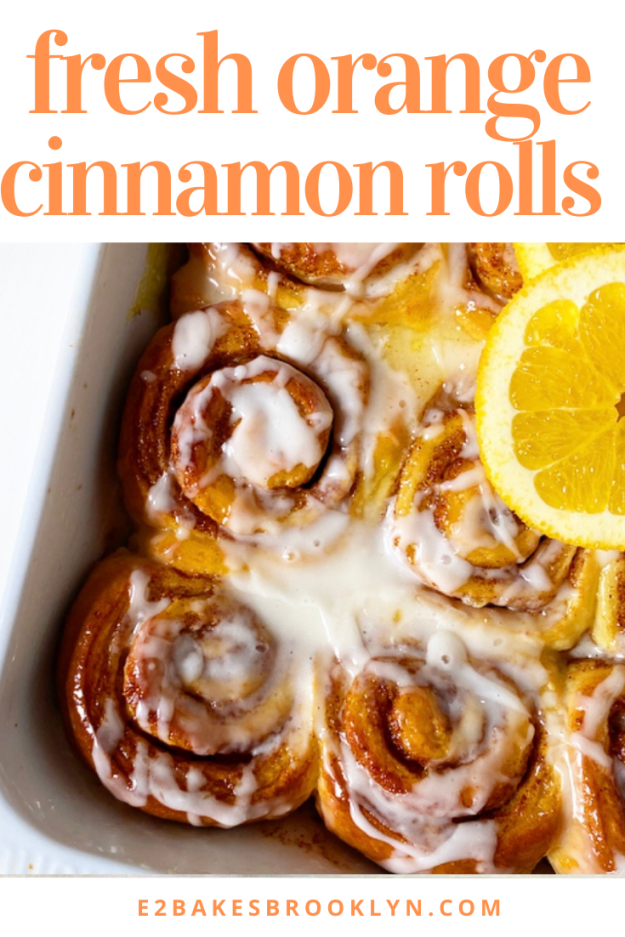
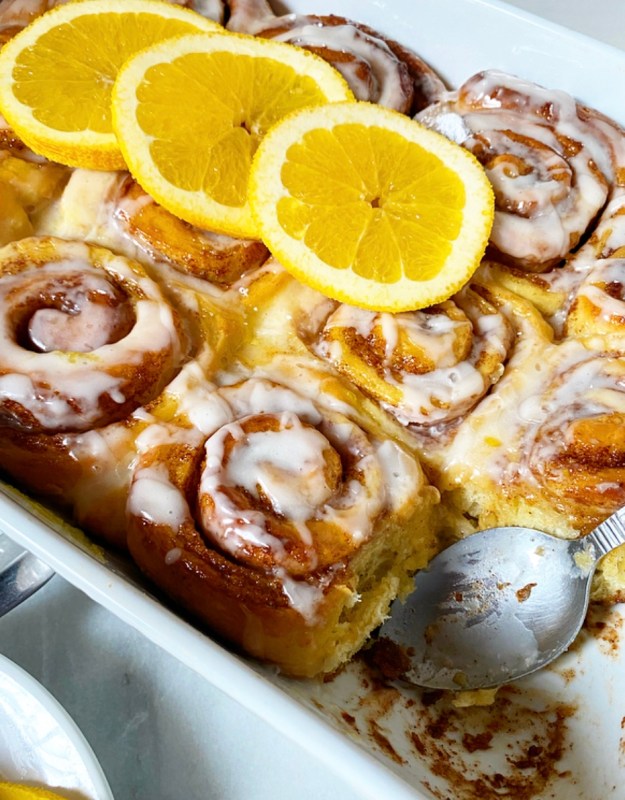 Turns out, I love Orange Cinnamon Rolls made with real fresh oranges. Like really, really love them. I mean, what’s not to love about fluffy, buttery, orangey cinnamon rolls?!
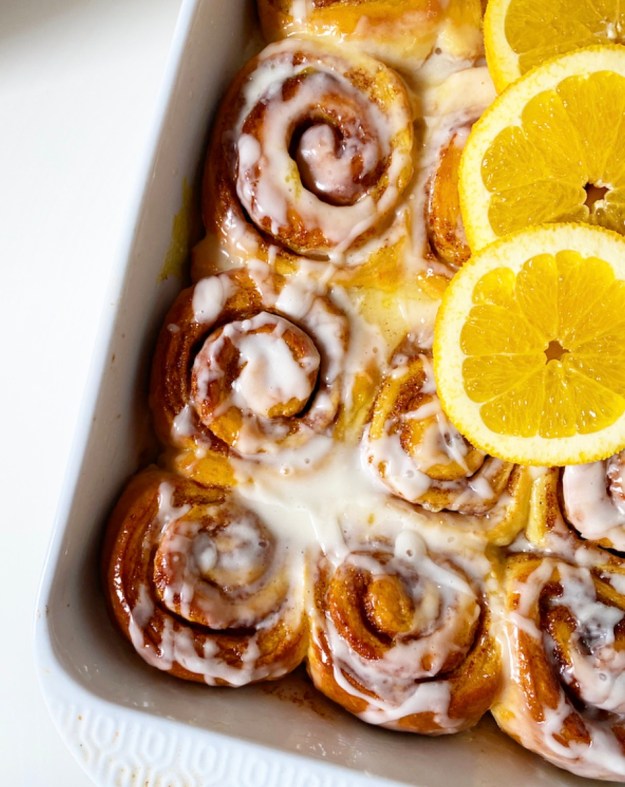
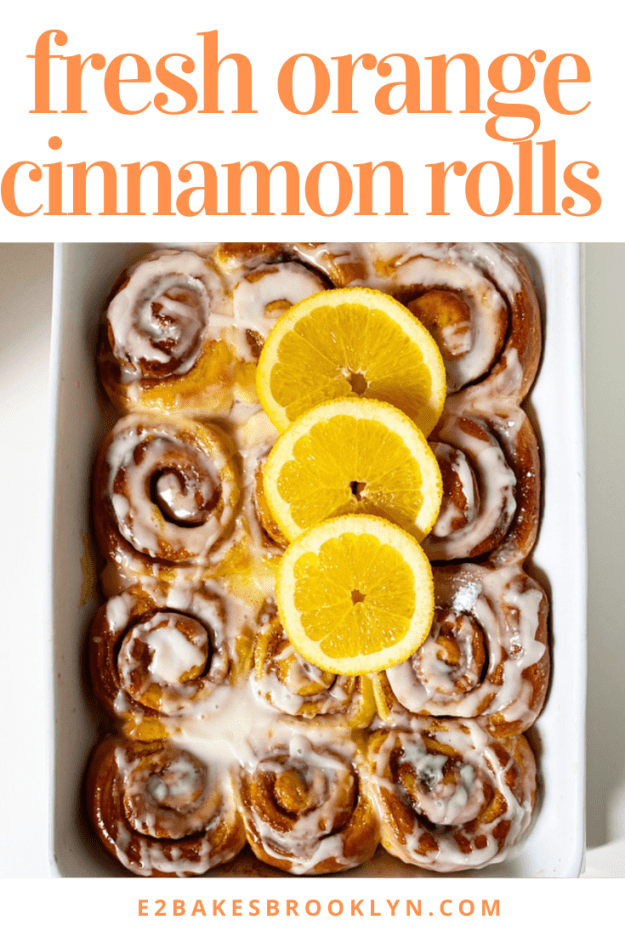
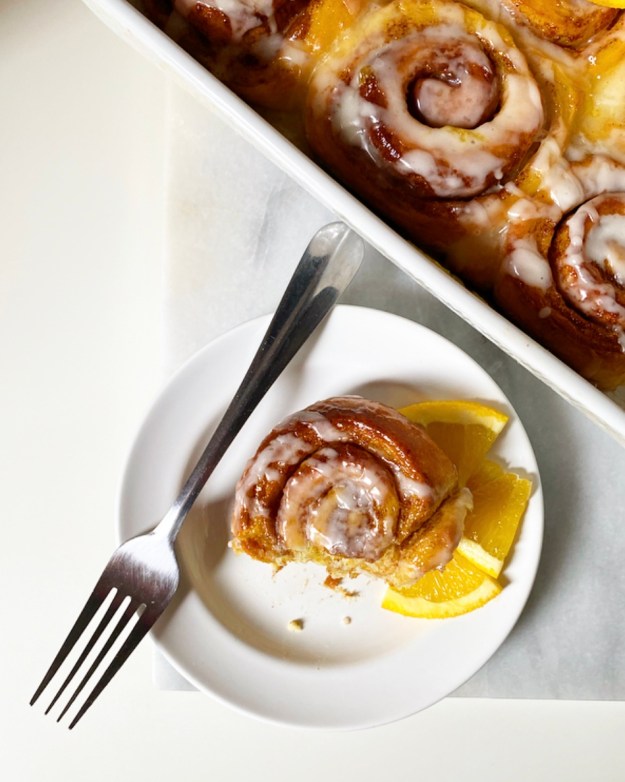 I’m over the moon for these, y’all. There’s orange zest in the dough and cinnamon filling, and orange juice in the glaze and the icing! Yes, you read that correctly, these babies have a glaze *and* an icing! I did this on last year’s
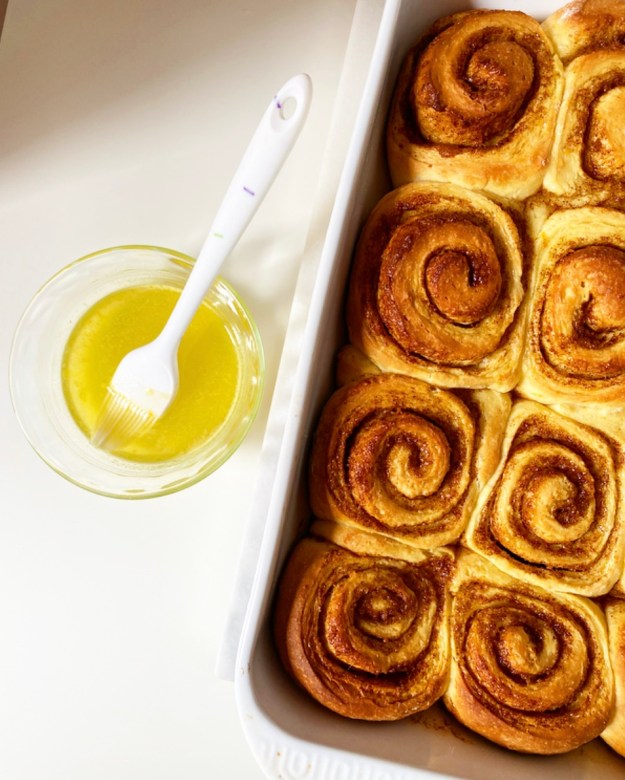
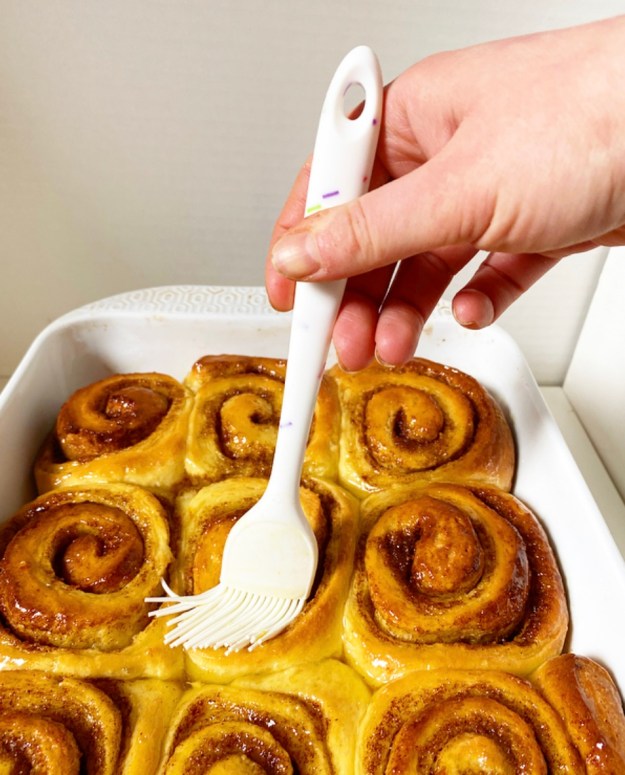
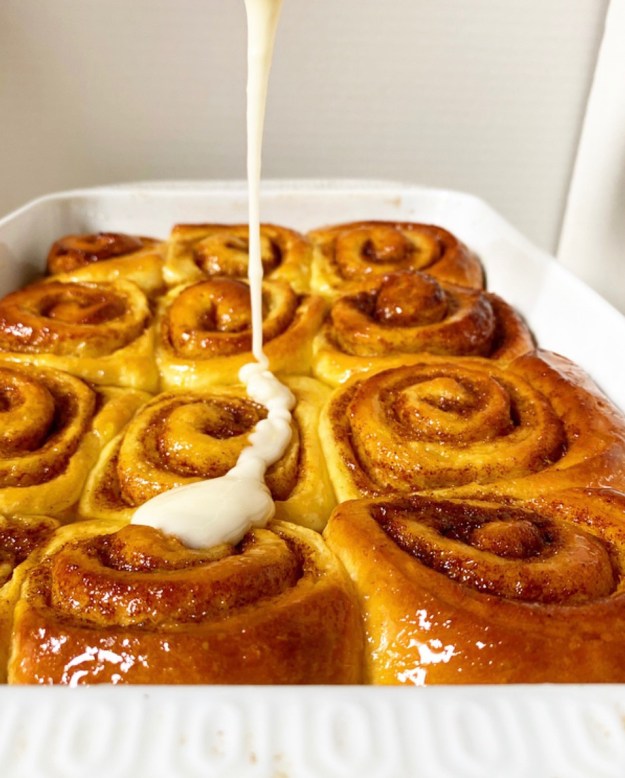
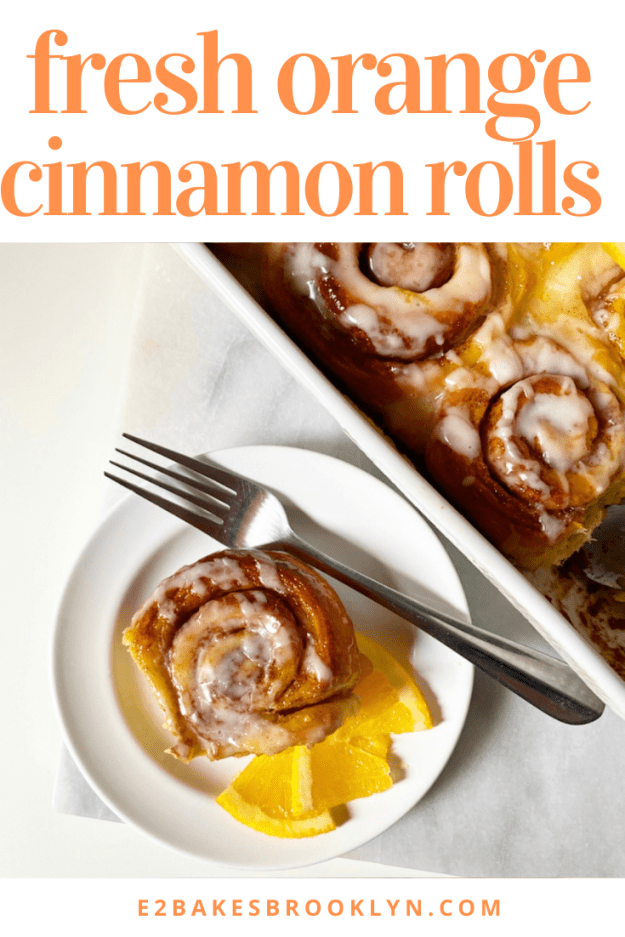
 Just after you pull your rolls from the oven, paint them with the orange glaze so they get glossy and soak up all that sticky orange flavor. Let that absorb for a few minutes and then hit them with a simple orange icing. This goes without saying, but yes, you can double it.
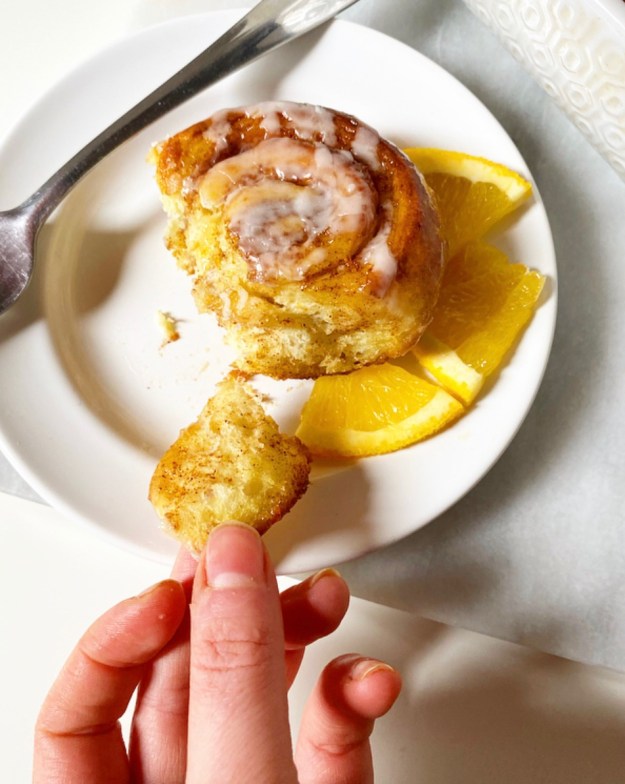 And then, well, you know what to do.
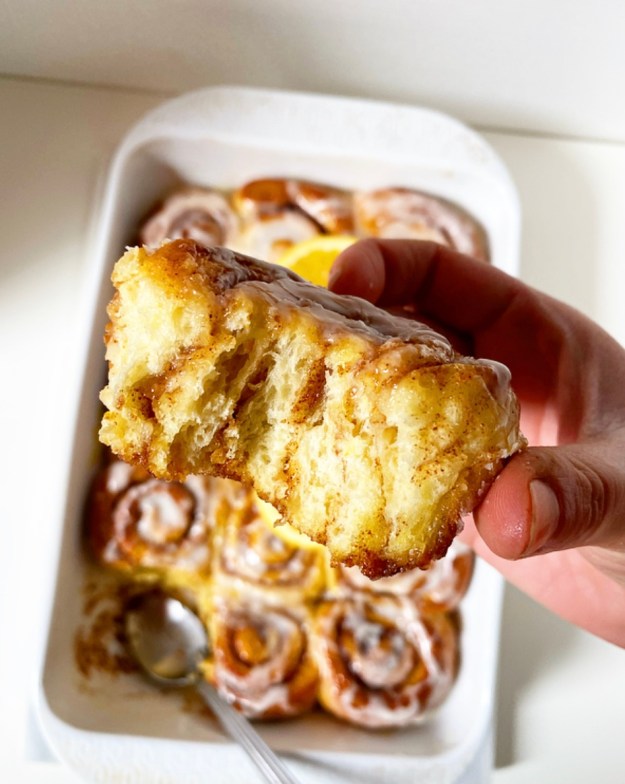
 I professed my love for
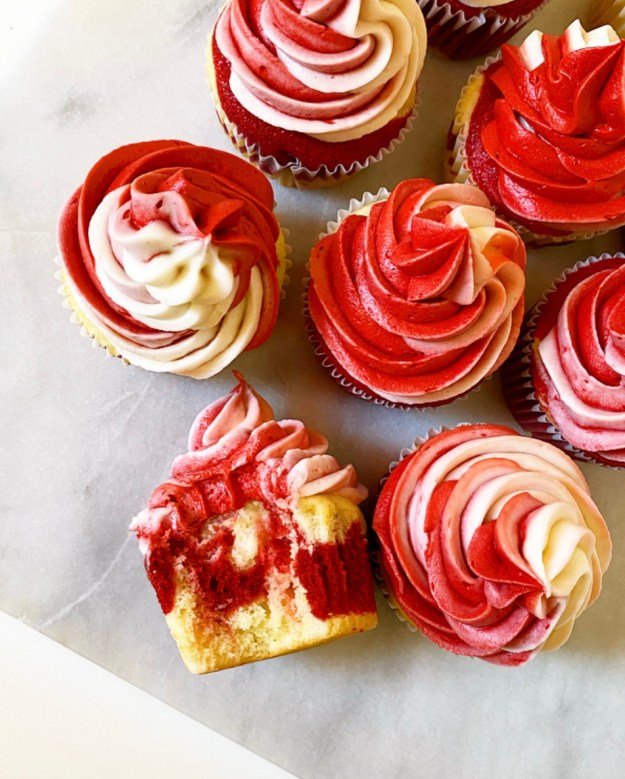

 This marks the first time I’ve posted a new cupcake recipe on here in more than
  Before I get to how these cupcakes get their marble, let’s discuss red velvet on its own. This southern flavor is divisive; some love it, some hate it, and some love to hate it. I obviously love it, as evidenced by years of red velvet treats for
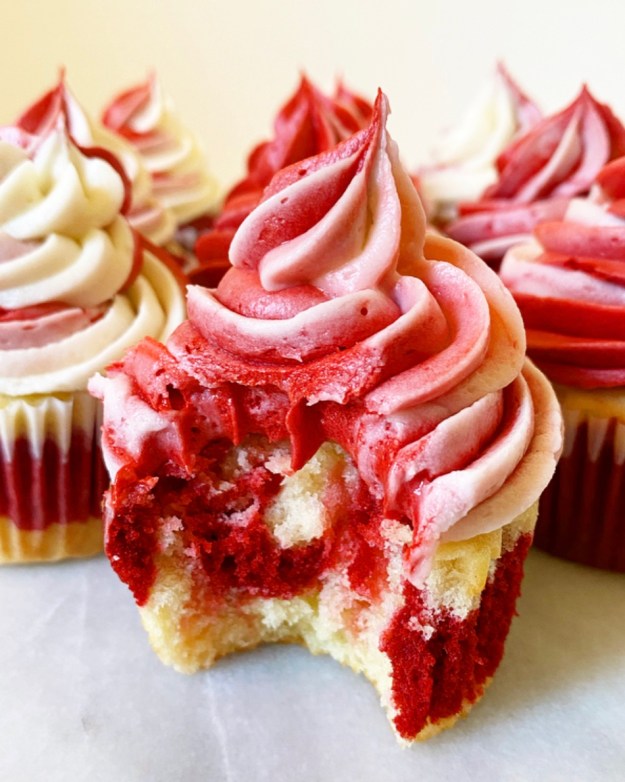
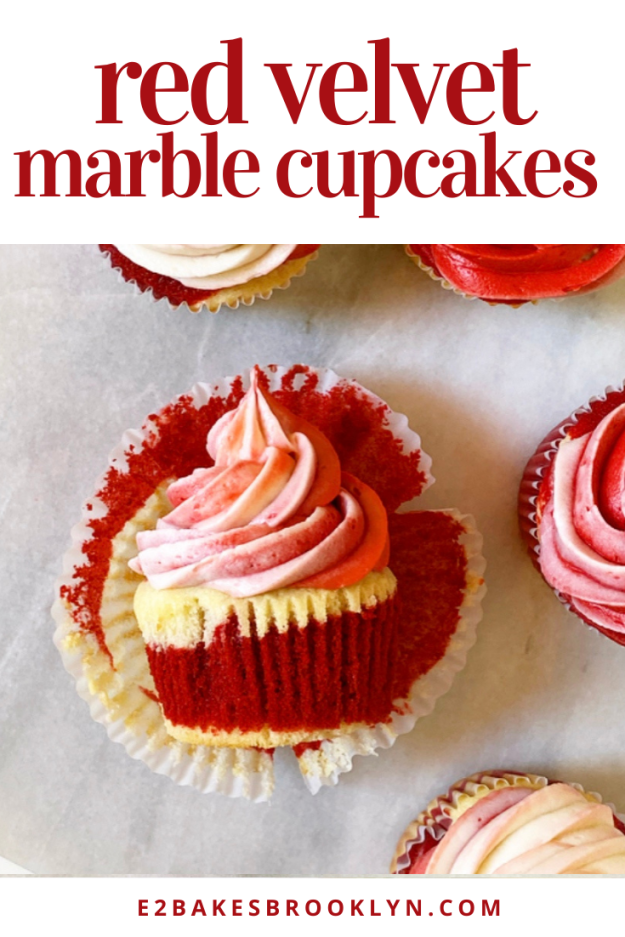
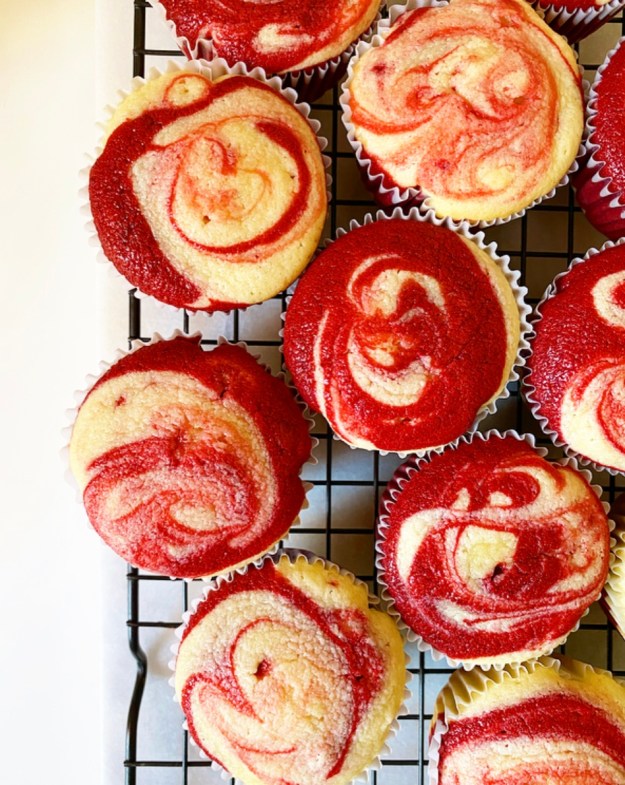 Now for the marbling! Here, red velvet cake batter is swirled into delicious vanilla sour cream cupcakes. These little cakes are moist and springy and out-of-this-world good. They are assembled from just one batter—the red velvet is made by stirring cocoa powder, a tablespoon of milk and red food coloring into a small portion of the vanilla mixture. Both colors are scooped into the cupcake pans, then swirled together before baking.
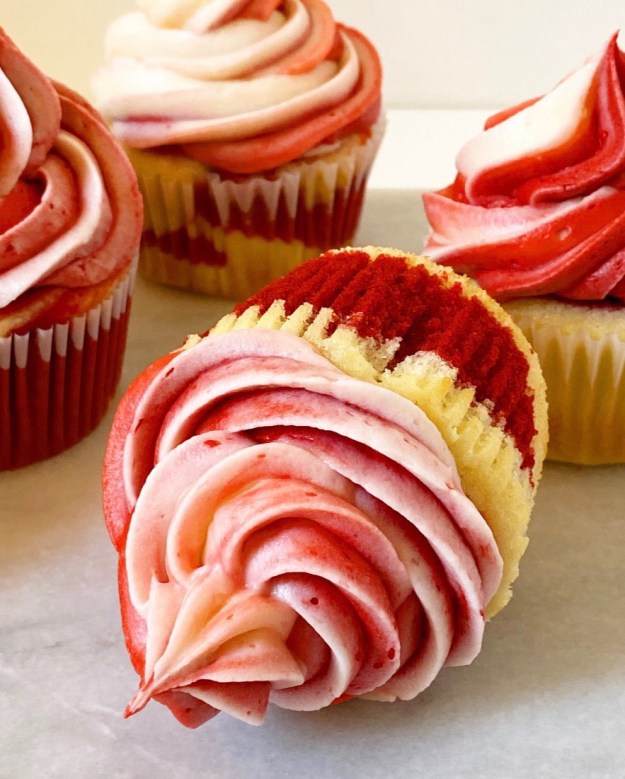 As for the cream cheese frosting, I had originally planned to keep it completely traditional, but ultimately decided to continue the marble motif, dying half the frosting red and flavoring it with a hint of cocoa for maximum red velvet realness.
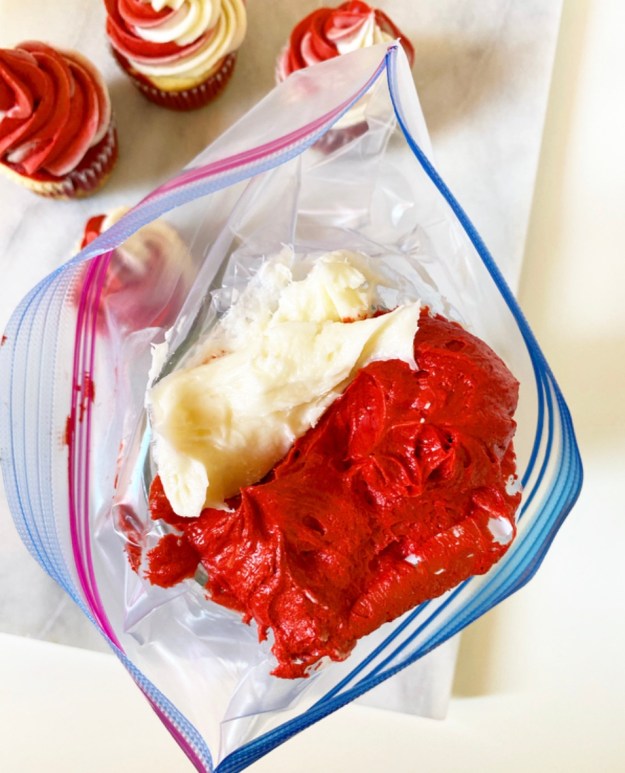
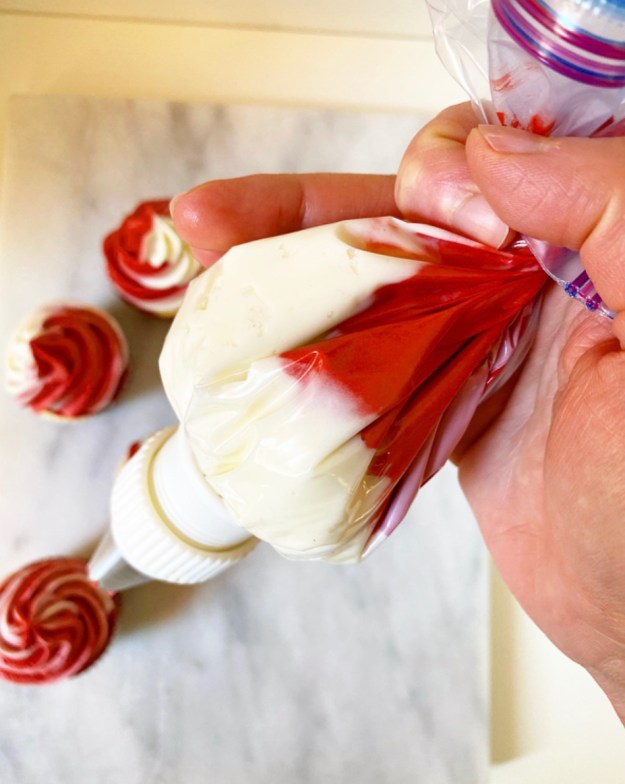
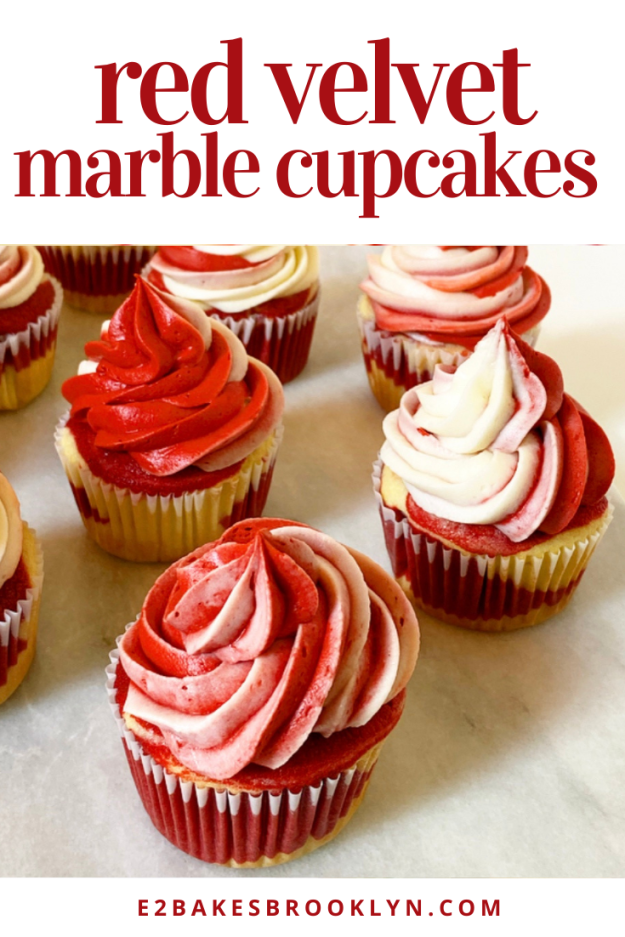
 To achieve a marbled/swirled frosting effect, I loaded both colors into the same piping bag, doing my best to keep them on separate sides. You can purchase specialty piping bags for this, or use two smaller bags in a larger bag, but I took the easy way out and also tried to let go of the outcome. Baking is much more fun when you let go of the outcome. I totally love how they all turned out a bit differently!
 These cupcakes, y’all! If you or your valentine(s) are into red velvet, you’re going to love them. The vanilla portion is delicious, but that chocolate-vanilla hint of red velvet really takes the (cup)cake!