There are two kinds of people: the ones who love carrot cake and the ones who don’t. I’m decidedly the former, as evidenced by posting two carrot recipes in a row. To those of the latter persuasion, let me say this: sorry, not sorry.
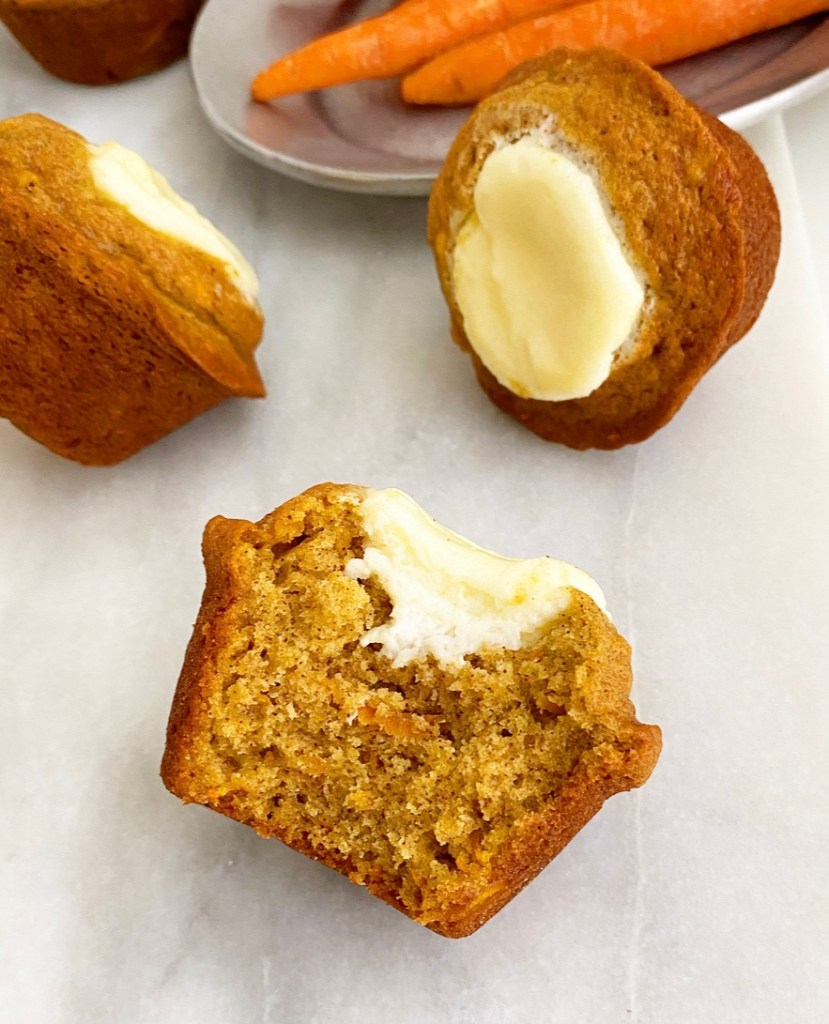
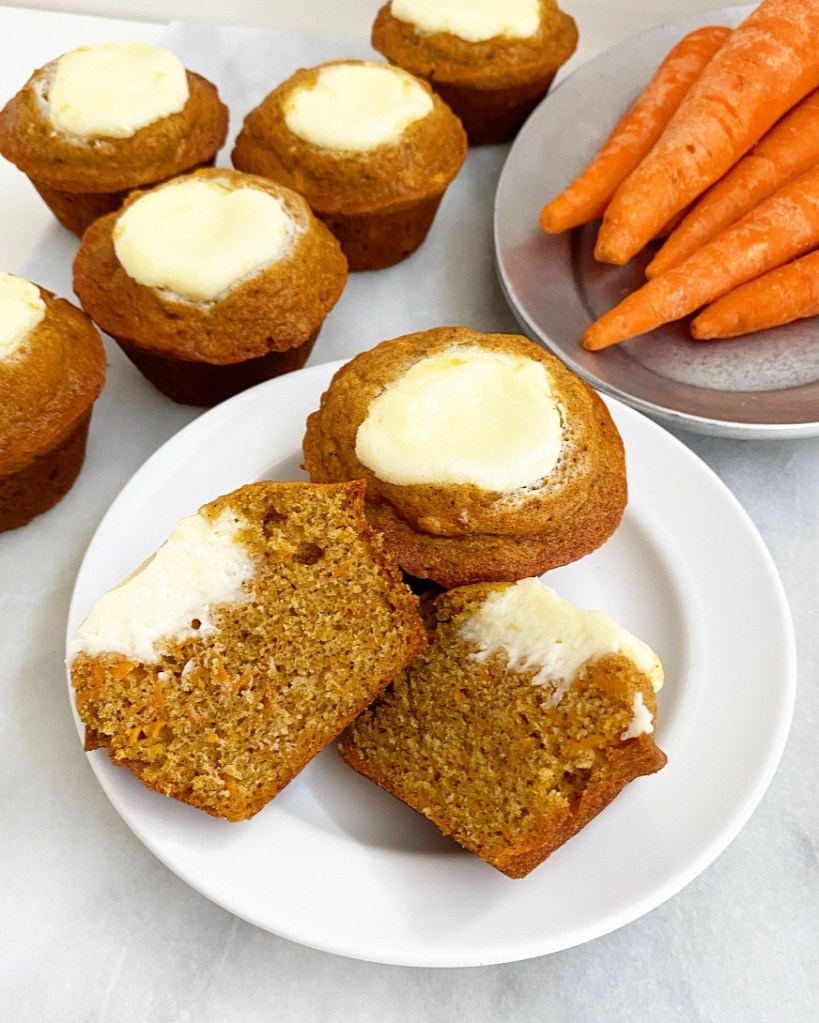
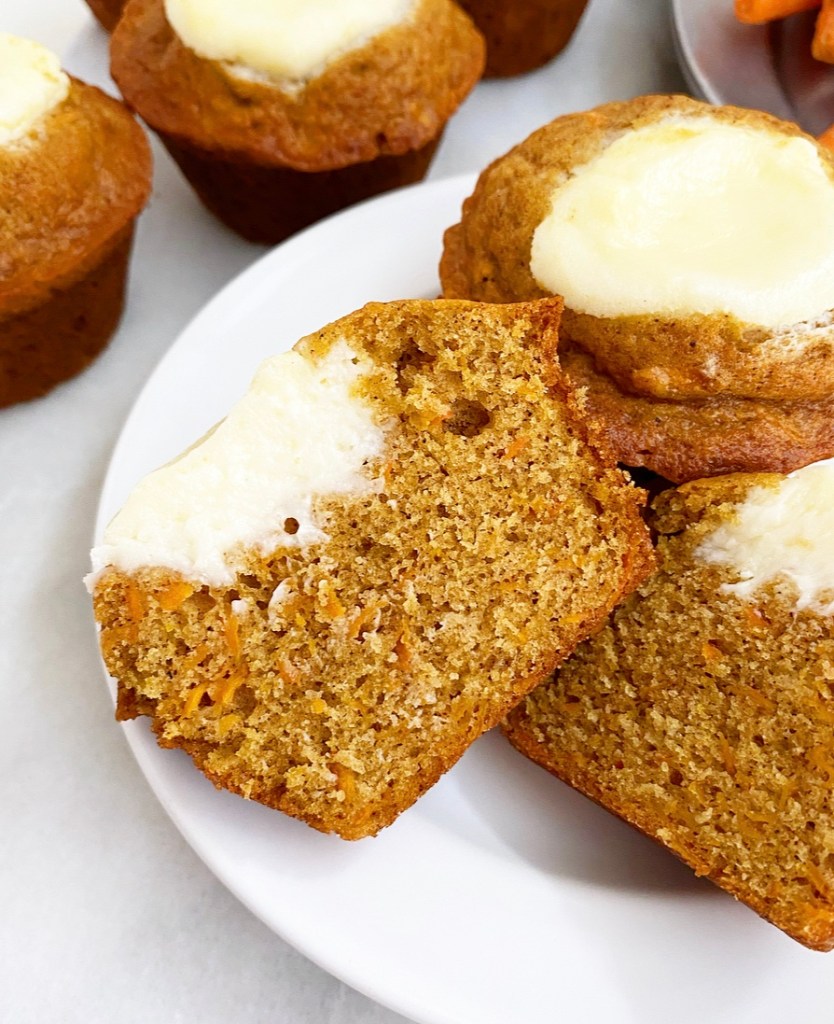
Where last week’s carrot cake was vegan and gluten-free, this week’s muffins are quite the opposite. Made with a carrot-flecked batter and filled with a little well of sweetened cream cheese, these Carrot Cream Cheese Muffins are a delightful addition to your Easter repertoire.
If these look familiar, it’s because they are…kind of. They’re inspired by some cream cheese-filled muffins Starbucks used to have (and maybe still does) that looked cute, but didn’t taste very good. These muffins, however, look cute *and* taste great. I should know—it took eight batches to get them just right!
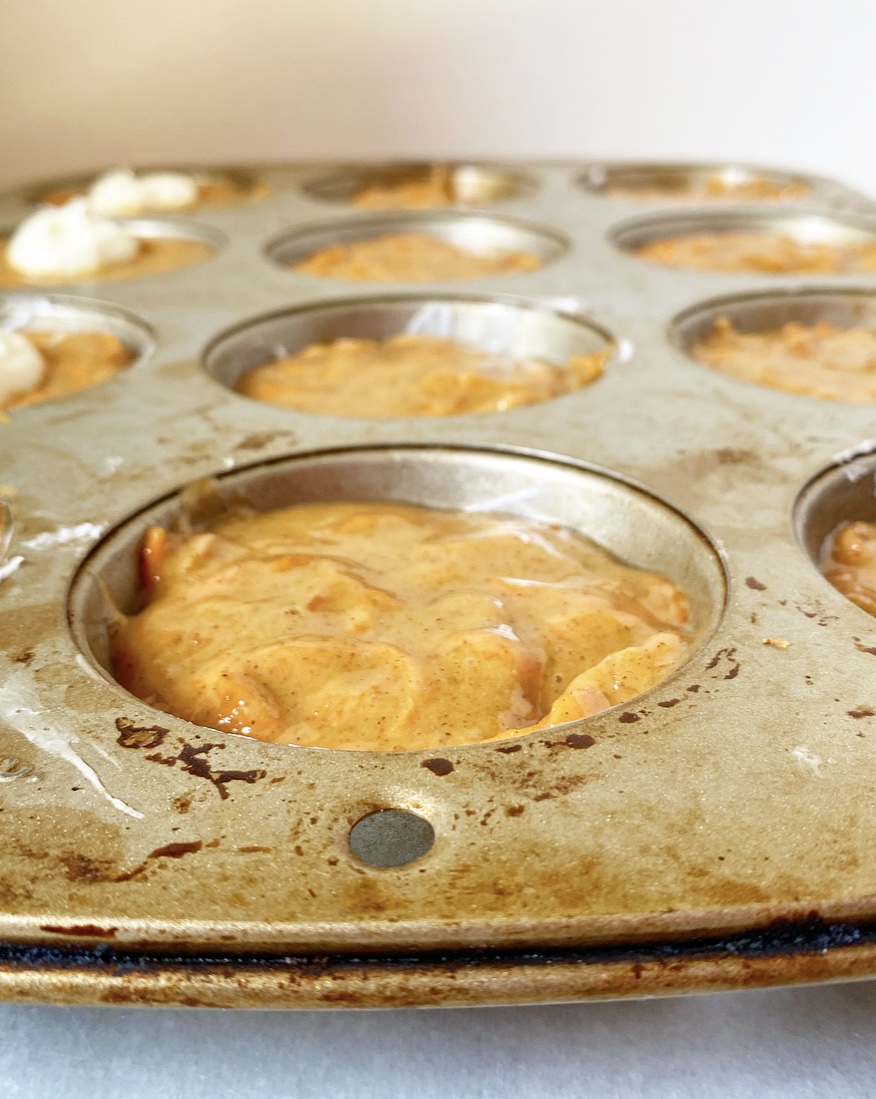
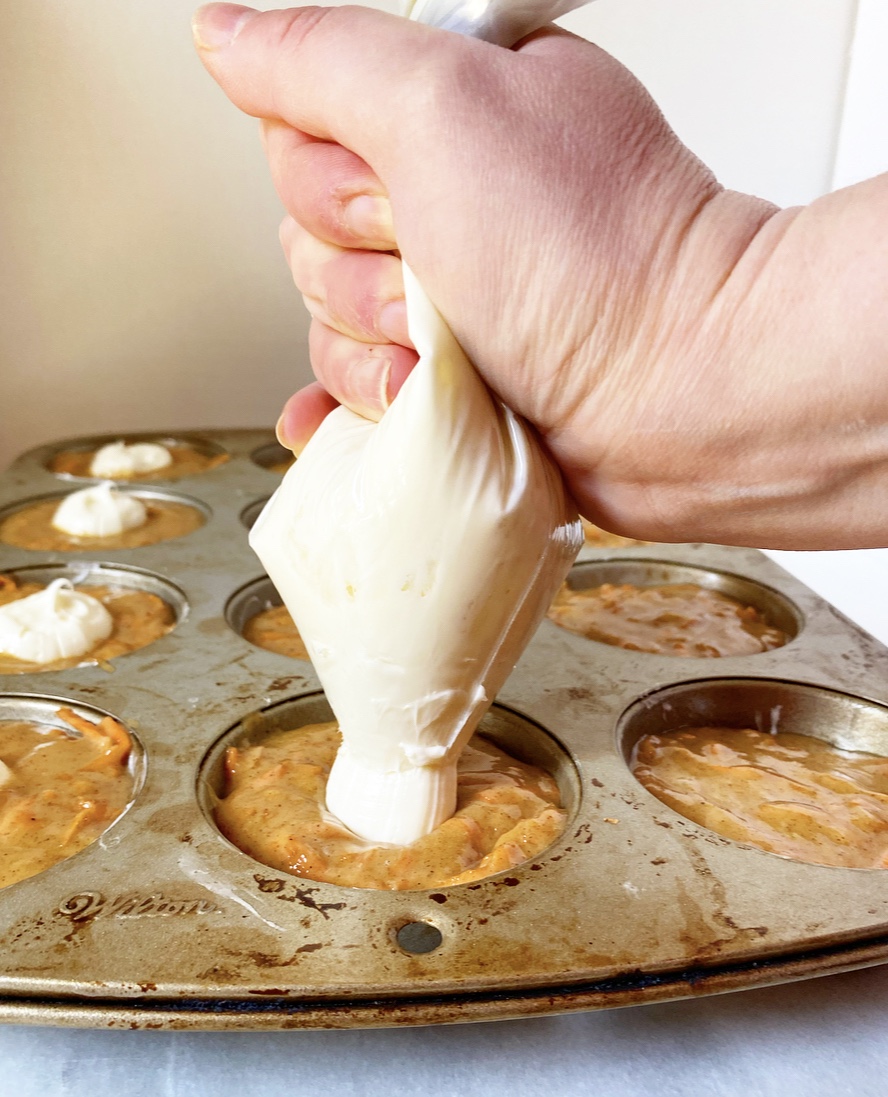
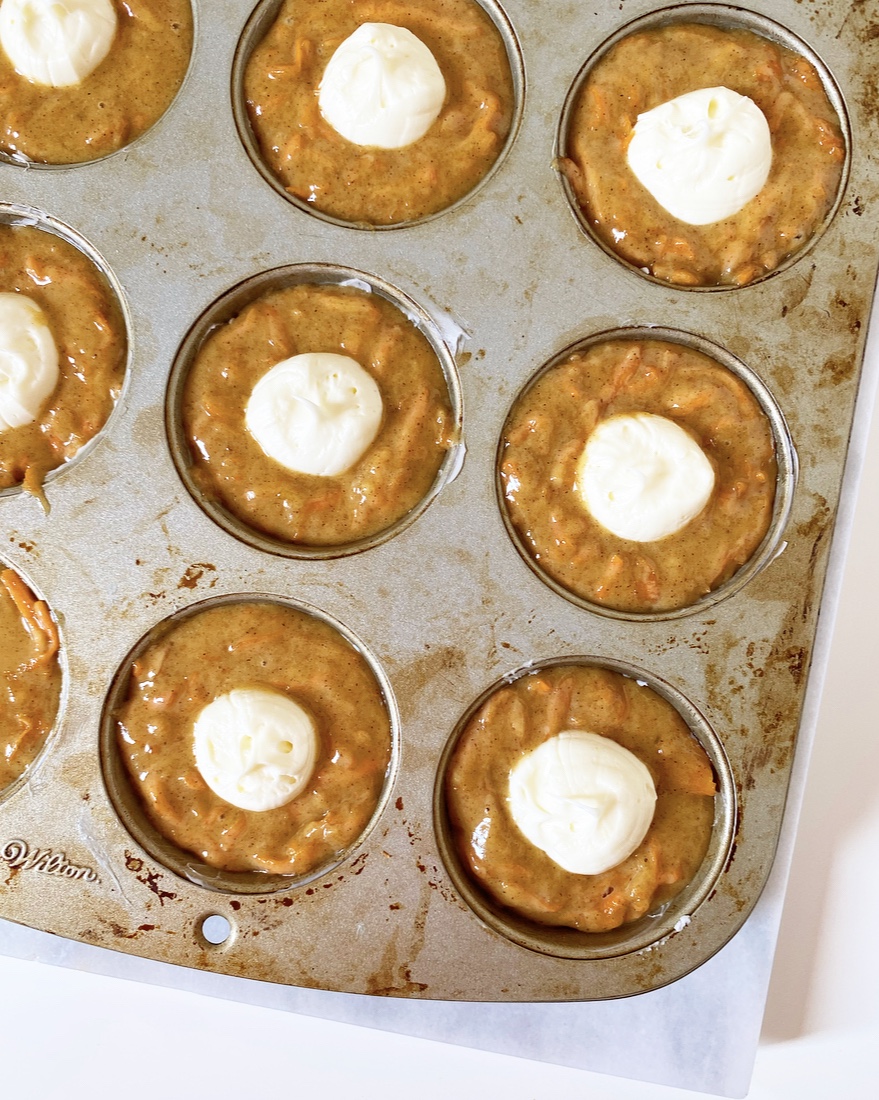
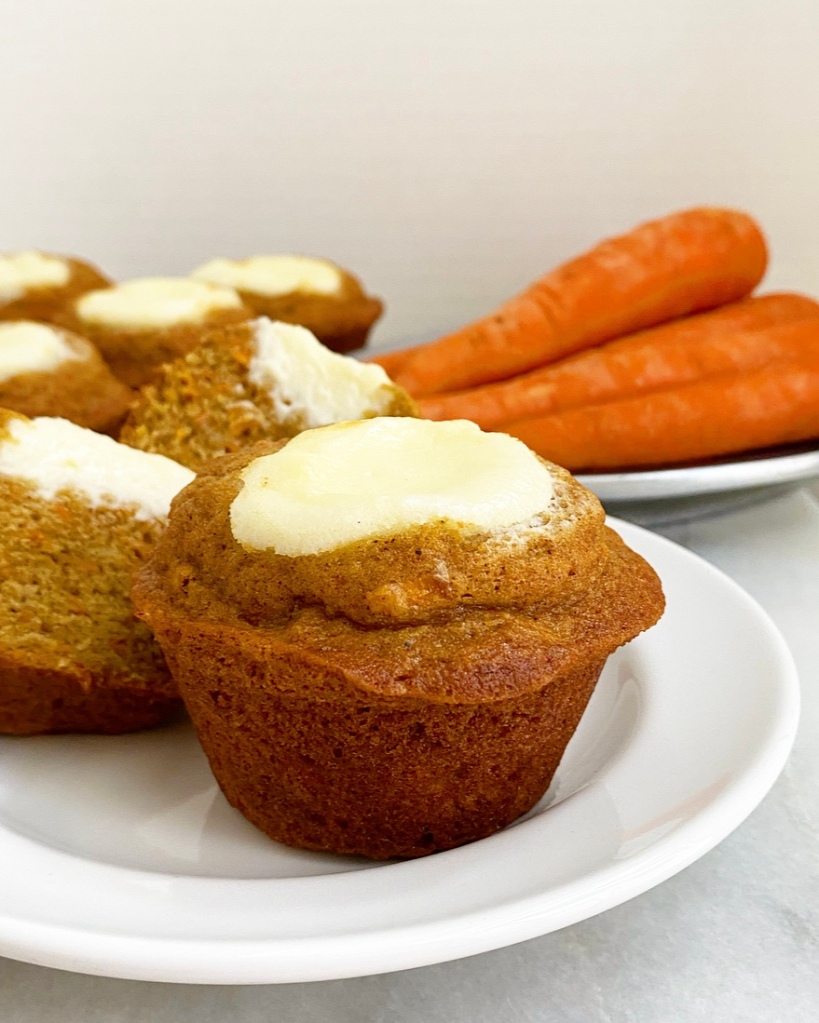
Carrot Cream Cheese Muffins are simple to make, but require some special assembly. Once you’ve whisked up the carrot muffin batter, put 3 tablespoons in each well of a standard muffin pan. Next, pipe some sweetened cream cheese into the center of each well of batter. It’s about a heaping tablespoon of cream cheese per muffin, but since that’s impossible to measure while piping, I have a little trick. The wells are about 3/4 full before the cream cheese, so when I pipe it in, I watch for the batter to juuuuust reach the top of the well. It’s the perfect amount every time.
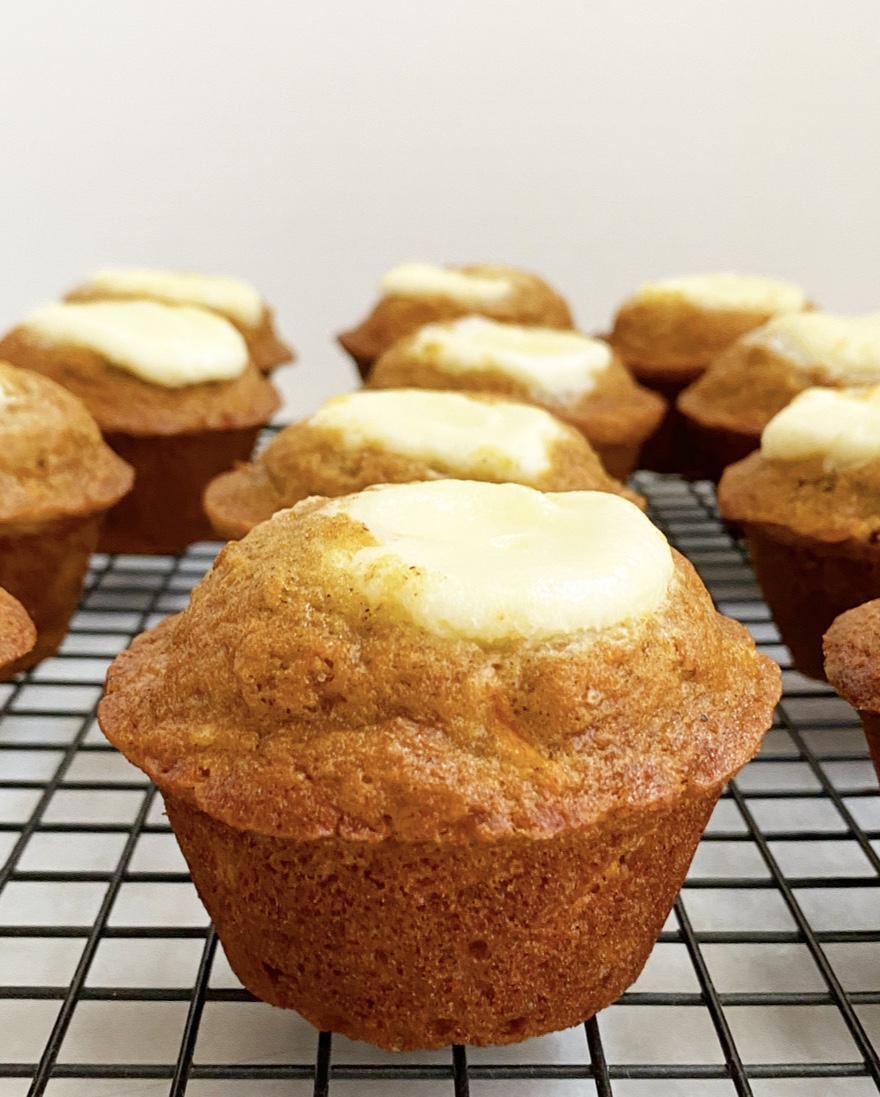
These muffins bake up in just about 20 minutes, getting some lift from a 425F start, then baking to perfection at 375F. The cream cheese will rise to the upper third of the muffins and expand a bit, which is a very good thing as far as I’m concerned. If you’d like a well that goes further into your muffins, bake them at 350F for 20 minutes. You should know, though, that if you go for the lower temperature, you’ll have flatter muffins.
That said, they’re delicious both ways. There’s no wrong way to get your carrot cake on, after all.
Carrot Cream Cheese Muffins
makes 12 muffins

Carrot Batter:
2 cups all-purpose flour
1 cup light brown sugar, packed
1 1/2 teaspoons ground cinnamon
1 teaspoon ground ginger
1/2 teaspoon ground nutmeg
1 1/2 teaspoons baking powder
1/2 teaspoon baking soda
1/2 teaspoon Kosher or sea salt
1/2 cup neutral-flavored oil (I use canola)
1/4 cup water
2 large eggs, room temperature
1 1/2 teaspoons pure vanilla extract
3 cups shredded carrots, not packed (about 3 medium carrots)

Cream Cheese:
1 8-ounce brick full-fat brick-style cream cheese
1/2 cup confectioner’s sugar

Preheat oven to 425F. Line a muffin tin with cupcake liners, or grease well. Set aside.

Make the carrot batter. In a medium-large mixing bowl, whisk together flour, brown sugar, cinnamon, ginger nutmeg, baking powder, baking soda, and salt. Set aside.

In a liquid measuring cup, whisk together oil and water. Add eggs one at a time, followed by vanilla. Whisk in dry ingredients in two installments, mixing just until combined. Set aside.

Fold shredded carrots into the dry ingredients. Add liquid in two installments, stirring to combine. Batter will be thick. Let batter sit 5 minutes while you prepare the cream cheese.

In a small-medium mixing bowl, use an electric mixer to beat cream cheese until it’s fluffy (about 2 minutes). Beat in confectioner’s sugar until combined. Load mixture into a piping bag, twist to close and snip off a corner.

Assemble muffins. Put 3 tablespoons of the carrot batter into each well of the prepared muffin tin. They will be about 2/3-3/4 full. Tap pan on the counter 5 times to release any large air bubbles. Pipe cream cheese into the center of each well until the batter reaches the top of each well (or within 1/8-inch of the top). Wet your finger and smooth down any peaks on the cream cheese to prevent burning. Tap pan 5 times on the counter again to help the cream cheese settle.

Bake muffins 5 minutes before reducing the heat to 375F for another 15-16 minutes. Muffins are ready when a toothpick inserted in the non-cream cheese section comes out clean. Let muffins cool in the pan for 10 minutes before removing to a rack to cool completely.

Leftovers will keep in an airtight container in the refrigerator for up to 5 days or at room temperature for up to 2 days.


 It has been documented on here that I fear making cheesecakes, but that’s not exactly true. I don’t fear cheesecake, I fear a leaking springform pan in a water bath (bain marie). Yes, I know you are supposed to wrap it in foil, but I’ve never seen anyone explain in exacting, painstaking, borderline-dull detail how you should do that so that there is absolutely no risk of leakage. And so, I have still (!!!) never made a traditional baked-in-a-springform cheesecake.
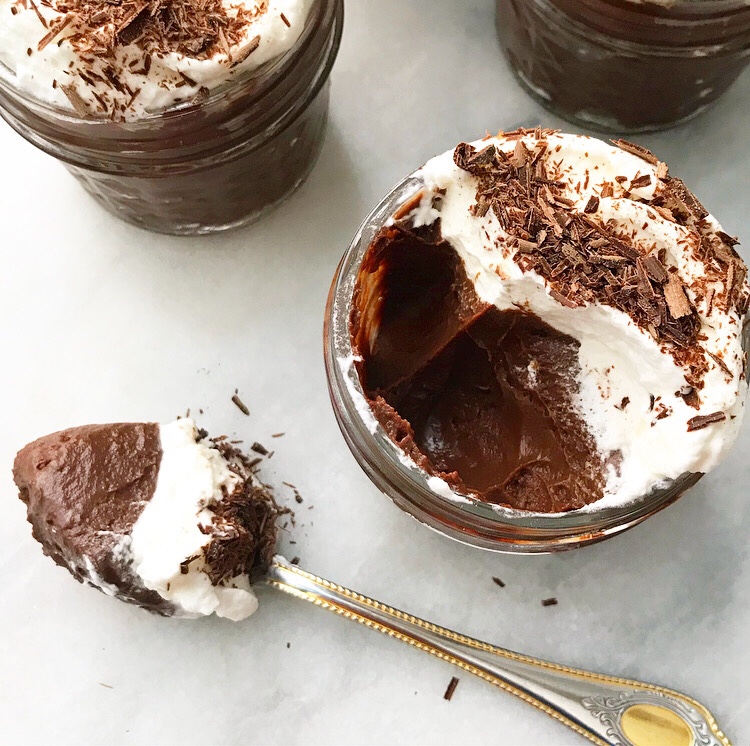
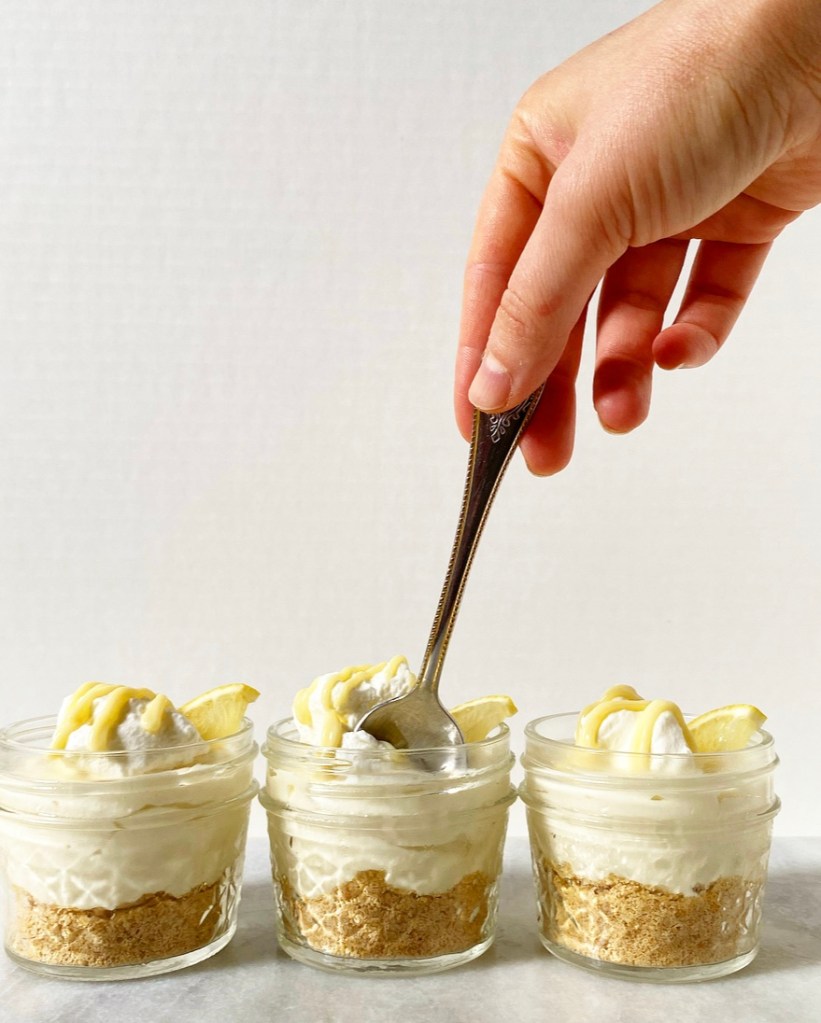
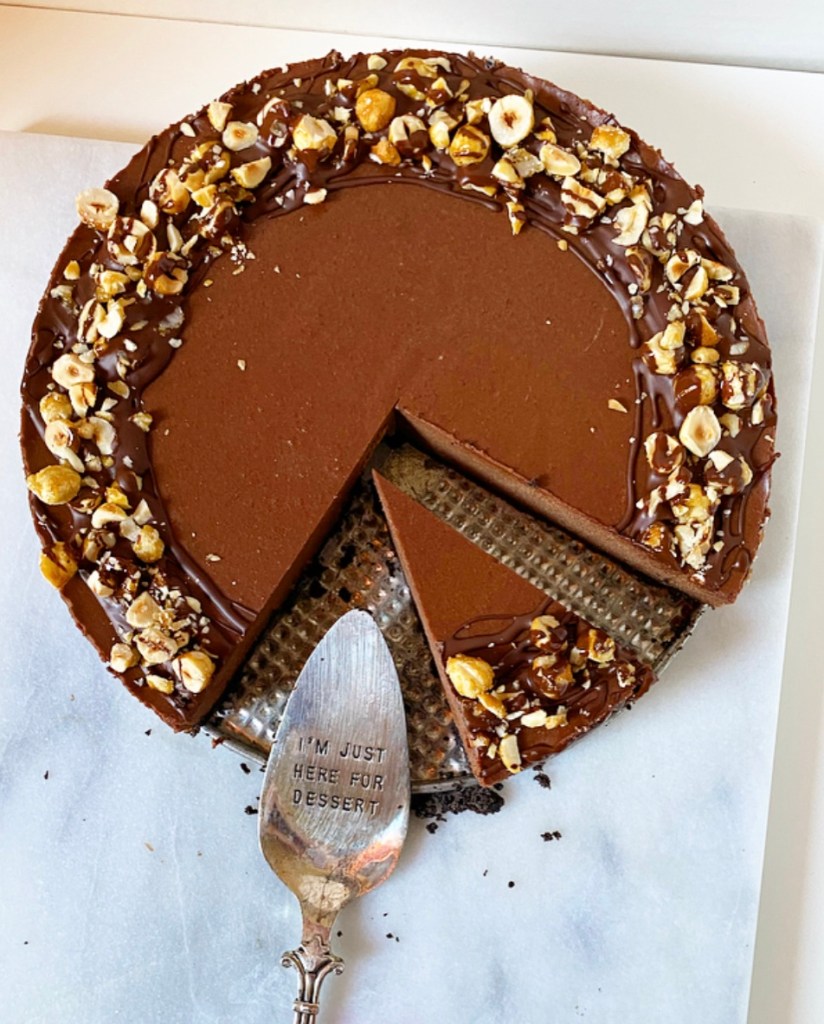
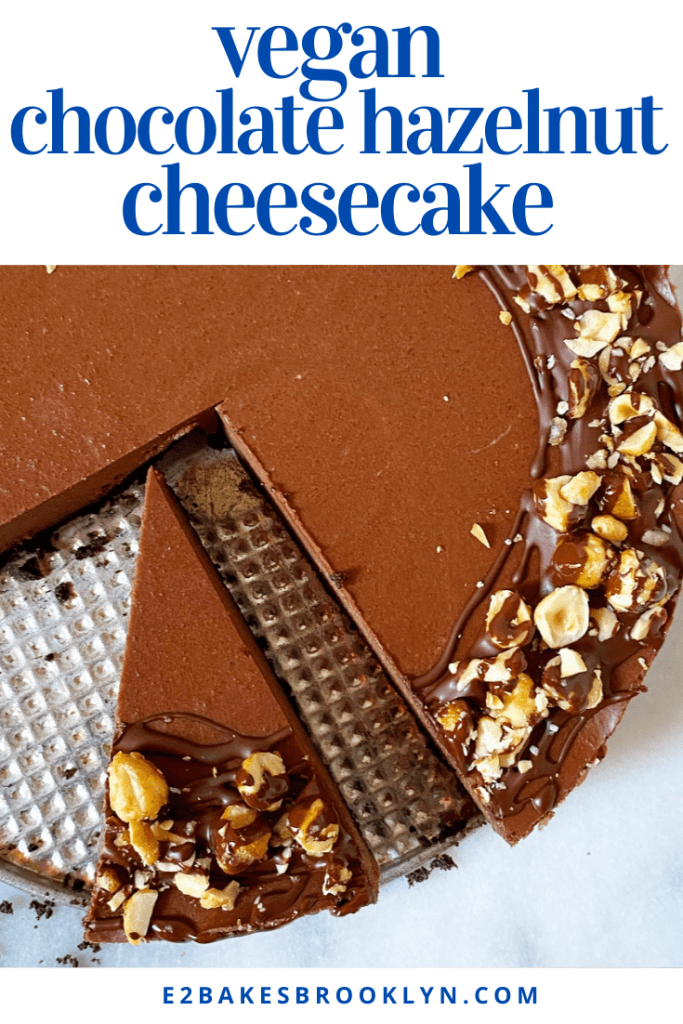
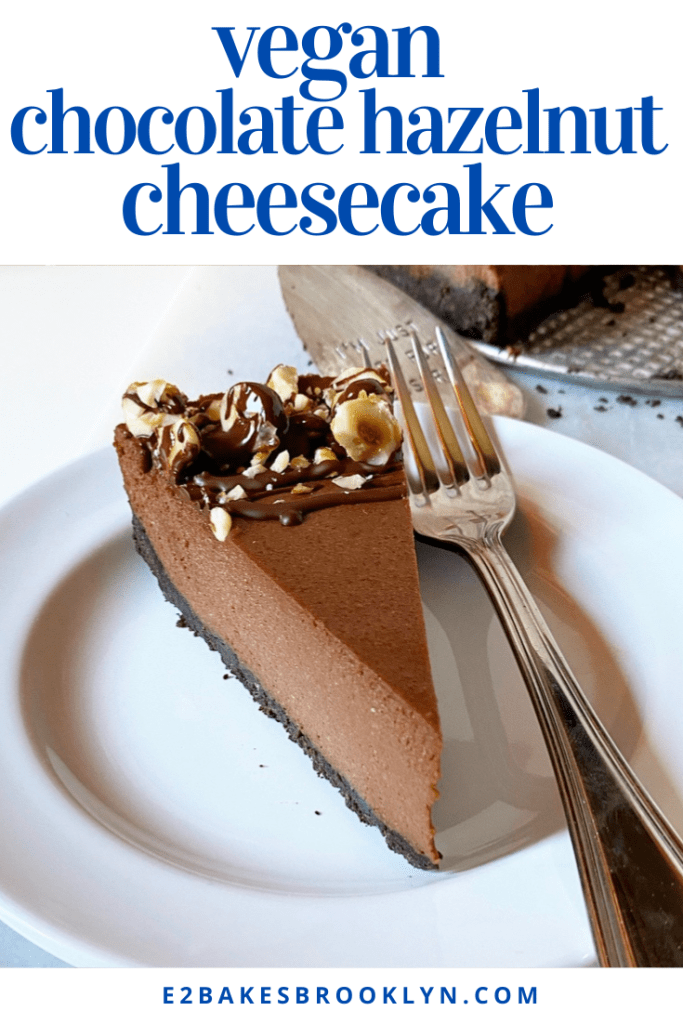
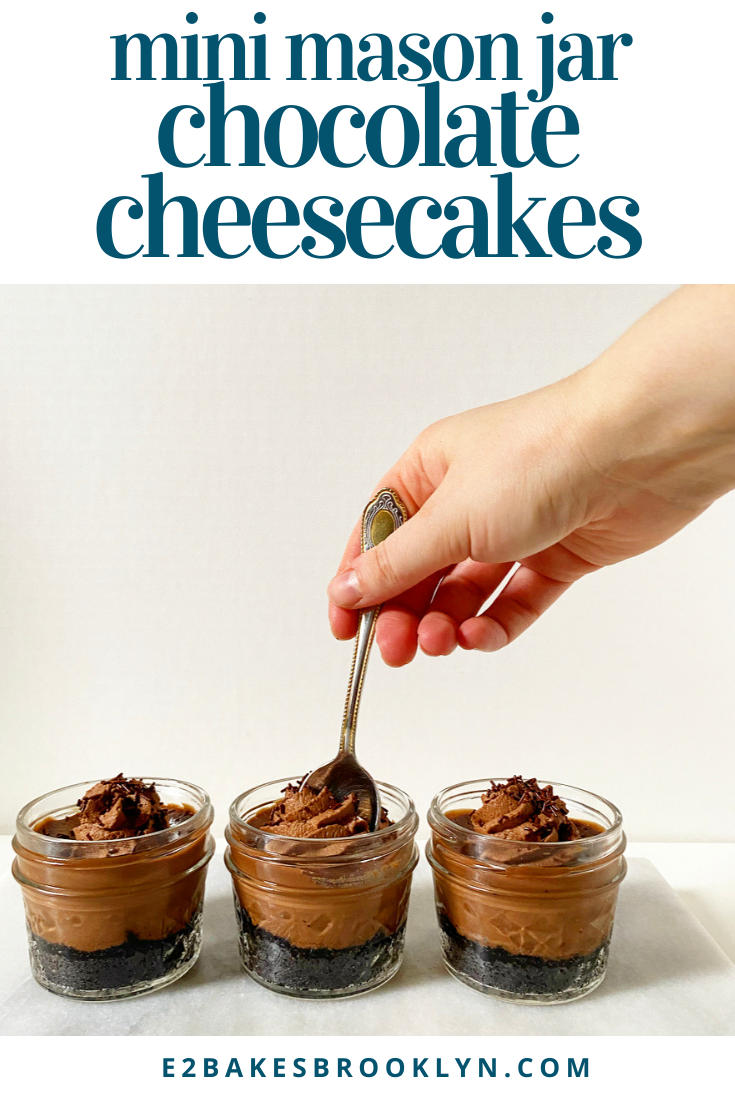
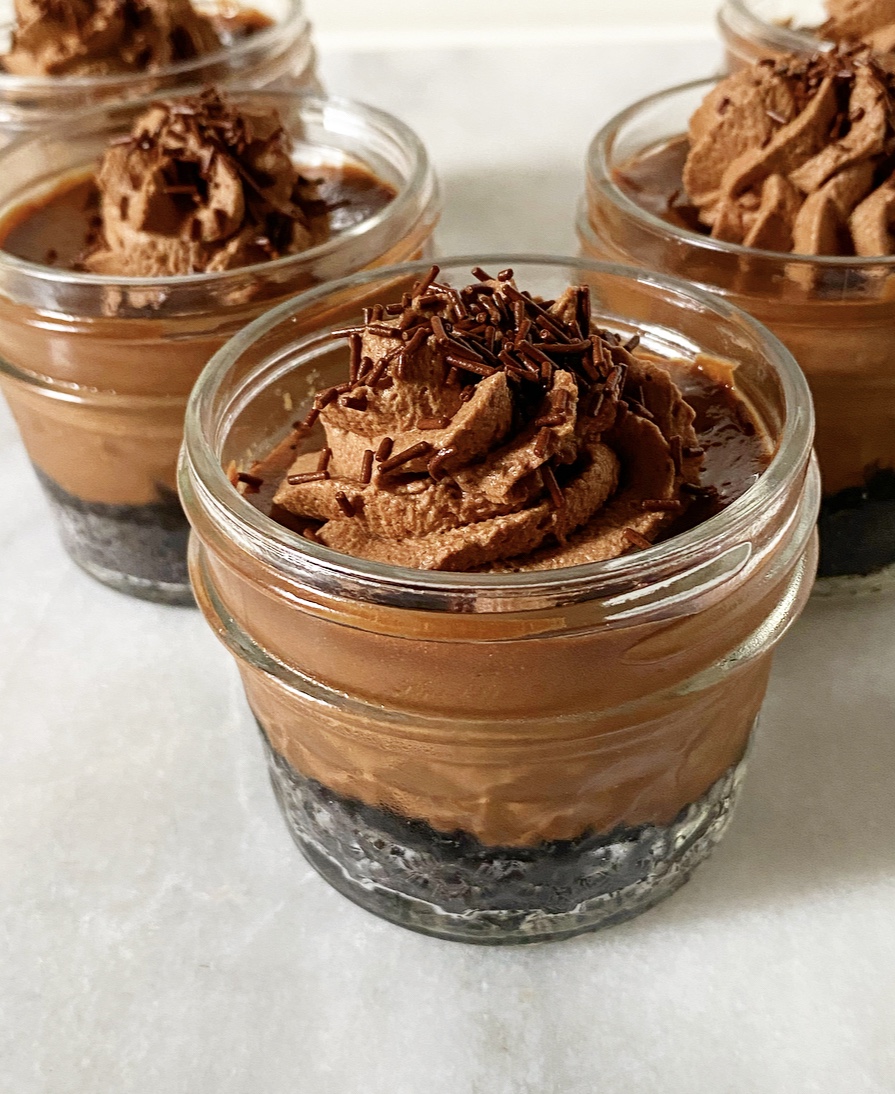 These Mini Mason Jar Chocolate Cheesecakes are SO good, y’all. So. Good. And they come in very cute, water tight, social distancing-approved serving vessels. Super rich, chocolaty filling, Oreo crust *and* no fiddling with a springform pan? Sign me up!
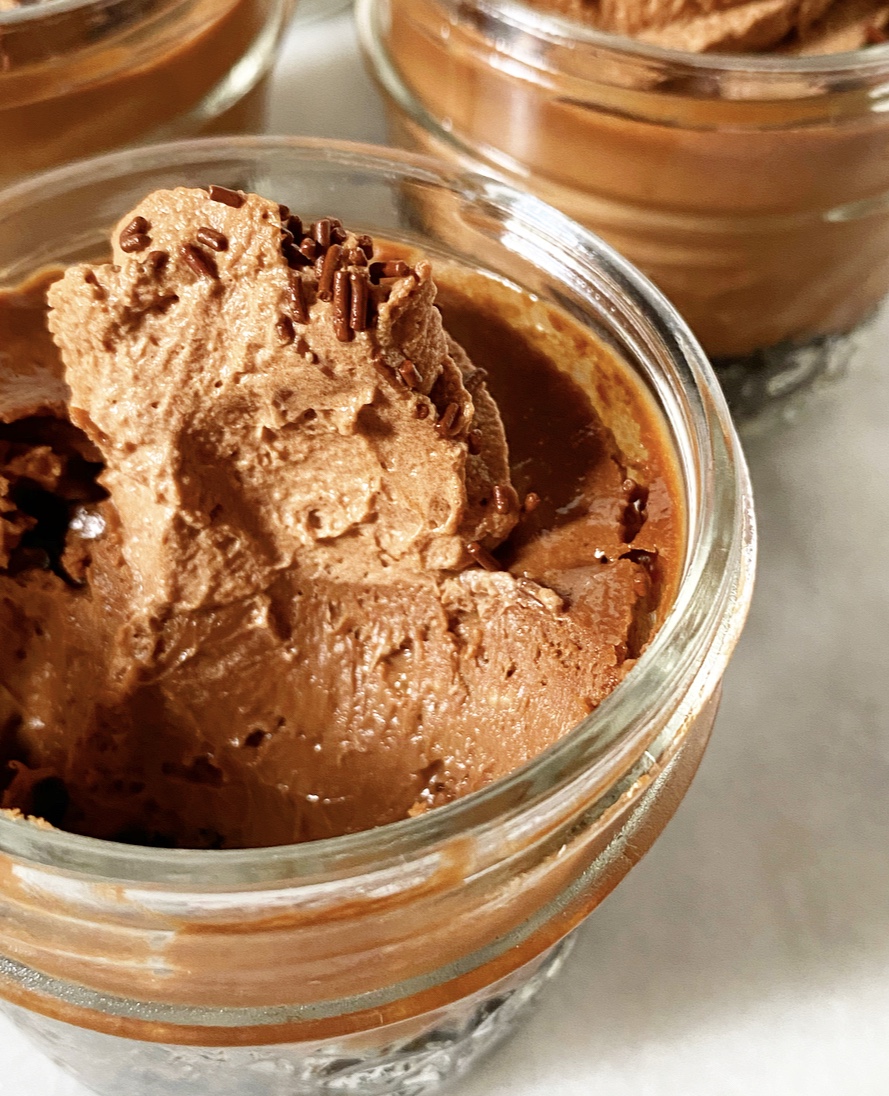 The crusts for these little cheesecakes are just Oreos and melted butter blitzed together in a food processor. Spoon a couple tablespoons into each of your mason jars and give them a few minutes in the oven before adding your filling.
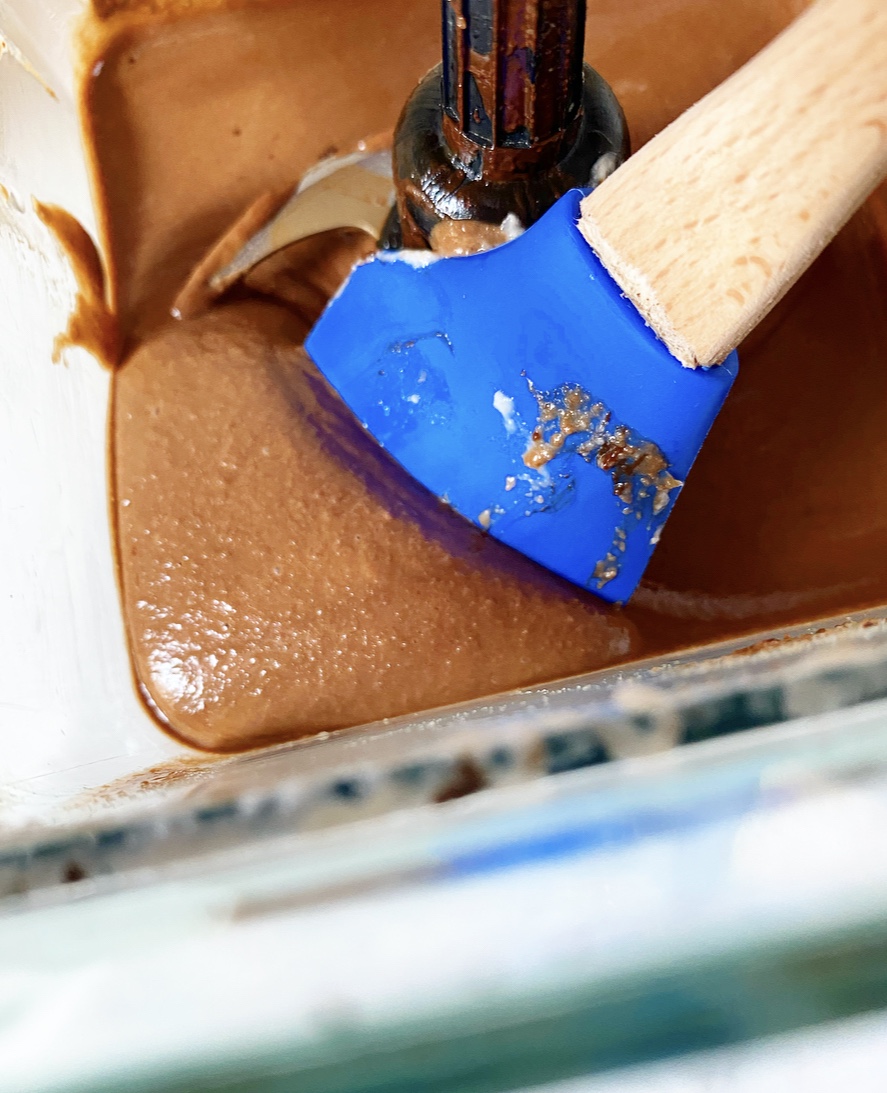
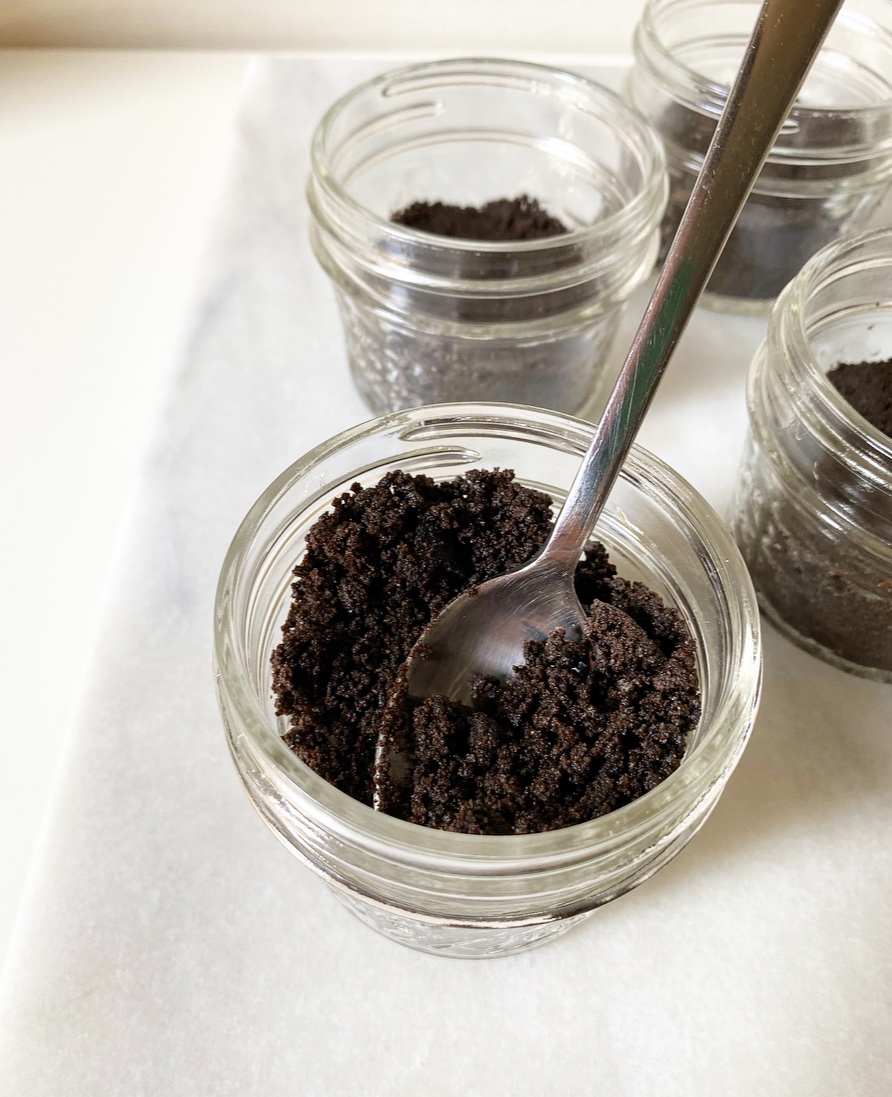 This chocolate cheesecake filling is super chocolaty from melted dark chocolate and cocoa powder, and has a little extra depth from light brown sugar (though granulated works too). The rest of the ingredients are standard cheesecake fare: cream cheese, sour cream, vanilla and an egg.
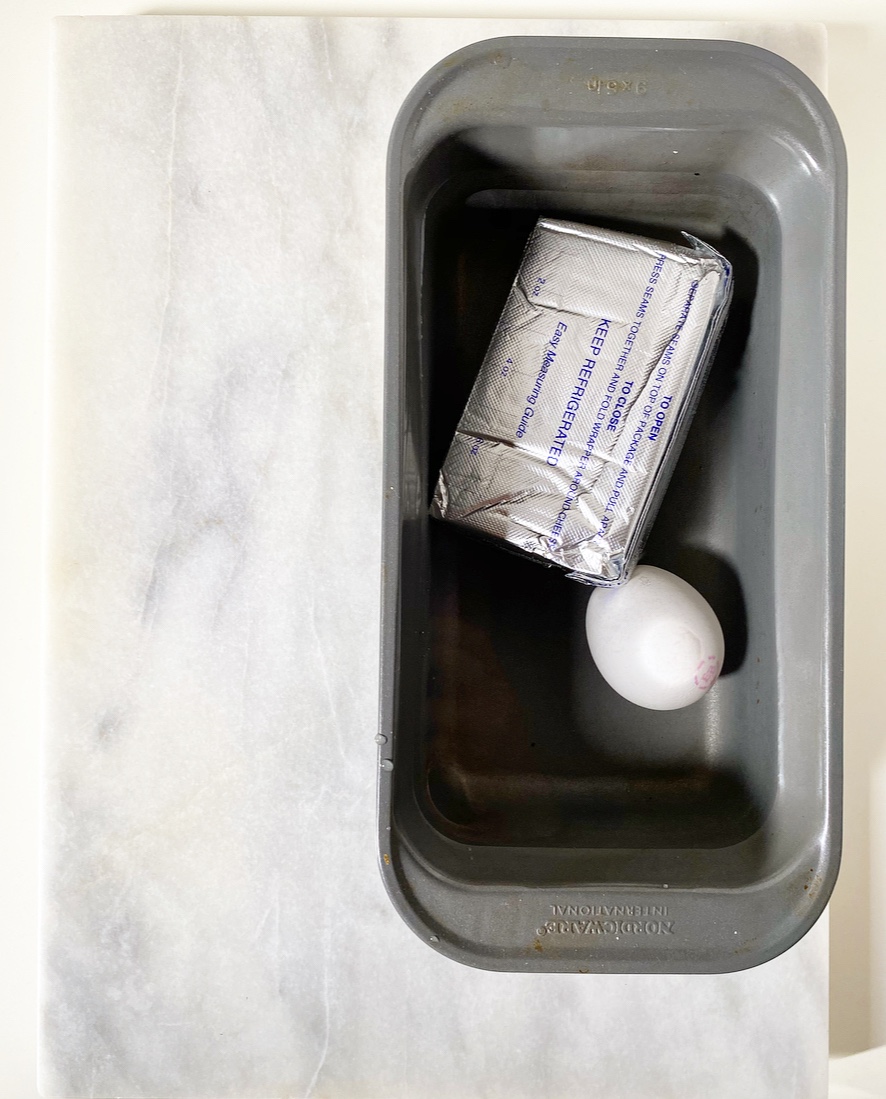 By far, the most important advice I can give you about making cheesecake is to make absolutely sure that your ingredients are at room temperature. If you’re more organized than I am, you can set your cream cheese out the night before. If you’re like me, just let it hang out (in its packaging) in a bowl of lukewarm tap water for 15 minutes. Throw your egg in there for maximum efficiency.
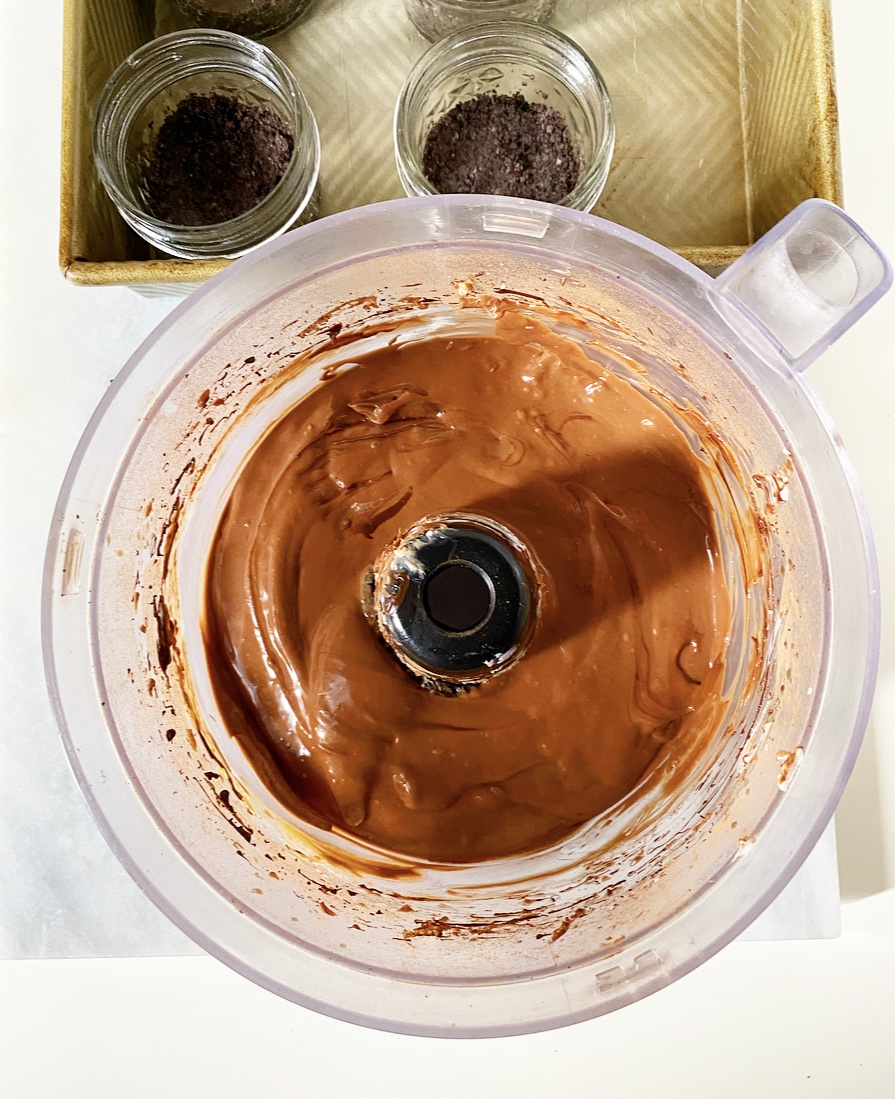
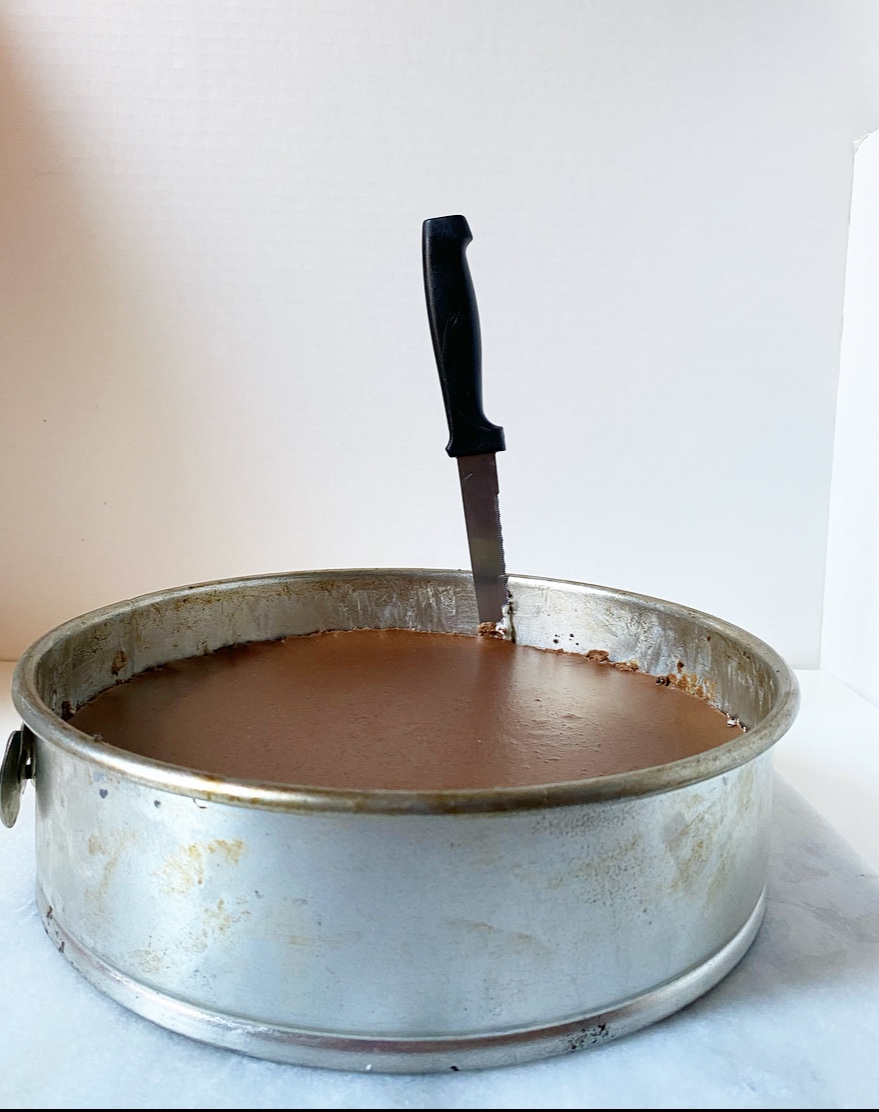
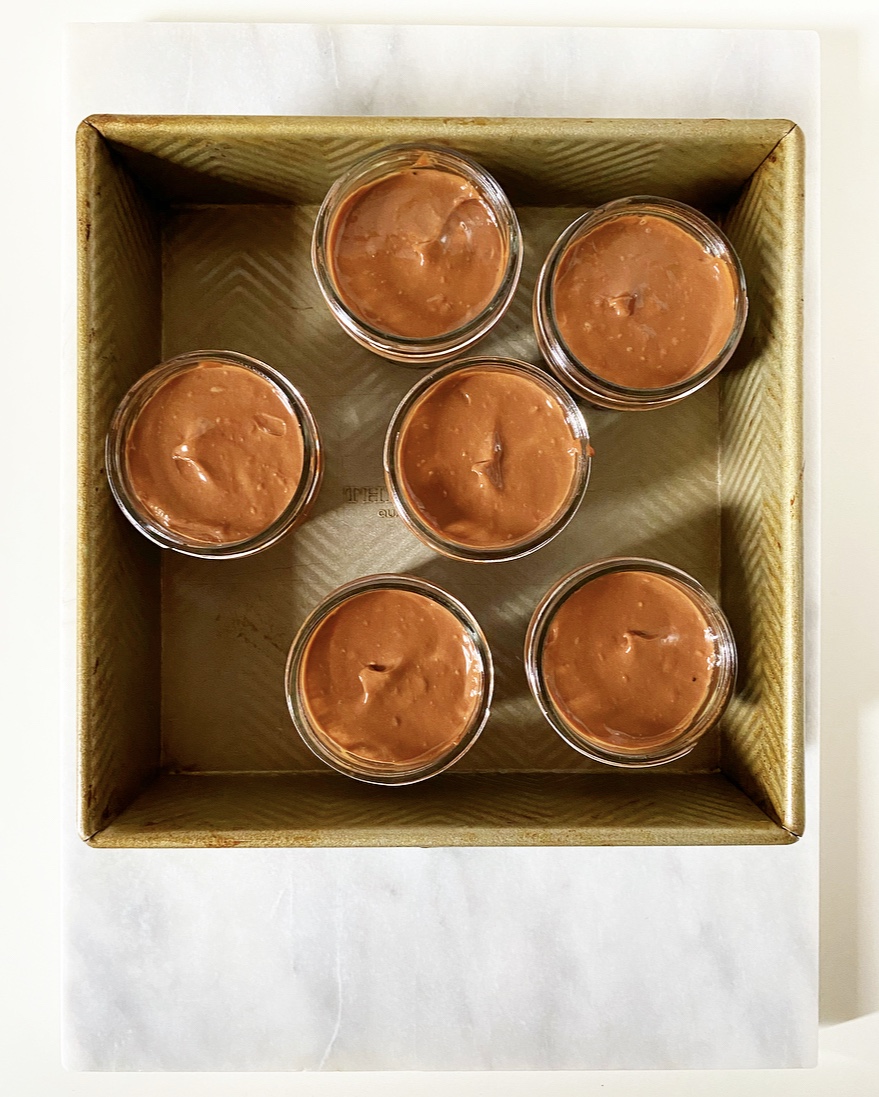 You can make the filling in your food processor (just wipe it out) or use a mixer. Either way, make sure to give the bowl some taps on the counter and let it rest a few minutes to release any large air bubbles before baking. Then spoon it onto your crusts and bake for about 25 minutes. Let the baked cheesecakes hang out in their water bath for five more minutes before transferring them to a rack to cool completely. This brief step helps them transition from the hot oven to your cooler counters more seamlessly. Cheesecakes are divas, in case you couldn’t already tell.
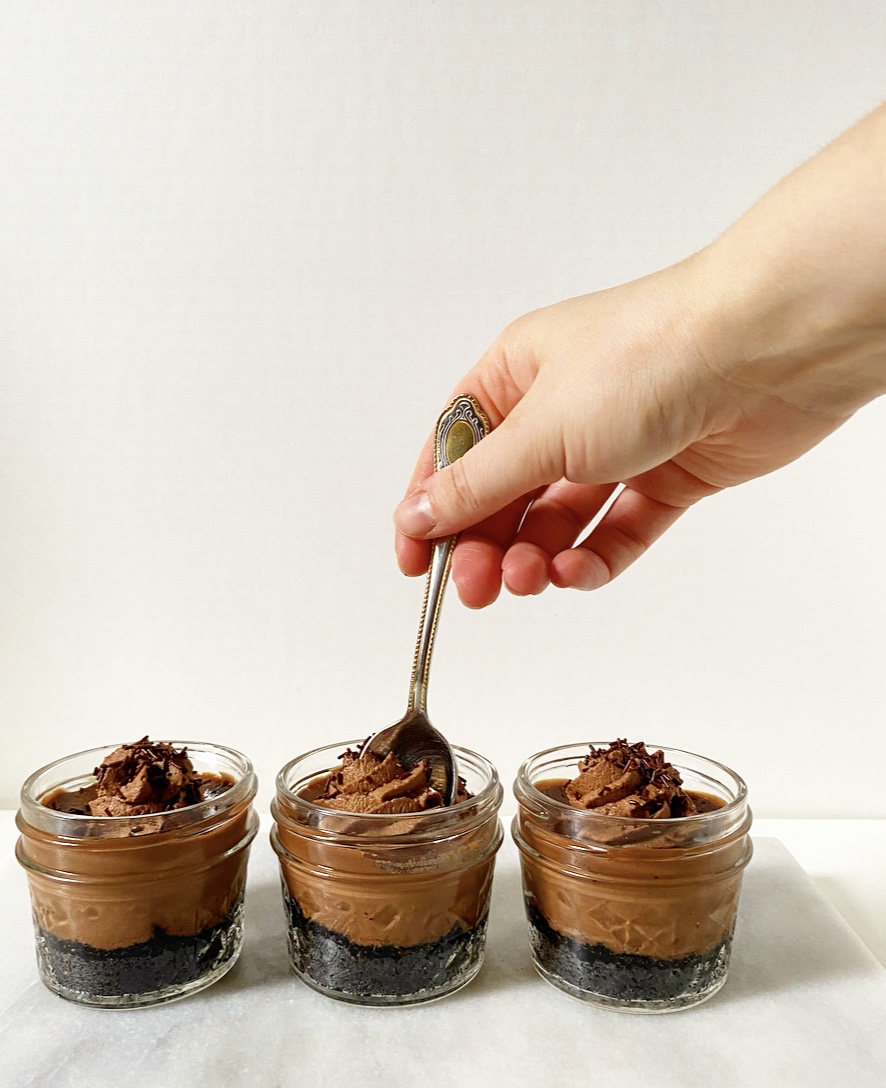
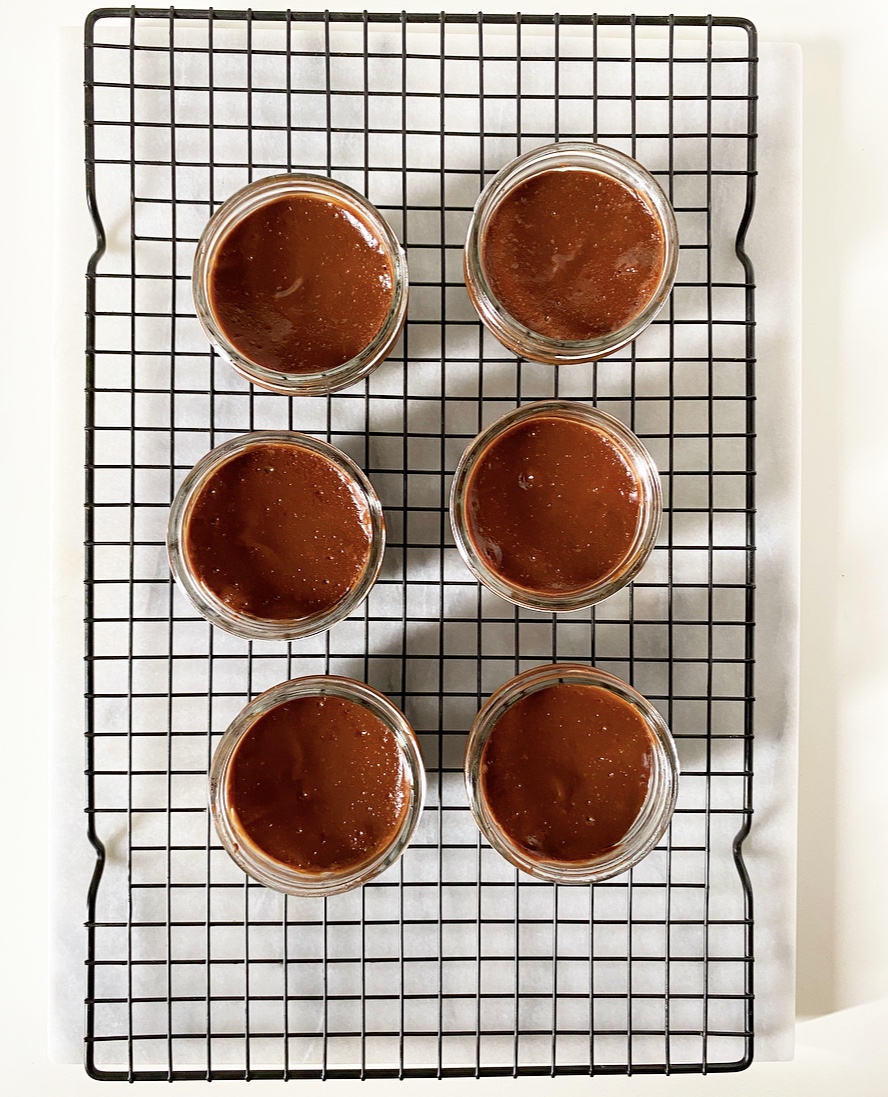 Once your chocolate cheesecakes hit room temperature, throw them in the fridge for a few hours to get nice and cold. This will seem endless, but will give you plenty of time to dream up toppings. I went for my new favorite
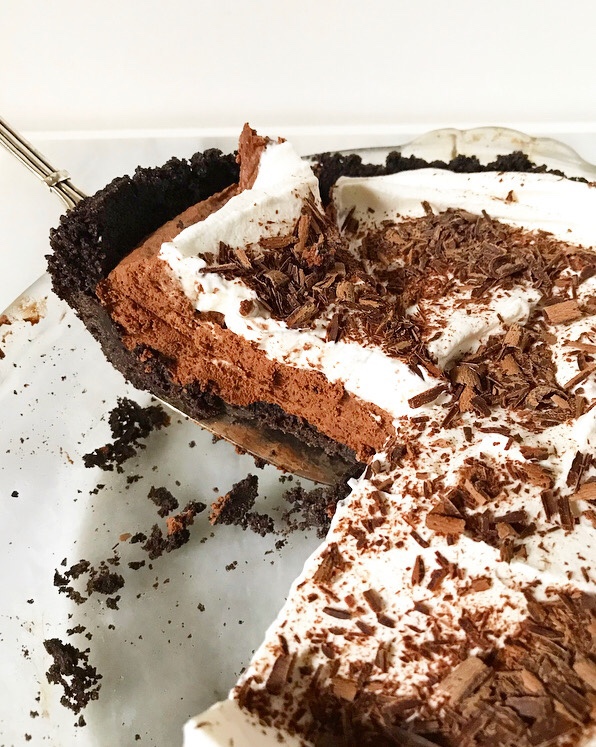
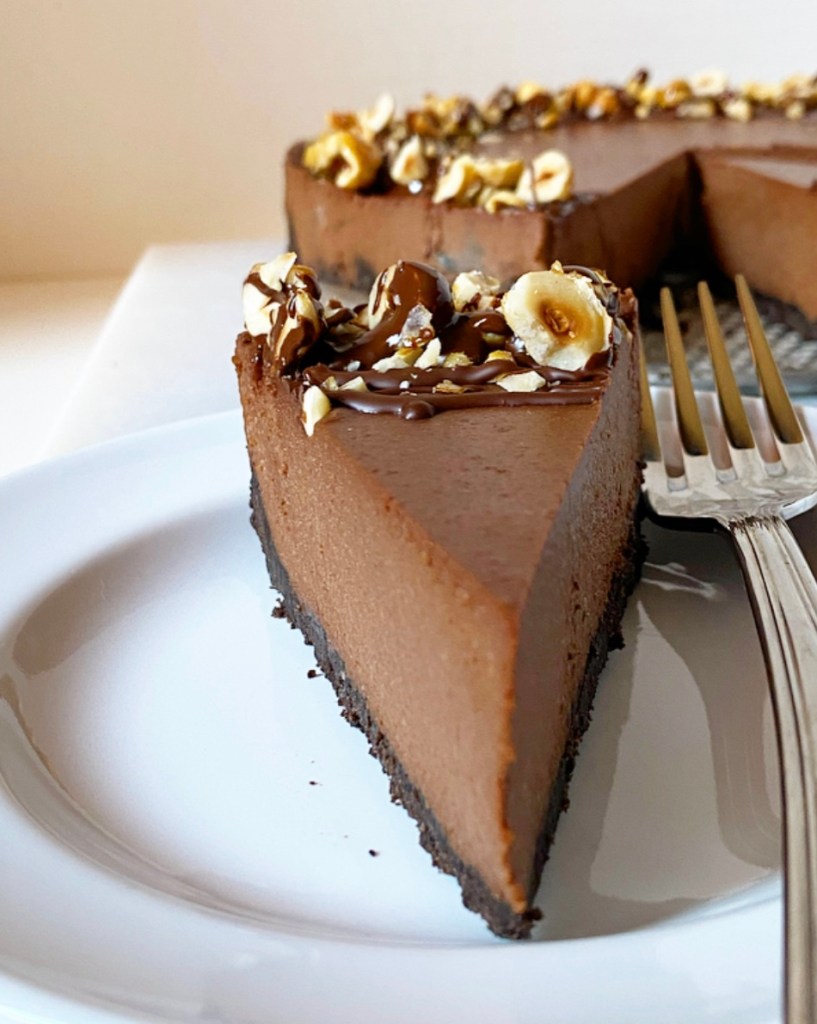
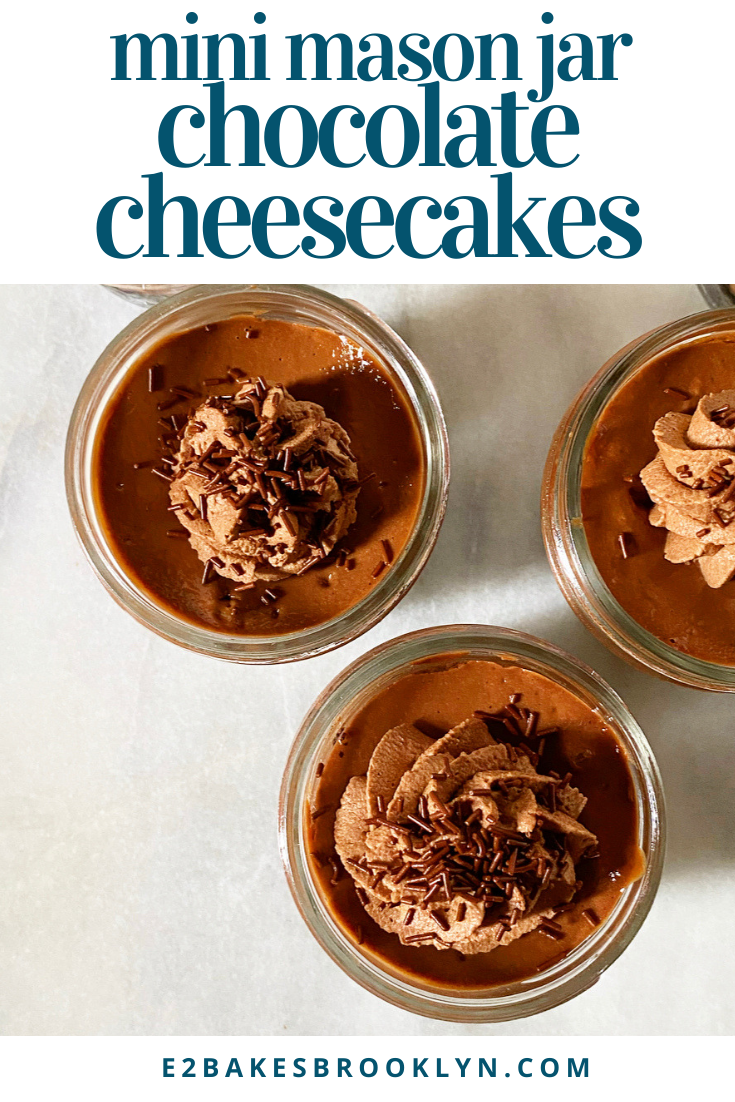
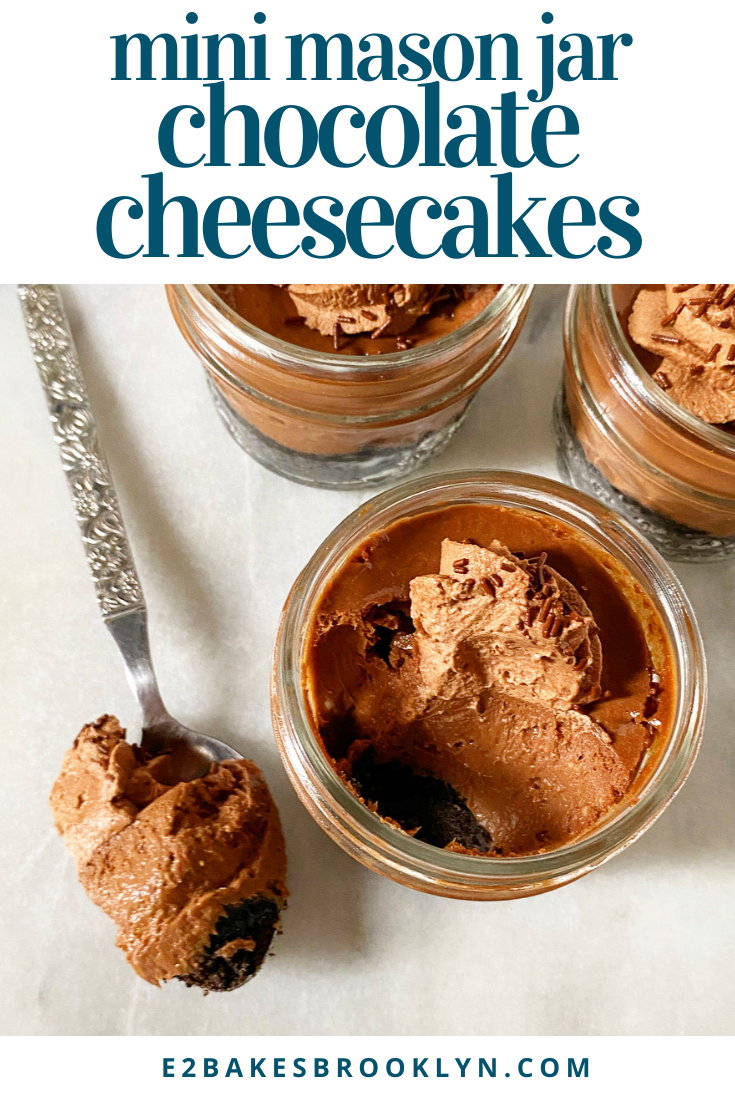
 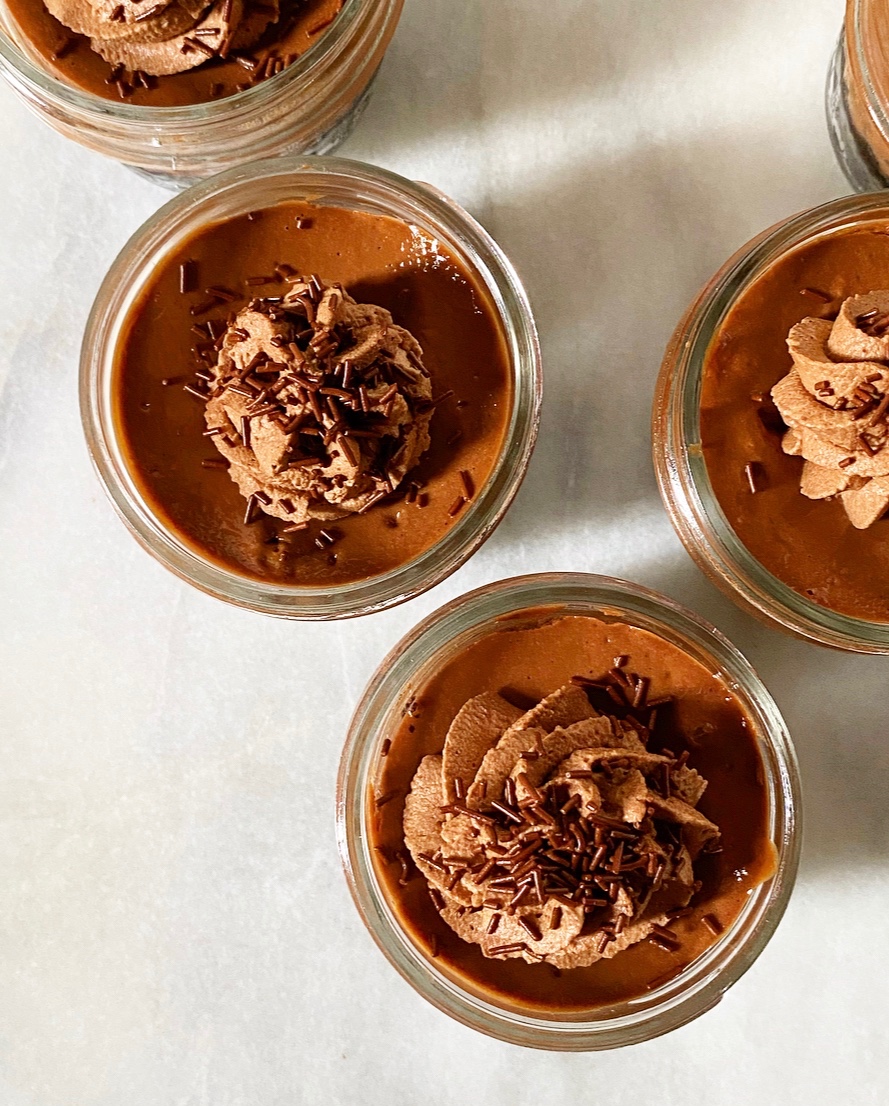 I won’t lie to you, Mini Mason Jar Chocolate Cheesecakes are a commitment, but take one bite and I promise you’ll agree that theyre entirely worth the effort. They’re super smooth and tangy with a big hit of chocolate, and that Oreo crust…well, I think we can all agree that Oreo crust should probably run for president.
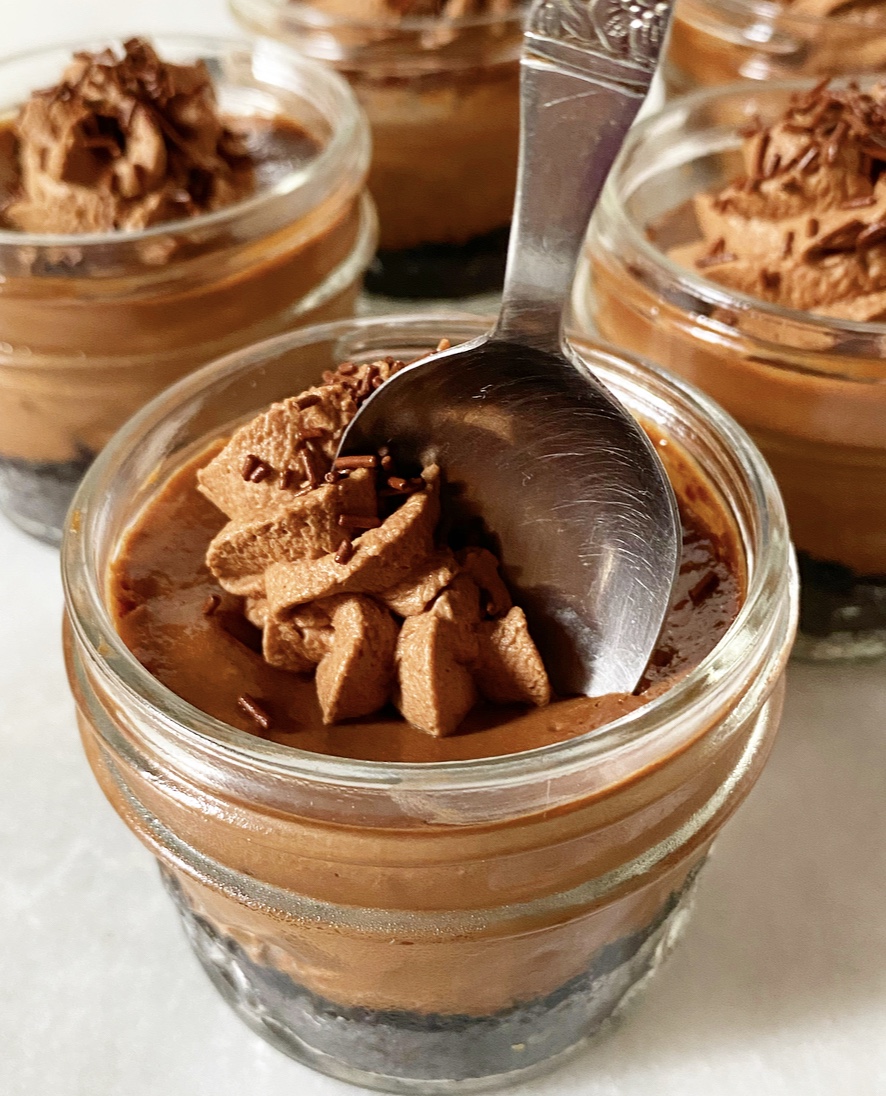 And on that note, enjoy this unofficial last weird weekend of this extremely weird summer. It’ll be two more weeks before I break out the pumpkin, and while that seems like eternity, I hope these chocolate cheesecakes soften the blow.
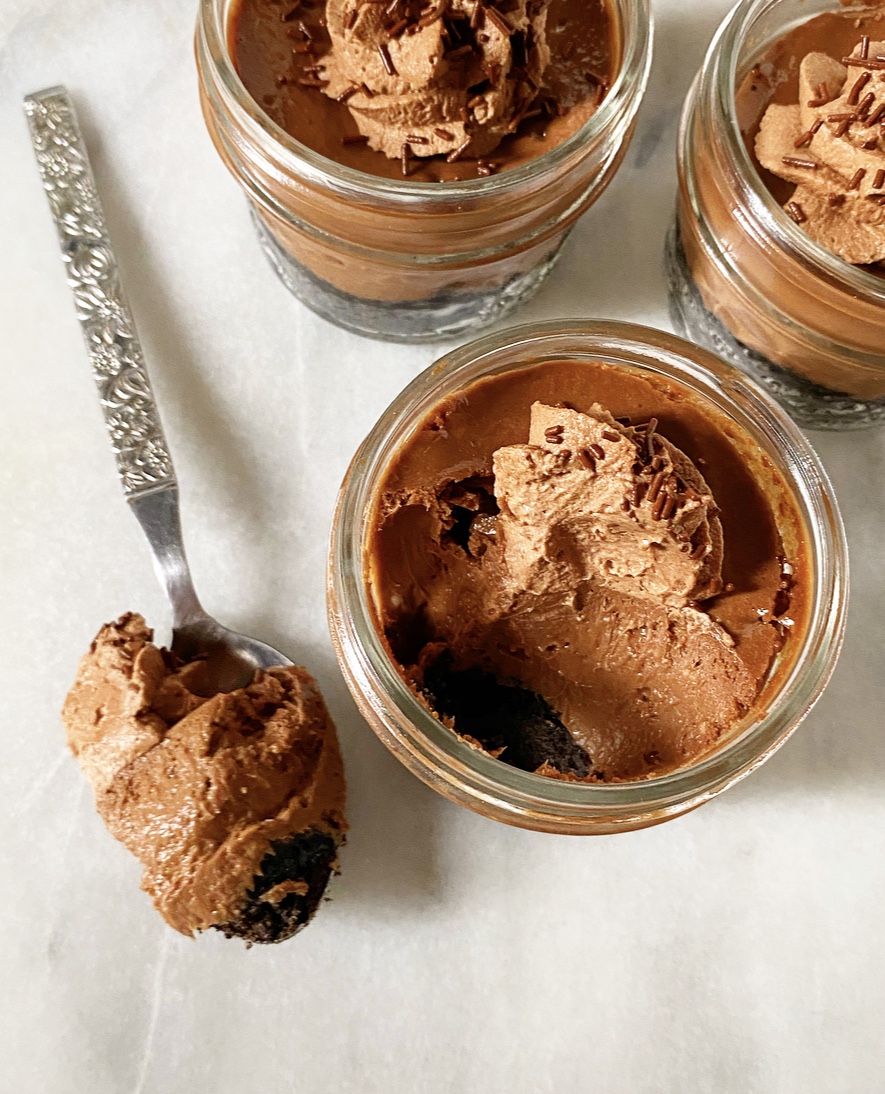
 After declaring that I was going to tackle my
  Not only are they freaking delicious—
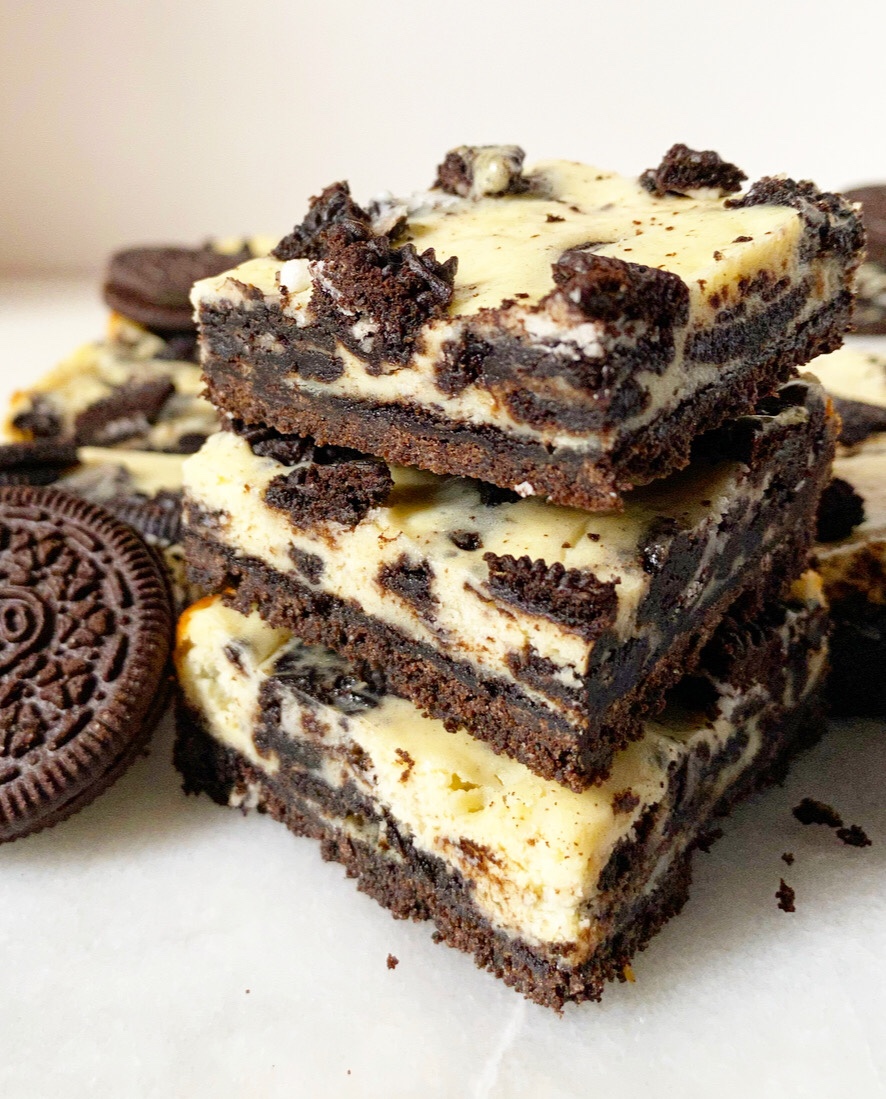
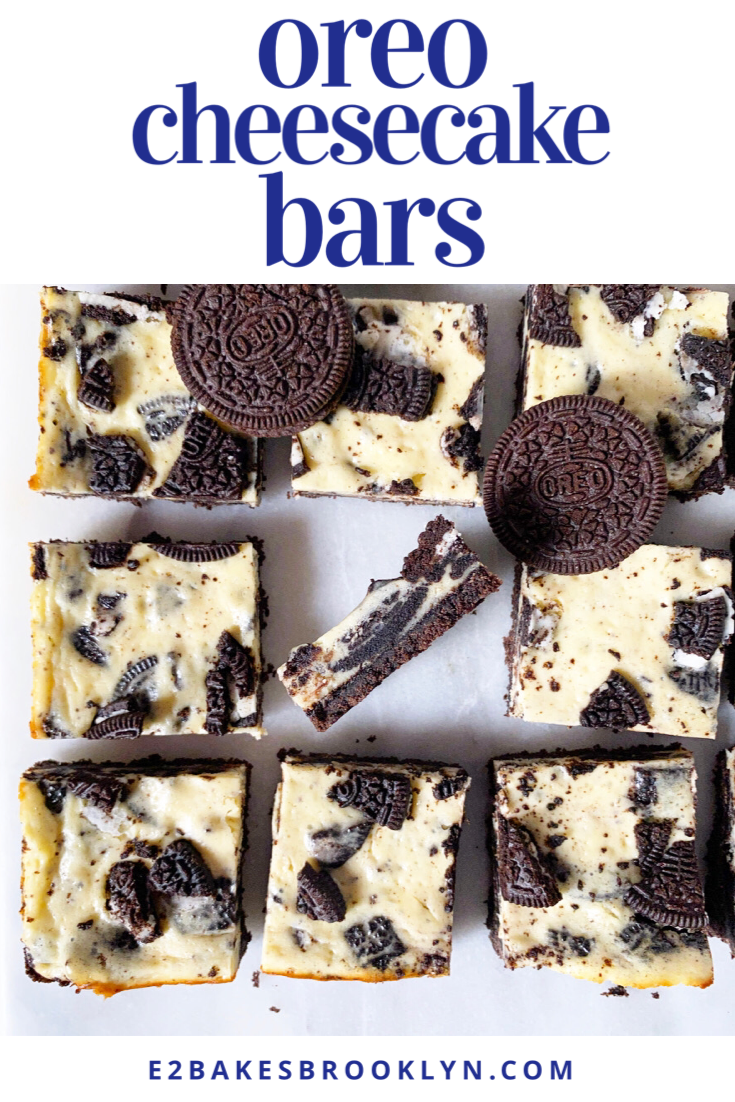
 These are incredibly simple to make and they’re the perfect treat to have in the fridge all weekend. Crumbly Oreo crust and a thin layer of tangy cheesecake studded with more Oreos and you didn’t have to use a water bath? Is this real life?!