 It may have been 90 degrees in NYC this past Monday, but nobody is happier than I am that fall is finally here, not least because it means I have an excuse to make these Maple Thumbprints.
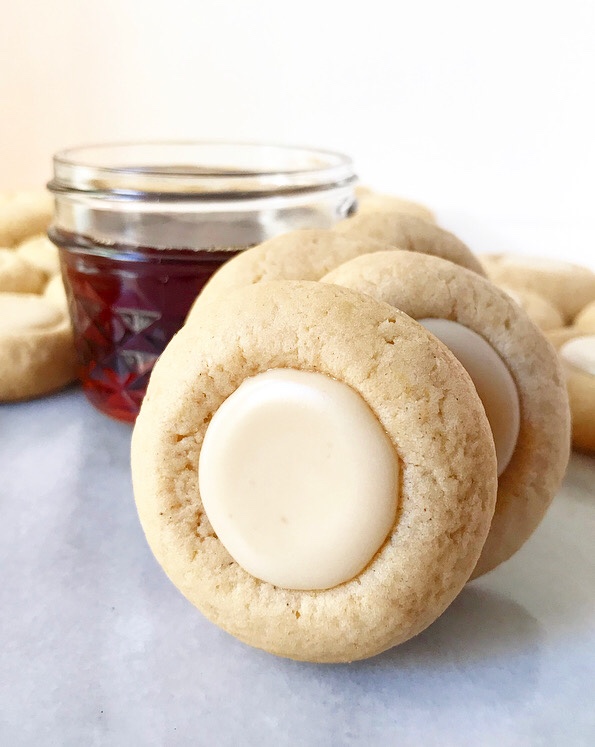
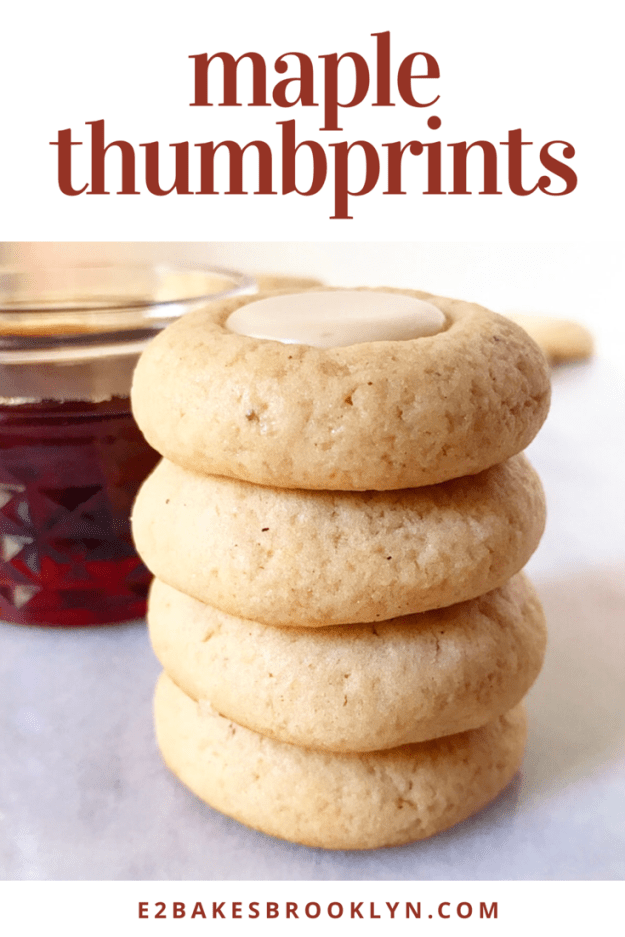
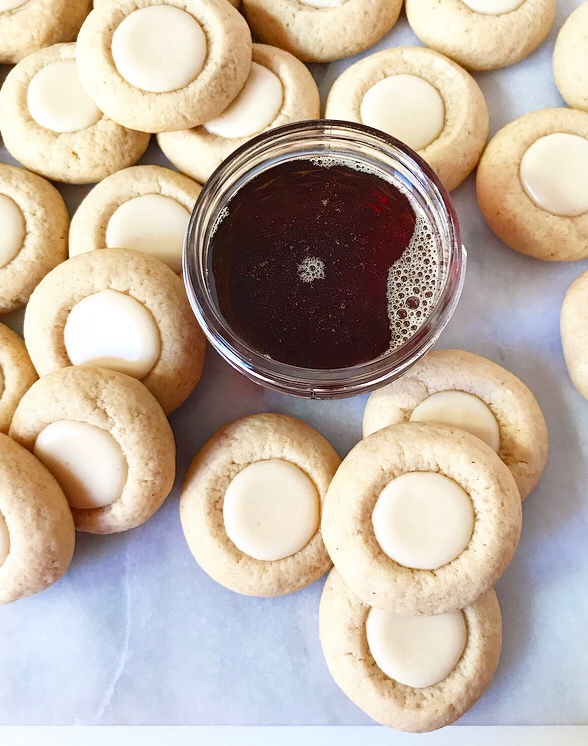 And make them, I have—five test batches before getting them just right. I used the dough from my Maple Spice Stars as a starting place, and then adjusted the spice, sugars, and leavener until I achieved exactly what I wanted: a puffy, slightly soft maple cookie with hints of cinnamon and nutmeg and a well of maple icing in the center. The ideal accompaniment to a cup of tea on a fall afternoon, you know?
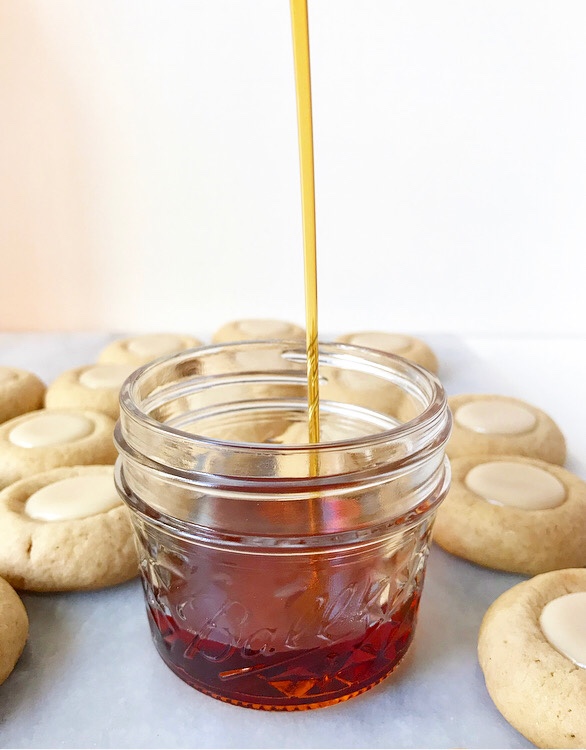 If you love maple syrup like I do, these cookies are for you. The dough contains 2/3 cup and the icing has another 1/4 cup! I vastly prefer Grade A Dark Amber & Robust Taste (formerly known as Grade B) for its deep flavor, but any pure maple syrup you have will do the trick.
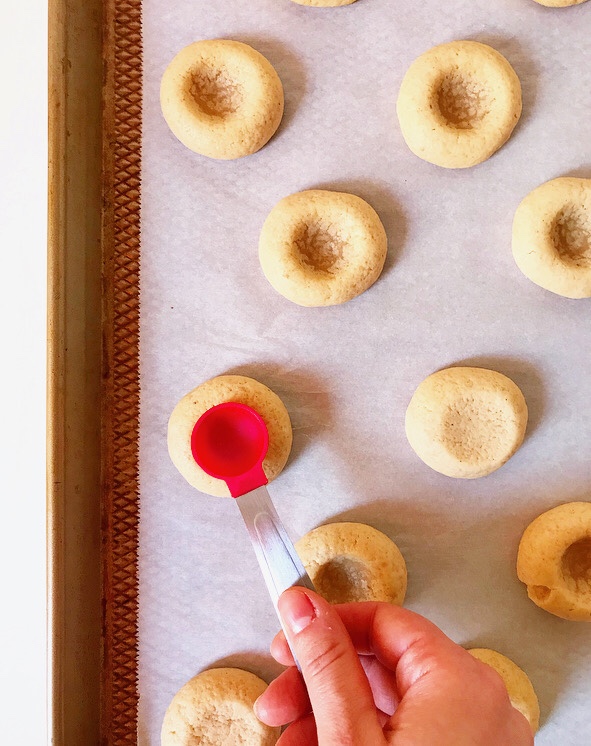
 Maple, like pumpkin, is a flavor that improves over time. Though these cookies will taste good immediately after they’re baked and filled, they won’t taste particularly maple-y until a few hours later. By the next day, you’ll have no problem finding the sweet nuances of maple syrup in both the cookies and the icing.
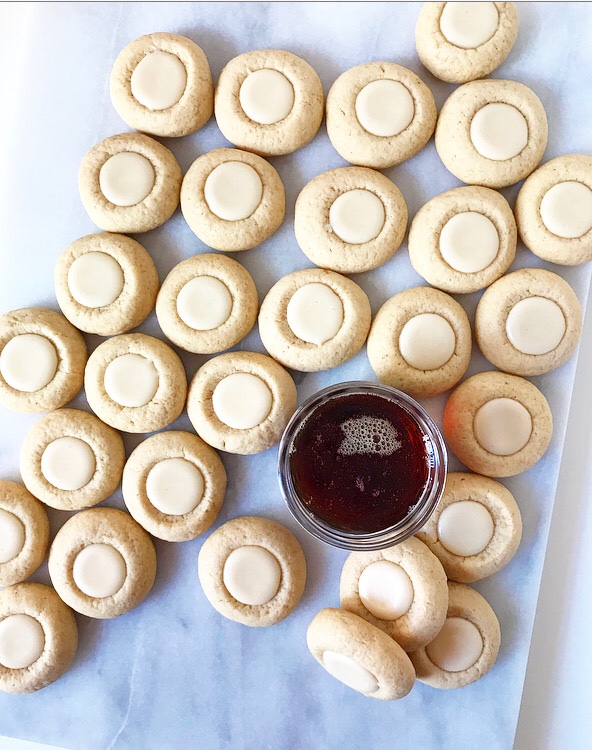 You’ll notice that many of the maple cookie recipes out there (including this one) call for maple extract for a richer flavor. This is because maple is a delicate flavor in baking, easily masked by its own sweetness. To that point, I tested both the dough and icing with 1/2 teaspoon each of maple extract (I like Boyajian), and while it works and certainly amplifies the flavor, I don’t think this recipe needs it. I did multiple taste tests and preferred the cookies made with only maple syrup every time. If you feel otherwise, feel free to add some extract. To each their own!
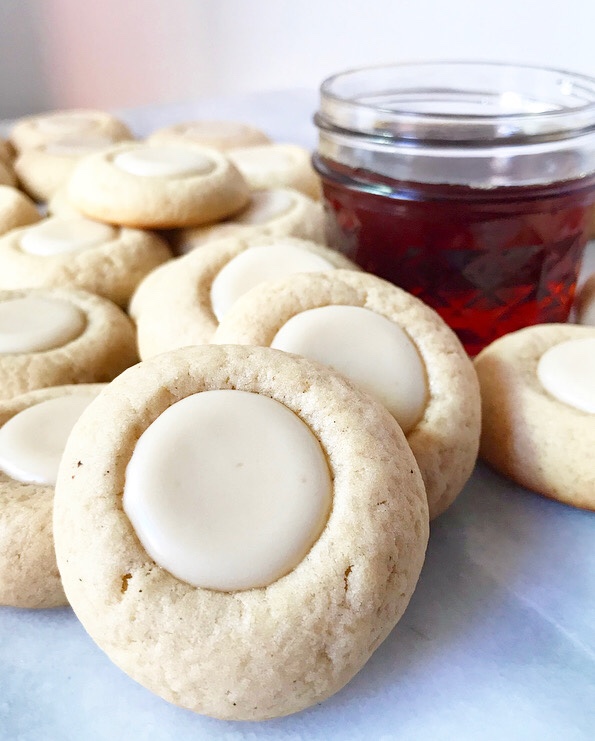 The point, as always, is to bake the cookies you want to eat. And to bake for the weather you want, not the weather you have. At least, that’s what I’m doing. If it means I’m eating autumnal cookies while sitting in front of a blasting air conditioner and praying for some crunchy leaves to step on, so be it.
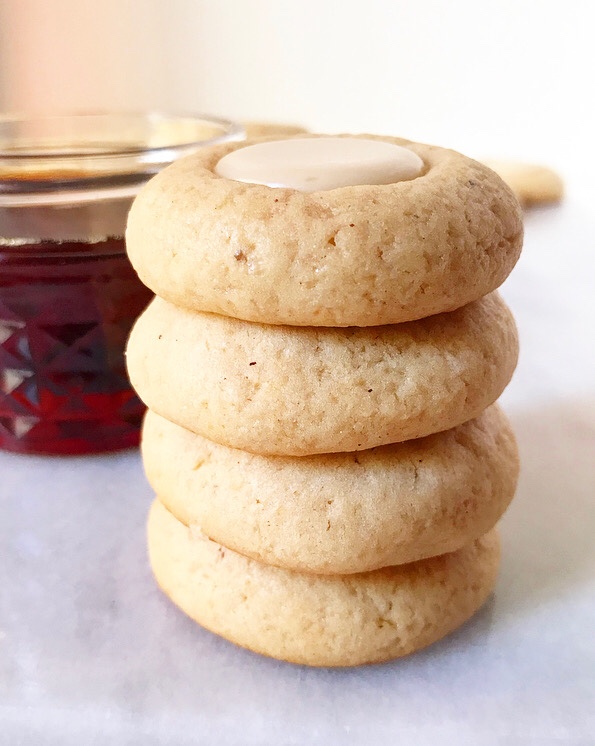
Maple Thumbprints
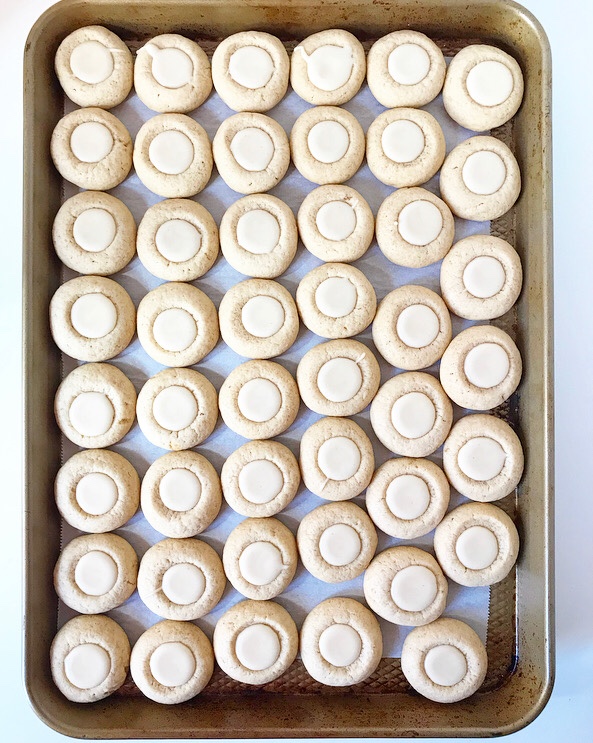
makes about 4.5 dozen cookies
Cookies:
4 cups all-purpose flour
1/4 teaspoon ground cinnamon
1/4 teaspoon ground nutmeg
1 teaspoon baking powder
1/2 teaspoon Kosher or sea salt
1 cup (2 sticks) unsalted butter, at room temperature
1/2 cup light brown sugar, packed
1/4 cup granulated sugar
2/3 cup pure maple syrup (I like Grade A dark amber & robust taste)
1 large egg, room temperature
2 teaspoons pure vanilla extract
Icing:
3 cups confectioners sugar
pinch of Kosher or sea salt
4 tablespoons pure maple syrup
3-4 teaspoons water
Make the cookies. In a large mixing bowl, whisk together flour, cinnamon, nutmeg, baking powder, and salt. Set aside.
In a separate large mixing bowl, beat butter with an electric mixer until light and fluffy, about two minutes. Beat in brown and granulated sugars, followed by the maple syrup. Beat in the egg and vanilla. Turn the mixer to low, and add the dry ingredients in three installments, stopping frequently to scrape the bowl.
Divide dough in half. Wrap each half in plastic wrap and flatten into a disc. Chill for at least 2 hours or up to 3 days.
Place oven racks in the top and bottom thirds of the oven. Preheat oven to 350F. Line two baking sheets with parchment paper.
Remove dough from the refrigerator. Scoop dough by the tablespoon and roll each into a ball. Place dough balls at least 2 inches apart on prepared pans. Use the back of a very small spoon (like a 1/2 teaspoon measuring spoon) to slowly press a well into each dough ball. They may crack a bit—just smooth them with your fingers.
Bake cookies 12-13 minutes, rotating top-to-bottom and front-to-back. Cookies are done when puffed and no longer wet-looking. When you remove the cookies from the oven, press the back of a small spoon (I use a 1 teaspoon measuring spoon) into the centers again. Let cookies cool on the pans for 10 minutes before carefully removing to a rack to cool completely. Repeat rolling and baking process with all remaining dough, letting the cookie sheets come back to room temperature between batches.
Arrange cookies on a parchment or wax paper-lined surface for filling.
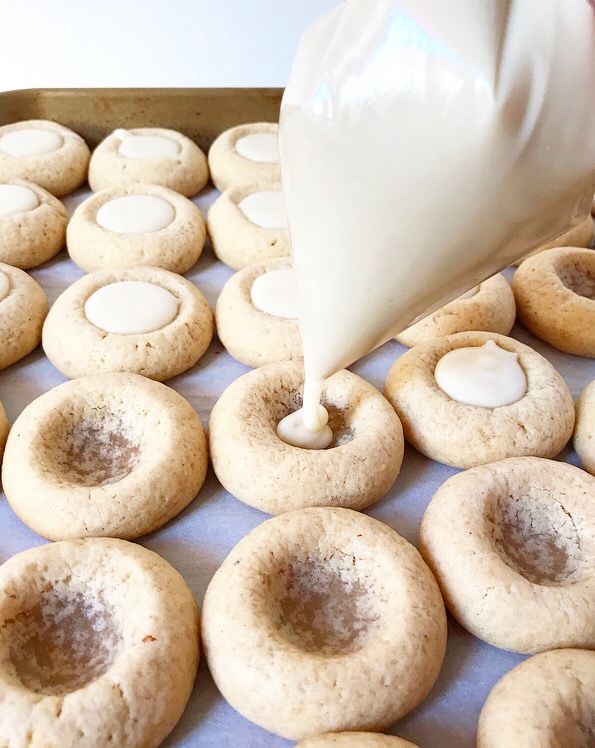
Make the icing. In a small mixing bowl, whisk together confectioner’s sugar, salt, maple syrup, and 3 teaspoons of water until smooth. Add more water by the 1/2 teaspoon, if needed, until the glaze is thick but pourable.
Transfer icing to a piping bag (or ziptop sandwich bag), twist it tight and snip off a very small corner. Fill wells in cookies as desired.
Icing will set after a few hours. Cookies will keep in an airtight container at room temperature for up to a week. Place wax paper between layers for easiest storage.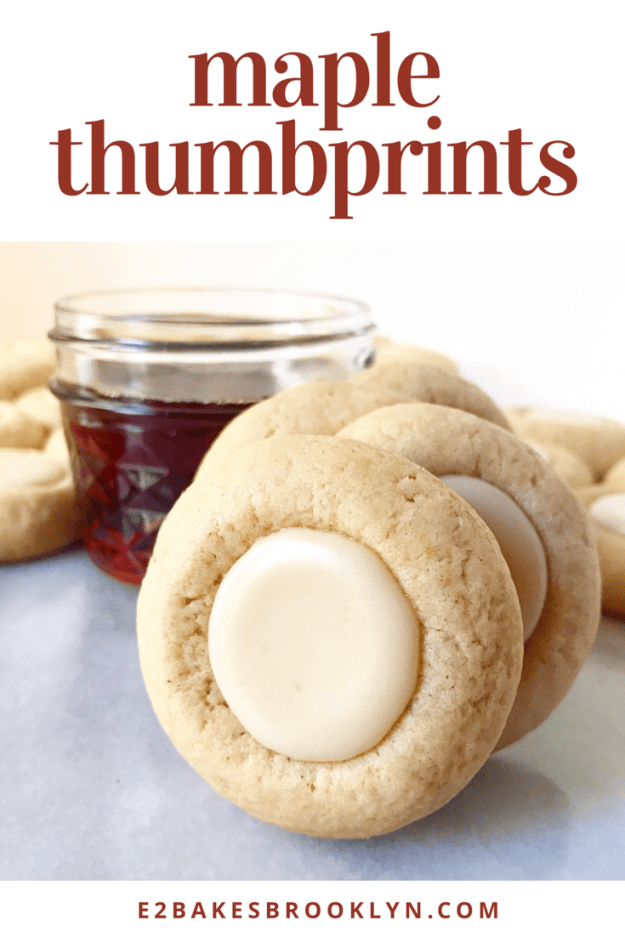
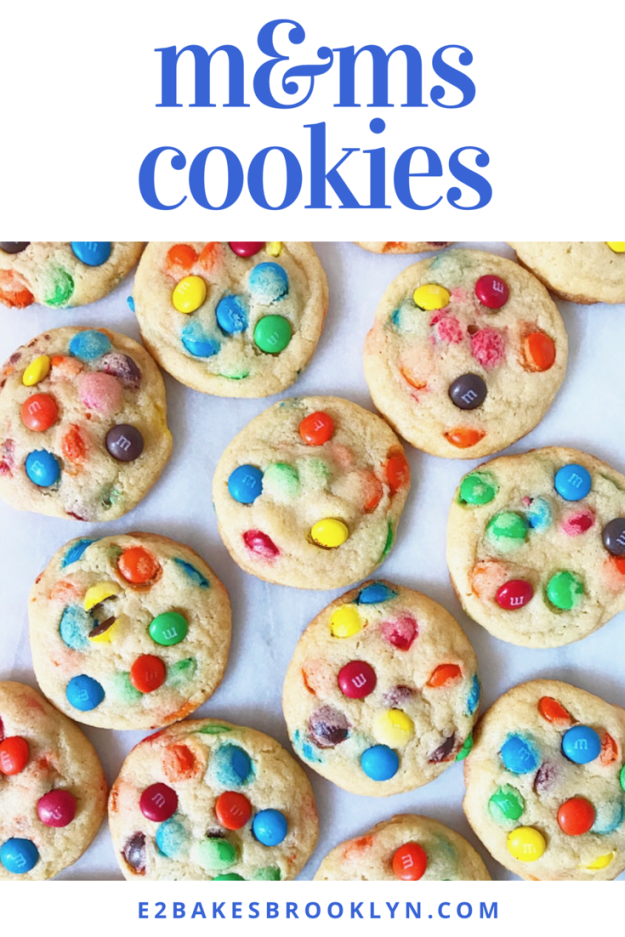
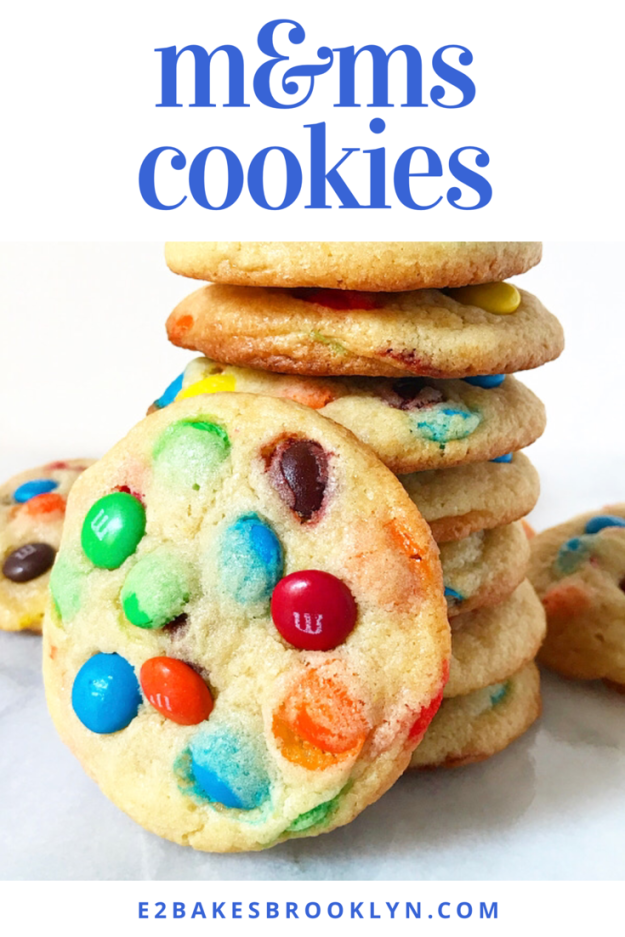
 Here’s a little midweek cheer! I mean, is it possible to be anything but cheerful when there are M&Ms Cookies around? I think not!
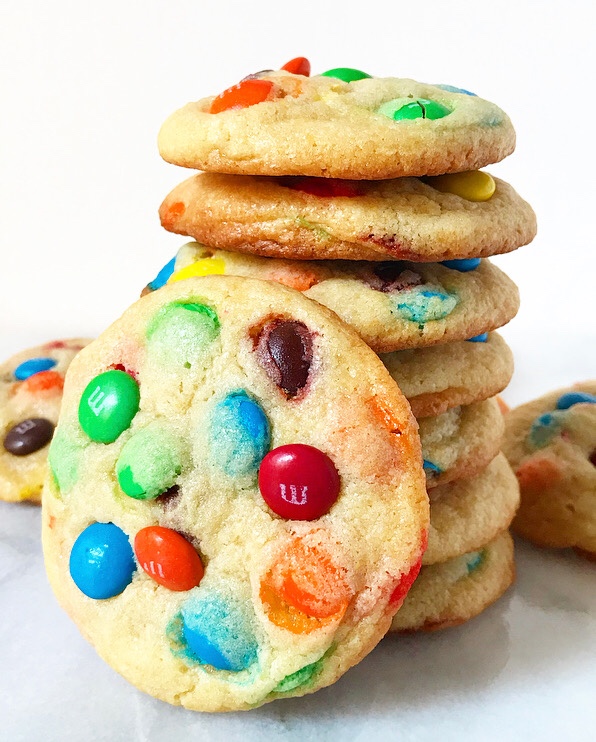
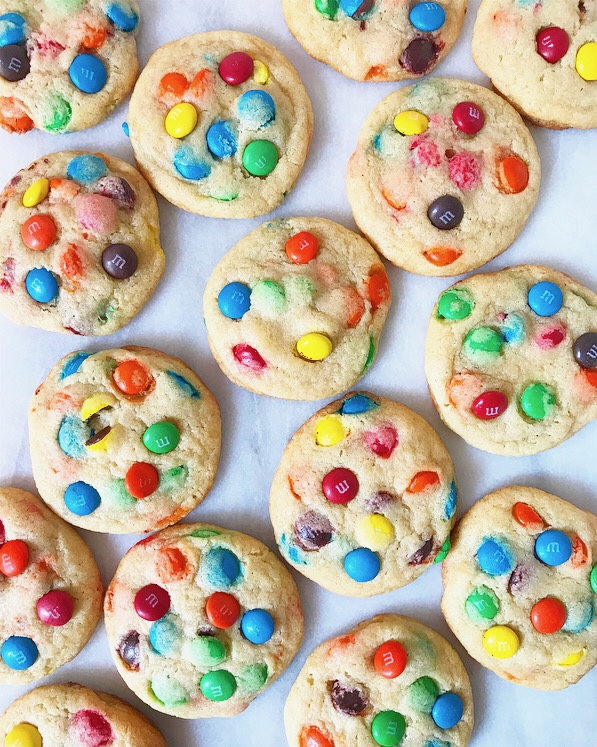 These are simply a homemade version of my favorite bakery cookie. They’re super easy to make and oh-so-colorful and the happiest thing to come out of my kitchen in months. I can’t look at them without smiling. I can’t eat one without smiling either!
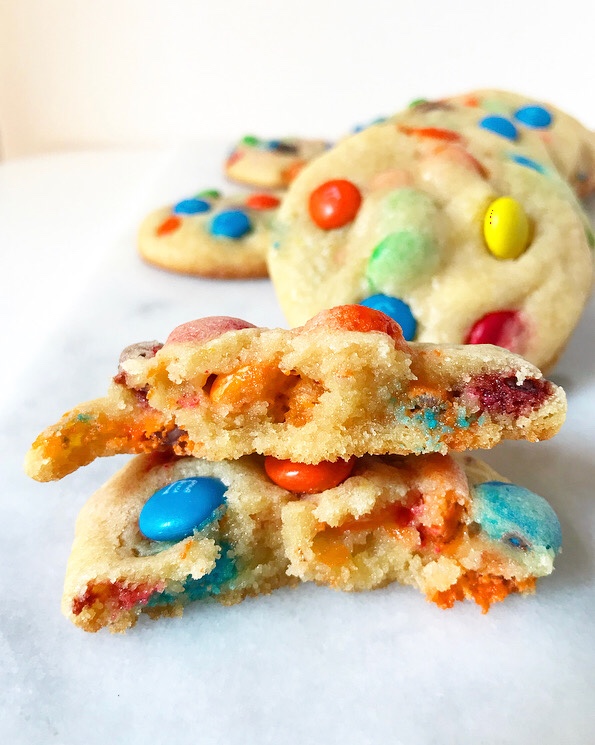
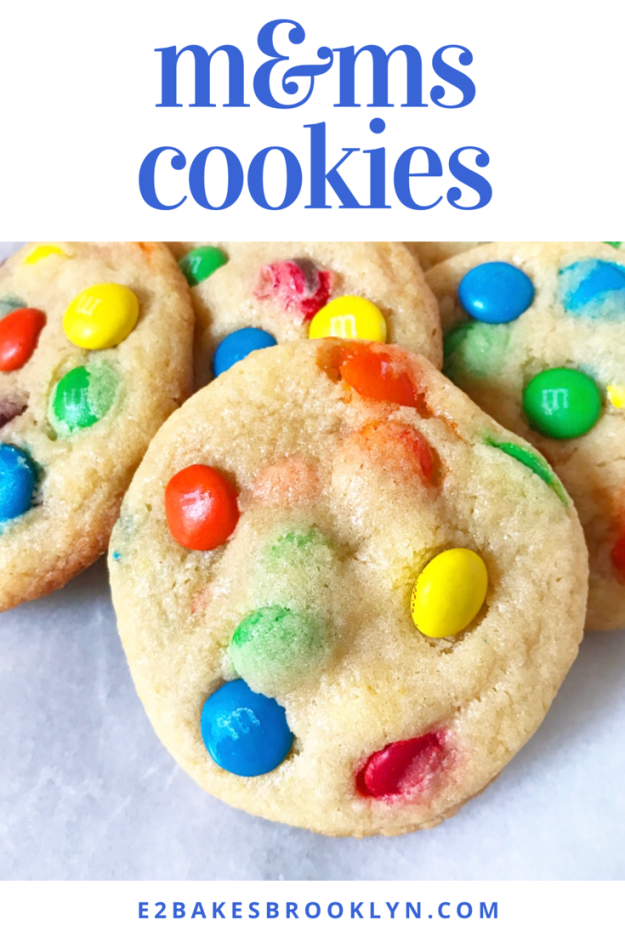
 Buttery and heavier on granulated sugar than brown, these cookies have crispy edges and puffy, tender centers that melt in your mouth. And that’s to say nothing of the glut of M&Ms scattered throughout! Soft cookie + melty candy-coated chocolate—YUM.
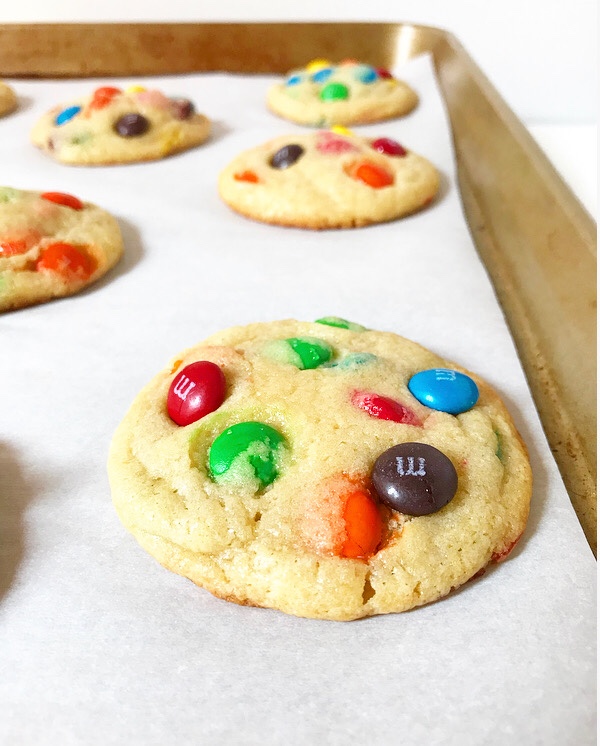 M&Ms Cookies hold up extremely well for days. I’m a bit of a diva about leftover cookies, but I was still reaching for these four days post-bake!
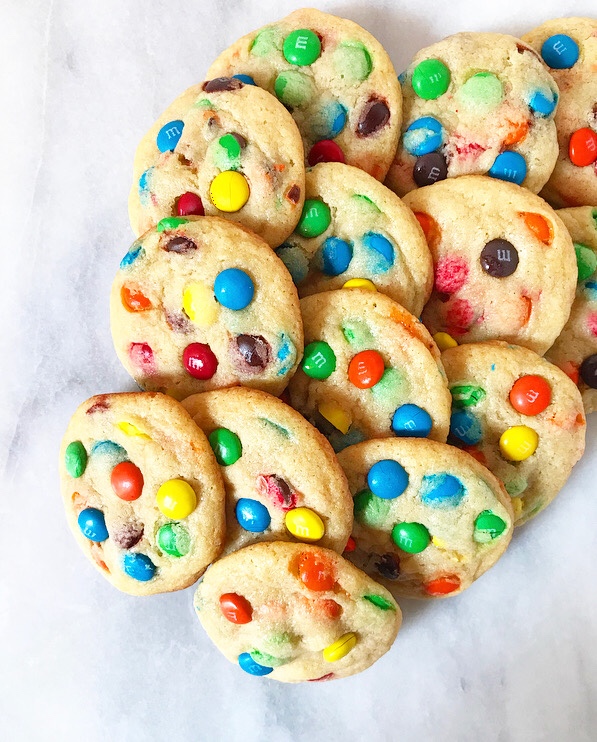
 The rest of the batch were taken to an event and placed alongside a coffee pot and a box of Oreos. It’ll come as no surprise that these went first. I suppose homemade cookies almost always go first, but I think M&Ms Cookies are especially hard to resist. Their appeal could be chalked up to a lot of things (homemade, filled with candy, etc.) but I’m choosing to believe it’s the cheer.
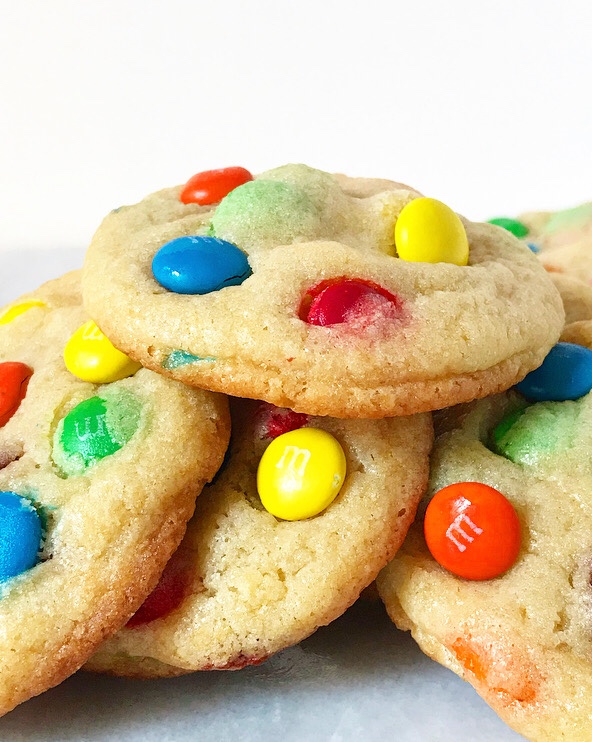
 I have baked with oats a fair amount over the last few years.
 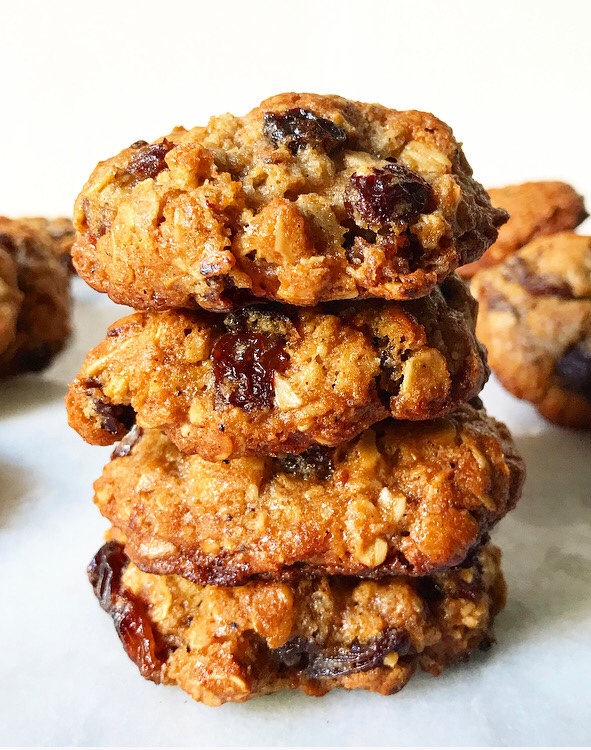 Oh, I’ve tried. Of course I have. But, prior to this, every oatmeal cookie that has come out of my kitchen has been disappointingly flat in both appearance and flavor, and I’ve had a bit of a complex about it. I mean, is it so wrong to want a thick, chewy cinnamon-scented cookie with toasty oats and raisins with actual flavor and texture???
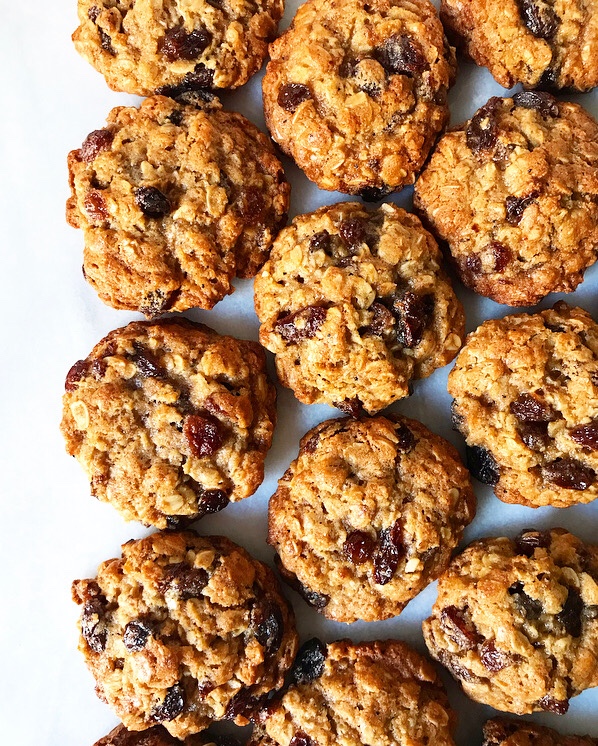
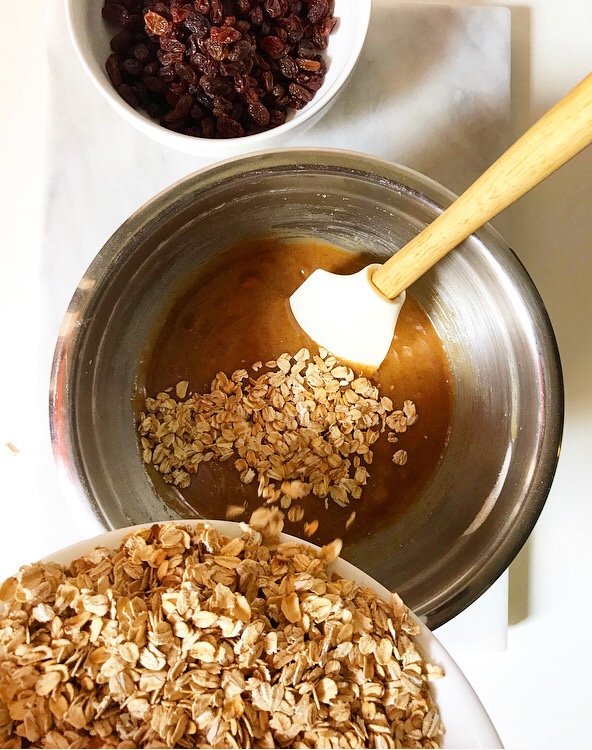
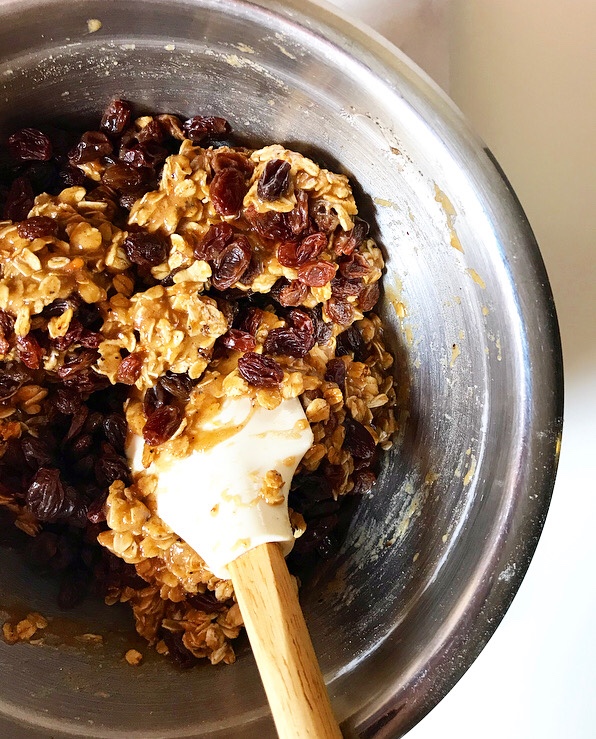
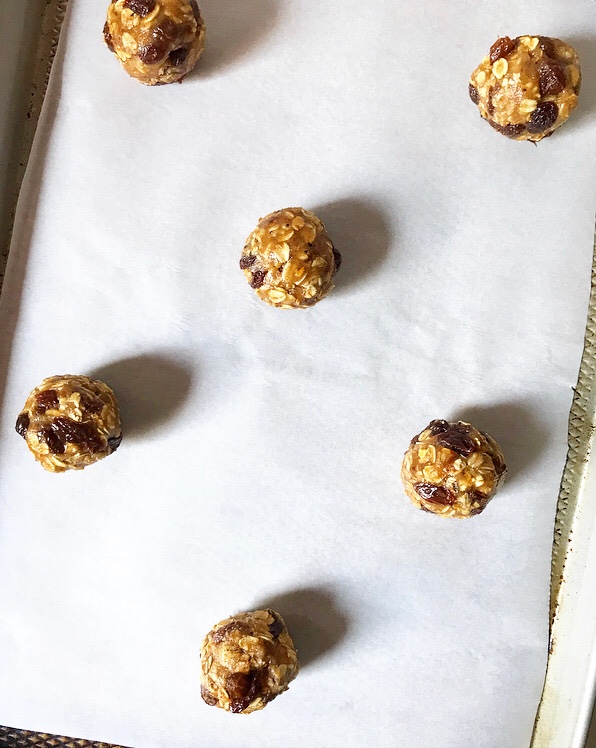
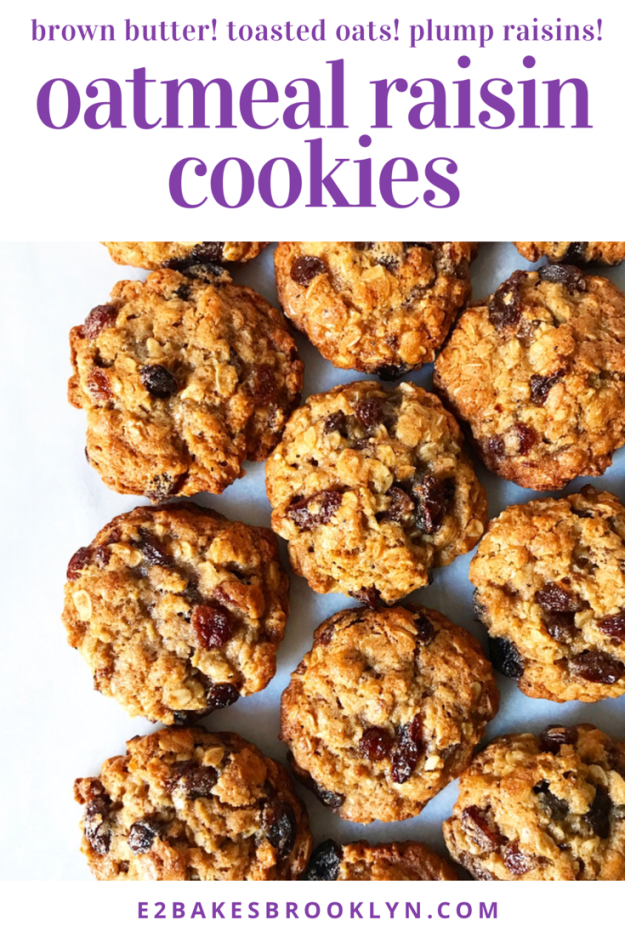
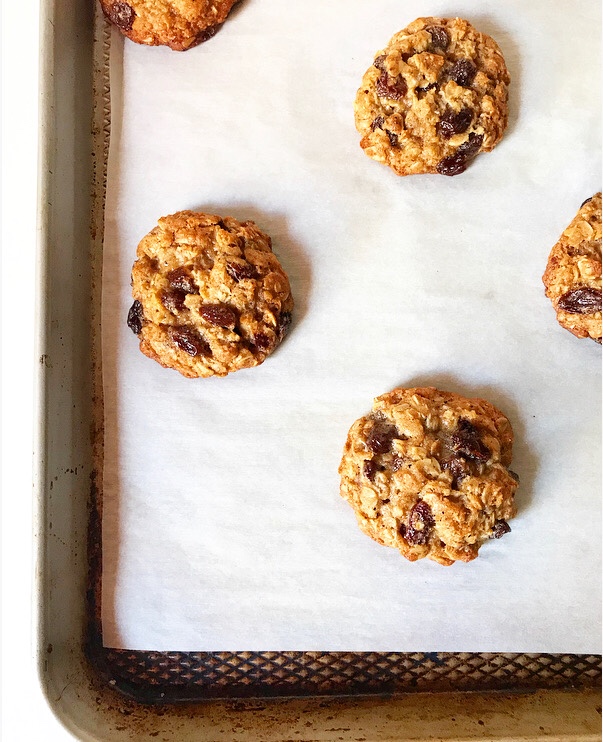 Enter my dream Oatmeal Raisin Cookies, the results of years of boredom and frustration and some concentrated testing. They take a little longer to prepare than your average oatmeal cookie, but that’s because you’re adding big flavor and texture you just can’t get otherwise.
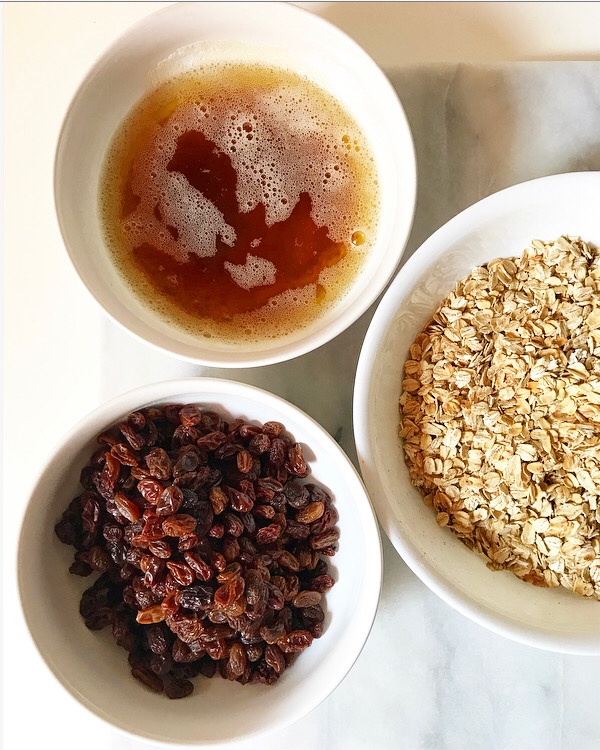
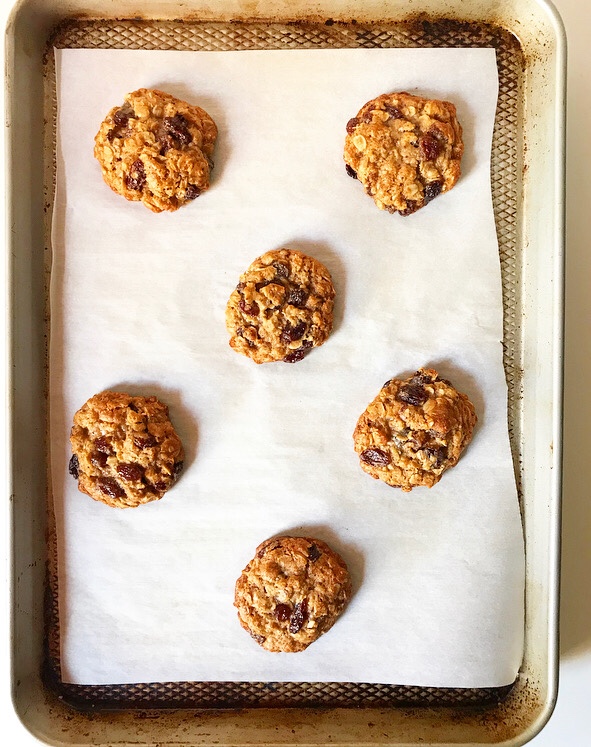
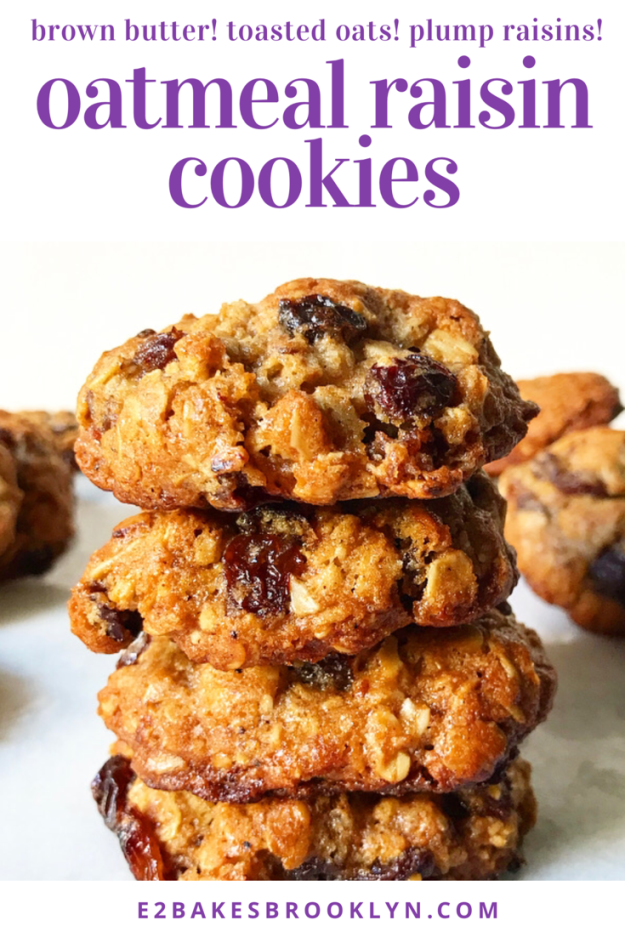
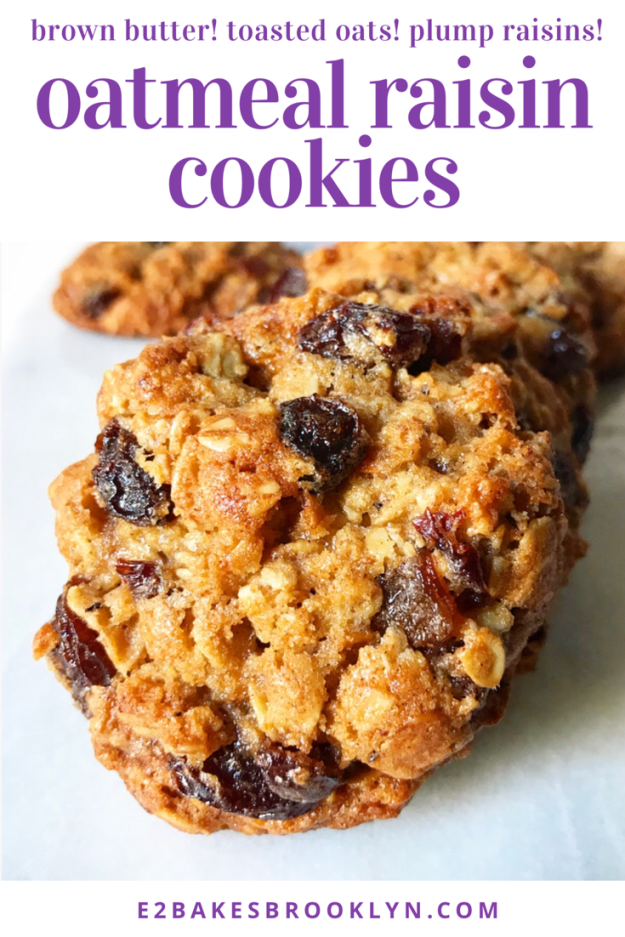
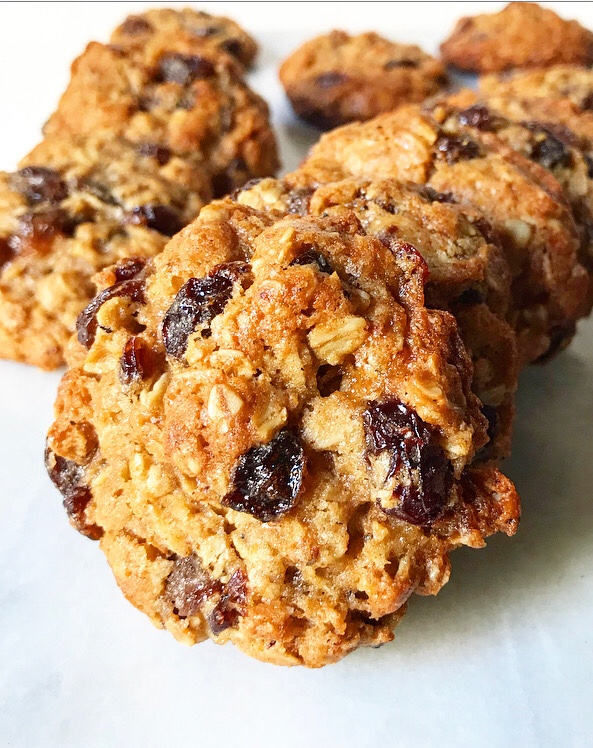 Y’all! Are those not the most delicious-looking Oatmeal Raisin Cookies you’ve ever seen? Because those are the most delicious-looking Oatmeal Raisin Cookie I’ve ever seen. The best I’ve ever eaten, too–thick, rich and chewy with big hits of molasses and cinnamon, and all those toasty, buttery oats and raisins, of course!
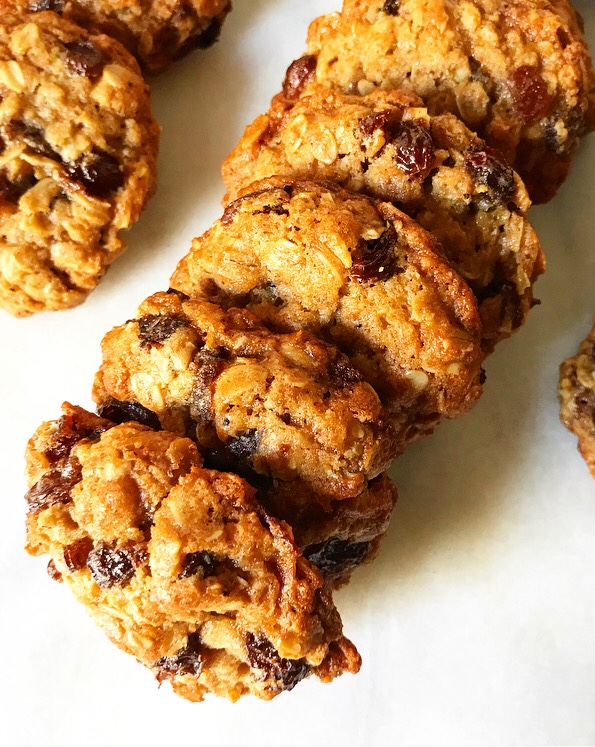 Like I said, they’re the Oatmeal Raisin Cookies of my dreams. (And maybe now your dreams, too.)
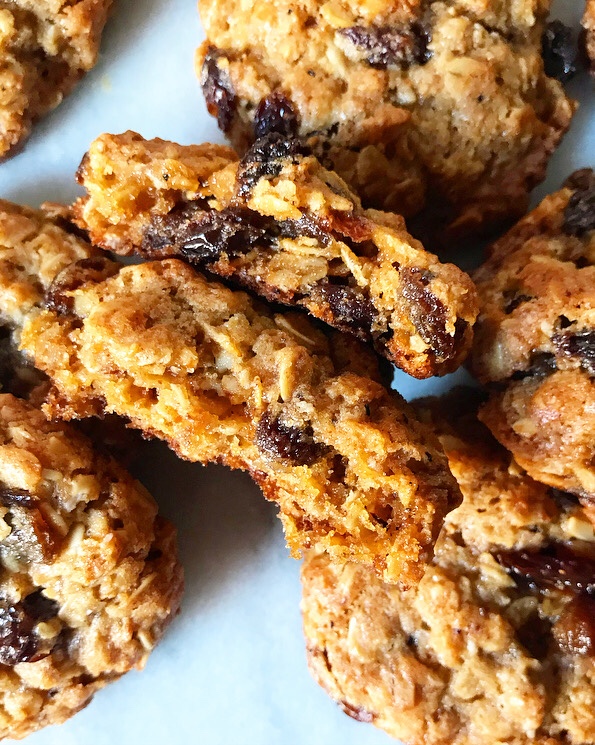
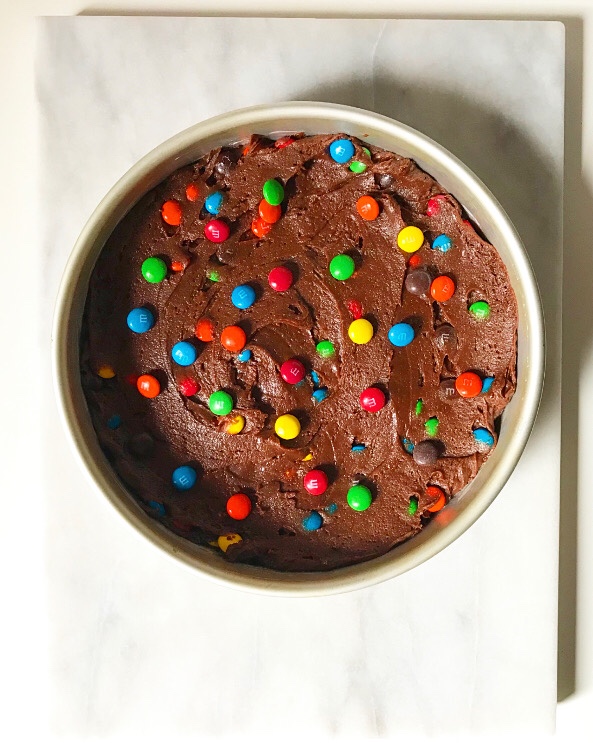
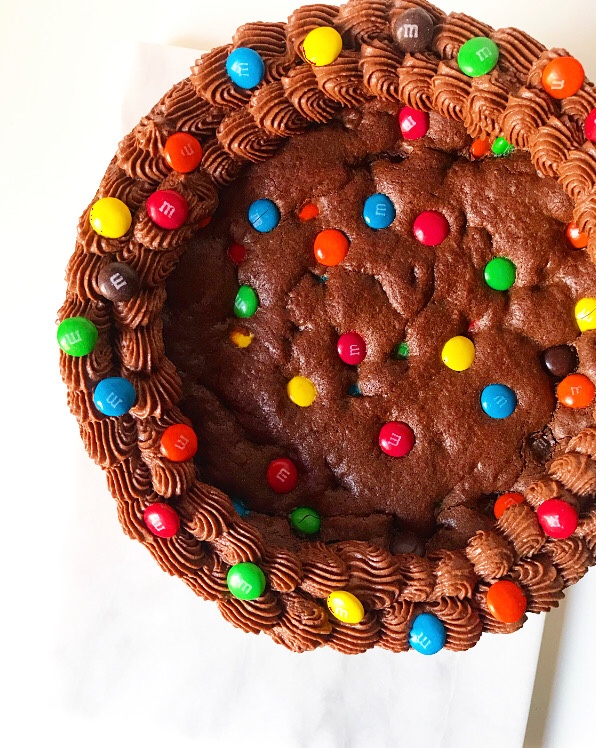 Back in November, I made this Chocolate M&Ms Cookie Cake for a friend’s birthday. I thought it was cute, so I posted a picture of it on my
 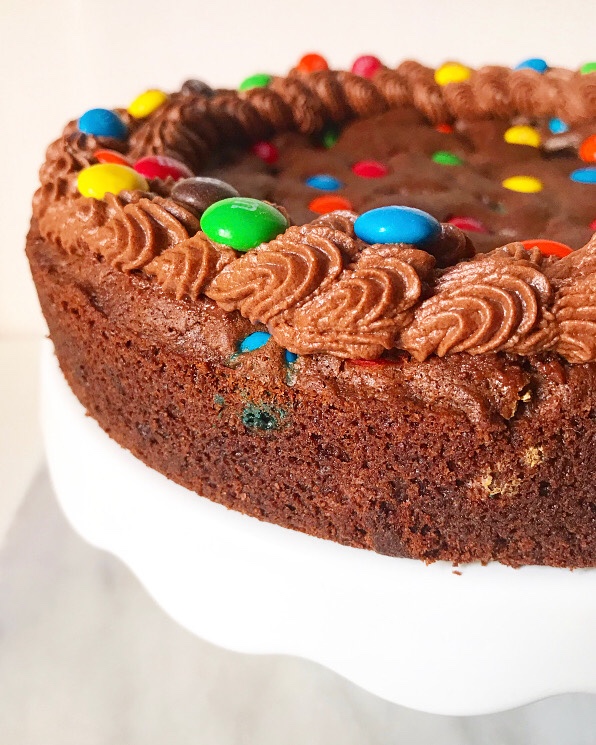 But I remembered now. Seven months later than anticipated, but I remembered. I promise you, Chocolate M&Ms Cookie Cake is worth the wait.
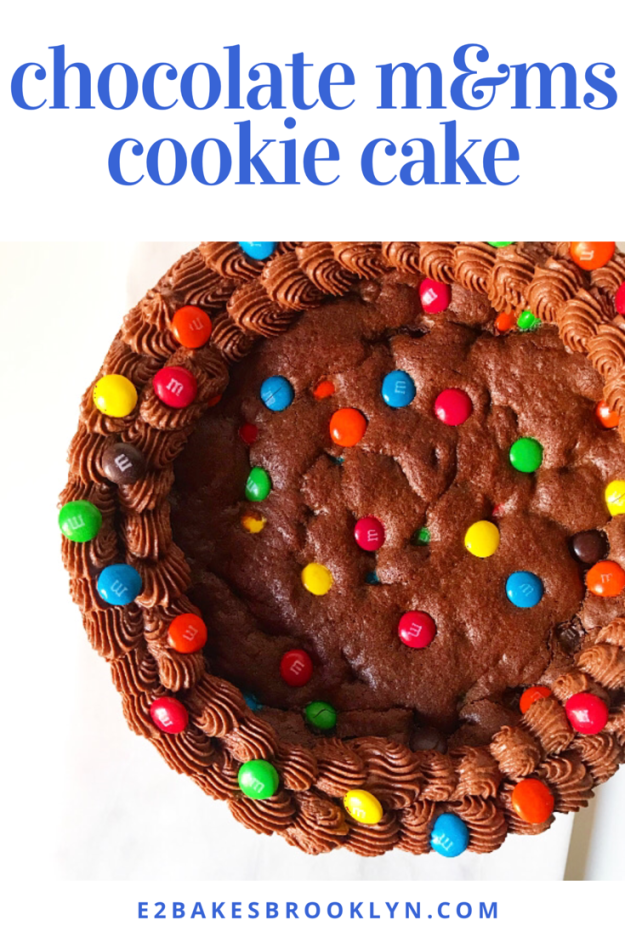
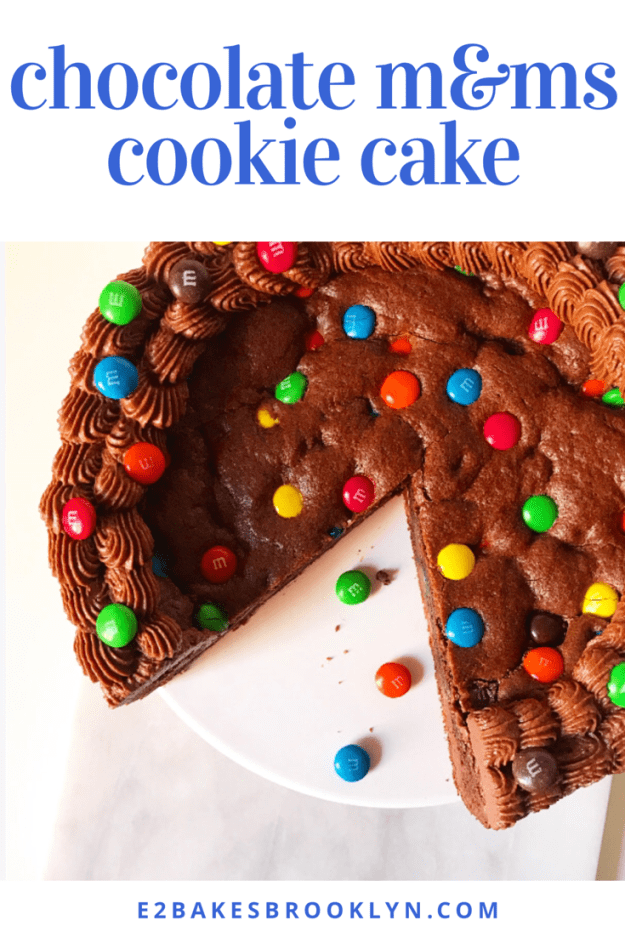
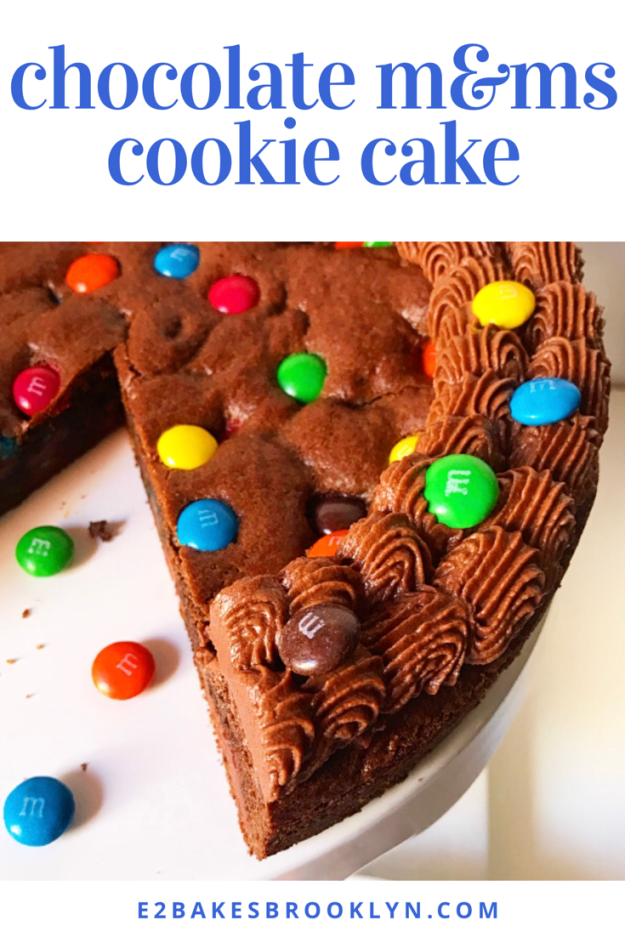
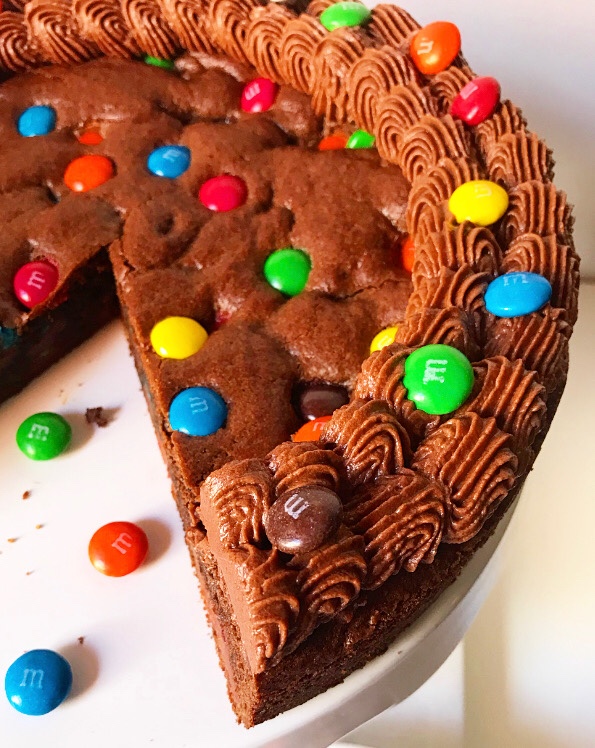 We’re talking about a rich, thick chocolate cookie studded with colorful candy and finished off with a flourish of chocolate buttercream. What’s not to love?!
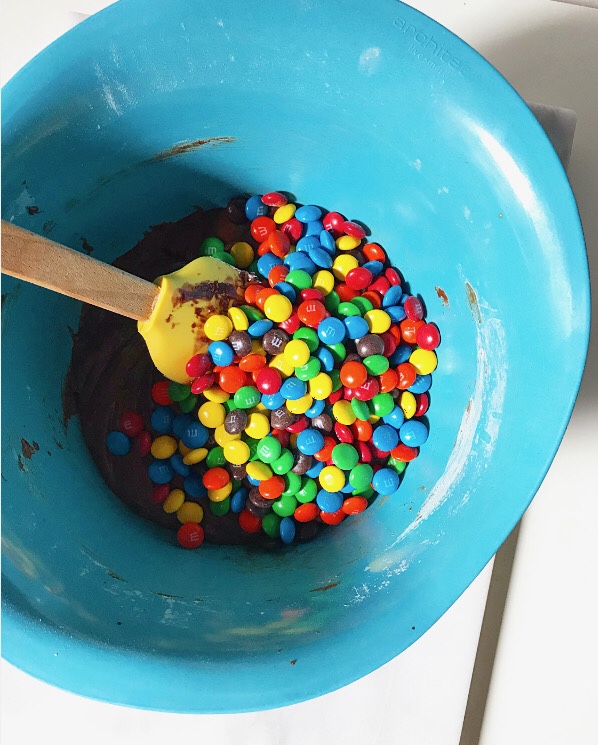
 It’s easy too—it’s basically just a slightly smaller batch of my
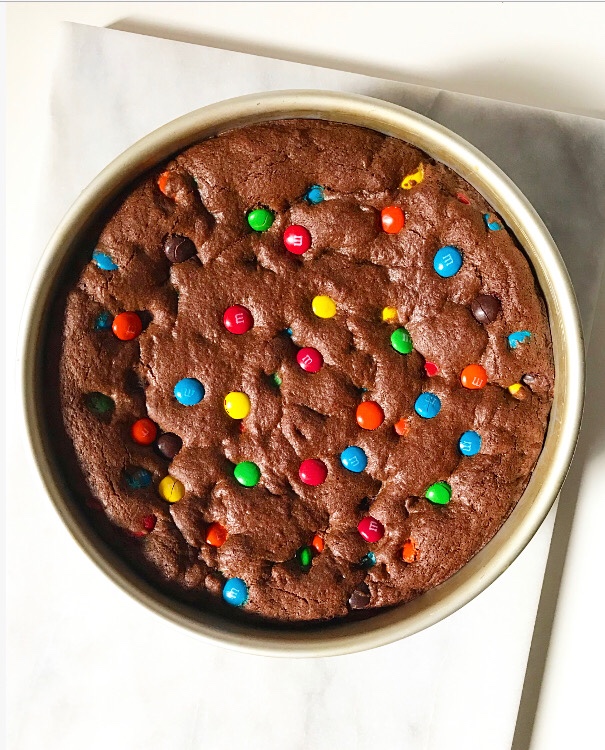
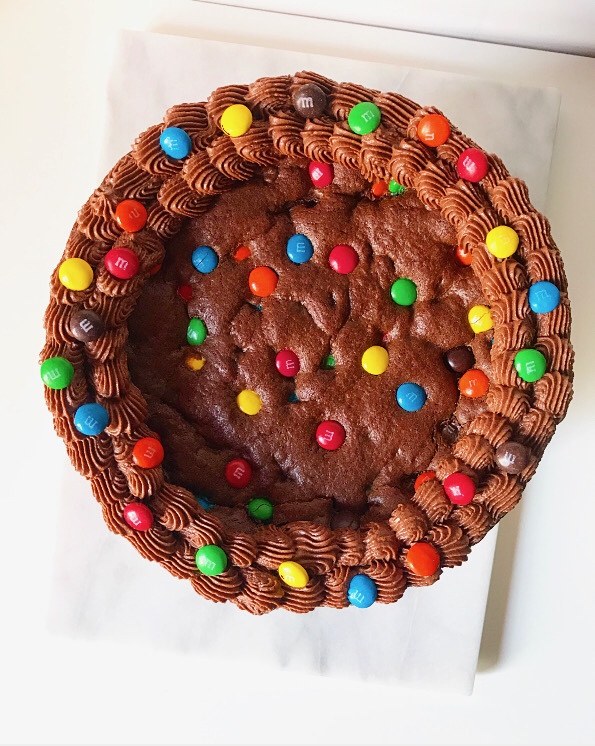 Bake it up in a cake pan, let it cool, and pipe on a buttercream border. In my opinion, that last step is the thing that takes this recipe from “giant cookie” to “cookie cake.” Not that there’s a thing in the world wrong with a giant cookie, am I right?!
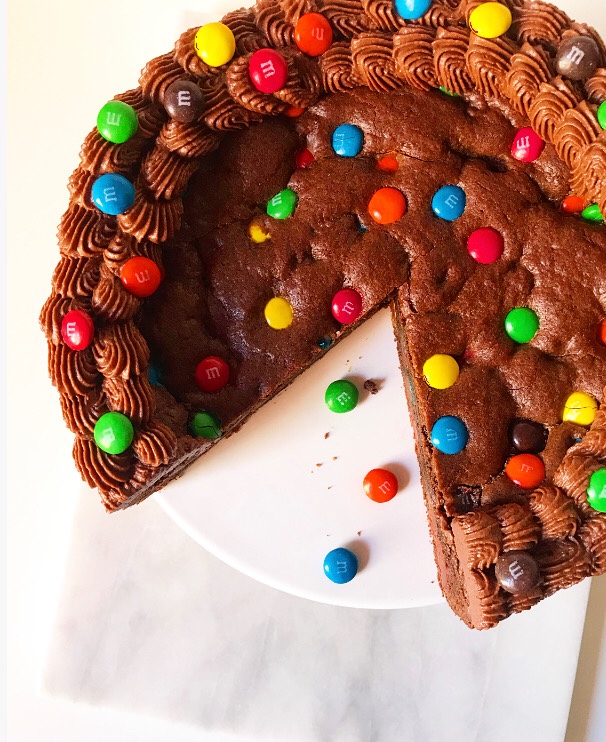 Slice it up and share with people you love this weekend or for the Fourth of July (with
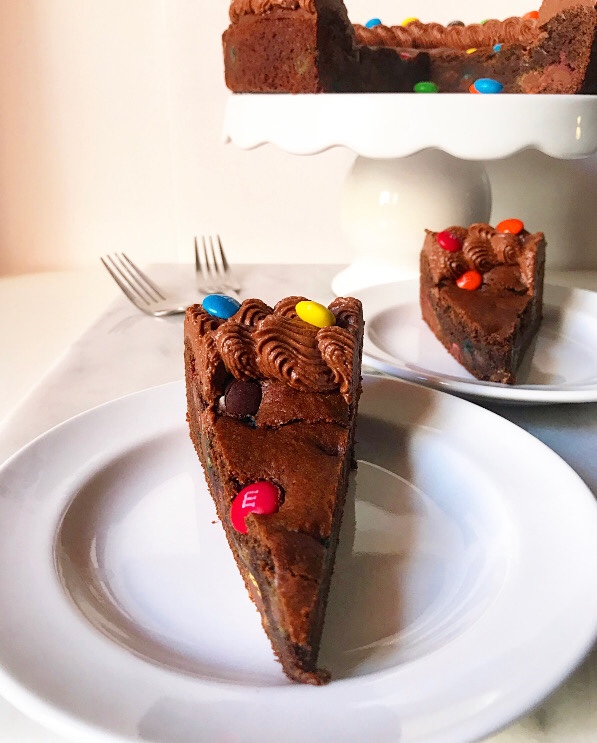
 Hi there 👋 I made you some cookies.
 I mean, I baked them last week and ate them all already, but you understand, right? Things that taste like
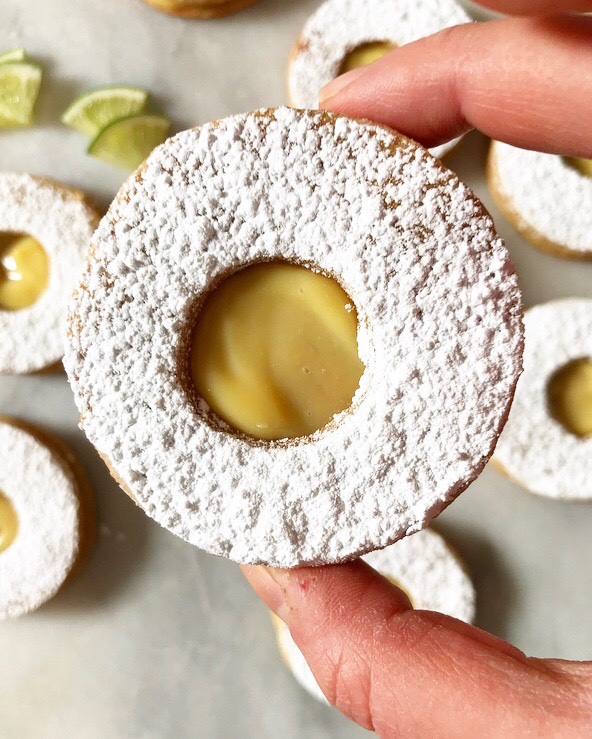
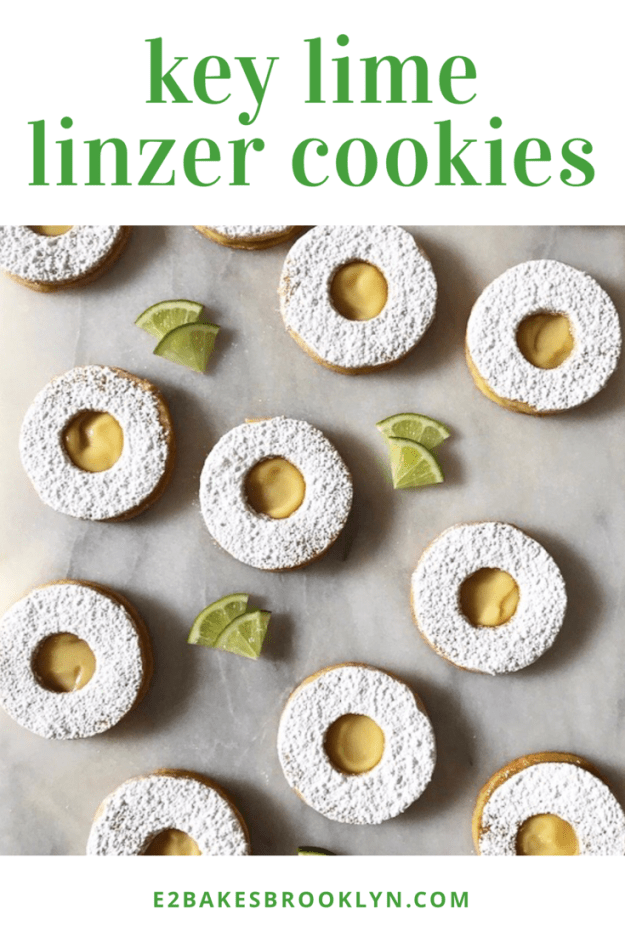
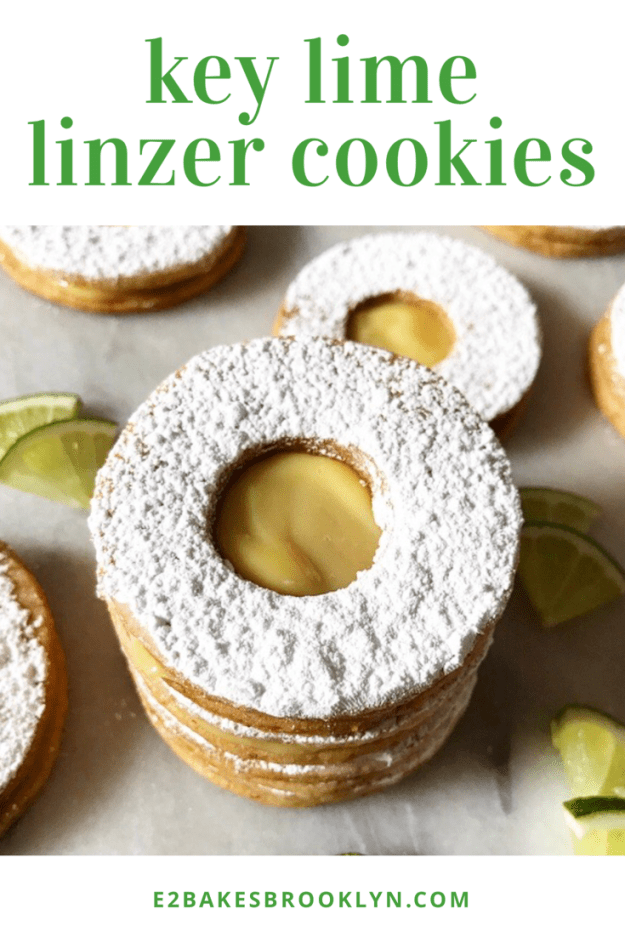
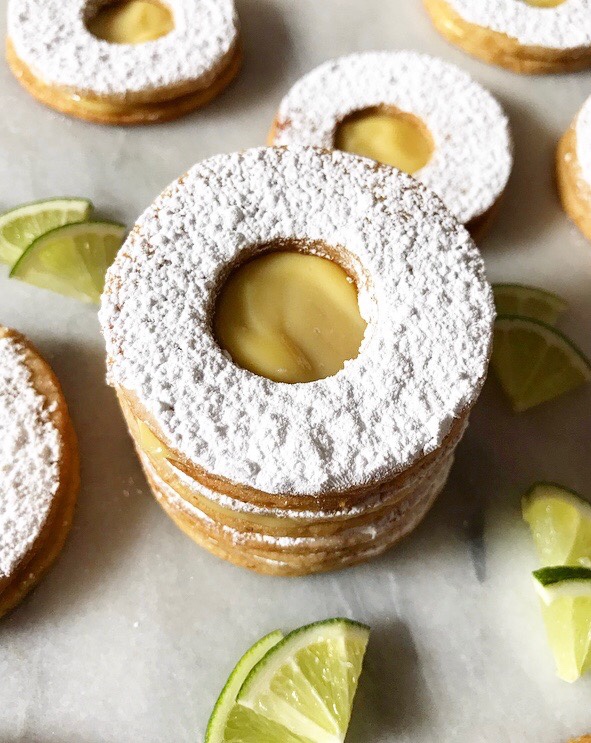
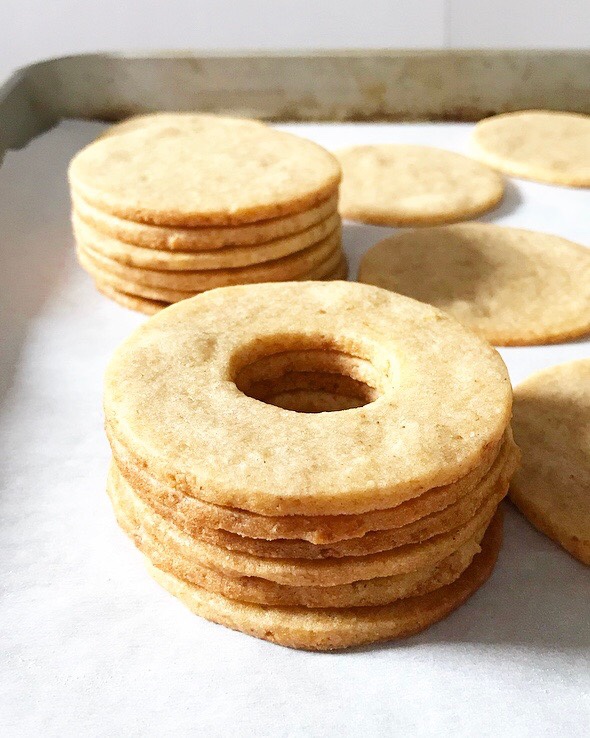
 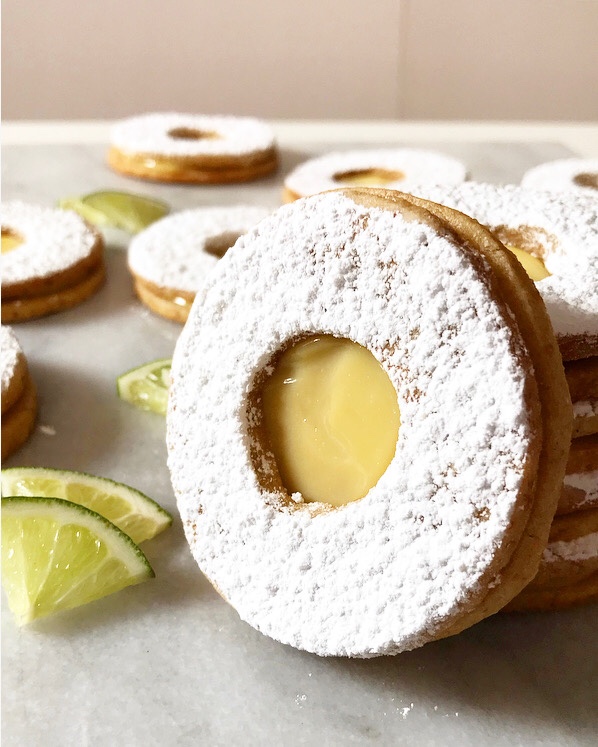 These are linzer cookies—basically sandwich cookies with little cut-out picture windows to show the filling, which is traditionally jam. Today, I decided to go in another direction with flavors reminiscent of key lime pie. I just love the results—they look so sunny and happy.
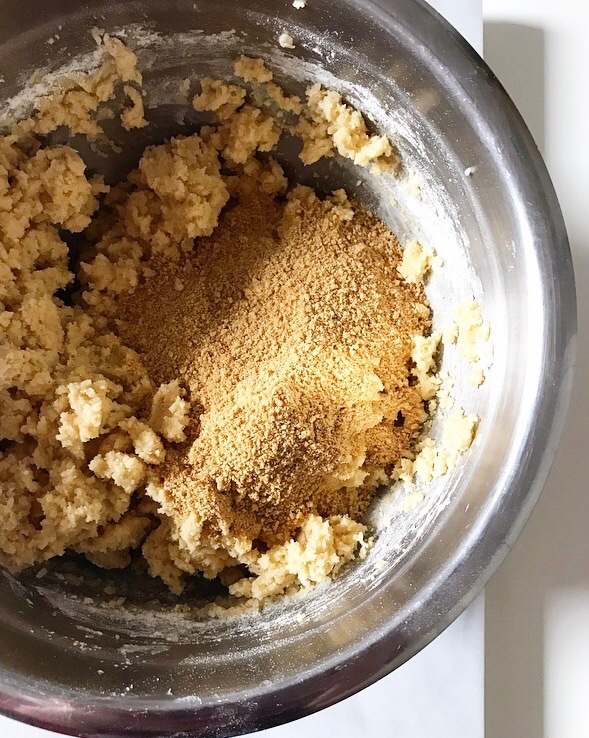
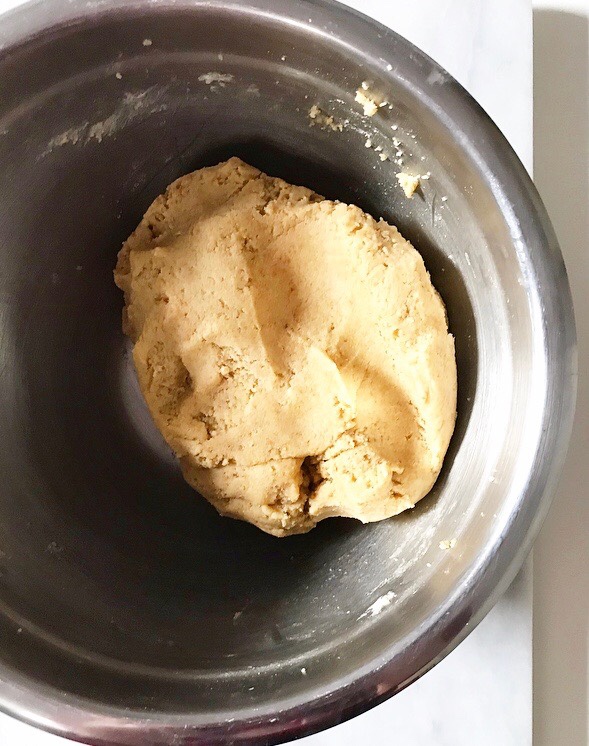
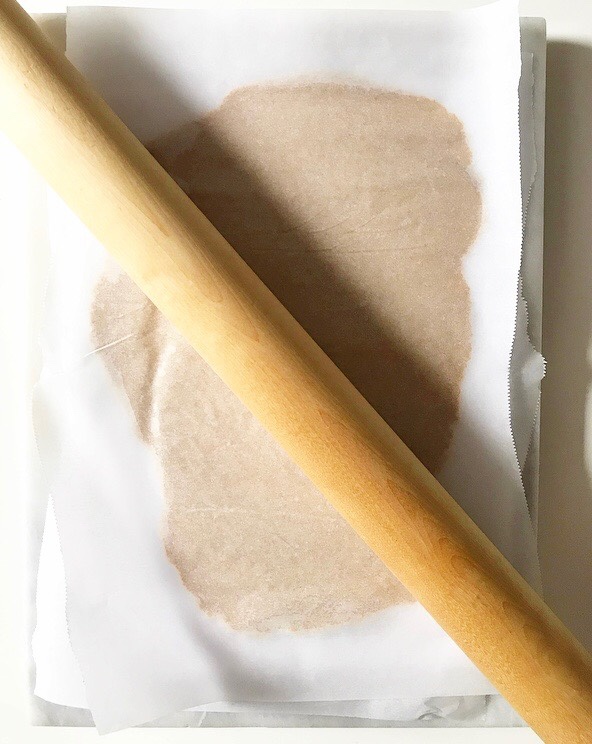
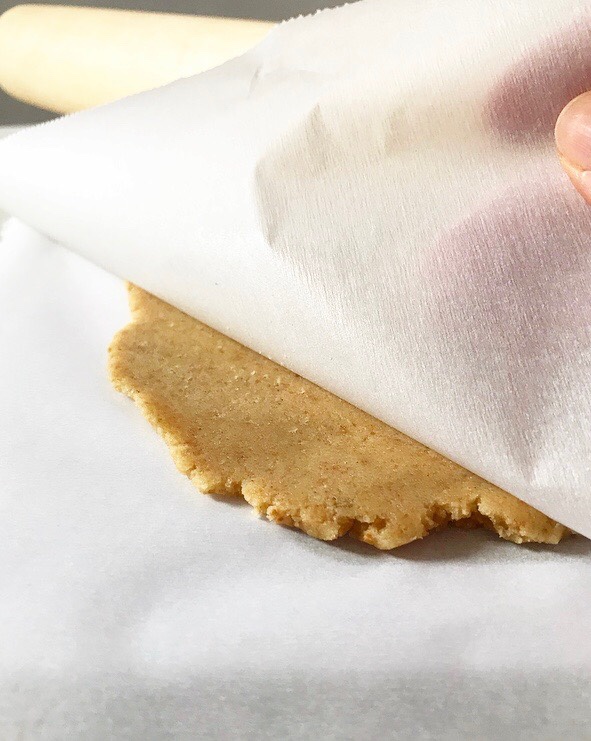 The cookie recipe is a spin on my favorite roll-out
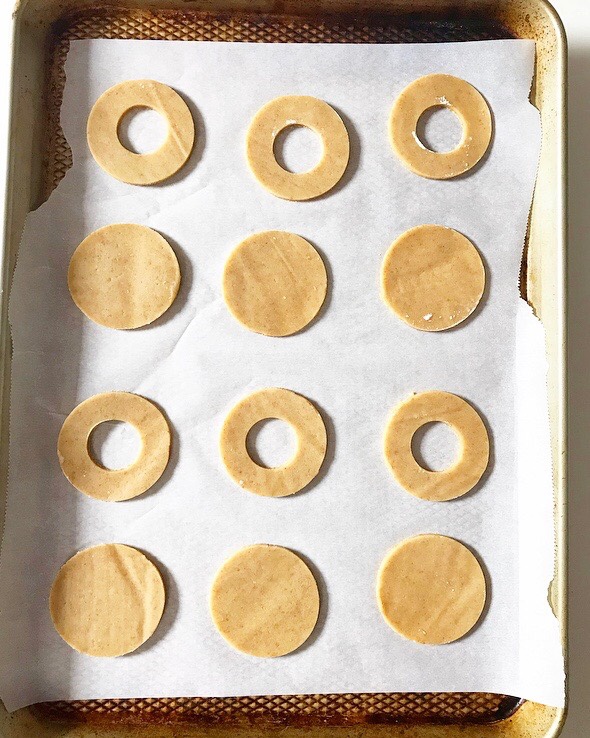
 You’ll notice one glaring omission in these linzers: I left out the traditional nuts. While most recipes have almonds or pecans (or
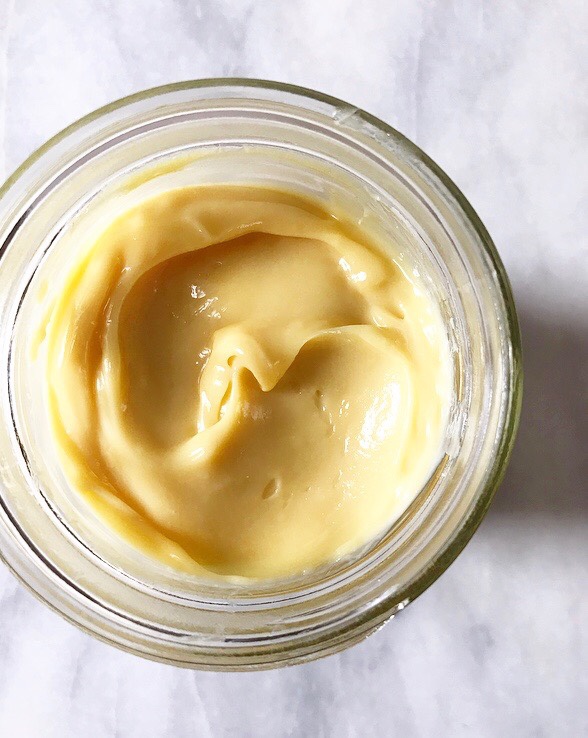
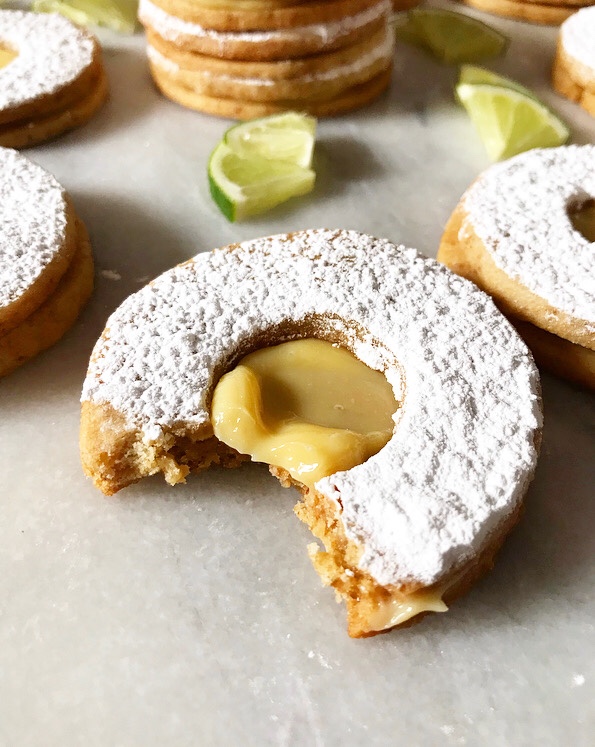
 Speaking of filling, you’re going to want to put this stuff on everything. Toast, vanilla wafers, ice cream, swirled into yogurt, eaten off a spoon, and probably five other things I haven’t thought of yet. It’s basically key lime pie filling that’s cooked over a double boiler and then allowed to chill until rich, thick, tangy and delicious. It has the texture of a citrus curd, but is half the work and requires only three ingredients! Yesssss. The filling recipe makes a bit more than you’ll need for these cookies, so you’ll have plenty leftover to use elsewhere. Trust me, you’ll be glad to have this stuff around.
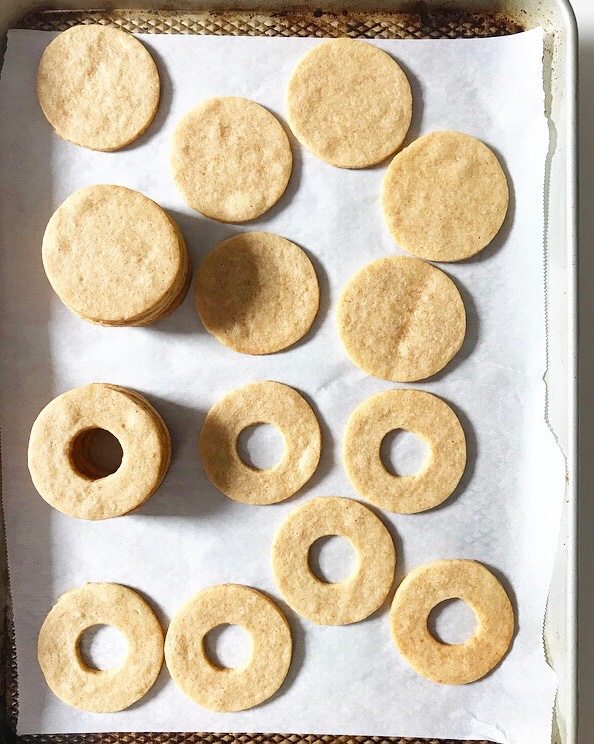
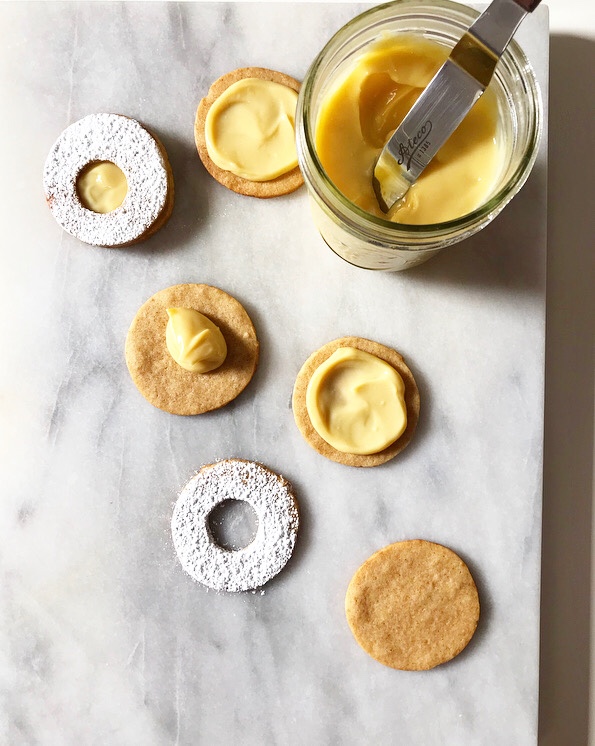
 While it’s good in all sorts of applications, this creamy, dreamy key lime filling is especially good sandwiched between two thin cookies and topped off with a dusting of confectioner’s sugar. I think most things are.