My friend, VJ, loves gingerbread. Loves it. She speaks often about how before she had to stop eating gluten and went vegan, her grandma used to serve hers with canned peaches and whipped cream. While I am not much for canned peaches, the gingerbread part and the badass baking grandma part? Those I get.
 Over the years, VJ has asked me to make gingerbread cakes for various milestones and occasions, but I have mostly failed. I even failed this past Thanksgiving! Too greasy, too dry, vaguely tarry, completely flavorless—I’ve made all the gingerbread cake failures under the sun. Let’s not discuss the occasion on which she had to serve store-bought ice cream cakes (that she couldn’t even eat!) at her own party because my attempt at this cake was so vile.
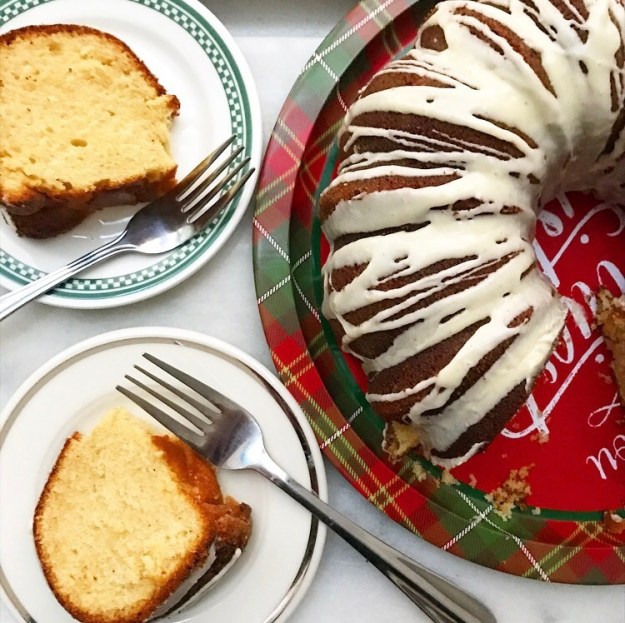
But then—but! then!—I tweaked my go-to gluten-free vegan cake recipe and made this Gingerbread Cake, and it’s exactly right: soft, tender, slightly sticky and spicy. And easy. And vegan and gluten-free. And out of this world delicious. This recipe right here? This one’s for VJ.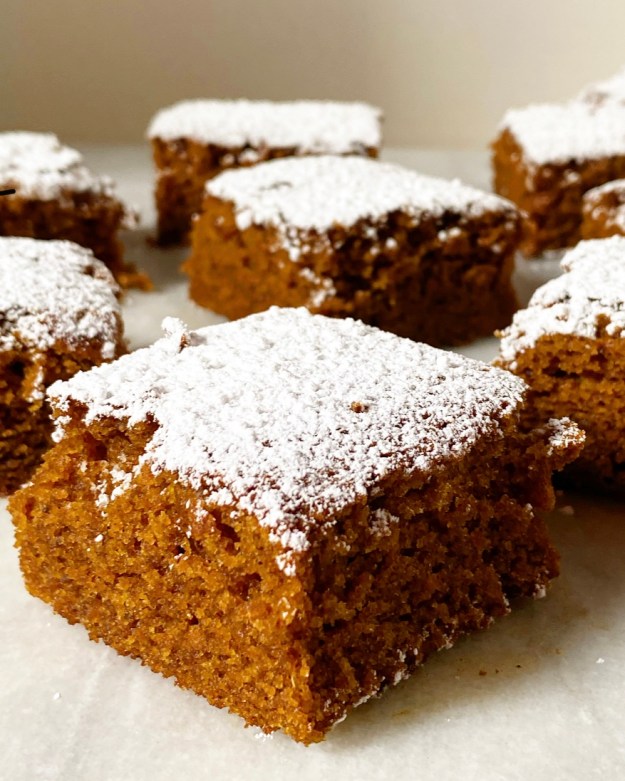 It’s not just because I like to have a gluten-free vegan item on my holiday line-up every year (which I do). It’s that VJ’s 40th birthday is next week—you know I can’t let my favorite gluten-free vegan’s milestone birthday pass without cake. No way. Not rain, nor sleet, nor masked and distanced delivery will stop me from getting this cake to her on December 23rd.
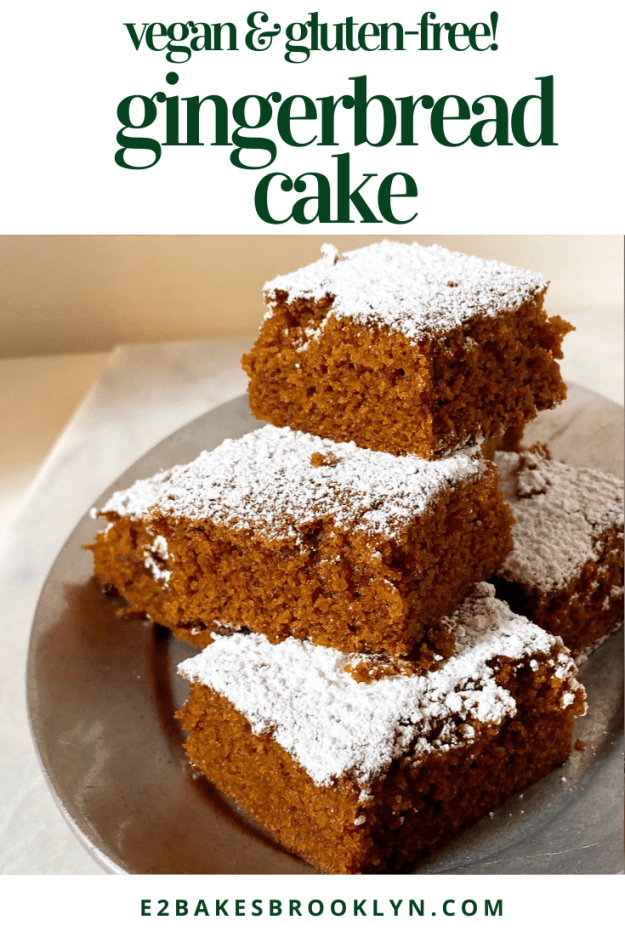
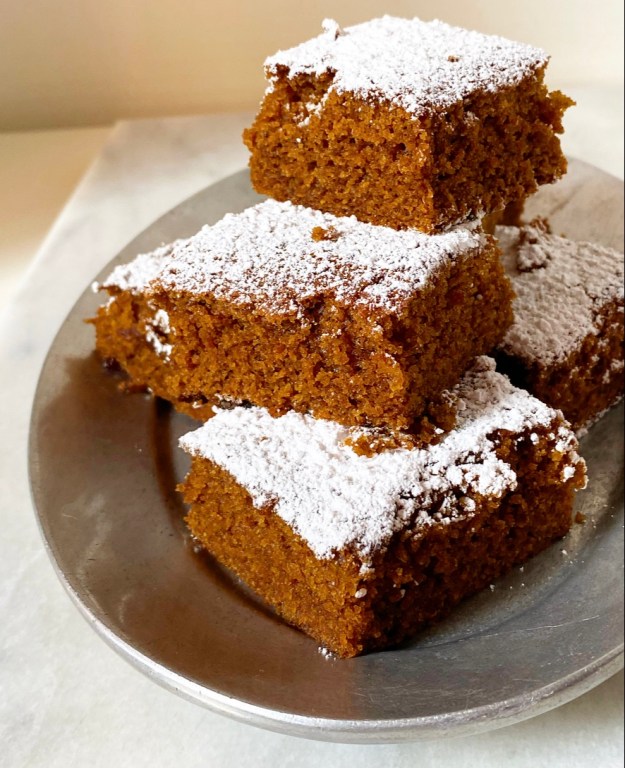 Holy crap, y’all, this is good. Super moist with nothing to distract from its deep dark flavor, it’s better than most traditional flour, egg and dairy-based gingerbreads I’ve had. It’s definitely not better than VJ’s grandma’s though, because nothing is ever better than grandma’s. Believe me, I’ve tried to out-do grandmas and it never goes well. But anyway…
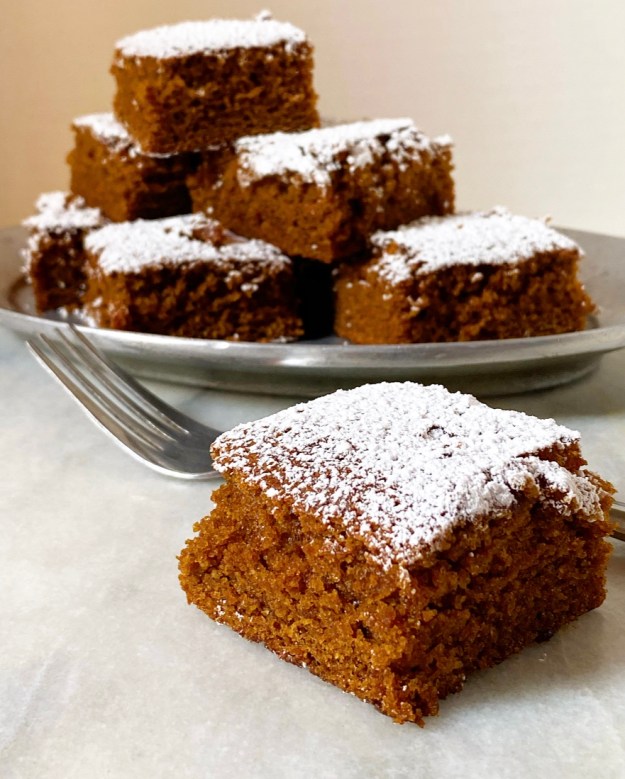
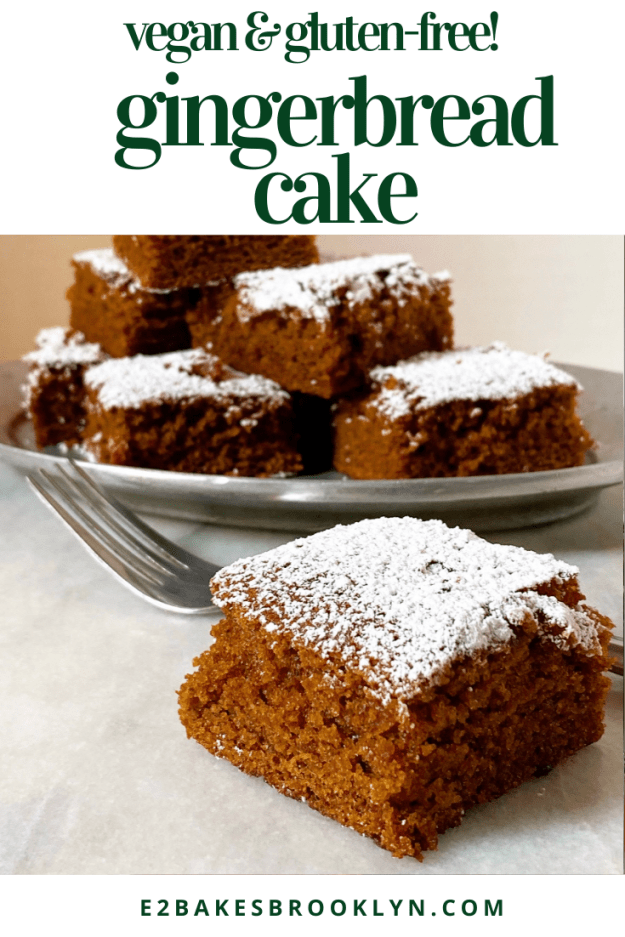
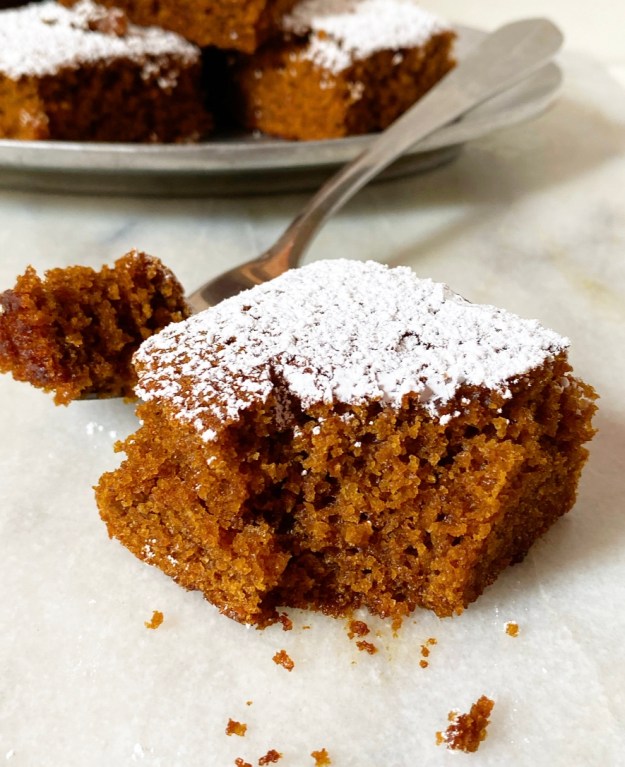 This Gingerbread Cake tows the line somewhere between holiday dessert and wintry everyday cake. It doesn’t need a blanket of frosting (although I think a little vegan maple buttercream might be good) or any adornment beyond a dusting of confectioner’s sugar, really. It can be baked square or round. You could even double the recipe and layer it or make a sheet cake. It can be served at the end of a holiday meal, snacked on mid-afternoon, left for Santa, frozen for you to find in the middle of February, wrapped up and given as a gift, or delivered to a birthday lady in the middle of a pandemic. No matter the occasion and regardless of whether you’re vegan and gluten-free, this might just be the only Gingerbread Cake recipe you’ll ever need.
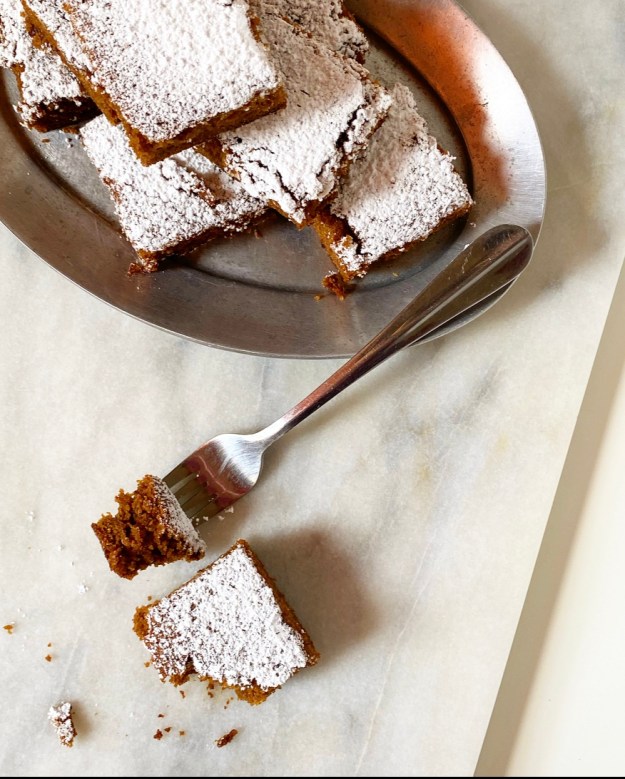
Gingerbread Cake {Vegan, Gluten-Free}
makes one 8- or 9-inch square or round cake
1 teaspoons apple cider vinegar
2/3 cups unsweetened almond milk
1/4 cup molasses (not blackstrap)
3 tbsp pure pumpkin purée or unsweetened applesauce
1 1/3 cups blanched almond flour (not almond meal)
6 tbsp cup potato starch
2 tbsp cornstarch
1/2 cup light brown sugar, packed
1 tbsp ground ginger
1 tsp cinnamon
1/4 tsp cloves
1/4 tsp nutmeg
1/2 teaspoon baking powder
1/2 teaspoons baking soda
1/4 teaspoon Kosher or sea salt
For finishing:
confectioner’s sugar, for dusting
Preheat oven to 350F. Grease an 8- or 9-inch square or round pan. Line with parchment and grease again. Set aside.
Pour apple cider vinegar into a liquid measuring cup. Add almond milk until liquid reaches the 1 1/4 cup mark. Stir and let sit for 5-10 minutes, until curdled. Stir in pumpkin purée (or applesauce). Set aside.
In a large mixing bowl, whisk together blanched almond flour, potato starch, cornstarch, light brown sugar, ginger, cinnamon, cloves nutmeg, baking powder, baking soda, and salt. Add liquid ingredients in two installments, whisking until combined.
Transfer batter to prepared pan and smooth to the edges with a silicone spatula or wooden spoon. Tap pan on the counter 5 times to release any large air bubbles. Transfer to the oven and bake 32-34 minutes, or until a toothpick inserted in the center of the cake comes out with only a few crumbs (no batter).
Let cake cool completely in its pan on a cooling rack. Run a thin knife along the edges of the pan before inverting to release onto a platter (alternatively, you may keep it in the pan and serve from there). Sift confectioner’s sugar over the top before serving, if desired.
Slice and serve. Flavors will intensify the day (or several hours) after baking.
Cake will keep at room temperature for up to 3 days and refrigerated for up to 4. Plain cake may be triple-wrapped in plastic wrap and frozen for up to 1 month. Thaw overnight in the refrigerator before serving.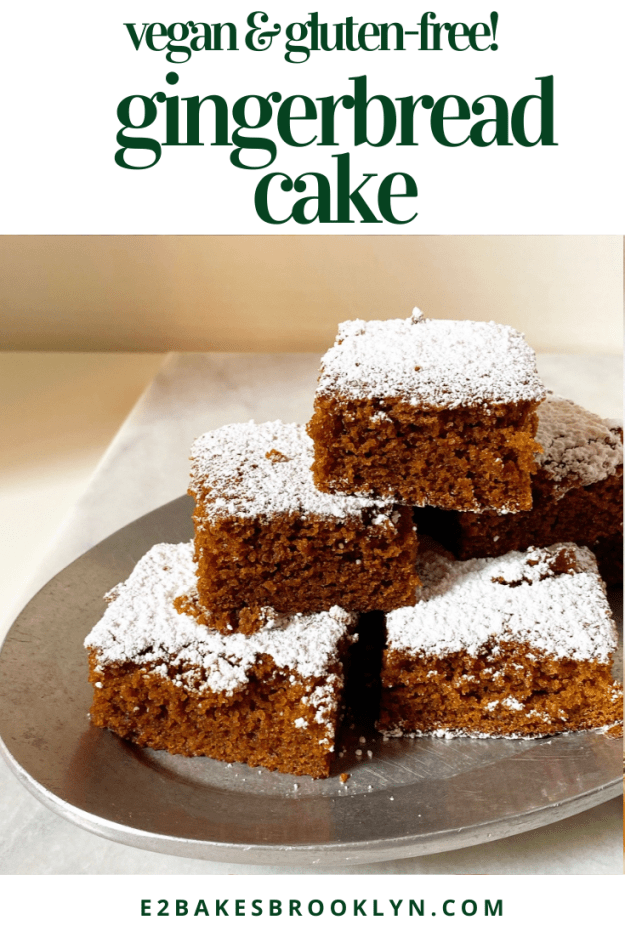
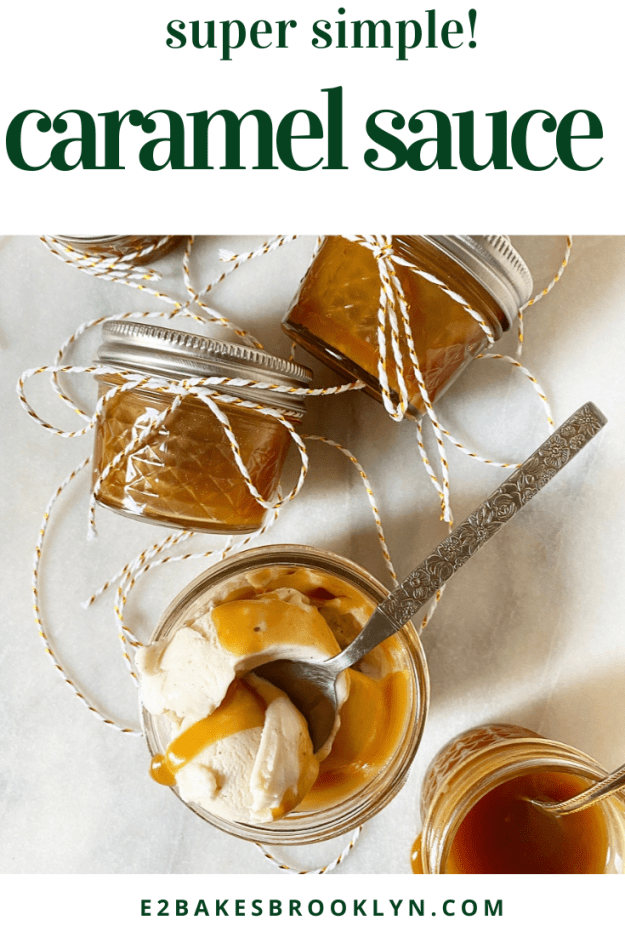
 I know what you’re thinking. “Hasn’t Caramel Sauce already been
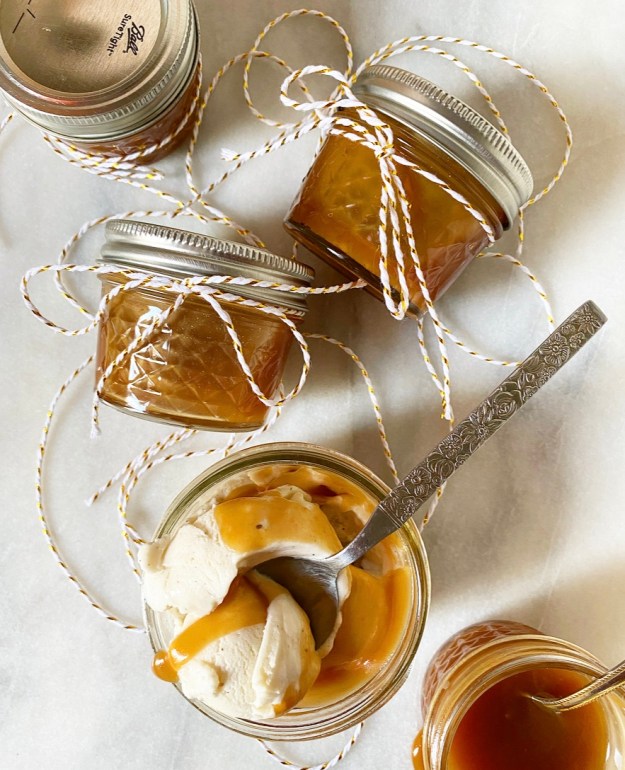
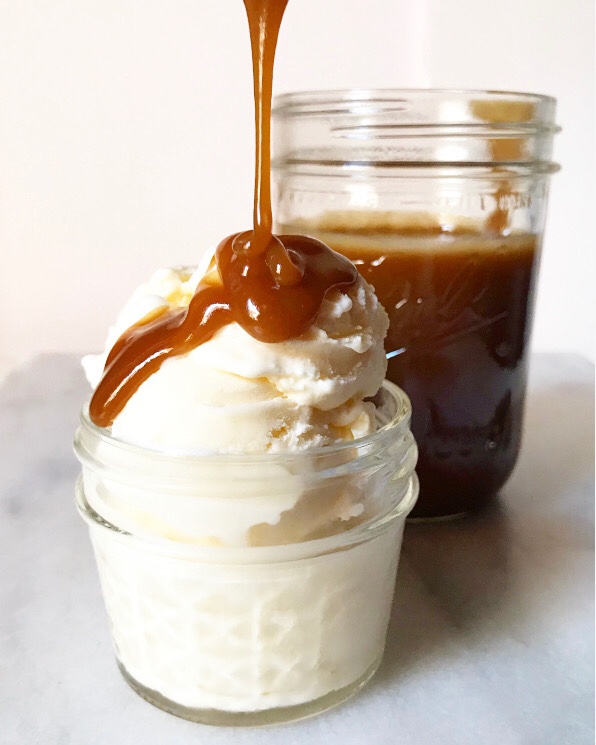
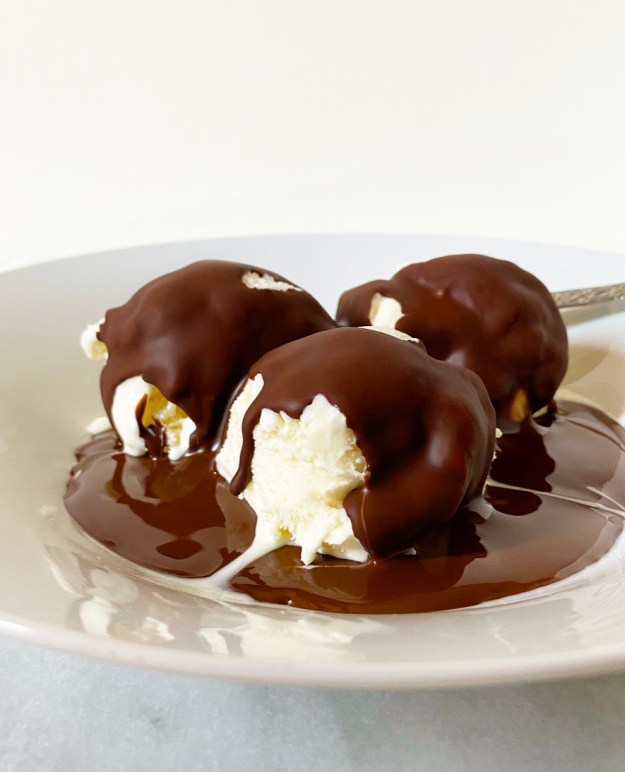
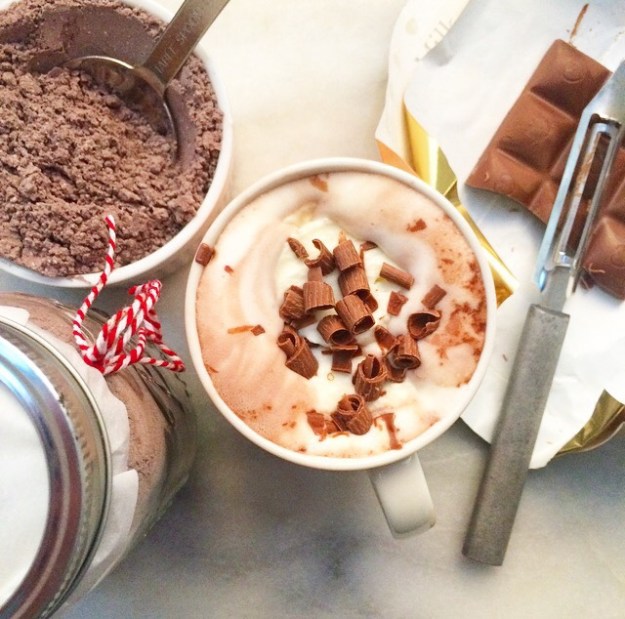
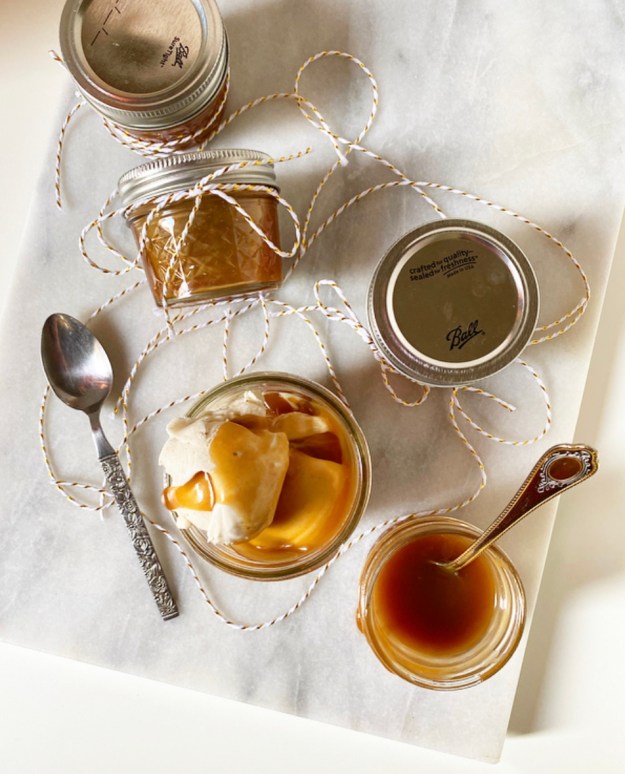
 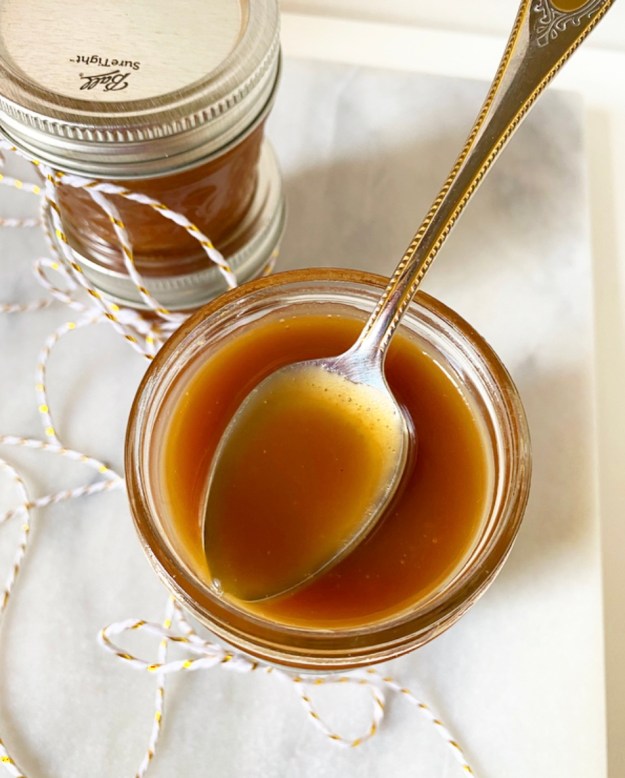 So, why am I posting Caramel Sauce now, at the holidays, instead of mid-summer like every other ice cream topping and dessert sauce in my archives? Because it is perfect for food gifting. Perfect! It’s easy, you can make it days or weeks ahead (watch the dates on your dairy), and who wouldn’t be absolutely thrilled to receive a little jar of homemade Caramel Sauce from someone they love? A monster, obviously.
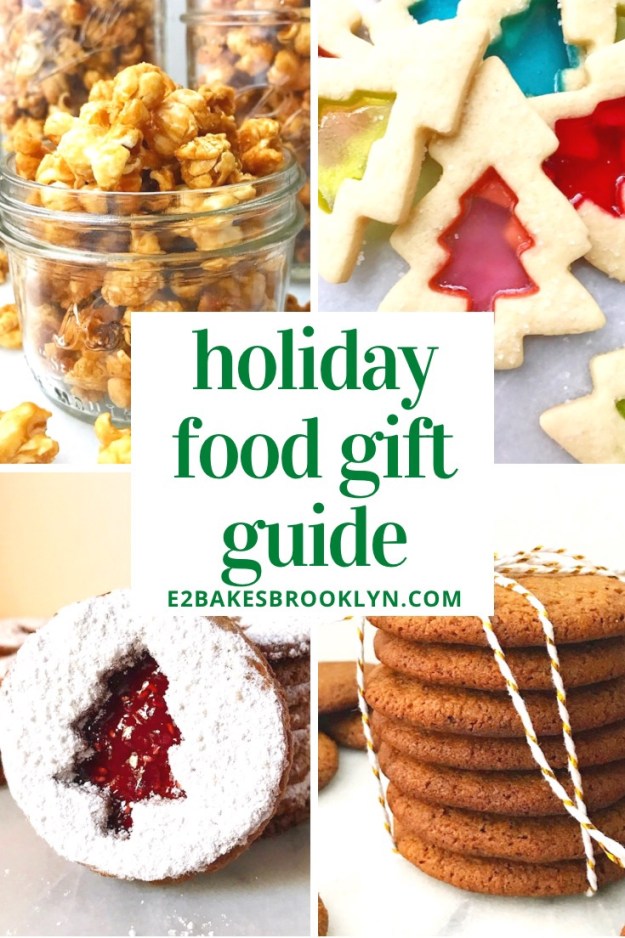
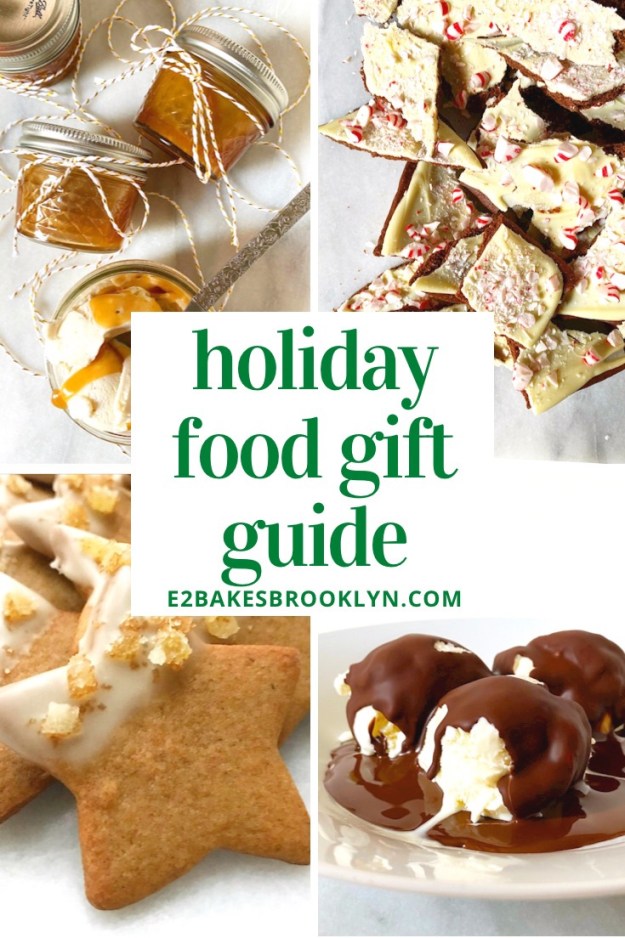 Truth is, I’ve been meaning to write a little homemade food gift guide for years, but am just now getting around to it. I am a big proponent of homemade gifts, having done everything from making clay ornaments to puffy painting to sewing stuffed animals. I can tell you from experience that food is definitely the quickest, easiest and cheapest in terms of DIY gifting, and as sugar, butter and flour have been my artistic media of choice for the last 7.5 years, I have learned a lot about what makes for quality food gifts.


 Don’t forget that
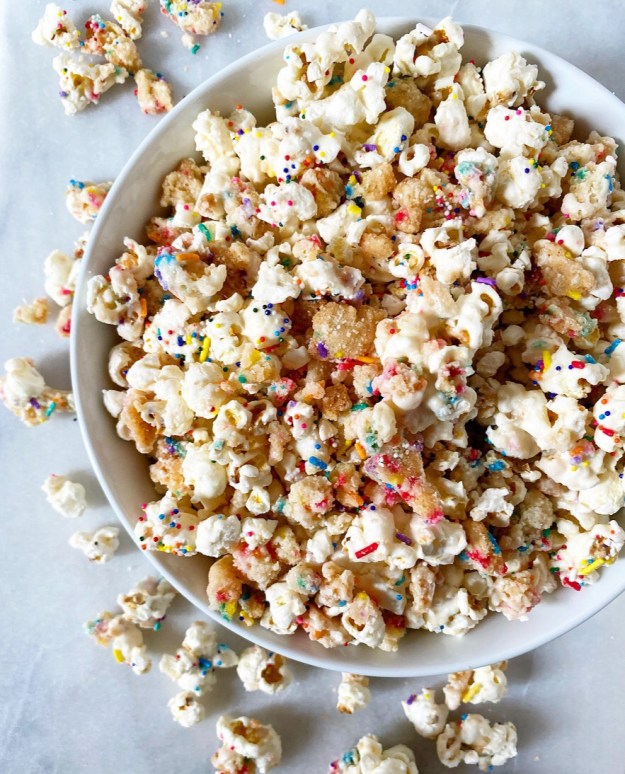
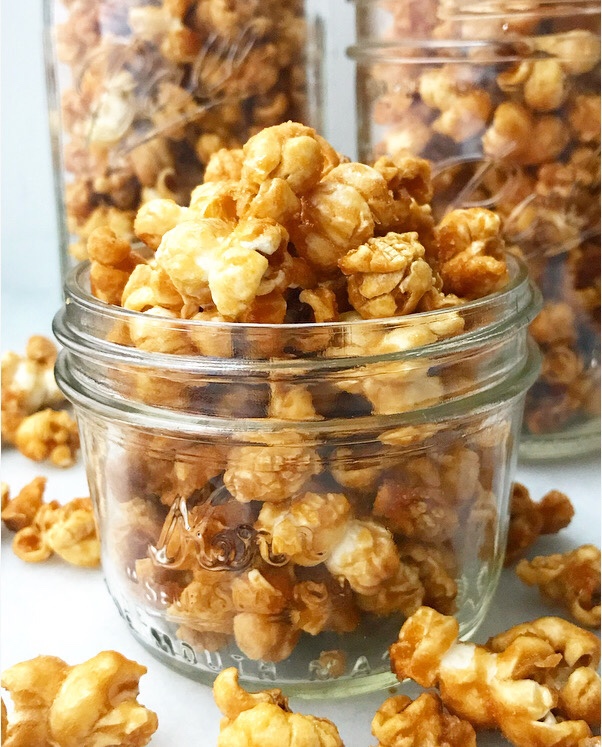 If I were to gift candy this year, I’d go for popcorn. People LOVE popcorn. <–that’s me, I’m people. The


 This is just the tip of the food gifting iceberg–I could go on forever. I hope this guide inspires you to treat your friends to something sweet this month. It’s going to be strange and solitary holiday for many of us, and I know a little homemade something would do us all some good.
 I’ve been a bit lost trying to decide what to make for Christmas this year. In the past, I’ve really gone for it with elaborately
 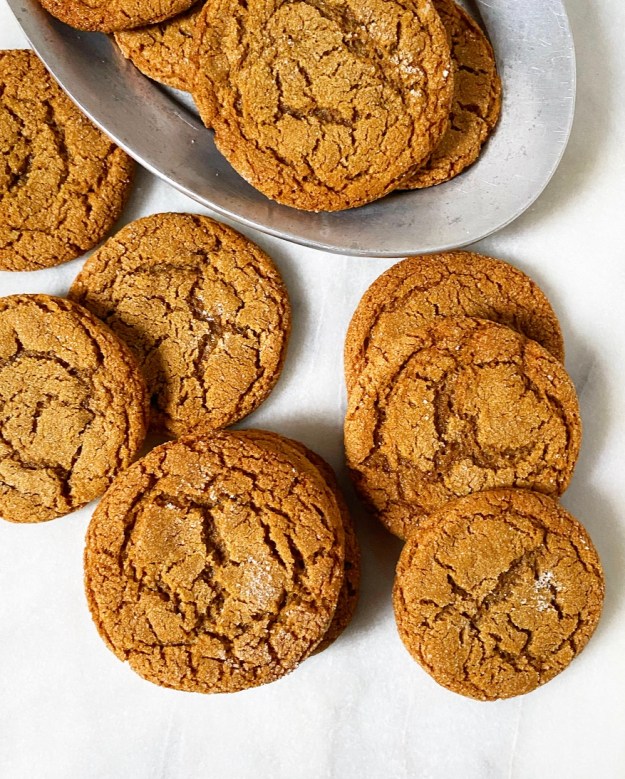 Anyway, this Christmas is going to be simpler around here. I’m not saying there won’t be sprinkles or a buttercream flourish—I’m still me, duh. It just may be a month of less…involved…holiday sweets.
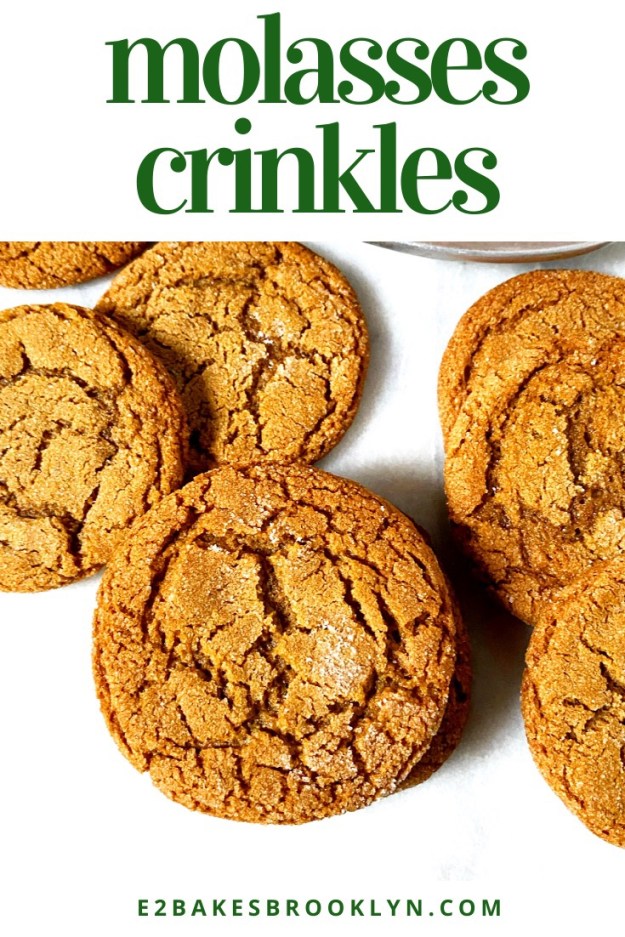
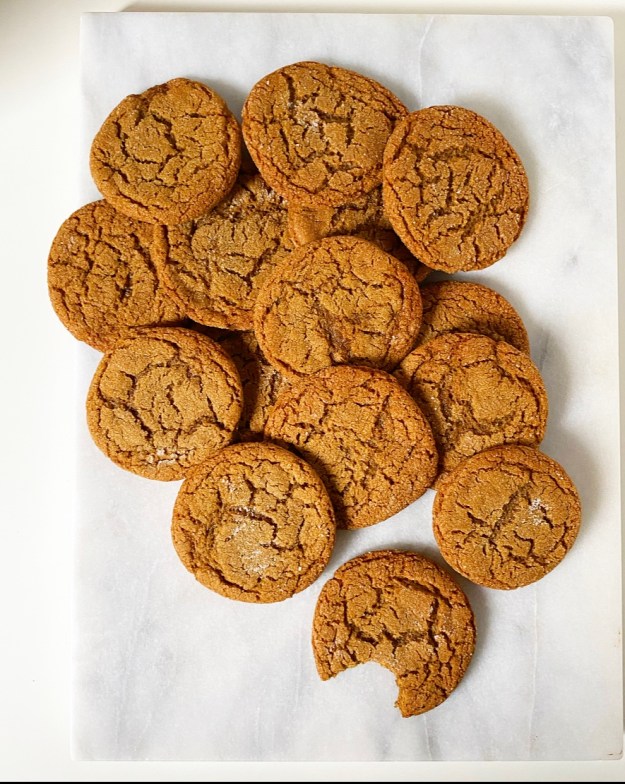 As far as the recipe goes, my path to chewy Molasses Crinkle glory is pretty straightforward. I used my
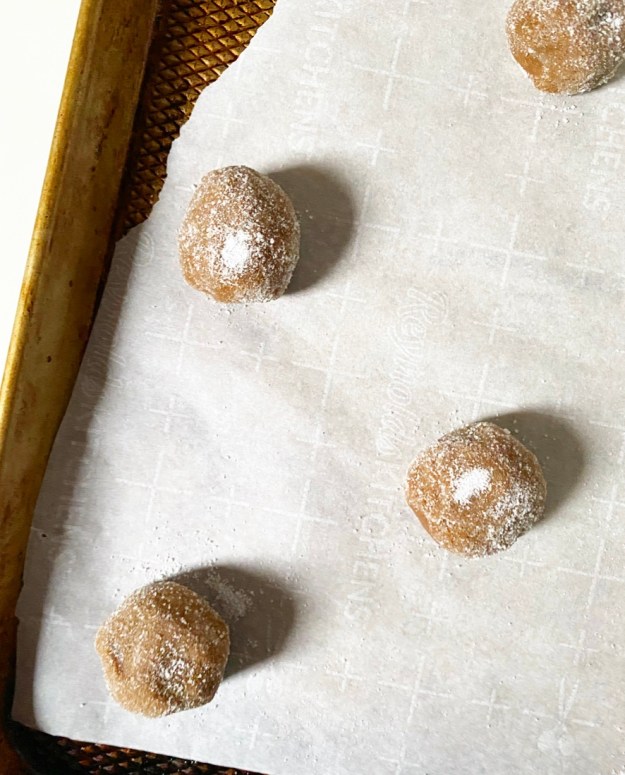
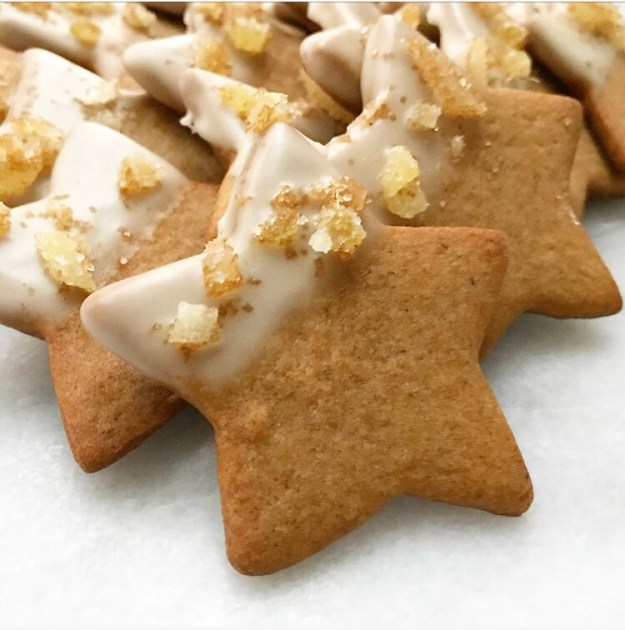
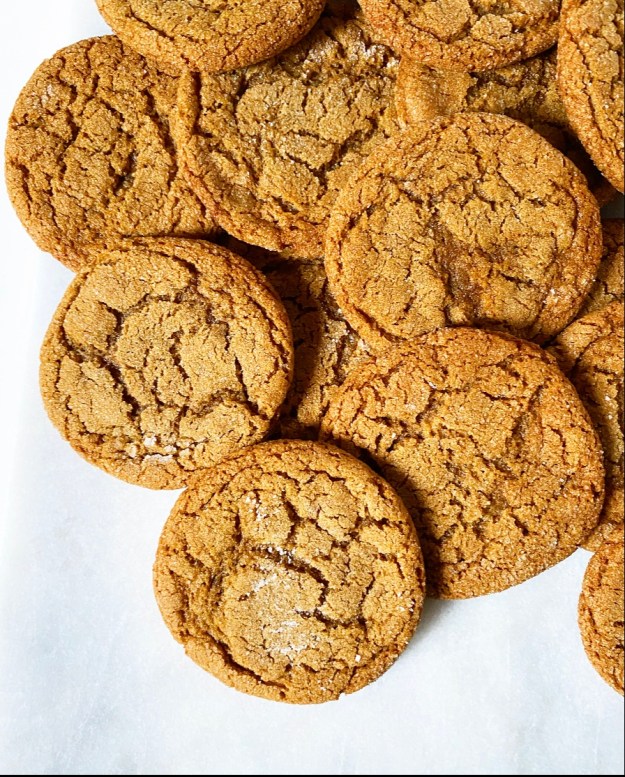
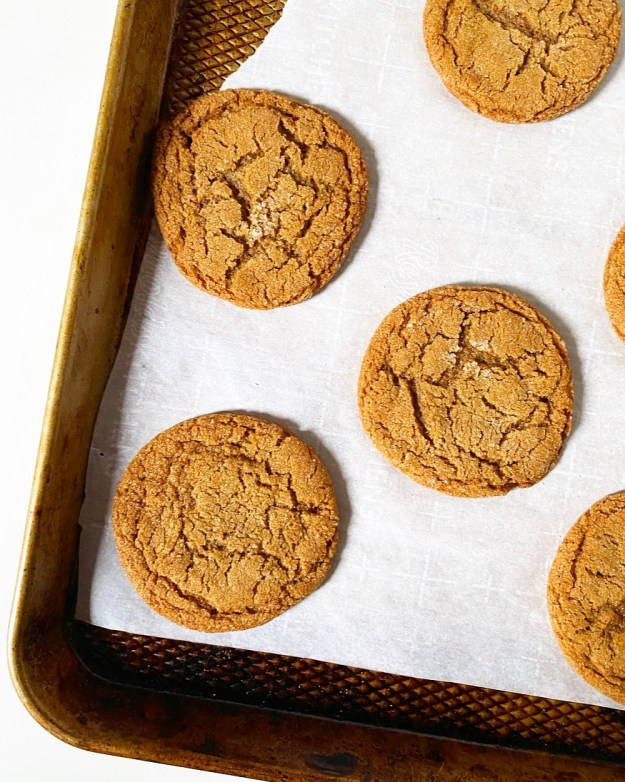 Mix your dough in a pot on the stove and let it relax at room temperature while your oven warms; this will give the gluten time to develop for extra-chewy results! Scoop the dough into balls and roll them in sugar (granulated or a mix of granulated and coarse) before baking for ten minutes. The big crinkles will begin to form during the last two or so minutes of baking, when the dough has spread pretty dramatically and puffs to the point that it breaks the sugar coating. Then, just when you remove the hot cookies from the oven, give the pan a good thwack on the counter and…bam. Crinkle city.
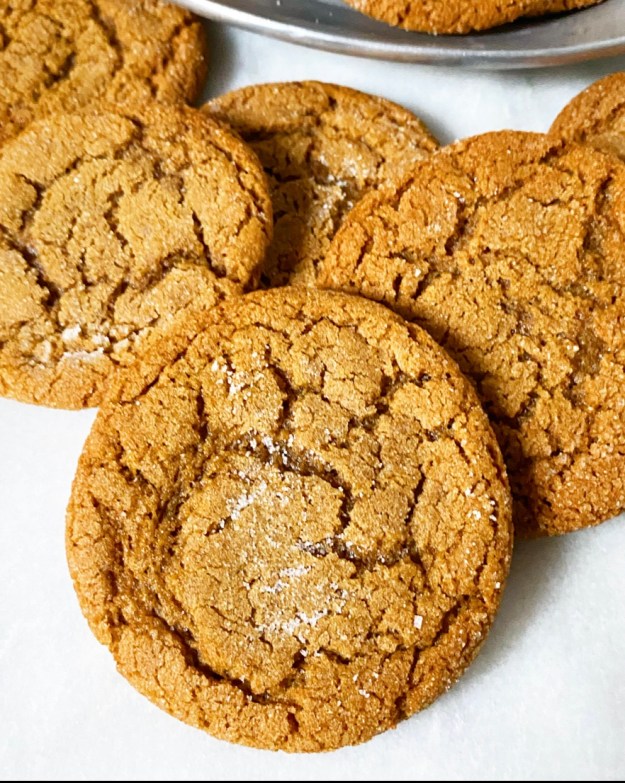 These cookies, y’all. They’re on the thin side, but have tons of surface area and chewy texture and crinkles and a crisp coating, and that’s to say nothing of the molasses and ginger and cinnamon! And make no mistake, these are molasses cookies. Sure, the ginger and cinnamon are quality background flavors, but sticky, bittersweet molasses? She’s the star of this show.
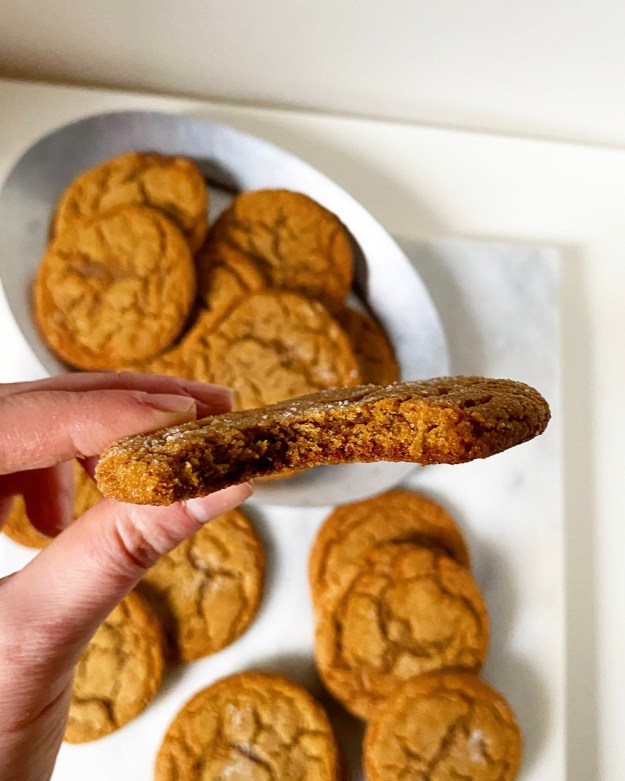 I’ve made three batches of Molasses Crinkles since Thanksgiving, and I’m here to tell you that they keep like a dang dream. Seriously. I keep thinking I’m going to reach into a bag to discover a bunch of molasses frisbees, but nope—chewy as ever.
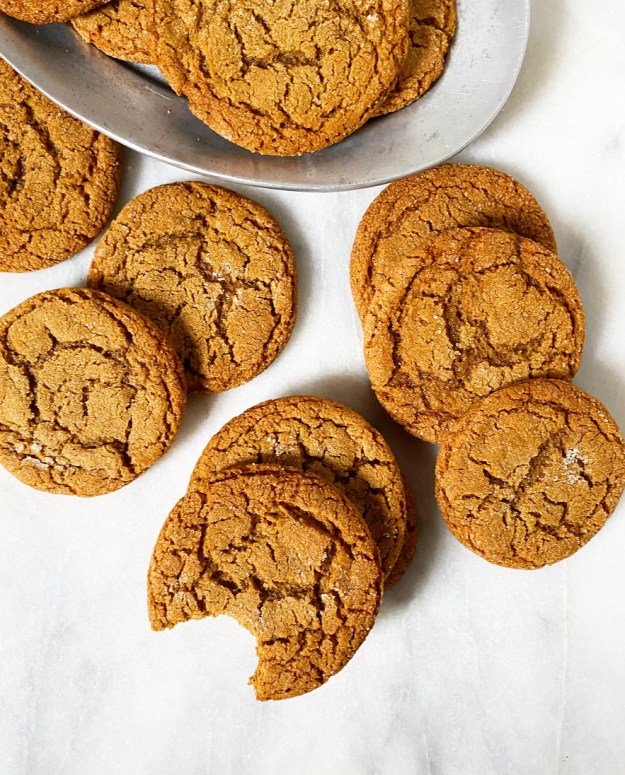

 I never know what to post during Thanksgiving week. I assume your menus are set and that you’ve already shopped and everything—I mean, mine is and I have. Still, I always like to leave you with one last recipe before the holiday.
 In years past, it’s been
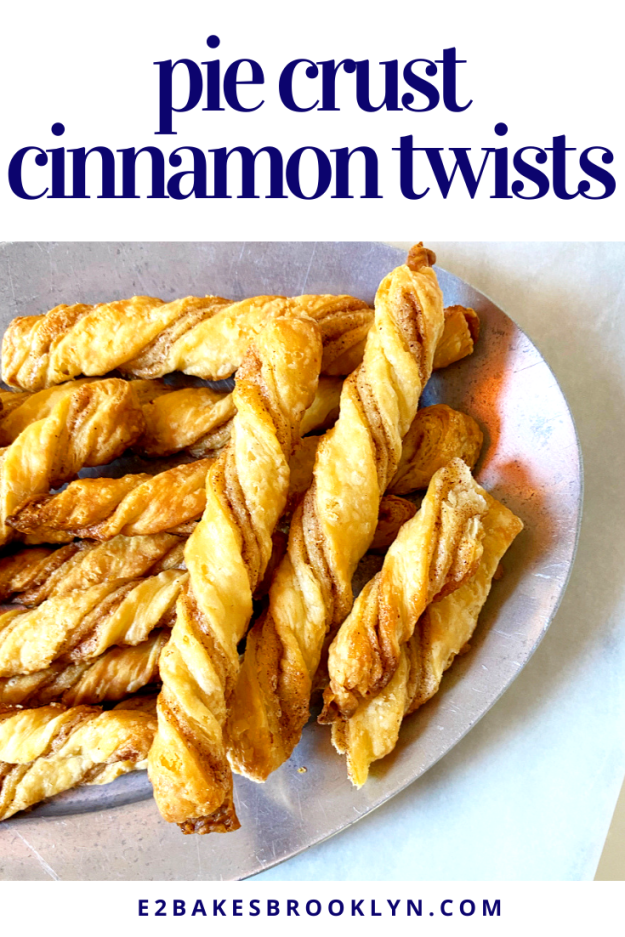
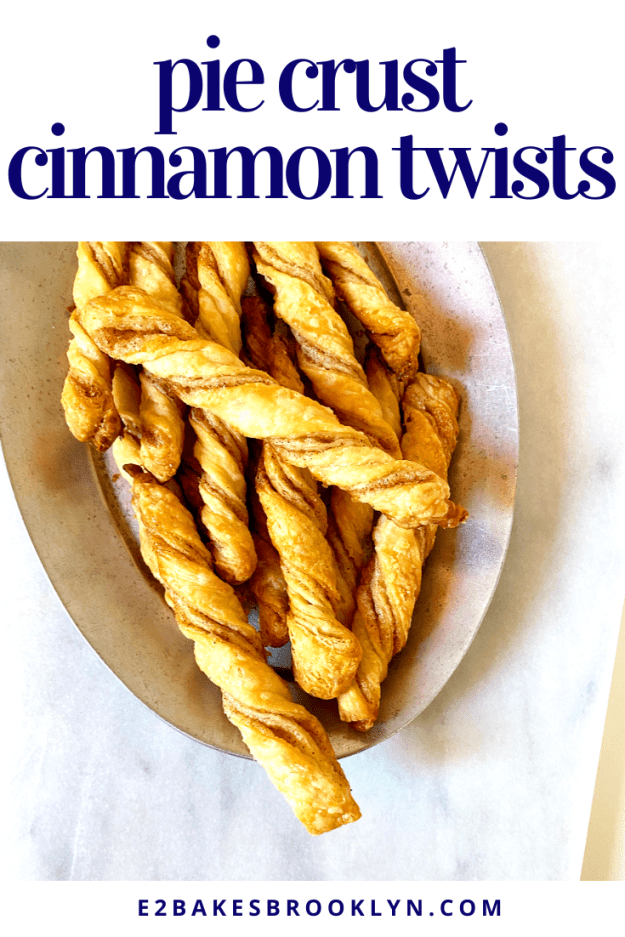
  Well, my friends, that’s where Pie Crust Cinnamon Twists come in. Where you’d normally roll out your pie crust, fit it in a pie plate, fill it, chill it several times and finally bake, this recipe takes super buttery pie dough and transforms it into a flaky cinnamon-scented dessert that you can make with minimal ingredients and tuck into in under an hour. It’s the dream.
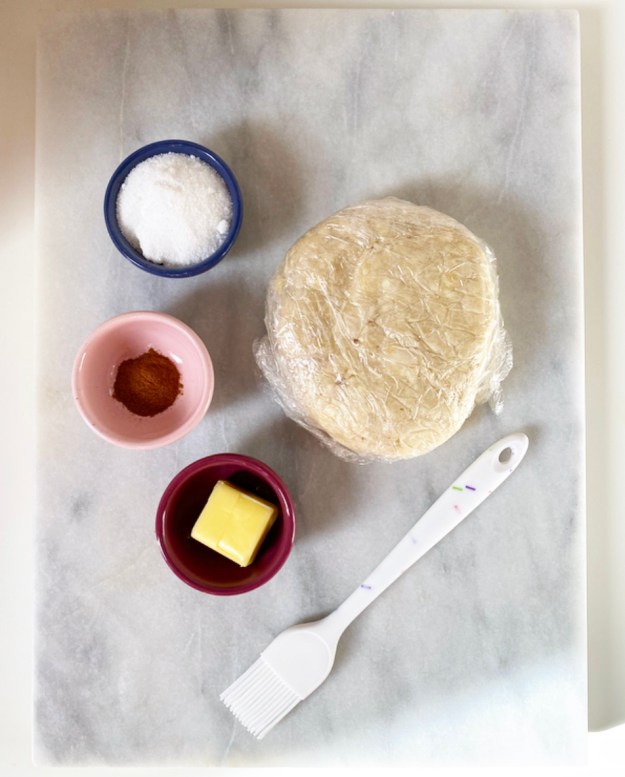
 Start by rolling out your disk of pie dough (this is my
 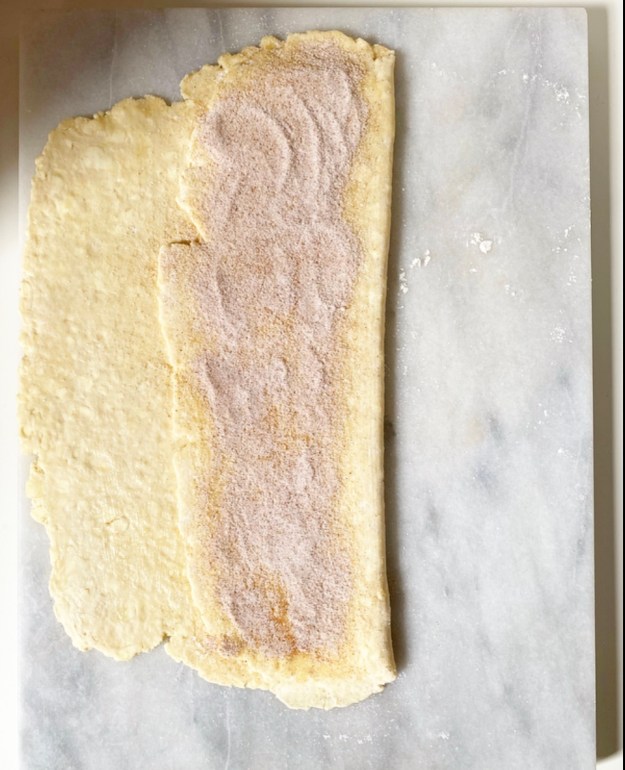 Fold one of the outer thirds over the cinnamon-sugar, then brush on more butter and sprinkle on more cinnamon-sugar. Fold the last blank third of dough over (like a letter) and then refrigerate for 20 or so minutes while the oven preheats.
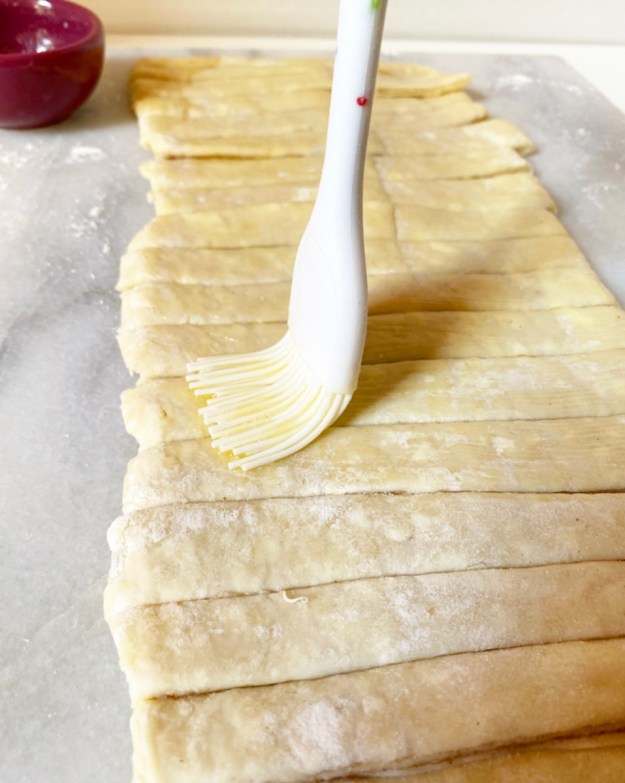
 Once the oven hits 375F, slice your dough into strips, brush with more melted butter, and twist them do that you can see the two layers of cinnamon swirling all the way down the length of the twists. Yum!
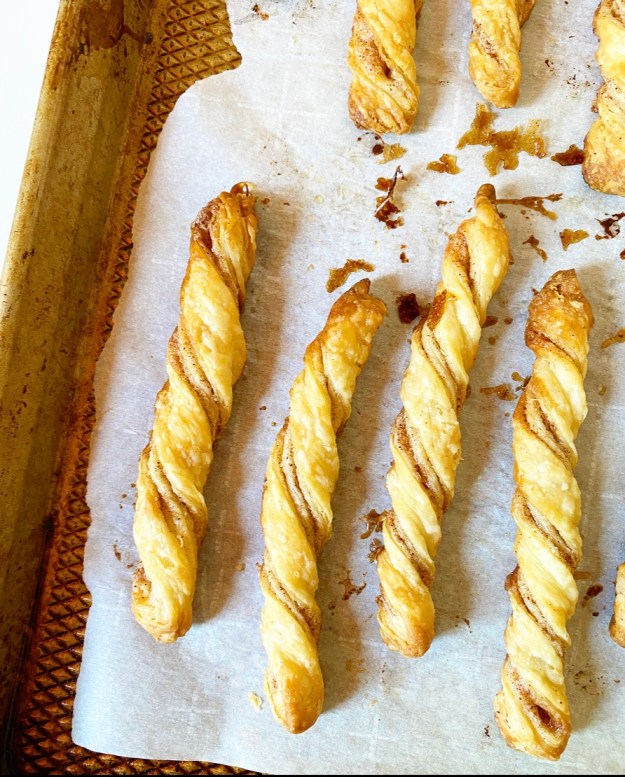 After that, bake for 22 minutes or so until your kitchen smells like butter and cinnamon and everything else that’s good in this universe. Then wait just long enough so that you don’t burn your mouth before digging in, with ice cream if you are better-prepared than I am.
 I know I am not the first person to write a recipe for Pie Crust Cinnamon Twists, and I won’t be the last either. Some people just spread the cinnamon-sugar right on and skip all the folding and whatnot, but in my experience, this extra care results in a triple-layer twist that is favorably compared to churros.
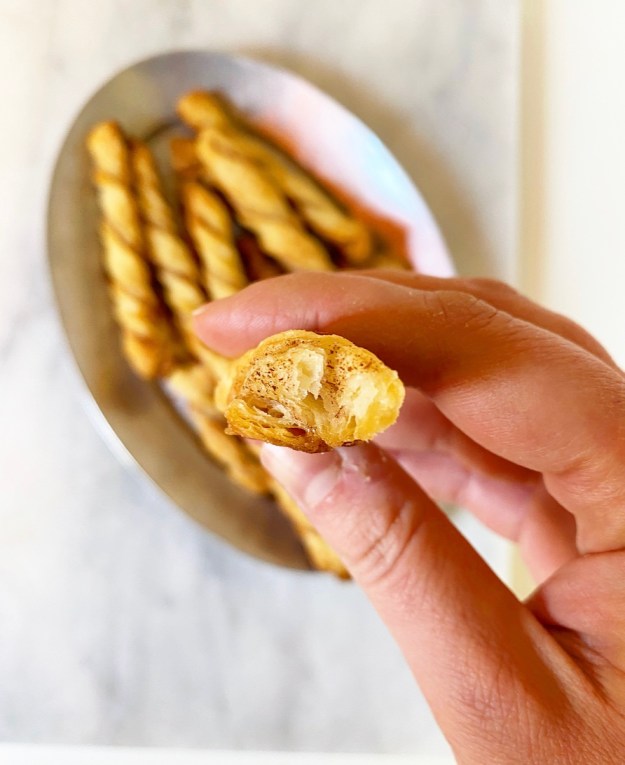

 I’ve wanted to make Thanksgiving for years and years, but my family usually travels for this holiday. That said, I guess next Thursday is my lucky day…or something. Yes, since traveling is inadvisable at the moment, I am staying put and taking this excuse to make the whole turkey dinner in my apartment. This is obviously not how I imagined my first time making Thanksgiving dinner, but it’s what’s happening. And it might be a little messed up to say this, but I’m kind of excited about it. I mean, I’ll be bummed not to be with my parents, older sister and sister-in-law (and the dogs), and I would definitely like for this period of world history to get over and done, but I am really excited to make Thanksgiving.
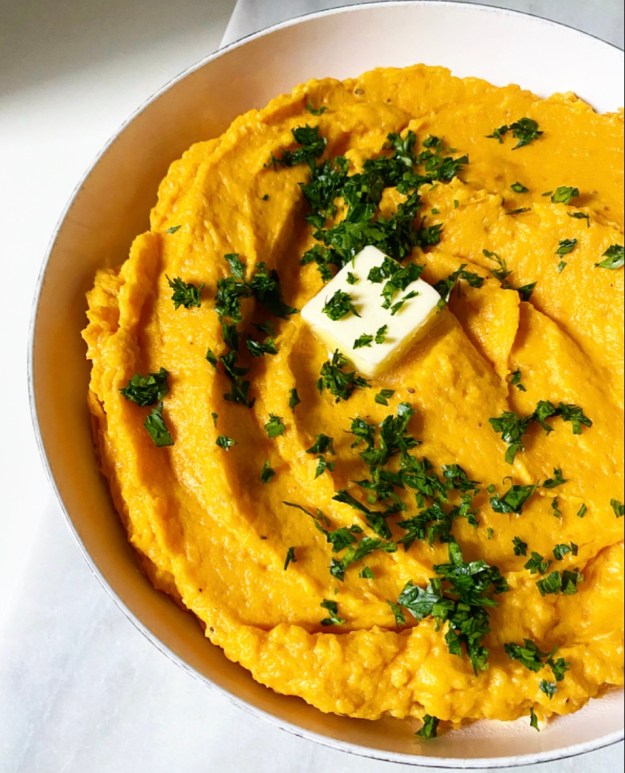 I can’t believe I’ve made it this many years without posting this recipe.
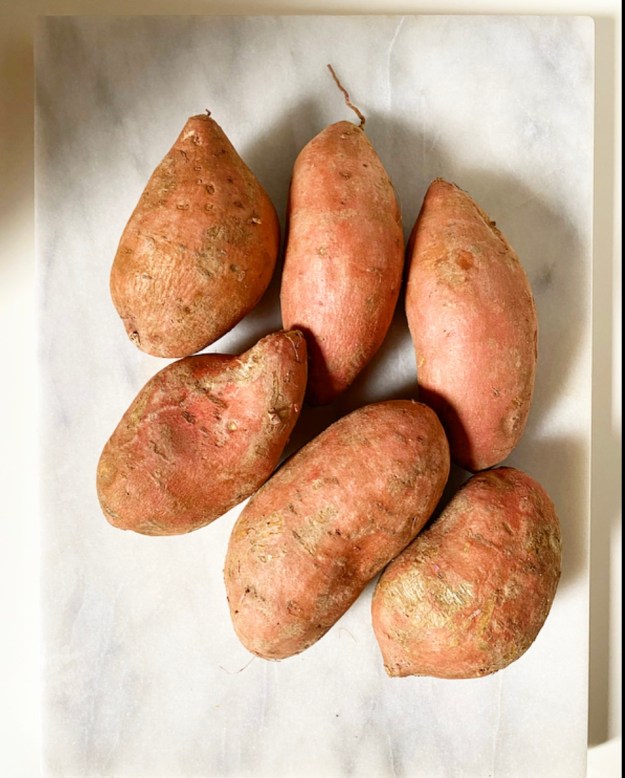
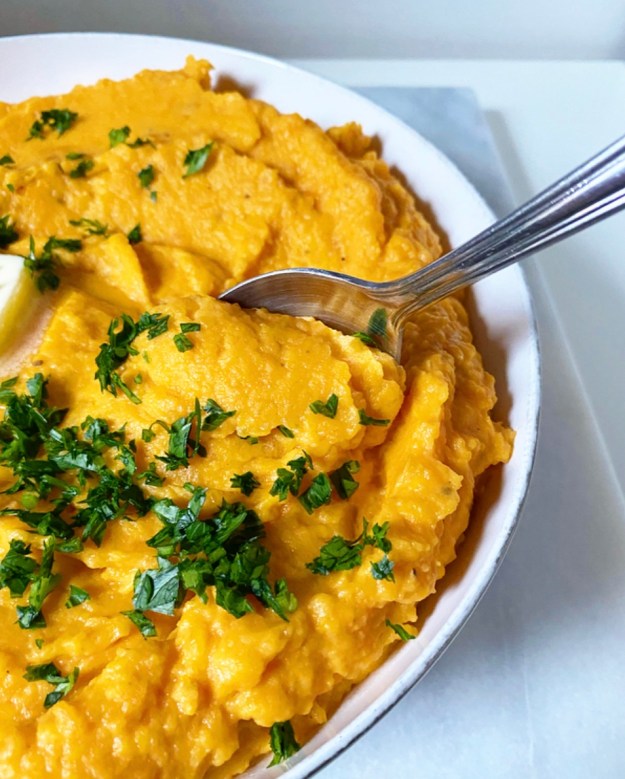
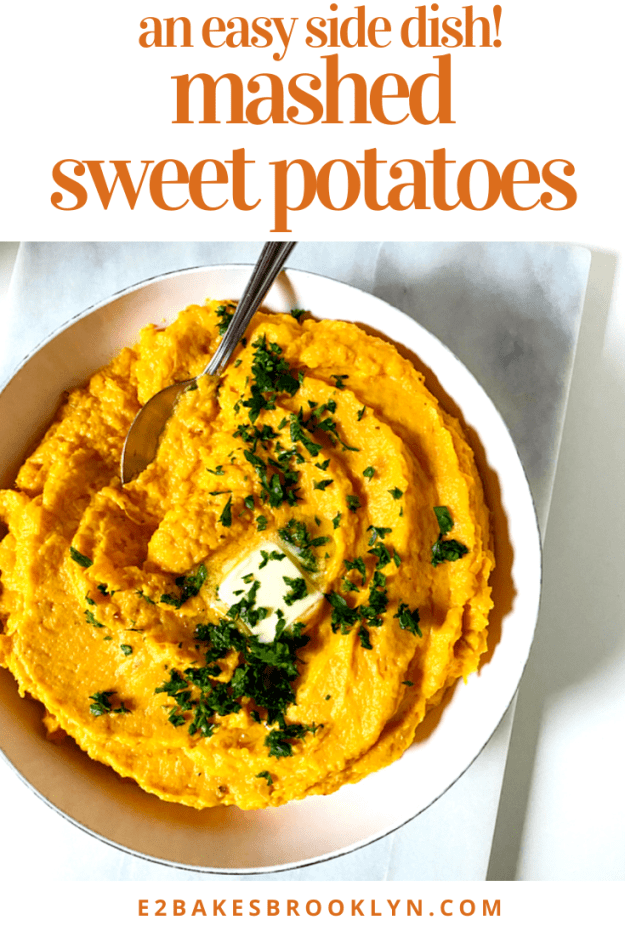
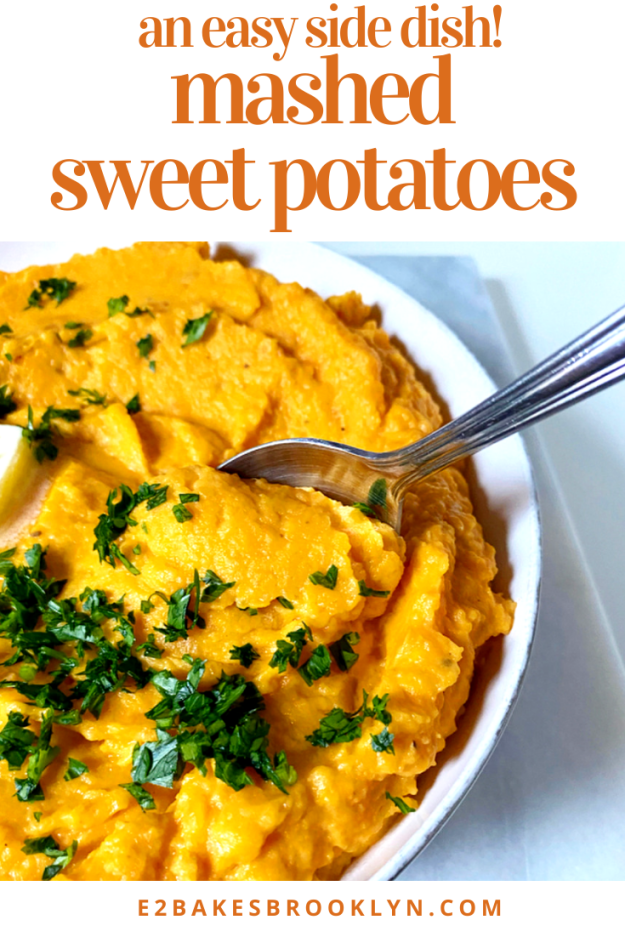
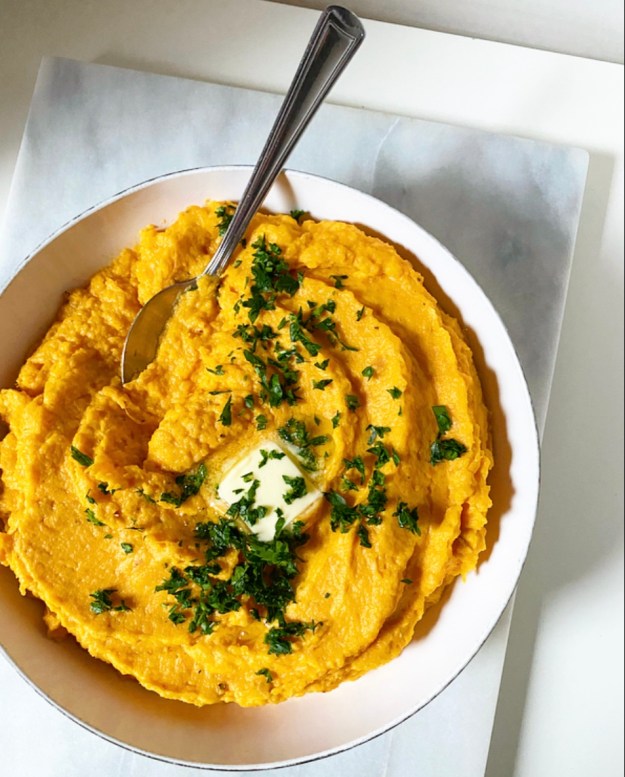
 My mom got the original recipe from her friend, Amy, and then passed it on to me. I’ve twisted the it a little since then, but only a little, because they were already pretty dang perfect. The secret? An entire brick of cream cheese and an entire stick of butter. Yes, I know that’s a lot of dairy and a lot of dense calories, but this recipe also makes a lot of sweet potatoes. Please resist the urge to cut back or use low-fat ingredients—it’s just not worth the effort without the real deals. This is holiday food, not everyday food (although I would never judge you for eating them with every meal for four days straight…ahem).
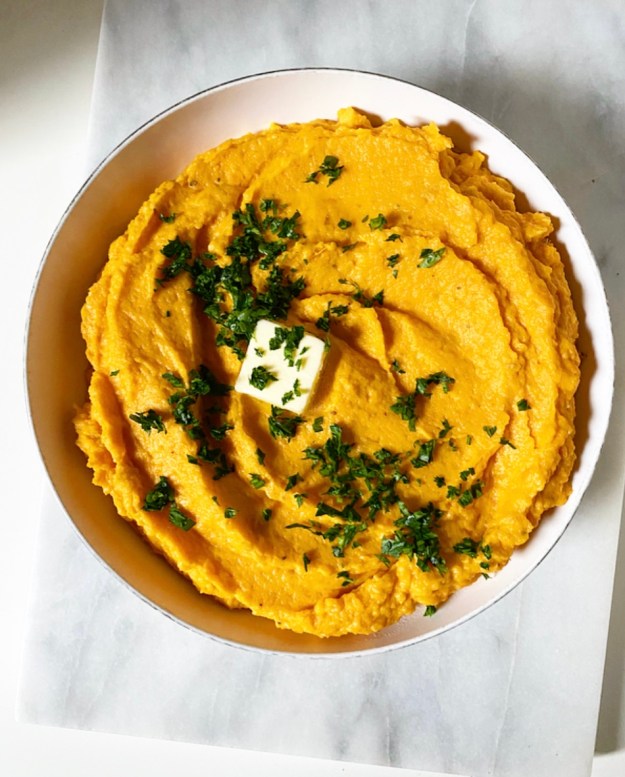 As you might imagine, these Mashed Sweet Potatoes are…beyond. Beyond creamy. Beyond delicious. So beyond that it’s simply beyond me why anyone wouldn’t throw these on next week’s menu right now.