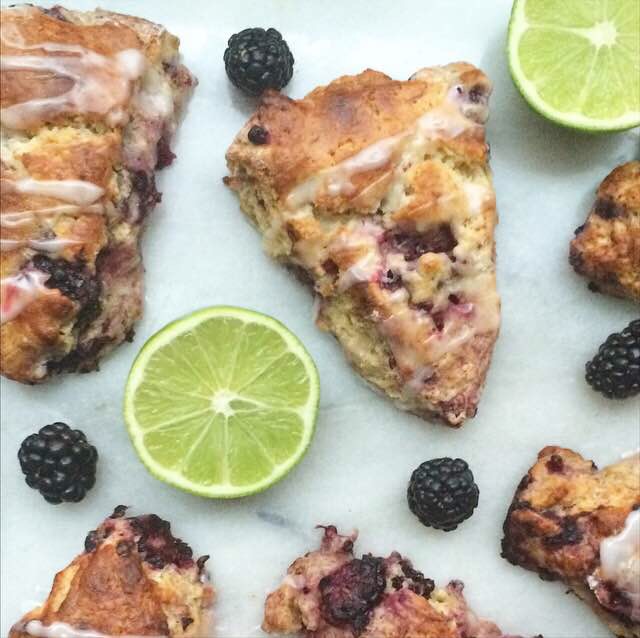
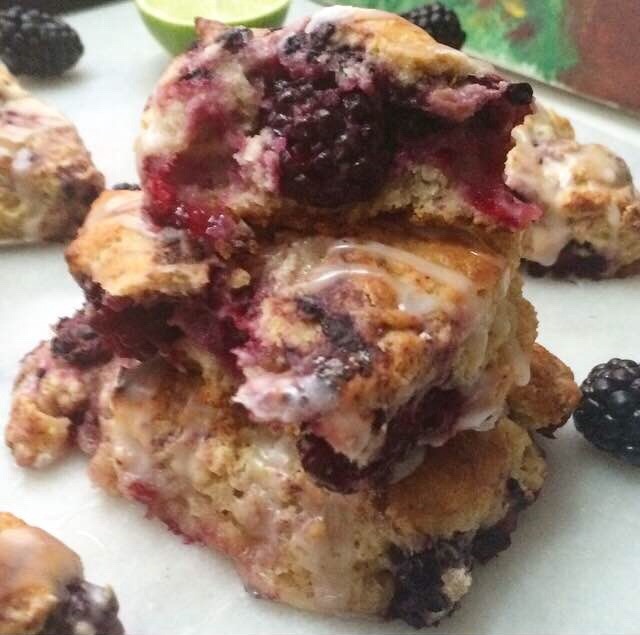
After making Blackberry Lime Scones last week, I came up with about fifteen new berry-based recipes to make between now and Labor Day, by which time I’ll be ready to ditch summer fruit for pumpkin. Probably. I dont think I could ever get tired of fresh summer produce.
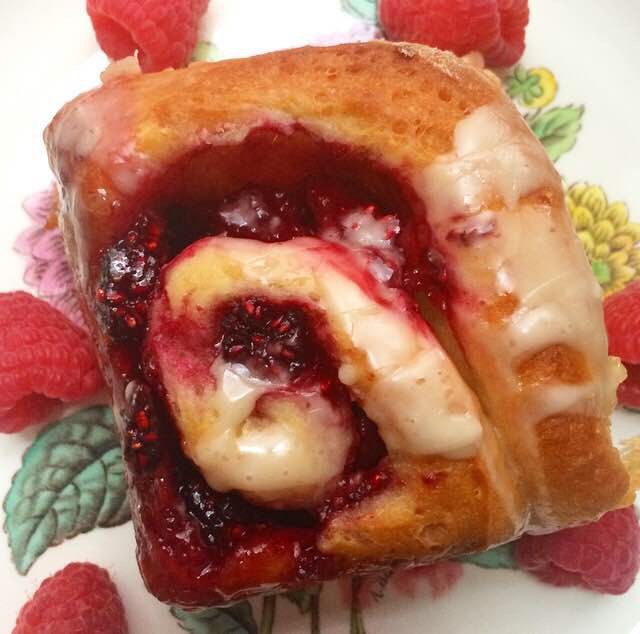
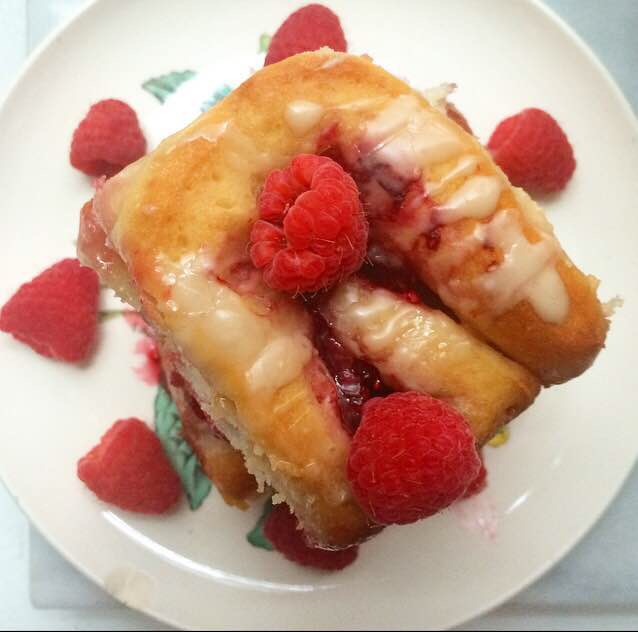
First on the list? These Raspberry Lemon Sweet Rolls! Soft pastry filled with lemon-scented raspberries and drizzled with a simple lemon glaze. Served warm (with or without a fork), they’re like a ray of sunshine in breakfast form. That may sound a little ridiculous, but make these and you’ll understand.
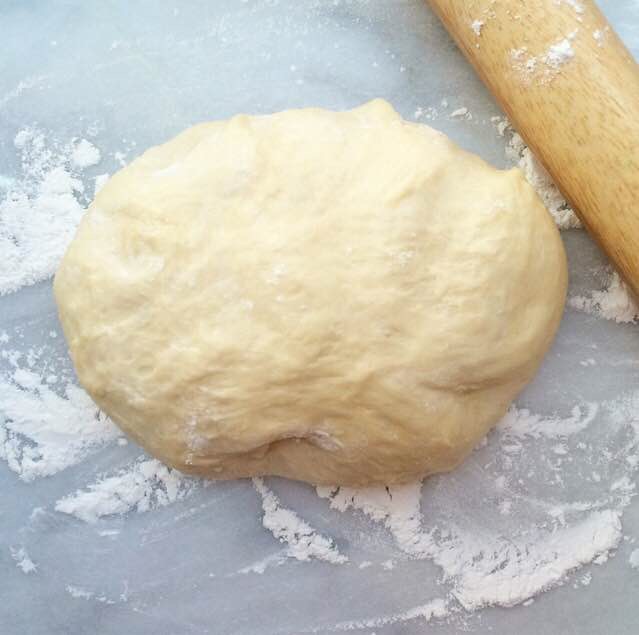
 These sweet rolls start with a simple yeast dough. Yes, I just said yeast dough was simple. Yes, I meant to do that. For some unknown reason, yeast remains the most intimidating ingredient in American baking. It really shouldn’t be–there’s nothing to be afraid of. The most nerve-wracking part is proofing (waiting to see if it’s alive), and that’s really no trouble at all. But if it’s still intimidating for you, well, this dough might be the place to start.
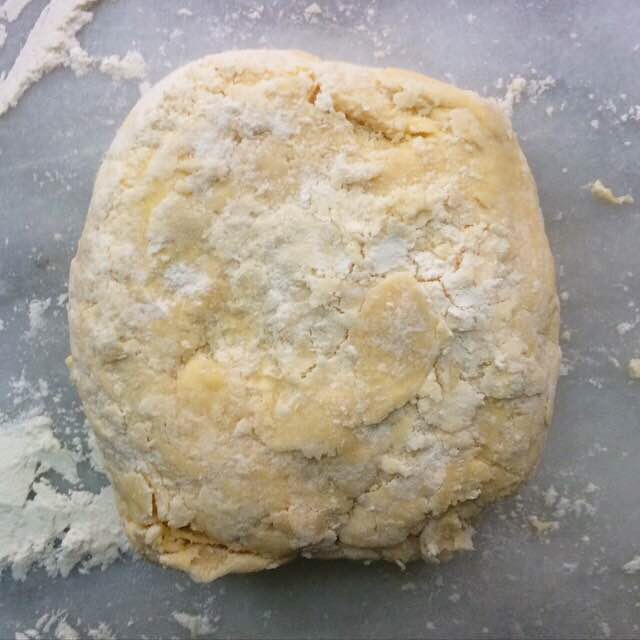
You see, the dough for this recipe is made with instant yeast, so there is no waiting for anything to prove. As long as your instant yeast isn’t past the expiration date on the package, it should work just fine! Also, there’s only one rise, so these rolls can be made start-to-finish in less than three hours. The yeast is mixed with all-purpose flour, bread flour, sugar, and salt. A mixture of warm water, milk, and butter is stirred into the dry ingredients, followed by an egg. Stir until everything is combined and sticky, and then add flour in small increments until a smooth dough forms. Let it rest for ten minutes. The dough may expand a bit, but won’t really rise at this point.
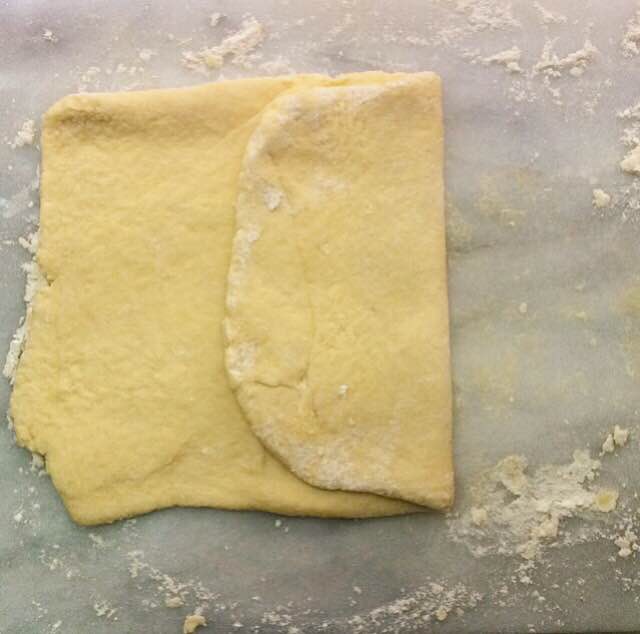
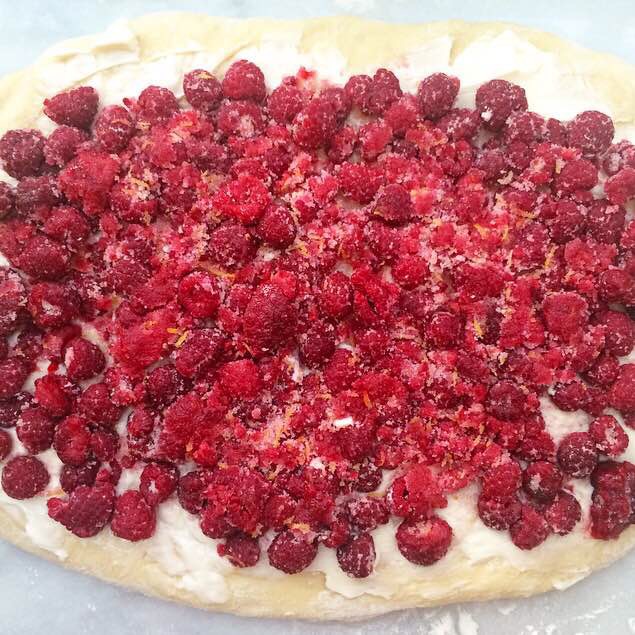
 Roll the dough out into a large rectangle (or vaguely rectangular oval, if you’re me 😜). Spread that with softened butter, and then cover the whole thing with frozen raspberries that have been tossed with lemon zest, sugar, salt, and a touch of cornstarch. I know it’s tempting to use fresh raspberries this time of year, but they’re far too juicy for this recipe.
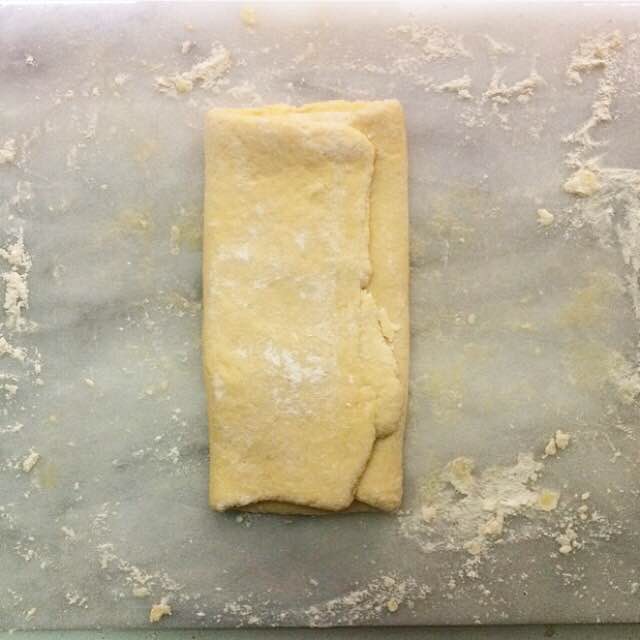
 Roll the raspberry-covered dough into a tight cylinder, and slice it into 1-inch rolls. I know it’s easy to eyeball this, but I recommend using a ruler. I keep one in my kitchen, and I use it way more than I ever would have expected.

 Place the cut rolls in a lightly-greased square baking dish. Tent the pan loosely with foil, and leave it in a warm, draft-free place for 60-90 minutes, until the rolls have doubled in size. I put my rolls in an oven that I’ve preheated to 200F. Once I’ve tented the pan with foil, I turn off the oven and put the pan in there. In about an hour, my rolls are risen. Works every time!
 Uncover the risen rolls, and bake in a 375F oven for 25-30 minutes, until puffy and golden. Tent them with foil again if they’re starting to brown too quickly (mine were at the corners). Let the rolls cool for a few minutes while you mix together an easy lemon glaze. Drizzle that over the warm rolls and dig in!
 Raspberry Lemon Sweet Rolls are like summer in breakfast form! They’re perfect for brunch, end-of-school gifts for teachers, or just because you want something more interesting than your usual granola for breakfast. They’d be a fantastic way to start Memorial Day weekend, too!
 Looking more more sweet rolls? Check out my Mini Biscuit Cinnamon Rolls (no yeast required!) and Apple Pie Cinnamon Rolls!
Looking for more raspberry breakfast recipes? Check out my Overnight Raspberry Cheesecake-Stuffed French Toast Bake!
Raspberry Lemon Sweet Rolls
makes about 12 rolls
Dough:
1 1/4-1 3/4 cups all purpose flour
1 cup bread flour*
3 tablespoons granulated sugar
1 teaspoon Kosher or sea salt
1 packet instant yeast* (2 1/4 teaspoons)
1/2 cup water
1/4 cup milk (I use whole milk)
2 1/2 tablespoons unsalted butter
1 large egg, room temperature
Filling:
5 tablespoons unsalted butter, divided
5 tablespoons granulated sugar
1/4 teaspoon Kosher or sea salt
zest of 1 lemon
2 1/2 cups frozen raspberries* (not thawed)
1 teaspoon cornstarch
Glaze:
1 1/2 cups confectioner’s sugar
pinch of Kosher or sea salt
1-3 tablespoons fresh lemon juice (about 1-2 lemons)
1/2 teaspoon pure vanilla extract
Make the dough. Set aside 1/2 cup of the all purpose flour. In a large mixing bowl, stir together 1 1/4 cup all-purpose flour, bread flour, granulated sugar, salt, and yeast. In a small saucepan*, heat water, milk, and 2 1/2 tablespoons of butter over low heat until the mixture reaches 115F. Remove from heat and stir into the flour mixture. Stir in egg. Add reserved all-purpose flour in 2 tablespoon increments until the dough is smooth and soft*, pulling away from the side of the bowl when stirred. Turn dough out onto a floured surface and knead for 5-6 minutes. Form dough into a ball and place in a lightly greased bowl. Cover with plastic wrap and let rest at room temperature for 10 minutes.
Prepare the filling. Place frozen raspberries and cornstarch in a small mixing bowl. In a separate small bowl, combine sugar, salt, and lemon zest. Use clean fingers to rub the zest into the sugar and salt until it is all well-mixed and fragrant. Add lemon-sugar mixture to raspberries, and toss until everything is combined.
Grease a 9-inch square baking dish. Set aside. Flour a surface and a rolling pin. Roll dough into an 8″x14″ rectangle. Spread softened butter over the entire surface of the dough. Spread raspberry mixture over the softened butter.
Starting at the long edge of the dough furthest from your body, roll the dough tightly toward yourself until you have one long cylinder. Using a large, sharp knife (not serrated) cut 1-inch rolls. Place cut rolls close together in prepared baking dish. Loosely tent with foil. Place rolls in a warm, draft-free place to rise for 60-90 minutes, until they have doubled in size.
Preheat the oven to 375F. Uncover risen rolls. Bake for 25-30 minutes, tenting with foil again at 10 minutes if the tops are getting too brown. Let rolls cool on a rack for ten minutes.
Make the glaze. In a small bowl, combine confectioner’s sugar and salt. Use a fork to whisk in lemon juice and vanilla. Add more confectioner’s sugar or lemon juice until the desired consistency is reached. Drizzle over warm rolls.
Raspberry Lemon Sweet Rolls are best enjoyed the day they are made, but may be kept in an airtight container at room temperature for up to 48 hours.
Notes:
1. If you do not have bread flour, all purpose flour may be substituted. Your rolls may not be as soft and chewy as if you’d used the bread flour, but they will still be delicious.
2. I use Fleischmann’s Rapid Rise Instant Yeast.
3. Do not use fresh raspberries for this recipe. They are too juicy to work well here.
4. I usually need 6 tablespoons of the reserved flour to achieve the desired consistency.
 For all the things I love about baking, the time commitment is not one of them. It’s rare that I make anything that can be done and ready to serve in under 90 minutes. I pride myself on my patience, but sometimes the idea that a batch of cookies is going to take four hours is enough to make me insane.
 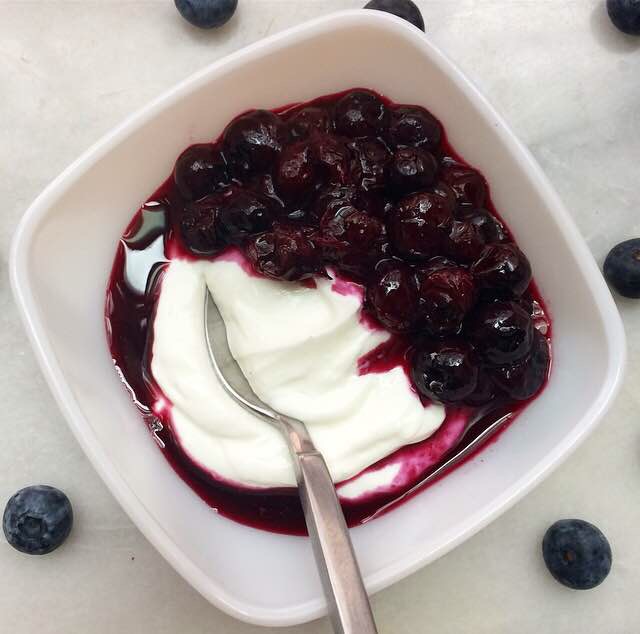 Enter this Blueberry Compote. It only has four ingredients, involves almost no actual work, and takes 20 minutes start-to-finish. And oh, is it good–burst blueberries in a not-too-sweet lemon-scented syrup. It’s just begging to be stirred into yogurt or poured over pancakes or ice cream. It’s a sauce that can be used on any breakfast or dessert item you can imagine.
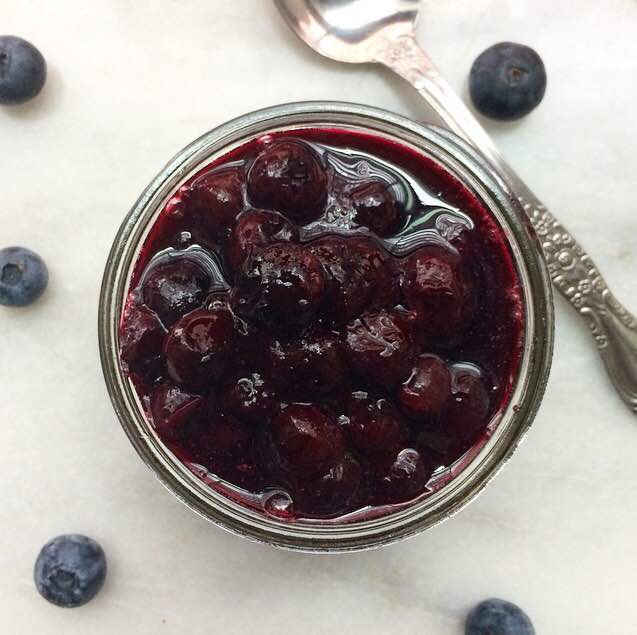
 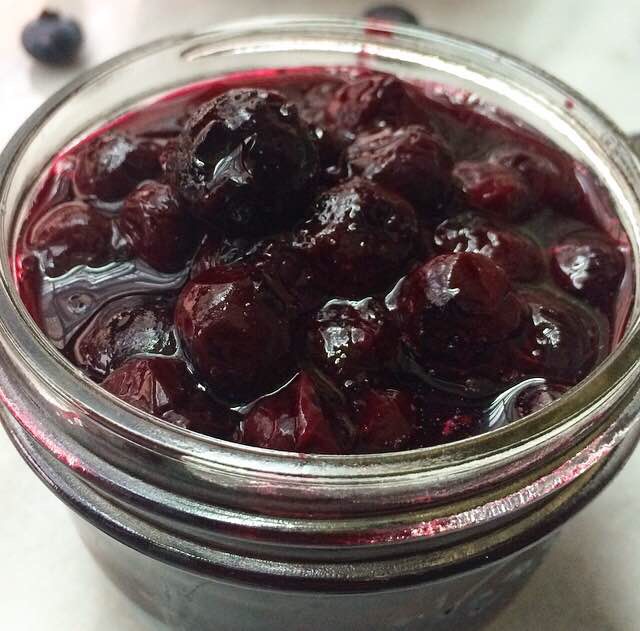 This is my kind of mid-week recipe–the kind that goes from “just” ingredients to absolute magic in almost no time at all. Simmer a cup of water and a little sugar together until it thickens slightly and becomes a thin syrup. Fold in two pounds of fresh blueberries and simmer a few more minutes until they start to burst. Remove the pot from the heat and stir in the juice and zest of a lemon. Ladle it into a jar, and you’re done. Seriously. That’s it.
 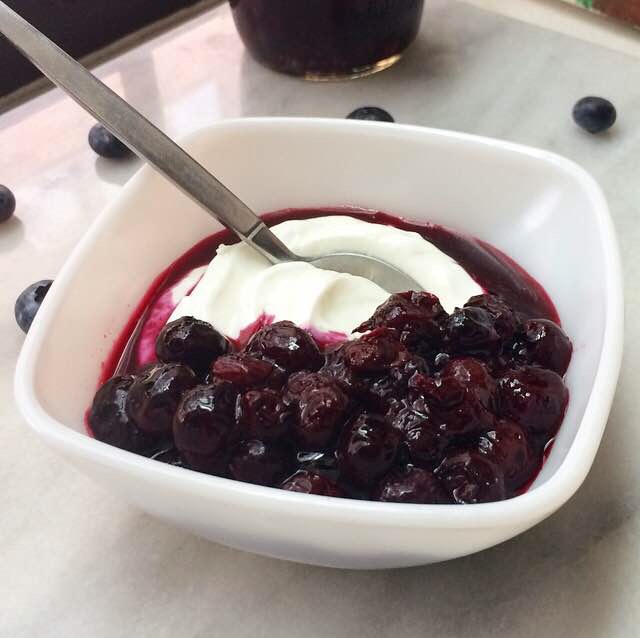 Blueberry Compote works almost anywhere you can think to use it. It would be divine with cheesecake or waffles, but it’s also healthy enough to eat with yogurt for a quick weekday breakfast. Oh, and it is absolutely amazing with angel food cake, pound cake, or the Vanilla Bean Ricotta Cake I’m posting later this week! Stay tuned…
 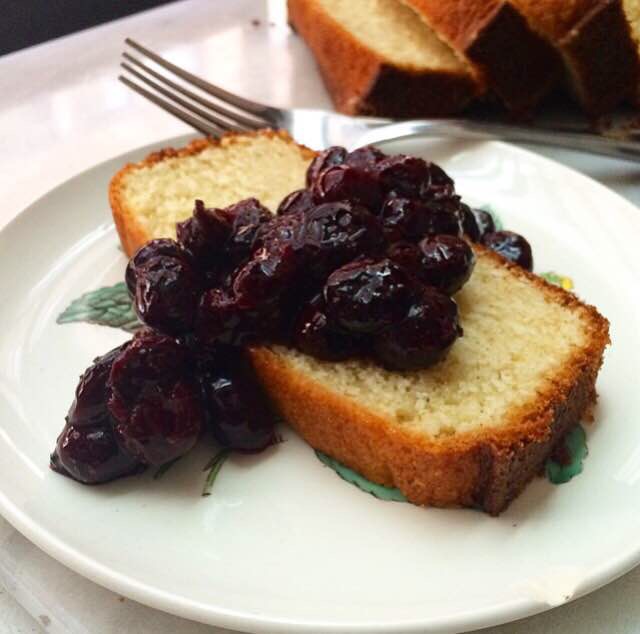 Blueberry Compote