 Here we are, six days from Thanksgiving. Six days!
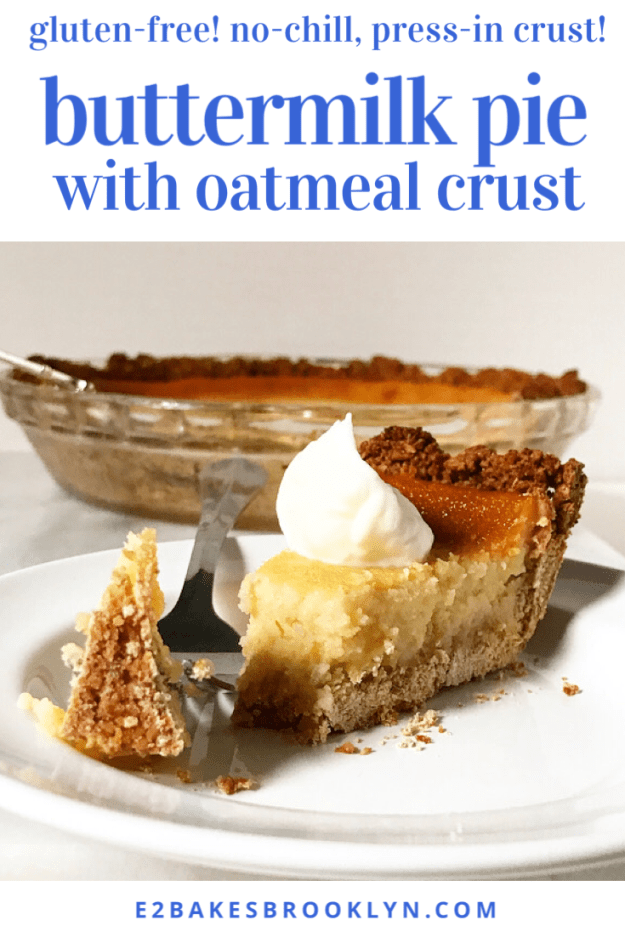
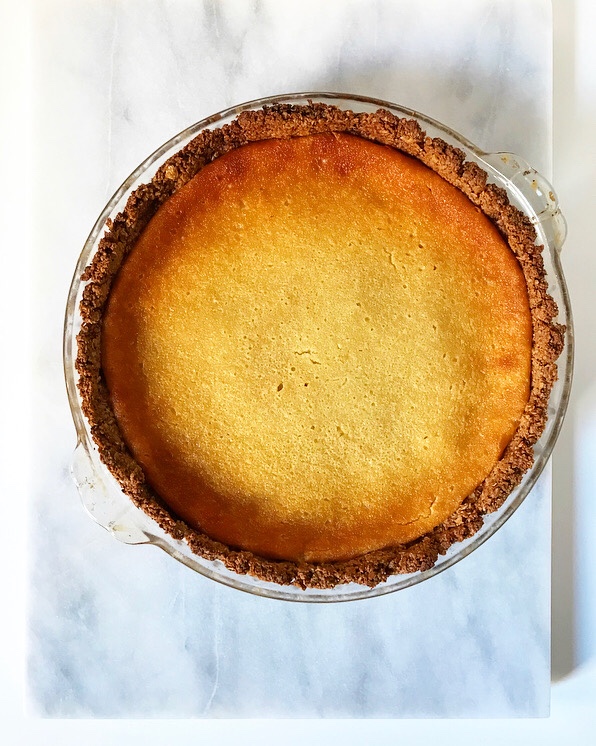 I’ll have one more holiday recipe for you on Monday—a really simple one—but first, pie. More specifically, Buttermilk Pie with Oatmeal Crust.
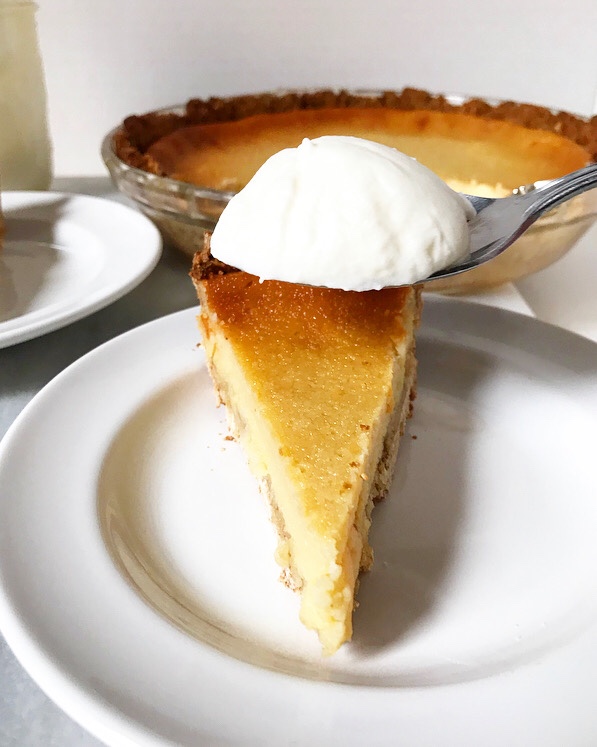
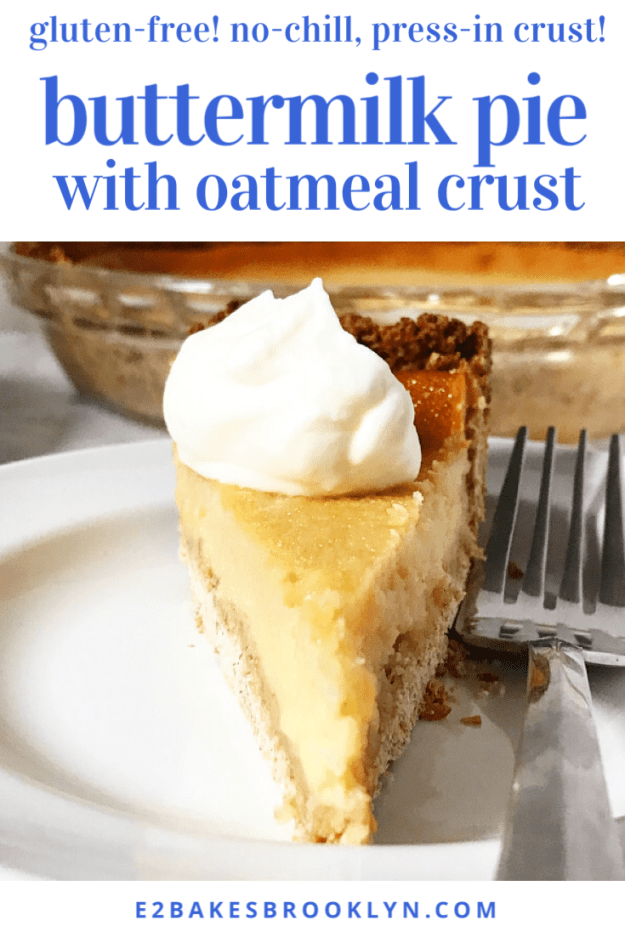
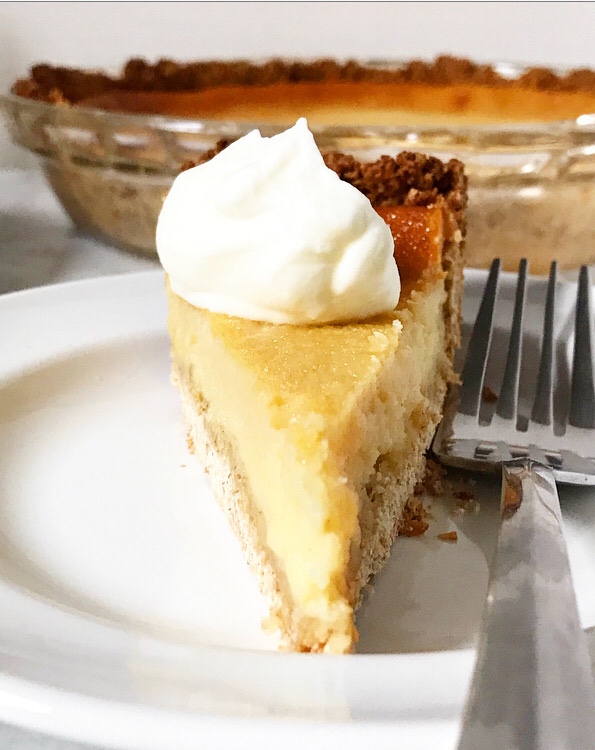 Just imagine a layer of vanilla-scented buttermilk custard soft enough to squidge (technical term) against your teeth, and a crisp, lightly-spiced crust reminiscent of an old-fashioned oatmeal cookie. That’s what you get with this recipe.
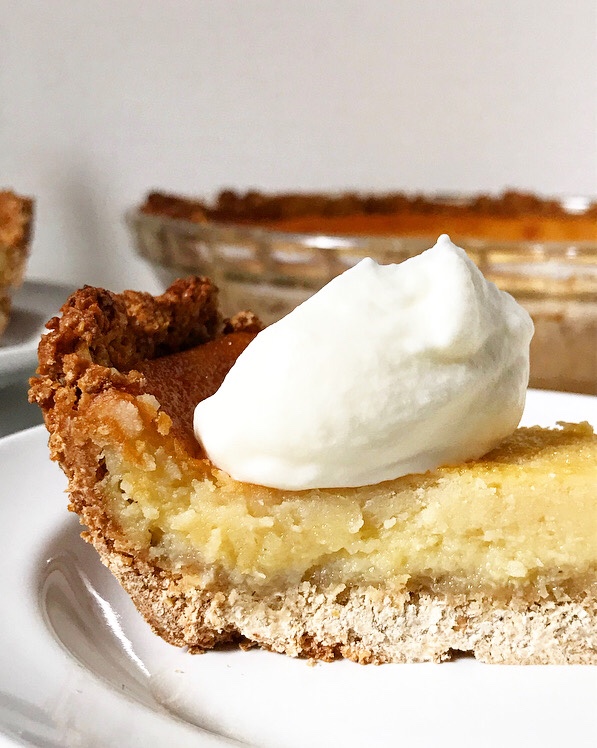 Oh, and it’s easy. The filling comes together with a whisk and a mixing bowl. It’s incredibly simple, and the results are old-fashioned and delicious.
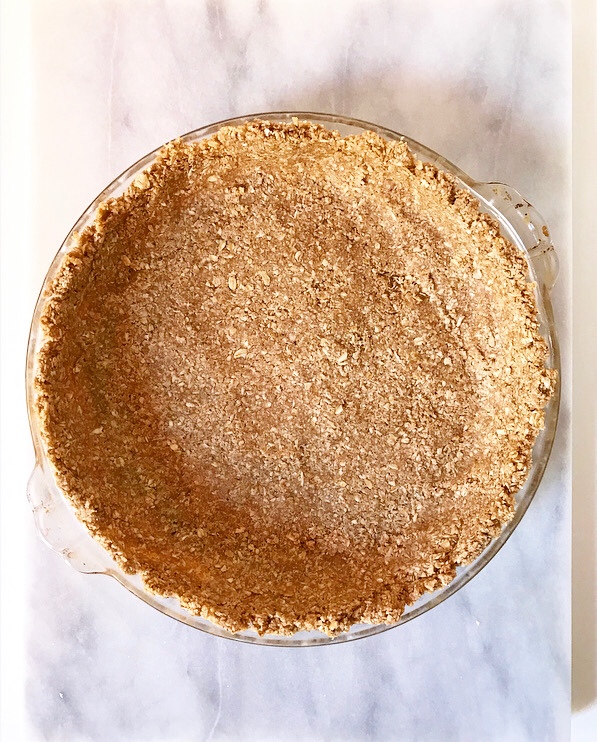
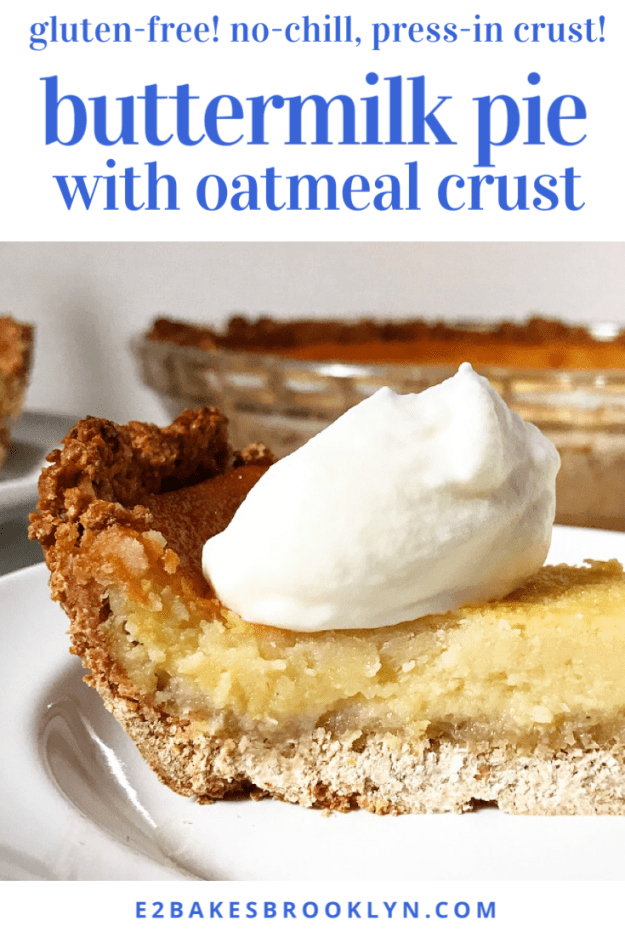
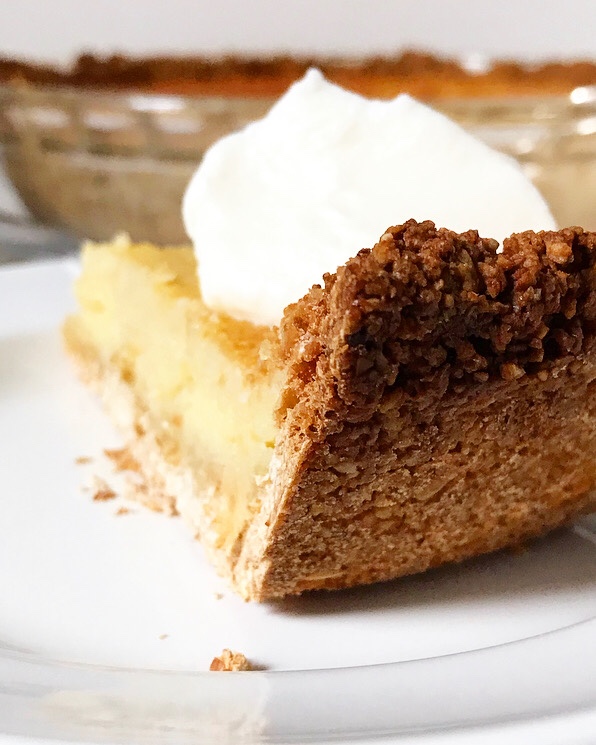 As for the crust, well, let’s just say I’m in love. It’s a little thicker than your average pastry crust, but it’s also like a big cookie—a big cookie filled with buttermilk custard!
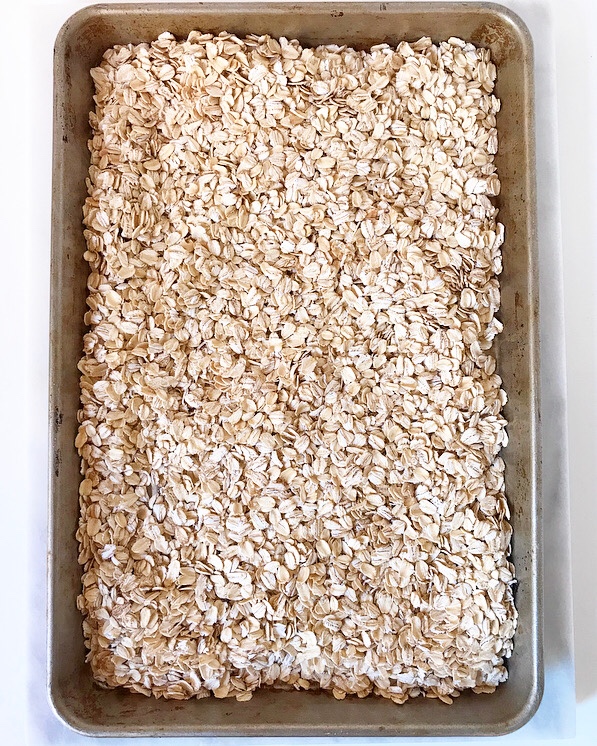
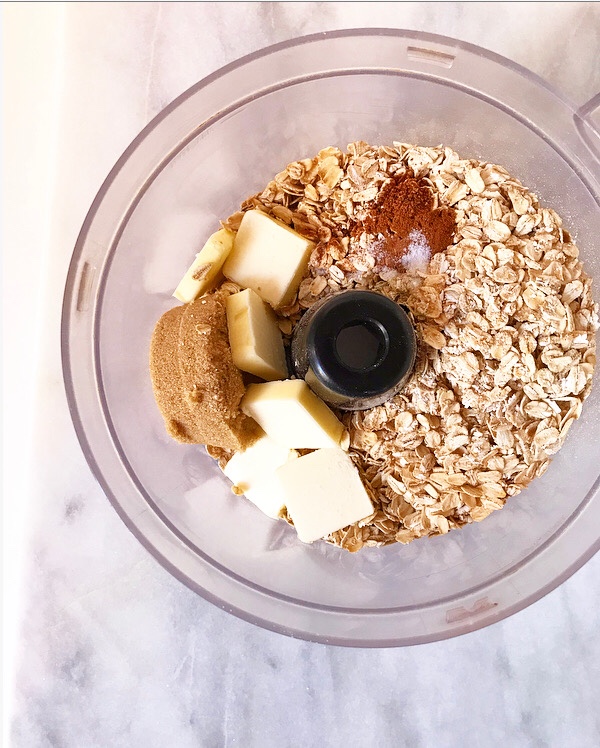

 This oatmeal crust comes together in a food processor before being pressed into a greased pie plate. No need for chilling, rolling or crimping. Easy easy easy.
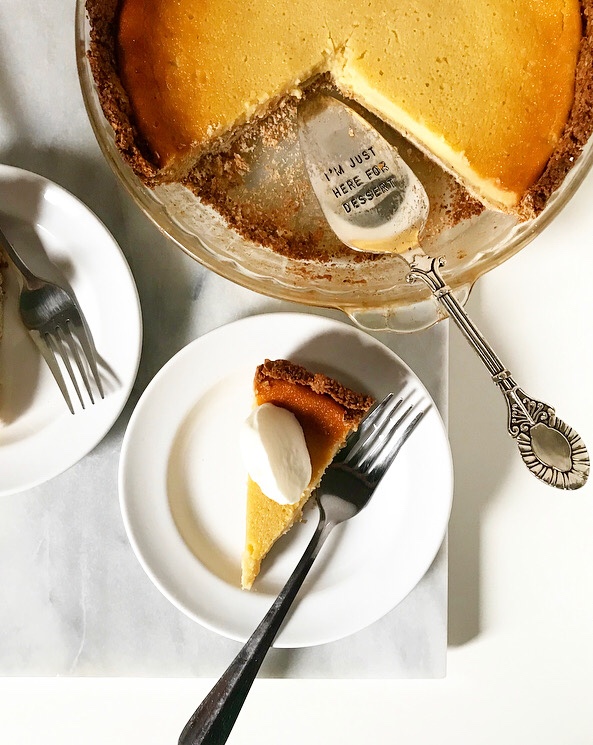 And did I mention that both components just happen to be gluten-free? Yesssss. I love inclusive recipes—that goes double at the holidays.
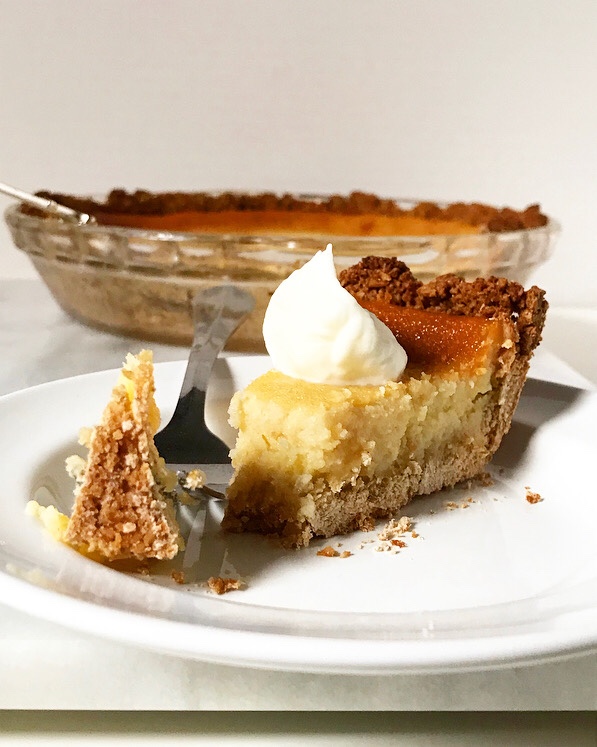
Buttermilk Pie with Oatmeal Crust {Gluten-Free}
makes one 9-inch pie
Oatmeal Crust:
3 cups old-fashioned oats* (use certified gluten-free for gluten-free crust)
1/3 cup light brown sugar, packed
1/4 teaspoon ground cinnamon
1/4 teaspoon ground nutmeg
1/2 teaspoon fine sea salt
5 tablespoons unsalted butter,* cut into pieces
4 tablespoons water
Buttermilk Pie Filling:
3/4 cup granulated sugar
2 tablespoons cornstarch
1/2 teaspoon Kosher or sea salt
3 large eggs, room temperature
1/2 cup (1 stick) unsalted butter, melted and cooled slightly
1 cup buttermilk (preferably whole)
1 tablespoon pure vanilla extract
For serving (optional):
whipped cream
Place an oven rack in the lowest position, leaving a lot of headroom above. Preheat oven to 375F. Grease a pie plate.
Make the crust. Scatter oats in an even layer on a rimmed sheet pan. Bake for 5-7 minutes, until fragrant. Let cool a few minutes.
Add oats to the bowl of a food processor, along with brown sugar, cinnamon, nutmeg, salt, and butter. Process to combine. Add water and process again until clumps form.
Press mixture in an even layer on the bottom and up the sides of the prepared pie plate. Place pie plate on a rimmed baking sheet and bake 10 minutes.
Make the pie filling. In a small bowl, whisk together sugar, cornstarch, and salt. Set aside.
In a medium mixing bowl, whisk eggs for 2 minutes, or until very thick and foamy. Gradually whisk in sugar mixture, followed by melted butter, buttermilk and vanilla. Mixture will be thin. Pour into crust.
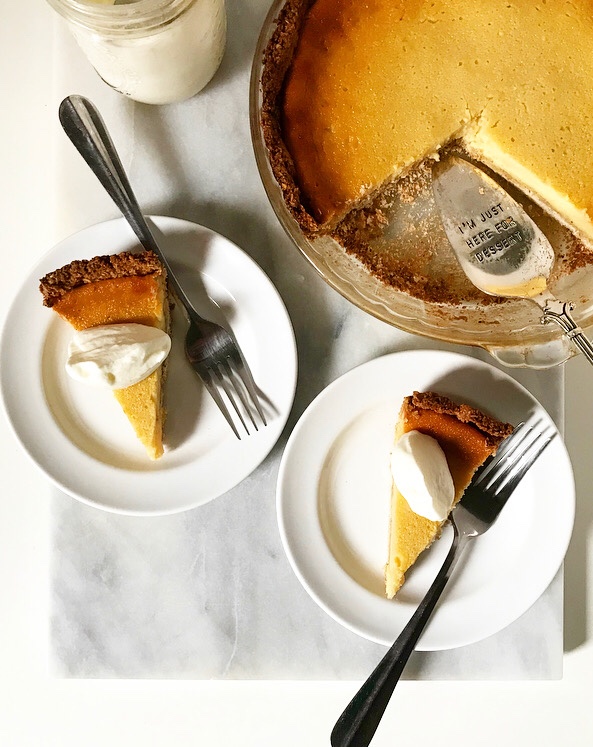
Carefully move the pie (still on the baking sheet) to the oven. Bake 20 minutes. Reduce oven temperature to 350F and bake for another 35-45 minutes, or until the top is light golden, the edges are puffed, and the center is still a little jiggly (not soupy). Tent with foil if it is darkening too quickly. Turn off oven and crack the door open. Let the pie sit in the oven for 10 minutes. Remove pie to a rack to cool completely. Chill for at least 2-3 hours before serving.
Buttermilk Pie is best served cold. Garnish with whipped cream, if desired.
Leftover pie will keep covered in the refrigerator for up to 4 days.
Notes:
- You may use an equal volume of coconut oil.
- To make this in a regular pie crust, follow the crust-baking (partial blind-baking) instructions here.

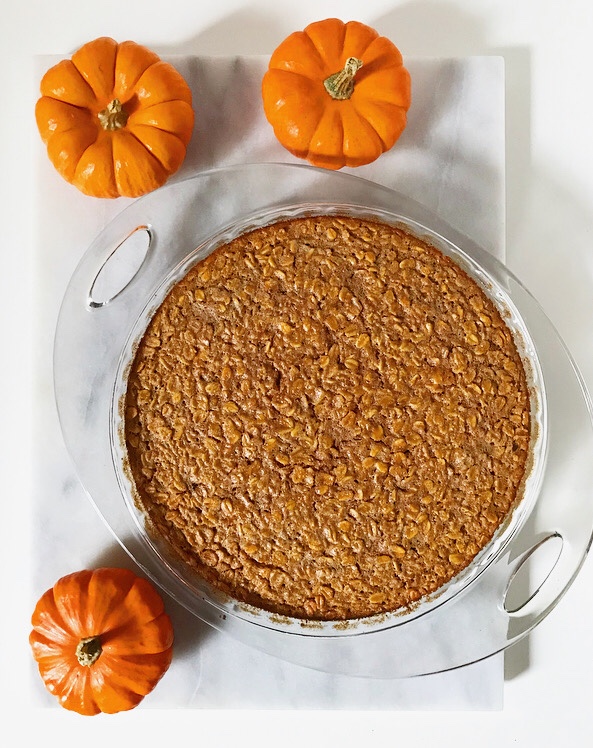 Some foods are easier to photograph than others and…well…
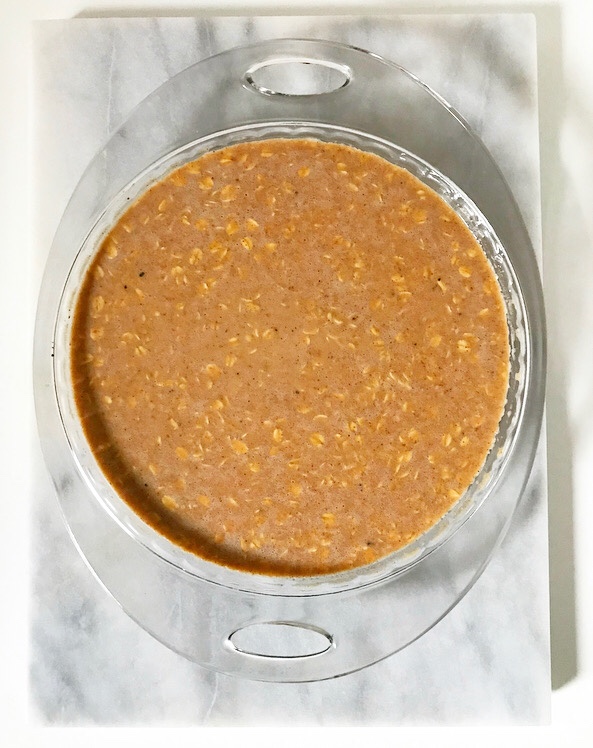
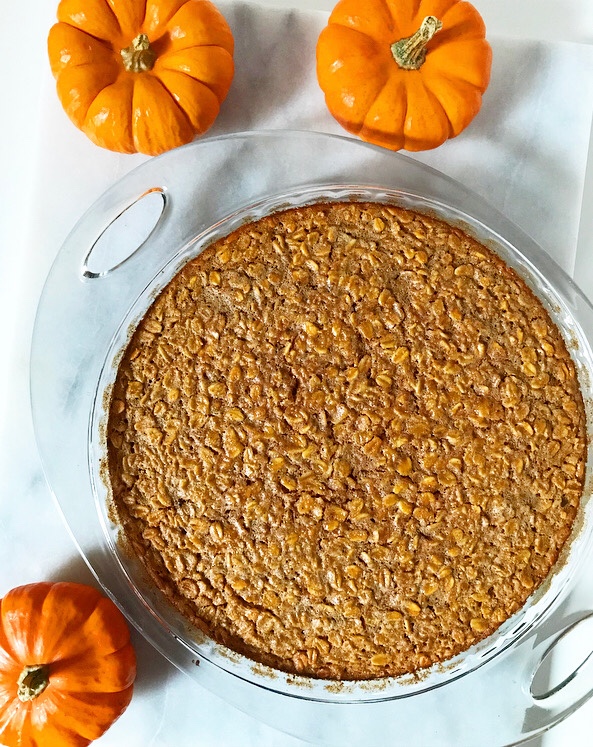
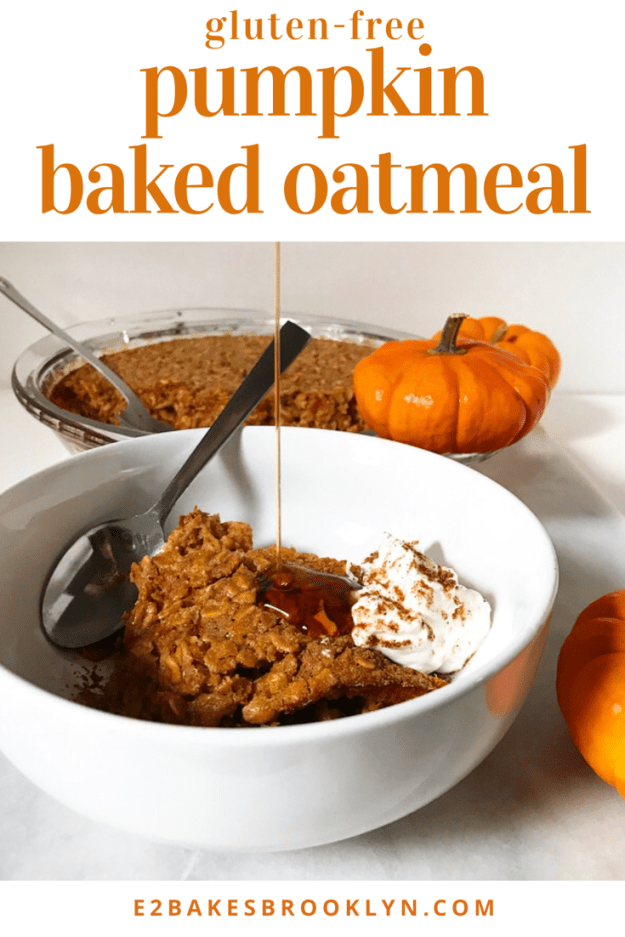
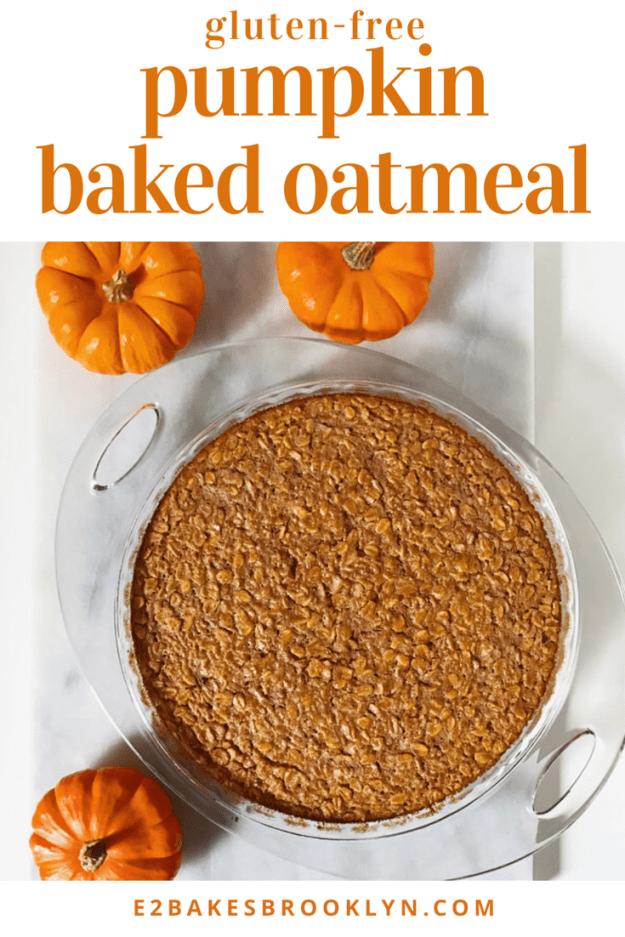
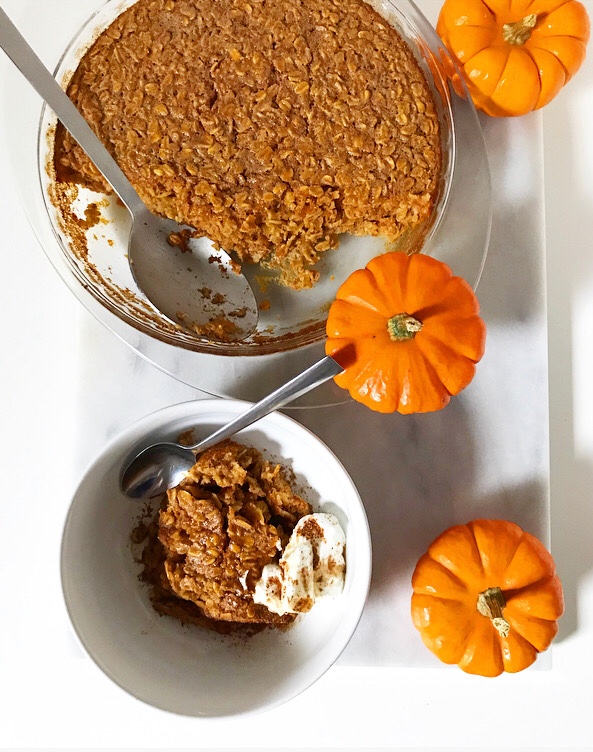 That said, what baked oatmeal lacks in aesthetic appeal (dull brown and lumpy 😬😬) it more than makes up in delicious whole grain flavor. This one is especially enticing—it’s made with a hefty scoop of pure pumpkin purée and big hit of pumpkin pie spice for maximum seasonal breakfast magic.
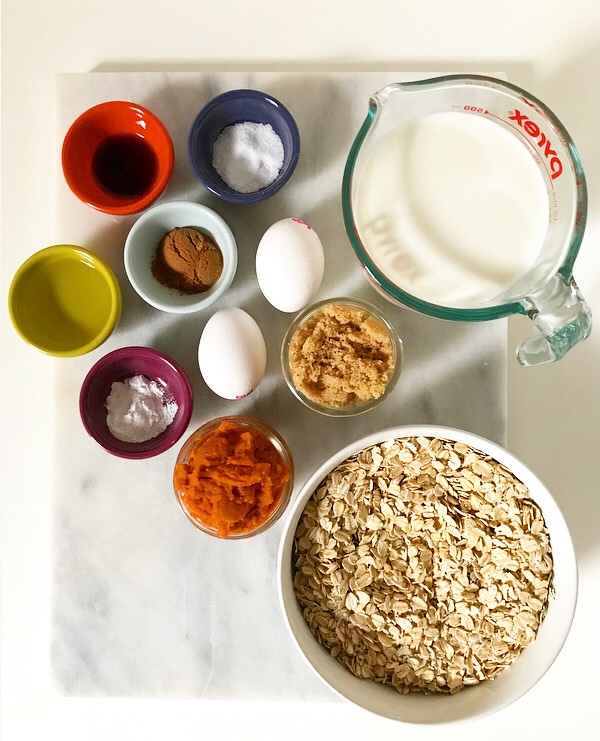
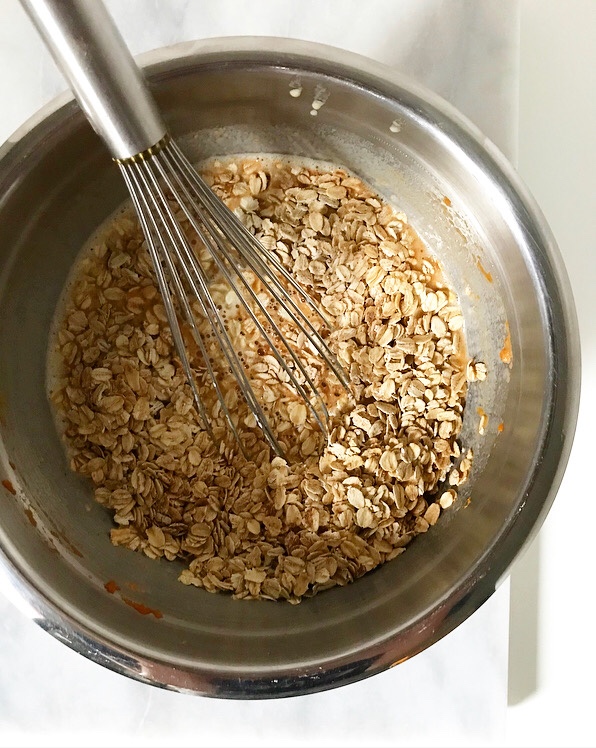
 It’s also very easy to make. The most difficult (if you can even call it that) step is toasting the oats, and that requires little to no actual brain power. Just scatter the oats onto a pan, put them in the oven, and set a timer. Boom. Done.
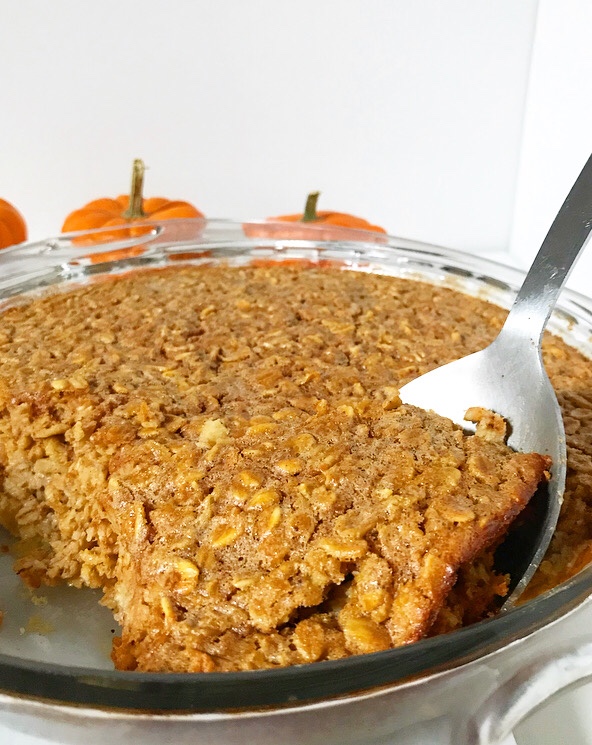 My favorite thing about Pumpkin Baked Oatmeal? It reheats like a dream! This, in addition to being filling and fairly good for you, makes it perfect for weekday breakfasts. Just heat individual portions as needed and enjoy.
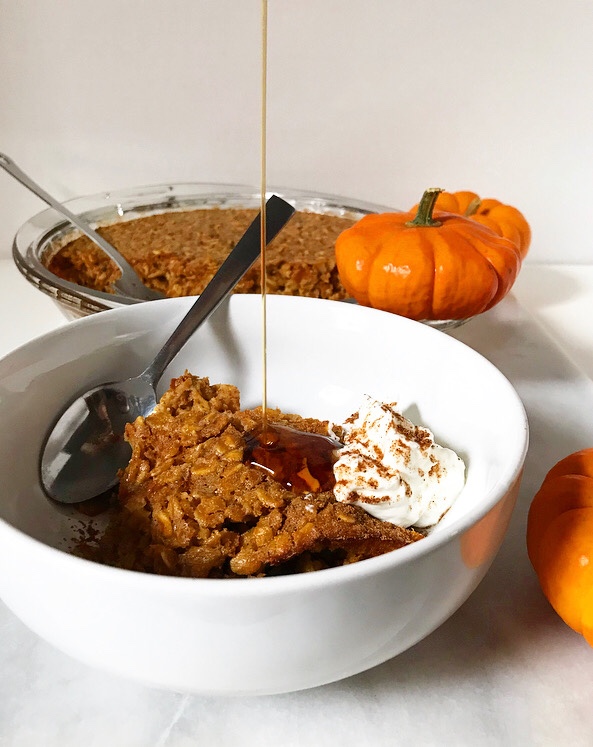 Of course, it’s also a great low-maintenance-but-still-“special” thing to make on the weekends. And I wouldn’t be disappointed to see it over the holidays.
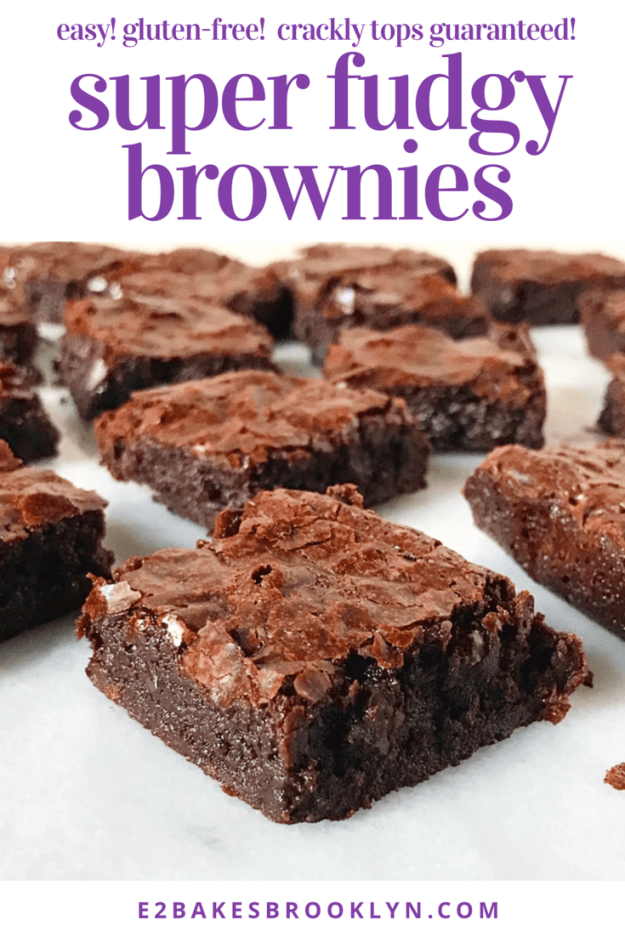
 The world doesn’t need another brownie recipe, but I do. Sure, I already have two base
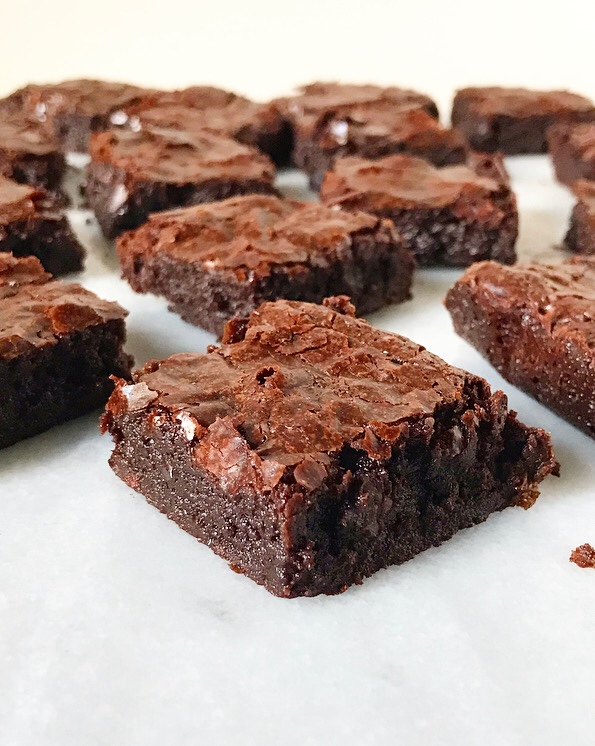
 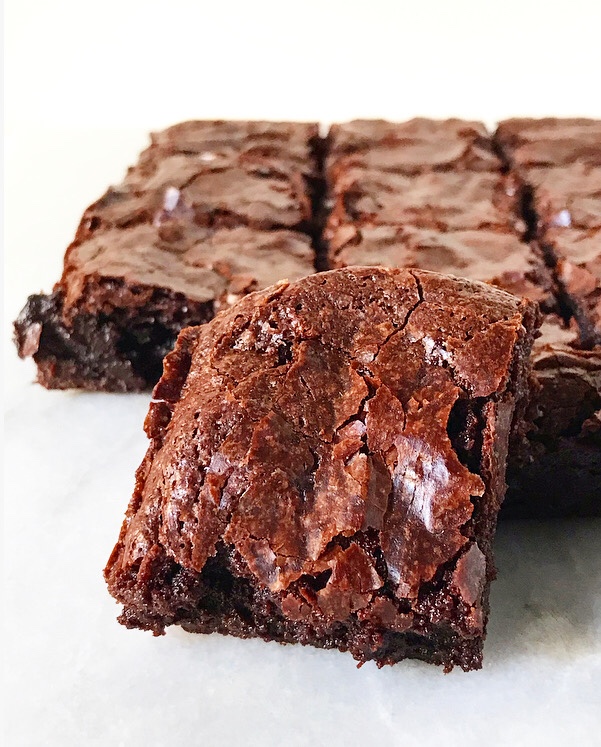 It hadn’t occurred to me that I cared about this until I was talking to a couple of friends about what makes a good brownie. Our notes were similar: fudgy, not cakey at all, not too sweet or light in color. But then they started talking about the paper-thin crinkly top on their favorite boxed mix brownies and I realized I had forgotten about that altogether.
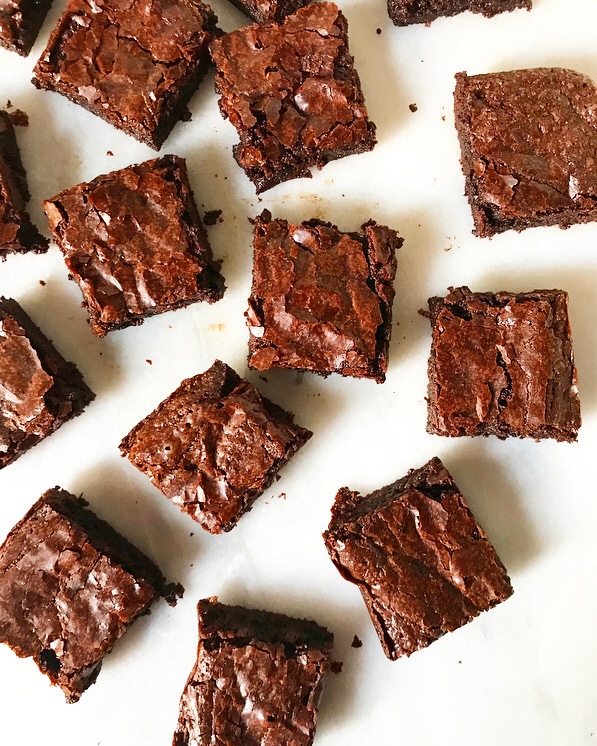 In my defense, I haven’t made boxed mix brownies in at least seven years—probably more like ten. But I’ve also probably eaten
 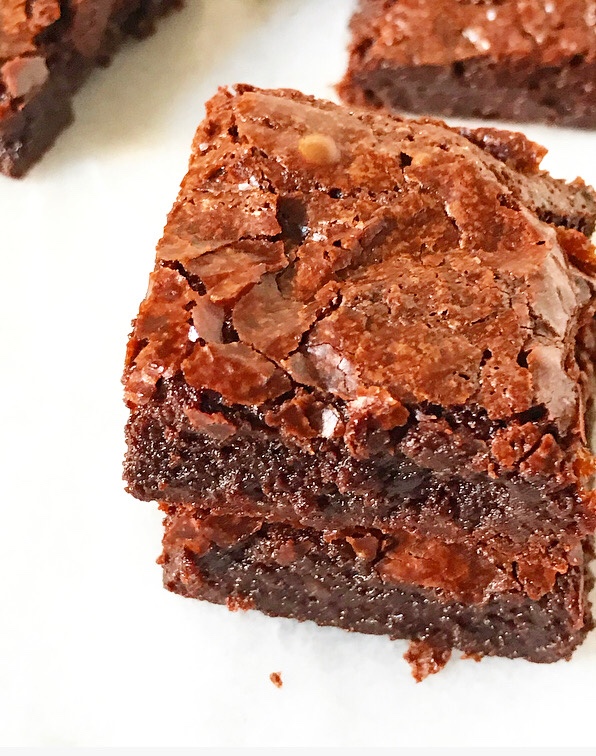 So, what produces that perfect top? Cooking/baking science wiz
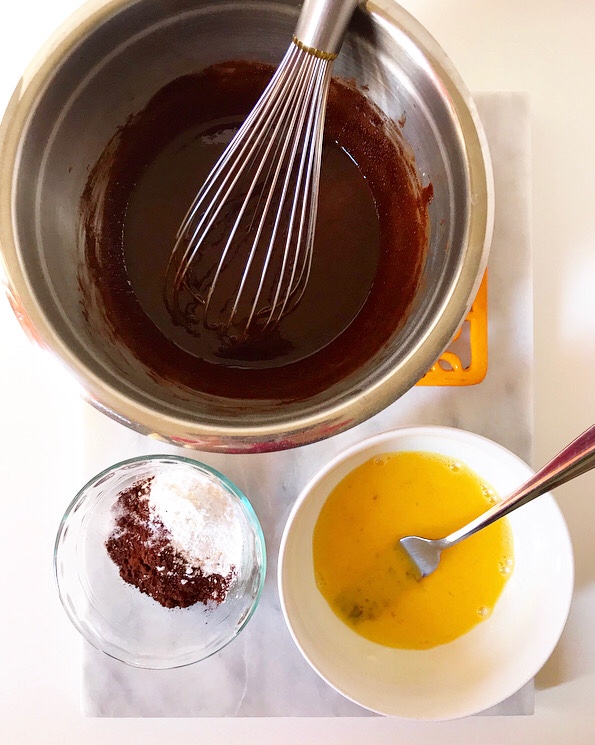
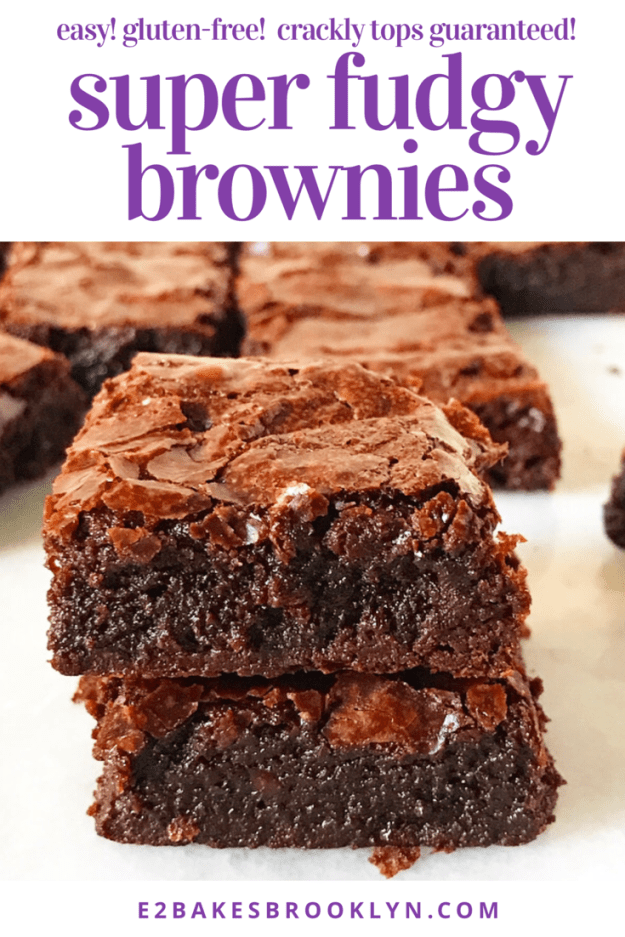
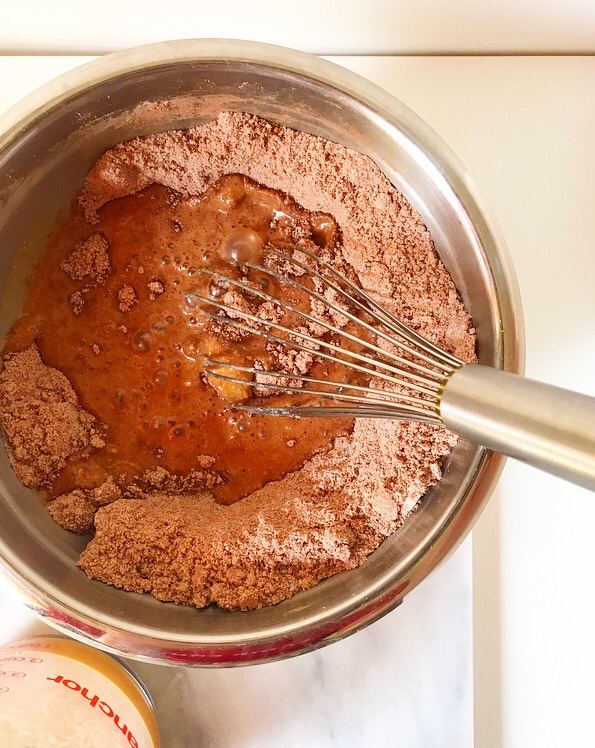
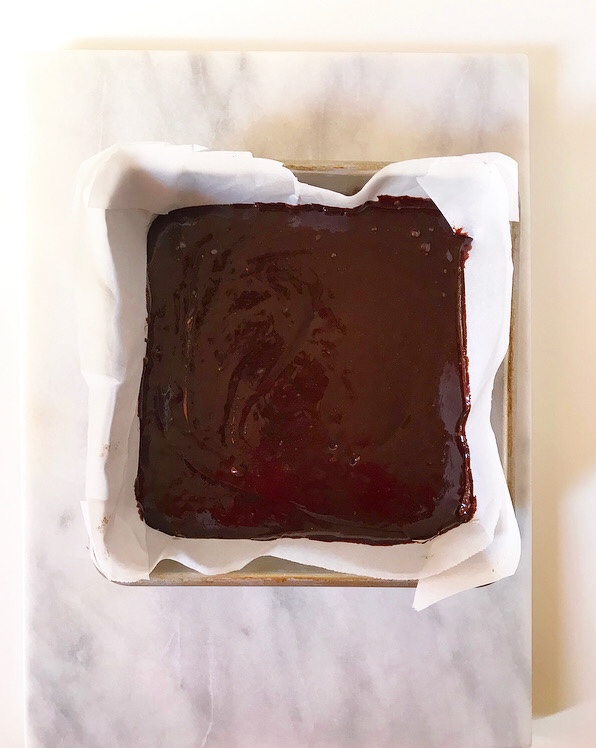 Here, meringue is more…deconstructed. Essentially, sugar is whisked into butter and chocolate that have been melted together. This suspends the sugar in the flavor/texture base of our brownies. Dry ingredients are whisked in, followed by vanilla and a couple of eggs that have been beaten just until they’re starting to get bubbly. The batter is spread into a pan and baked for nearly half an hour, until just set.
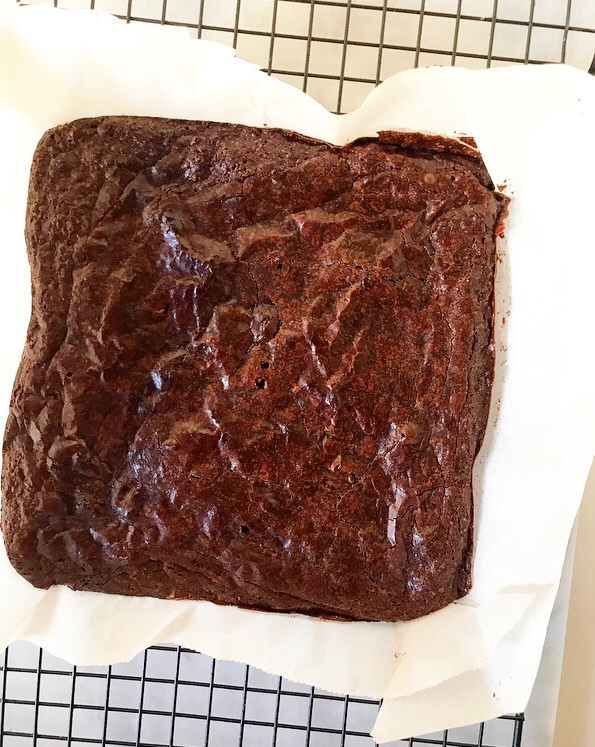 Did that make sense? I think it sort of made sense. I am a C+ chemistry student, y’all. If I had known I’d spend so much time thinking about chemical reactions, I may have paid more attention.
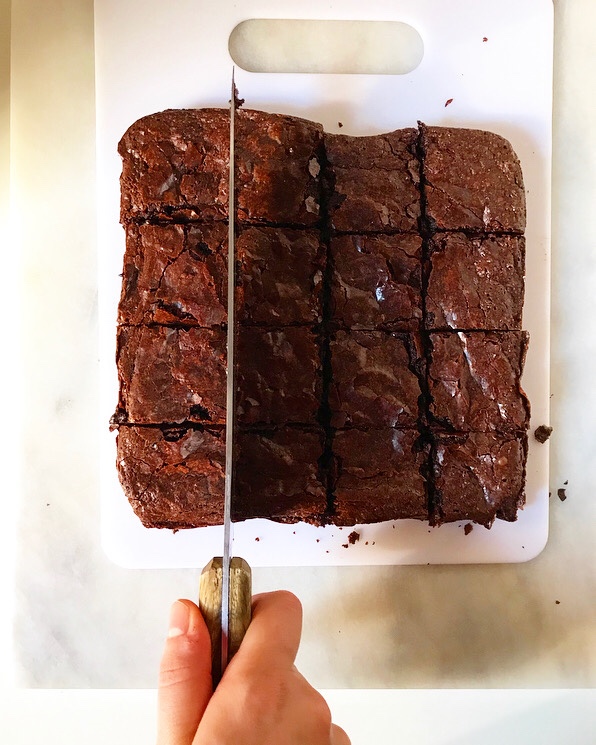 When you look at the recipe, you may notice that I use bittersweet chocolate in these brownies instead of the usual unsweetened chocolate. This is simply because I almost always have bittersweet chocolate (Trader Joe’s PoundPlus Dark Chocolate is my go-to) and almost never have unsweetened. When I want brownies, I want to be able to make them without having to go to the grocery store, you know?! I have reduced the added sugar in this recipe to reflect using sweetened chocolate. If you have (or prefer) unsweetened, just up the sugar to 1 cup.
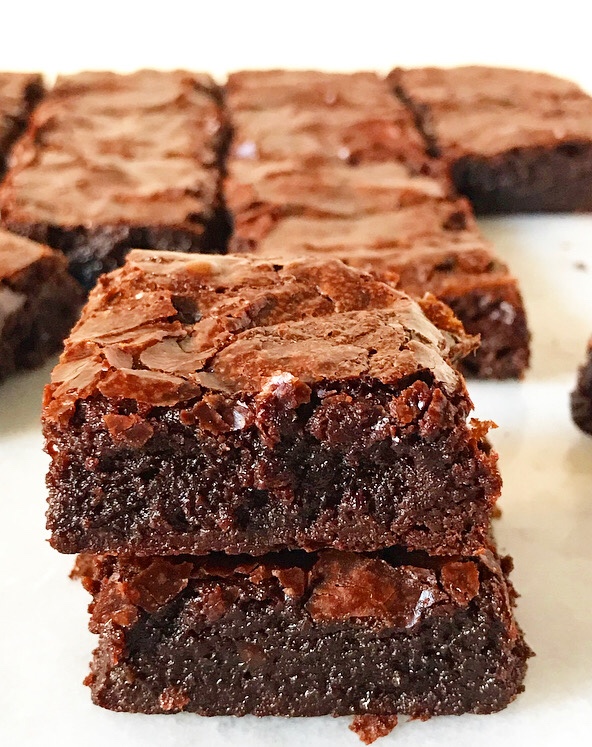 Did I mention that these brownies just happen to be gluten-free? Where many recipes call for flour, the dry ingredients here are a combination of cocoa powder and cornstarch. The cocoa powder provides a little structure and an extra hit of chocolate flavor—yum. As for the cornstarch, you could definitely use an equal volume of flour in its place, but I like the smooth texture it provides here, the same way it does in cakes and cookies. Plus, it means more friends can enjoy these brownies. Yesssss 😊
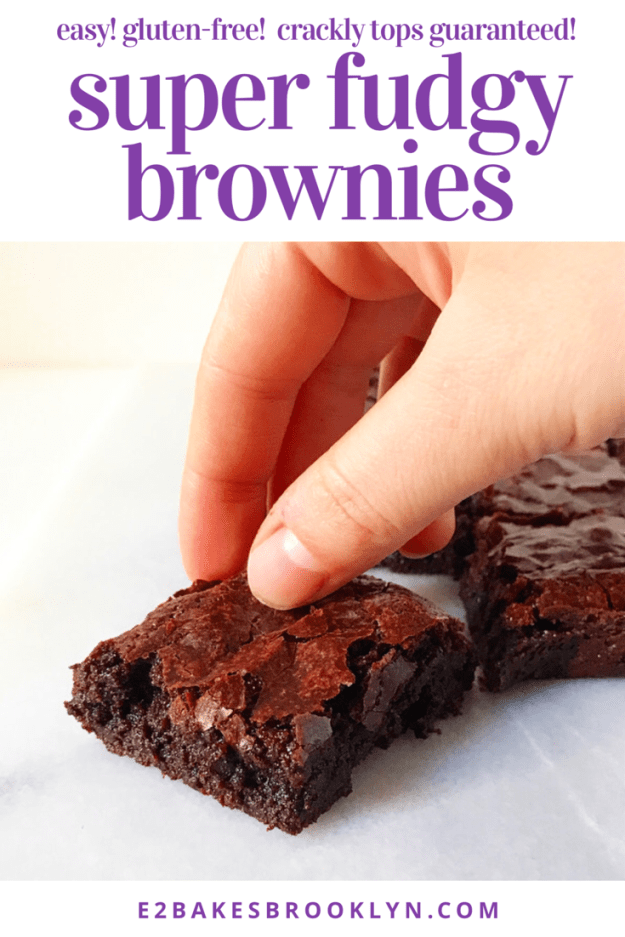
 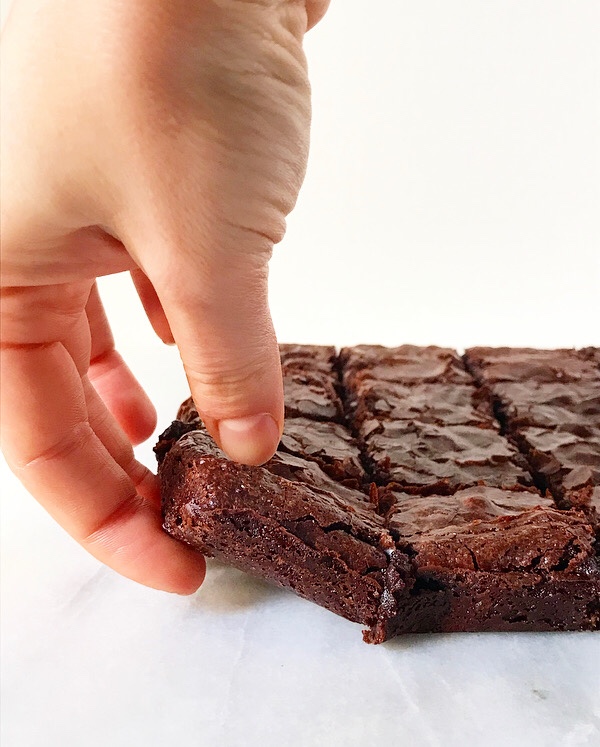 One last thing: this recipe is easy and requires just eight ingredients! I felt this warranted a mention because there is a lot of technical jargon in this post. But I promise these are easy. They’re soooo easy. And super dense and fudgy and delicious. And they have that perfect crackly top. And perhaps you too will soon have a freezer full of brownies. It’s a very good problem to have.
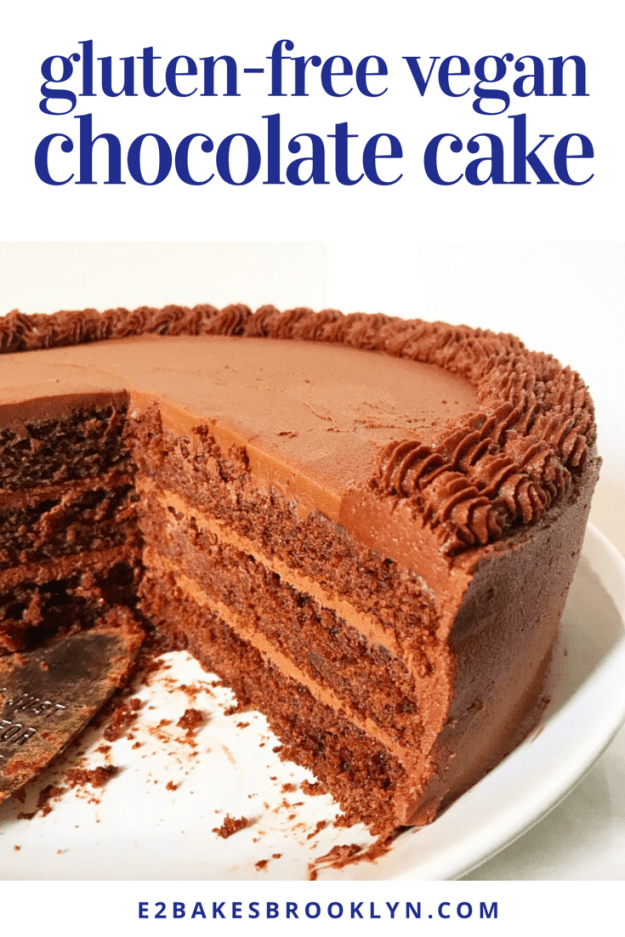
 When you make as many layer cakes as I do, it’s inevitable that someone will ask you to make a gluten-free or vegan one, or one that is both of those things. I used to fear these requests and turn them down across the board, but as time has gone on, I’ve gained confidence, learned new skills, and befriended my NYC ride-or-die,
 It all started with The Minimalist Baker’s genius
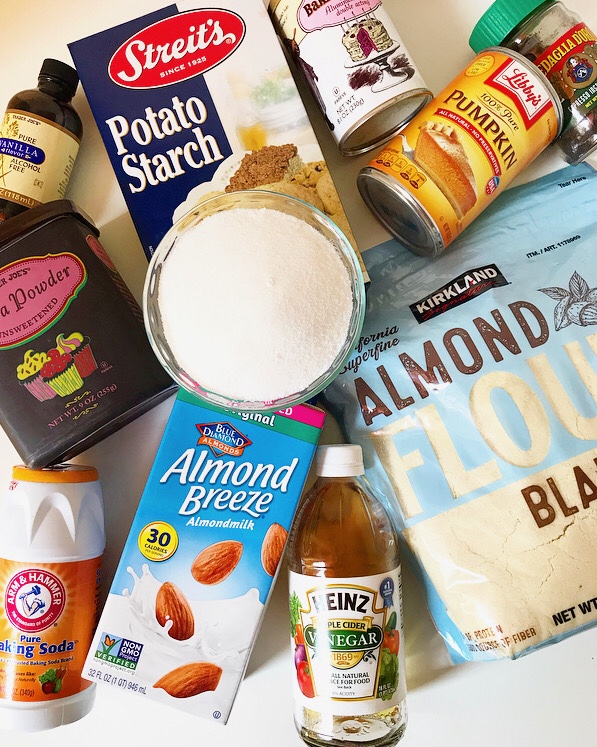
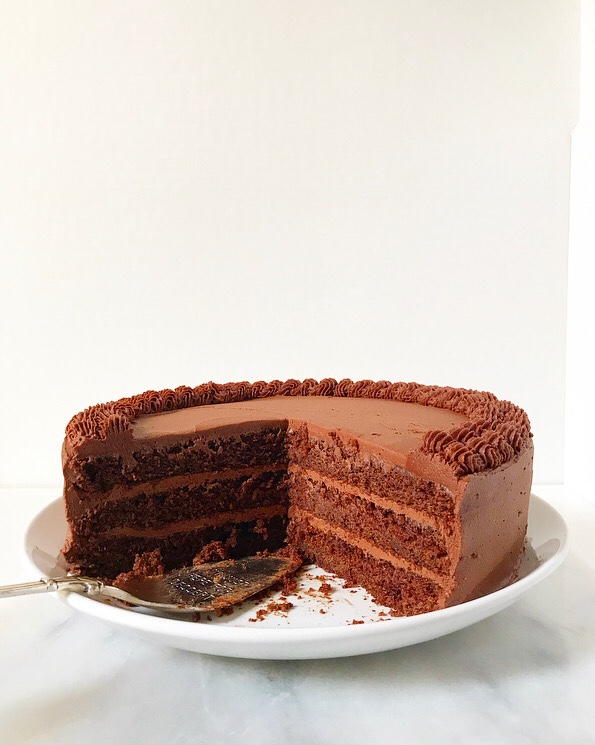
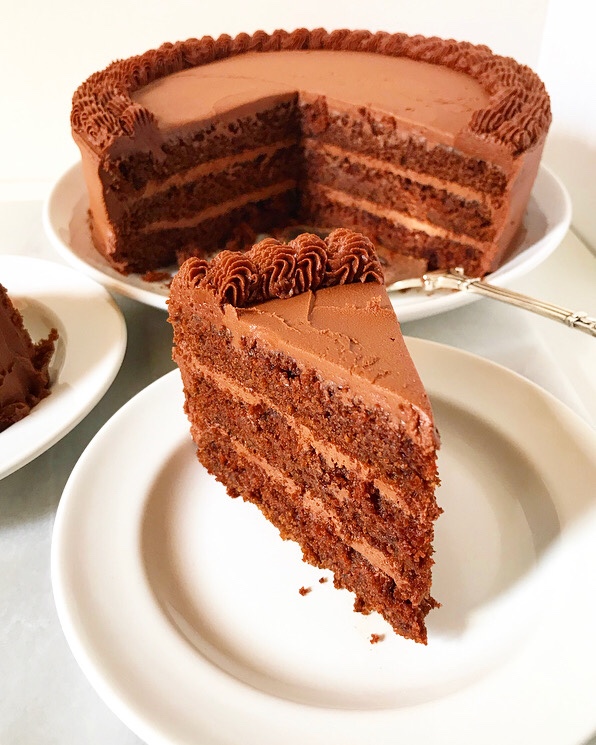
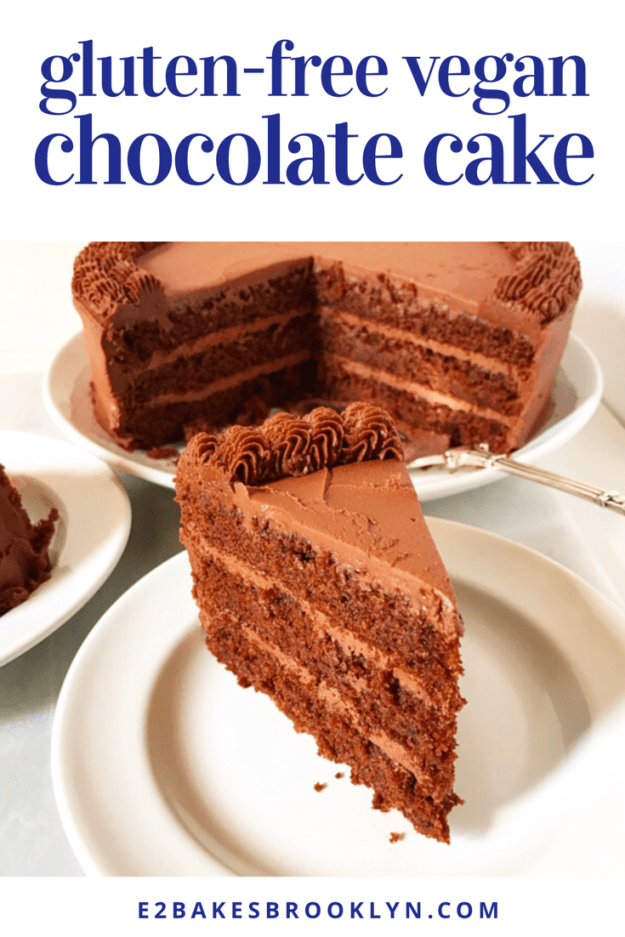
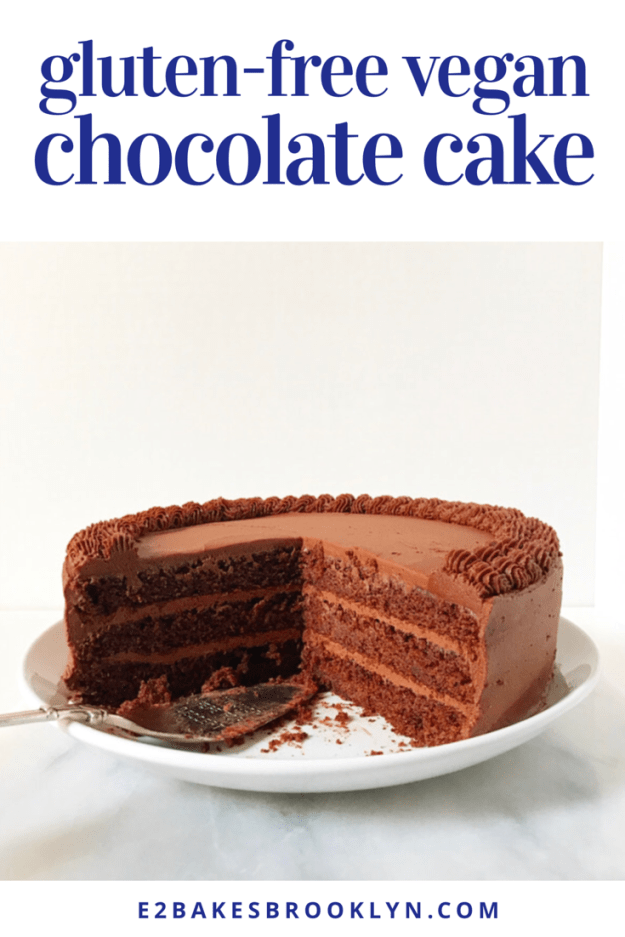
 This triple-layered chocolate masterpiece is gluten-free and vegan, yes, but also moist and tender and chocolaty AF—exactly what you want in a layer cake, gluten-free and vegan or not. I used Dana’s (
 If you’re looking at this list of ingredients and wondering where to find them, the answer is almost any well-stocked grocery store. Blanched almond flour is available at Trader Joe’s and Costco, as well as my local supermarket. Potato starch is usually in the specialty flours section or the Kosher foods aisle.
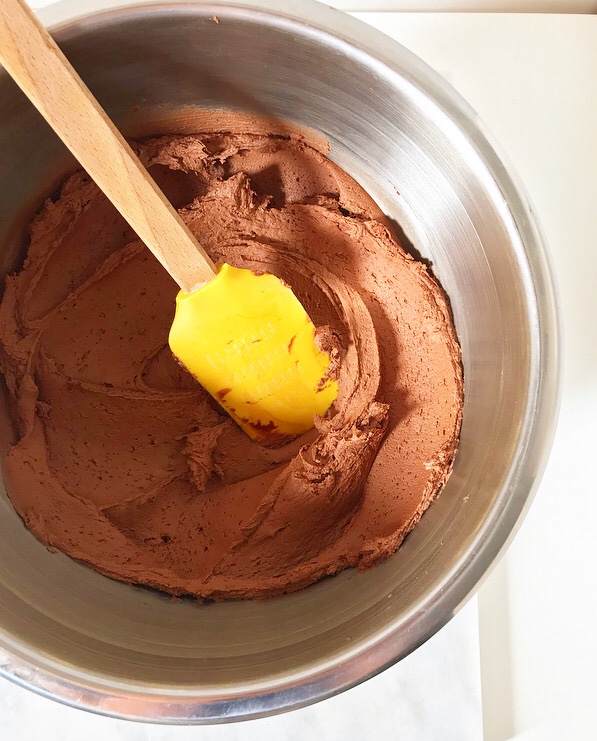 As for the swoopy, pipeable Vegan Chocolate Buttercream…well, first of all, good luck not just eating it straight from the bowl. It’s as flavorful and creamy as traditional chocolate buttercream, thanks to a base of equal parts vegan butter and coconut oil-based shortening, along cocoa powder and confectioner’s sugar.
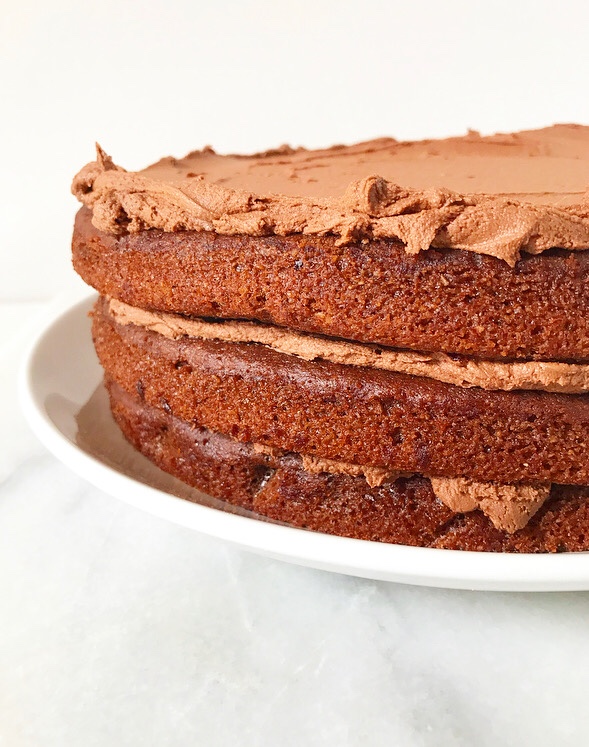
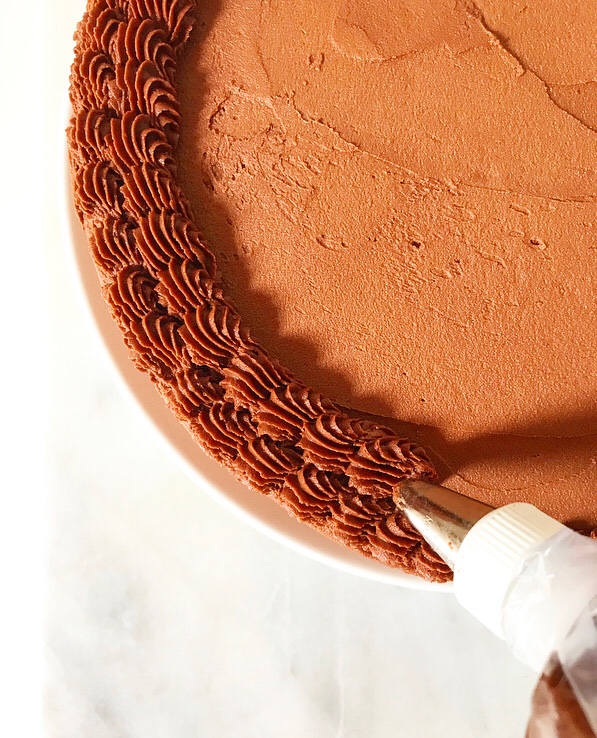 I recommend using shortening in vegan buttercream for the textural magic it works in the absence of dairy butter. Shortening is a polarizing ingredient, to be sure, but it’s what makes this butterless buttercream so incredibly luxurious and pipeable. I am a fan of
 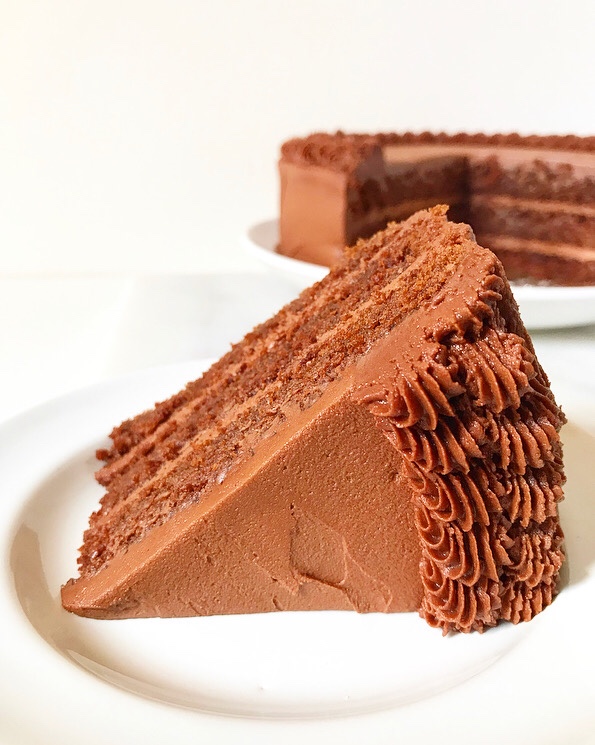 This buttercream recipe makes a lot—enough to fill and frost a cake and then pipe it to the gills! I have had no problem finding things to do with any leftovers (vegan
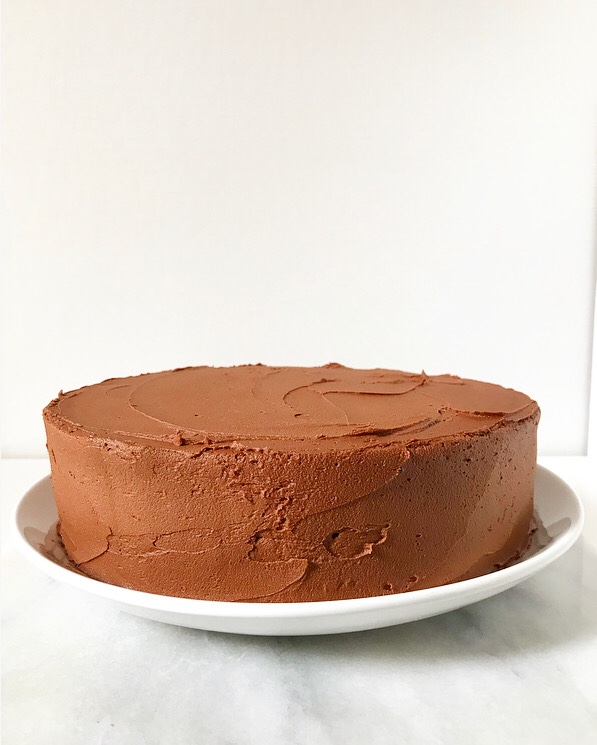
 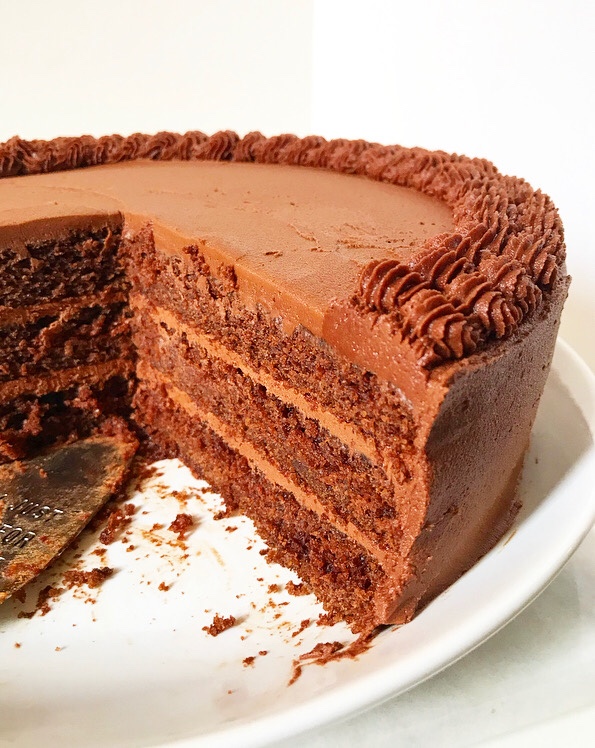 But really, is there such a thing as too much chocolate frosting on a chocolate cake? I don’t think so, especially on one like this that can feed nearly all my friends! This vegan, gluten-free dessert is as delicious and beautiful as it is inclusive. Heck, that in itself is almost enough reason to make one.
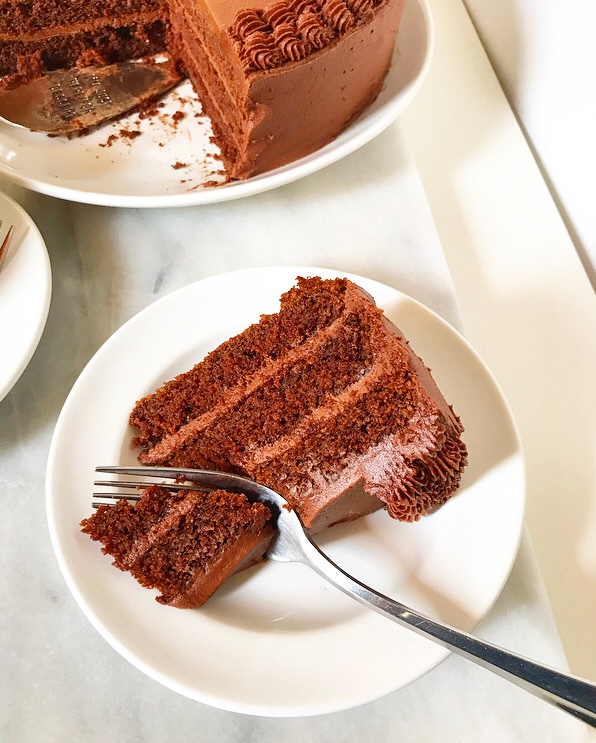
 The last morning on
  But it’s also time for one last good breakfast. Since
 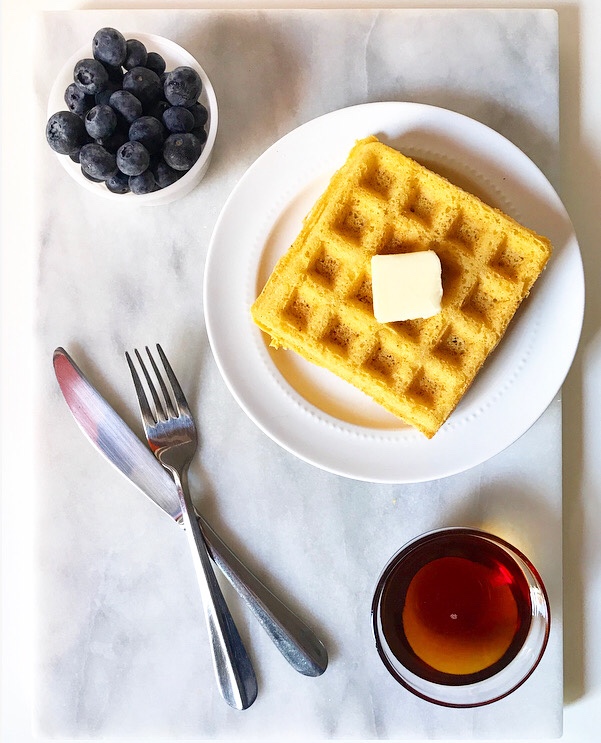 Initially, she may have regretted this. I had it in my head that my
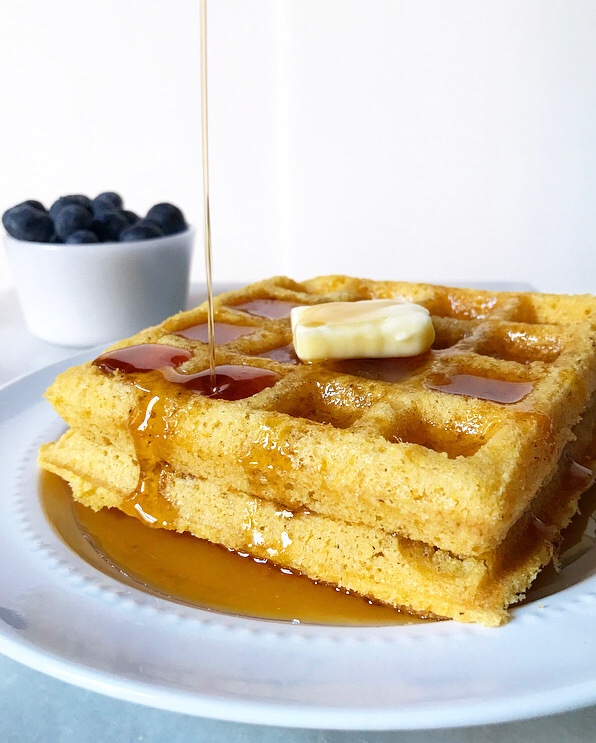
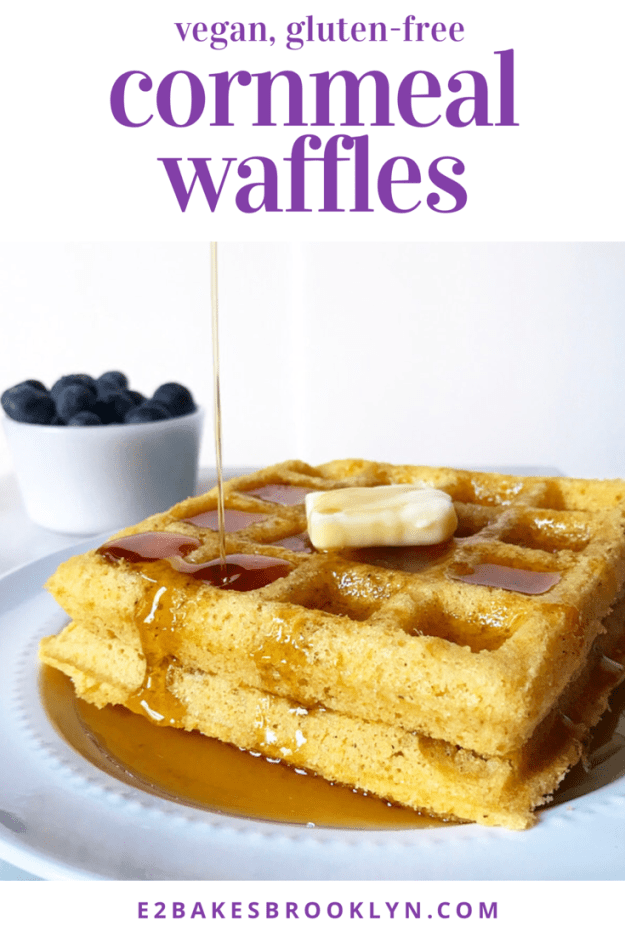
 You can see where this is going—the first round was akin to cornmeal styrofoam. Turns out, waffle batter generally needs to be thinner than pancake batter, lest the final product be tough, dry and heavy. We ate the waffles anyway (bad waffles are still waffles), but it took two days and neither of us was particularly jazzed about it. Needless to say, I was a little disheartened, and spent a couple of days writing and rewriting the recipe until I was ready to try again on the final morning.
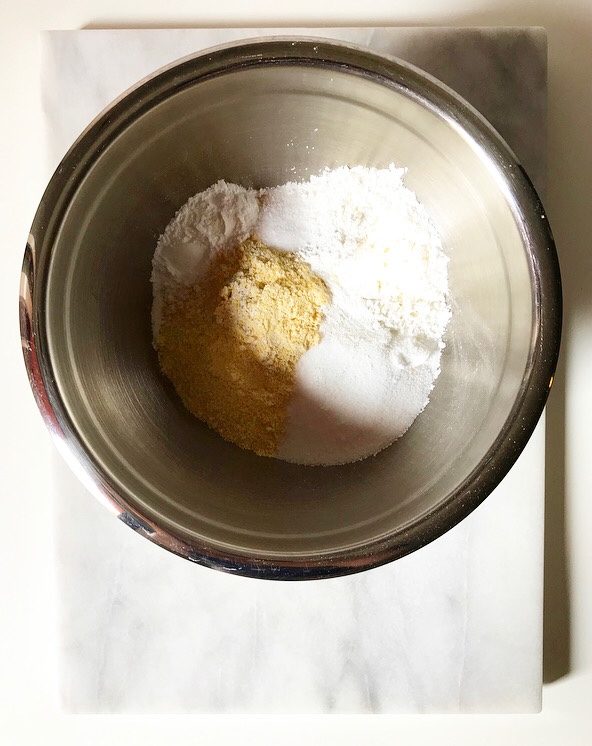
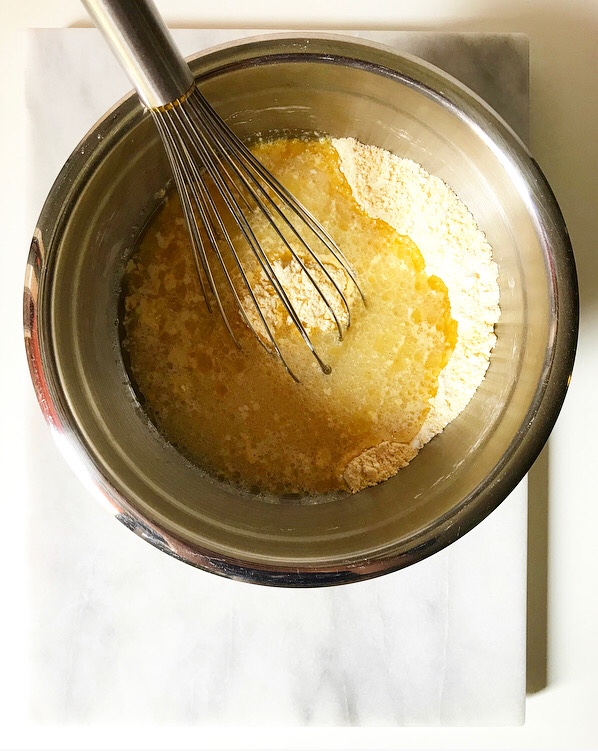
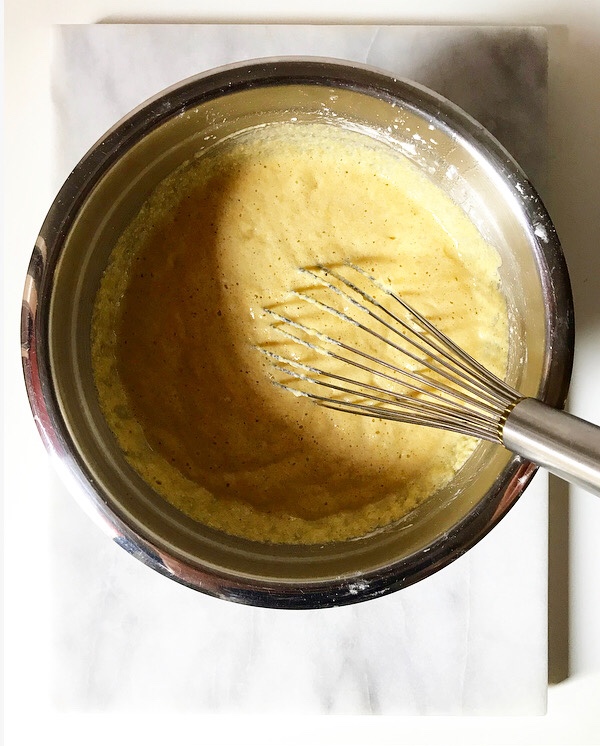 As I began mixing together dry ingredients and measuring out aquafaba and oil, I started to worry that round two would be disastrous too, but I ladled the batter into the iron anyway. VJ and I had an unspoken agreement that we would eat the results, no matter how awful.
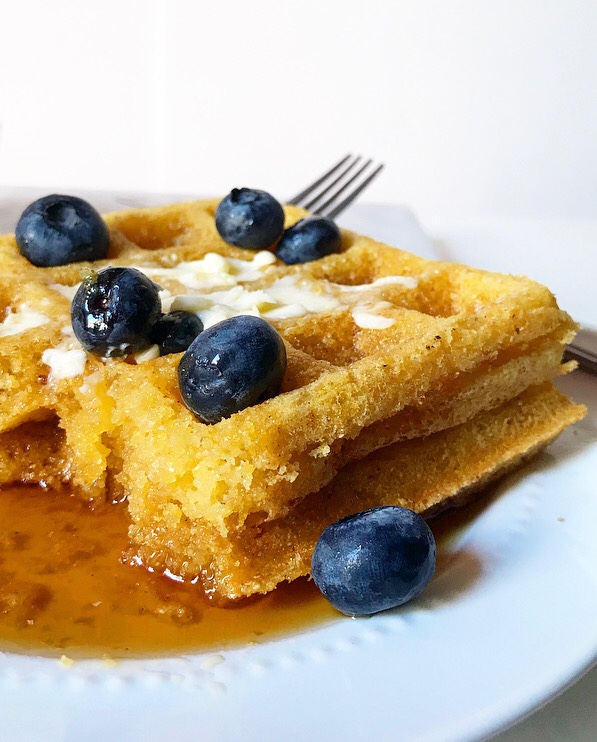
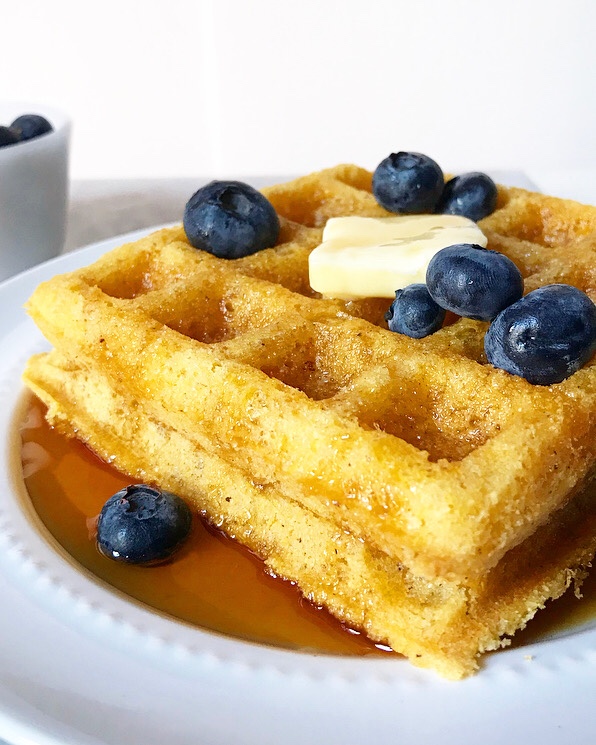
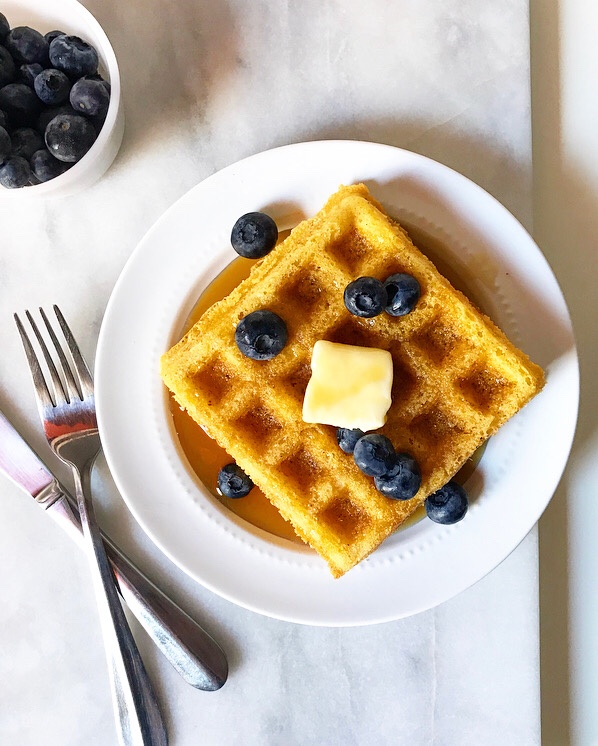
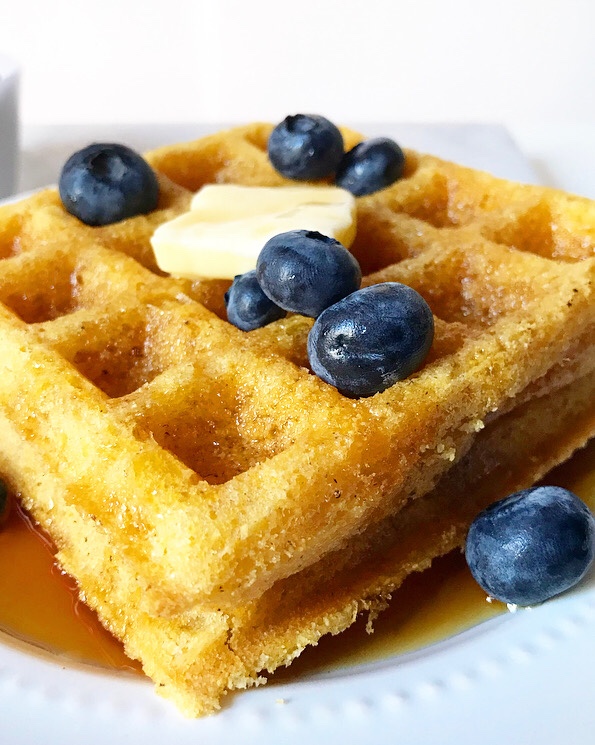 But we were pleasantly surprised. My adjustments—reducing the cornmeal and doubling the aquafaba (chickpea canning liquid/egg substitute)—had worked, producing lighter, softer waffles with crisp edges and a good corn flavor. We finished them in one sitting. No arduous styrofoam-esque breakfasts here!
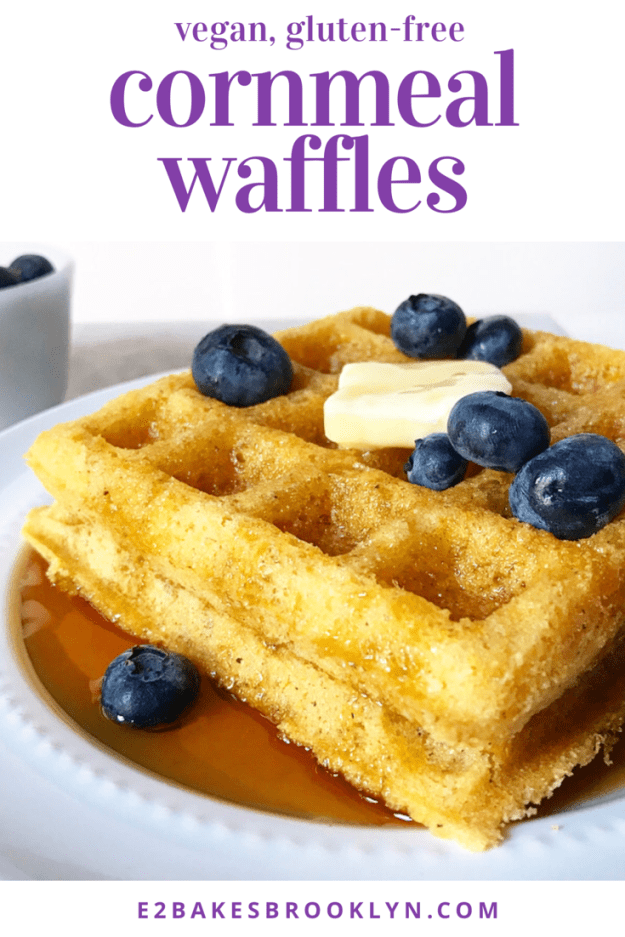
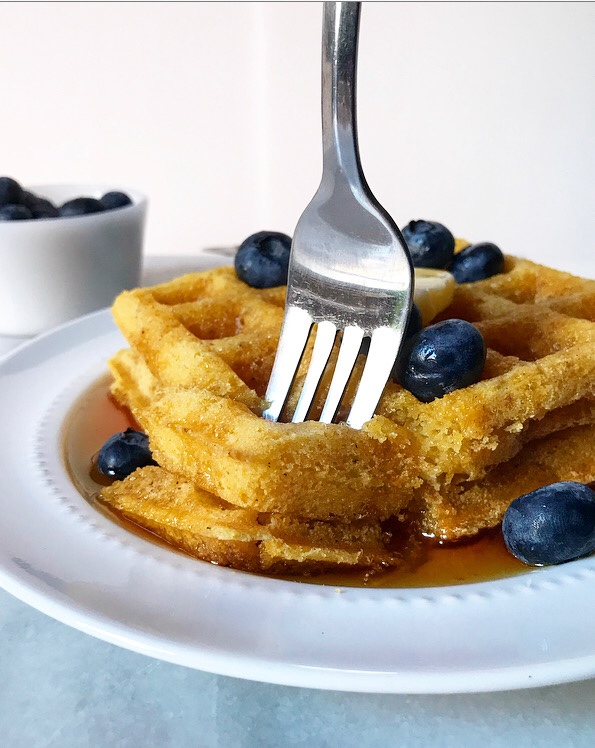
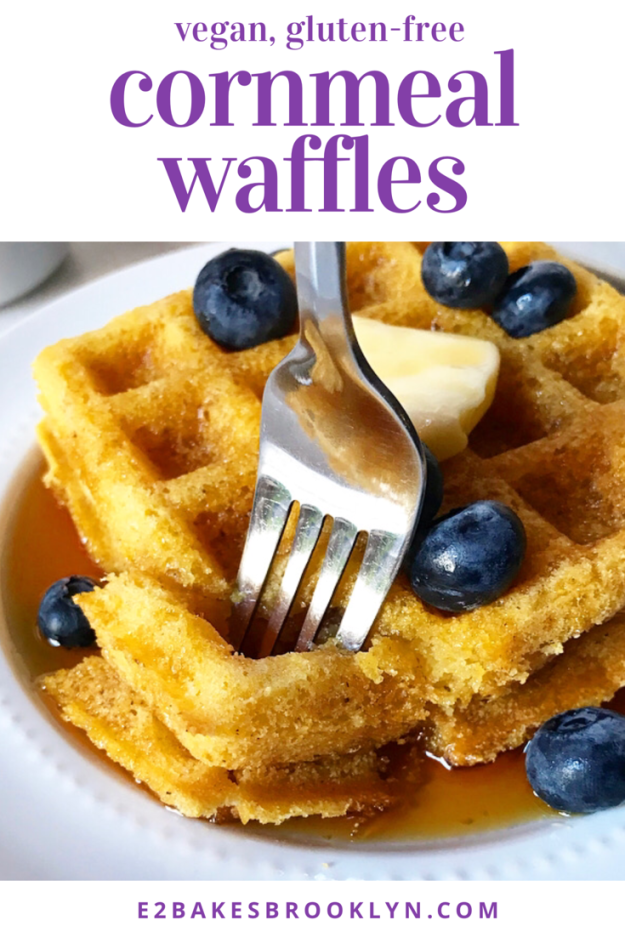
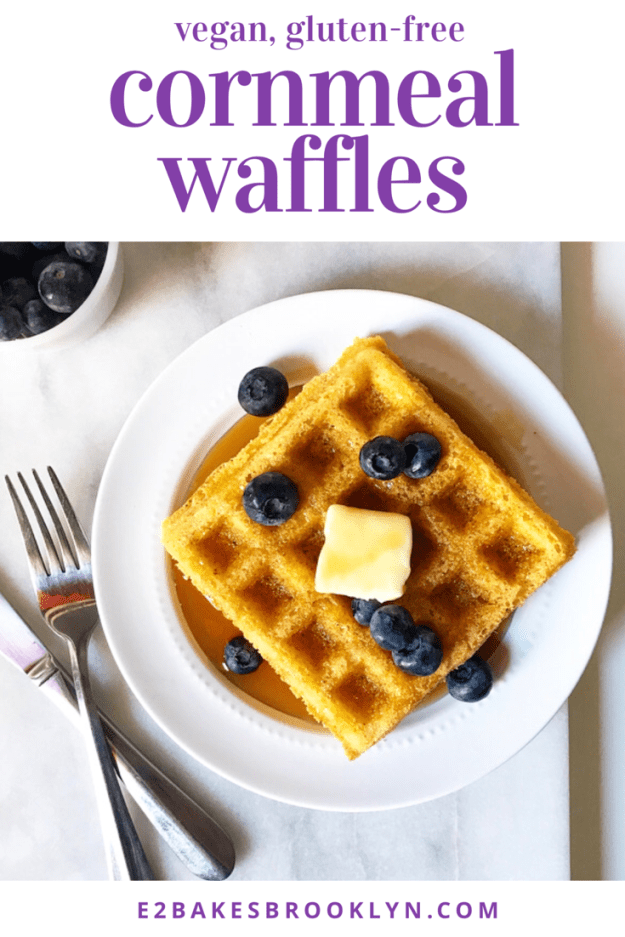
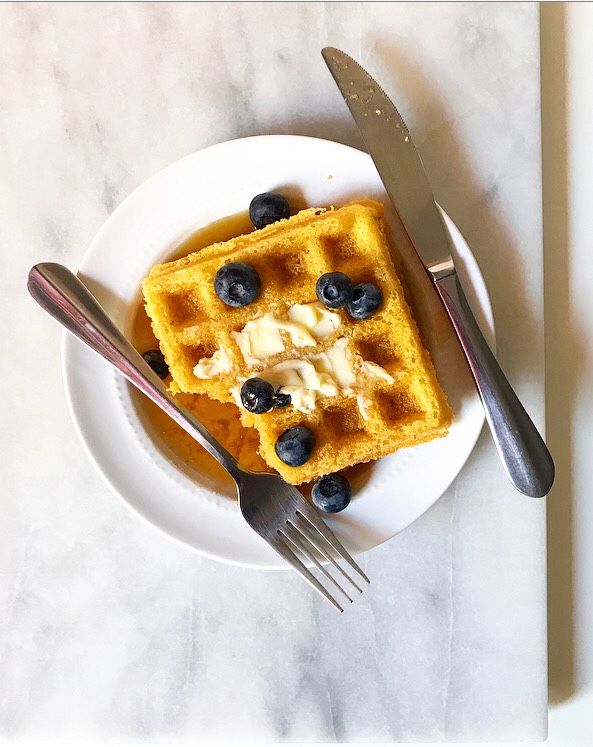 Long story short, in addition to my haul from the vintage stores, this vacation also resulted in my purchase of a waffle maker. I’ve been home for about six days now and have already gotten a good return on my investment: I’ve made this recipe