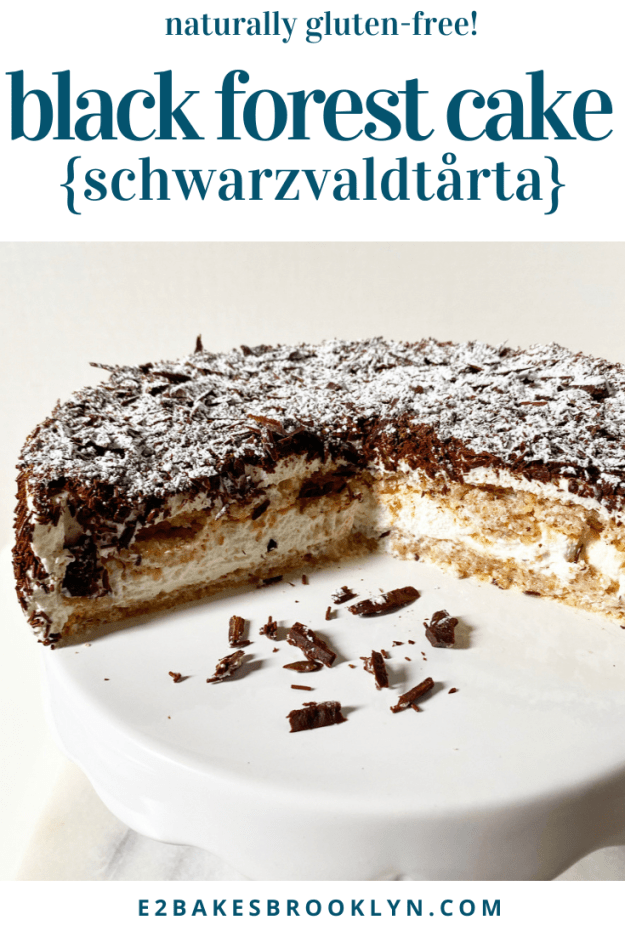
If you’re wondering where the cherries and chocolate cake are in this Black Forest Cake, well, this isn’t your average Black Forest Cake.
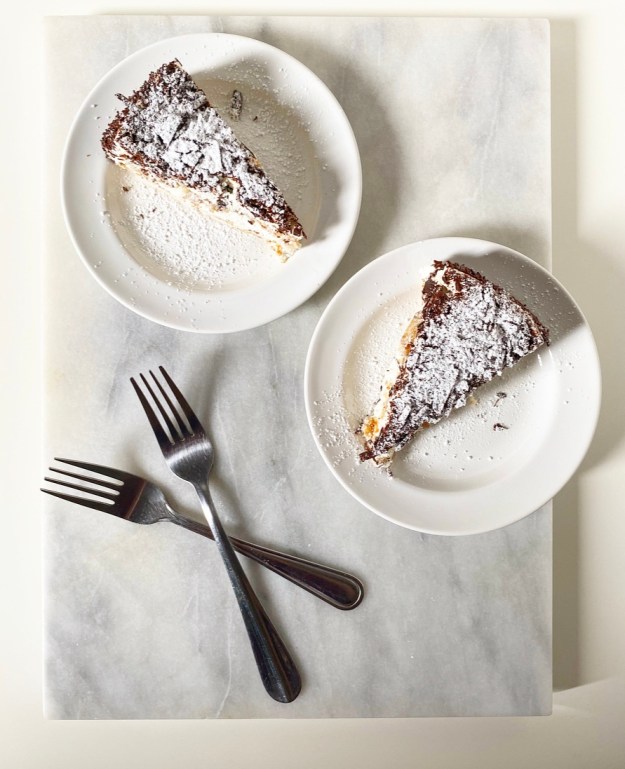 Ohhh no. This is my take on a hometown favorite: Black Forest Cake from Swiss Pastry Shop in Fort Worth, Texas. My mom and grandmother used to take my sister and me to lunch at Swiss Pastry Shop several times a year, and while the sausages and German potato salad were delicious, we were all really in it for the cake. In fact, I think most people who go to lunch at Swiss Pastry Shop are in it for the cake.
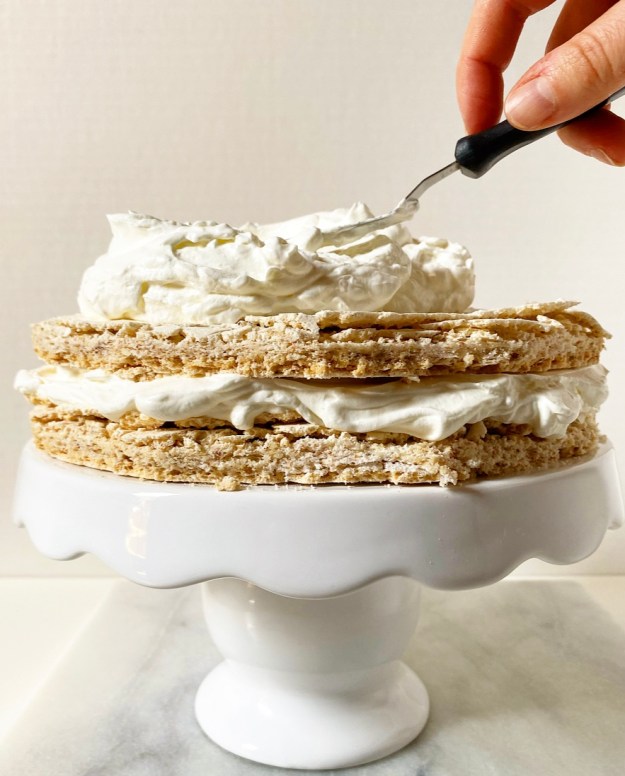
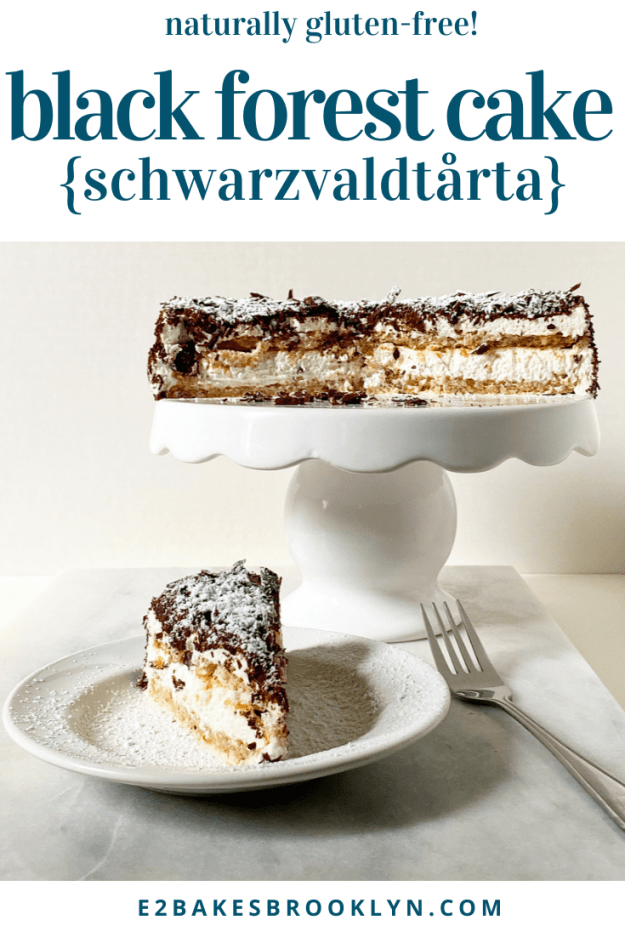
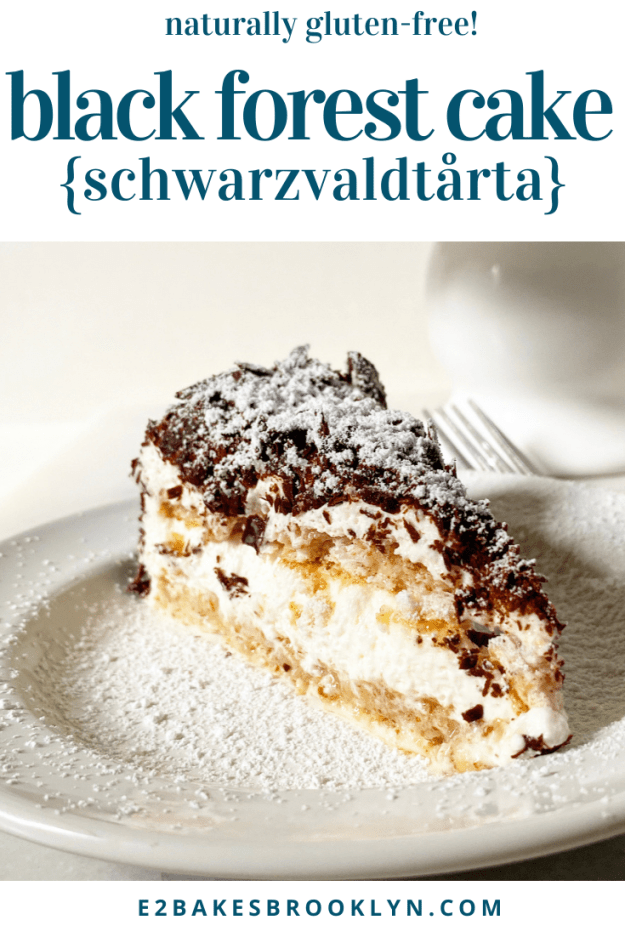
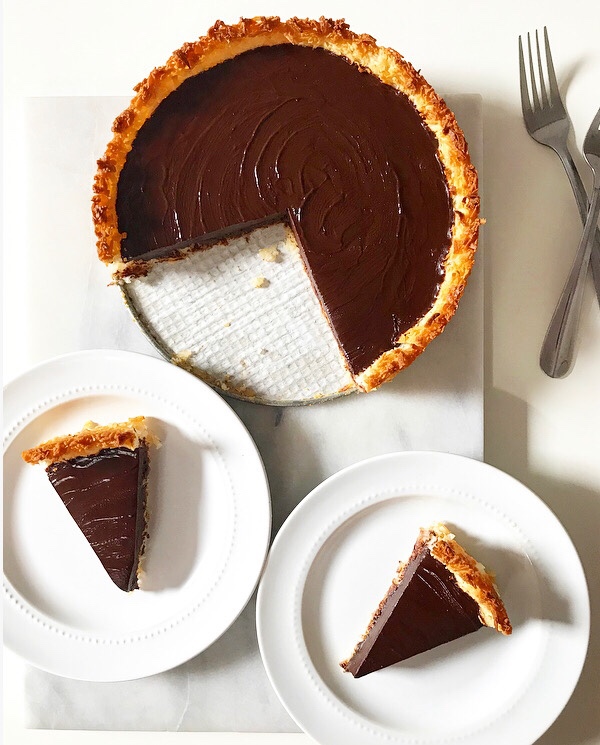
 There’s a reason the citizens of Fort Worth are so in love with this cake—it’s absurdly good, and unique for that part of the world. Made by layering crisp almond dacquoise (meringue with nuts) and whipped cream, and coated with thin chocolate sprinkles and shaved dark chocolate, this cake is hardly a cake at all. It’s pure bliss! Cold, crisp, super-light, creamy, nutty, chocolaty, naturally gluten-free bliss.
Full disclosure: it’s probably my all-time favorite dessert.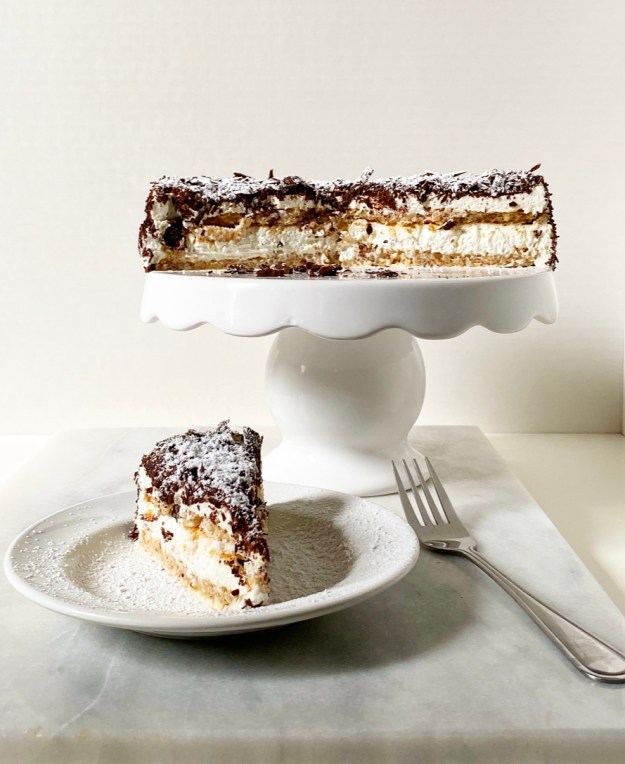 I’ve thought for years that Swiss Pastry Shop’s Black Forest Cake was unique to them—I mean, I’ve never seen or heard of it anywhere else. Turns out, it’s actually a Swedish cake and unrelated to the cherry-chocolate version, only sharing a name (Schwarzvaldtårta). Who knew?!
(Cambridge Cowgirl and Wikipedia. They knew.)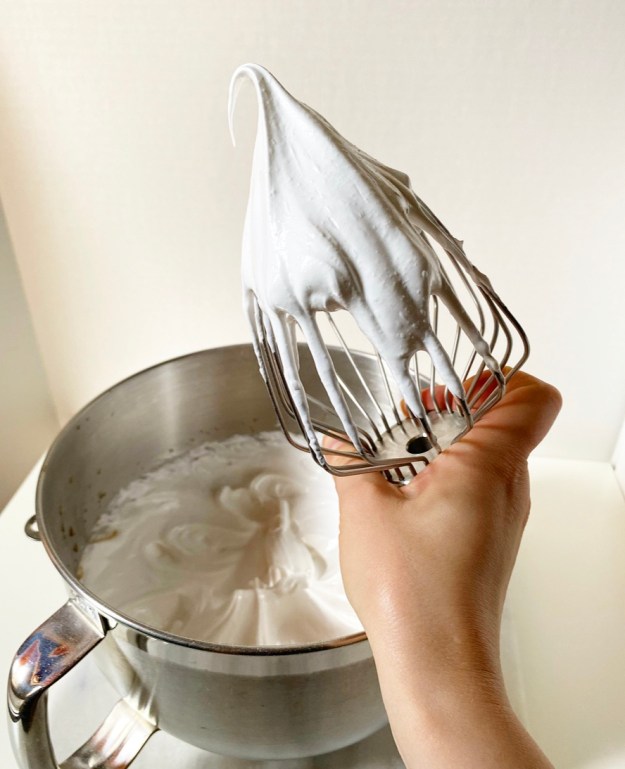
 Now, I’m not going to pretend that this is a carbon copy of Swiss Pastry Shop’s cake—I cannot figure out how they get their dacquoise so thick!—but it tastes *exactly* right and hit the spot on my birthday a couple weeks ago. I made a teeny-tiny version on a whim, because if I had to turn 35 in a pandemic, there was *going* to be excellent cake. And, well, it just doesn’t get much more excellent than Black Forest Cake.
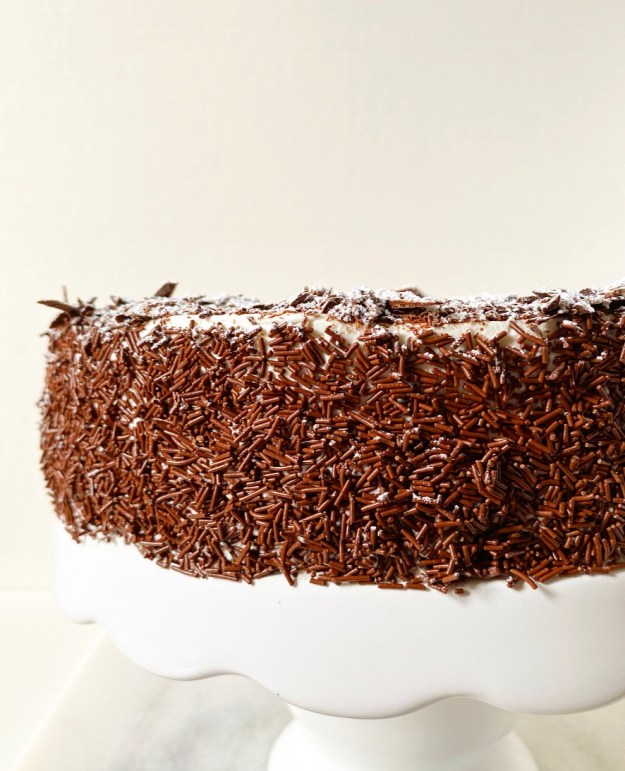 I had no plans to put it on the blog (two home bakers have already posted their own versions), but other Black Forest Cake-deprived friends kept asking for it, so I tested and re-tested six times and here we are. Until the day that Swiss Pastry Shop figures out a way to ship, anyway.
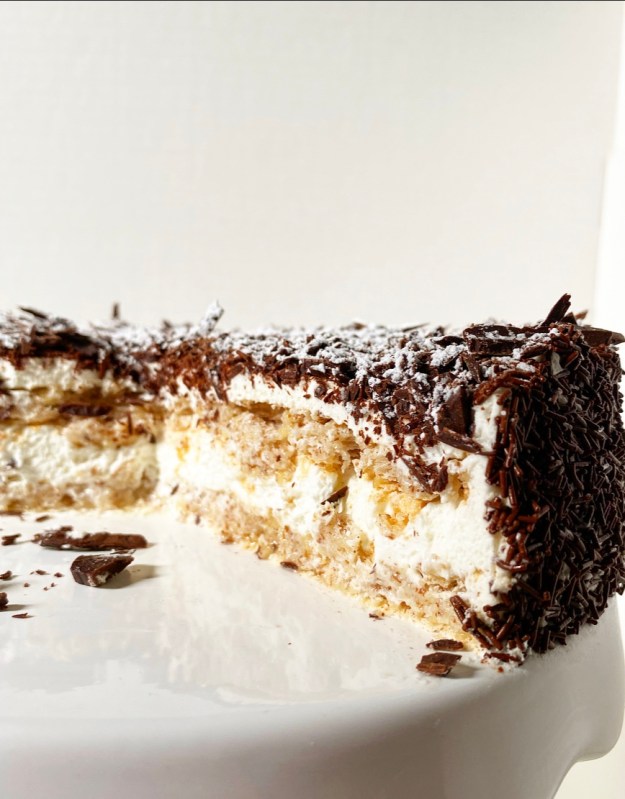 Black Forest Cake requires some skill and a time commitment, but is not actually difficult to make. Here are some tips for success.
-Don’t make this on a humid day and keep all your equipment squeaky clean. Whipped egg whites are temperamental.
-For the best flavor and texture in your almond dacquoise, grind your own raw almonds. I tested this recipe with both store bought almond meal and almond flour, and while they both work, they don’t hold a candle to fresh ground almonds.
-You don’t have to trim the layers after baking, but it makes them easier to stack and results in a more streamlined finished product.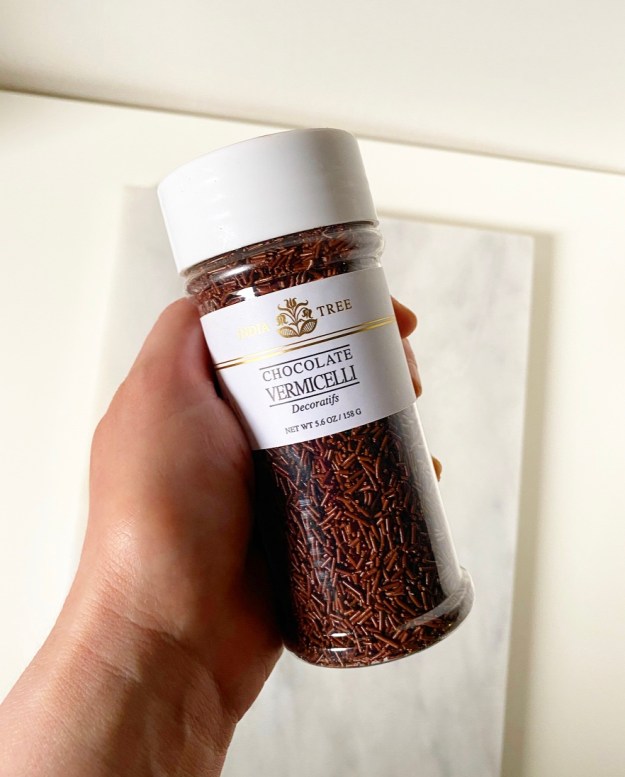
-Use good chocolate sprinkles. The stuff in the ice cream topping section will work, but India Tree Chocolate Vermicelli or hagelslag are the very best. I promise you’ll find ways to use up the leftovers.
-Don’t wait to serve this cake—day-of is ideal. As with many whipped egg white-based things, the dacquoise will weep and degrade over time. If you have leftovers, I have included freezing instructions at the end of the recipe.
-If you want to make a tiny cake, halve the recipe and spread the dacquoise in two 4-inch circles before baking. Alternatively, make one 8-inch layer, then use a 4-inch ring to cut out two layers.  Whew! Okay, I think that’s all. This one was a labor of love, y’all. Not for yours or mine, but for the love of cake. Really excellent cake.
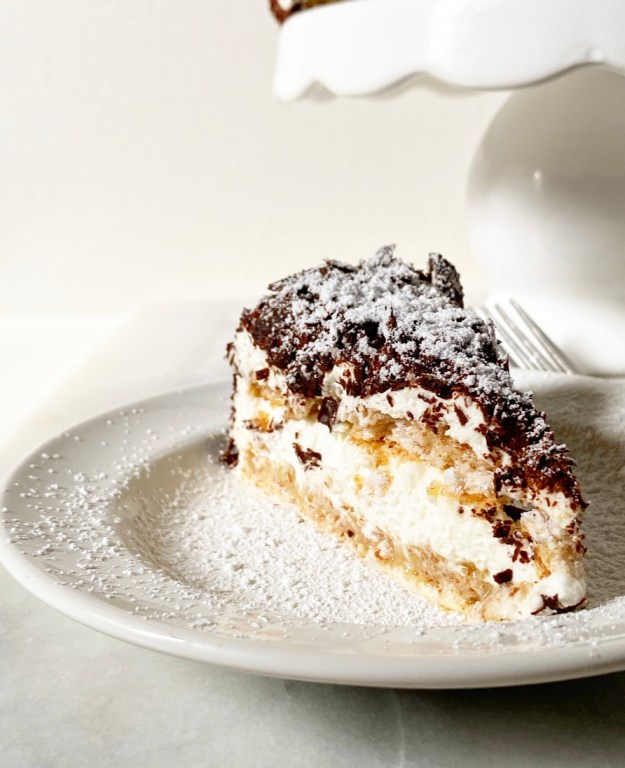
Black Forest Cake {Schwarzvaldtårta}
inspired by Fort Worth’s Swiss Pastry Shop
makes one 8-inch cake
Almond Dacquoise:
1 1/4 cups whole raw almonds*
1 tablespoon cornstarch
1 1/2 cups superfine sugar (granulated sugar will work)
1/2 teaspoon cream of tartar
6 large egg whites, room temperature
pinch of salt
Whipped Cream:
1 pint (2 cups) heavy cream, very cold
1/2 cup confectioner’s sugar
For assembly:
1/3-1/2 cup high-quality chocolate sprinkles (hagelslag)
4 ounces bittersweet chocolate, shaved or finely chopped
confectioner’s sugar, for dusting
Read the recipe all the way through before beginning. There is a large time commitment (mostly hands-off).
Egg whites will not whip properly if they are not treated well. Do not attempt this on a humid day. Before beginning, please ensure that all equipment used in this recipe is very clean and dry. I like to wipe down the bowl(s), whisk, and mixer attachments with vinegar before starting the recipe. There is no way to salvage this recipe if the egg whites are contaminated with oil, yolk, or even water.
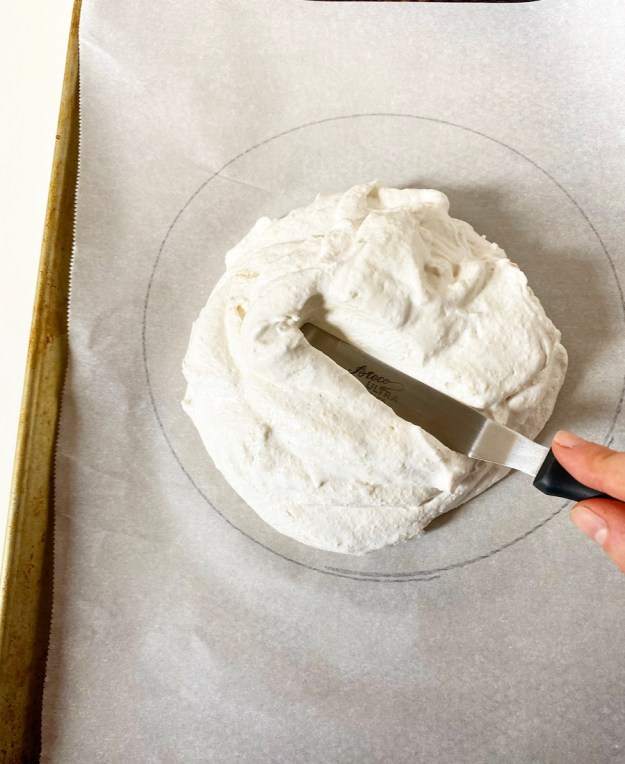
Preheat oven to 250F. Using an 8-inch round pan as a template, use a pencil (or other writing implement) to trace 8-inch circles onto two pieces of parchment. Turn parchment pieces over (pencil-side down) and place on two rimmed baking sheets. Set aside.
Make the almond dacquoise. Place almonds in a food processor and process for 30-45 seconds, until finely ground. Do not over-process (it could veer toward almond butter). Measure out 1 1/2 cups of your homemade almond meal. Stir in the cornstarch. Set aside.
Stir together sugar and cream of tartar. Set aside.
Combine egg whites and salt in a very clean, dry mixing bowl. Using an electric mixer fitted with a very clean, dry whisk attachment, beat the egg whites and salt on medium speed until very foamy—the whisk should be leaving faint tracks. Turn speed up to medium-high. With the mixer running, add sugar to egg whites 3-4 teaspoons at a time. This will take a few minutes. Mixture should start to look glossy and begin stiffening up. Turn mixer speed up to high and beat continuously until stiff peaks form, about 1-2 minutes.
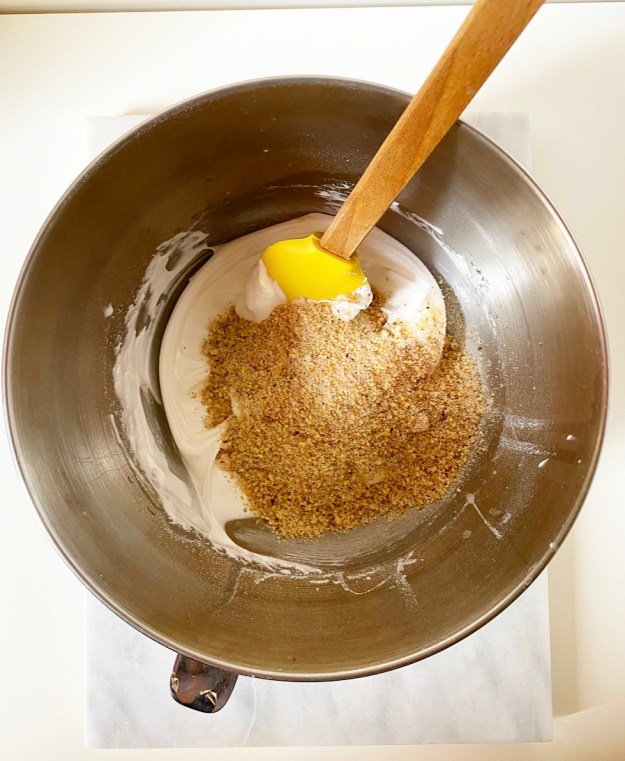
Add half the almond meal to the egg whites and use a silicone spatula or wooden spoon to gently fold it in. Repeat with the remaining almond meal.
Divide mixture into the circles on the two prepared pans (you may pipe if desired). Use an offset spatula to gently spread the mixture to the drawn circle edges.
Bake dacquoise for 1 1/2 hours. It will puff and spread. Do not open the oven at any time.
Turn off oven, leaving the dacquoise inside for another 1 1/2 hours (or up to overnight). Remove layers from oven and let cool completely. At this point, layers may be gently, tightly wrapped in plastic and stored in a dry place for a few days.
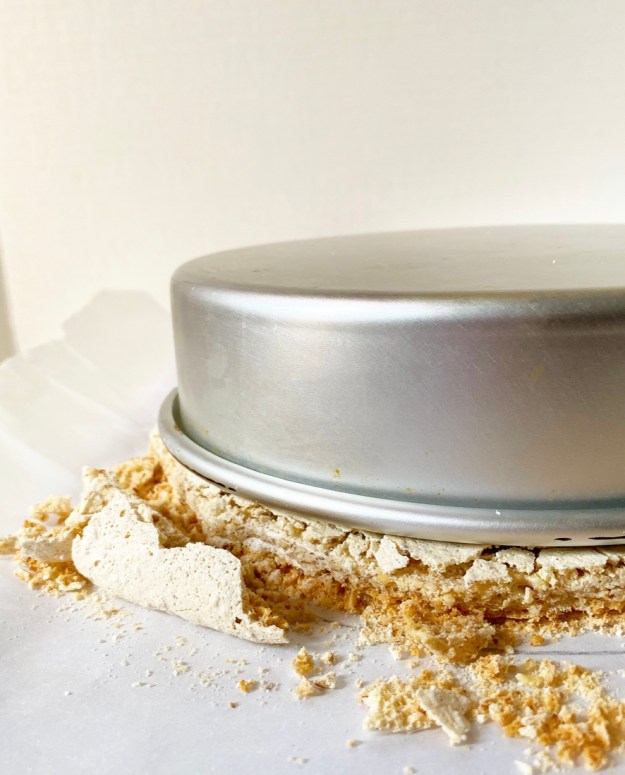
To trim layers, gently place an 8-inch round cake pan on top of one layer. Use a sharp knife to slice off edges—the top will fall slightly during this process, so don’t be alarmed. Repeat with remaining layer.
Make the whipped cream. In a medium-large mixing bowl, combine heavy cream and confectioner’s sugar. Use an electric mixer to whip cream until stiff peaks form.
Assemble the cake. Place one layer of dacquoise on a cake stand or serving plate. Spread a thick layer of whipped cream over it and then gently place the second layer of dacquoise on top. “Frost” cake on the top and sides with remaining whipped cream (you may have some leftover). Refrigerate cake for 15 minutes.
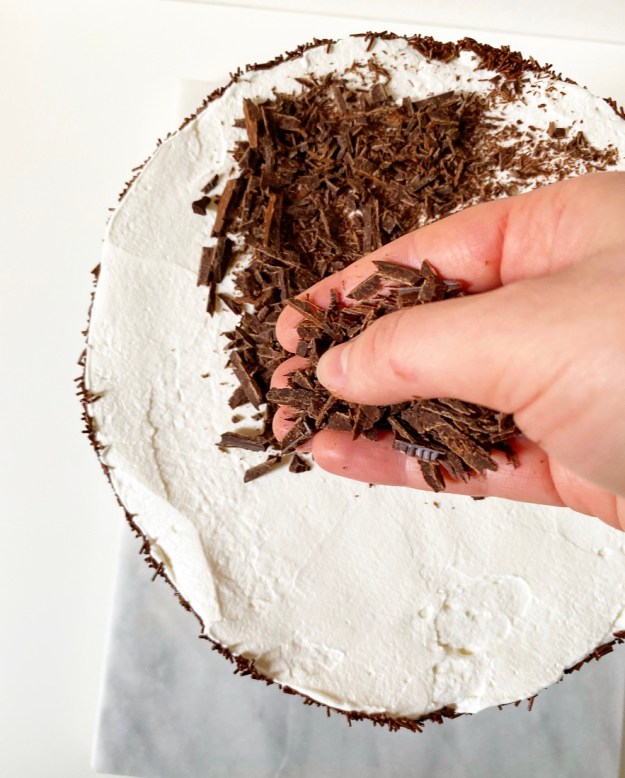
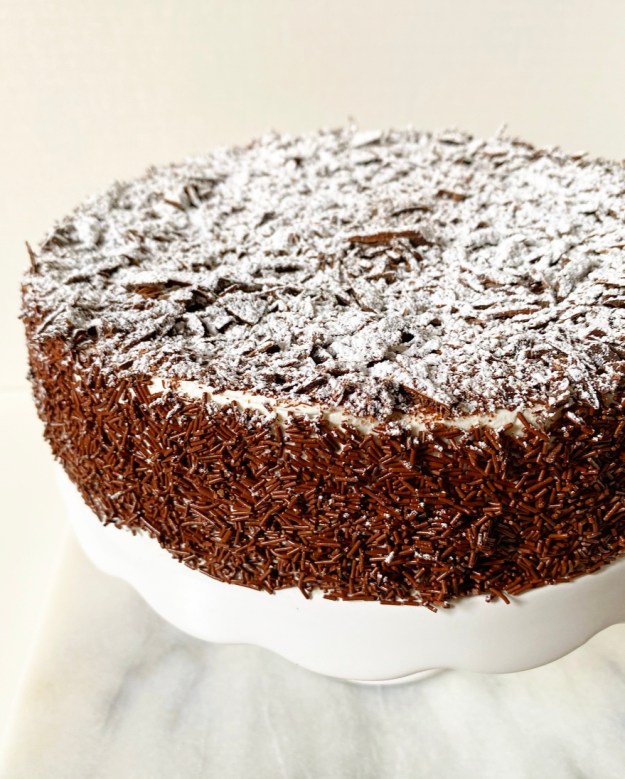
Line a surface with a piece of parchment and place the cake (on stand) on top. Use your hand to gently apply chocolate sprinkles to the sides of the cake. Scatter shaved/chopped chocolate over the top of the cake. Sift confectioner’s sugar over the top.
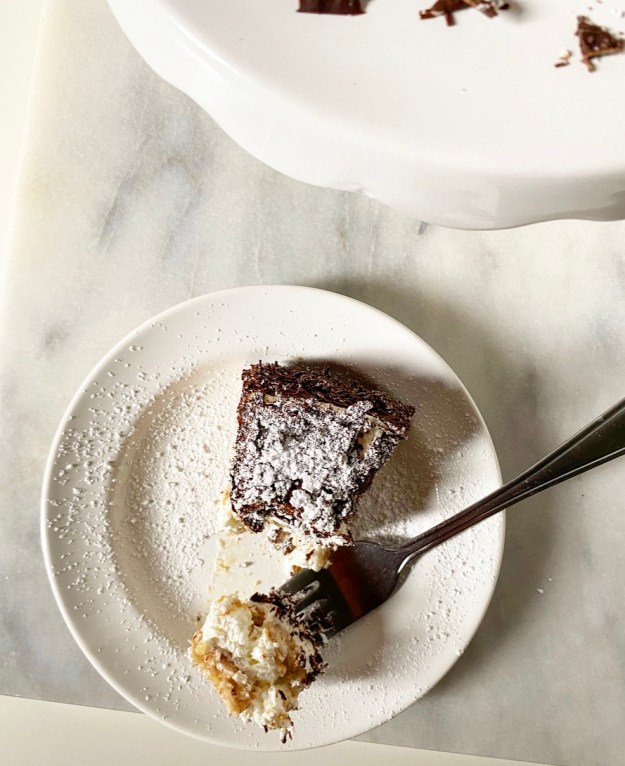
Refrigerate cake for a couple of hours before slicing and serving. Slices will not be perfectly clean. Holding the exposed edge with a bench scraper (or a clean hand) seems to help.
Cake may be kept in the refrigerator for up to a day. The dacquoise will deteriorate over time.
Leftover cake may be sliced, placed on a parchment-lined baking sheet and frozen. Triple-wrap frozen slices with plastic wrap and freeze for up to a month.
Note:
You may use 1 1/2 cups store bought almond meal or almond flour in place of the whole raw almonds. Stir the cornstarch into it and proceed from “Stir together sugar and cream of tartar.”

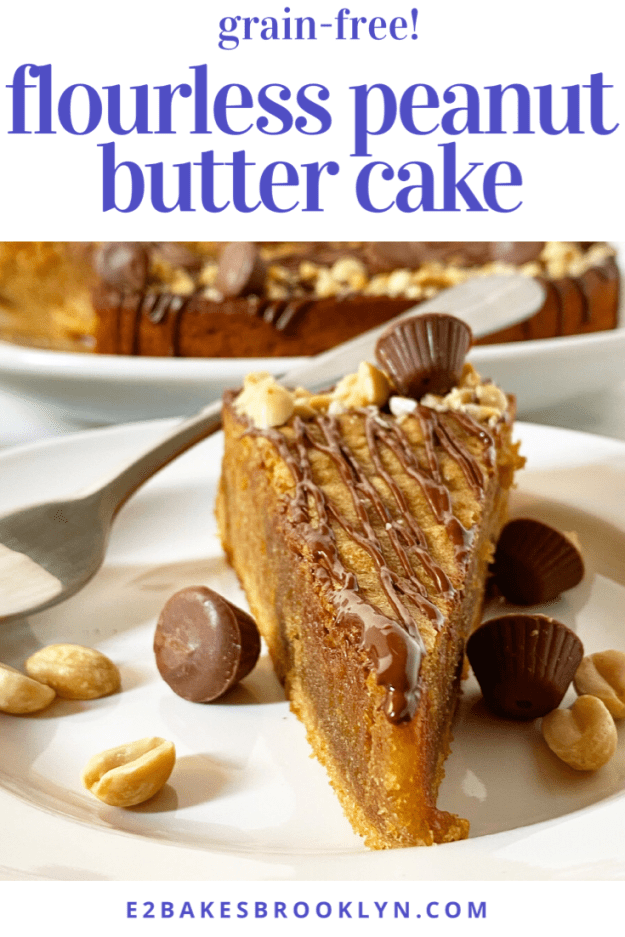
 If you are into rich, thick, salty-sweet, intensely peanut buttery peanut butter things…well, let me introduce you to your new favorite cake. This Flourless Peanut Butter Cake is the sort of thing that you can whip together for a casual night in (also known as every night right now) or dress it up for a birthday or dinner party (when dinner parties are a thing again).
 This recipe is a play on the three ingredient
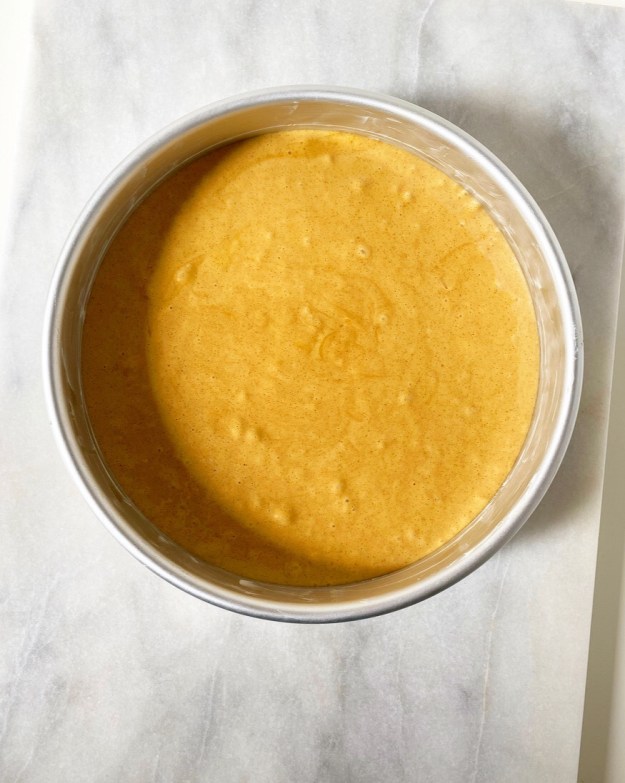
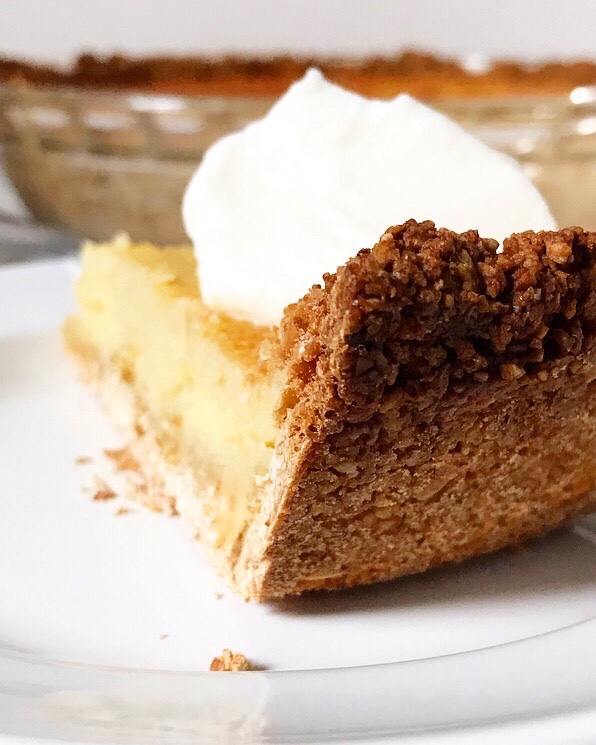
 This cake is almost exactly the same thing, except that I add a few more eggs, a pinch of salt and a little vanilla, and bake it all up in a cake pan. The result is a little chewy at the edges and tender in the center—think somewhere between
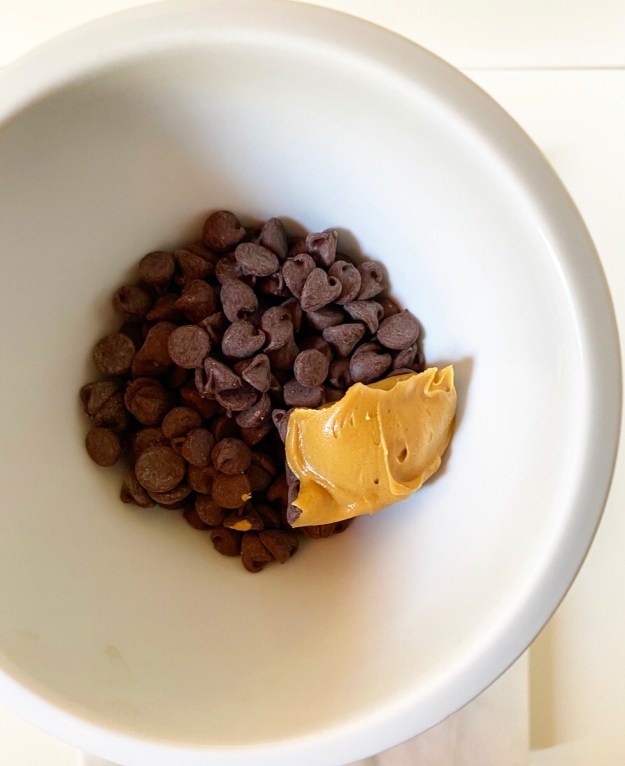
 After the cake has cooled, garnish all up to you. Leave it plain, dust with powdered sugar, serve with ice cream, make it into
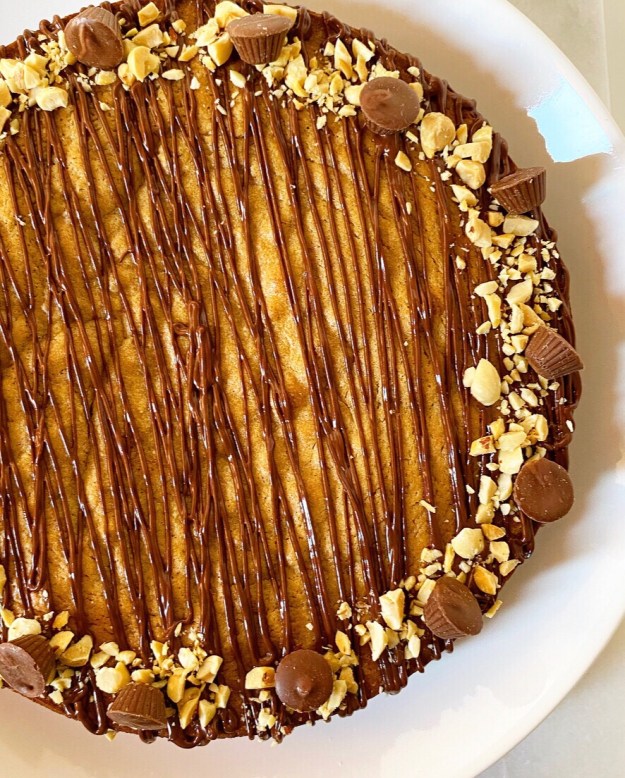
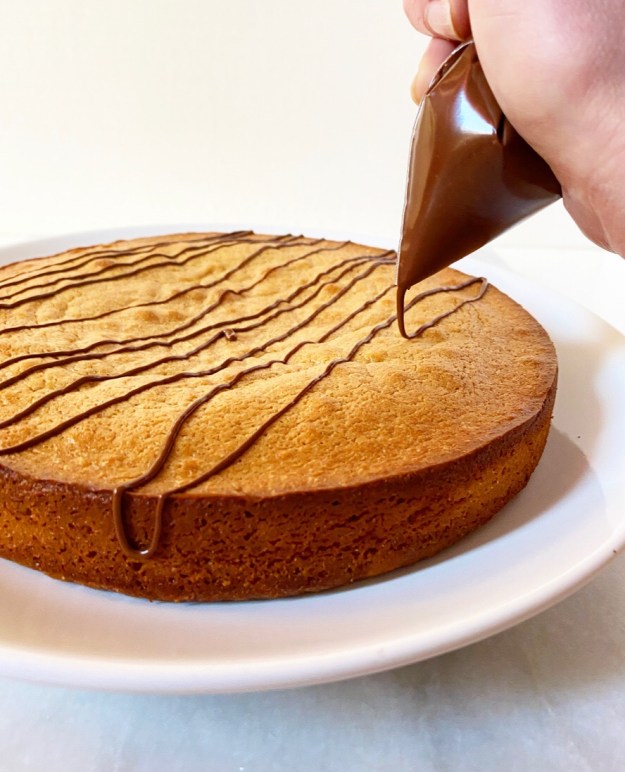
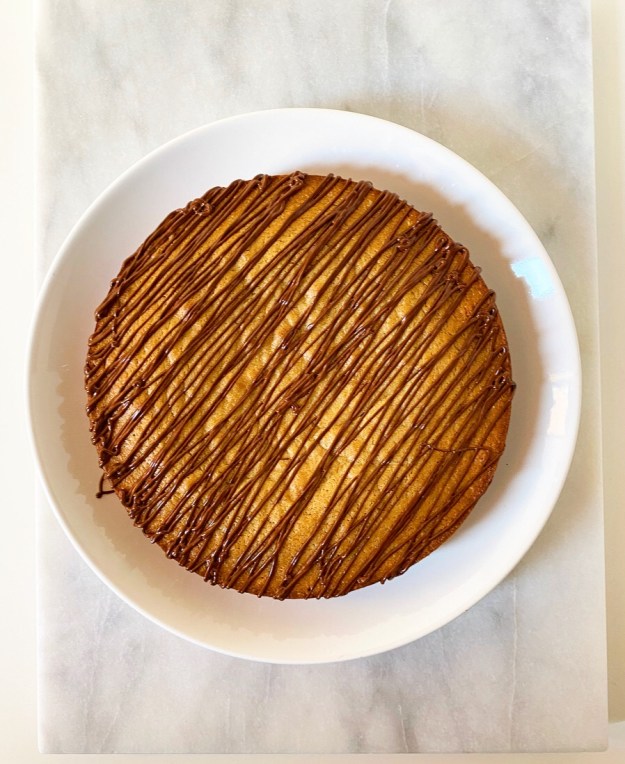
 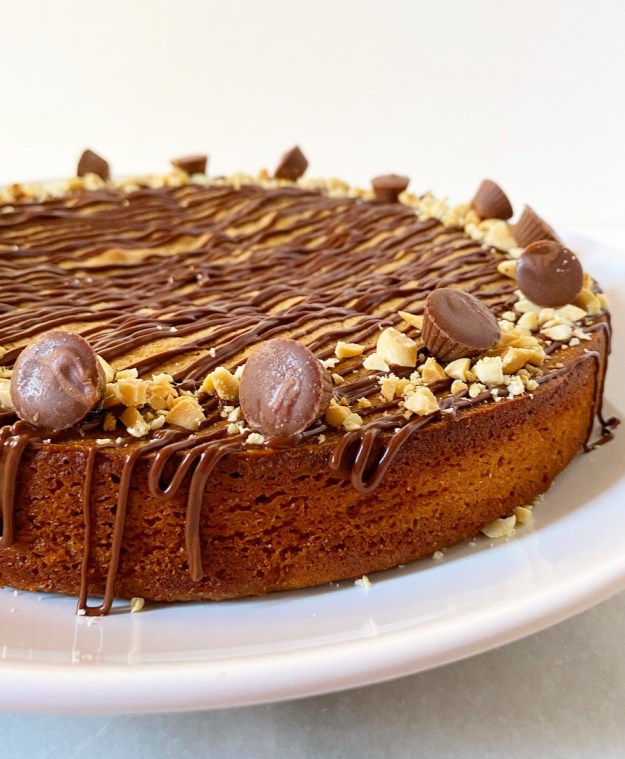 Today marks fifty days of lockdown in NYC, so I felt the need to jazz it up a little. I nuked chocolate chips and peanut butter until smooth, then loaded it into a bag, snipped a tiny corner and drizzled til I liked what I saw. The border is just chopped roasted peanuts and mini peanut butter cups from Trader Joe’s. I know it’s gilding the lily, but like…what else are we doing seven weeks in?


 Cake with frosting seems like it’s almost not allowed right now, but this is not just any cake and this is not just any day. Coronavirus be damned.
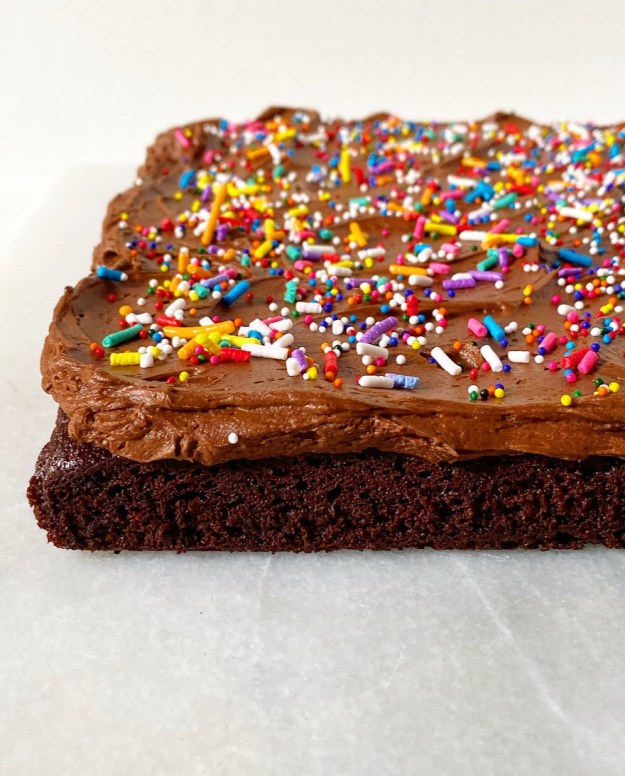 If you’re scratching your head wondering what today is…well, it’s Earth Day, and that is important. But there’s also something that I don’t talk about much on here because it seems mostly irrelevant to the daily operation of a food blog…but it’s actually completely relevant because there would be no E2 Bakes without it. Today marks seven years since I took a drink or a drug. Yep, I’m that sober home-baking food blogger that nobody warned you about.
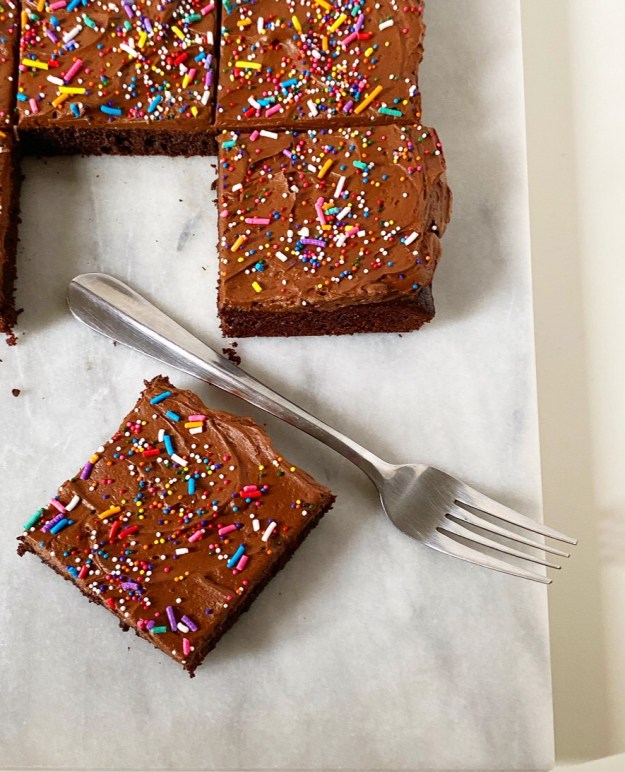 Quitting drinking and putting mind-altering substances in my body is the kindest thing I’ve ever done for myself and the people I love. I’ve gained so much more from that one decision (and many moments of grace and a lot of trudging) than I will ever be able to adequately express, least of all the ambition to run a baking blog. And, well, now you know why there is never liquor in my bakes or wine in my sauces–I can’t post something I can’t test.
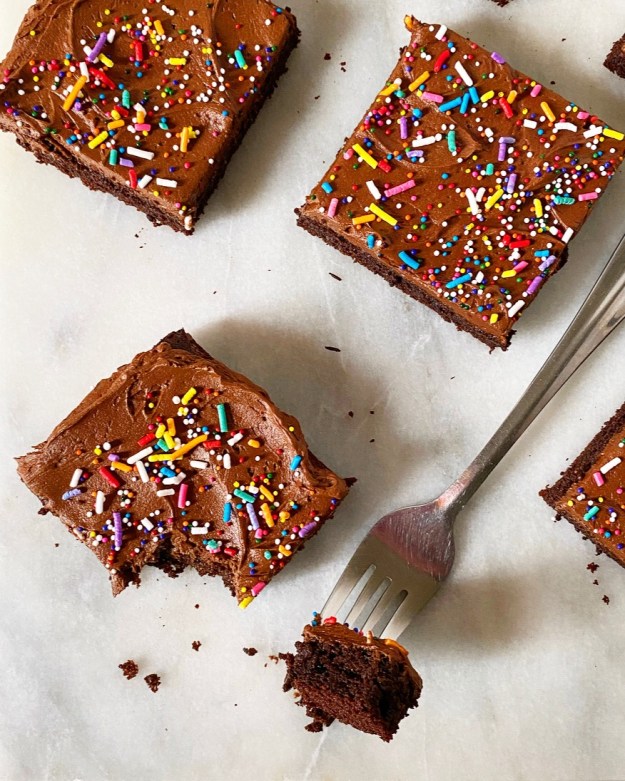
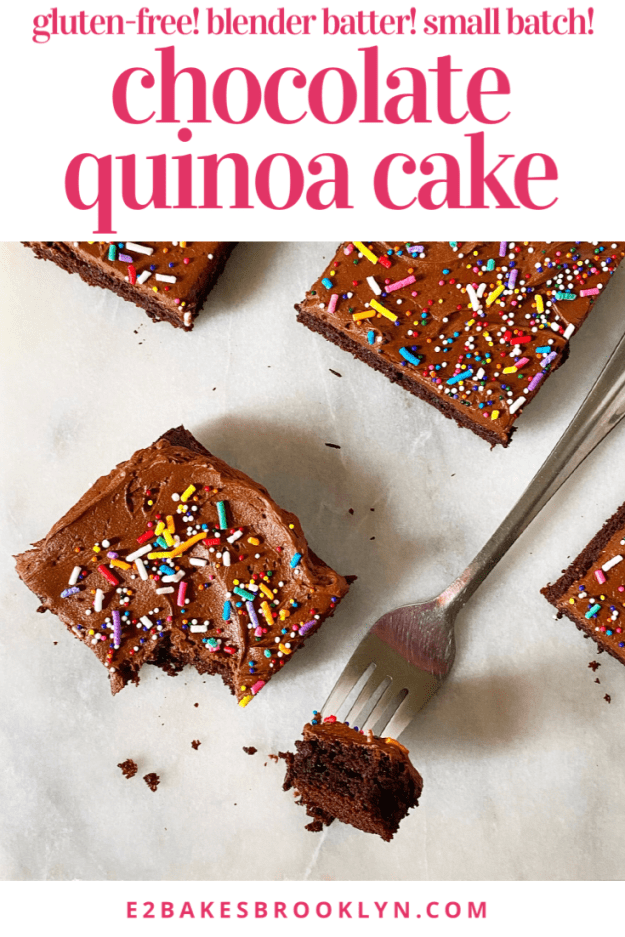
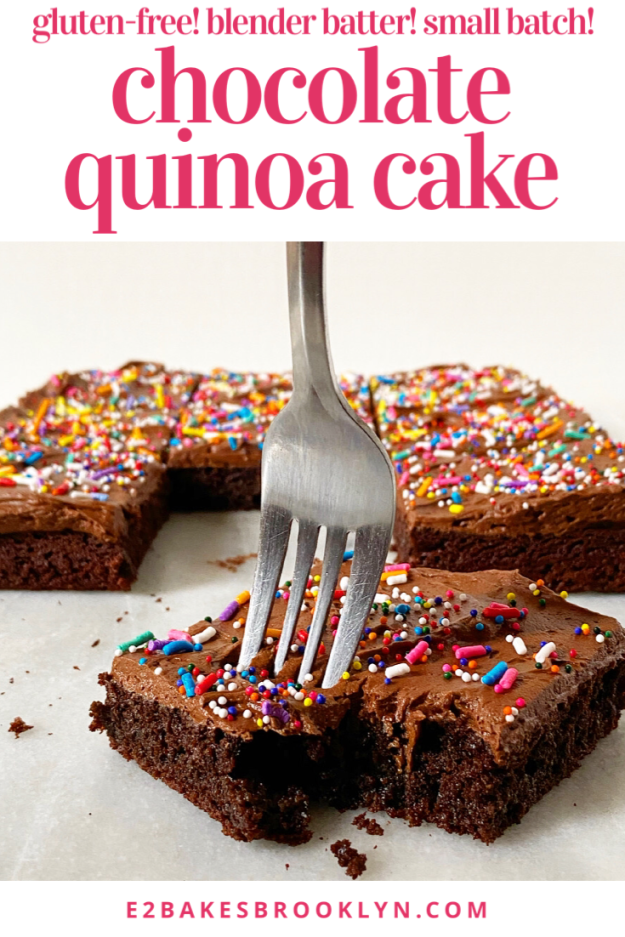
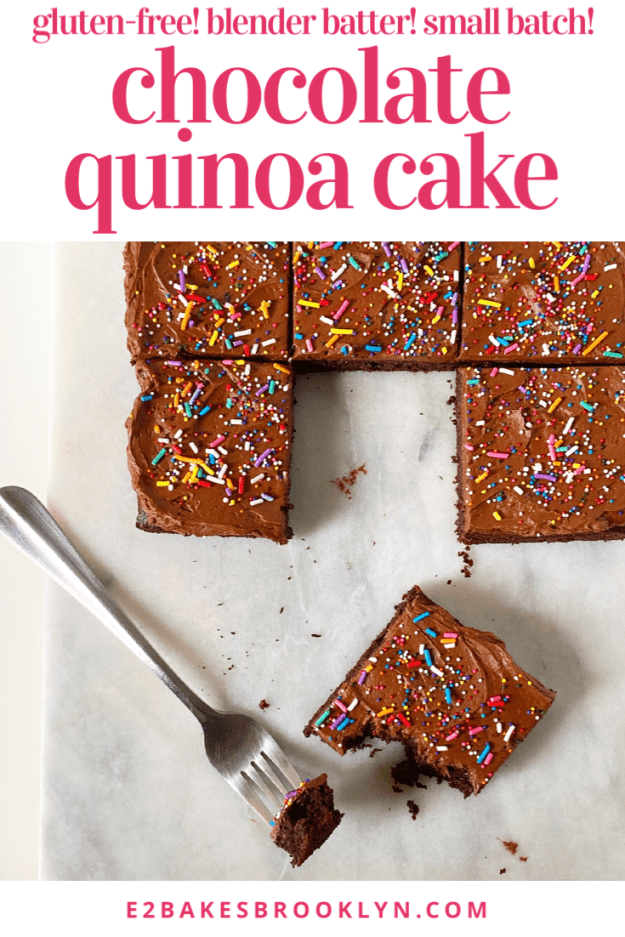
 Layer cakes are out for now and flour is difficult to find, but chocolate and frosting (and sprinkles!) are always welcome in my kitchen. Today’s cake is one of the best chocolate cakes I have ever had—so tender and chocolaty! If I weren’t telling you right now, I bet you’d never guess that it’s made with a cup of cooked quinoa instead of flour. For real.
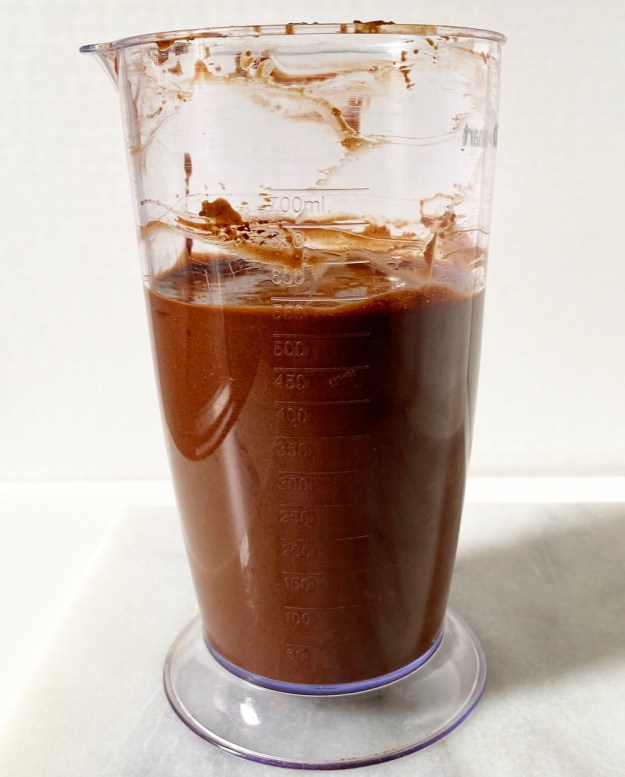
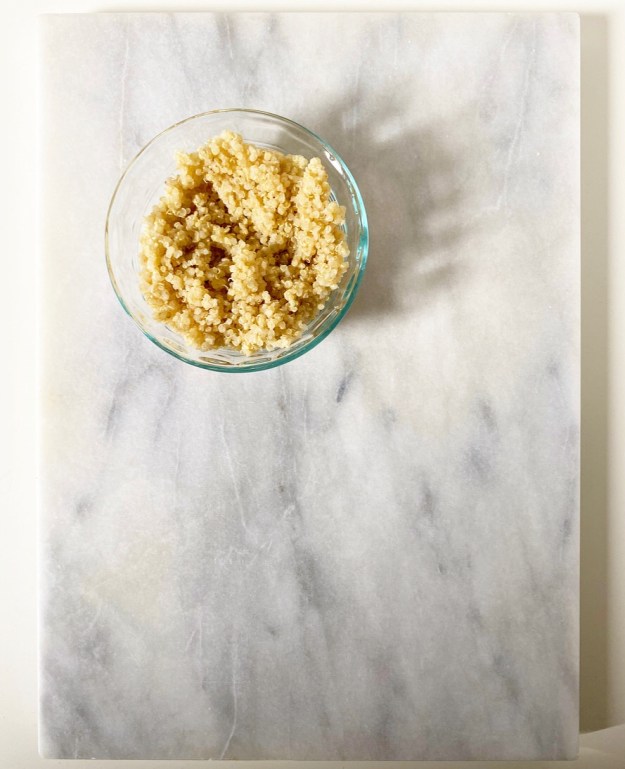 The batter—which includes cocoa powder, a hint of coffee, eggs and milk—is made in a blender to eliminate any whole pieces of quinoa. I wouldn’t recommend making most cake batters in a blender, but since this cake is naturally gluten-free, there’s no need to worry about overmixing or tough cake. Score!
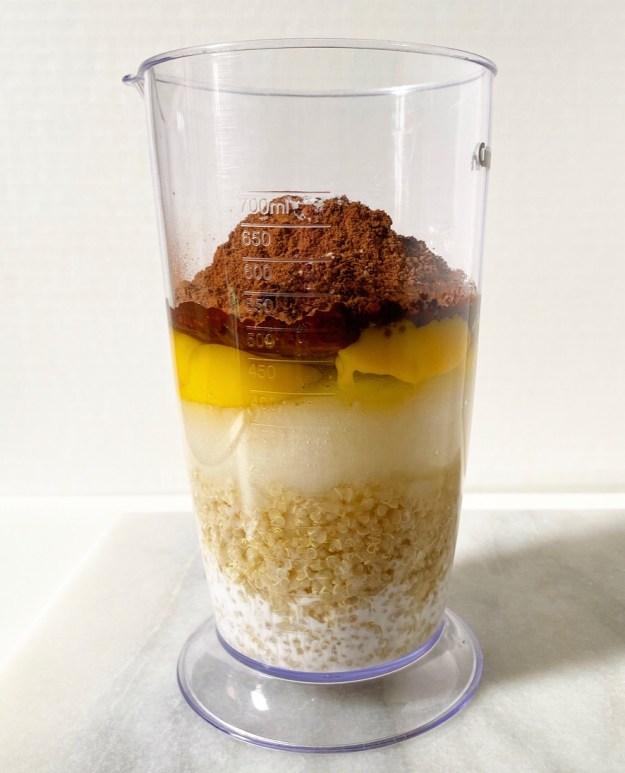
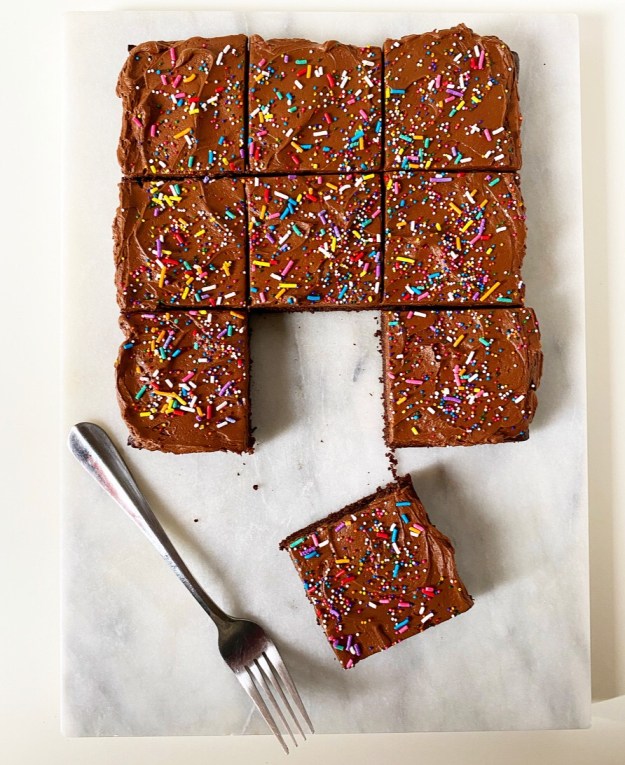
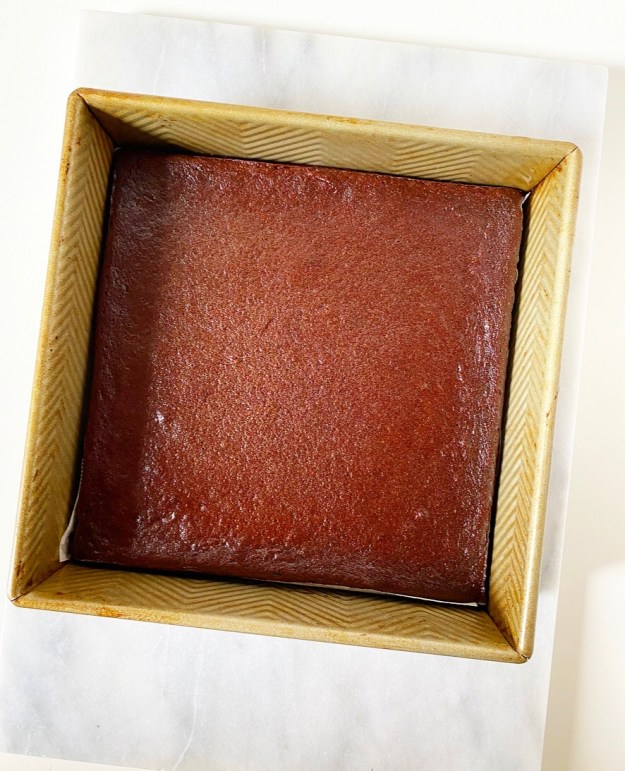 Chocolate Quinoa Cake bakes up in 30 minutes and is thin enough that it cools within an hour. I topped it off with a small batch of chocolate buttercream and dug into my stash of rainbow sprinkles for the occasion.
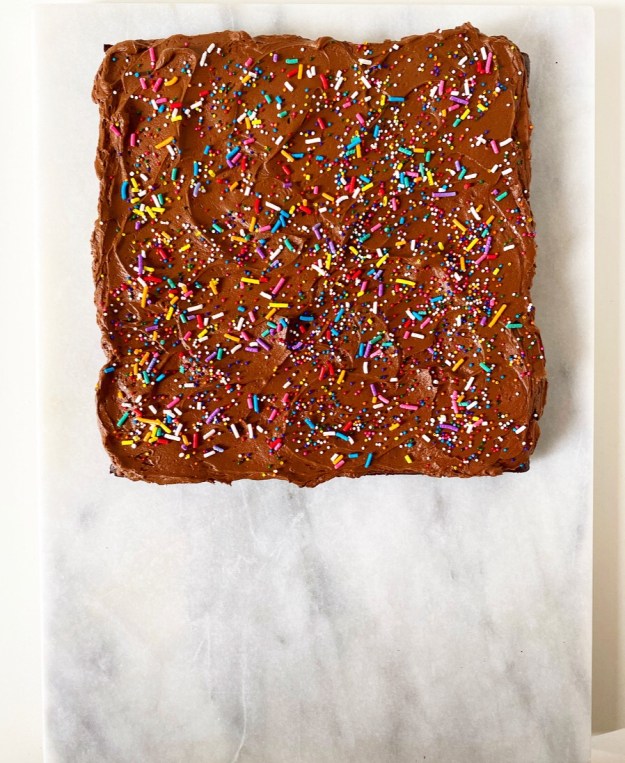 Oh yeah, that’s the stuff.
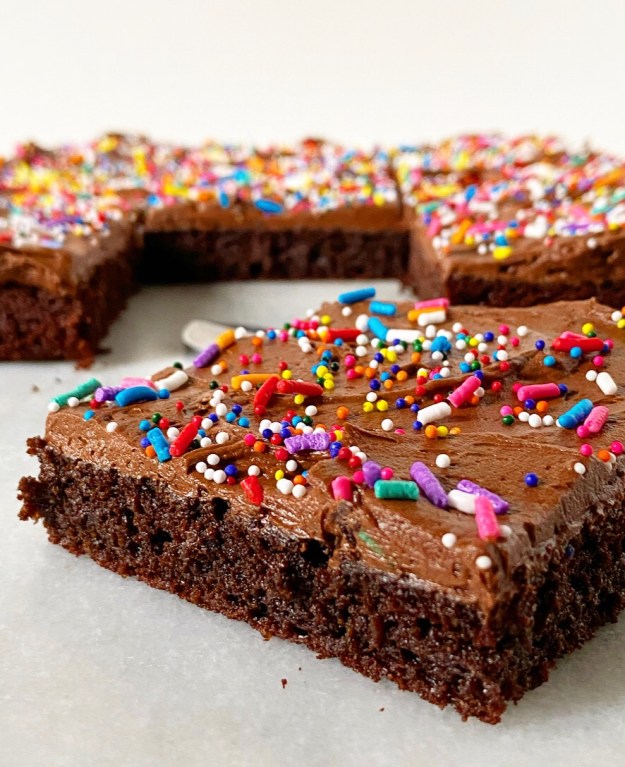 As for quarantine substitutions:
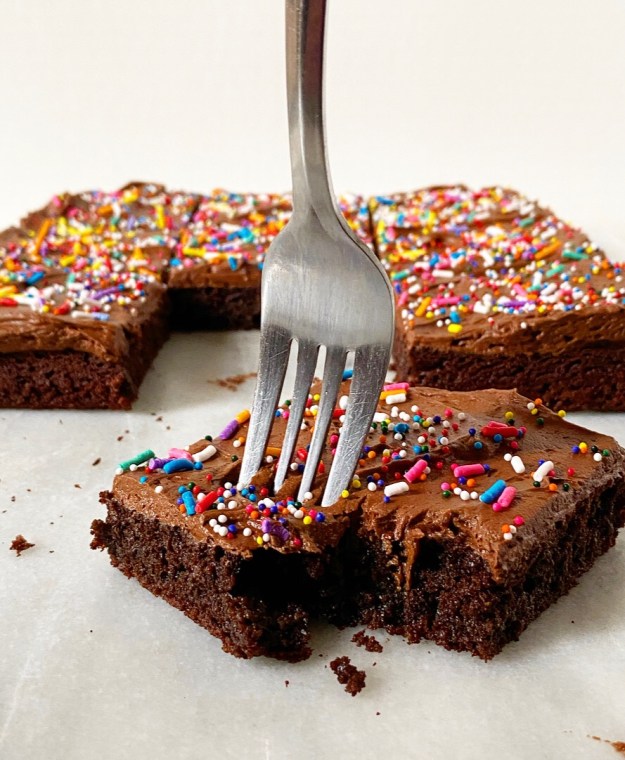 Whew! Okay. Now that you’re armed with everything you need to make a kickass gluten-free chocolate cake, go find something to celebrate. I promise you will.
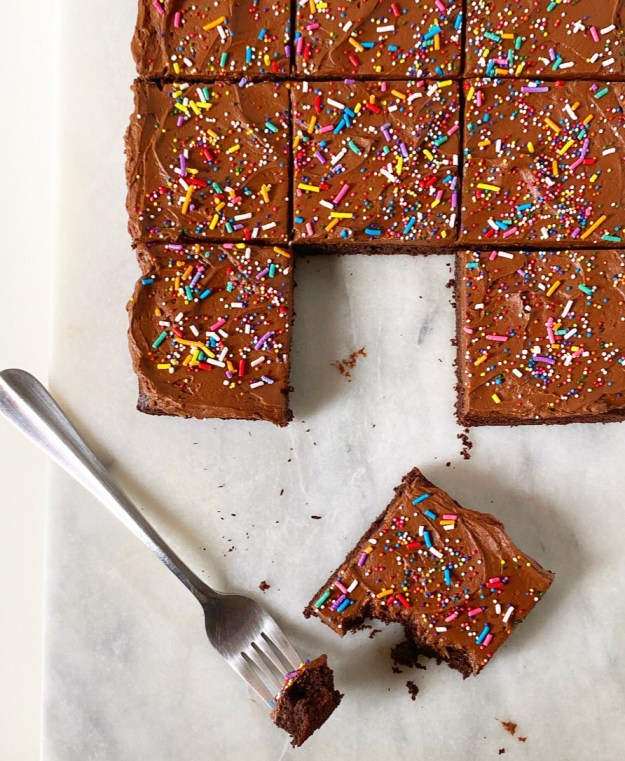


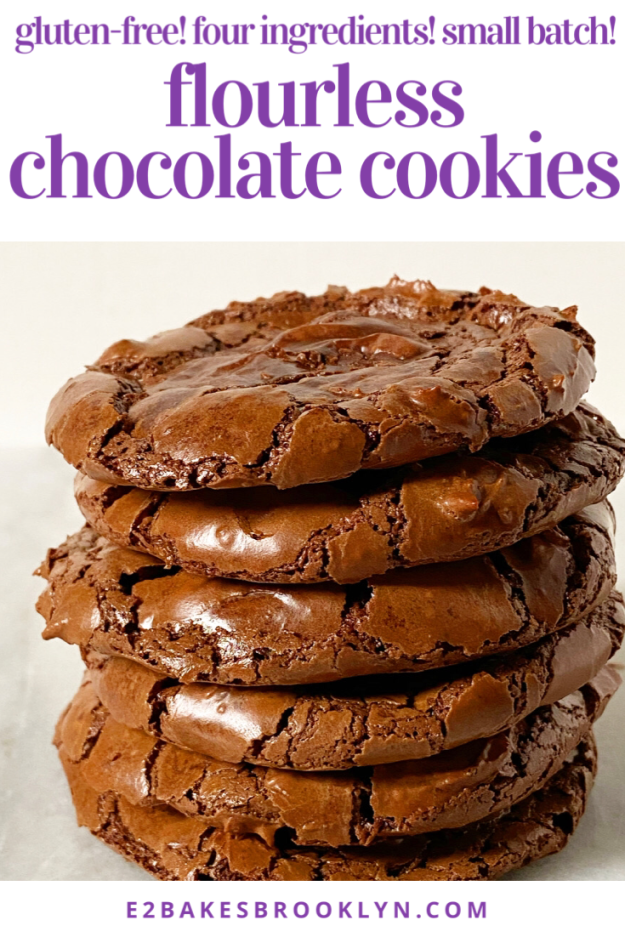
 I feel like everyone is posting variations on these Flourless Chocolate Cookies. They’re all over social media right now, and can be found on long defunct food blogs and a zillion other places, I’m sure. What I’m saying is that you probably don’t need me to tell you about them, but here I am, doing it anyway, because they’re effing miraculous.
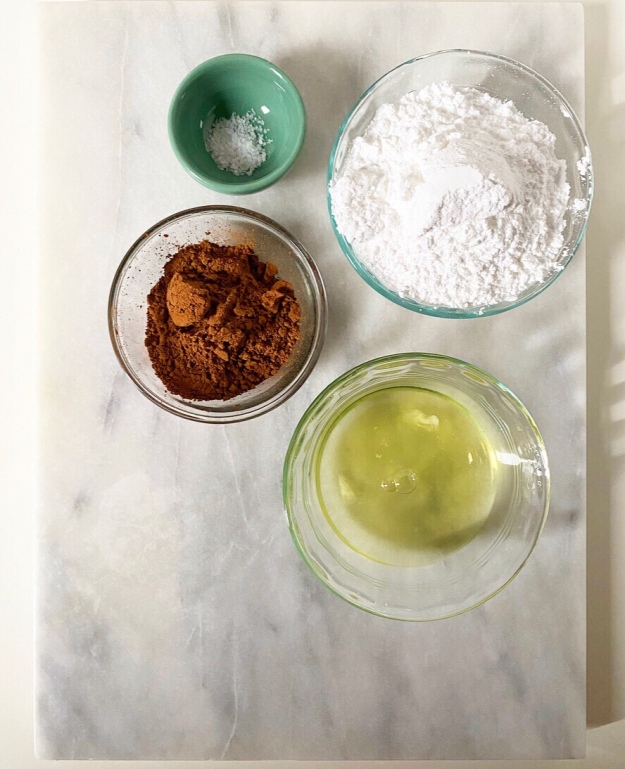
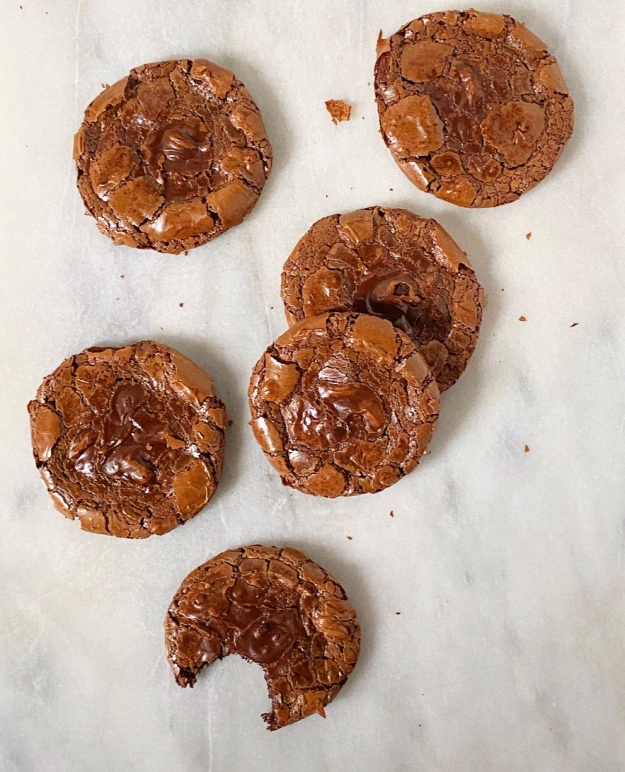
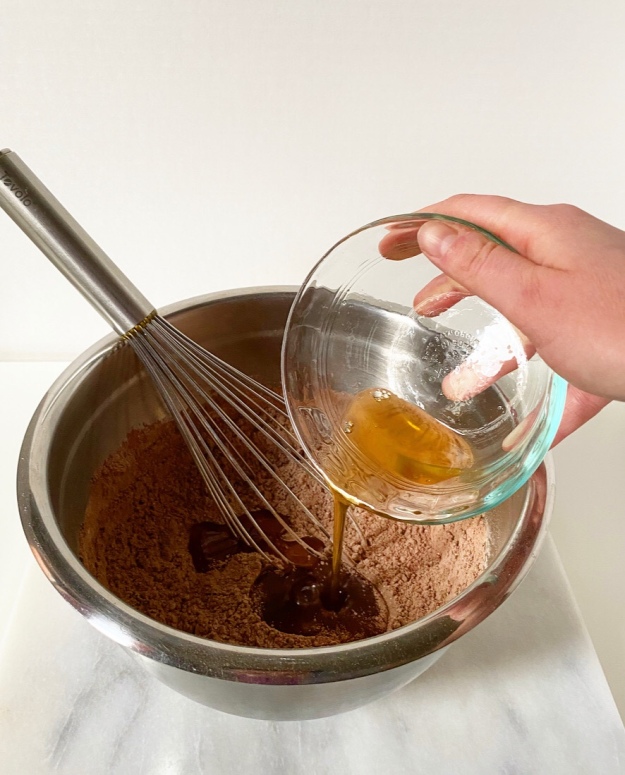 At their most basic, these gluten-free cookies are made with just four ingredients: confectioners sugar, cocoa powder, salt and a couple of egg whites. Whisk them all together until a thick, glossy batter forms. There will come a moment during mixing where it seems too dry, but persist—it will pass.
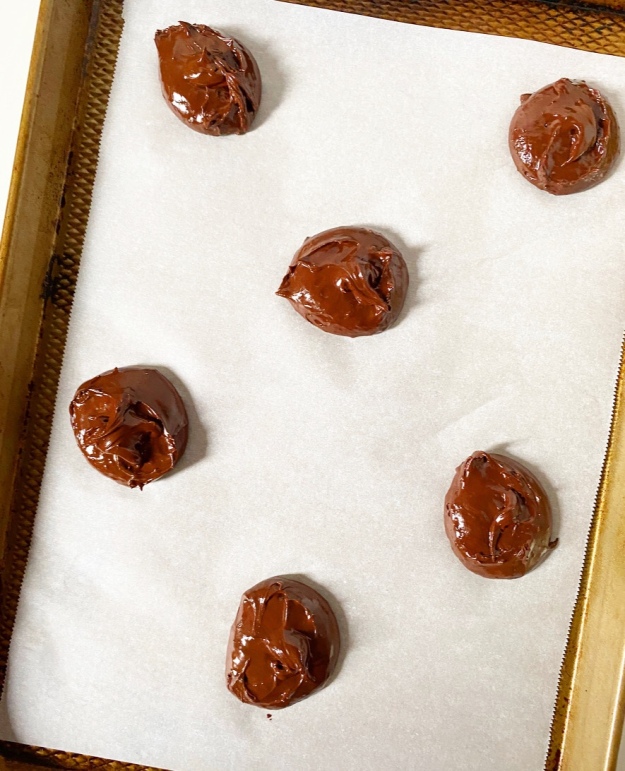
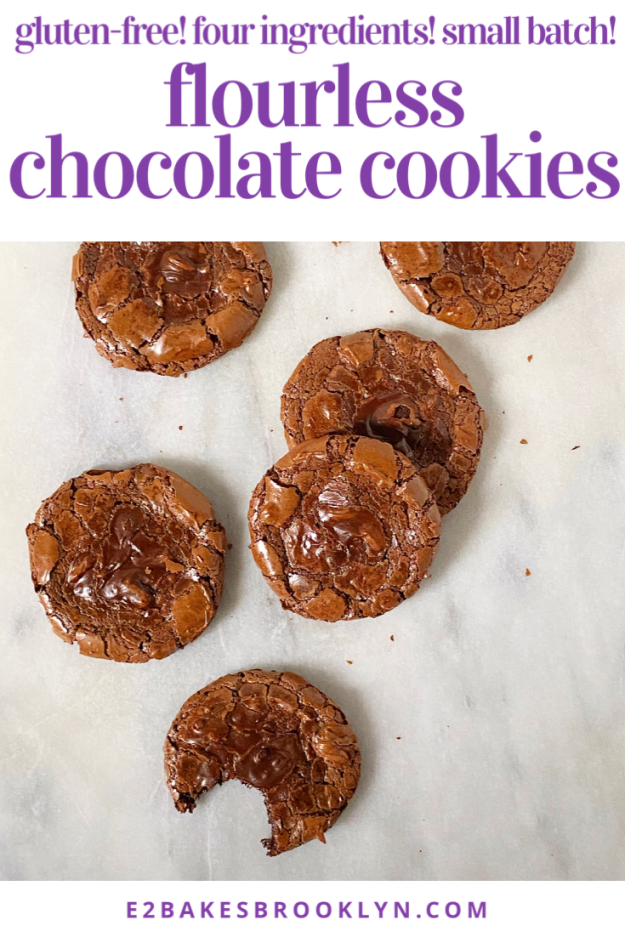
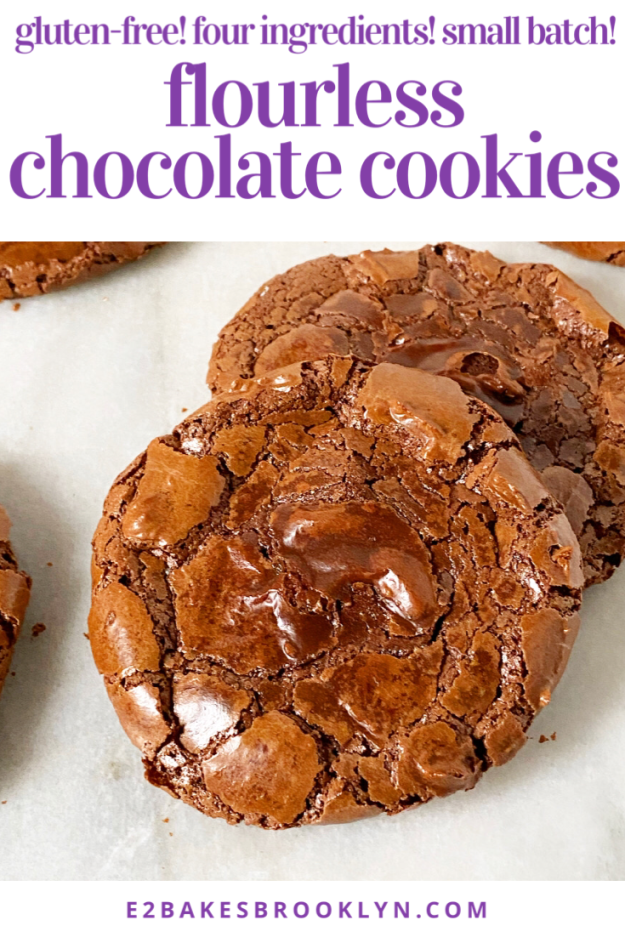
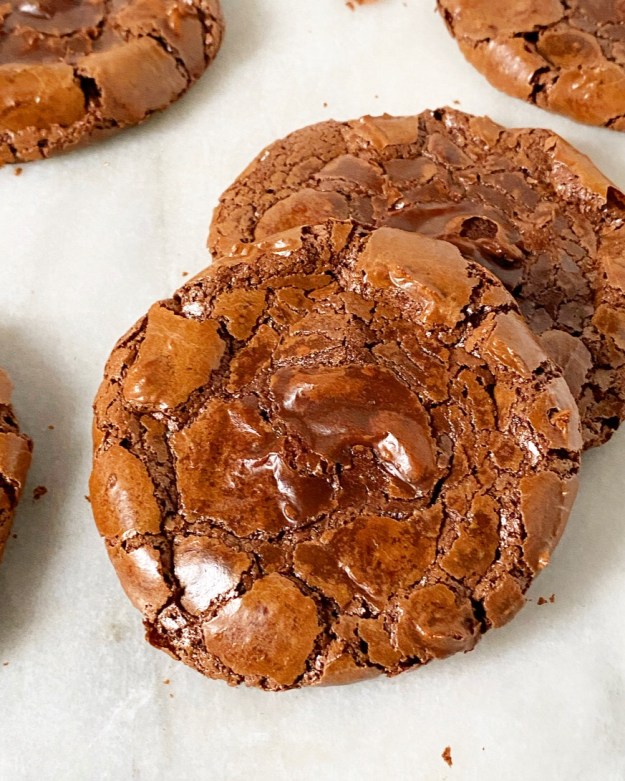
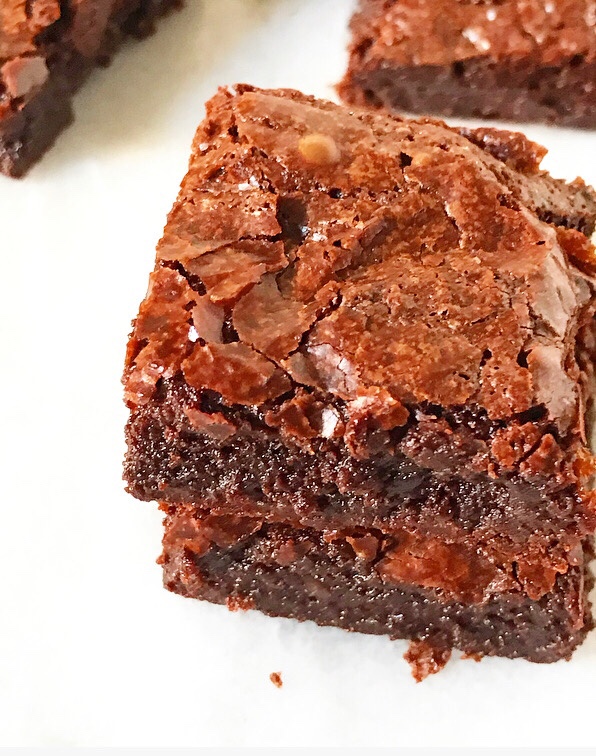
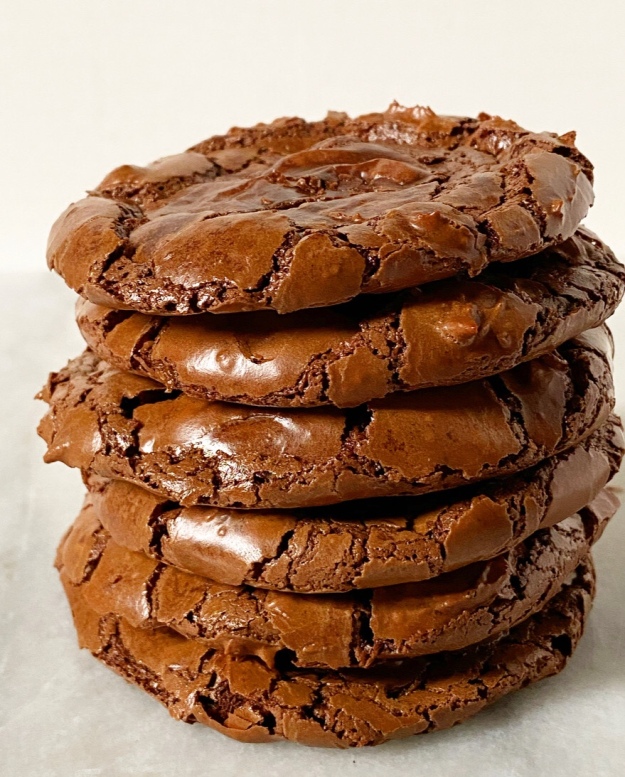
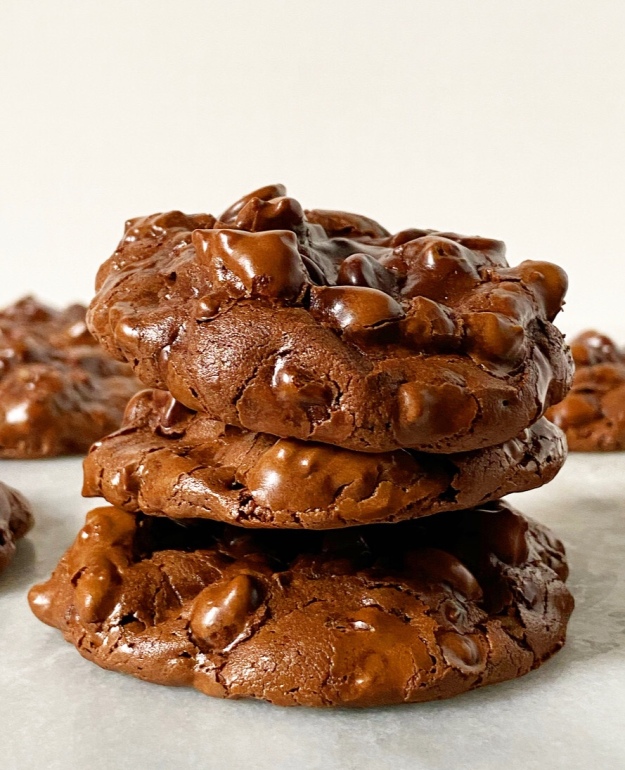
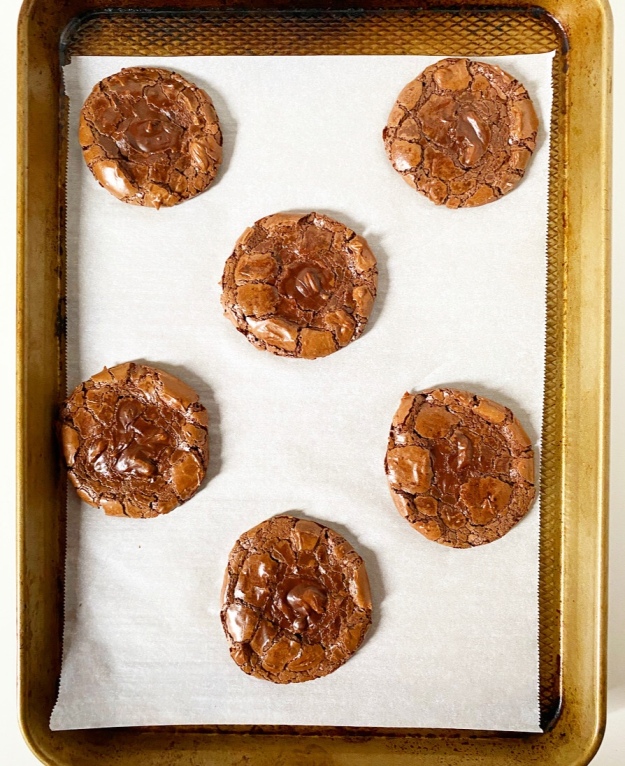 Dole the batter out on a baking sheet in heaping tablespoons and then bake until puffy. This is where the magic happens—the egg whites make everything expand to the point where the shiny cookie exteriors crack, and then, when everything begins to cool, they collapse on themselves to reveal crisp-chewy meringue edges and fudgy brownie centers. Told you they were miraculous.
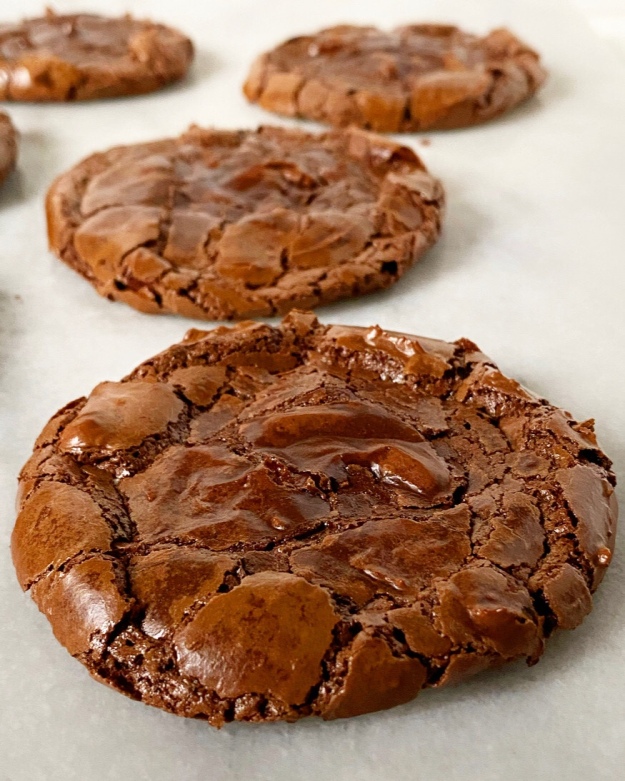
 As far as substitutions go, this recipe is so simple that there isn’t much room for change. You can use whatever cocoa powder you want, but to the person who will ask: please don’t try hot chocolate mix—it’s not the same thing.
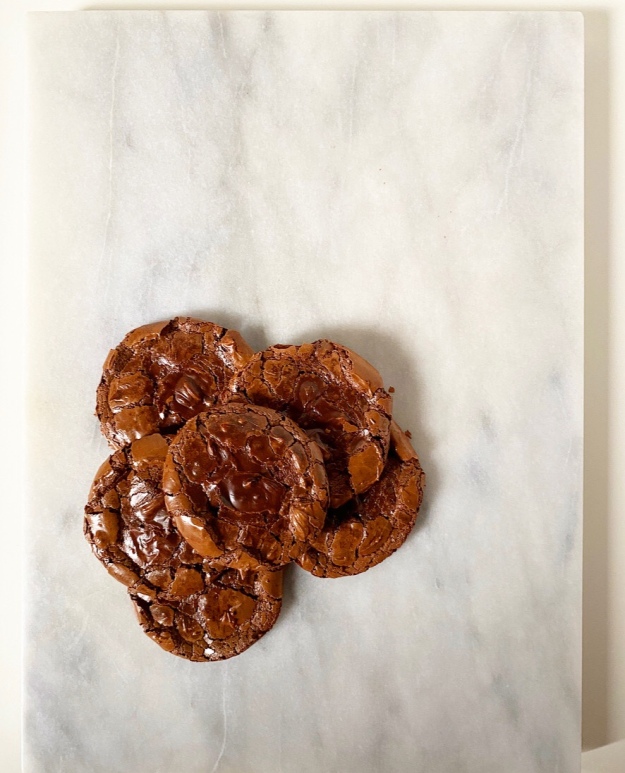 Regarding the egg whites, please know that I tried everything I could imagine to use whole eggs, but it just didn’t work—the cookies were cookies, but they were chewy in an unpleasant way. Hard pass. Throw those extra yolks in with your
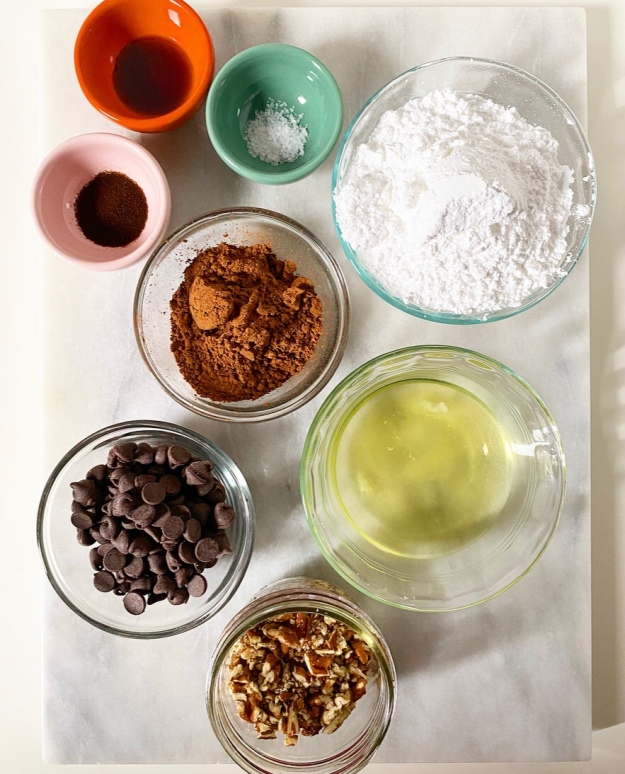
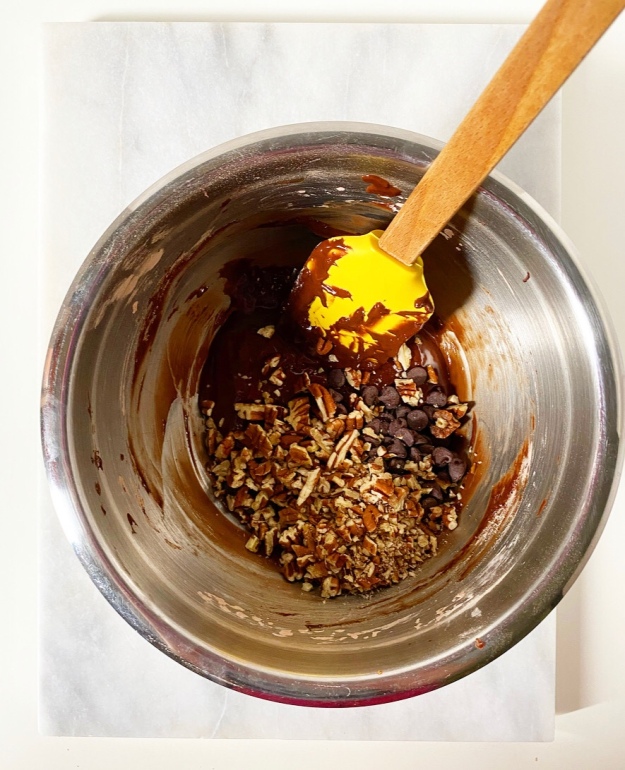

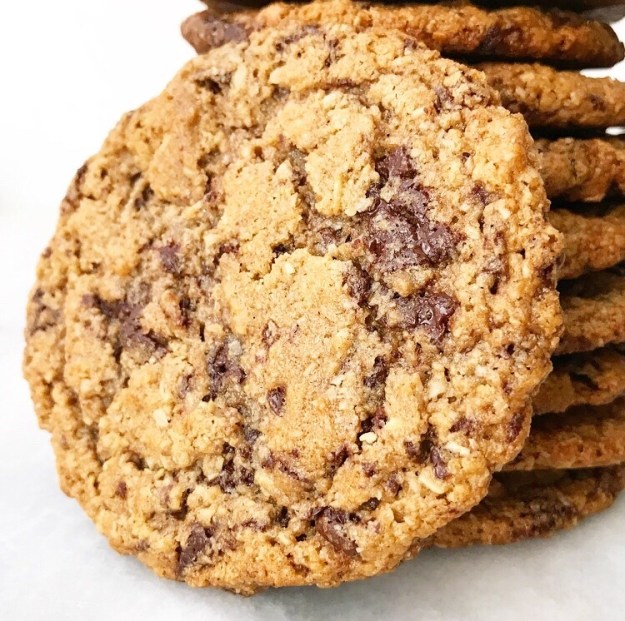
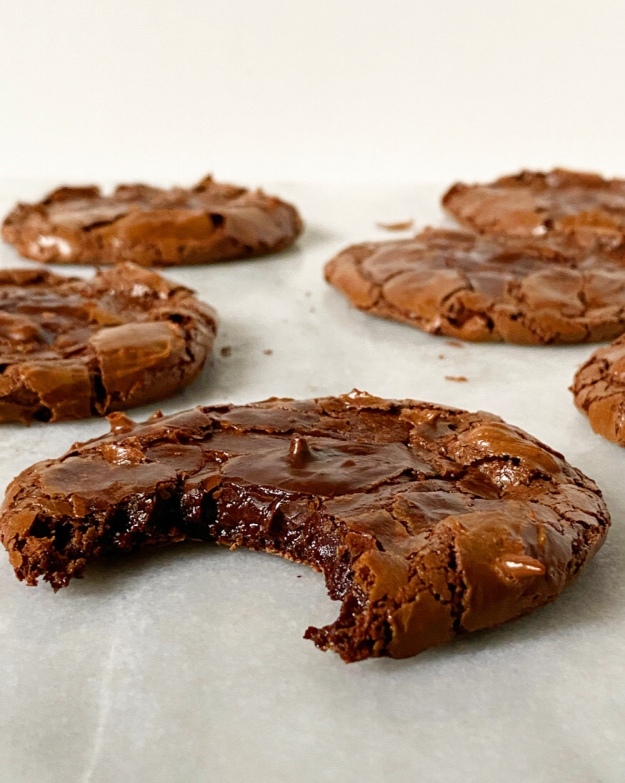
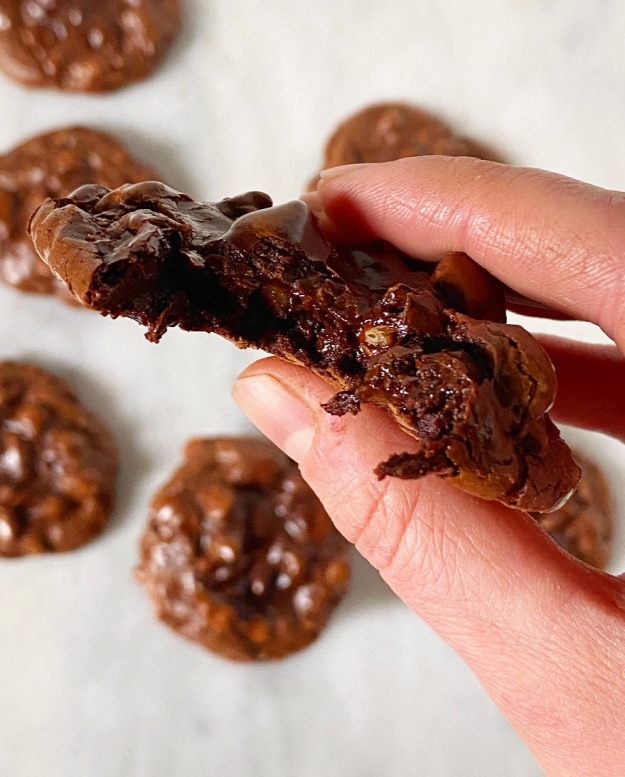 Now that I’ve addressed the simplest way to make these cookies, let me tell you what, in my opinion, is the best. Start with the original four ingredients and then add 1/2 teaspoon instant espresso granules, 1 1/2 teaspoons vanilla, and 1/2 cup each chocolate chips and toasted nuts. Scoop and bake as written, until glossy and puffy and lumpy-in-a-good-way. Wait for them to cool before you peel off the parchment and…um, you’re welcome for the best brownie cookie I’ve ever had.
 But that’s enough about me. Would you leave these plain or fill them with mix-ins? Let me know in the comments or on